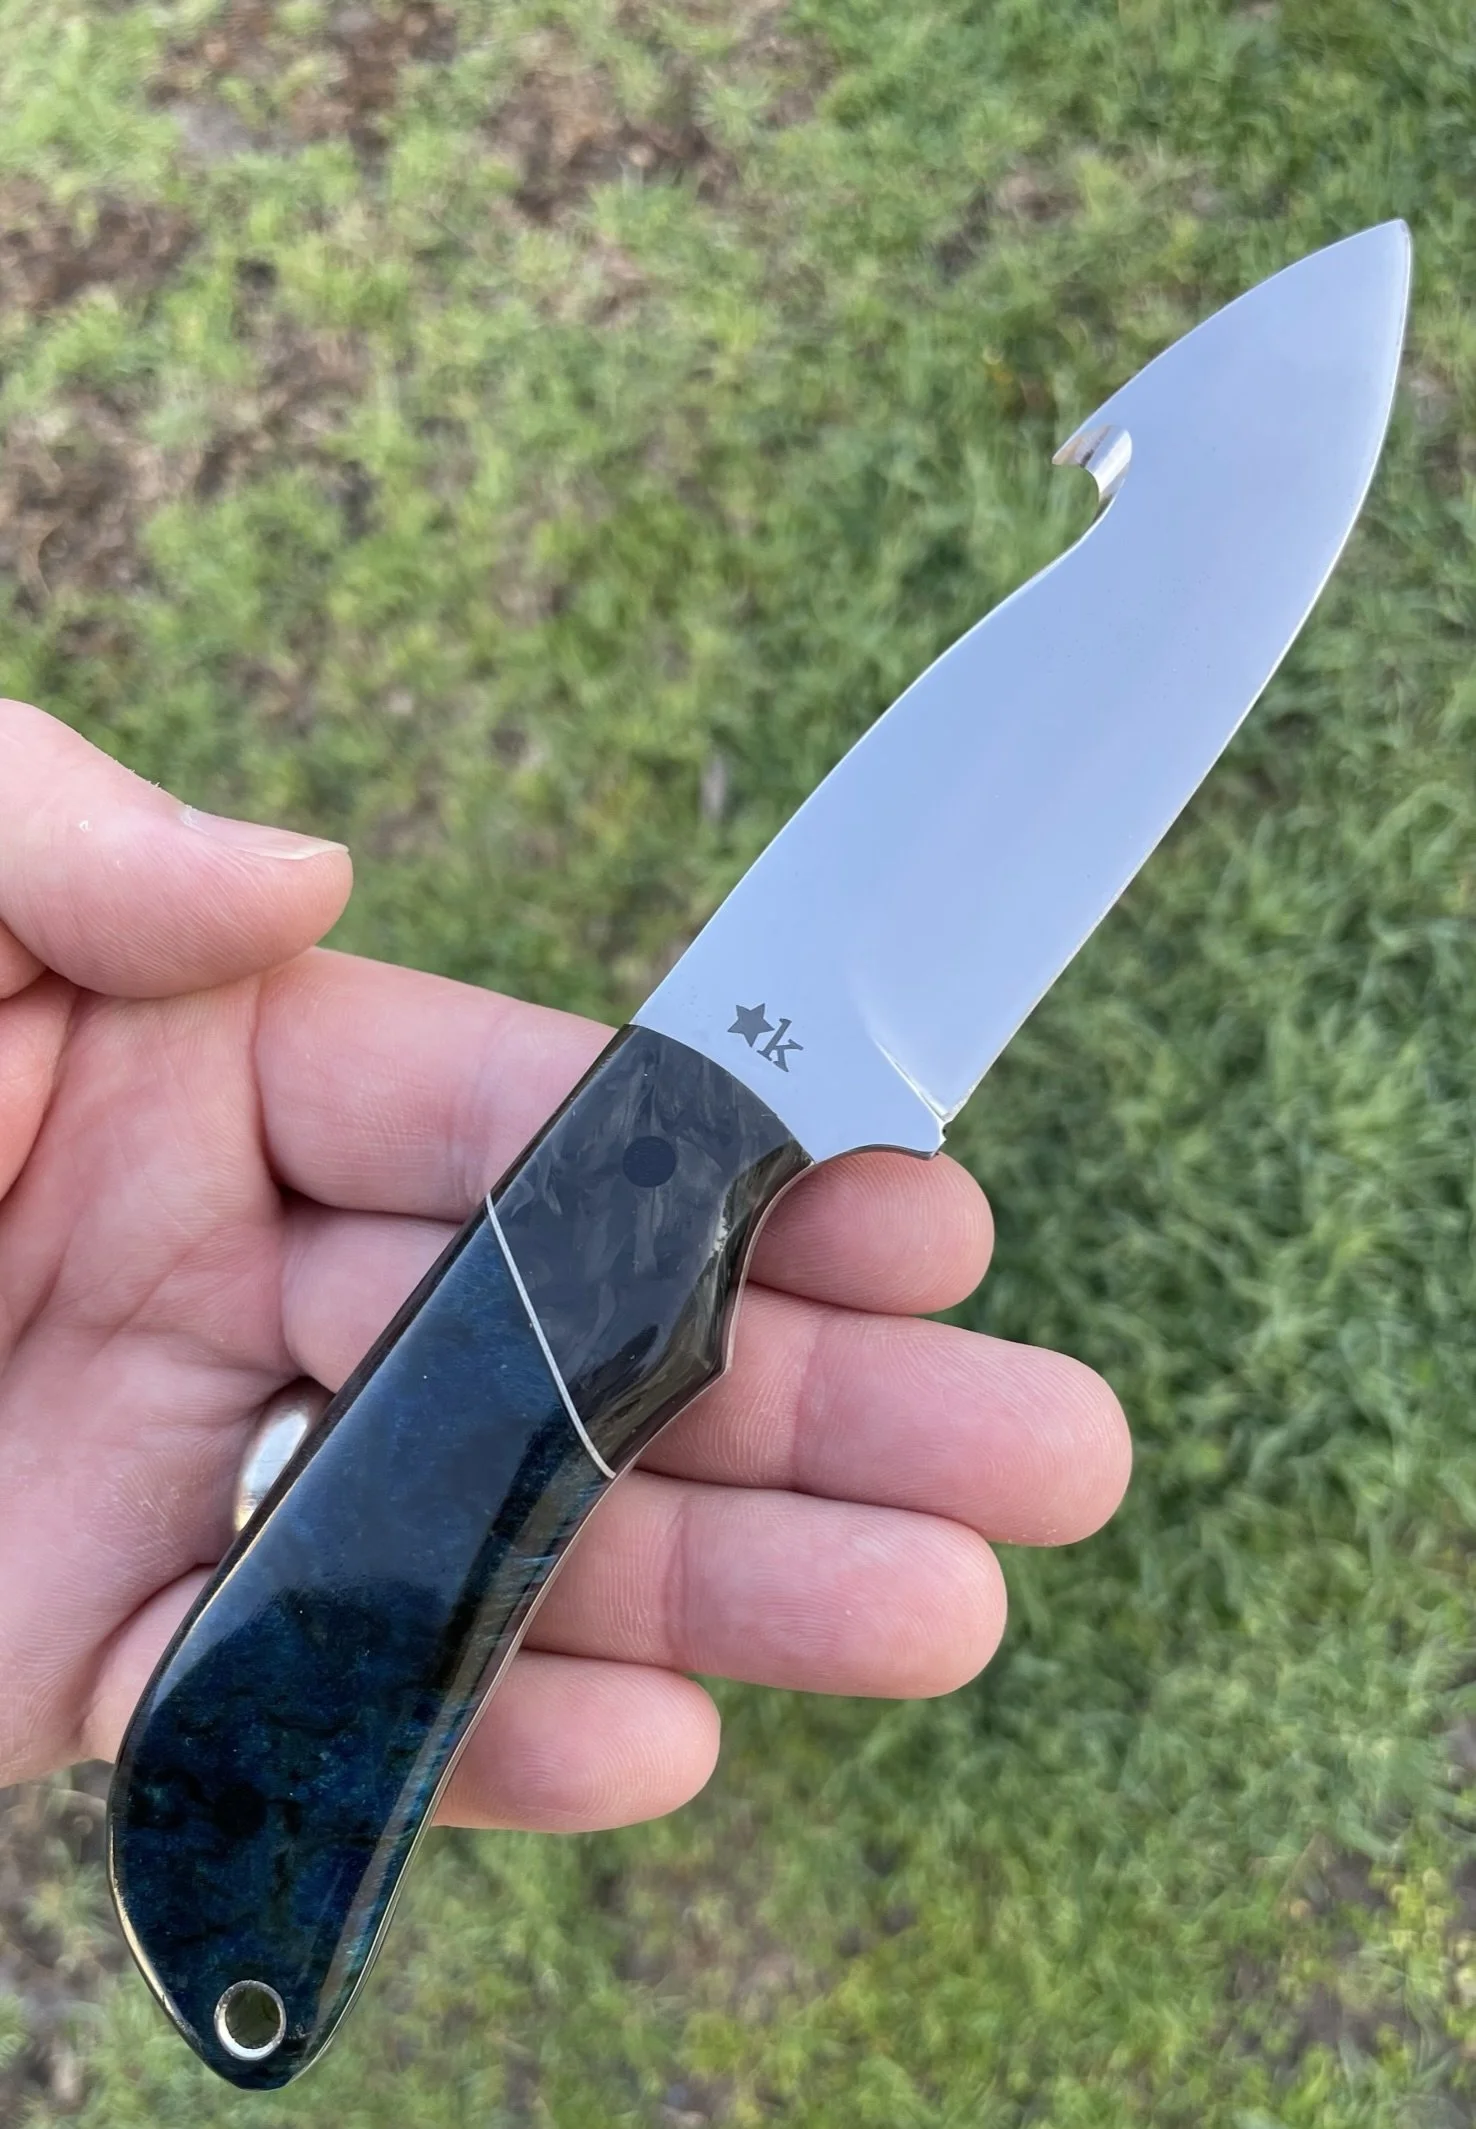
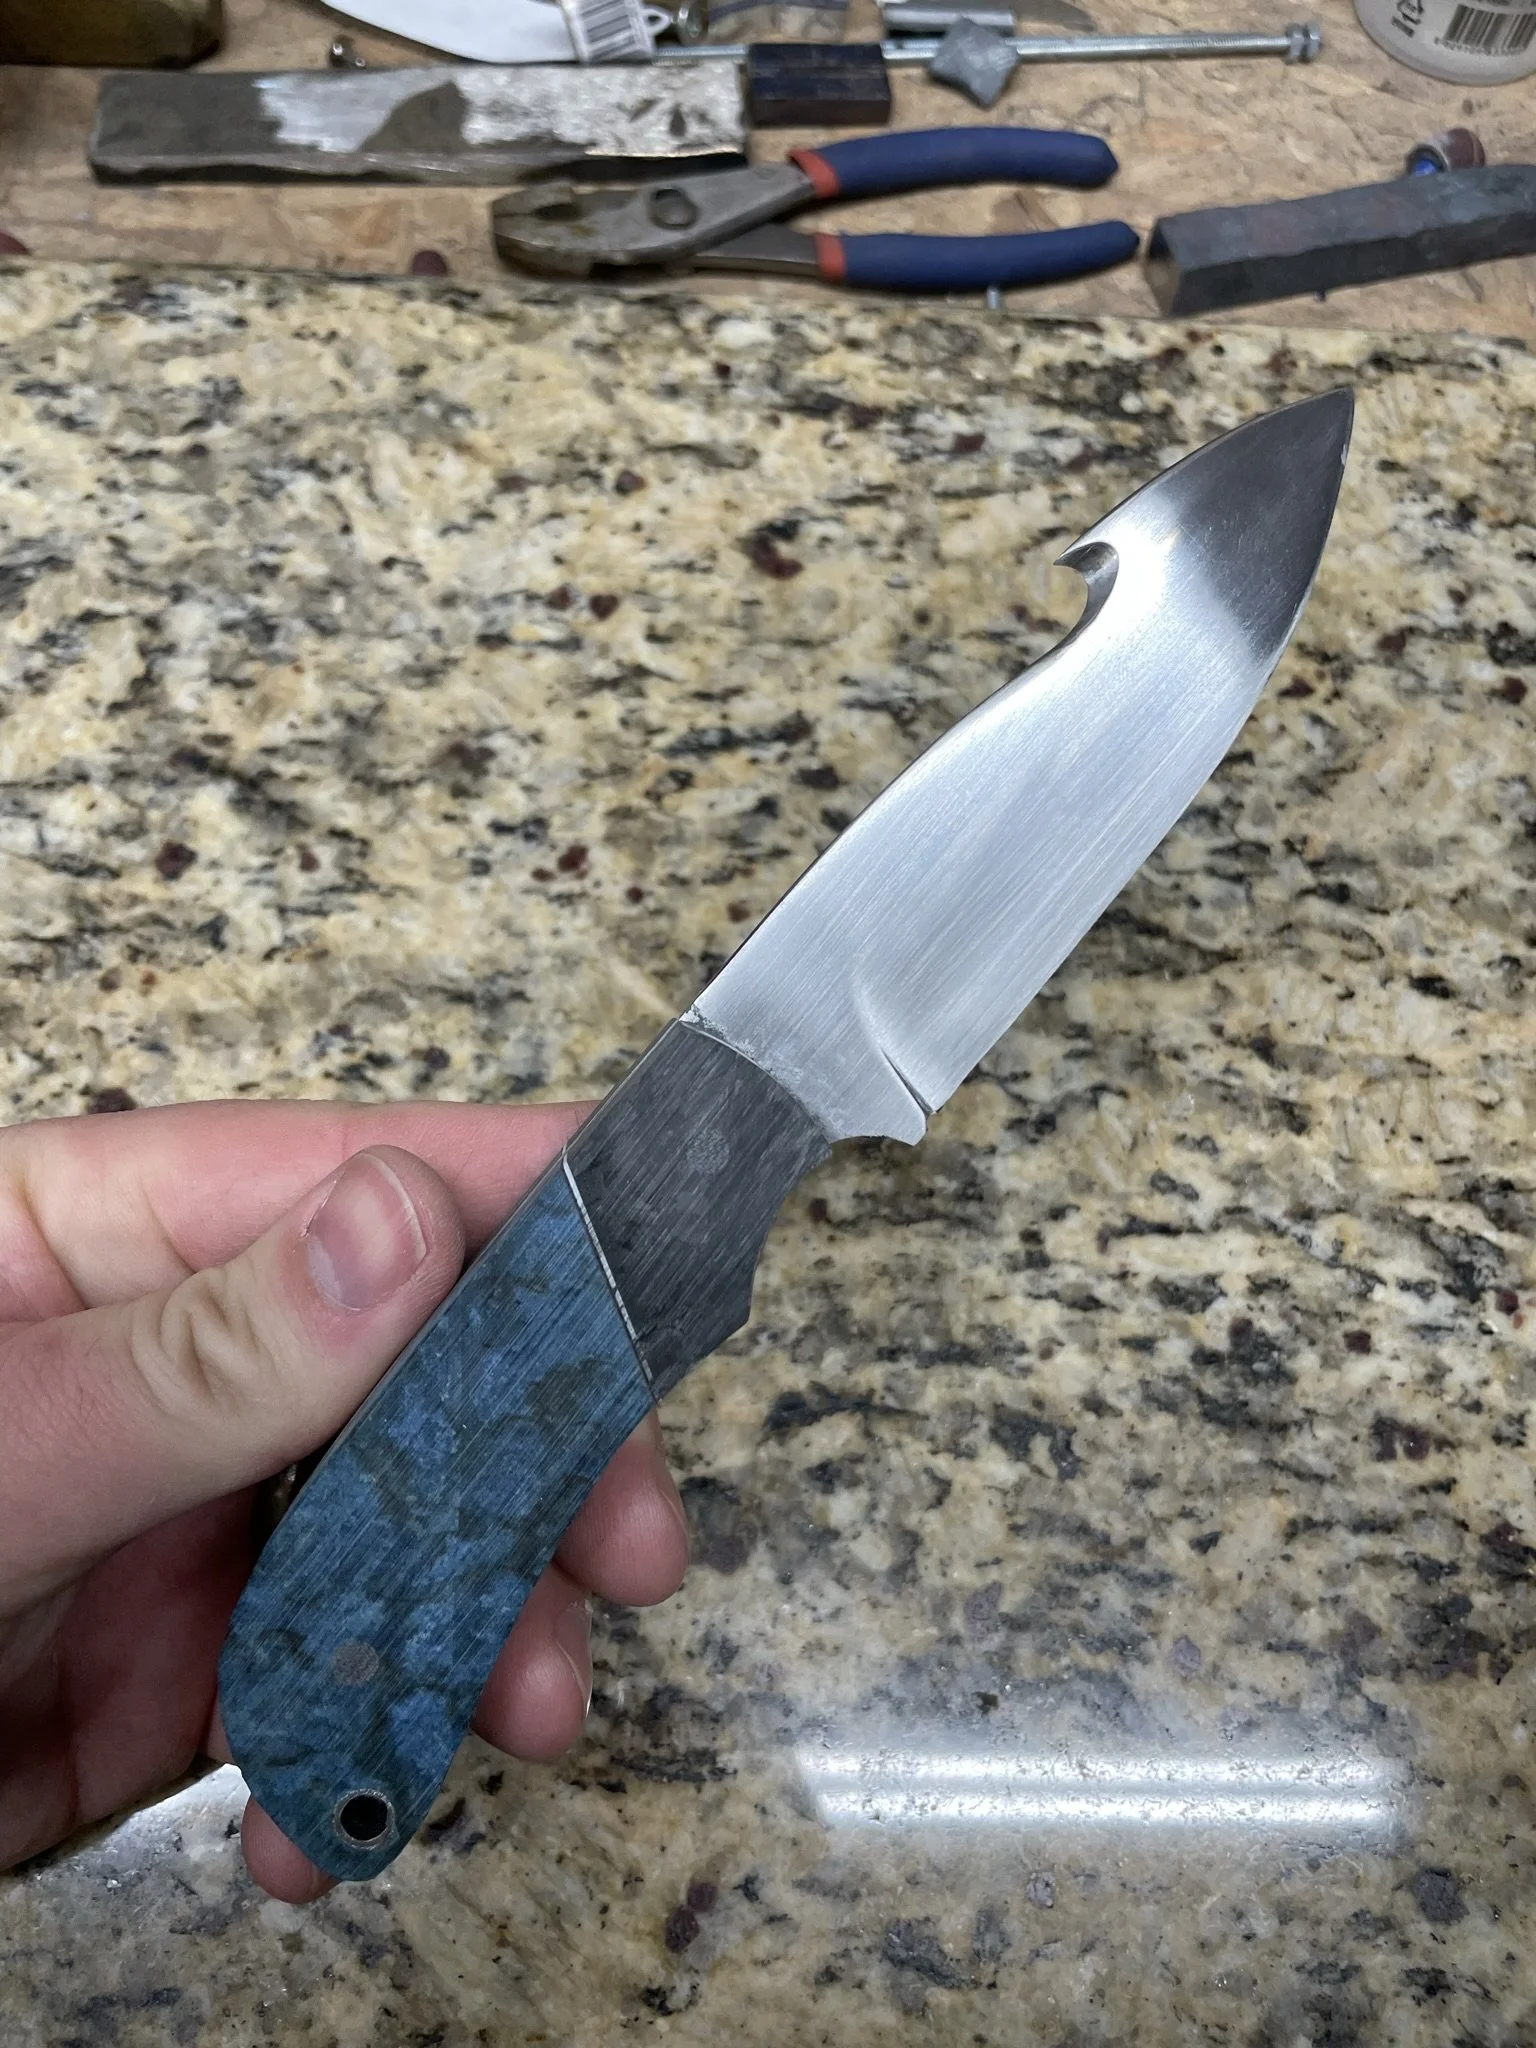
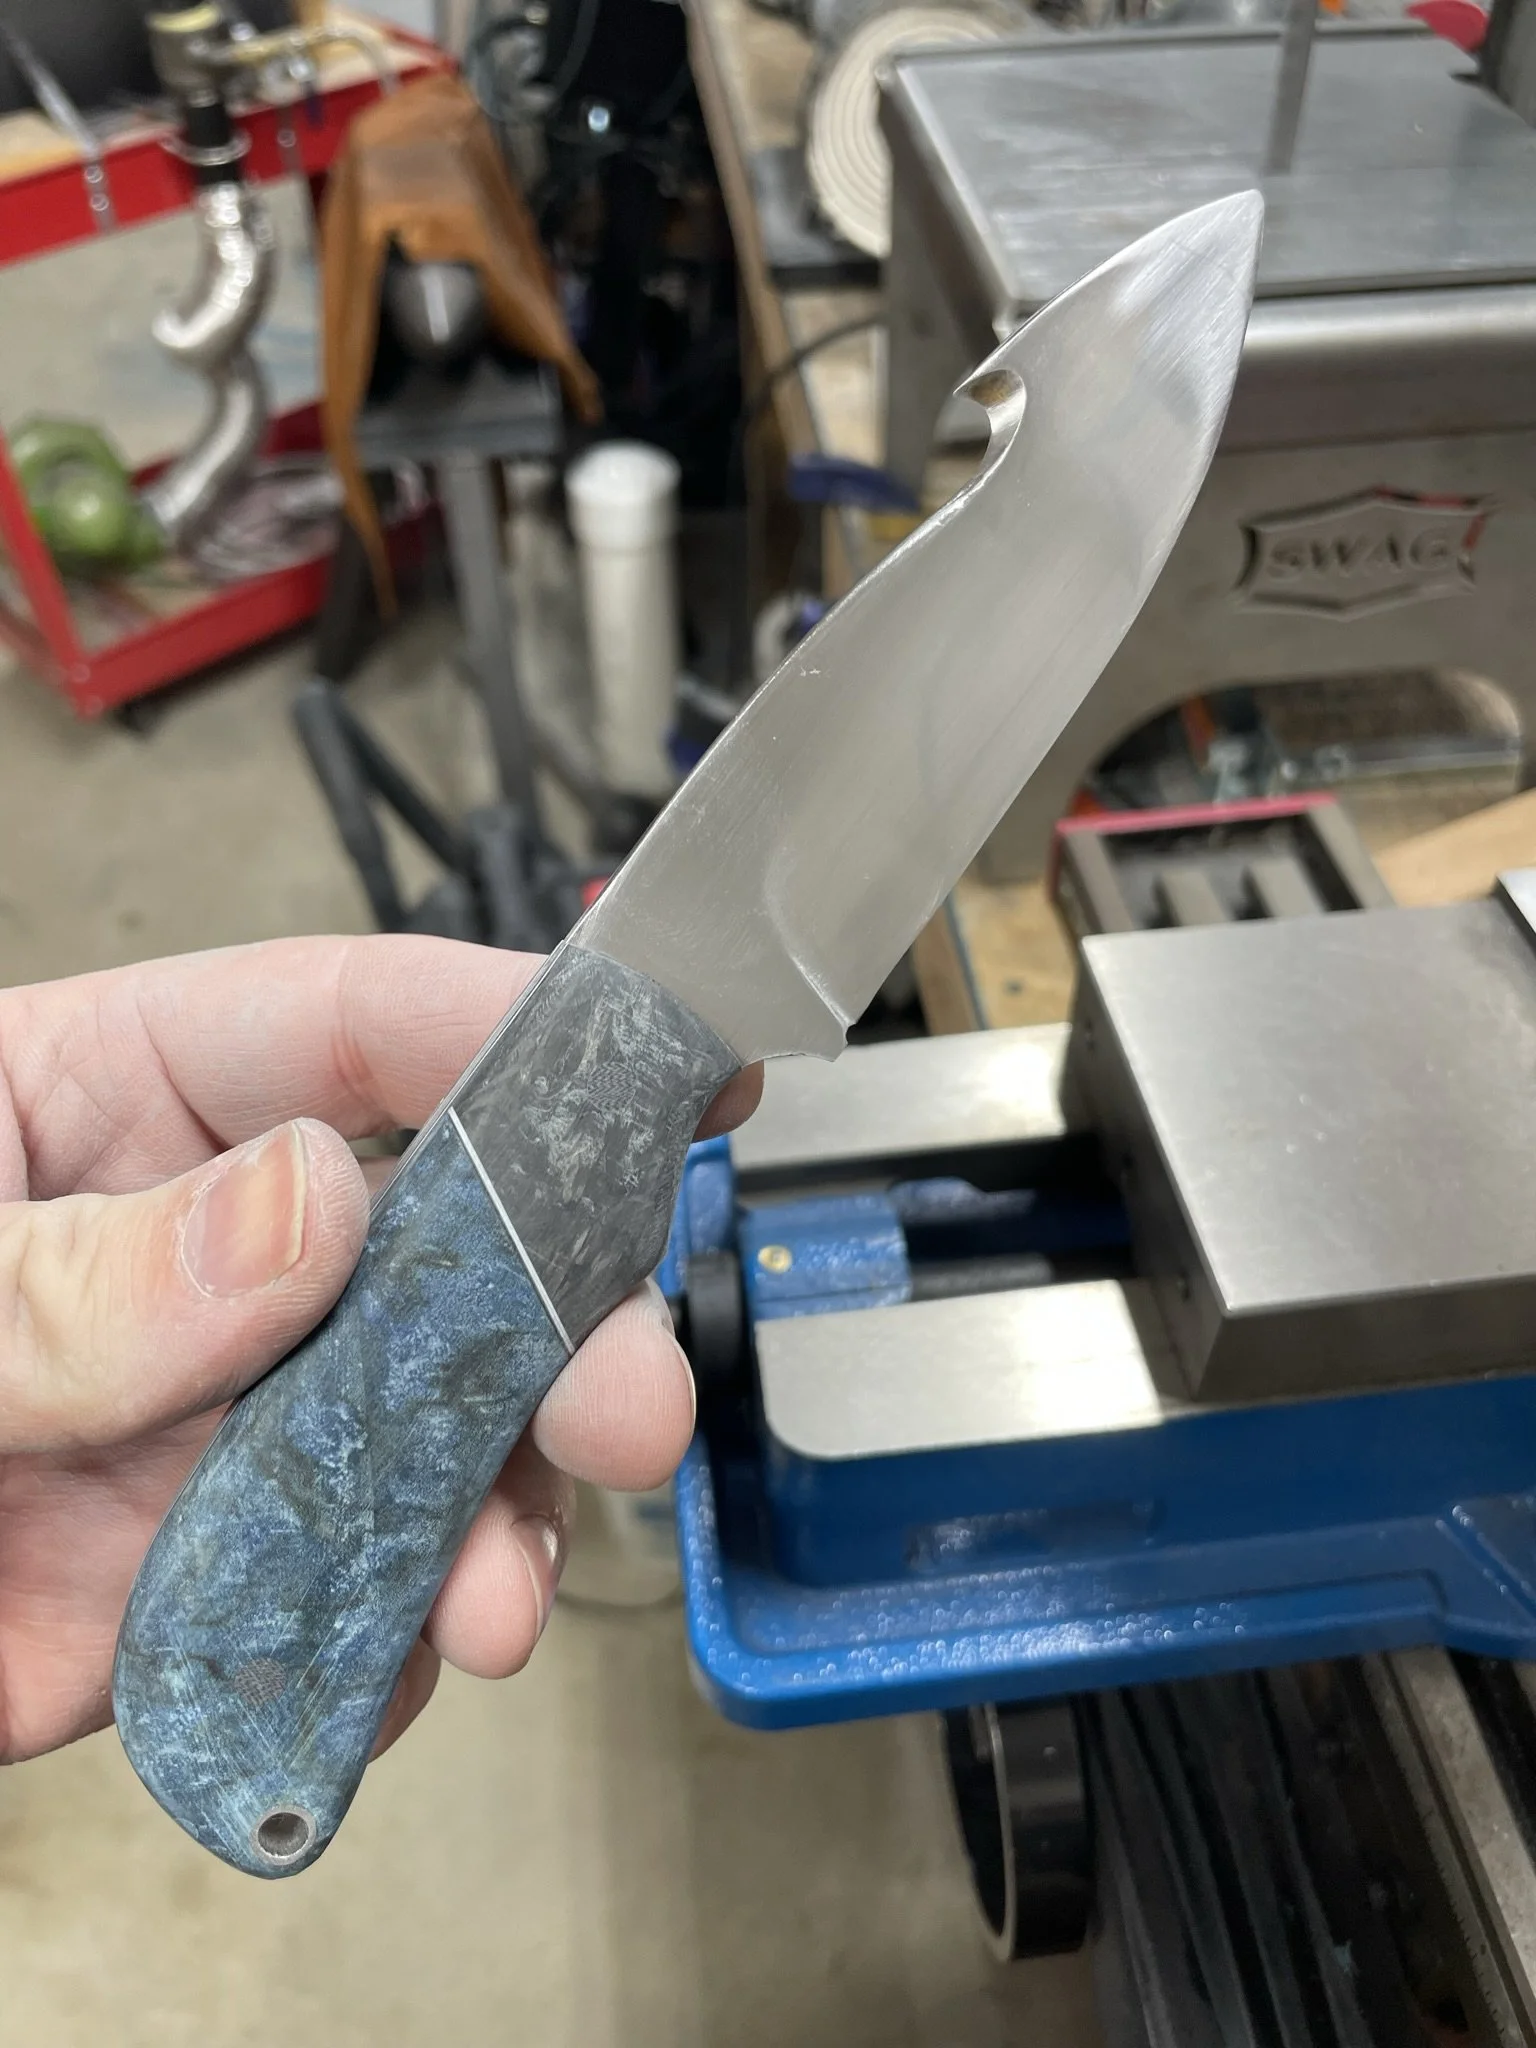
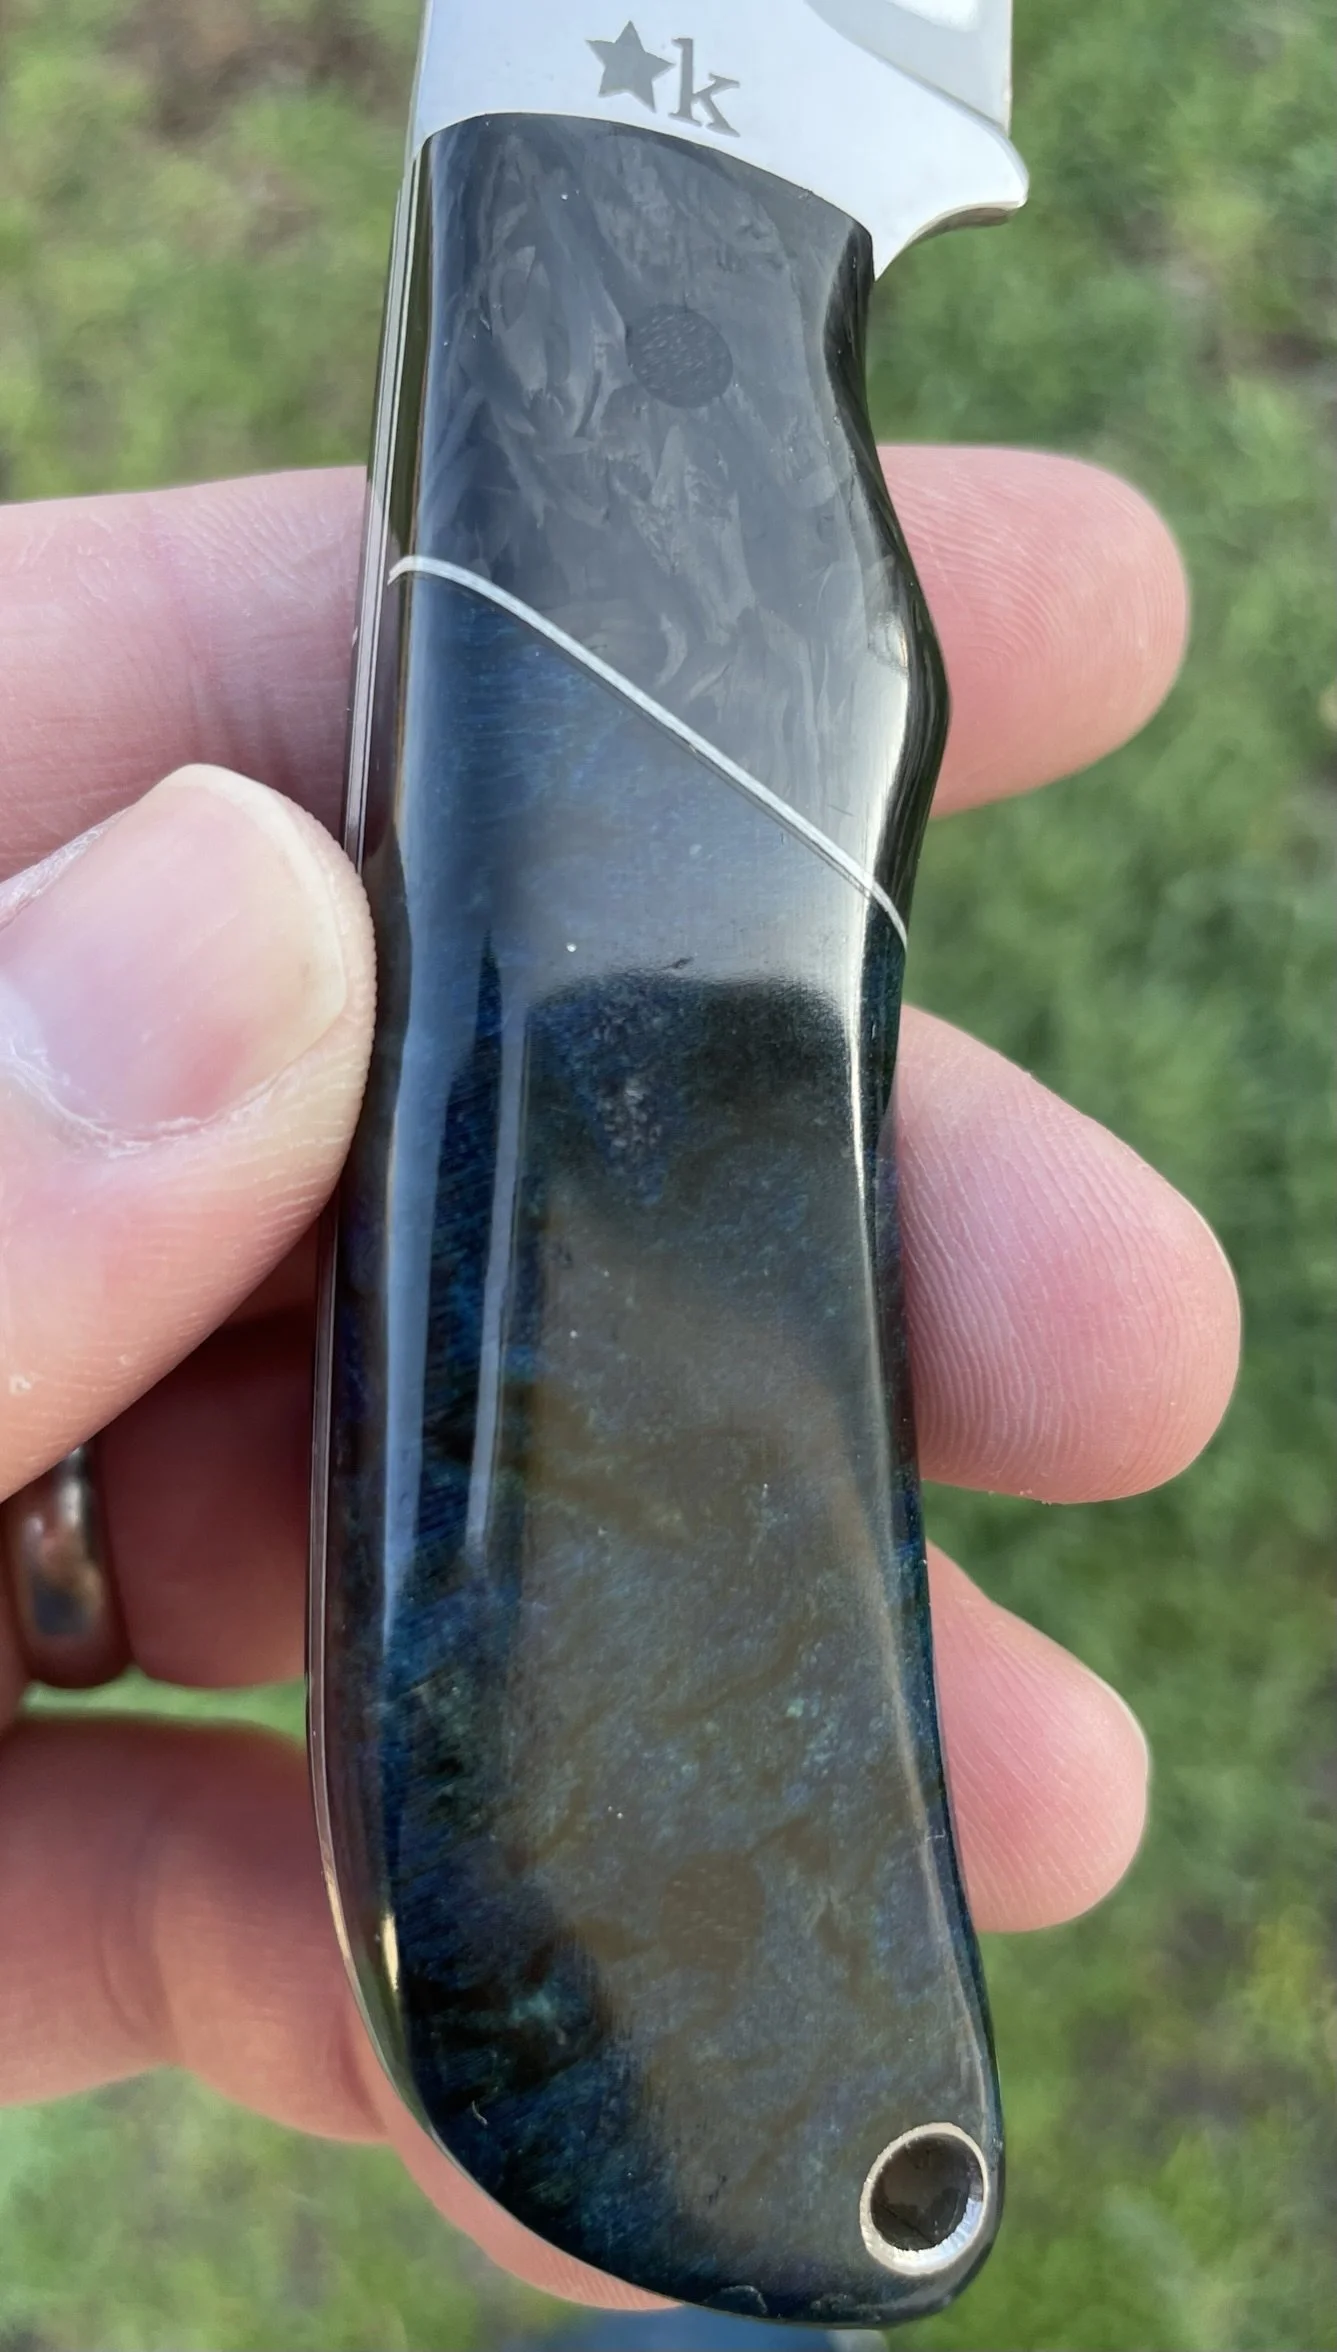
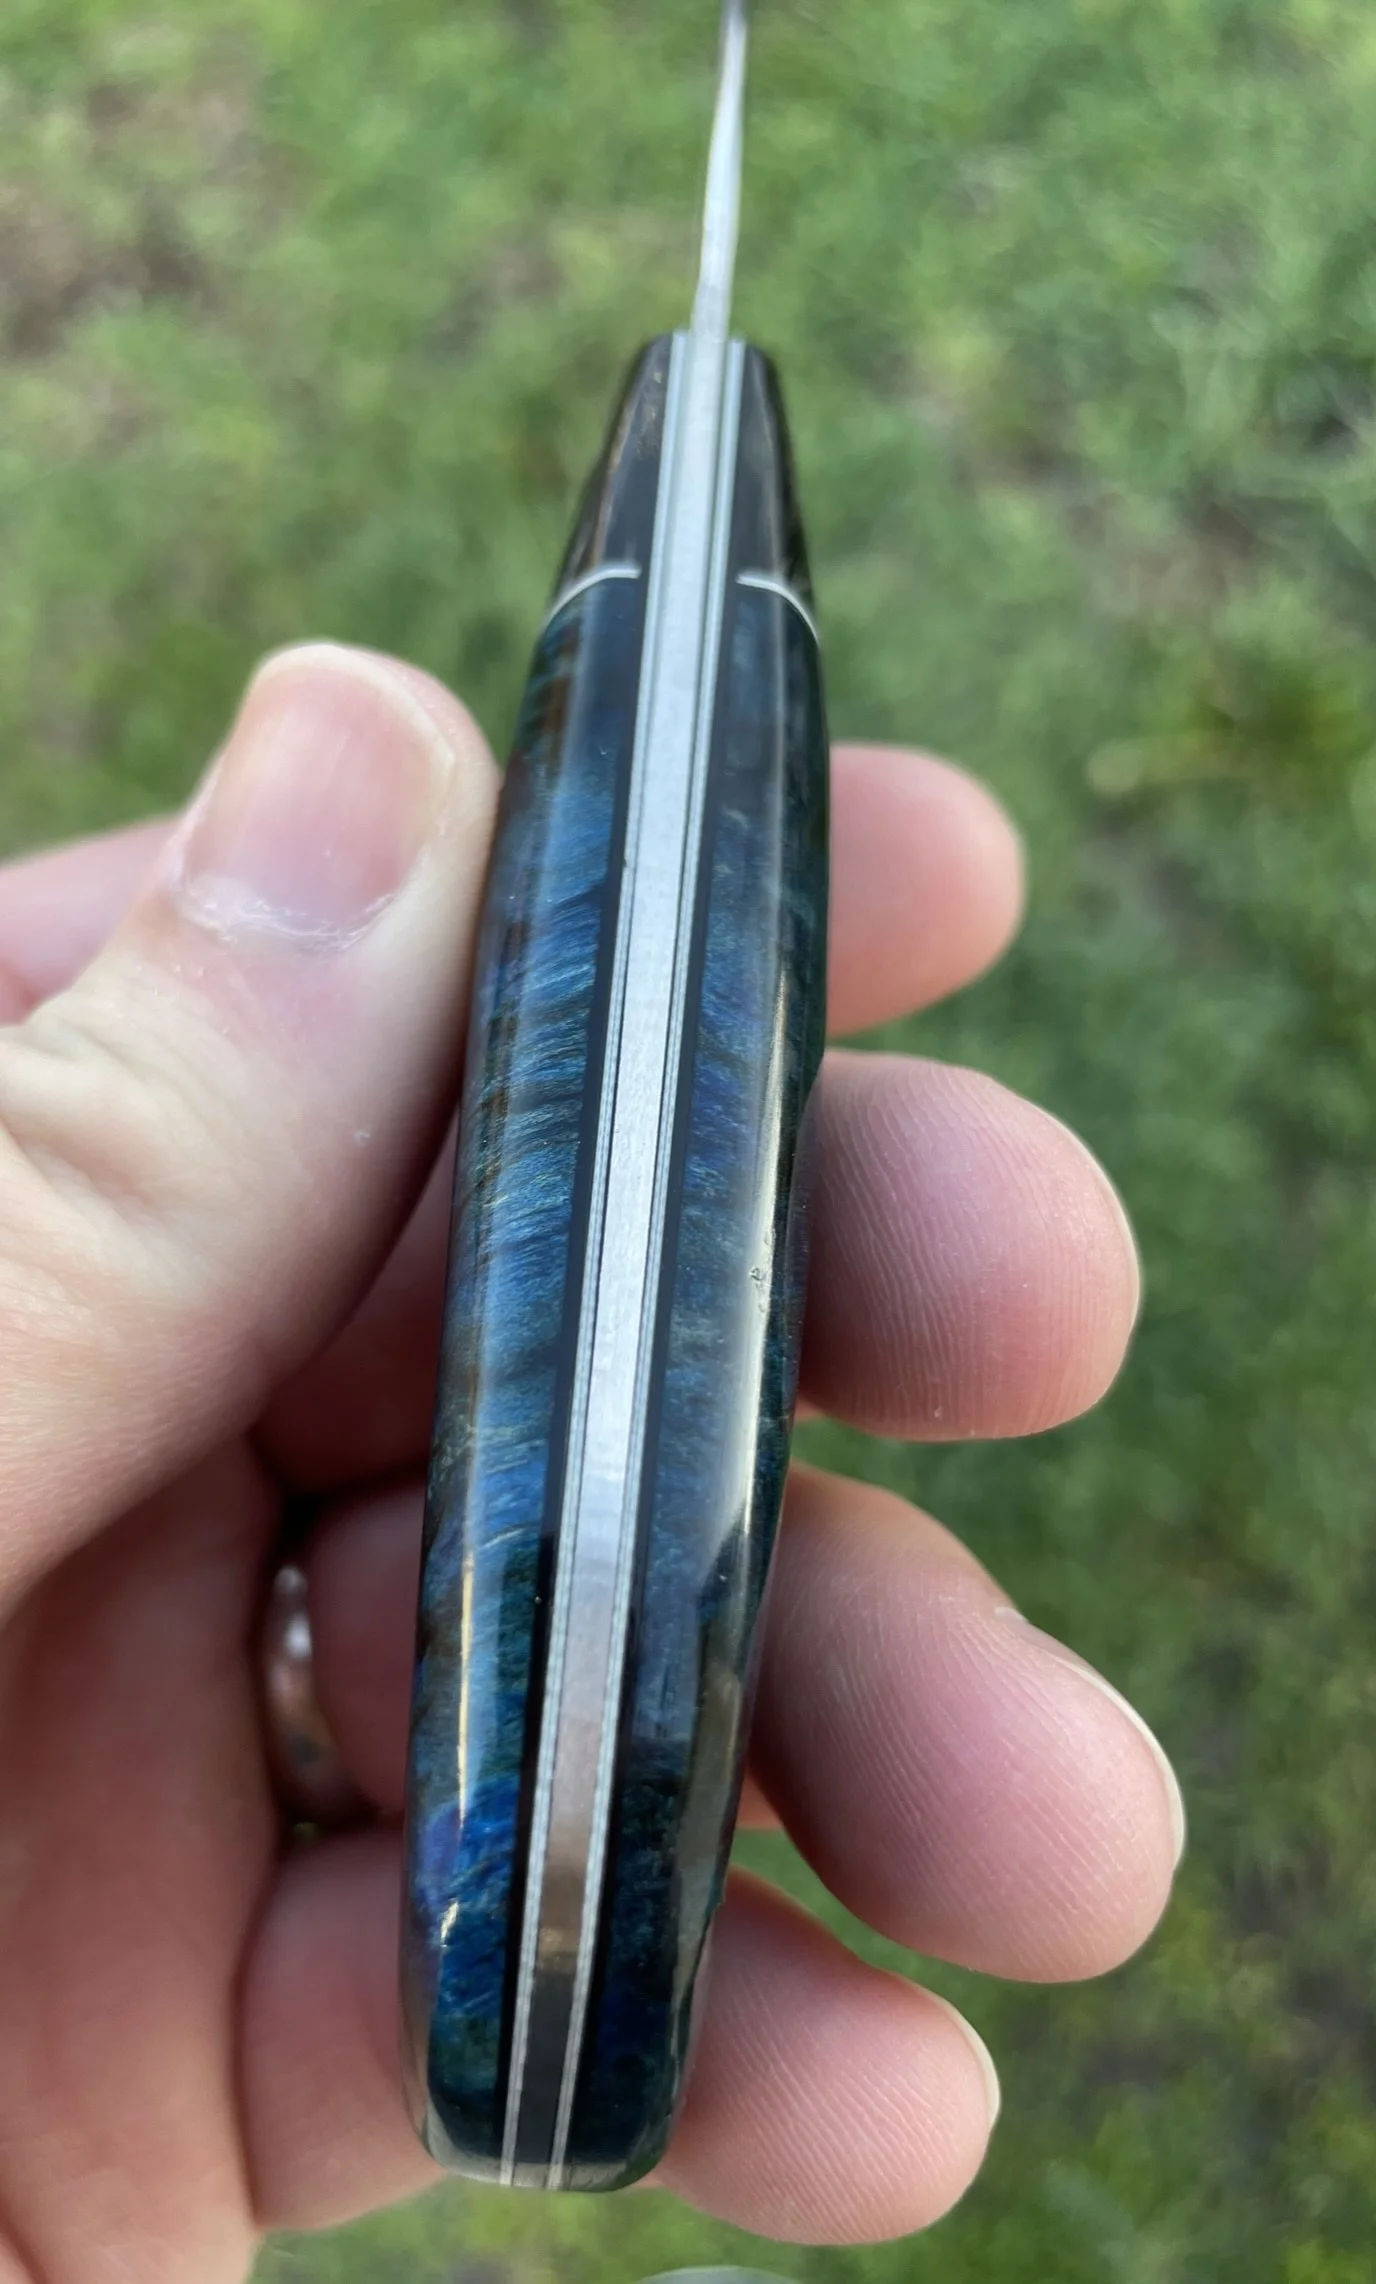
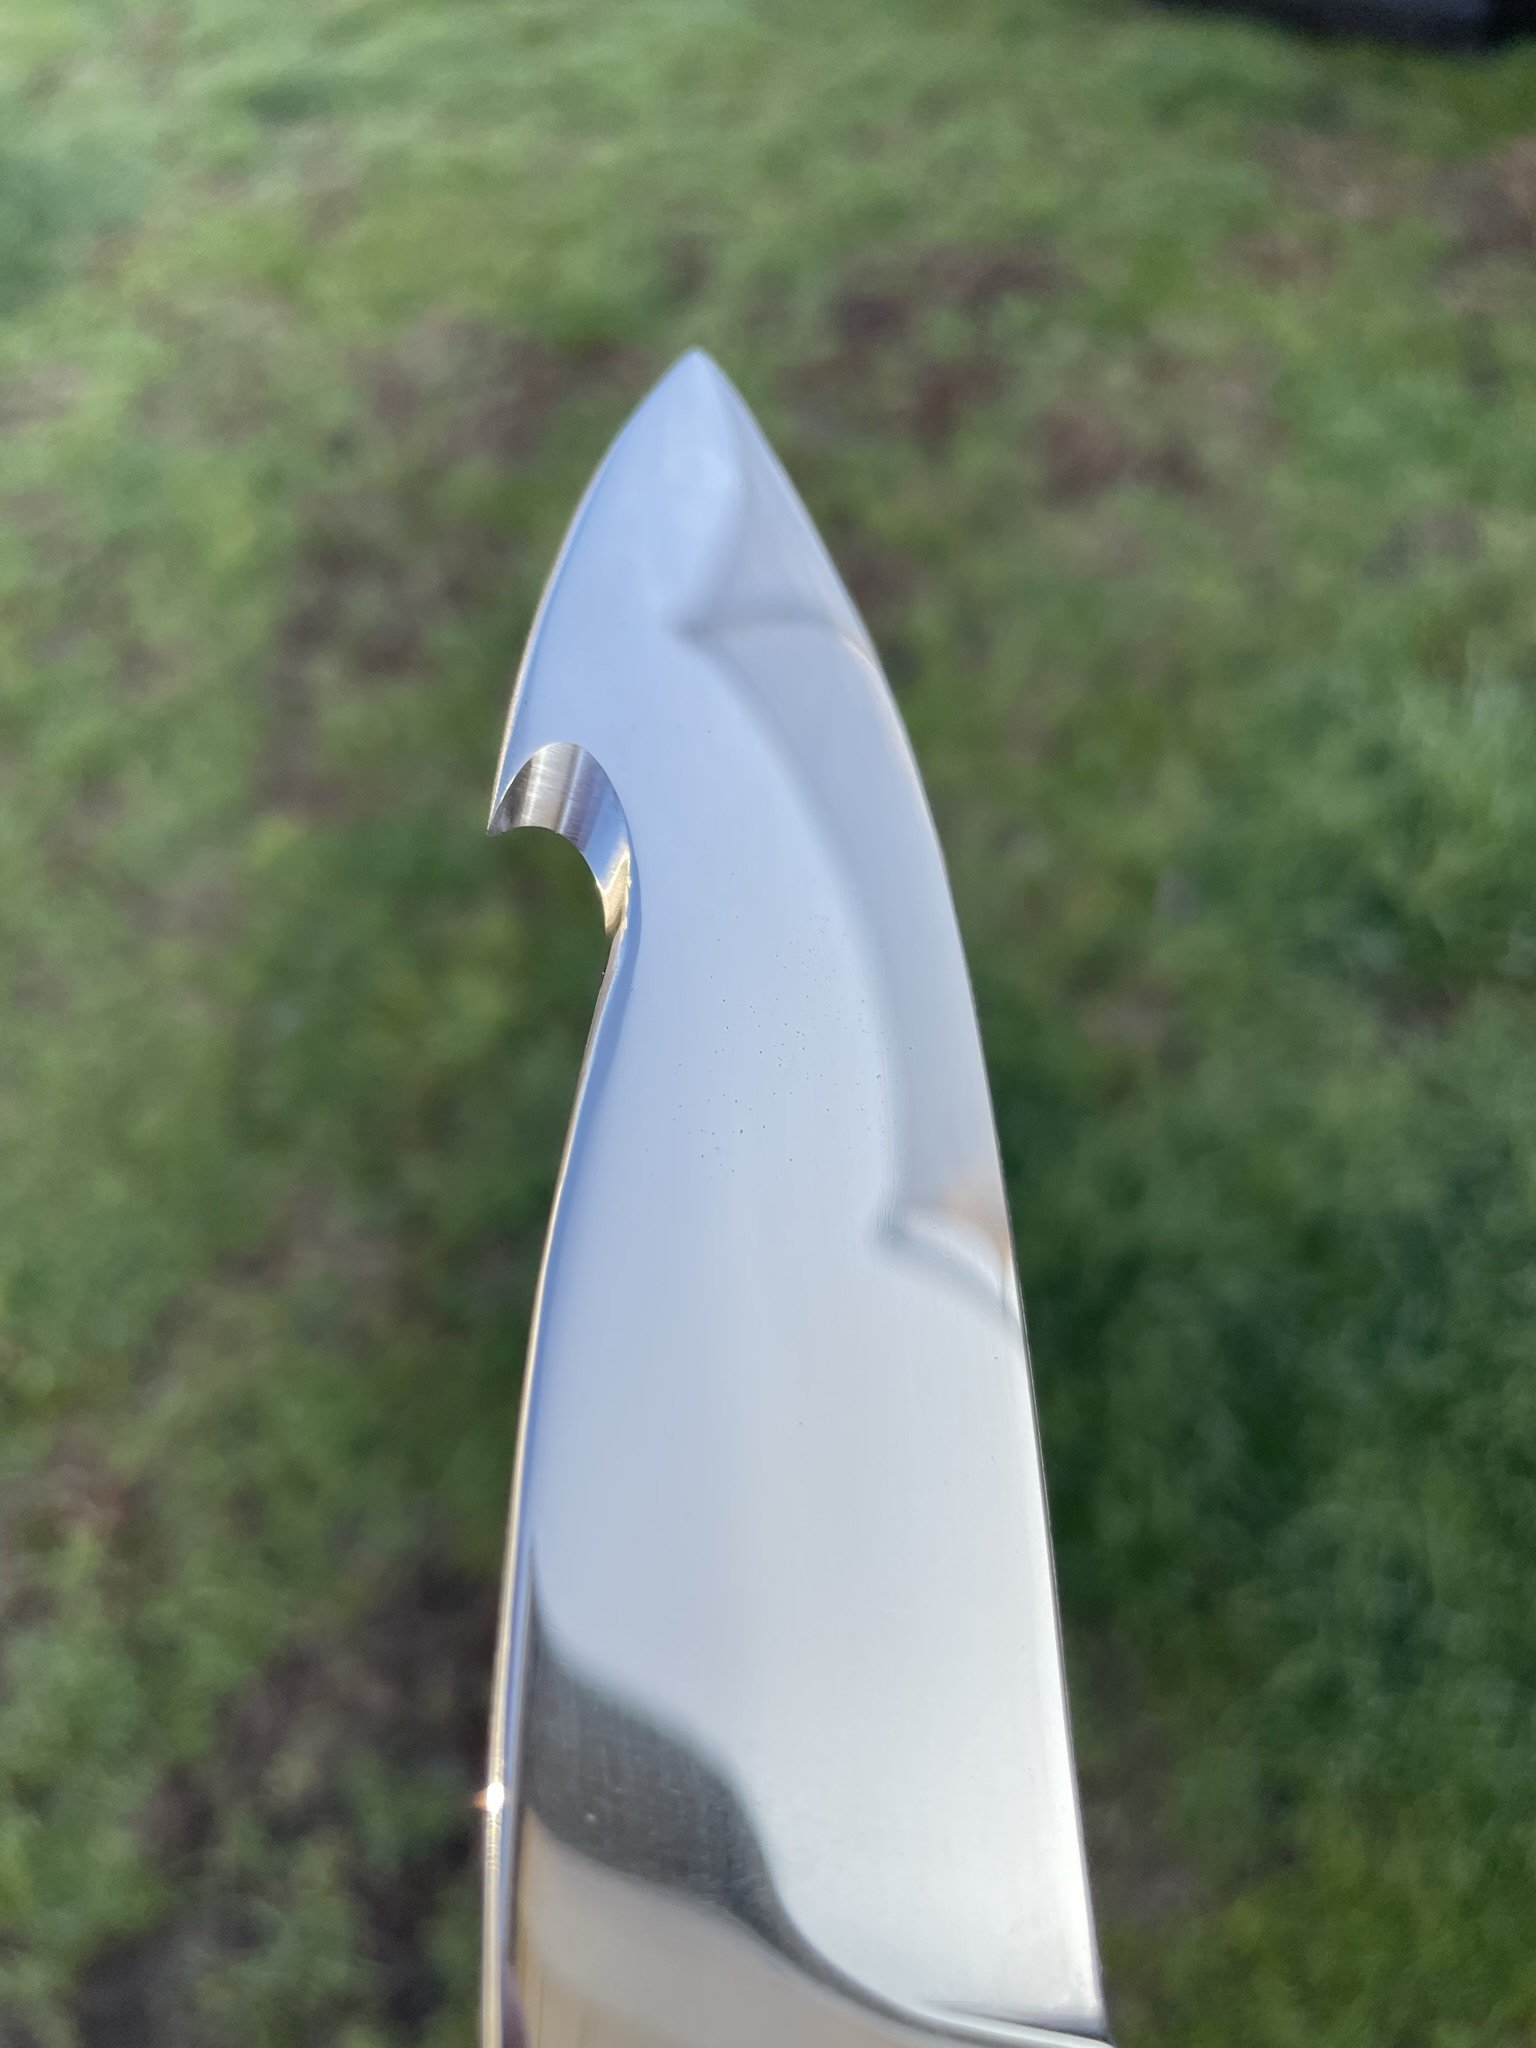
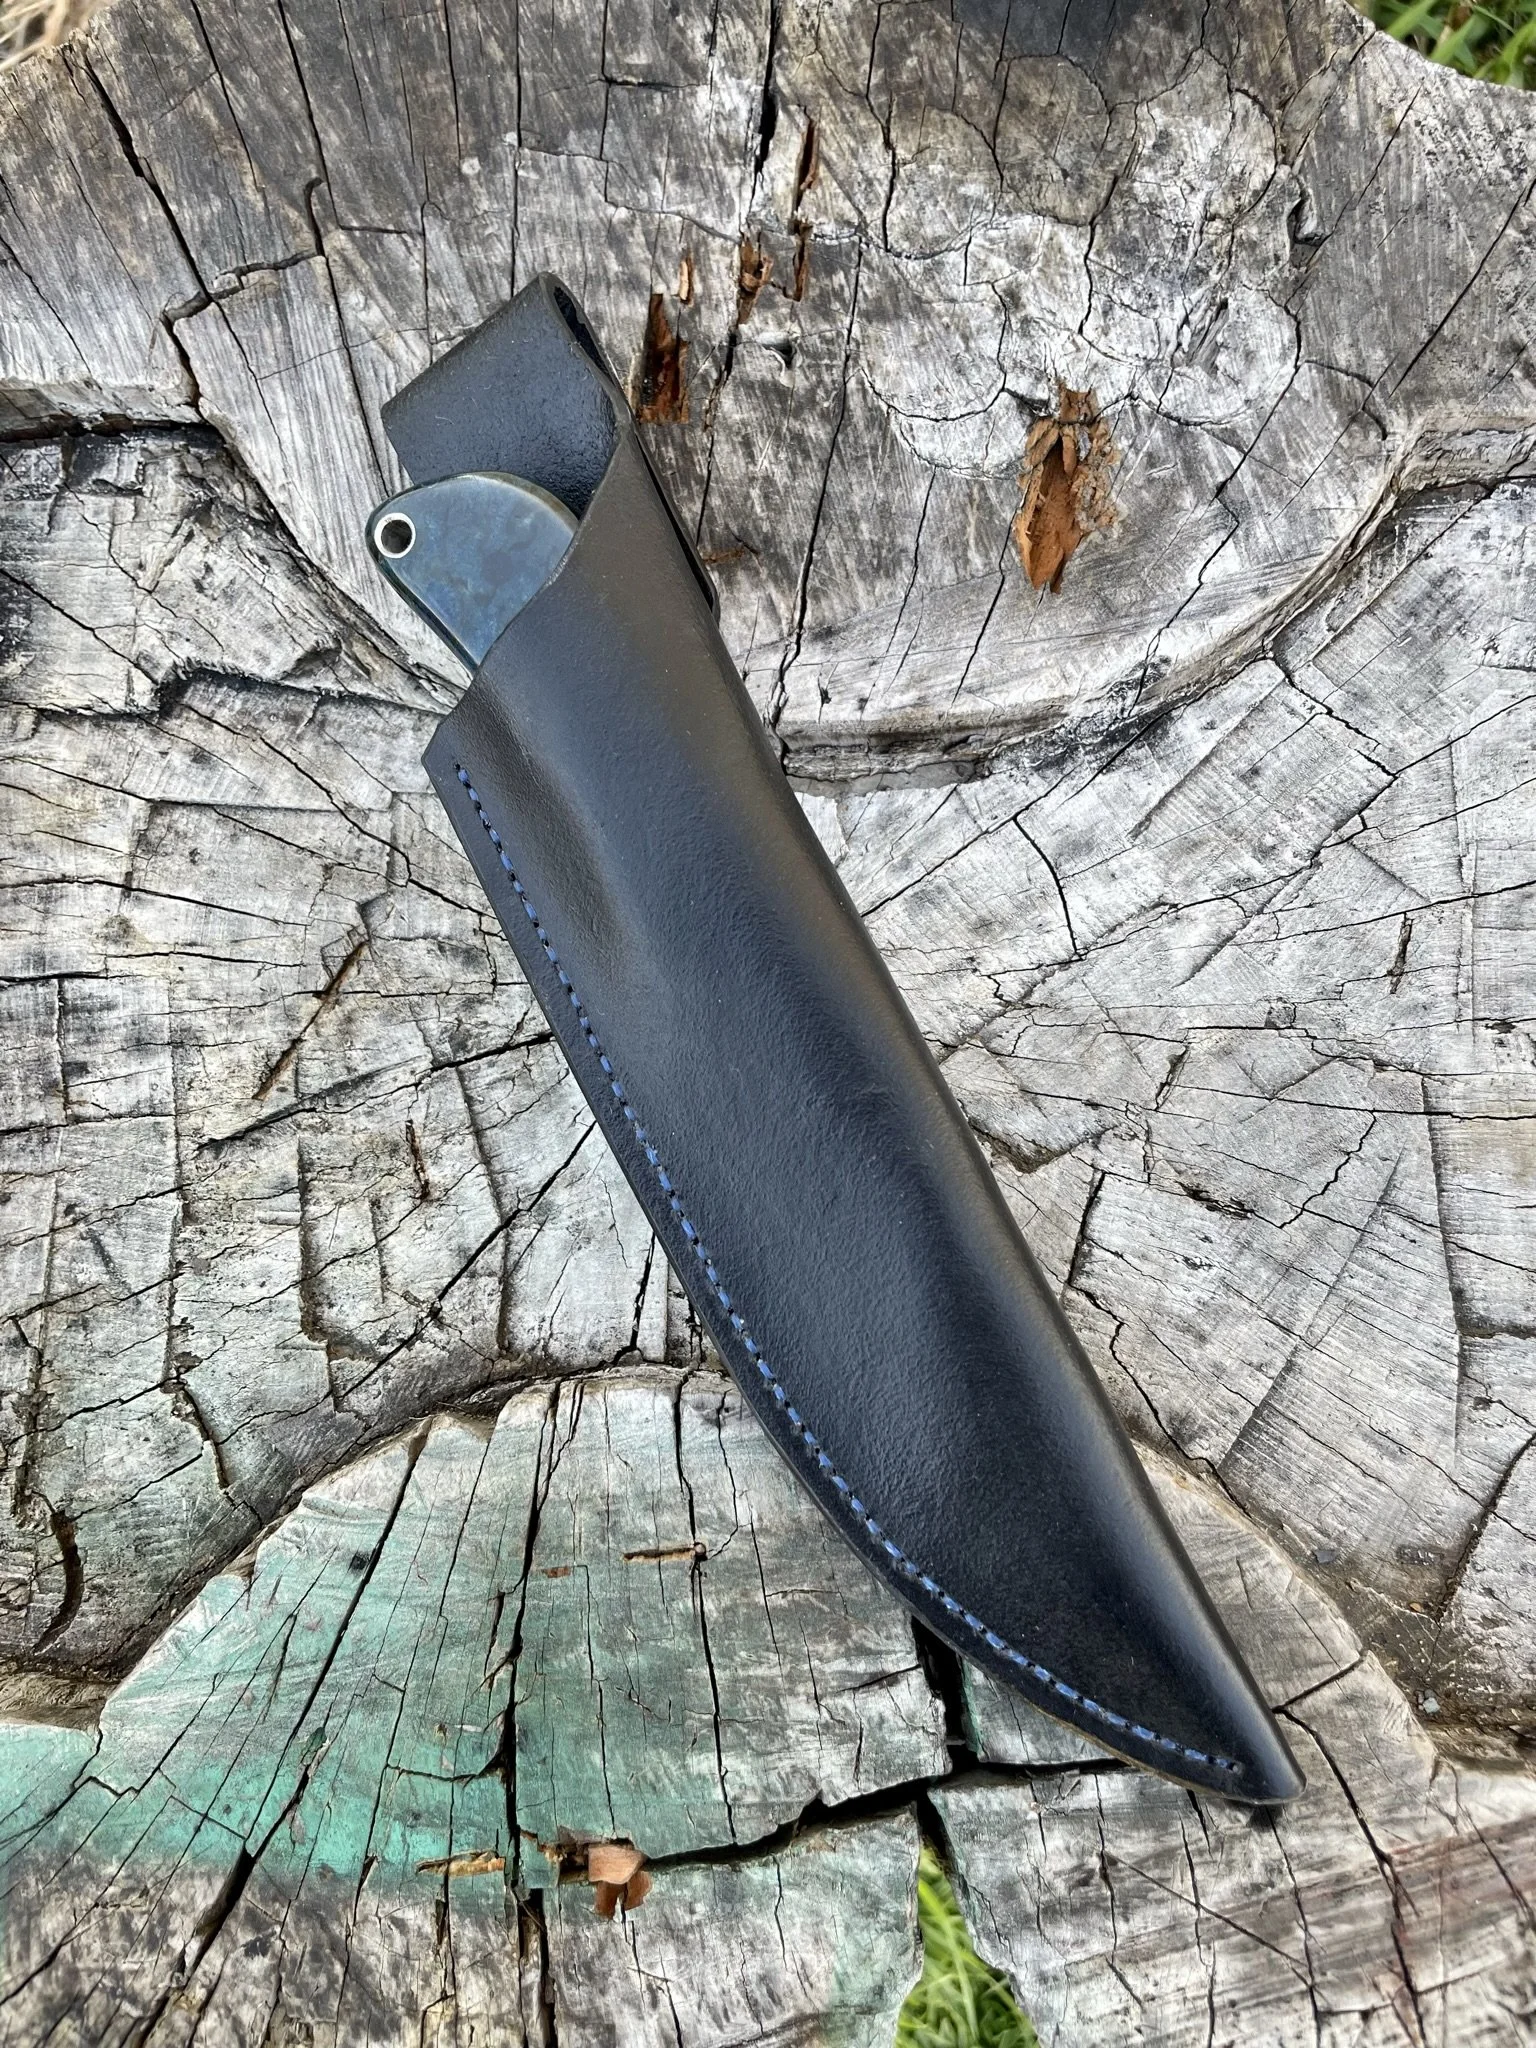
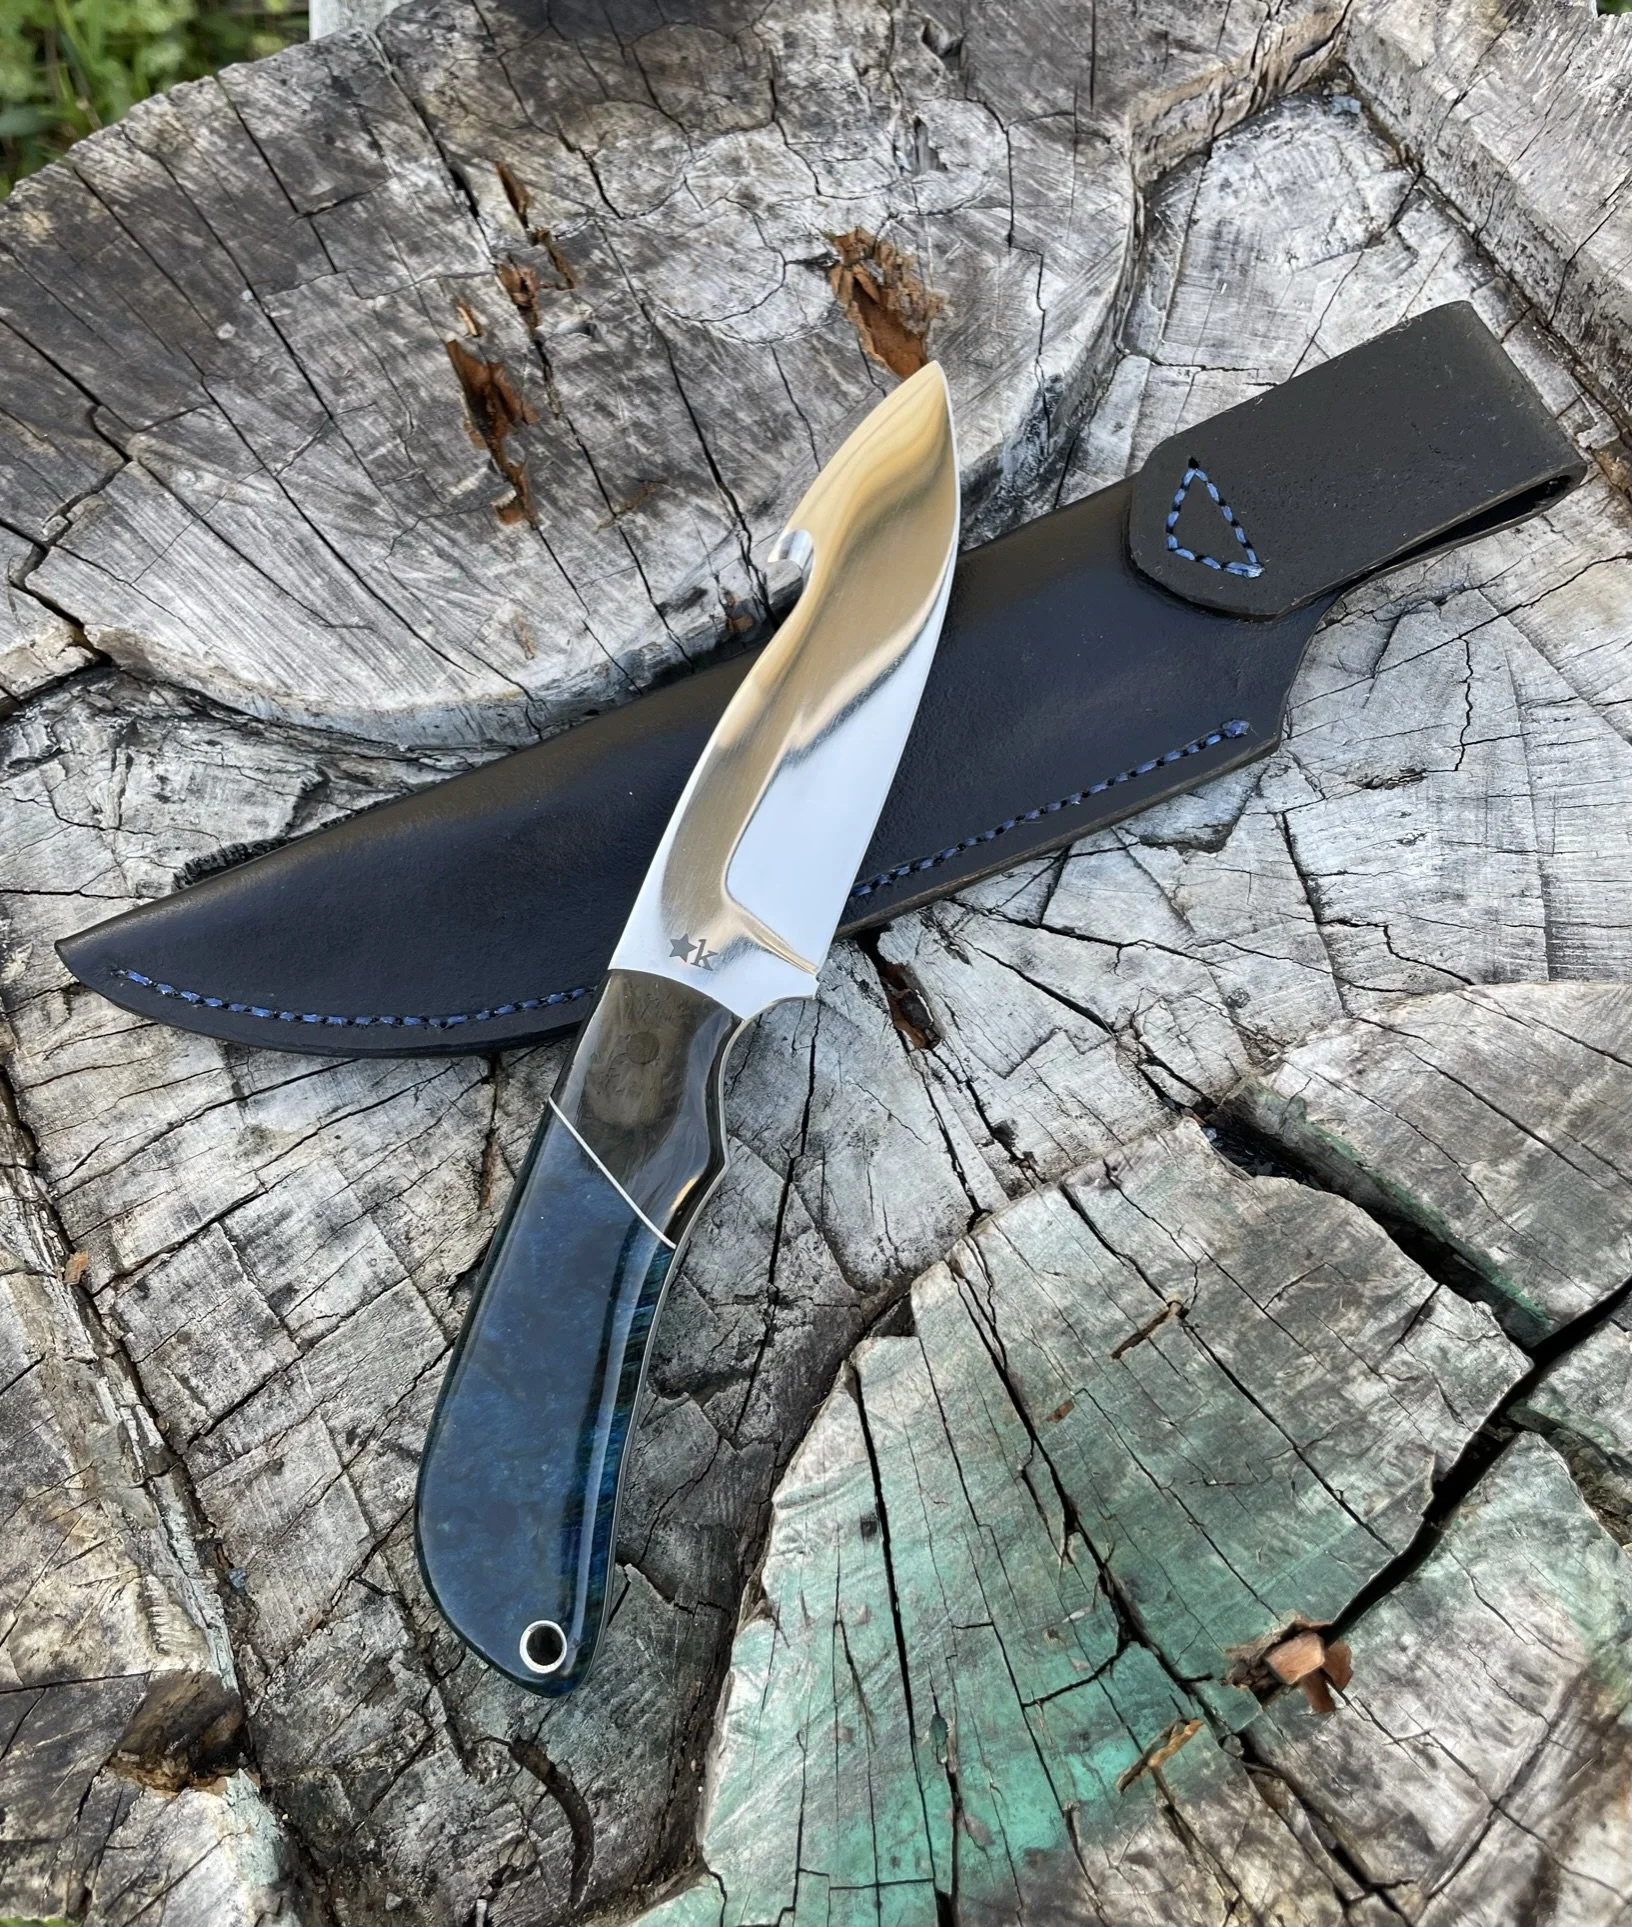
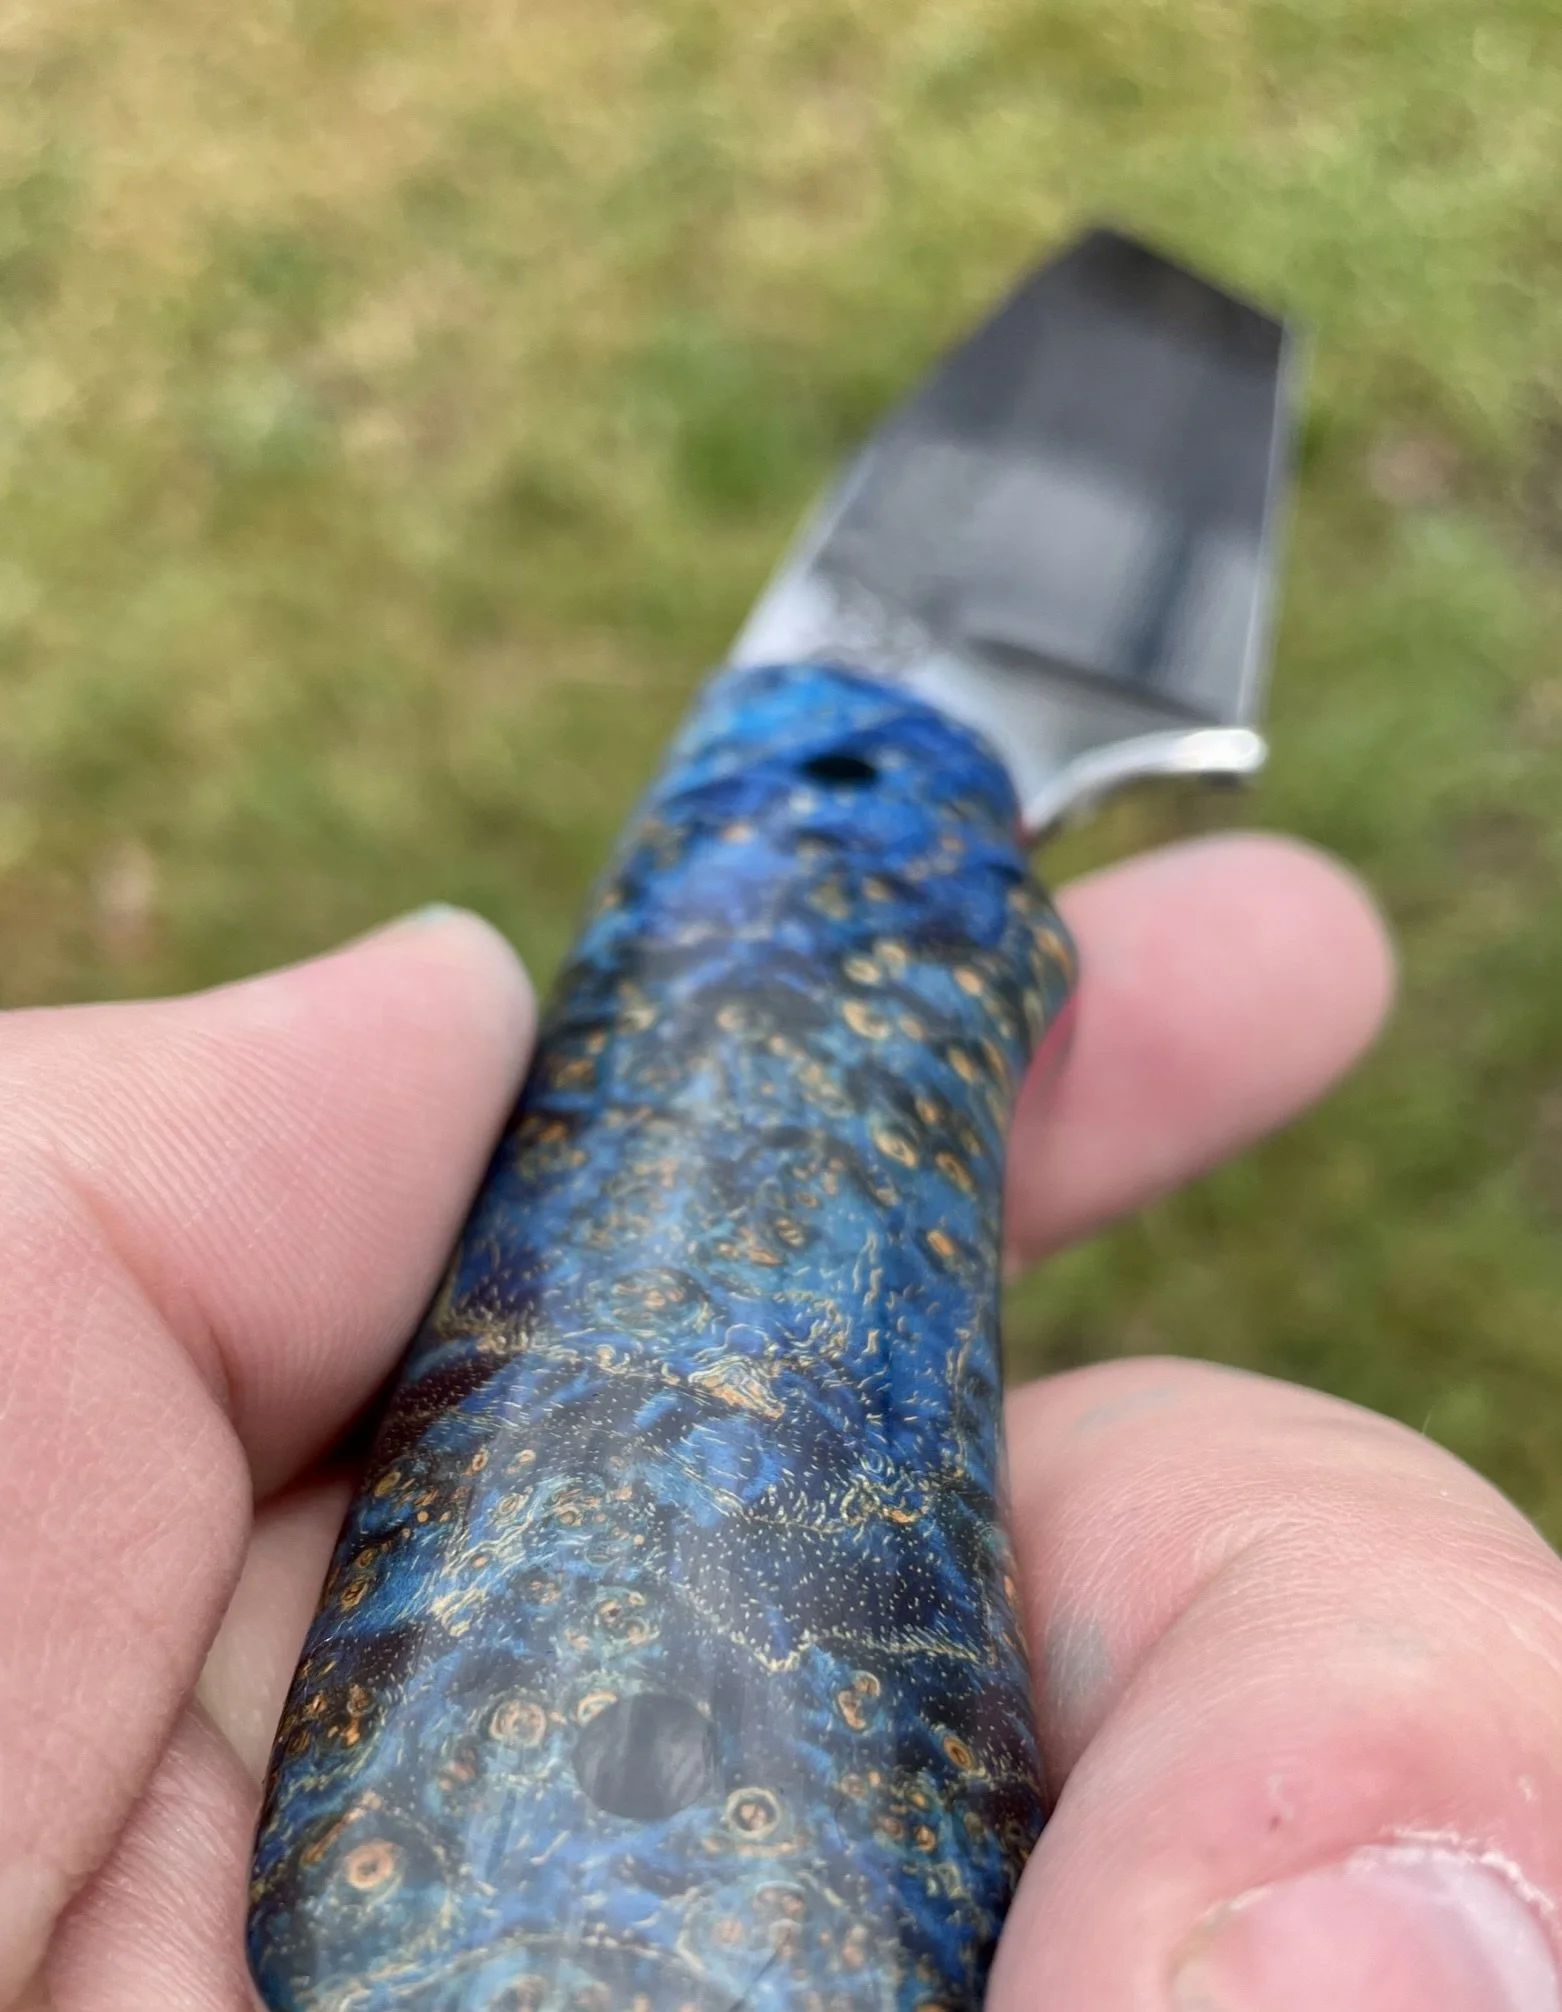
Brian S. Gut Hook Hunter - Backpack worthy.
-
Final blade - keep scrolling to see the journey.
-
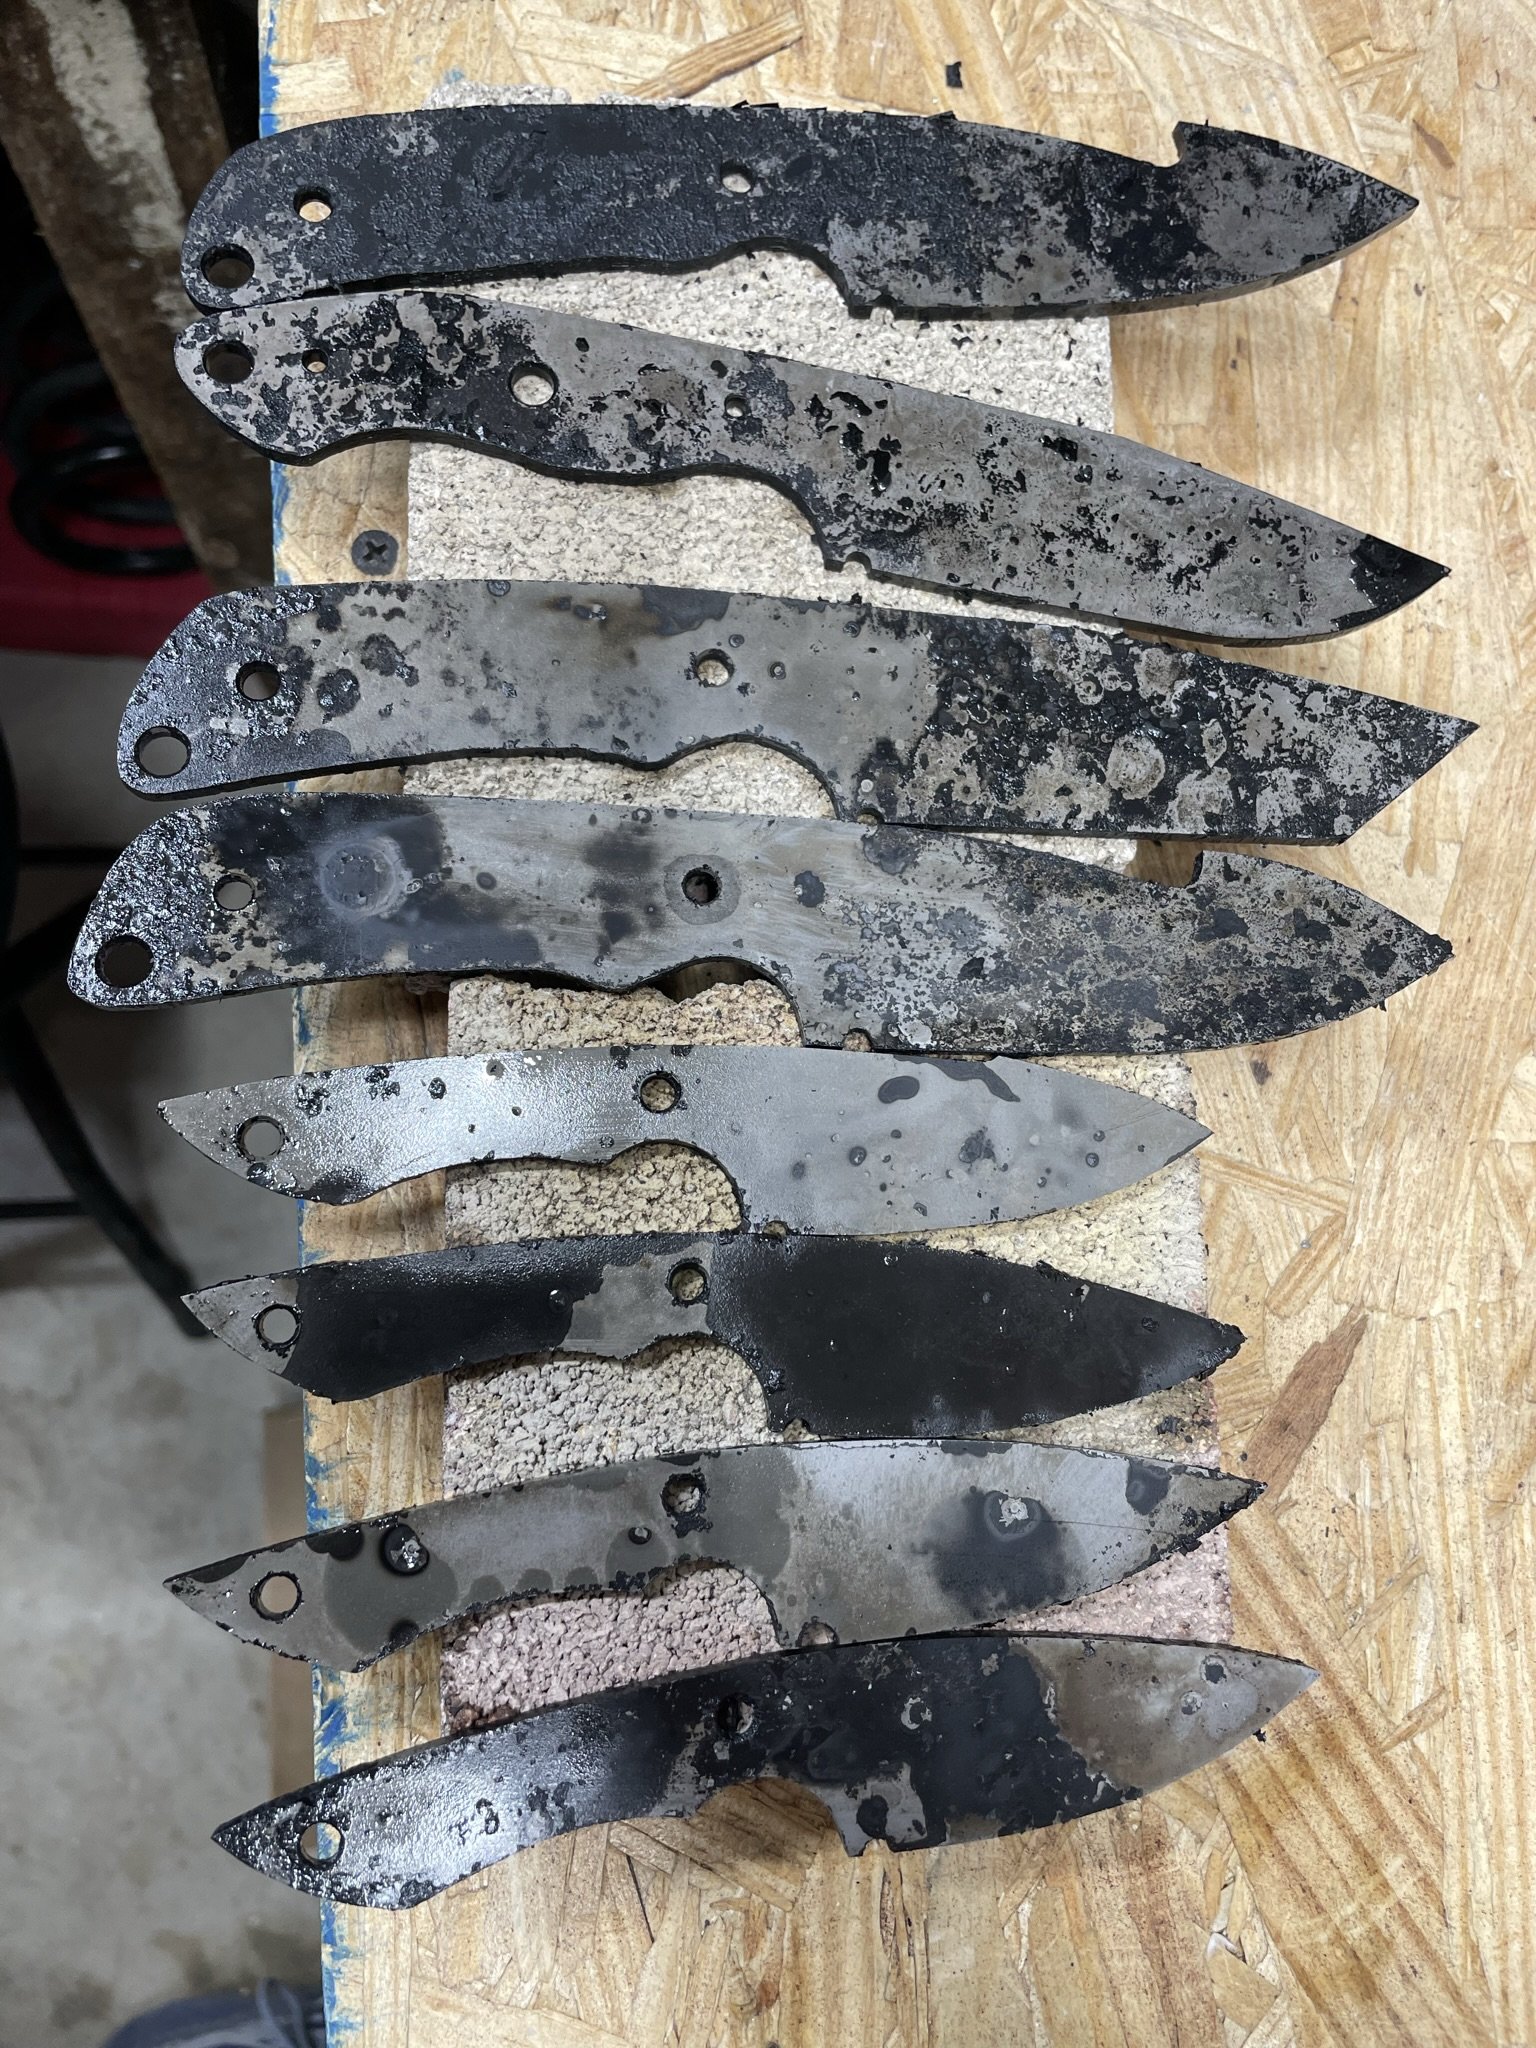
At the beginning of 2024 I got a request from another friend for a gut hook hunter, but something that was light and easy to carry on backpacking trips.
-
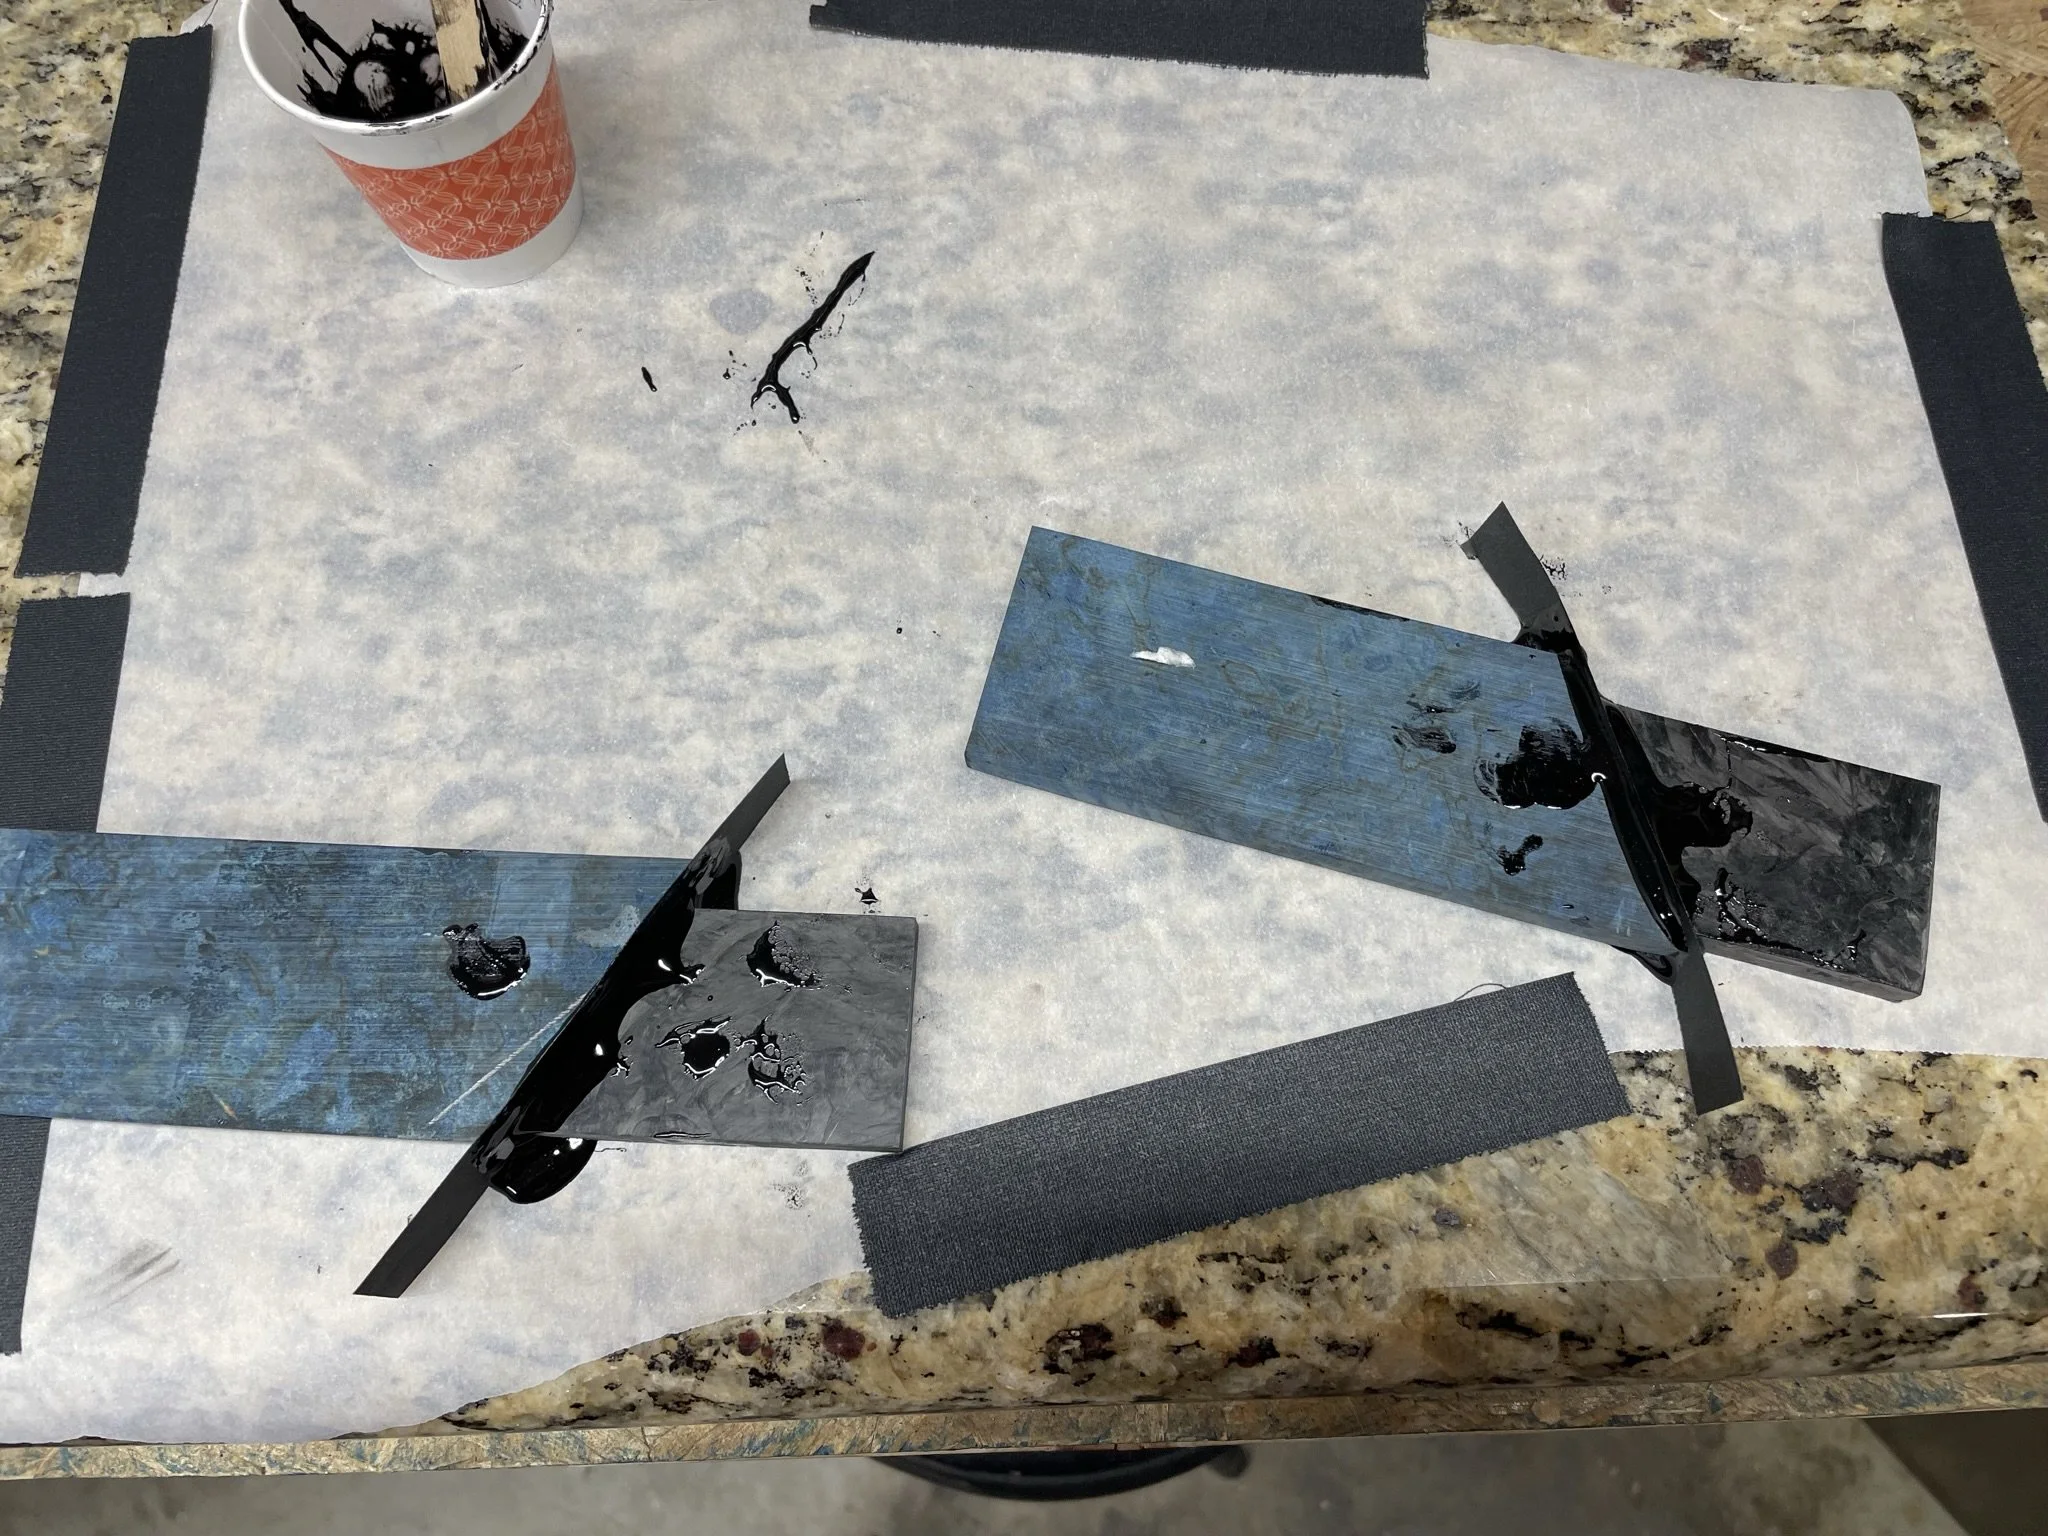
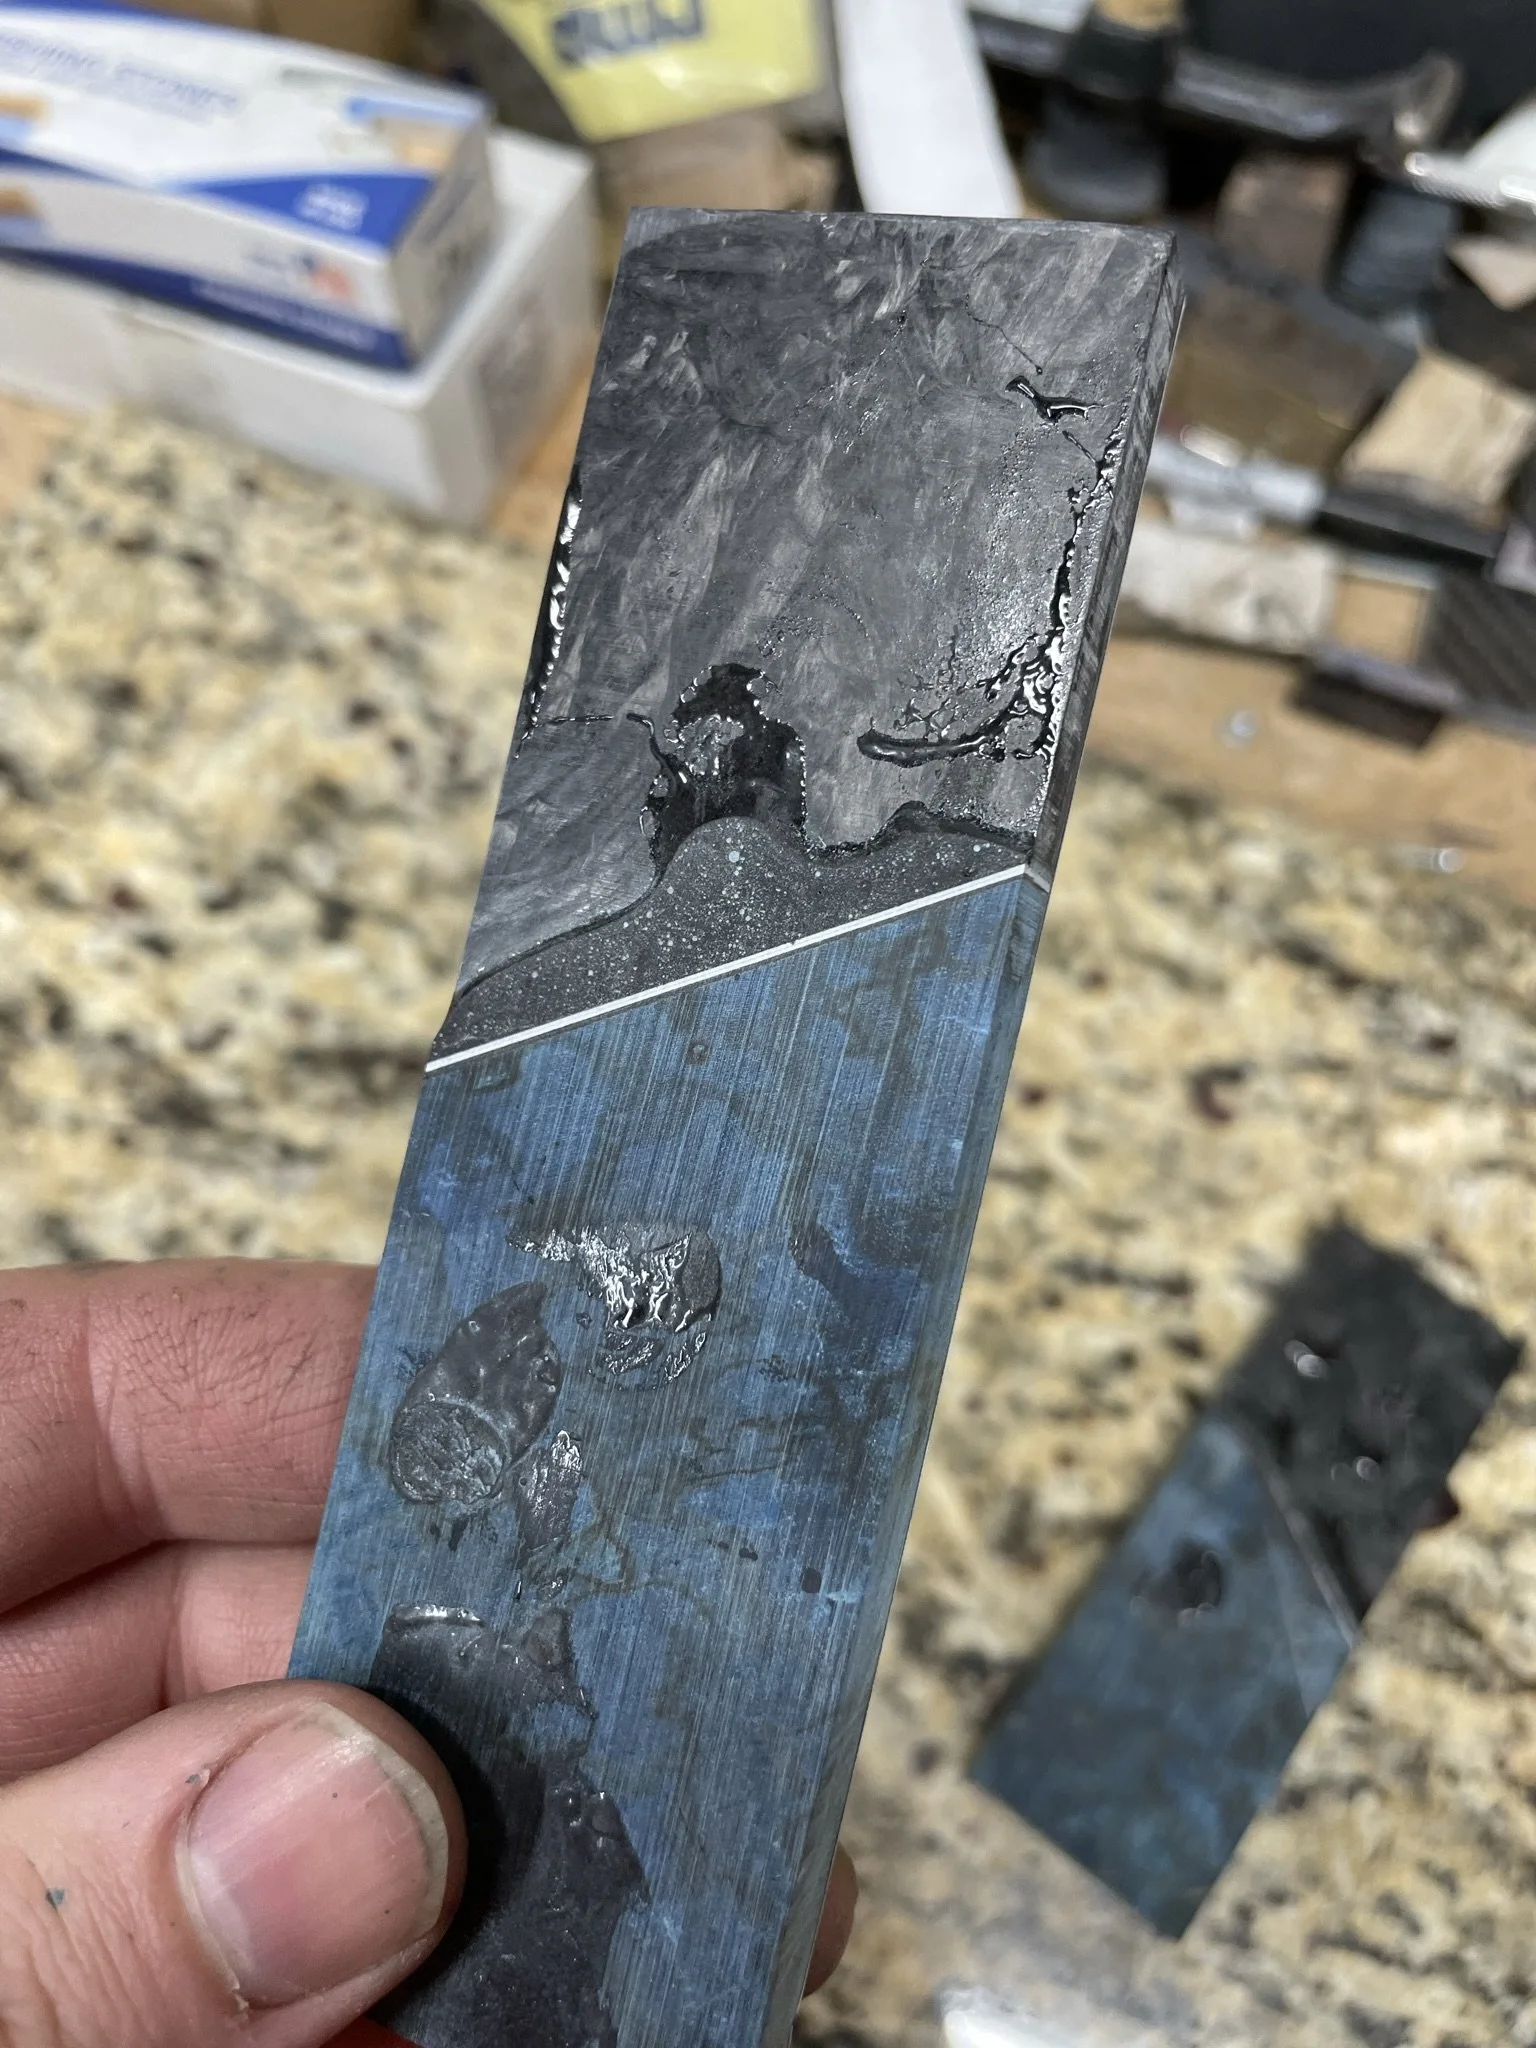
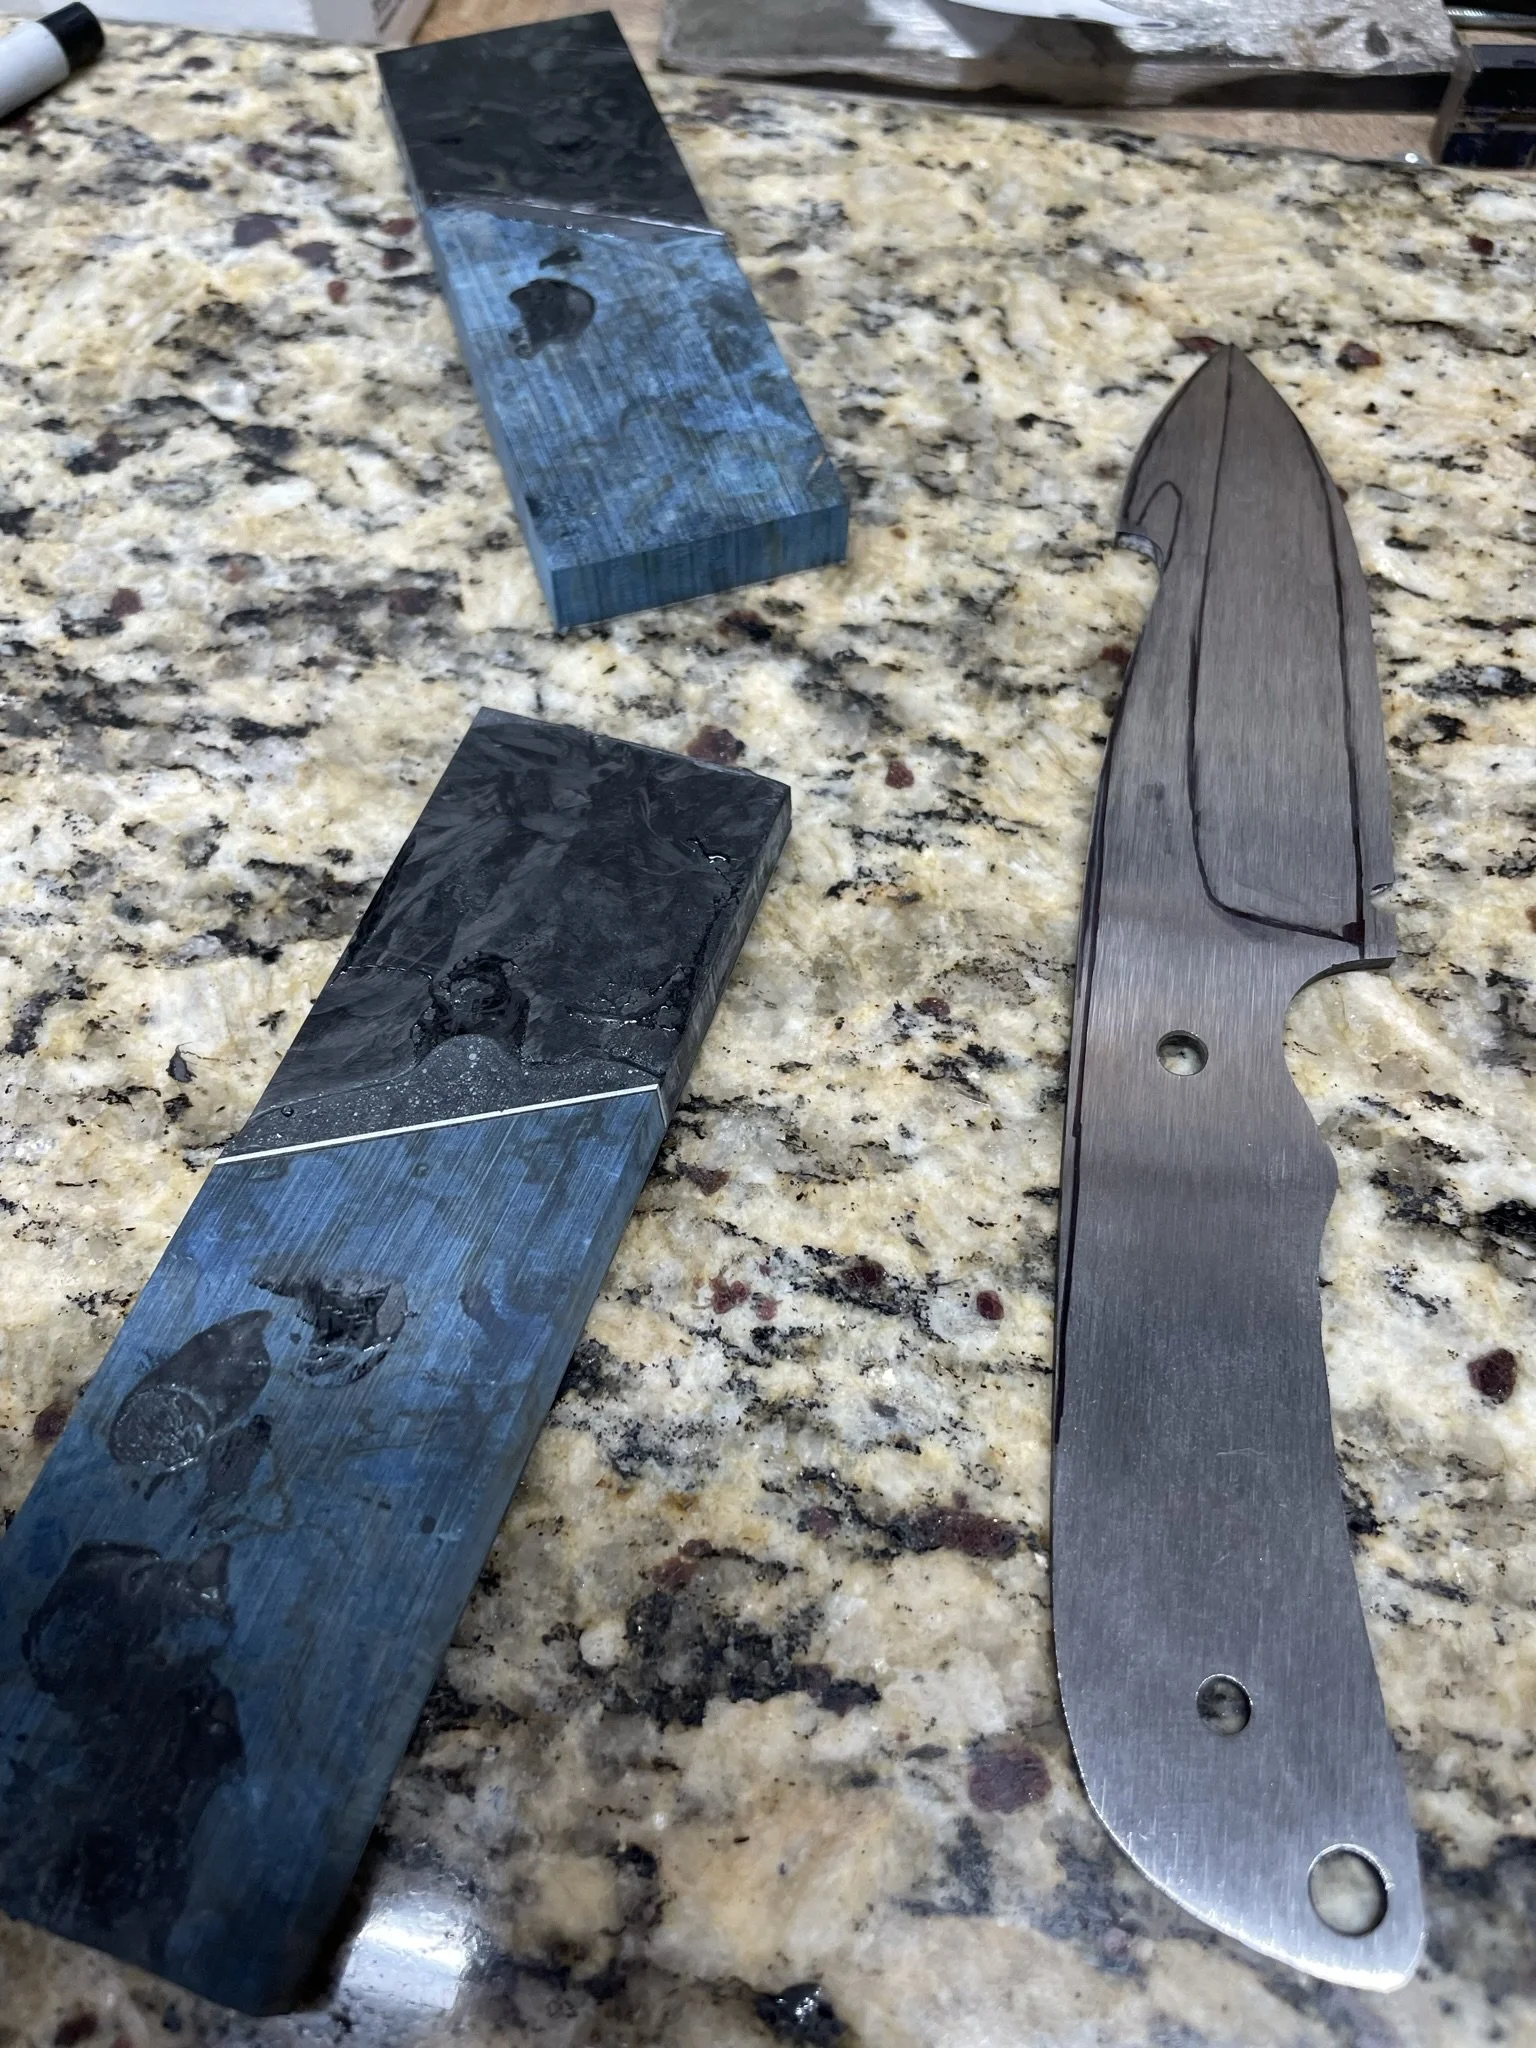
Decided to use some marbled carbon fiber to make segmented handle scales.
-
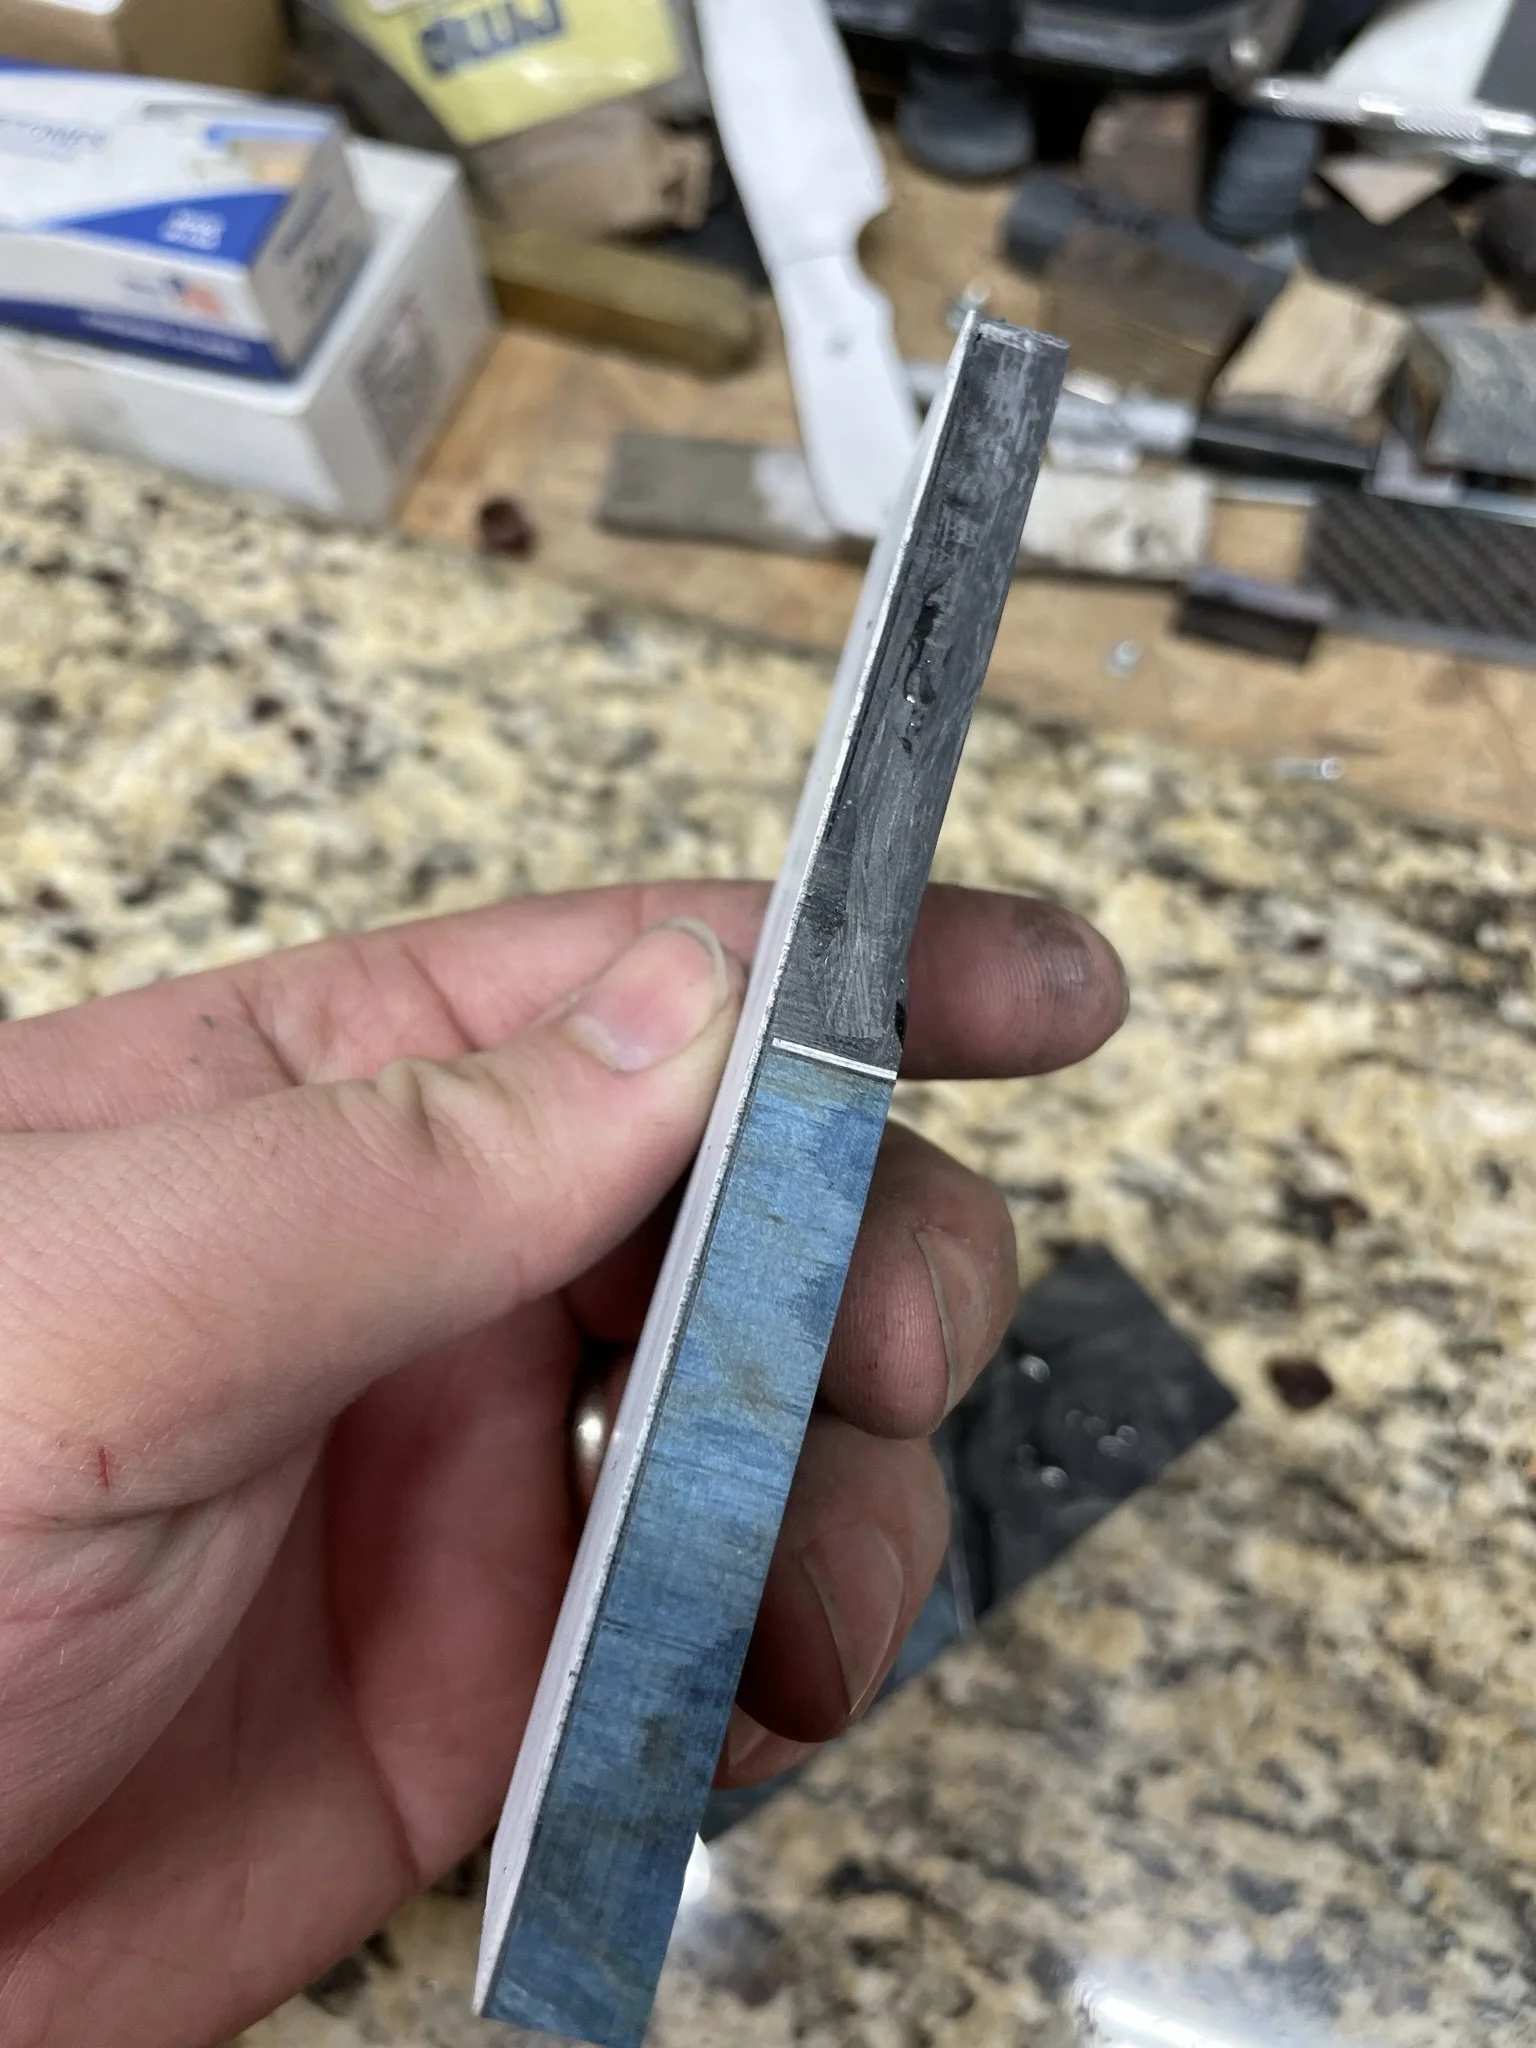
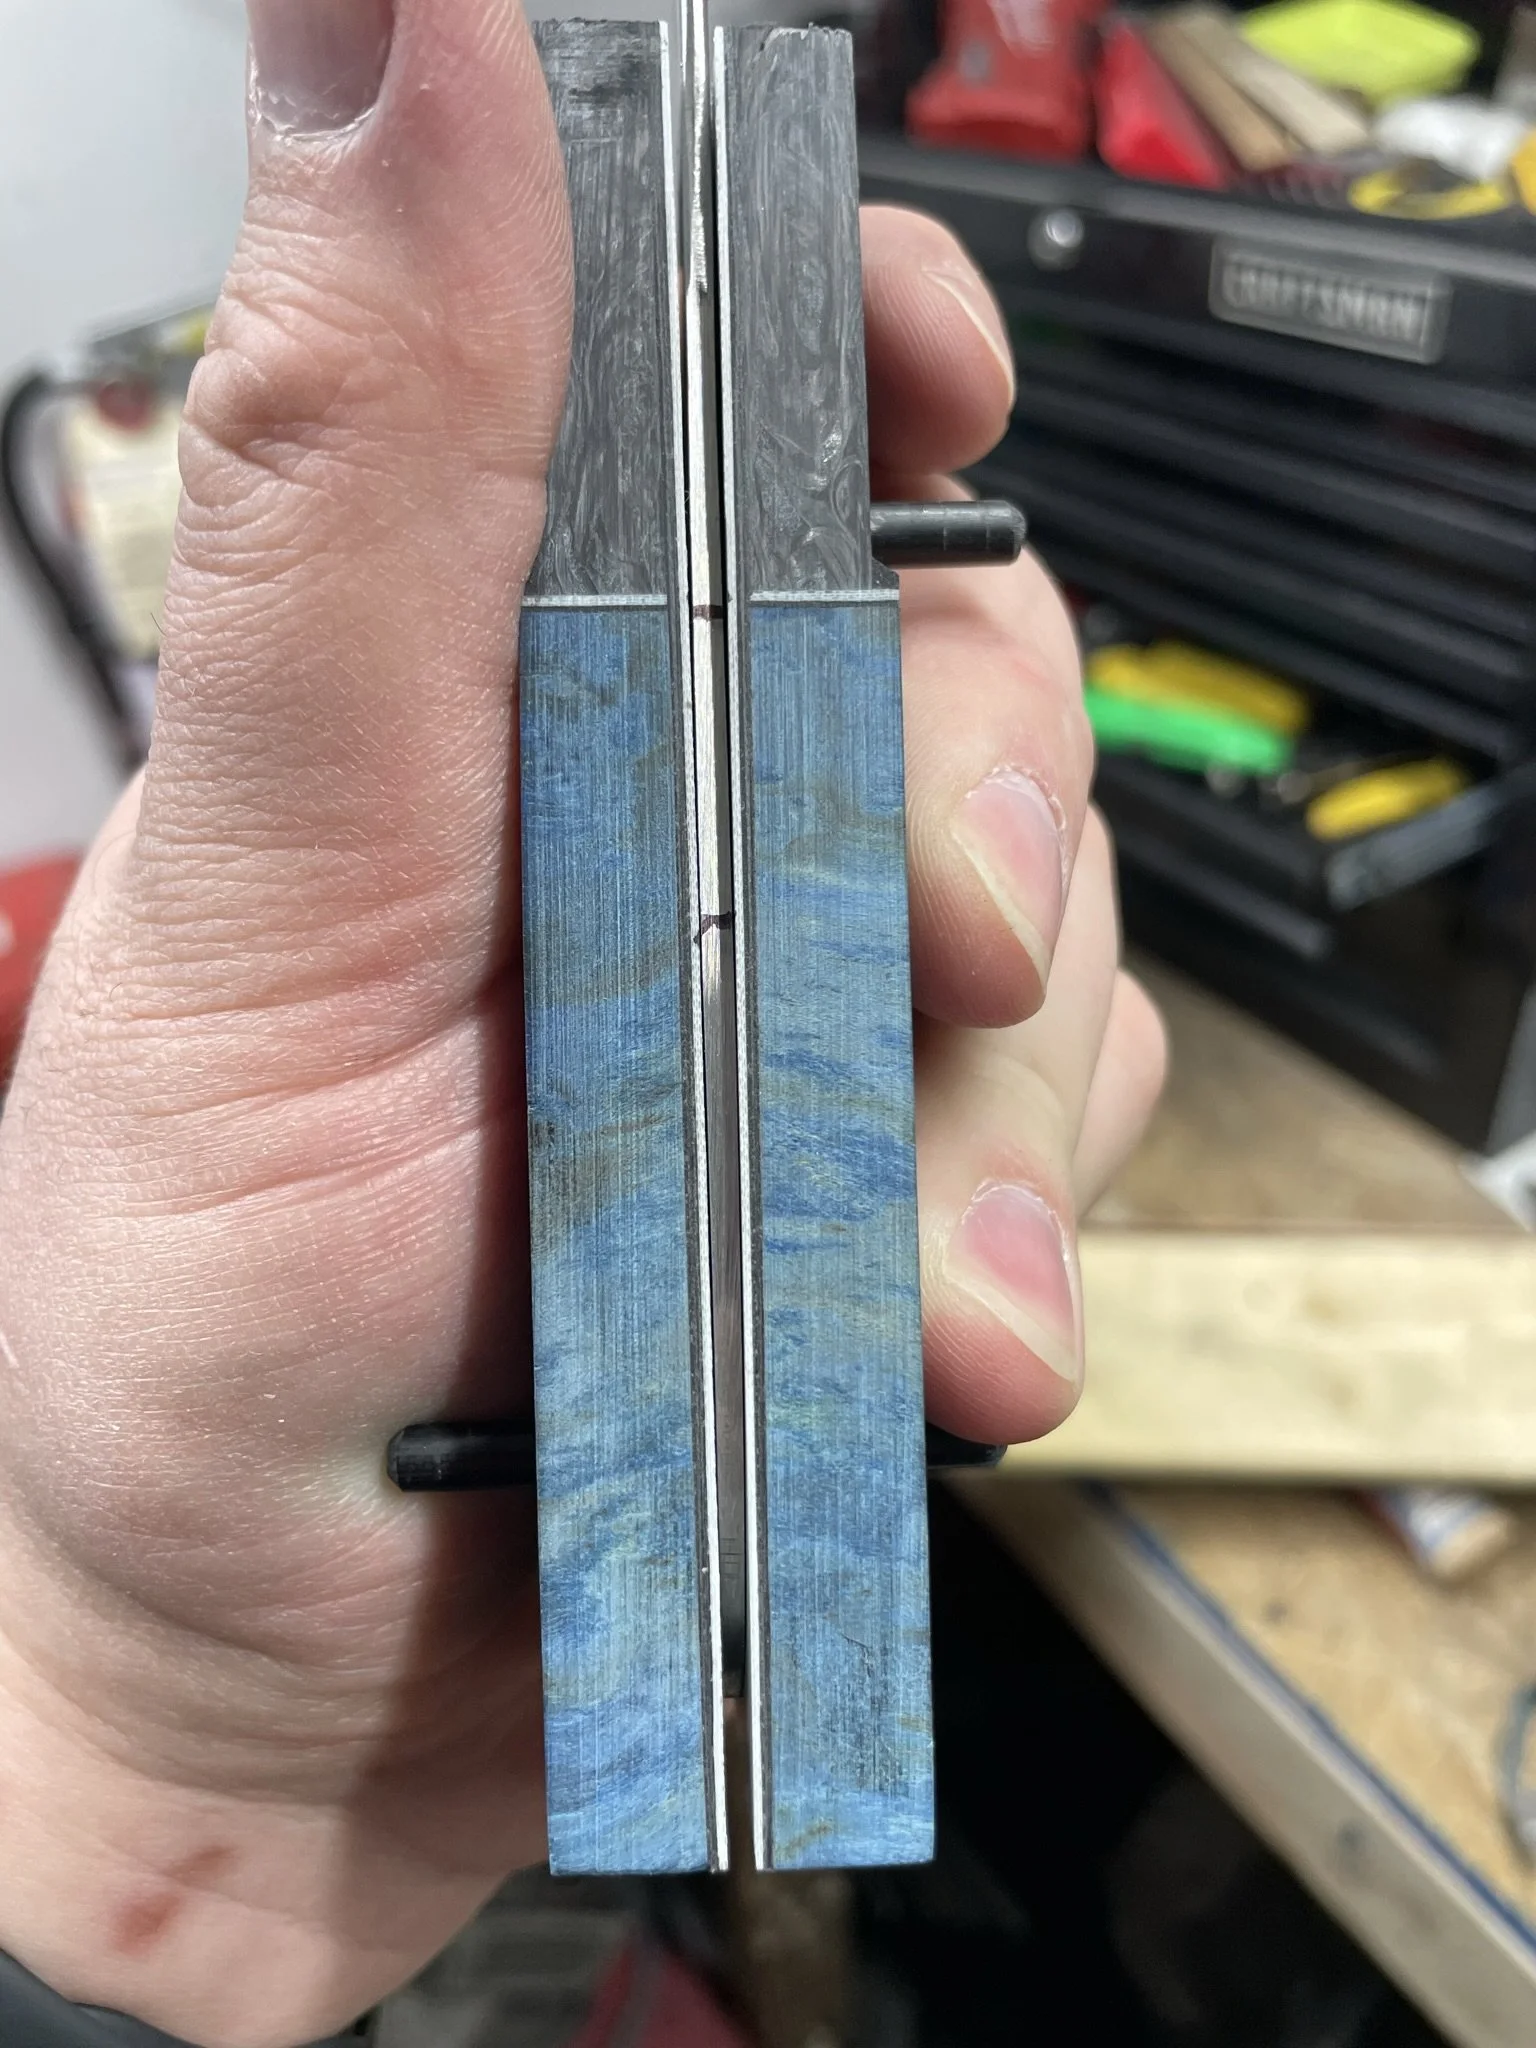
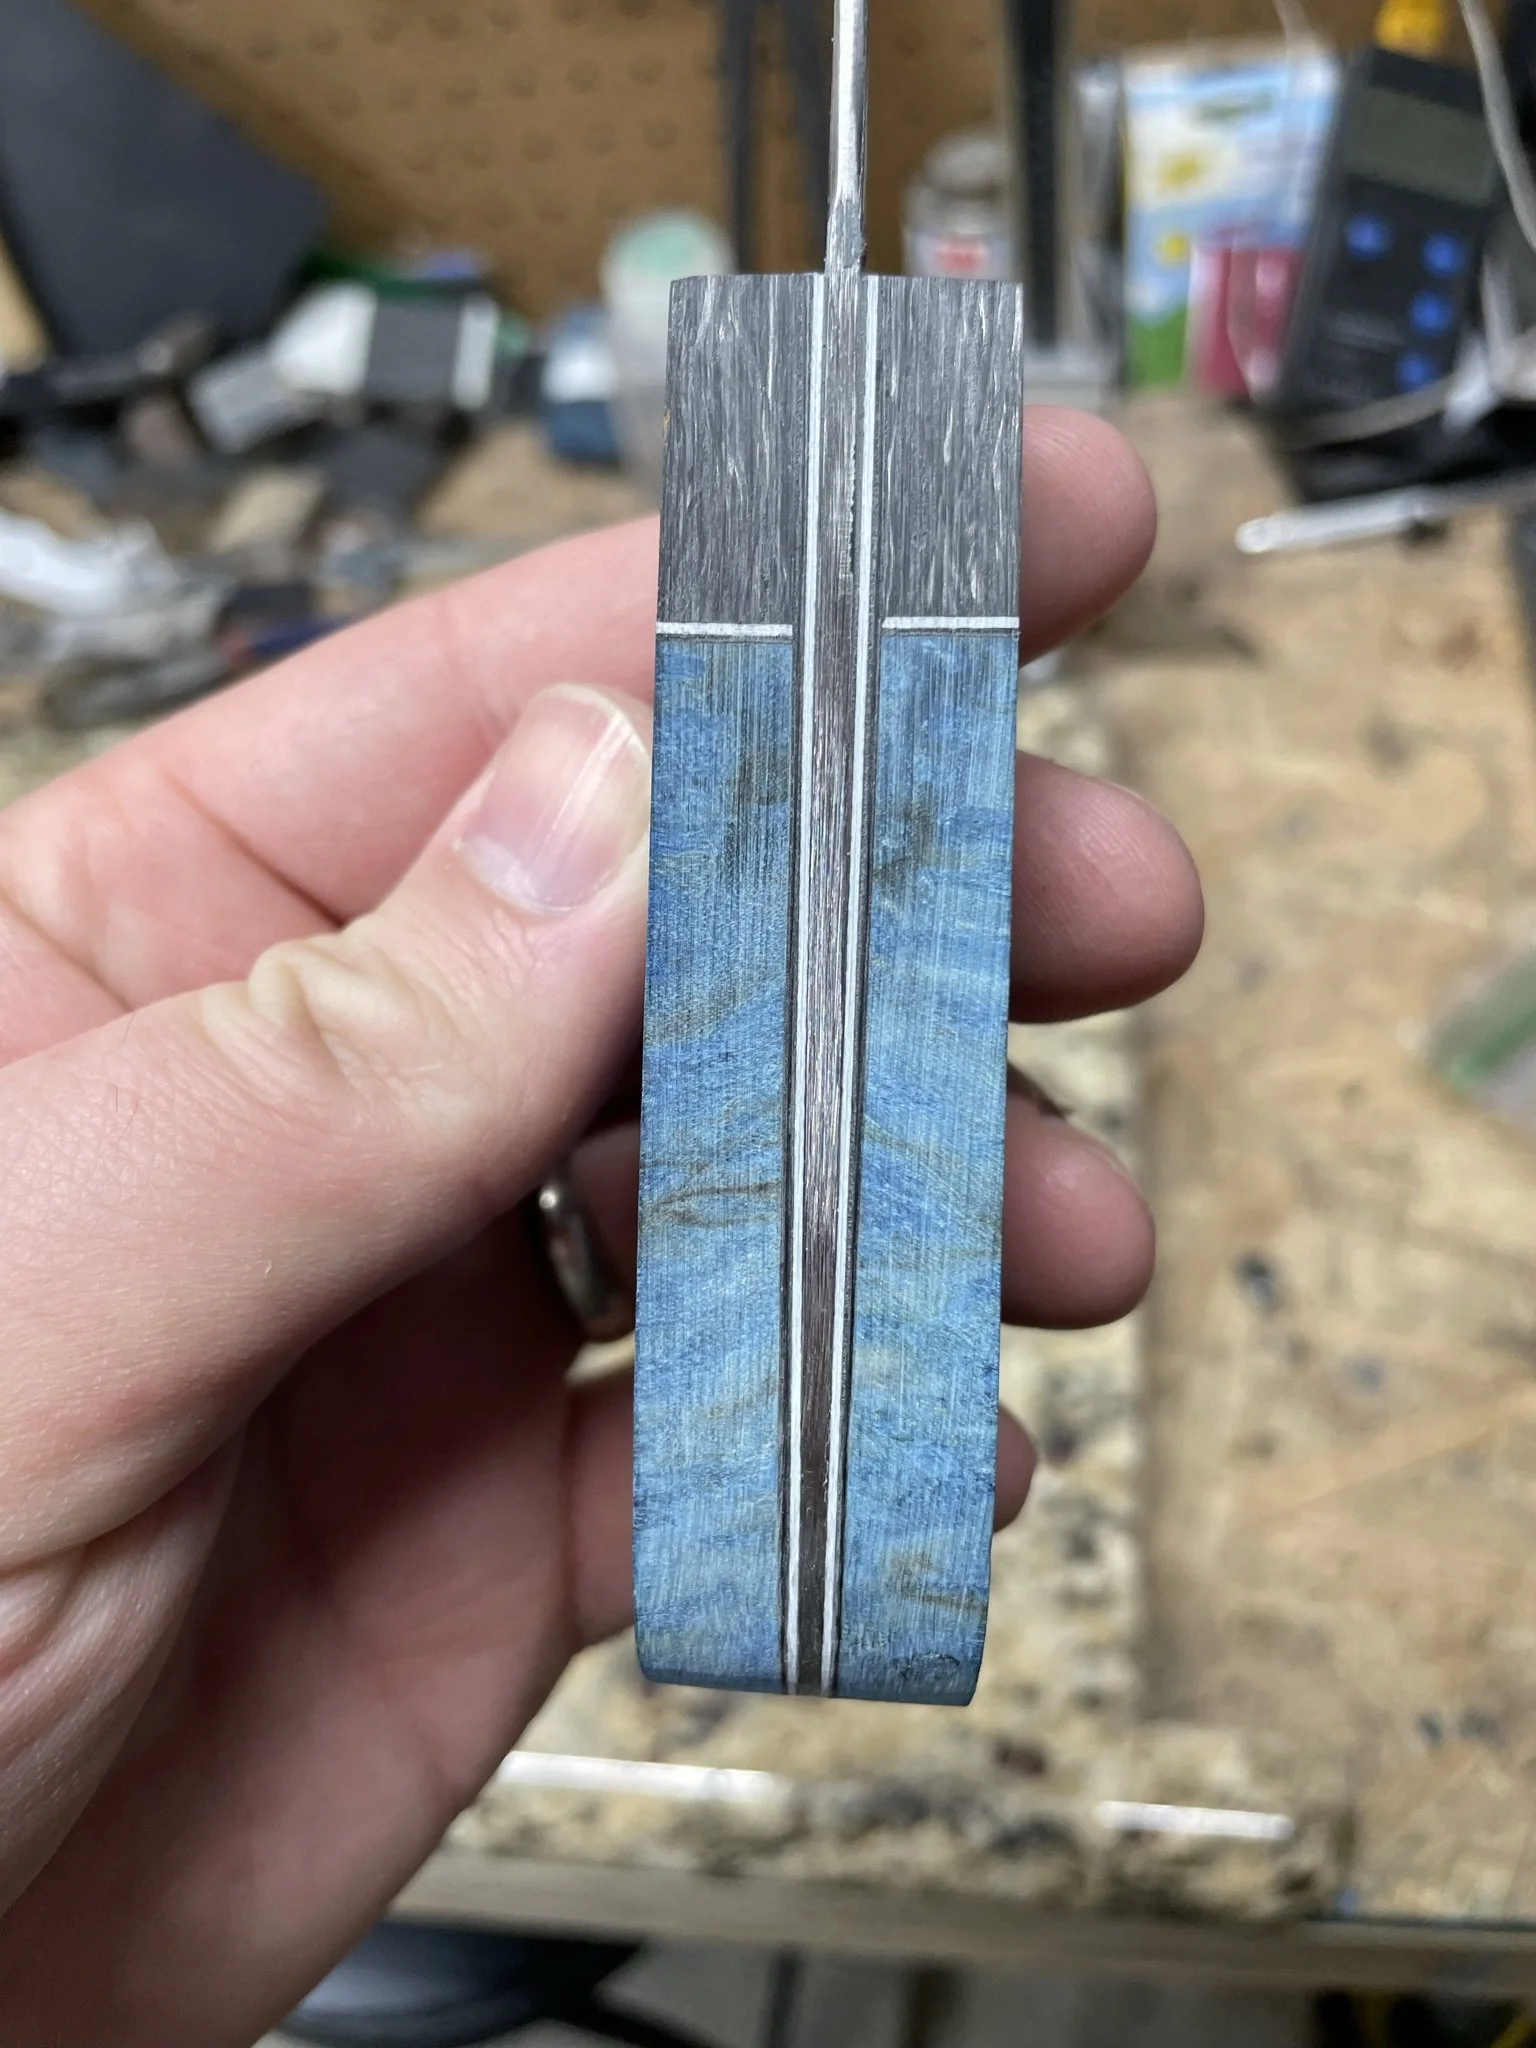
White G-10 liners to break up the darkness of the scales.
-
Slanty segments are always a little tricky.
-
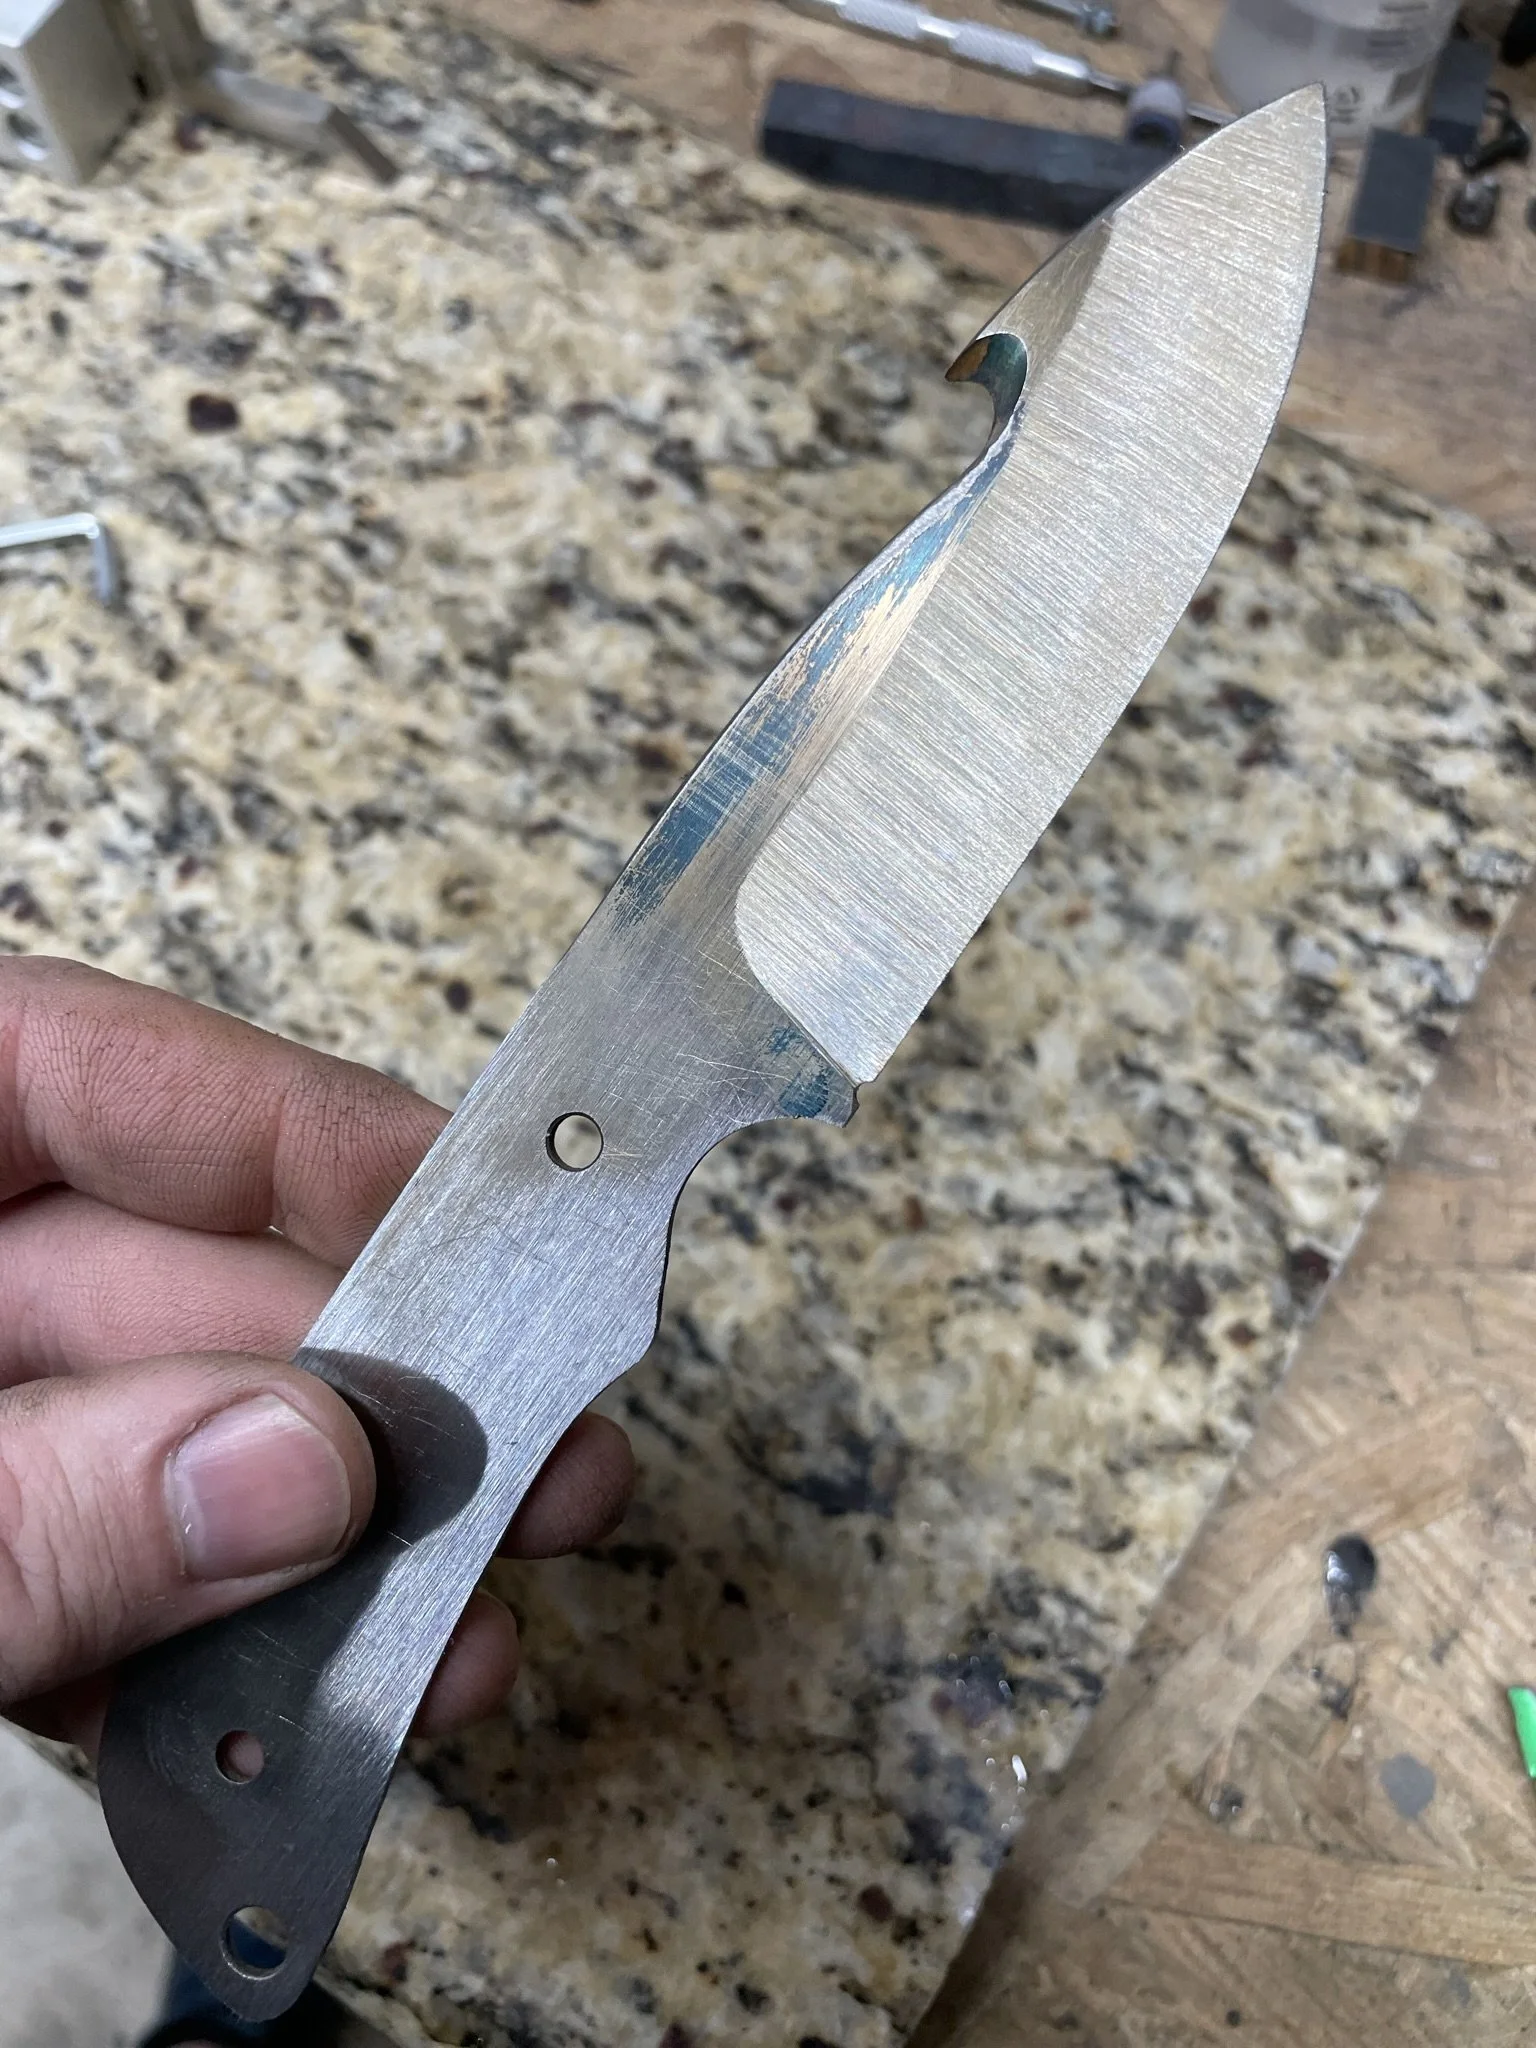
Scales and blade with rough layout lines.
-
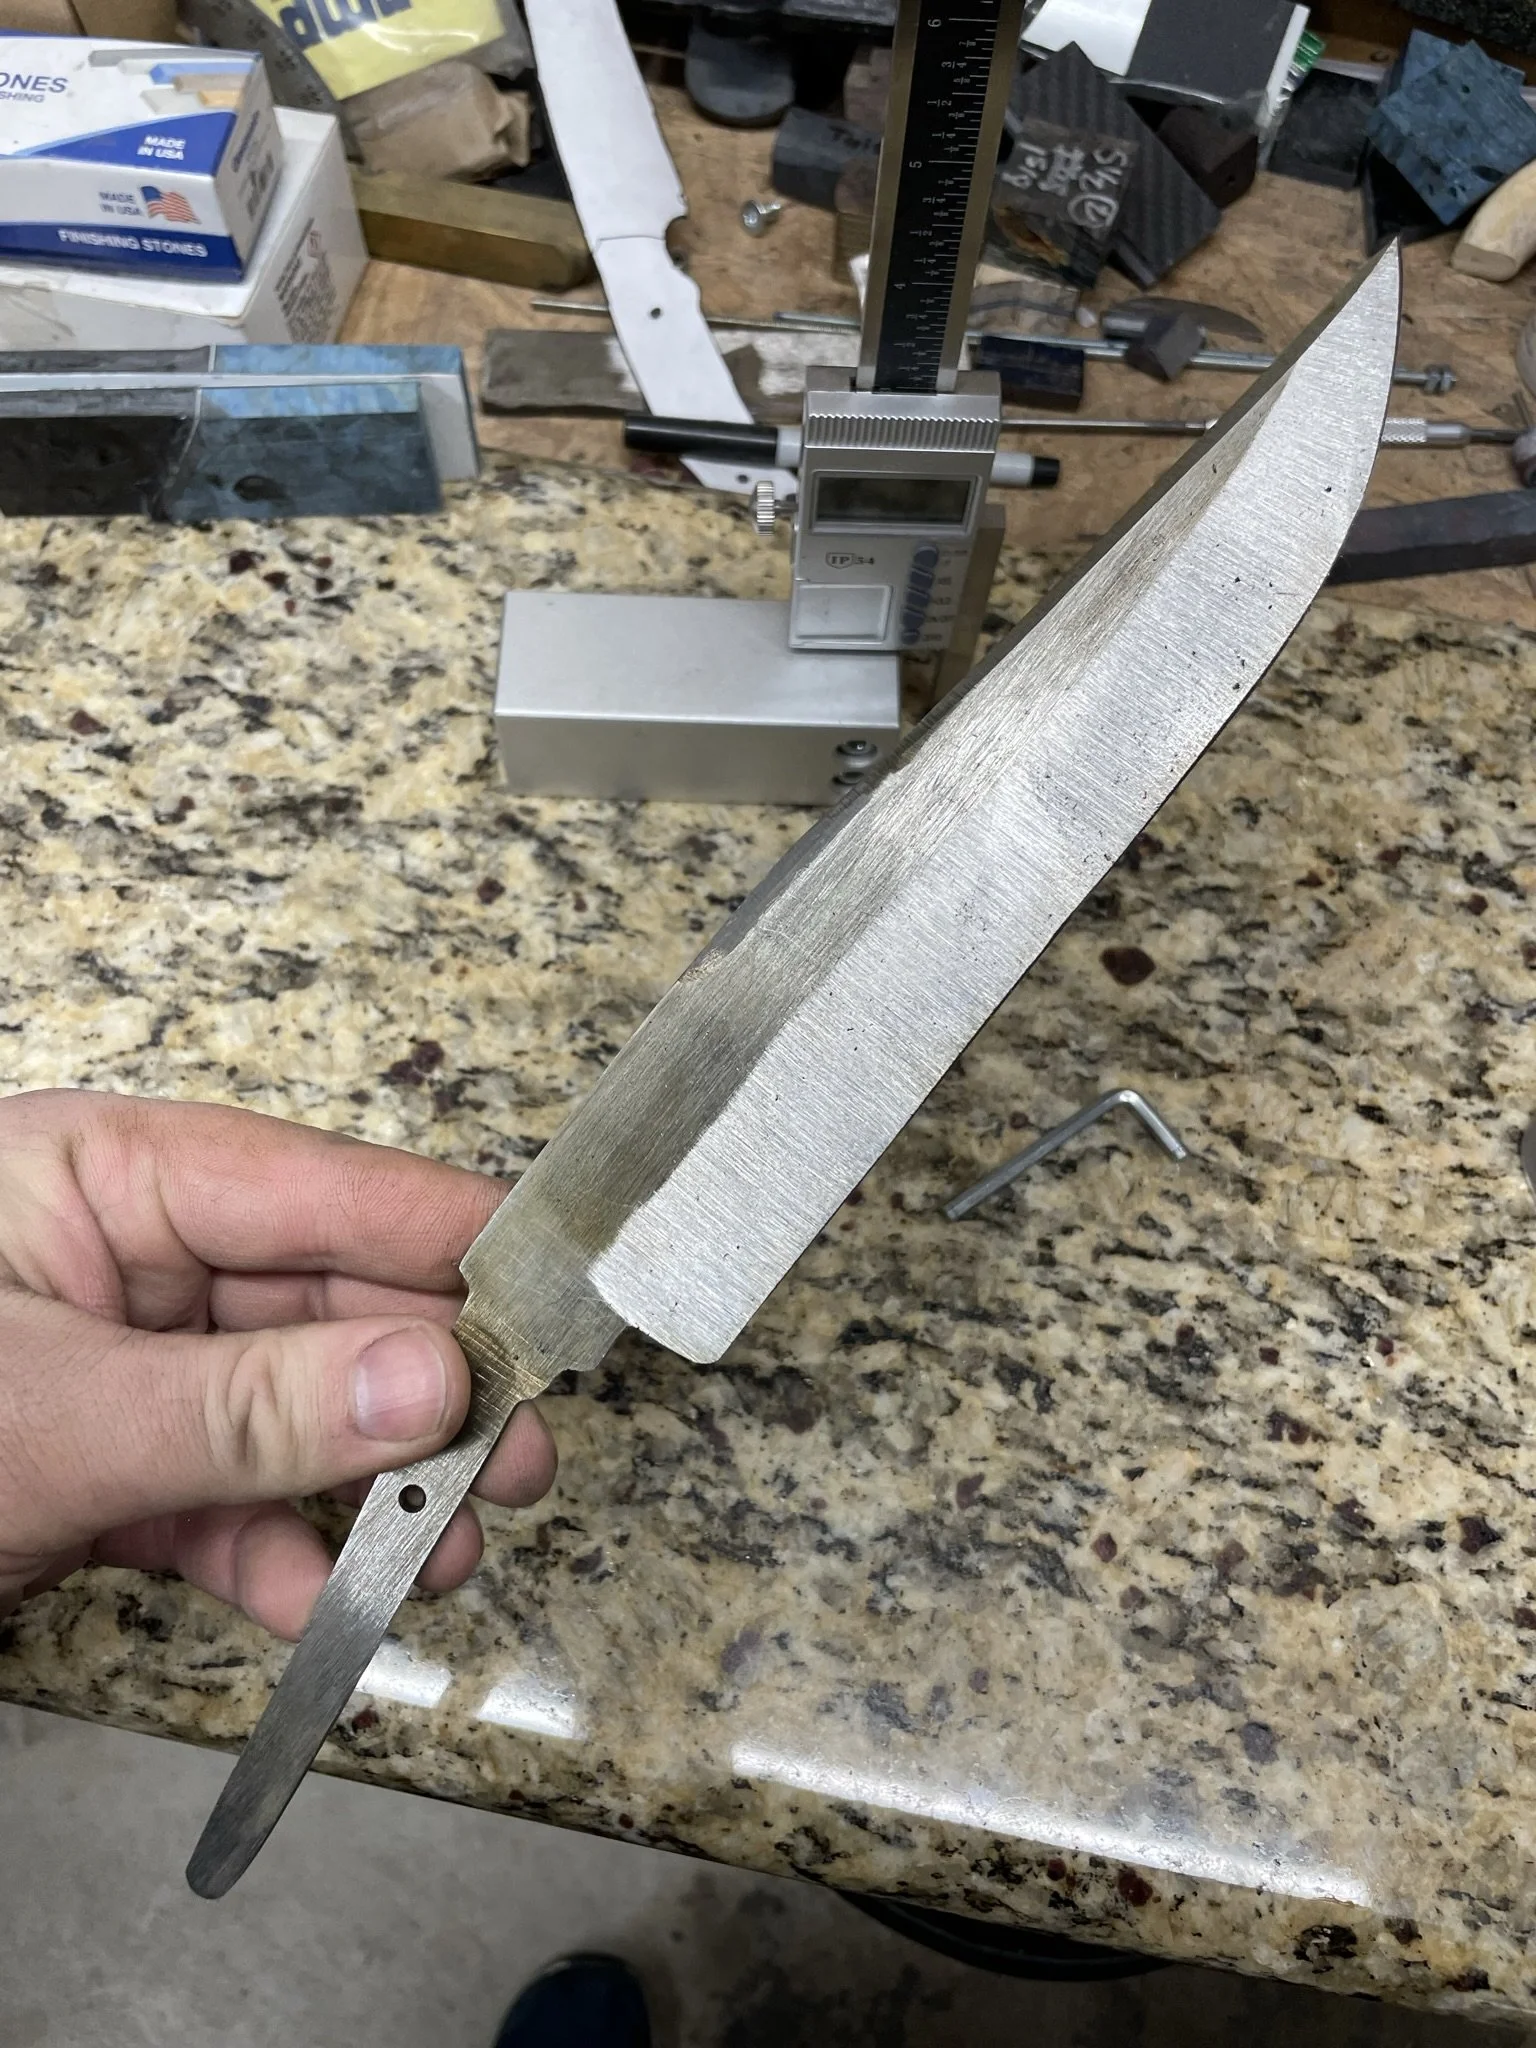
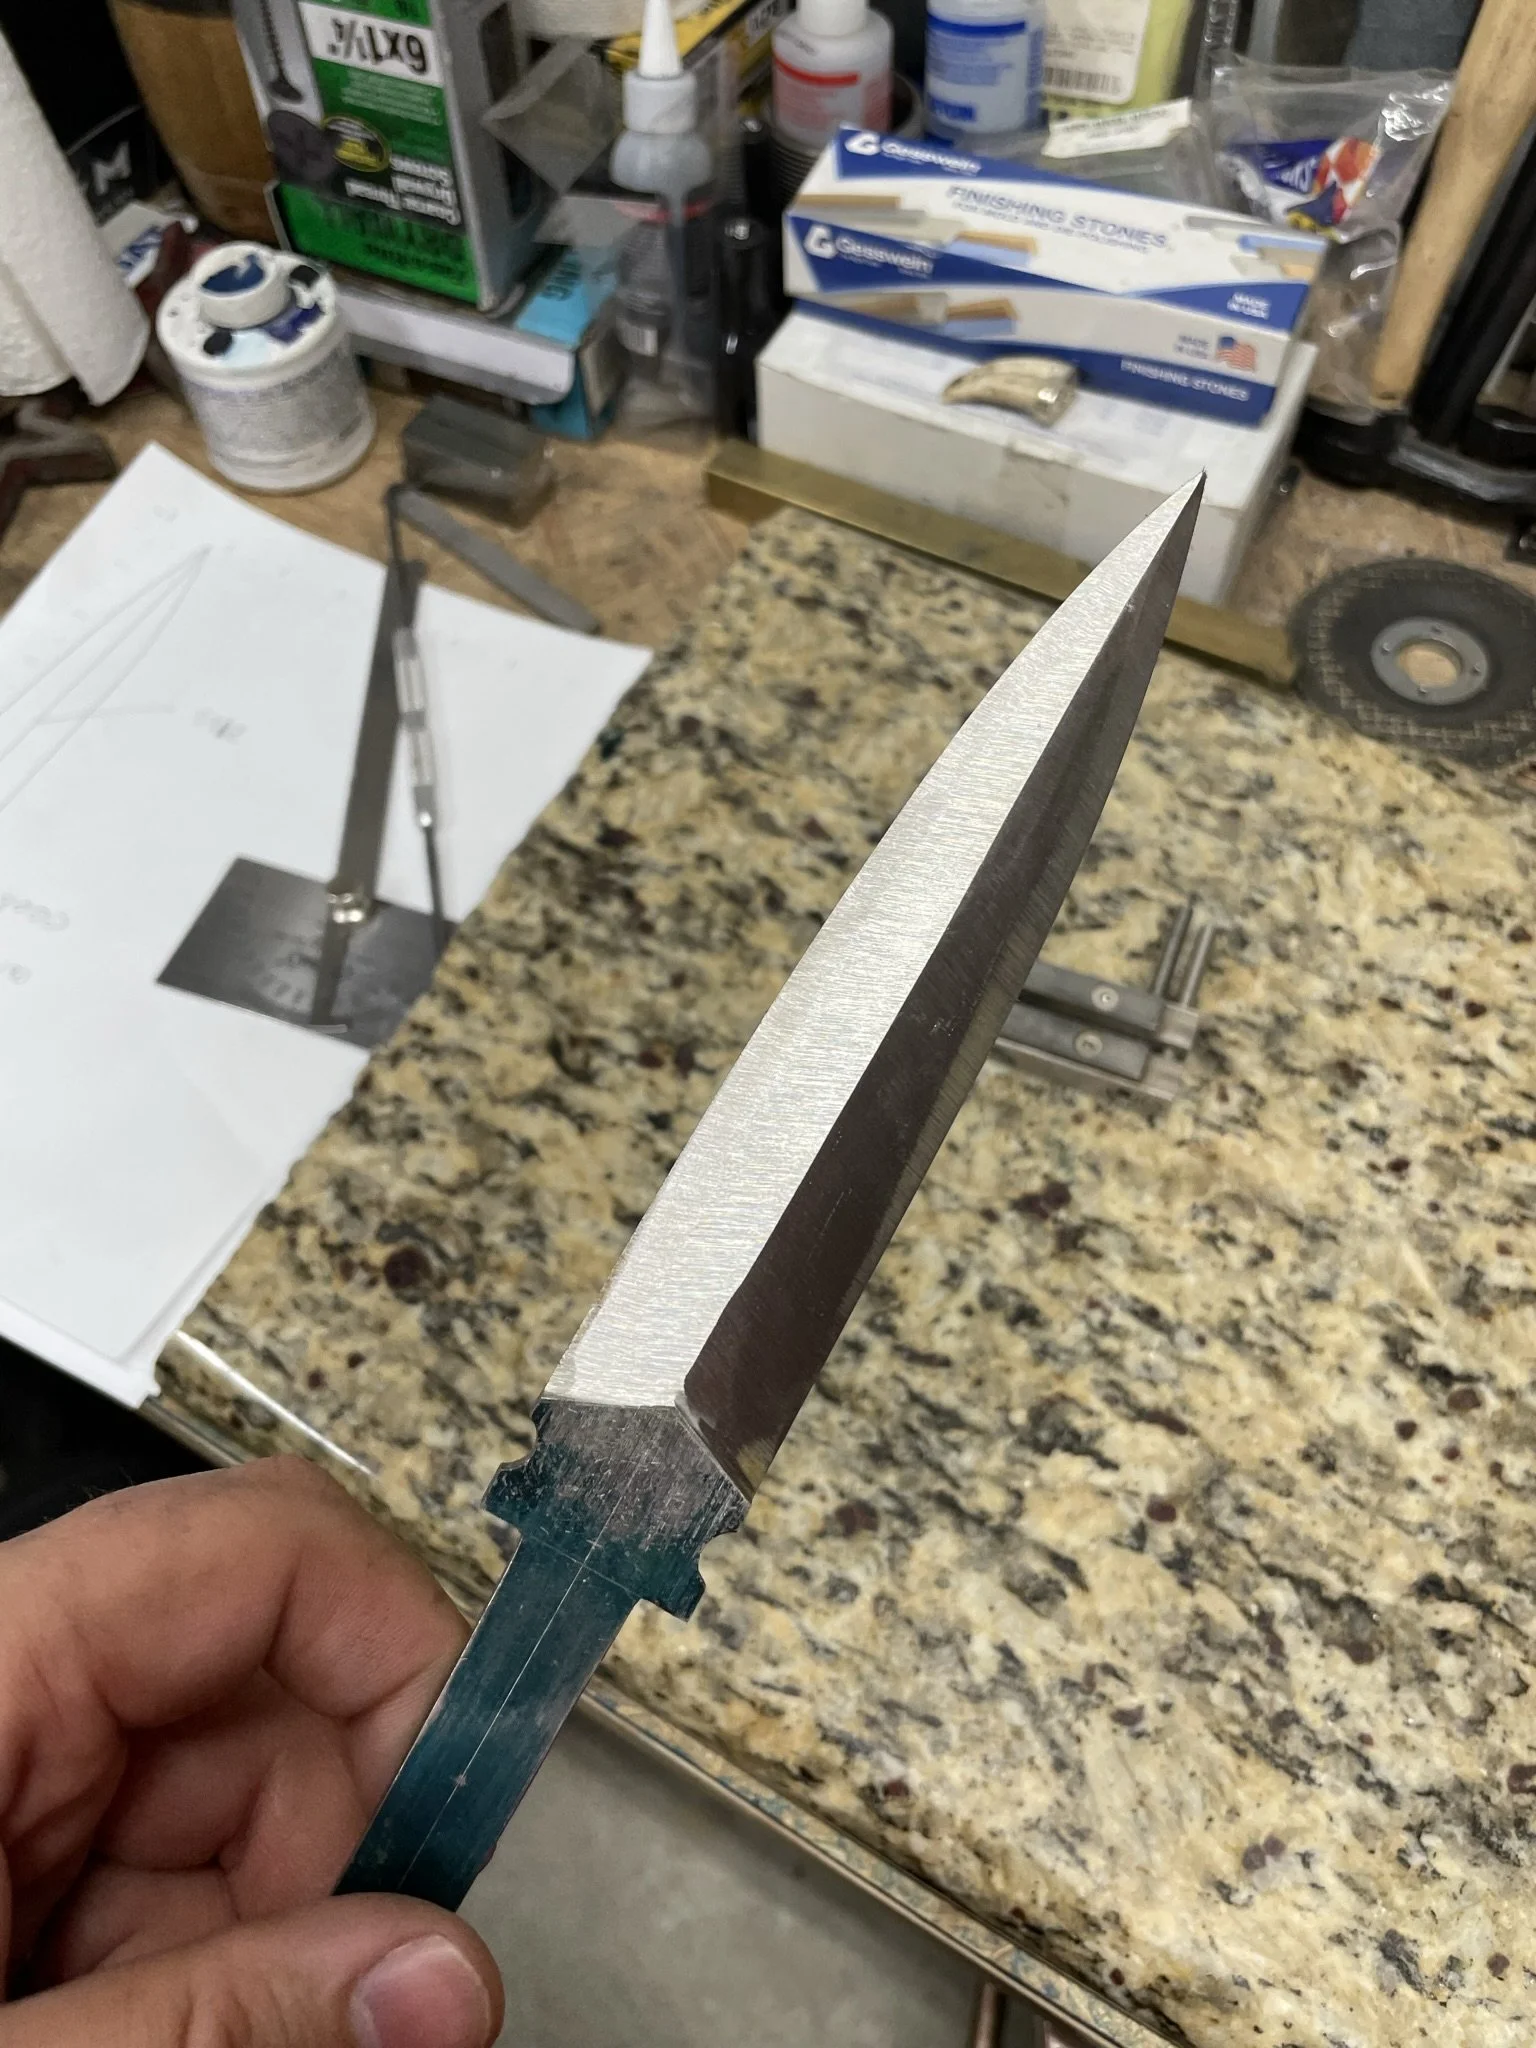
In order to reduce weight I decided to taper the tang and reduce the profile a little.
-
Tapered tang showing a little better here.
-
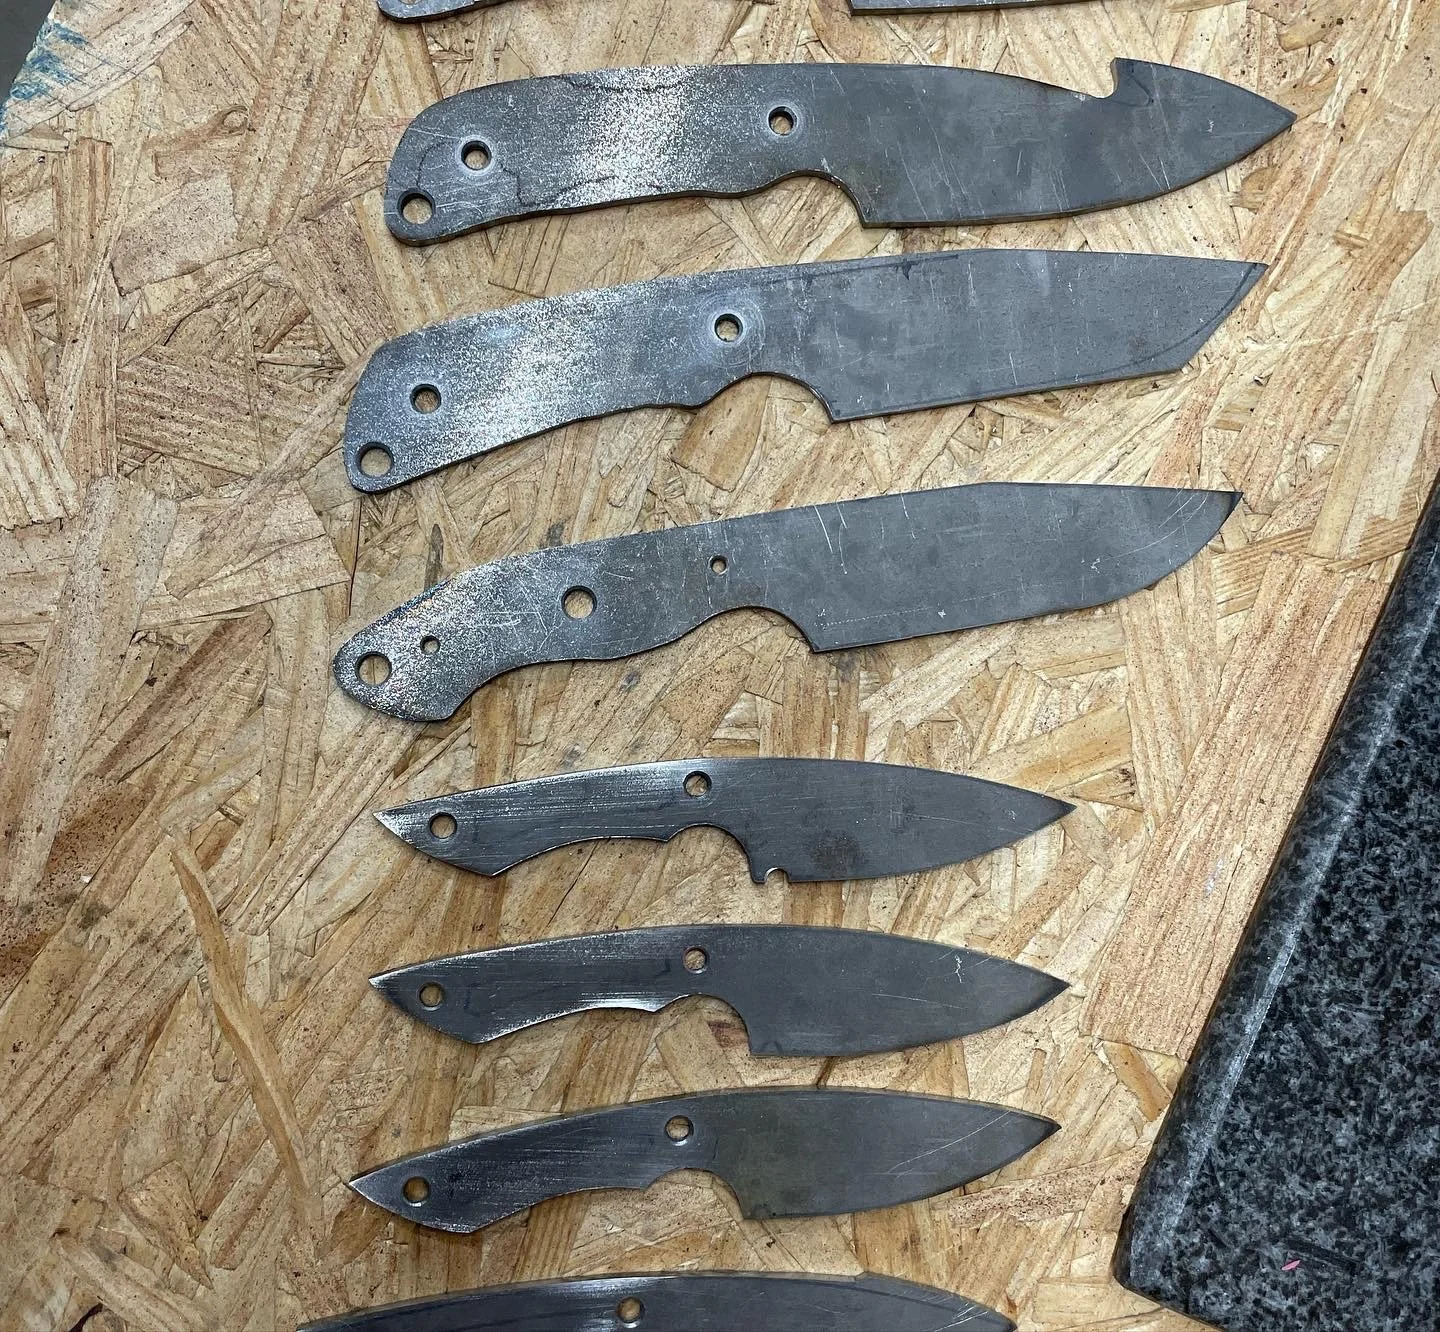
Scales rough profiled.
-
Getting the shape and contouring refined.
-
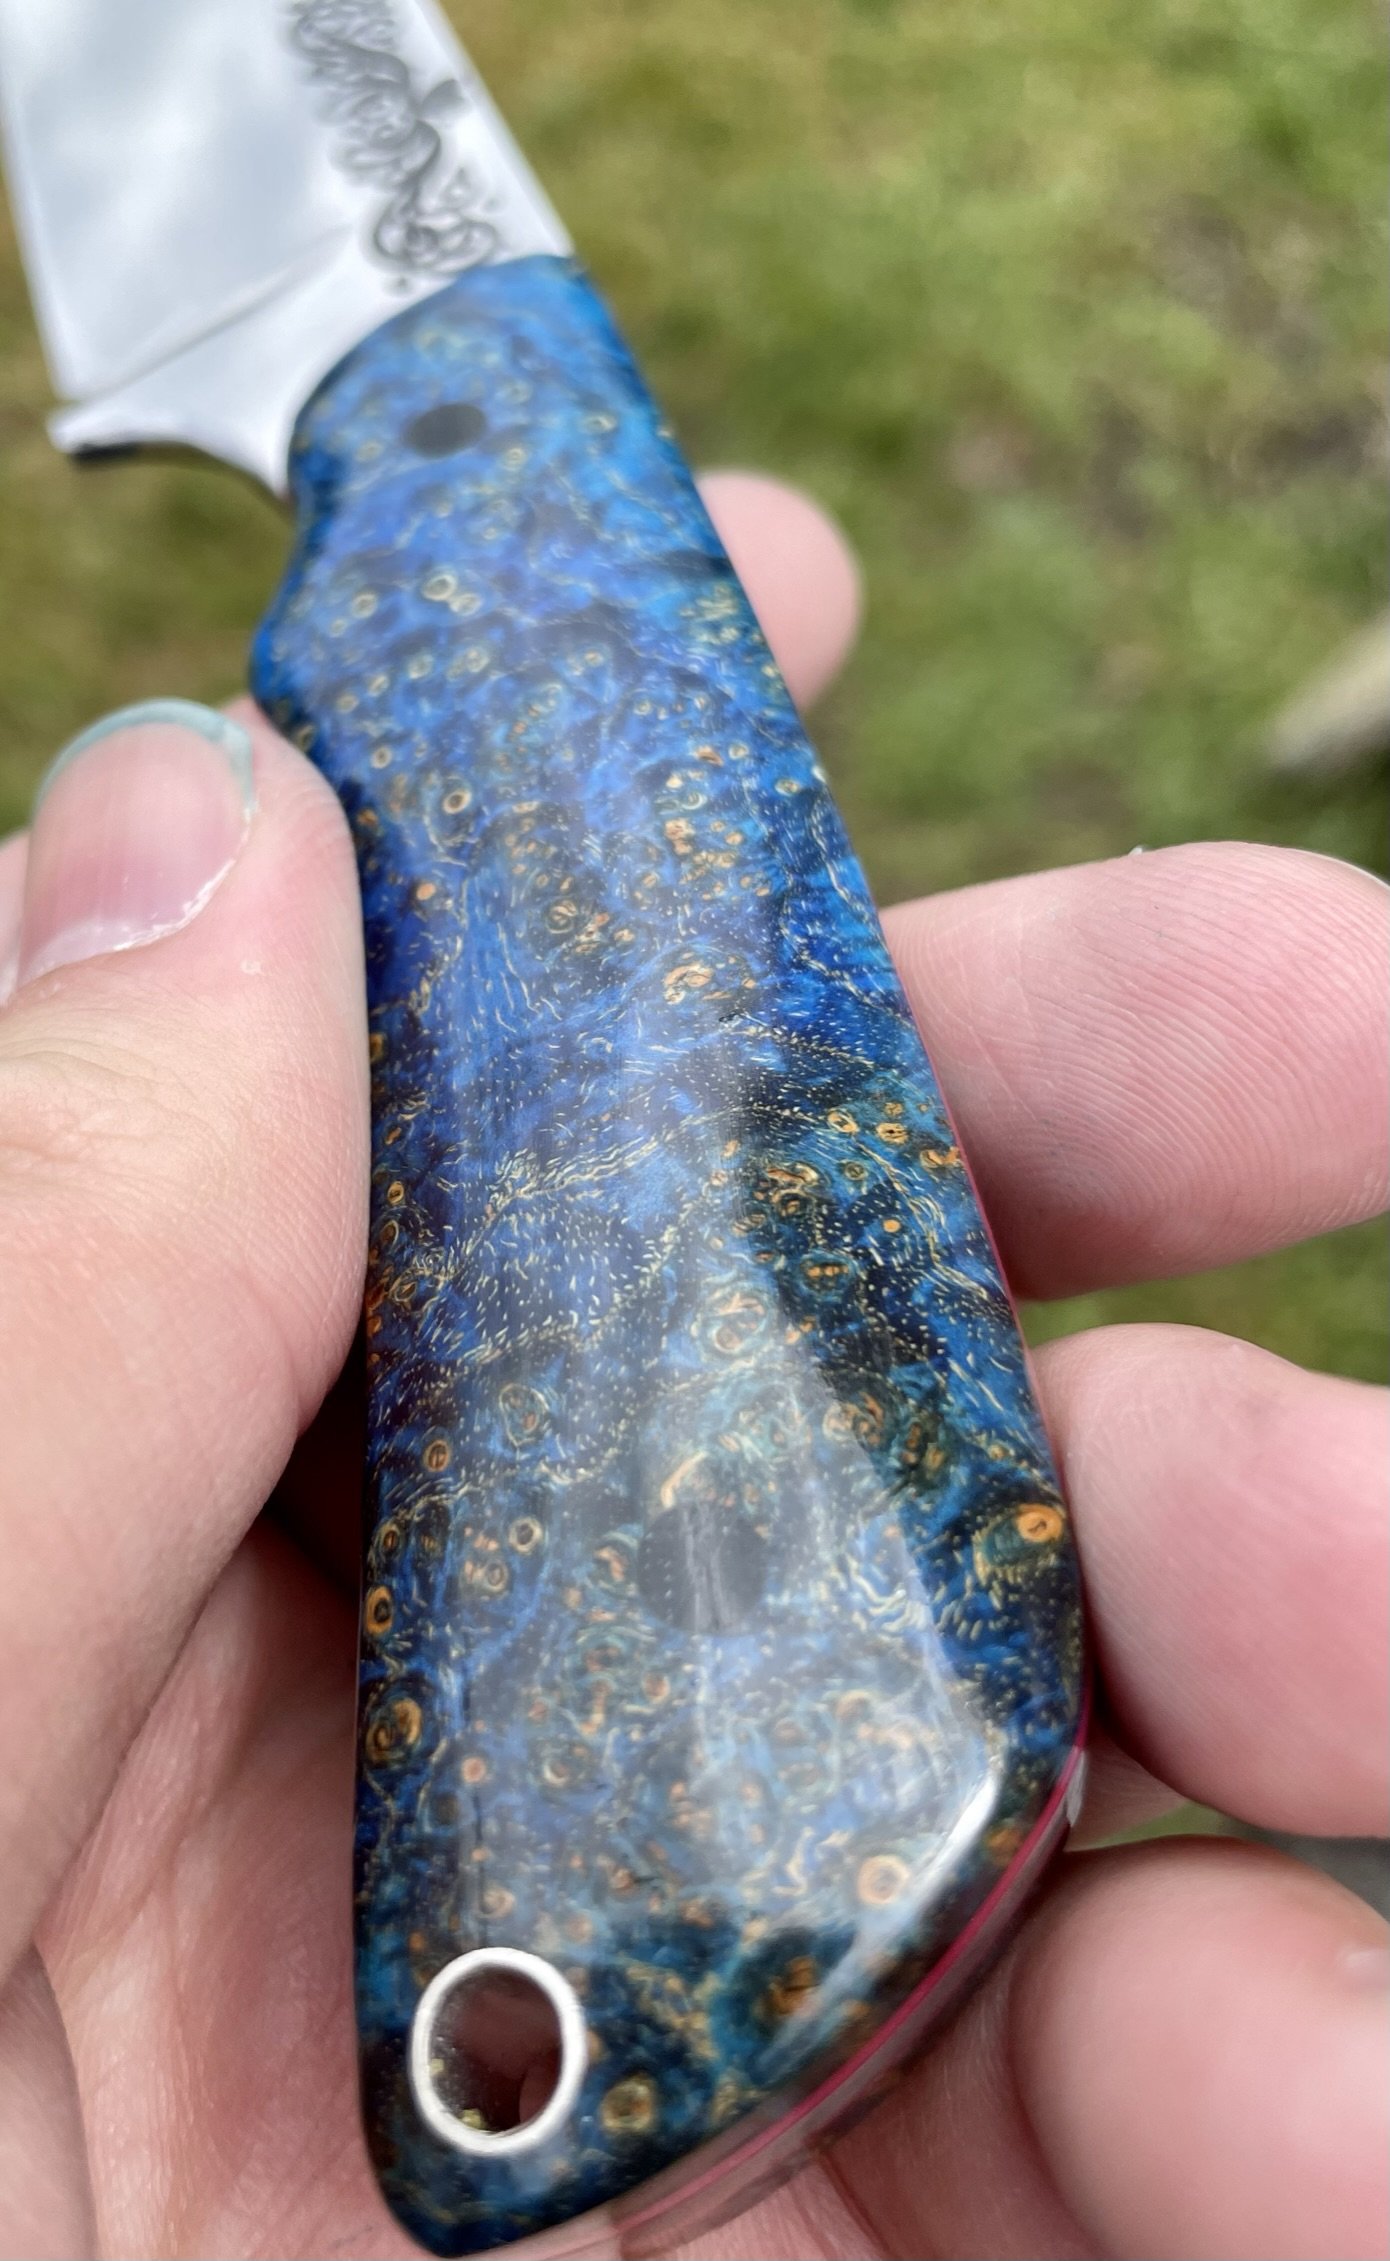
Glamour shot #1.
-
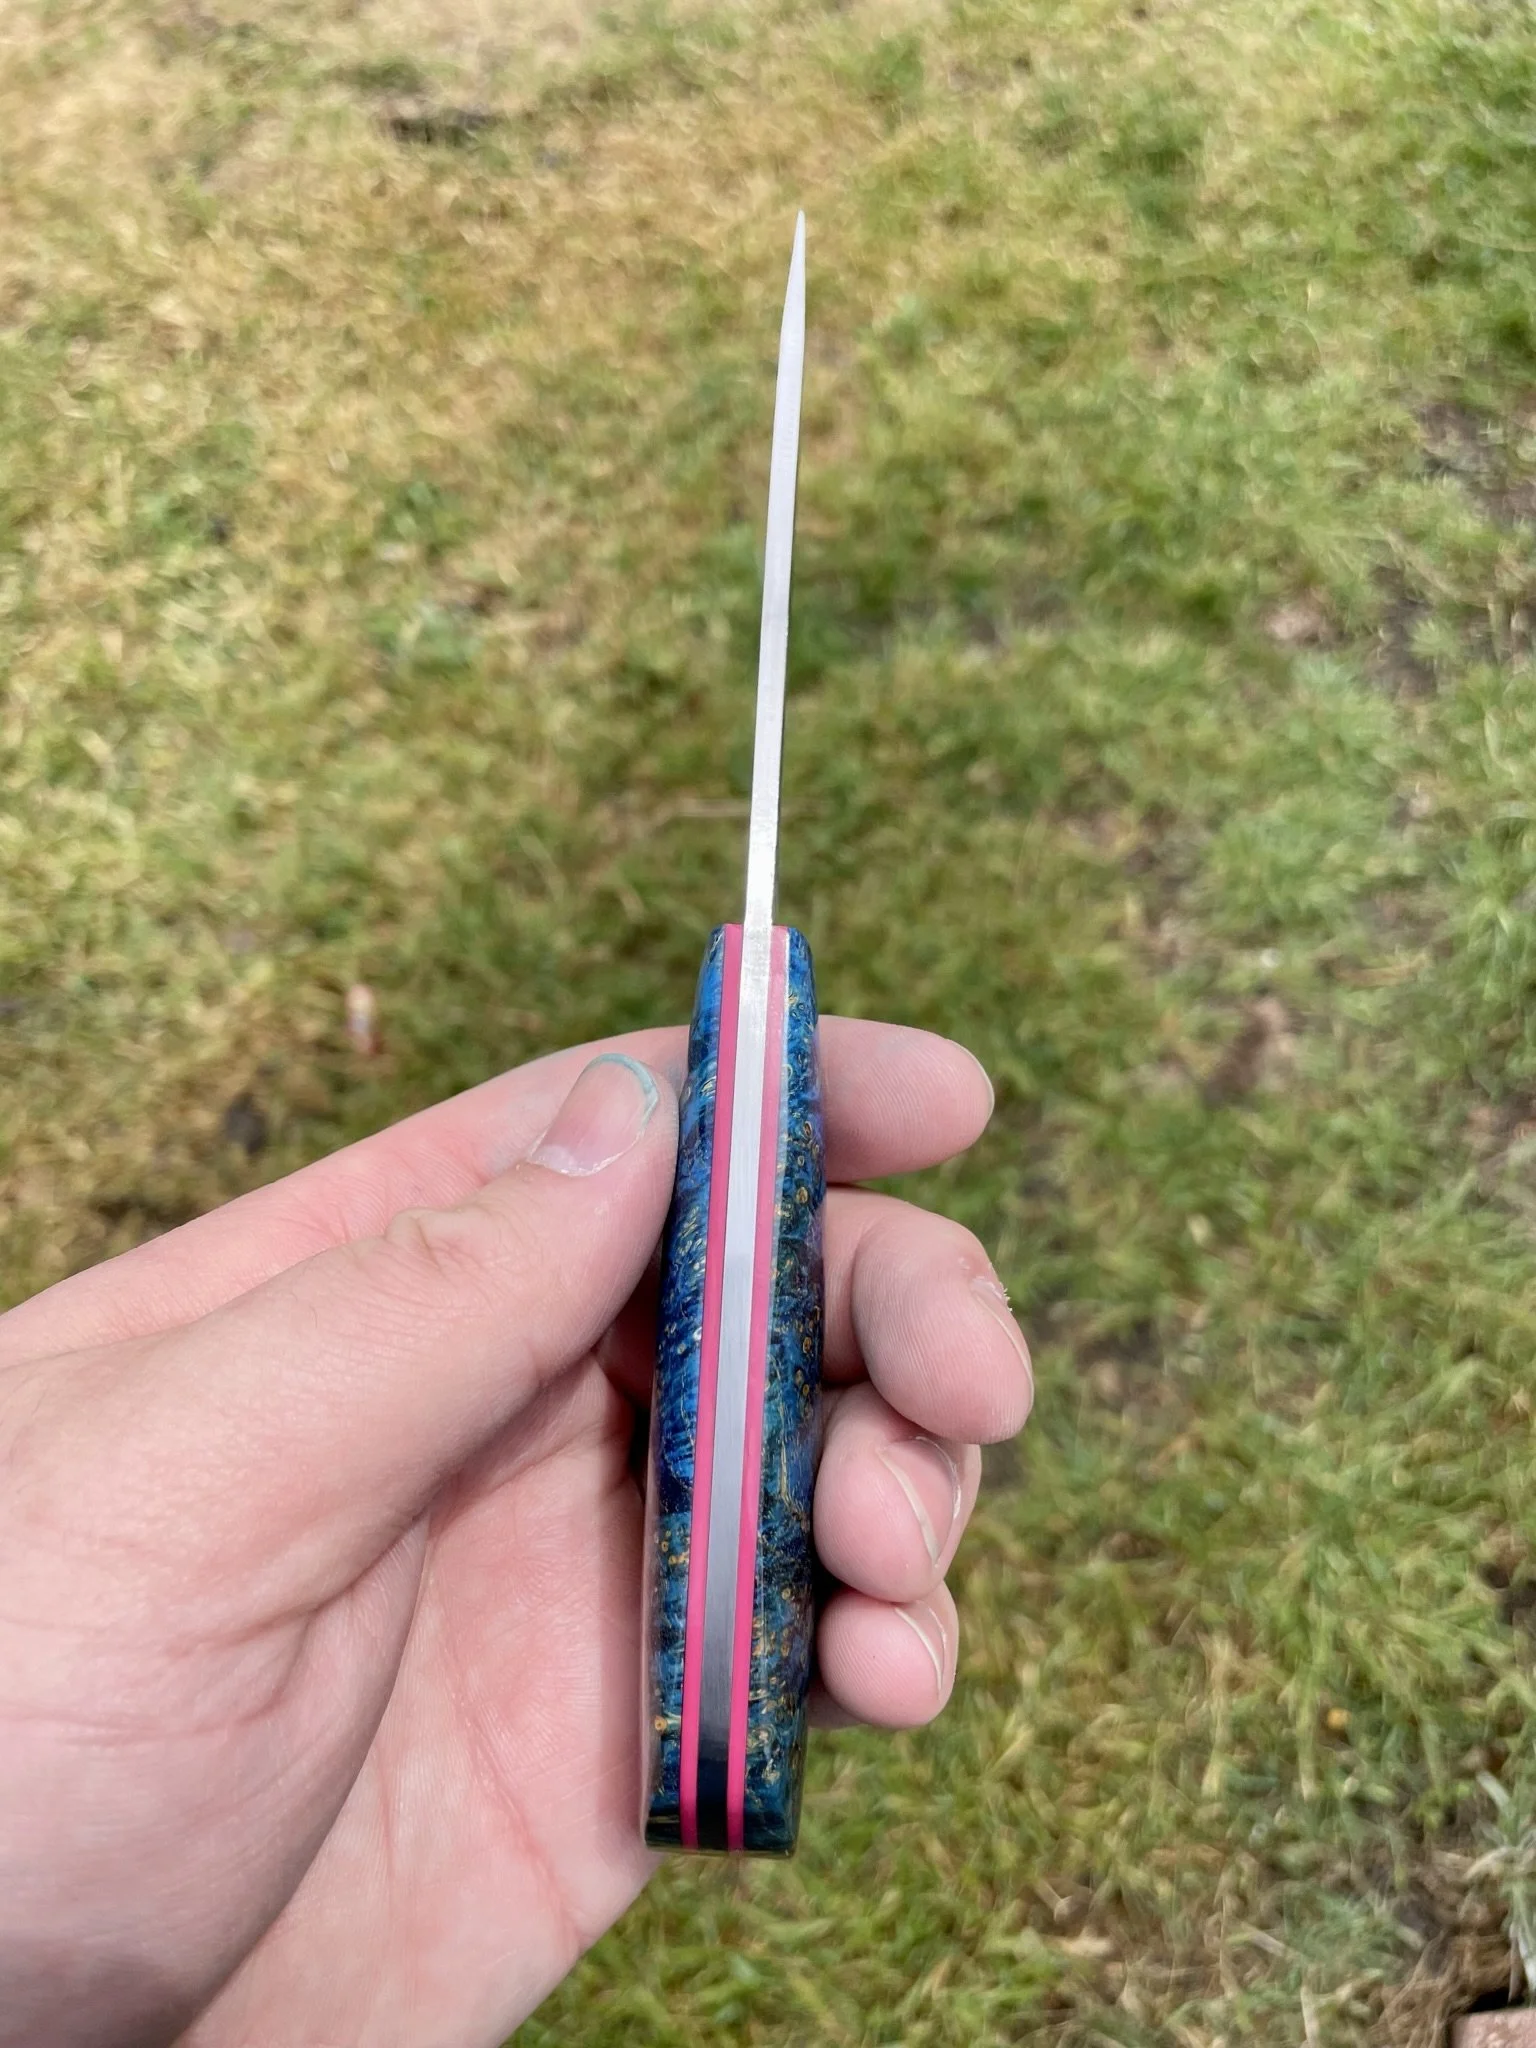
Spine glamour shot.
-
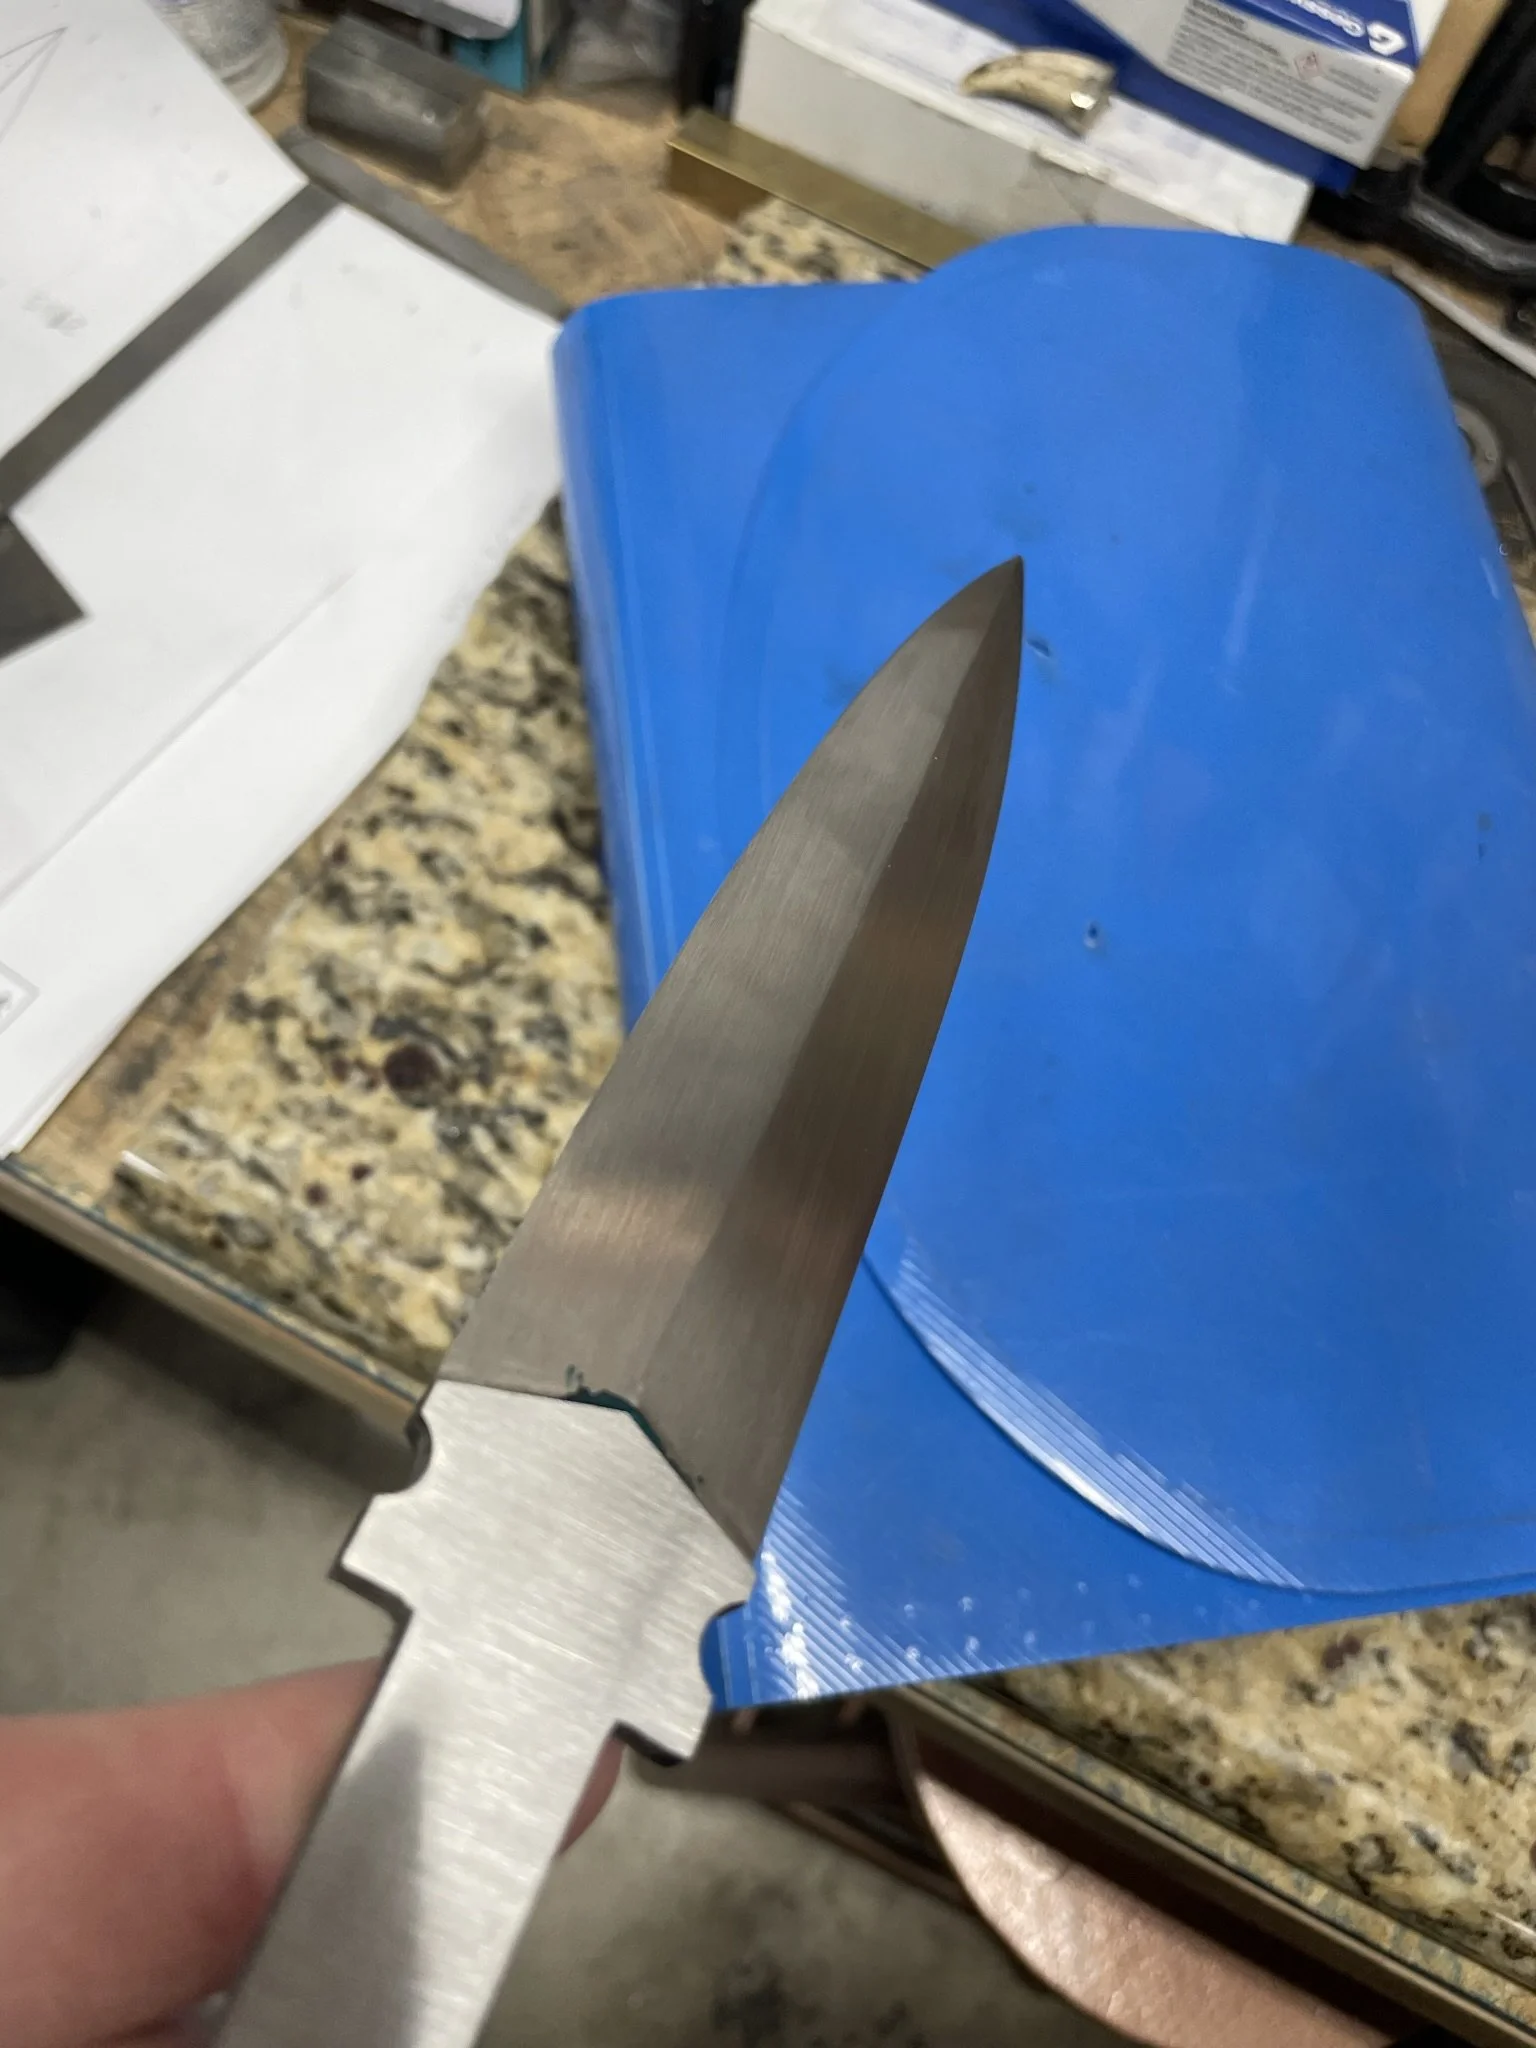
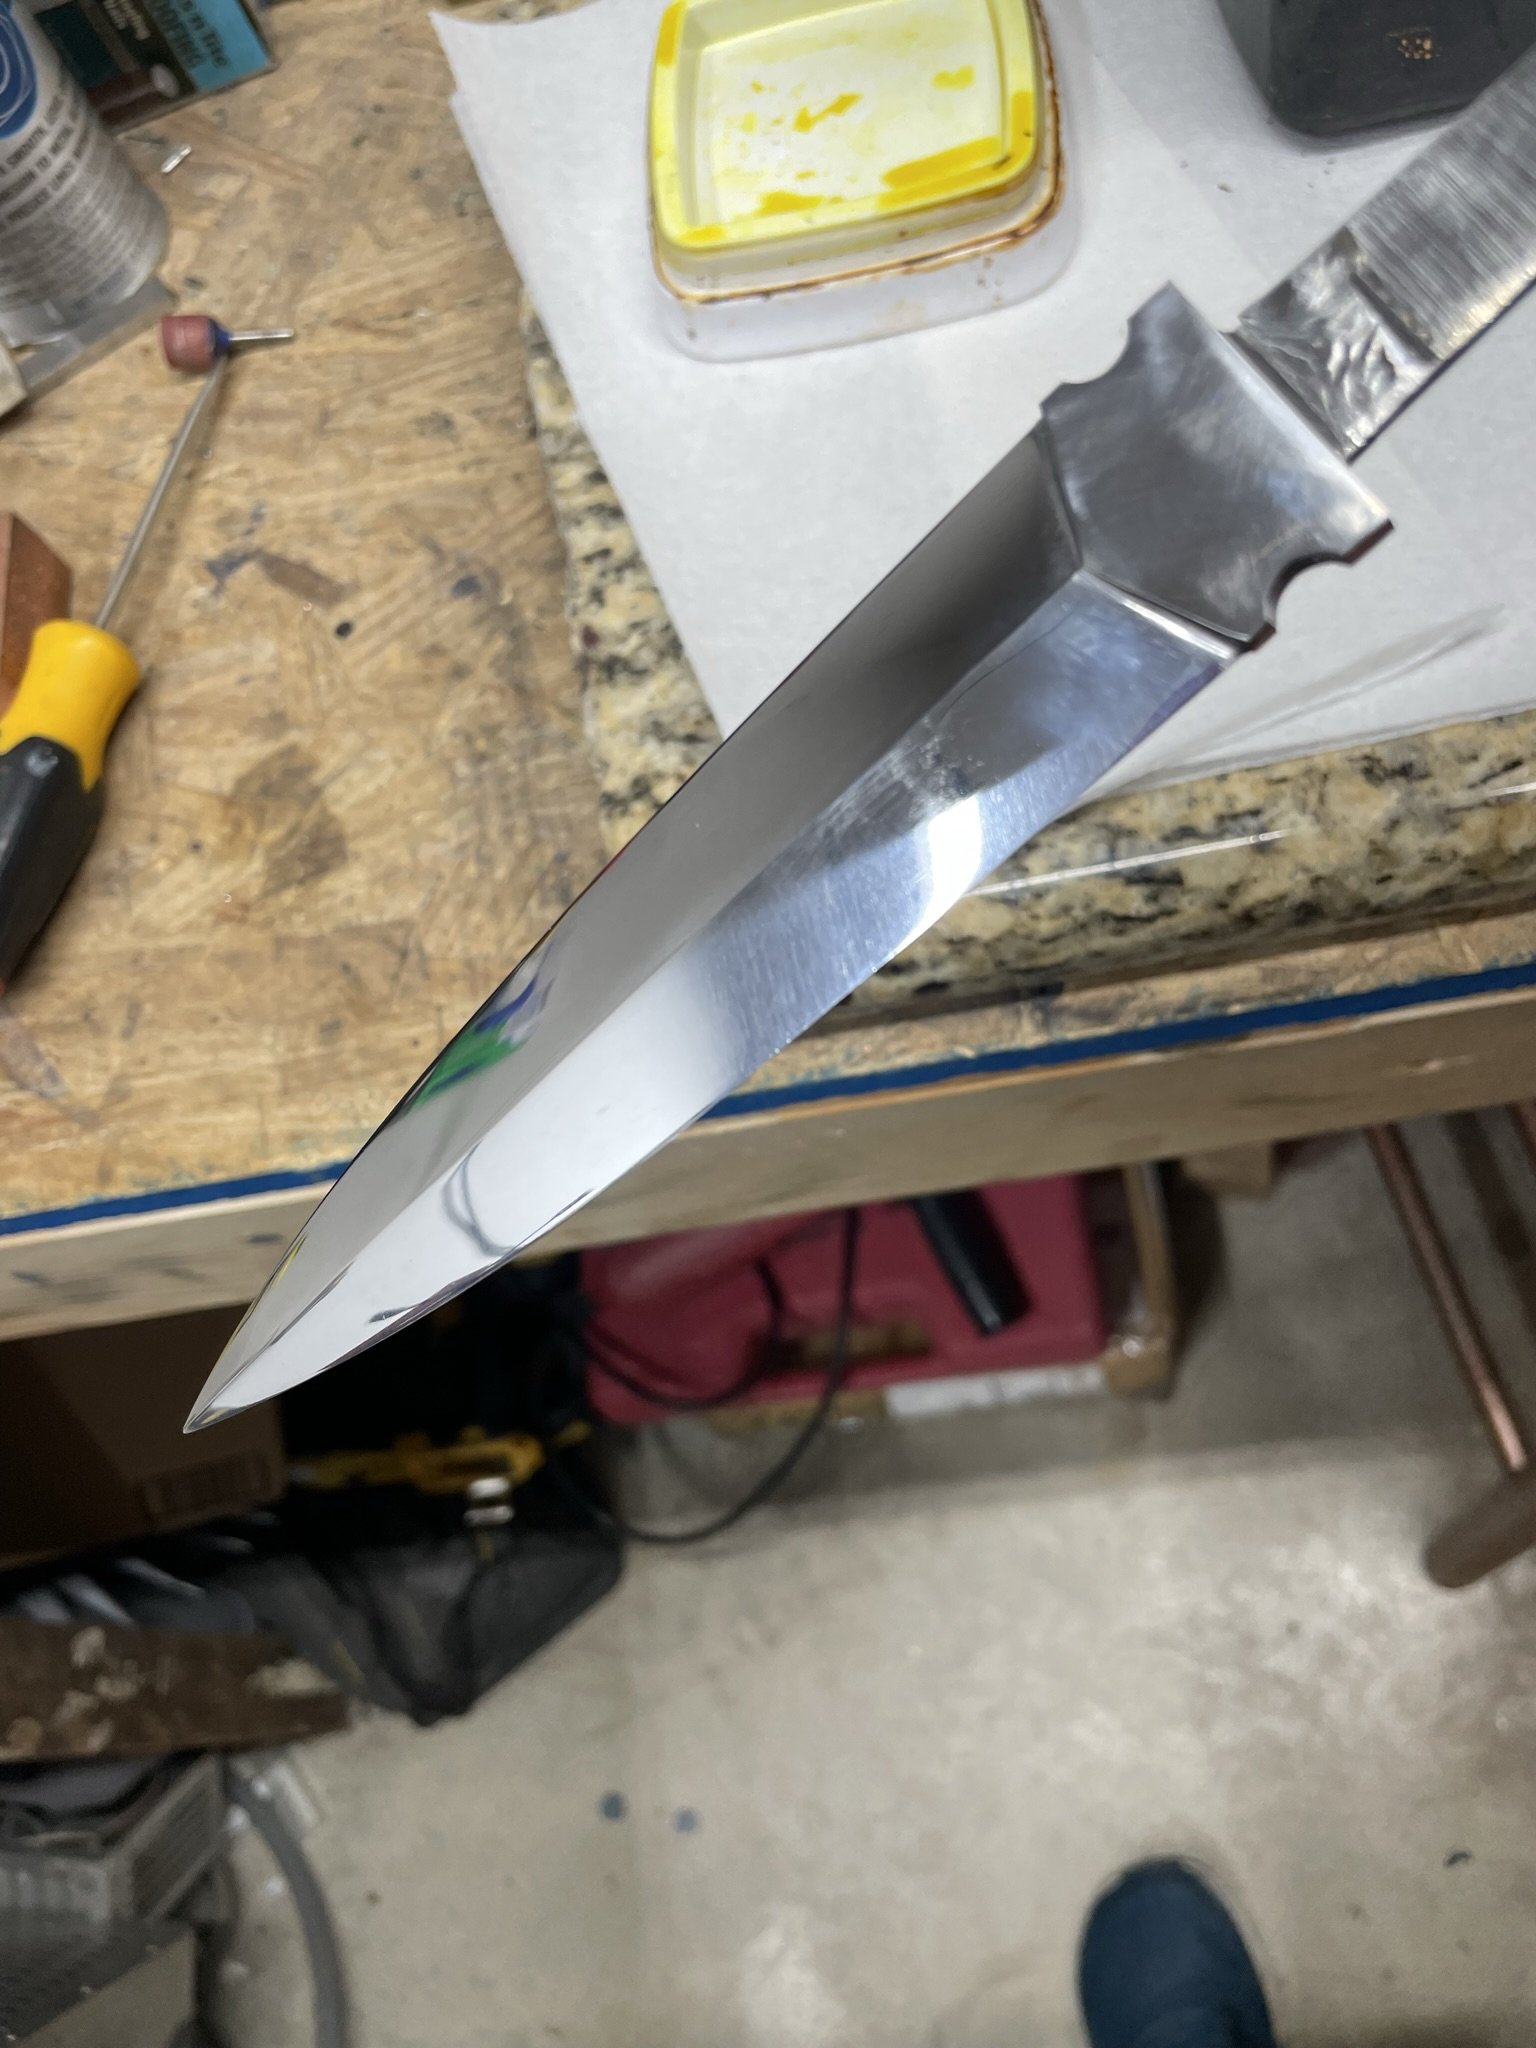
Shiny finished blade.
-
Simple sheath, but wanted the blue threads to match the handle.
-
Finished glamour shot #2
-
Finished glamour shot #3. Loved the feedback I got on this blade - he skinned a whole black bear and it stayed sharp. I was quite pleased to hear it!
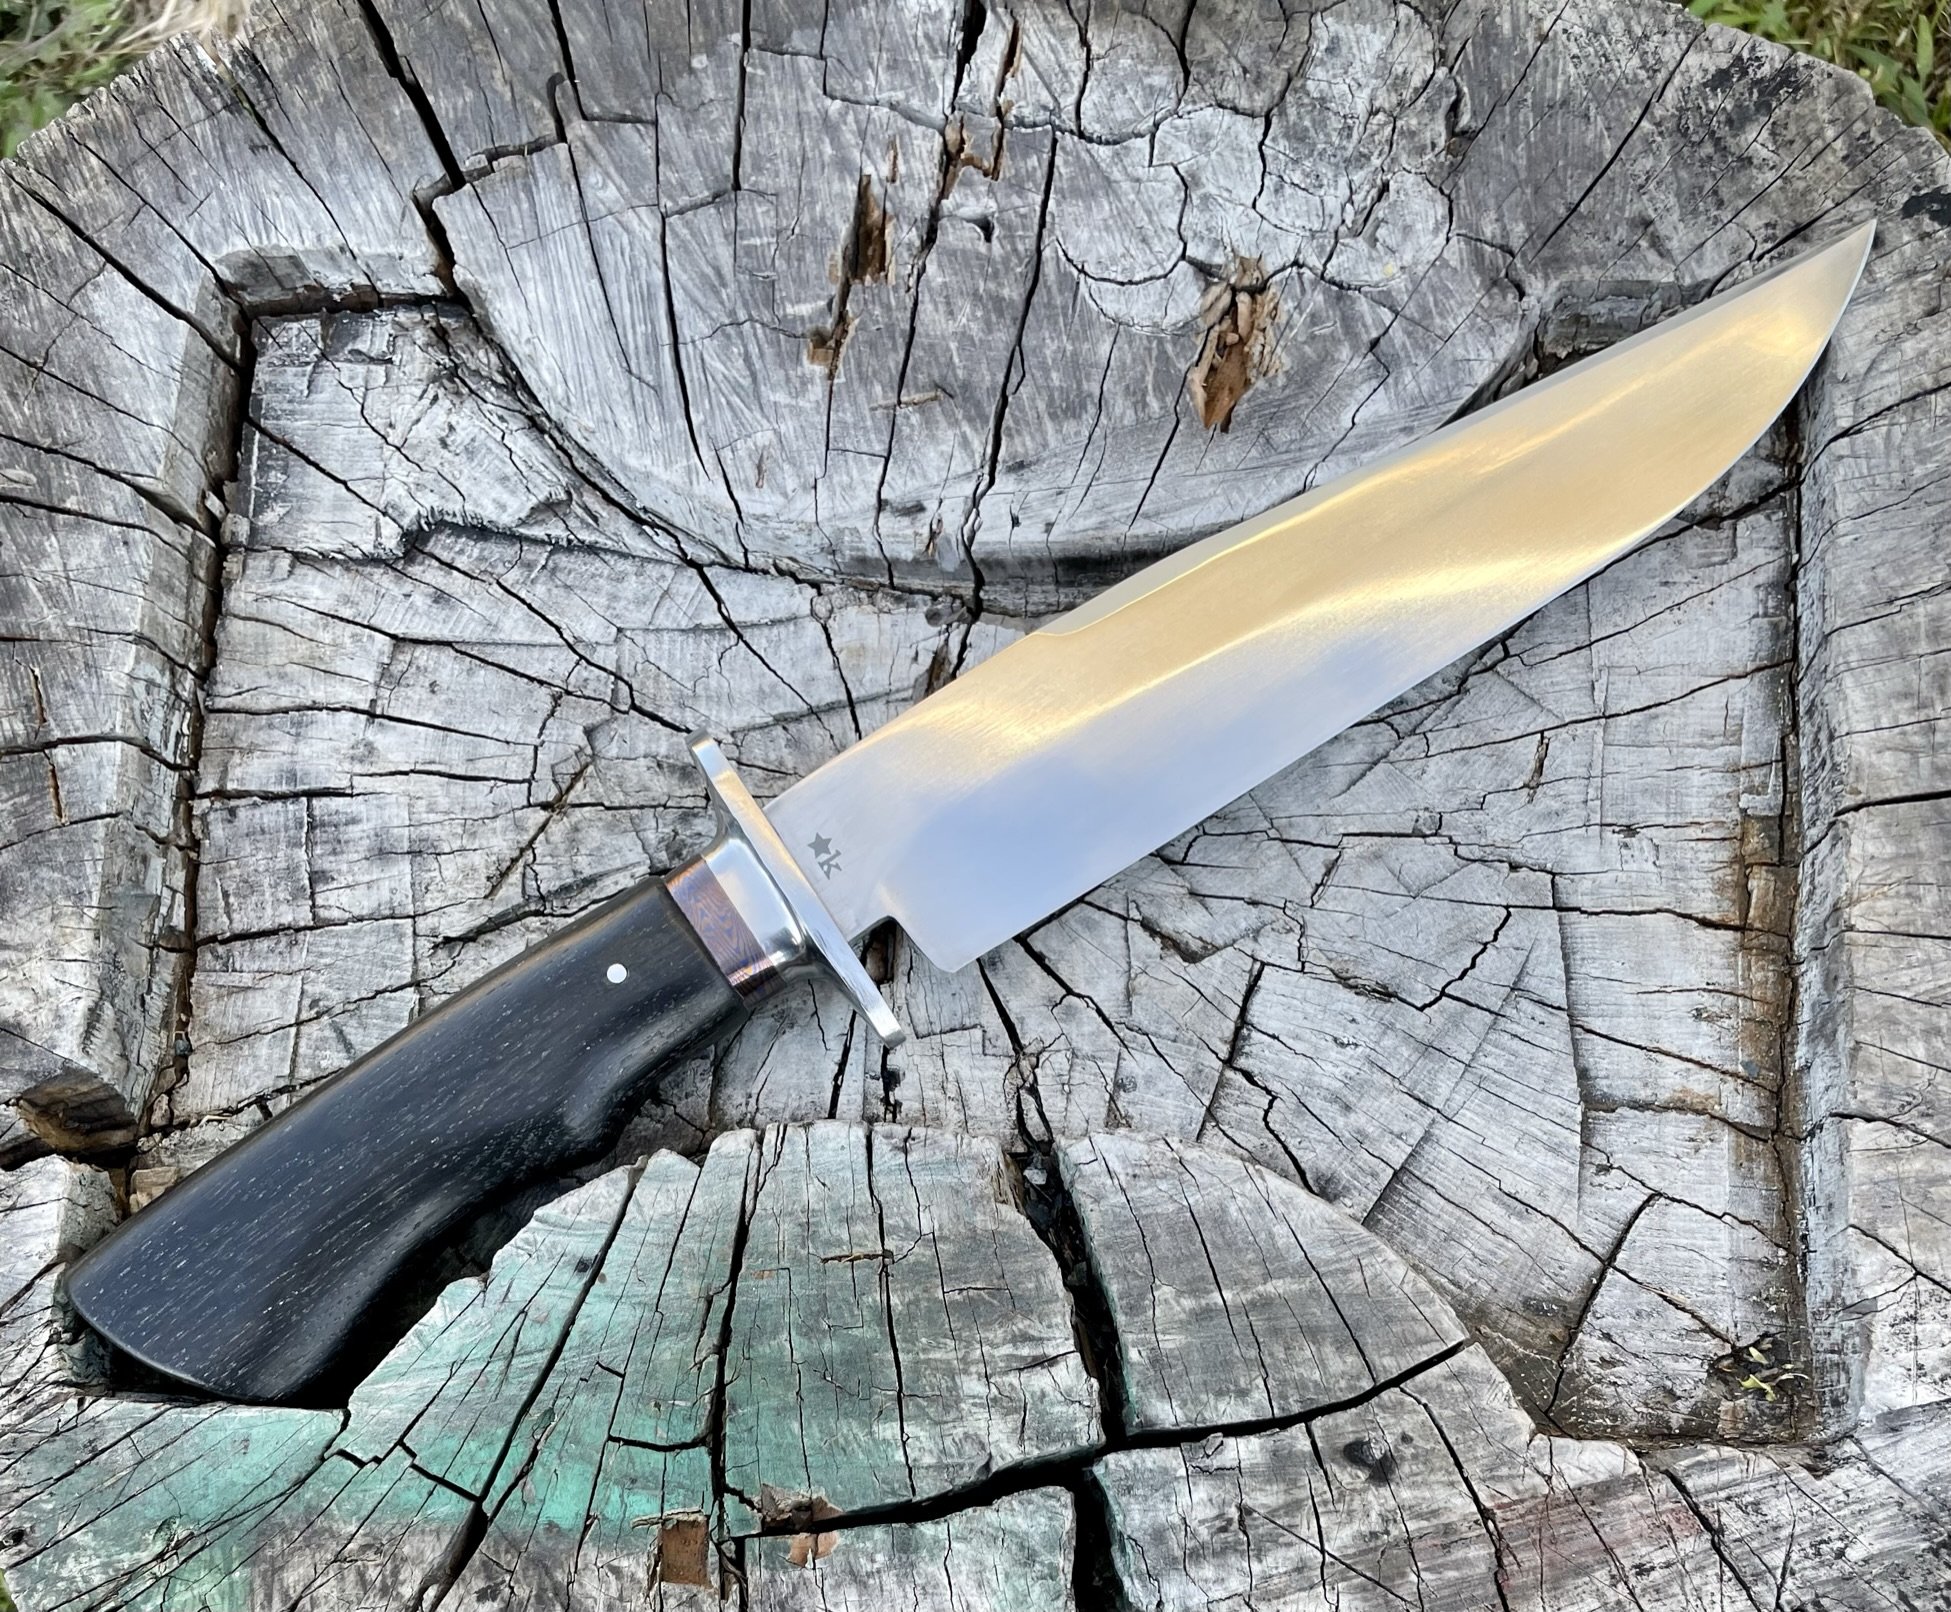
80Crv2 - Fighter
-
Final blade - keep scrolling to see the journey.
-
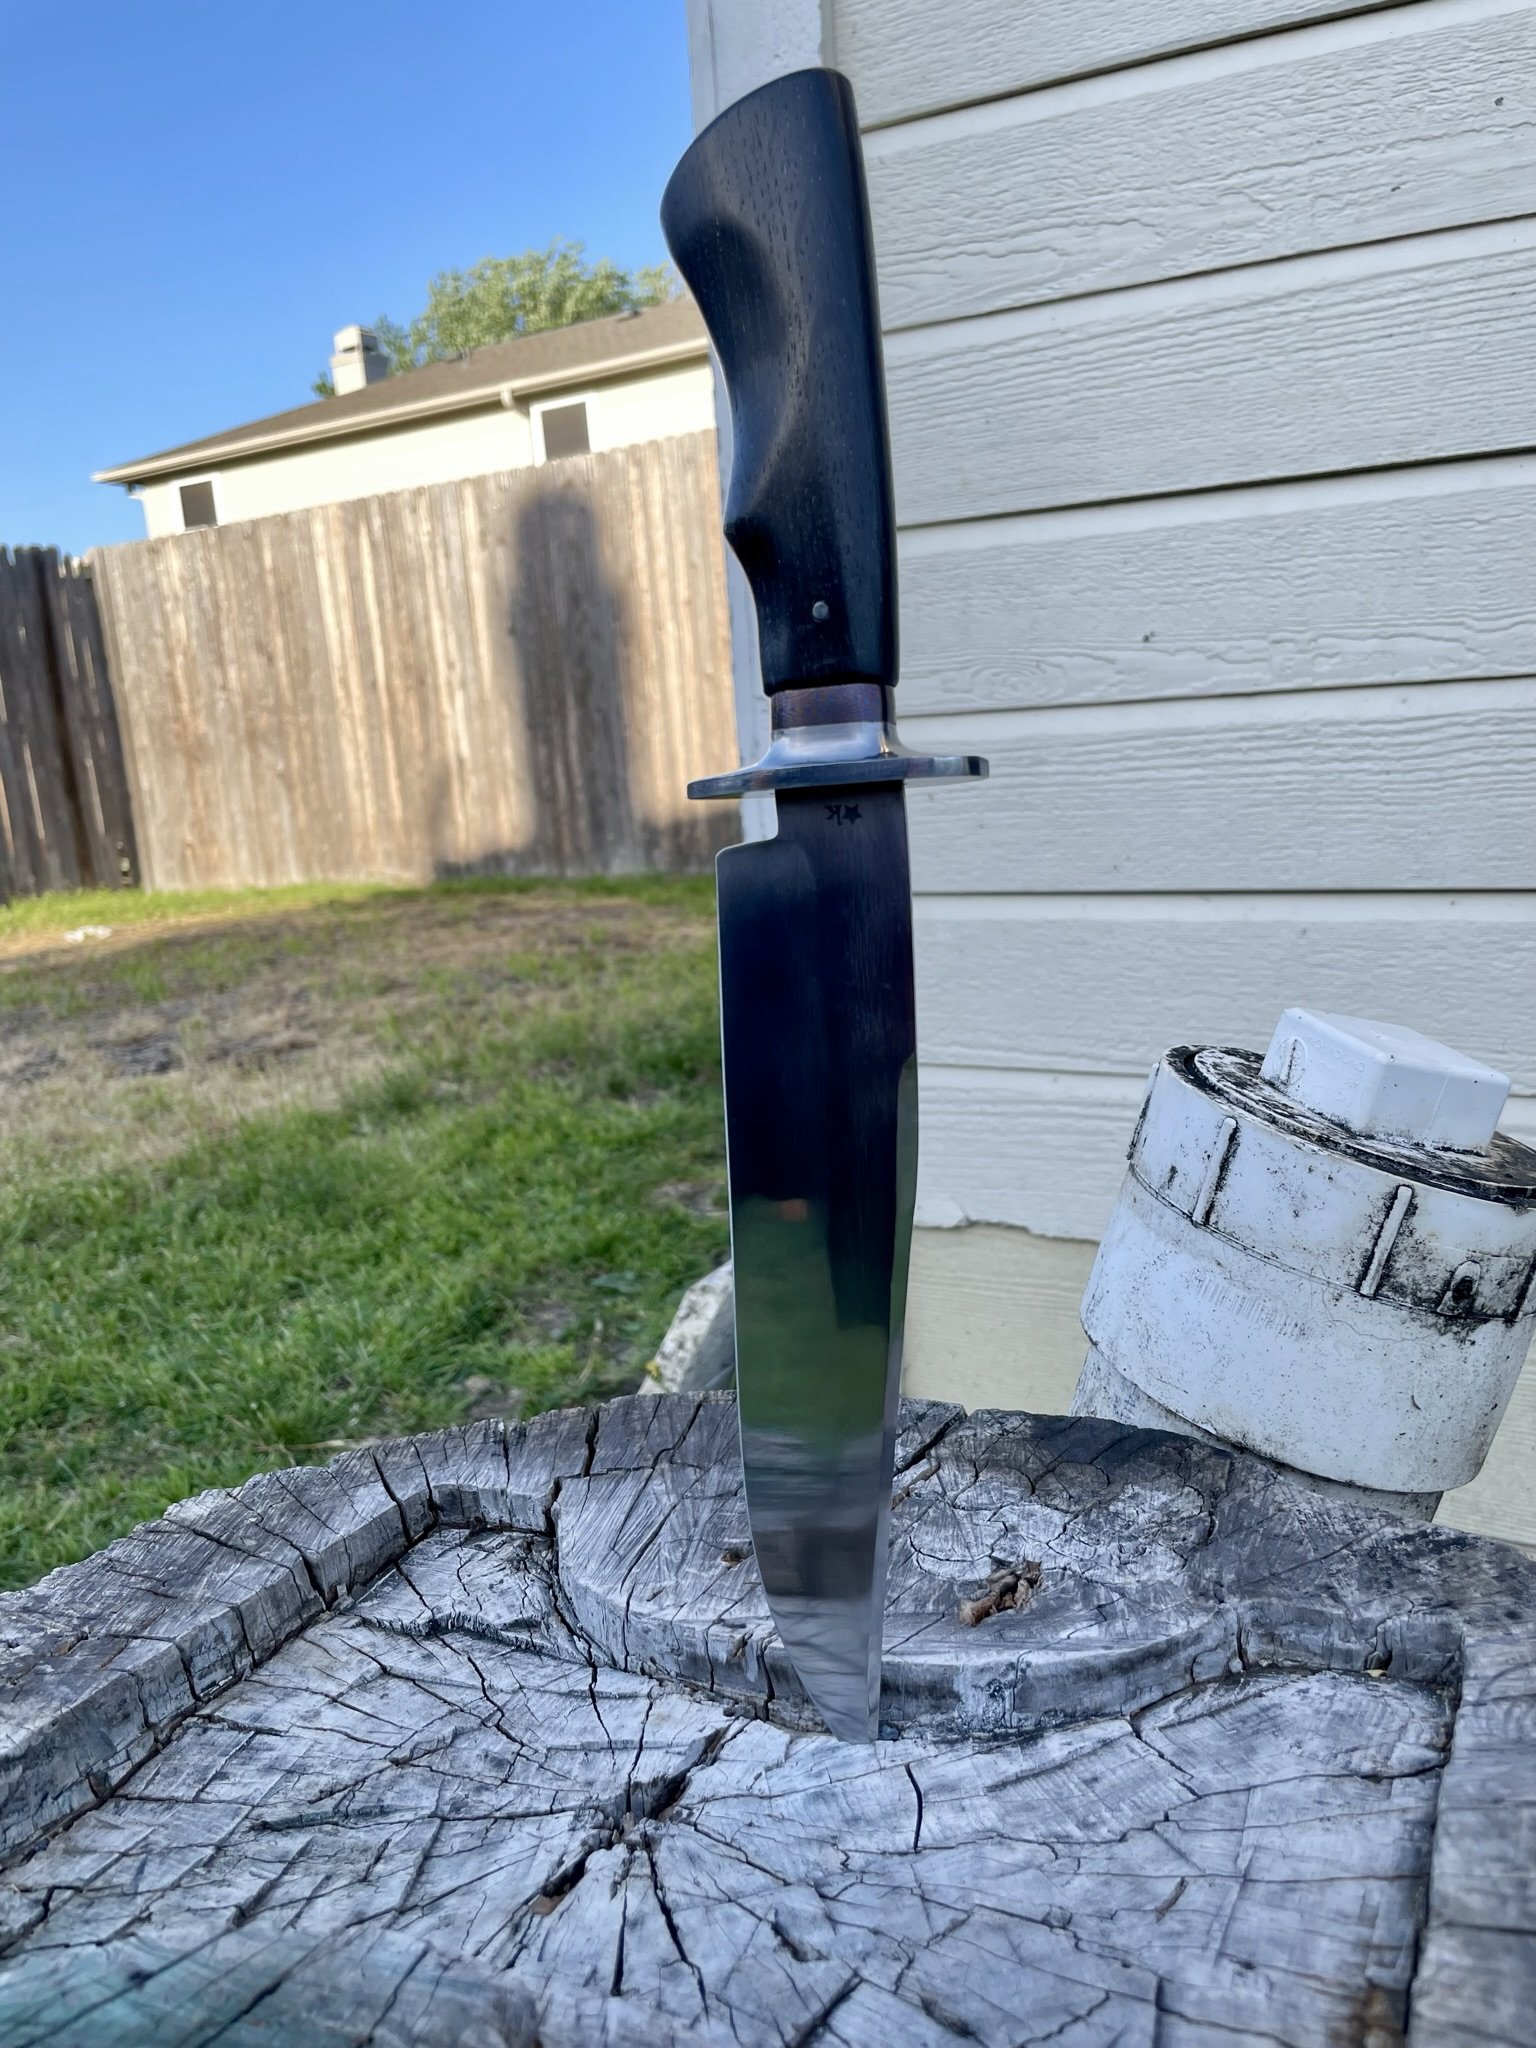
I wanted another example knife for myself and so I decided to make this fighter style for my personal collection.
-
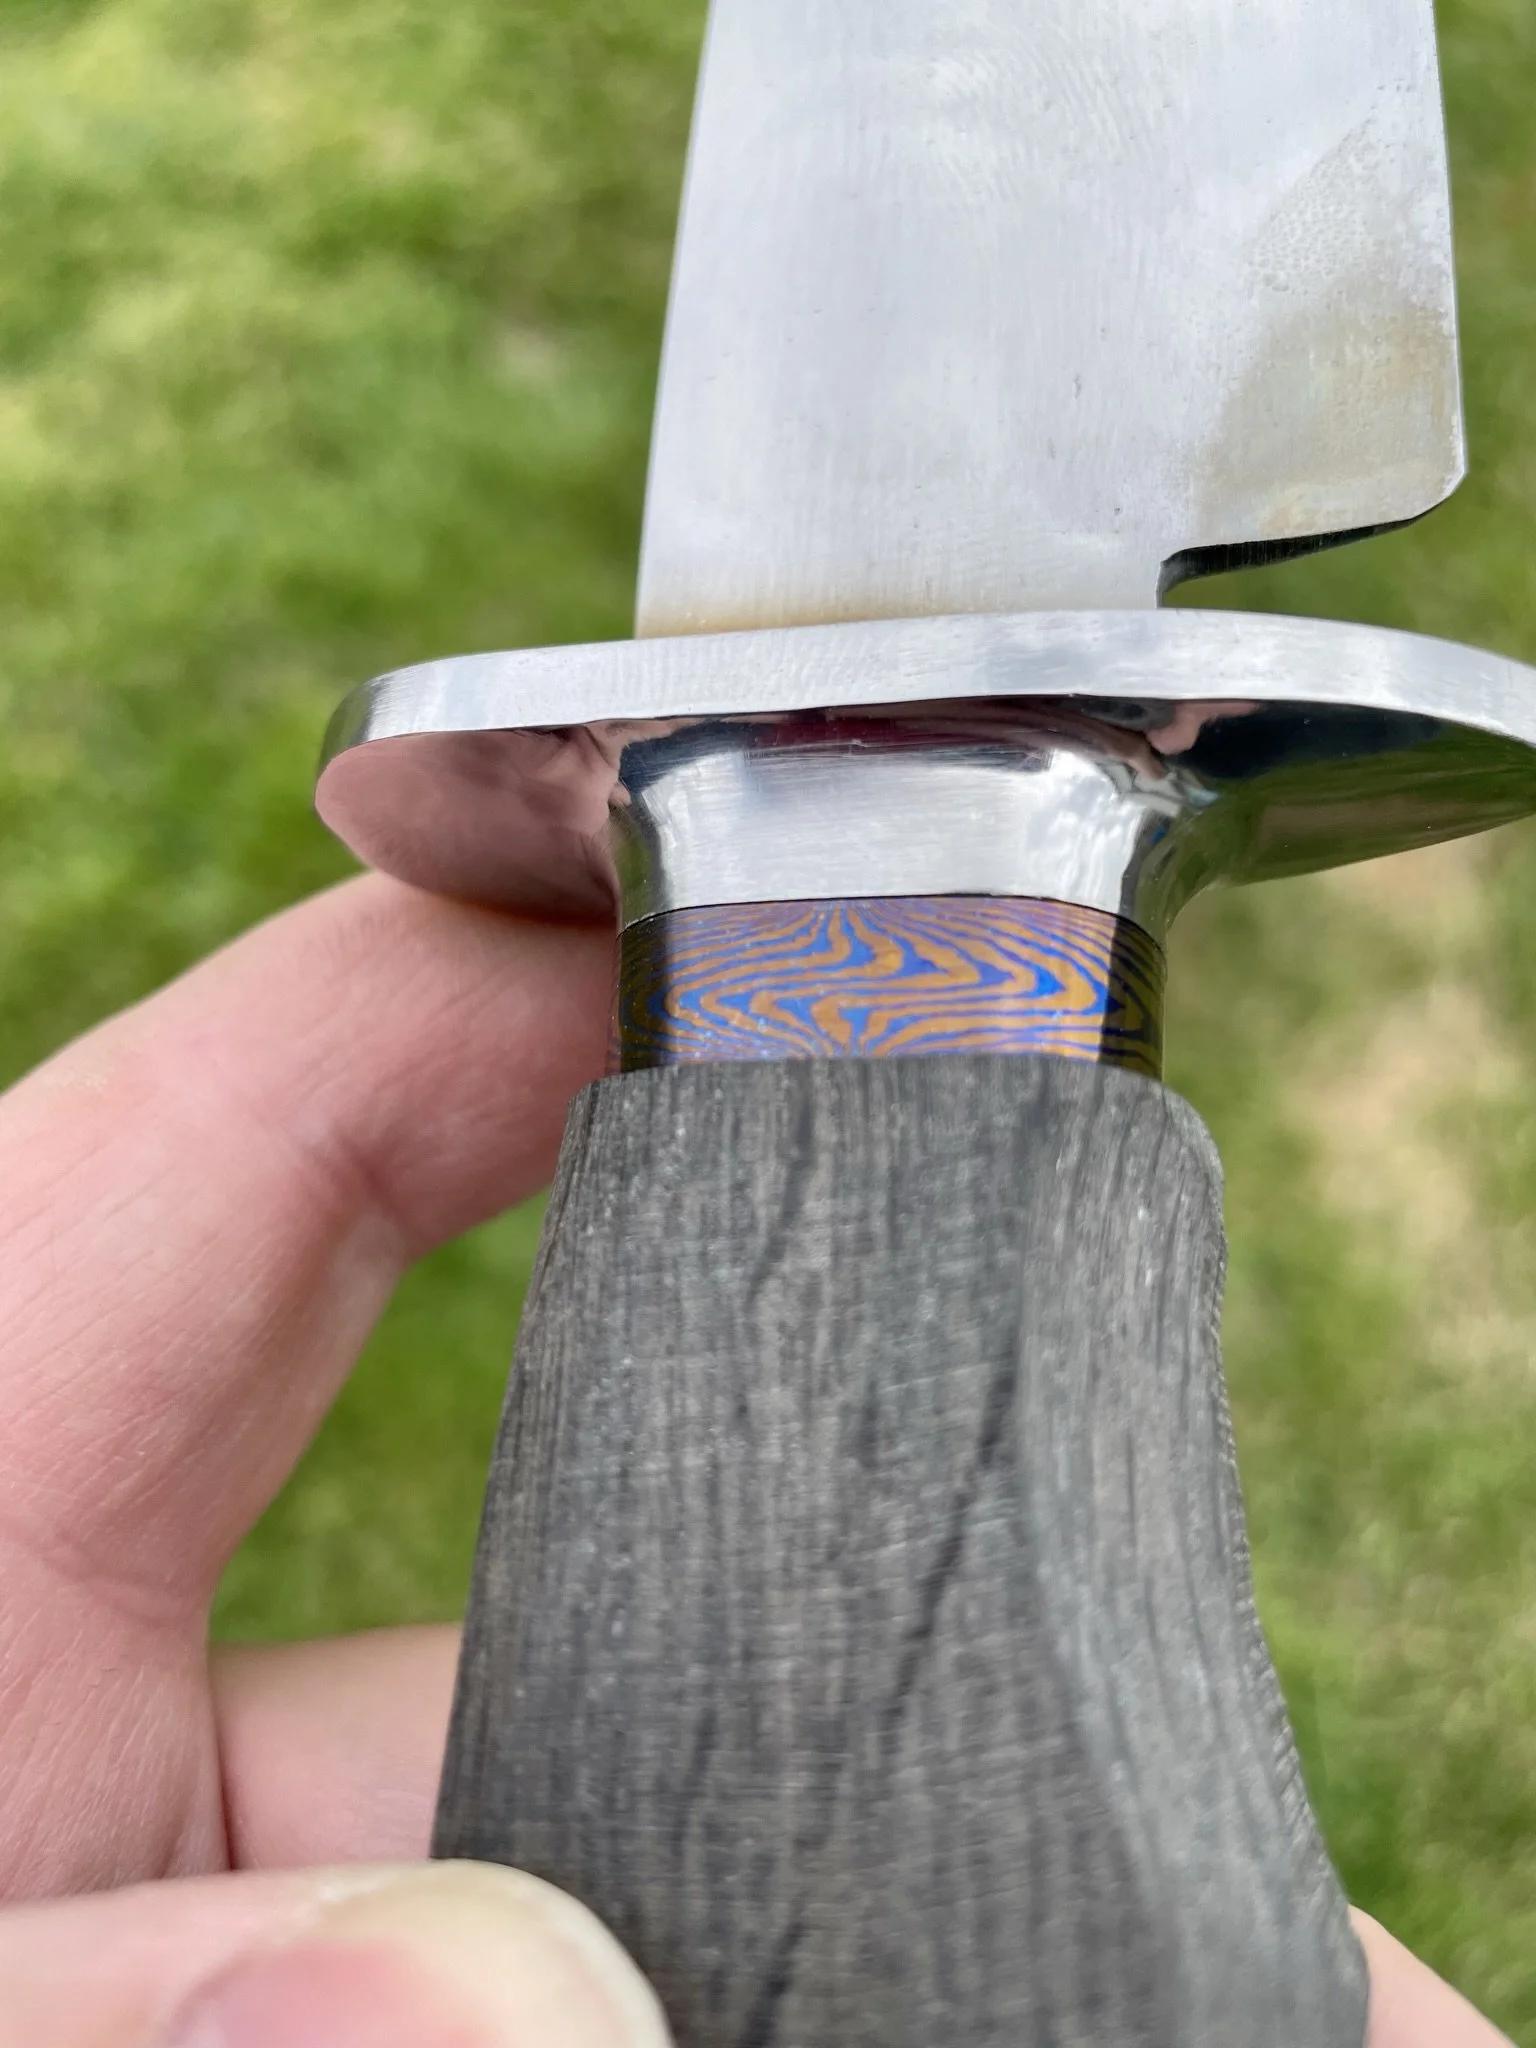
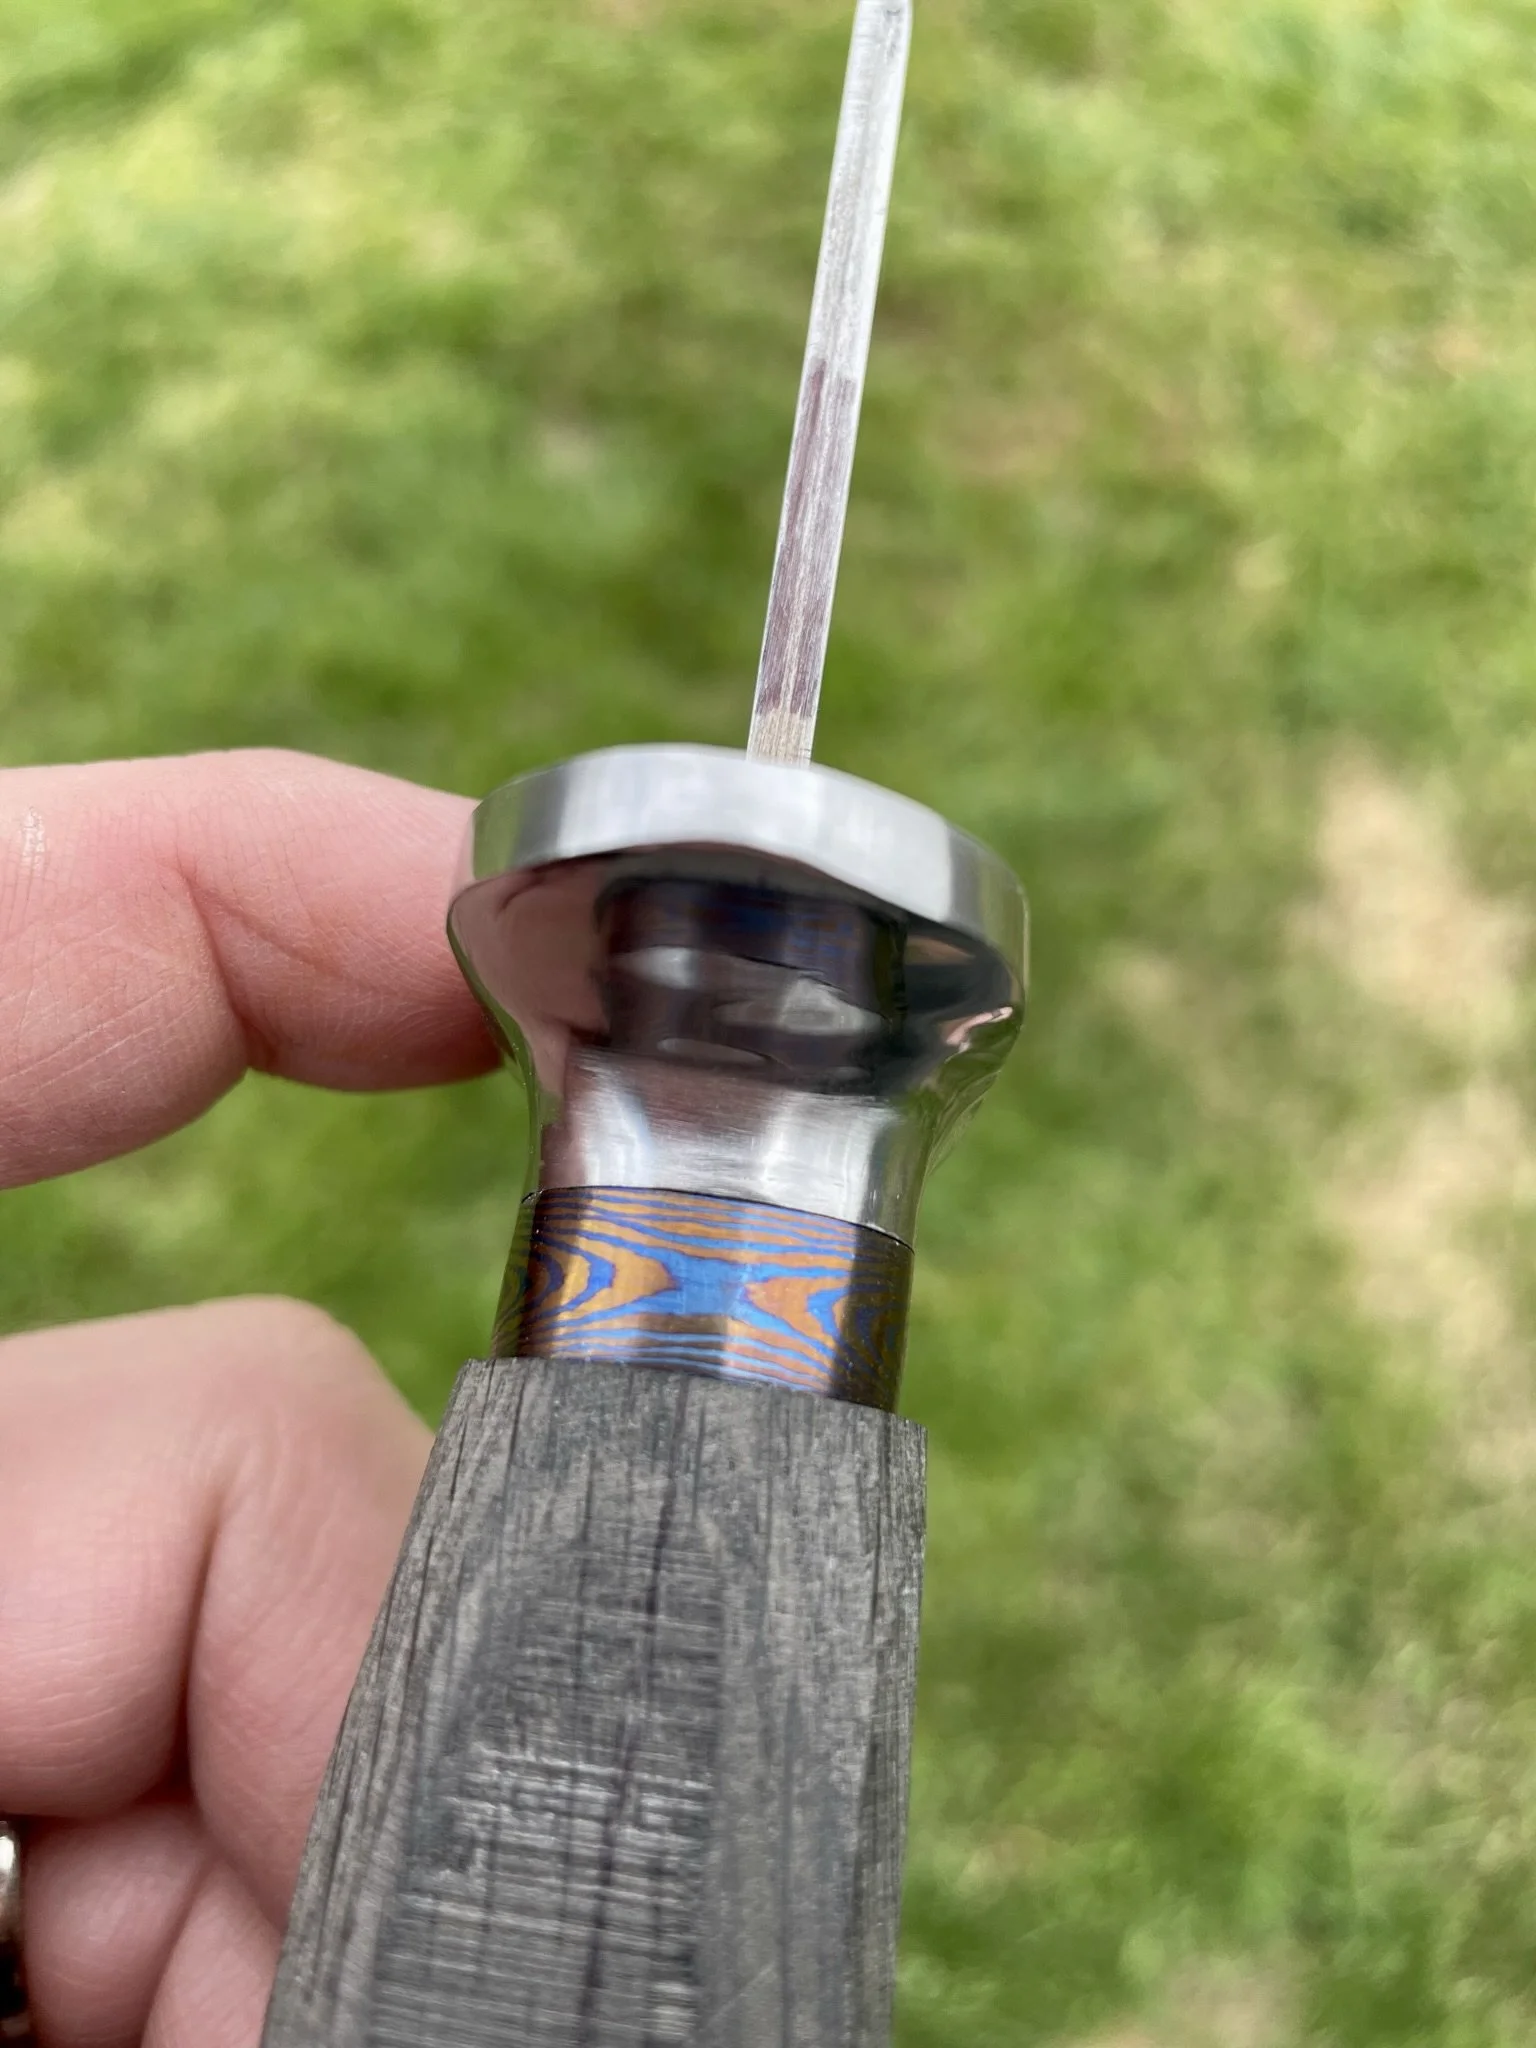
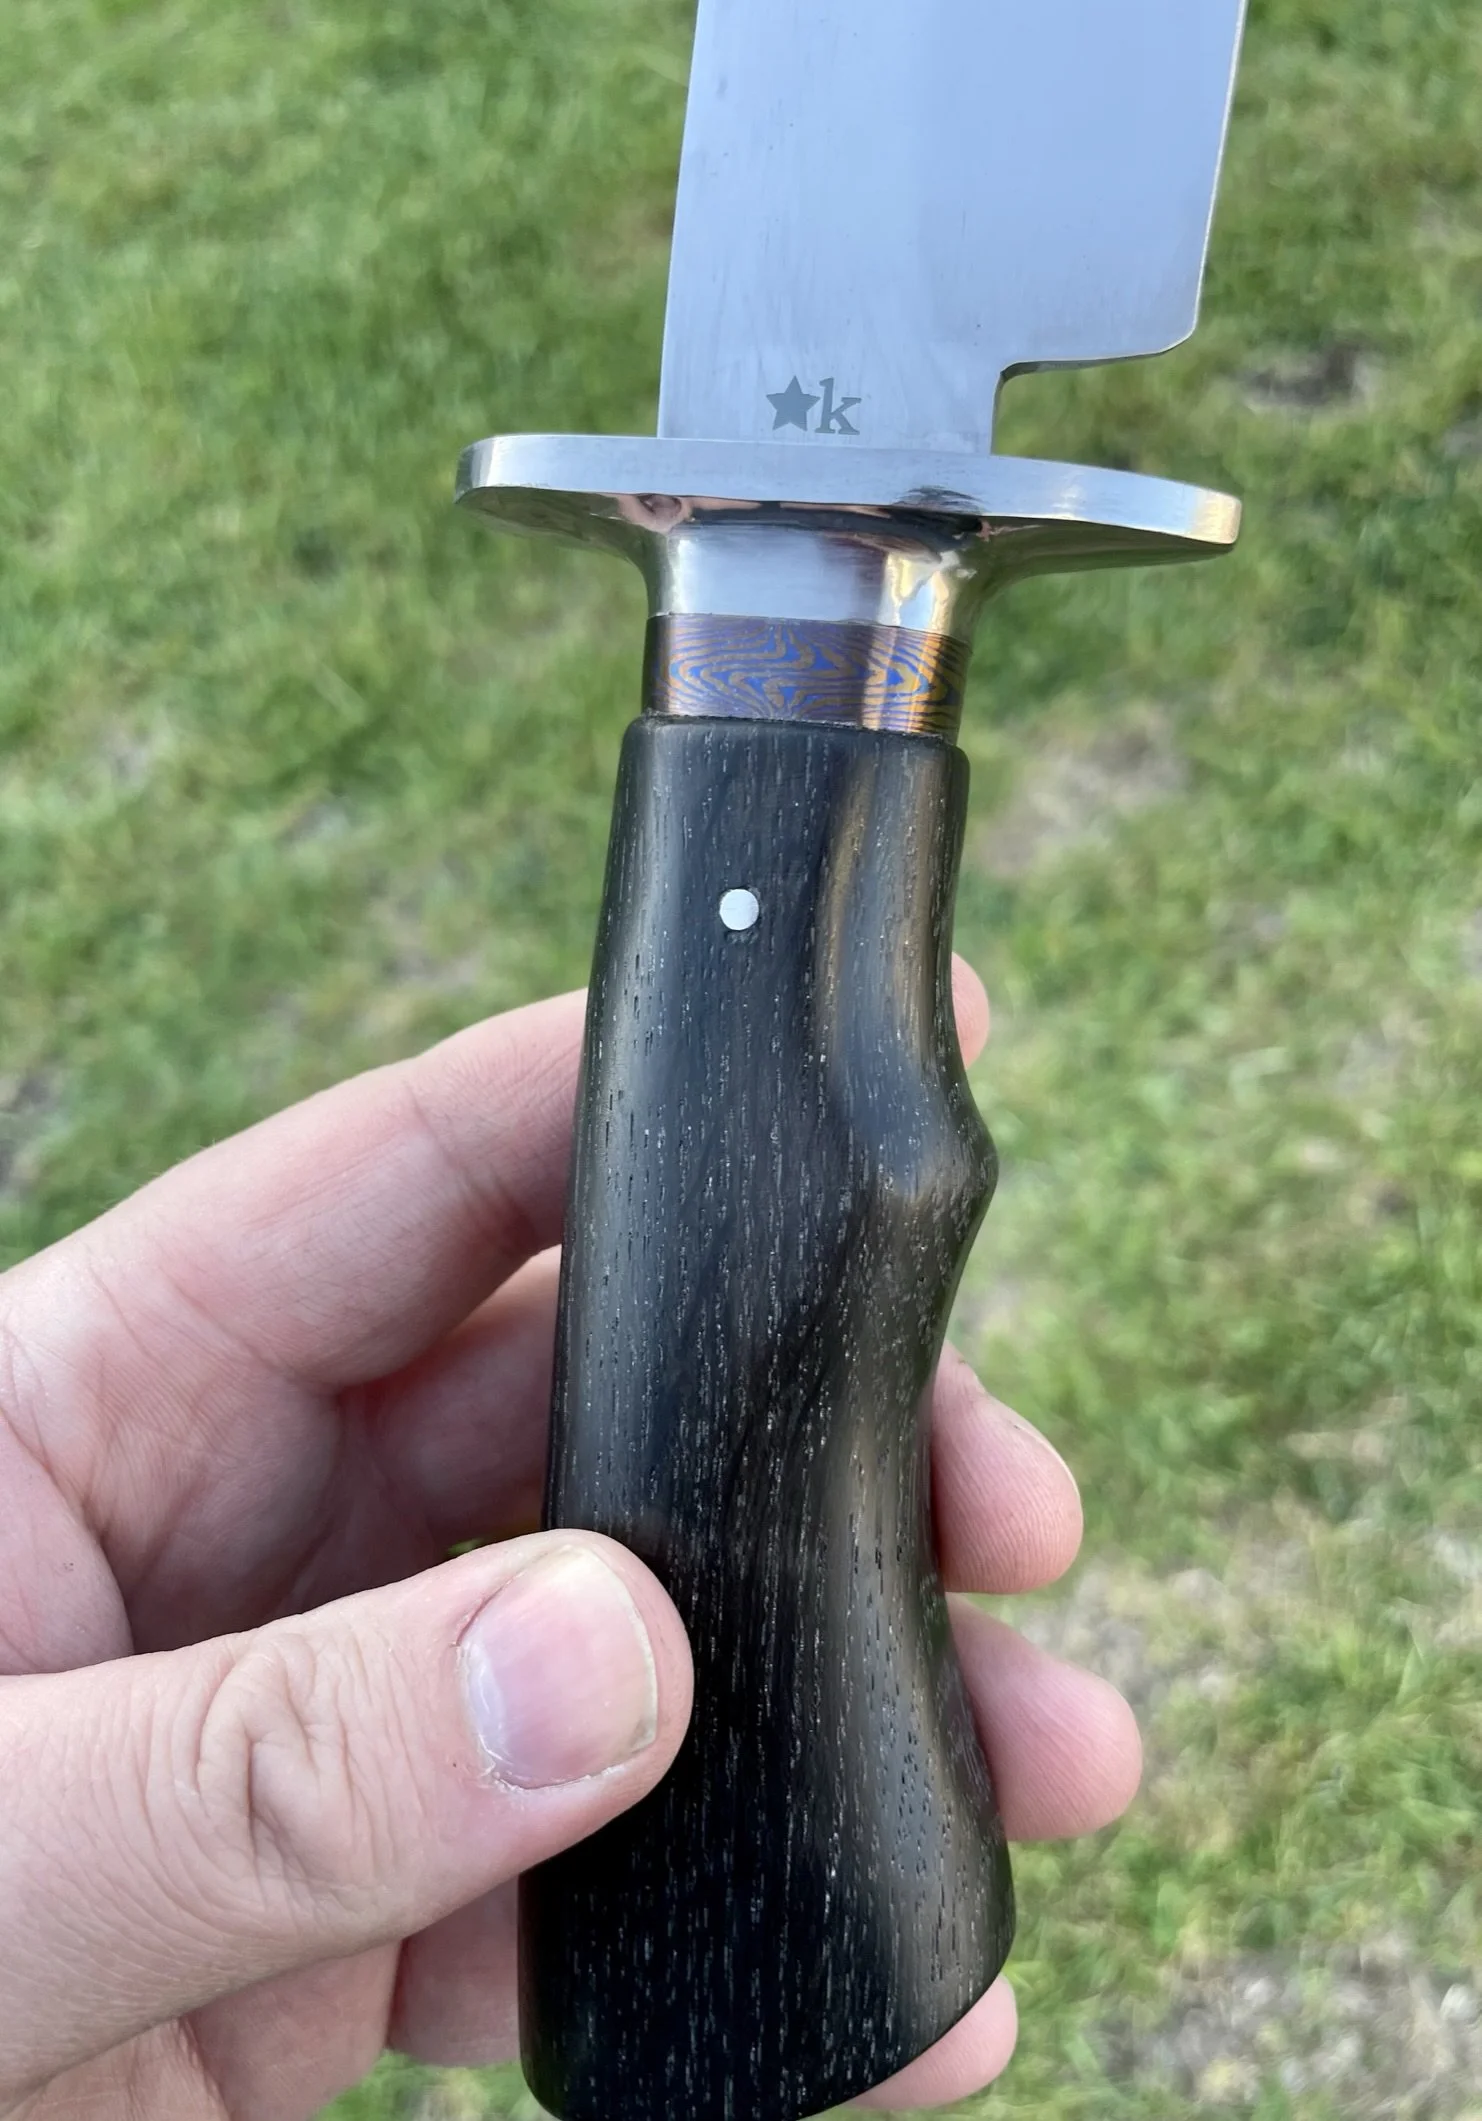
Shaping the guard from mild steel. I also decided to use that original piece of Timascus I left behind years ago.
-
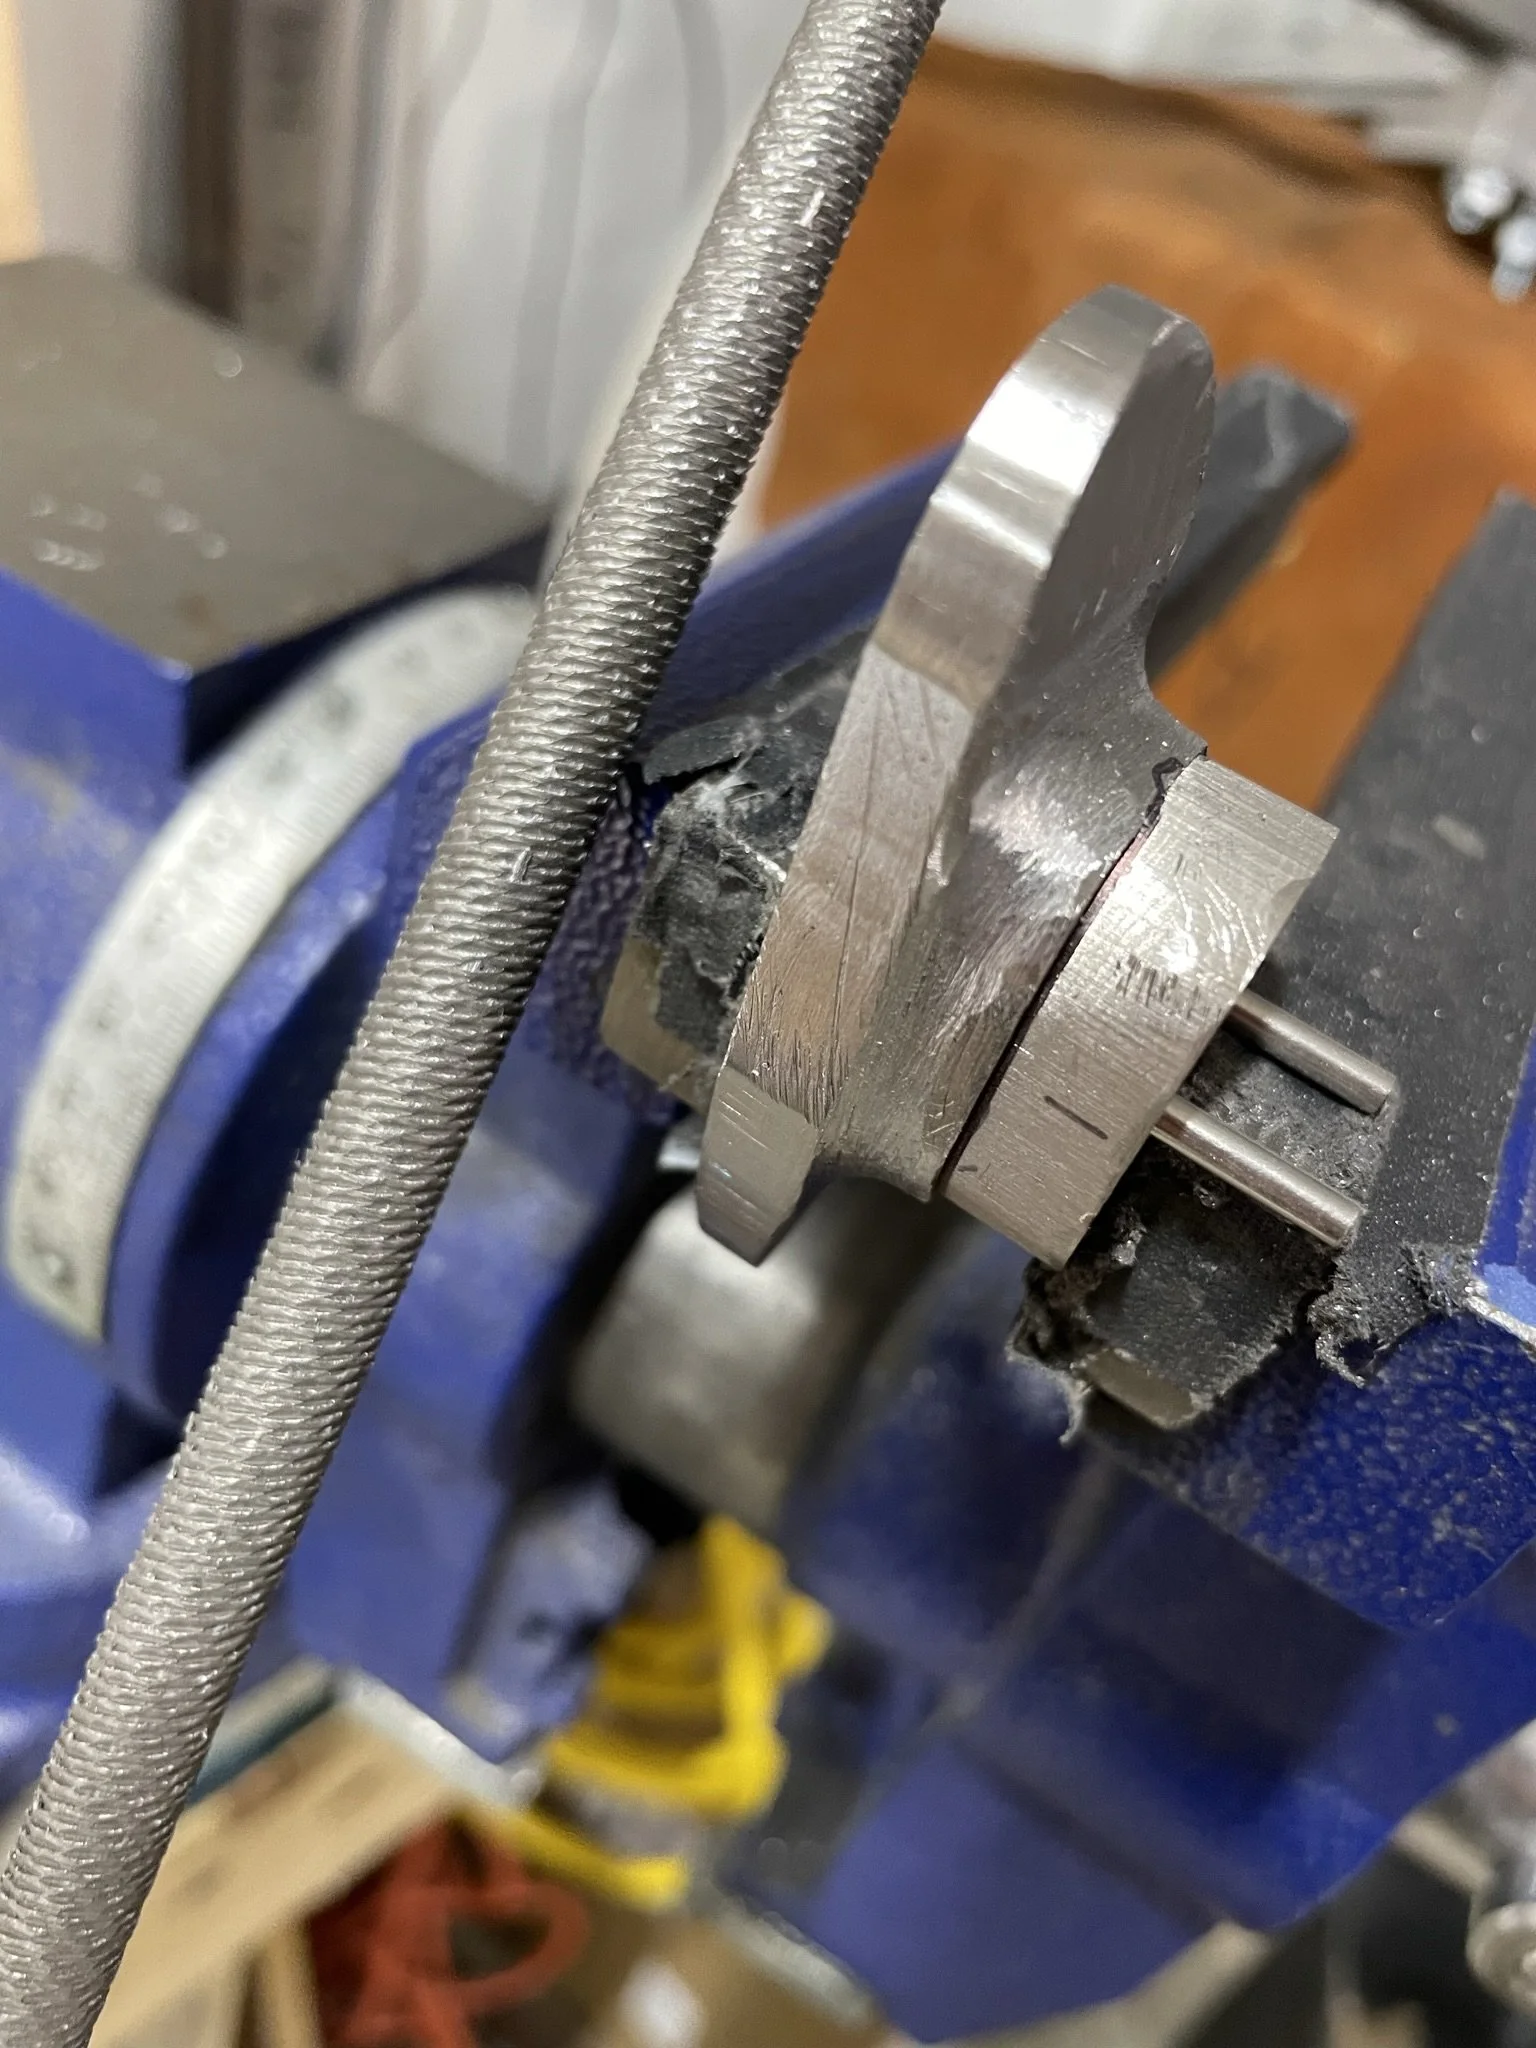
Line up pins to make sure everything fits up correctly.
-
Rough fit up.
-
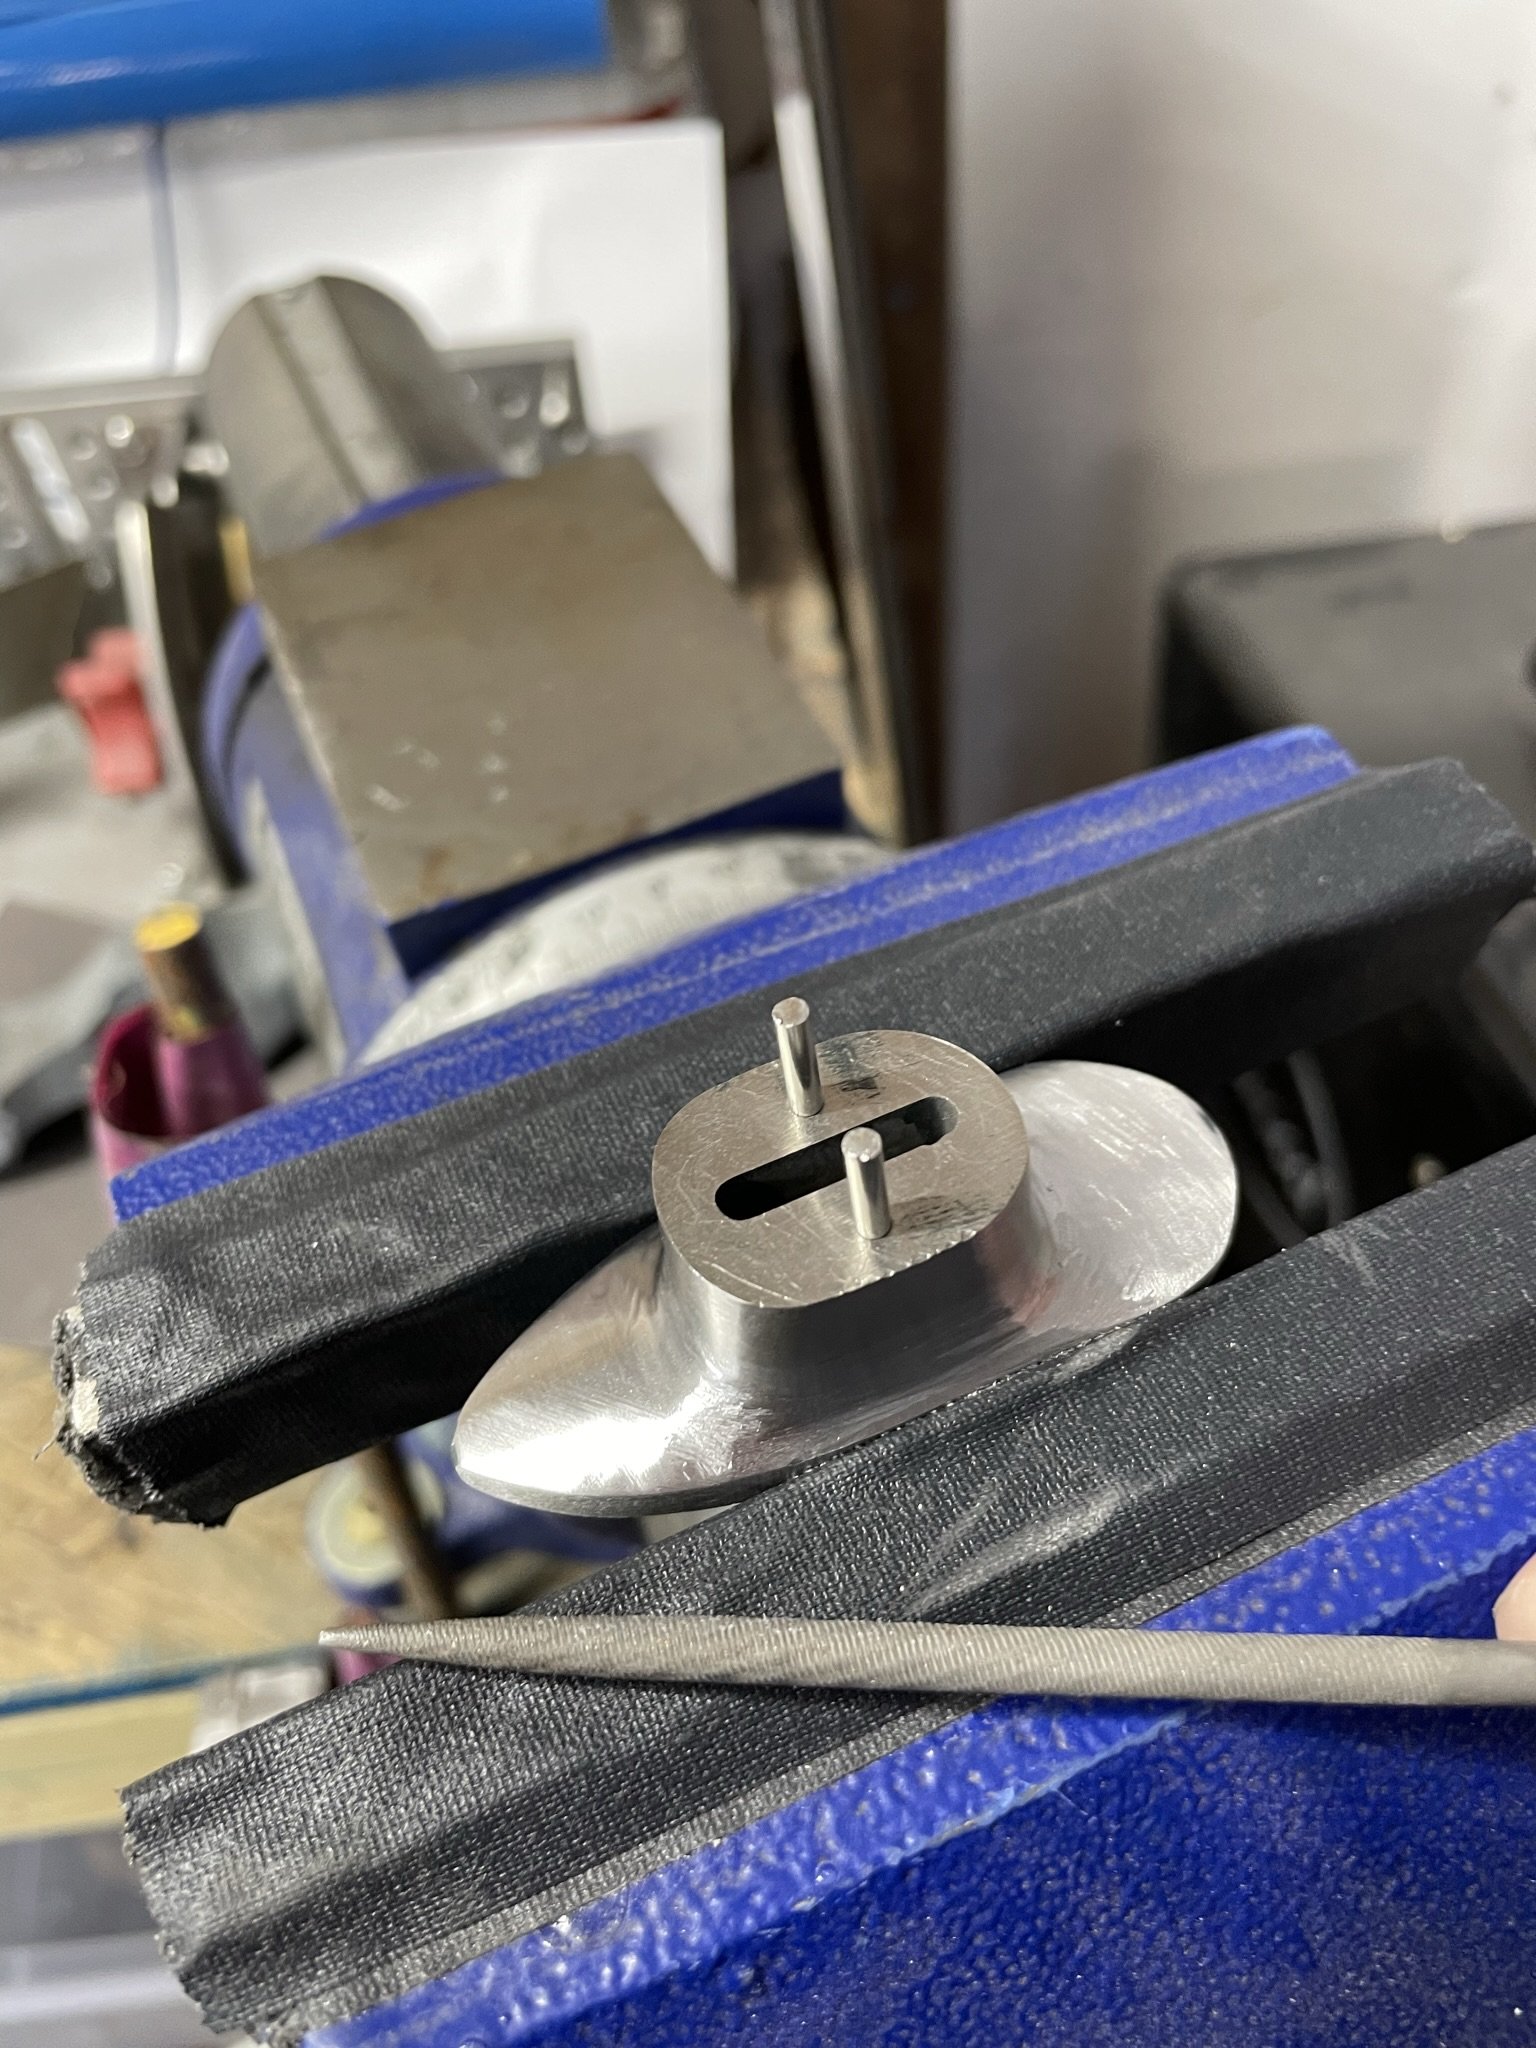
Rough fit up with the Timascus spacer.
-
Another angle on the spacer.
-
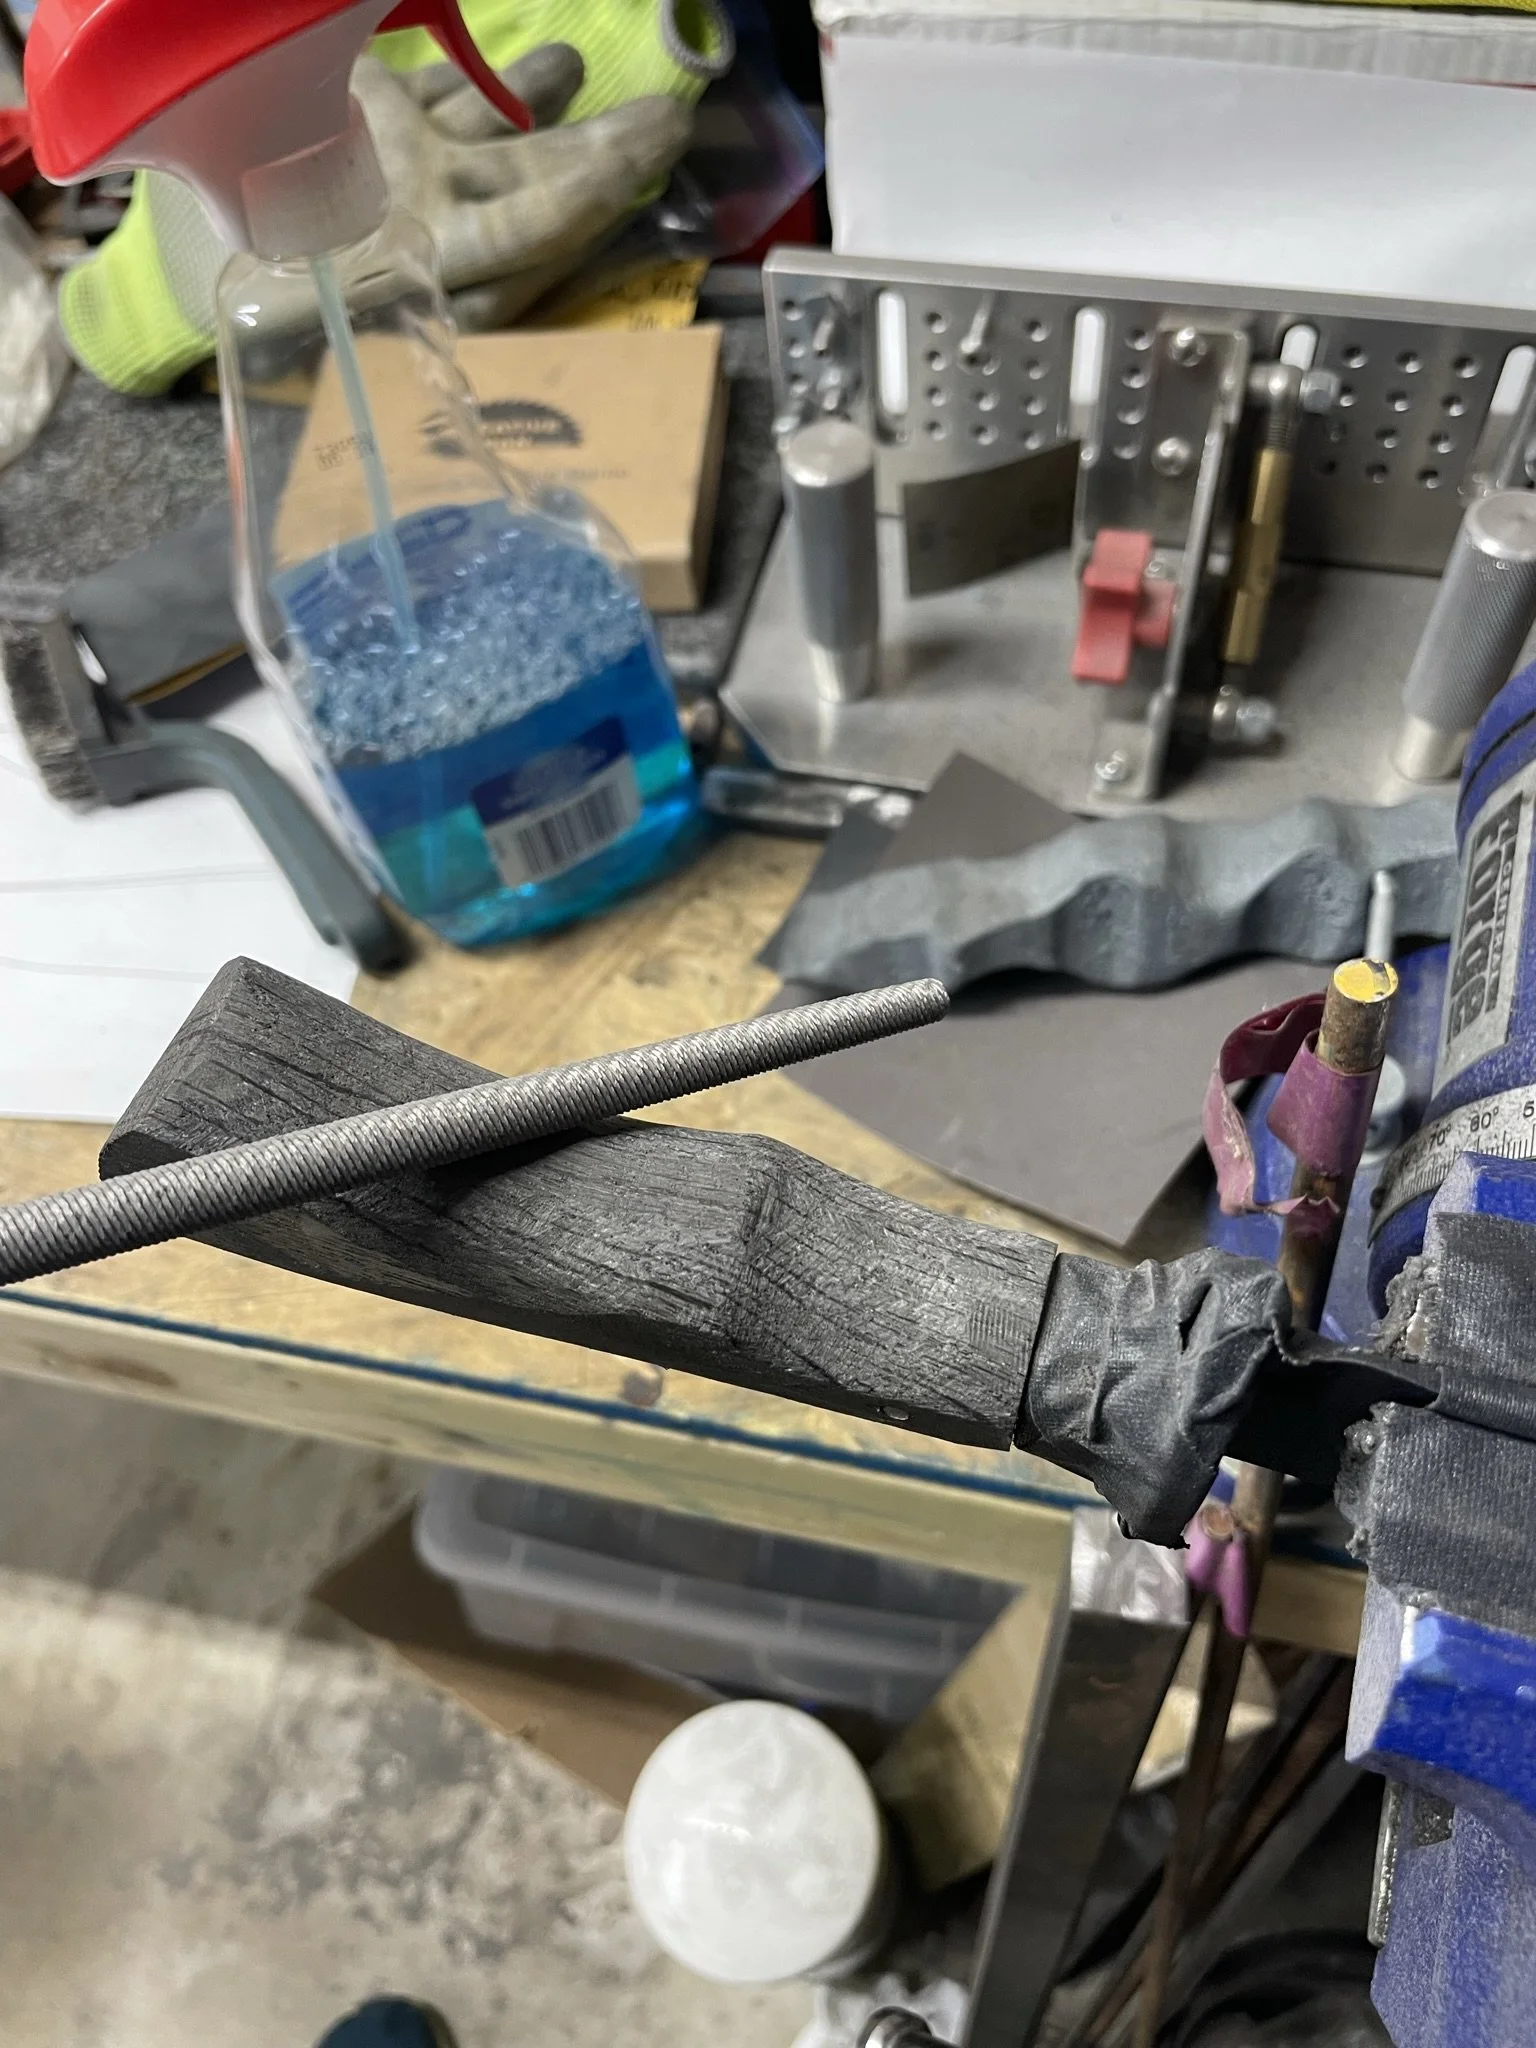
More handle shaping.
-
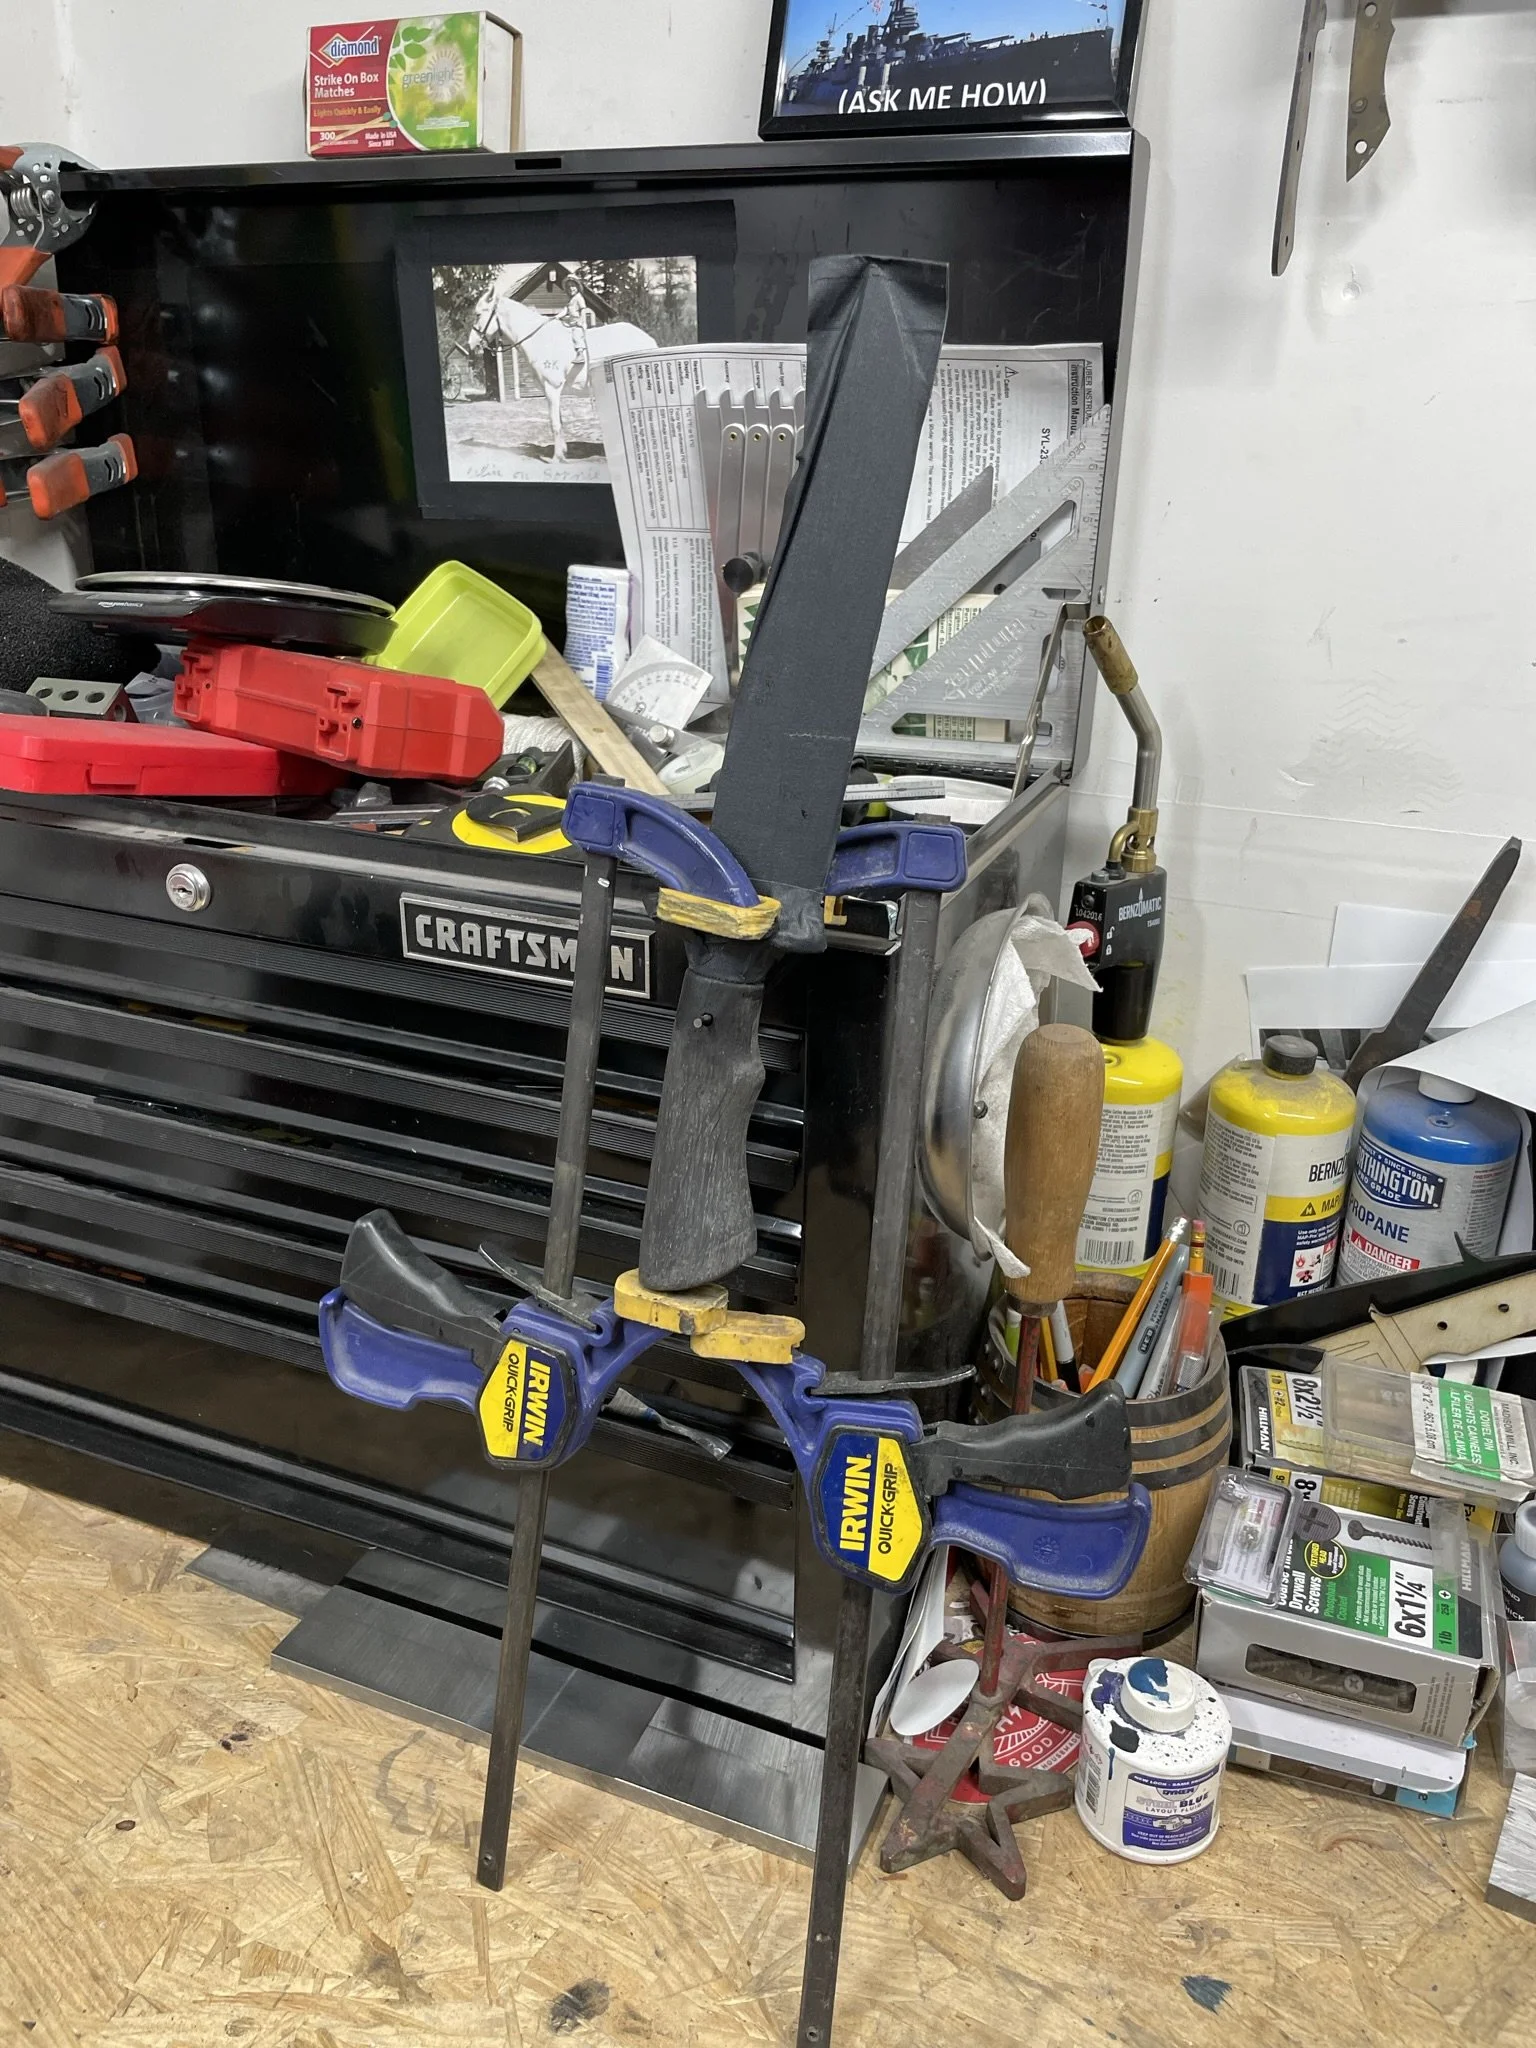
Glue ups don't change too much.
-
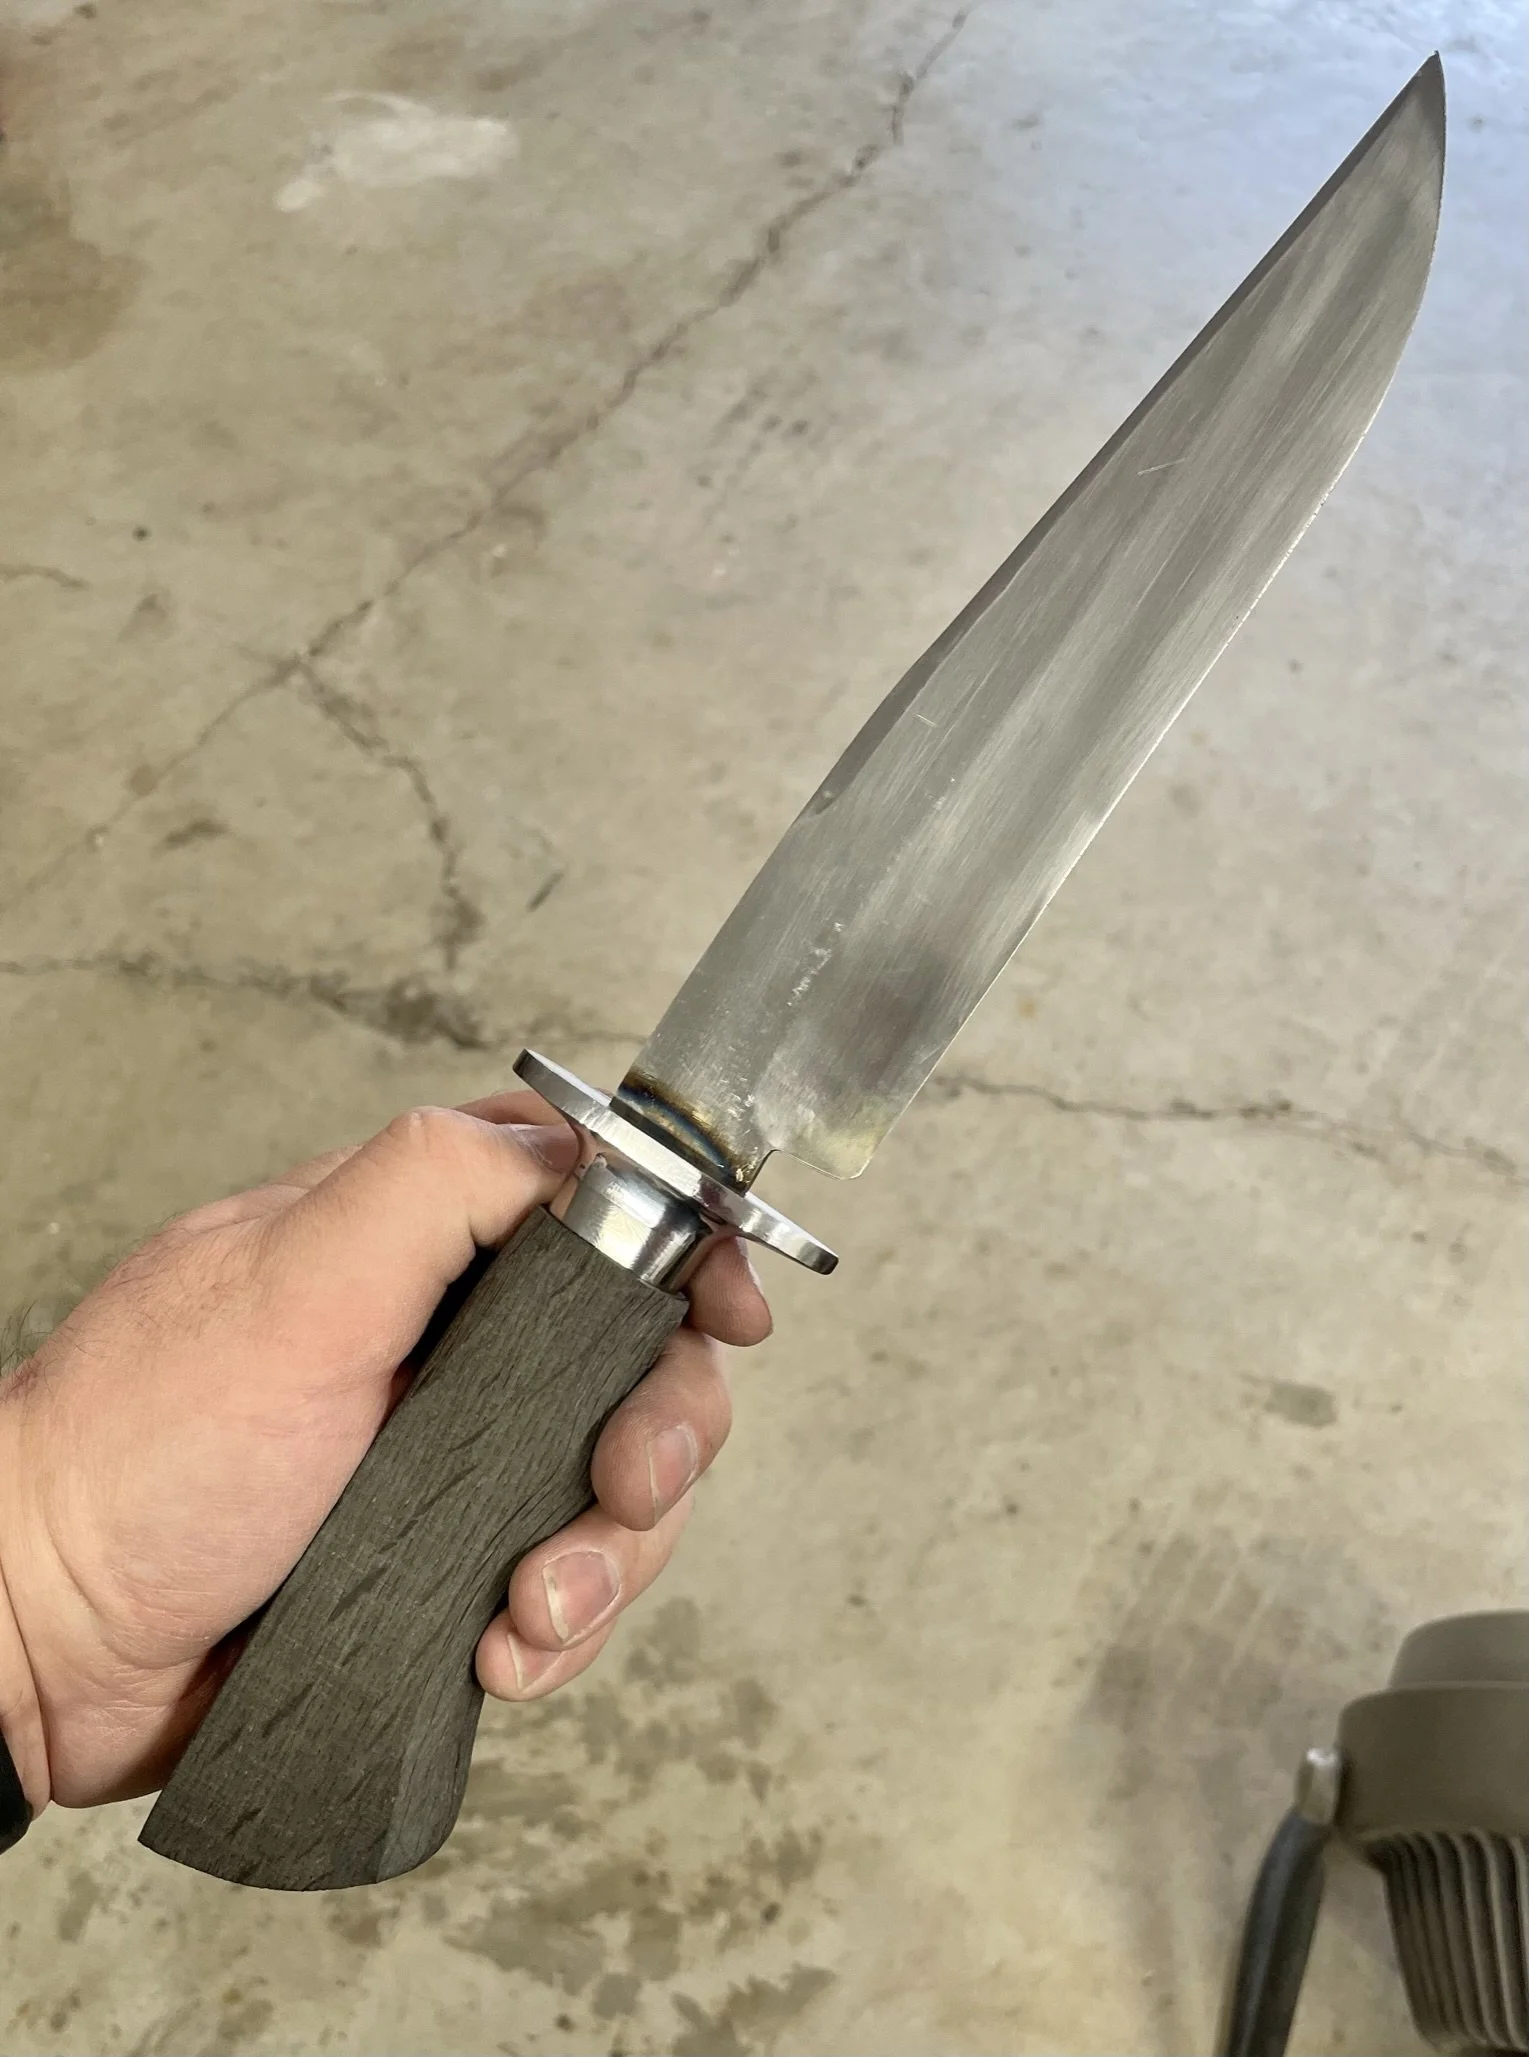
Finished blade.
-
Finished handle.
-
Finished glamour shot #1.
-
Finished glamour shot #2.
Eva H. - Glow in the Dark Heart Tanto
-
Final blade - keep scrolling to see the journey.
-
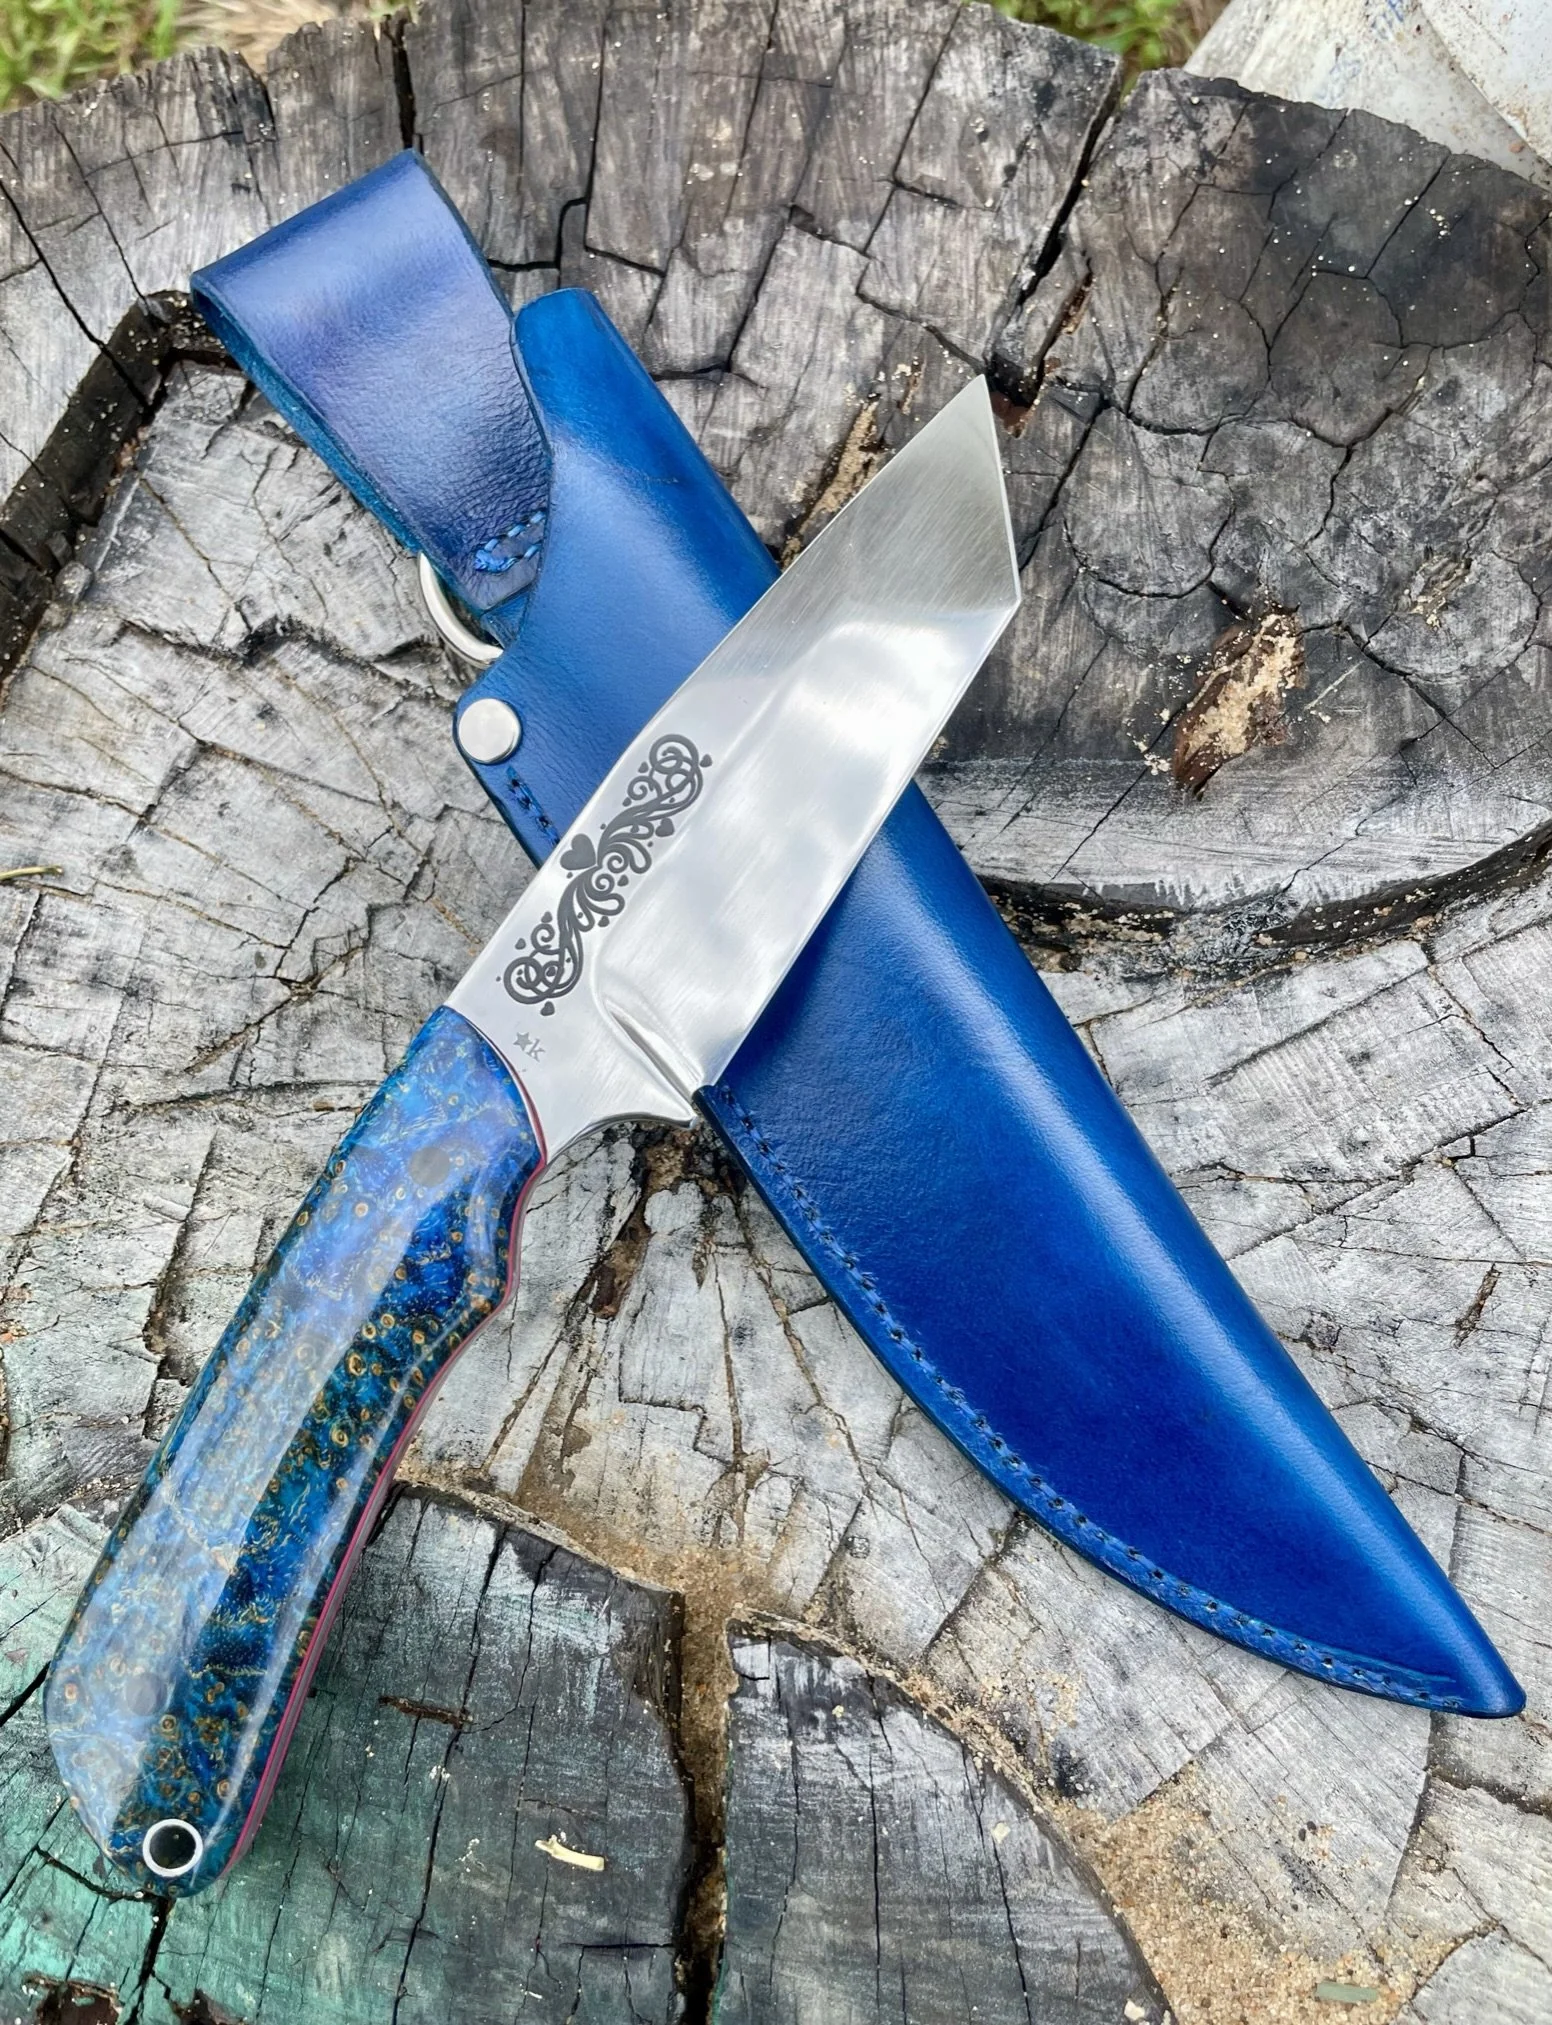
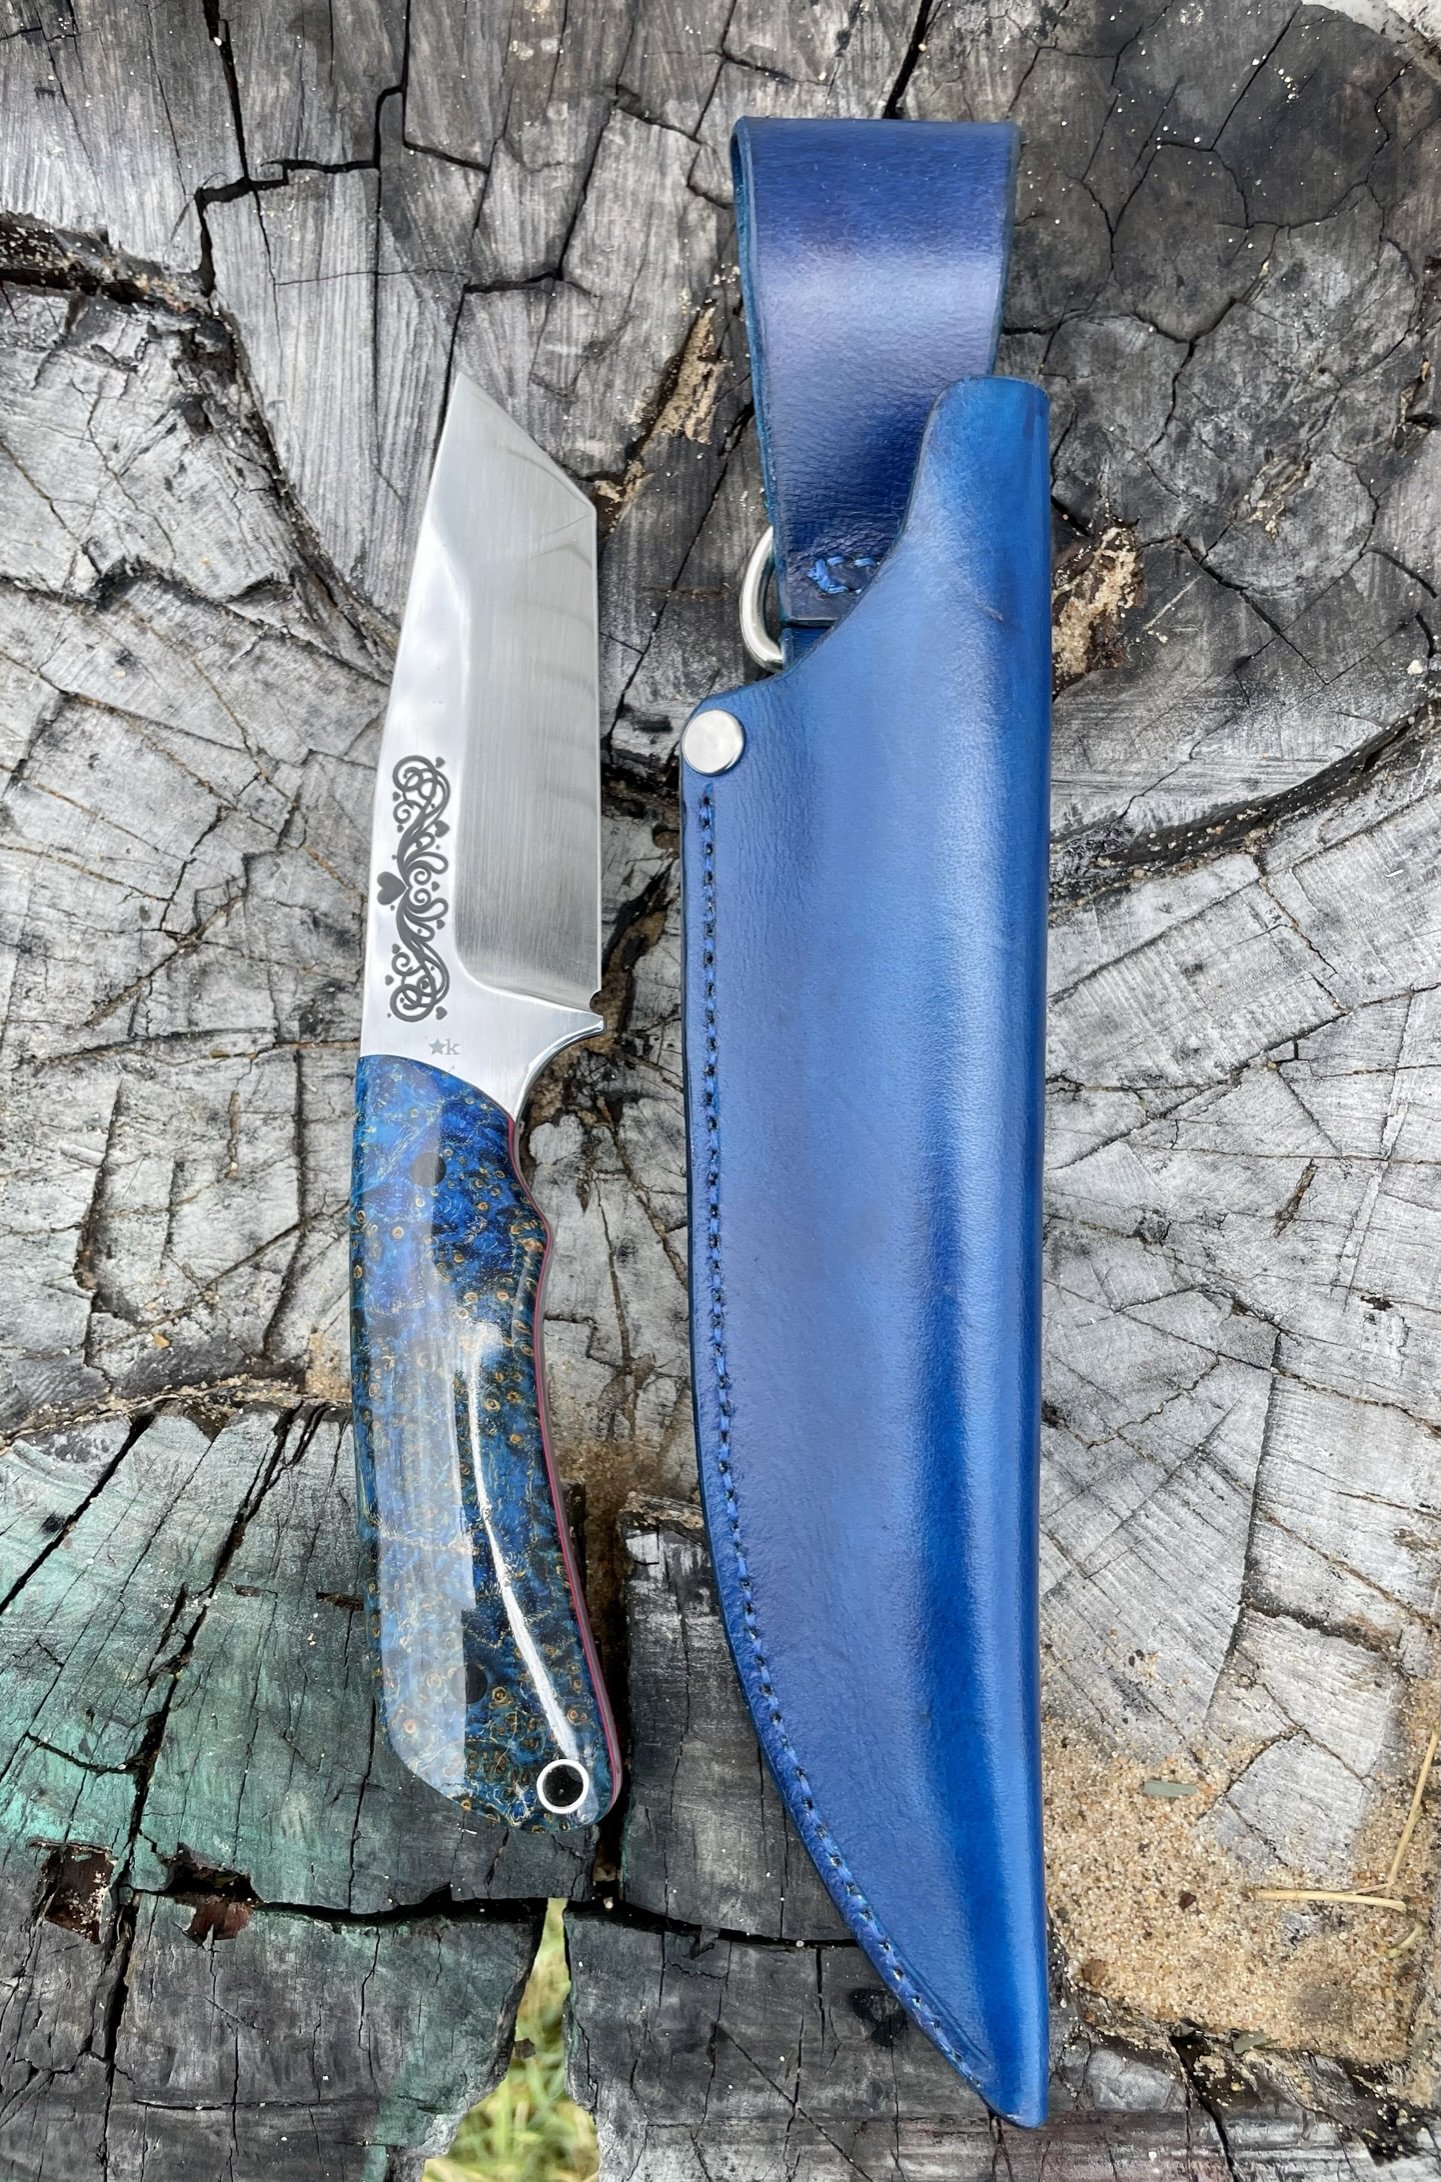
Back to the family friend who asked me to make blades for his kids. It was time to make a knife for his daughter. She liked the glow in the dark that I did for her brother and wanted a tanto tip as well. My challenge to make this knife fit a young girl, but still be awesome. I think I did it.
-
This blade came from that original "portfolio" batch that I had heat treated a while back.
-
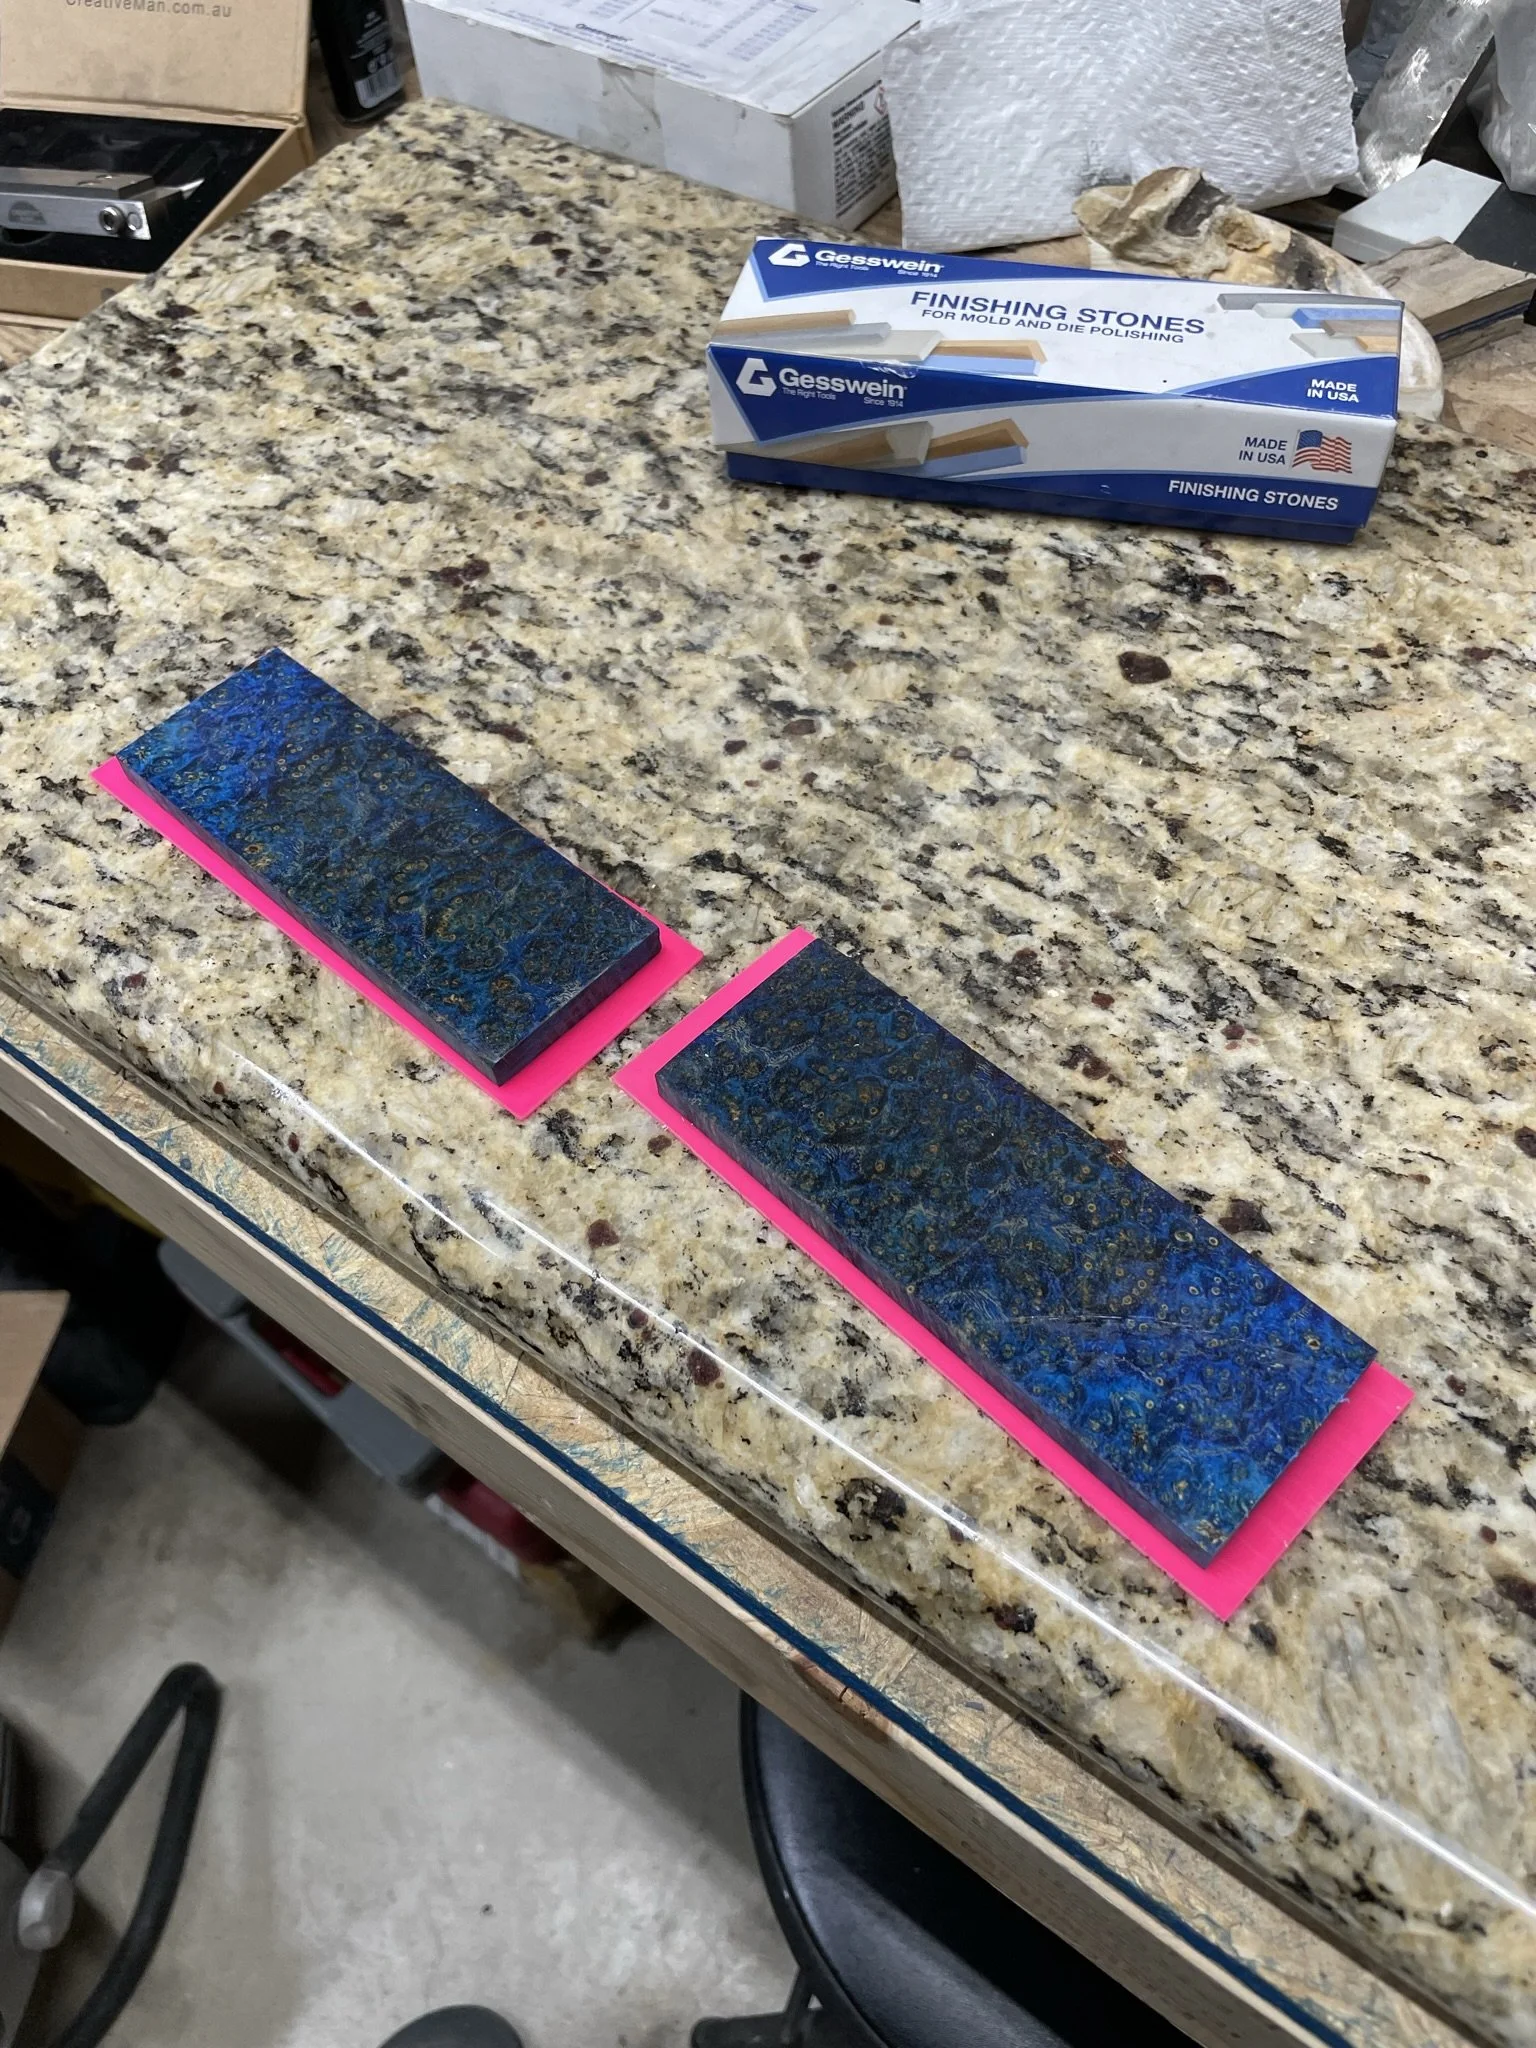
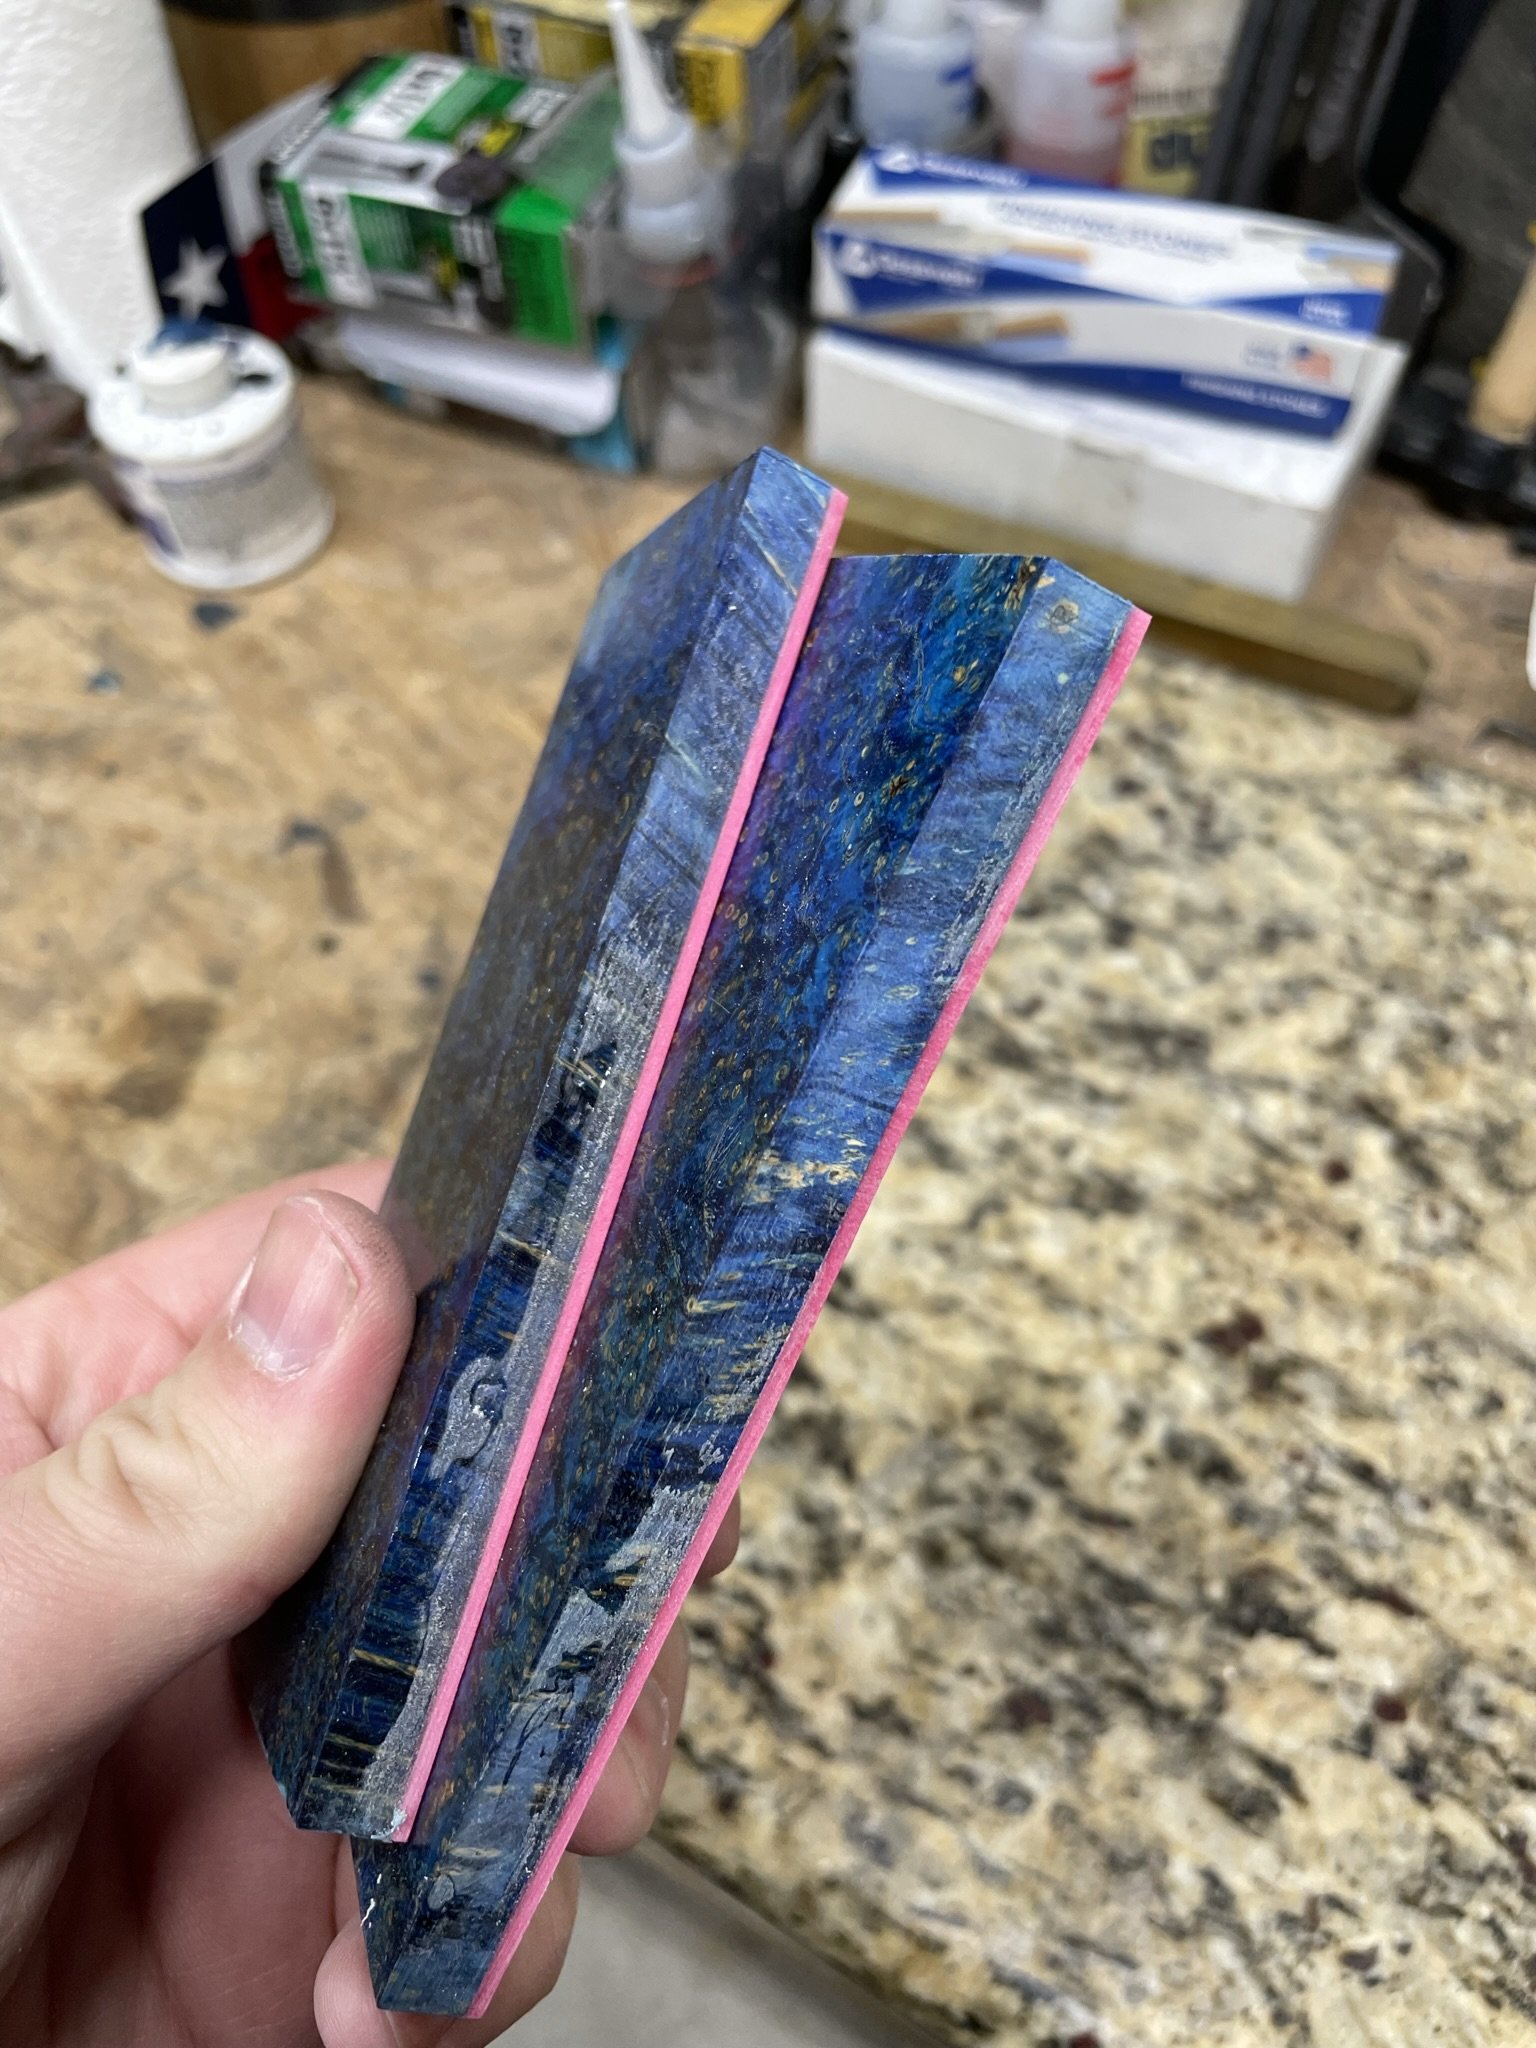
I had found these one of a kind scales that I was a little sad to let go, but definitely fit what I was looking for.
-
Layout lines on their way!
-
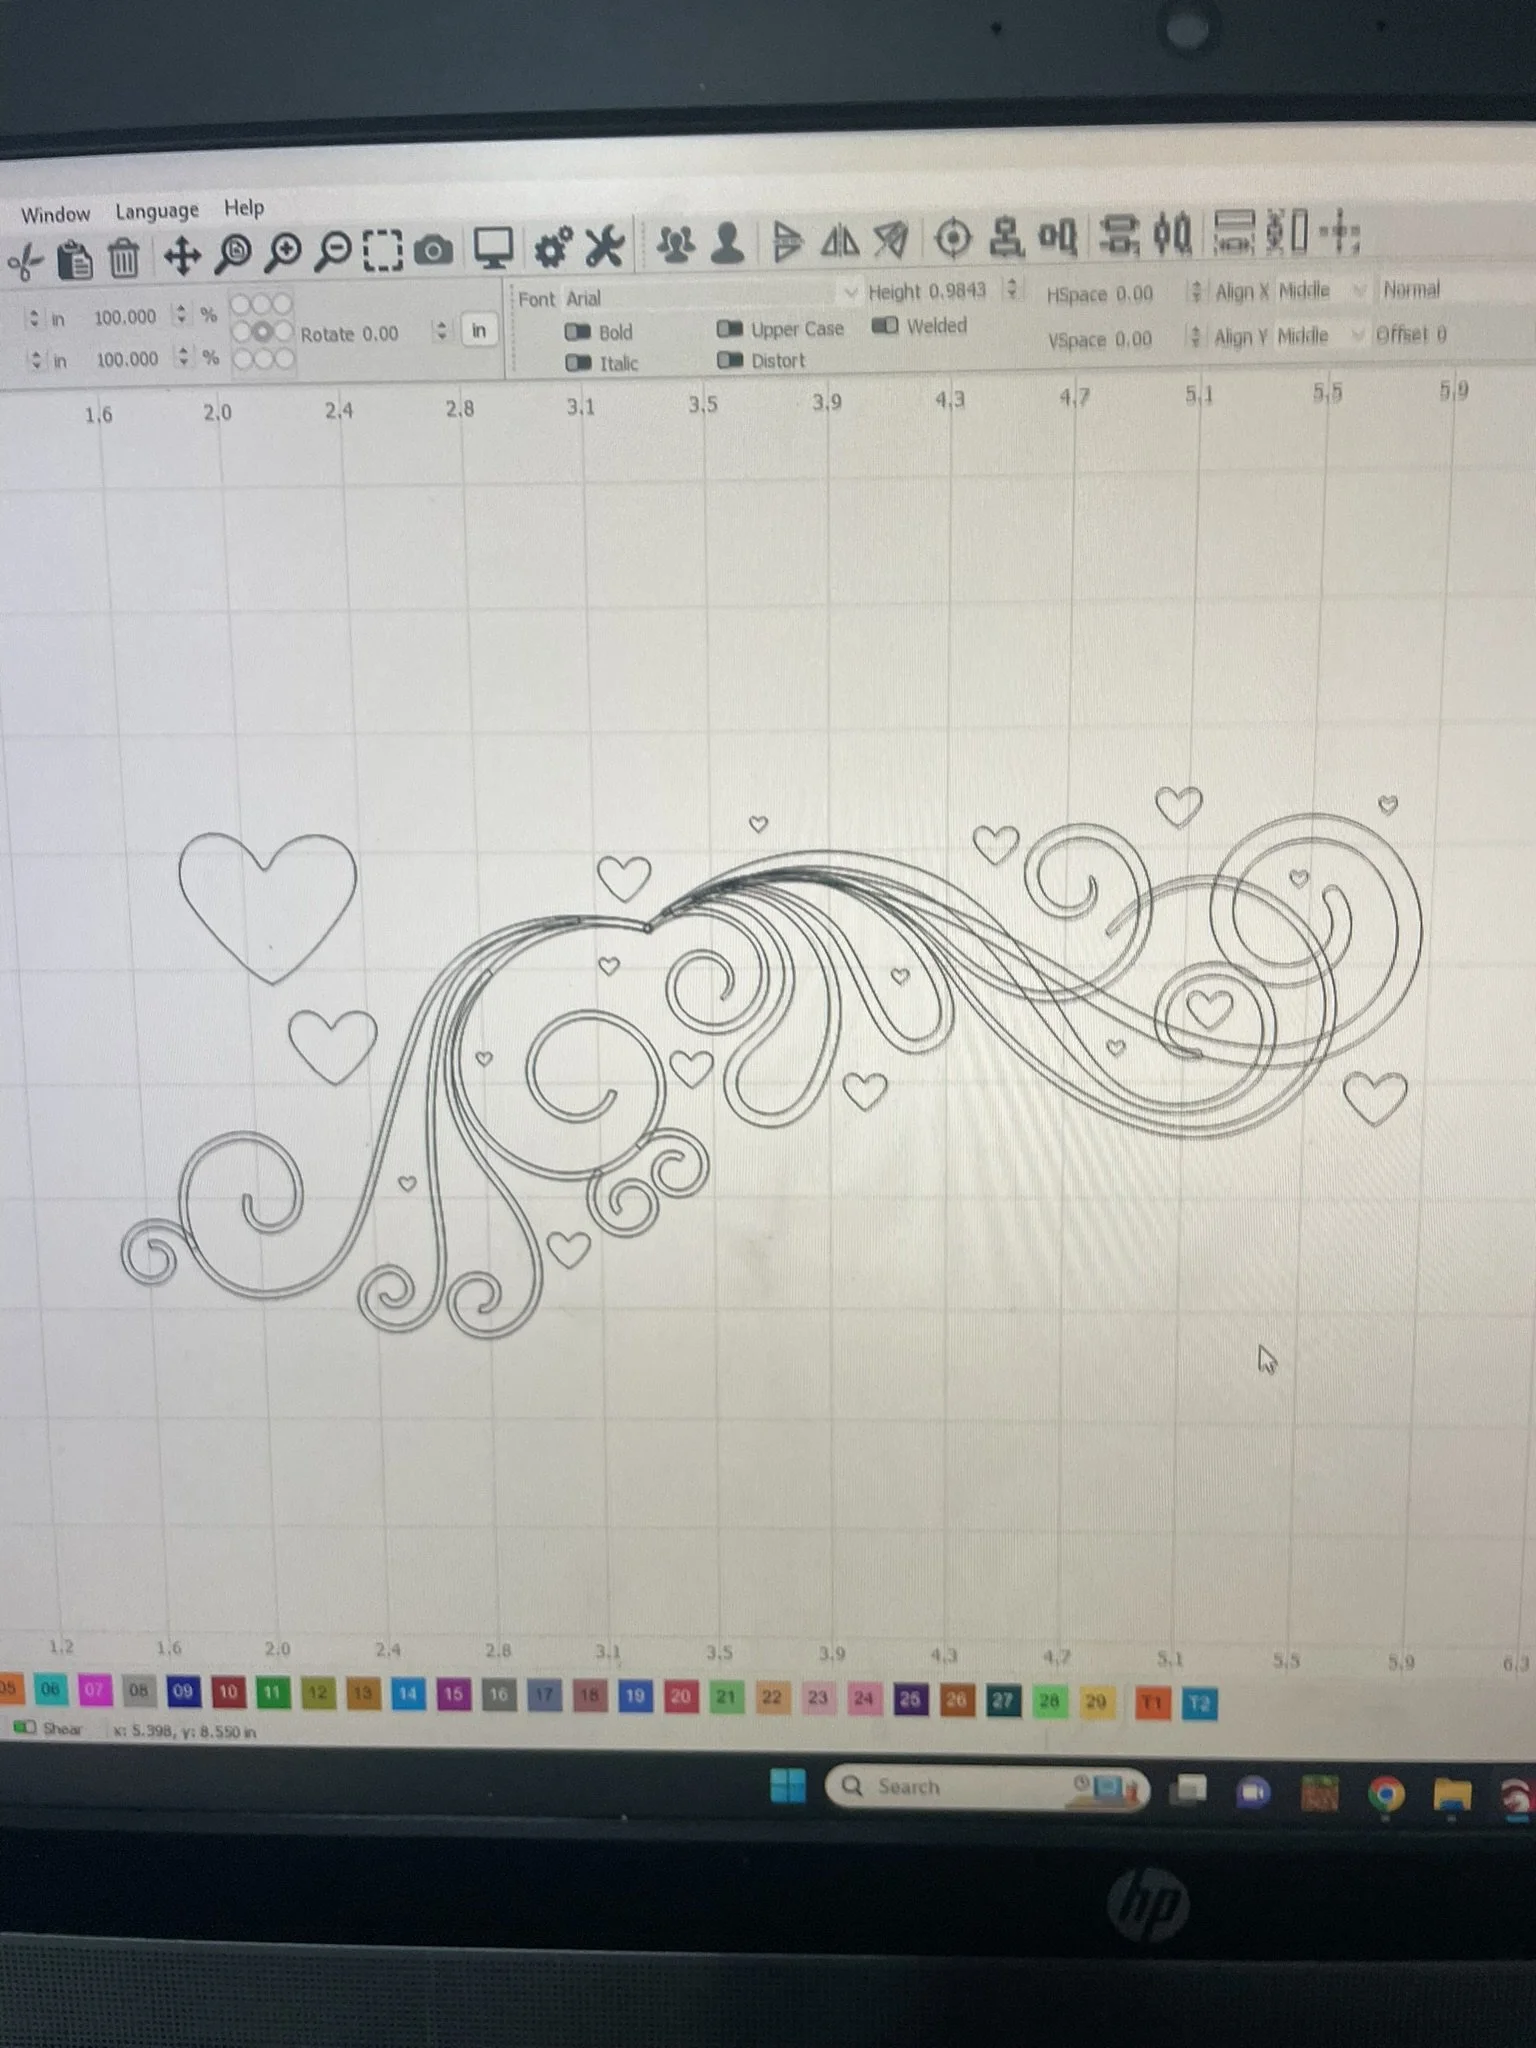
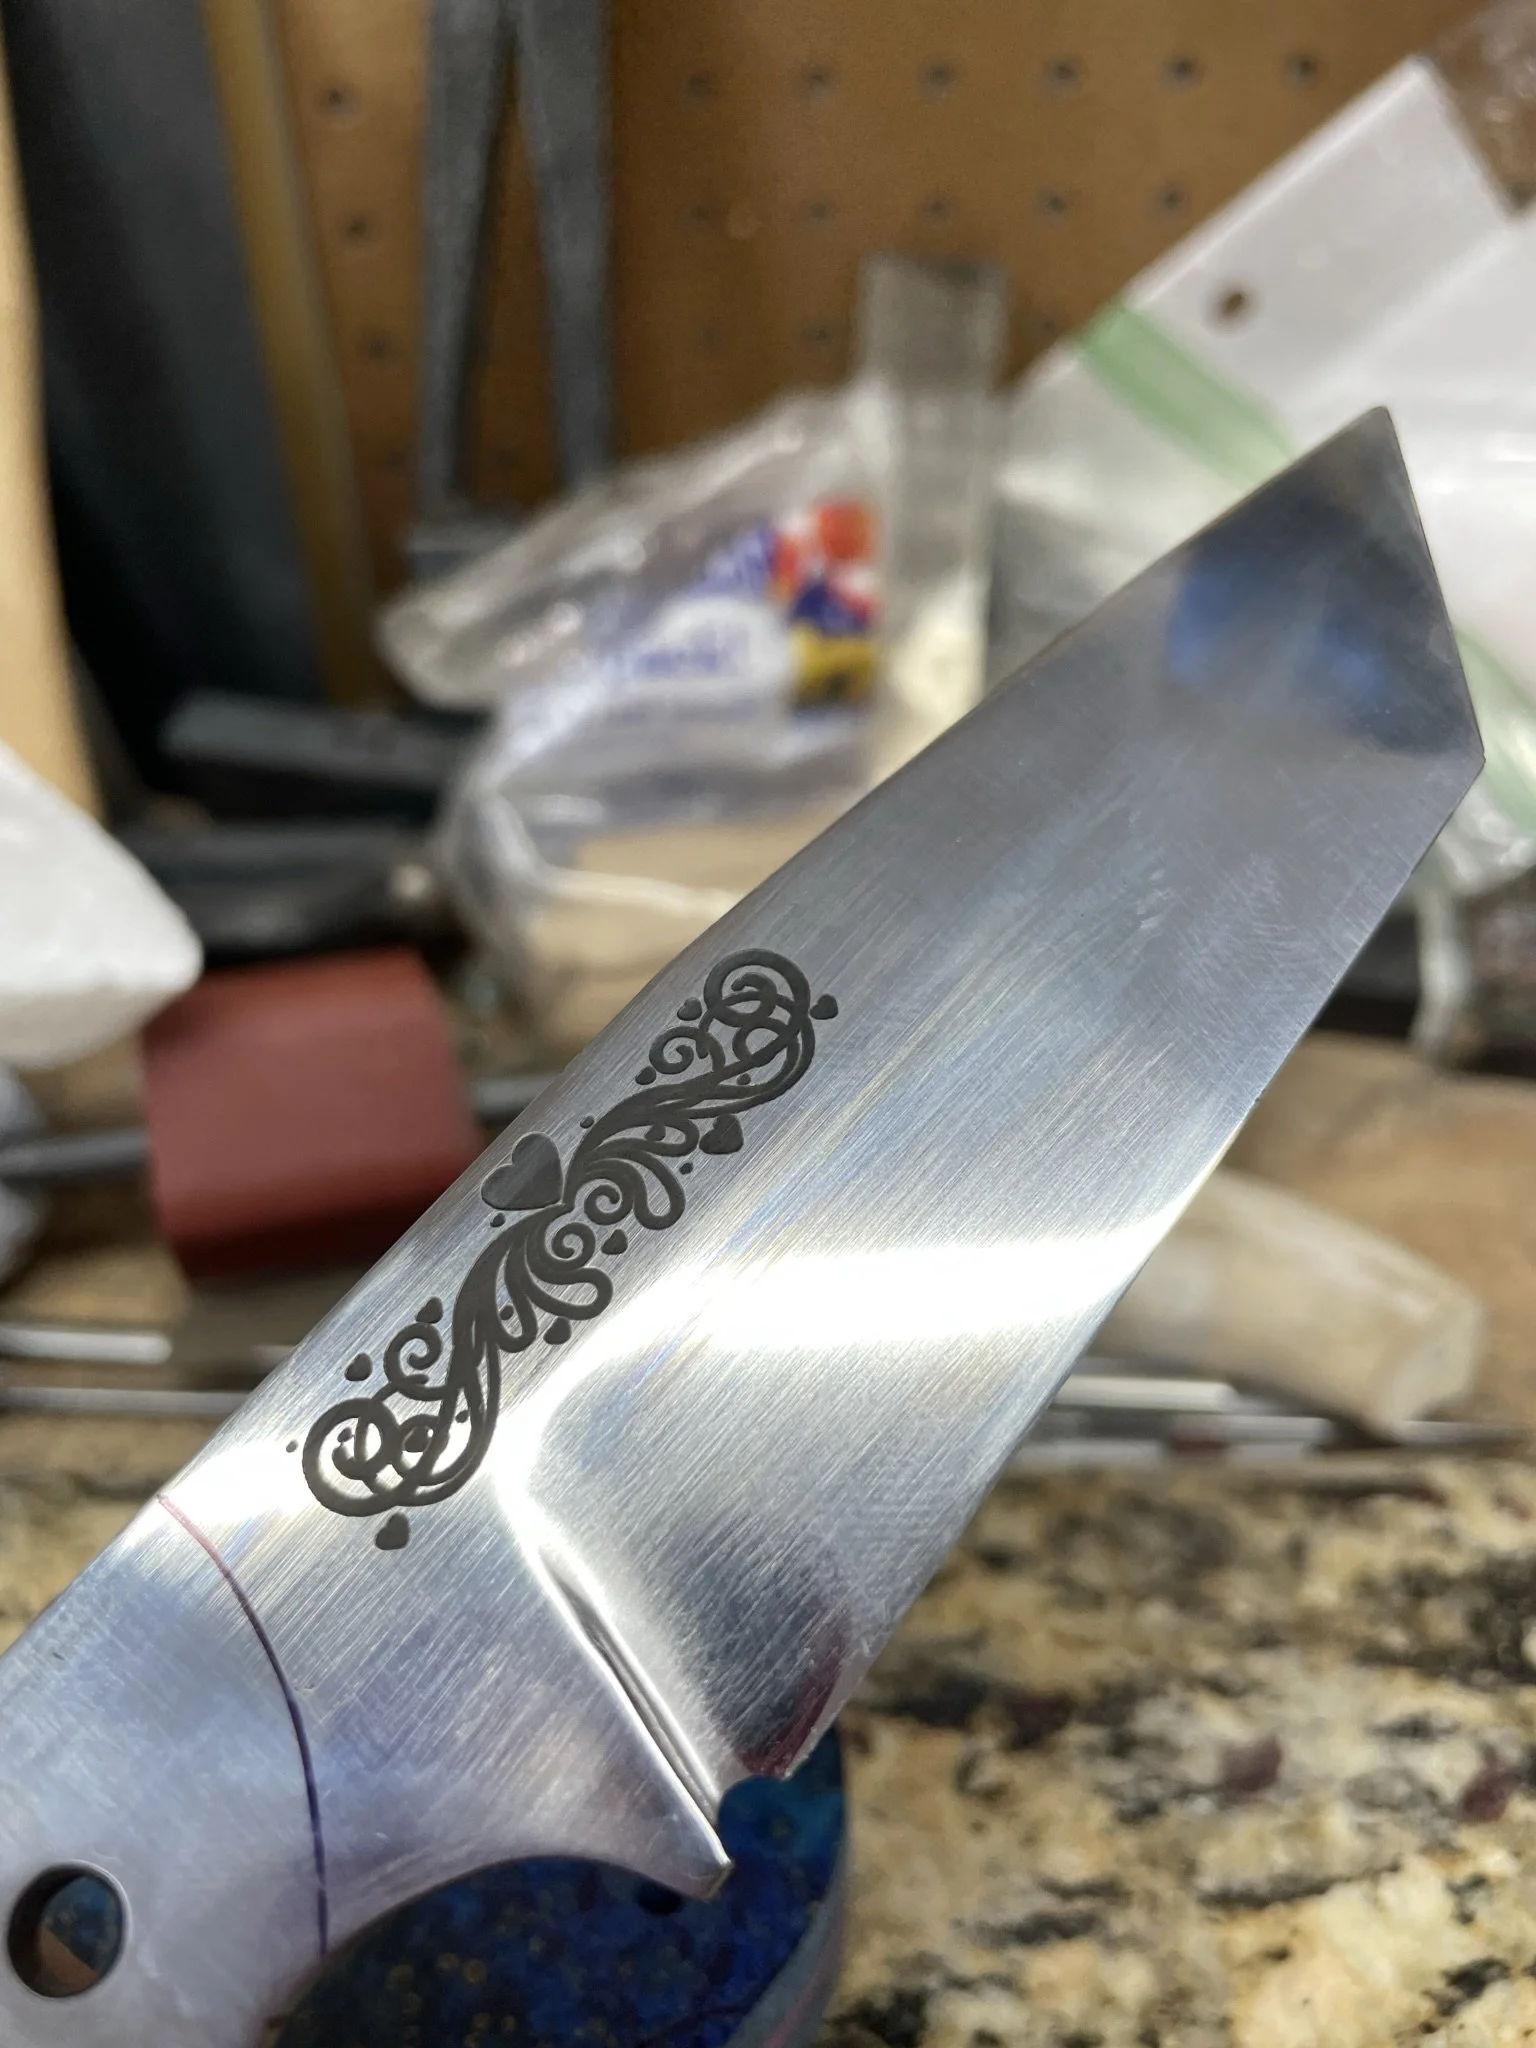
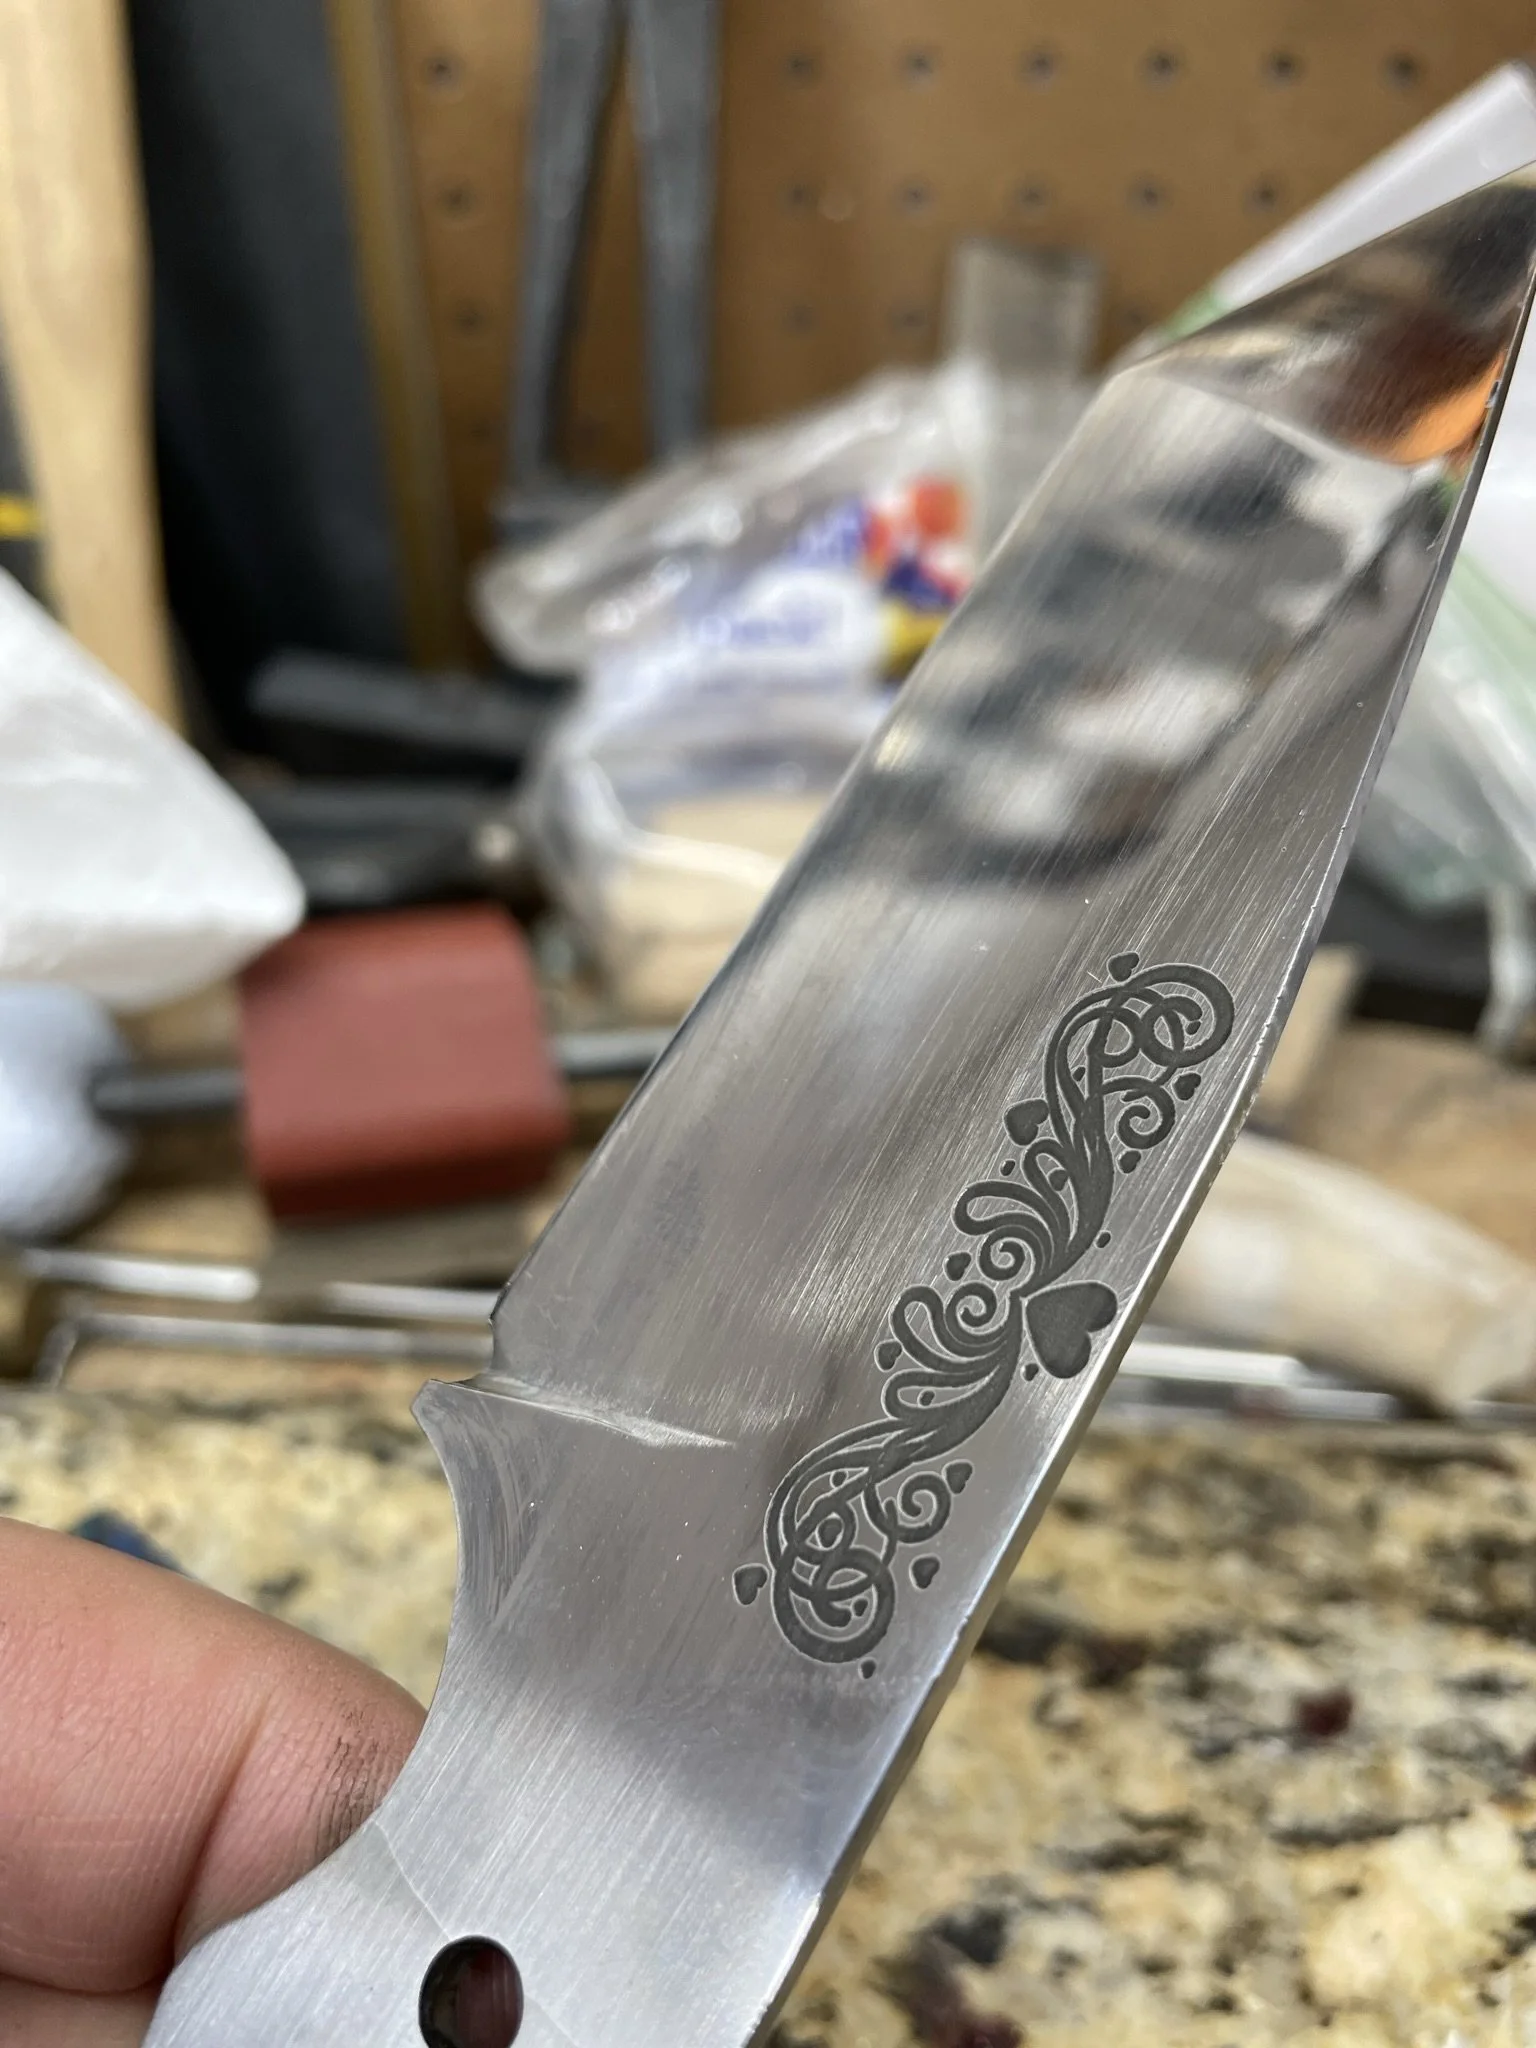
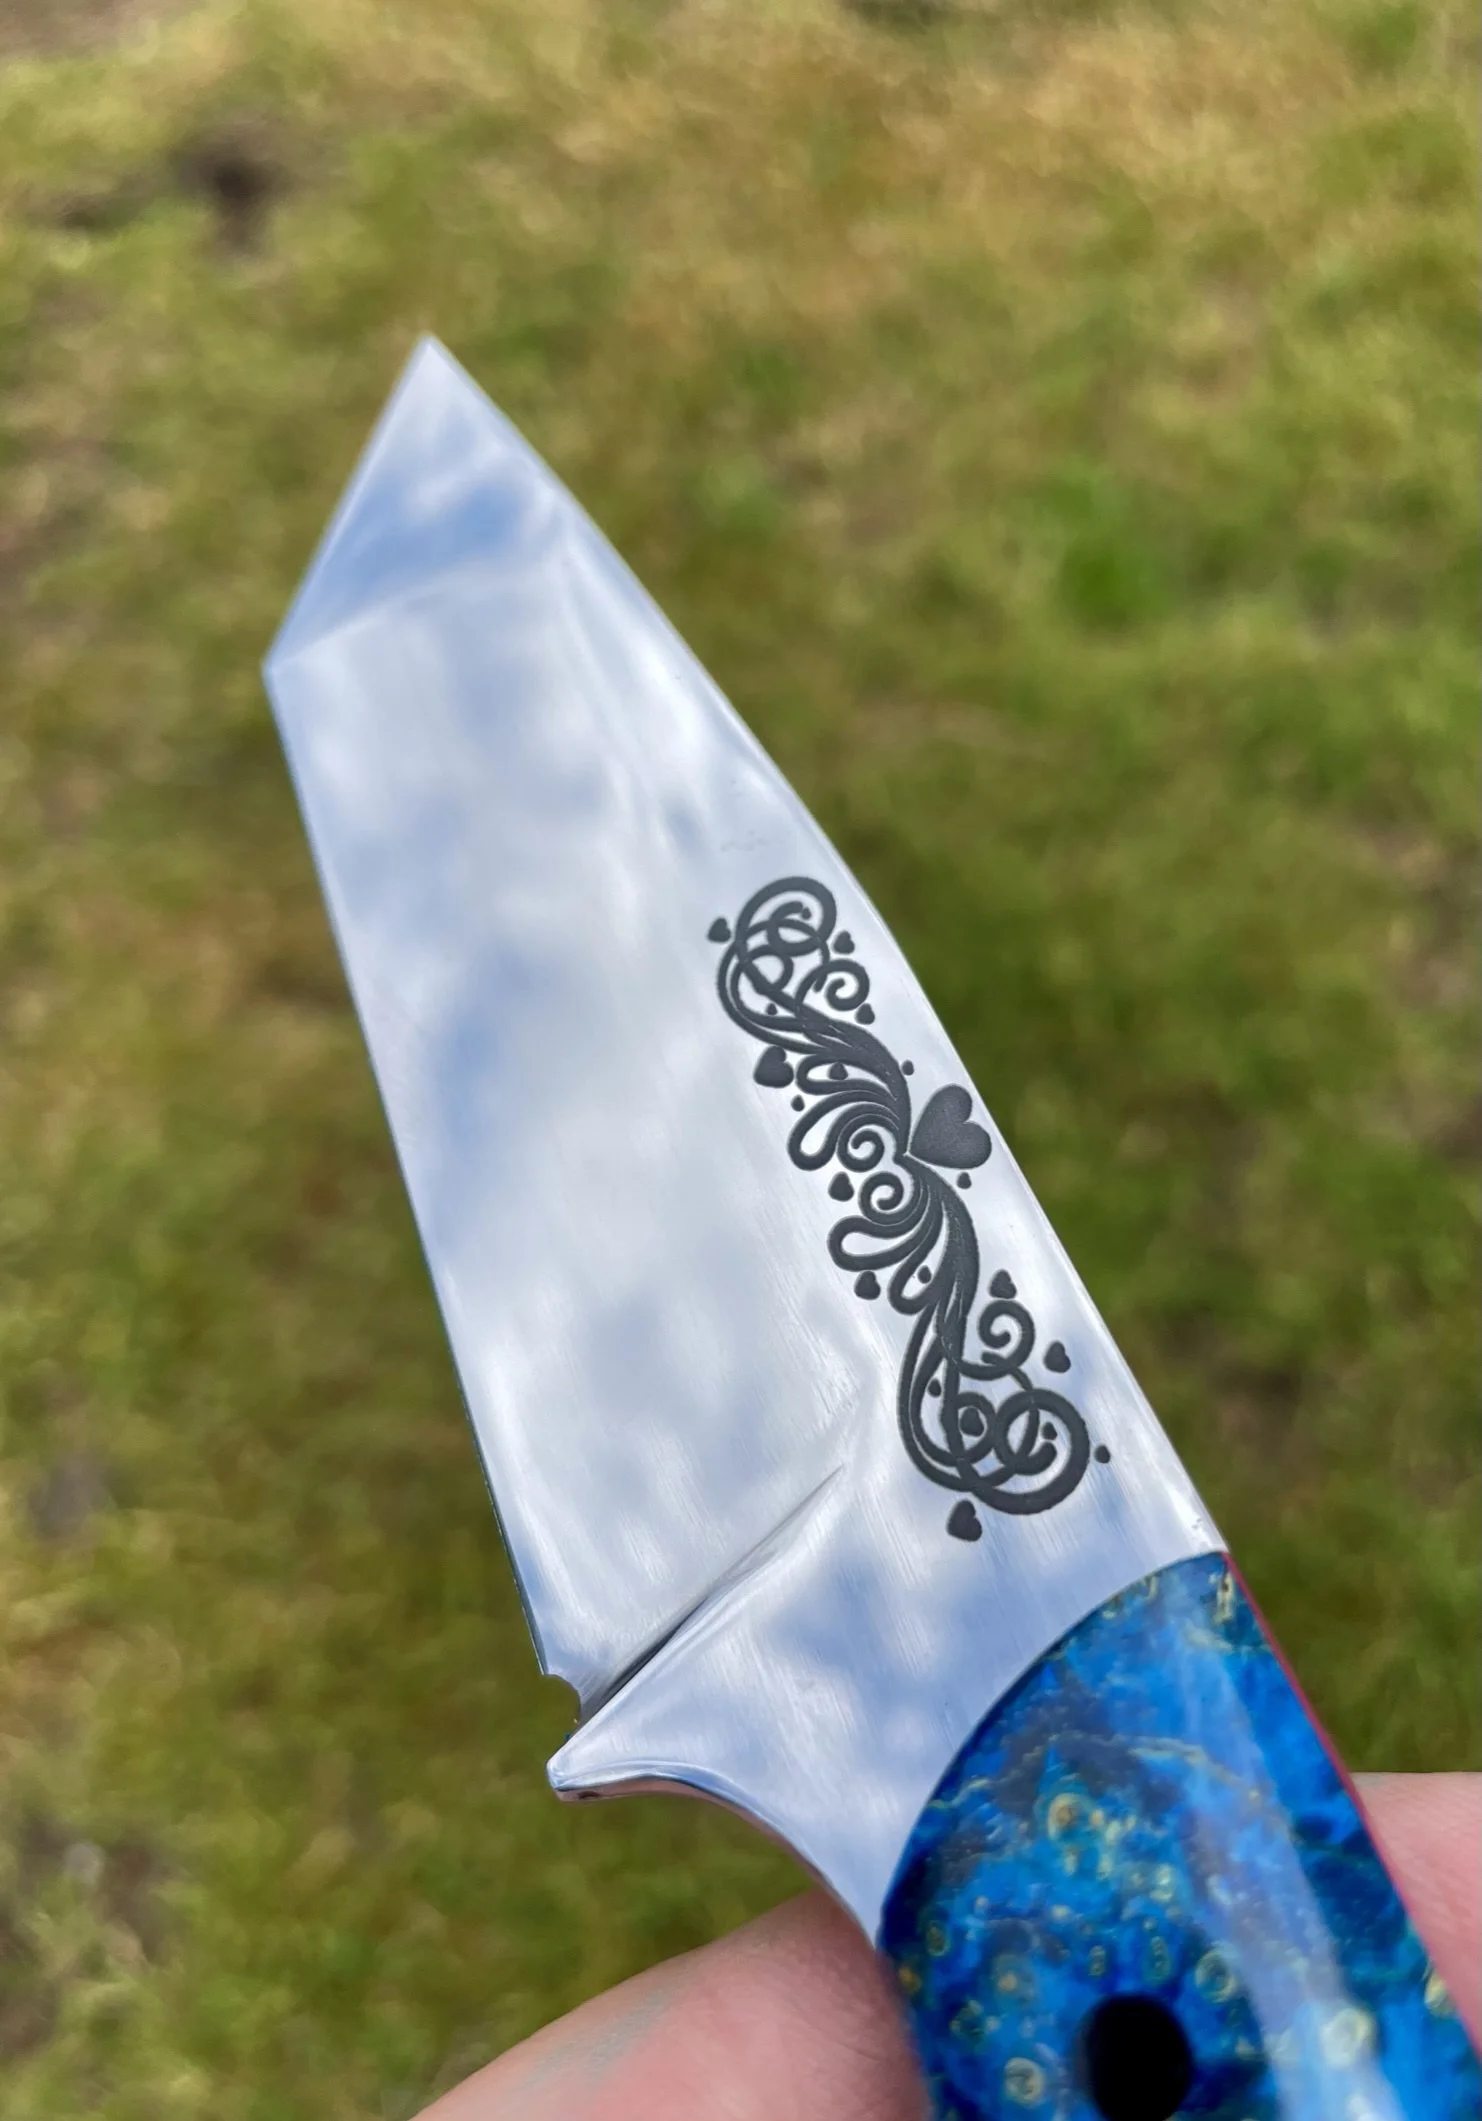
In order to make it just that much more special and awesome, I designed some custom scroll work to engrave on the sides of the blade. I ended up changing it a little, but still the same theme.
-
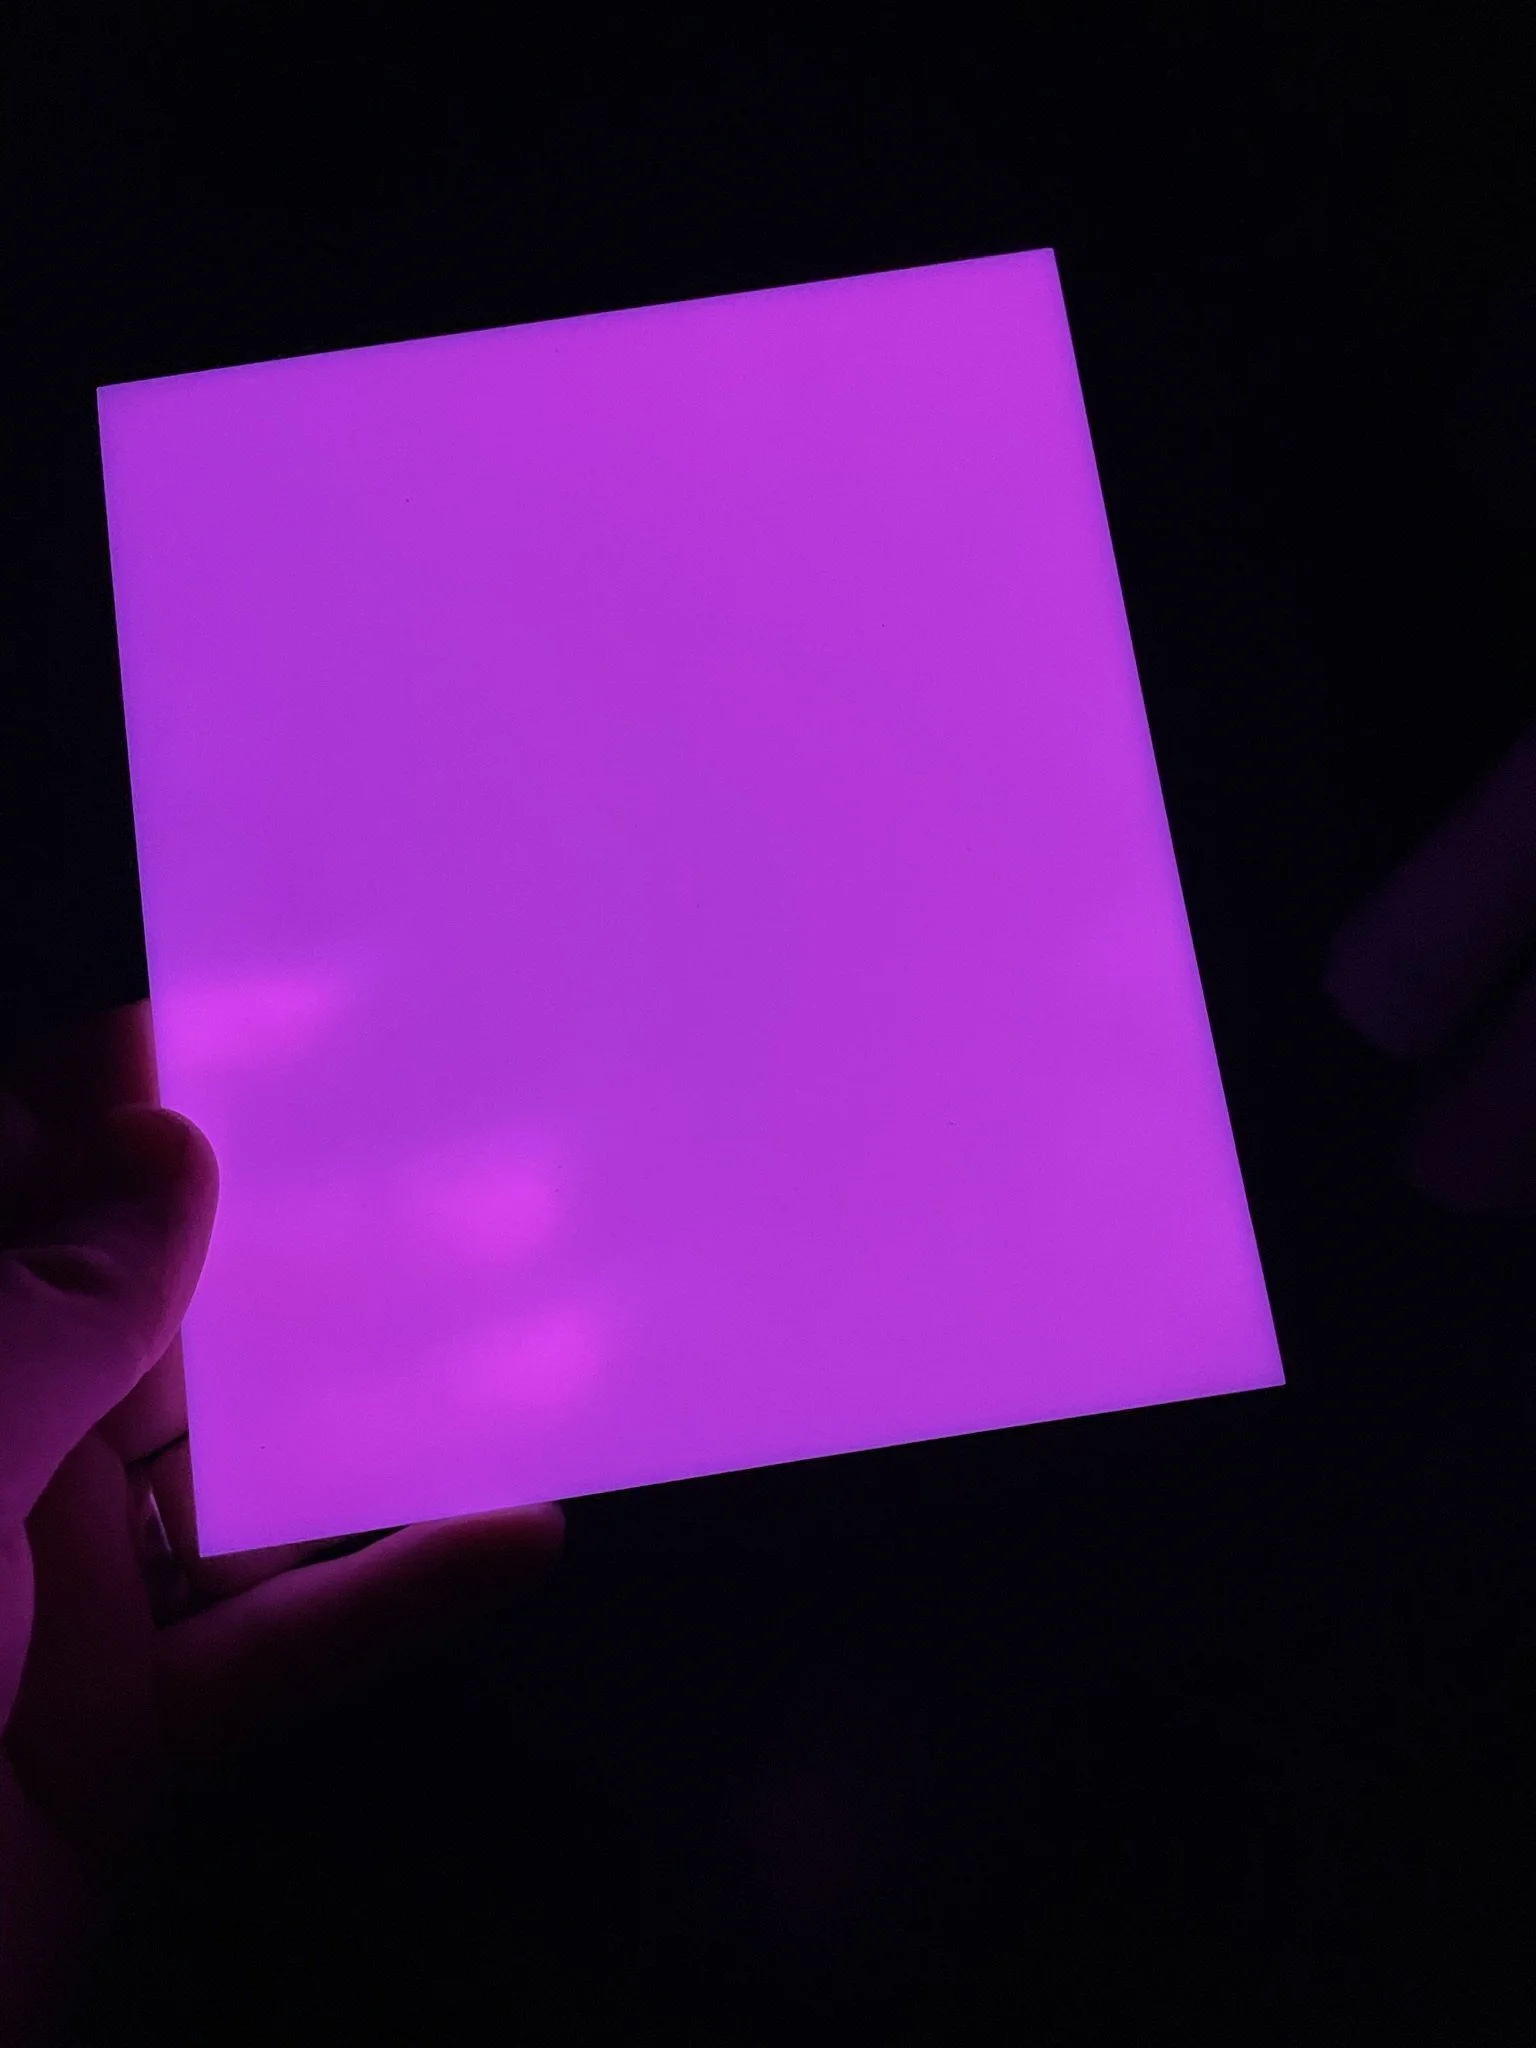
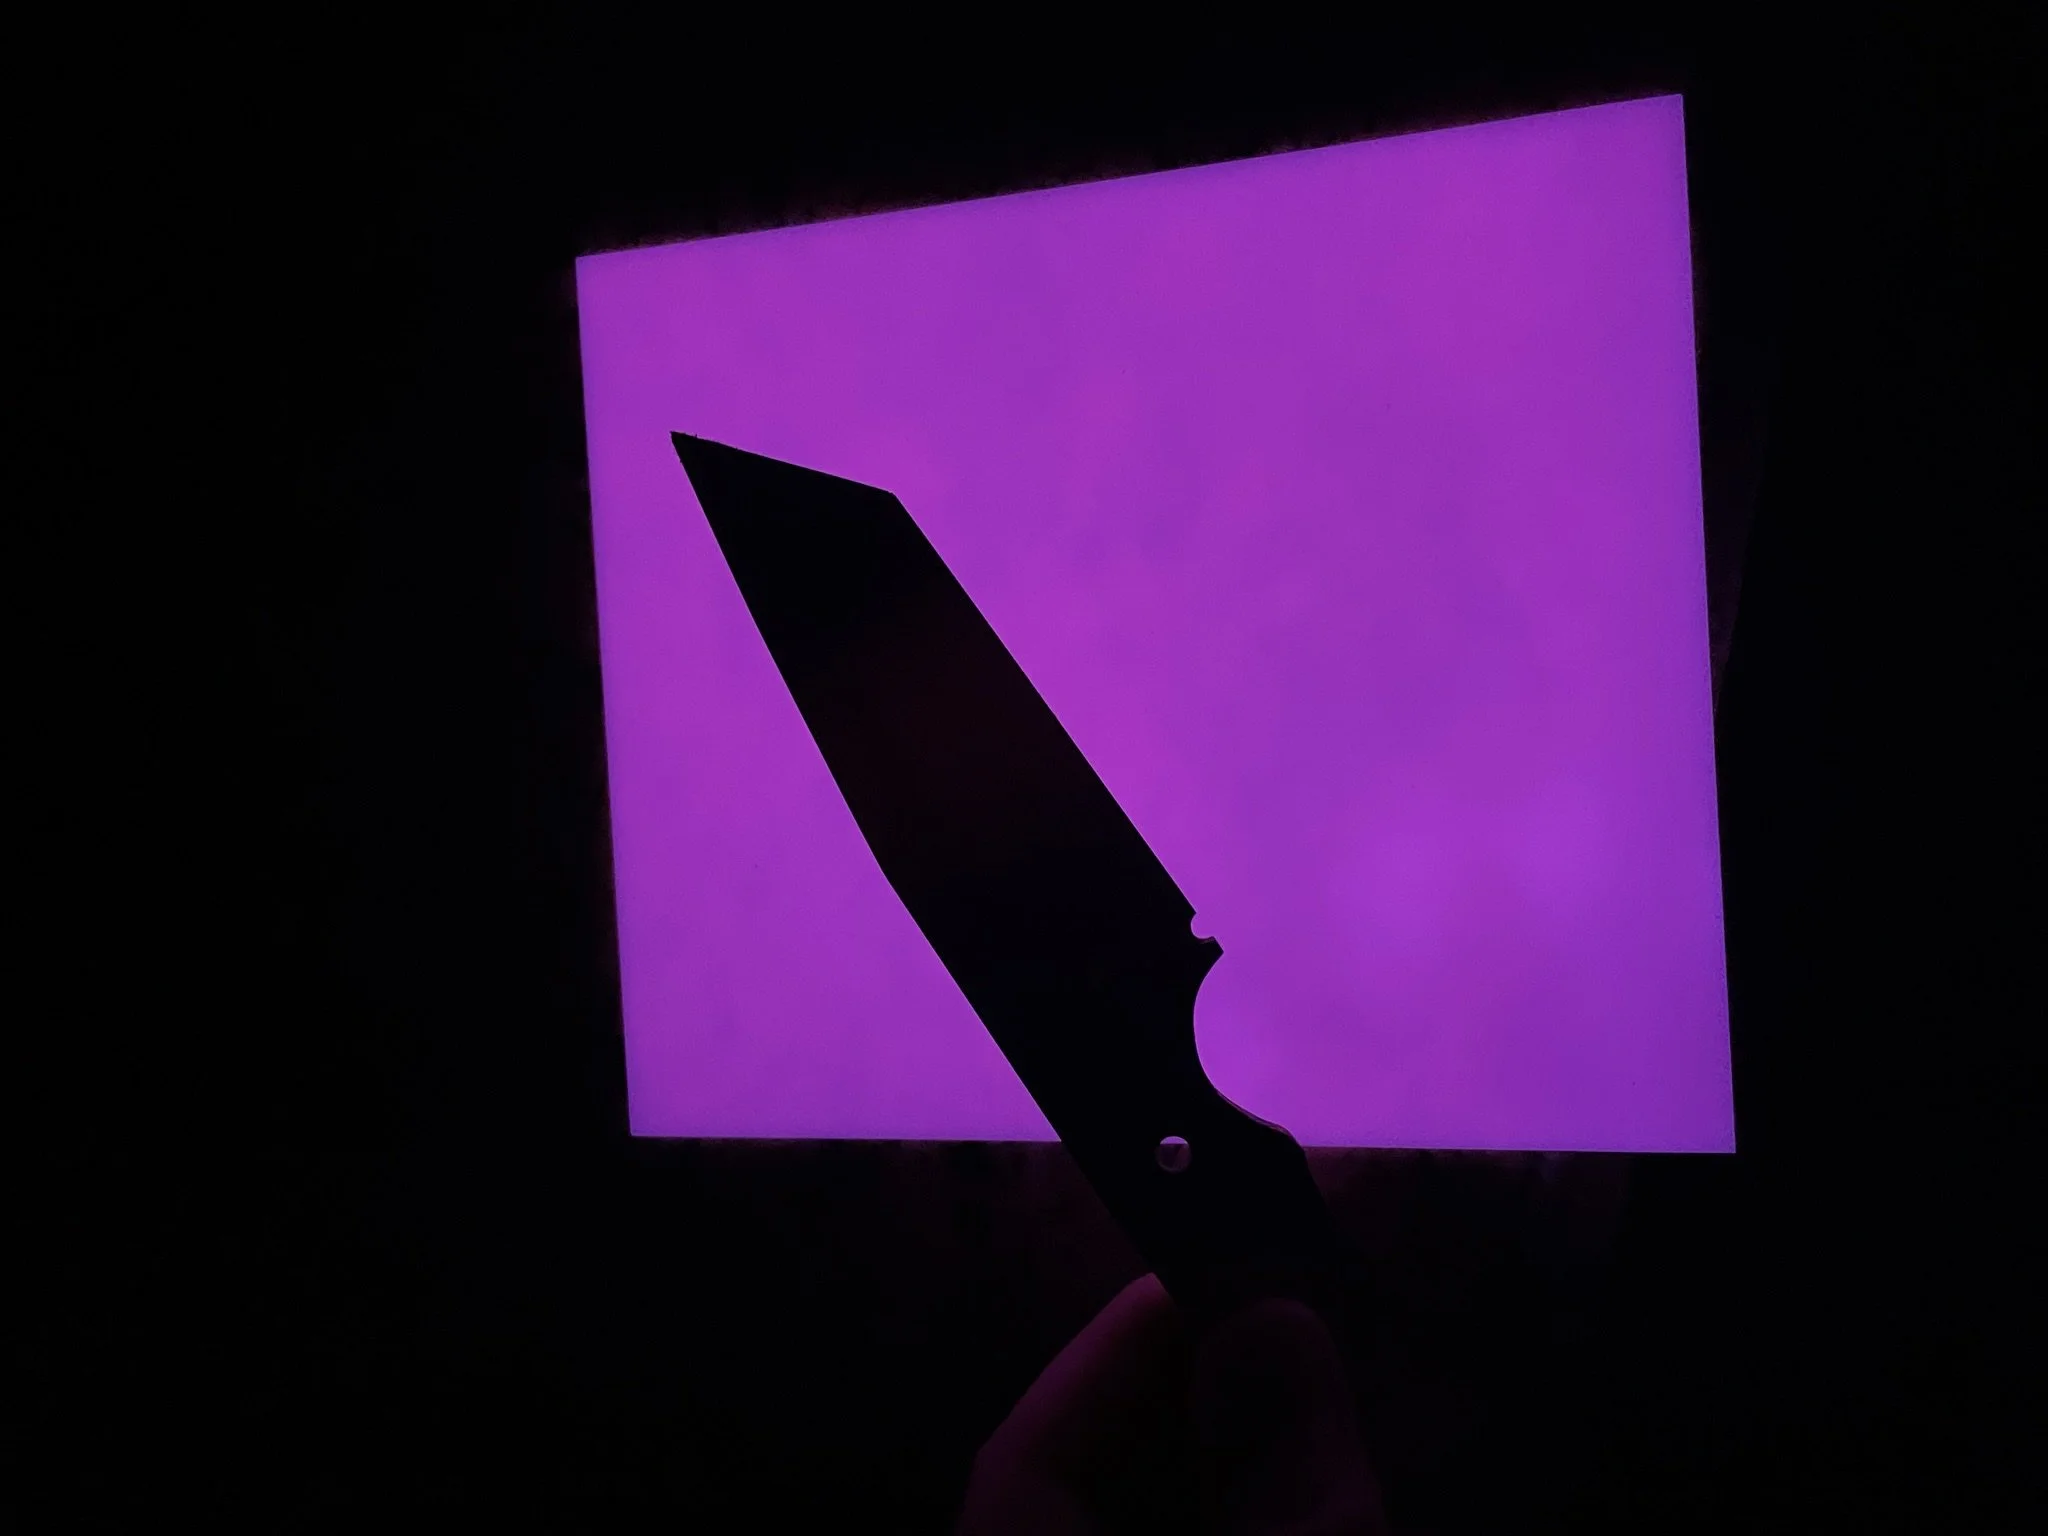
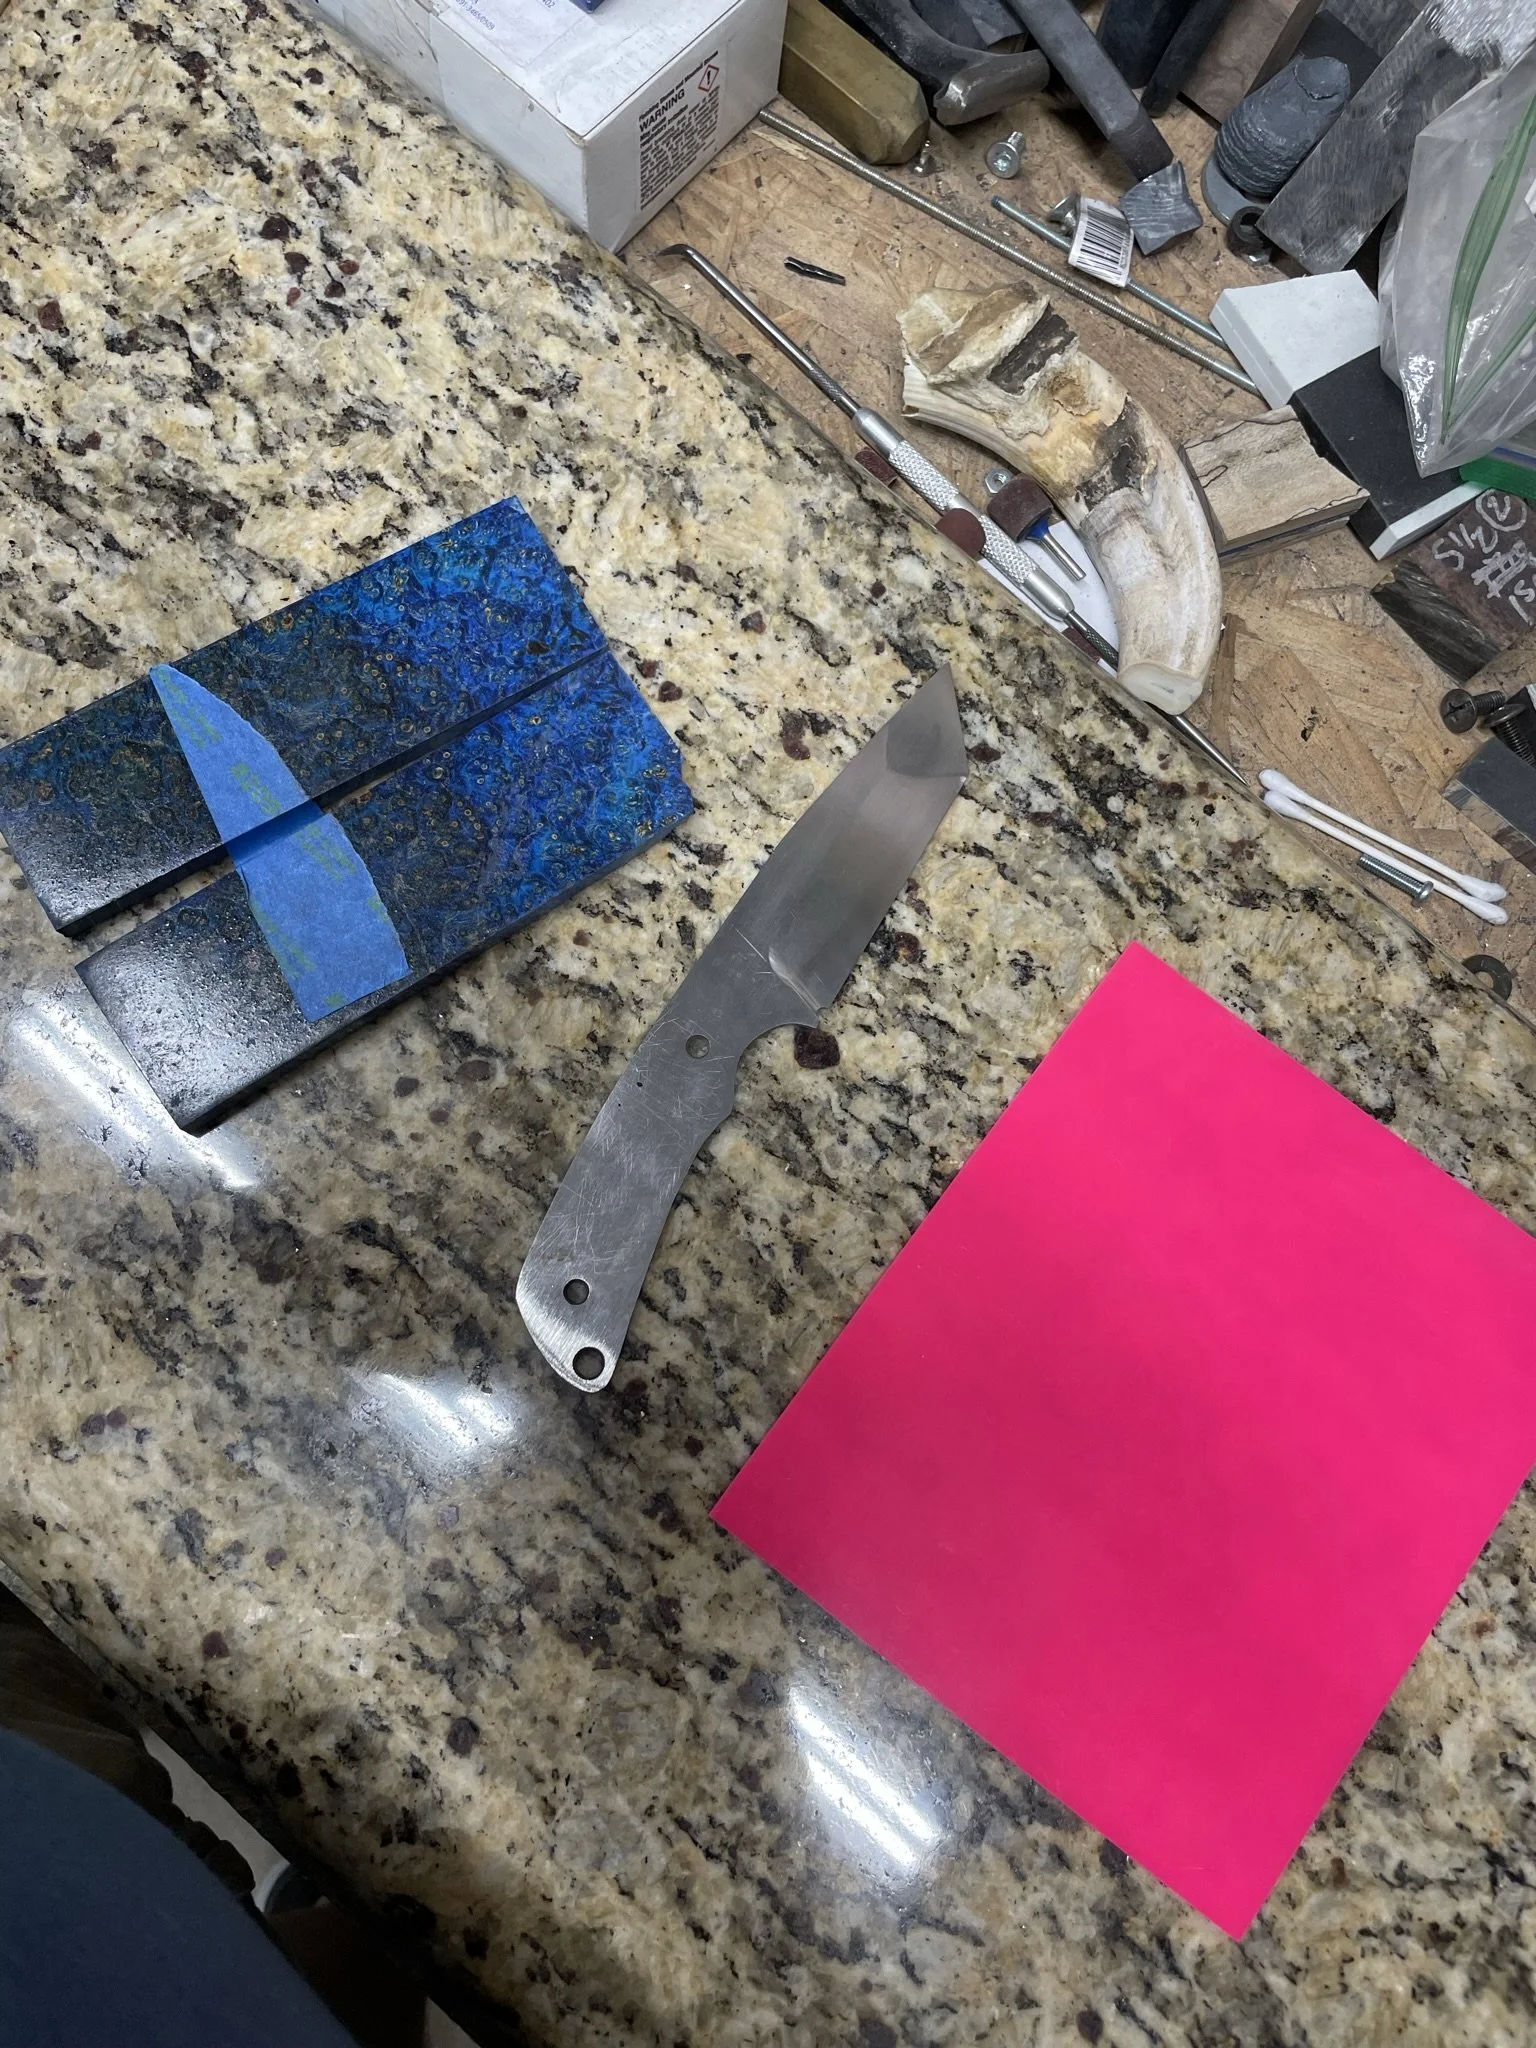
Also - it we're going glow in the dark. Let's do pink!
-
Cute and deadly.
-
All the parts laid out.
-
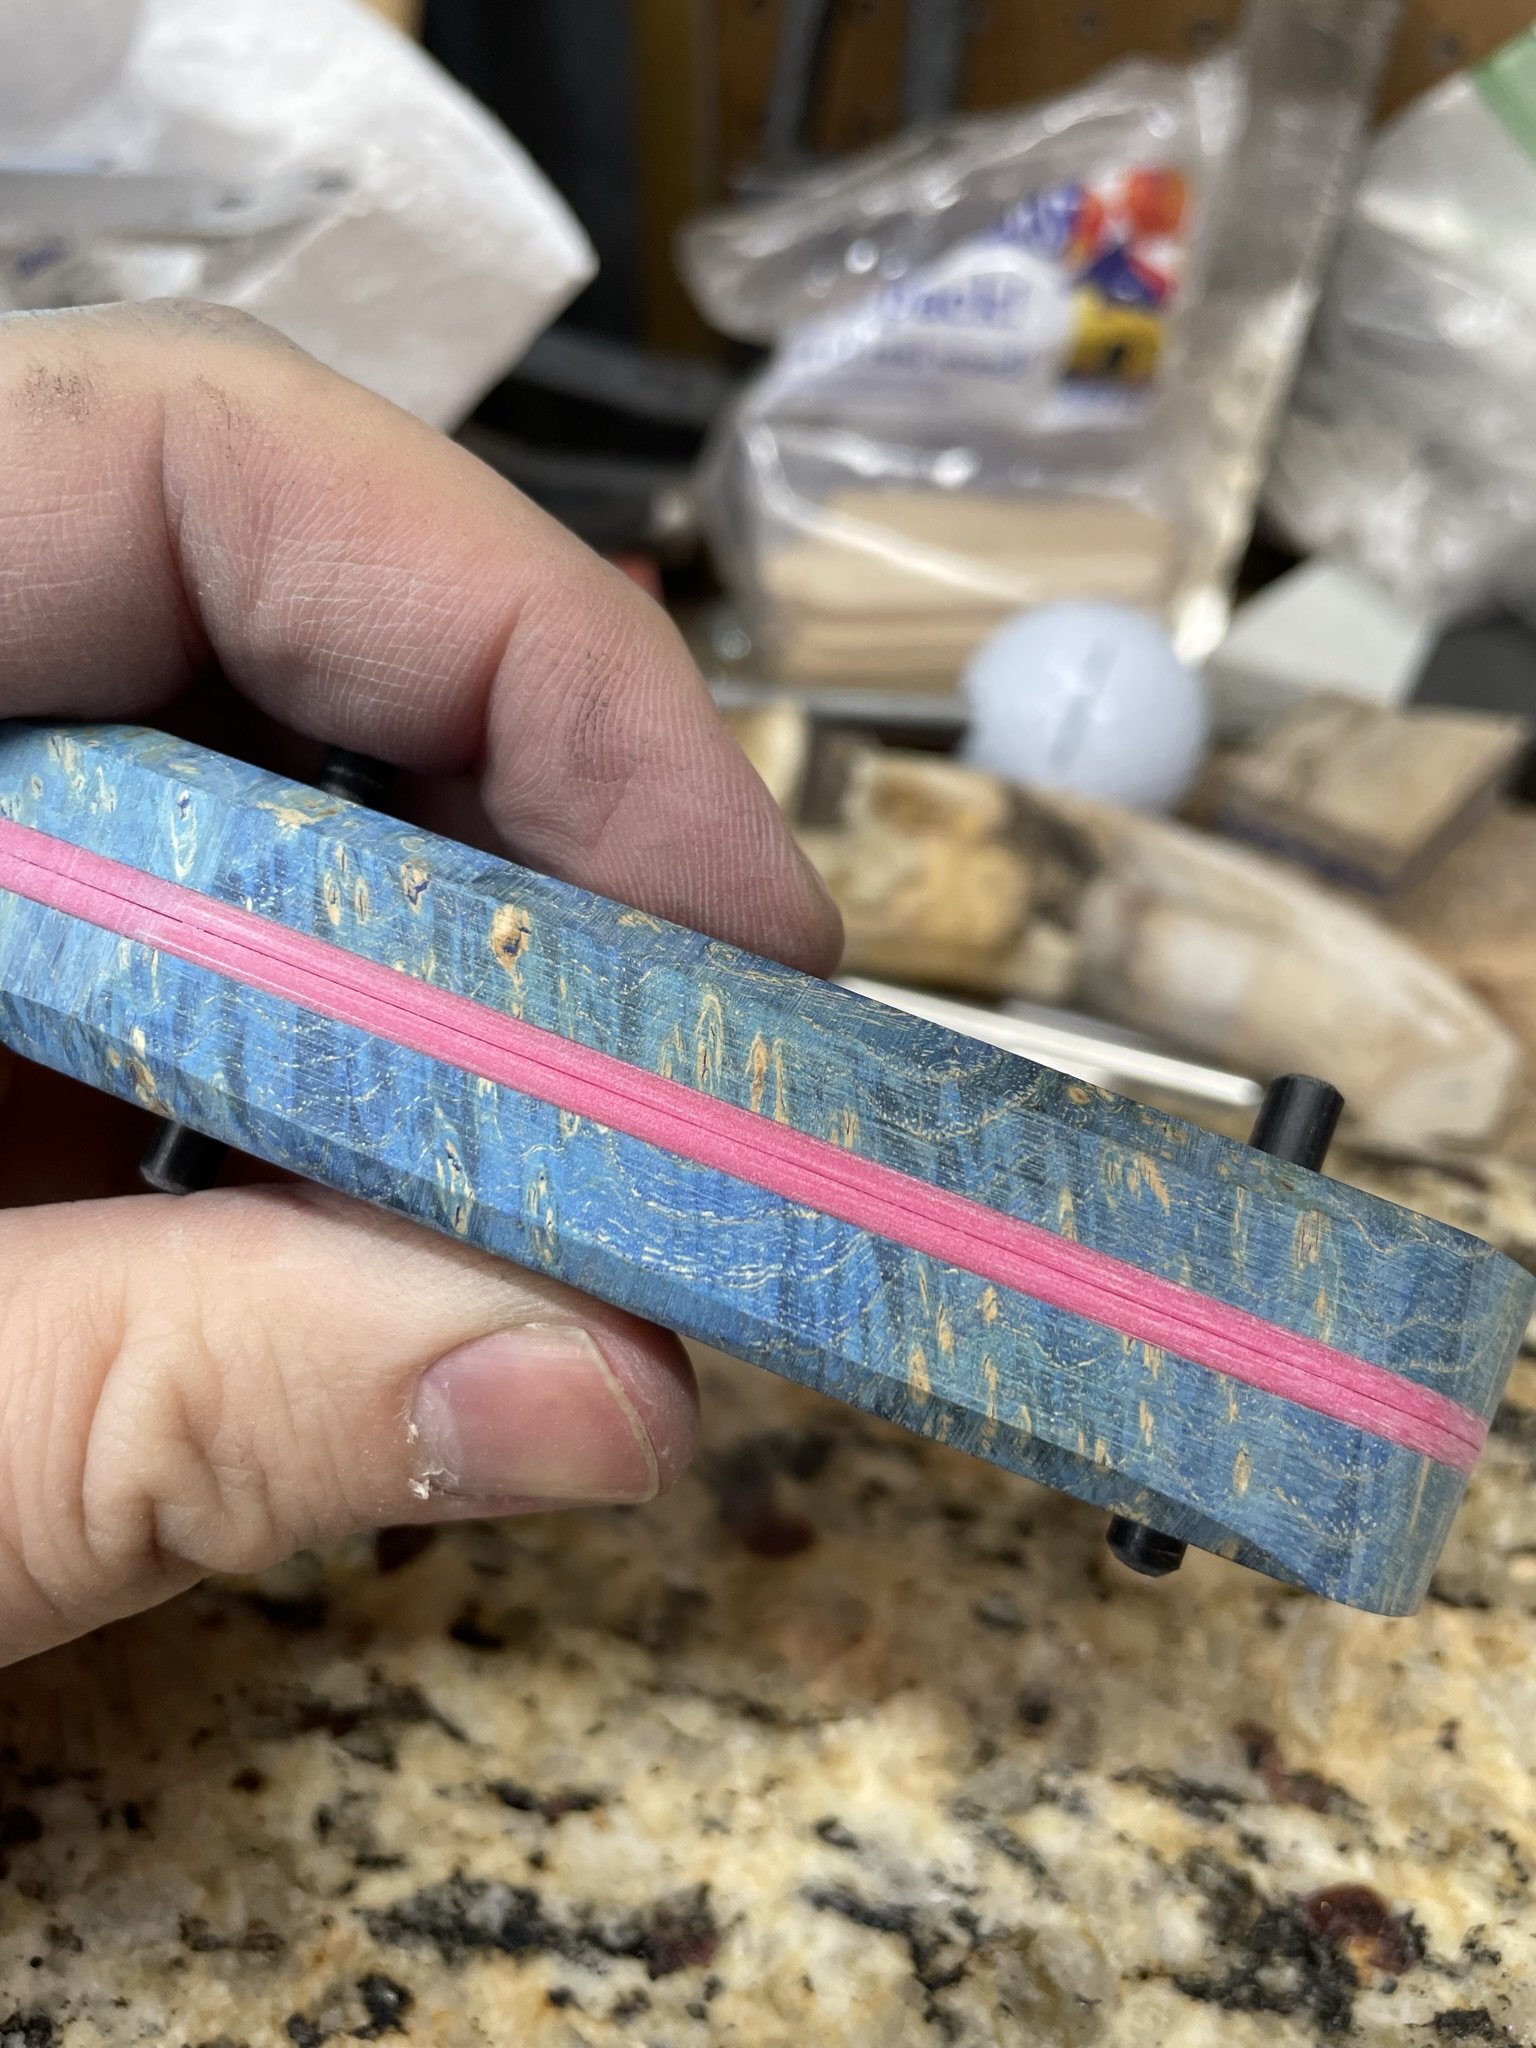
Of course had to have the perfect combination with these custom scales.
-
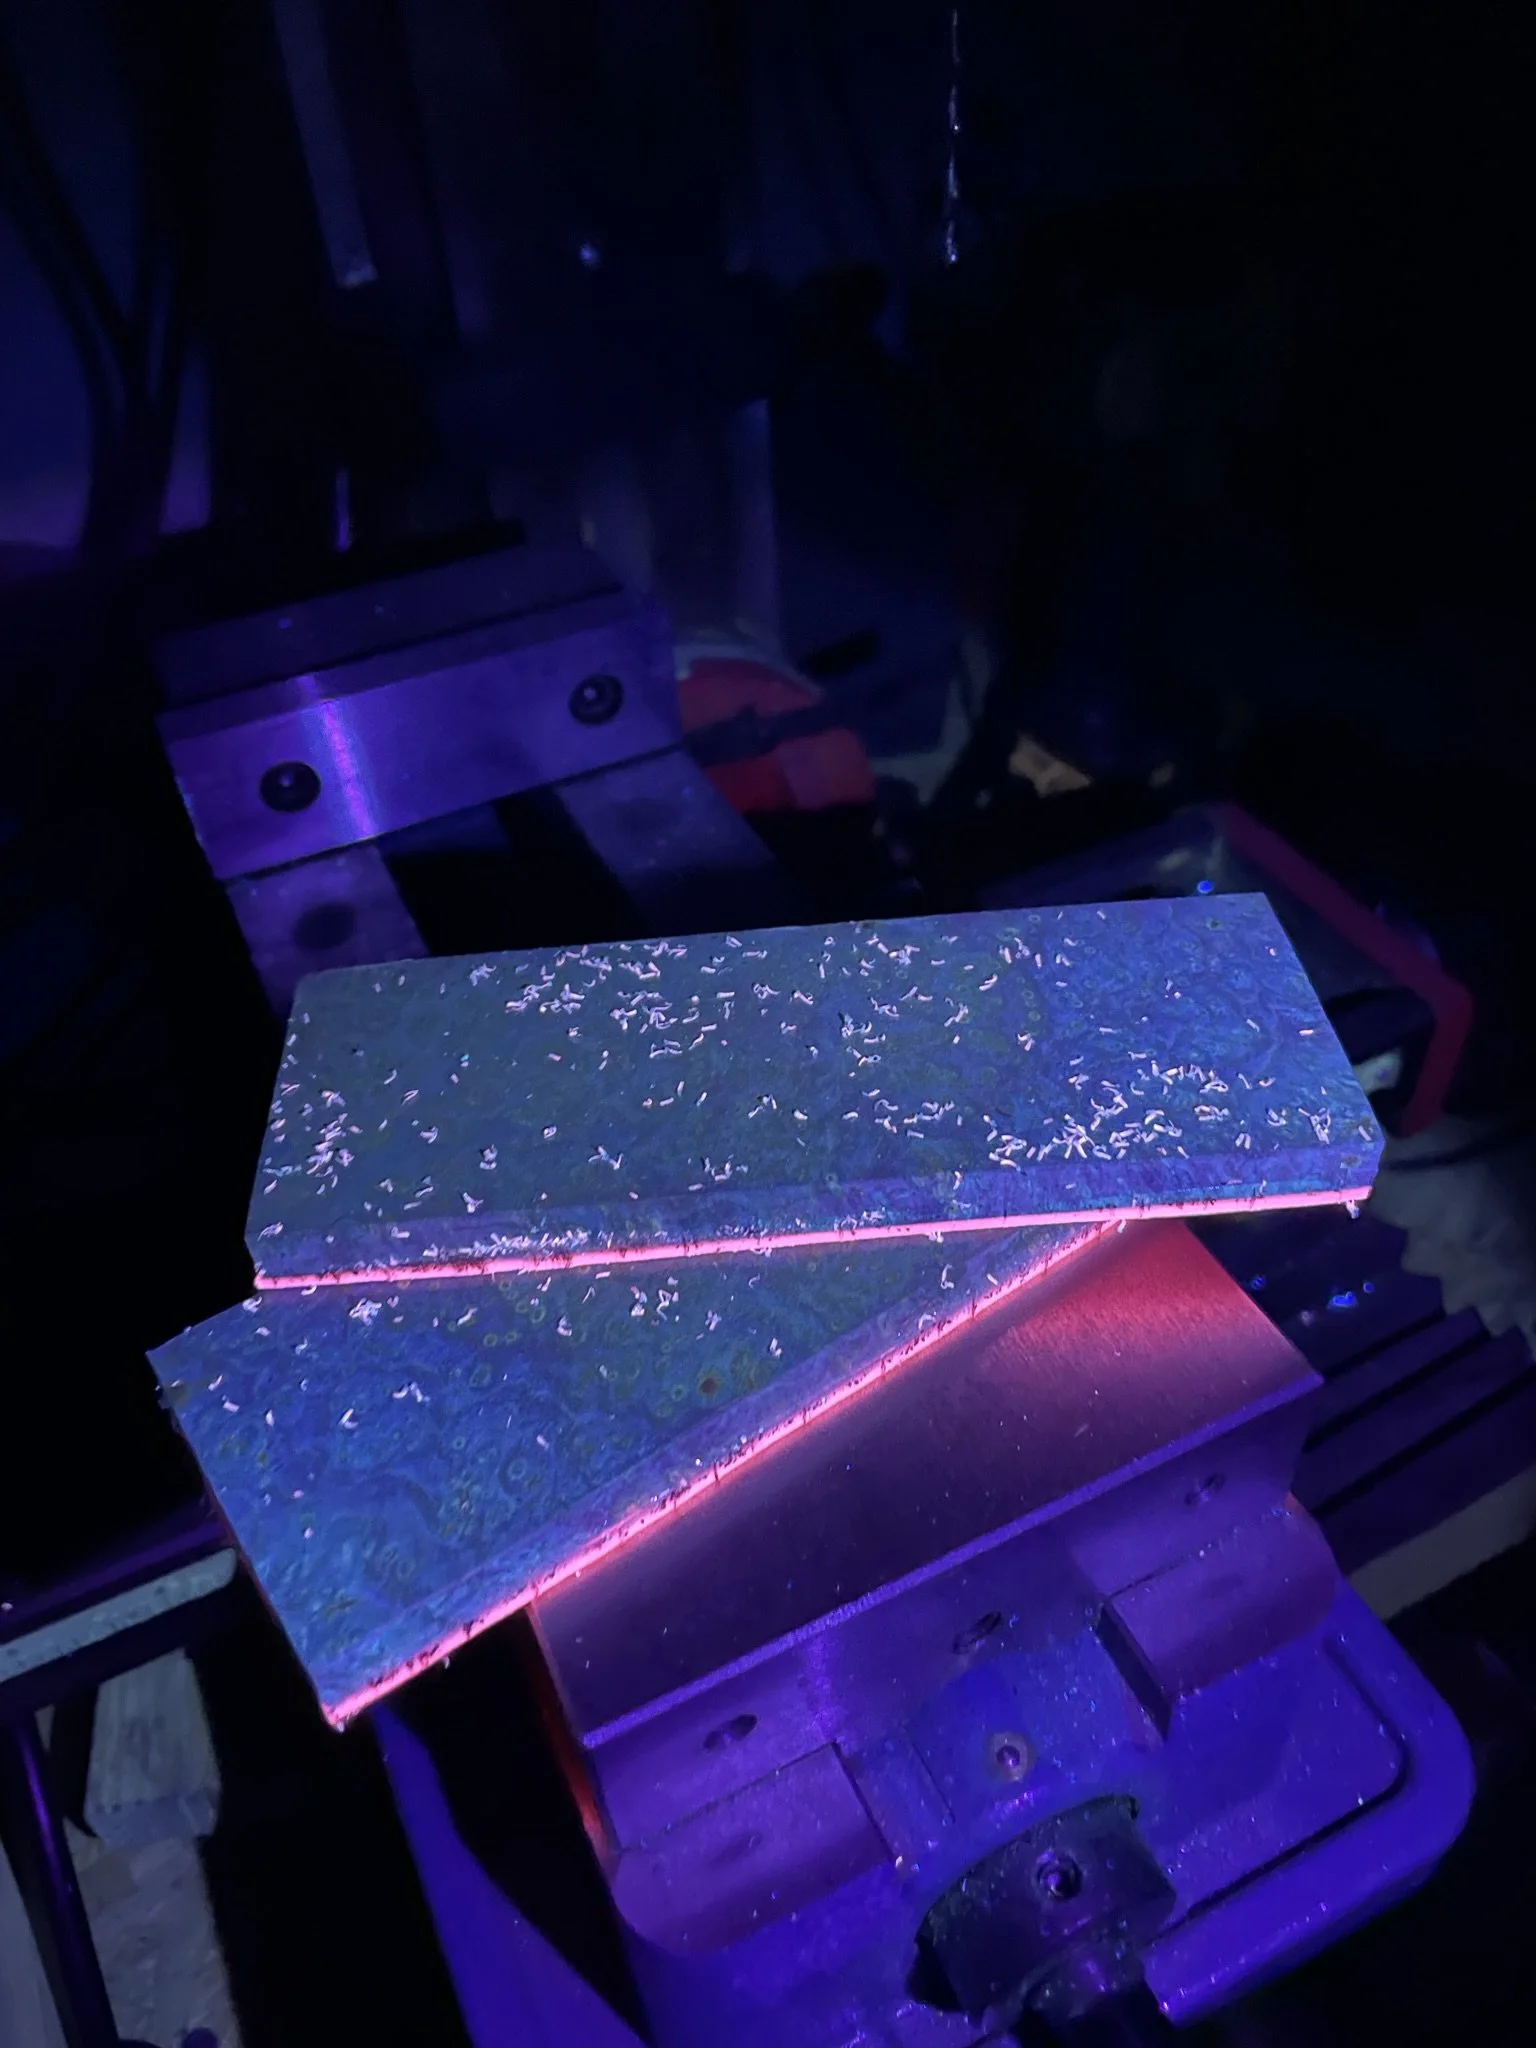
Truing up the scales prior to attaching. I didn't true them up in the dark, but thought it'd make a cool photo.
-
All ready to be attached.
-
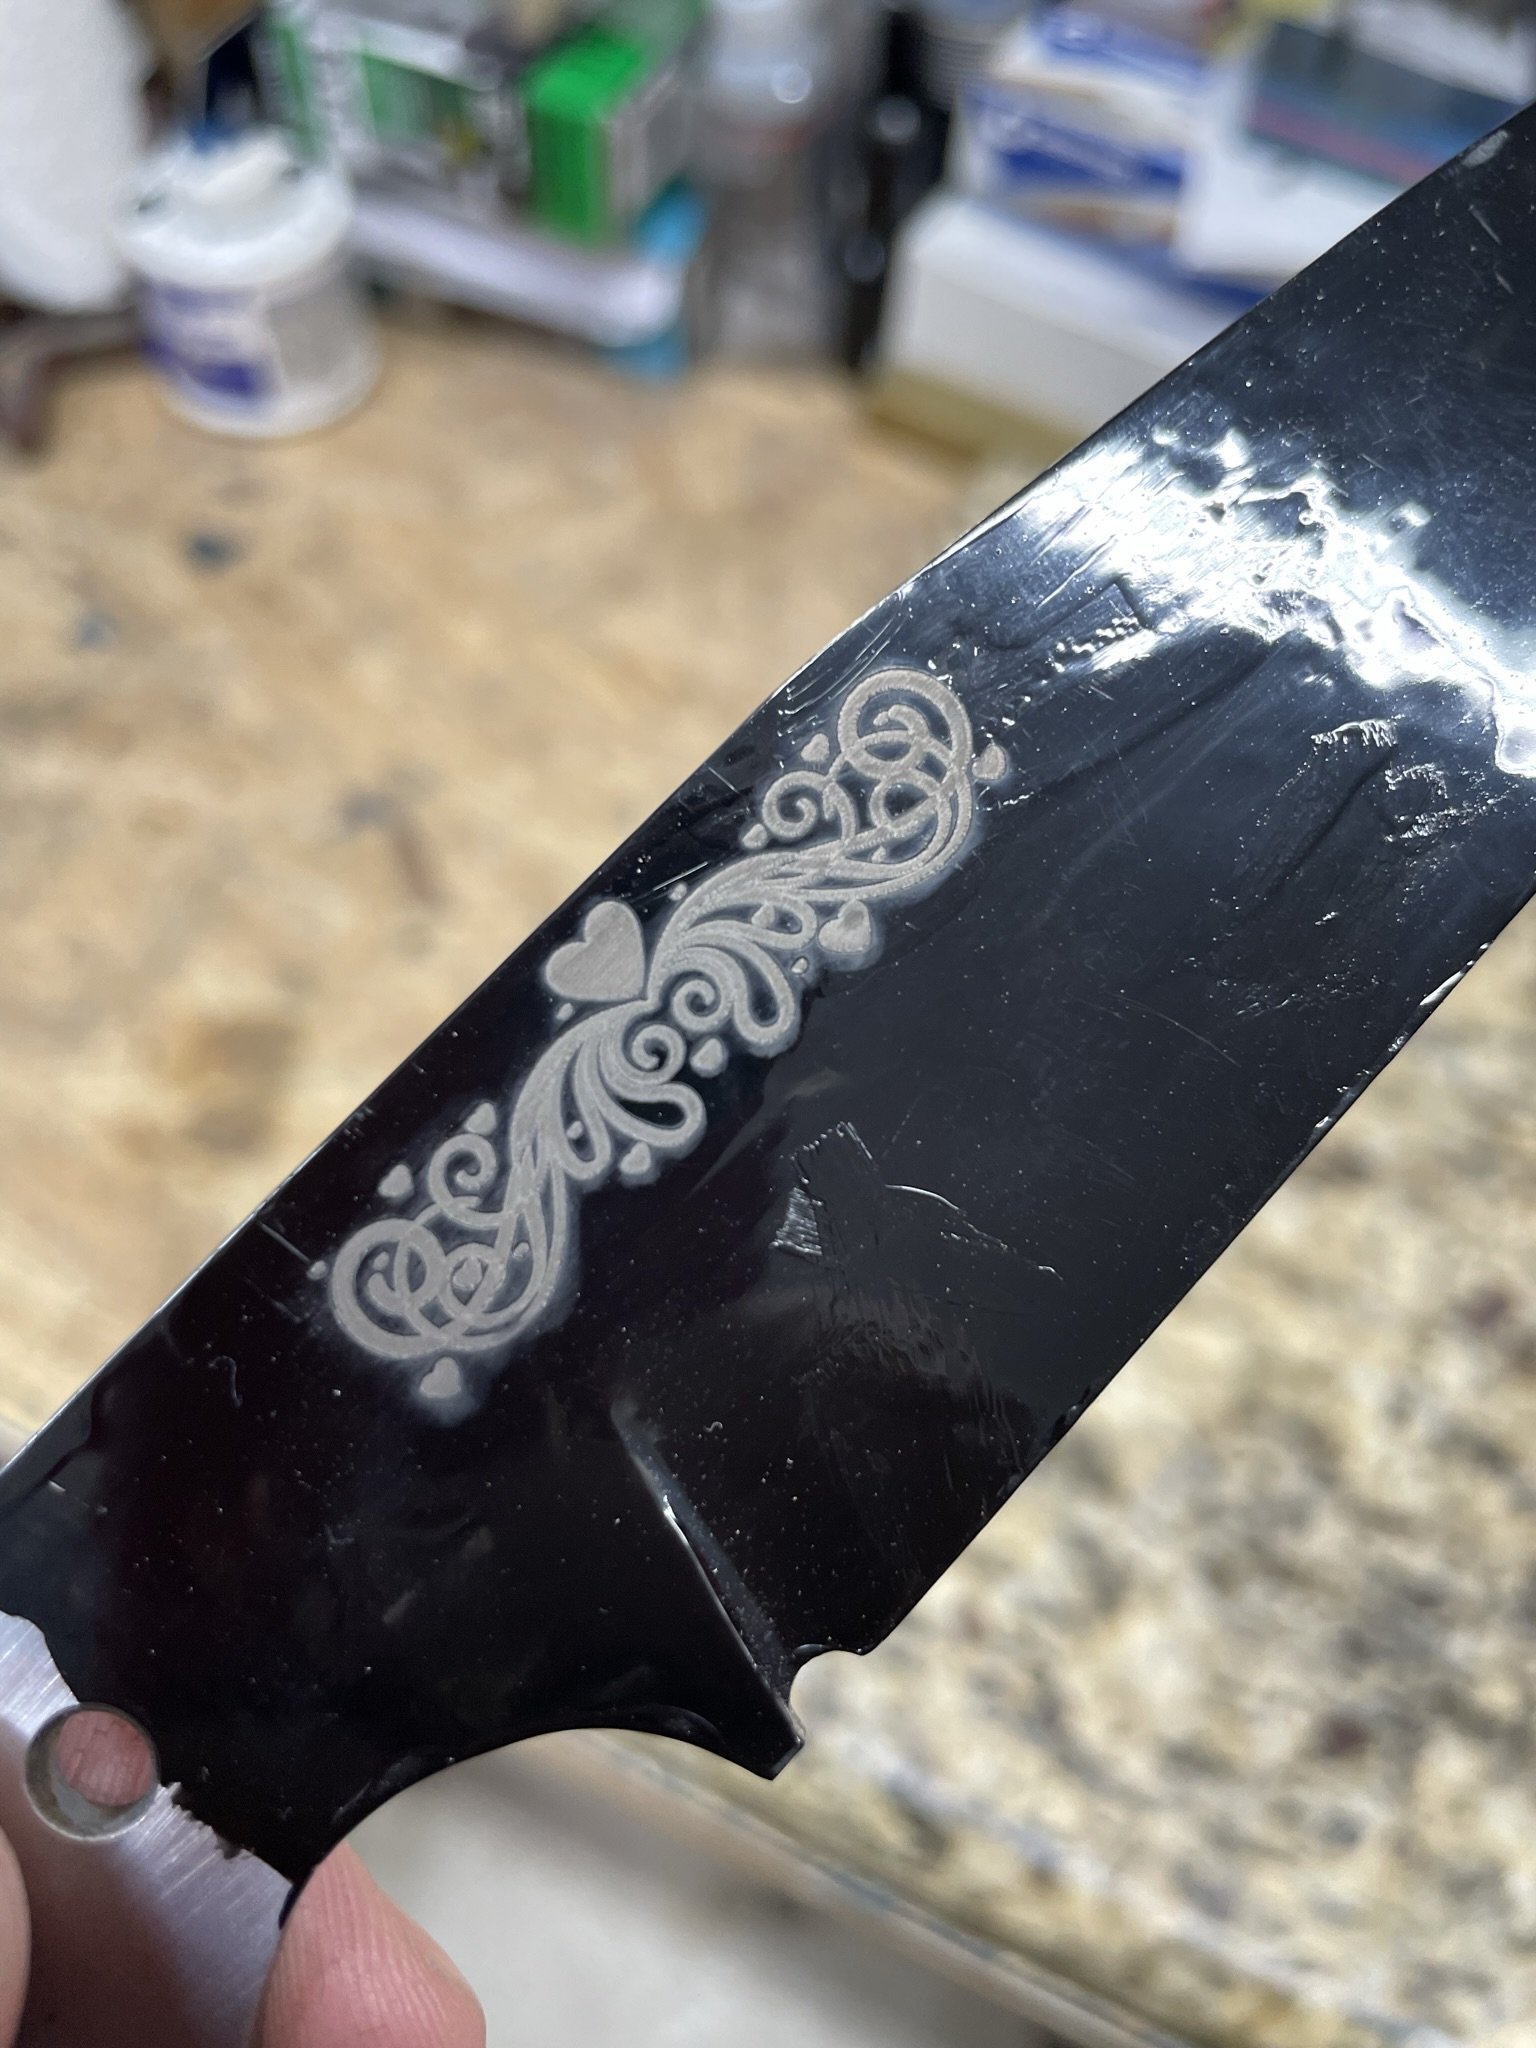
I wanted to make sure the custom scroll work was deep enough, so I coated the blade in nail polish and burned off the outline with my laser, then acid etched the blade.
-
Turned out great!
-
The other side.
-
Some pre-glue up handle shaping.
-
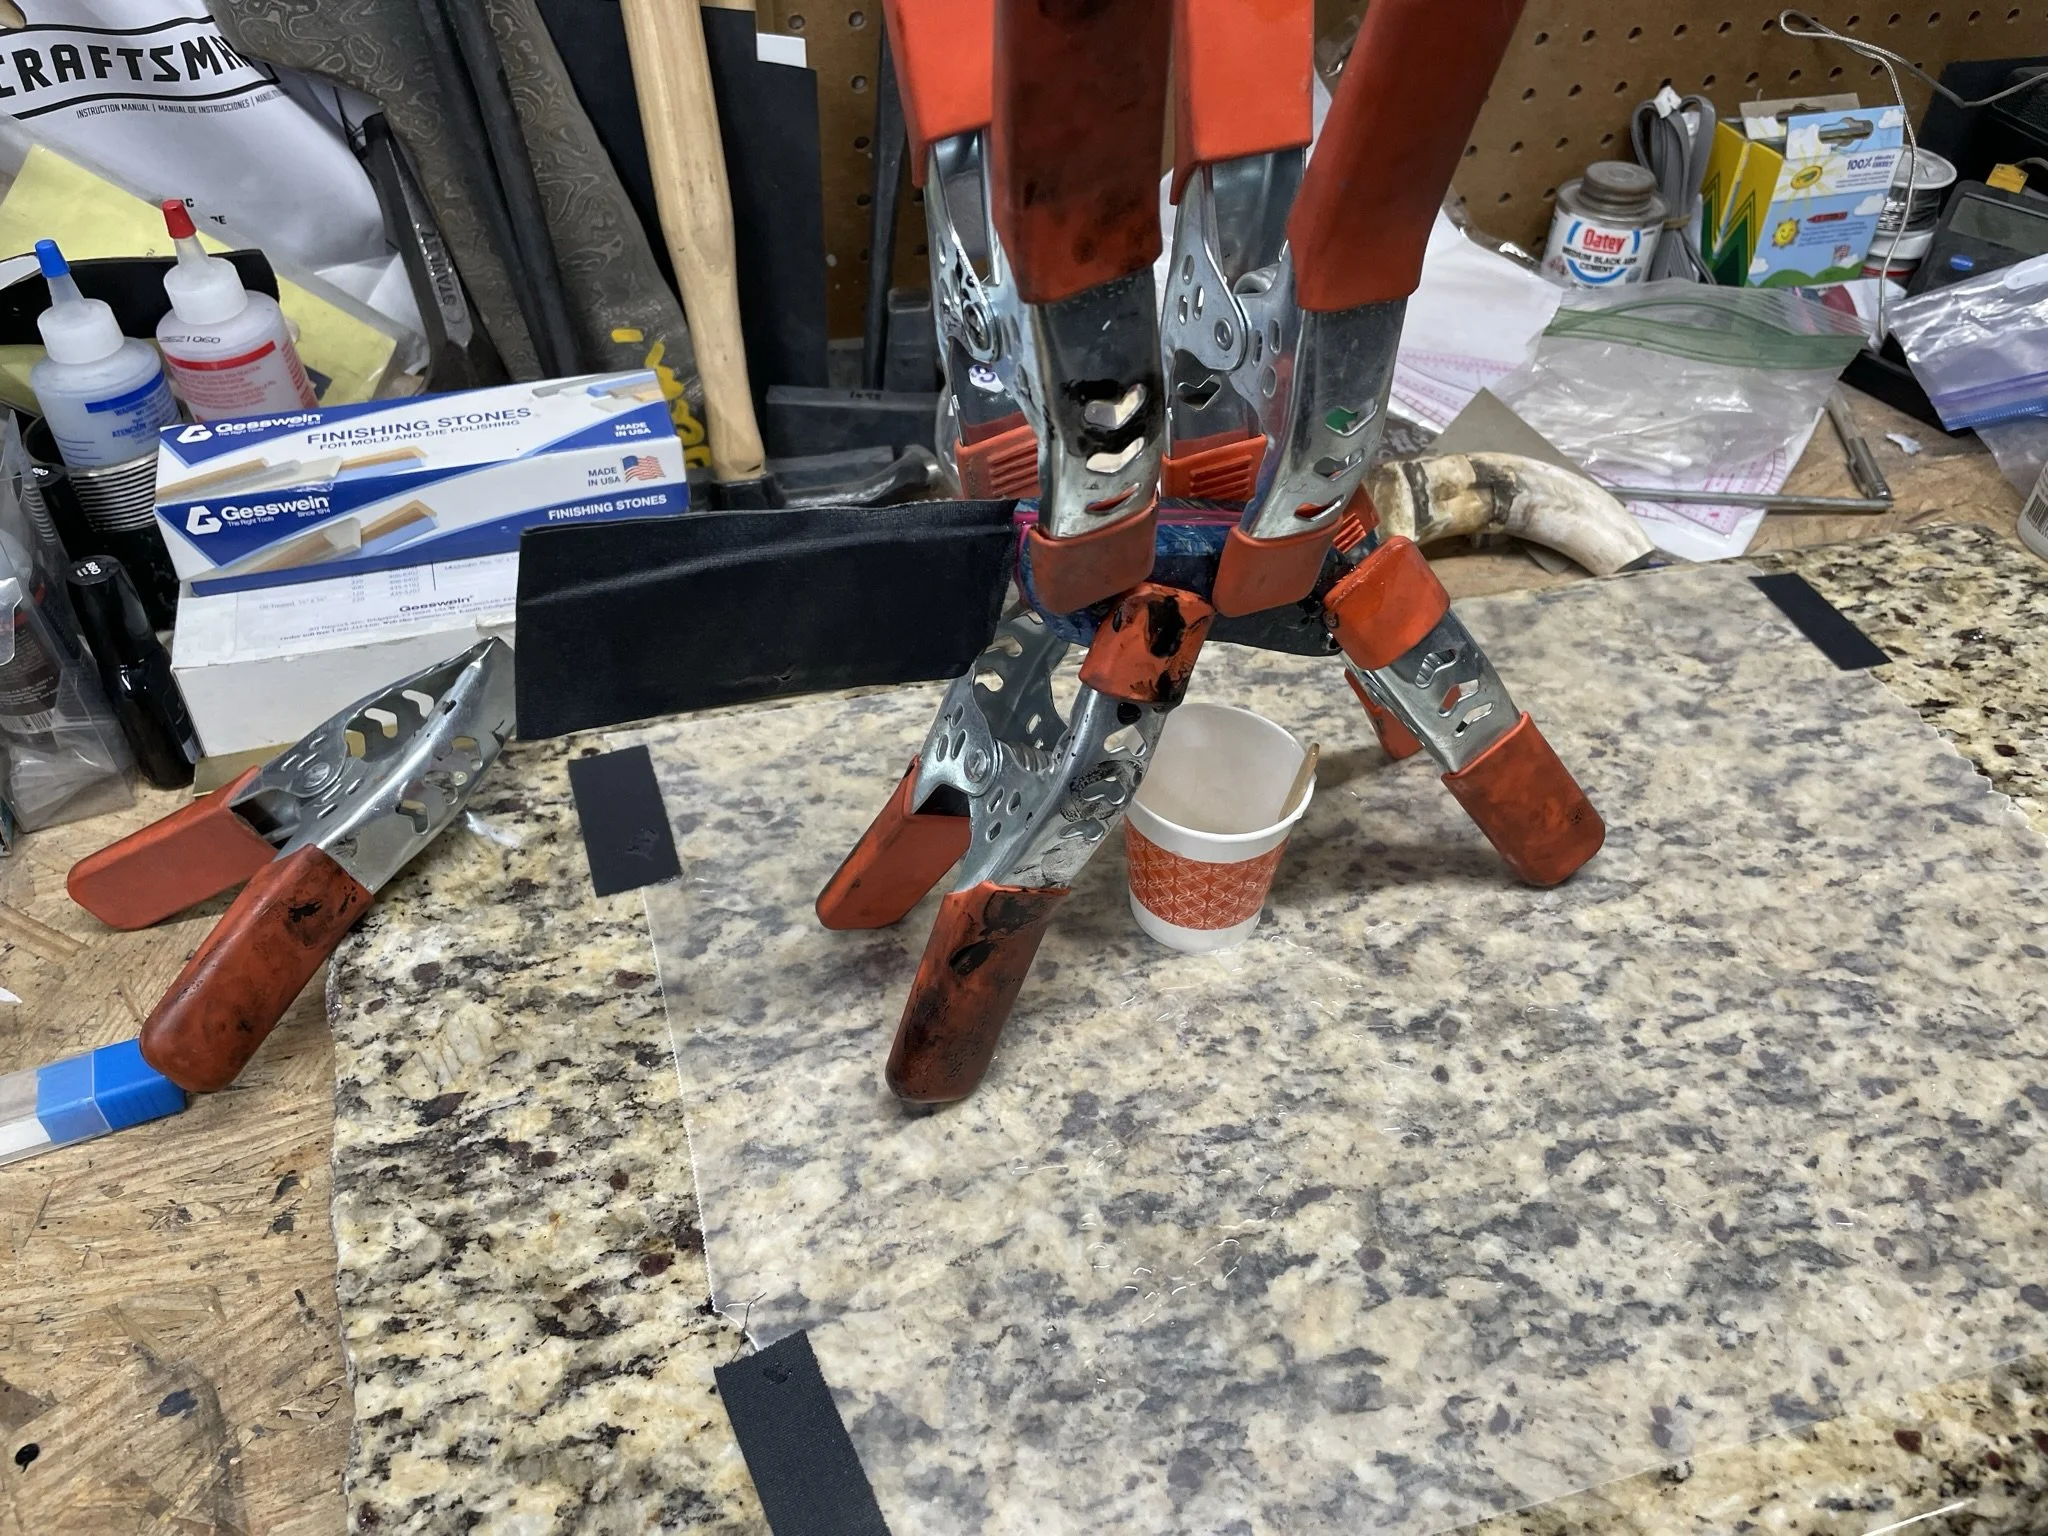
Yep, you guessed it - glue up!
-
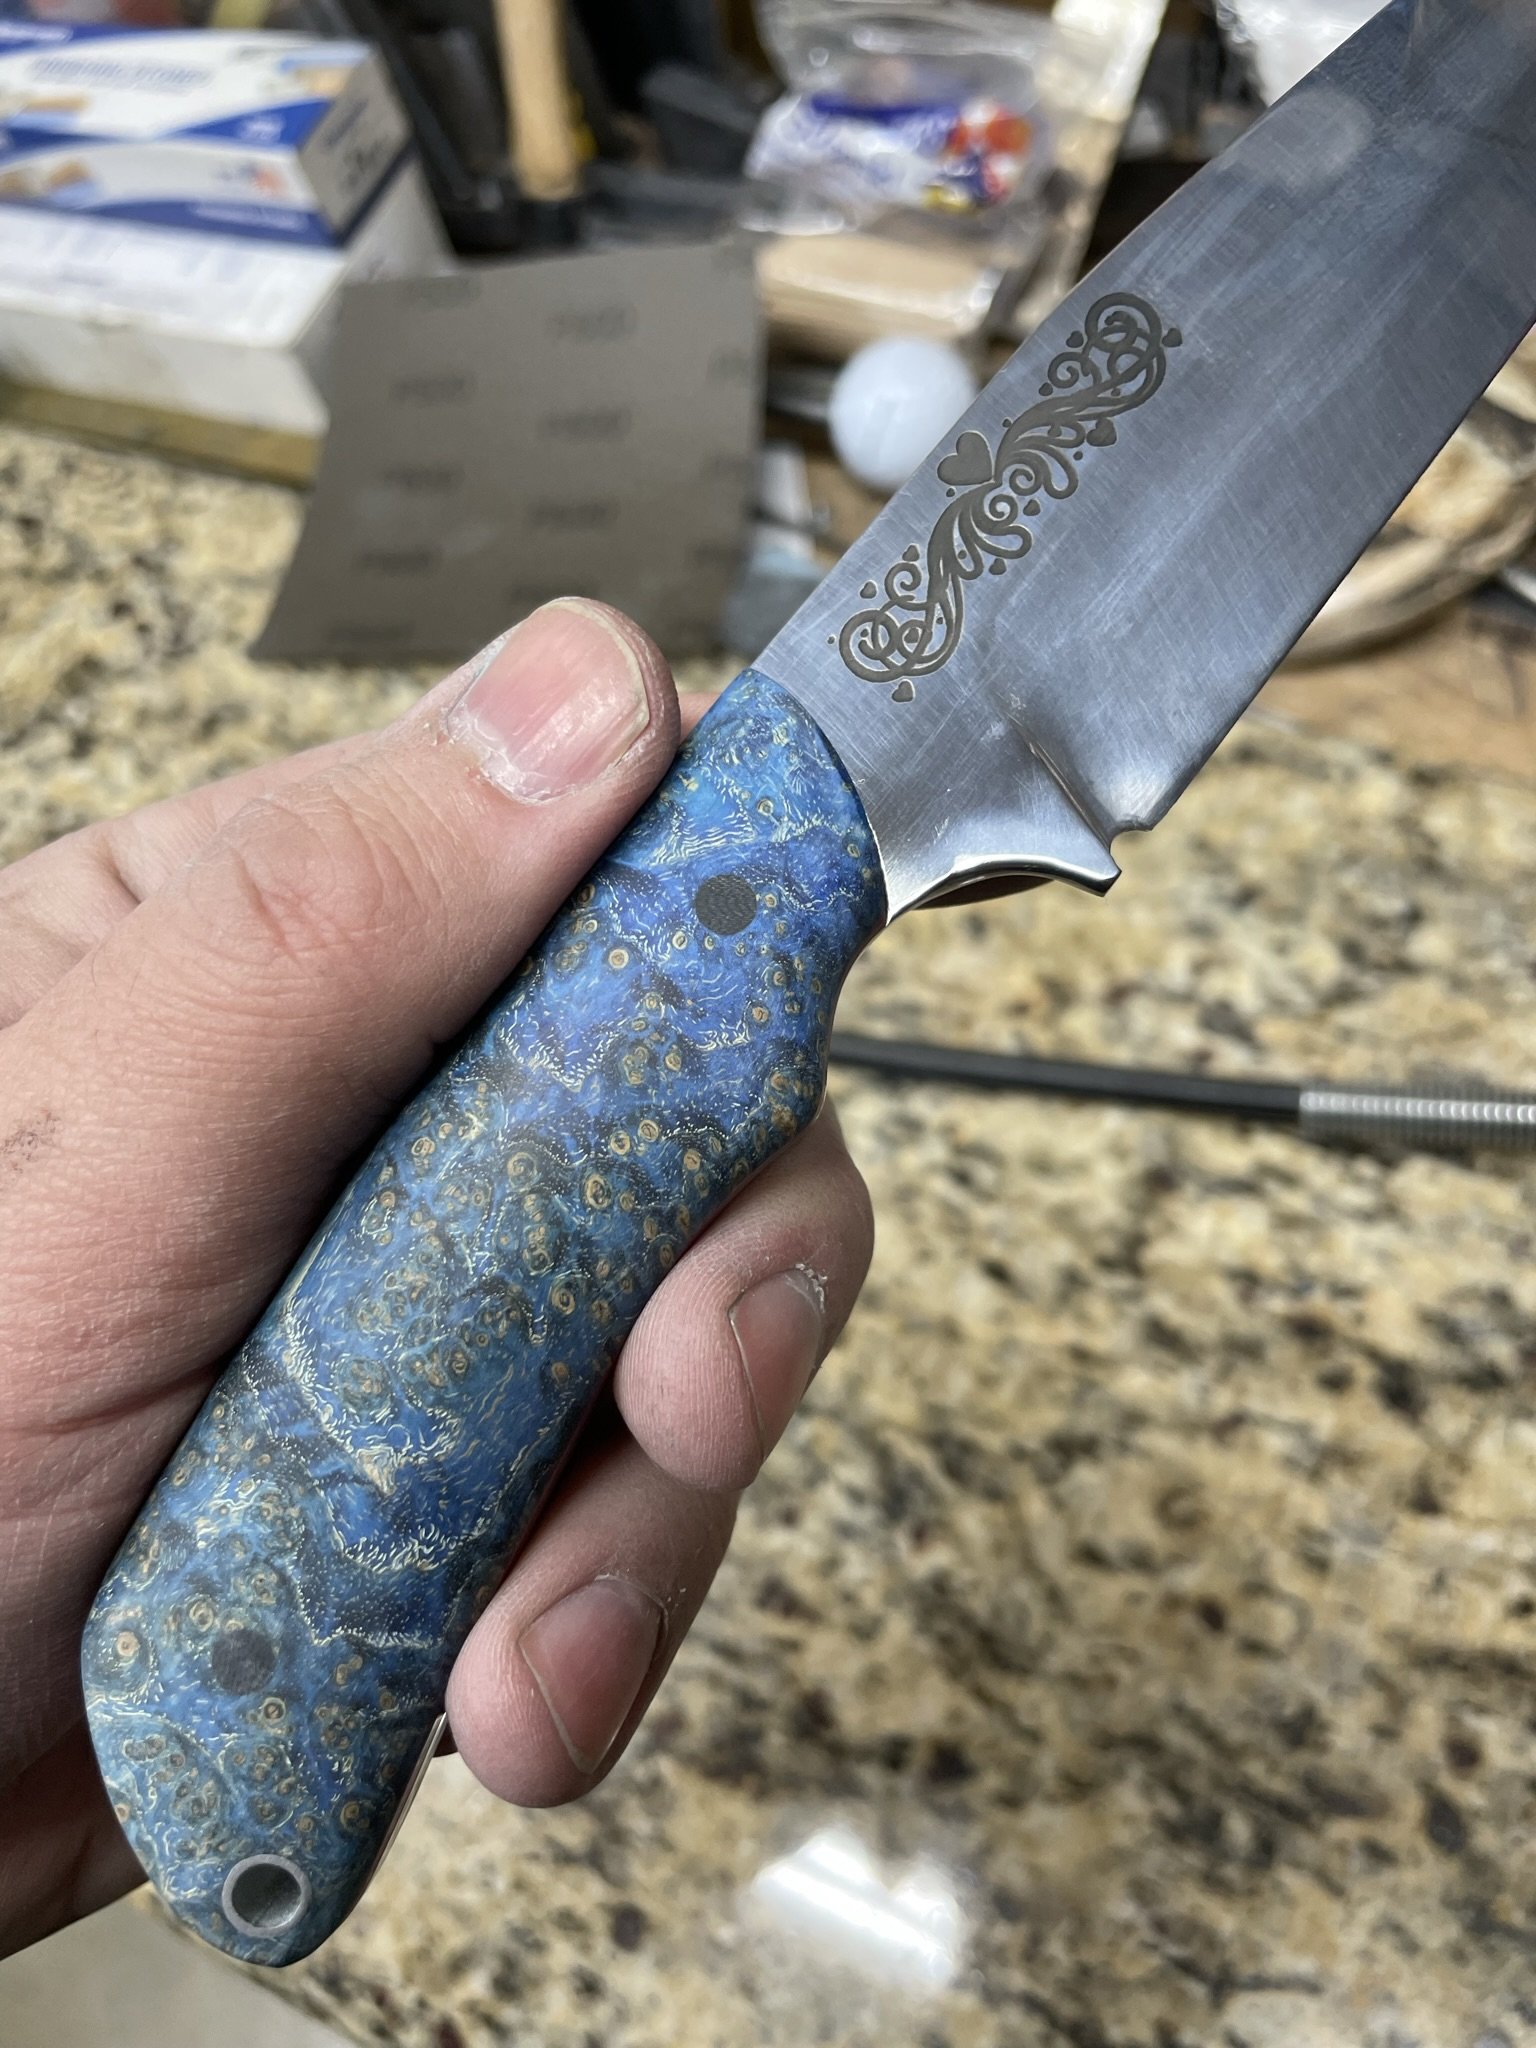
Some post glue-up contouring.
-
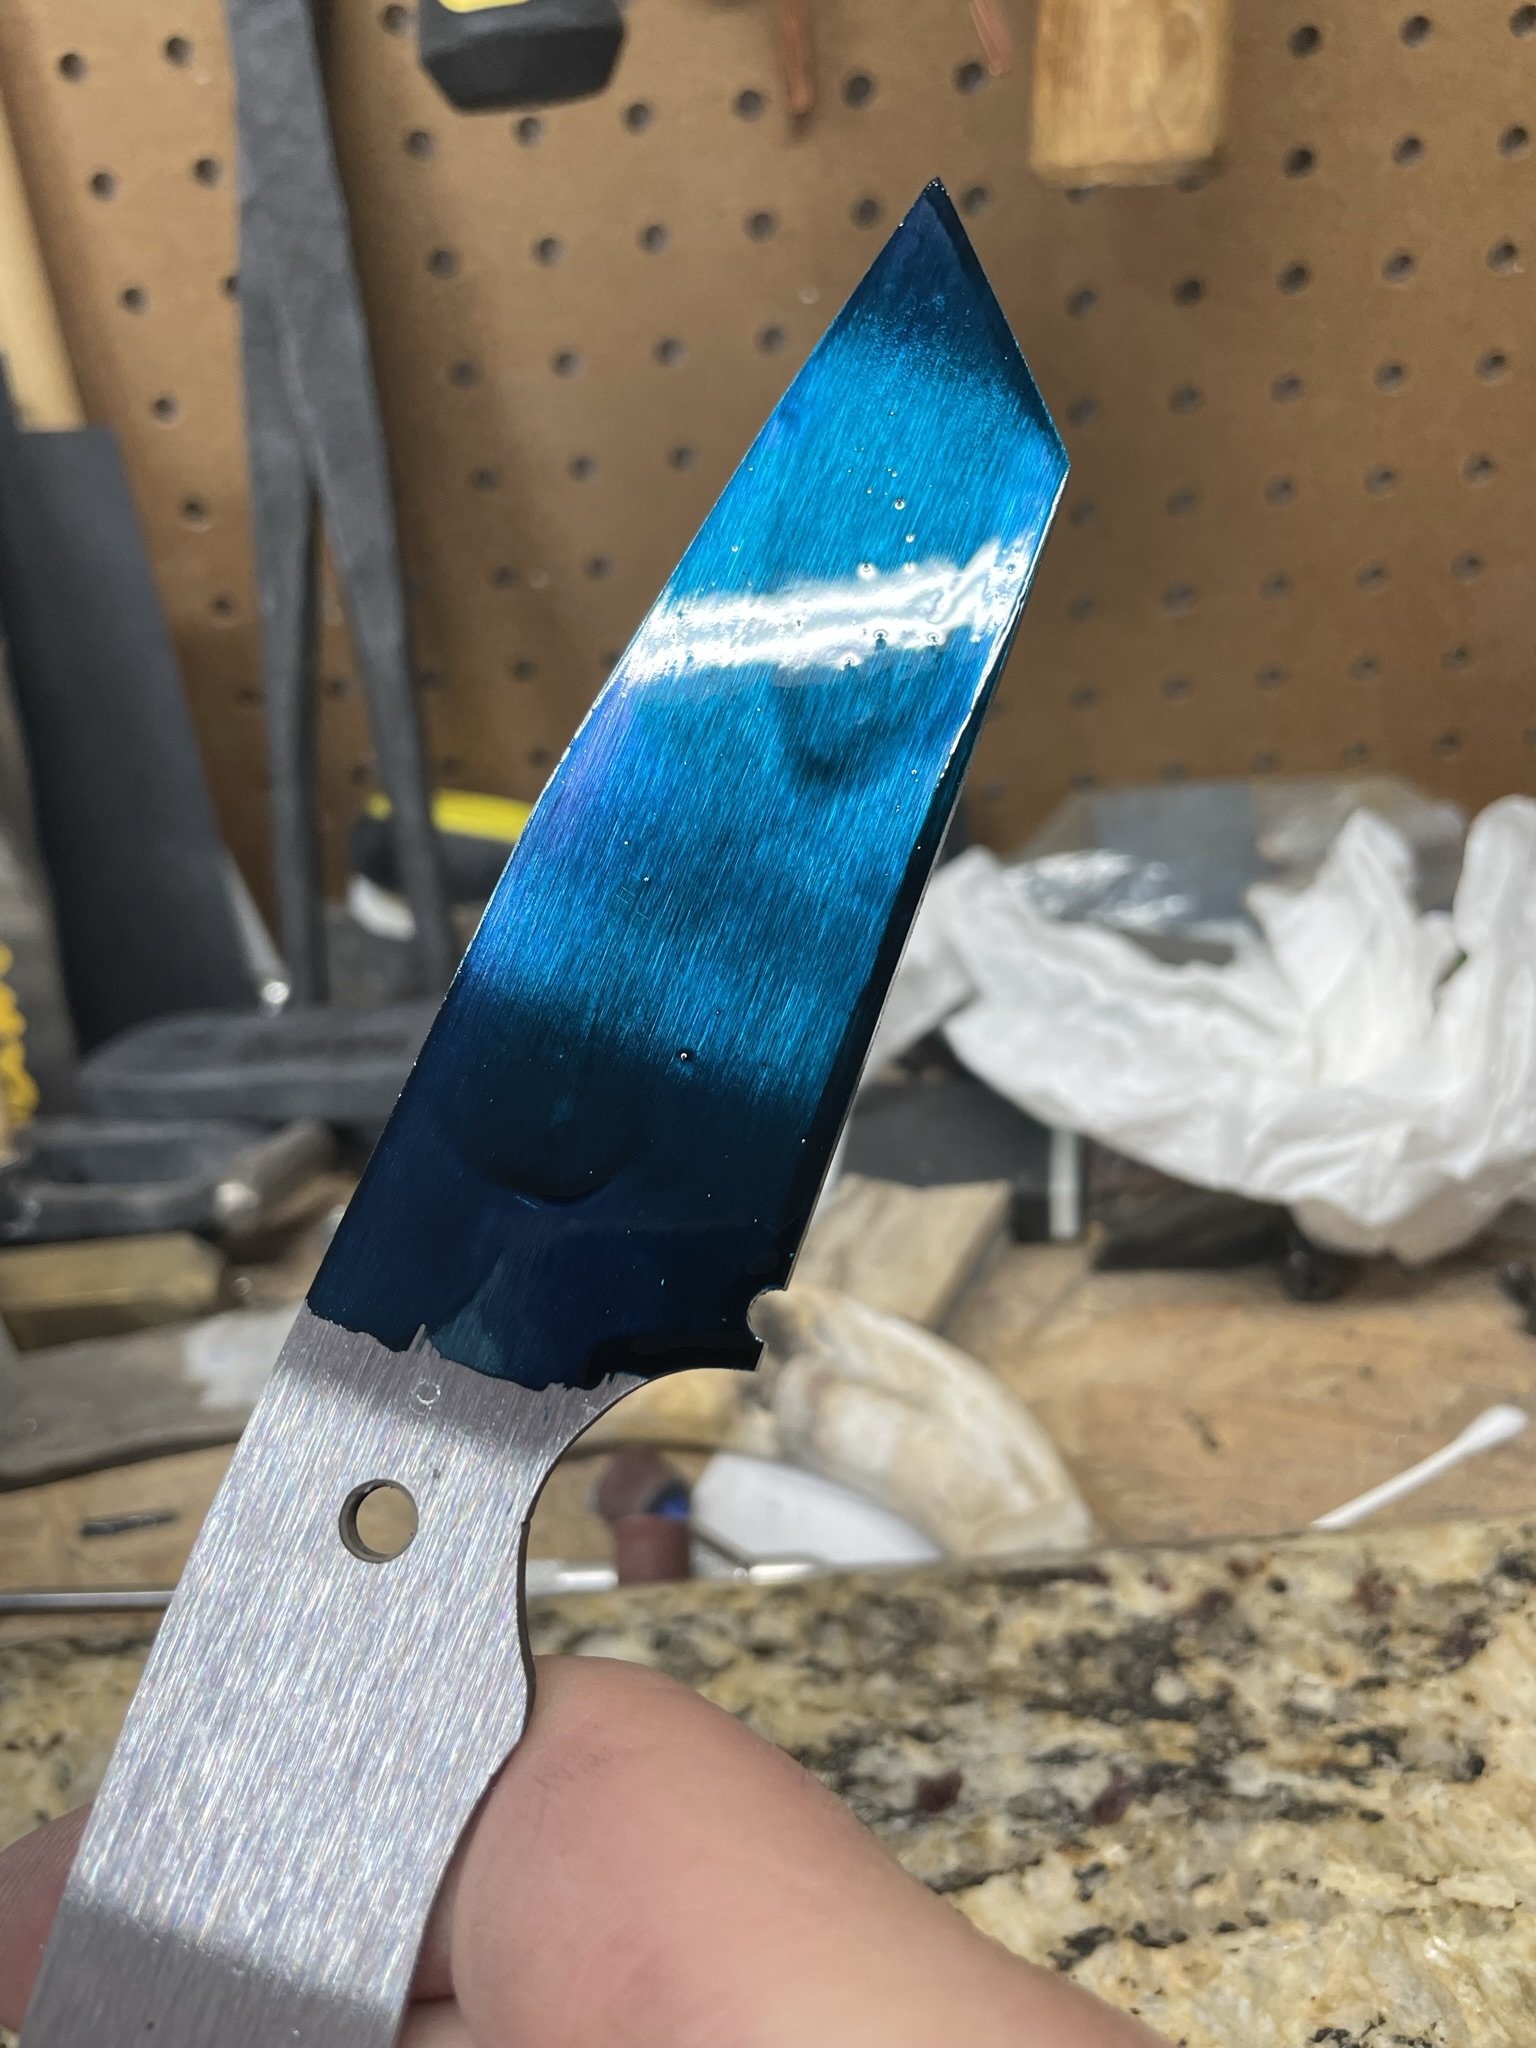
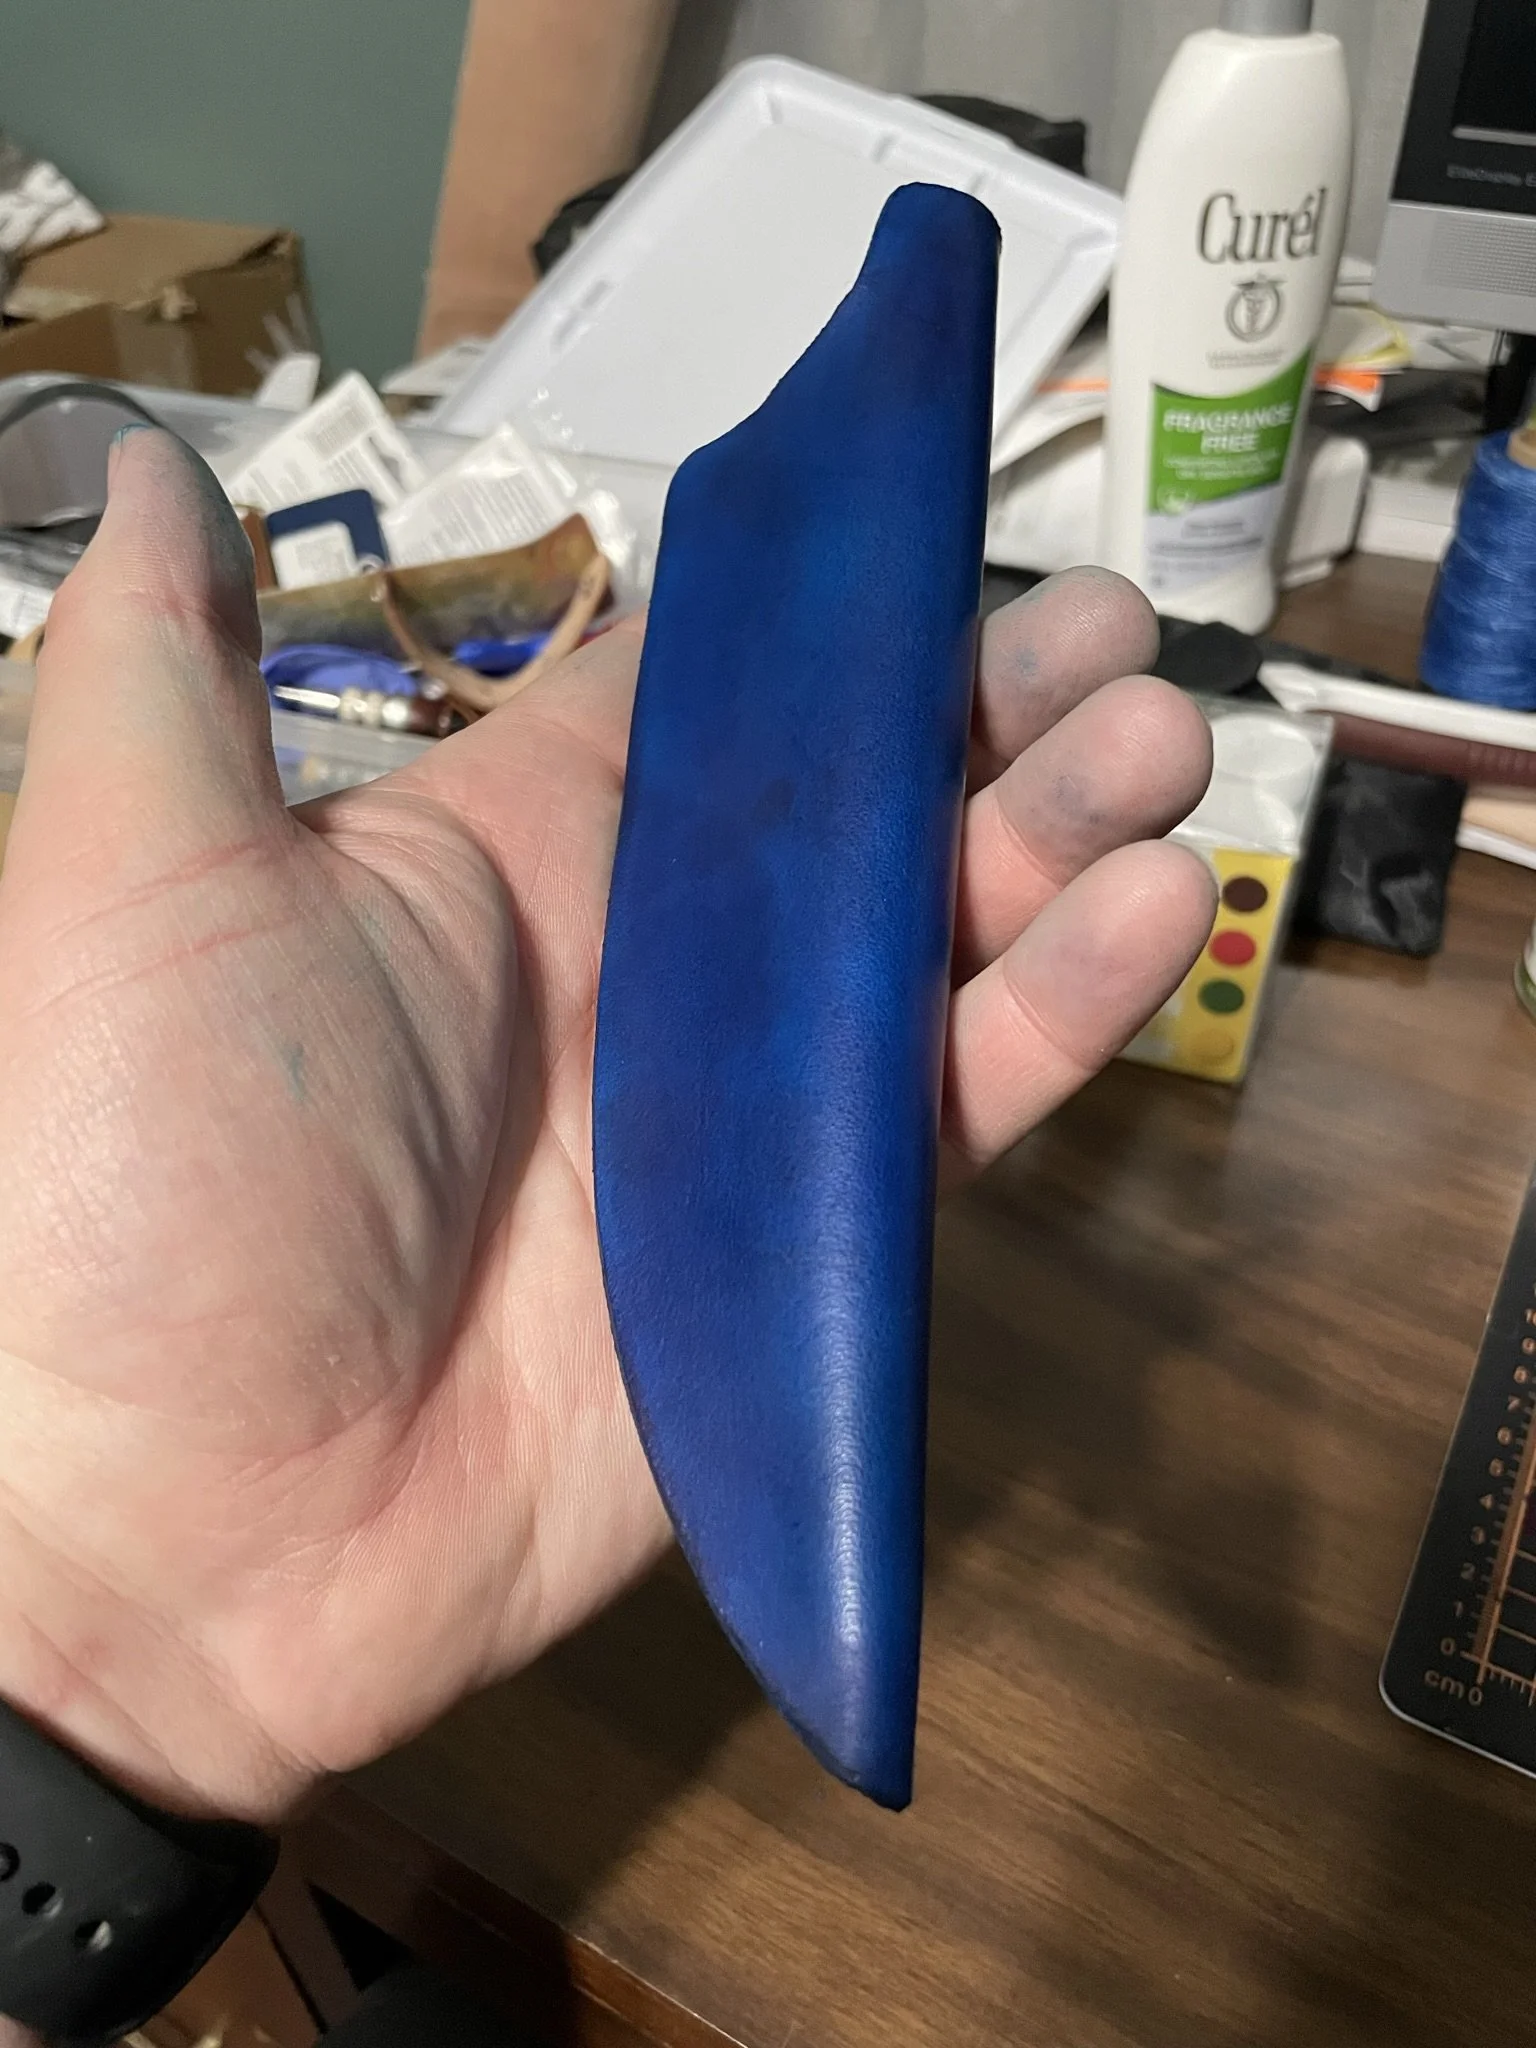
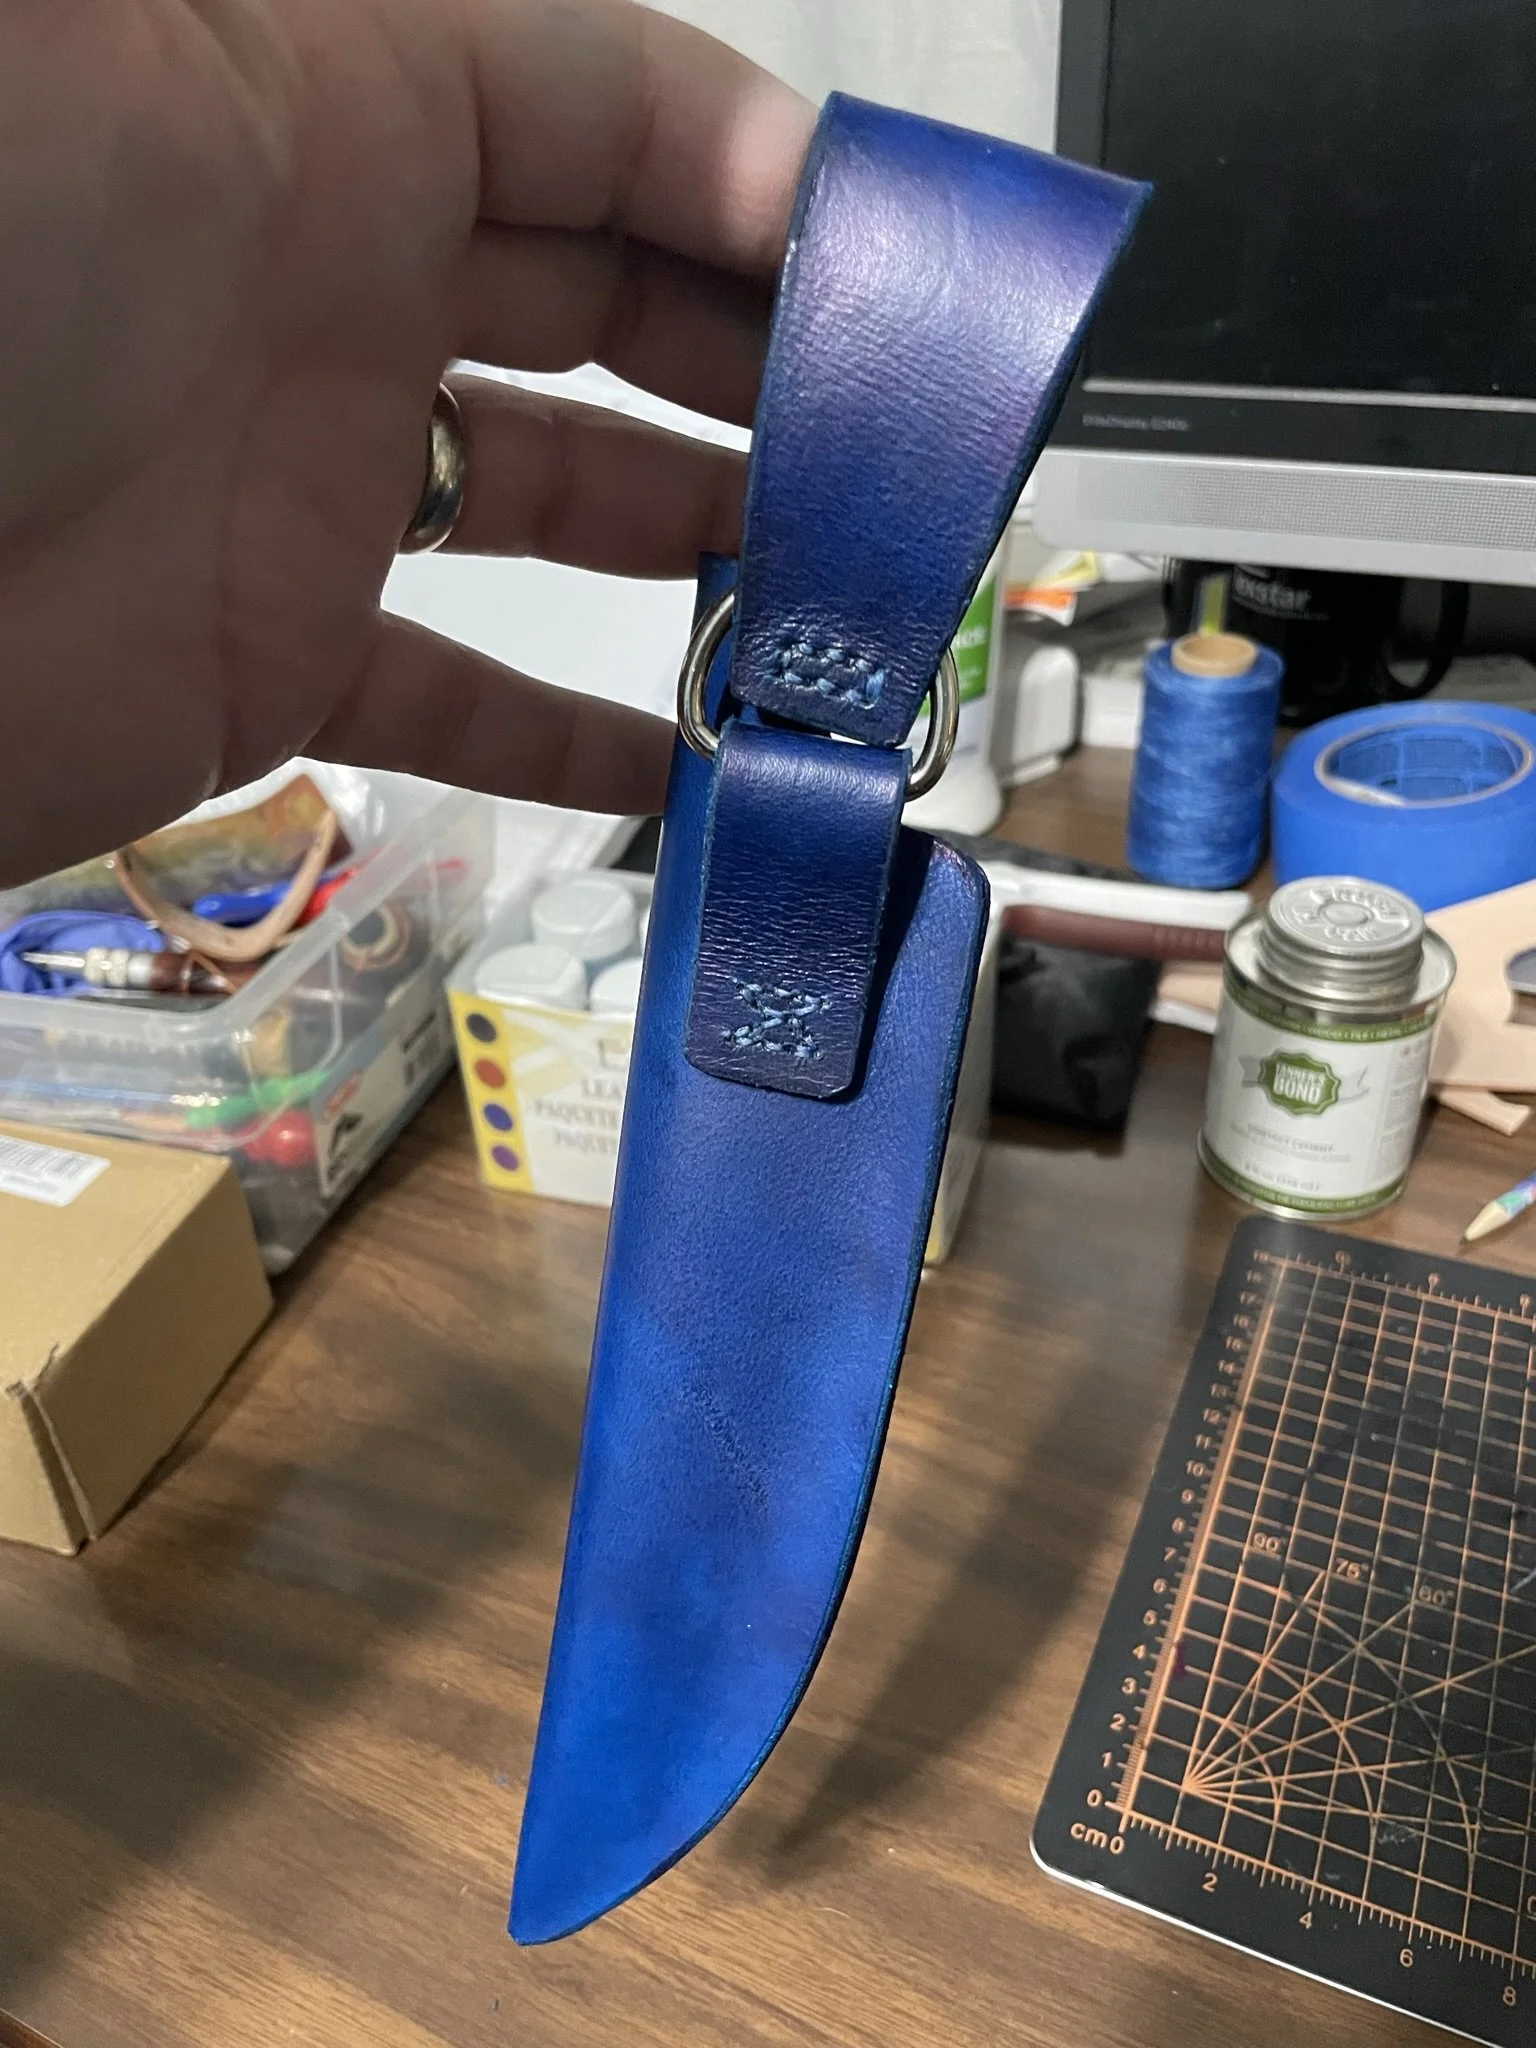
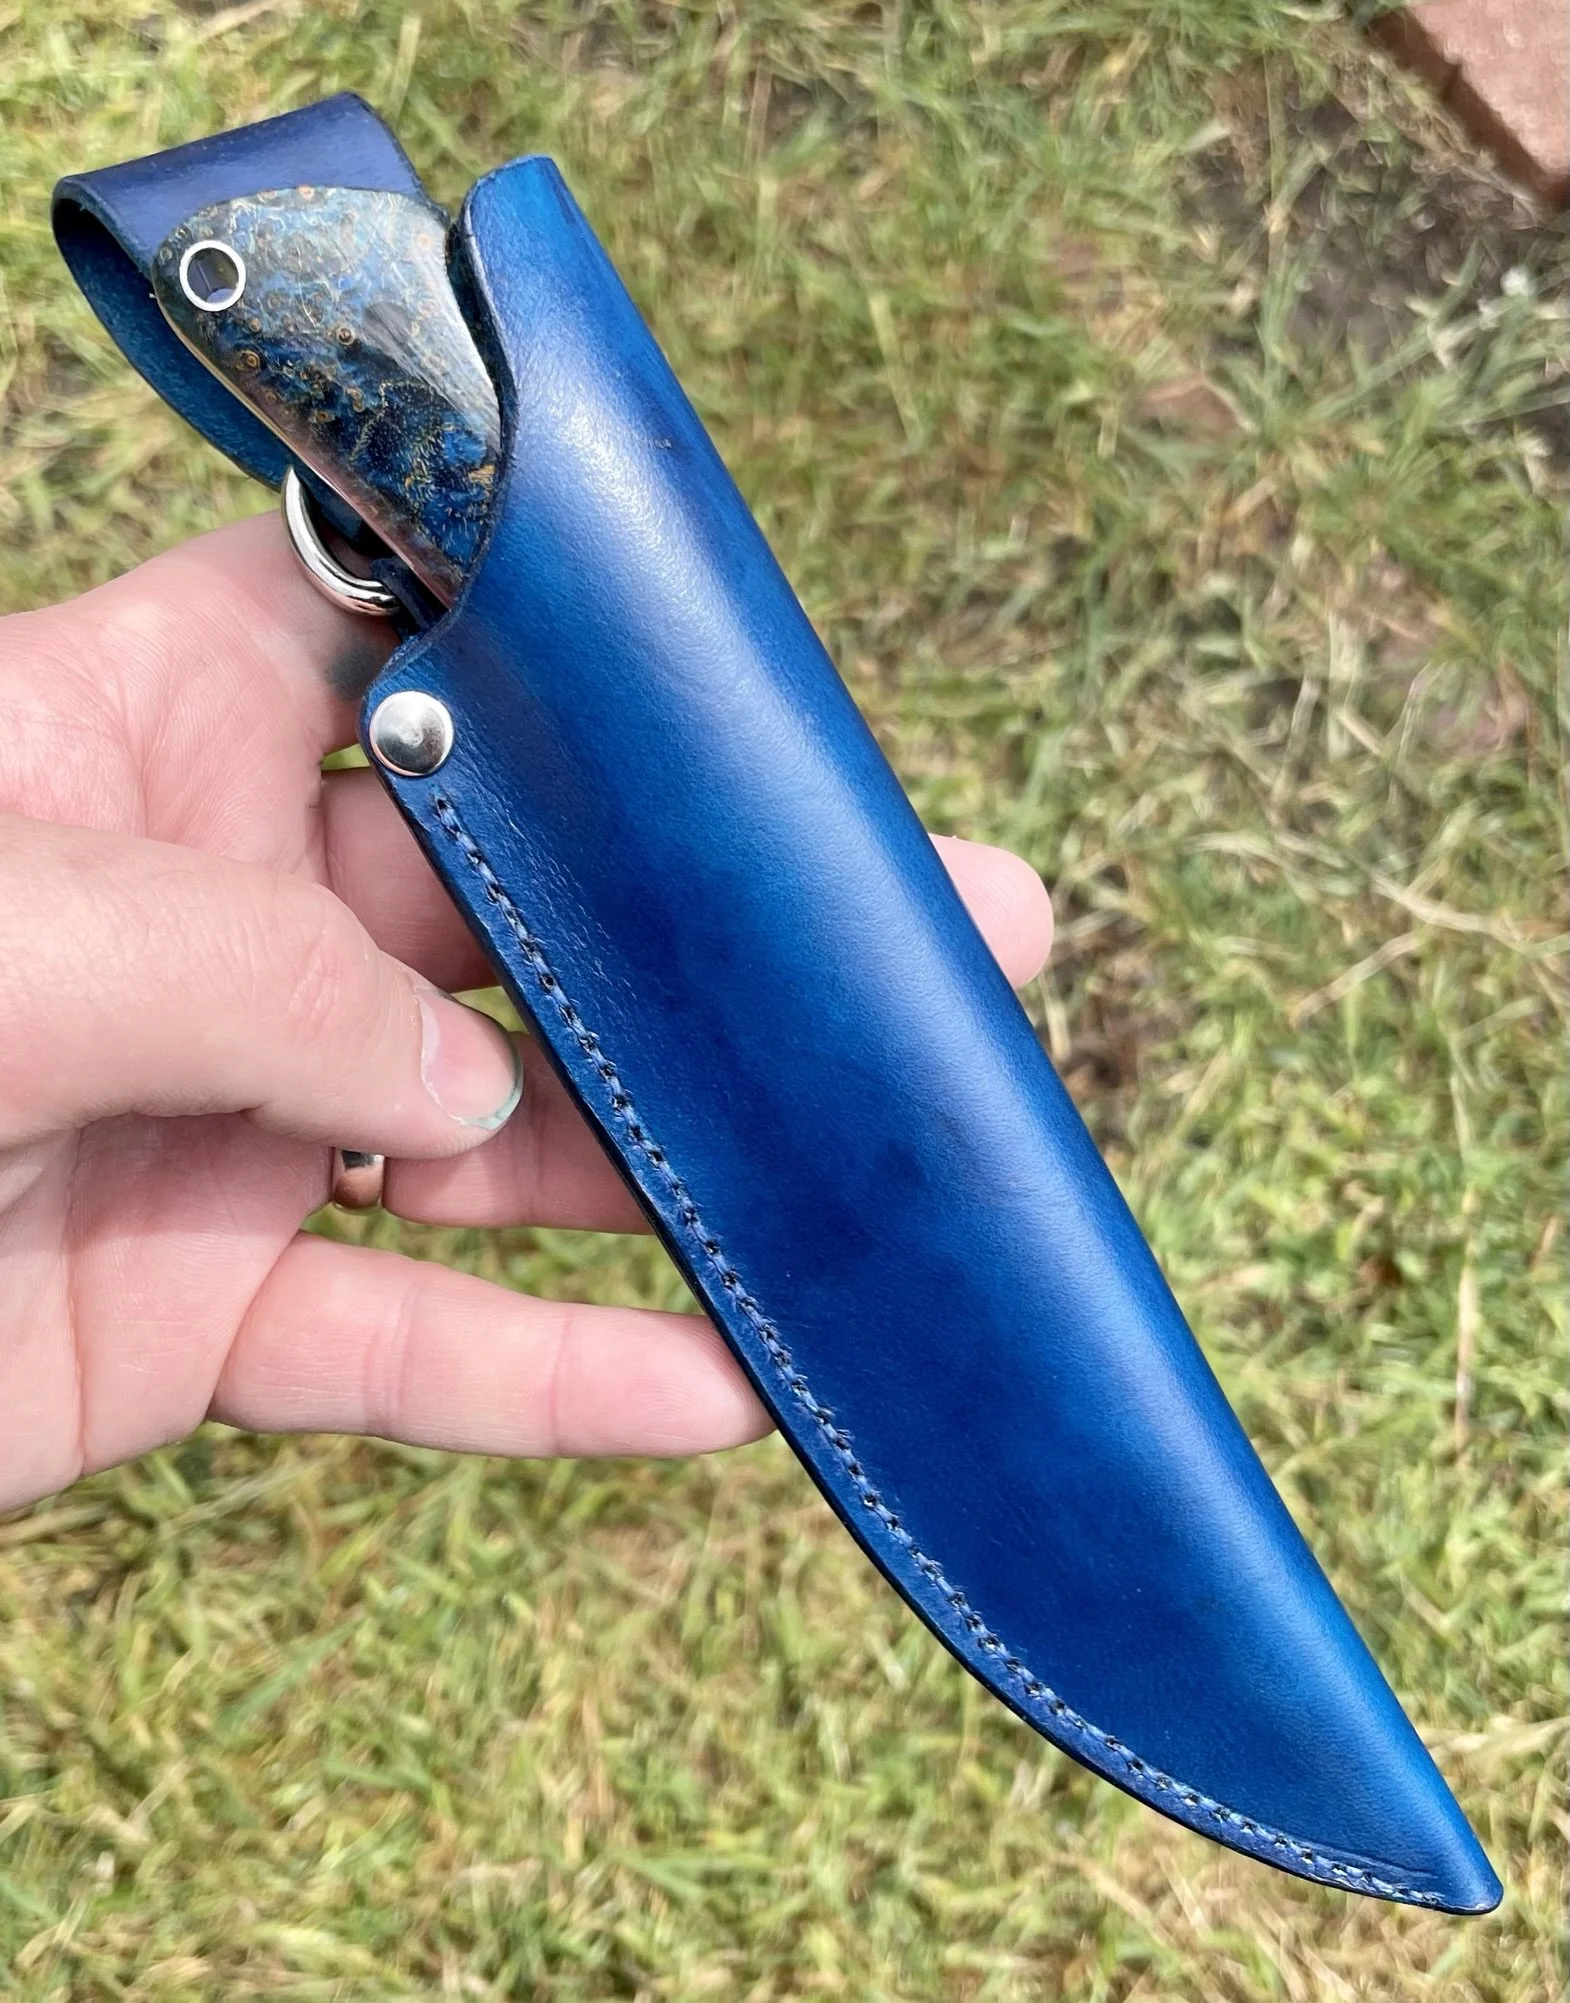
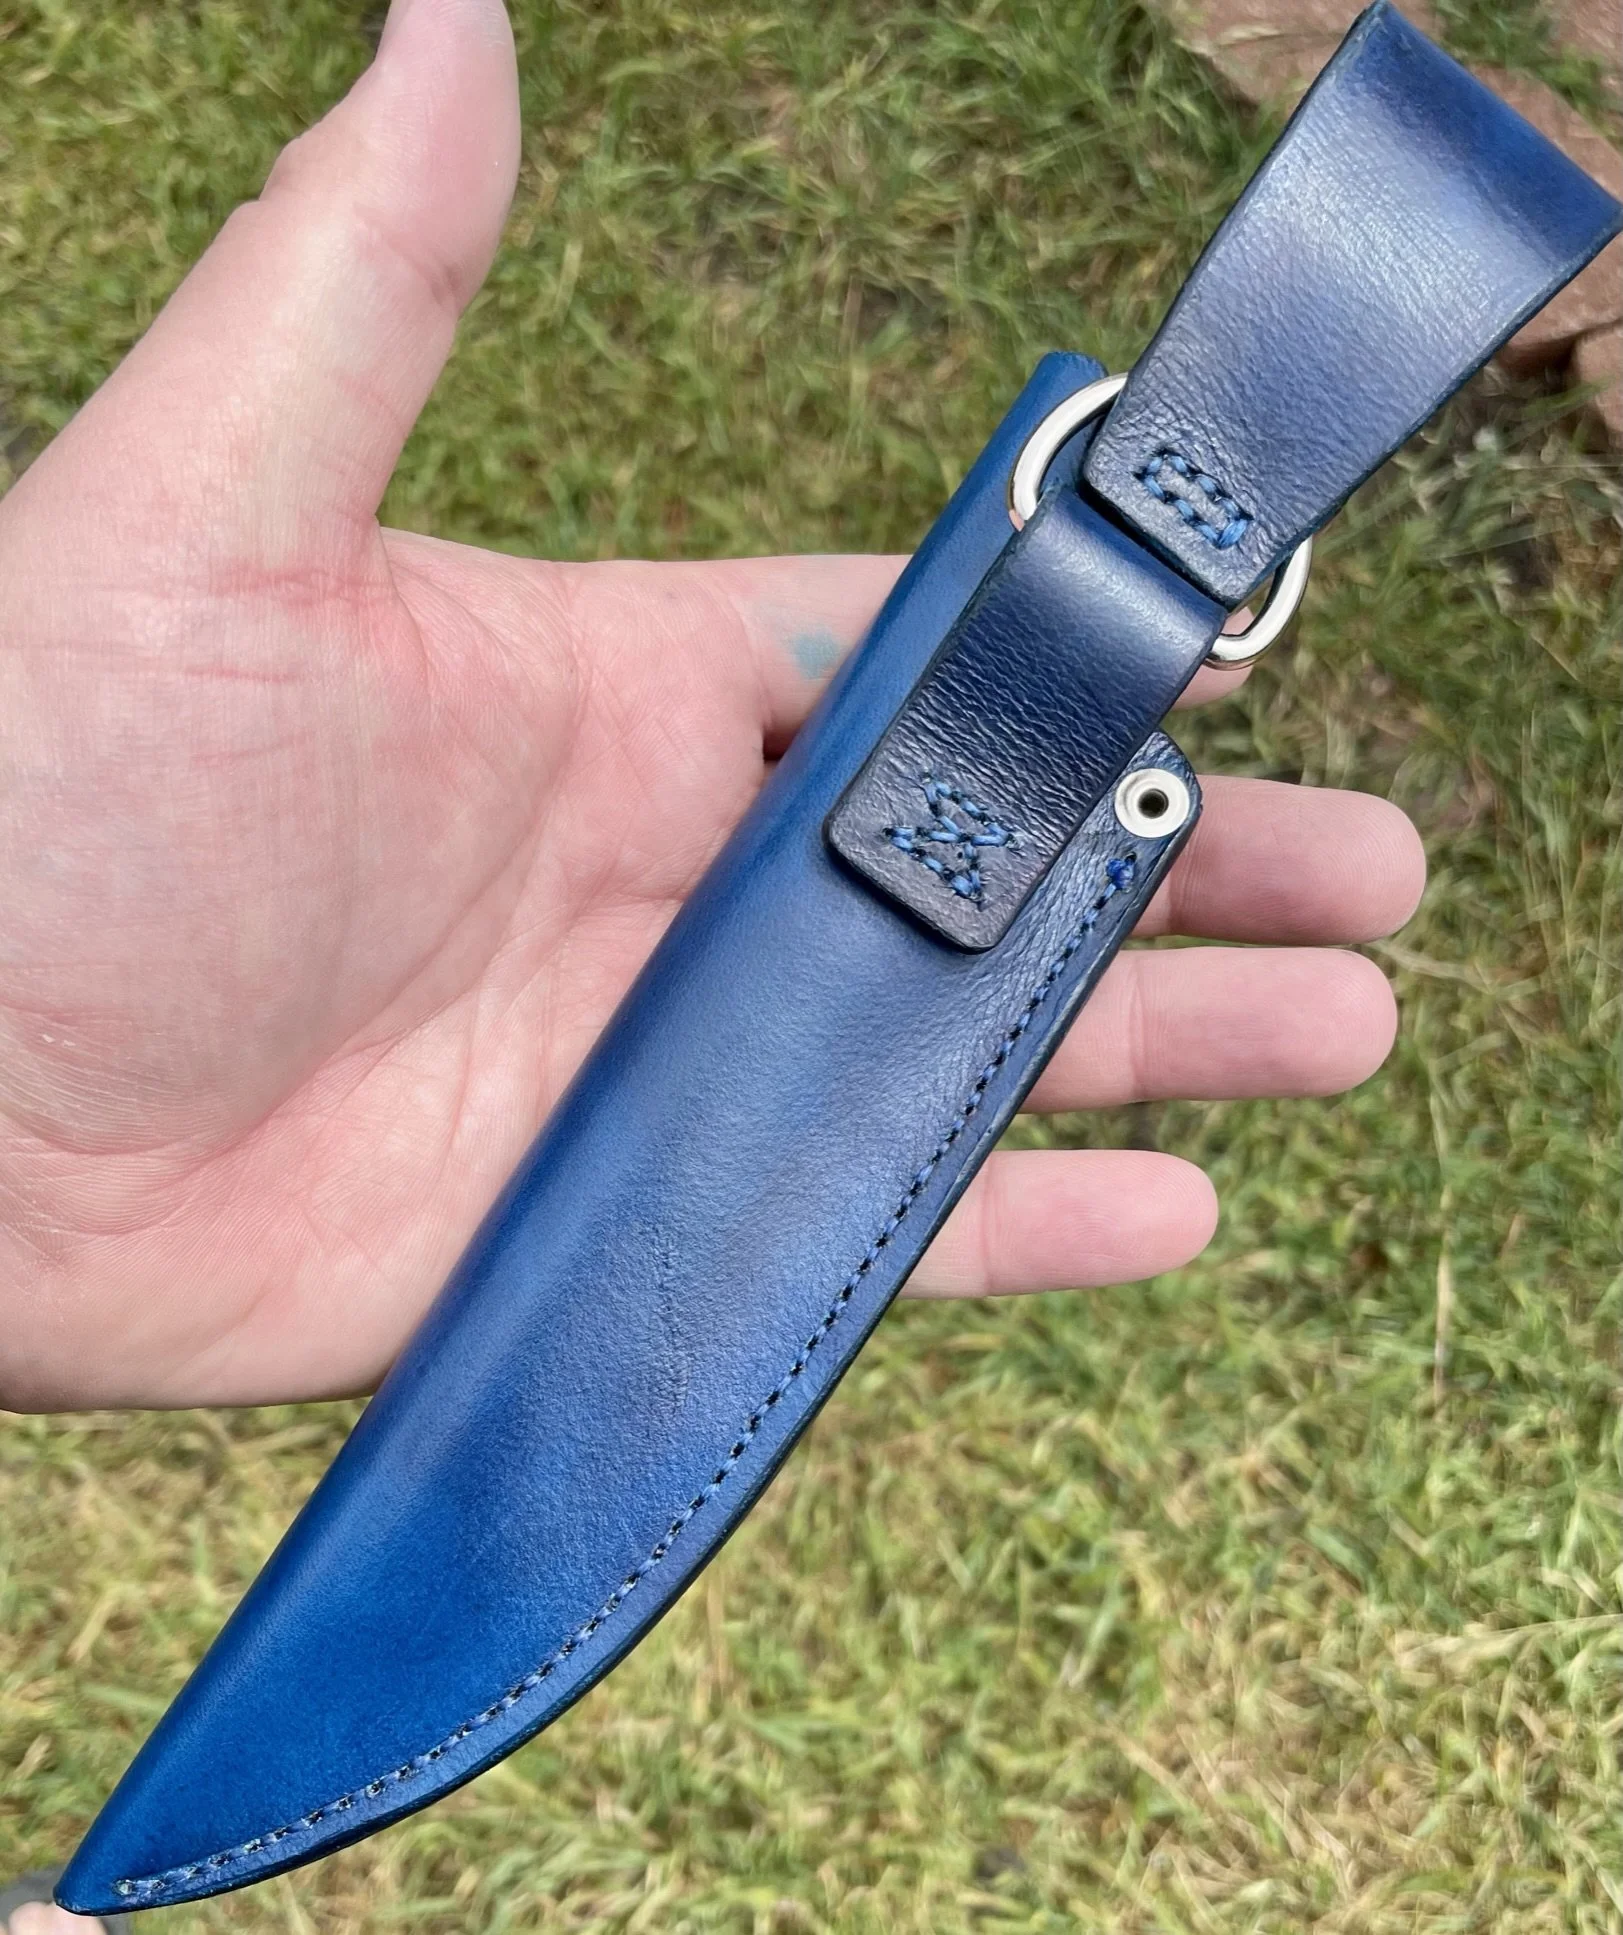
Had to make a sheath that fit the theme of this blade. Blue was the only way.
-
Back of the sheath.
-
Finished blade in the sheath.
-
Finished sheath outside.
-
Glamour shot #1.
-
Glamour shot #2.
-
Spine final shot.
-
Glamour shot #3.
-
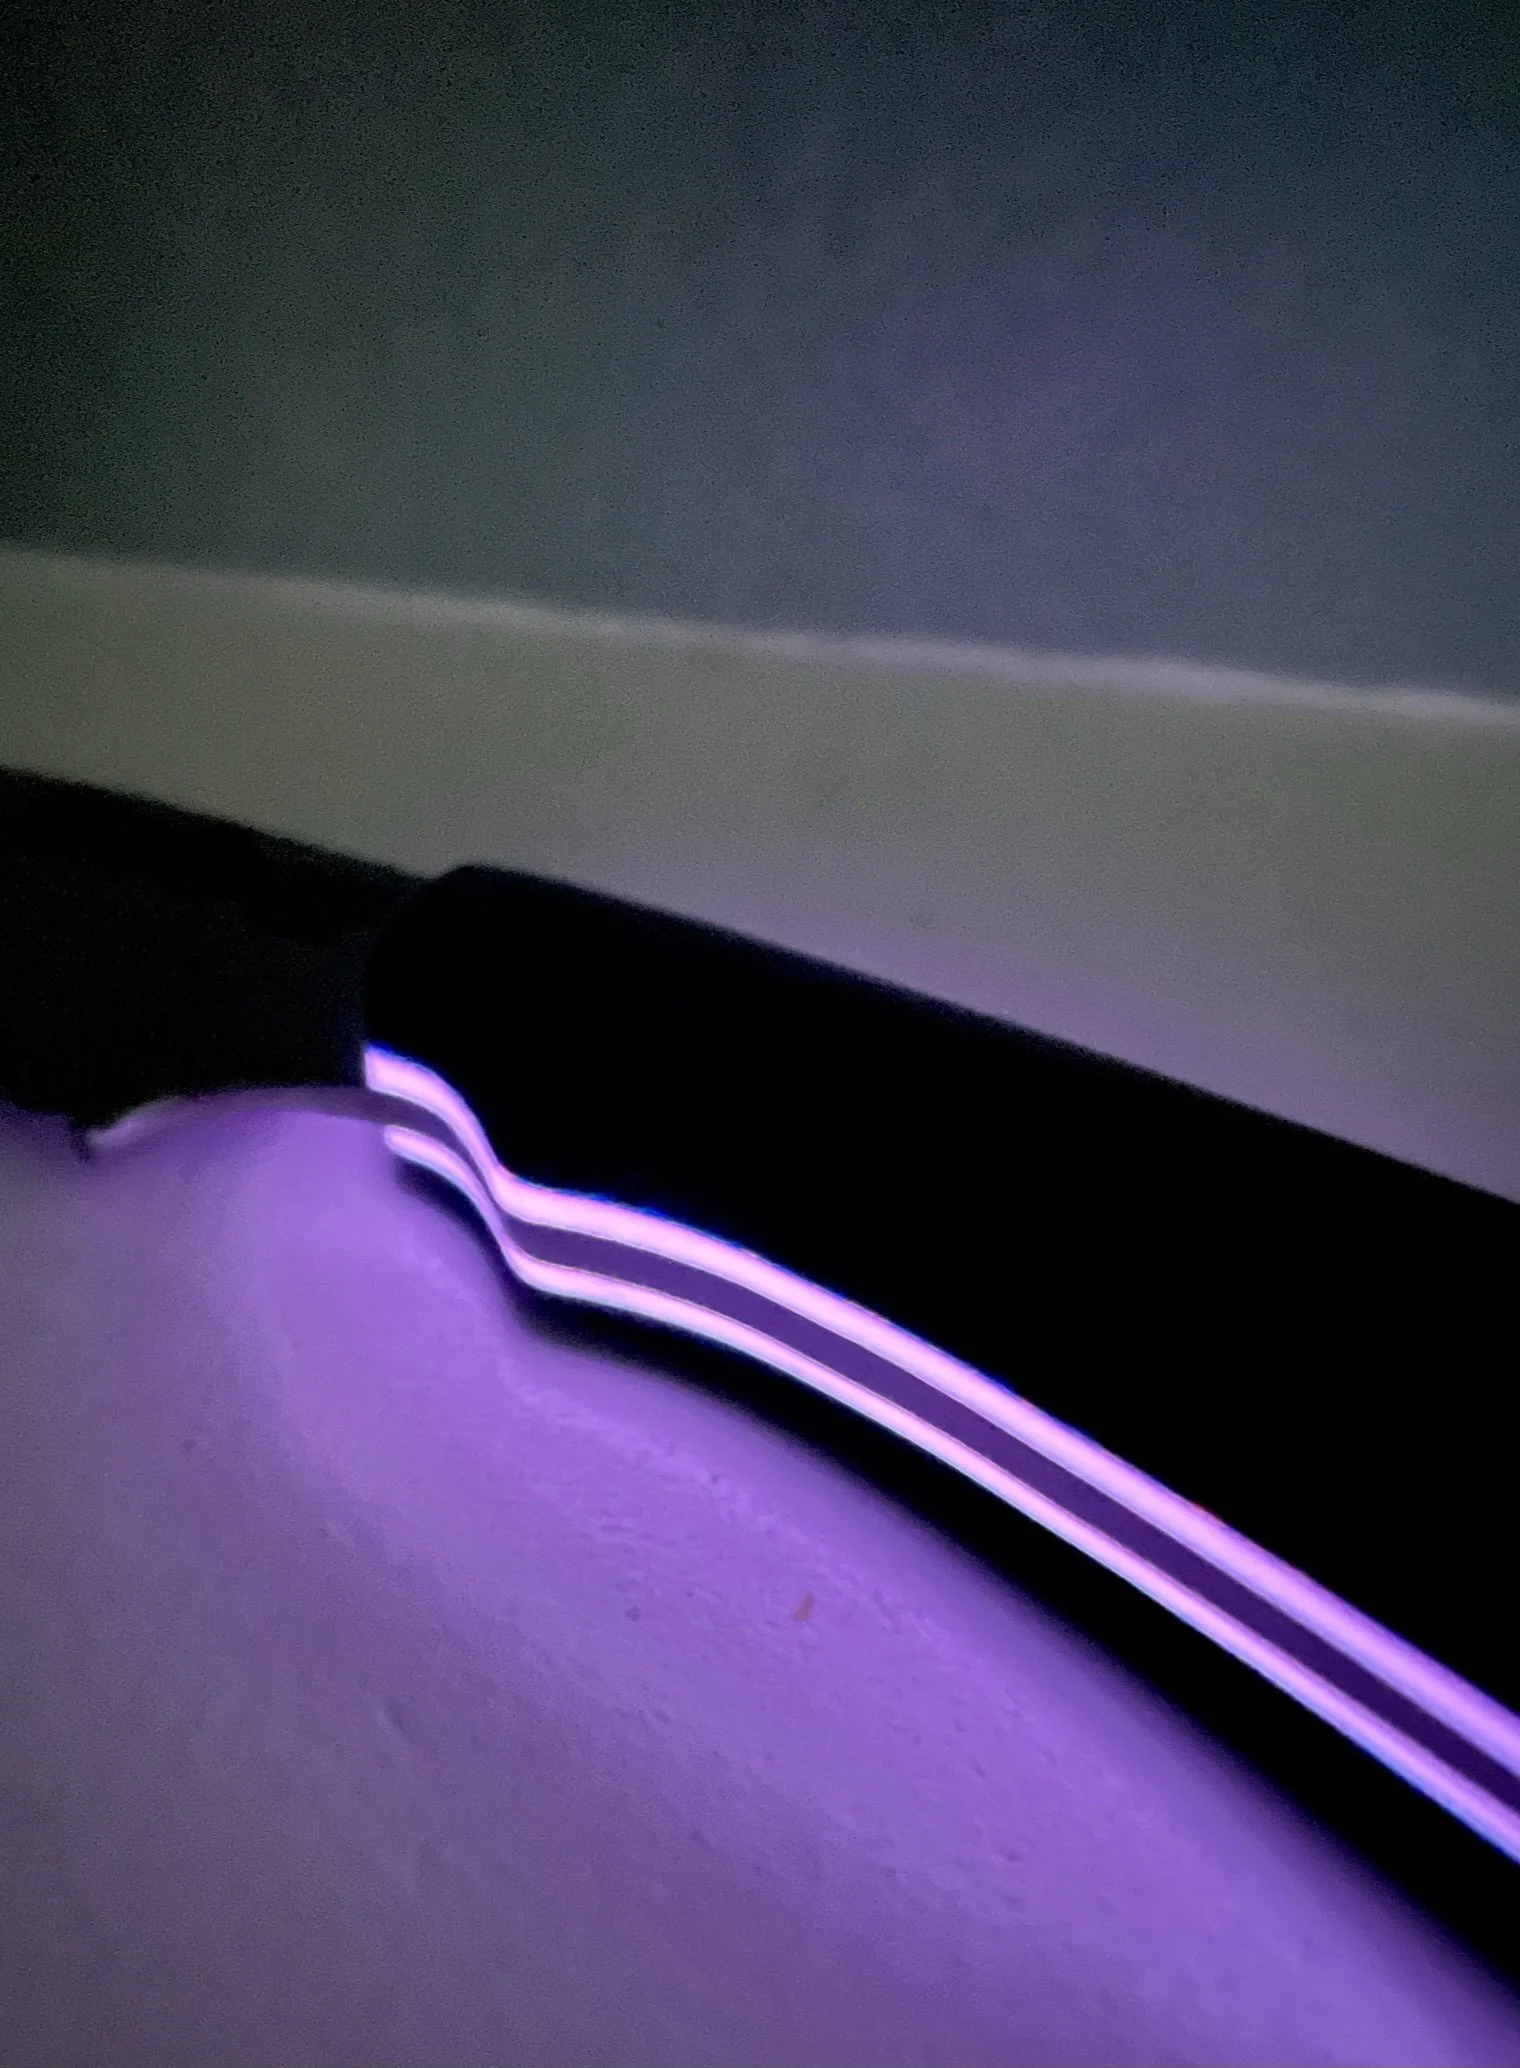
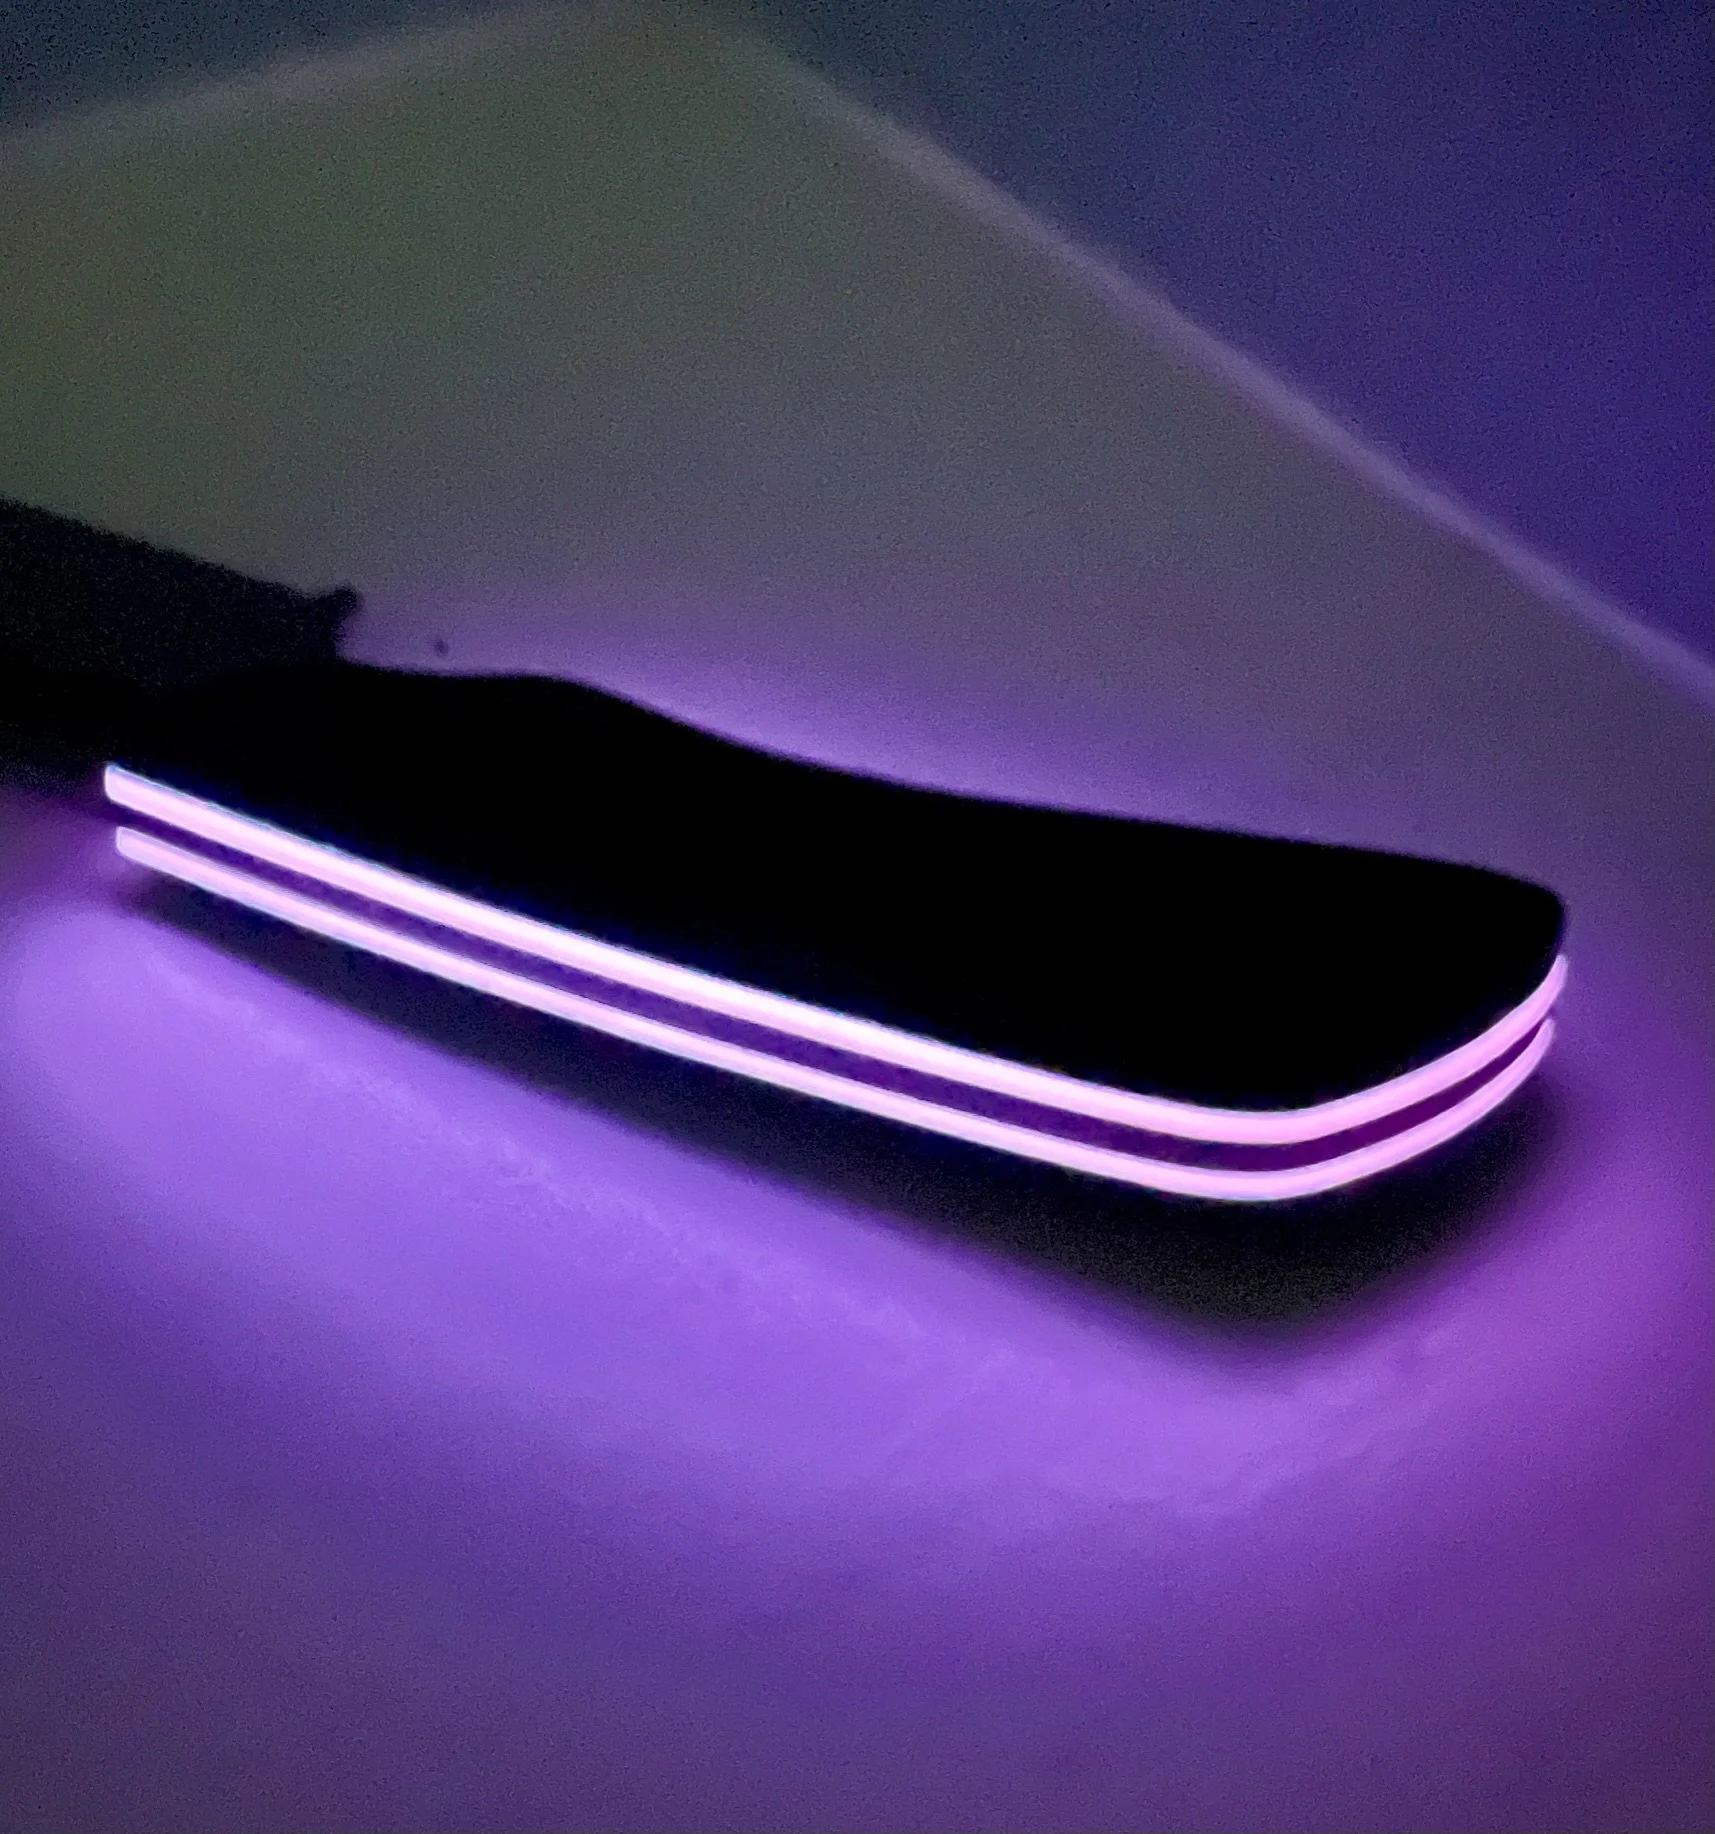
Handle glow indoors.
-
Handle glow #2.
-
Finished glamour shot #4.
-
Finished glamour shot #5.
Seth H. Jr. - Twist Damascus Dagger
-
Final blade - keep scrolling to see the journey.
-
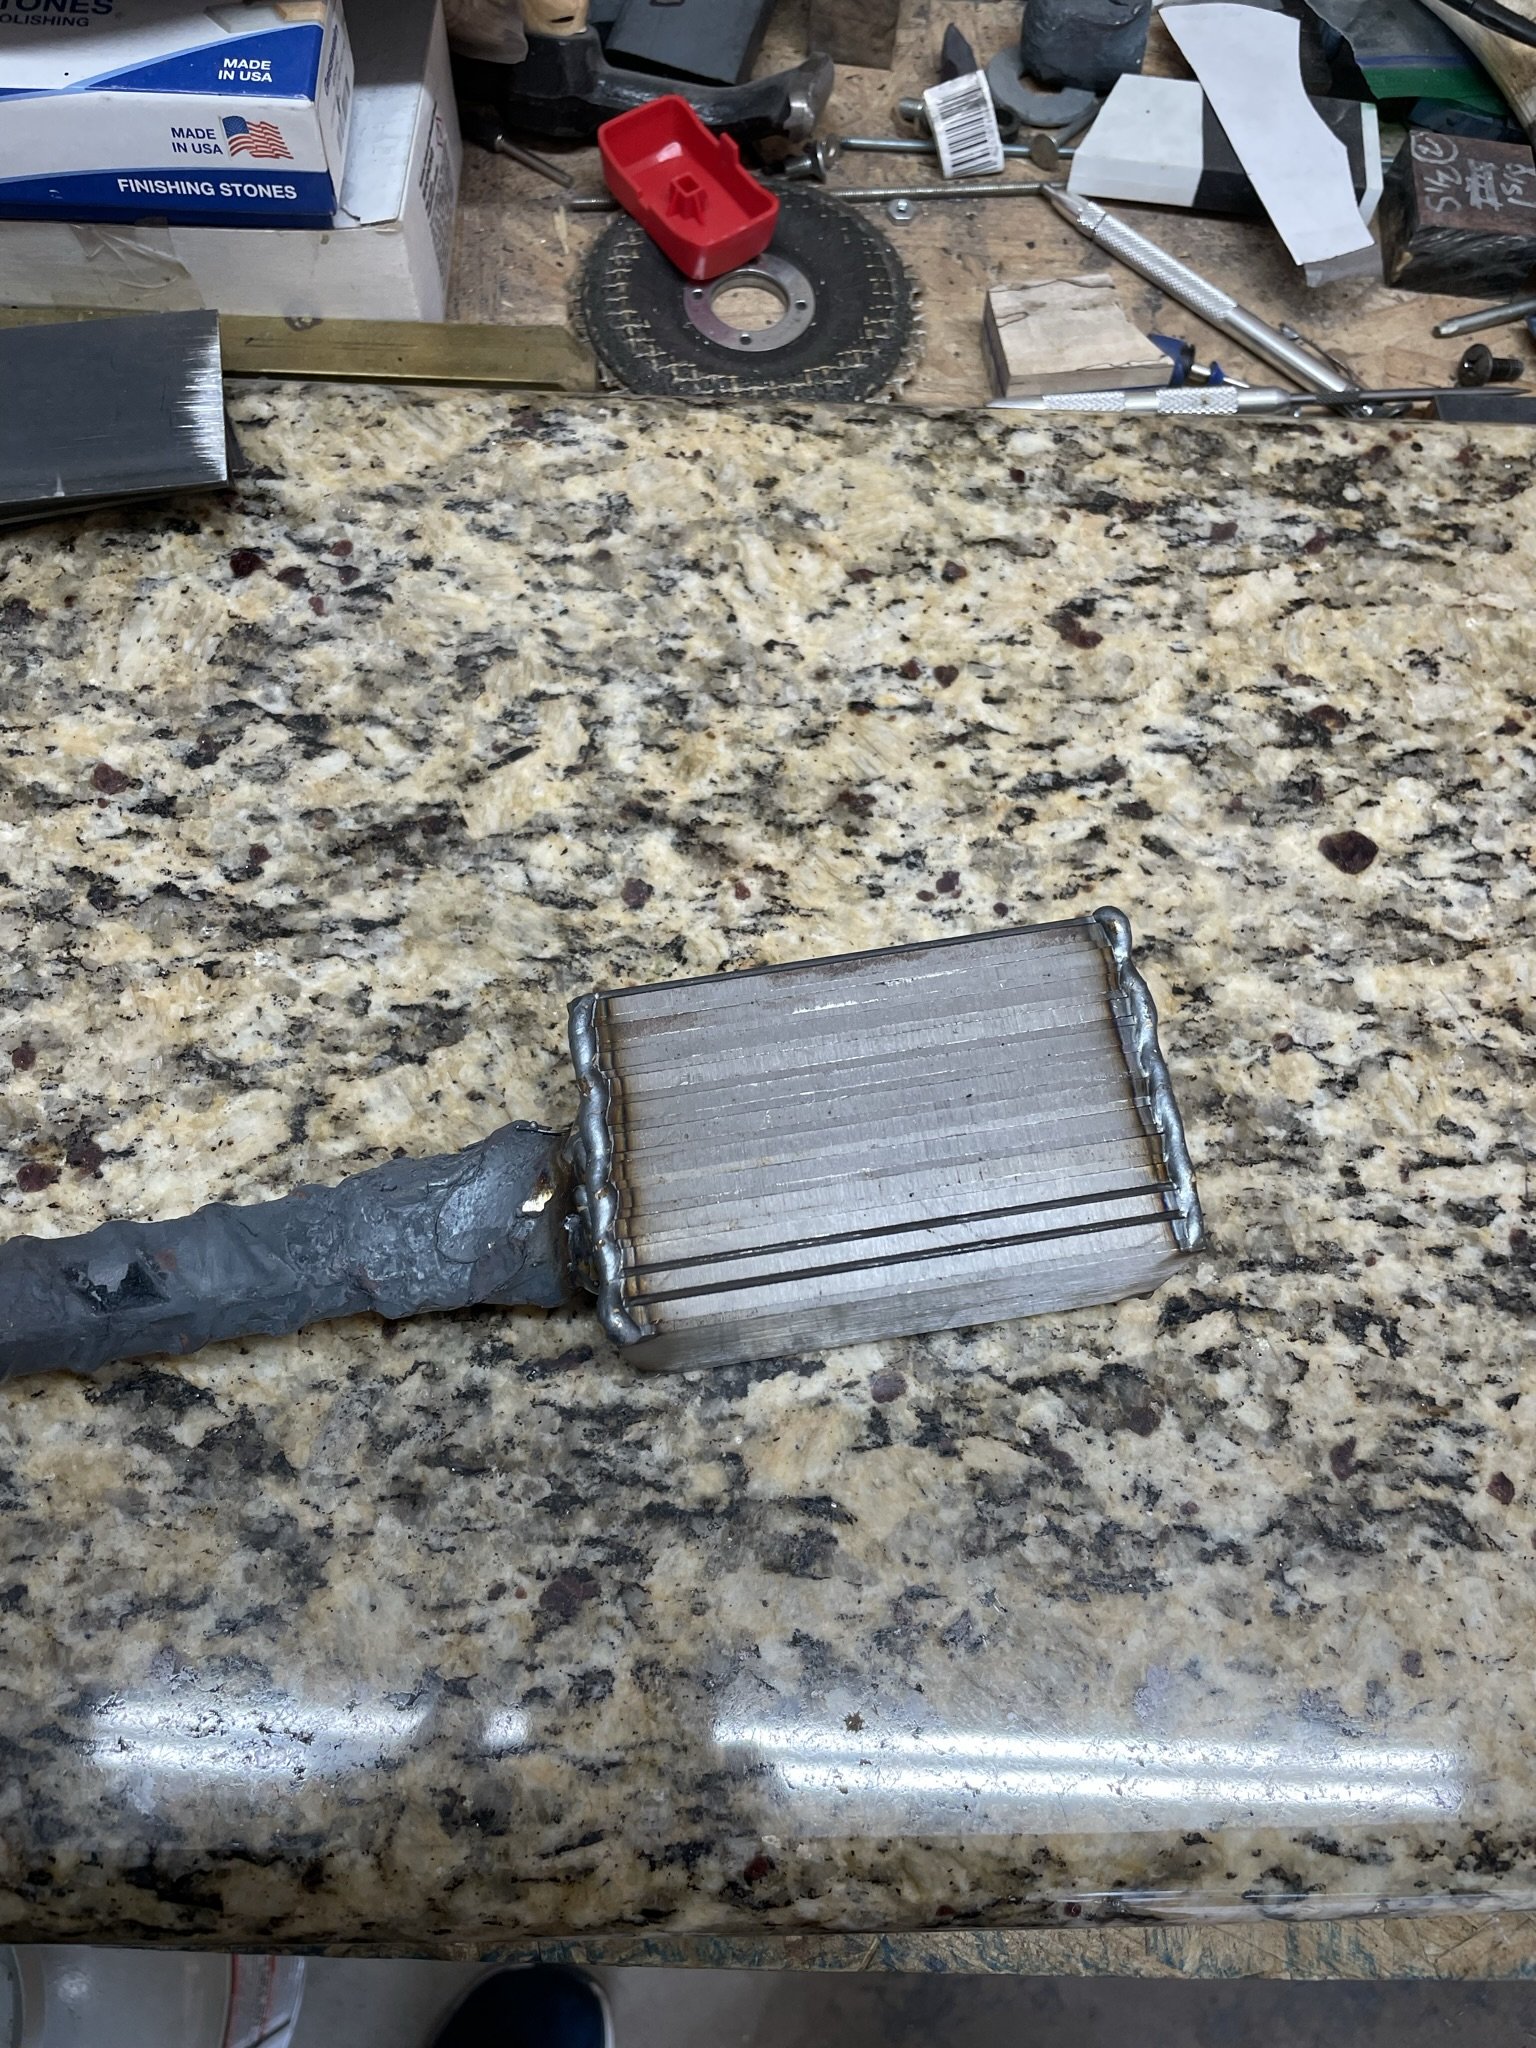
The next blade was for the same family and the youngest son wanted a twist damascus dagger. I wanted to up my twist damascus game so I made a special batch.
-
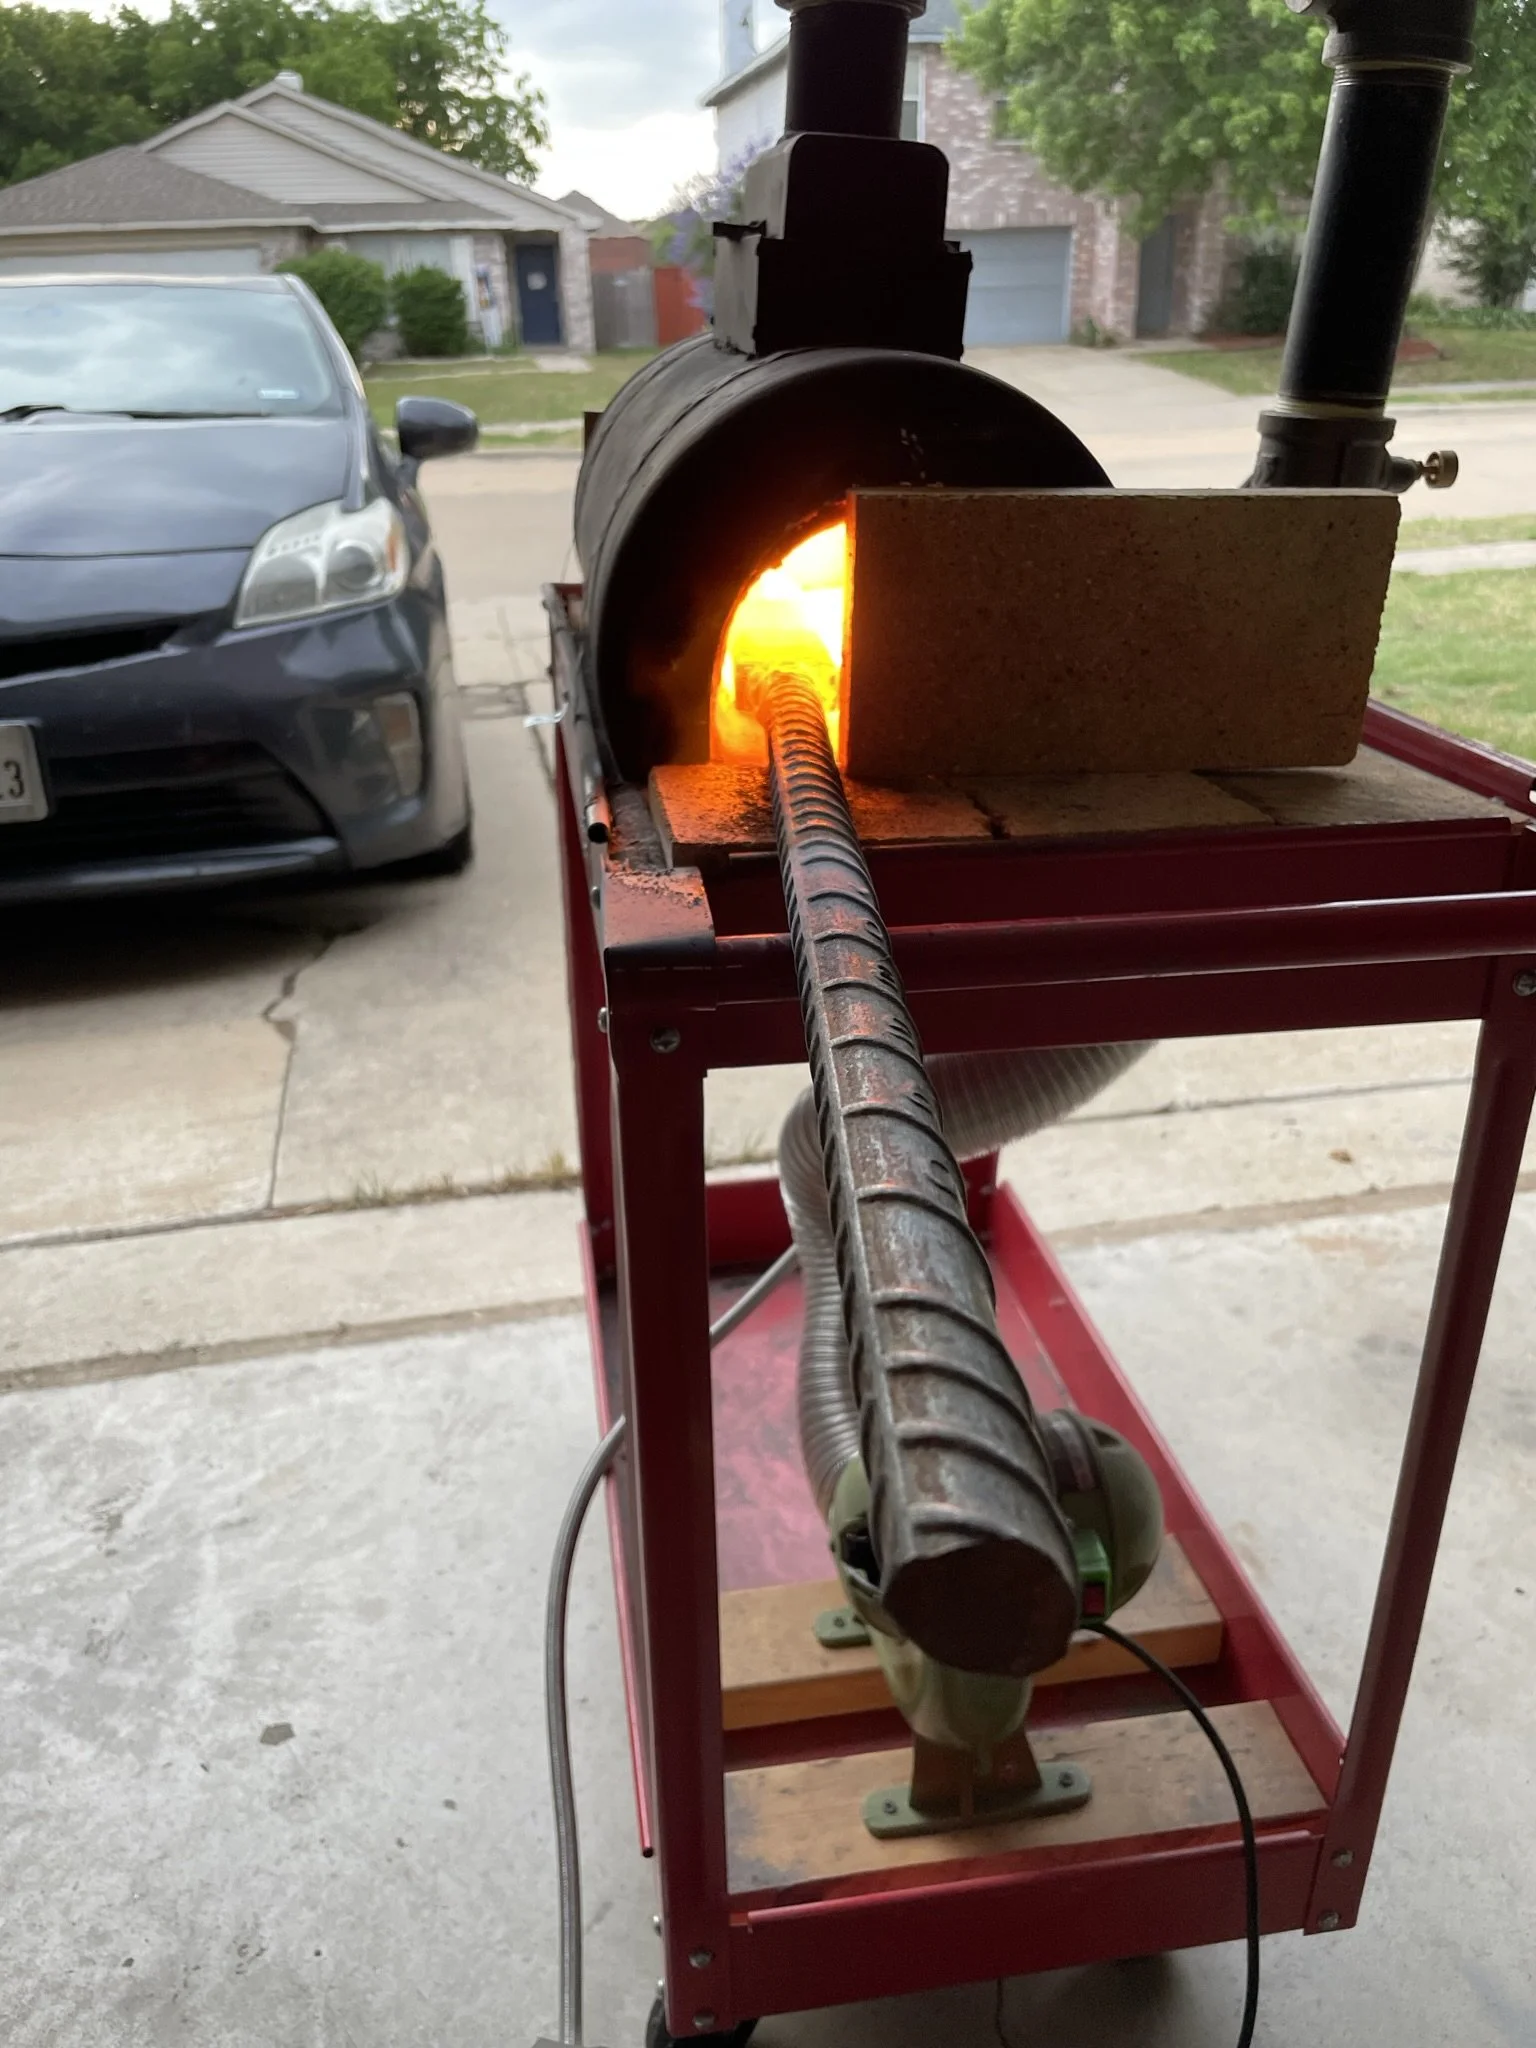
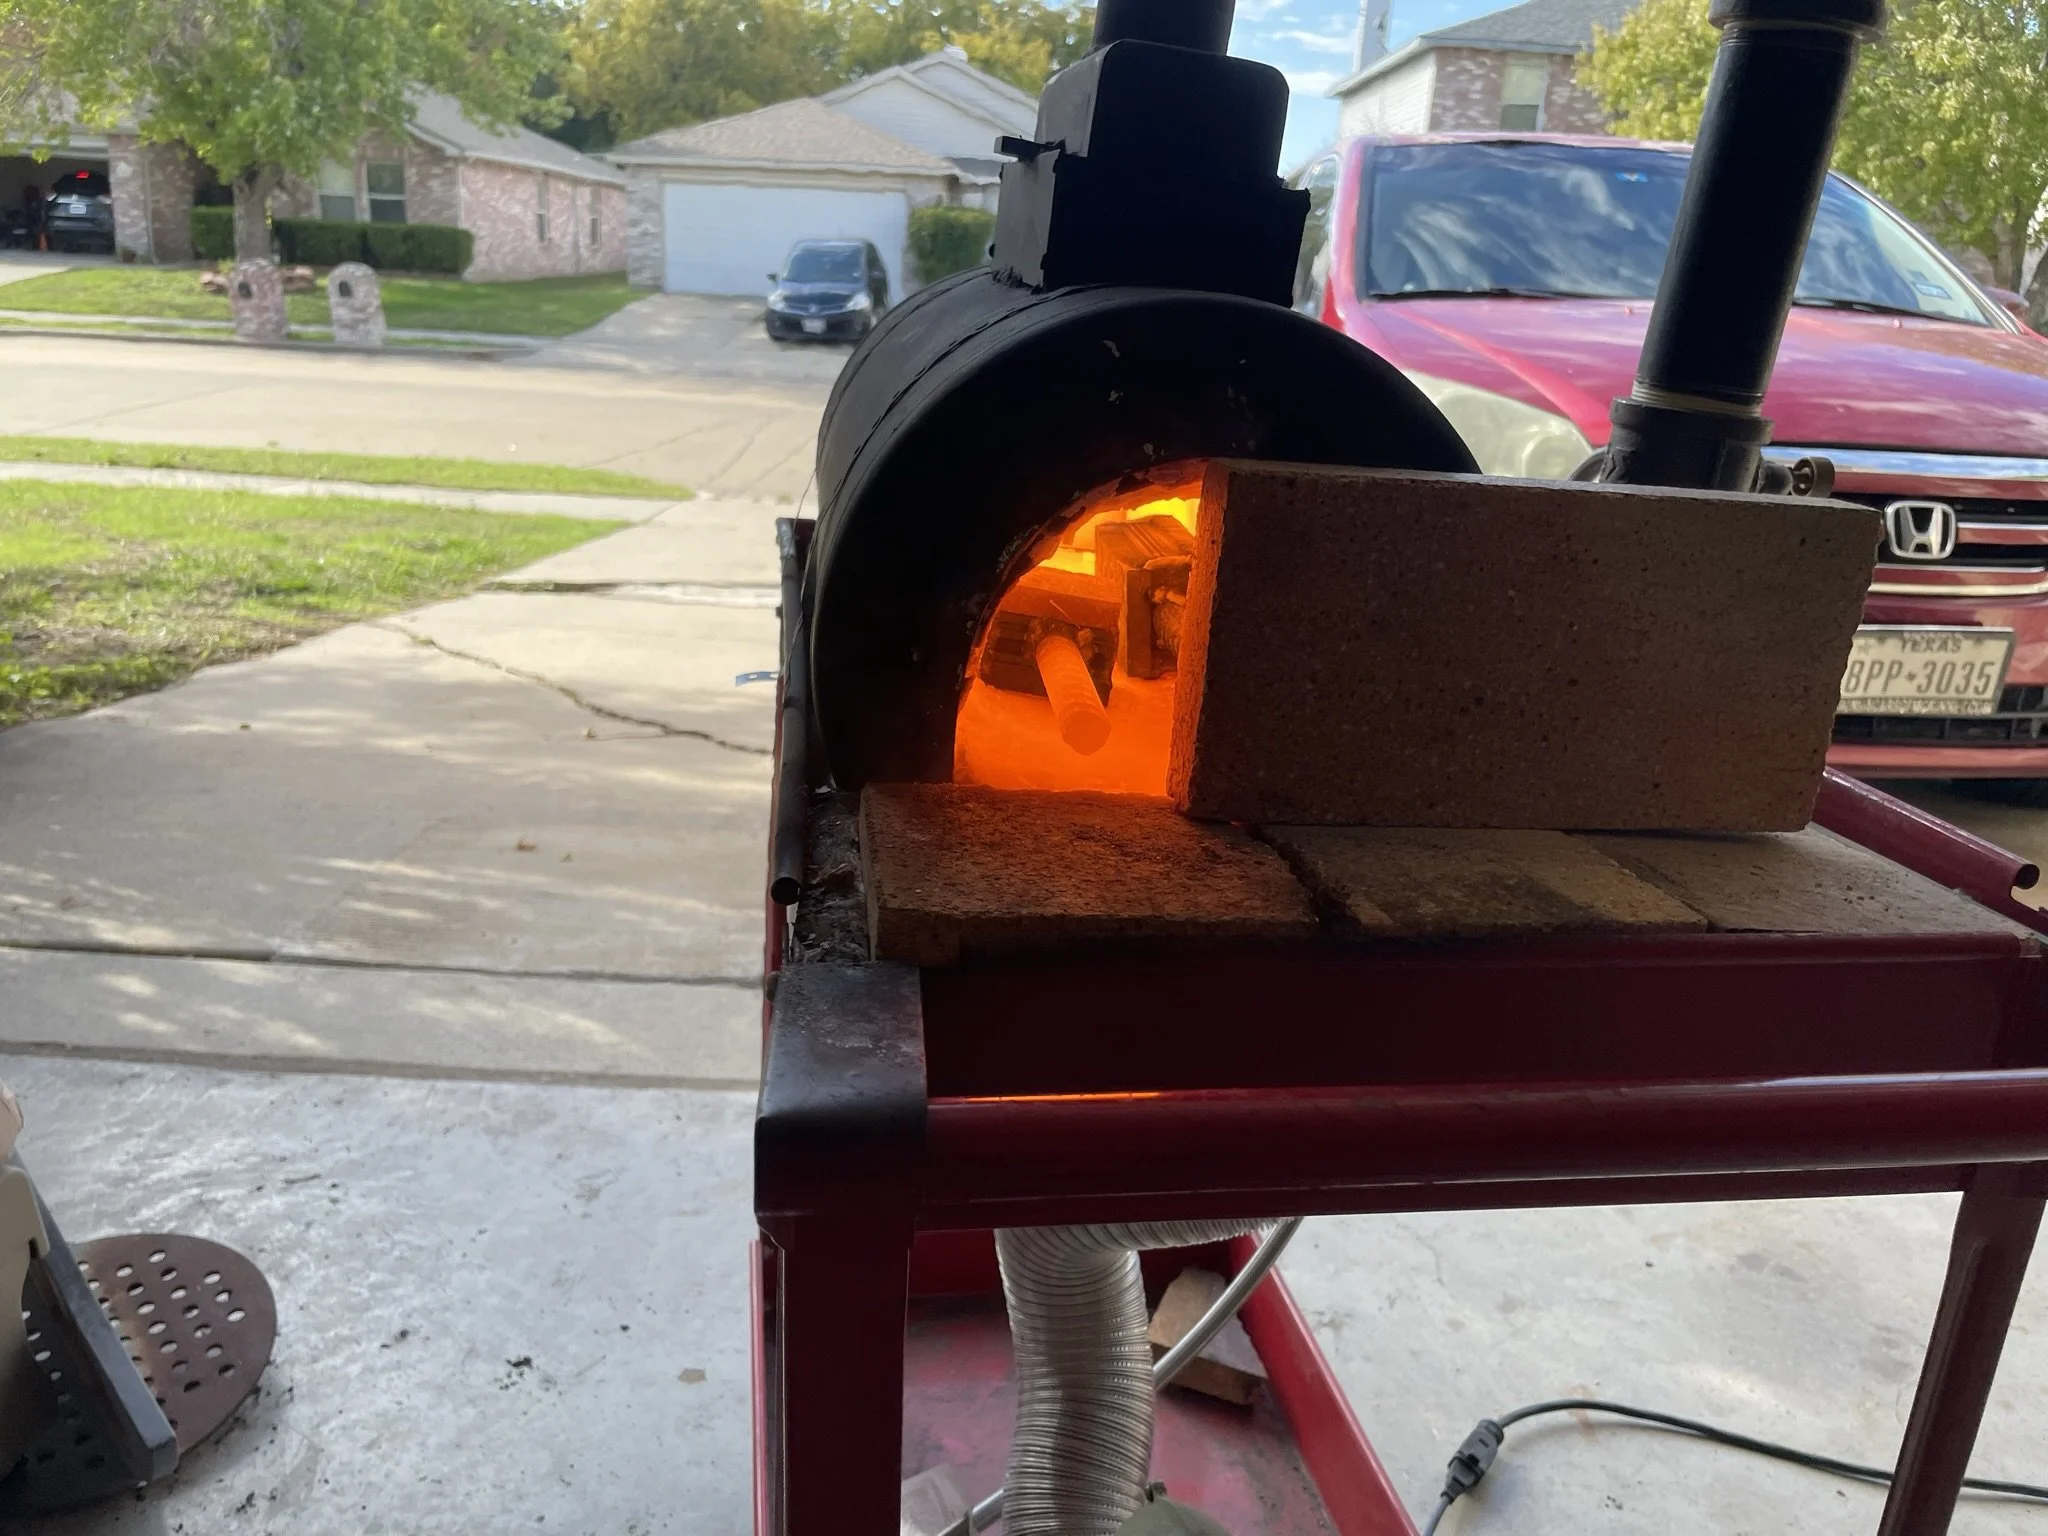
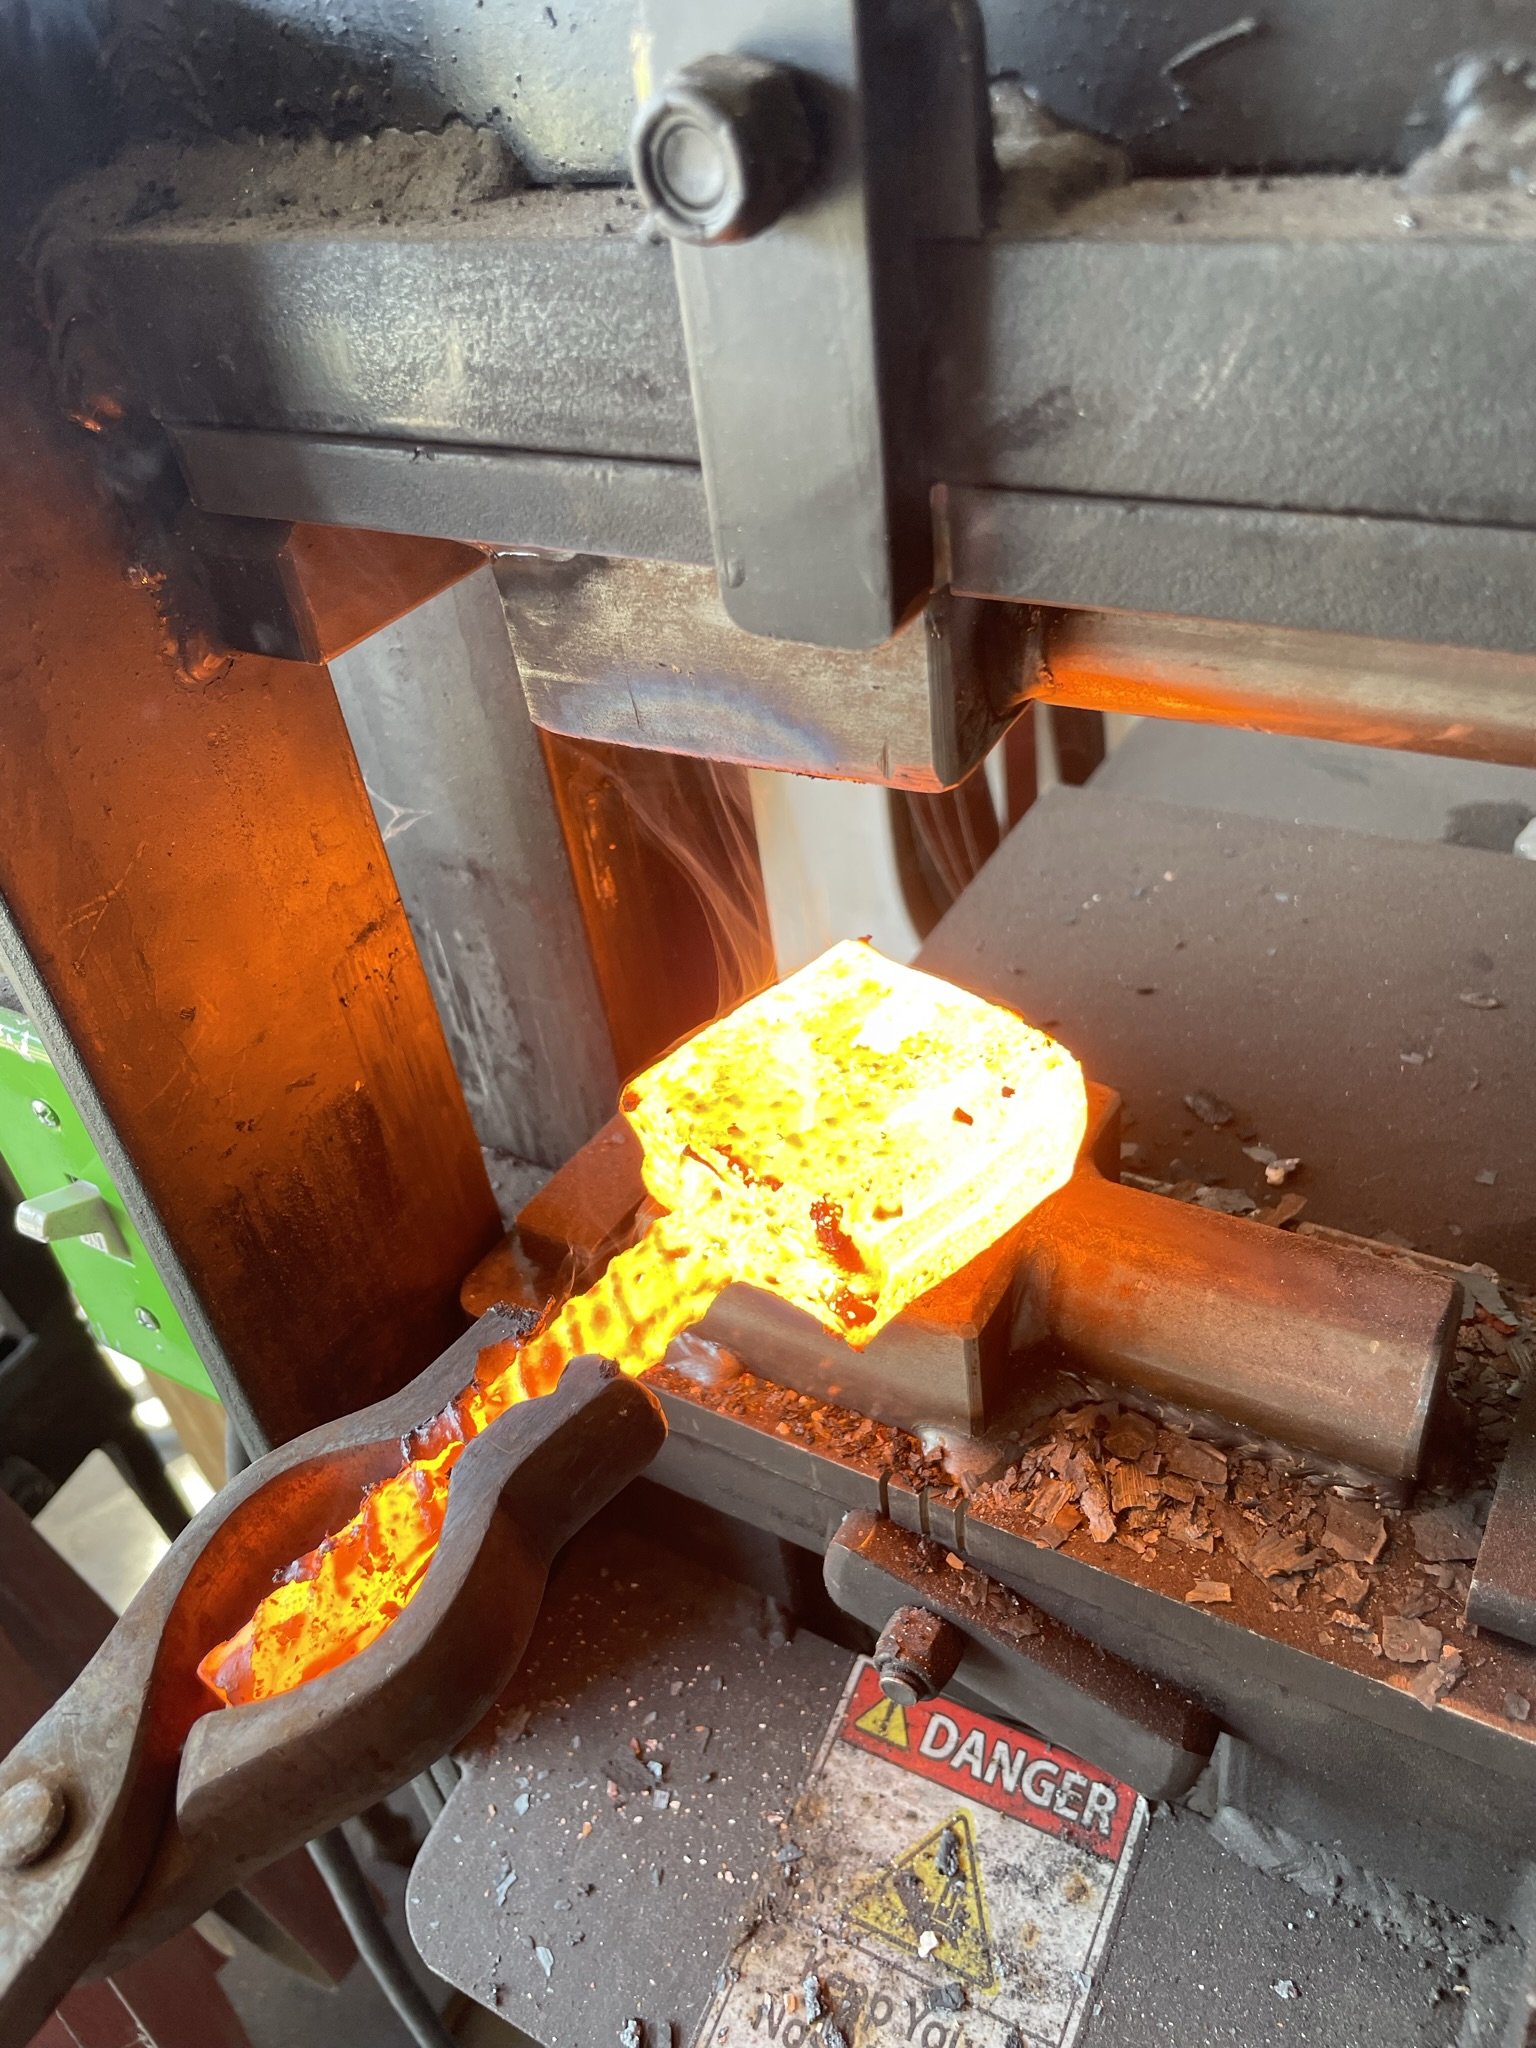
Getting it hot in my own forge. I had gotten a forge press in the interim and was excited to put it to good use.
-
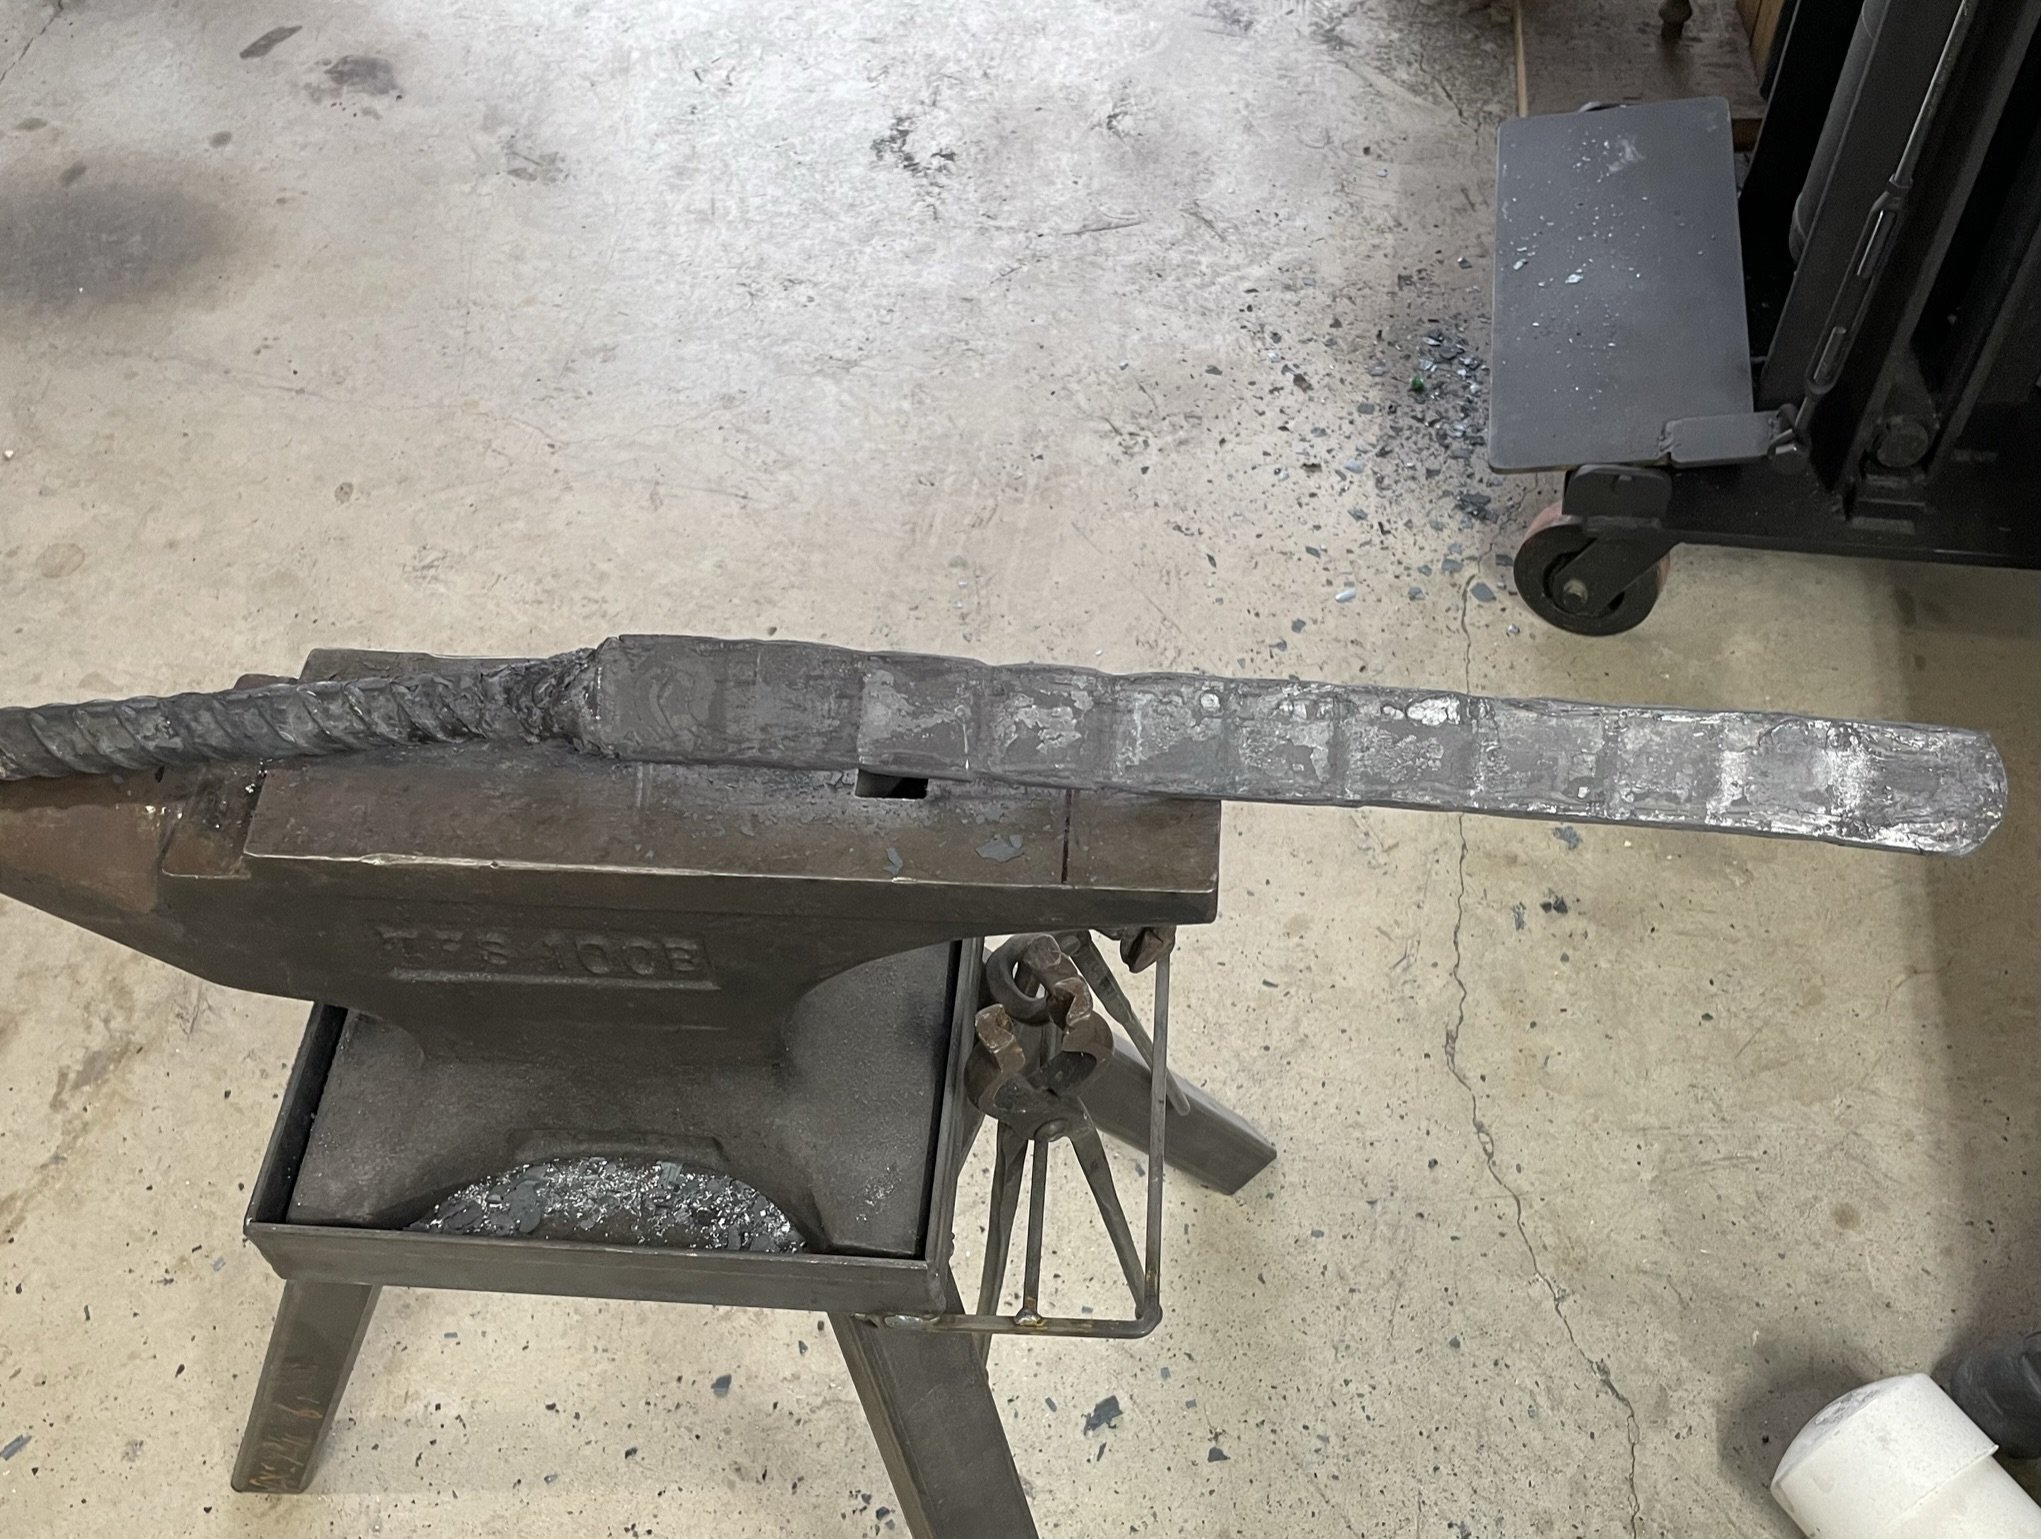
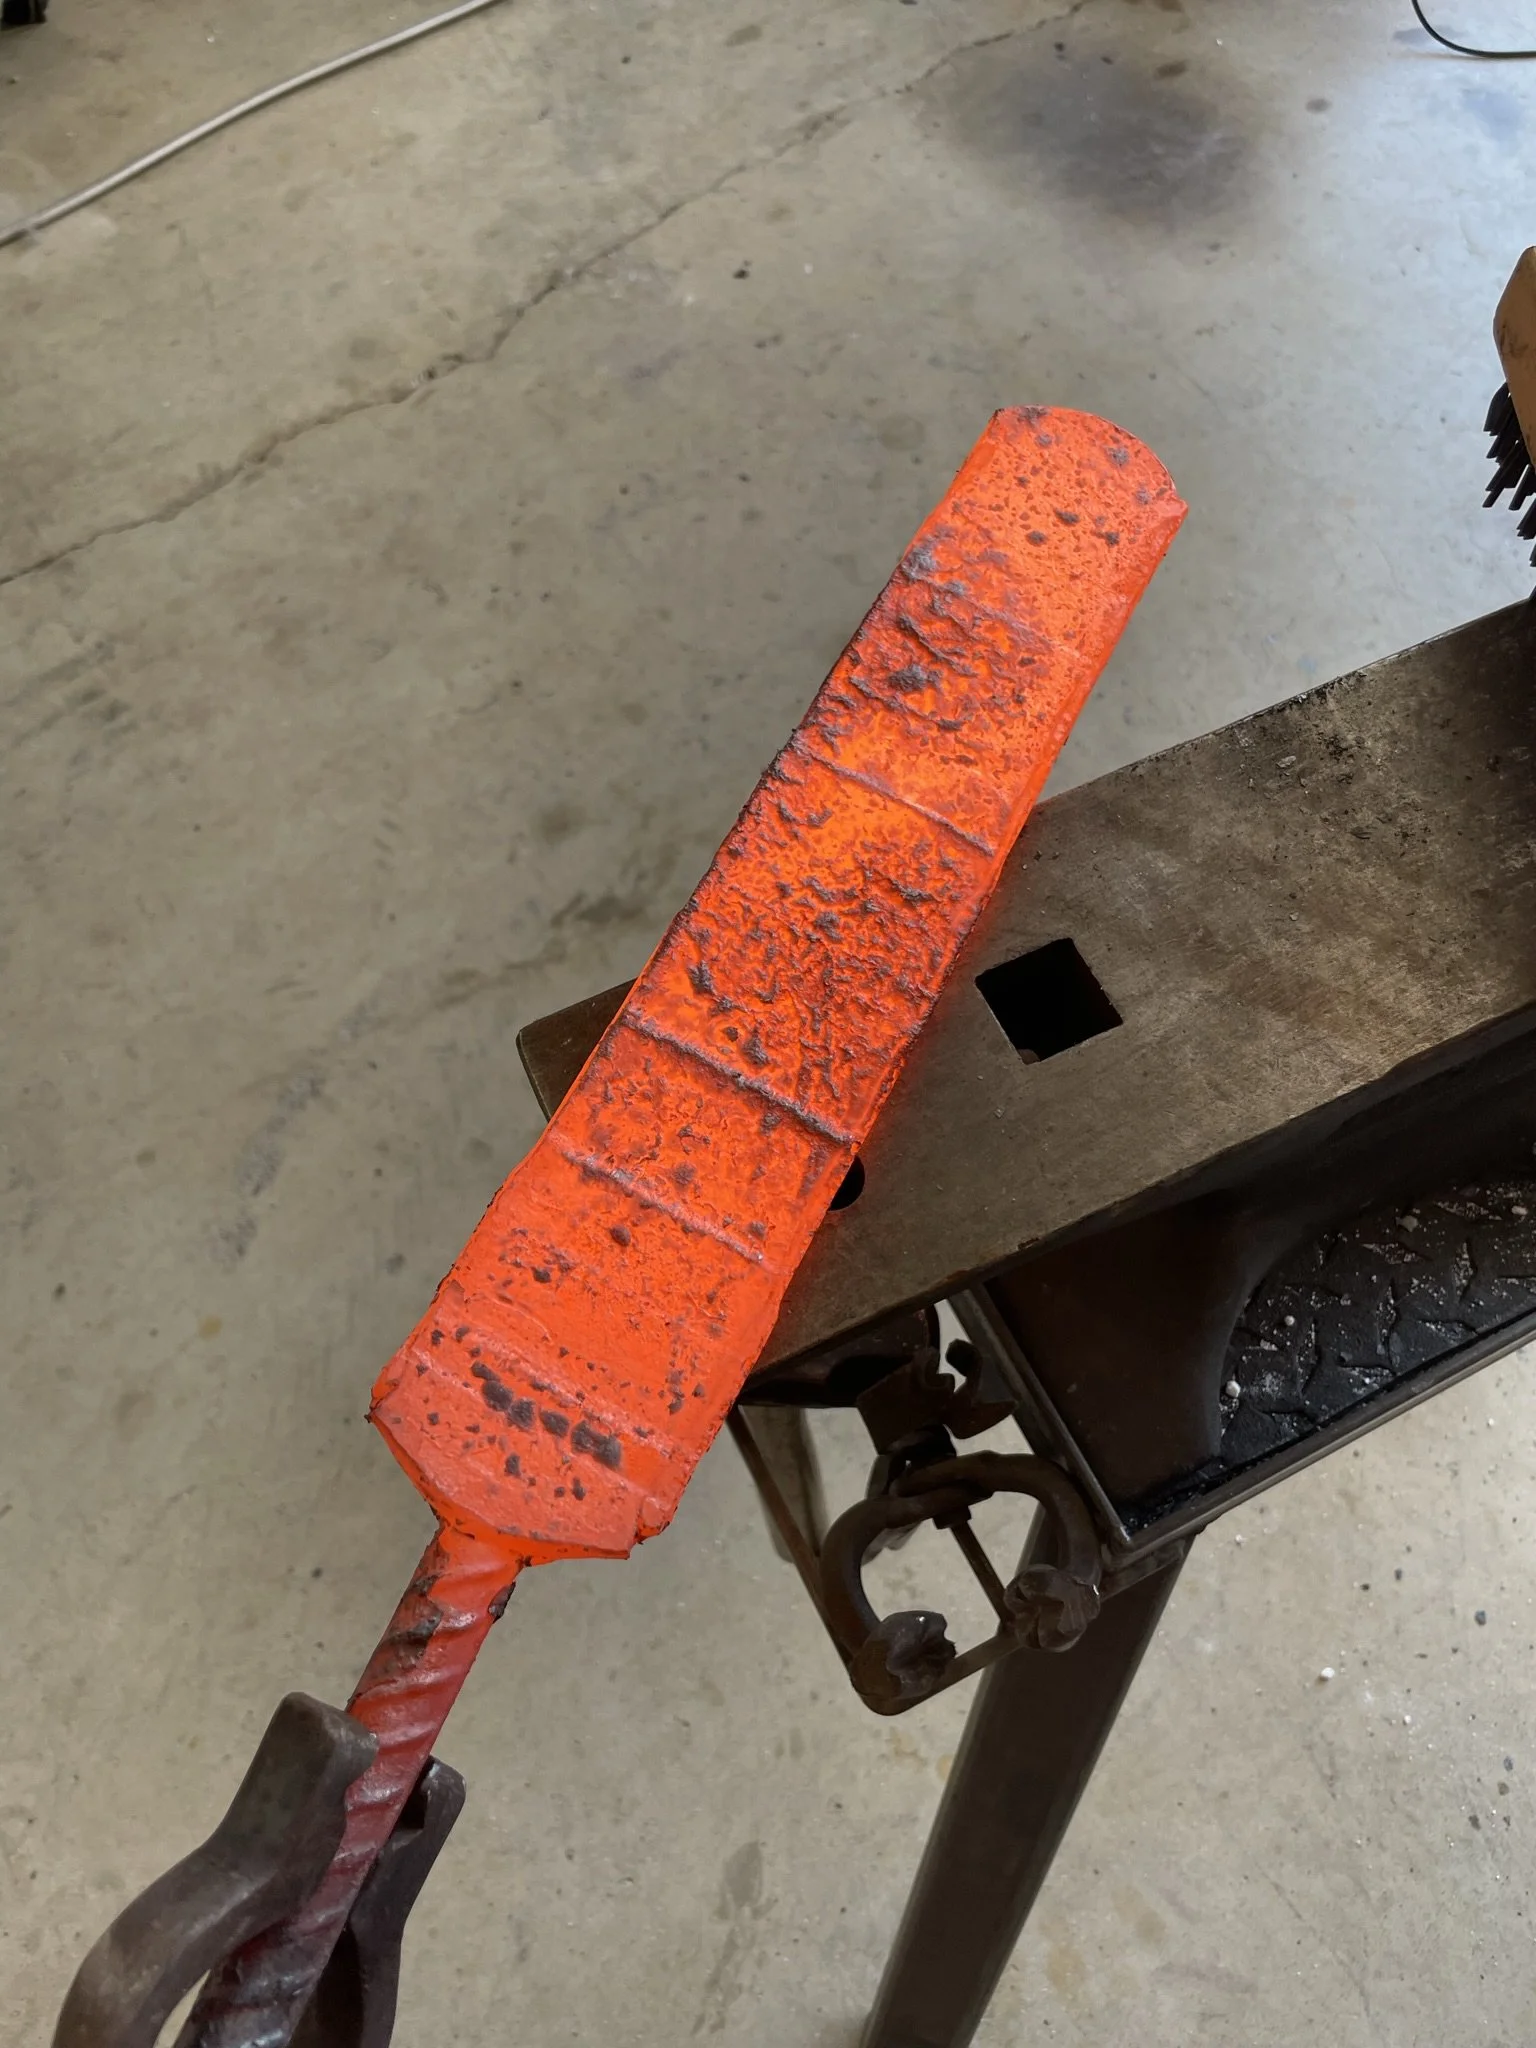
Rough bar drawn out - straight layers as I had something extra planned for it.
-
A little uneven, but ready for restack.
-
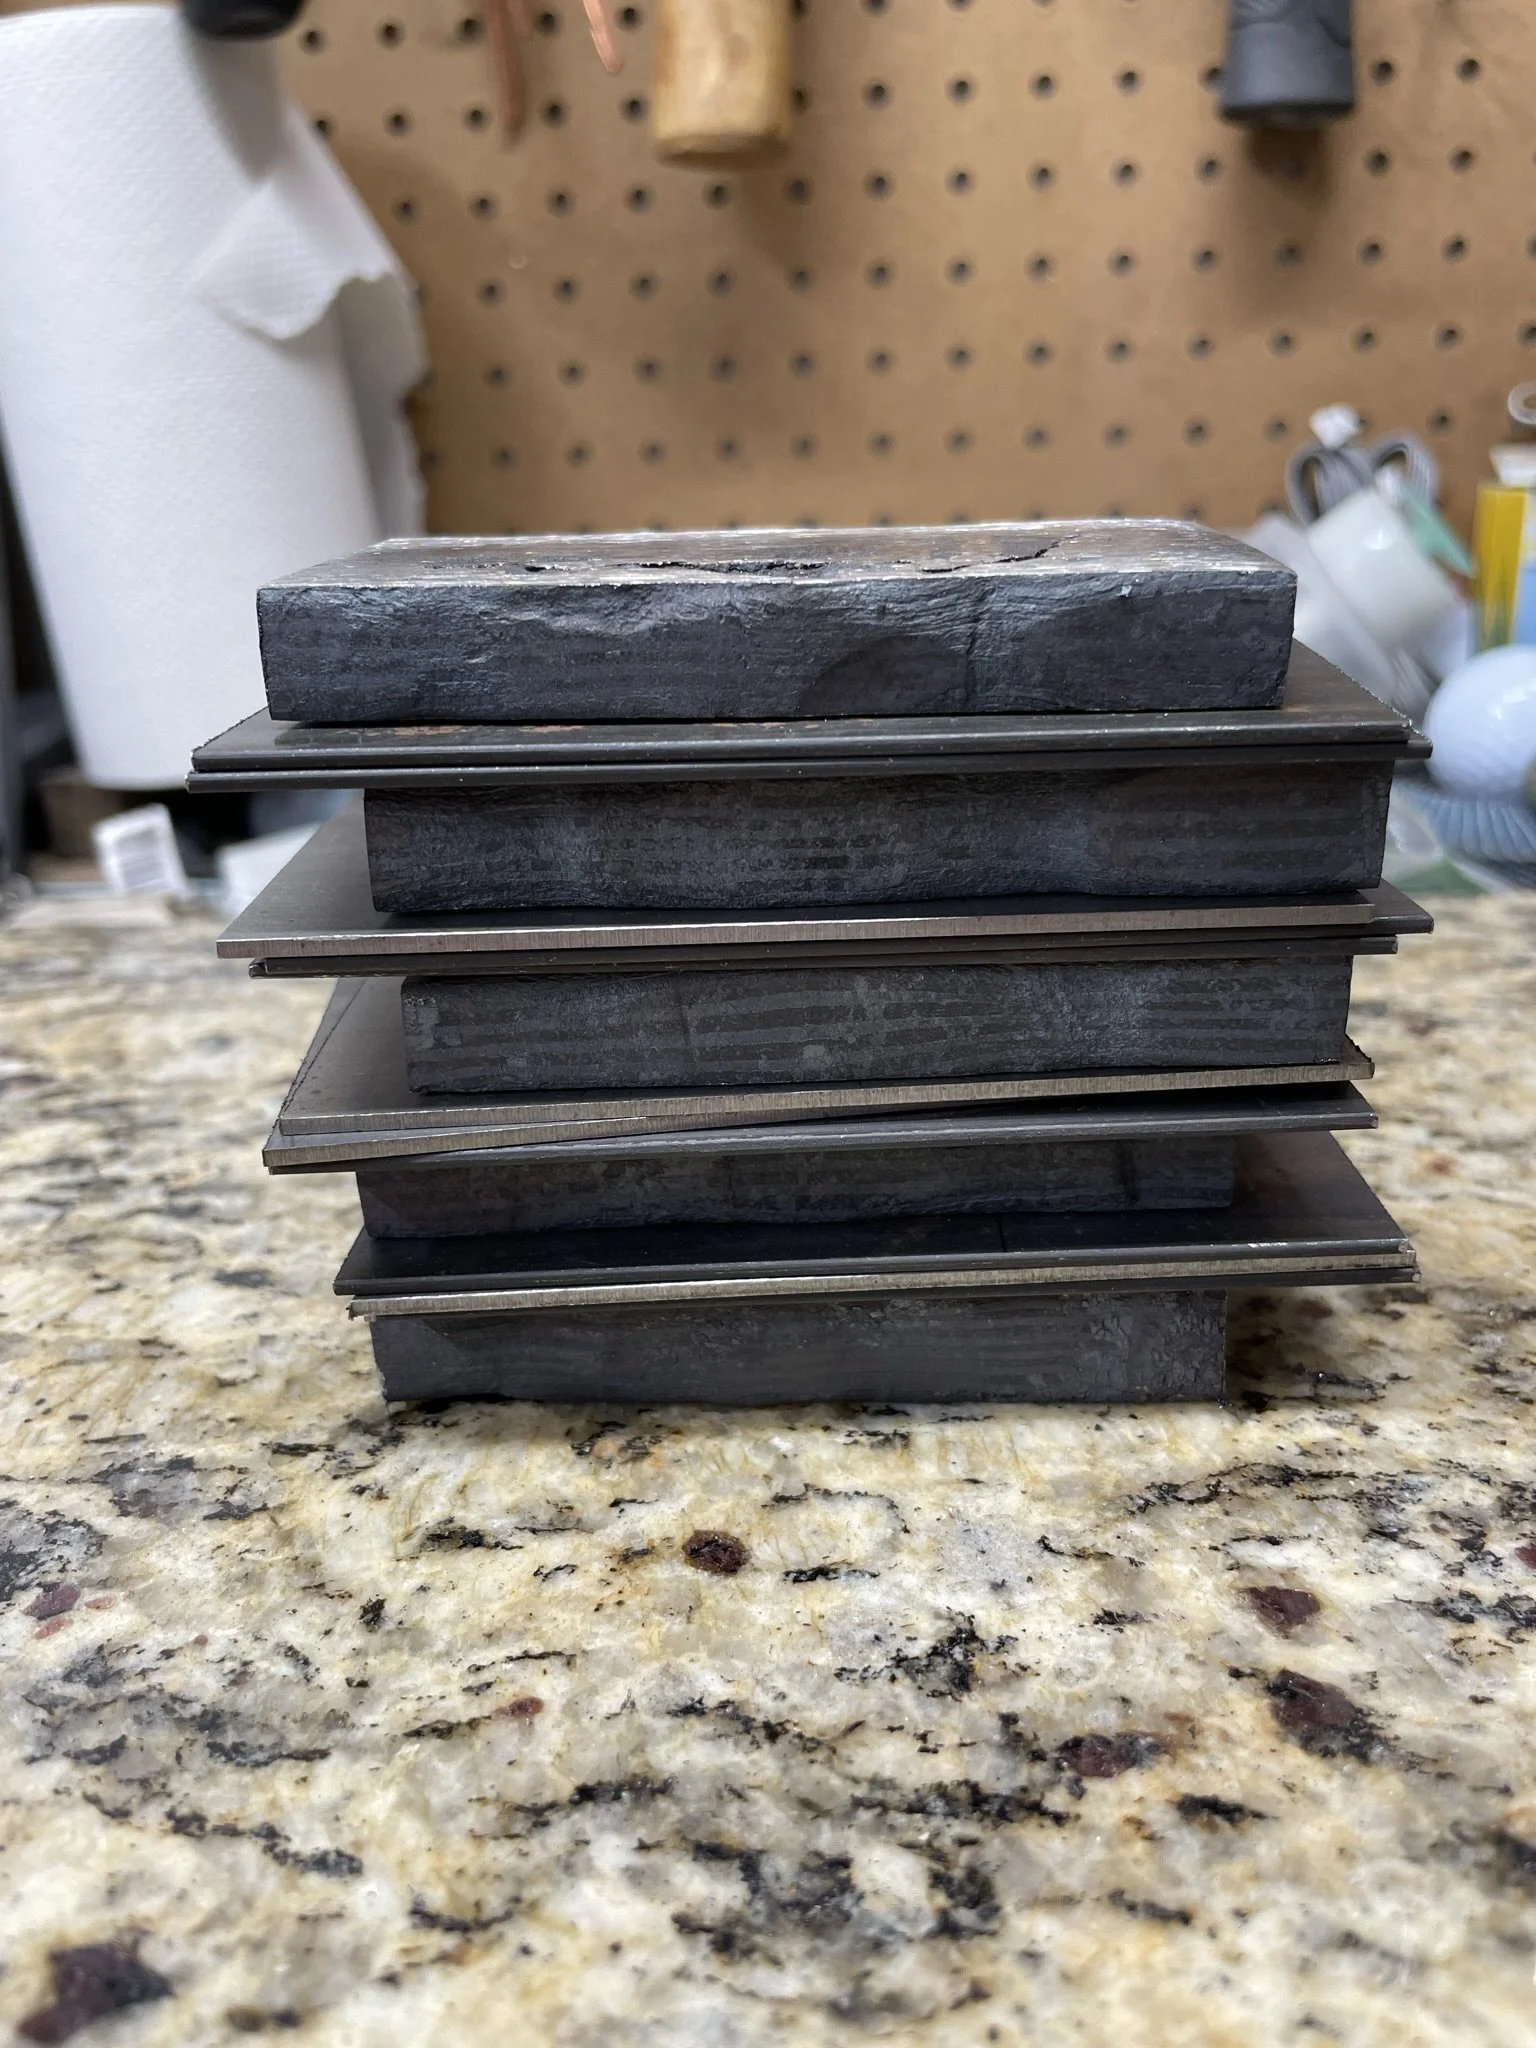
Getting all the pieces cleaned up and ready for the next step.
-
I decided to add in layers of 15n20 to add bright lines throughout. It really paid off.
-
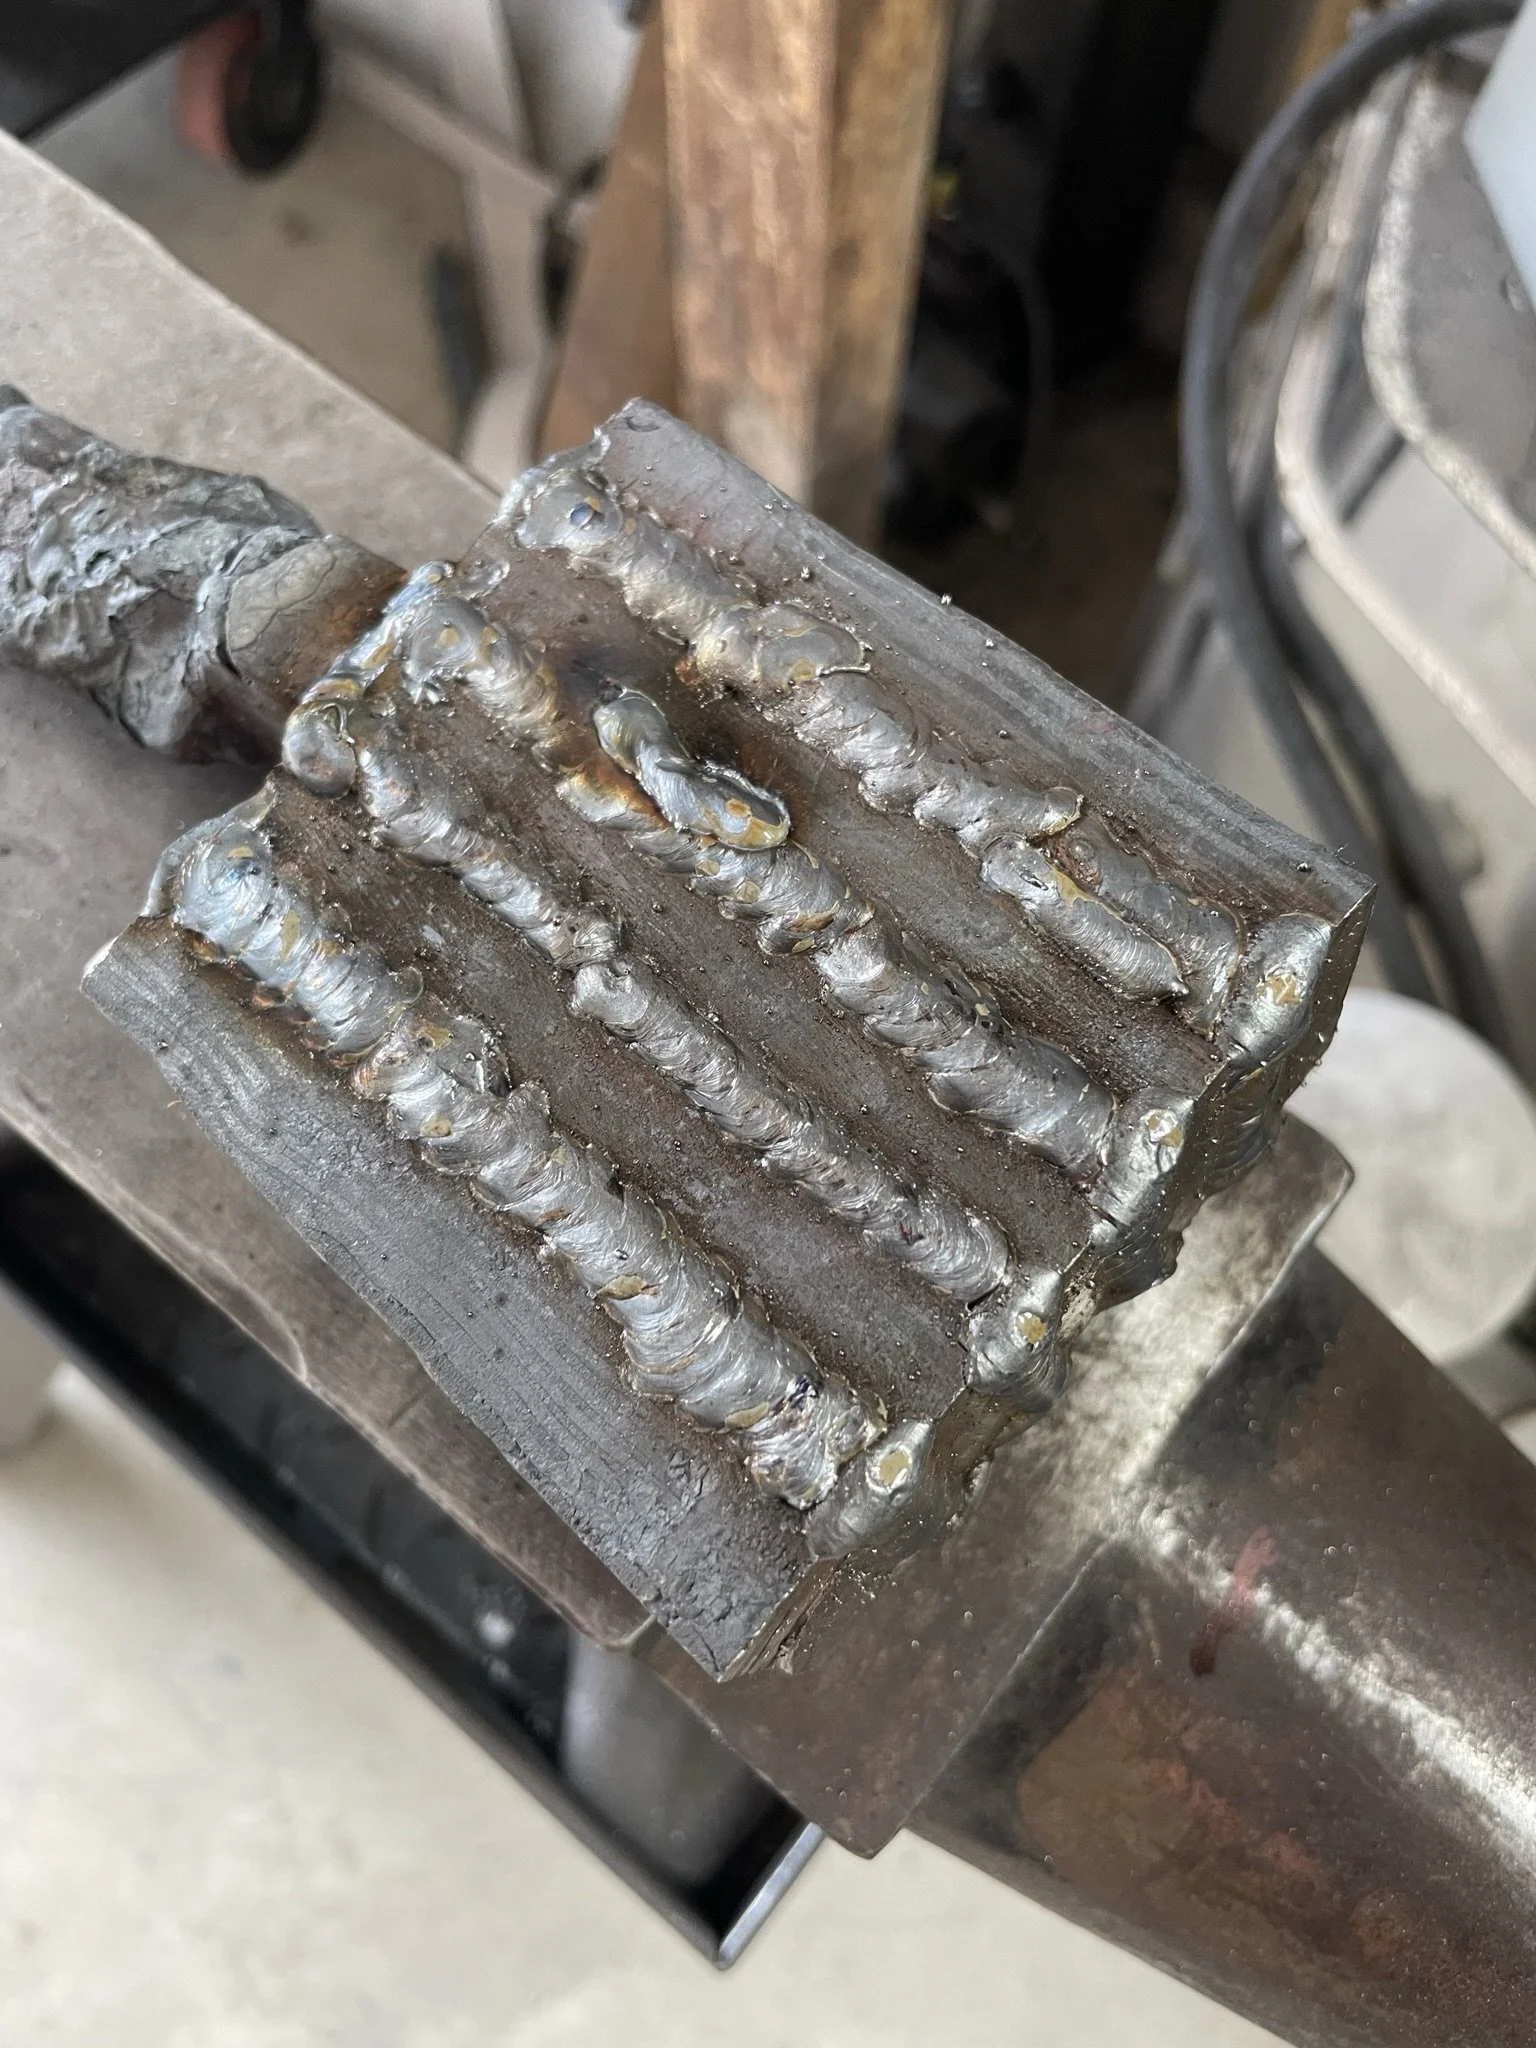
In order to reduce the chance for bad welds, I welded all the way around to prevent oxygen between the layers.
-
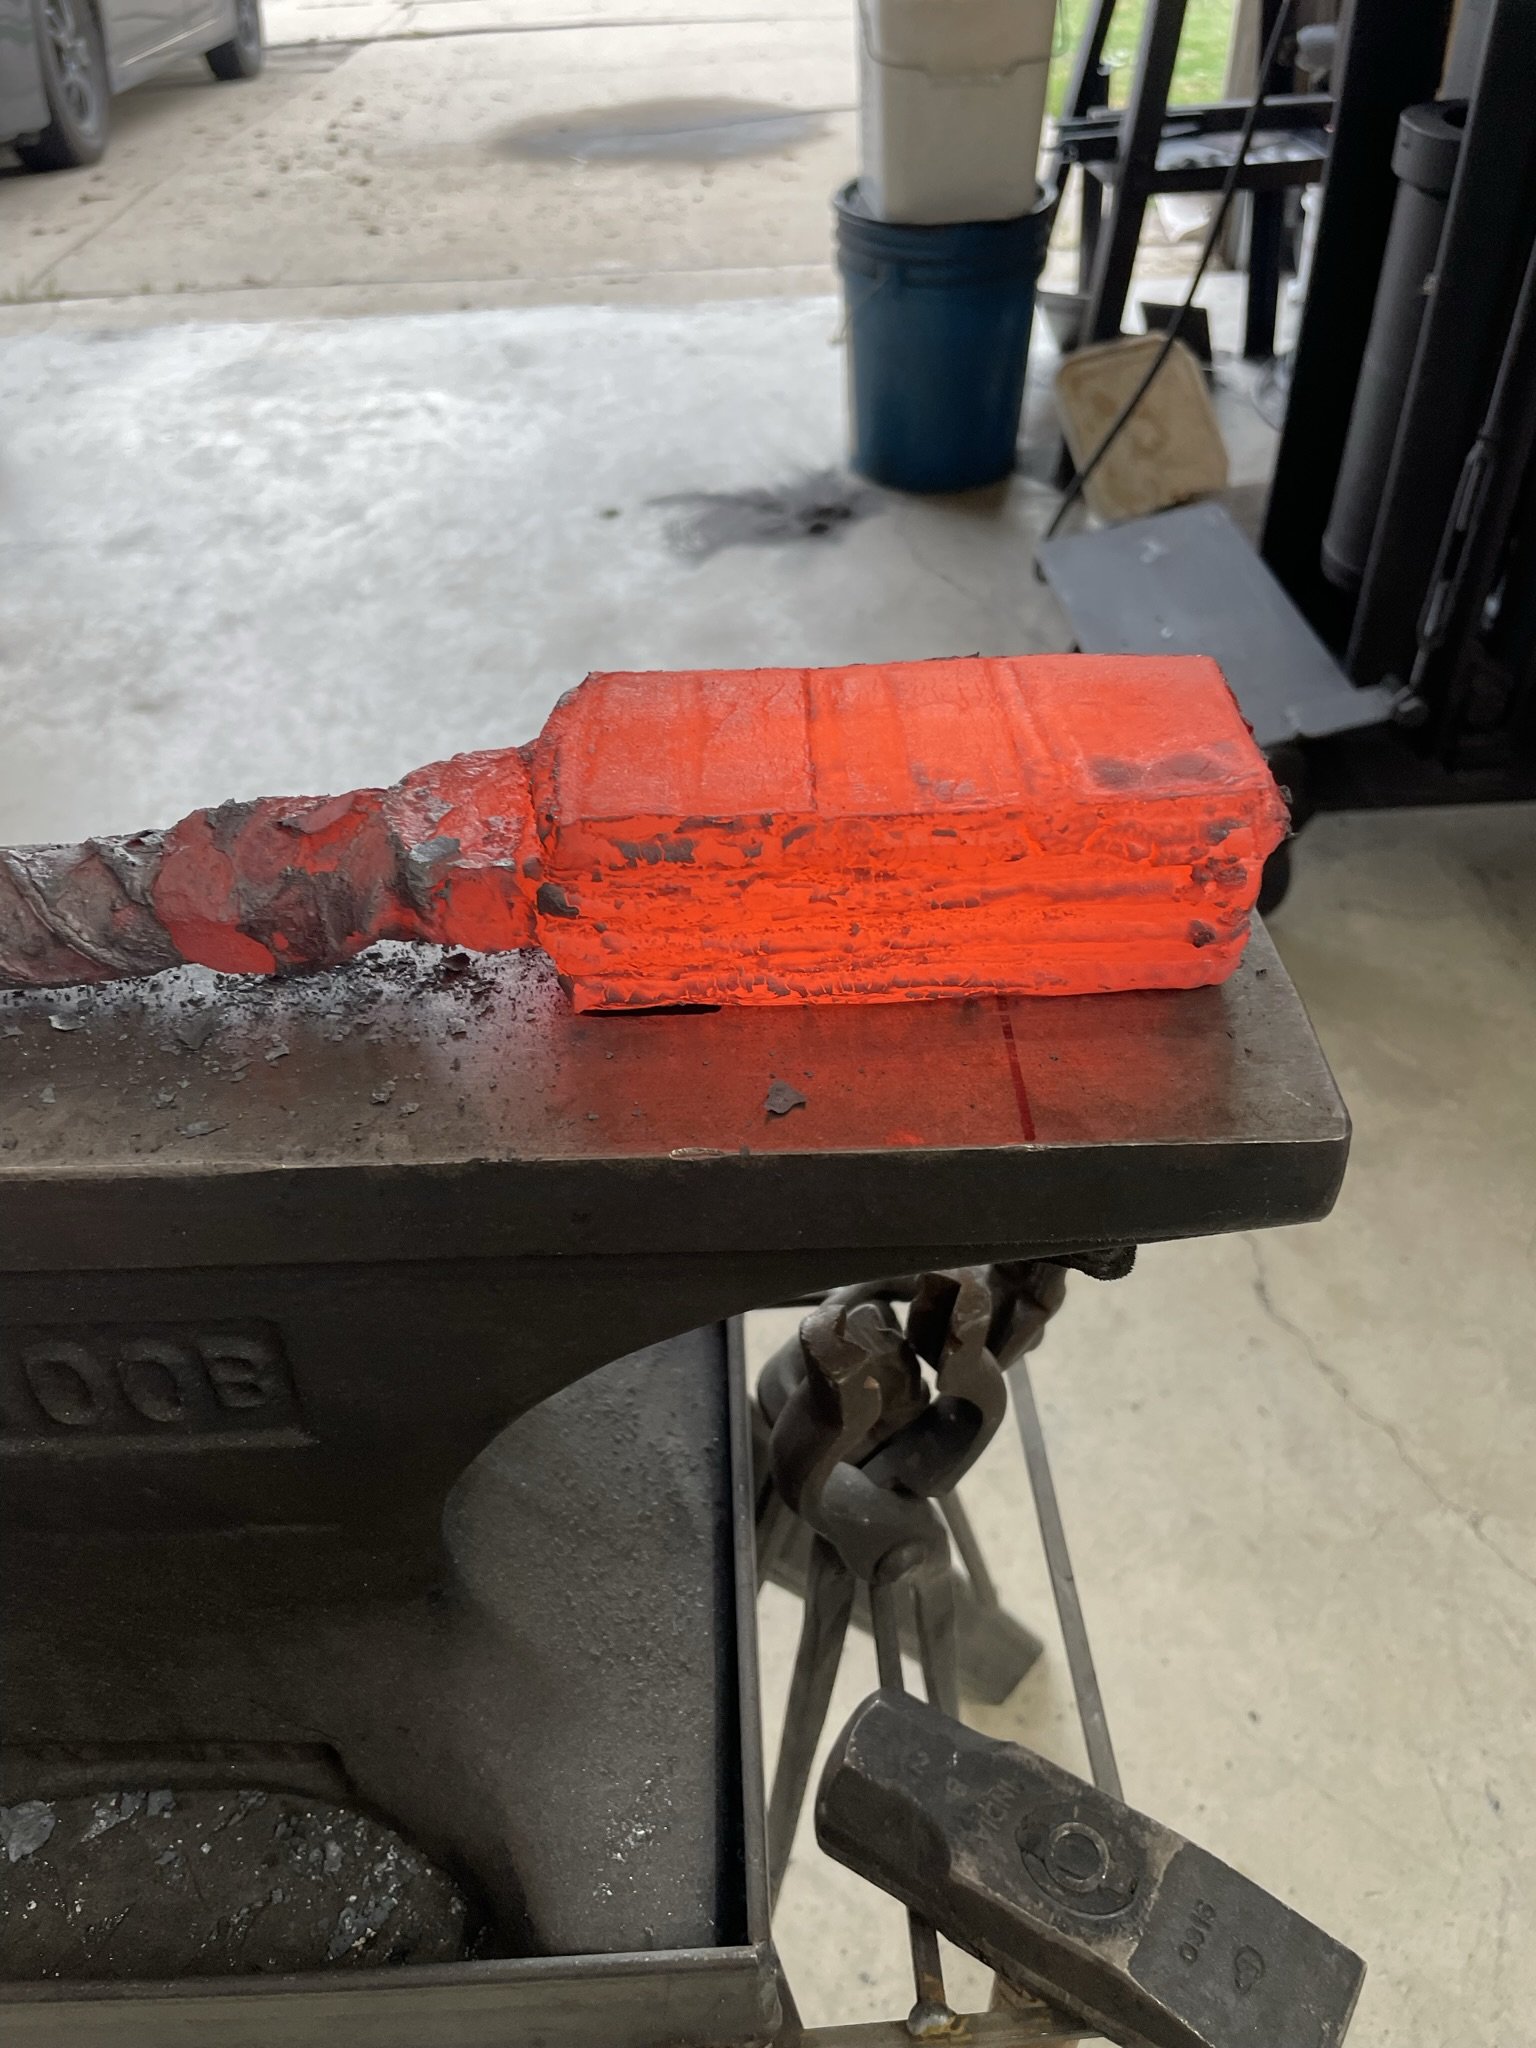
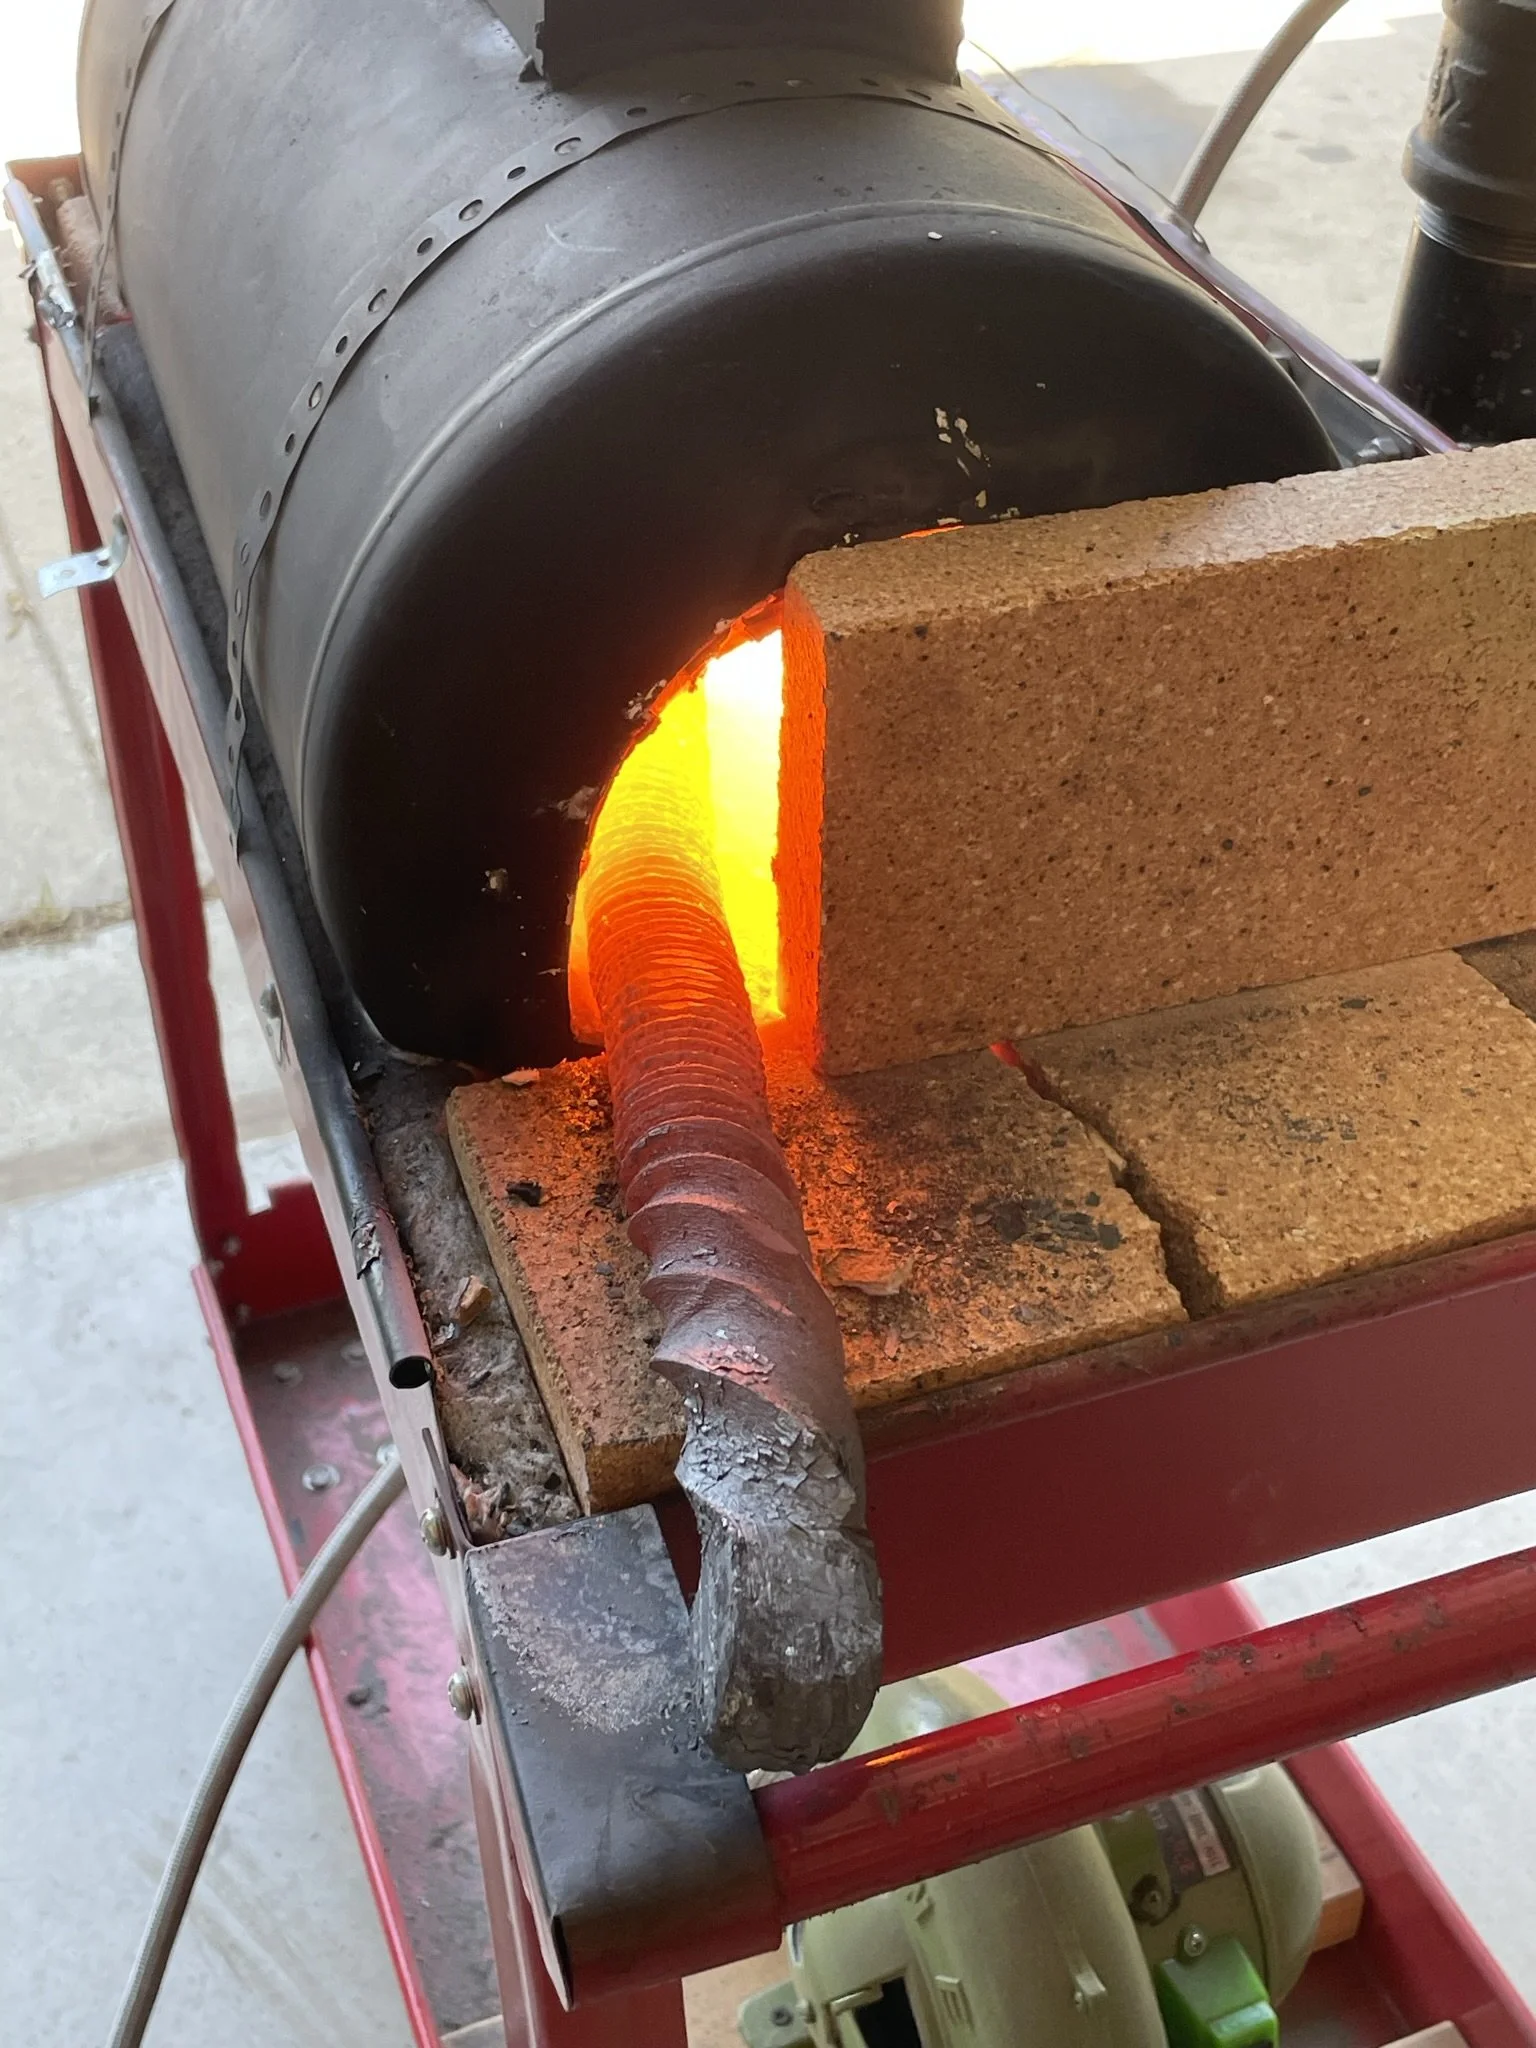
Forge welded again.
-
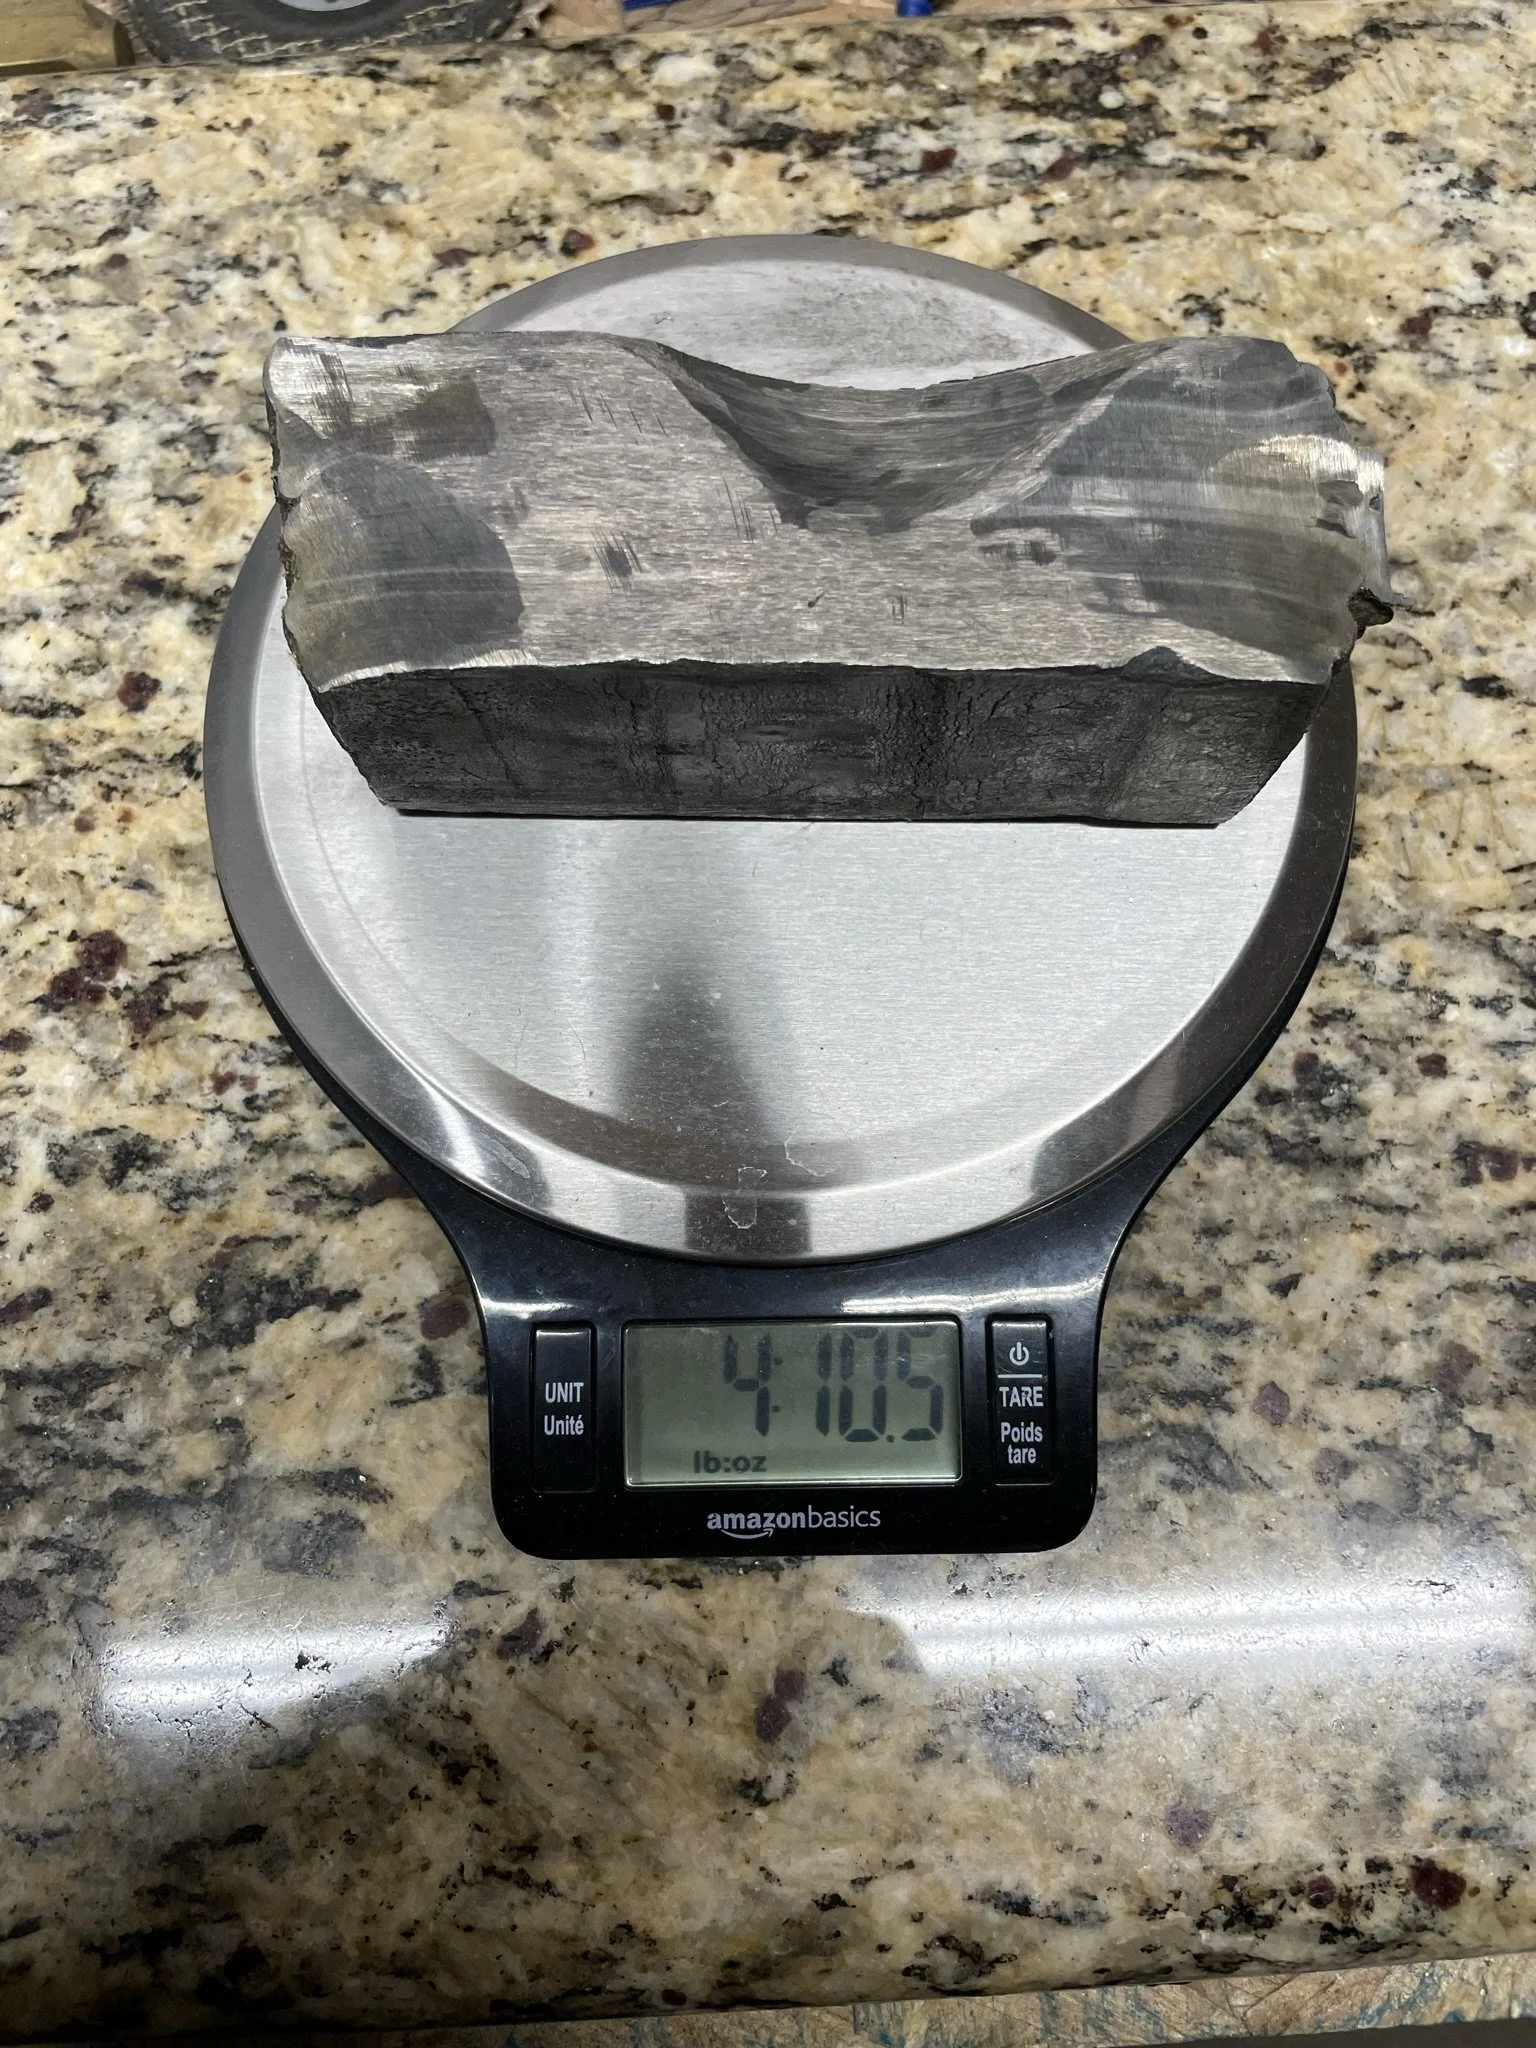
Decided to clean off the mild steel welds and get rid of any cold shuts. 4lbs. 10oz billet.
-
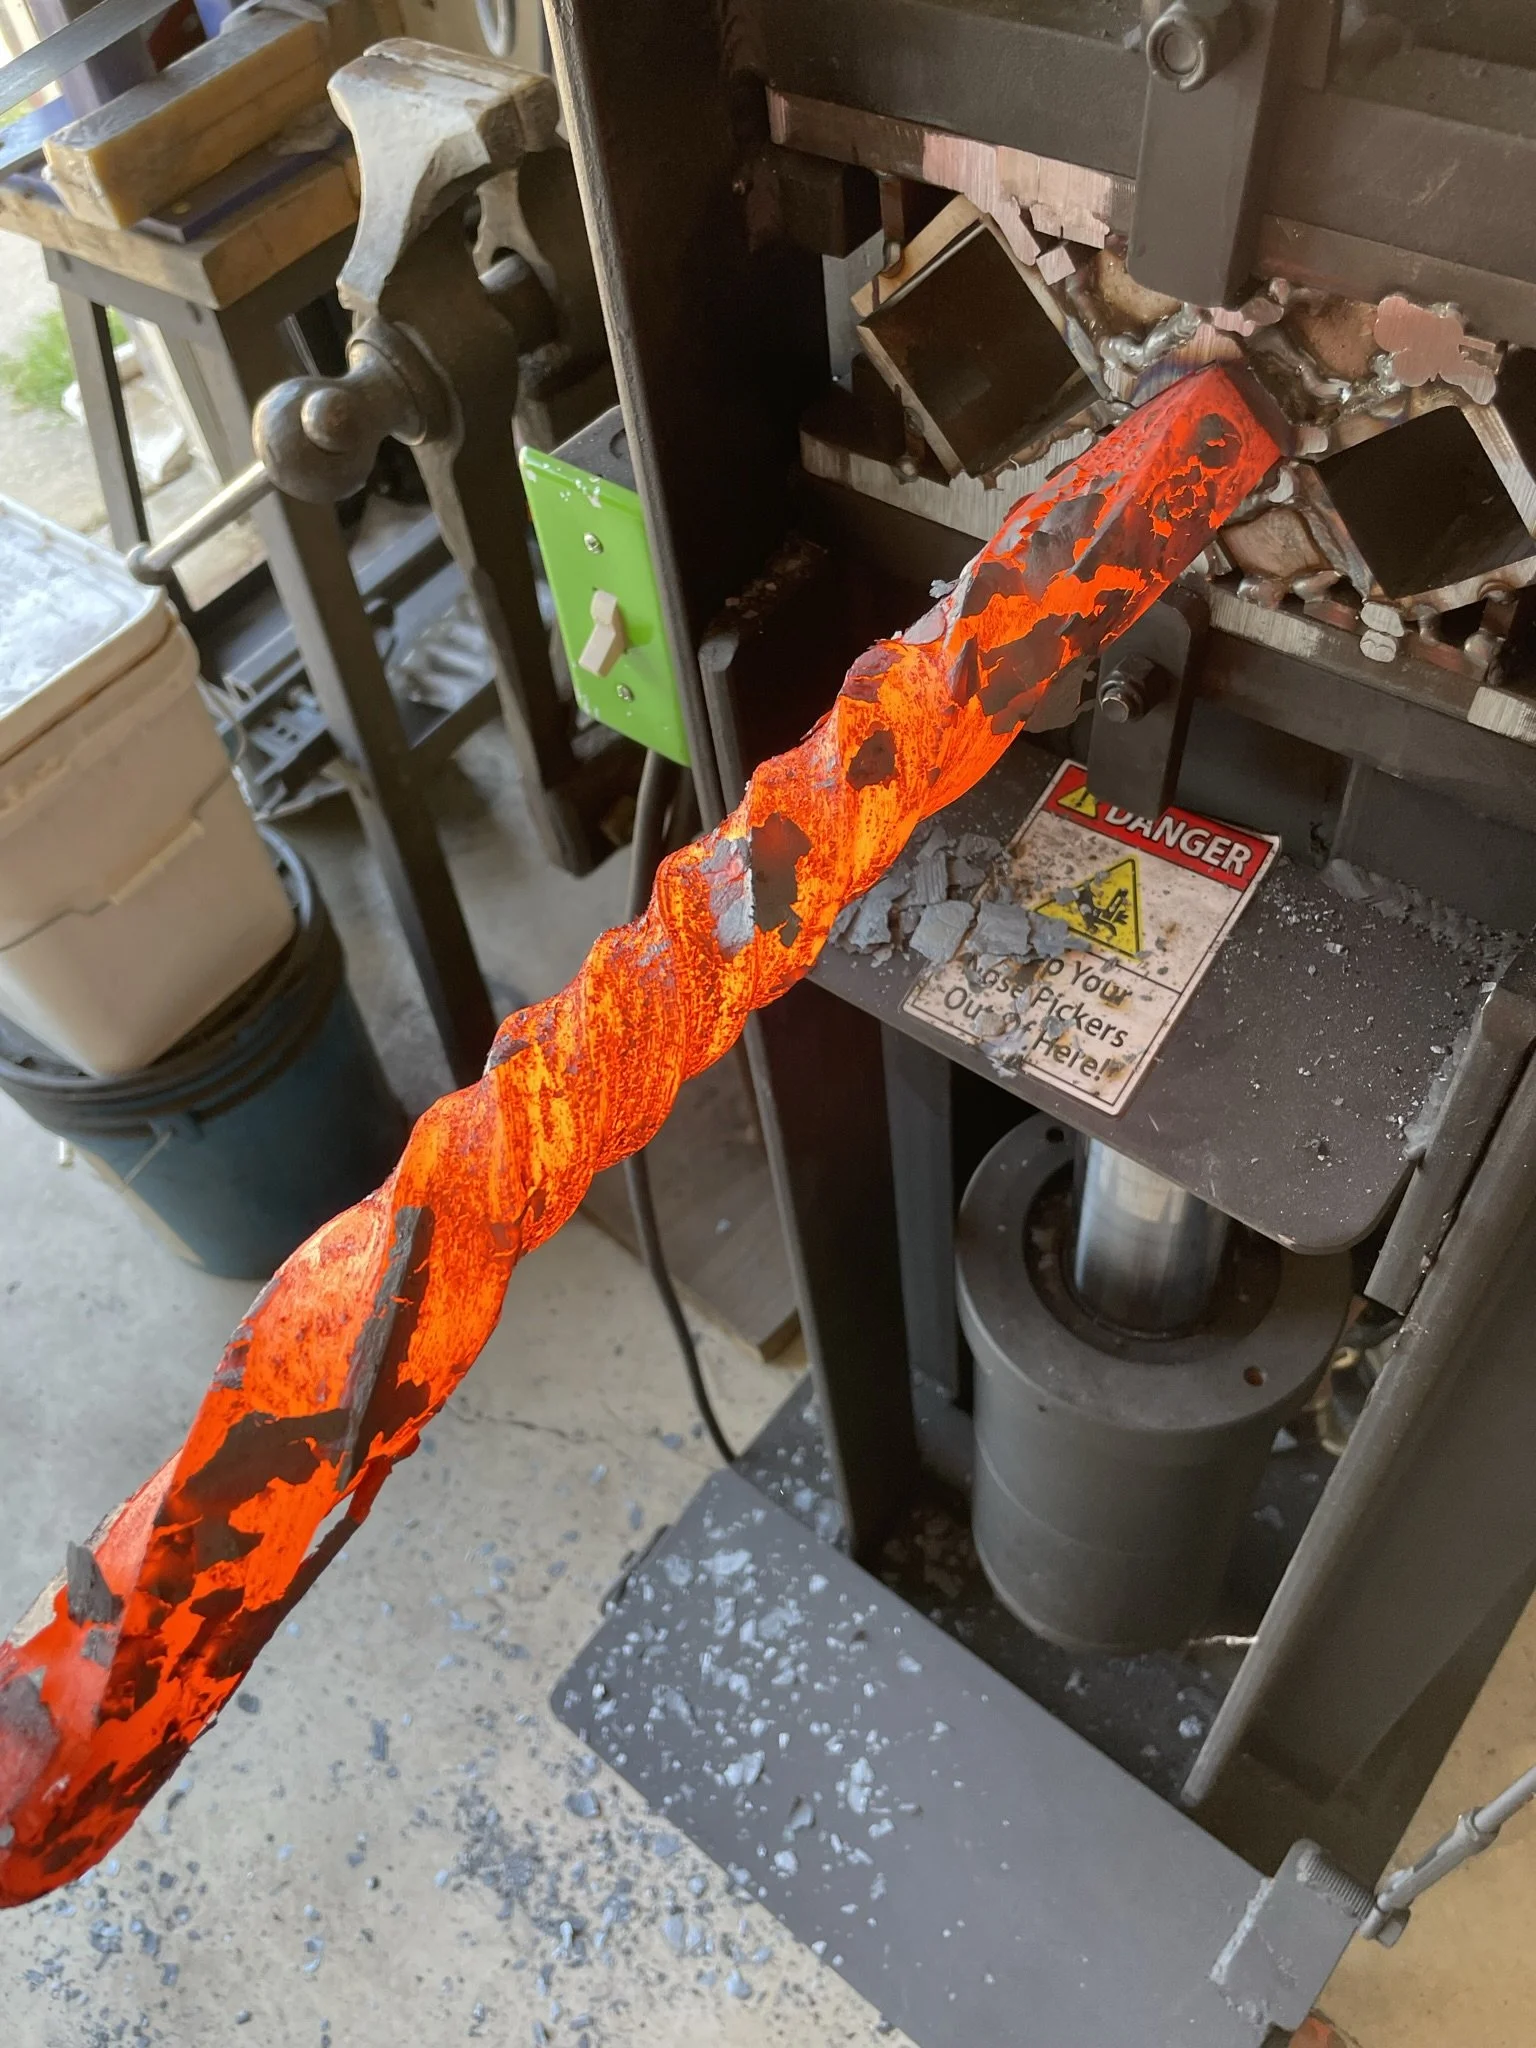
Twisting up the billet after drawing it out.
-
Twisting both sides.
-
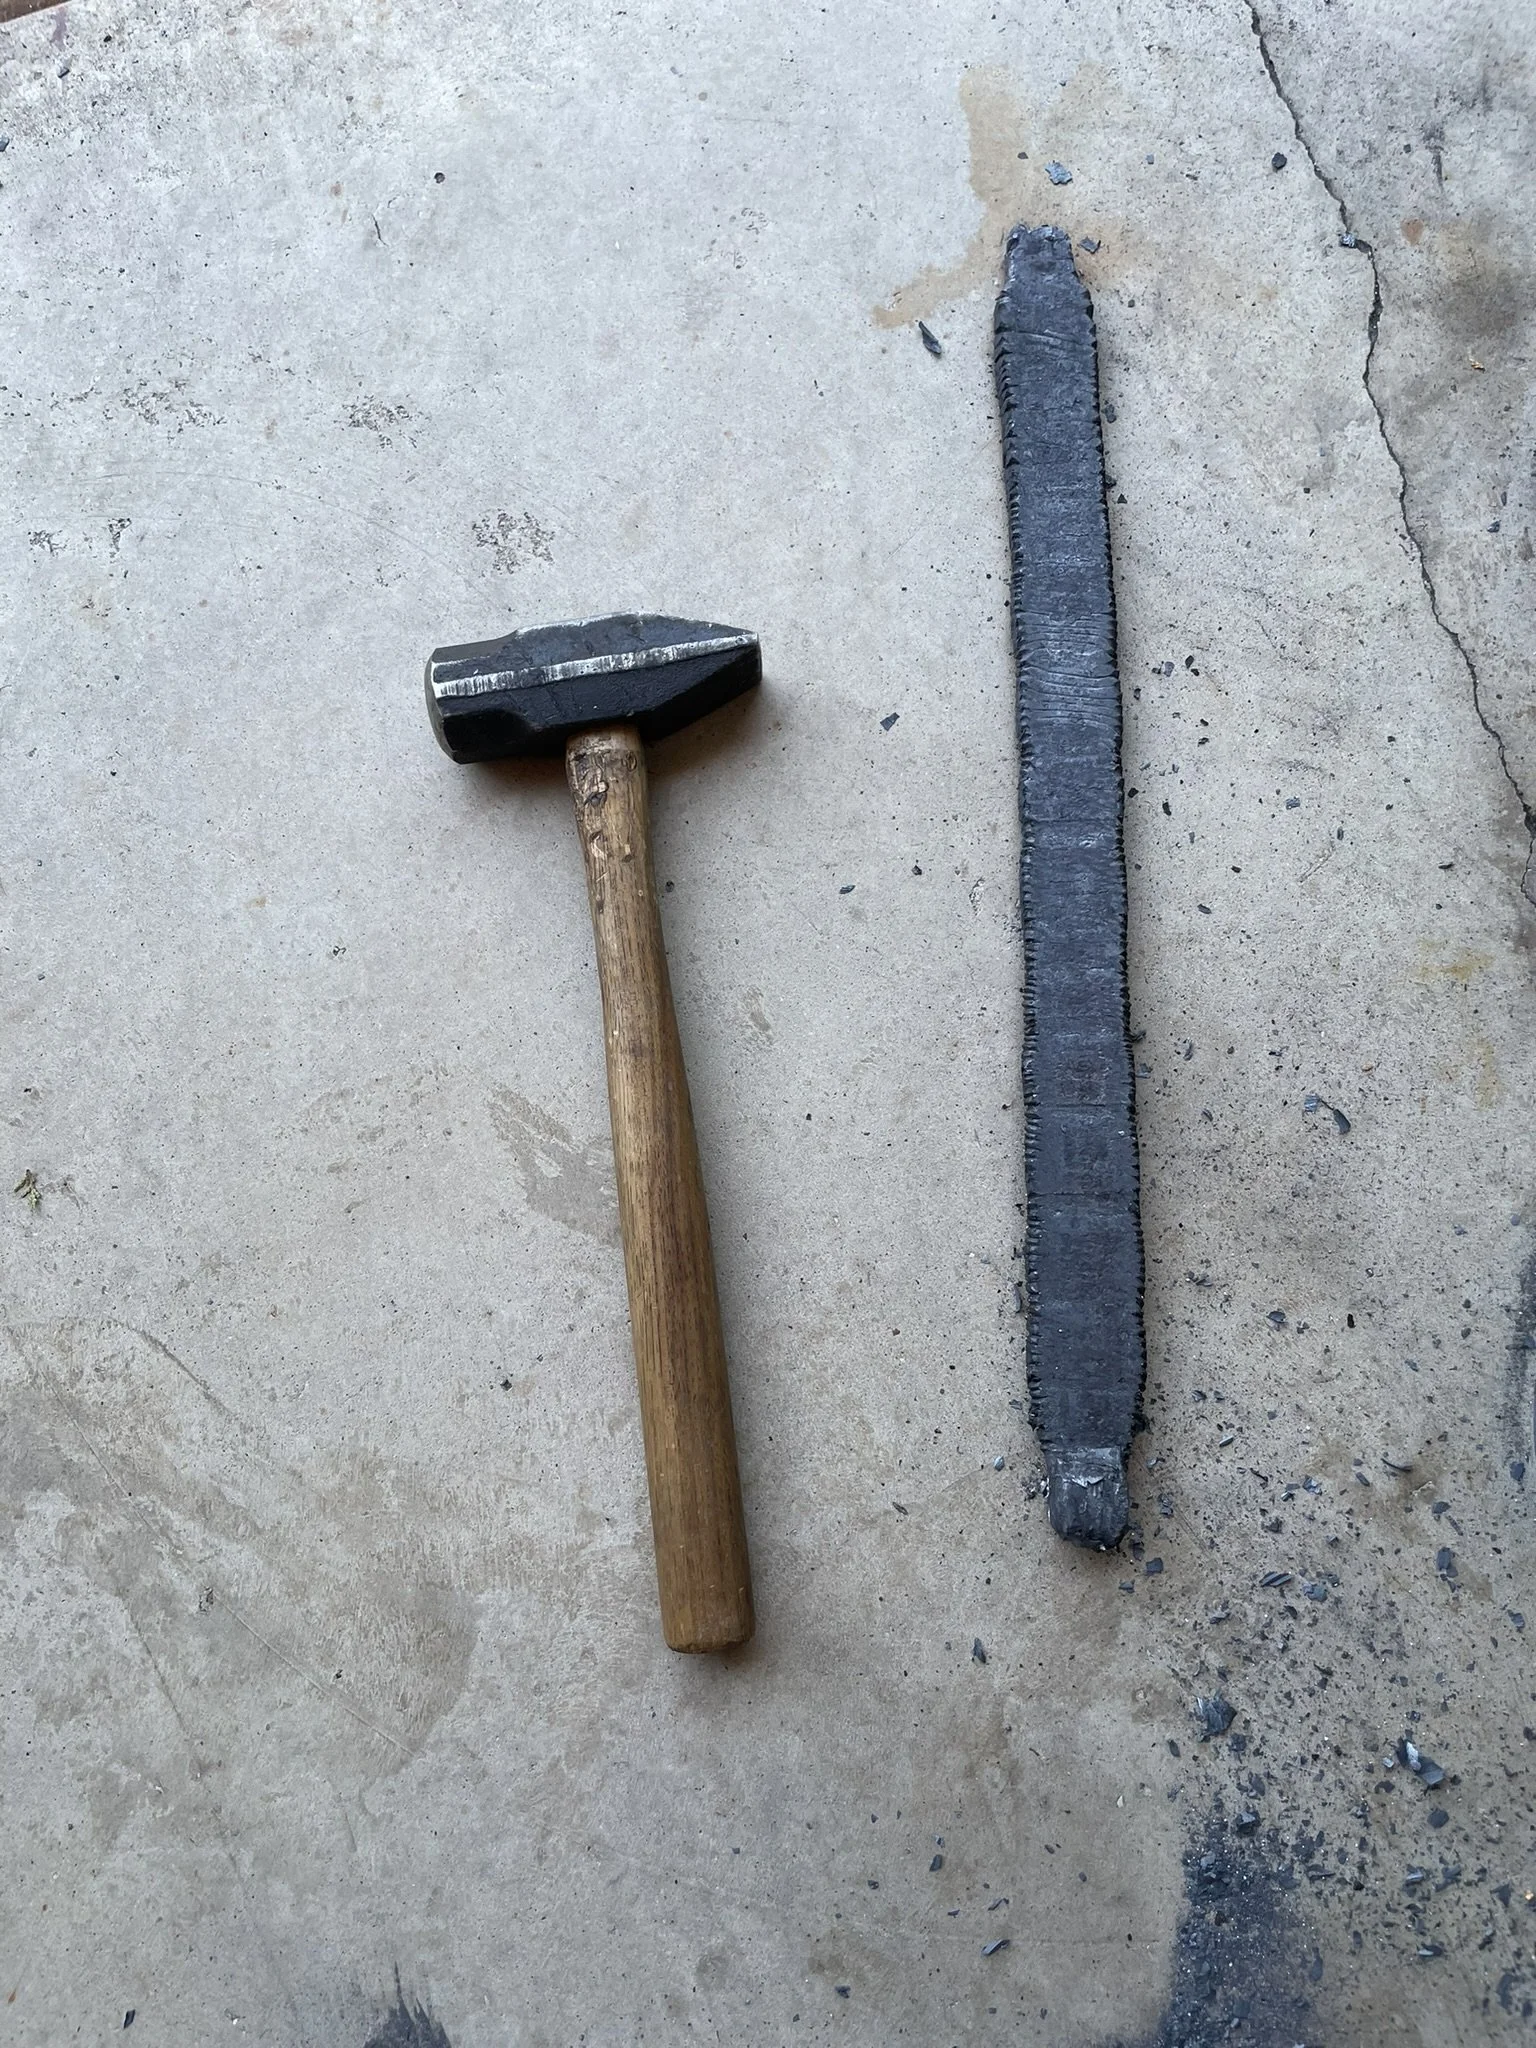
Final billet is tiny compared to the original.
-
Here's the forge scale compared to the billet.
-
Scale still stuck in the twist lines. I made some mistakes on forging this, but was able to salvage it in the end.
-
![]()
Ending billet of useable material. 2 lbs 14 oz - Nearly a 40% loss of material just in that few processes. Again - this is why damascus is expensive.
-
Laying out the blade.
-
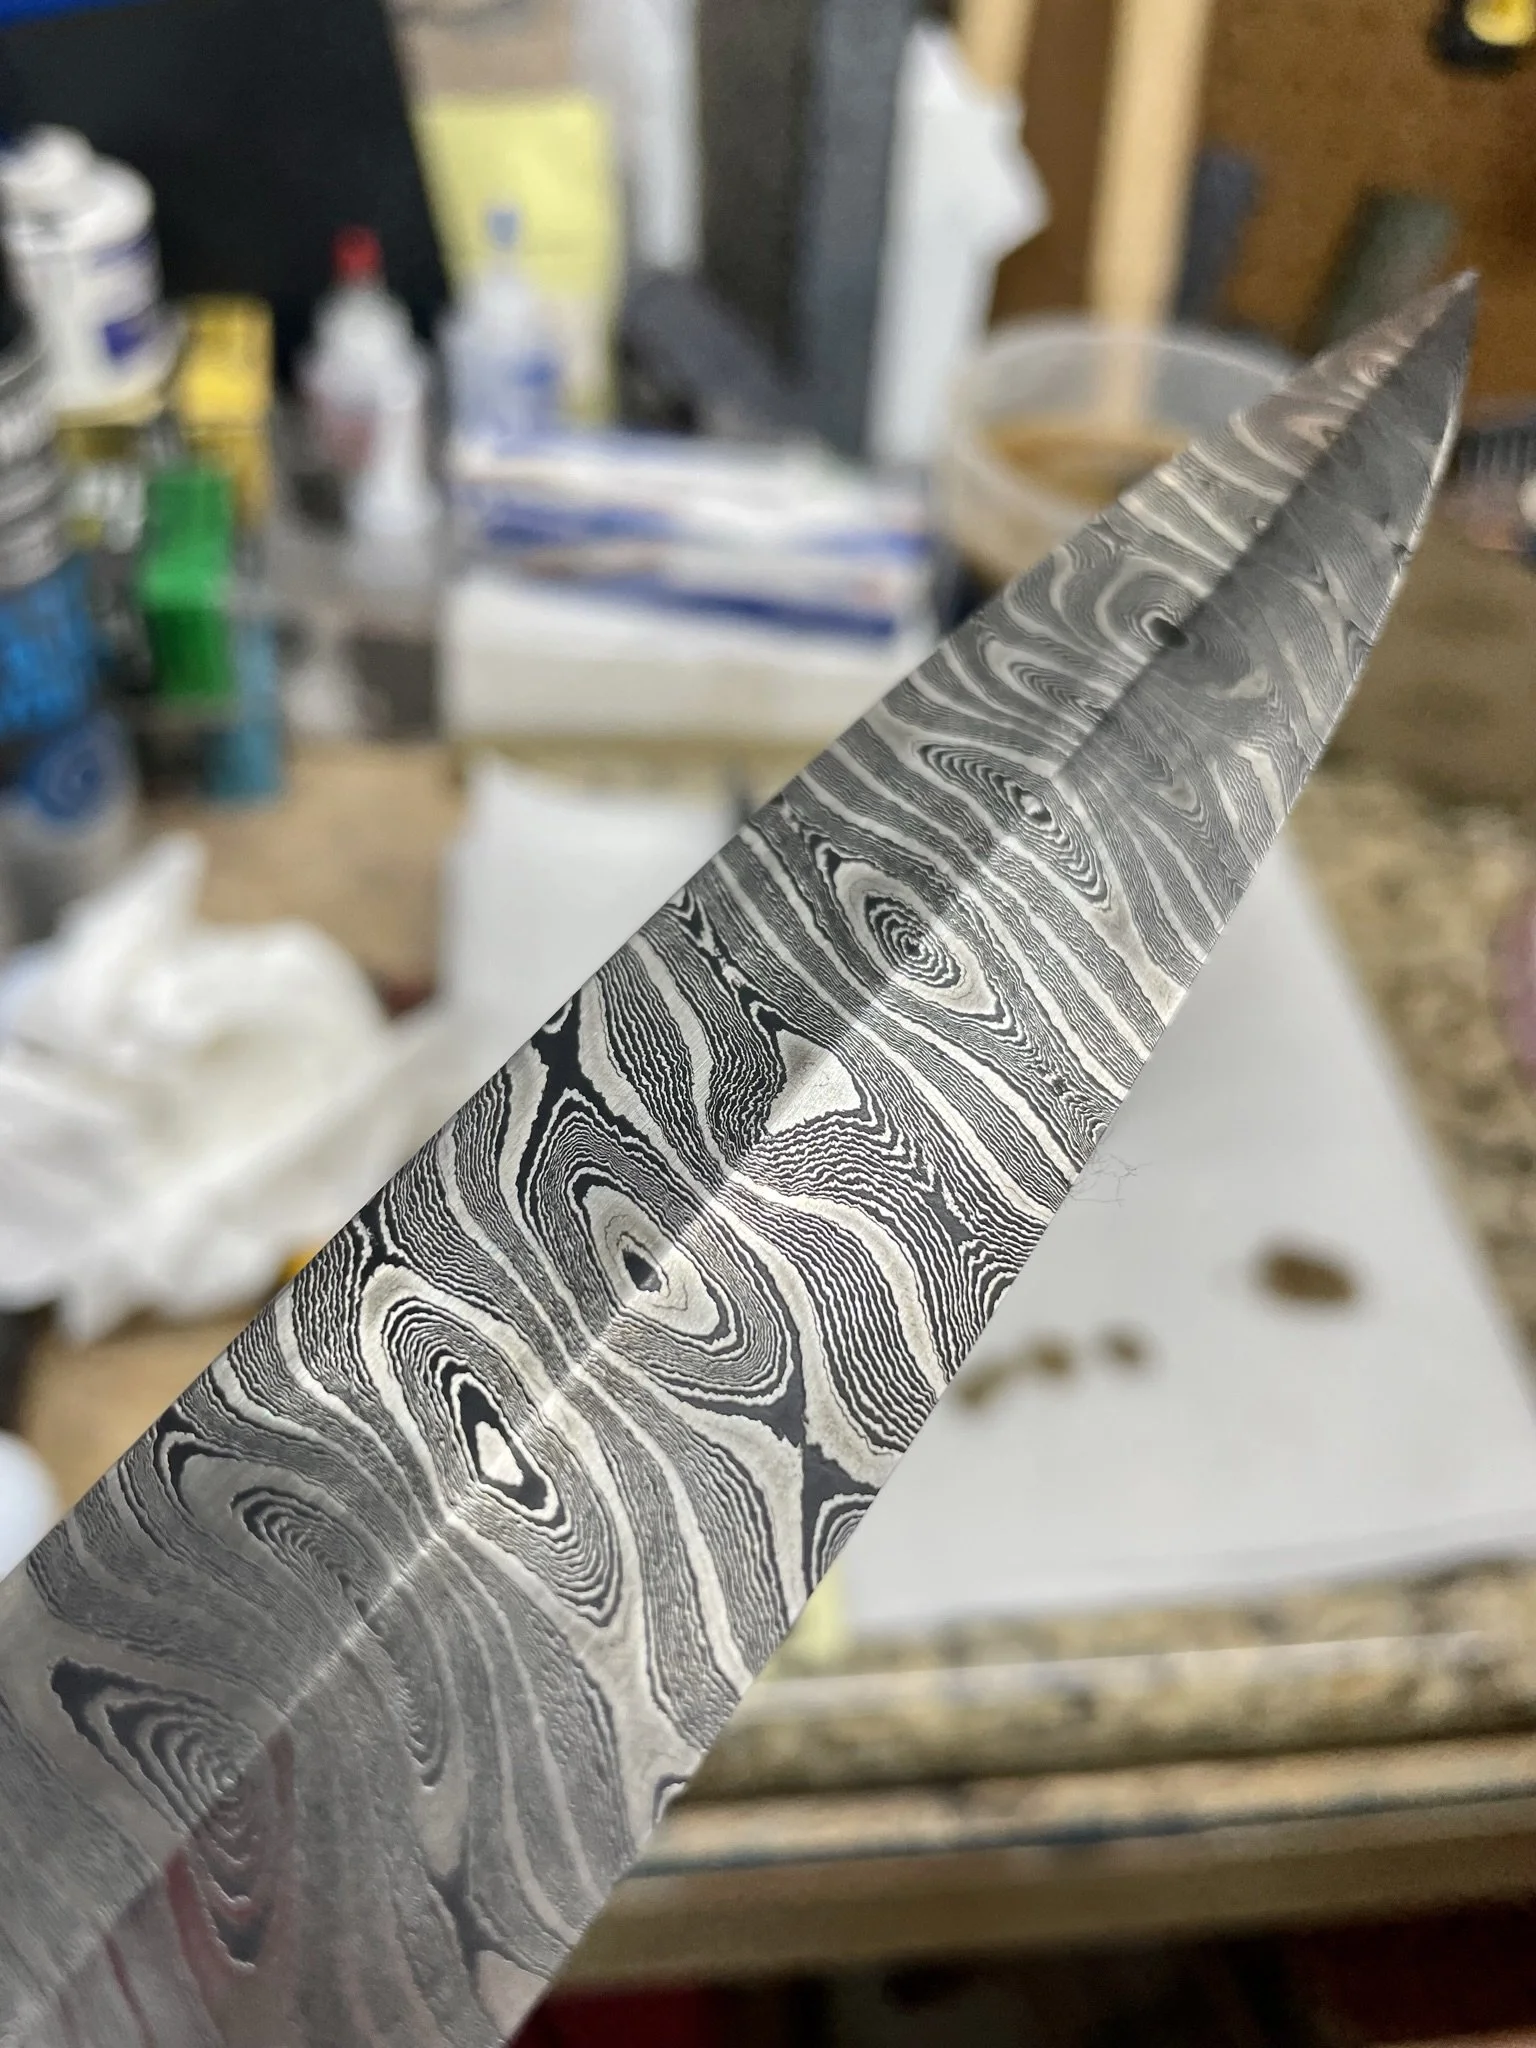
Rough profile and sneak peak on the pattern.
-
Dagger grind done.
-
Cleaned up and refined a little more.
-
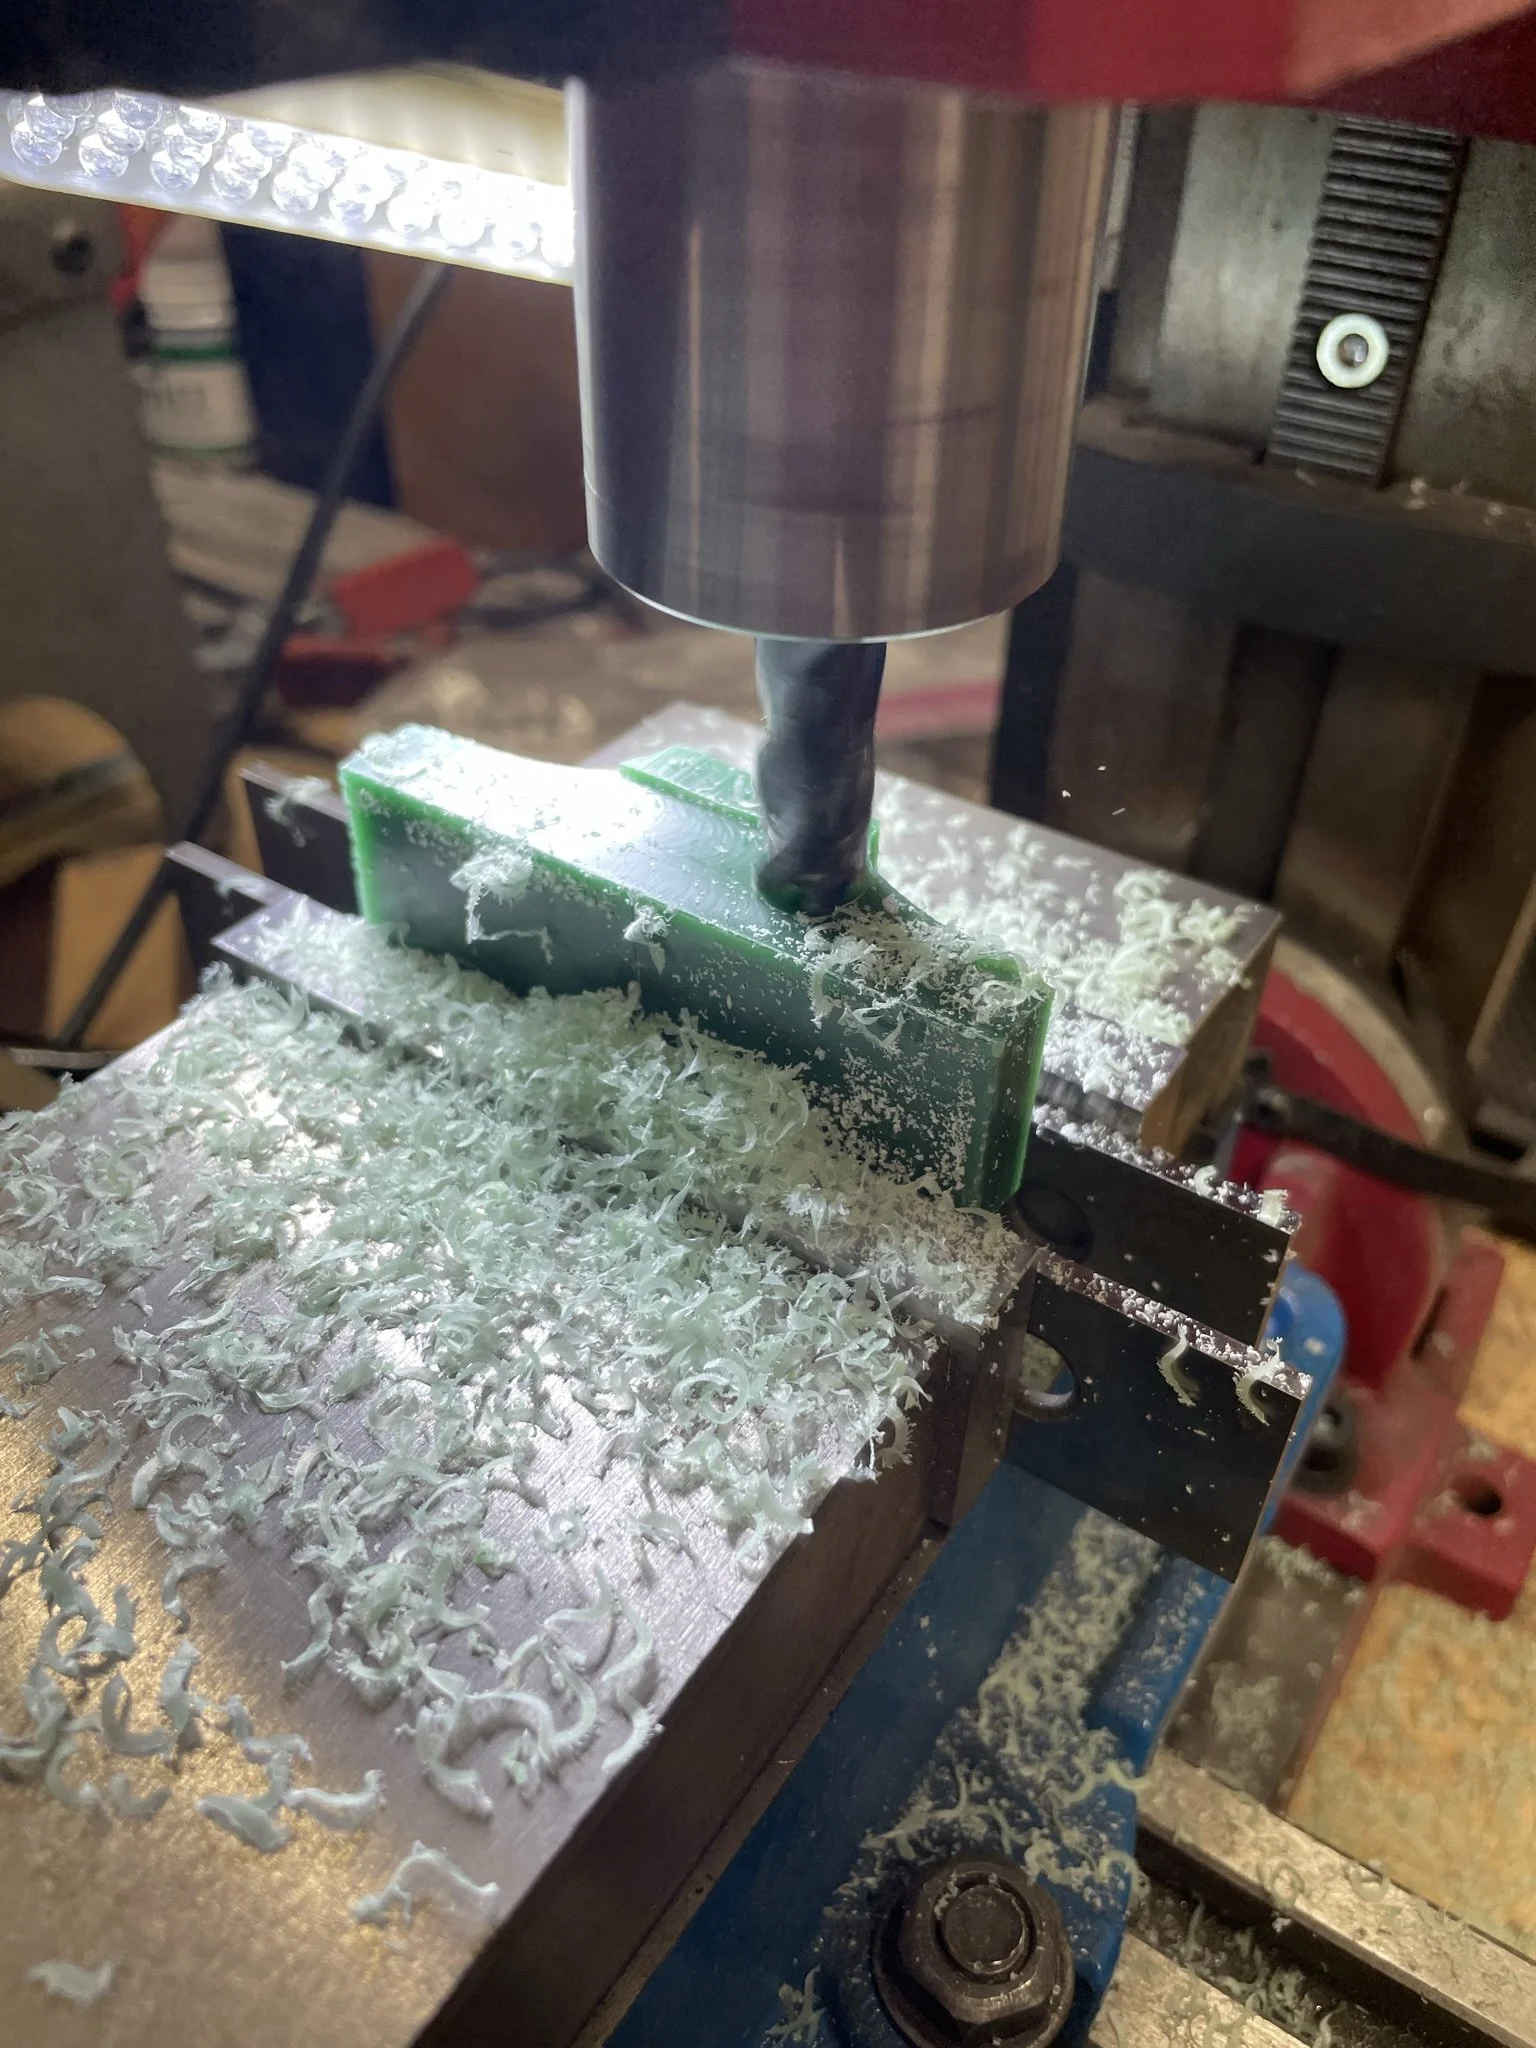
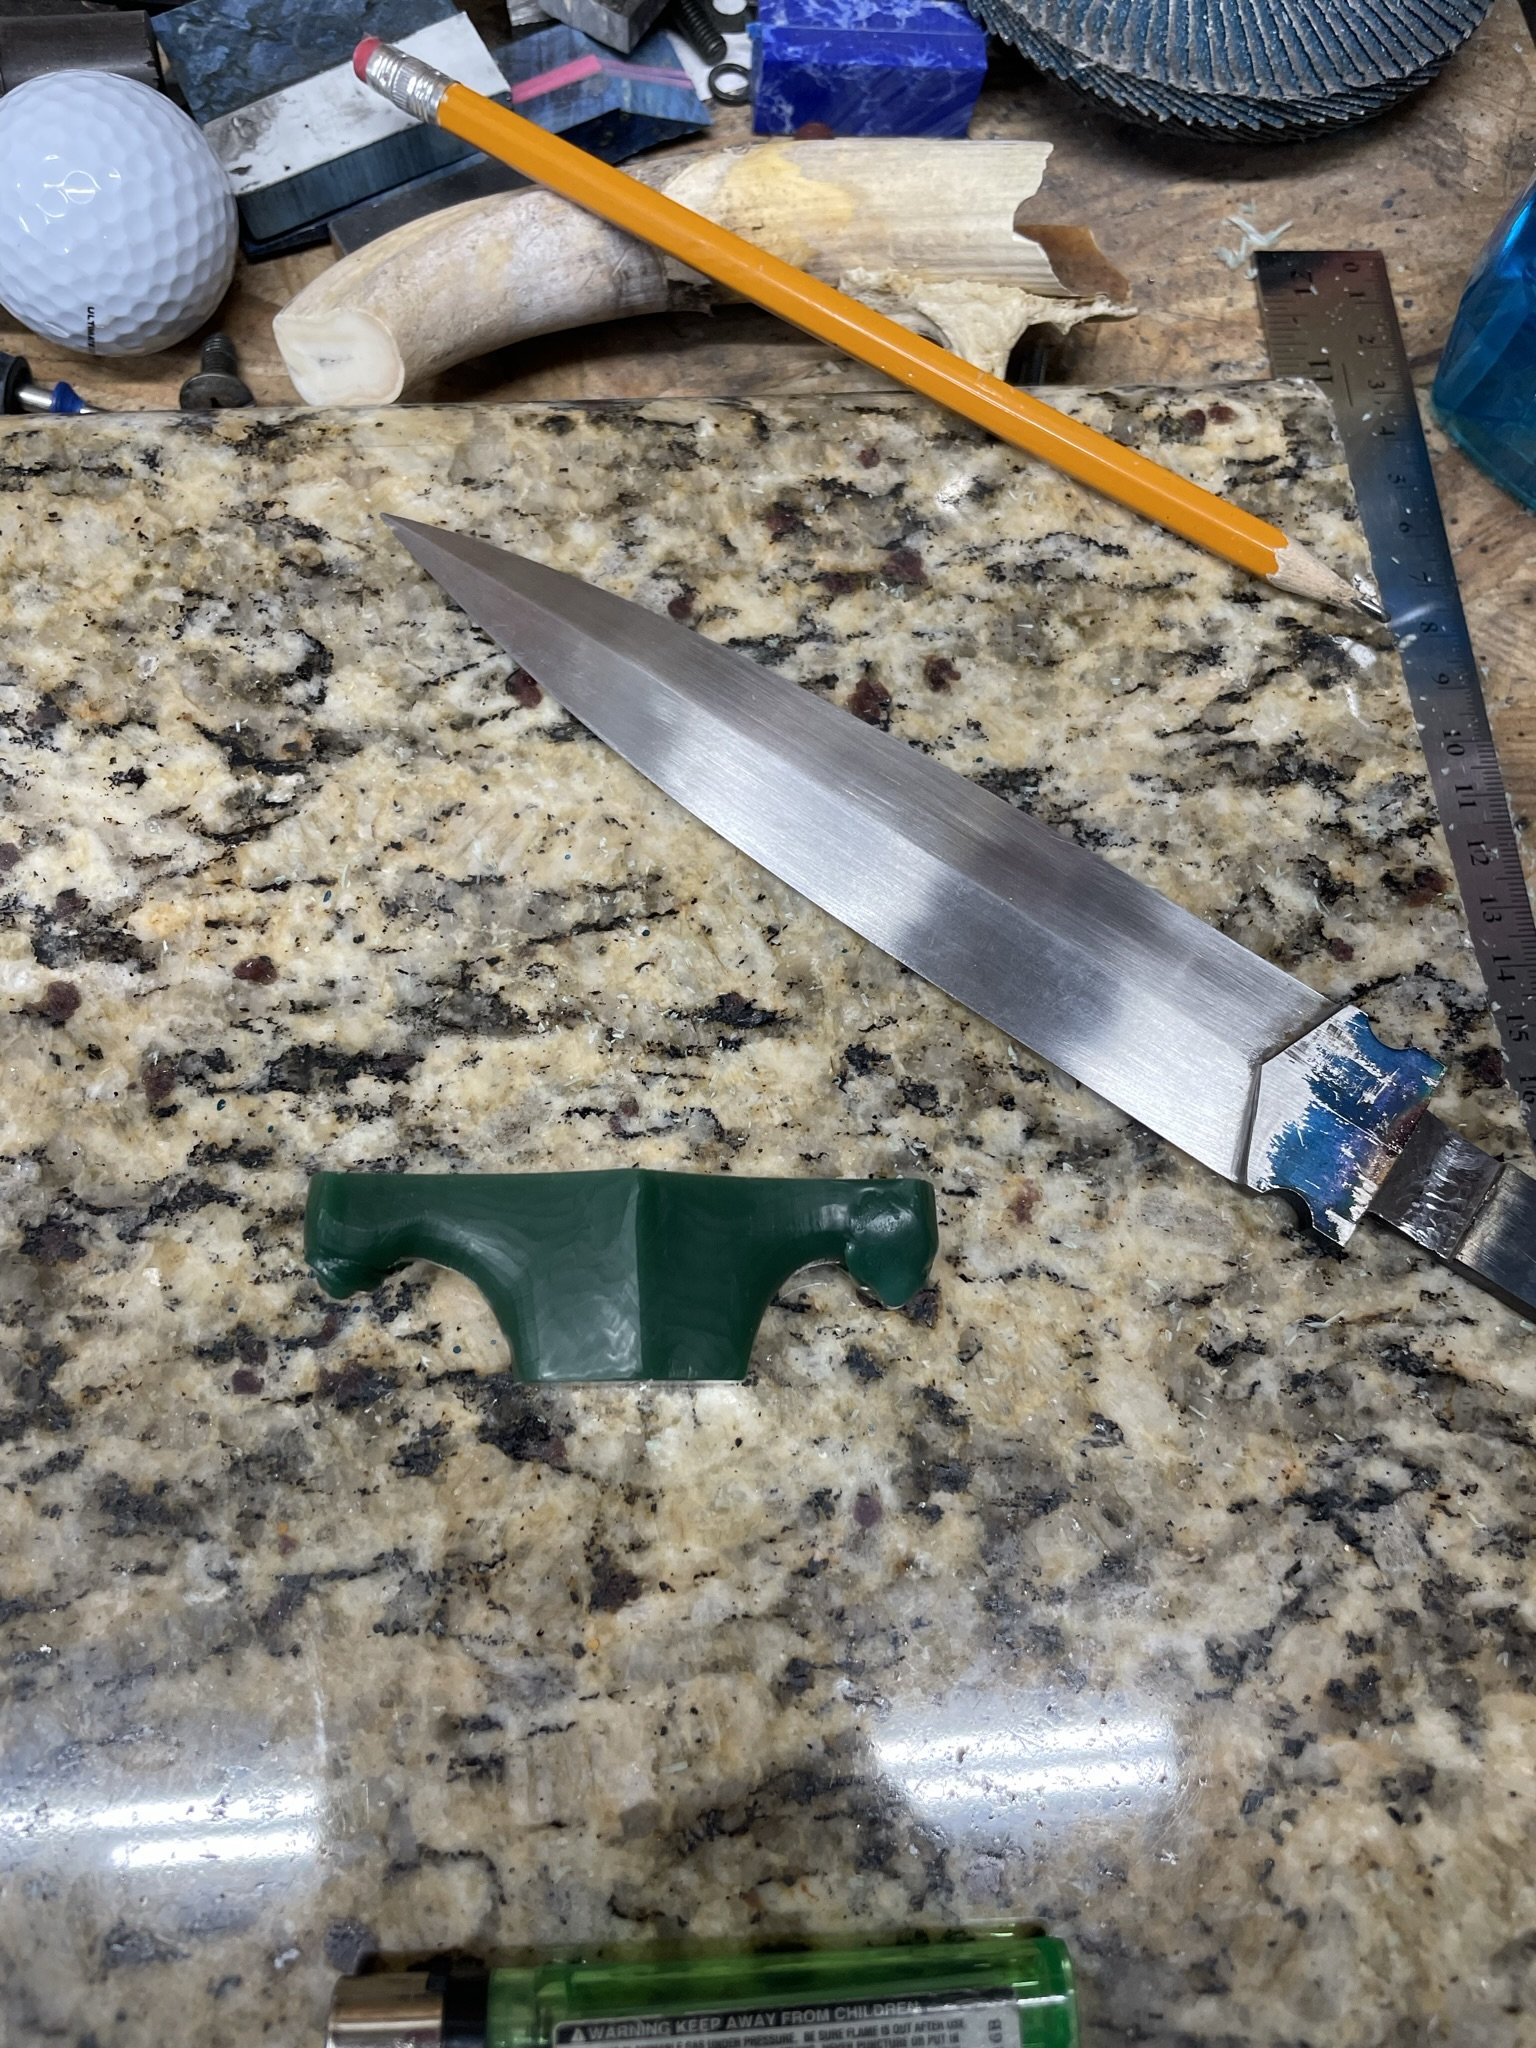
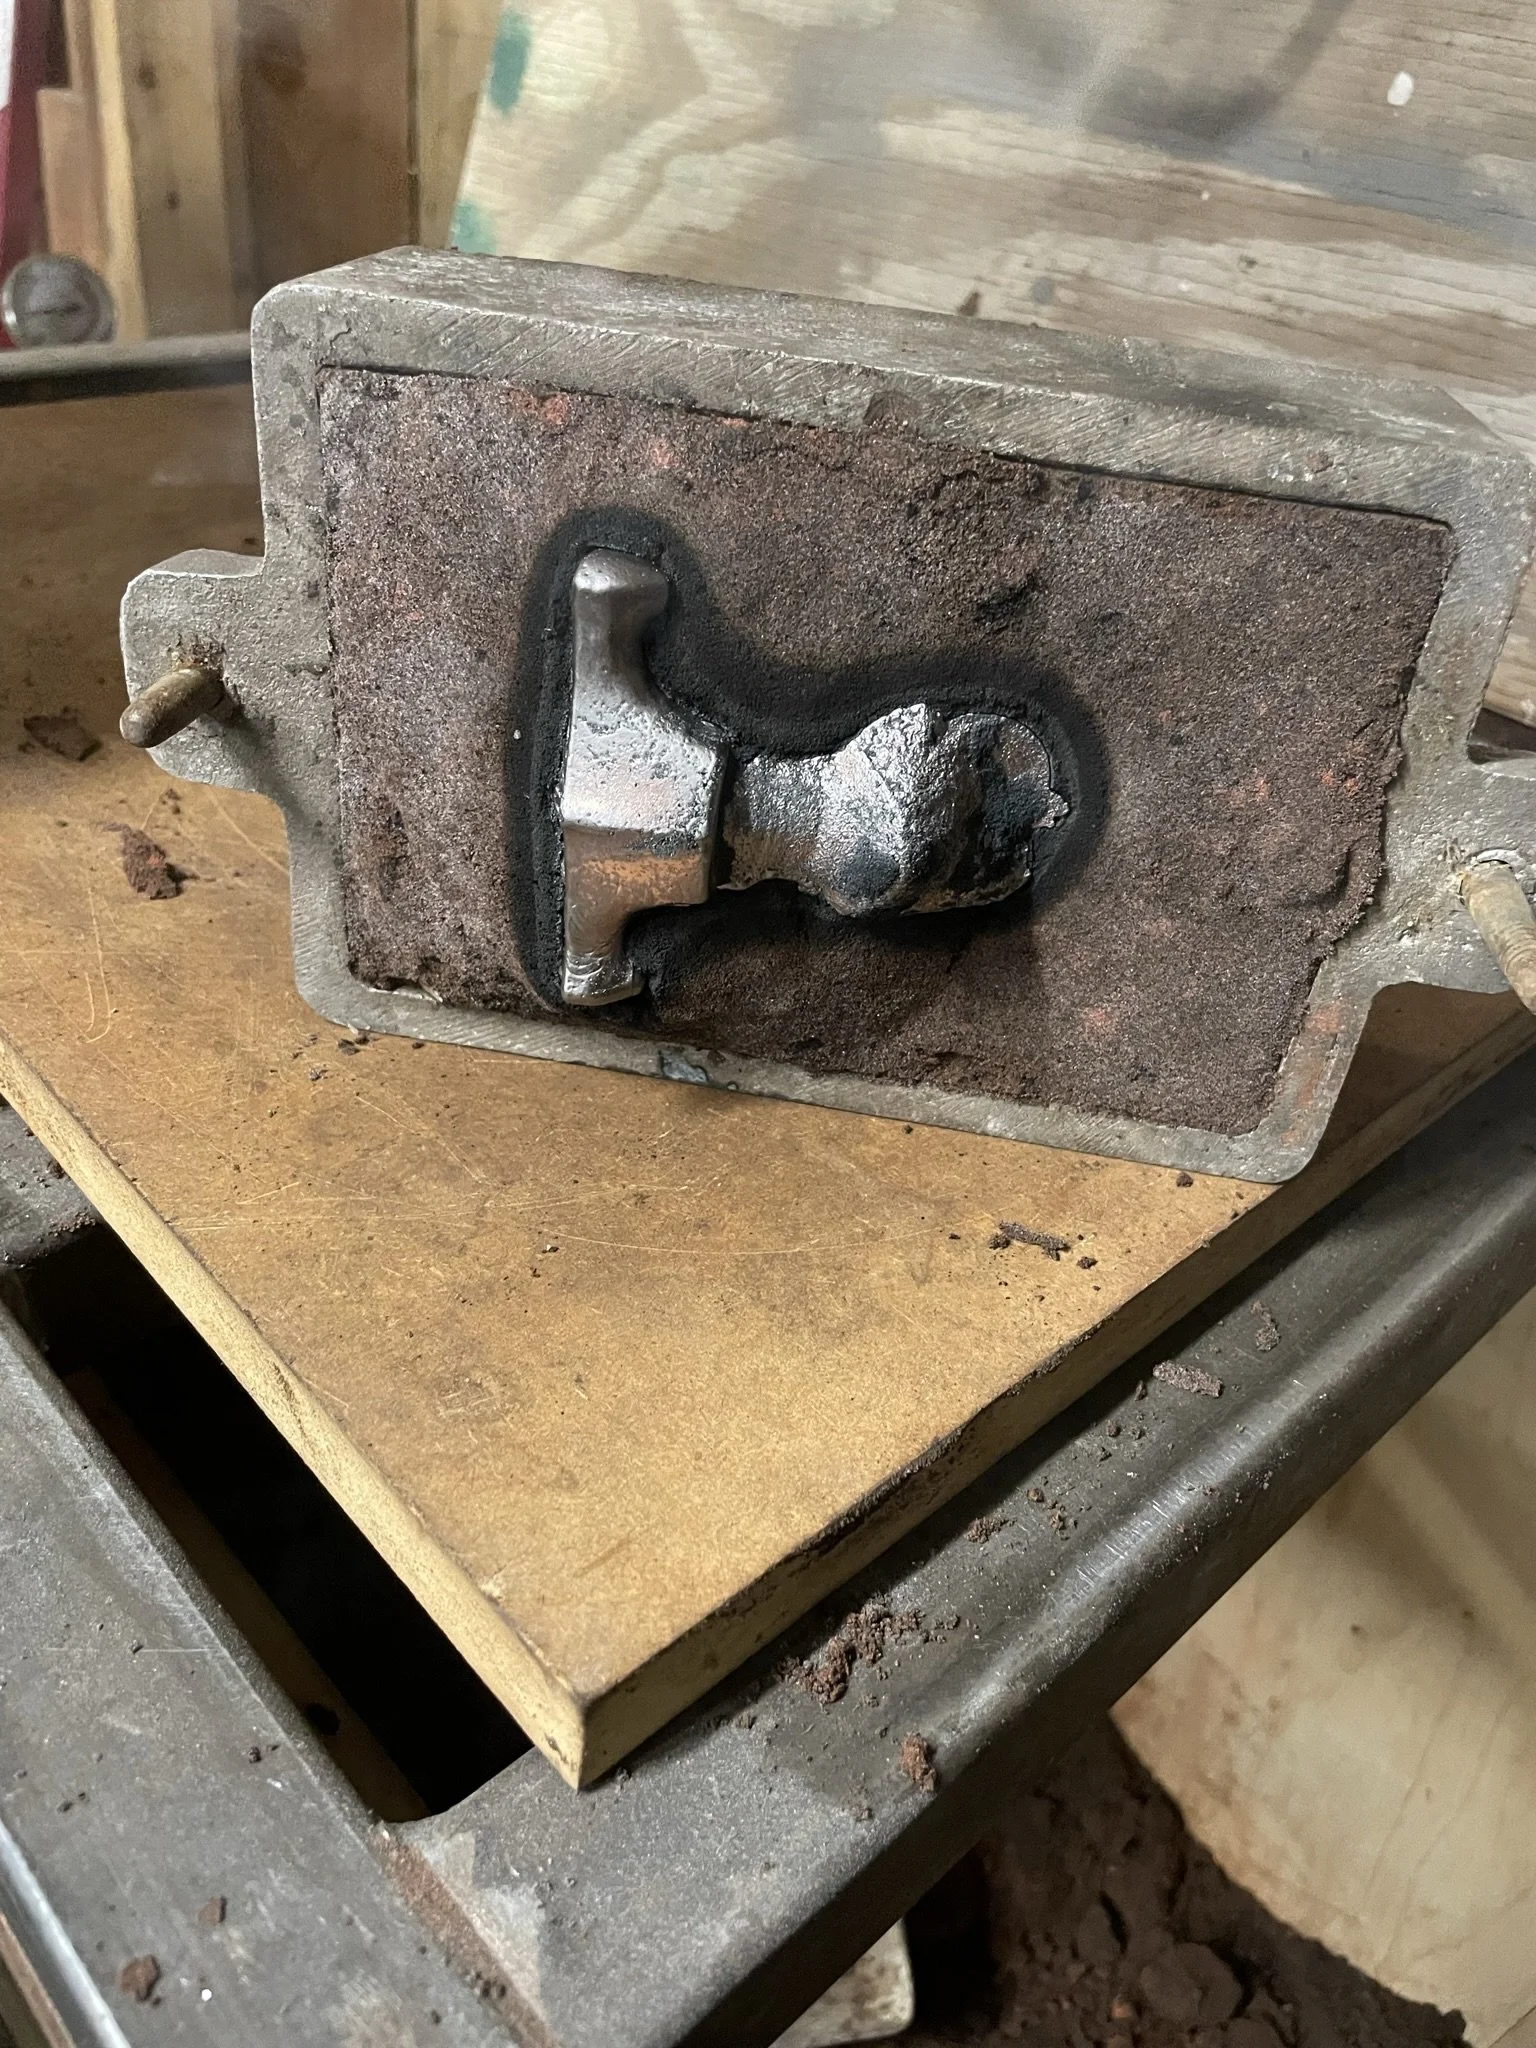
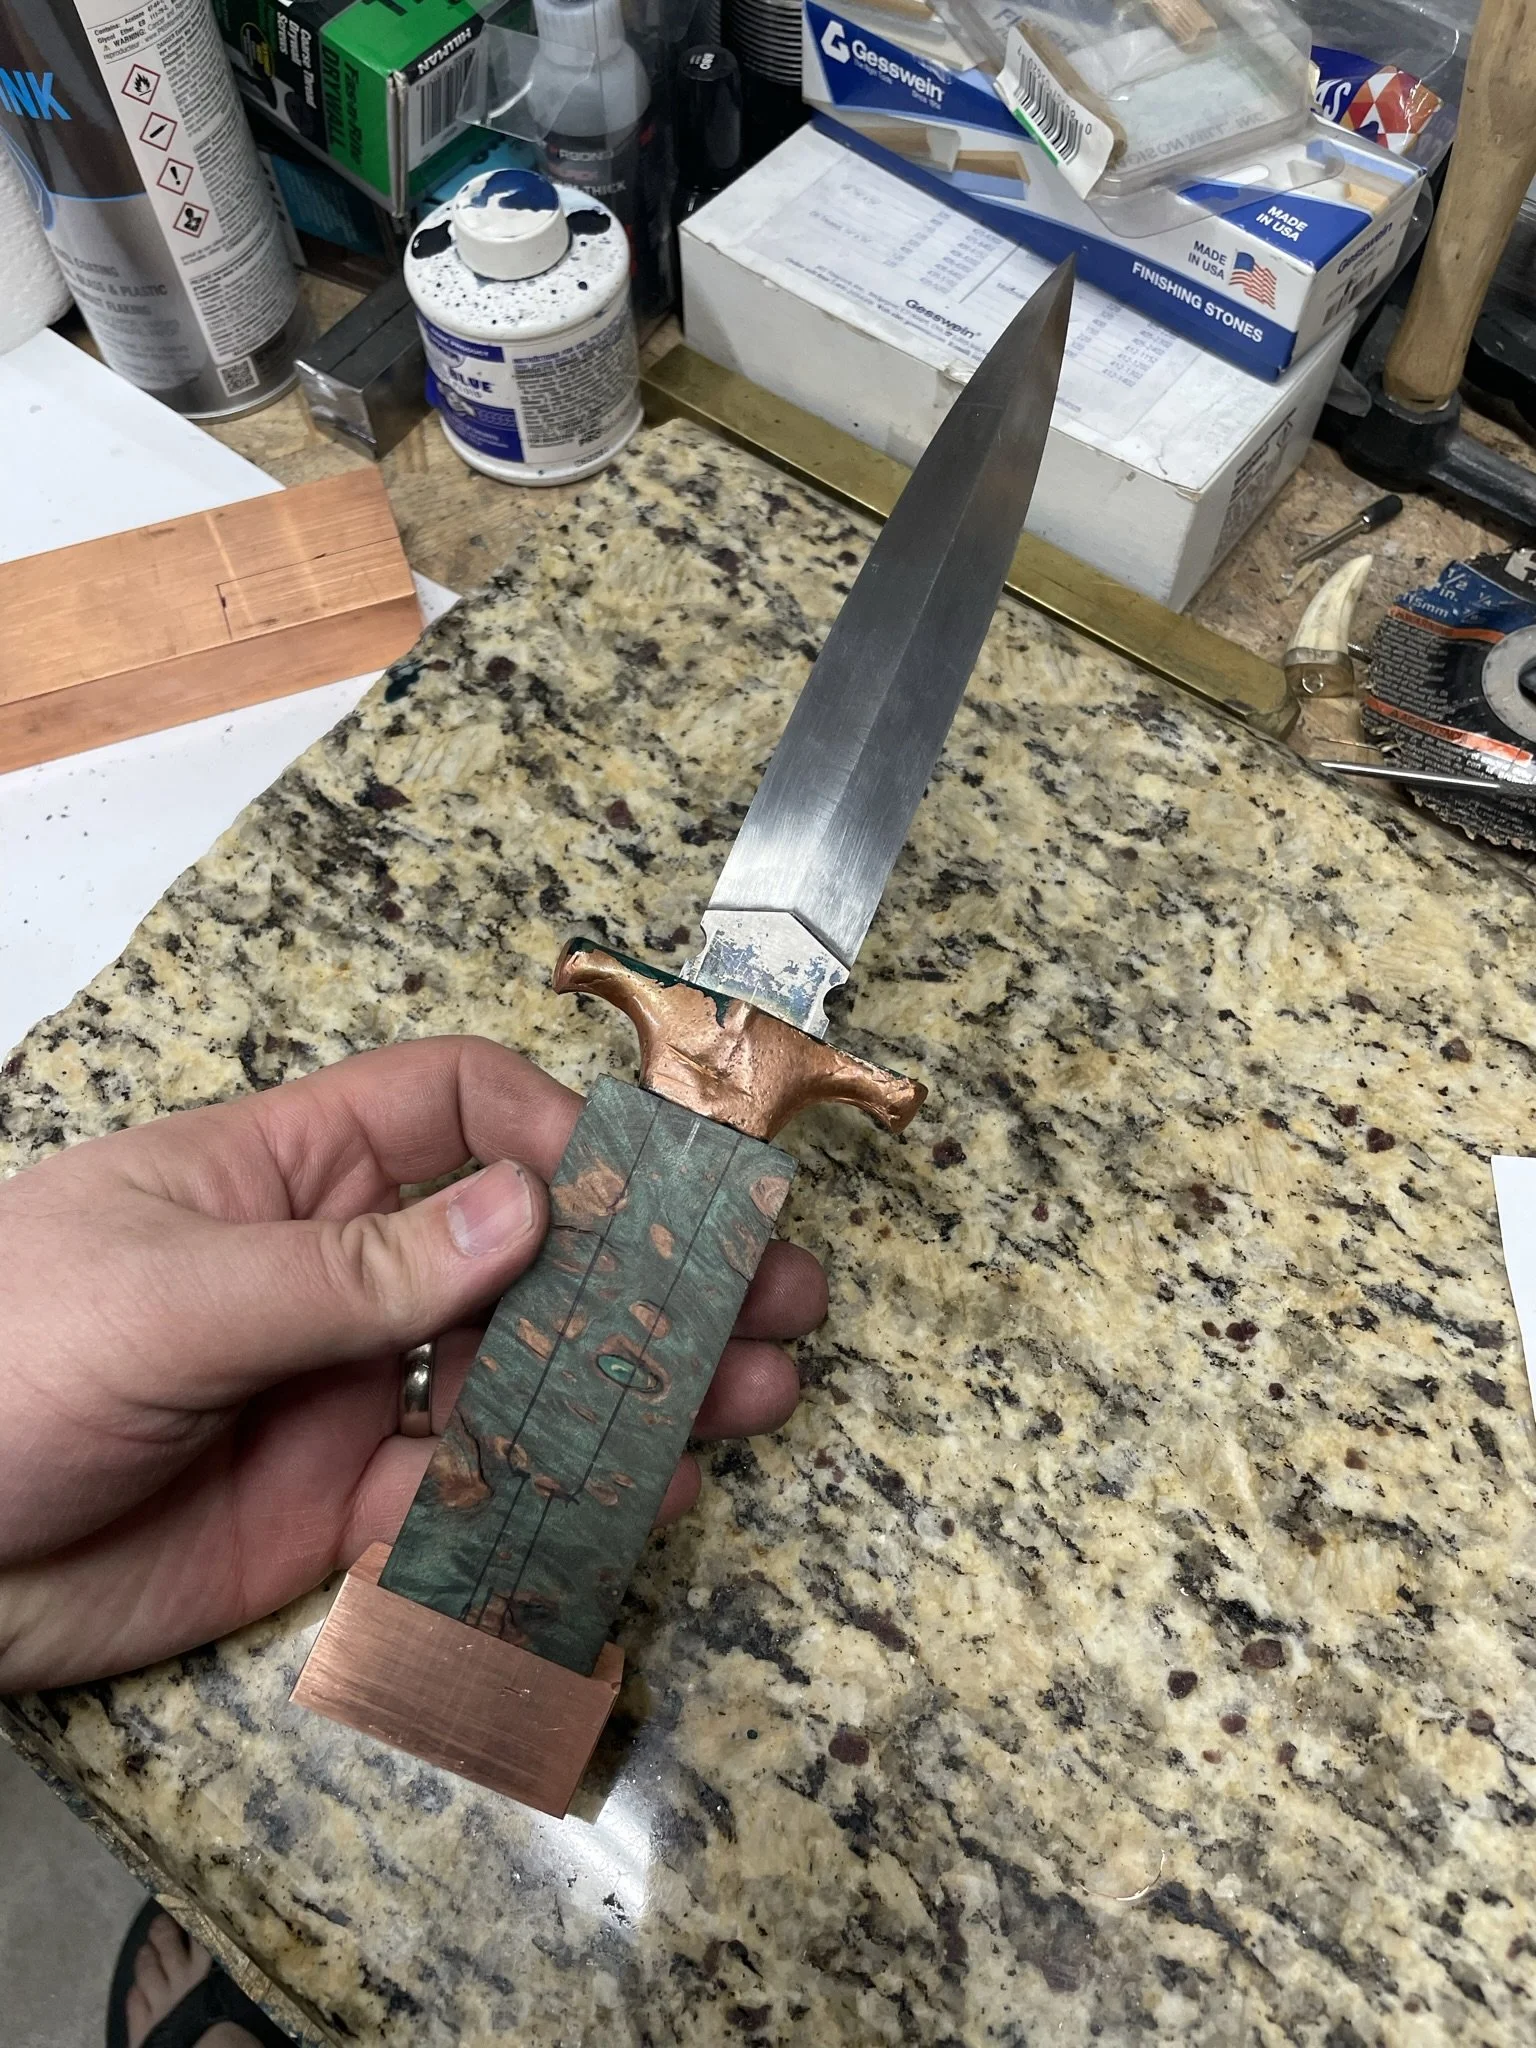
For this dagger I decided to cast a copper guard. Here I'm using a chunk of hard wax to do the initial shaping.
-
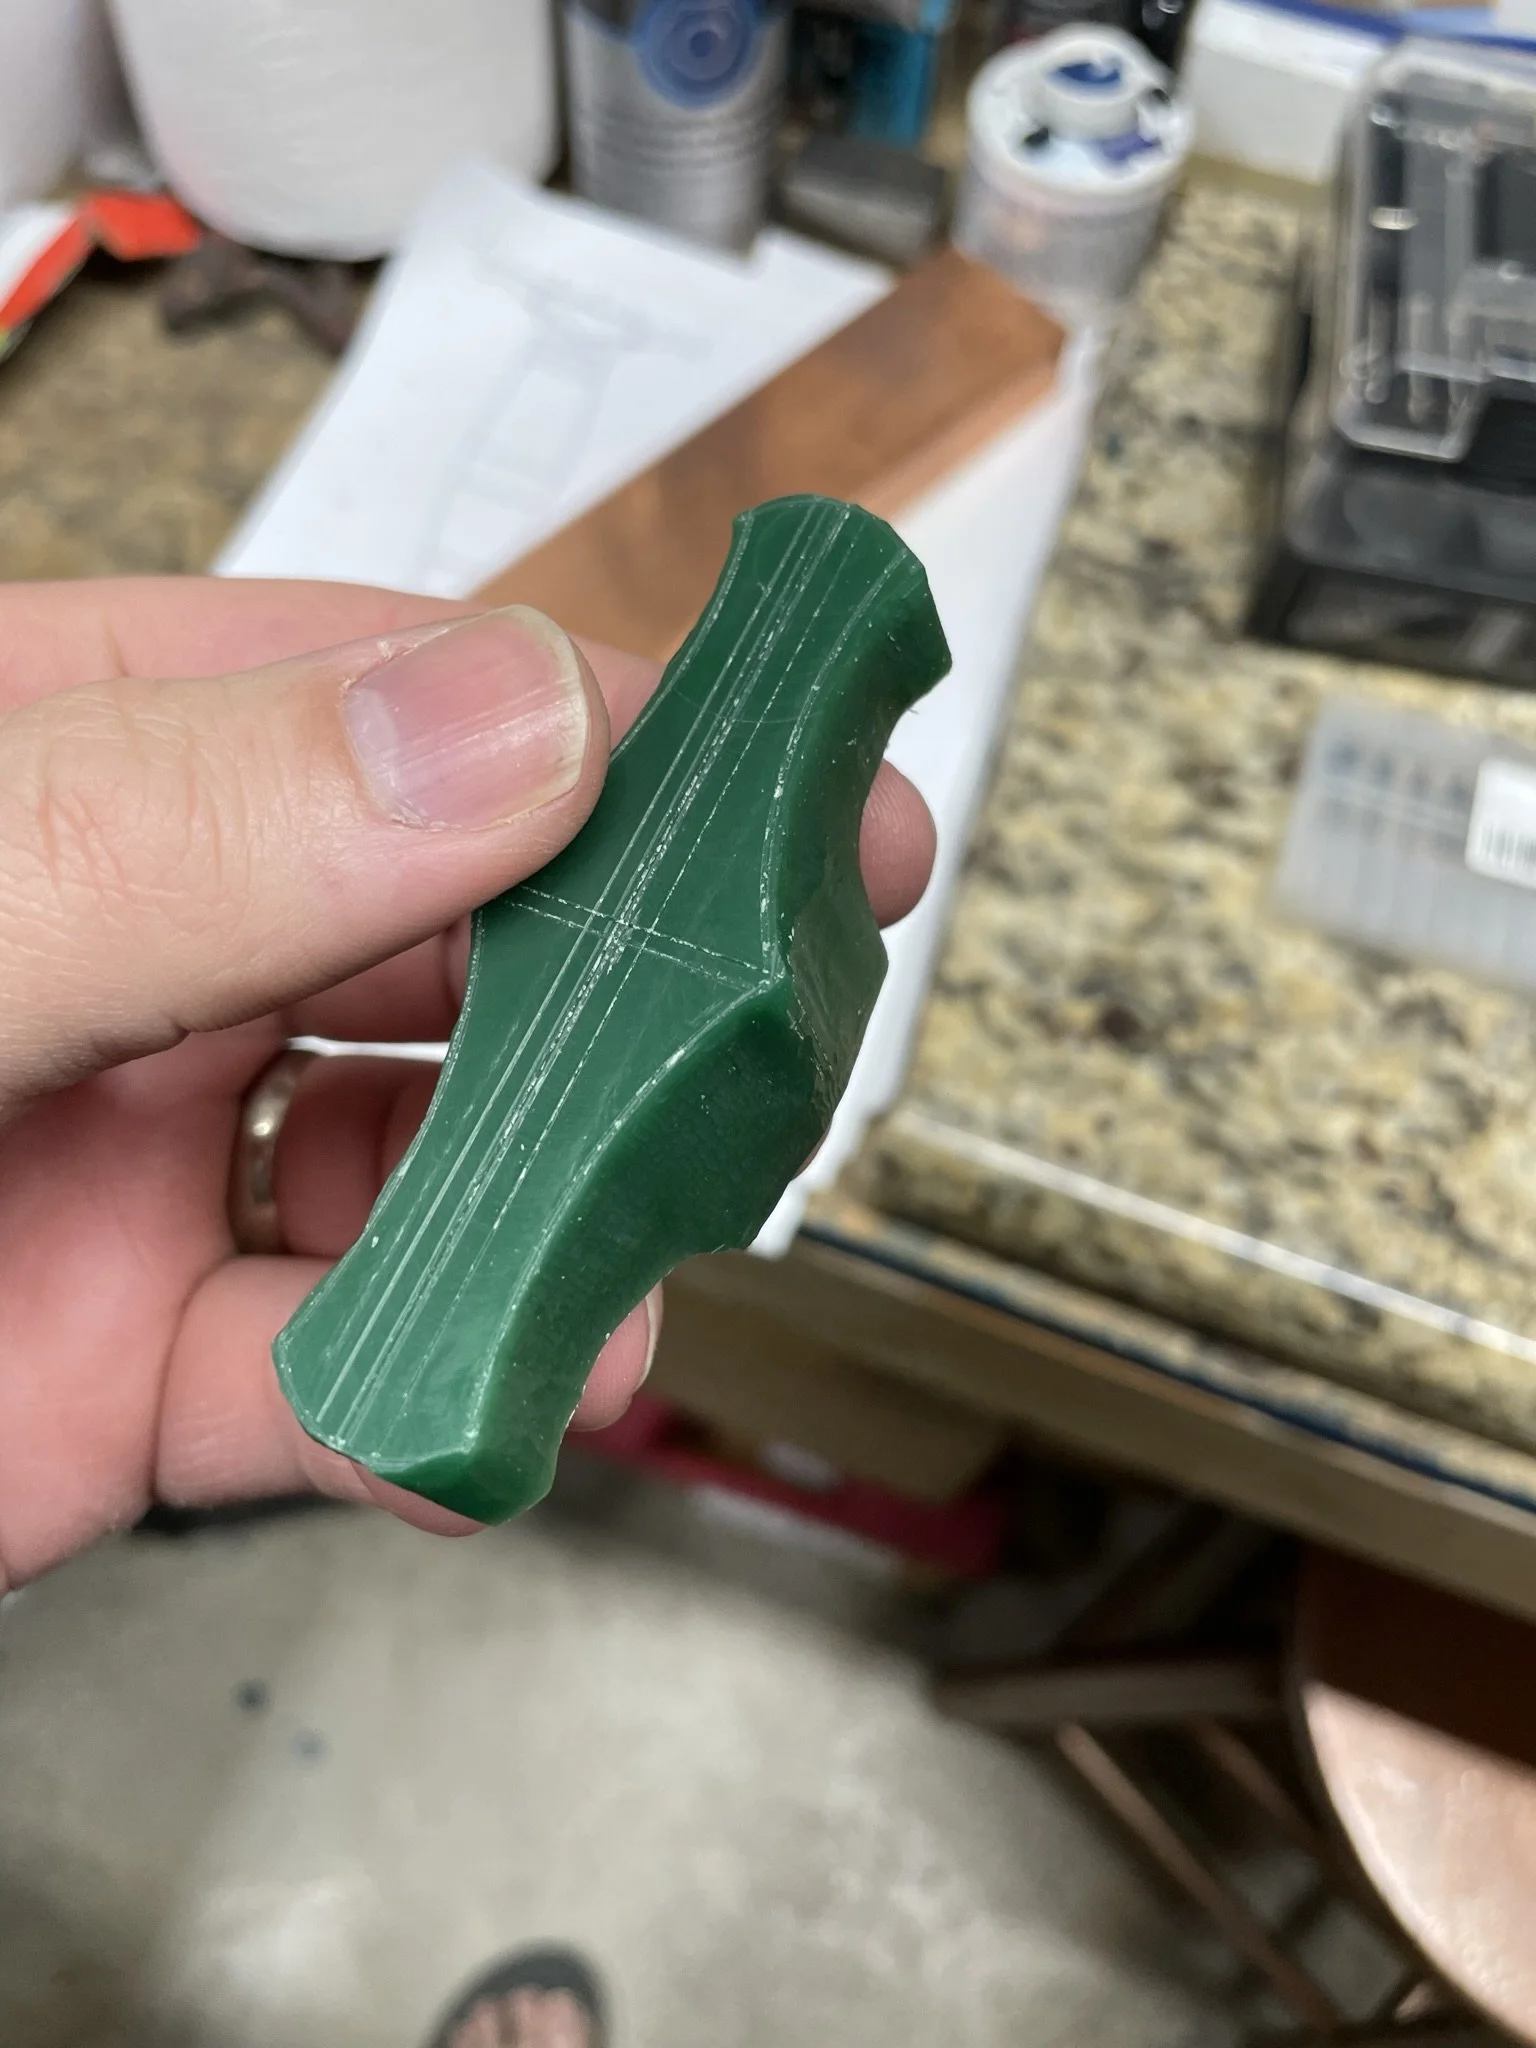
Rough shaped guard and layout lines.
-
Guard in shape, now to make it metal.
-
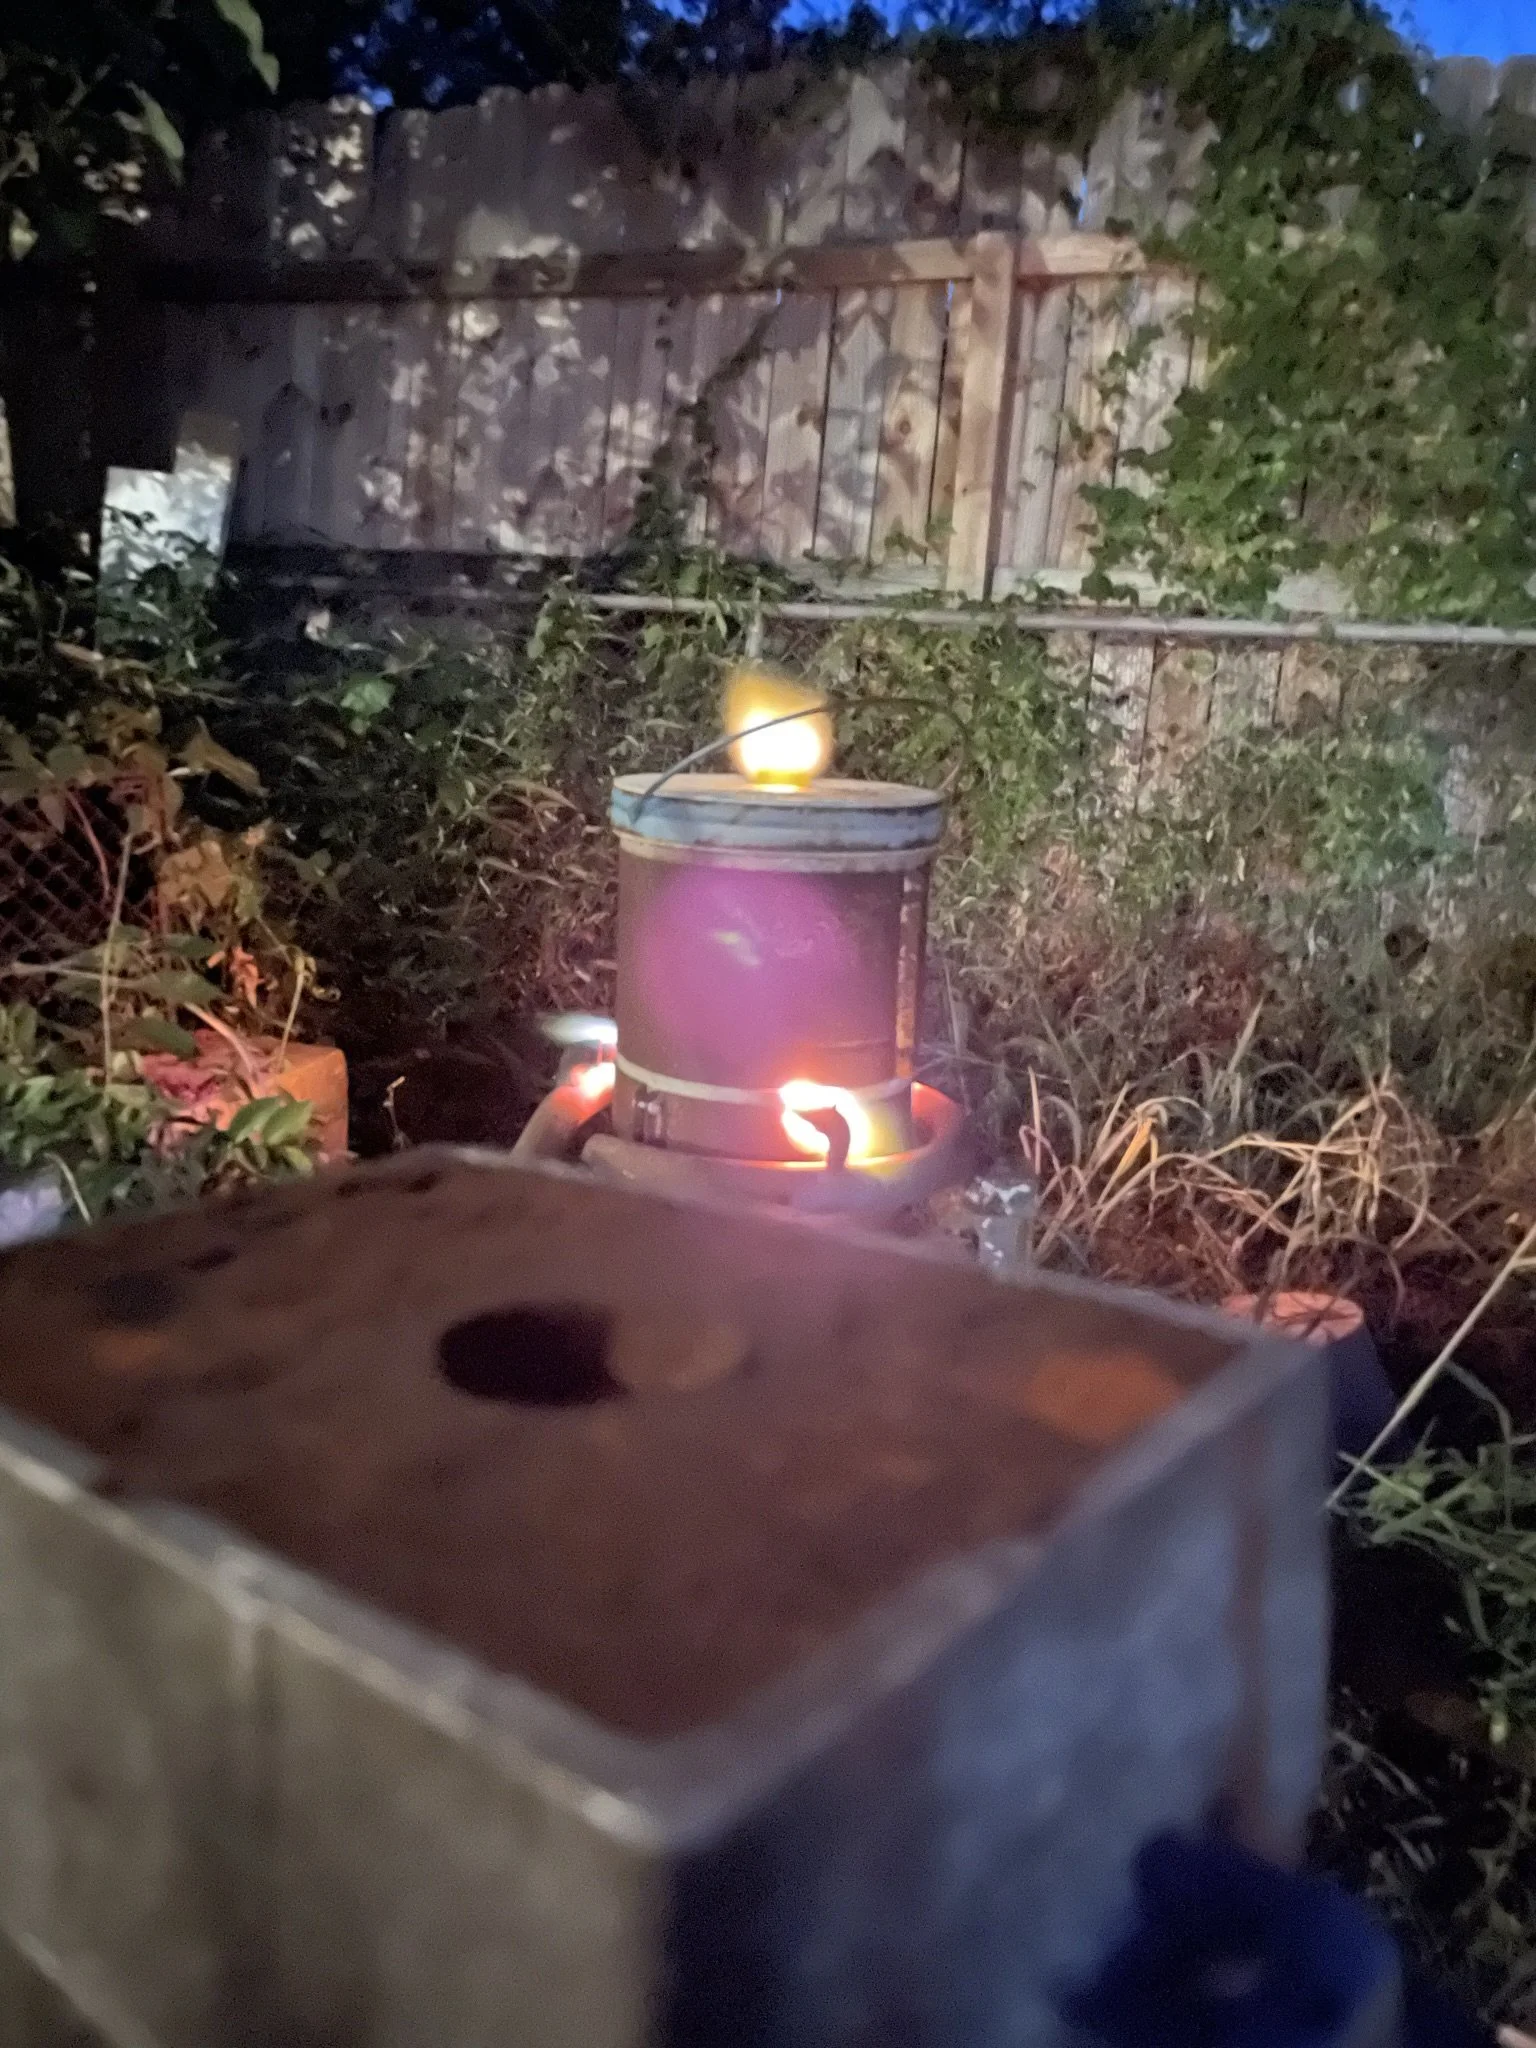
I'd never cash something like this so I went to my friend Patrick's house who has all the set up and experience to do it.
-
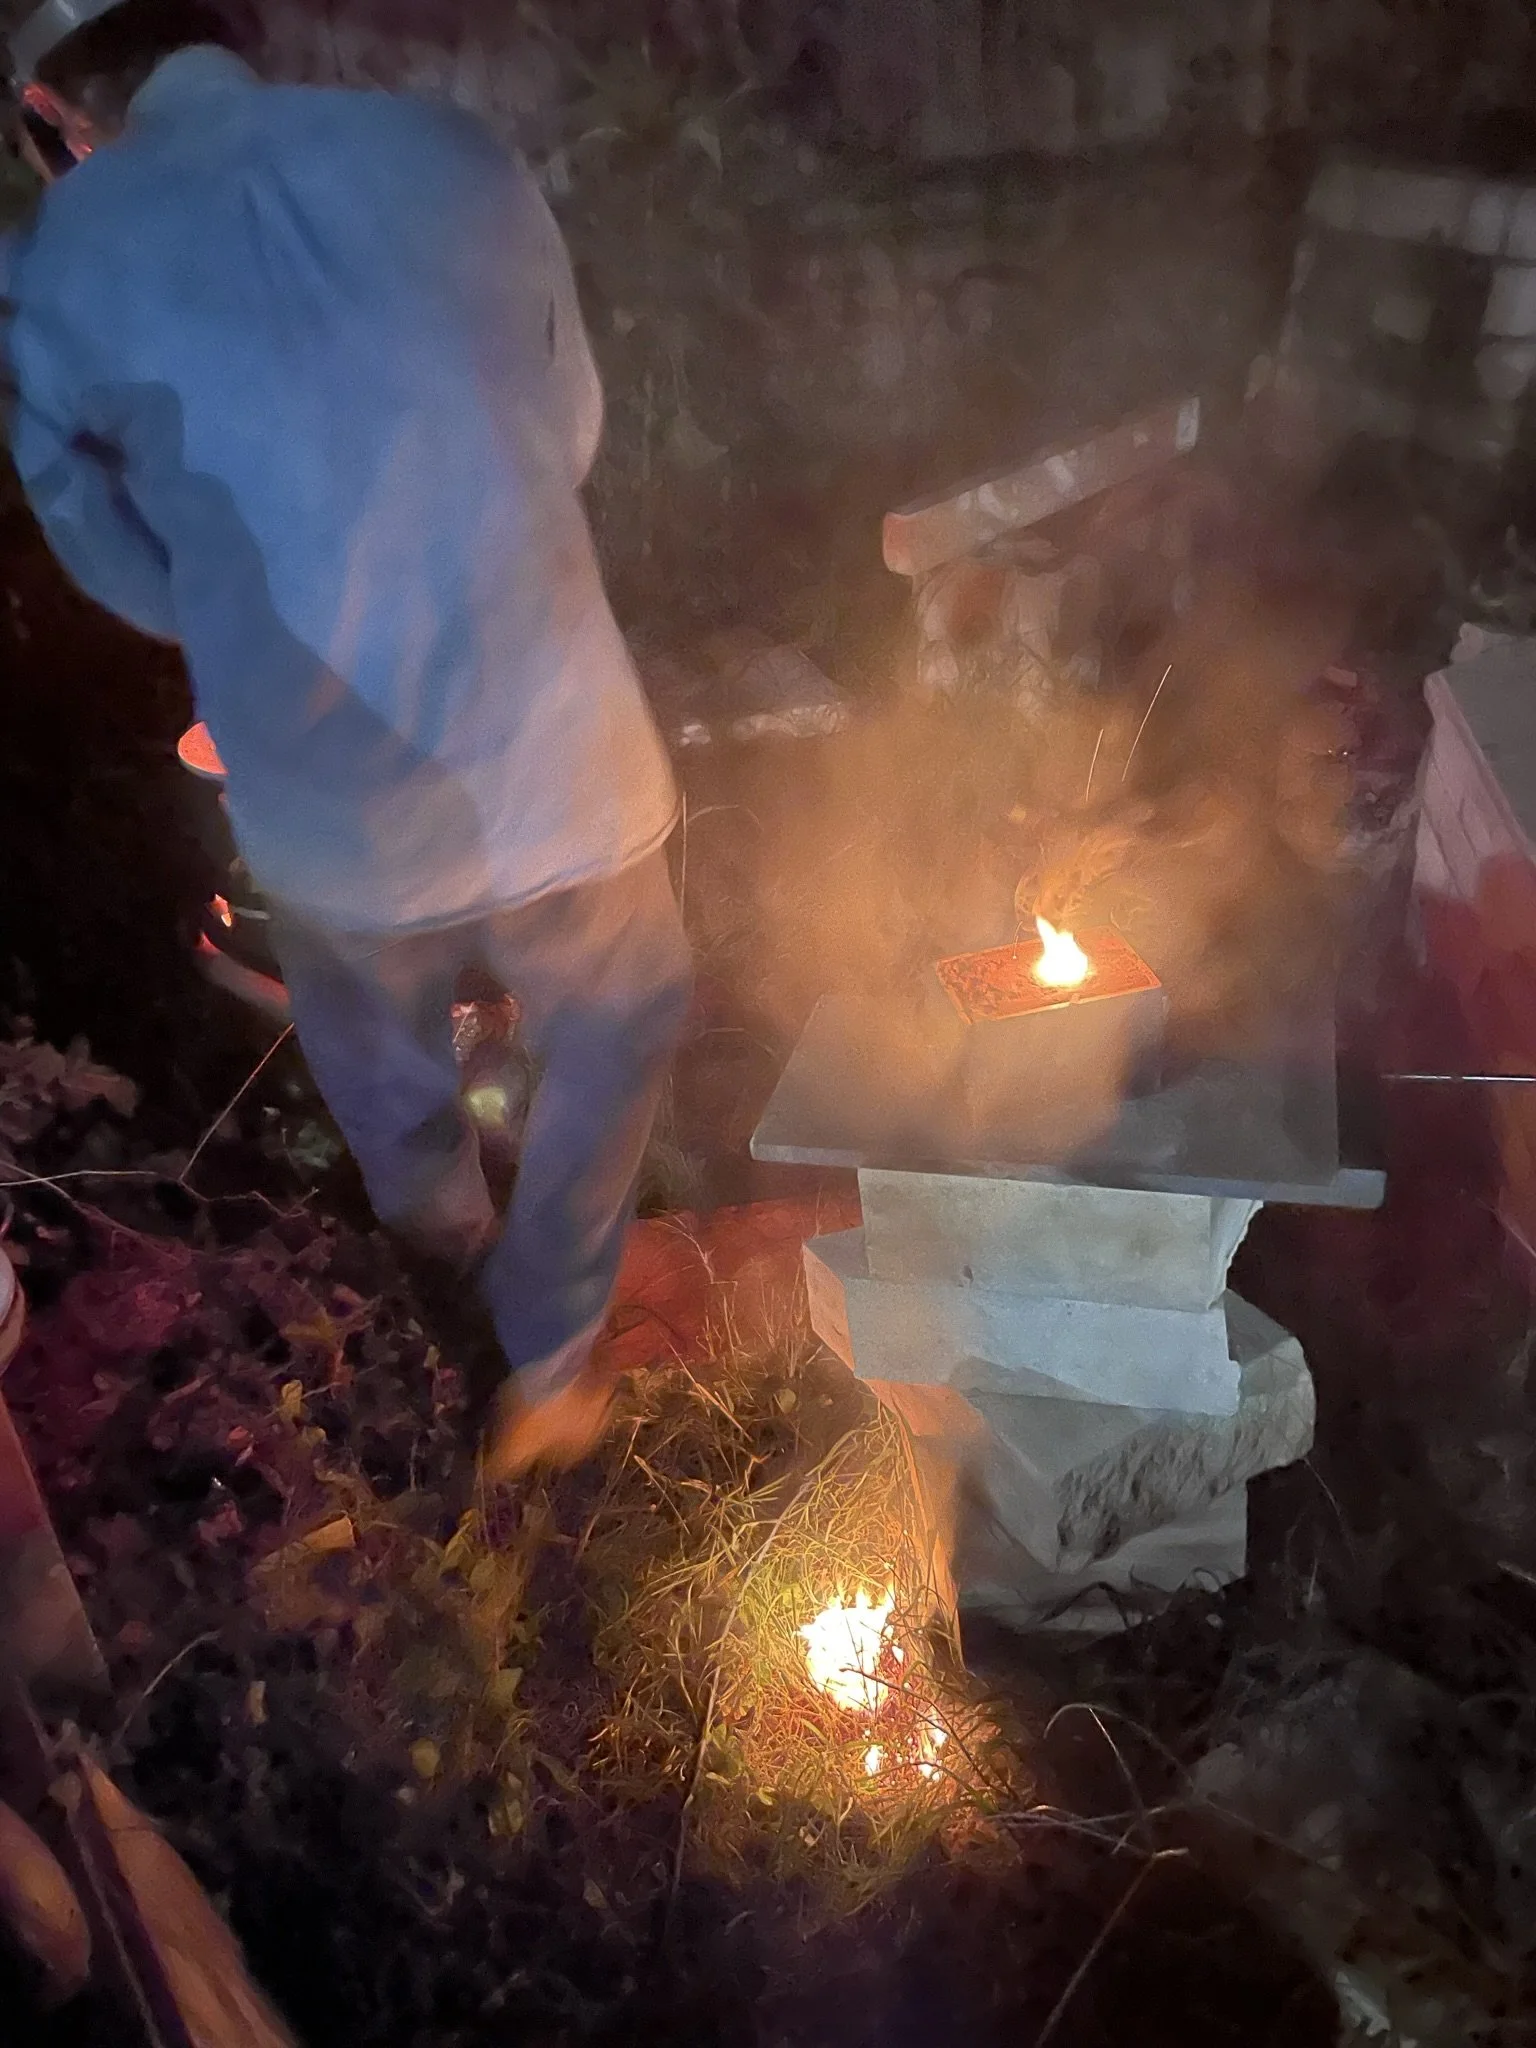
Casting the guard.
-
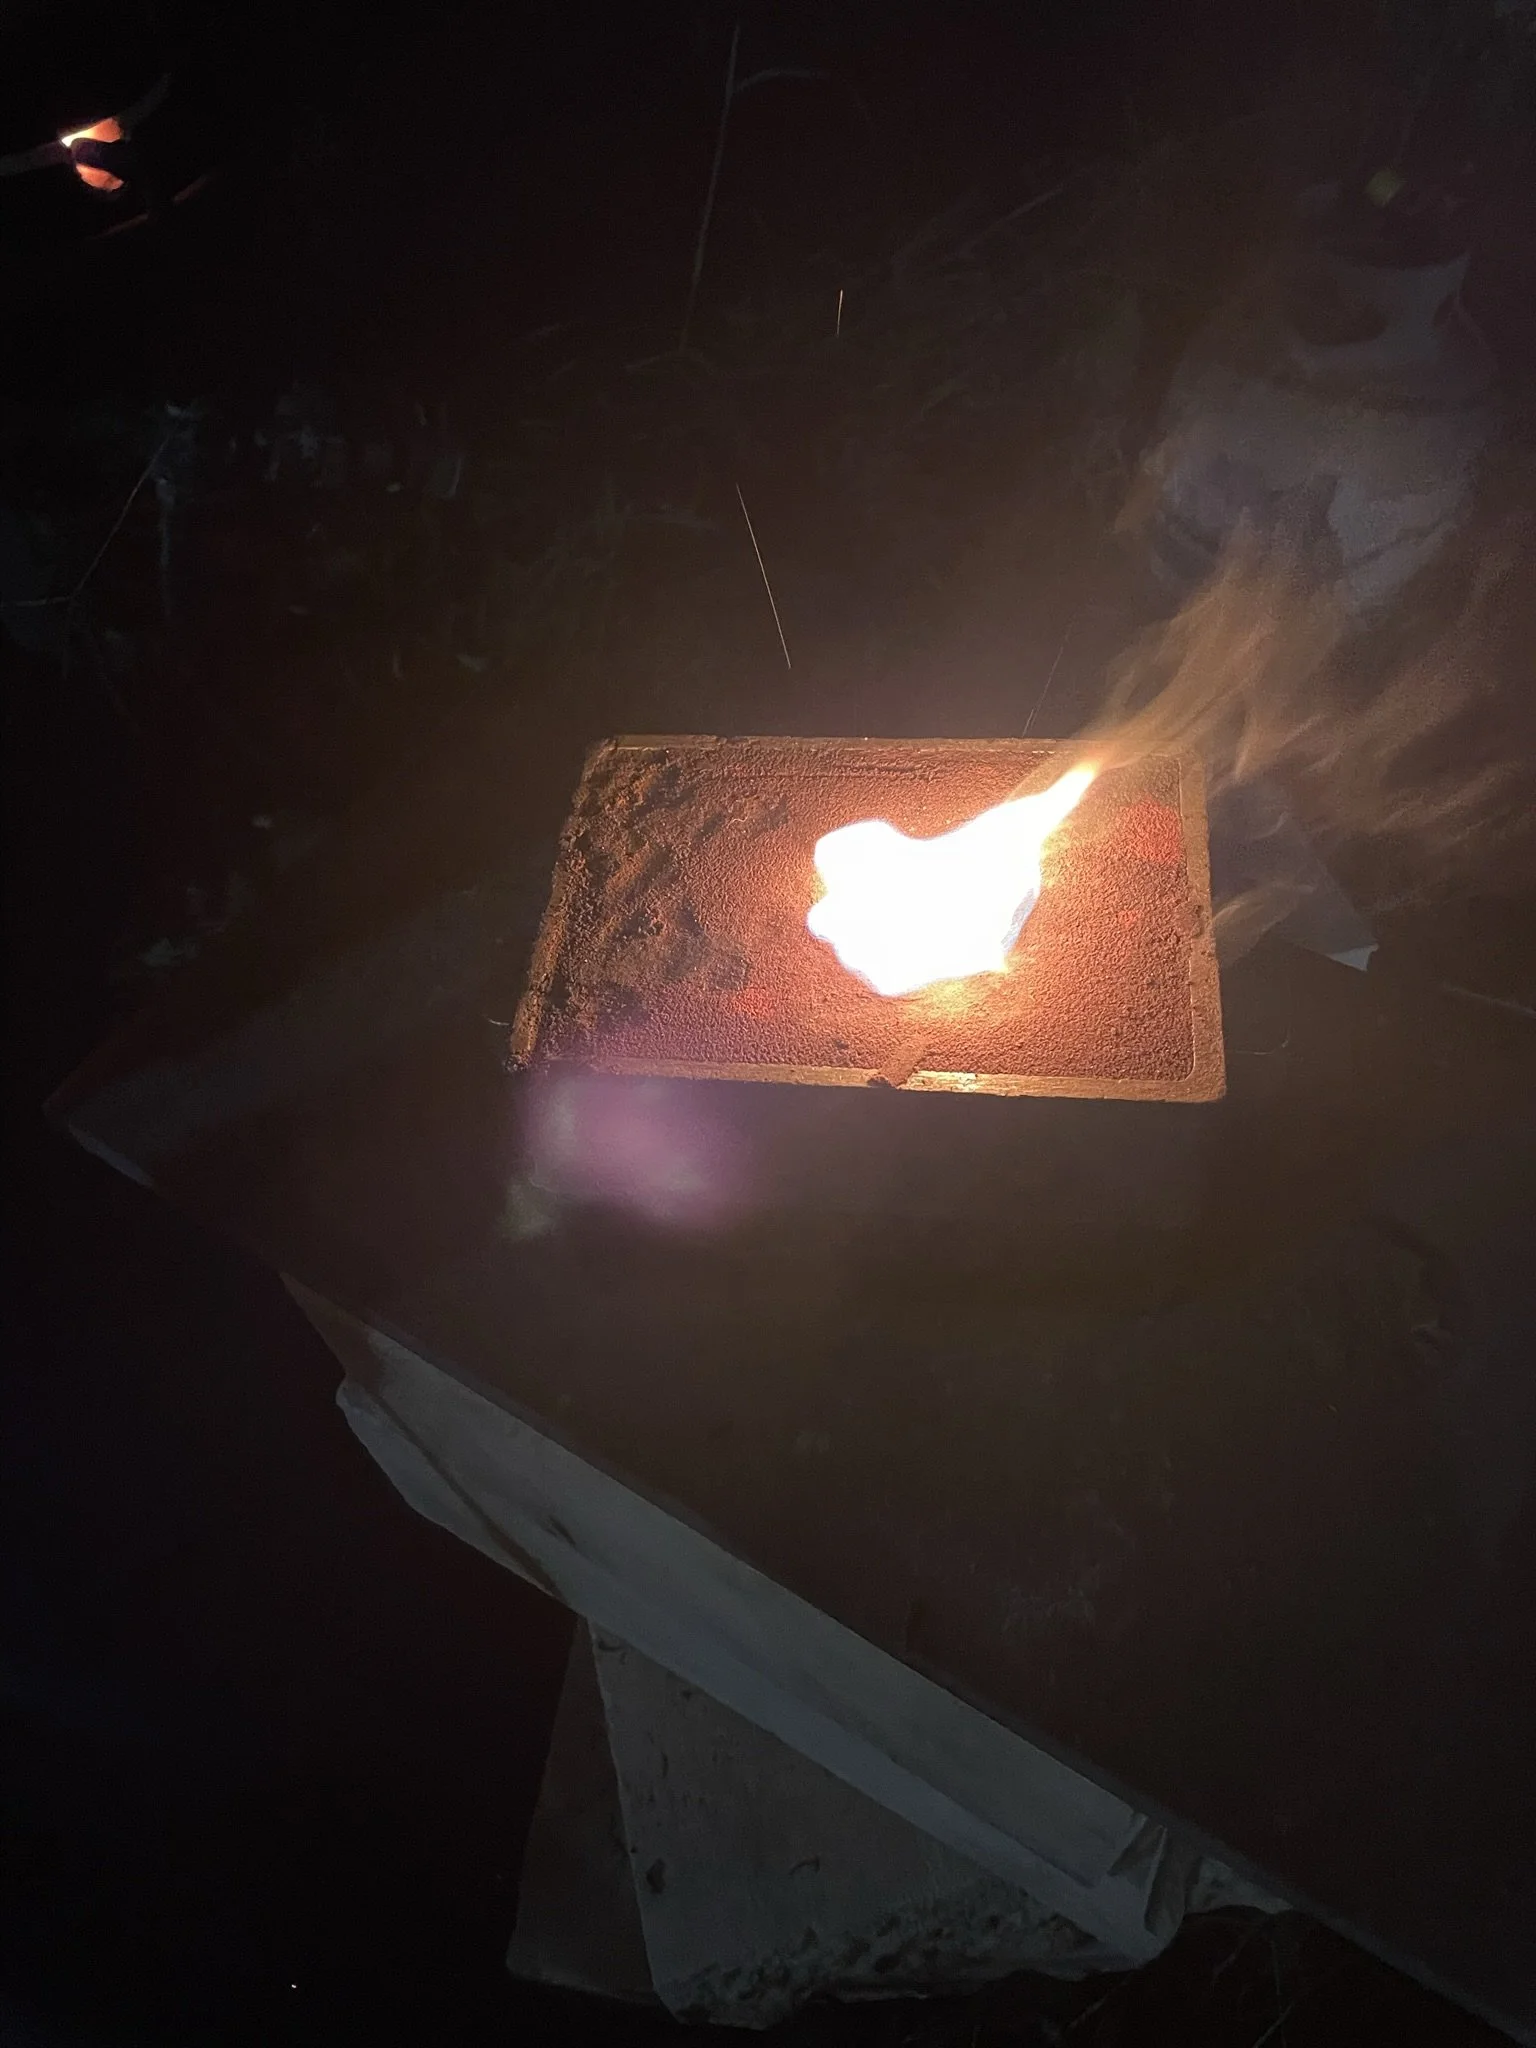
In the mold.
-
Coming out of the casting sand.
-
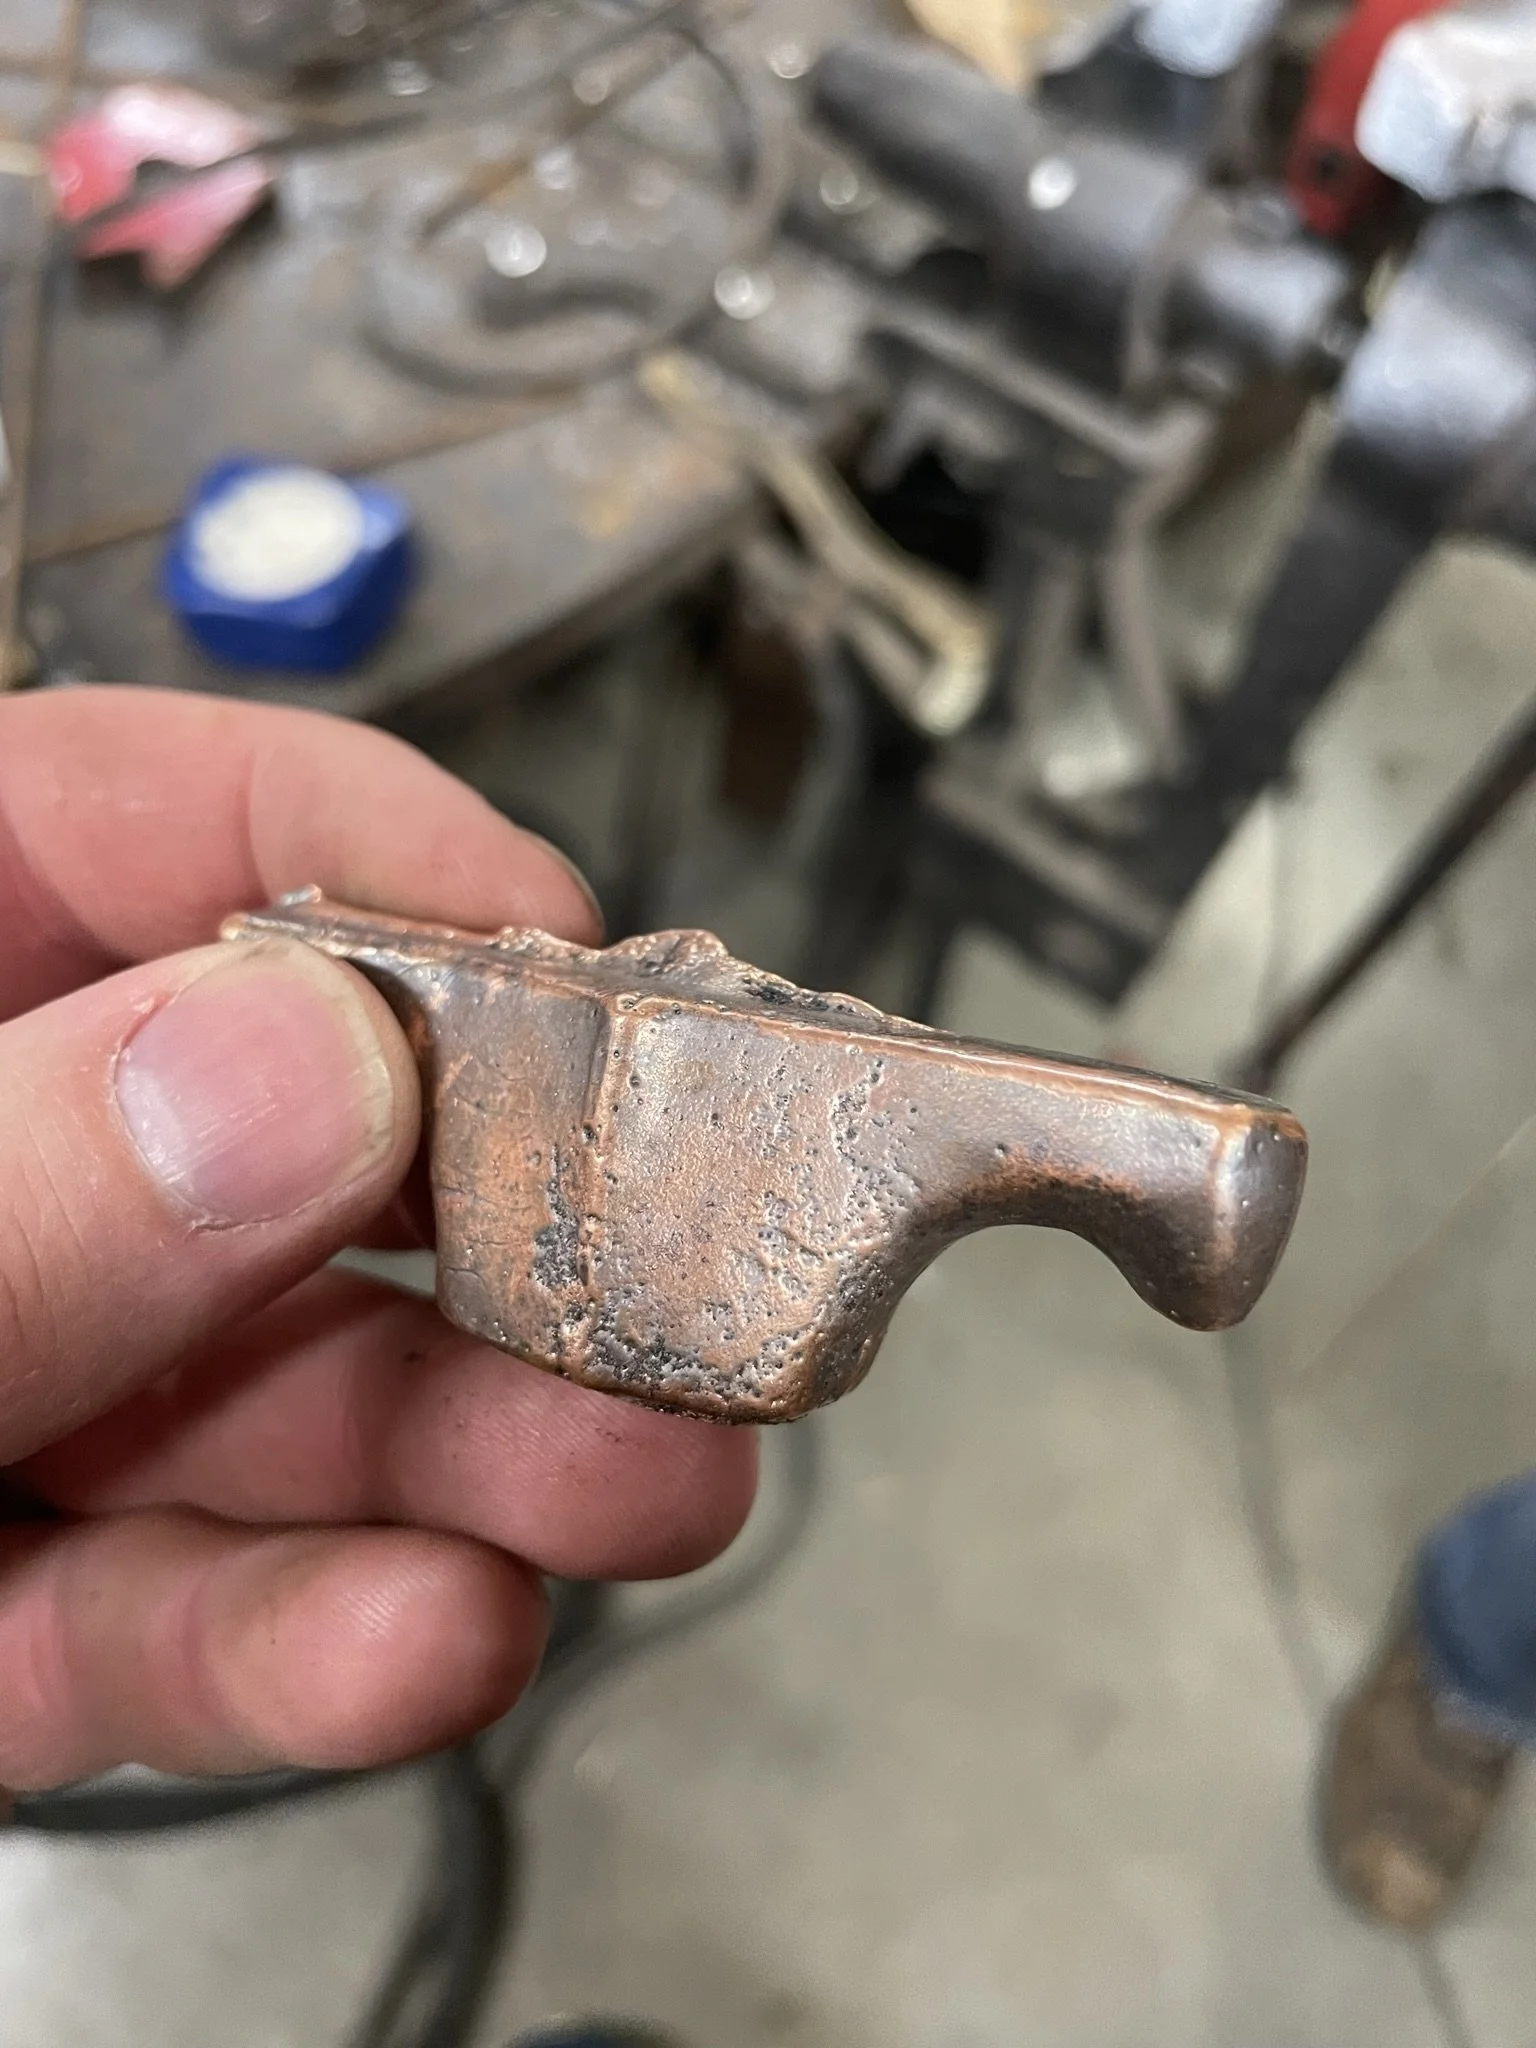
Here's the rough cast guard with the sprue cut off.
-
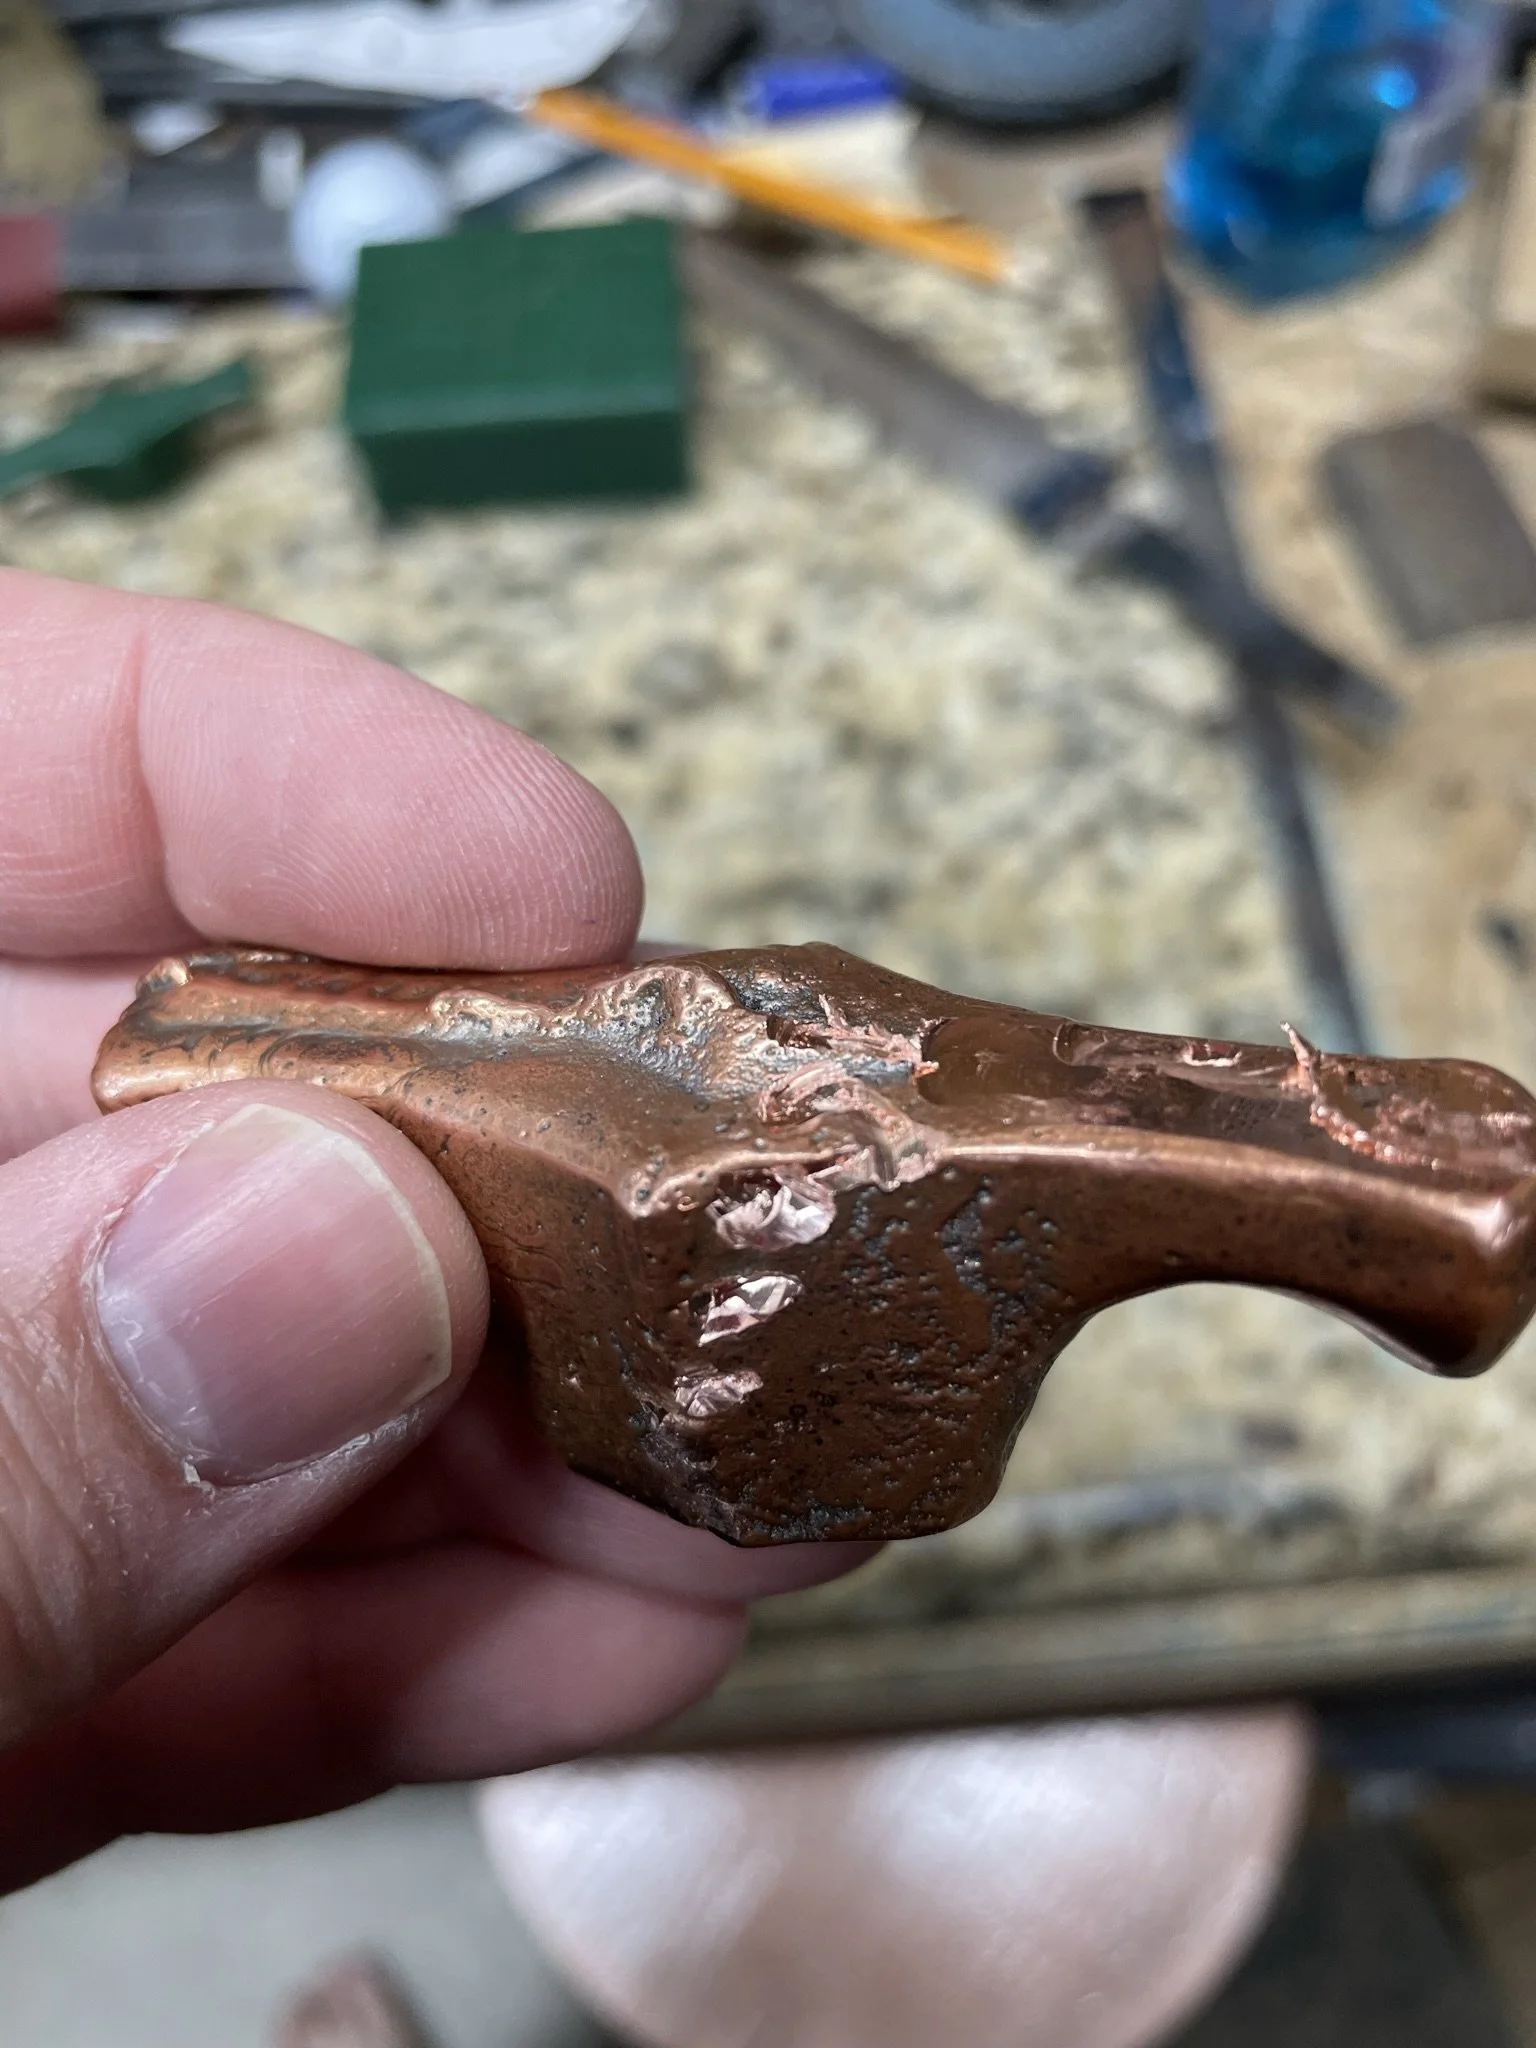
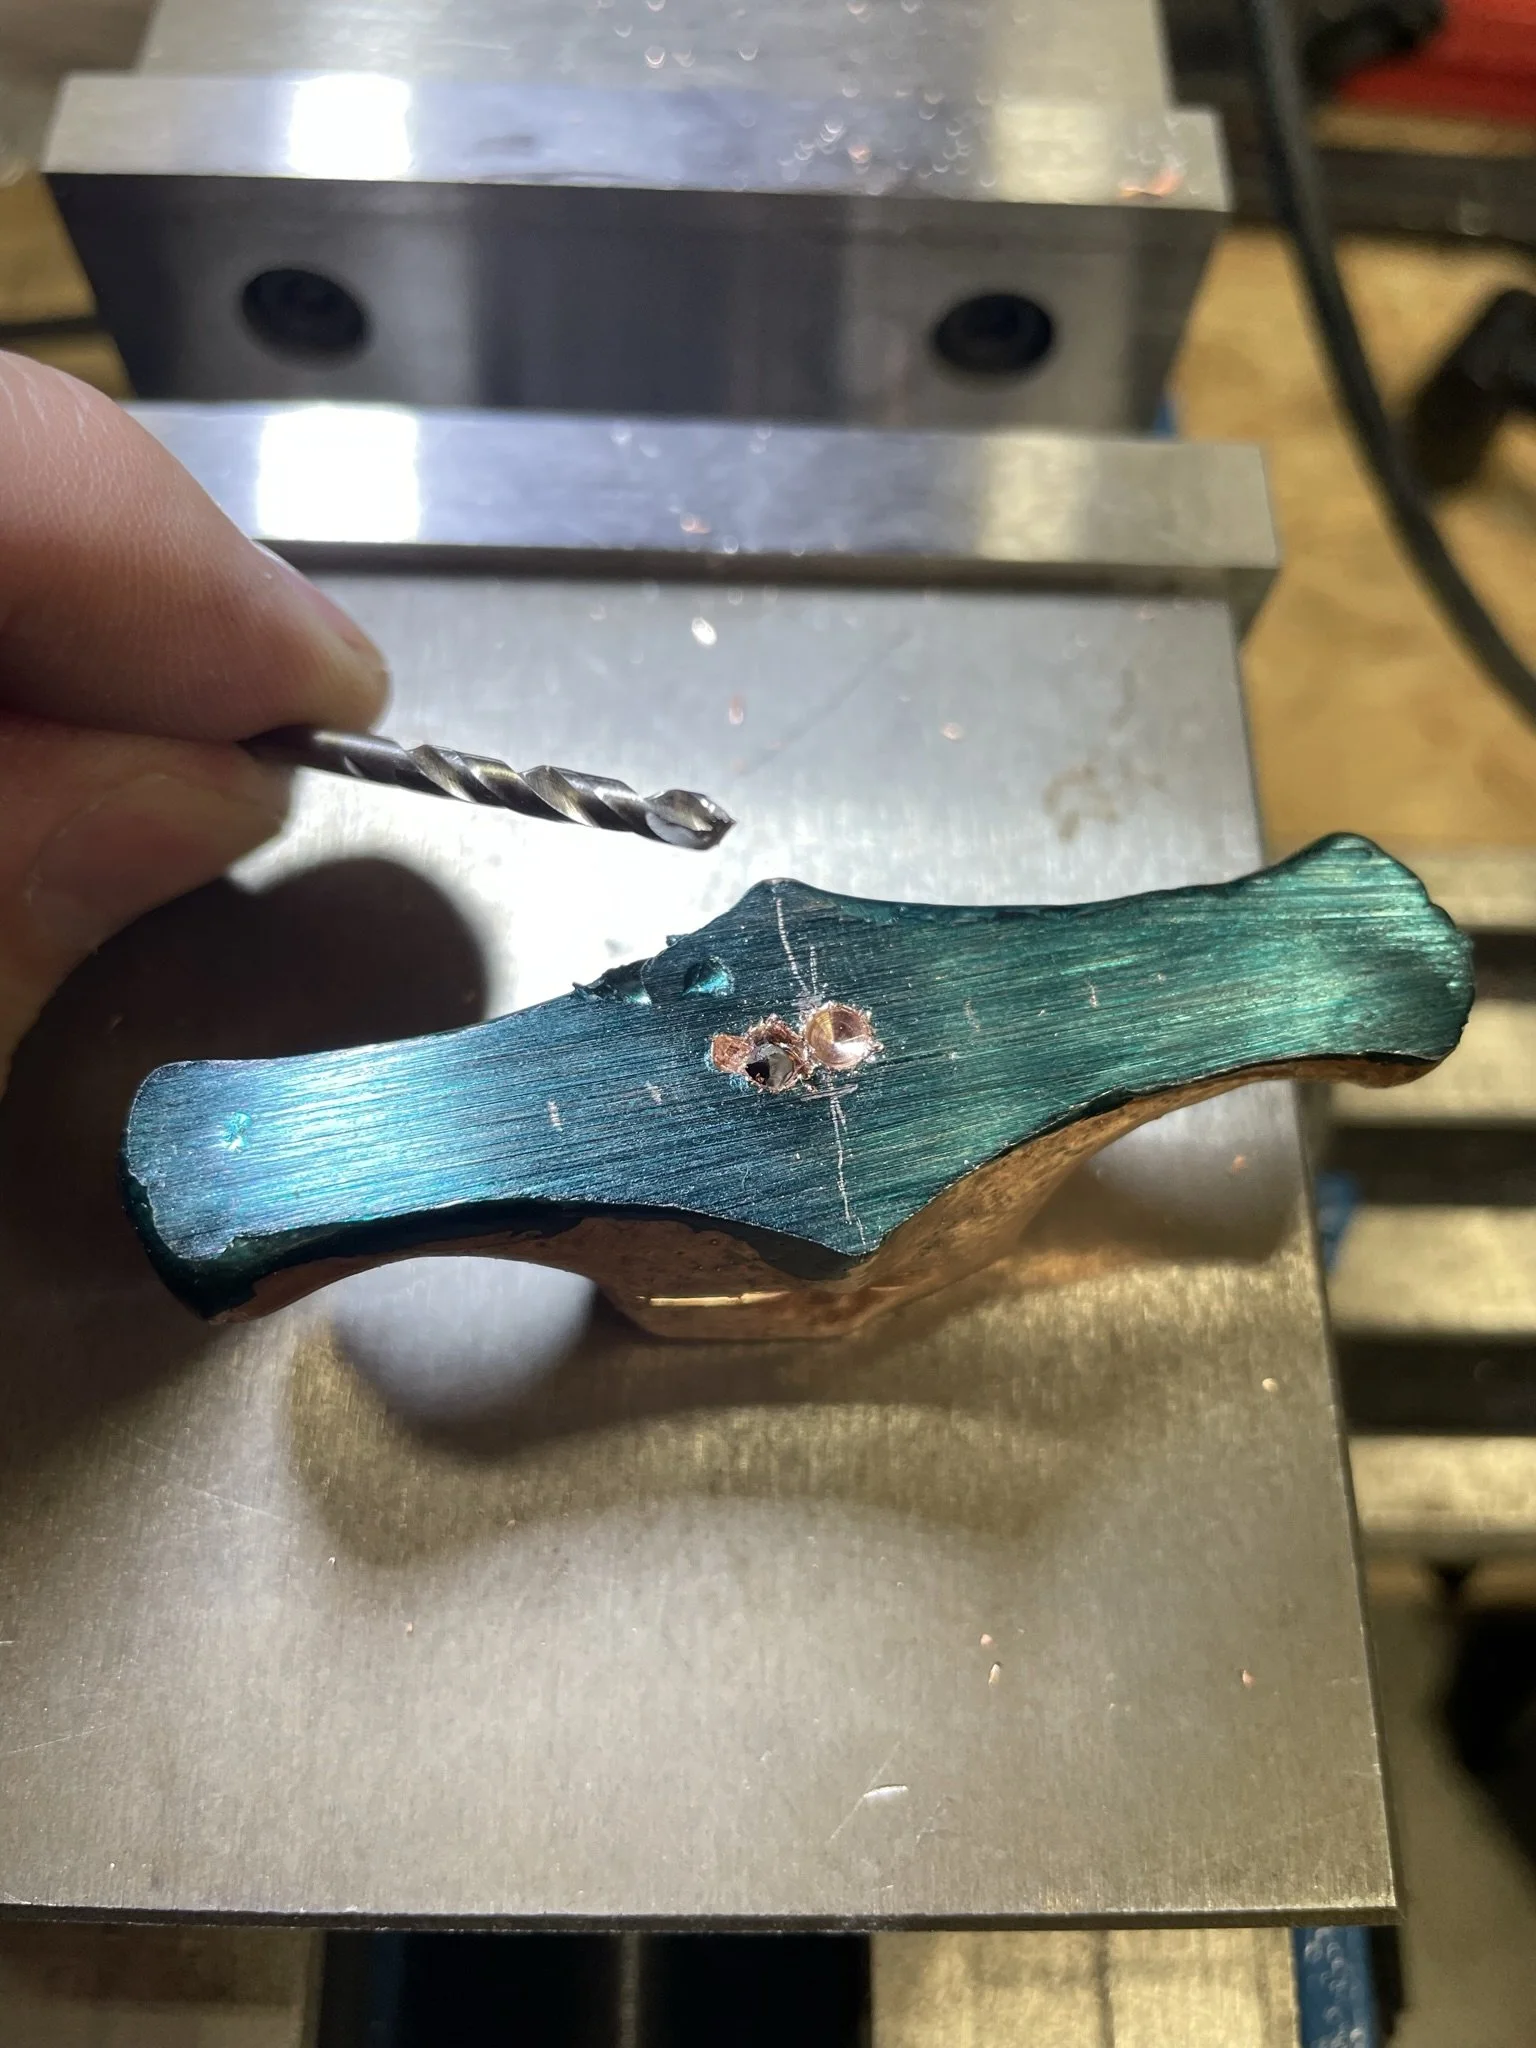
The guard fought me and I quickly learned that copper is a hard metal to work with. Bit into it with my mill when it slipped in the vice.
-
It gets sticky when hot and I broke drill bits off in it.
-
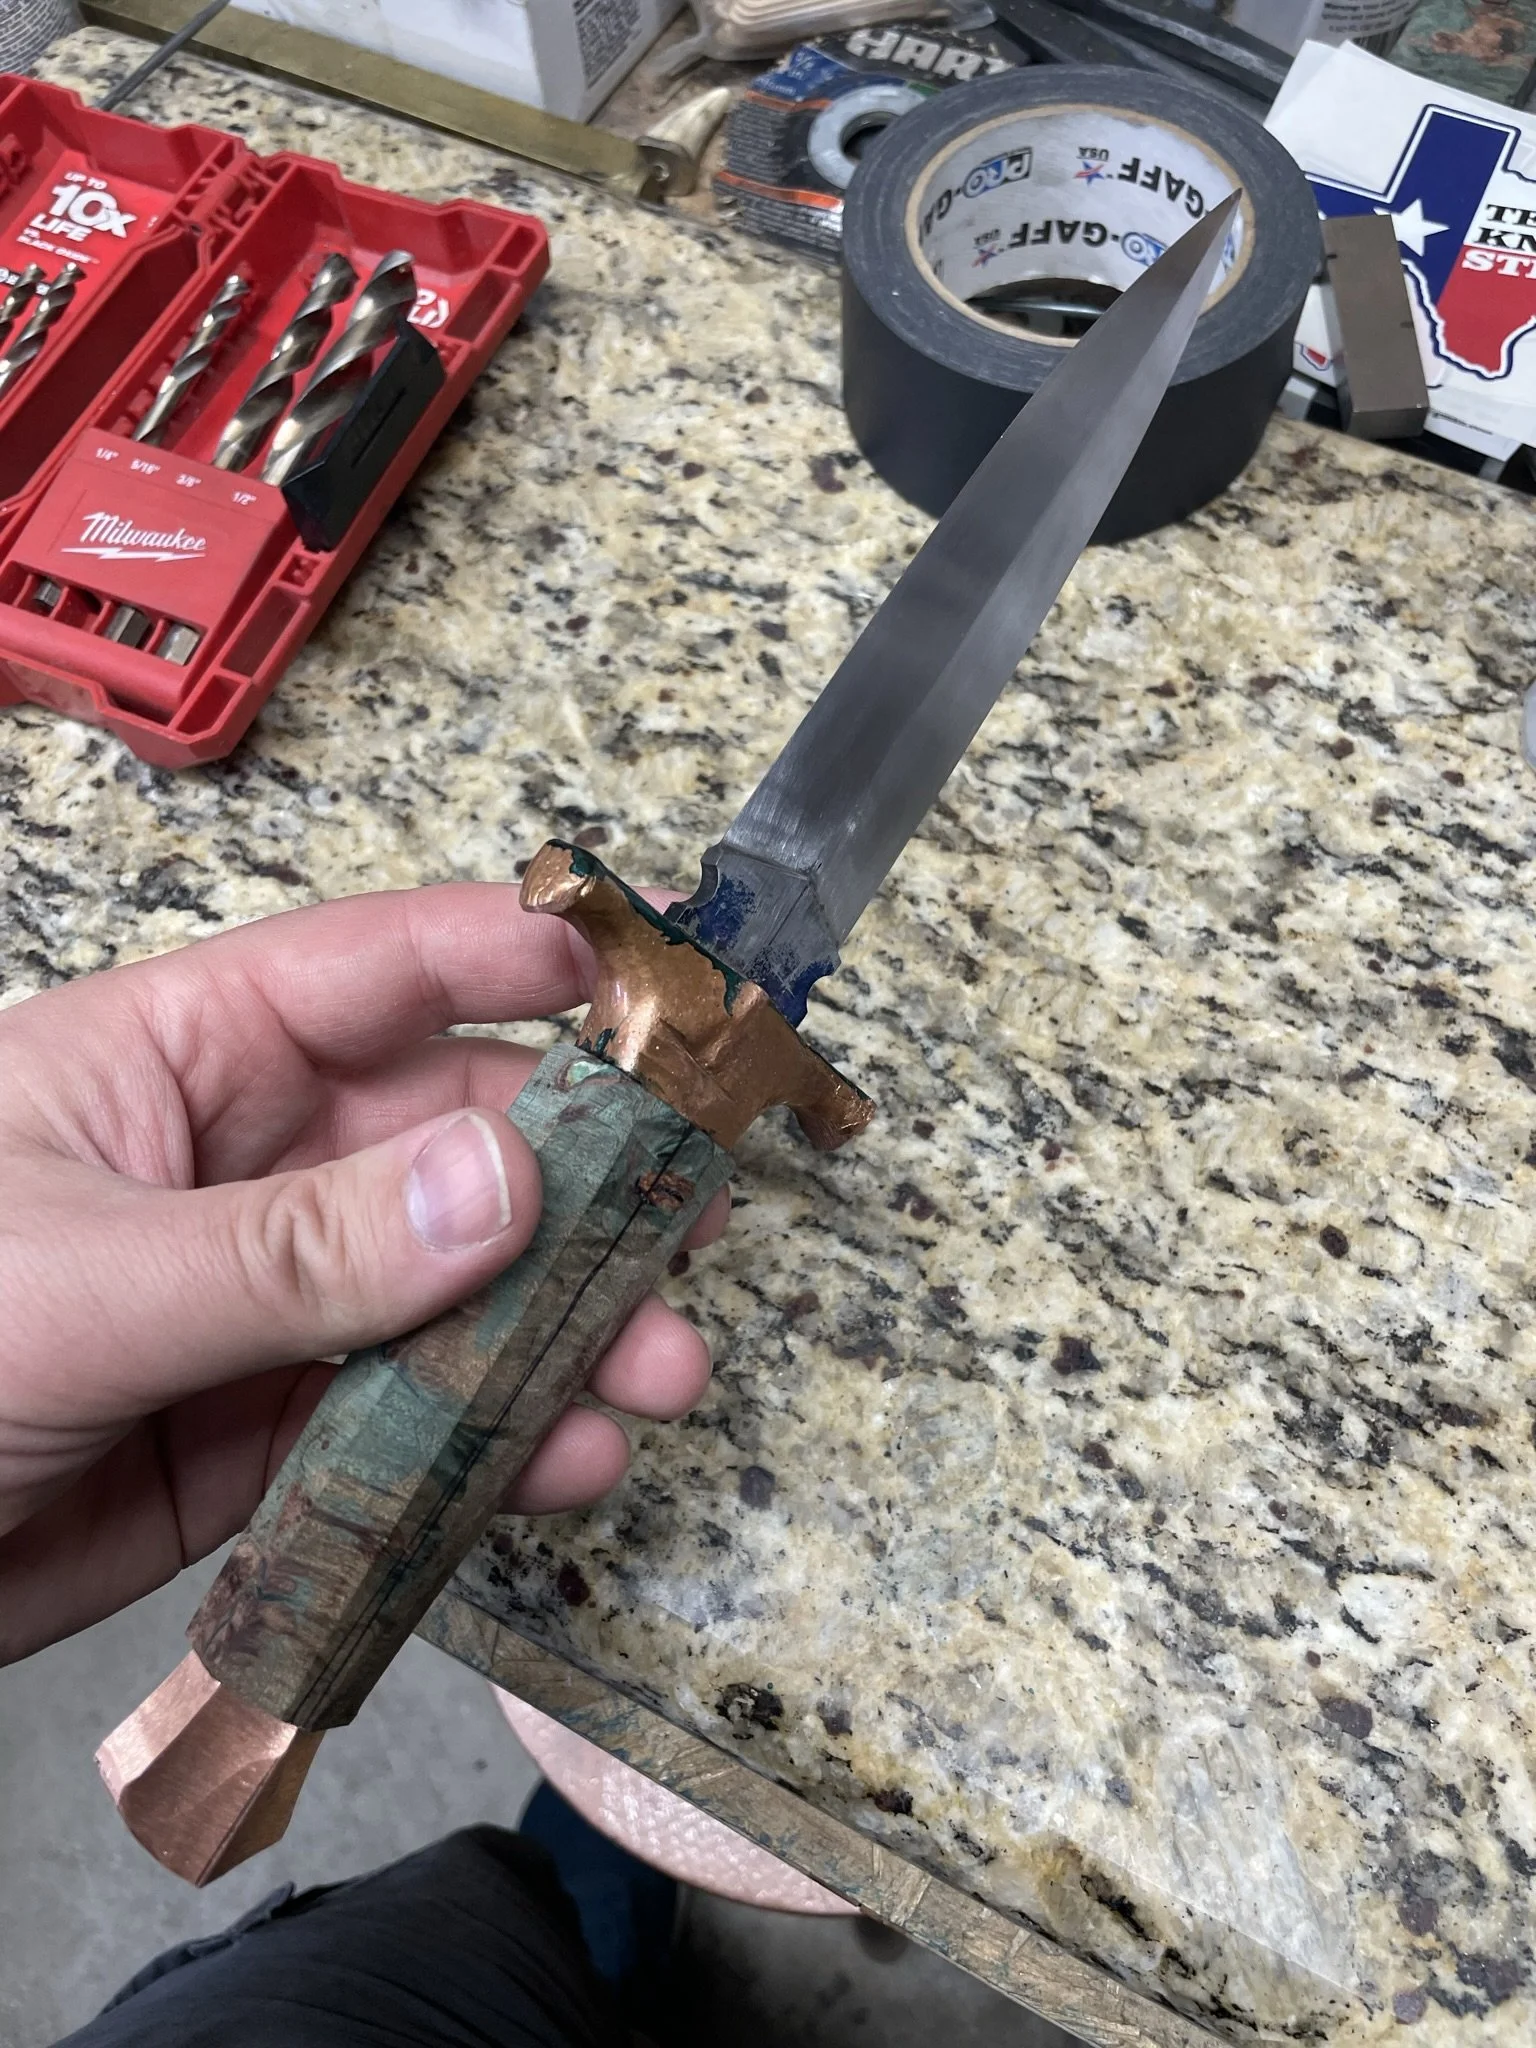
I finally got it roughly in shape and did a rough fit up of the handle and pommel.
-
Guard roughly shaped.
-
A good look at the whole dagger roughly put together.
-
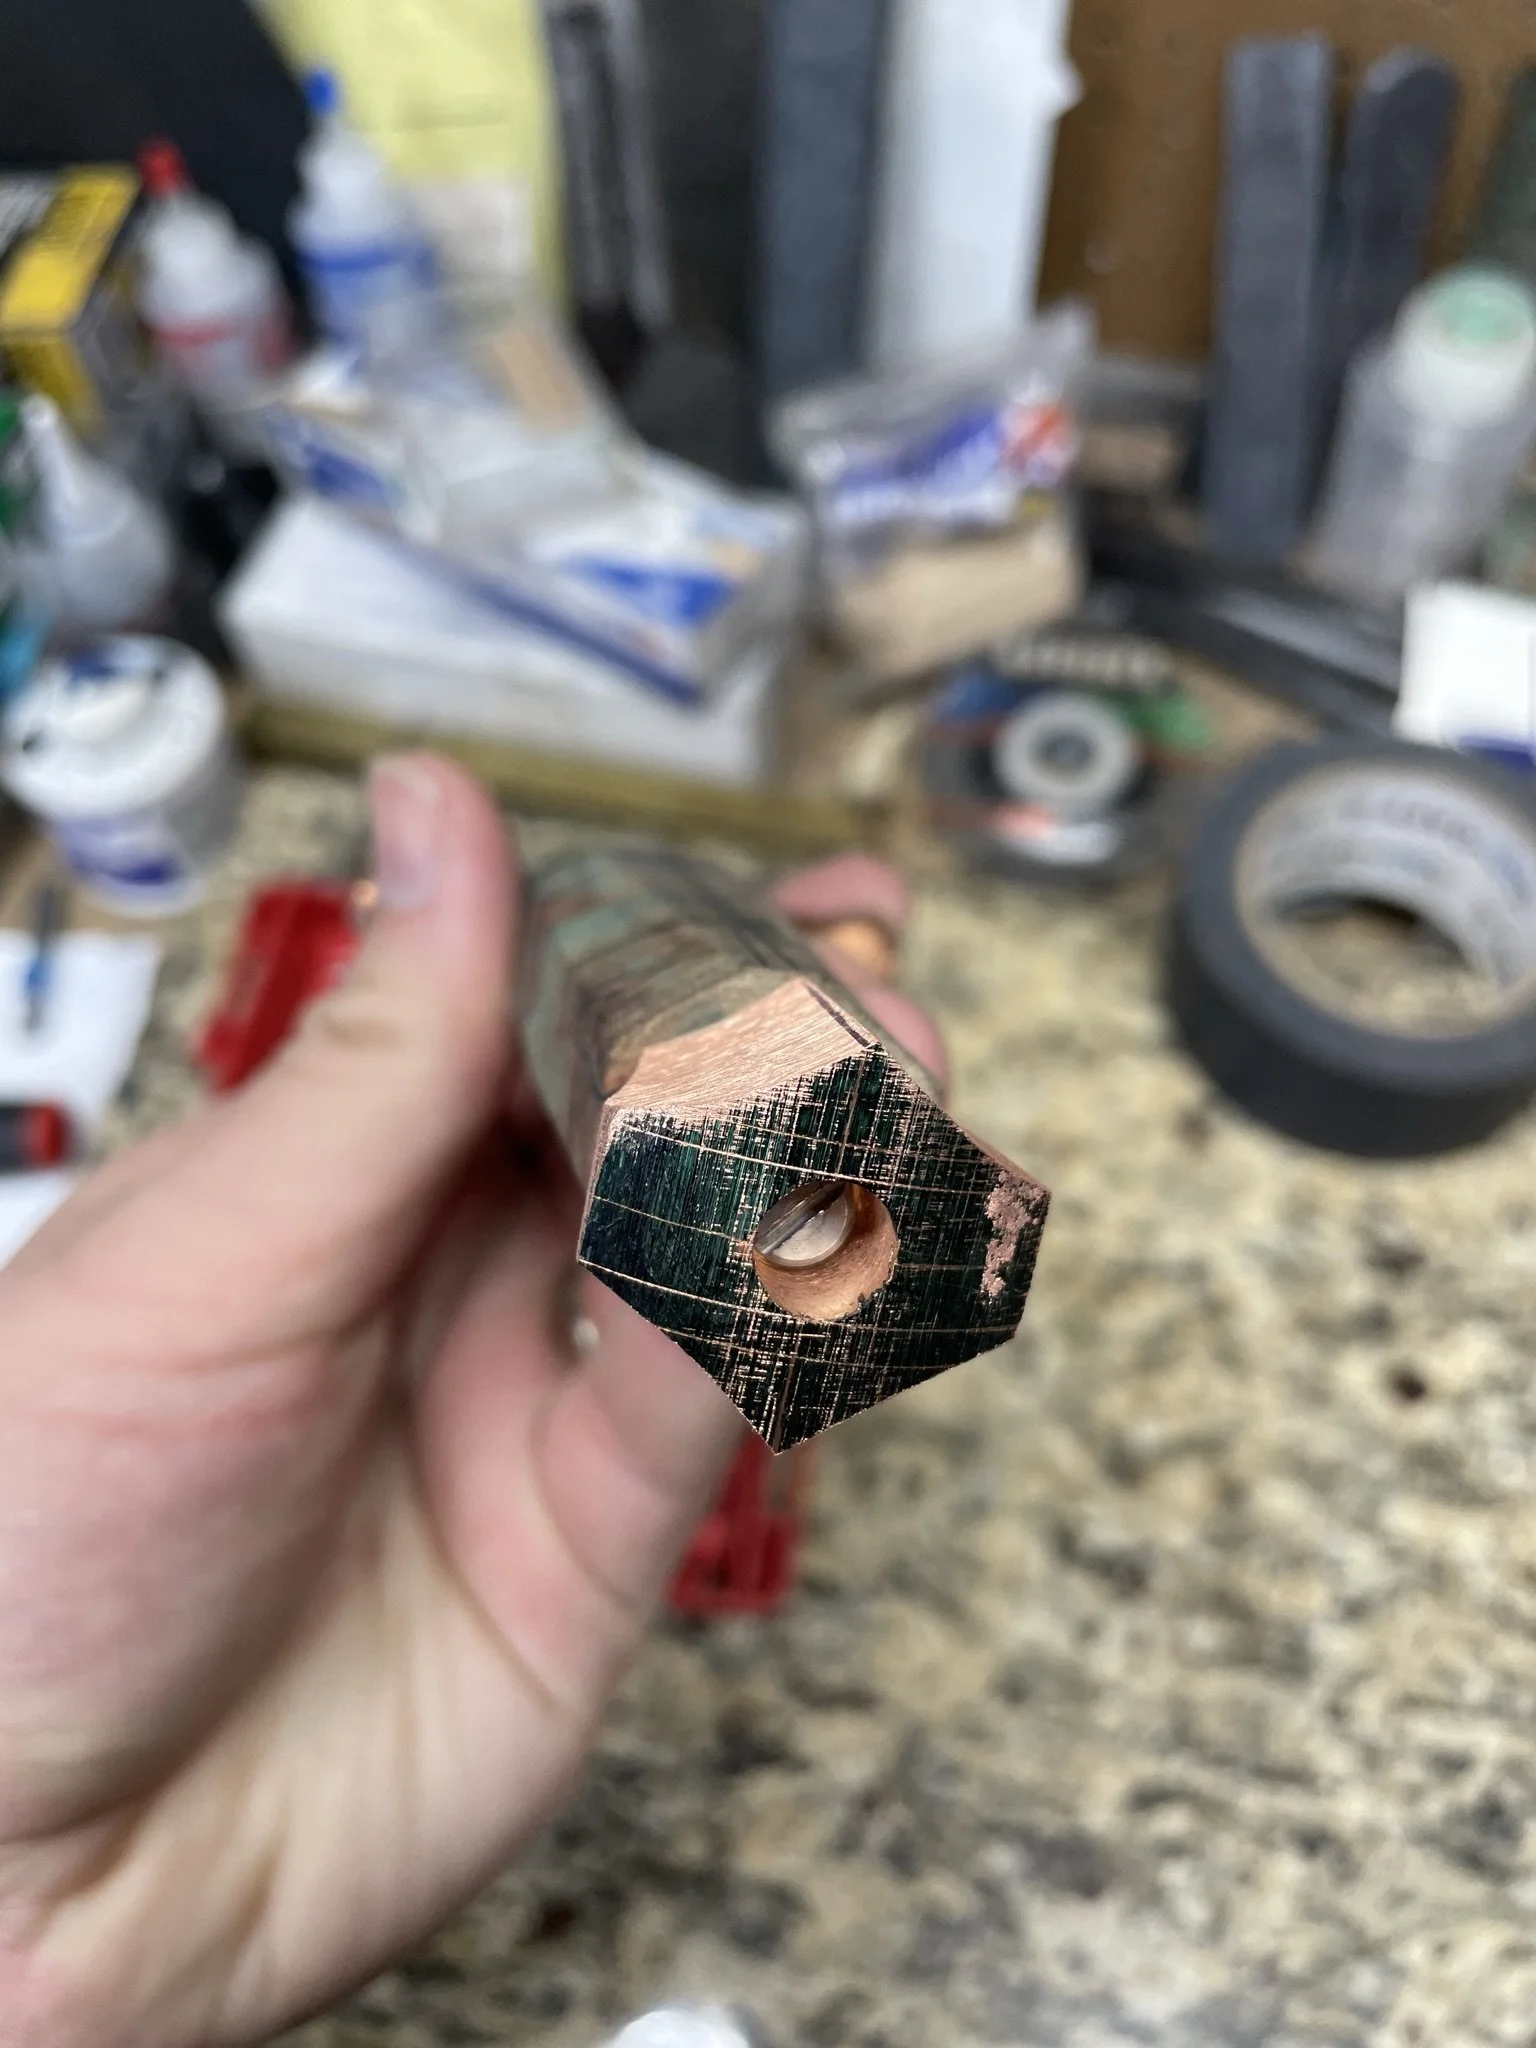
Pommel held on with a corby bolt.
-
Due to the rough beat up cast guard, I decided to remake it from a piece of copper bar stock.
-
New guard fit up.
-
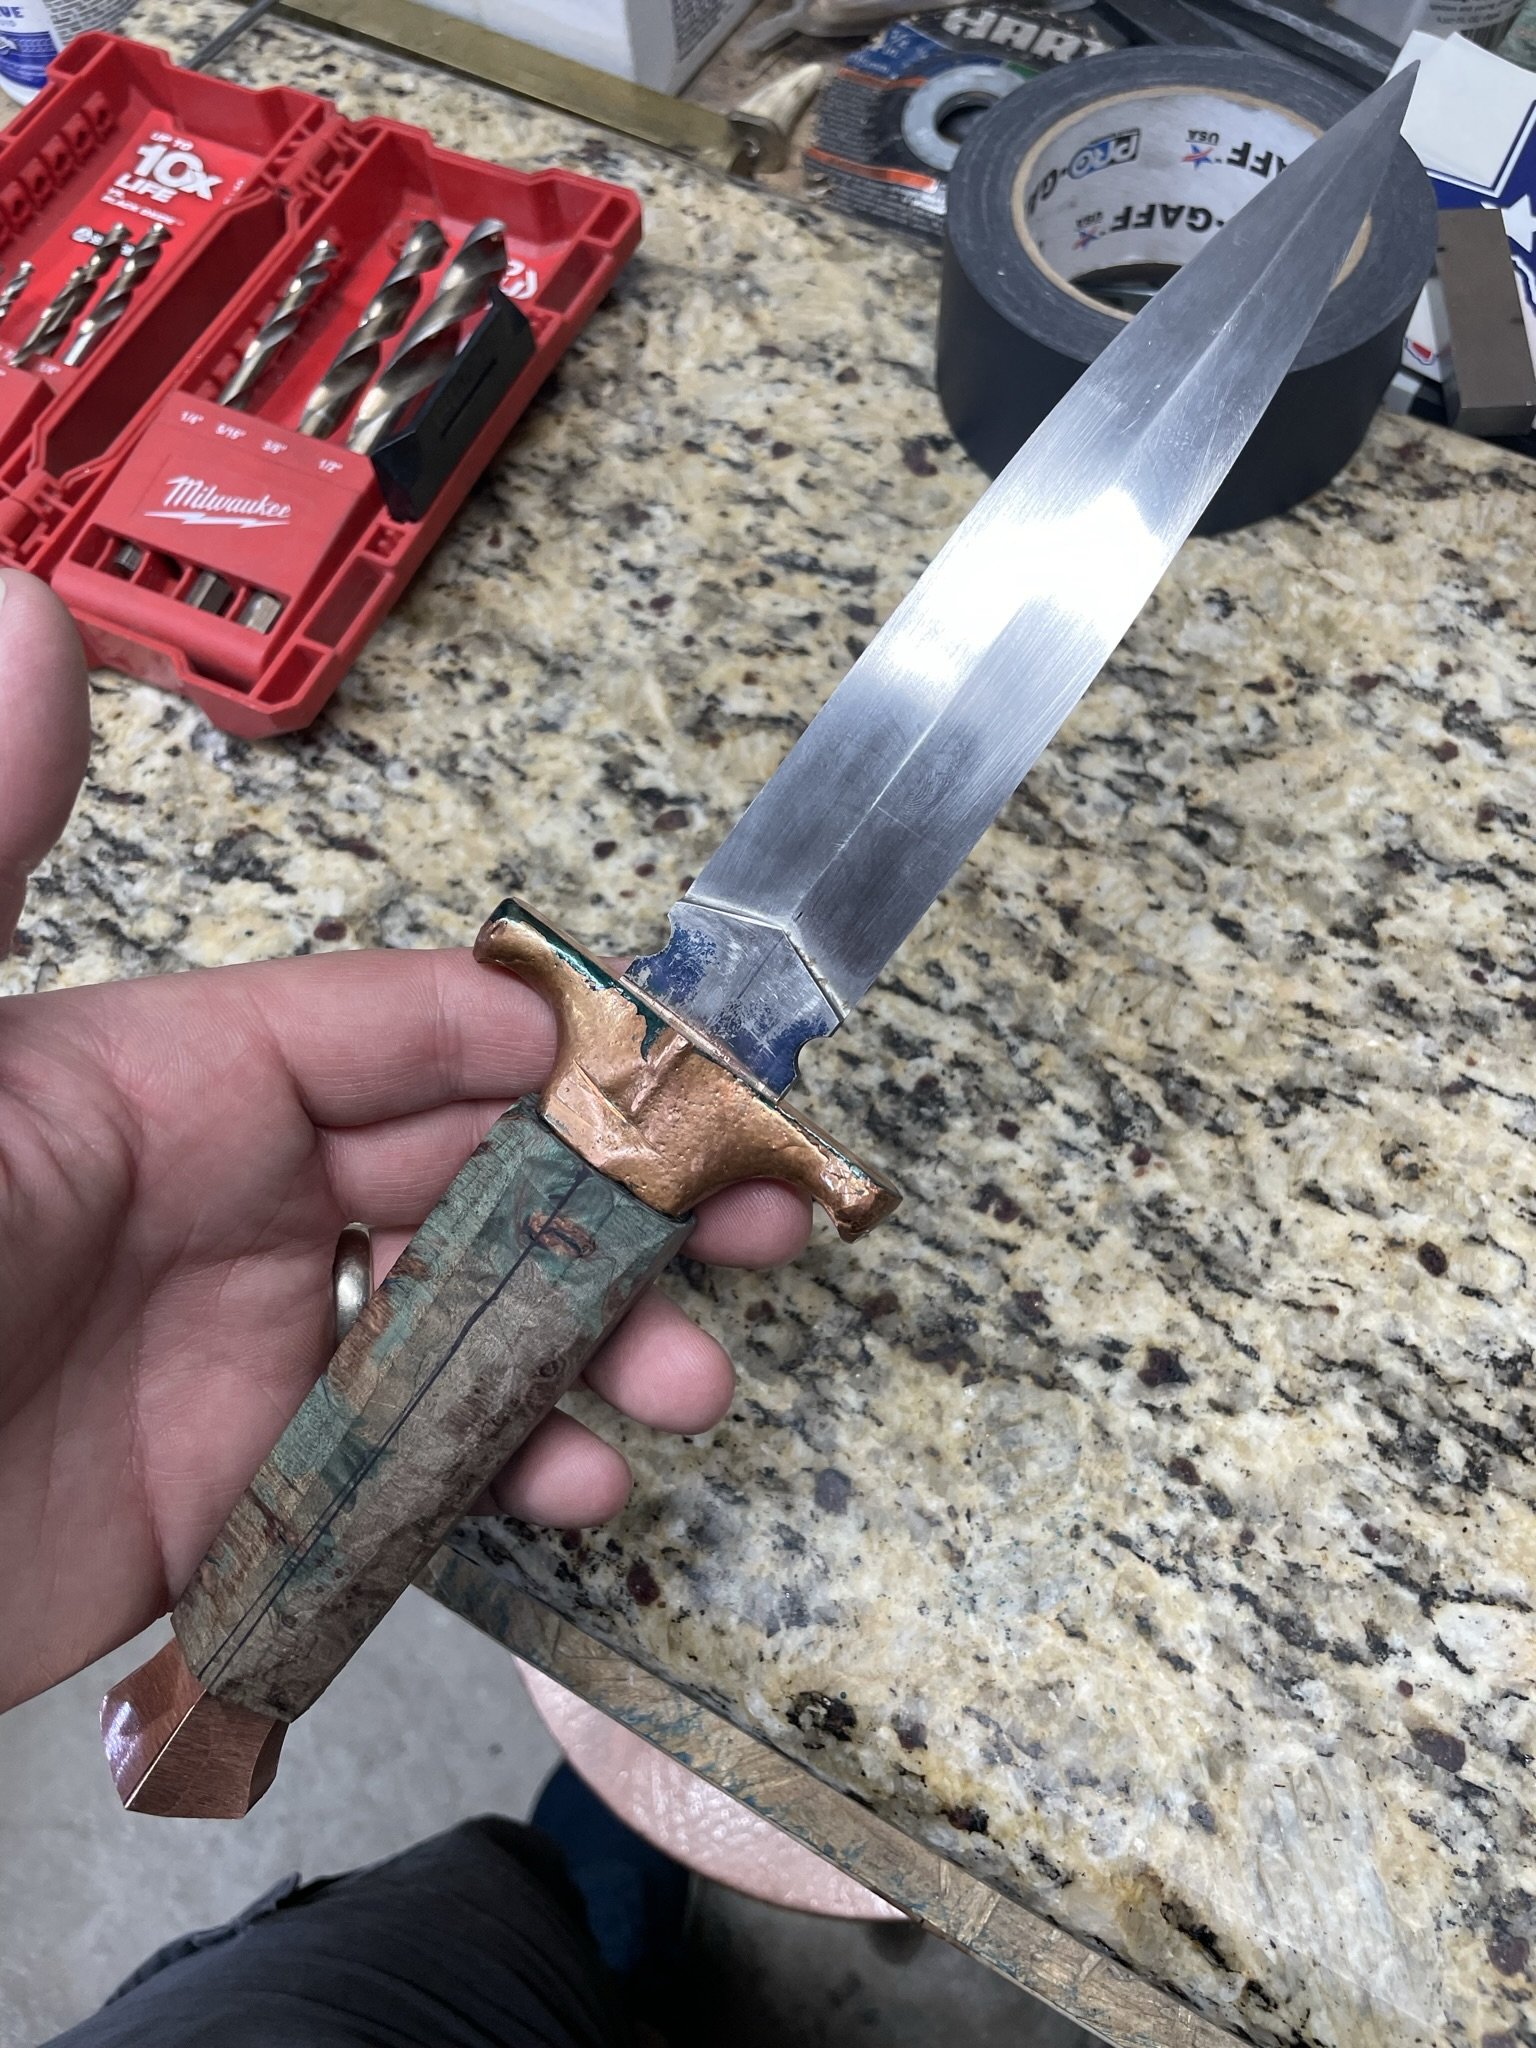
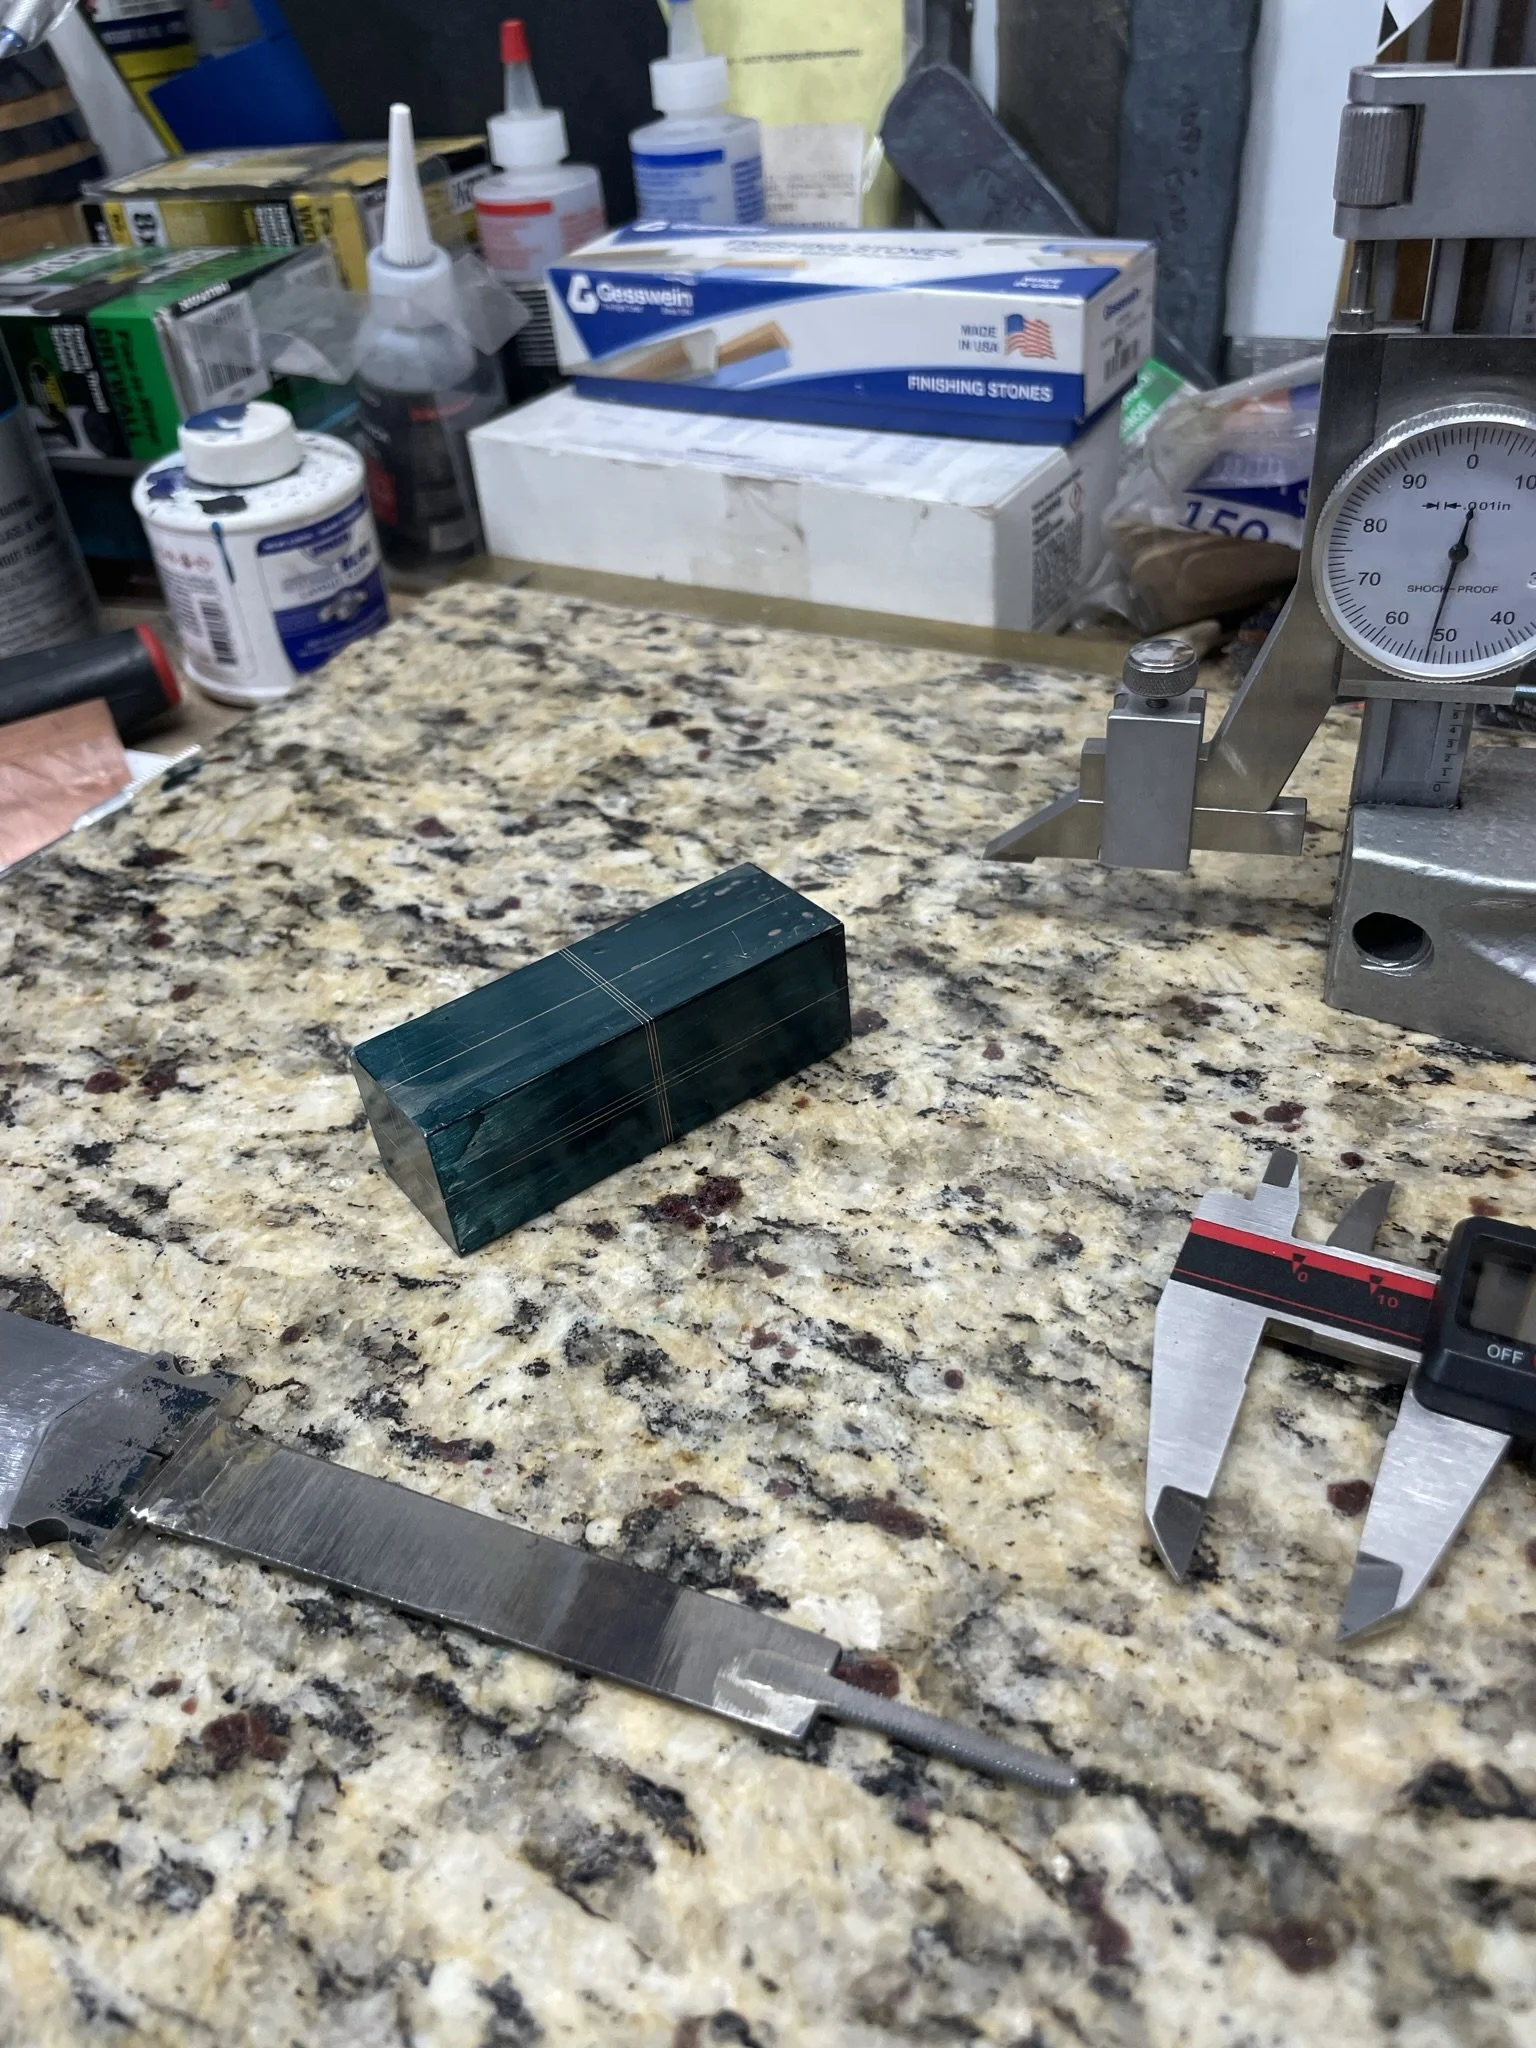
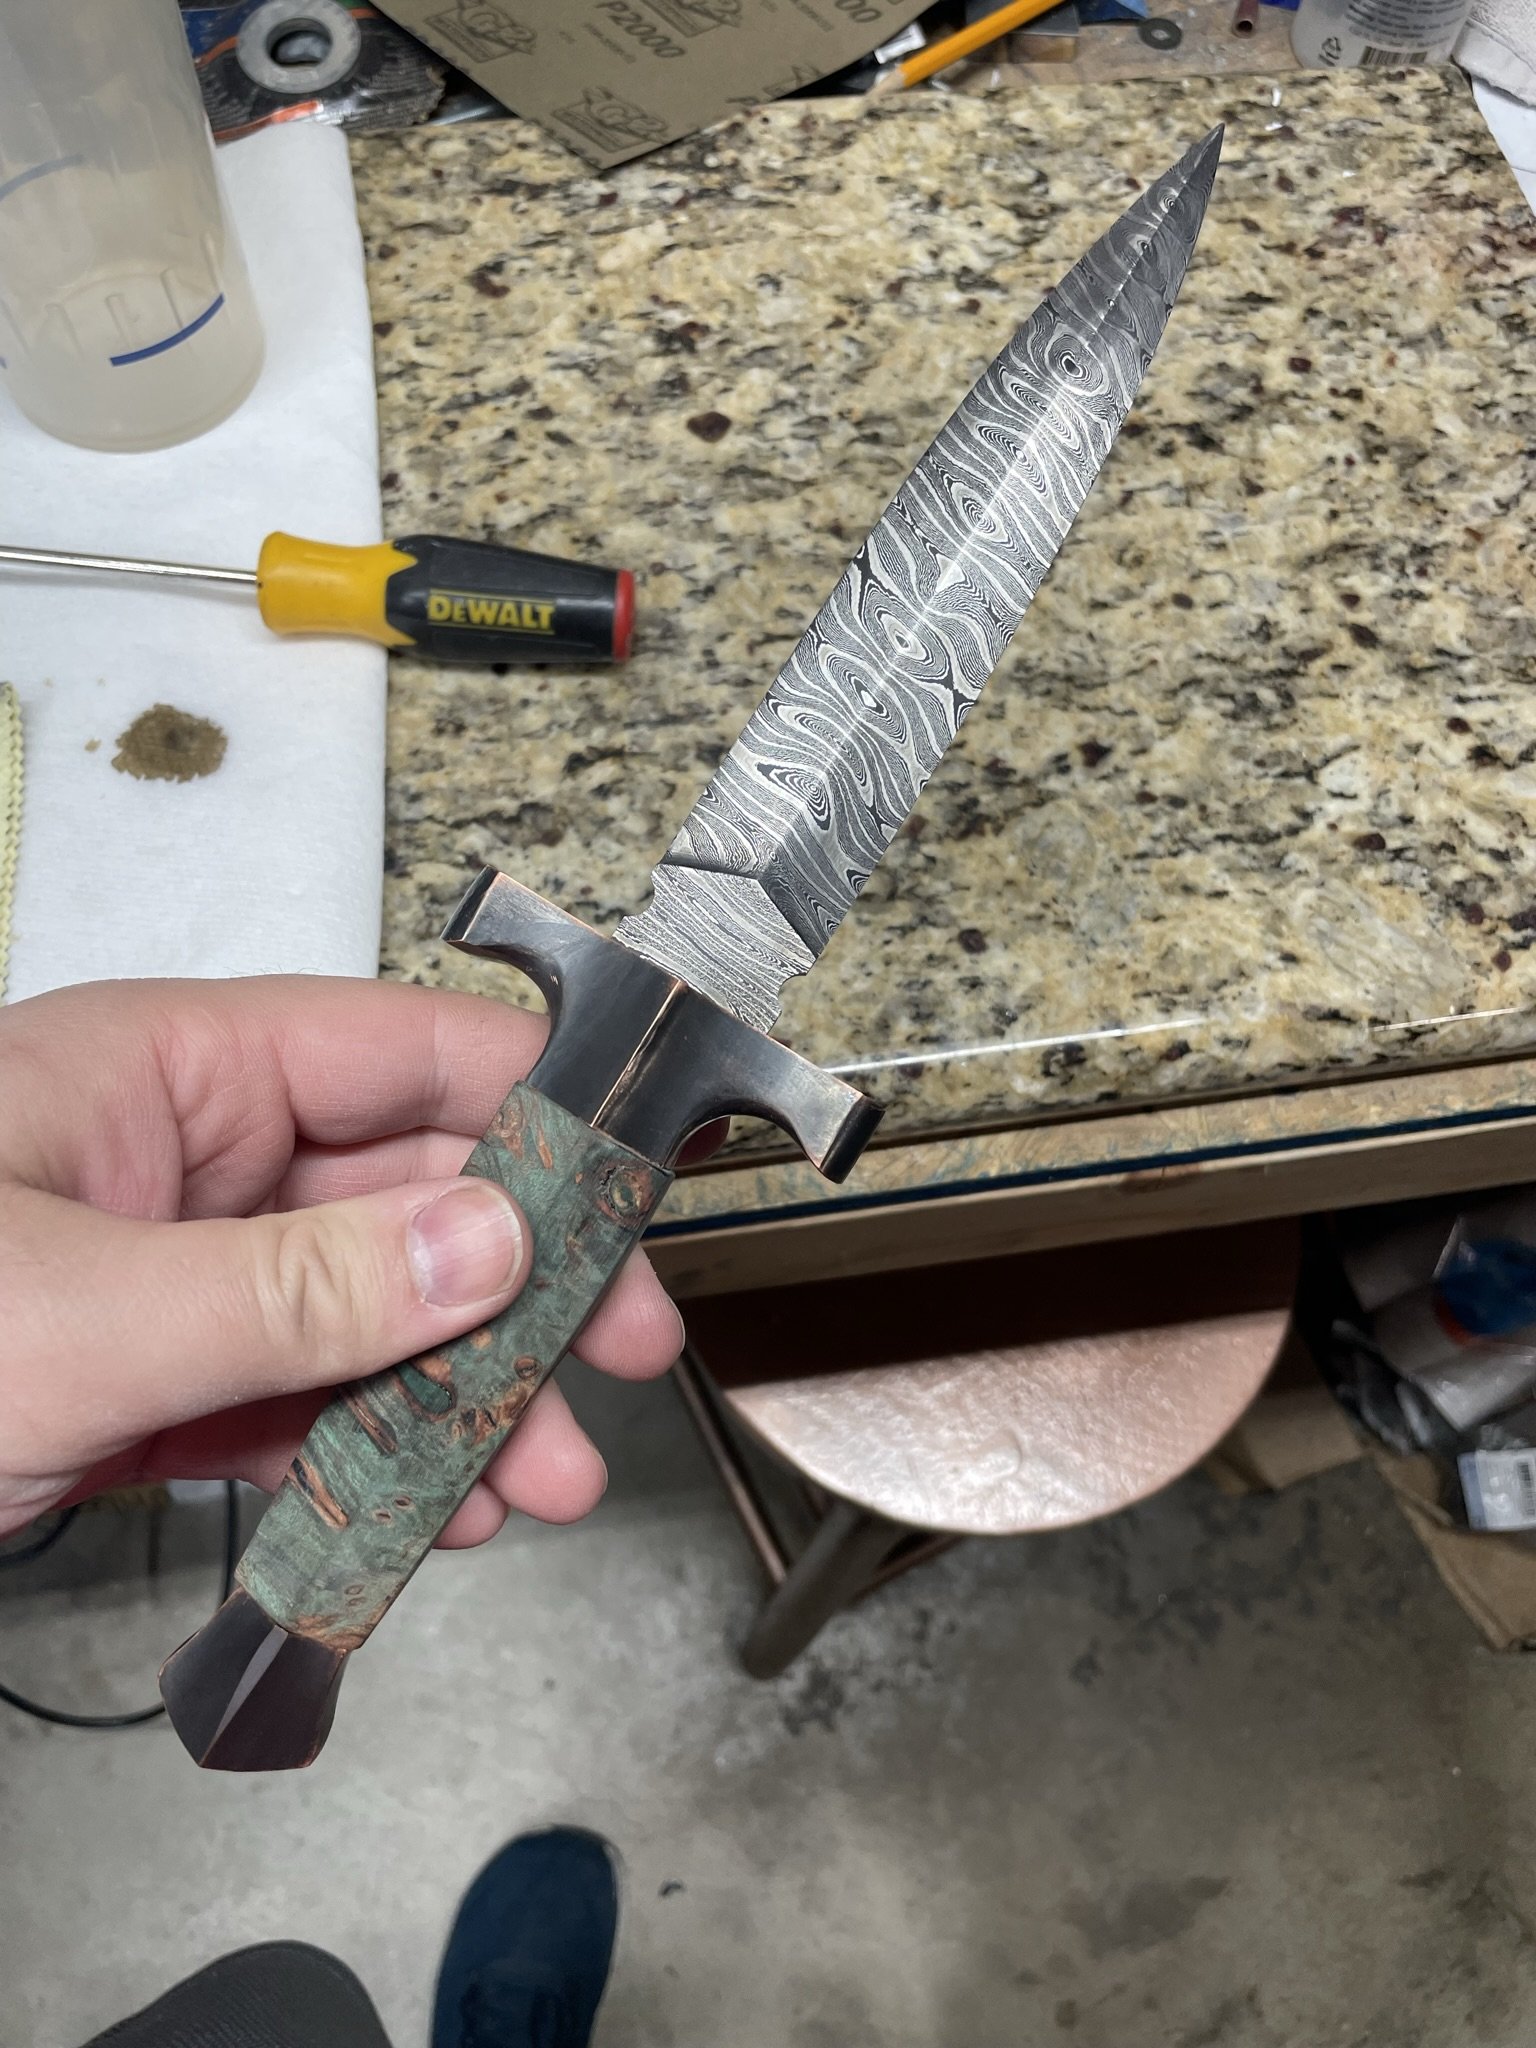
Decided to do an aged copper look on the guard and pommel. Time age it a little.
-
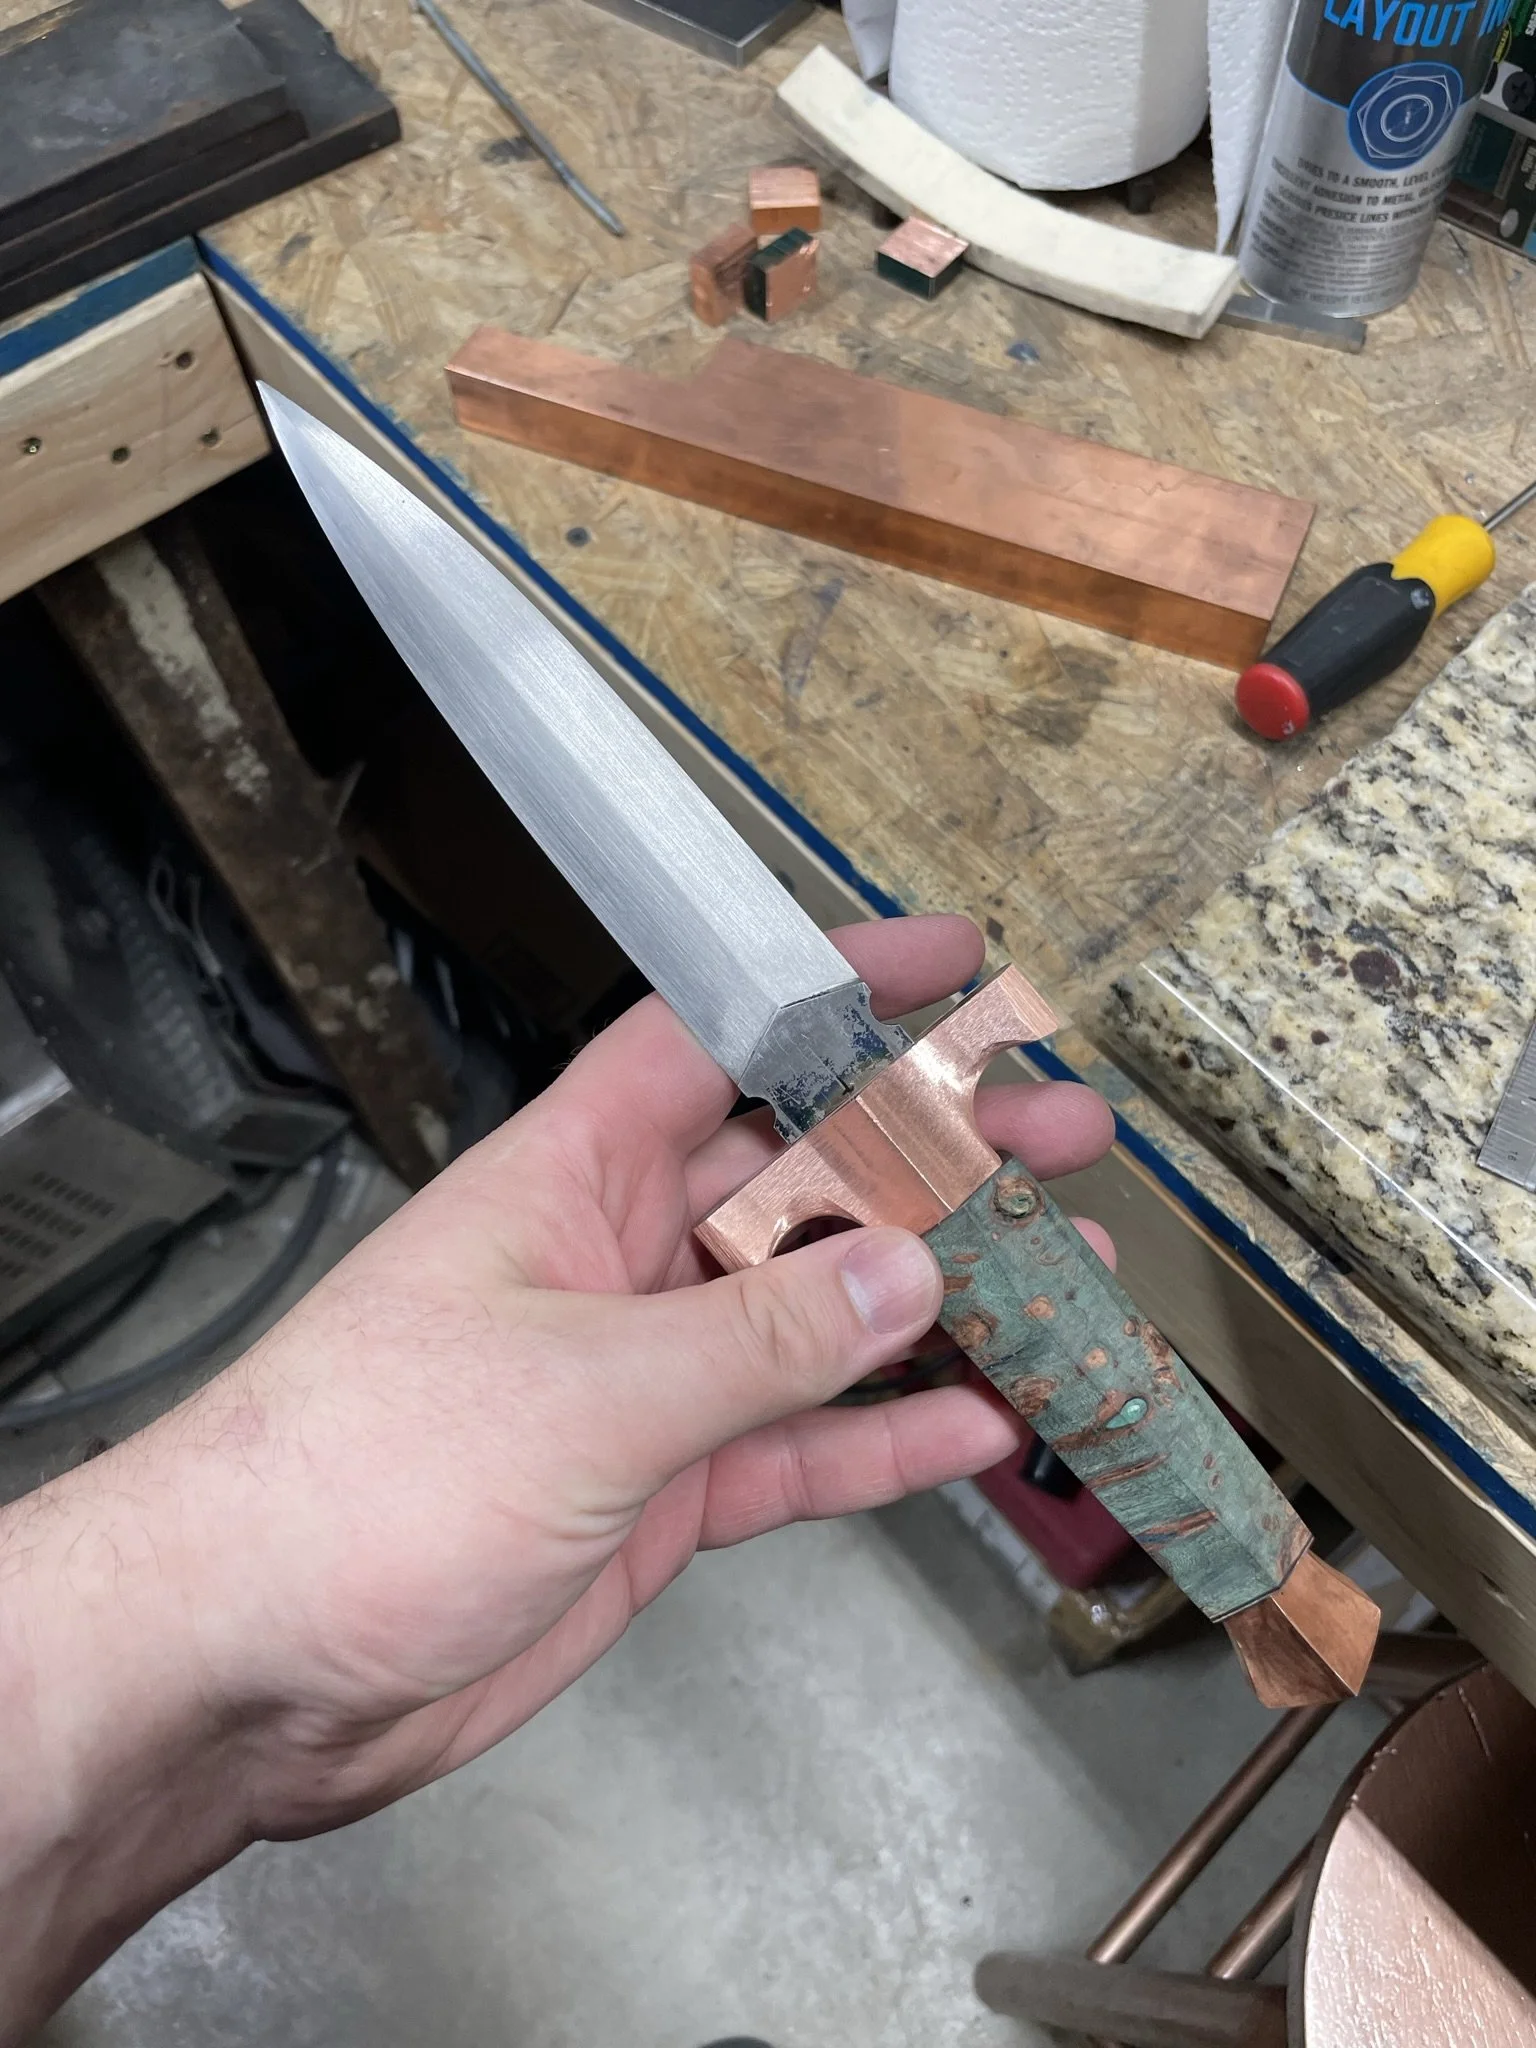
Fitting aged and assembled.
-
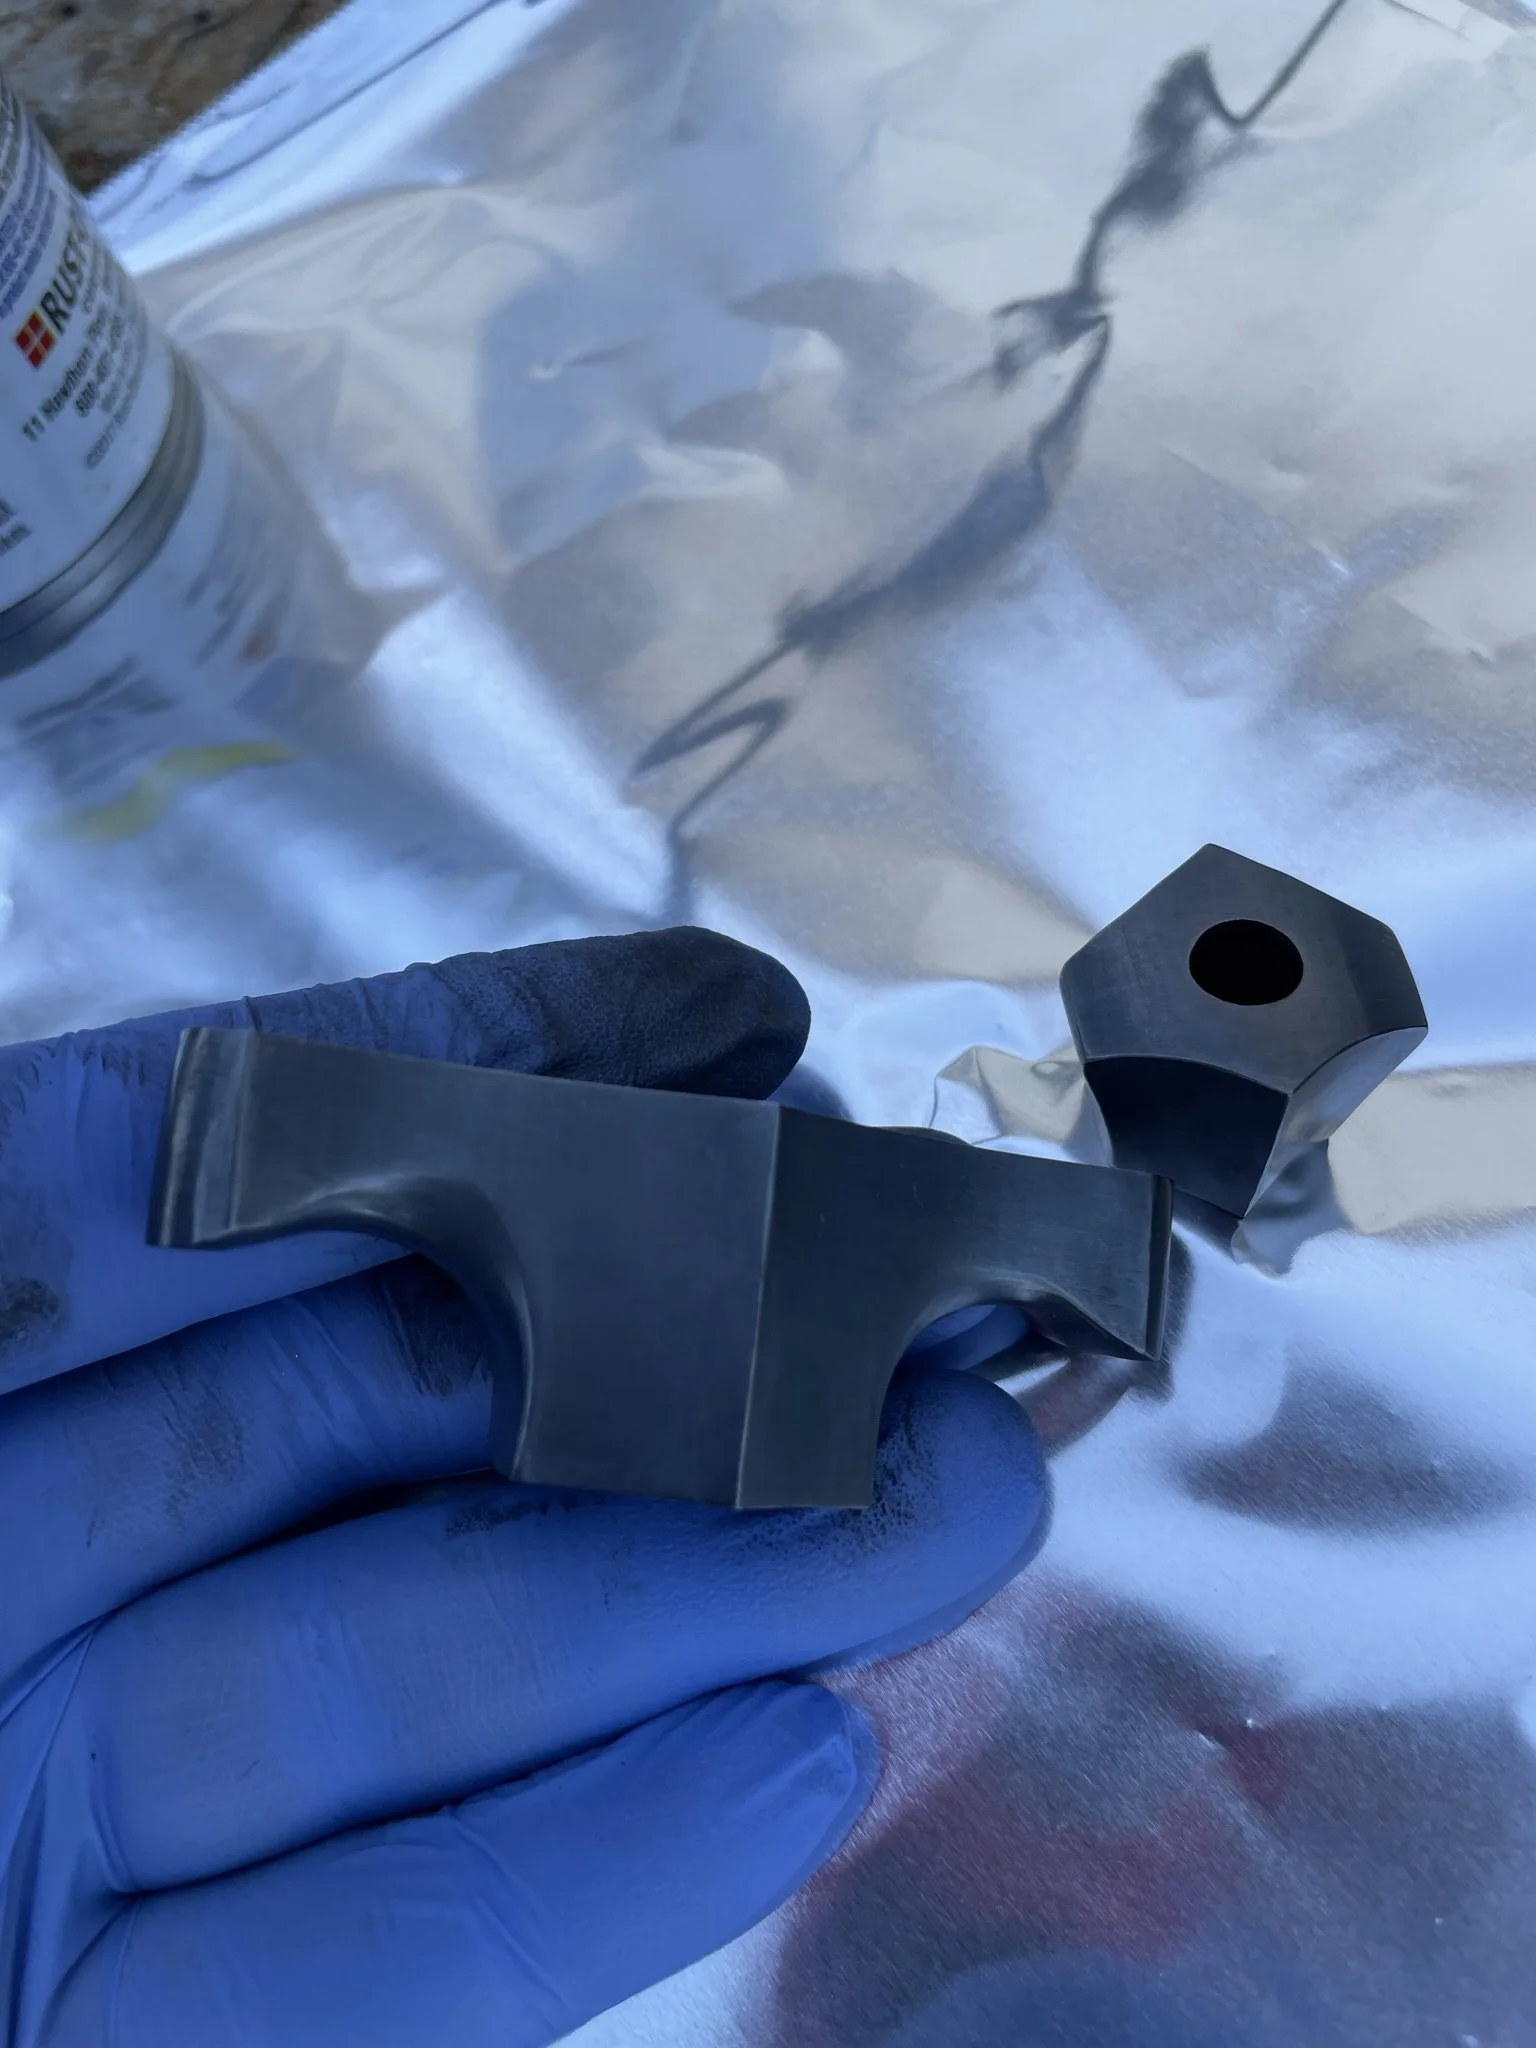
Hand sanded and ready to etch.
-
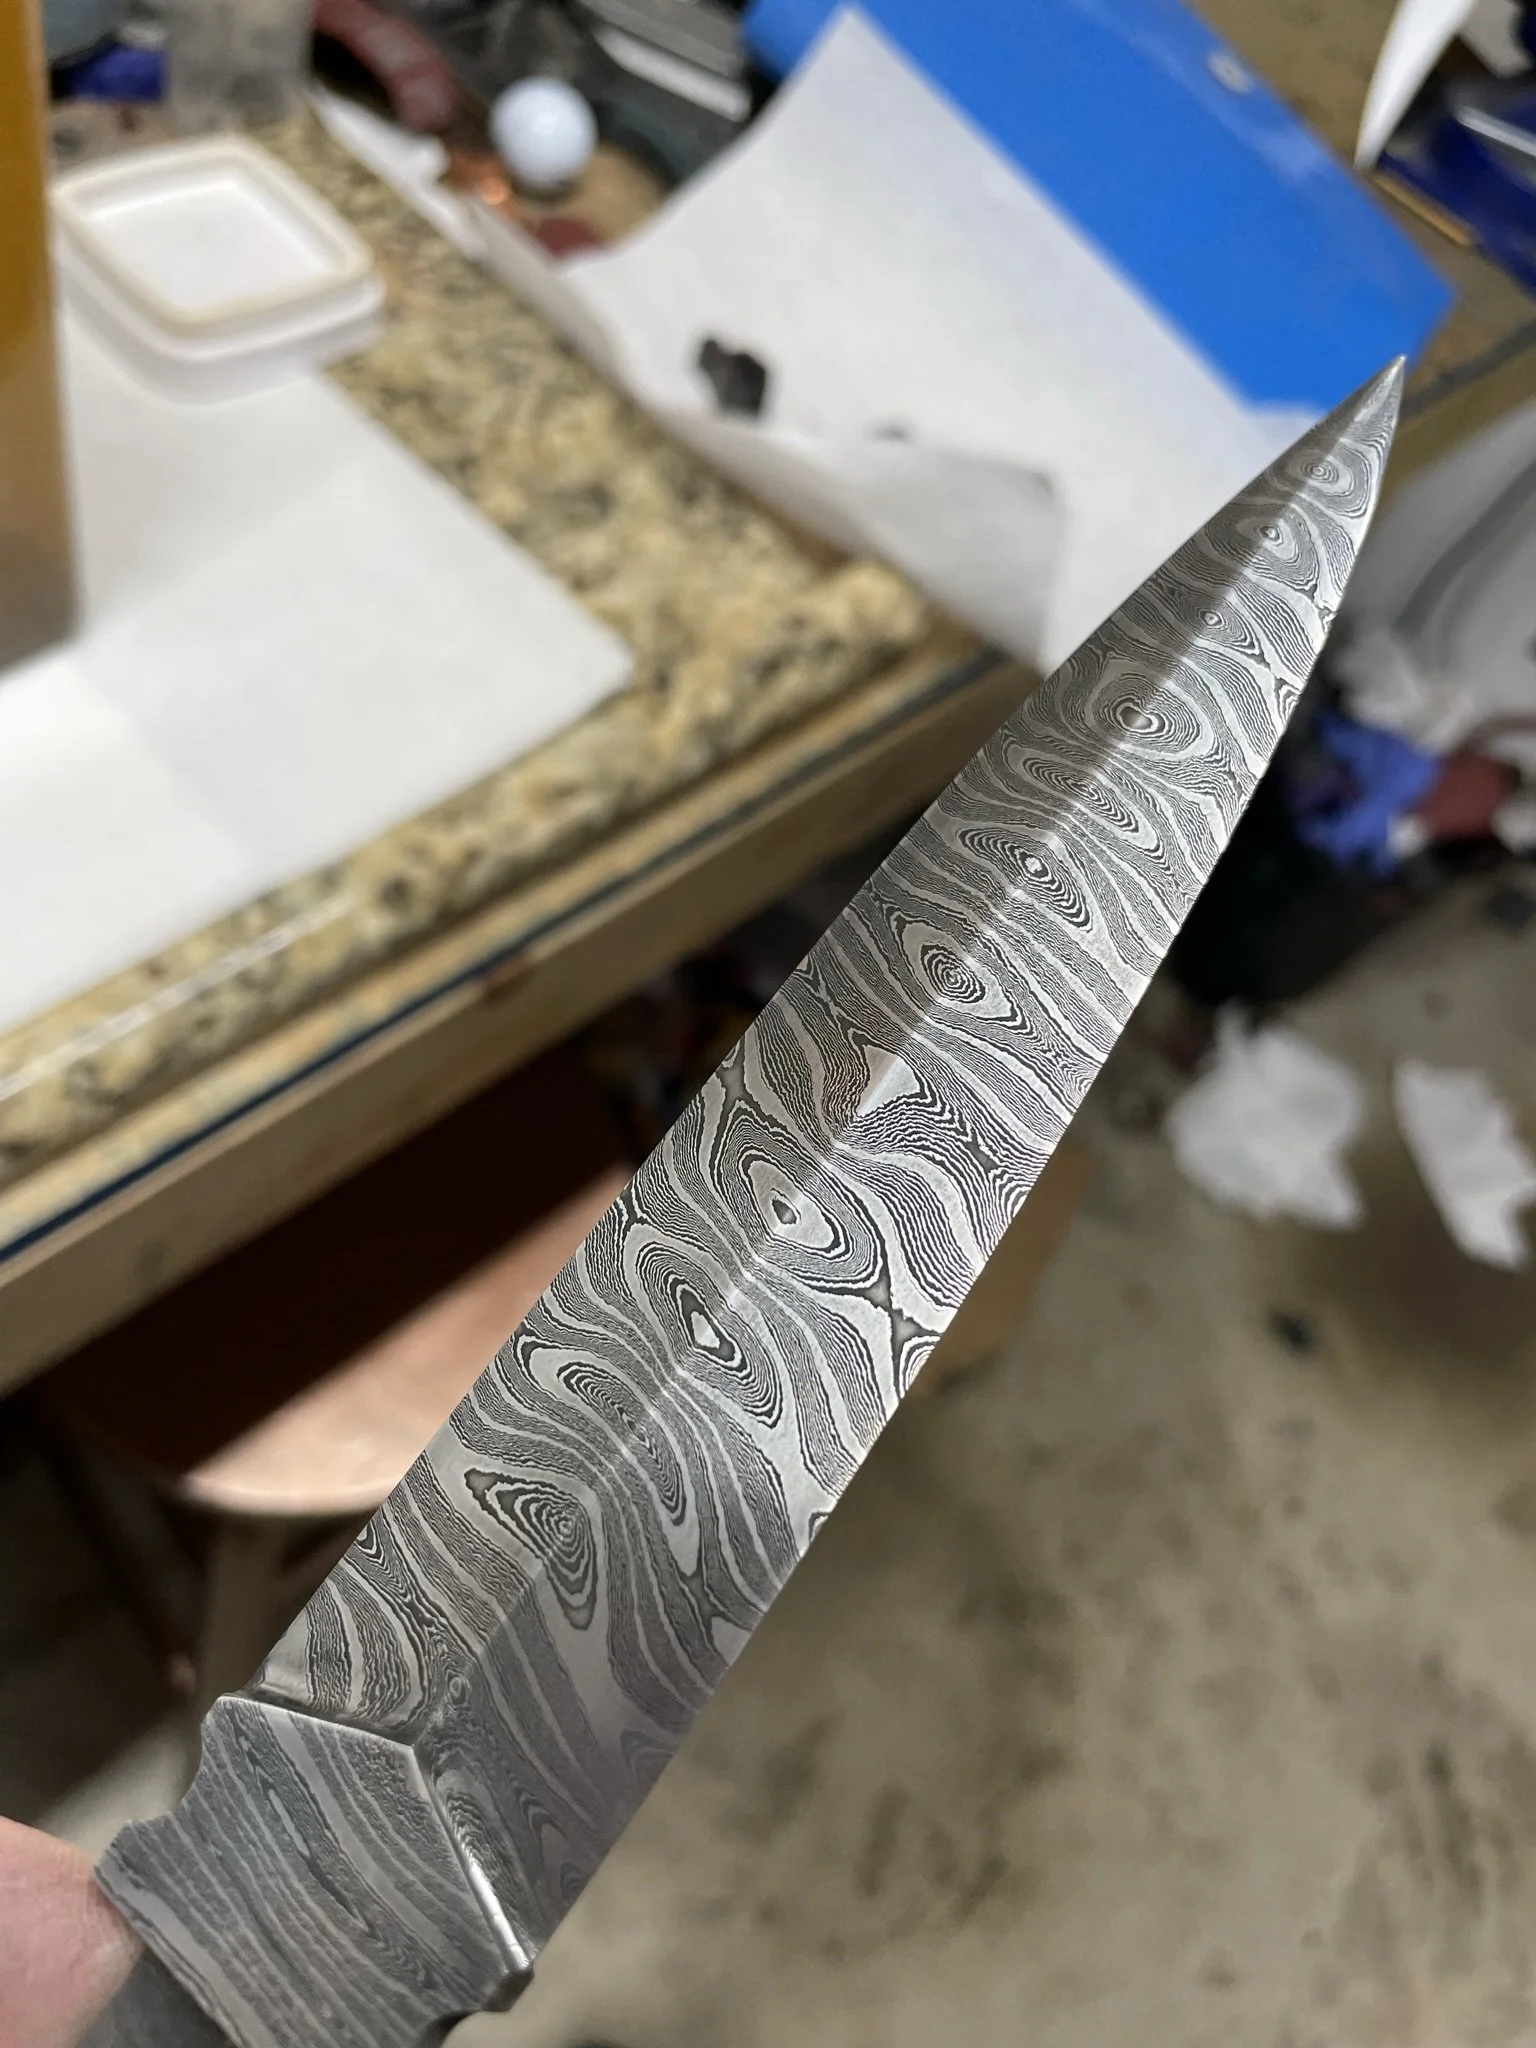
Just out of the acid.
-
Cleaned up between acid and coffee etch.
-
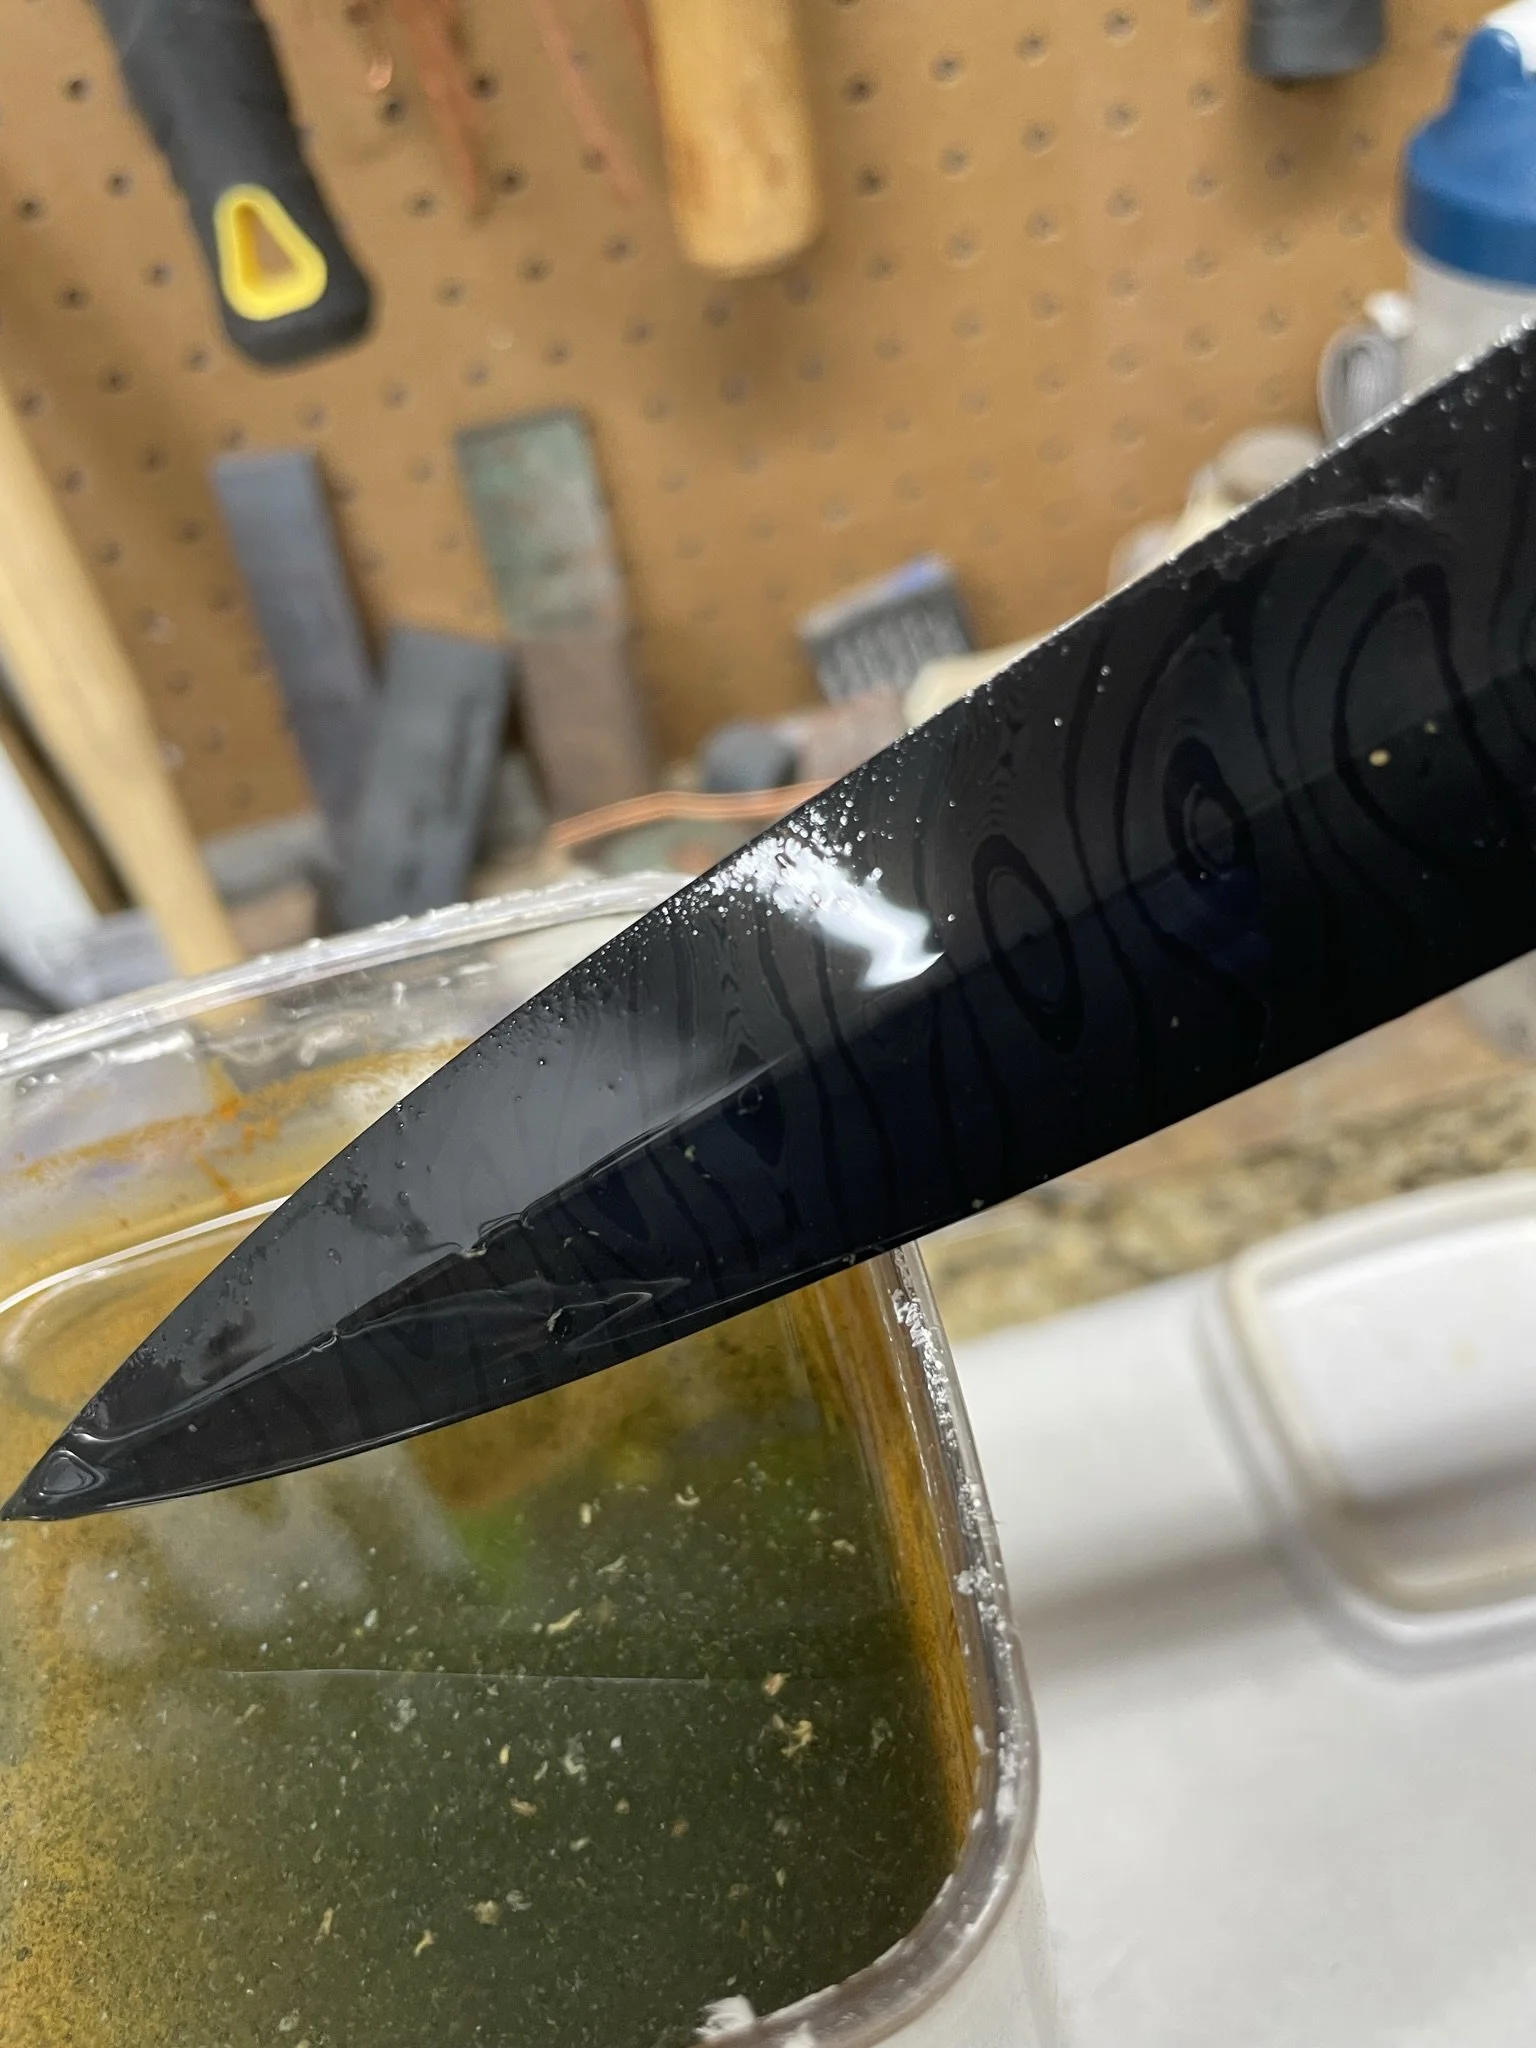
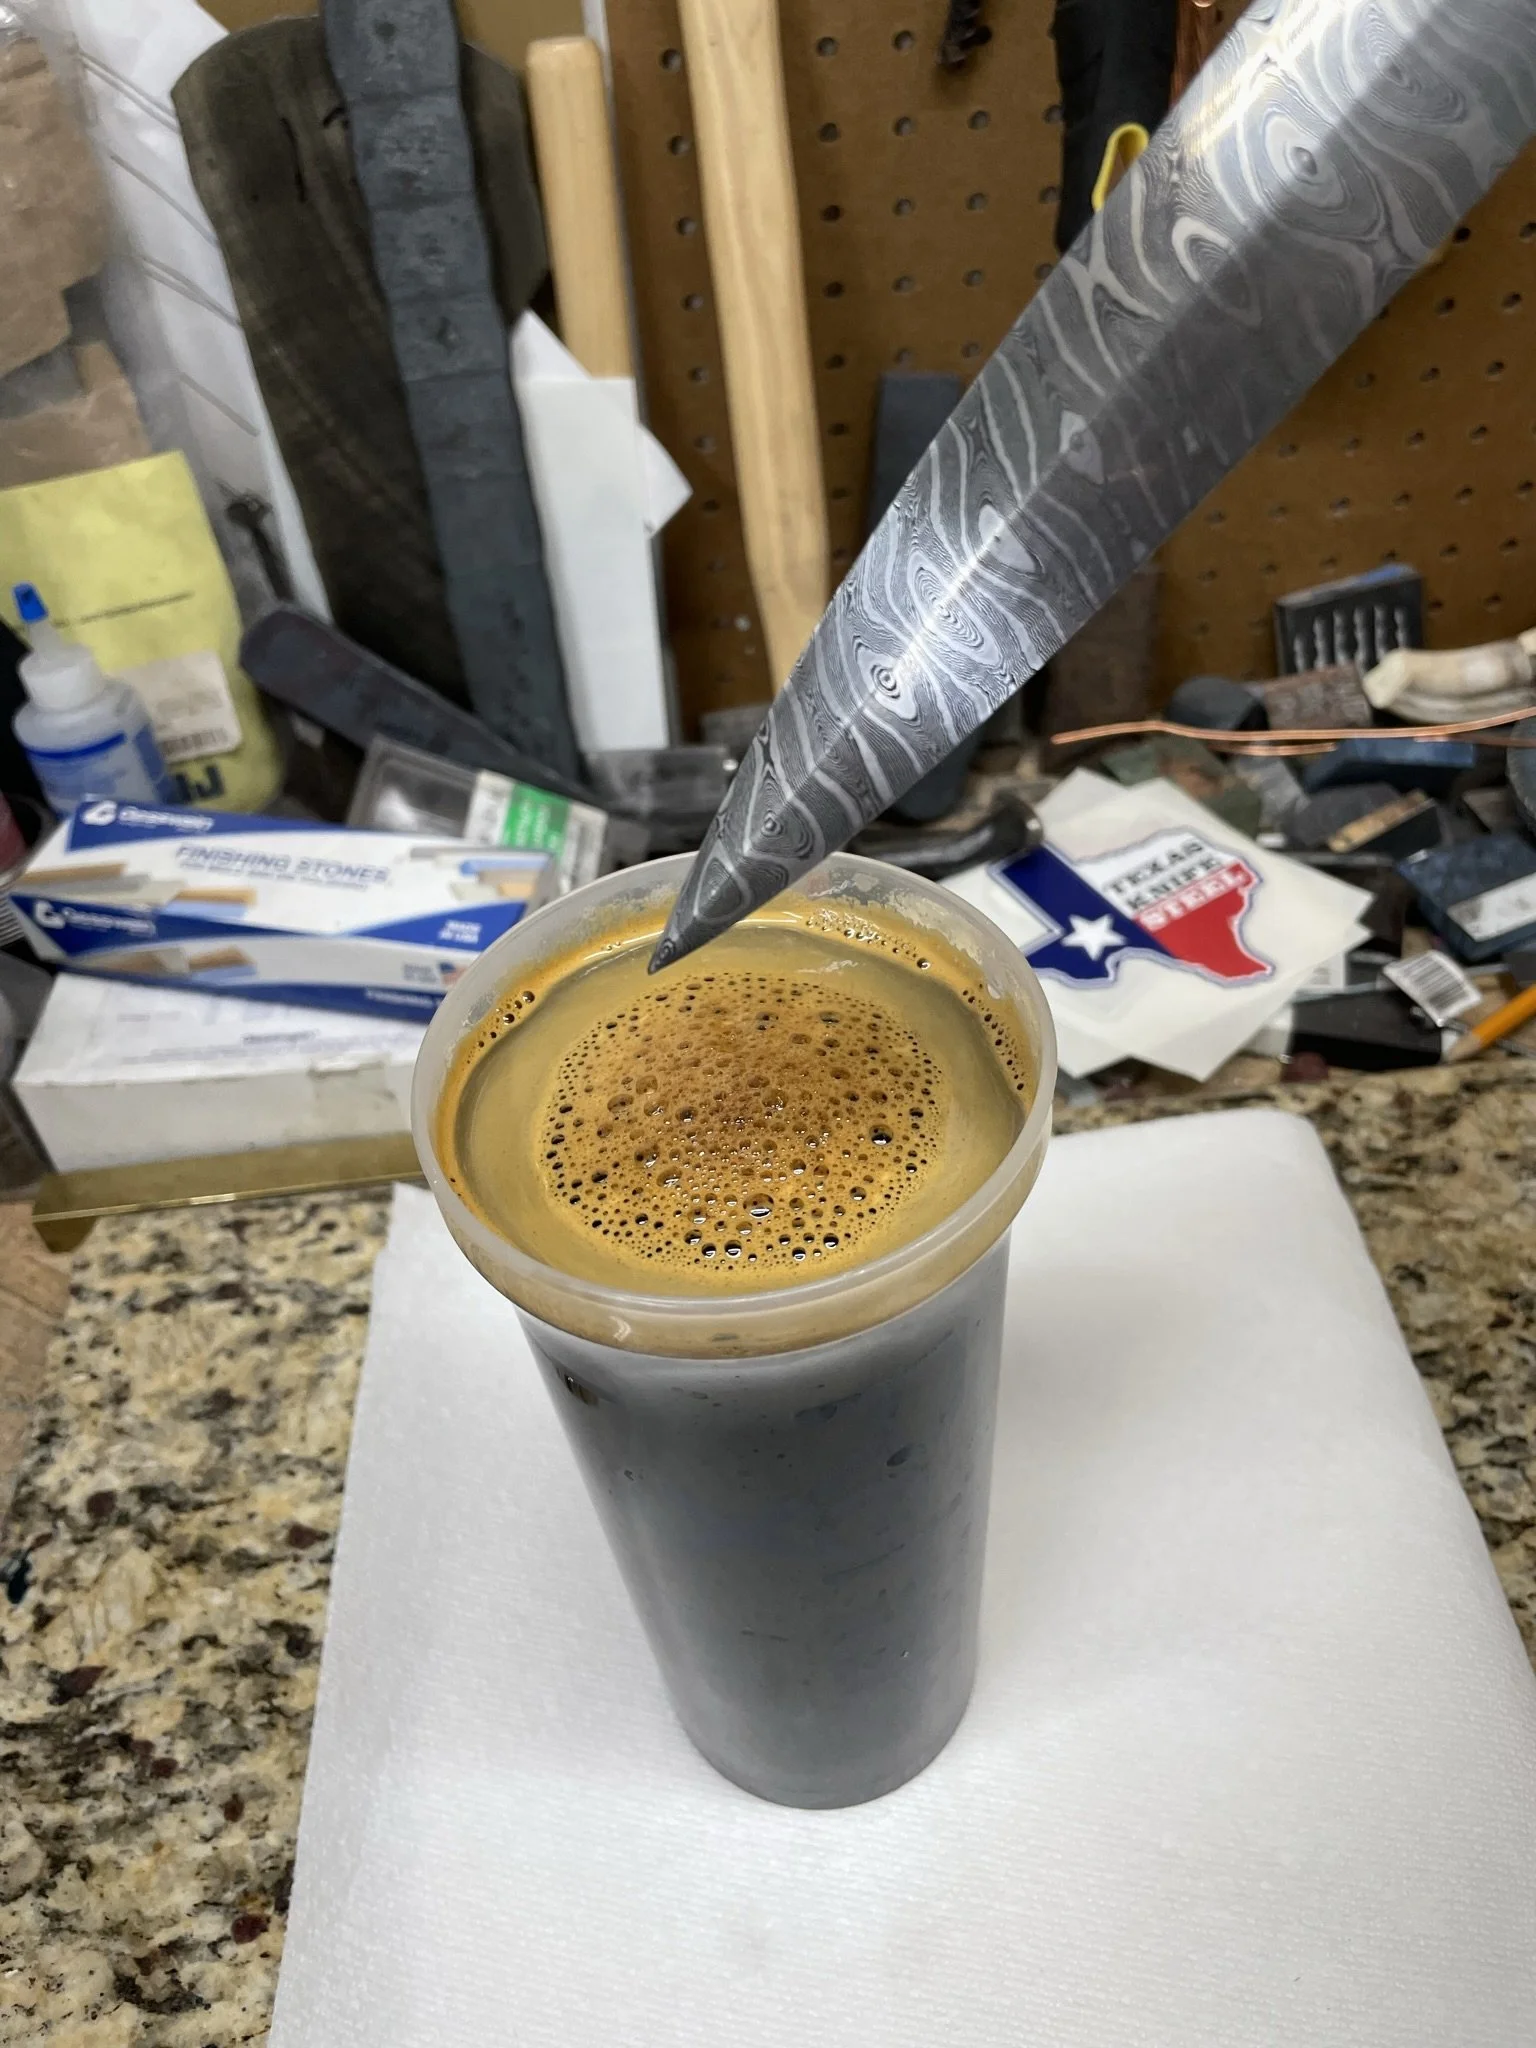
Into the coffee for darkening.
-
Post coffee etch.
-
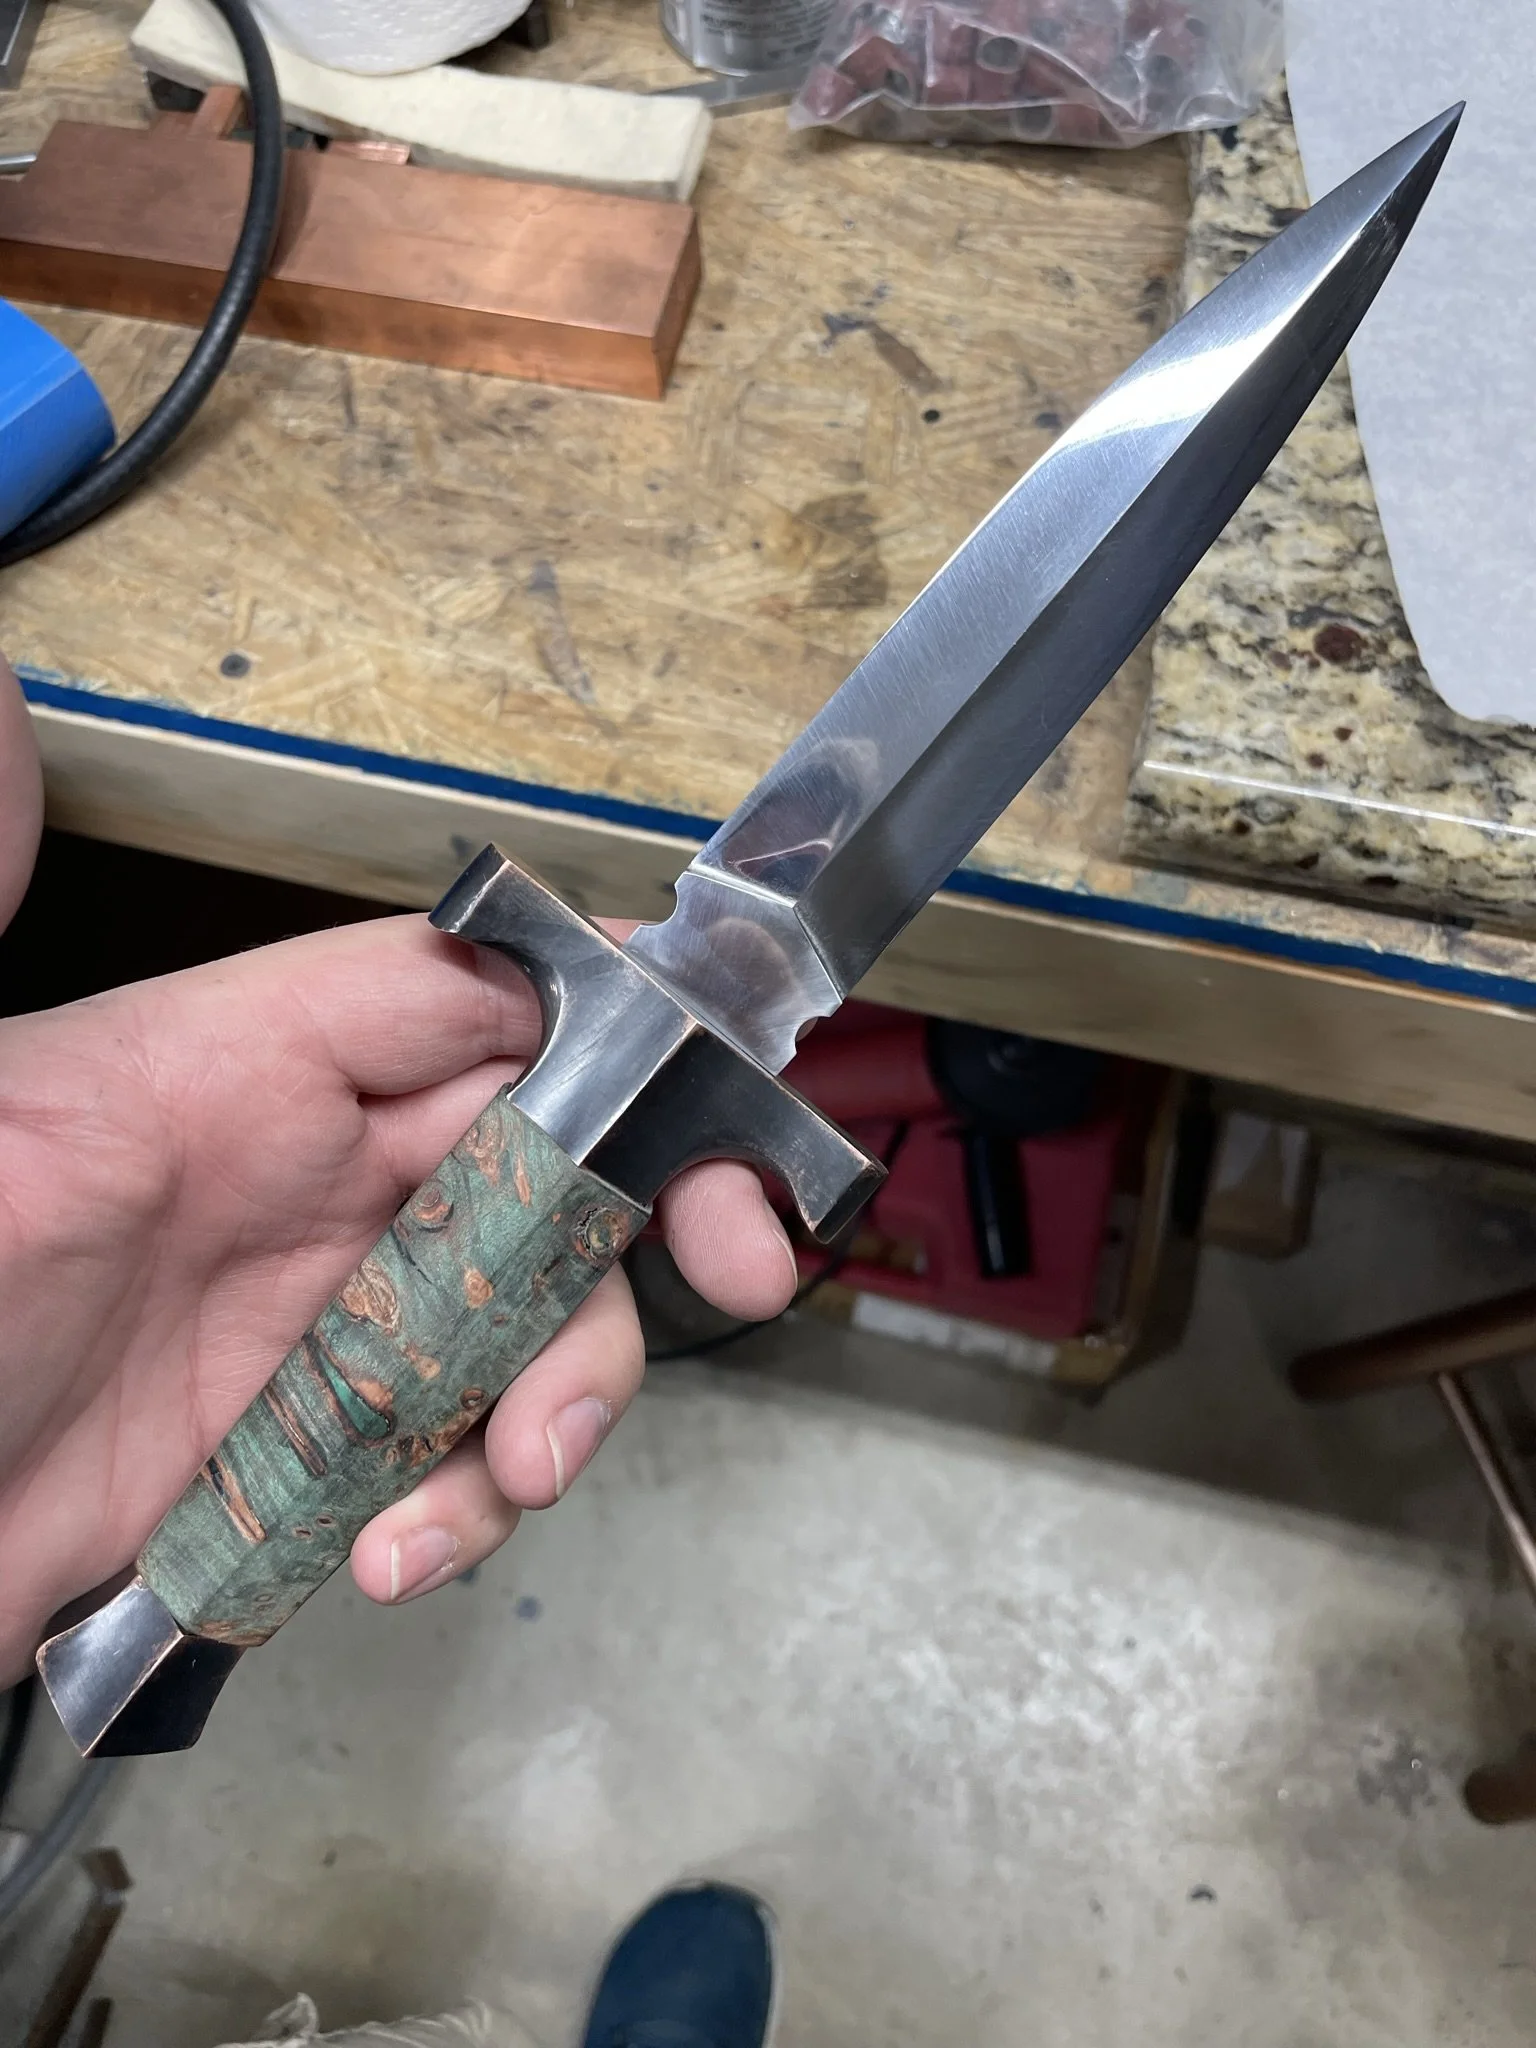
Final fit up.
-
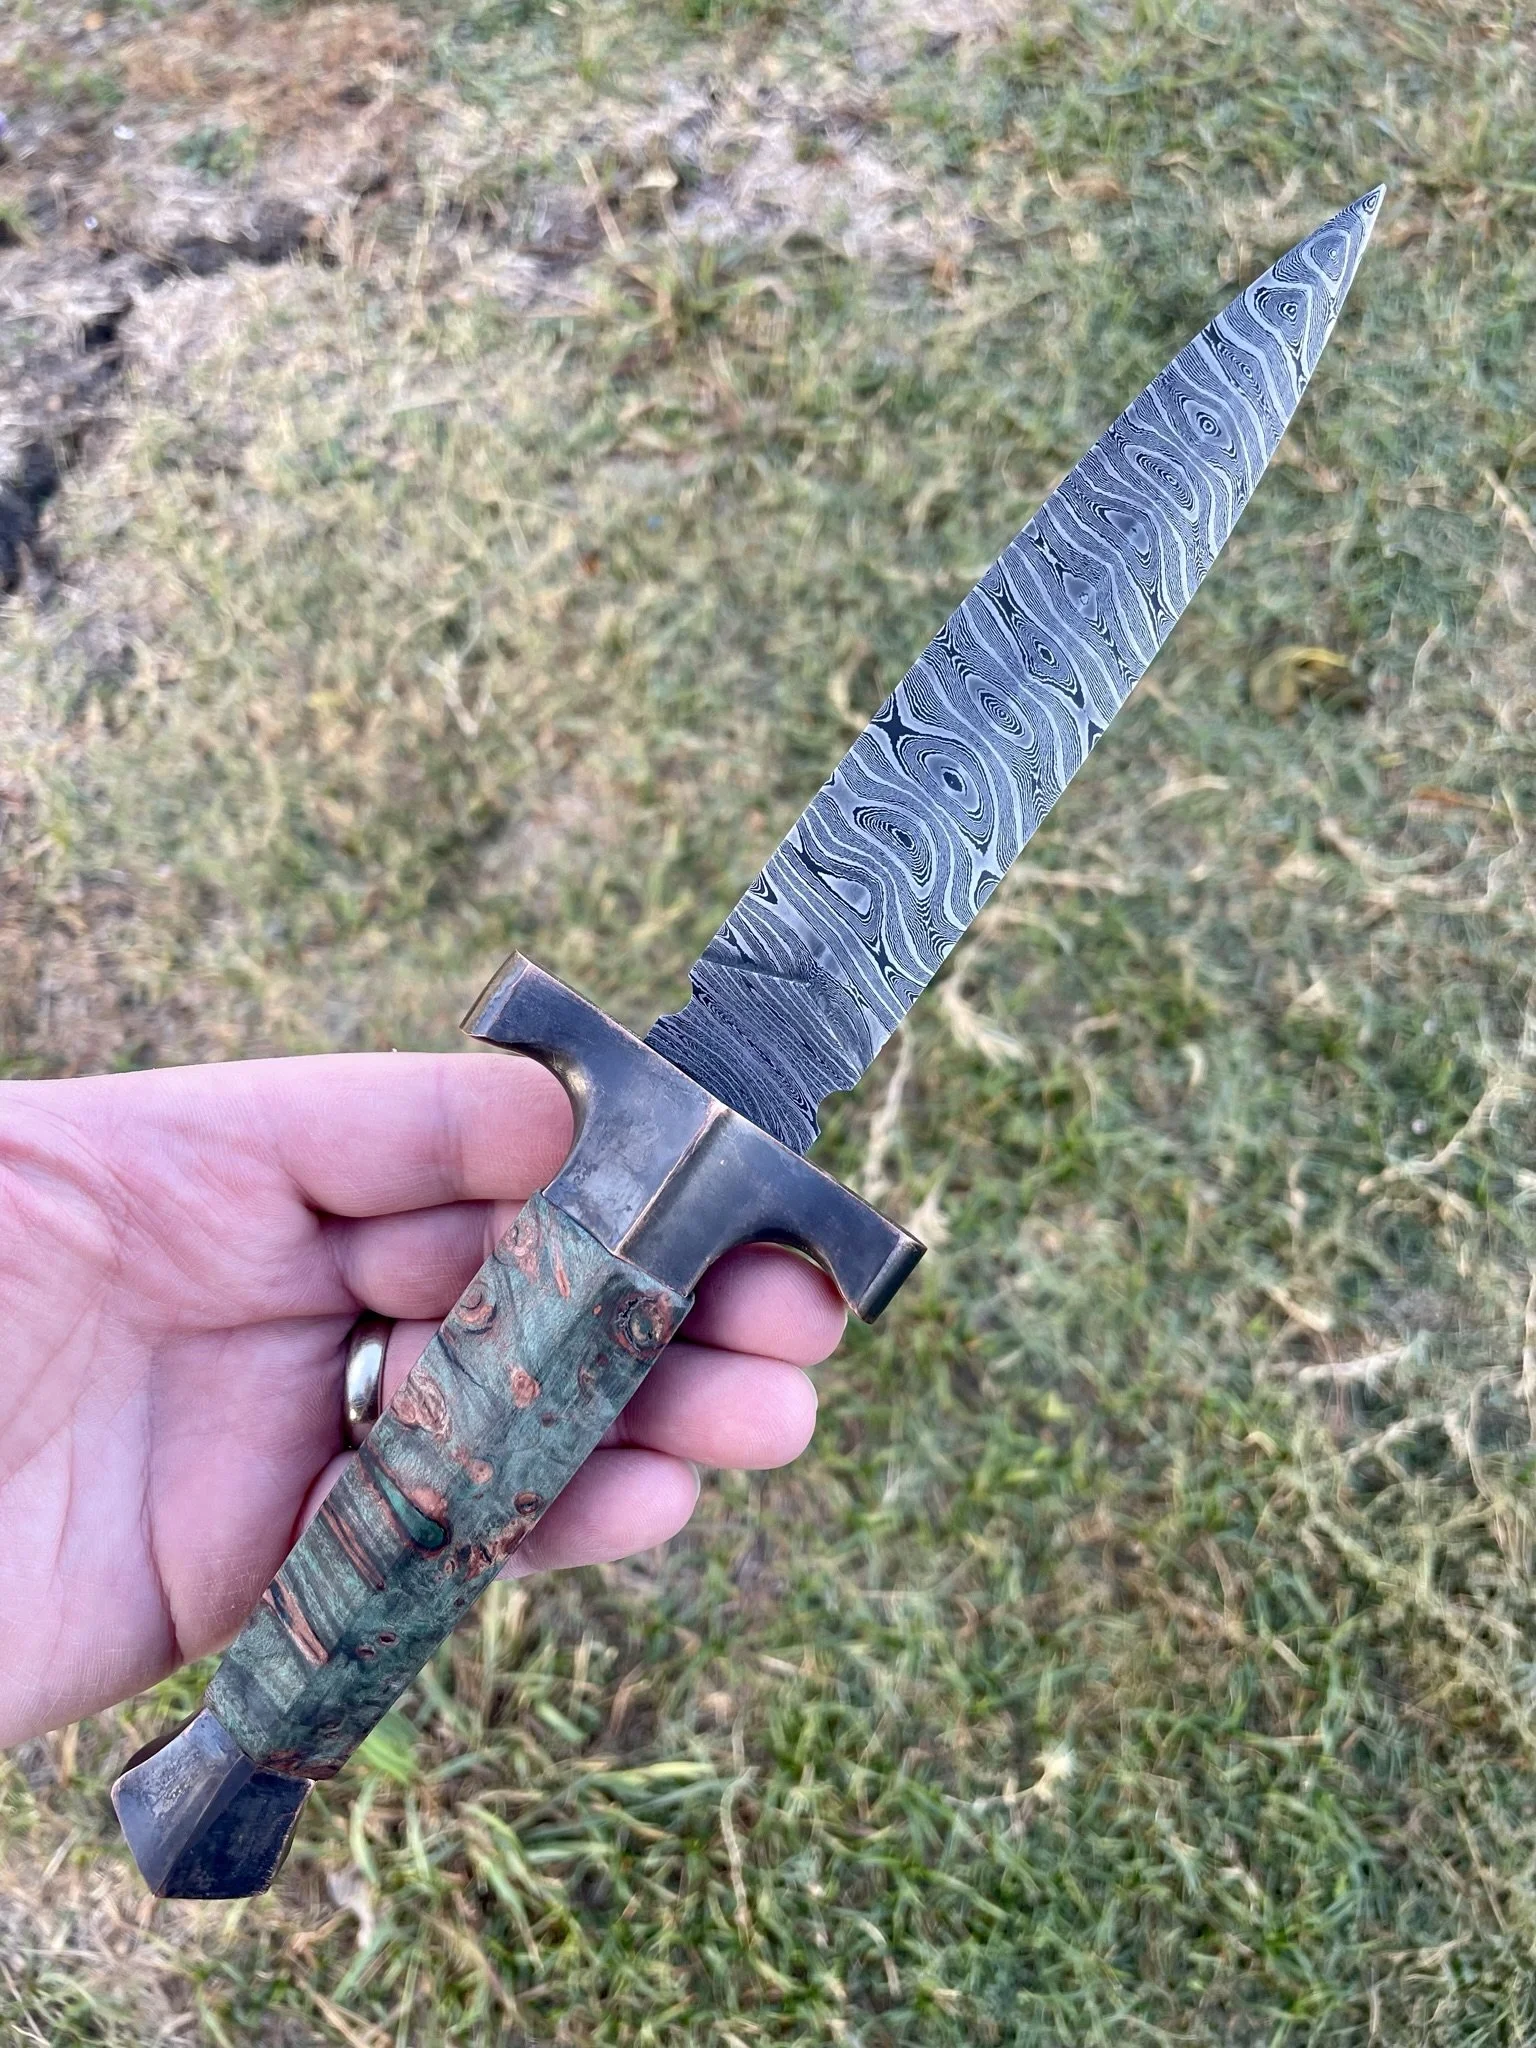
Outside in natural lighting.
-
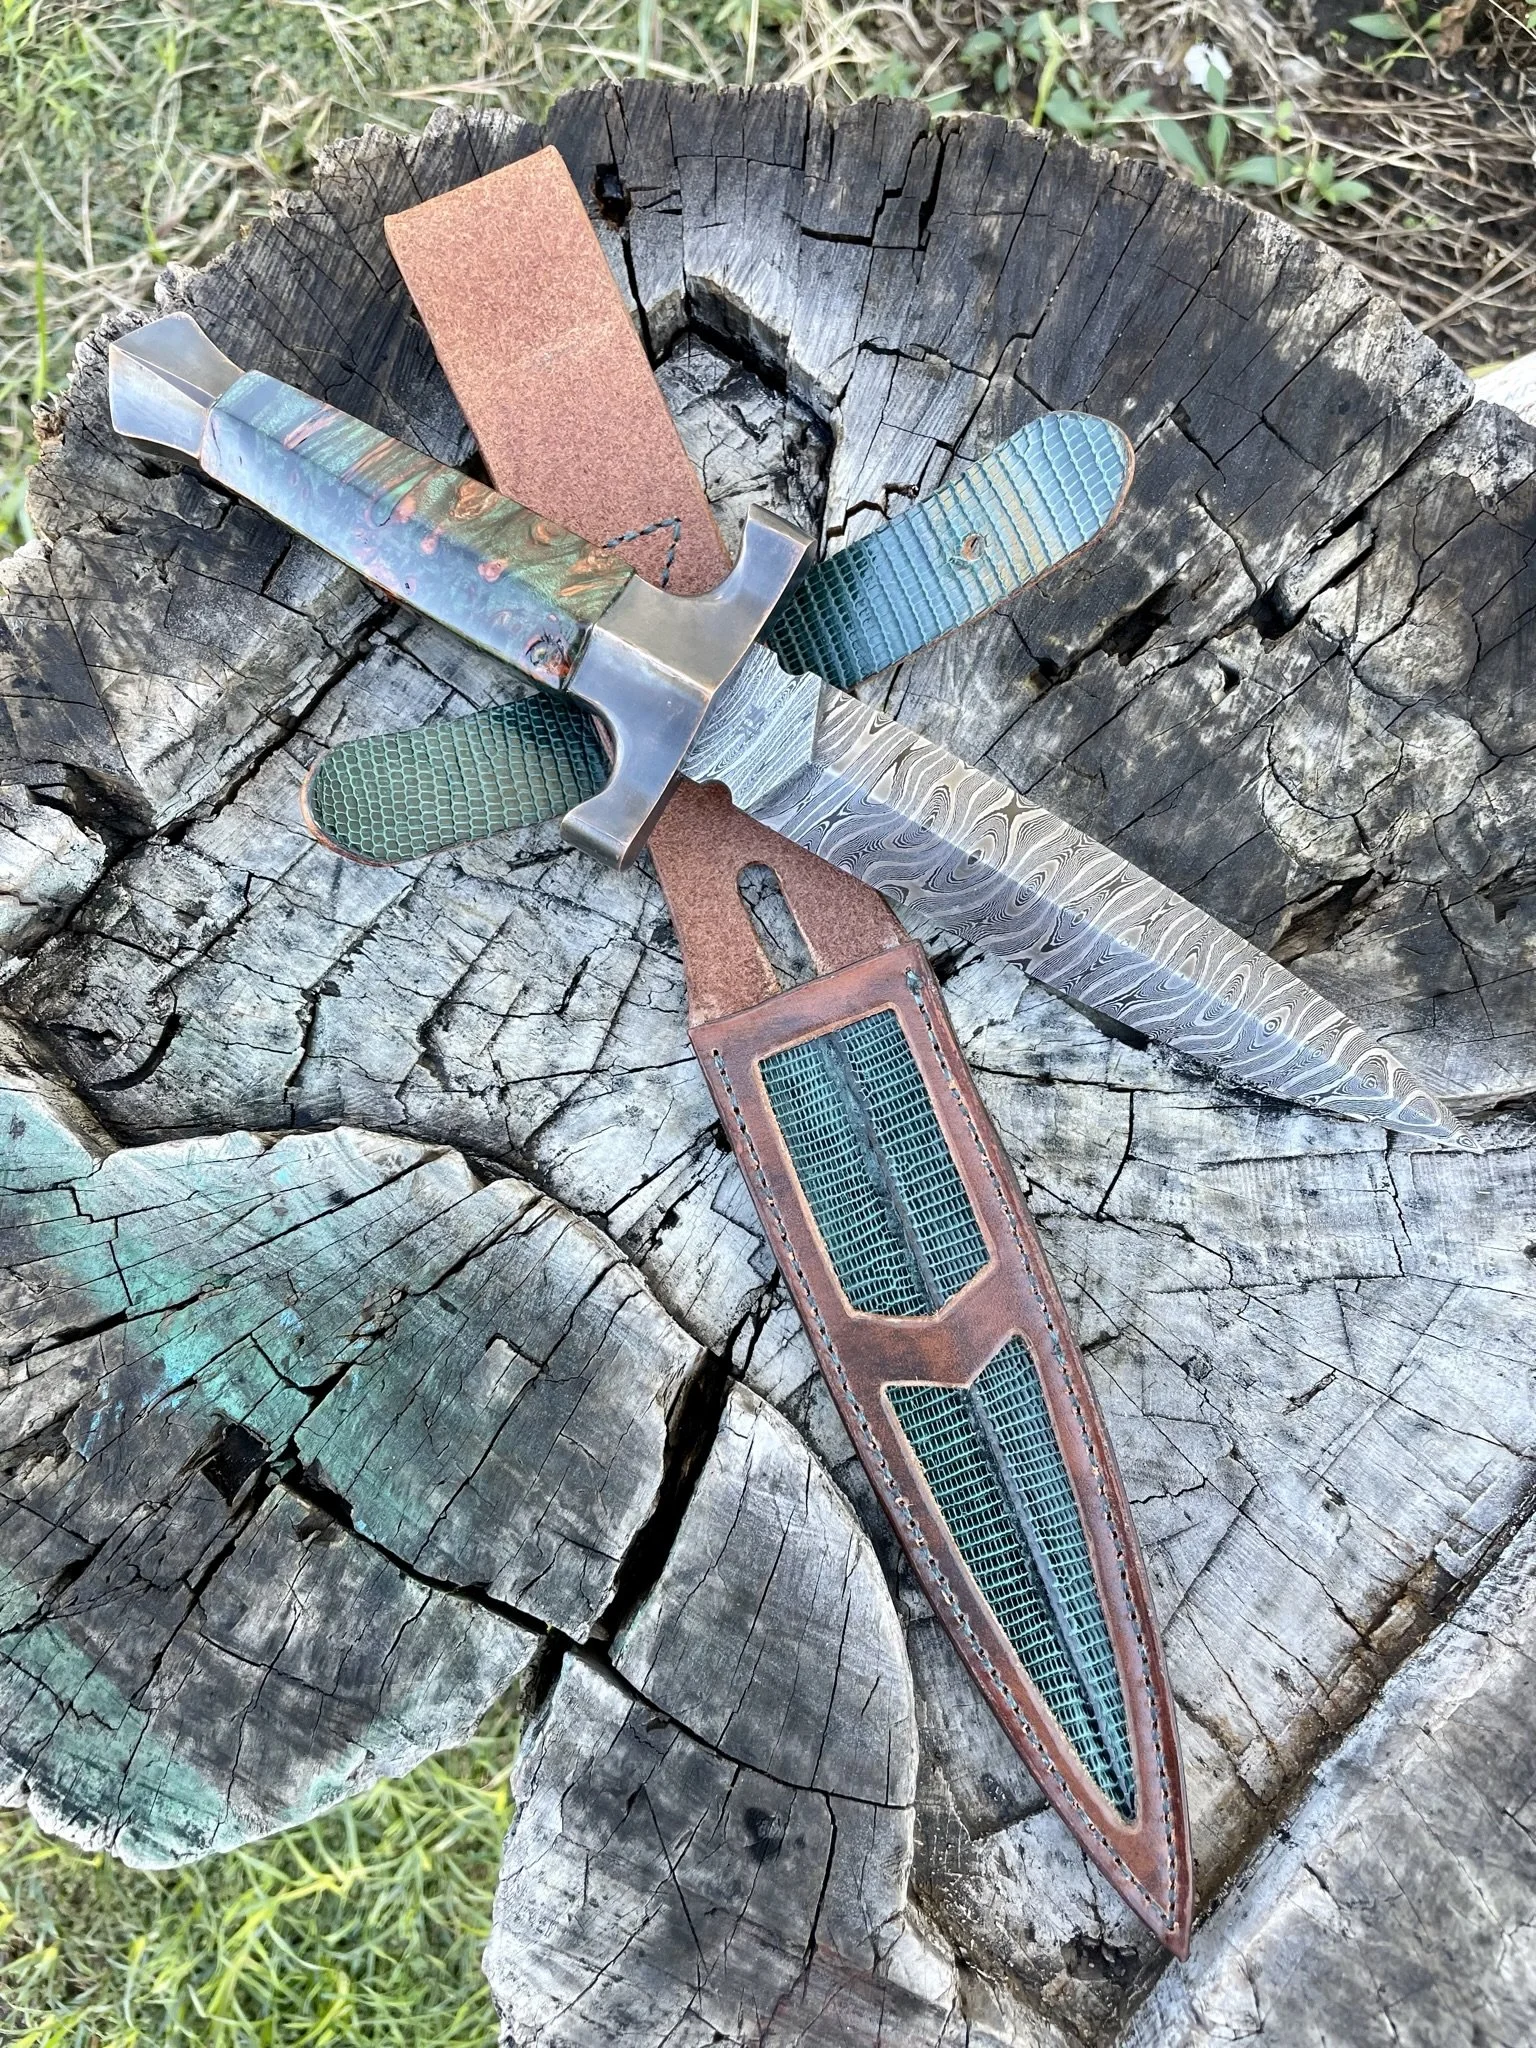
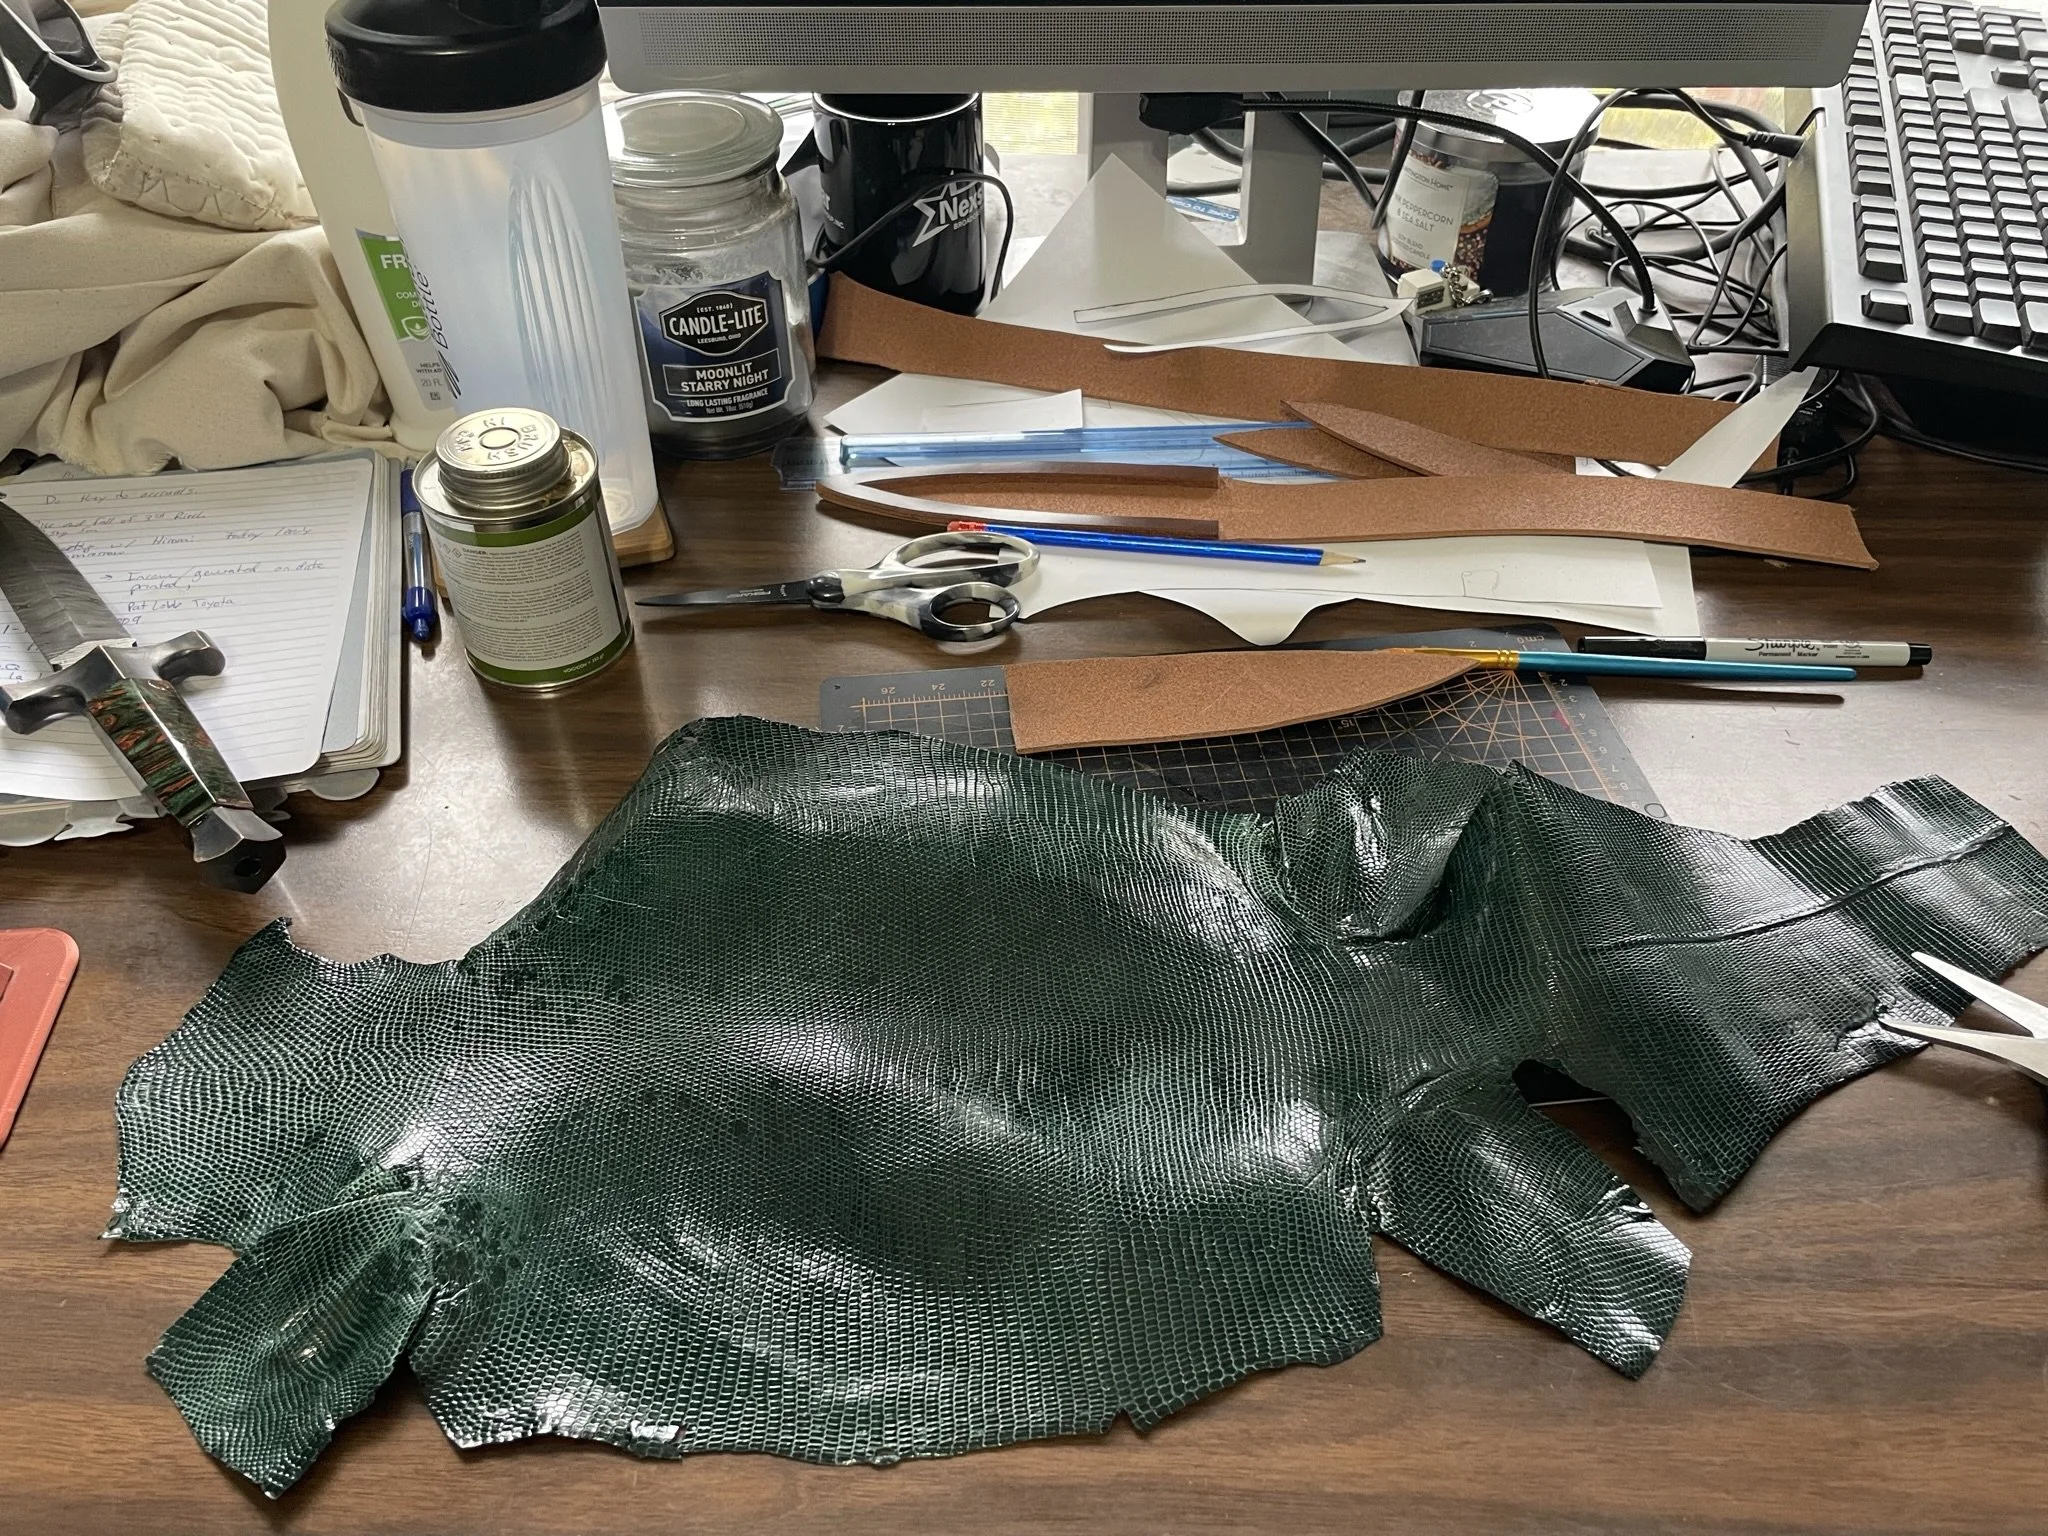
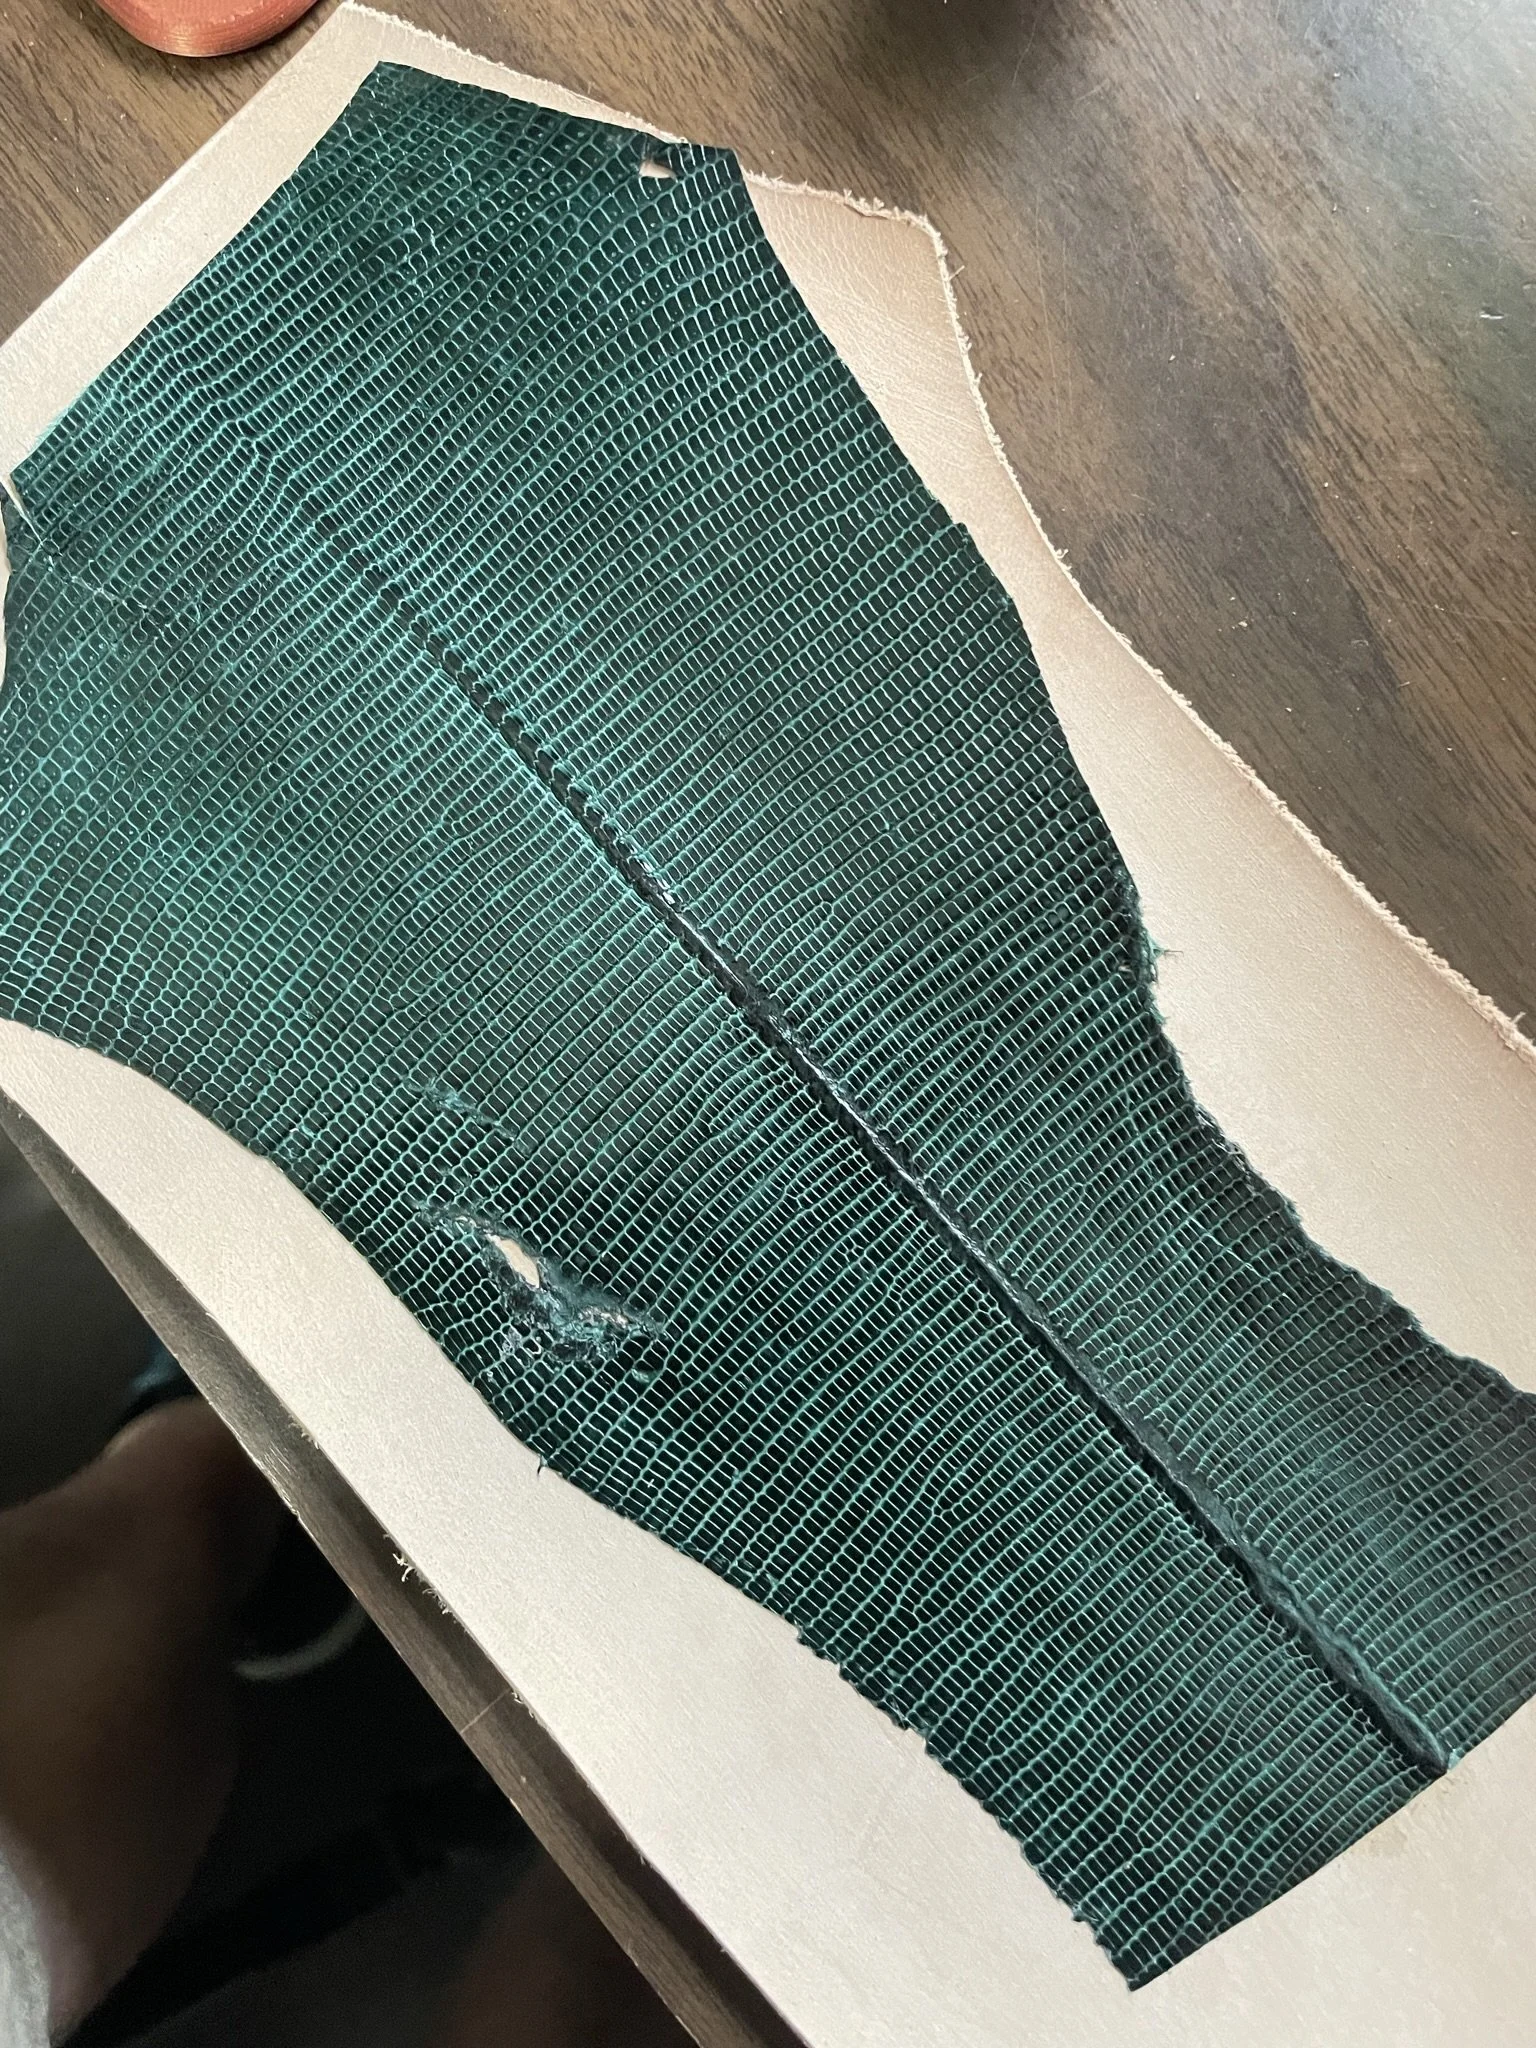
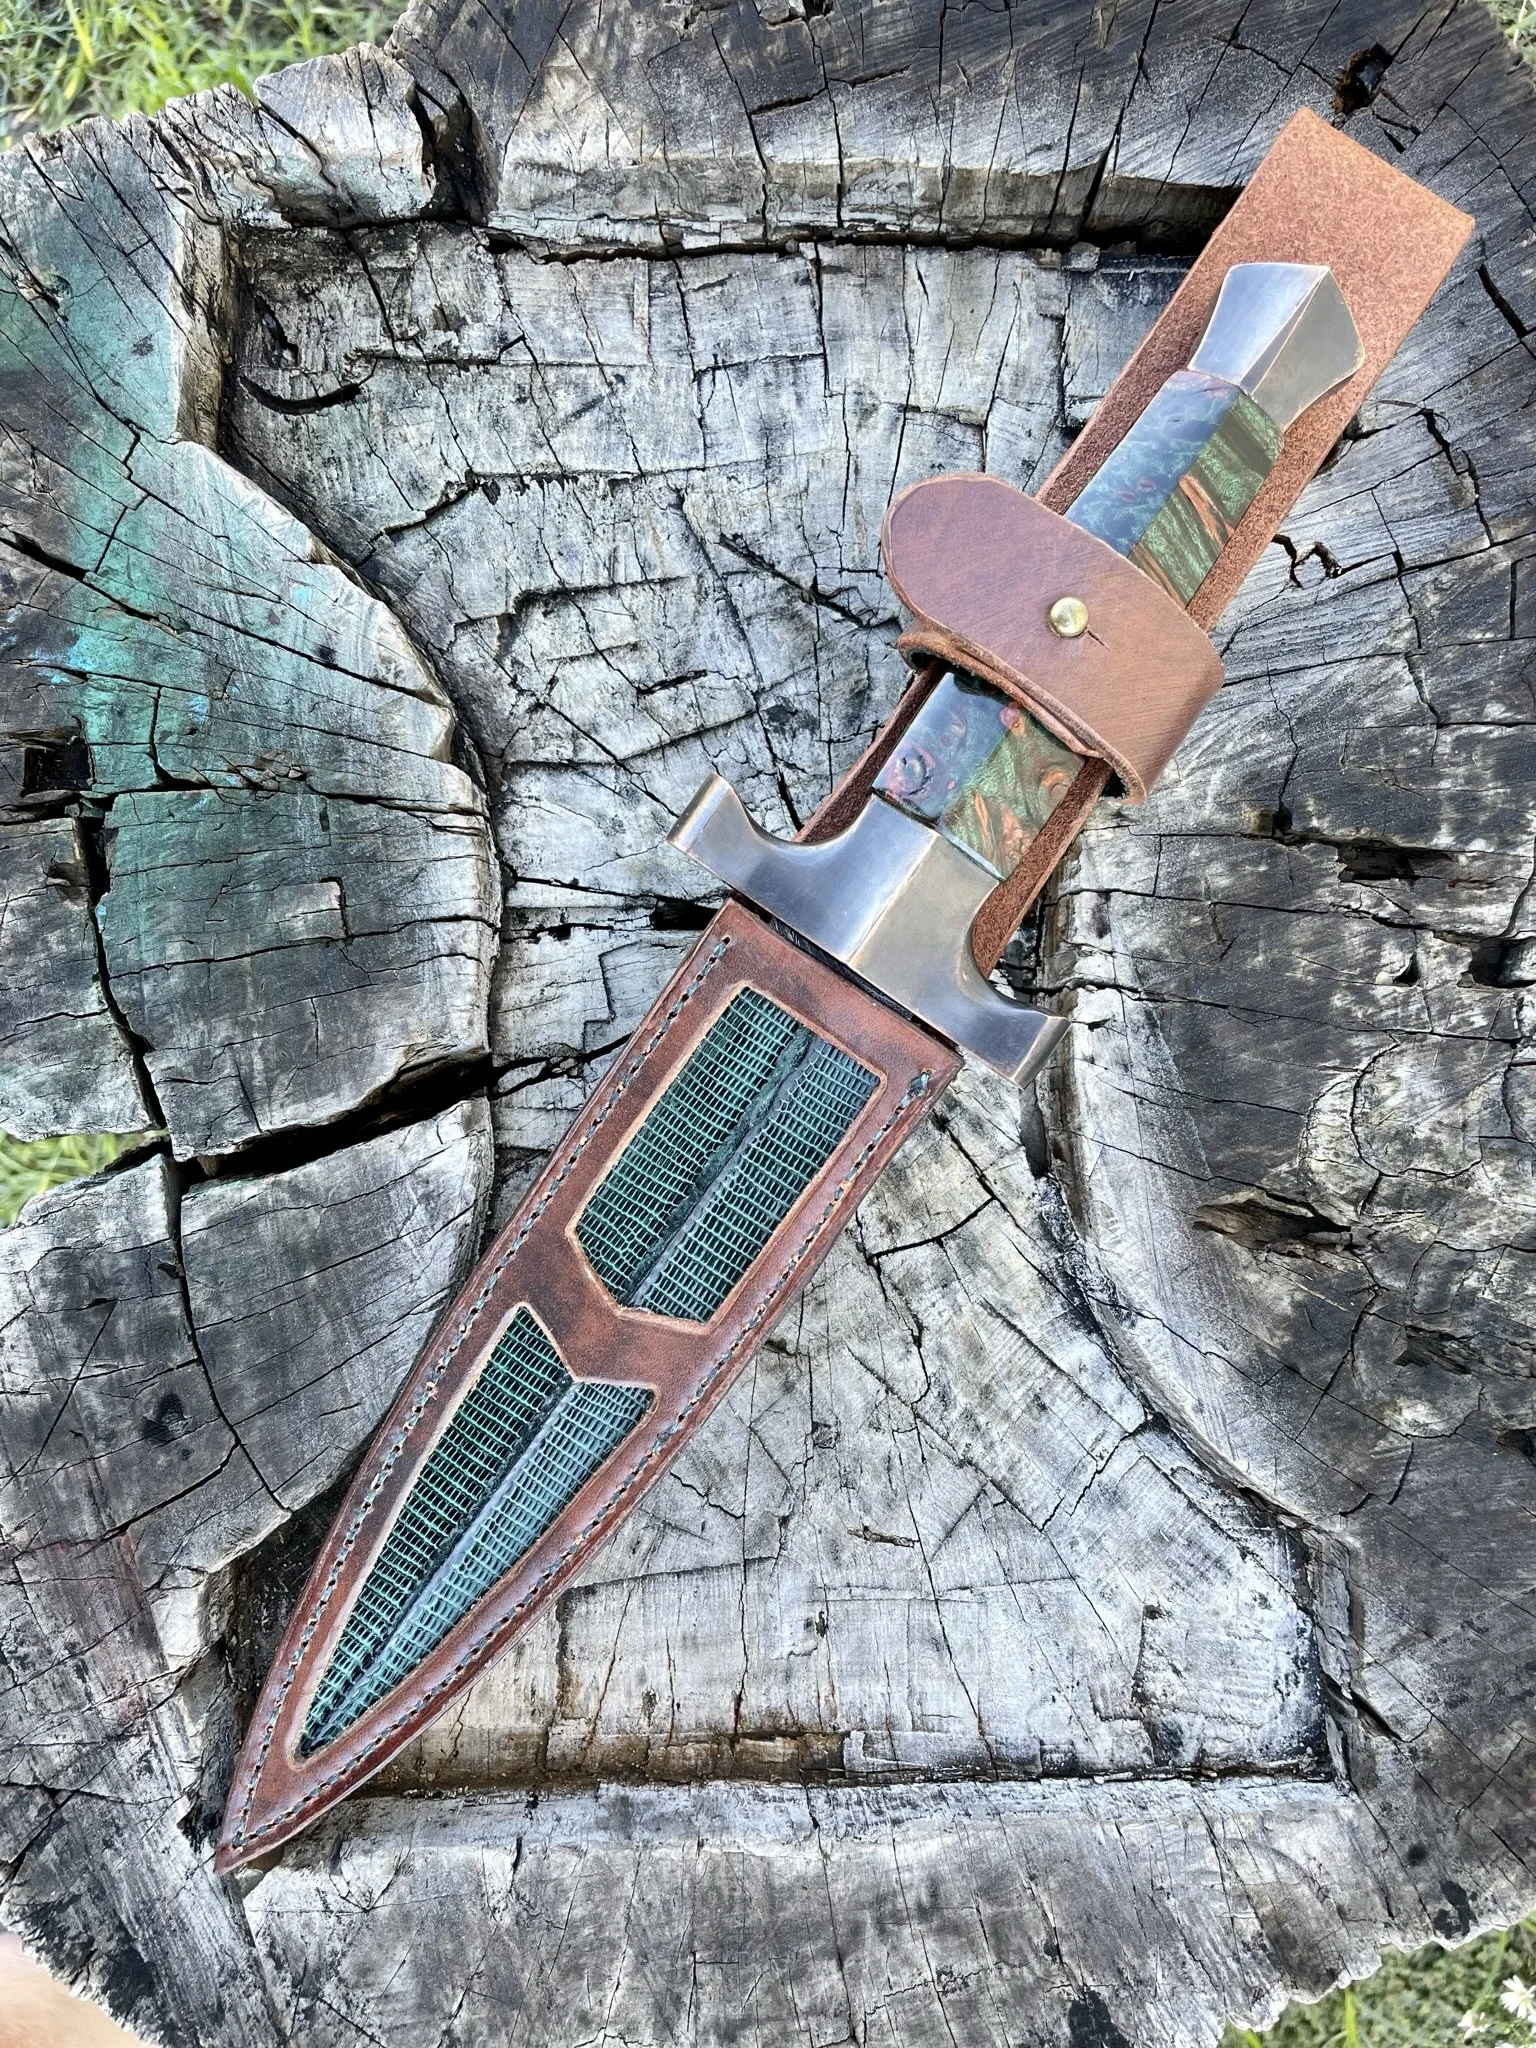
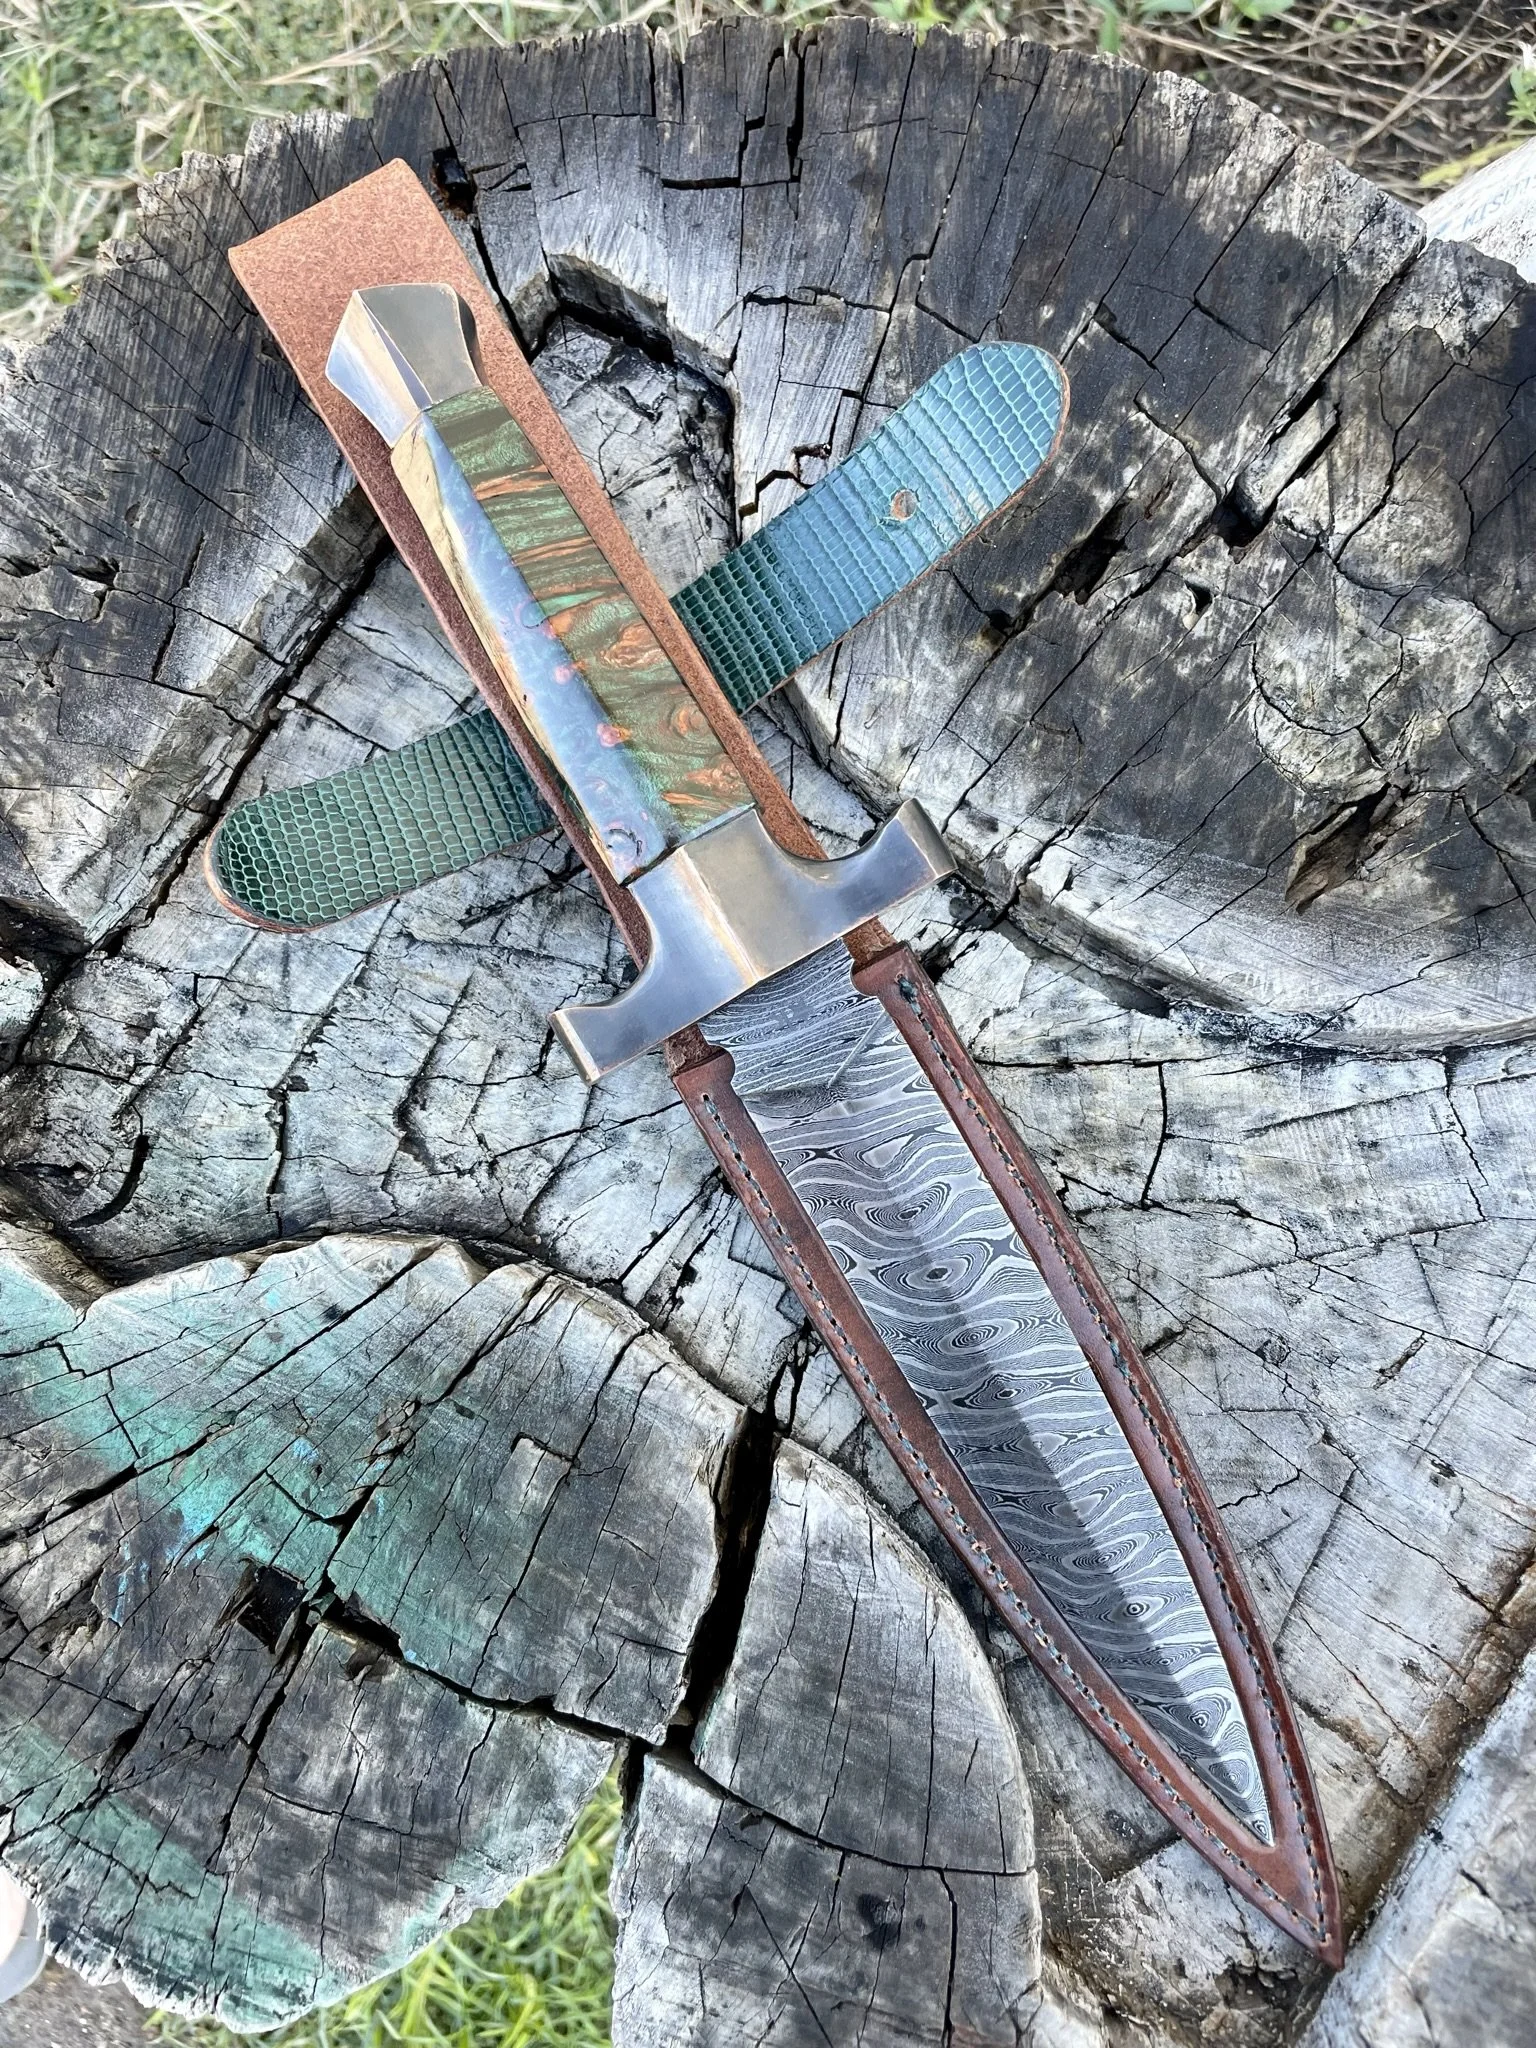
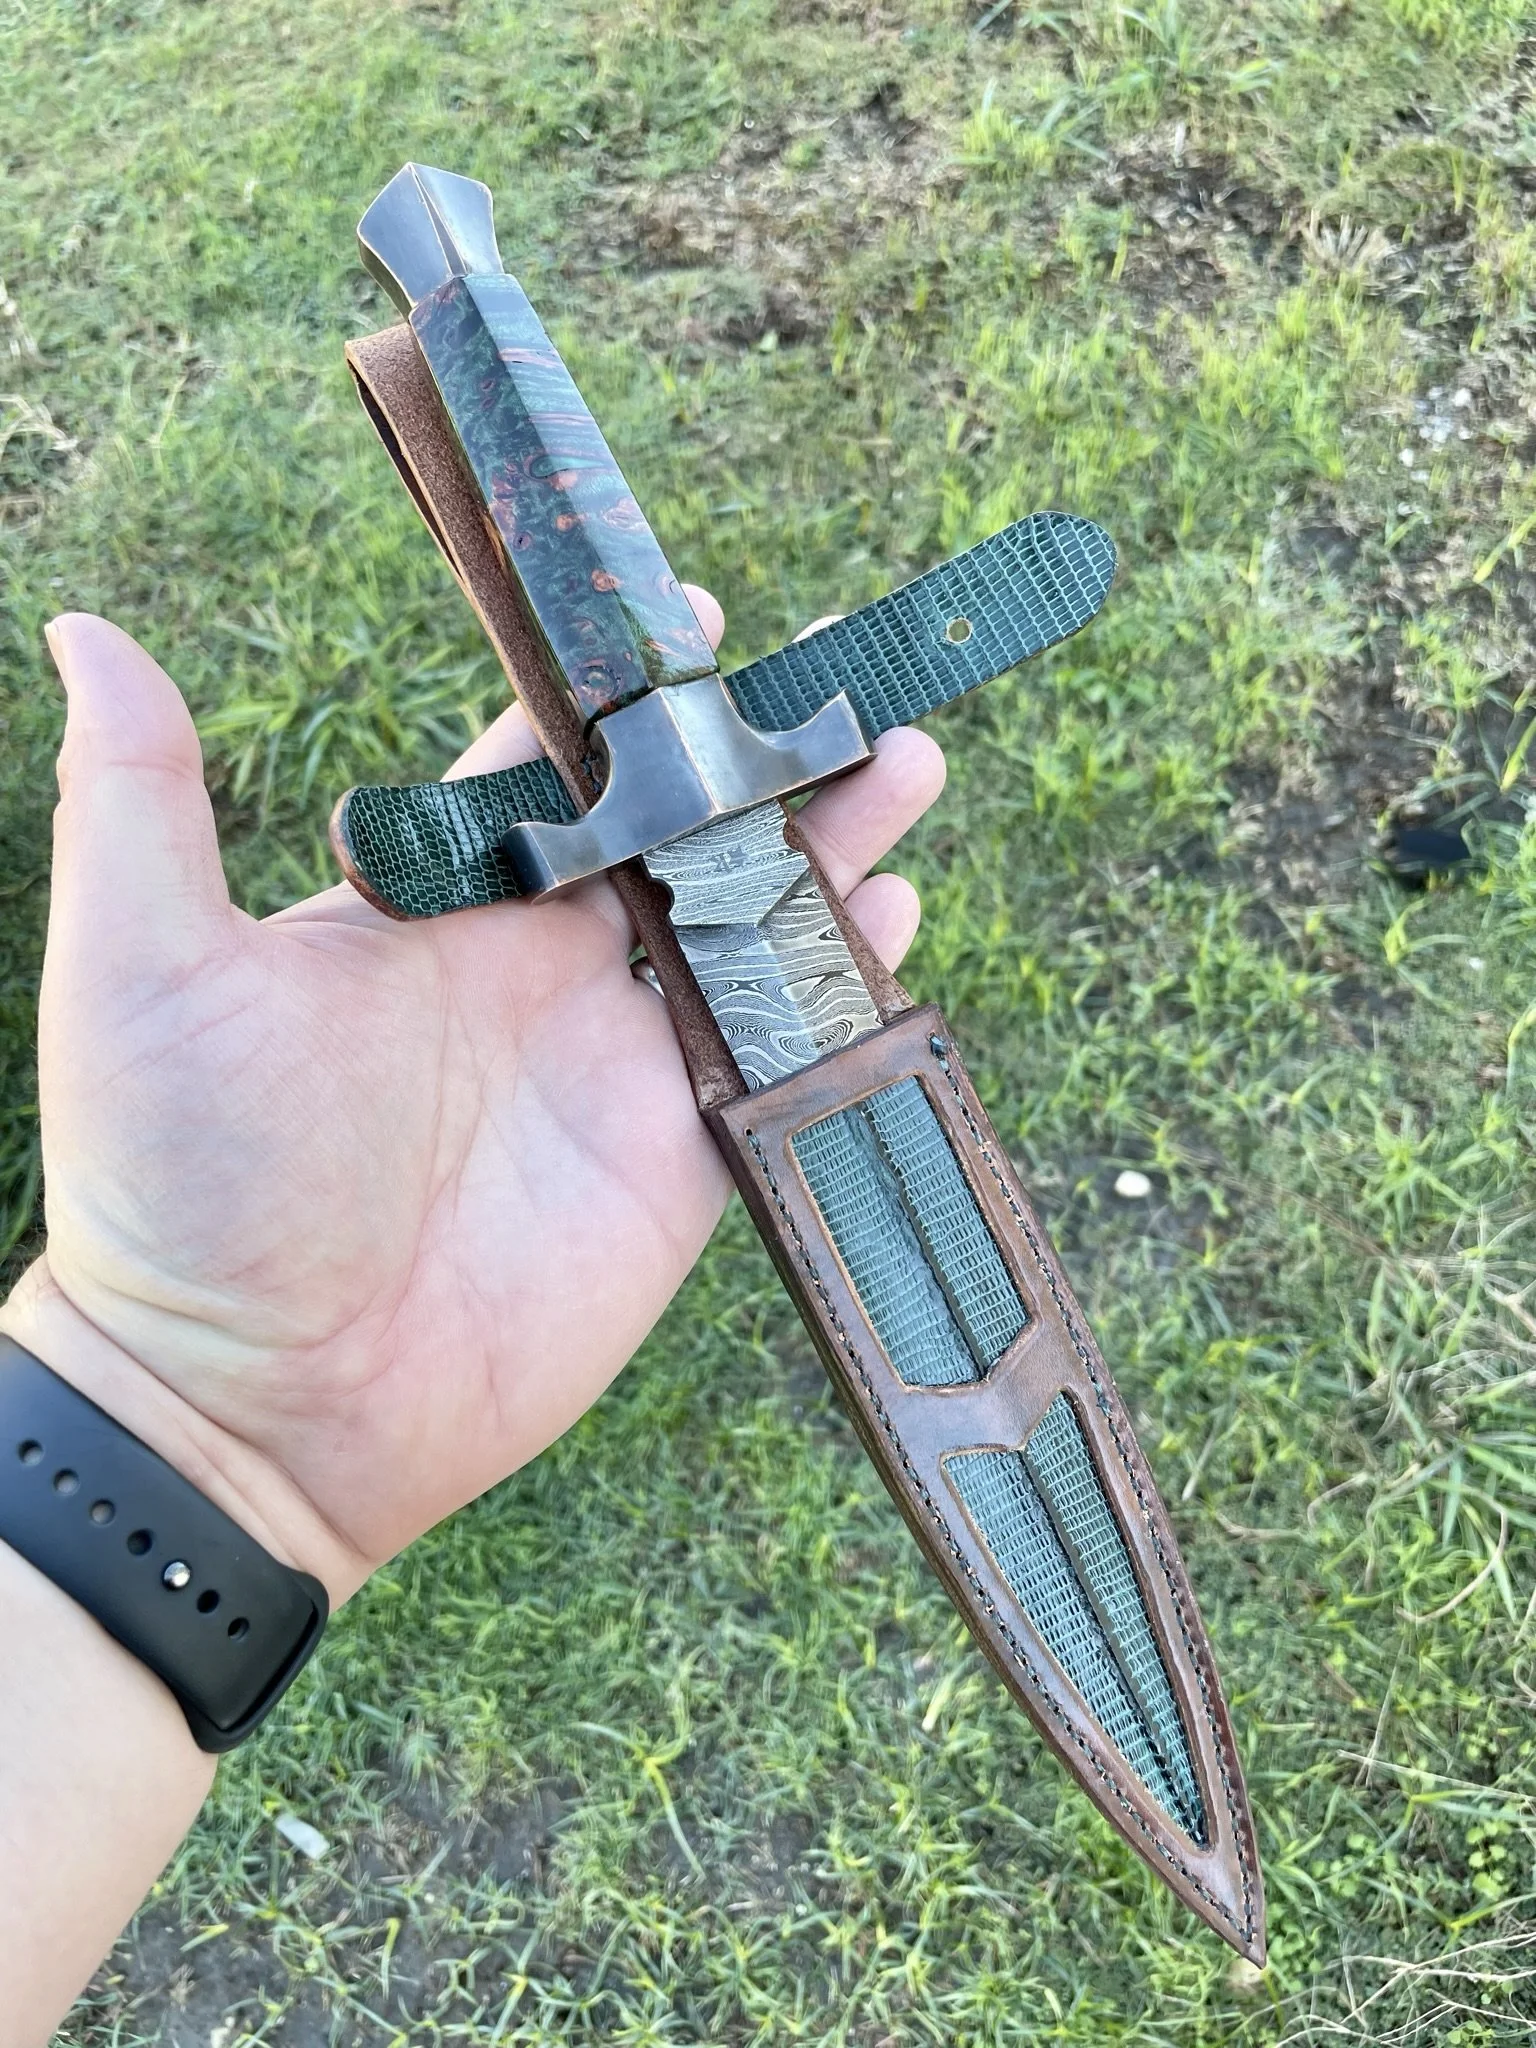
In order match the green handle, I decided to use this cook iguana skin in the sheath.
-
Gluing the iguana skin to the base leather.
-
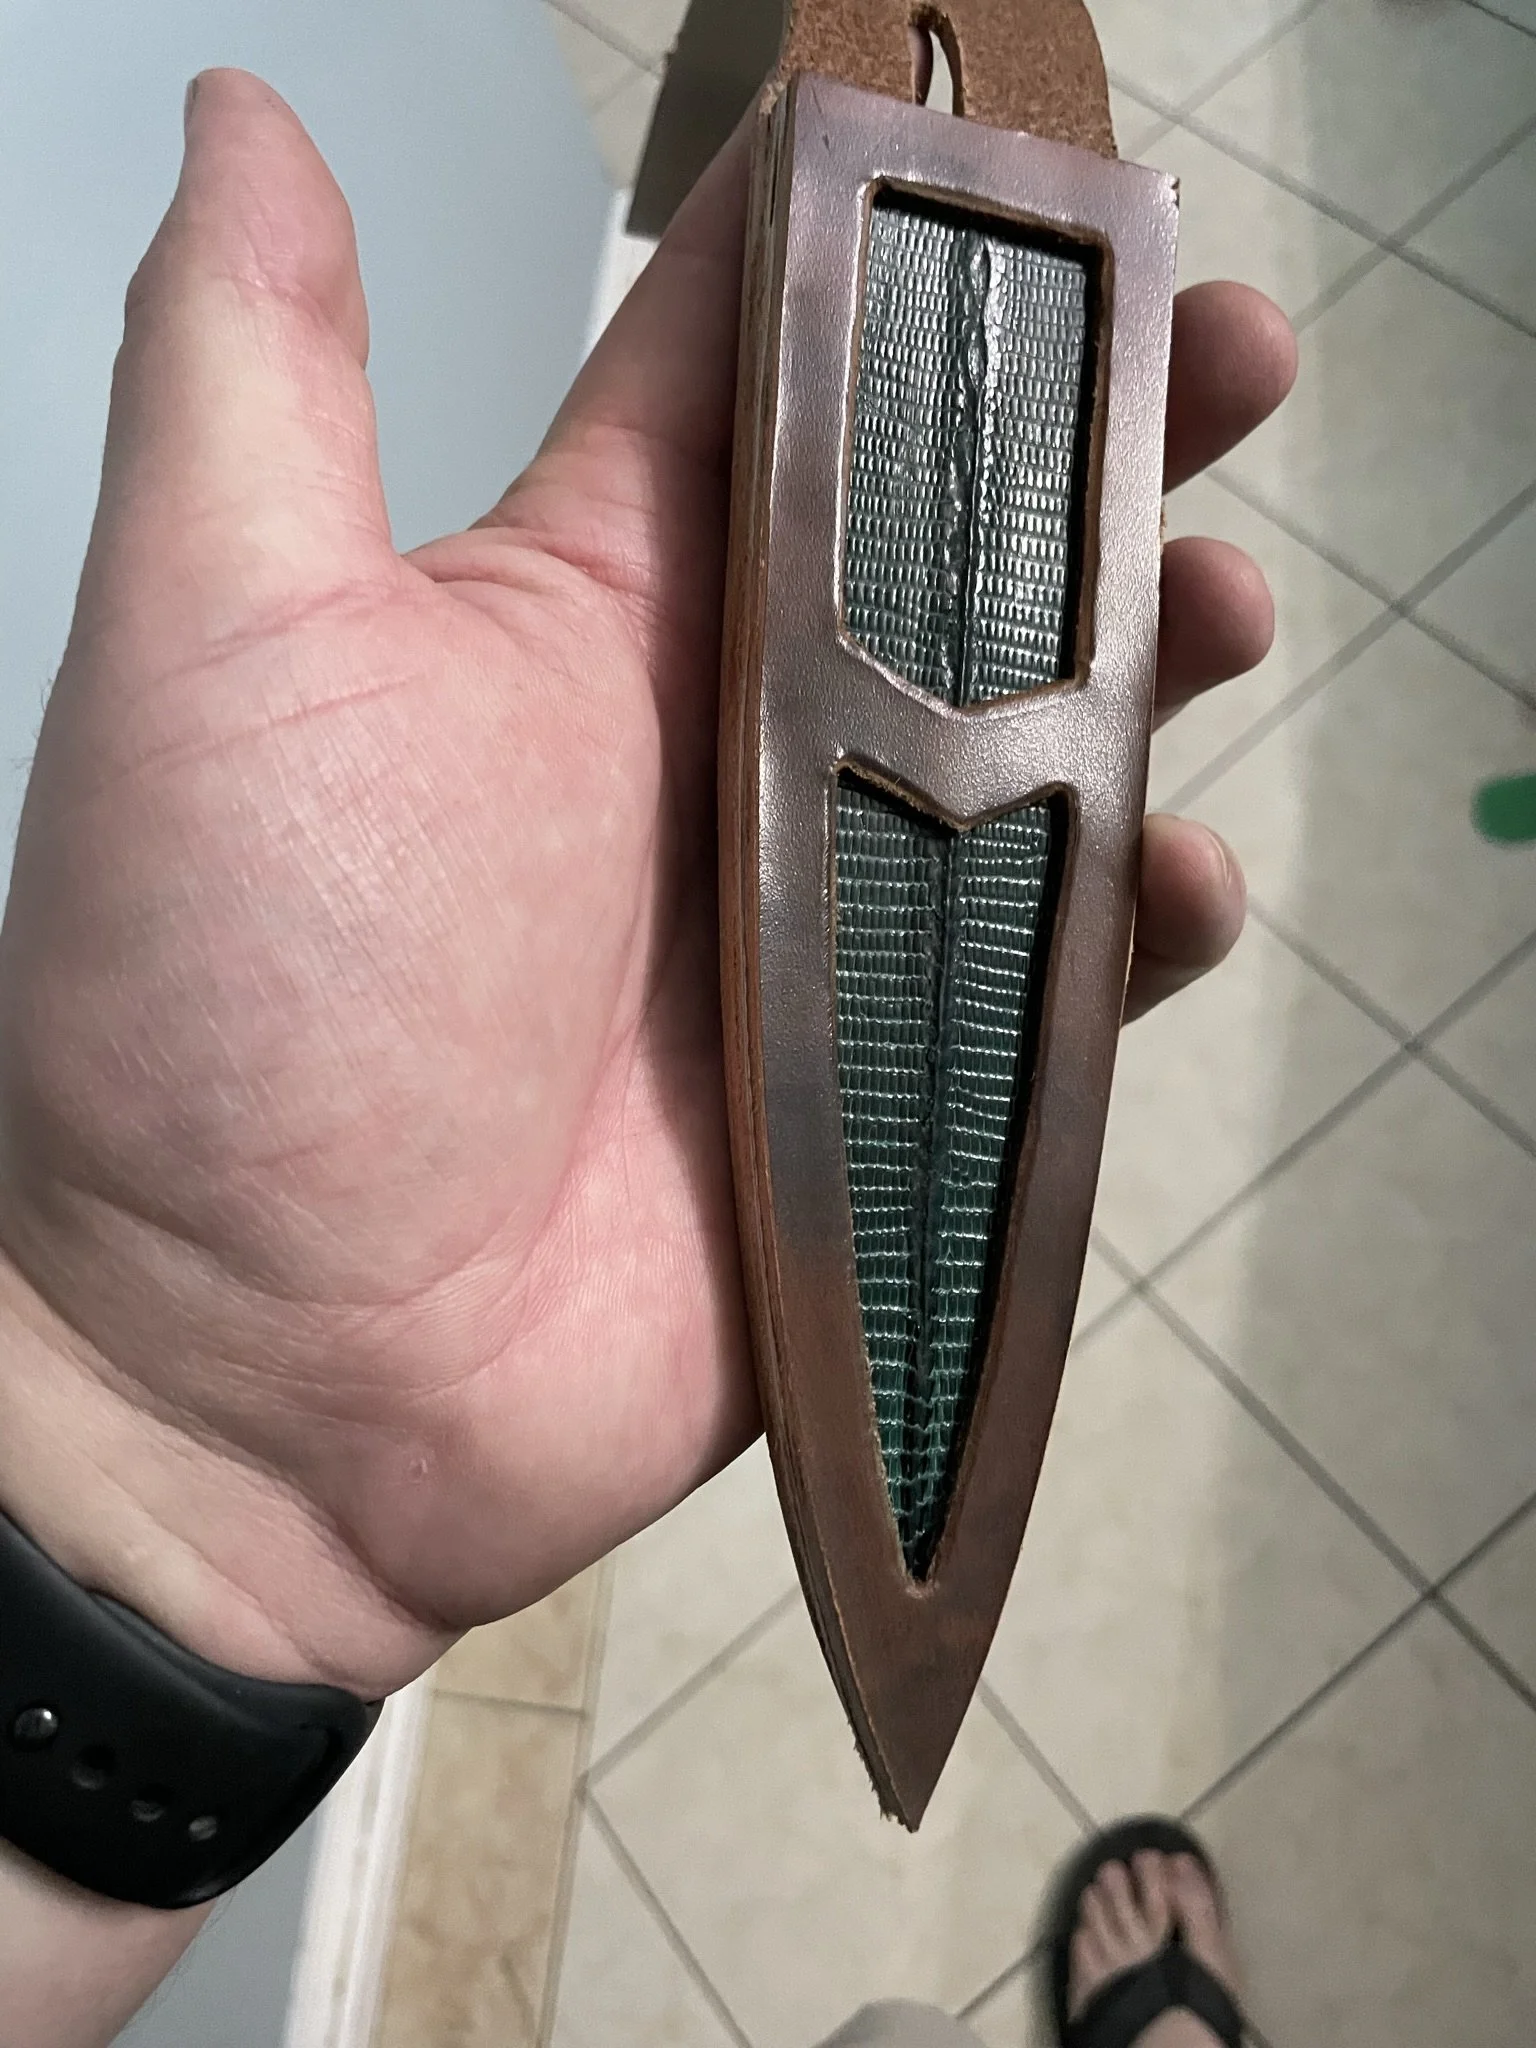
Sheath with windows, just needed a strap to keep the dagger in place.
-
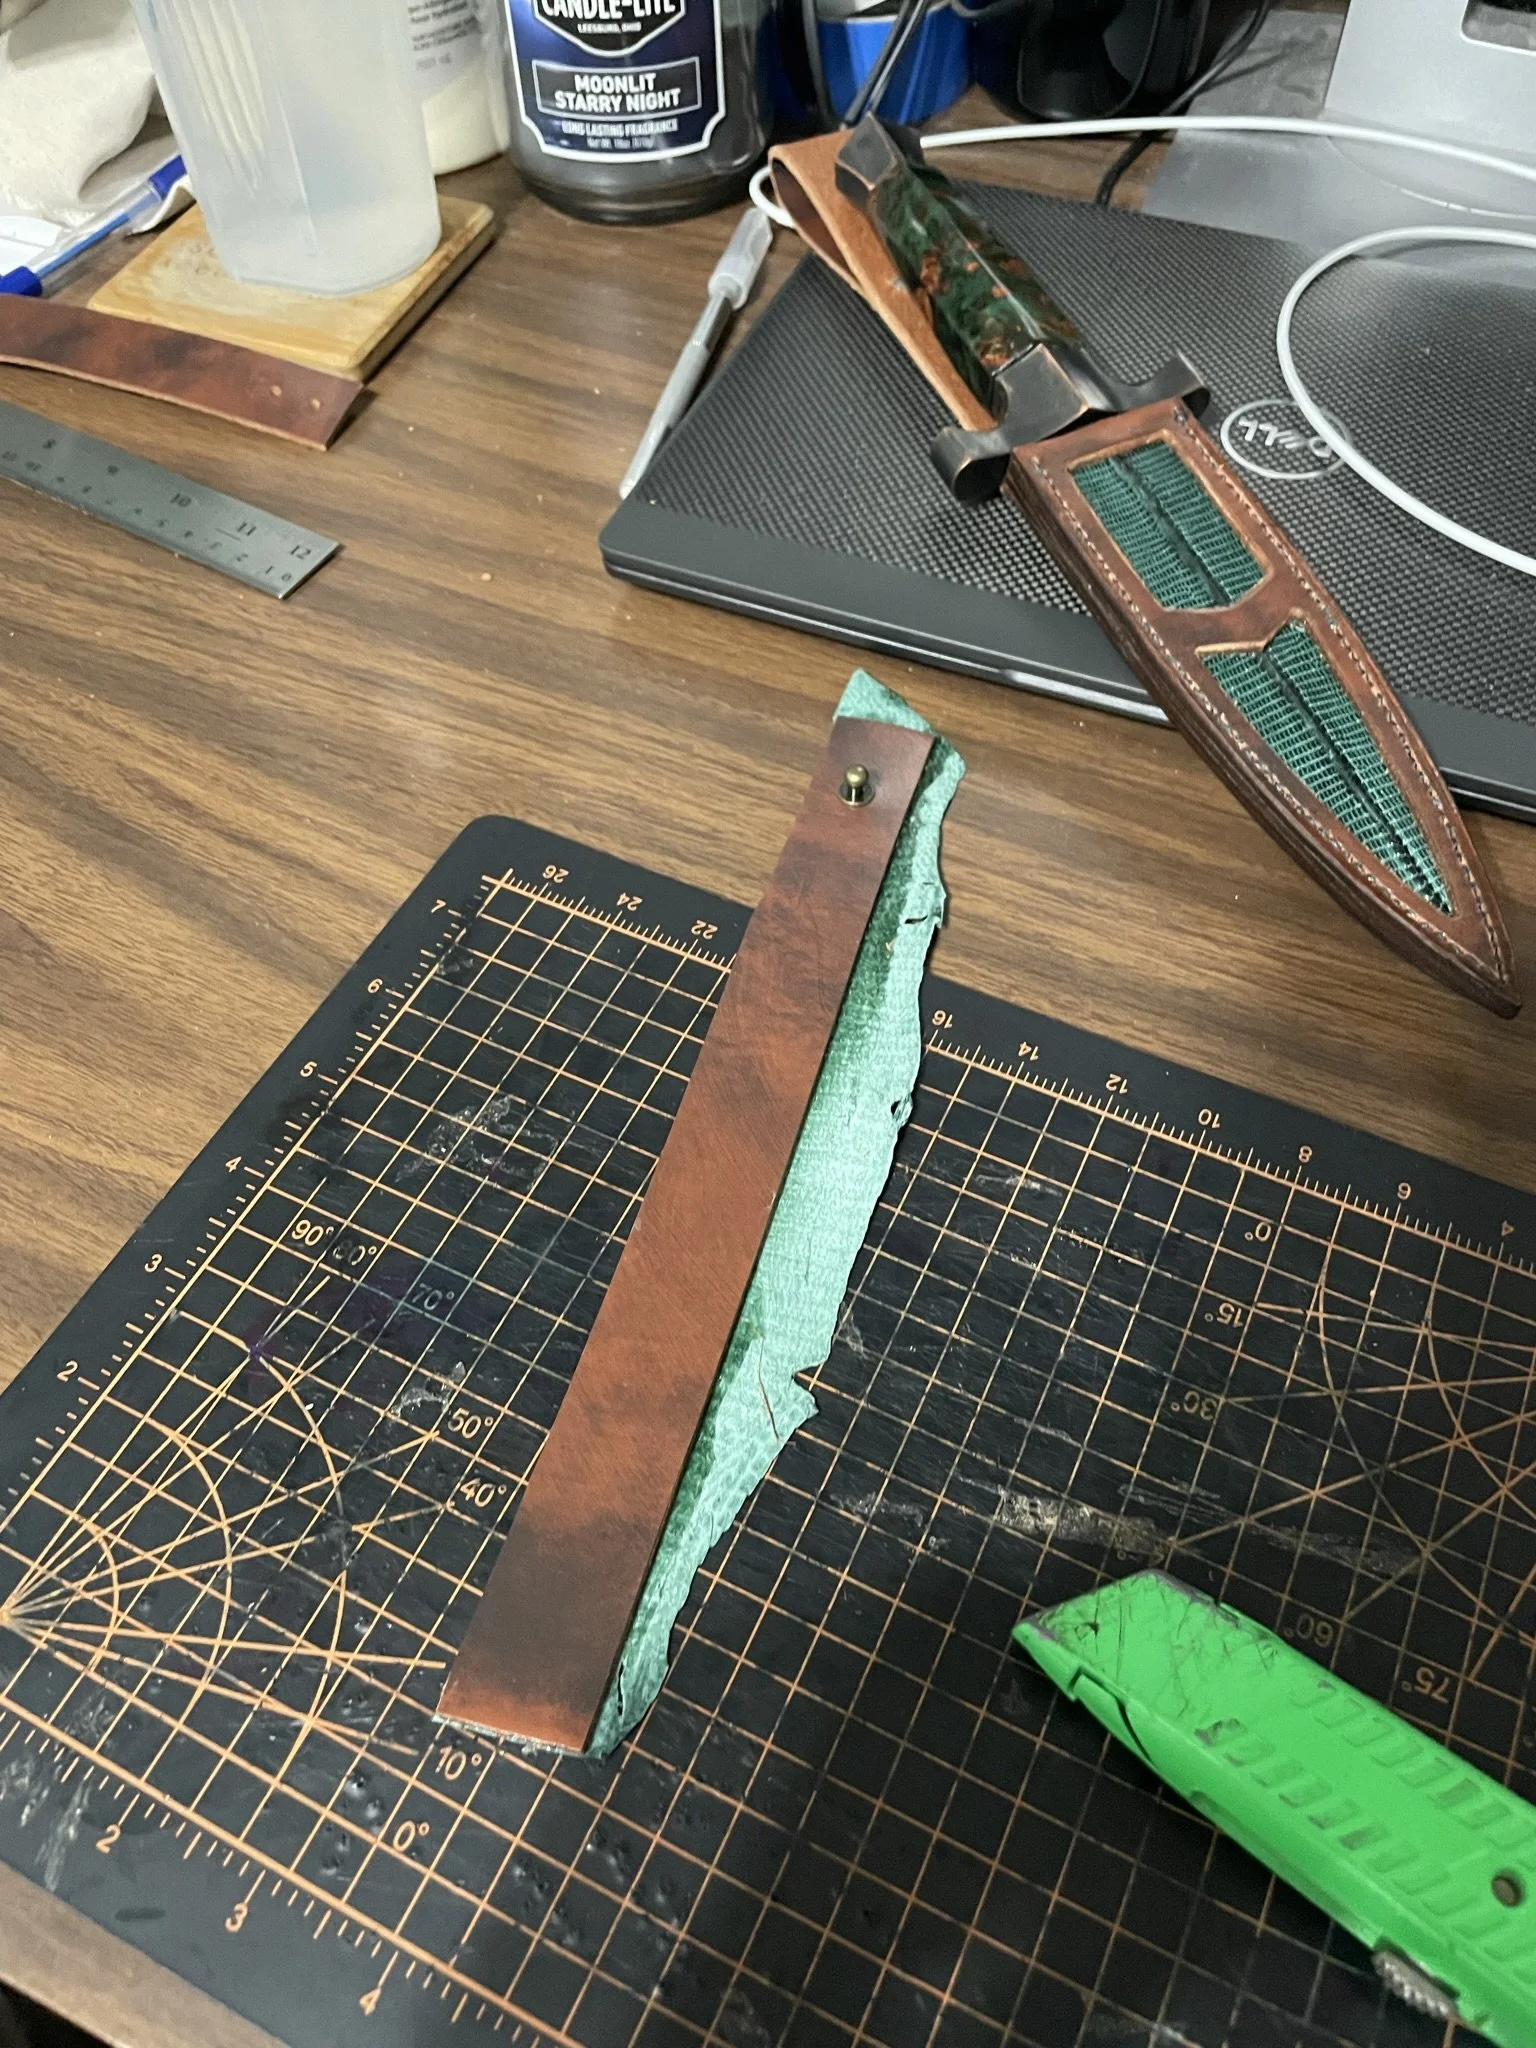
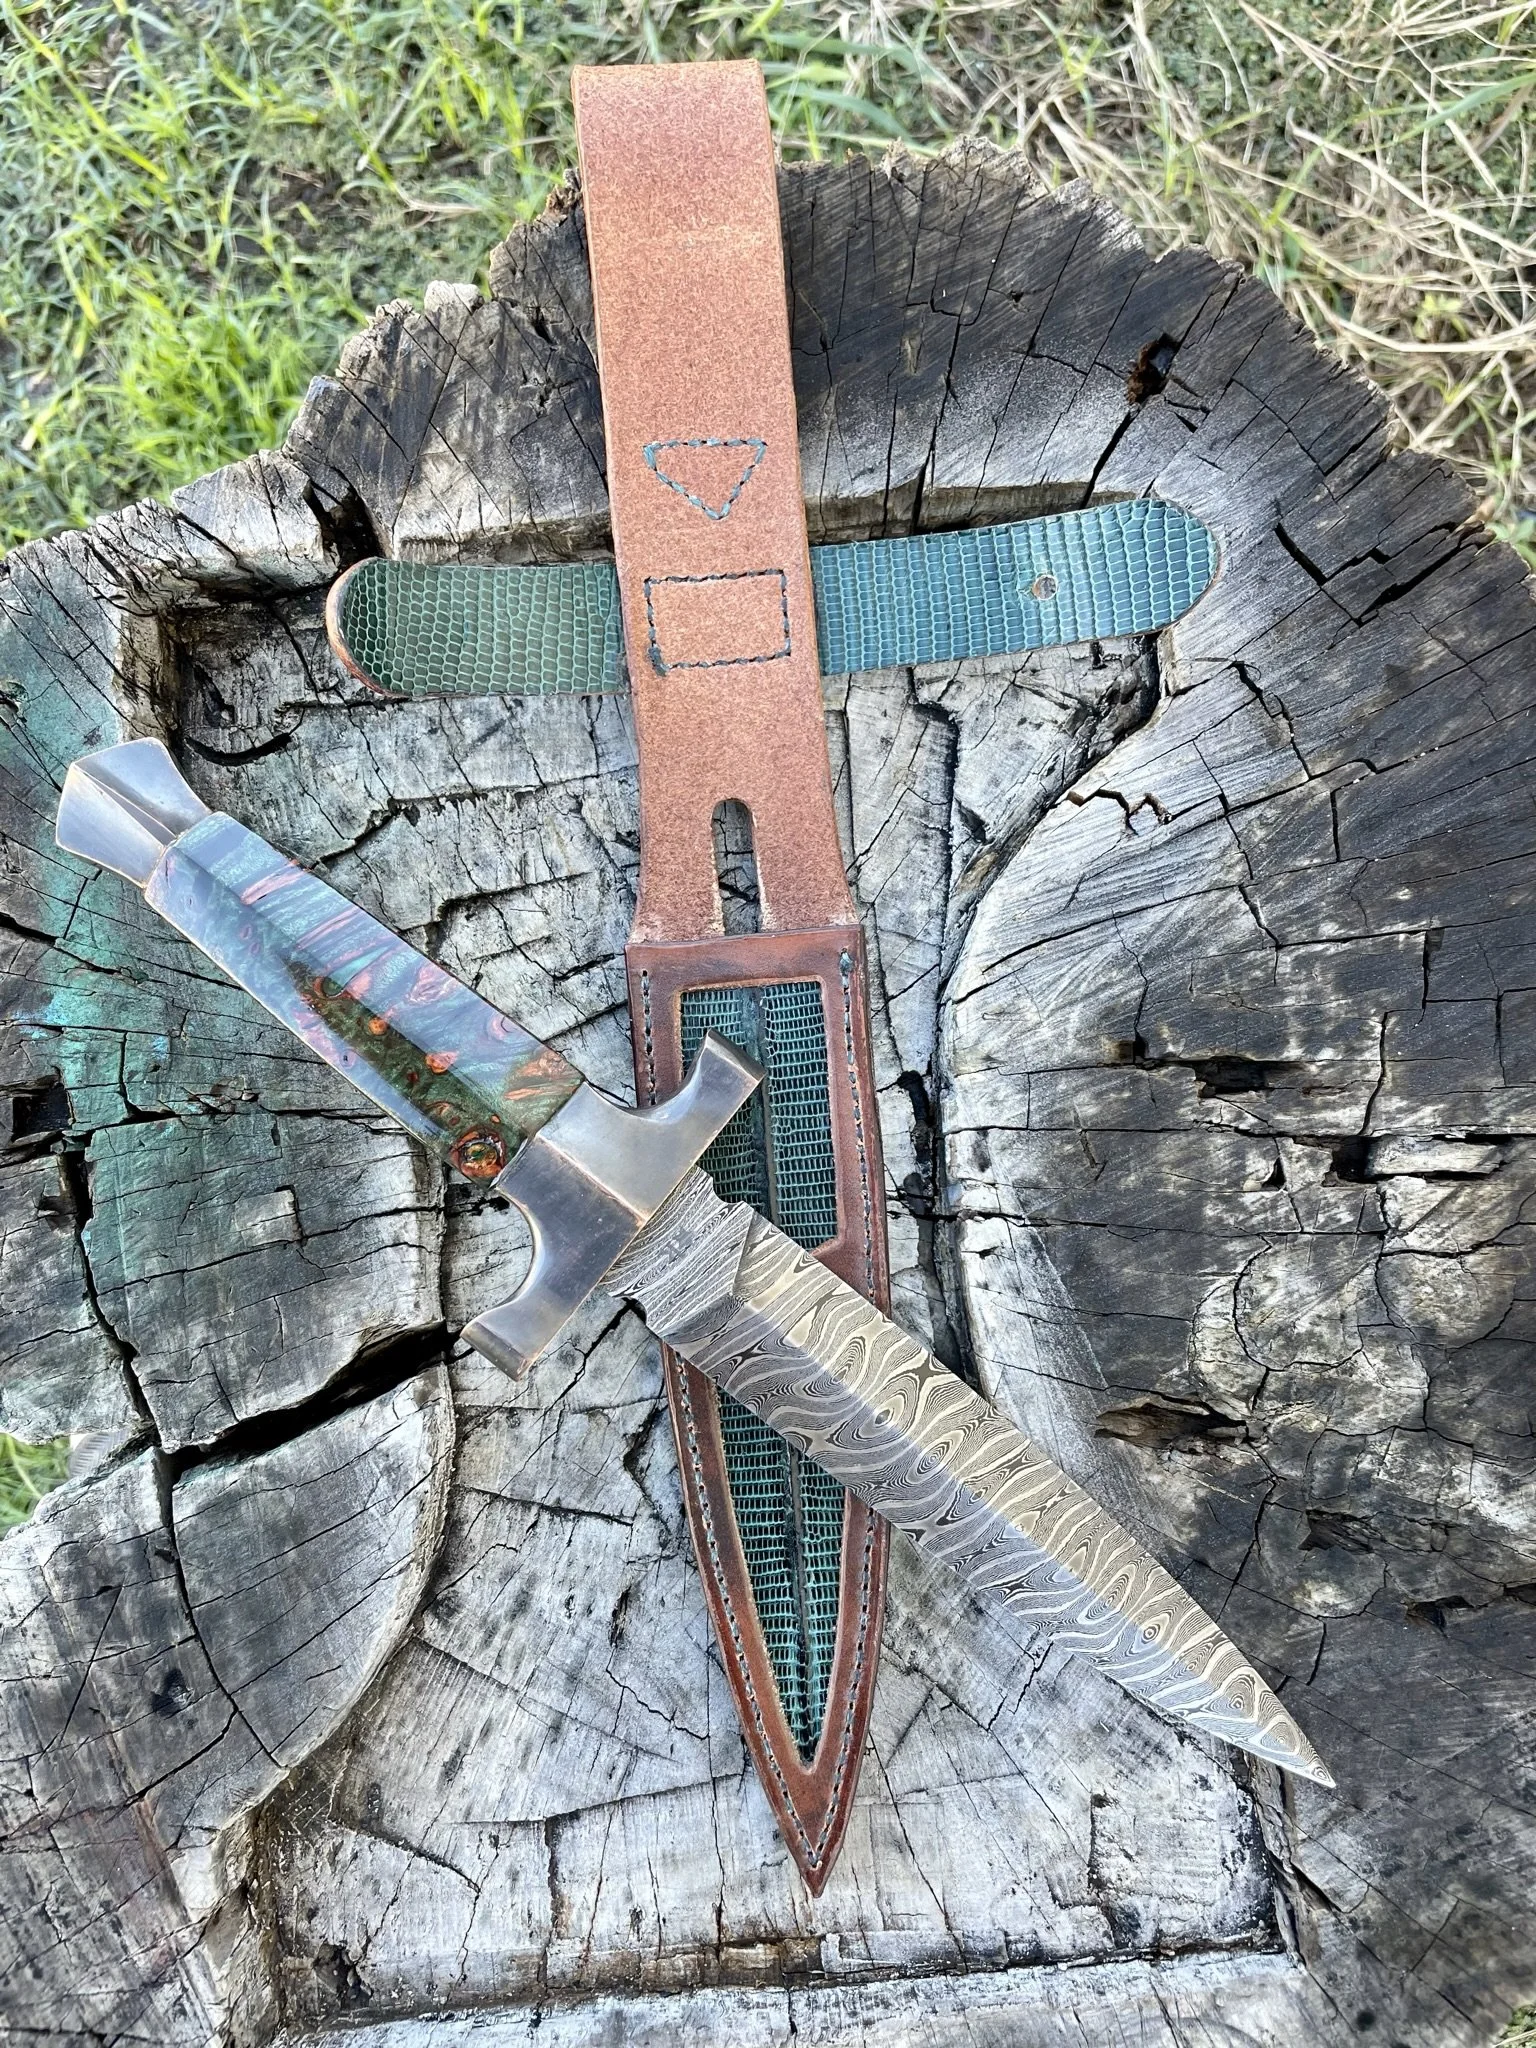
Custom strap with a little pop of color.
-
Glamour shot #1.
-
Glamour shot #2.
-
Glamour shot #3.
-
Glamour shot #4.
-
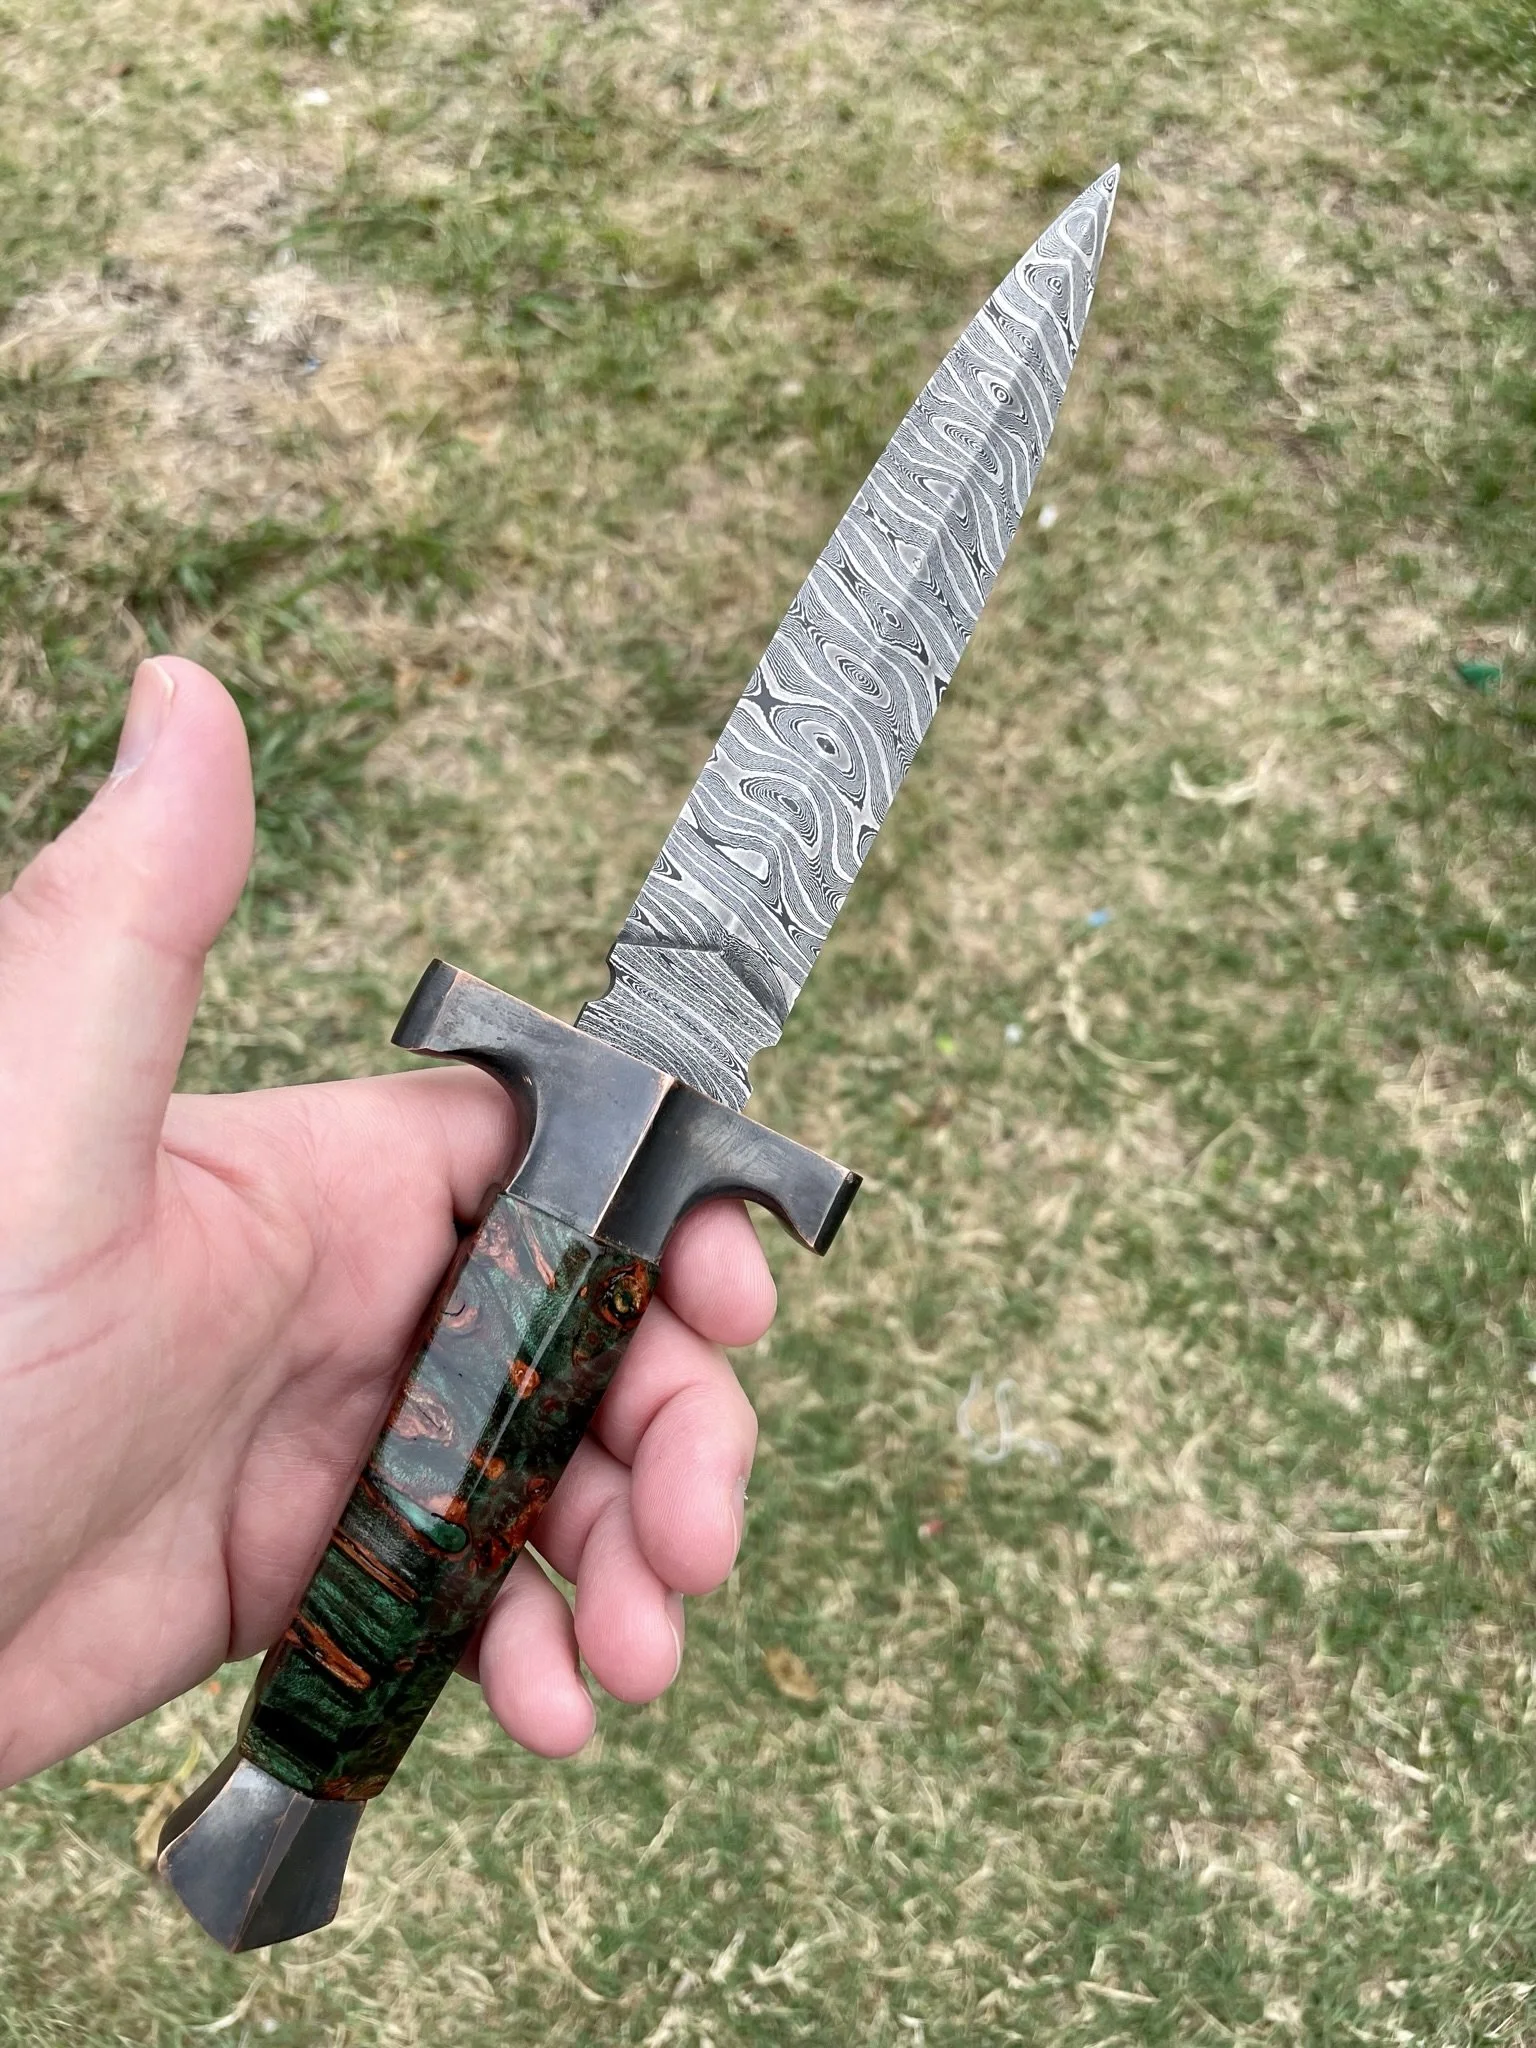
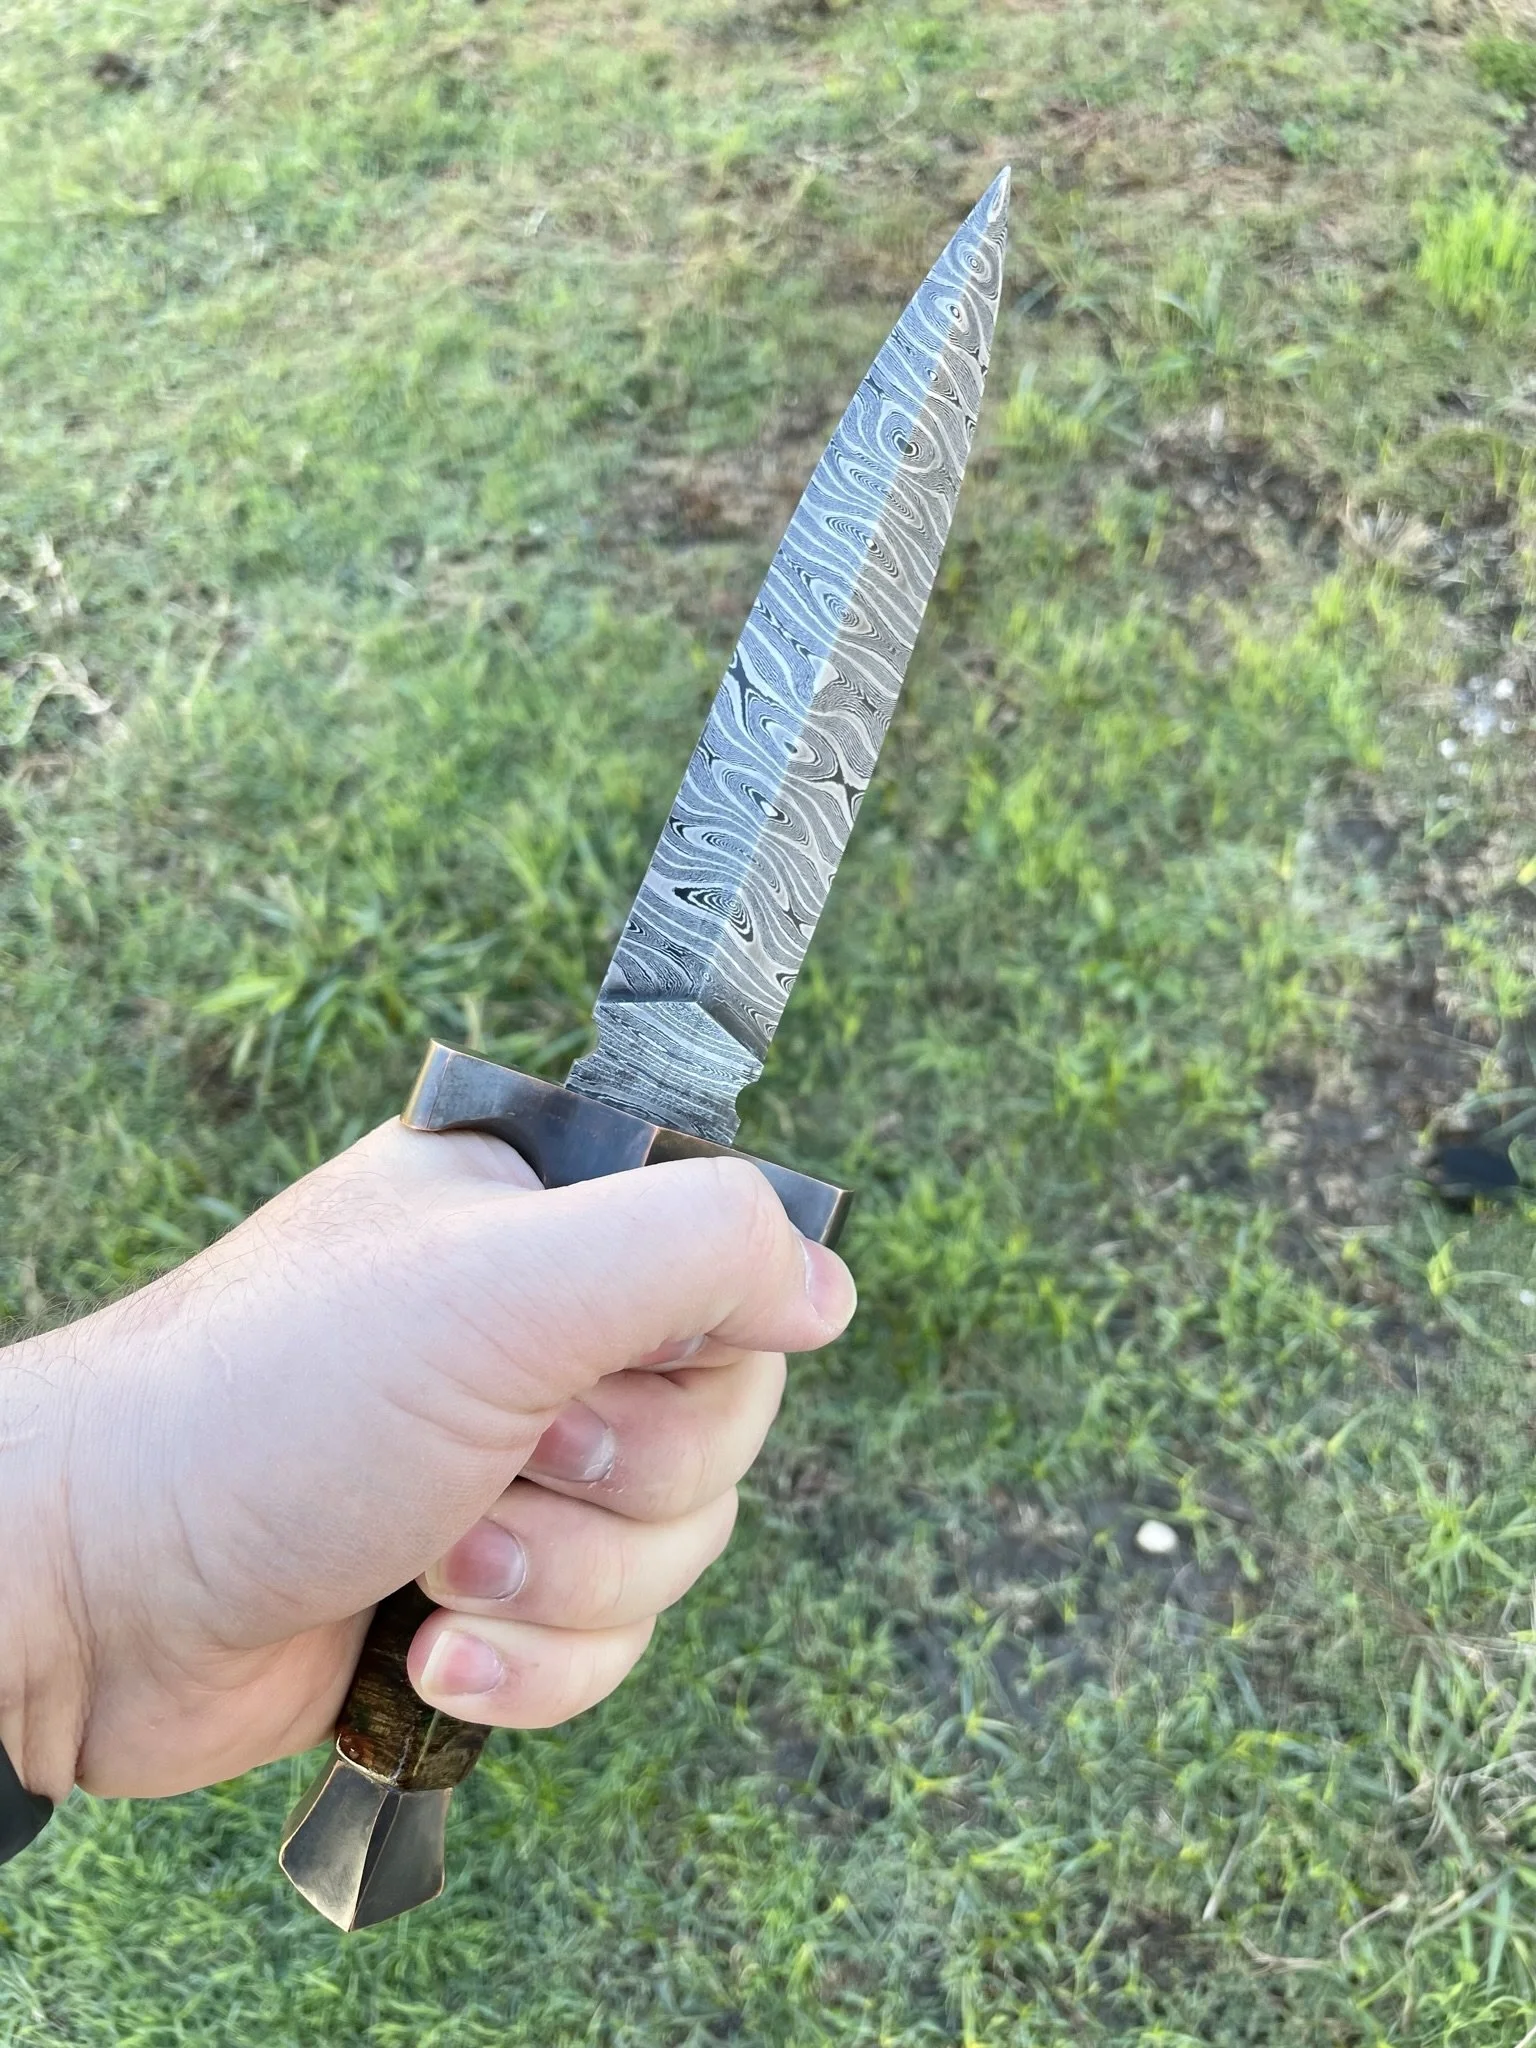
In hand.
-
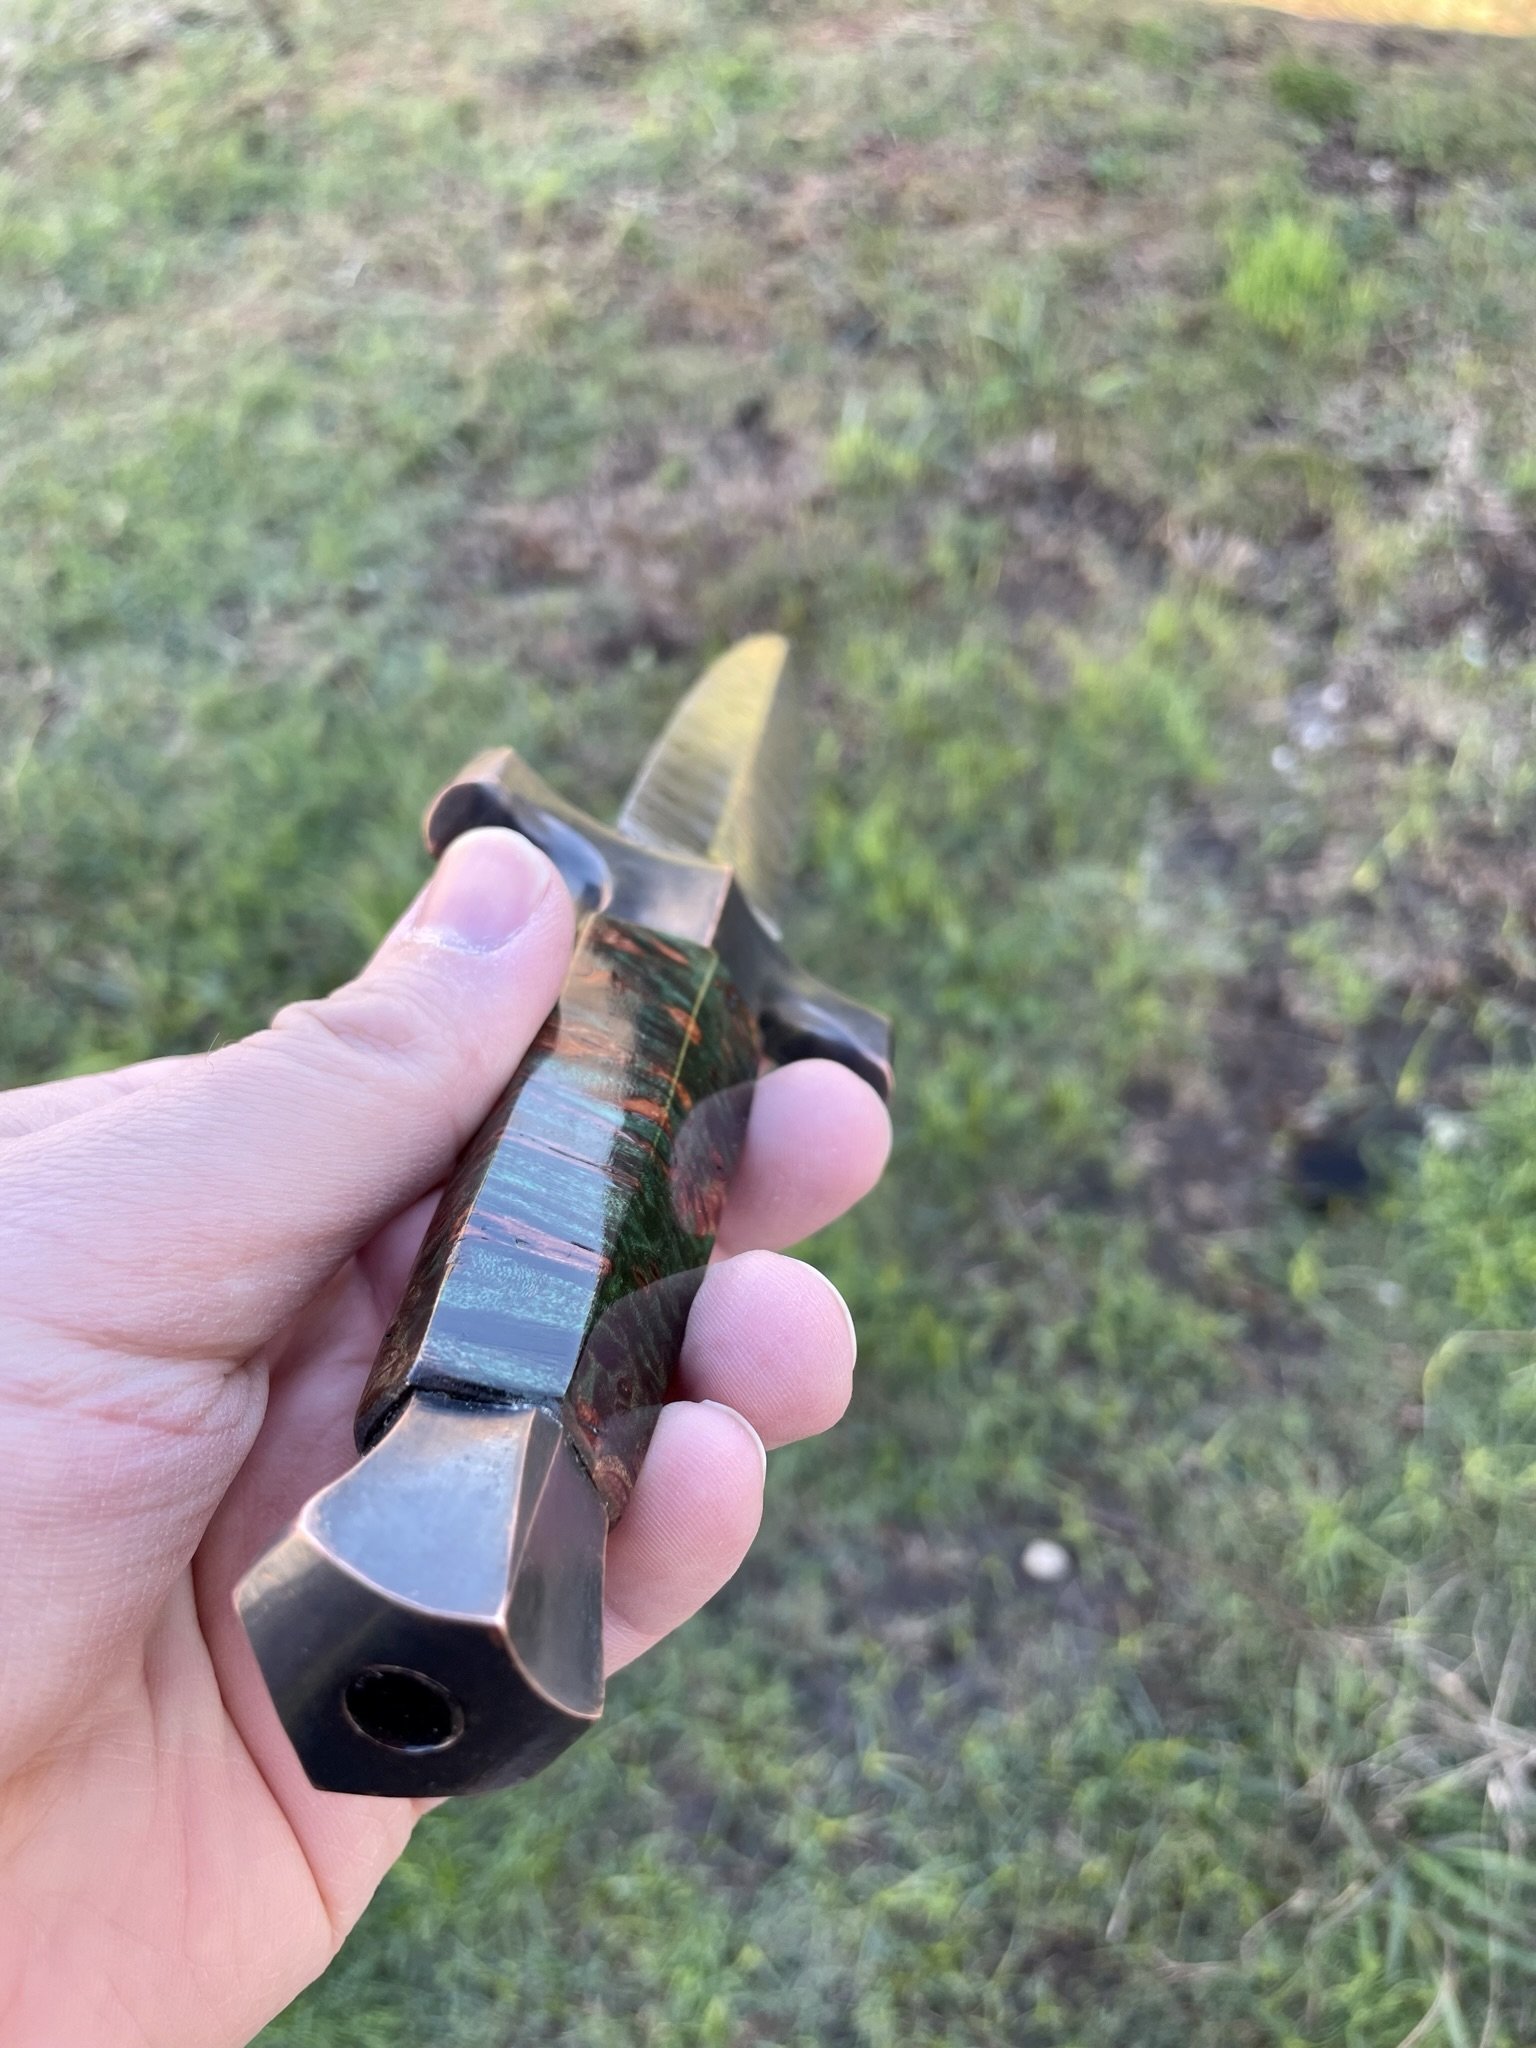
View from the pommel.
-
In sheath.
-
Glamour shot #5.
Battleship Texas Donation Kitchen Set
-
Final blade - keep scrolling to see the journey.
-
In 2023 I had the special priveldge of being invited to a group of about 150 makers who would receive metal from the Historic USS Texas. The Texas was being restored in Galveston, TX and would become a museum ship. All items made would be auctioned off and all proceeds go to the continued restoration of the ship.
-
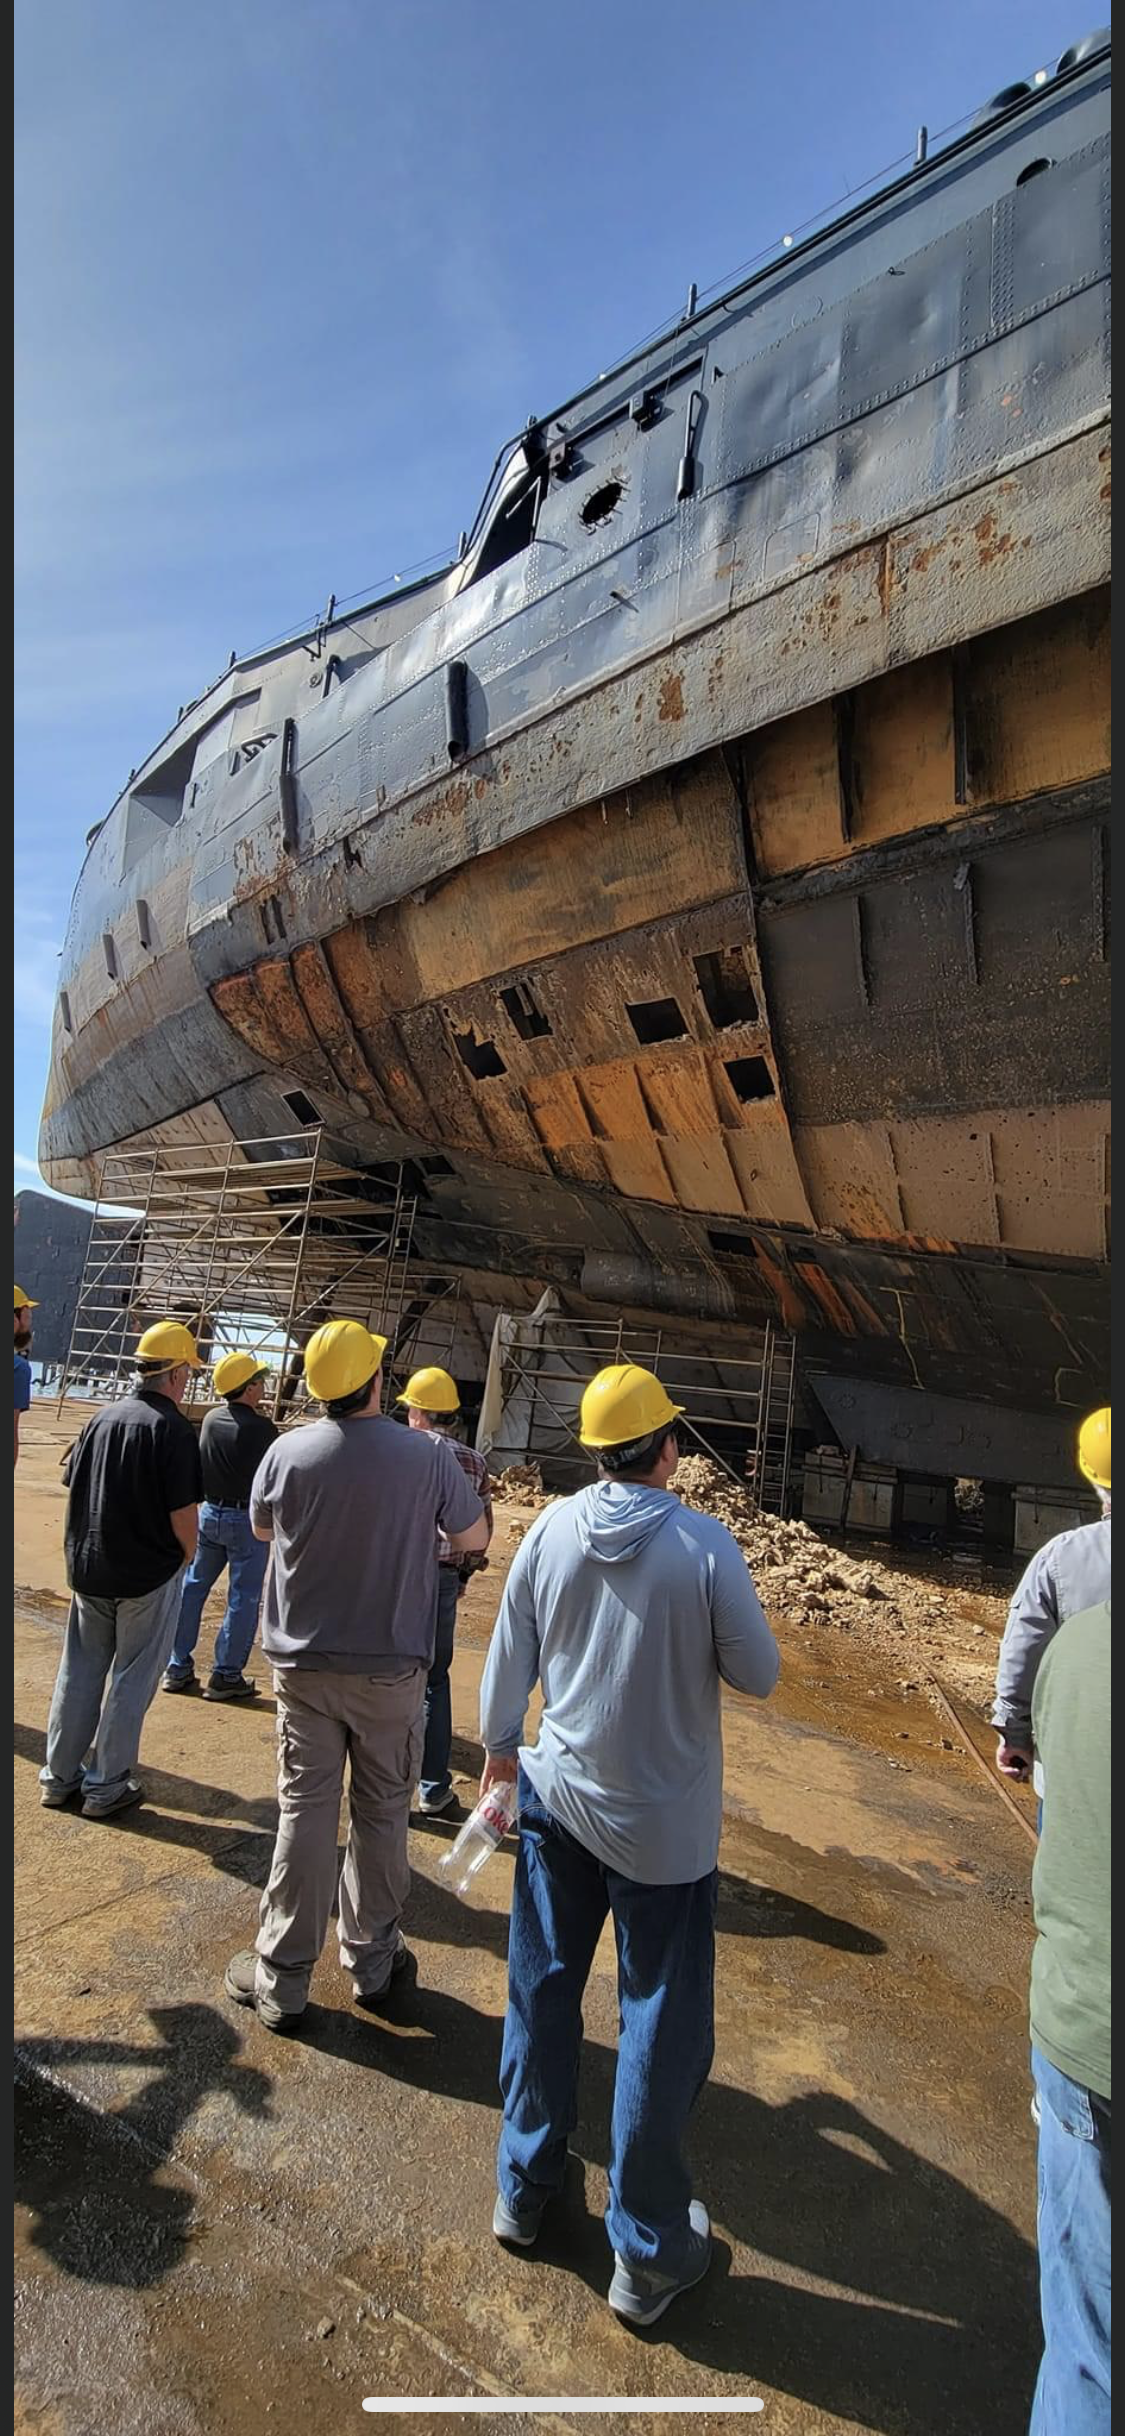
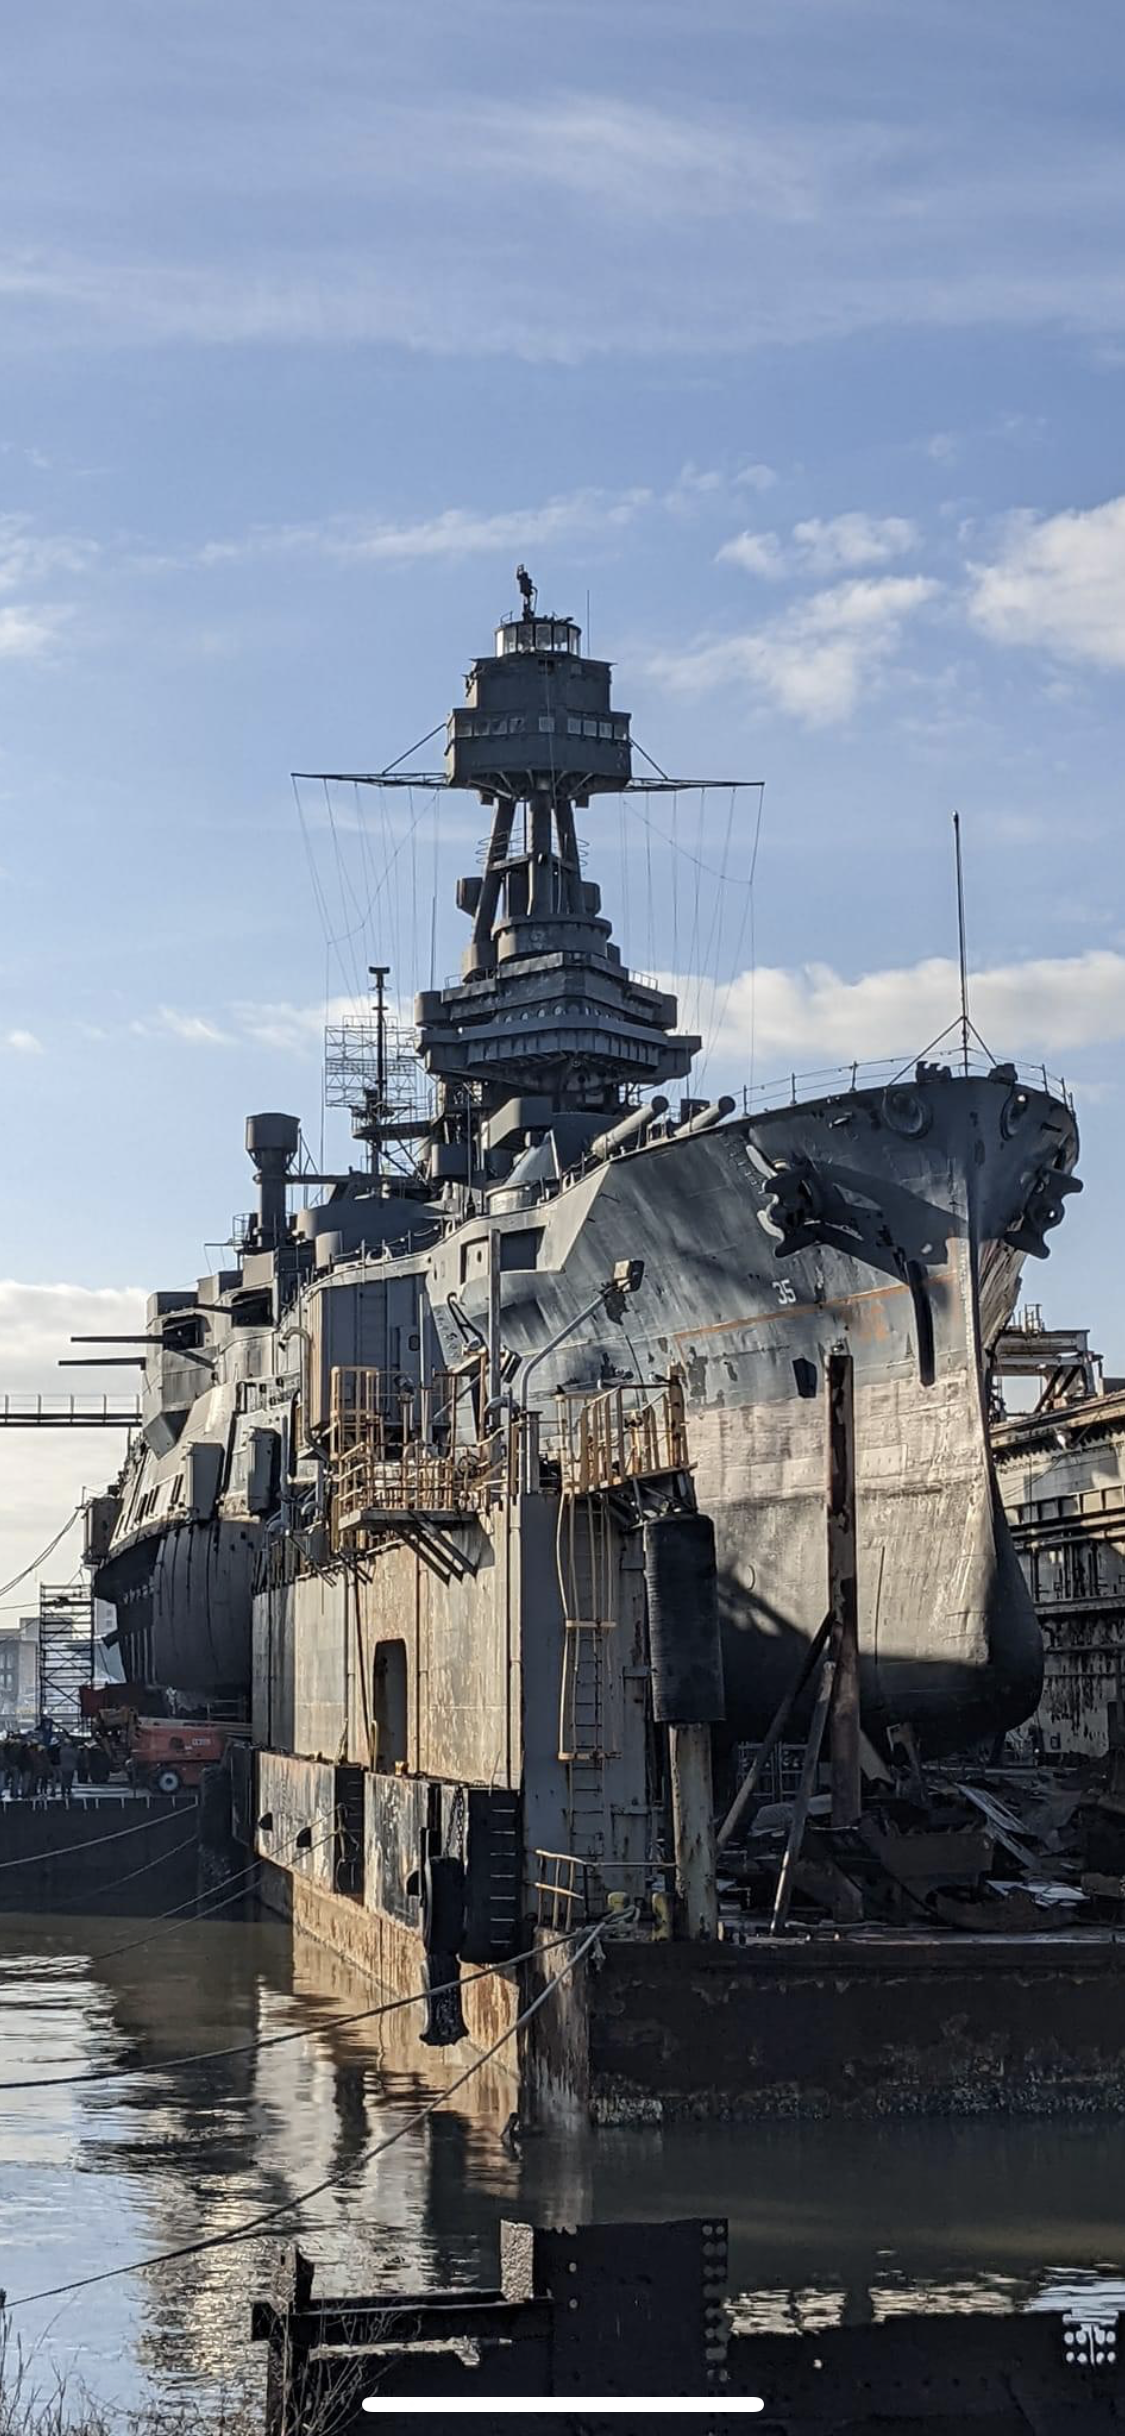
Photos from the ship in Galveston. The plates that have been removed are blister plates of mild steel that were used to pre-maturely detonate torpedos before they hit the hull.
-
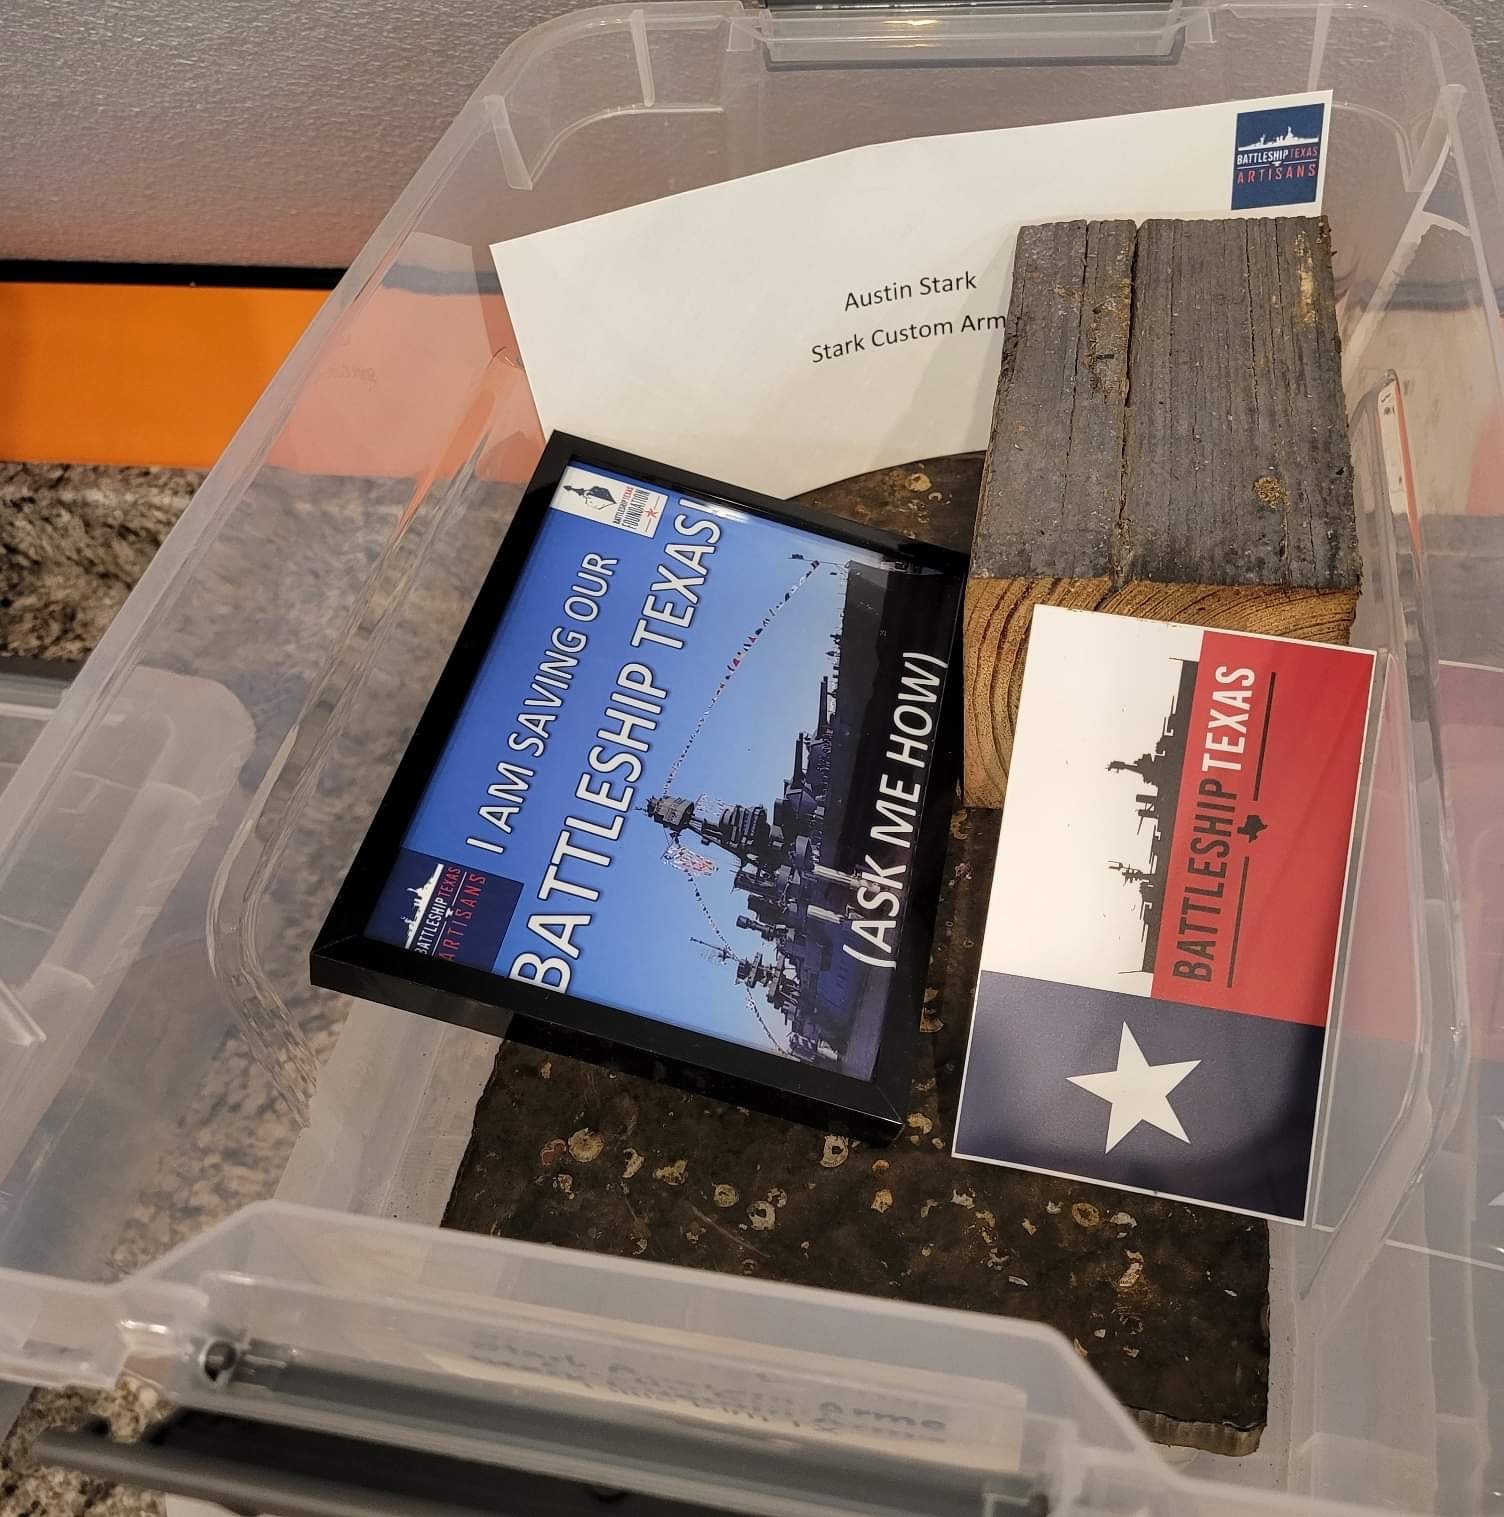
The Texas in dry dock. I received a piece of blister plate, some deck wood, and a few odds and ends.
-
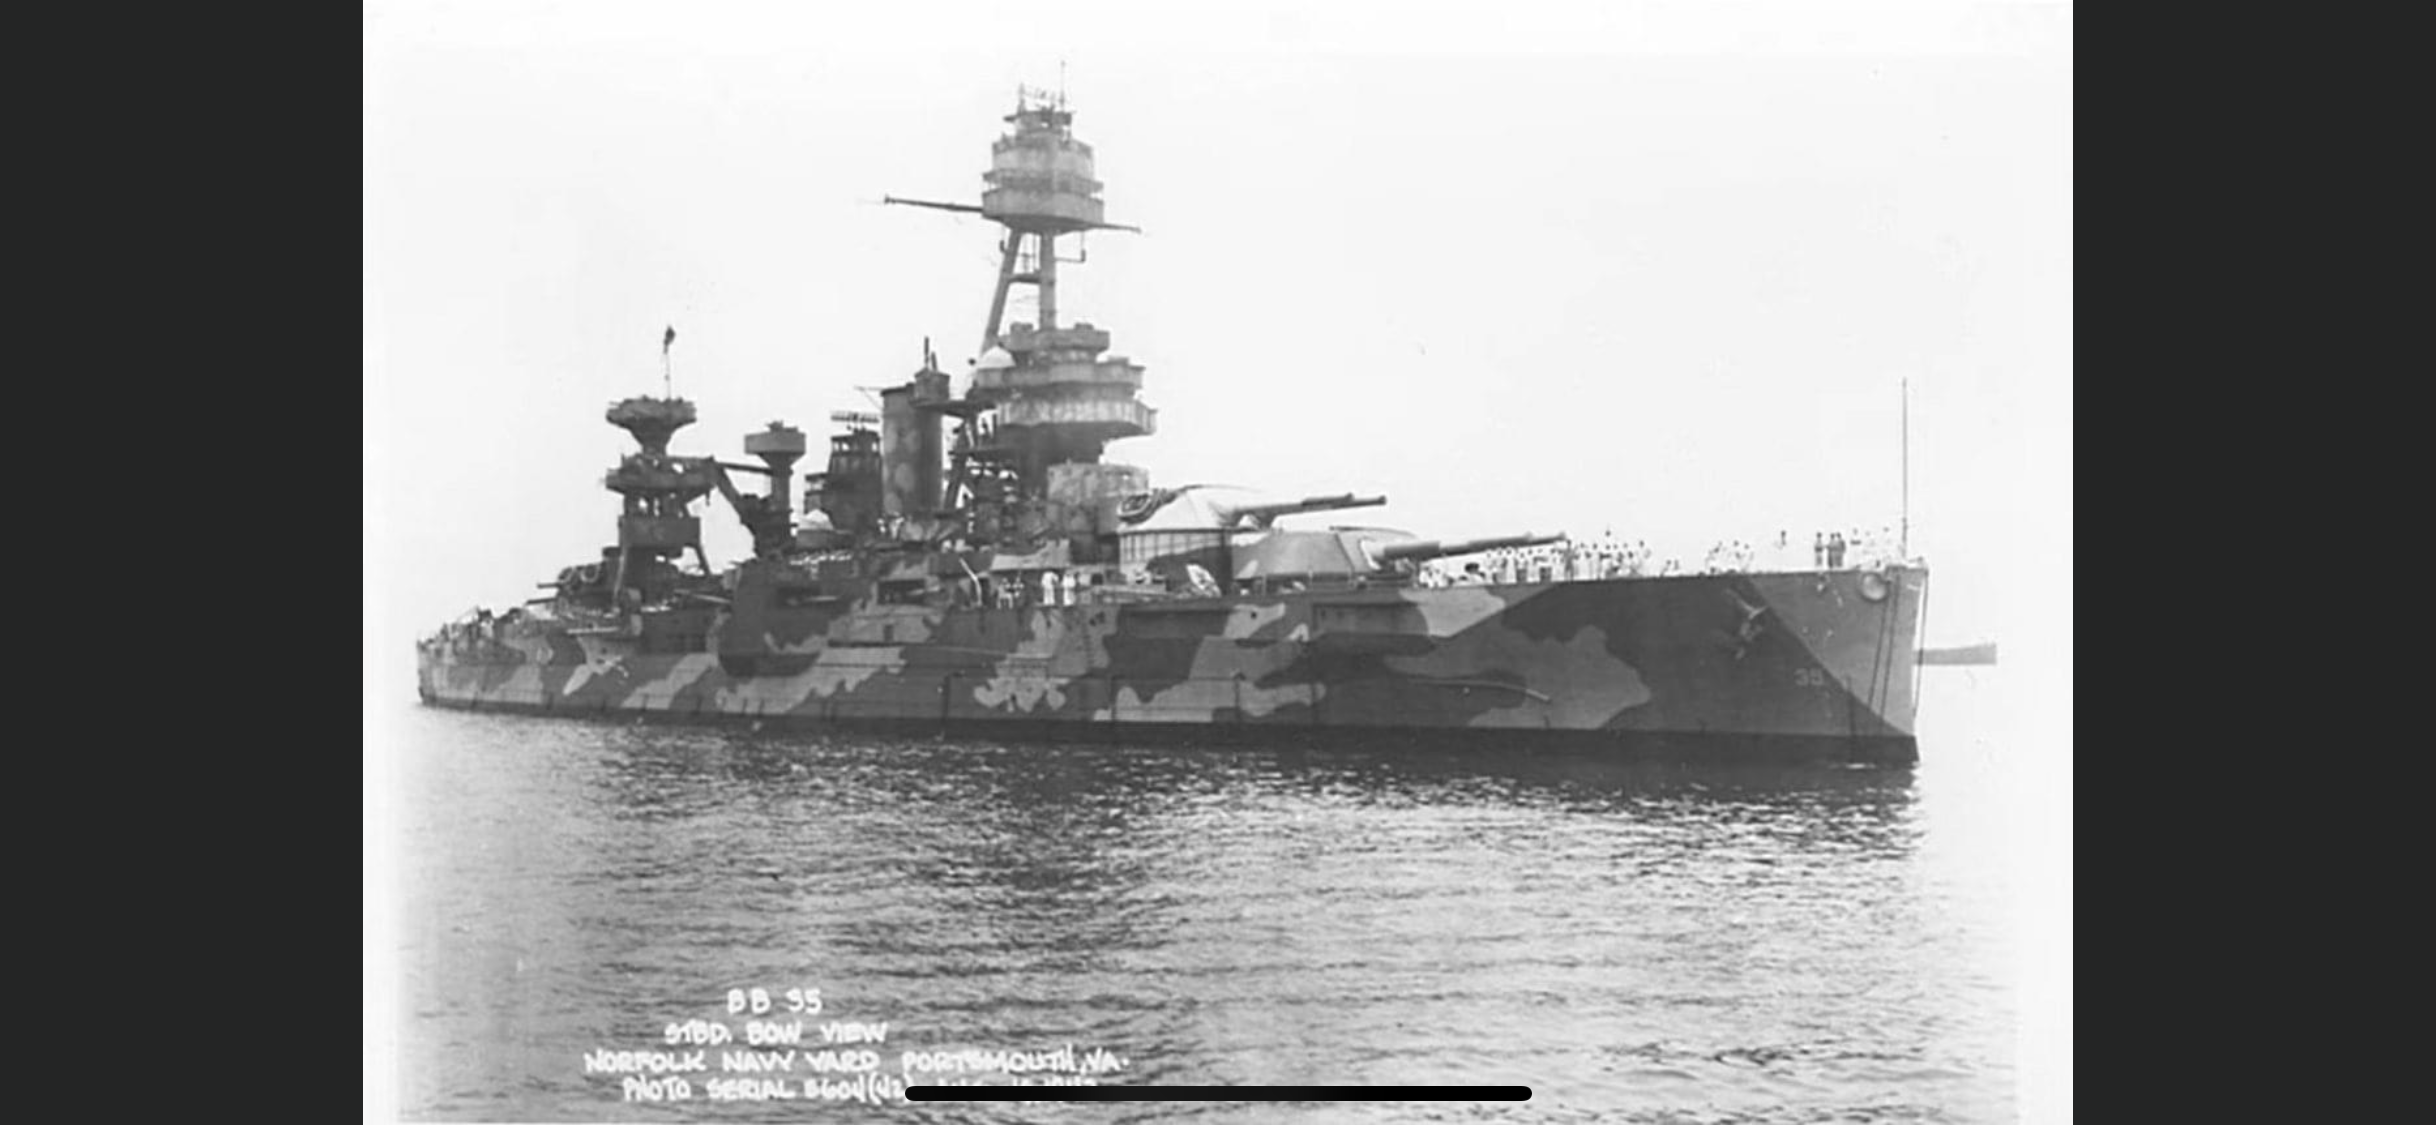
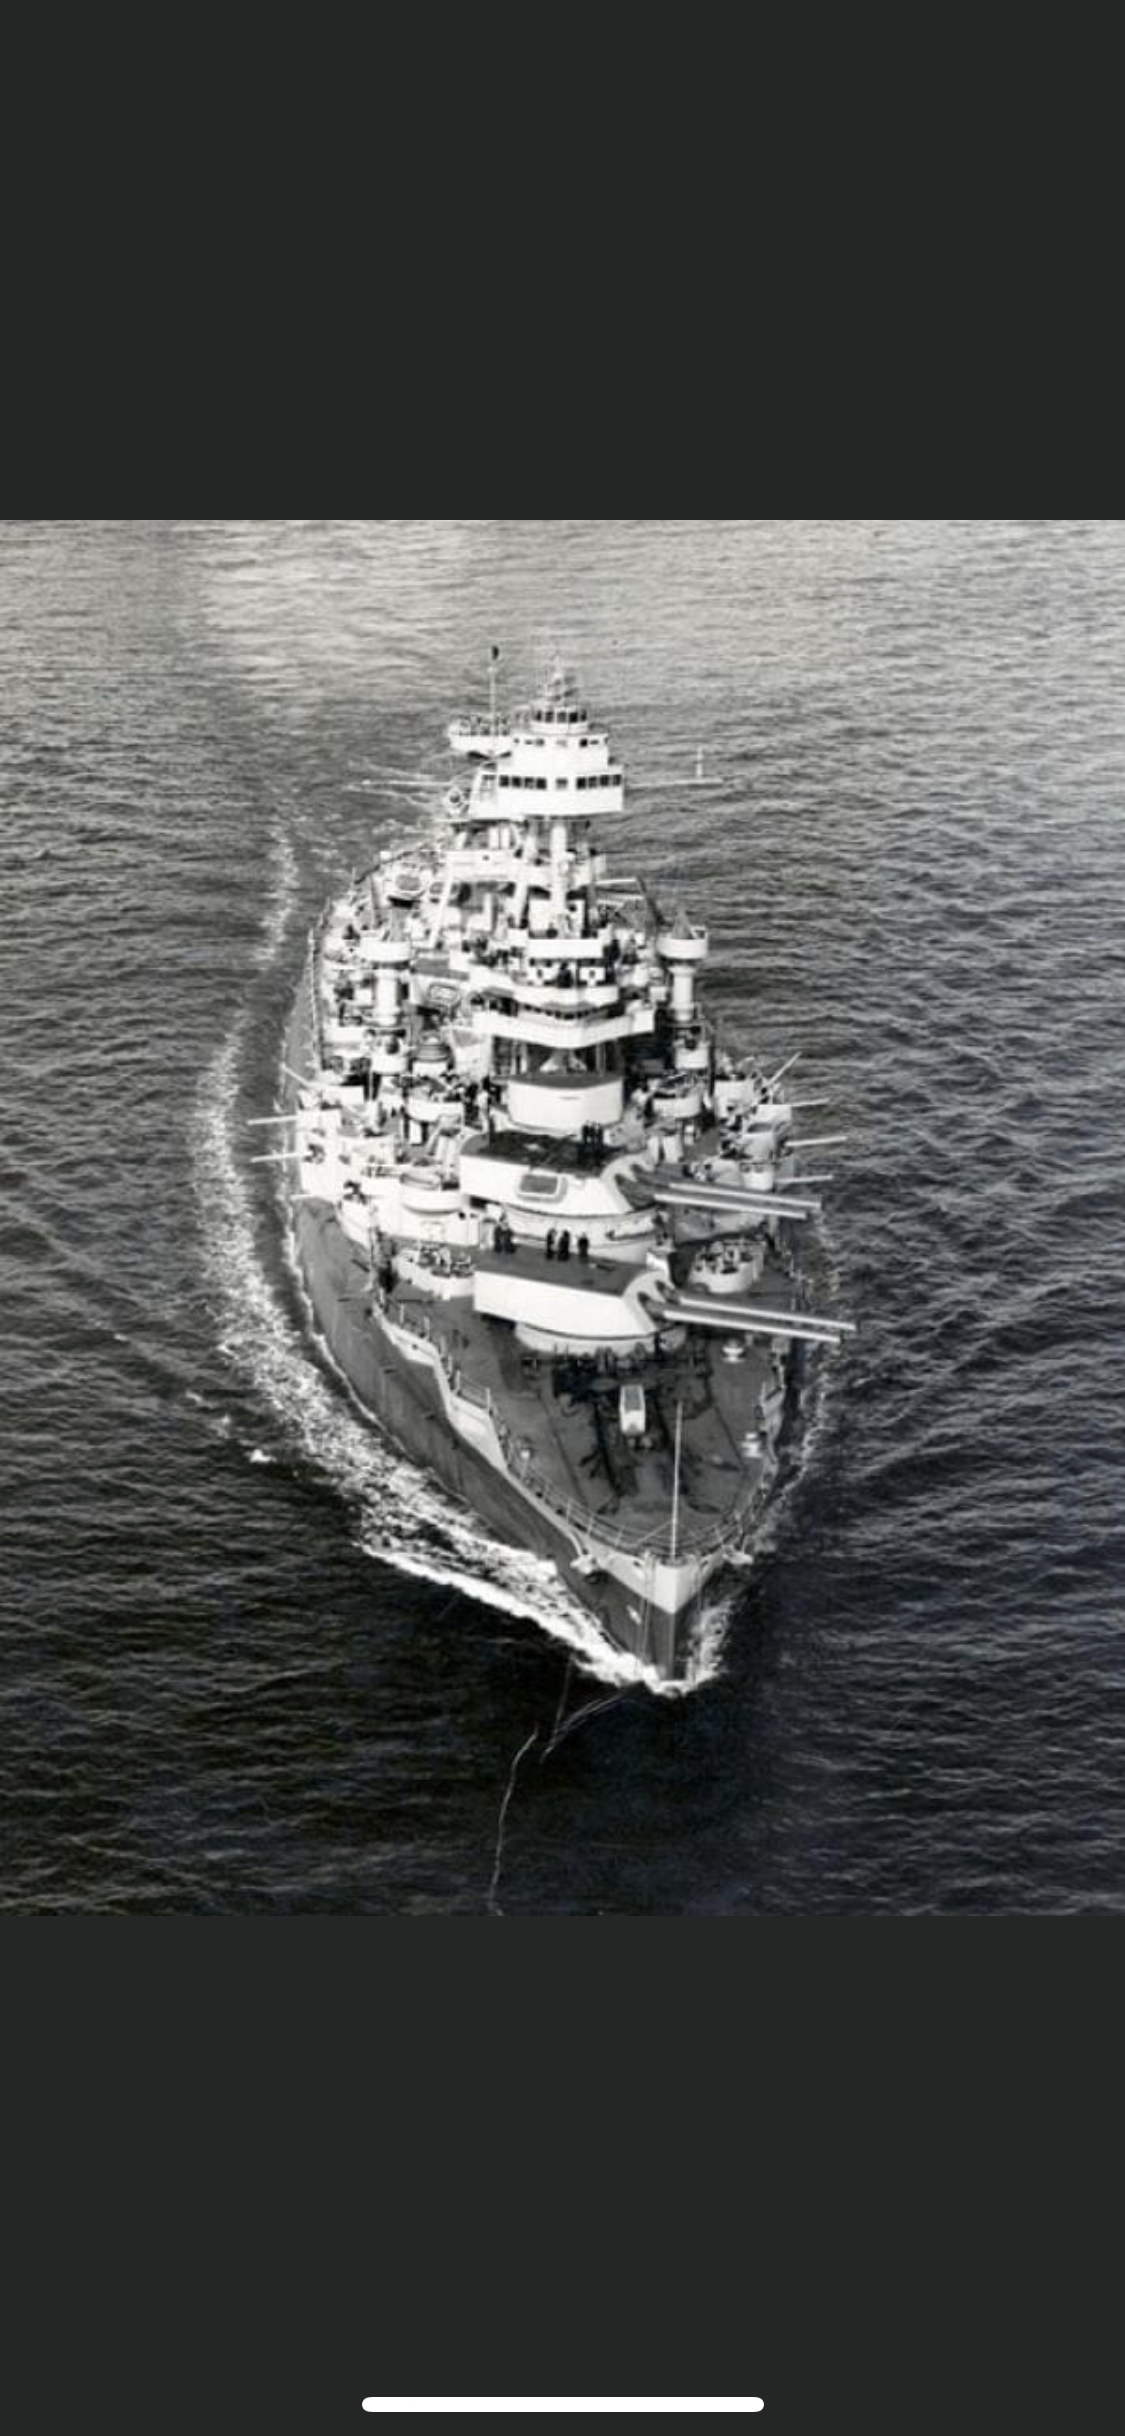
Historic photo of the USS Texas during a time of war.
-
Another historic photo of the Texas during her combat service.
-
The foundation that was leading the restoration efforts.
-
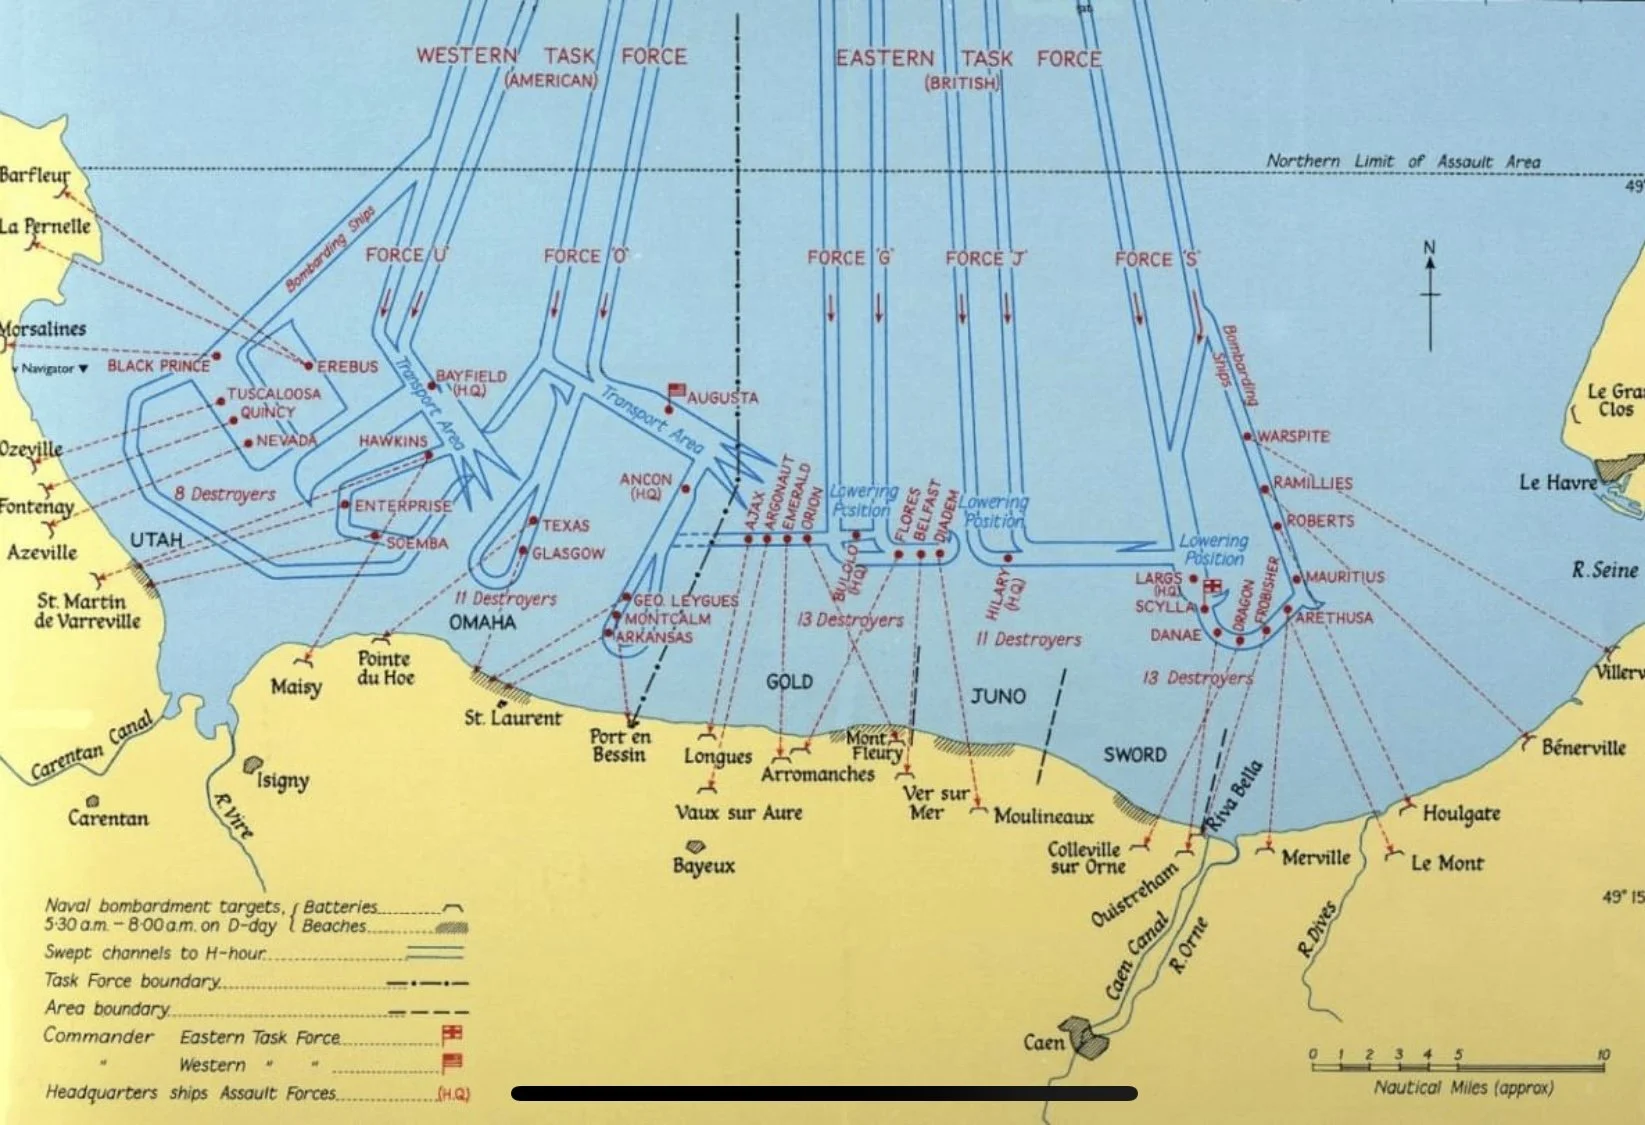
The USS Texas fought in WW1 and WW2. Here's a map of Normandy and the USS Texas was there - some pretty cool stories about her combat service.
-
Another photo of the Texas in dry dock.
-
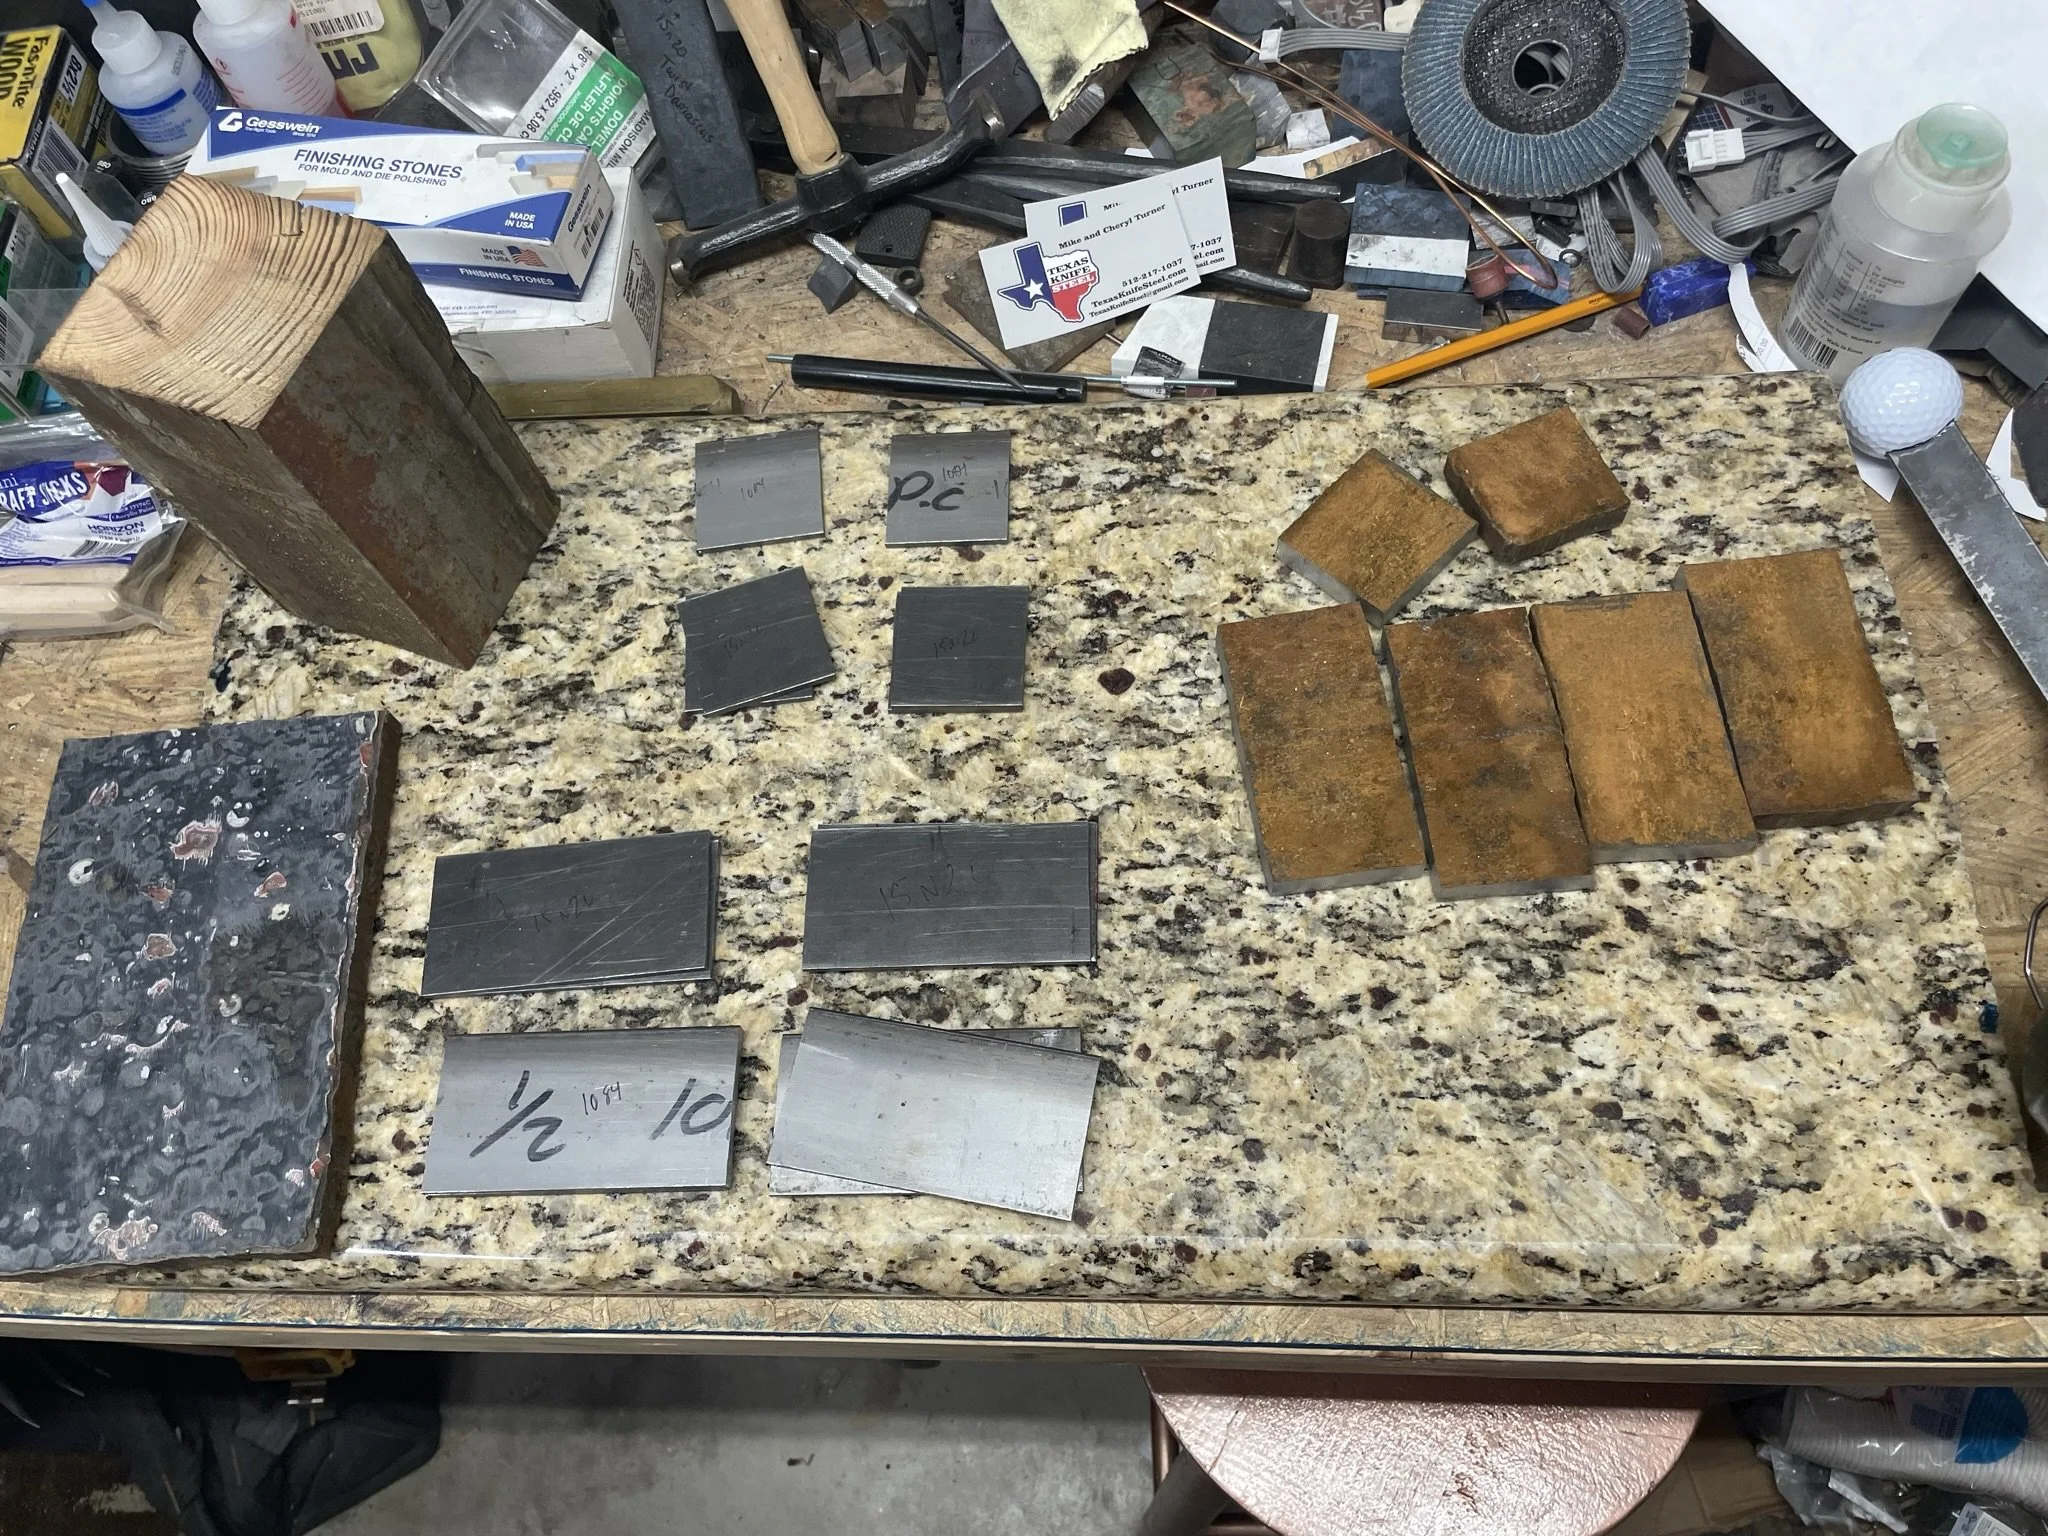
Since the blister plate was mild steel I had to add a core high-carbon knife steel. I decided to add layers of 15n20 and 1084 to make a go mai.
-
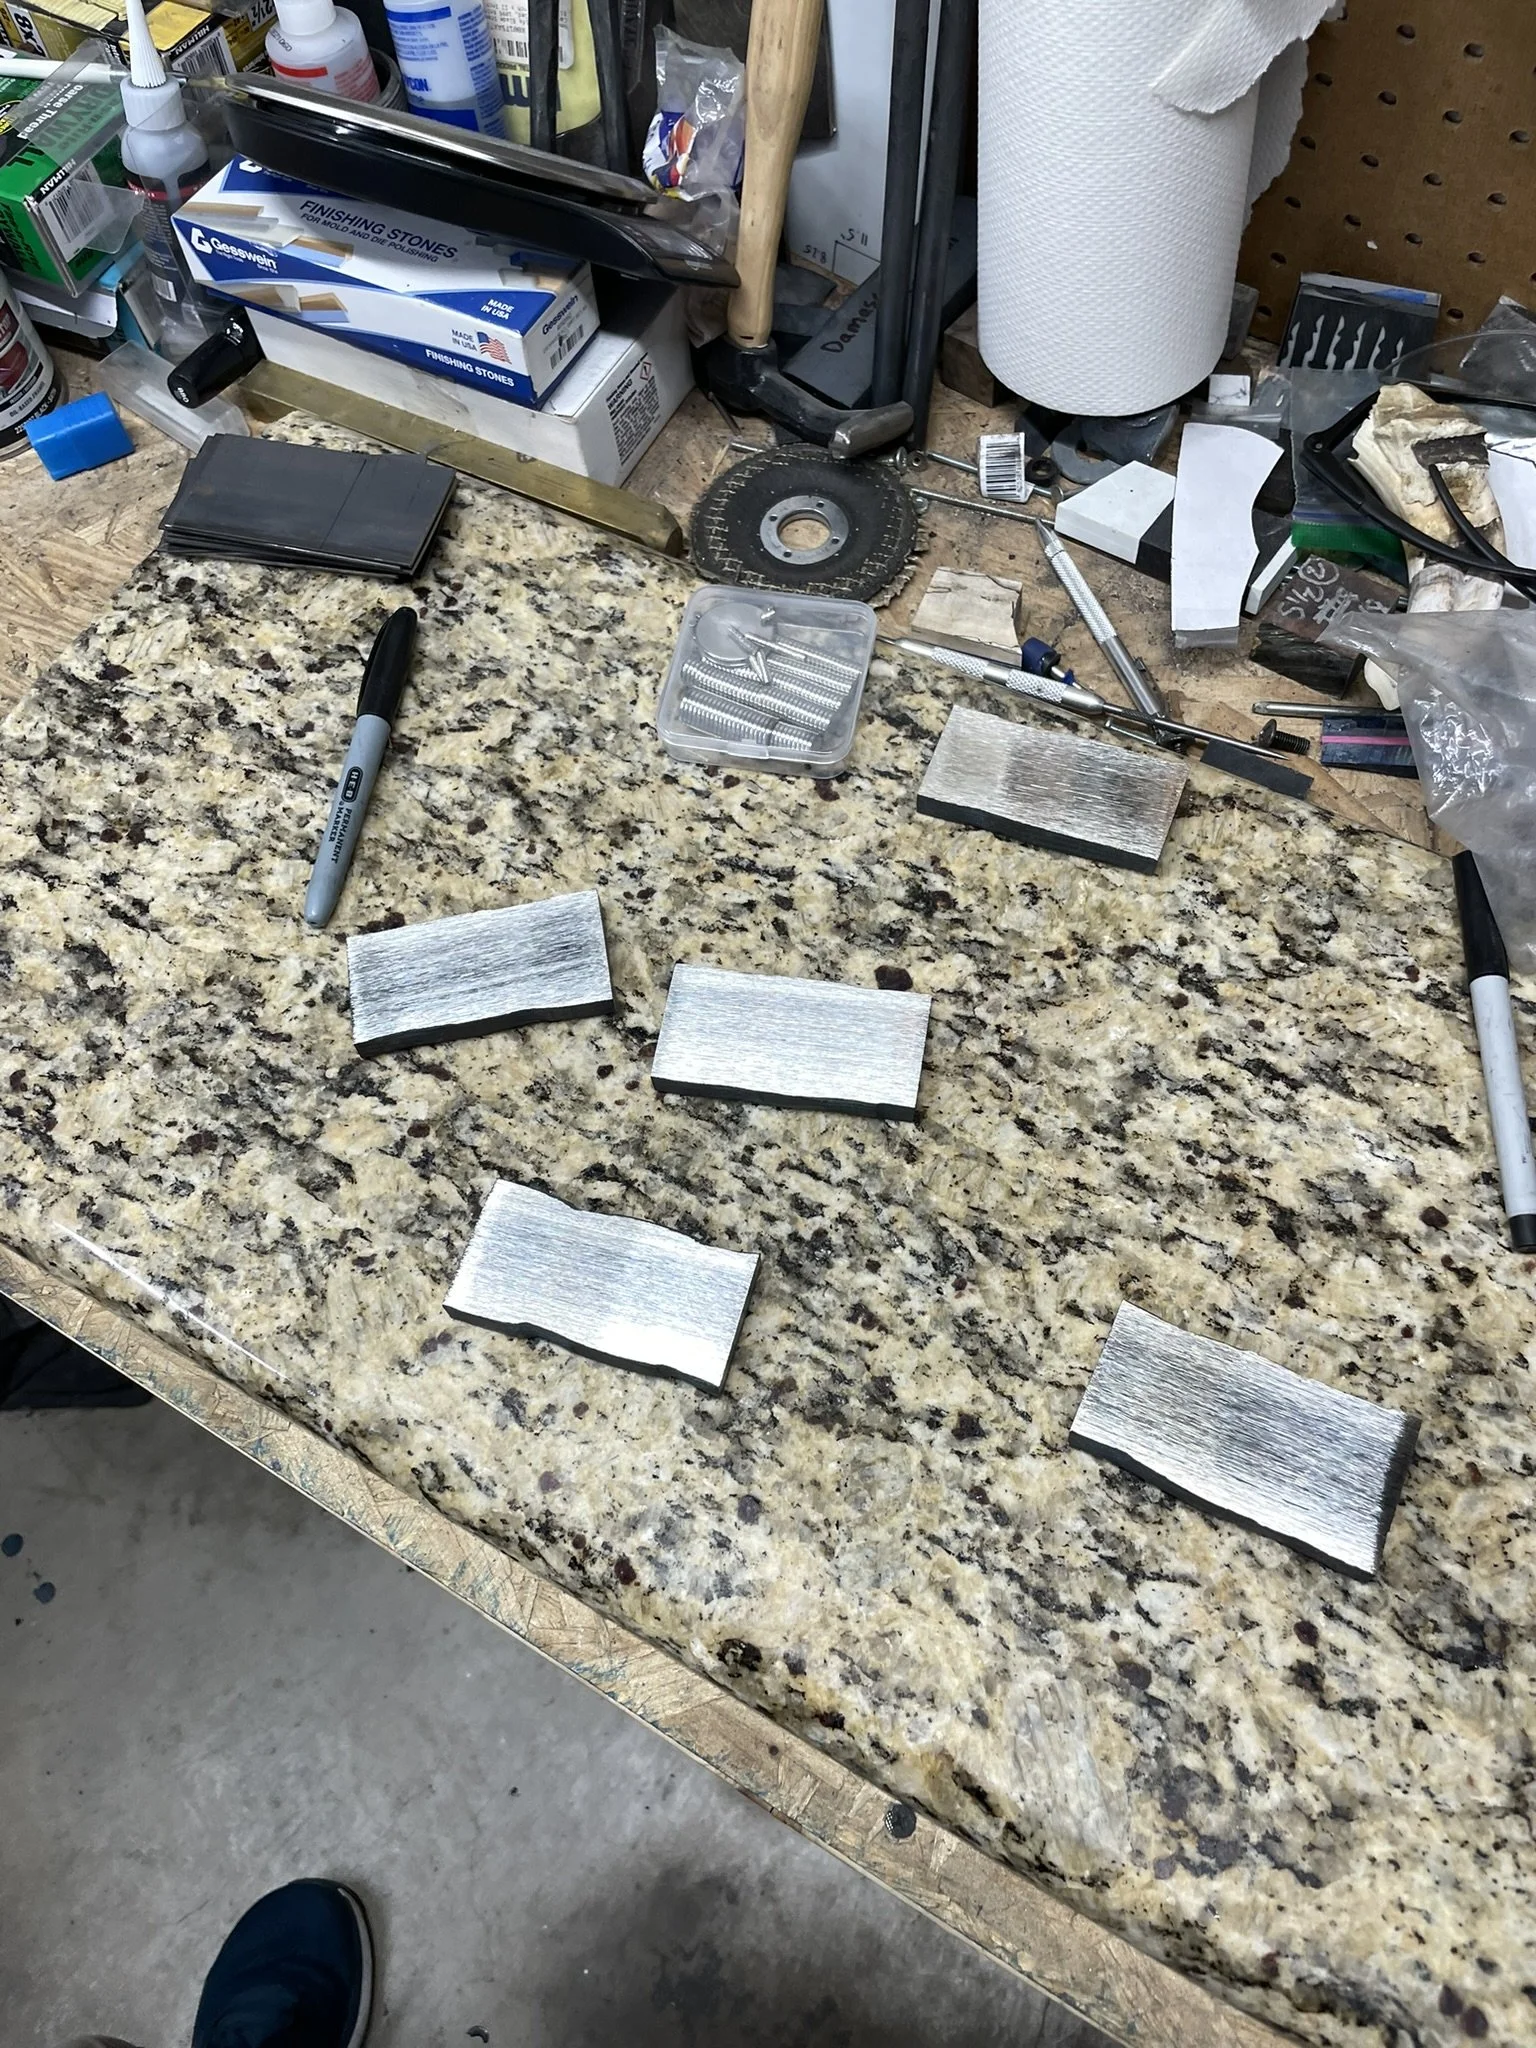
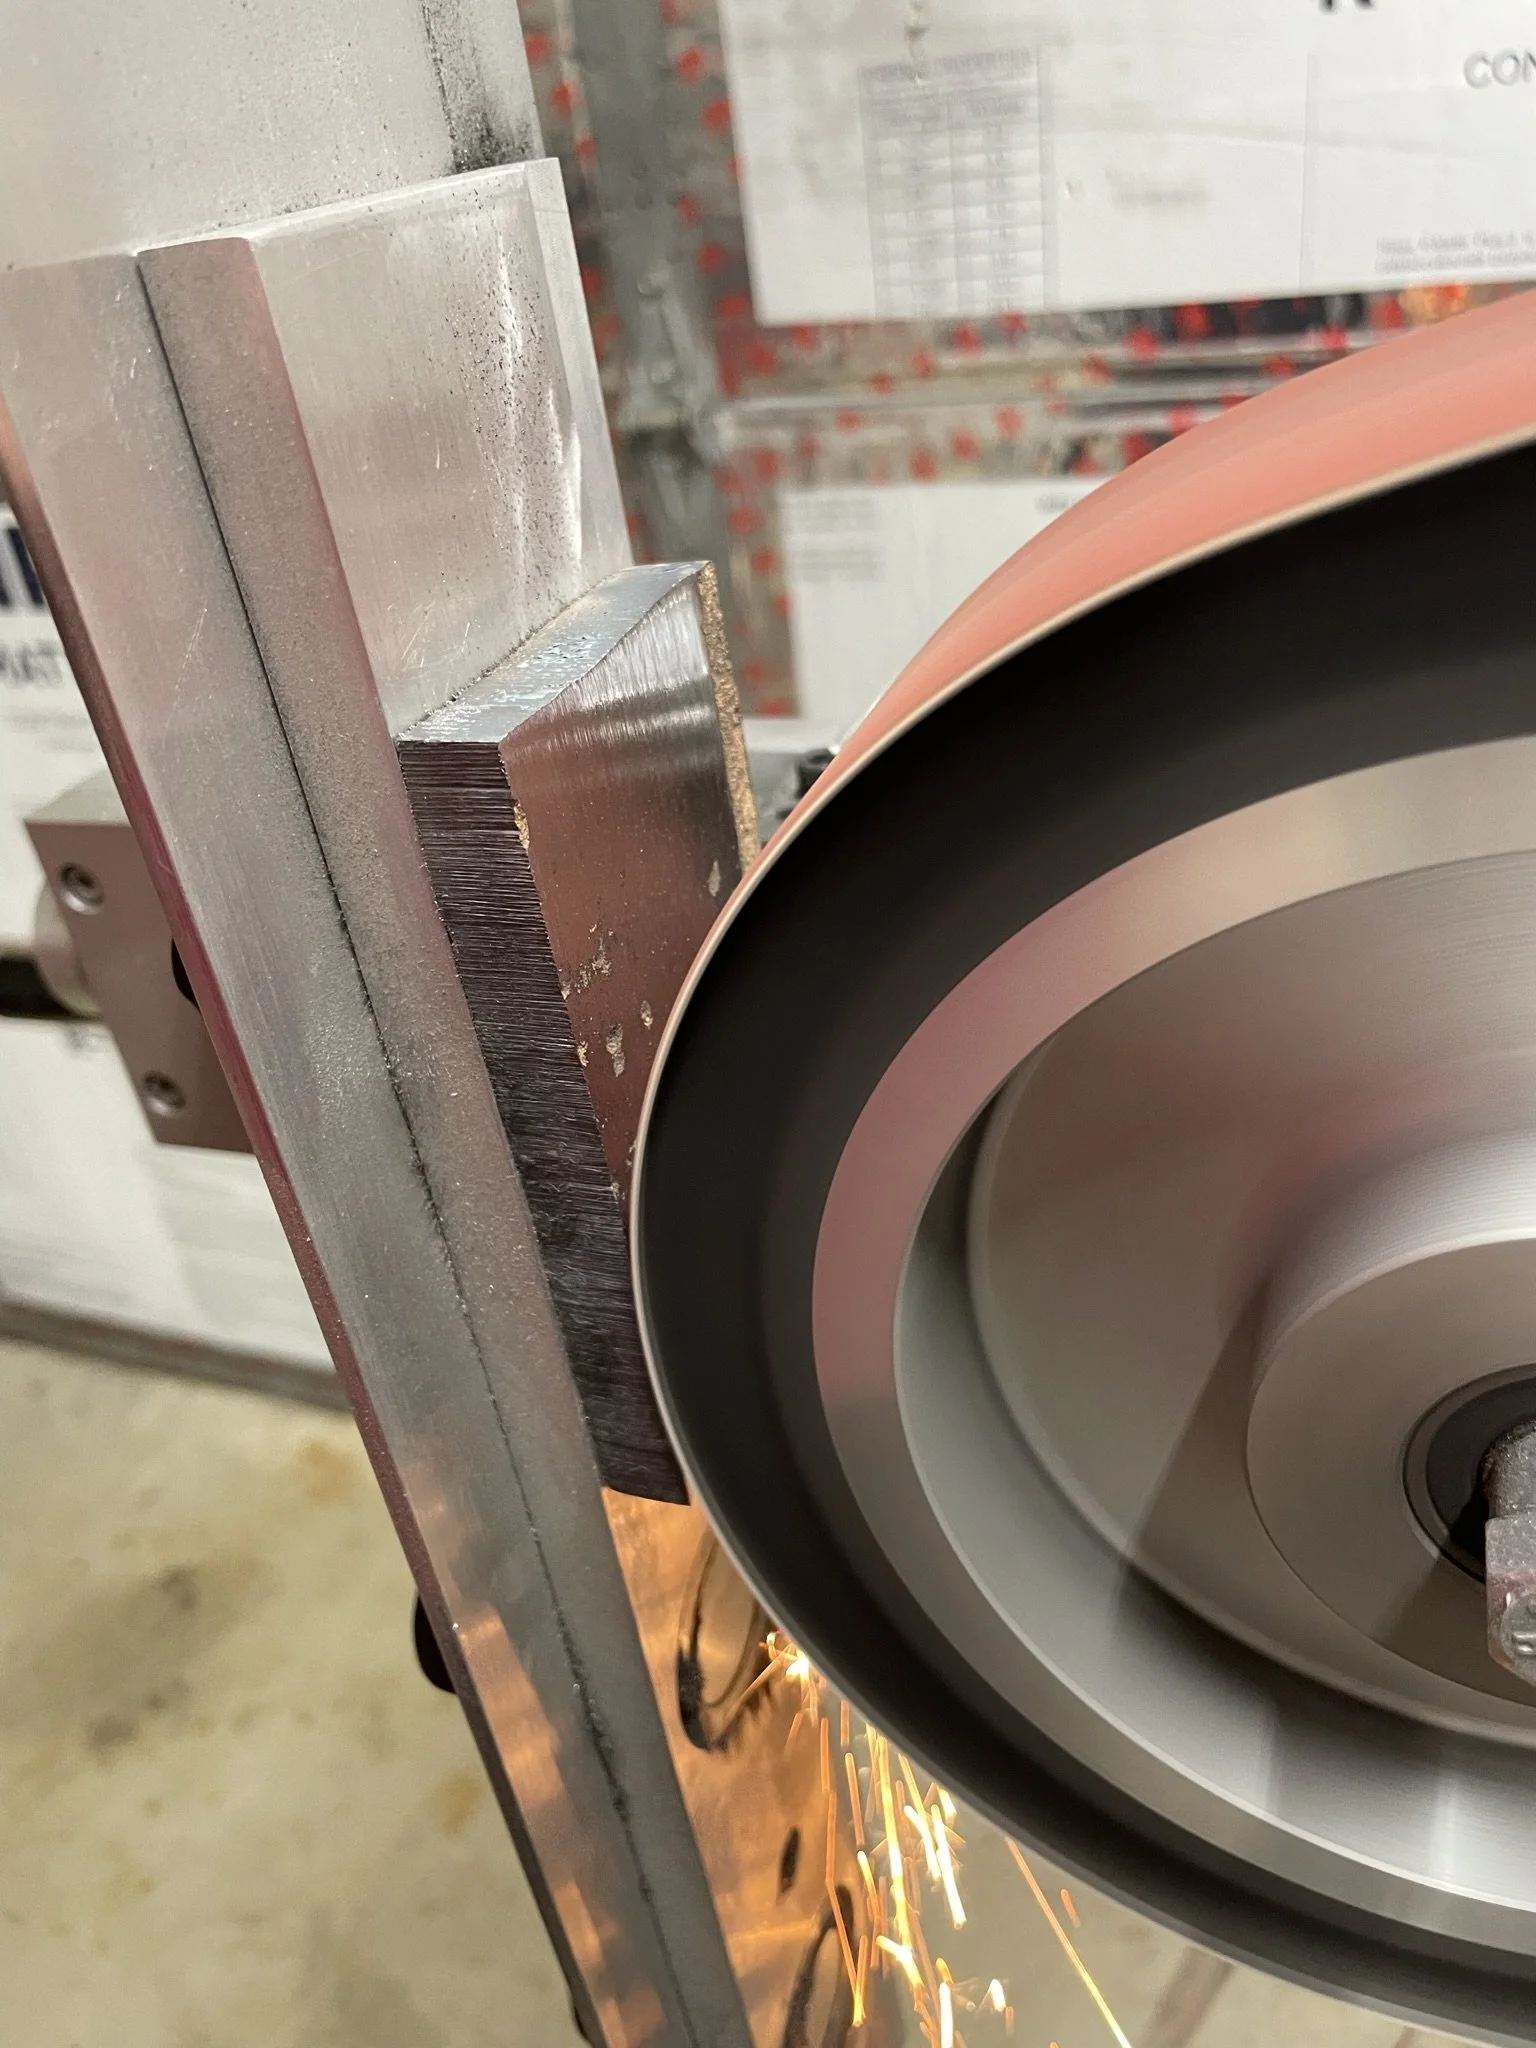
Cleaning up the mild steel.
-
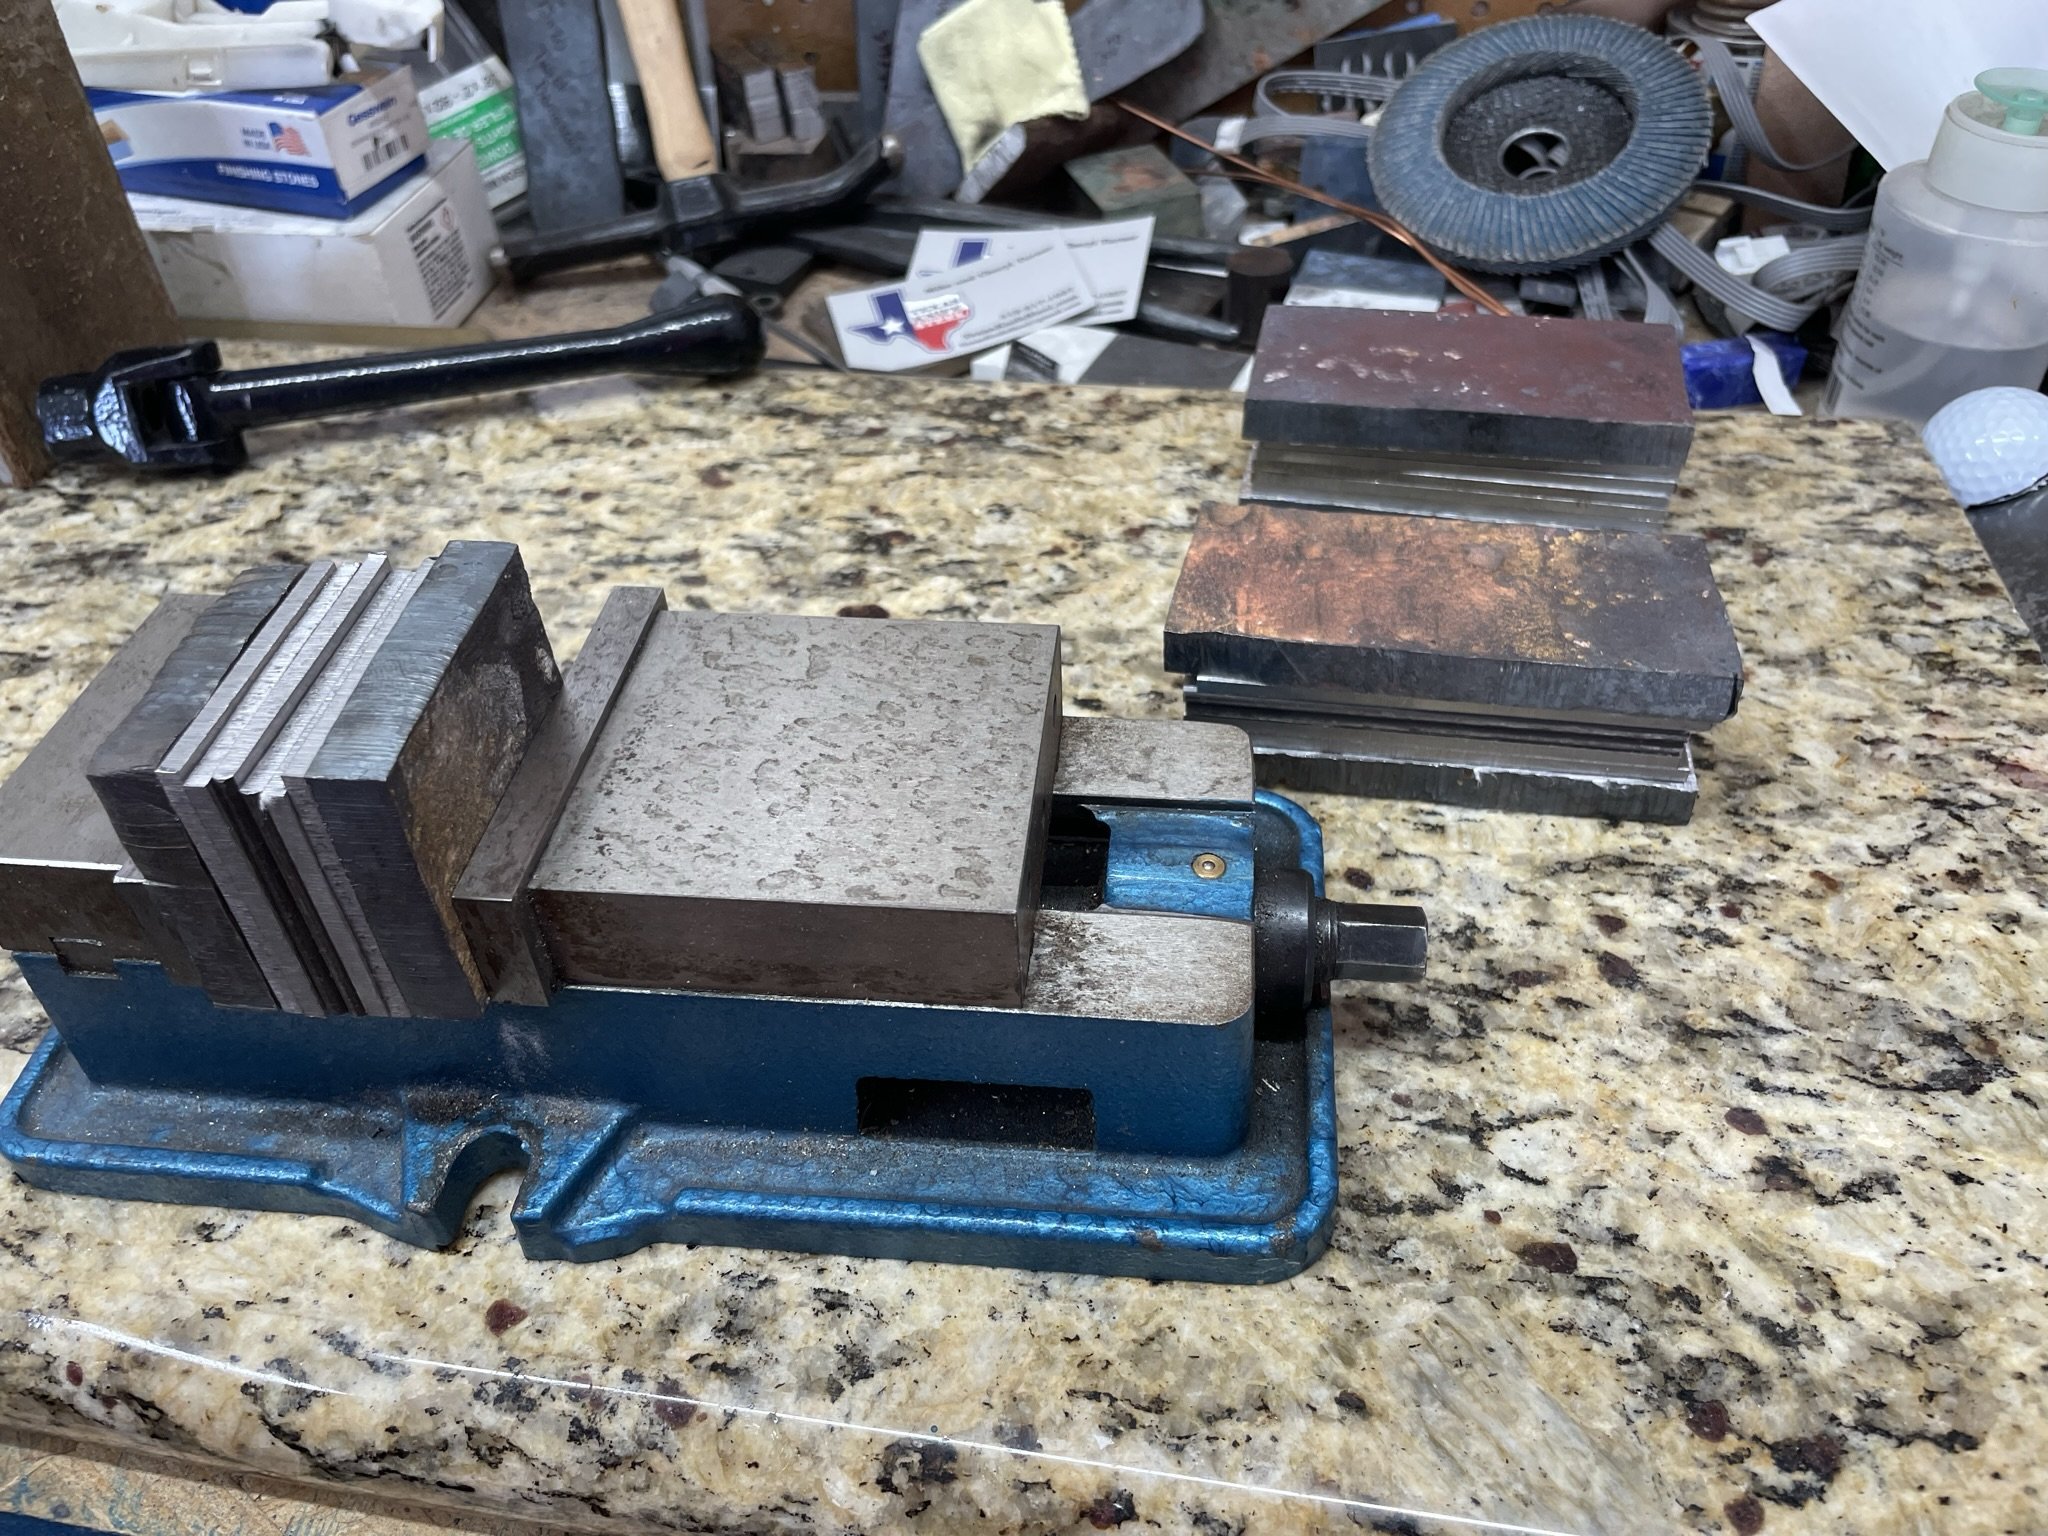
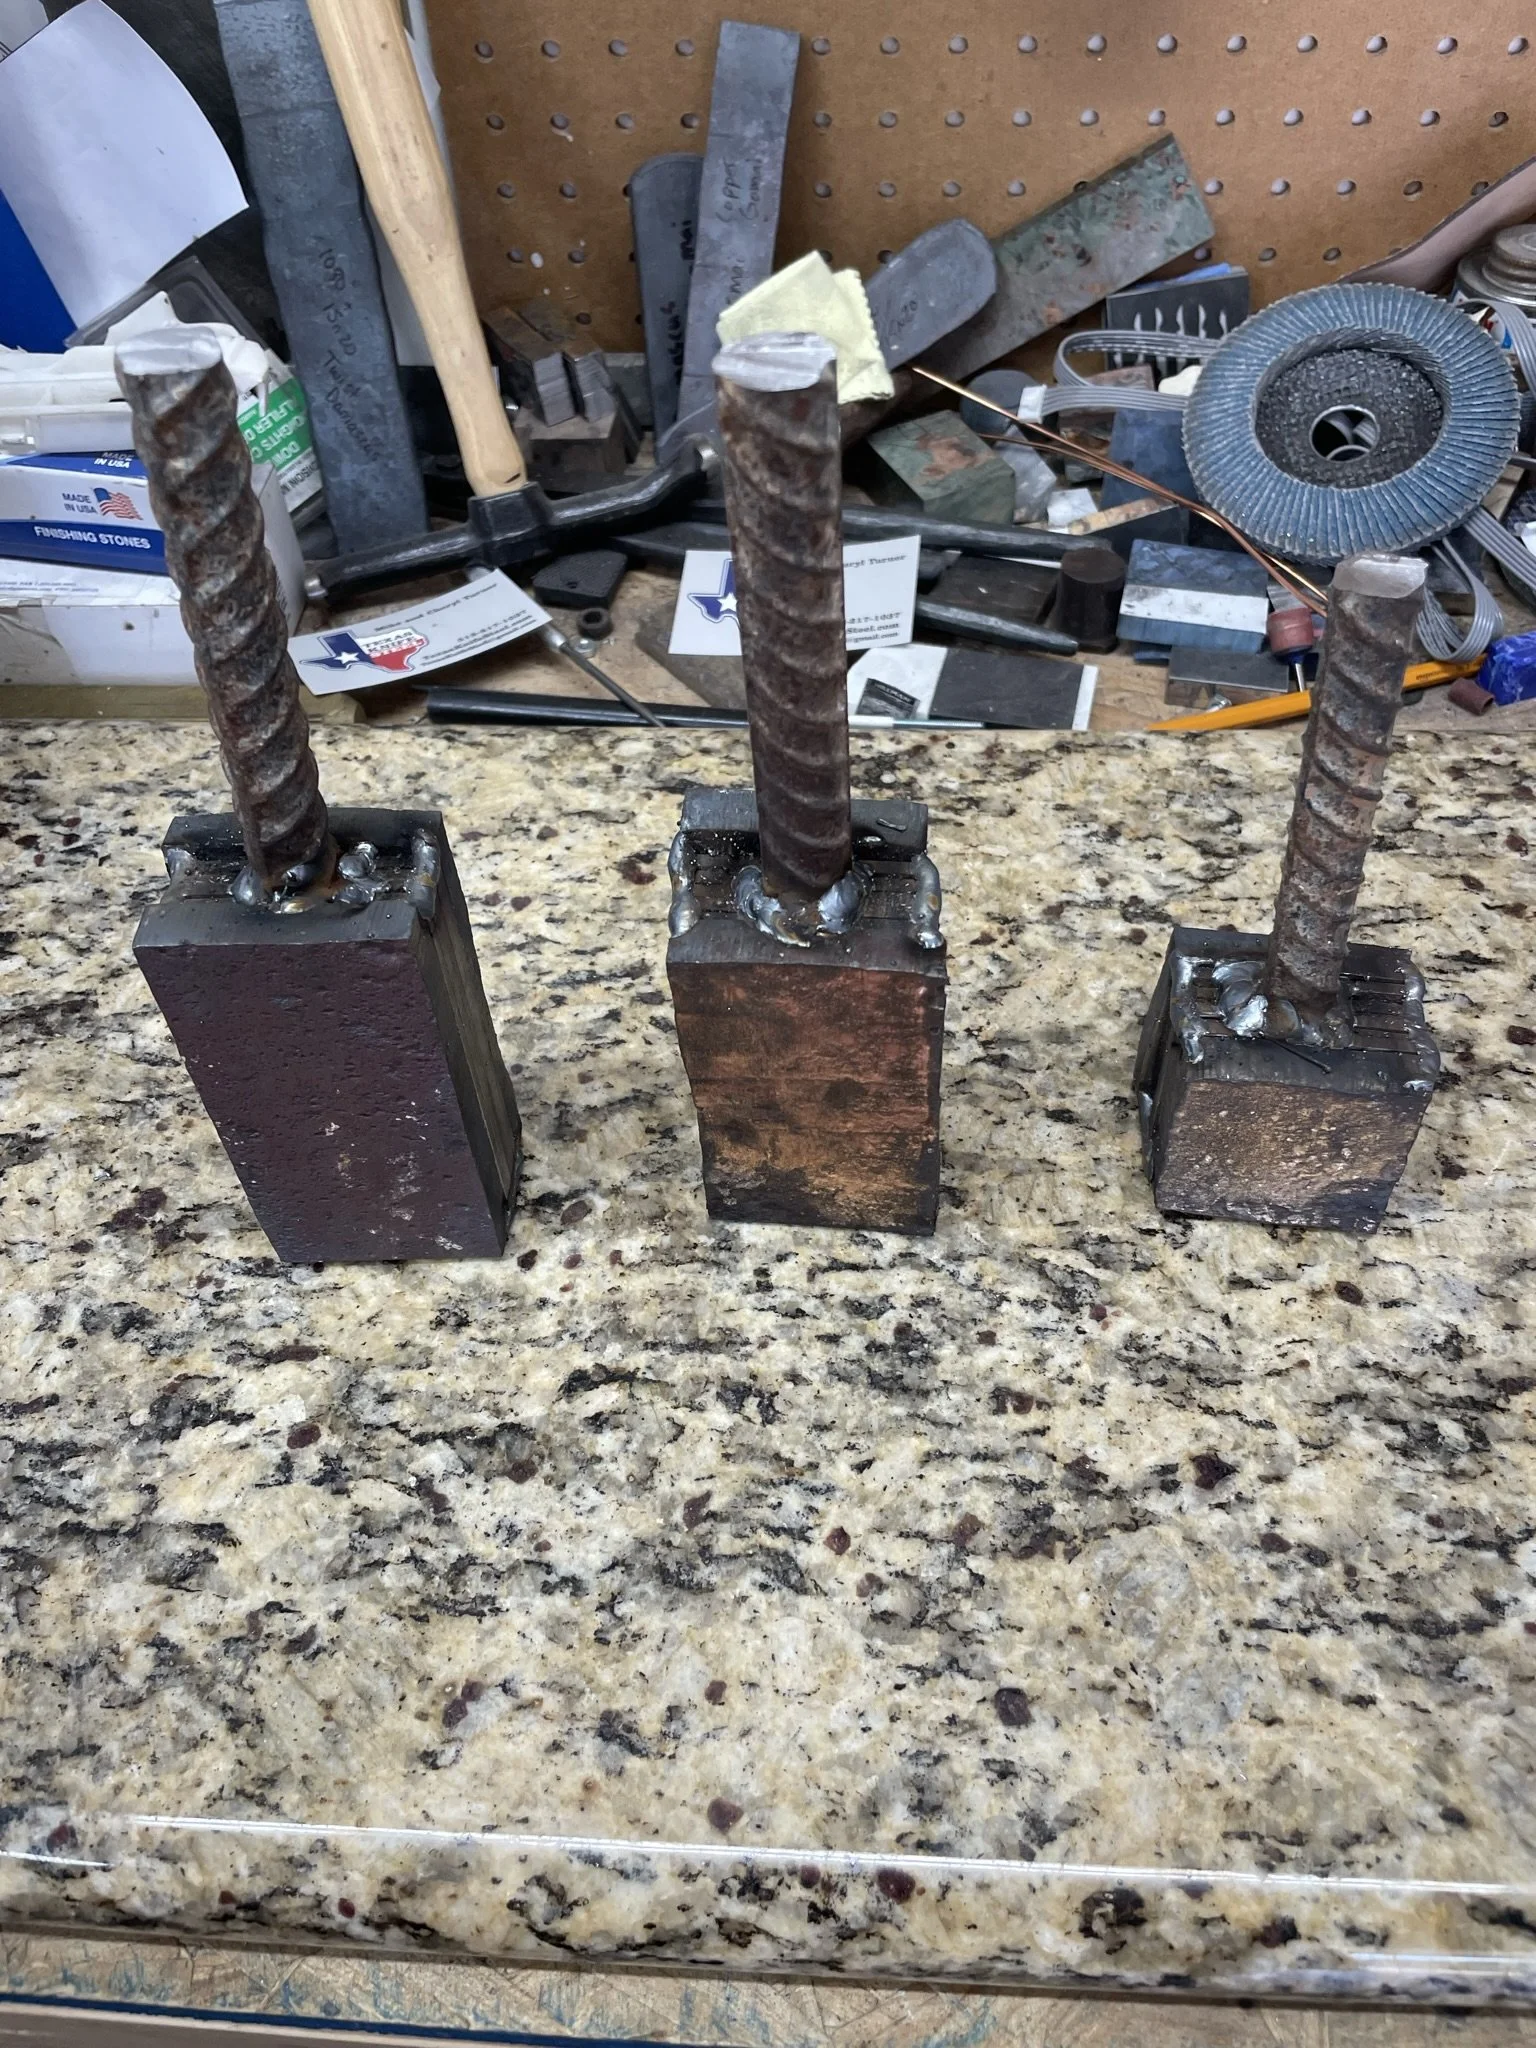
Laying out the metals to make my favorite lolipops.
-
Aren't they pretty!
-
Into the forge for forge welding.
-
Forge welding the billets together.
-
Drawing the billets out to make them thinner.
-
![]()
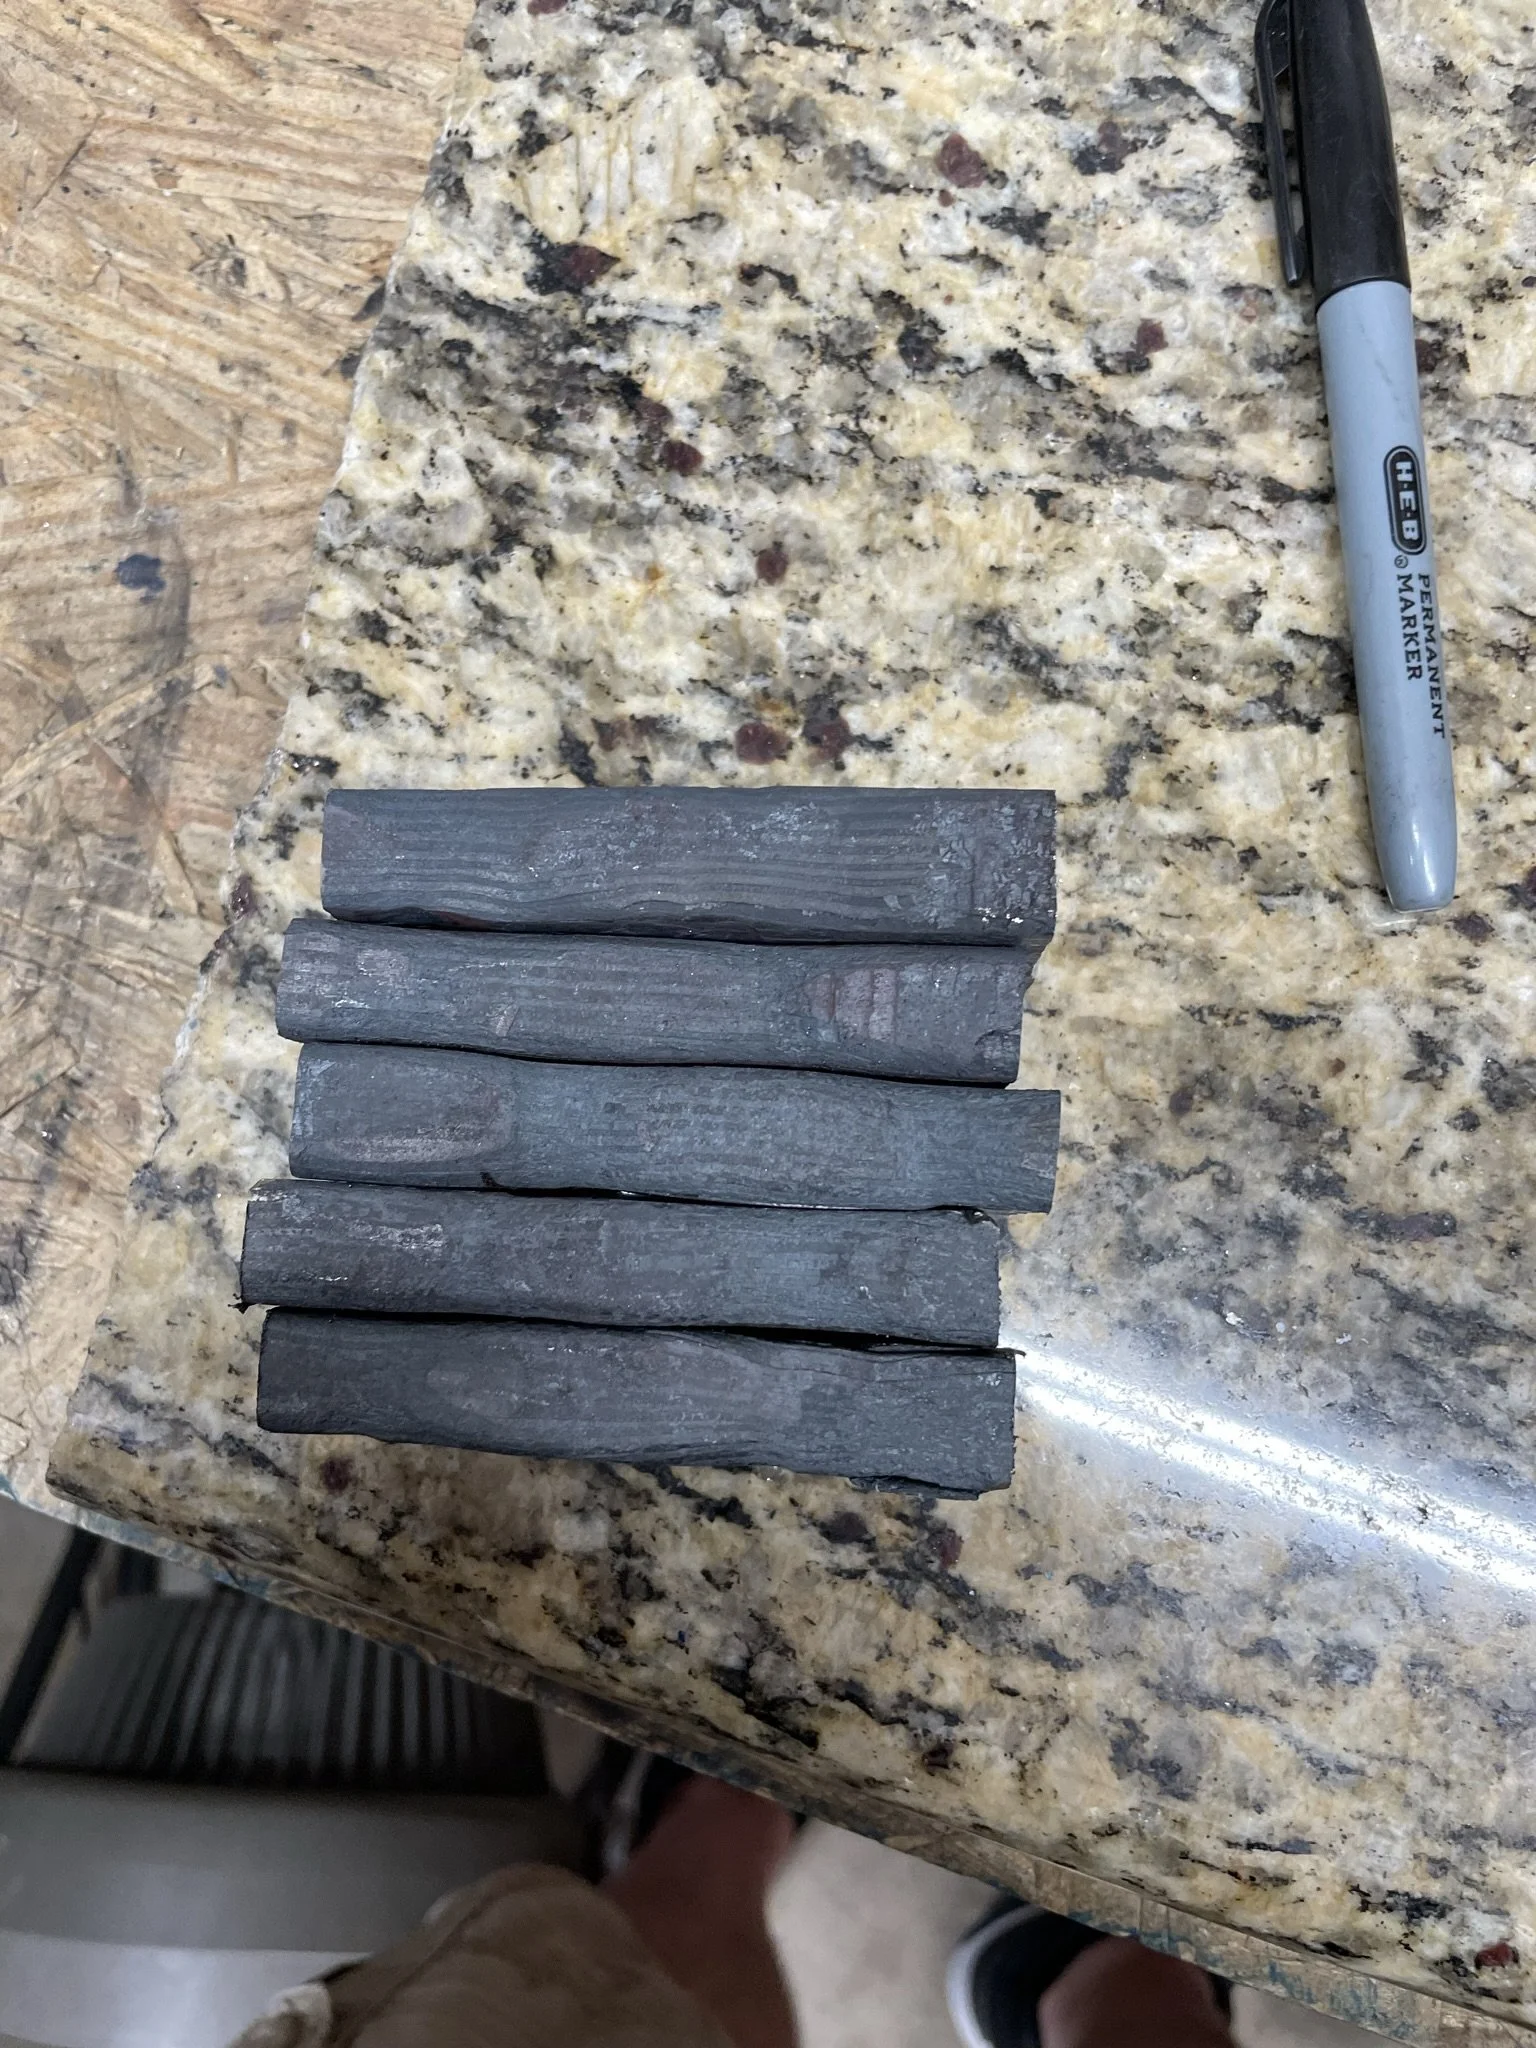
All in a days forging - two long billets and one thick for a later integral knife.
-
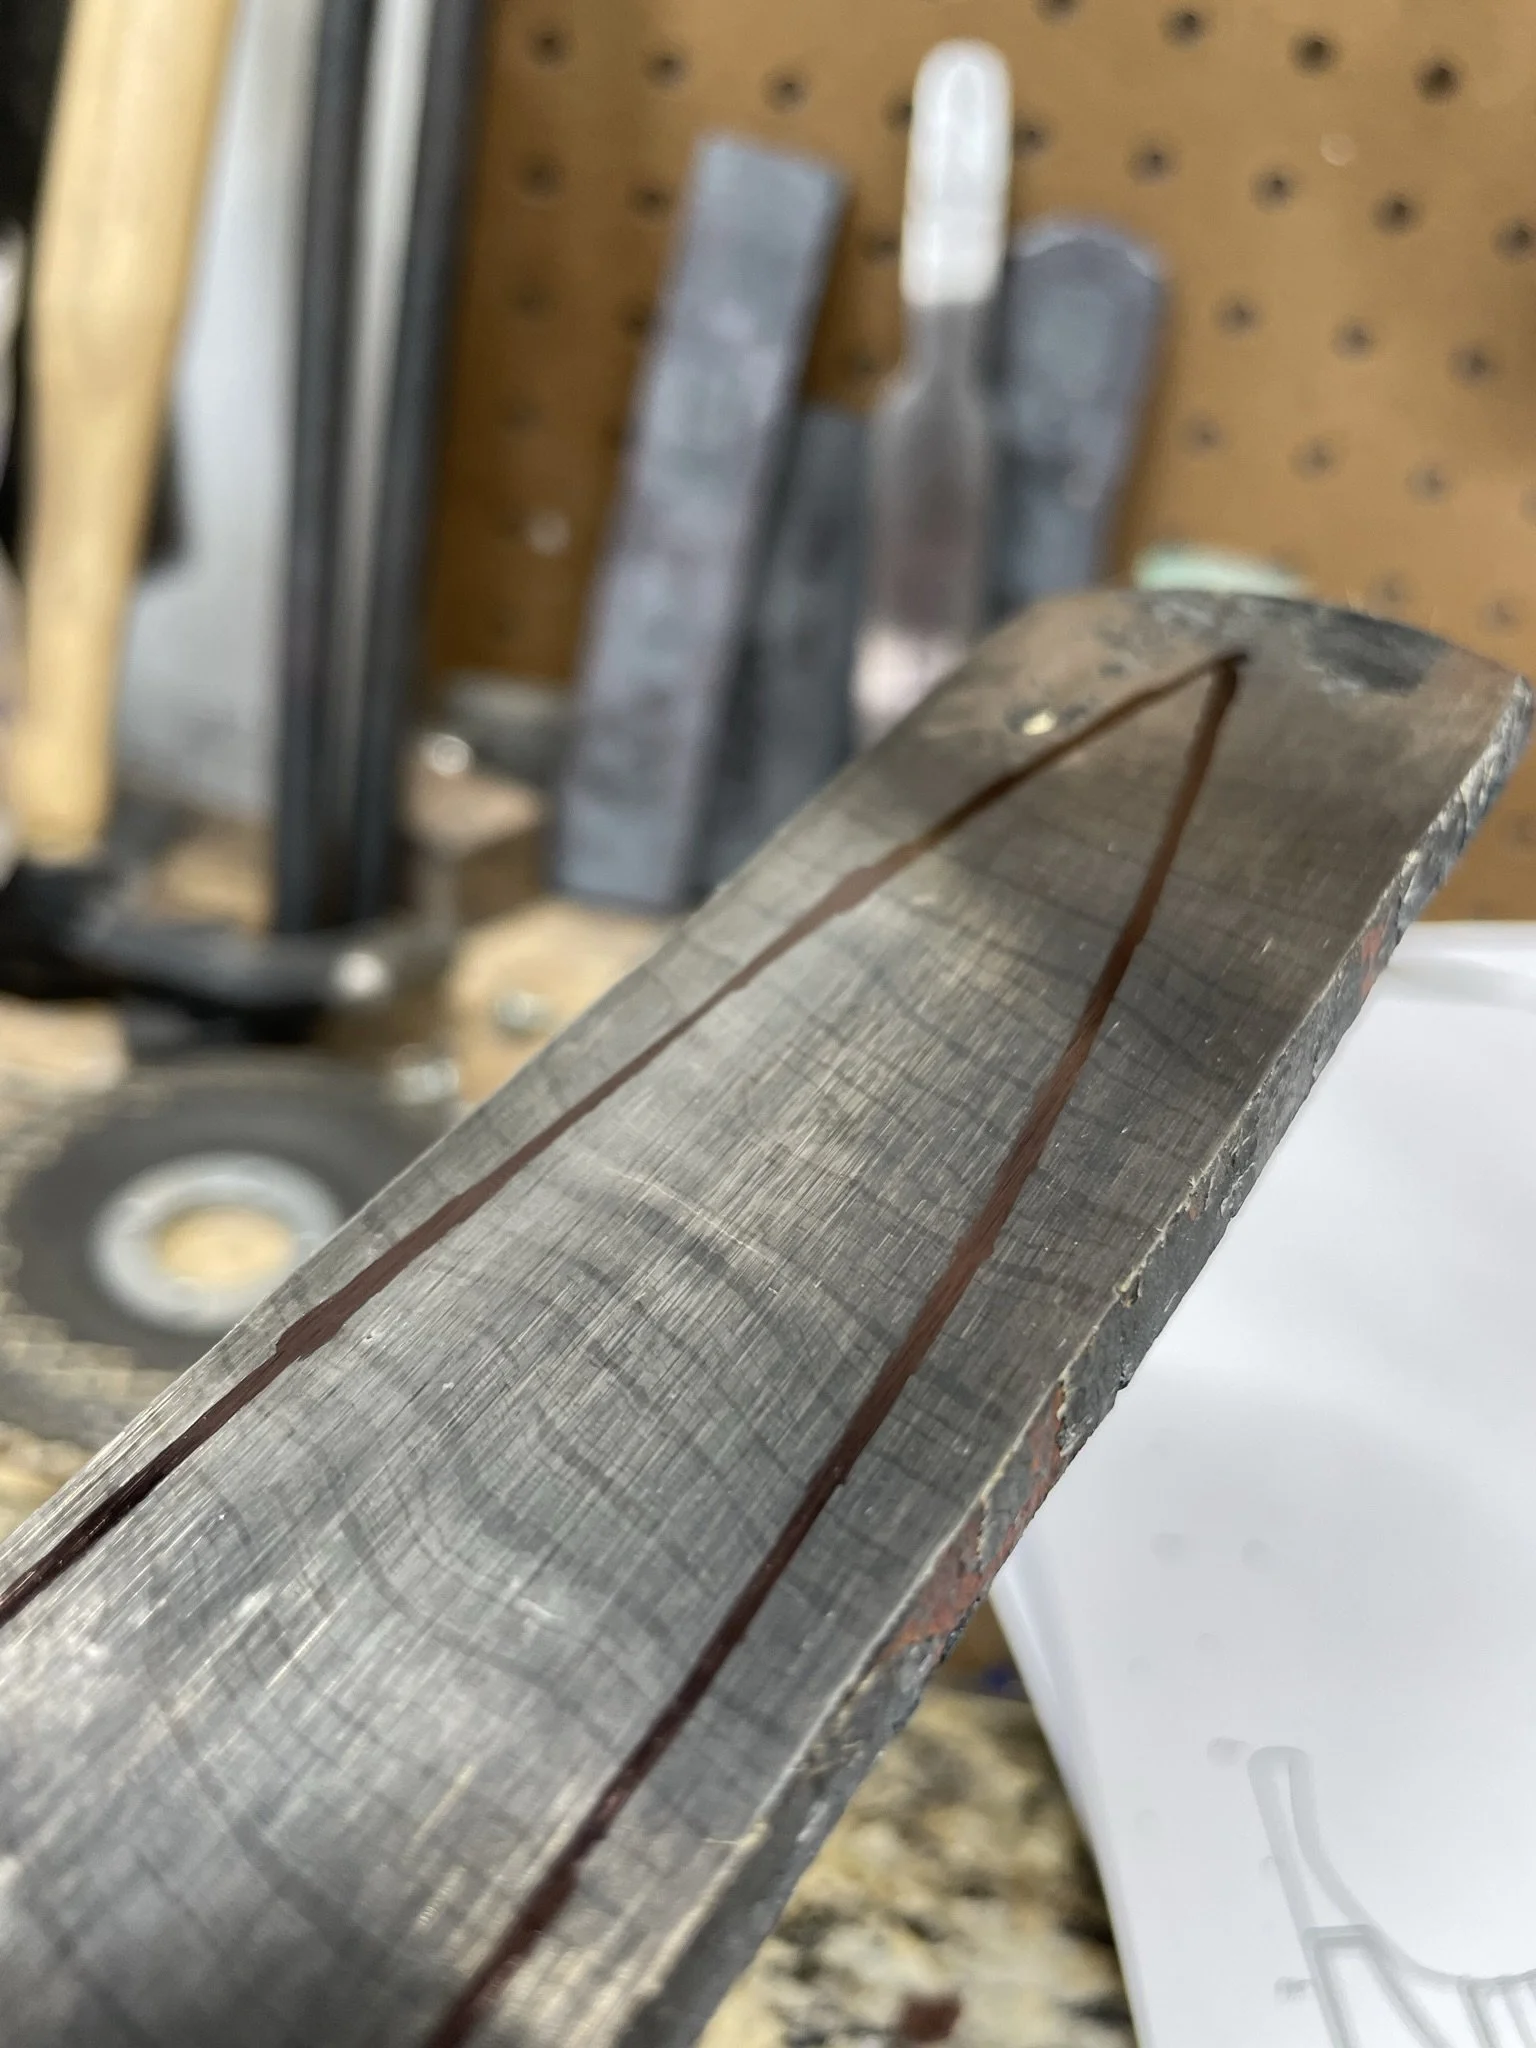
Testing the billets with a quick etch to see the layers.
-
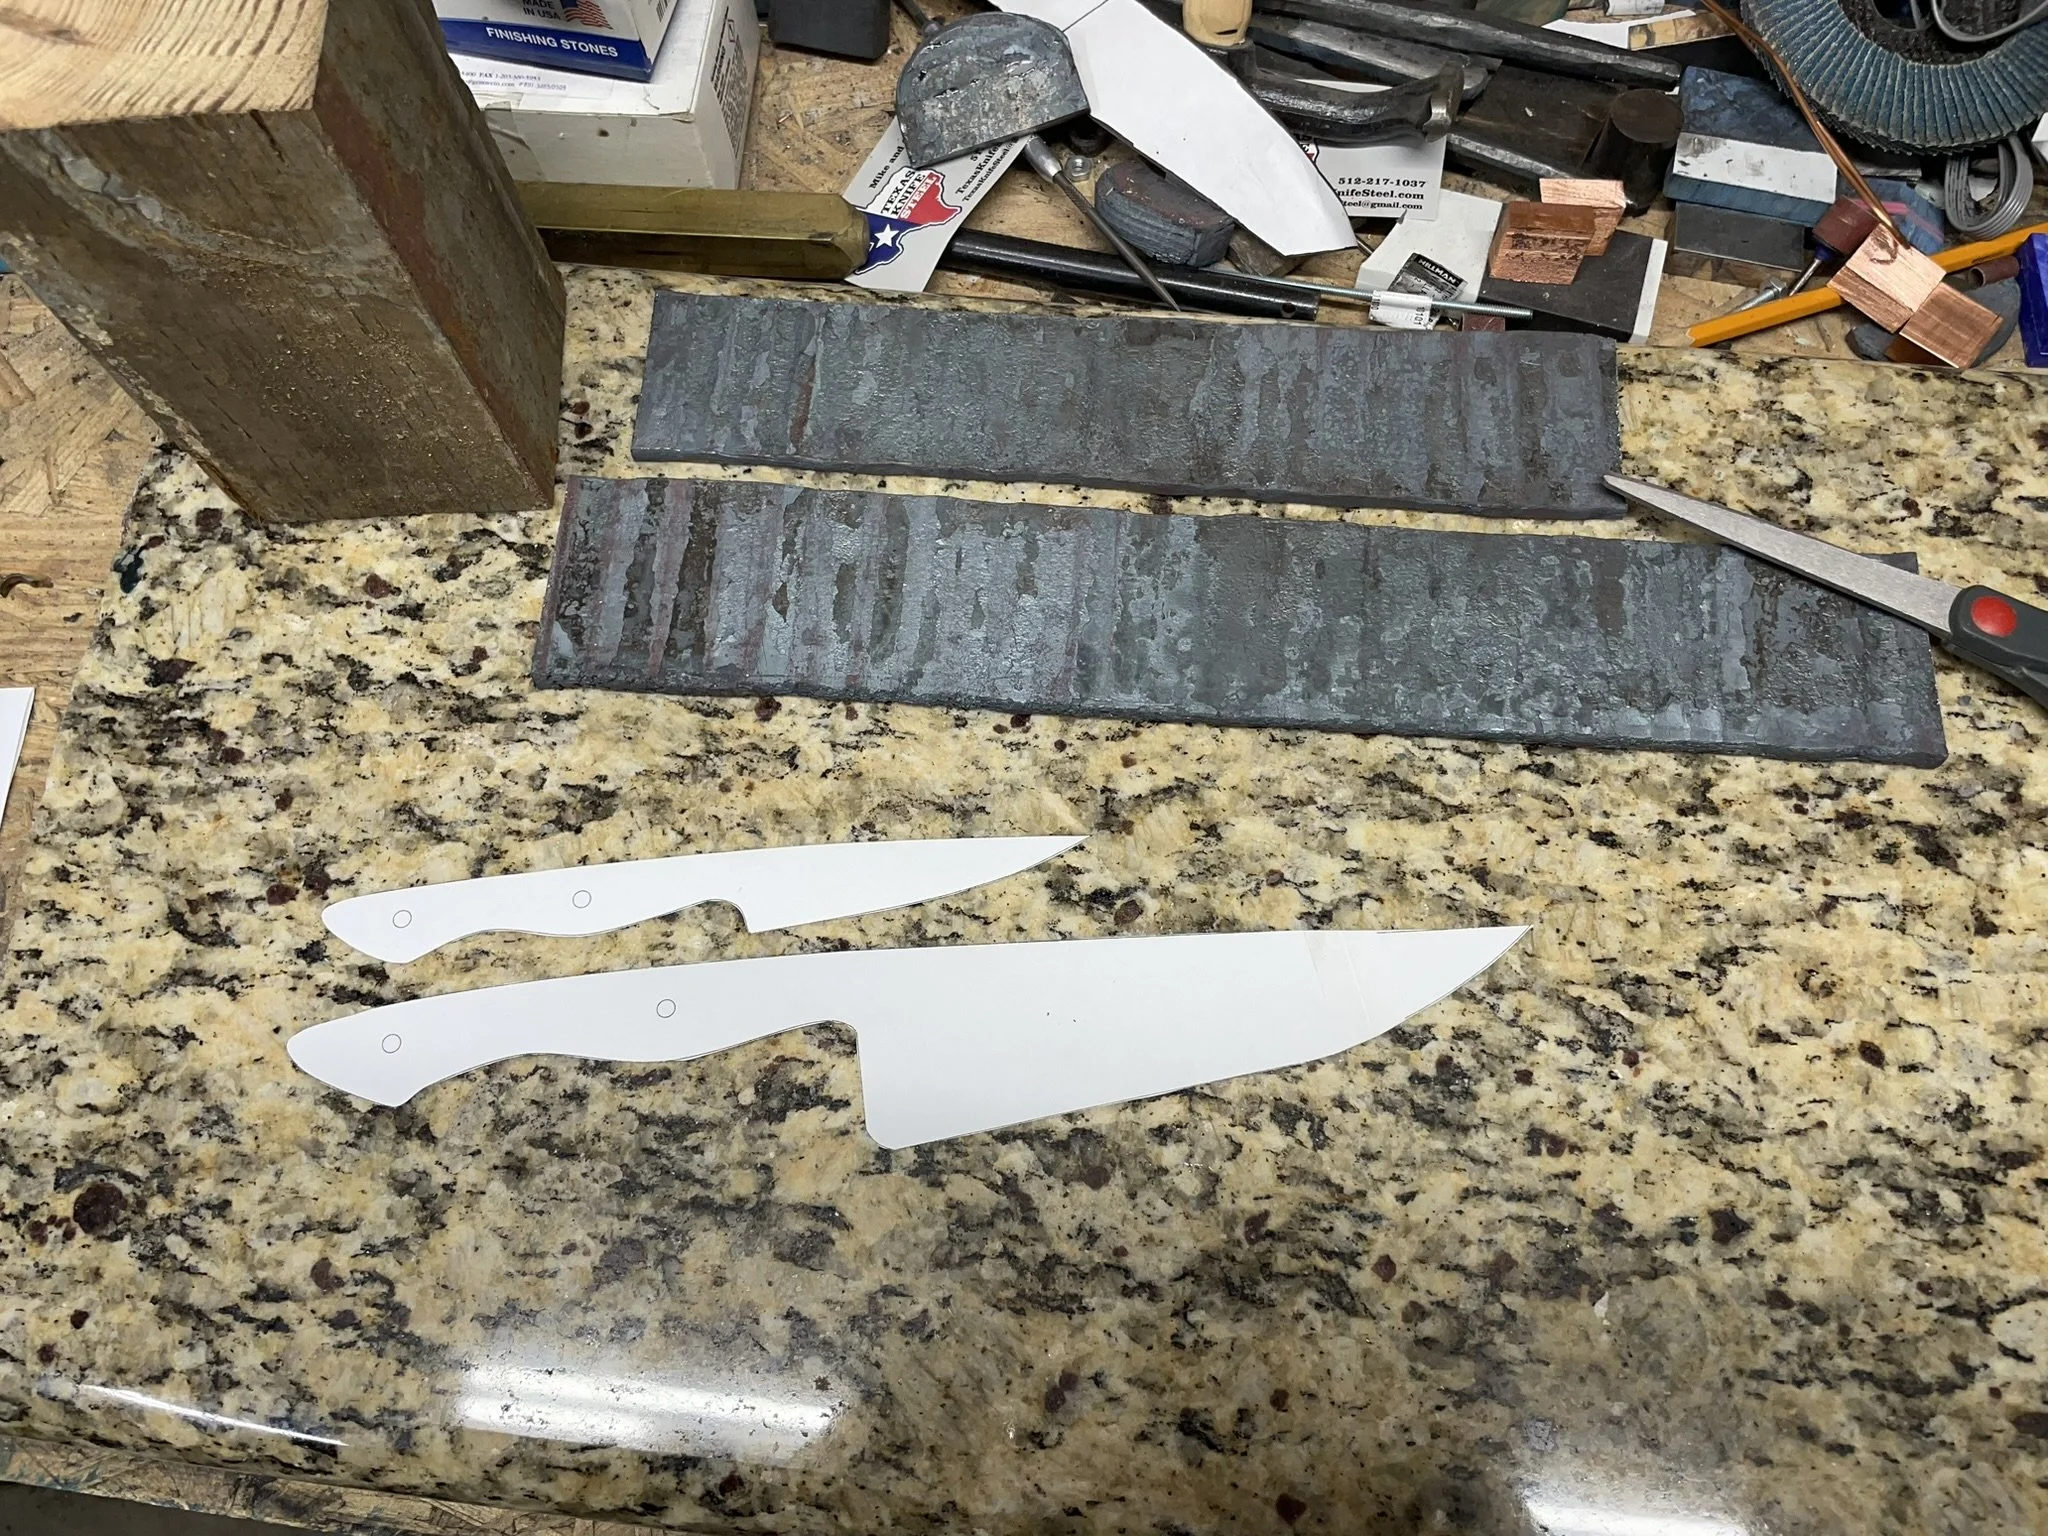
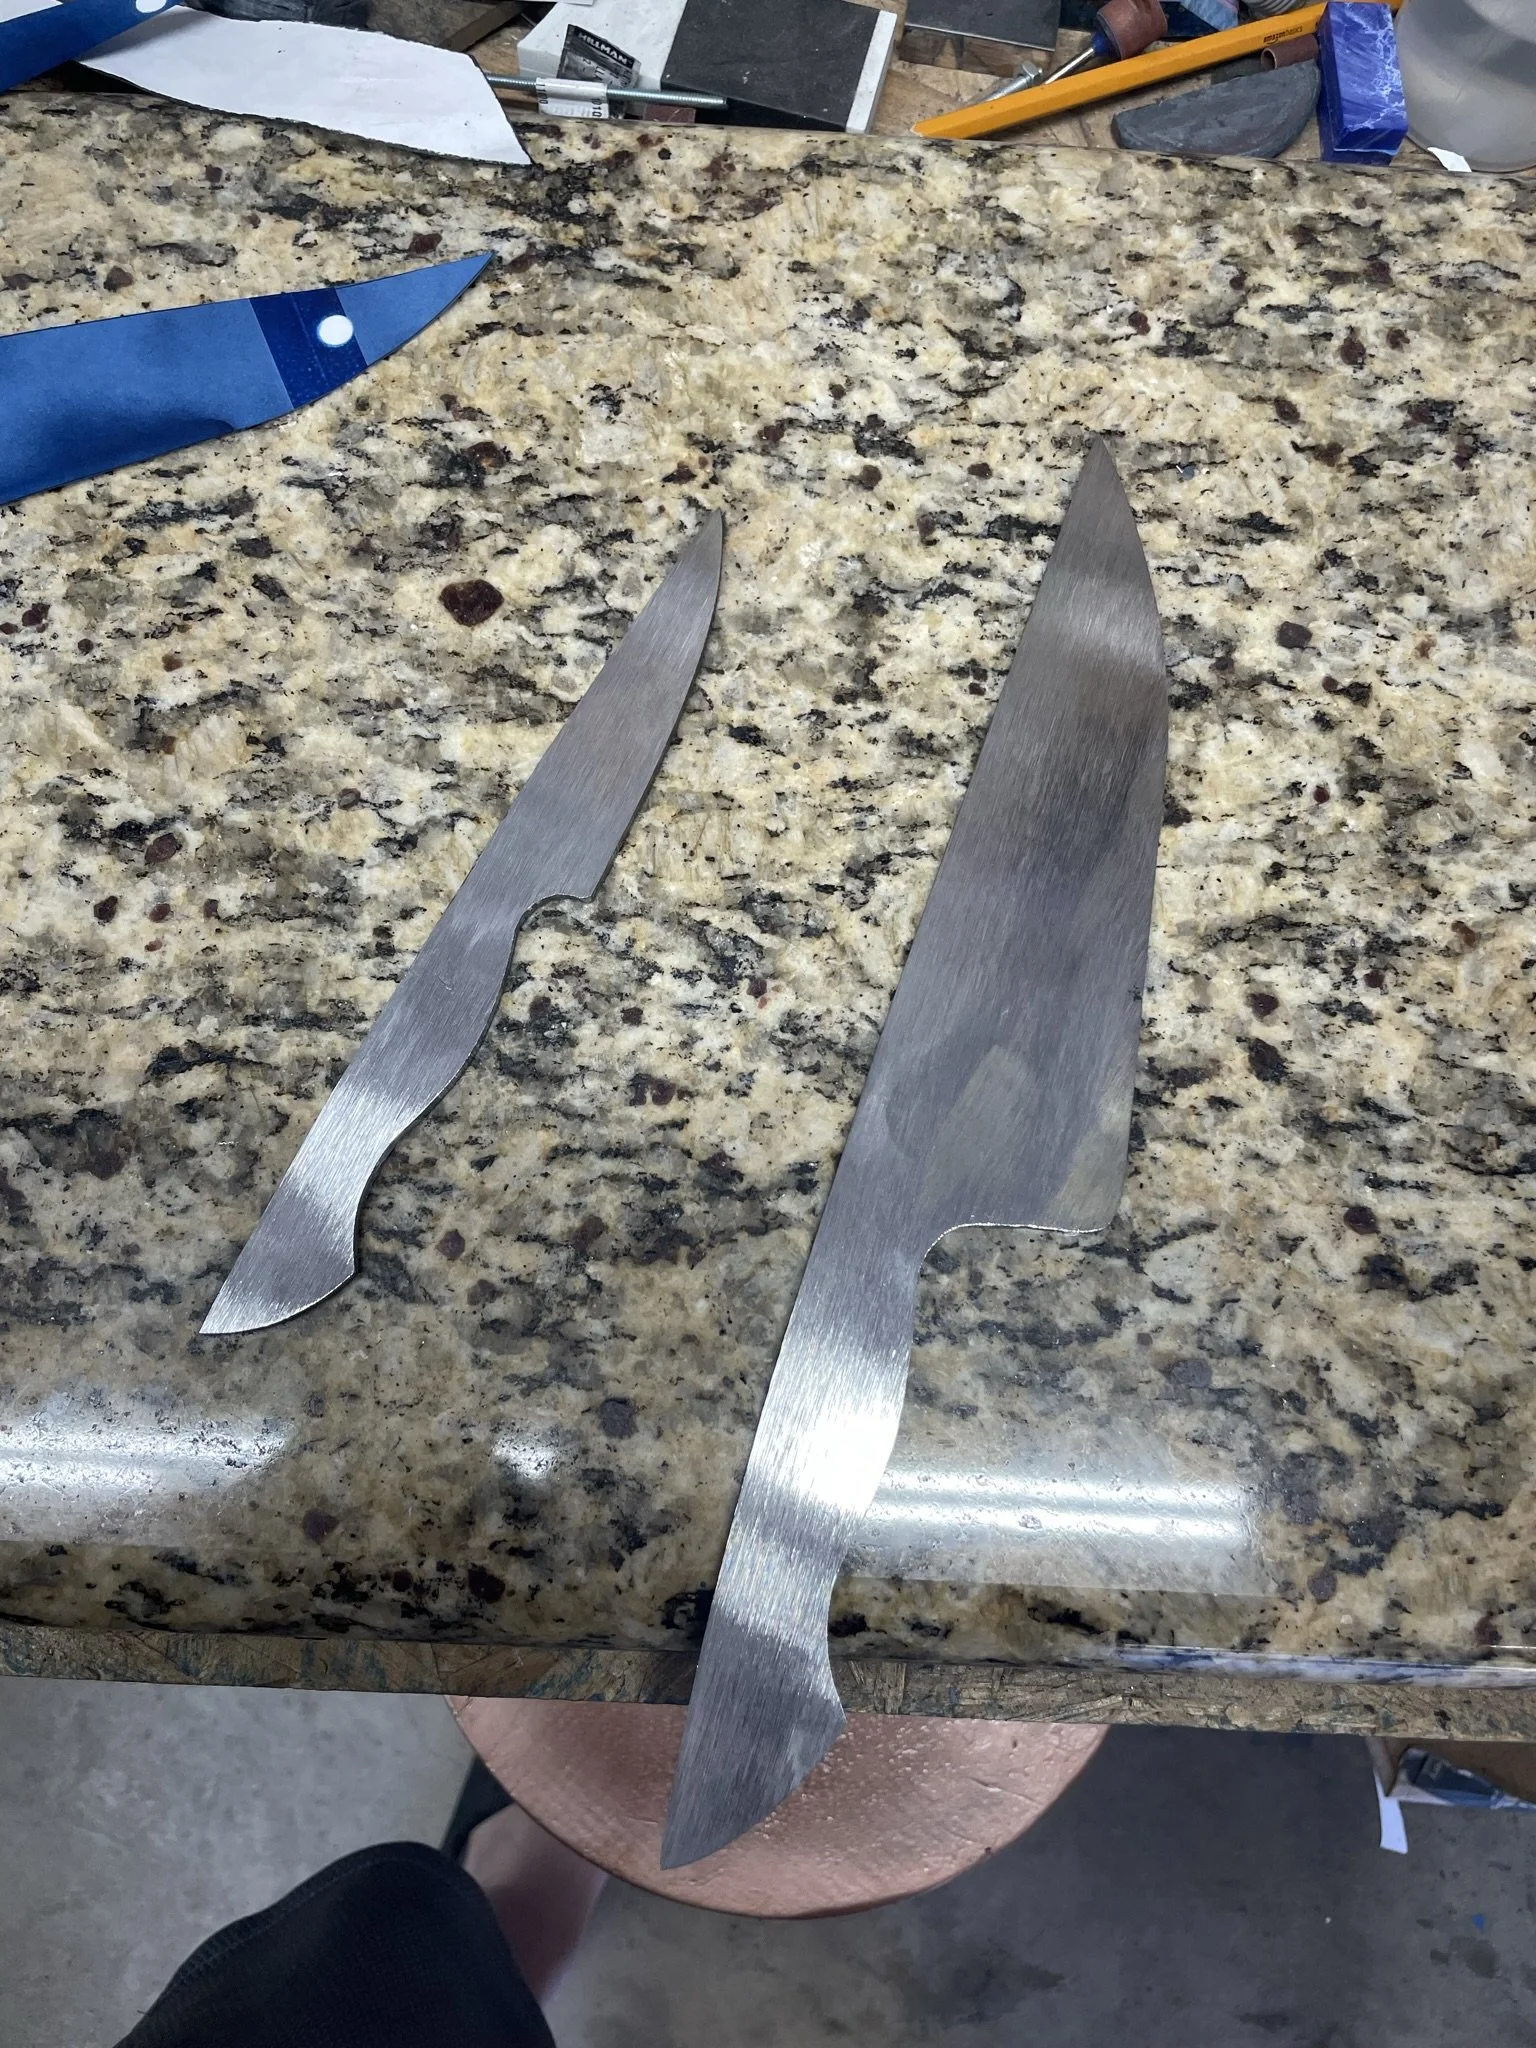
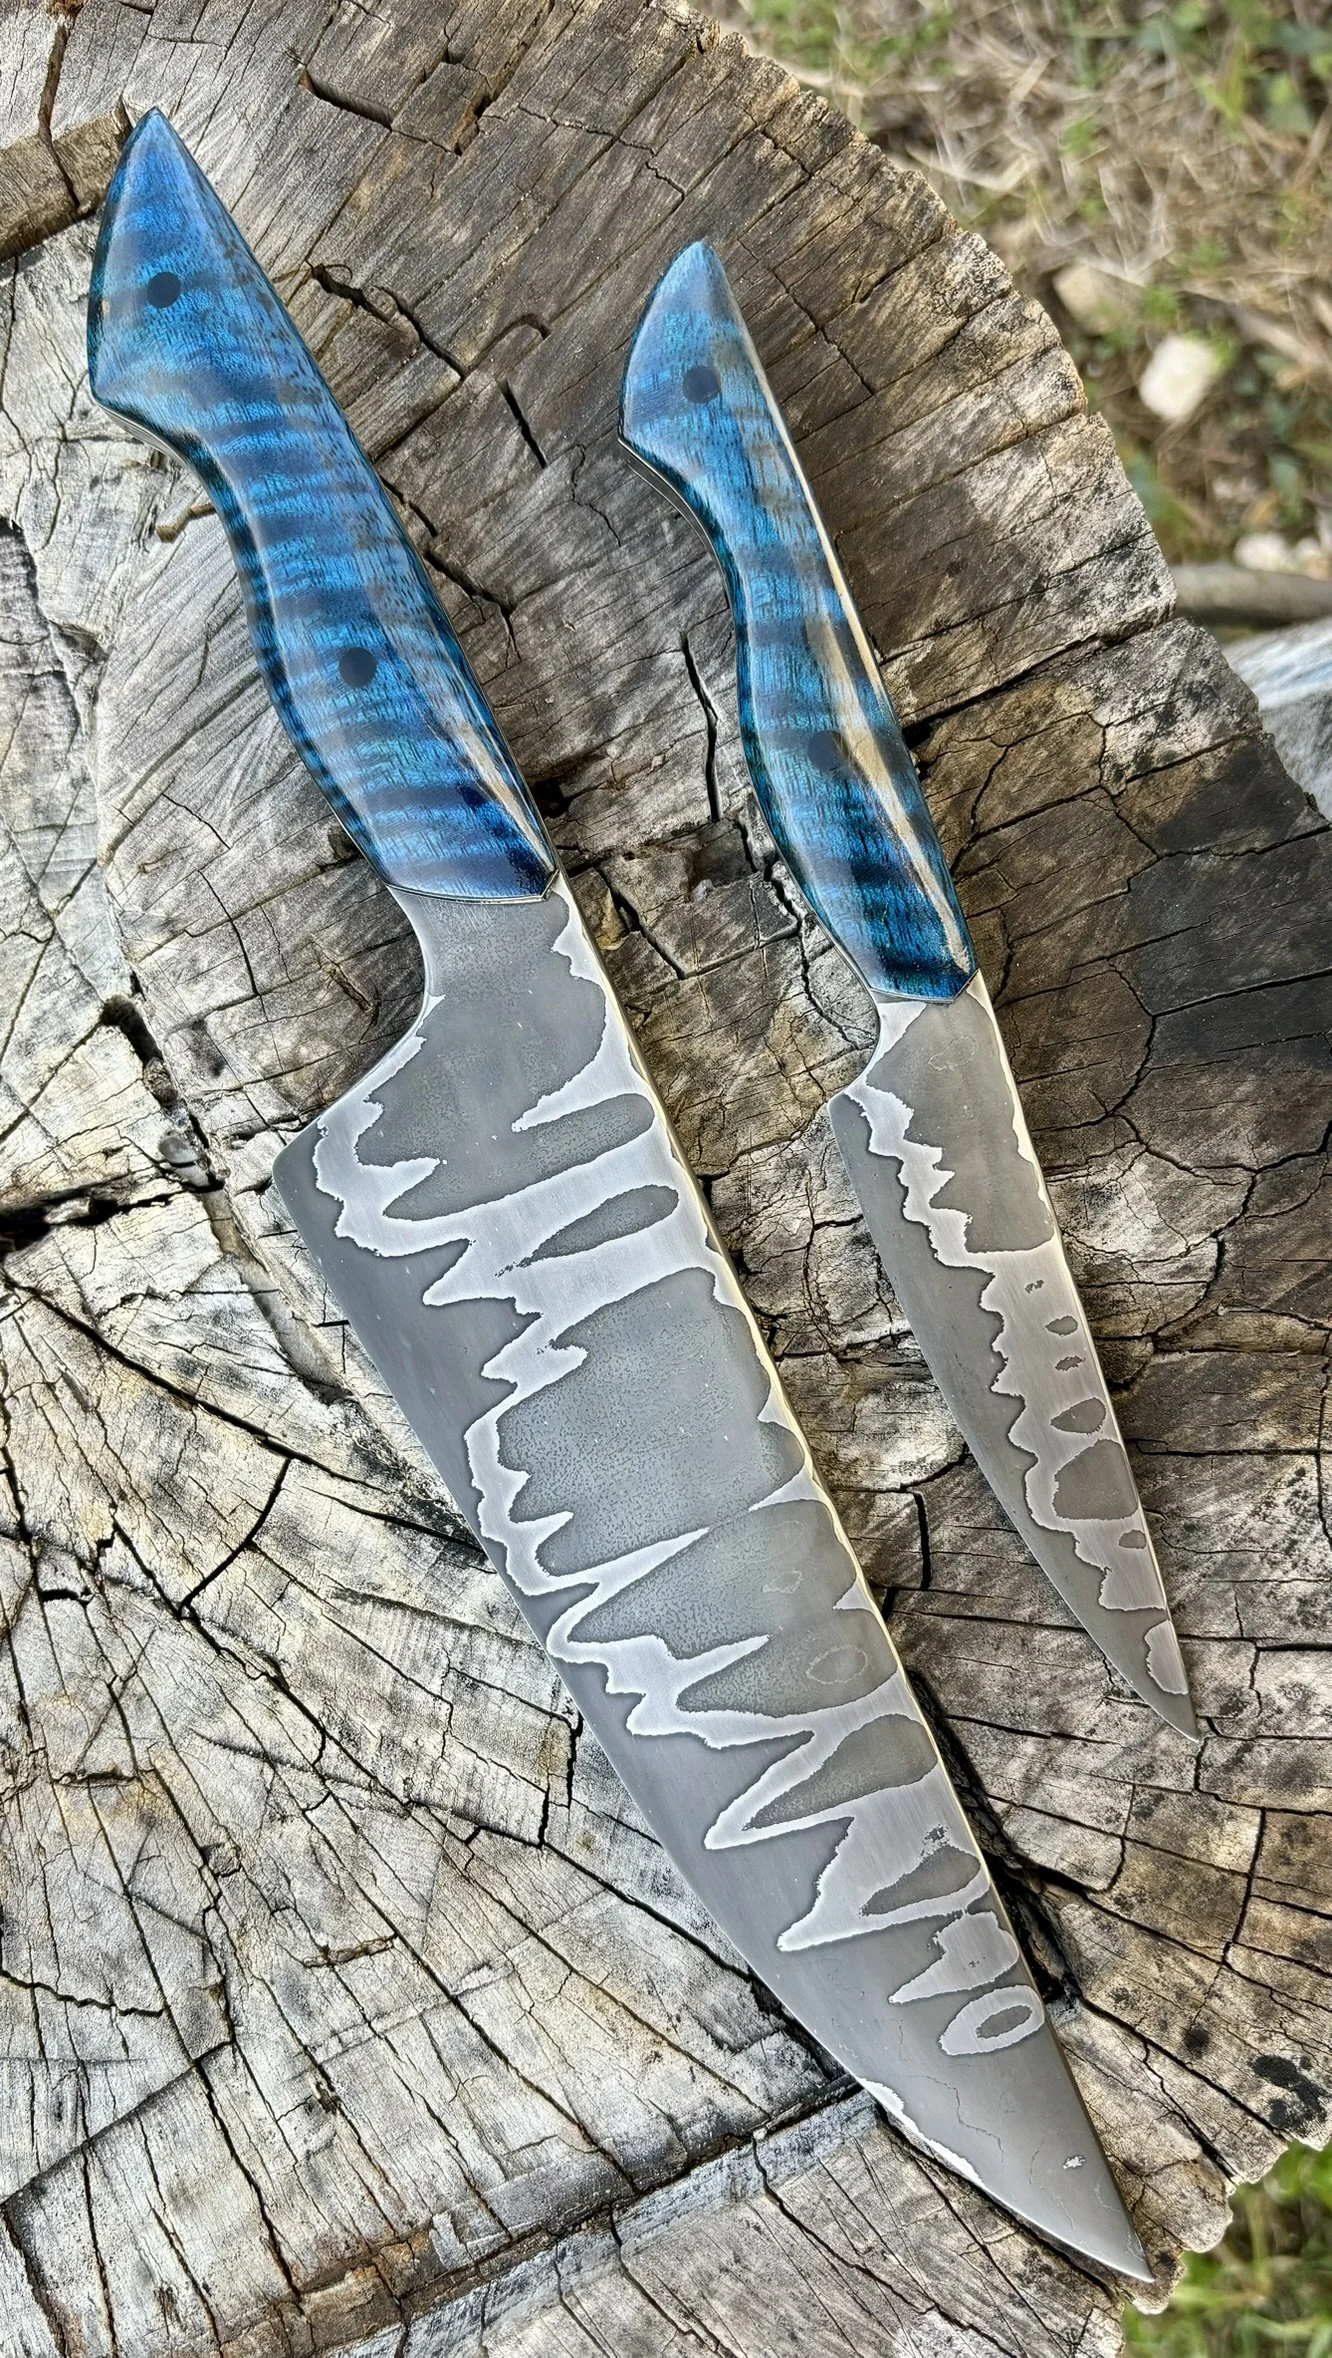
I feel this is where I really defined my style of chef's knife. Here I made a chef's knife and a paring knife to go with to be sold as a set.
-
Blades profiled.
-
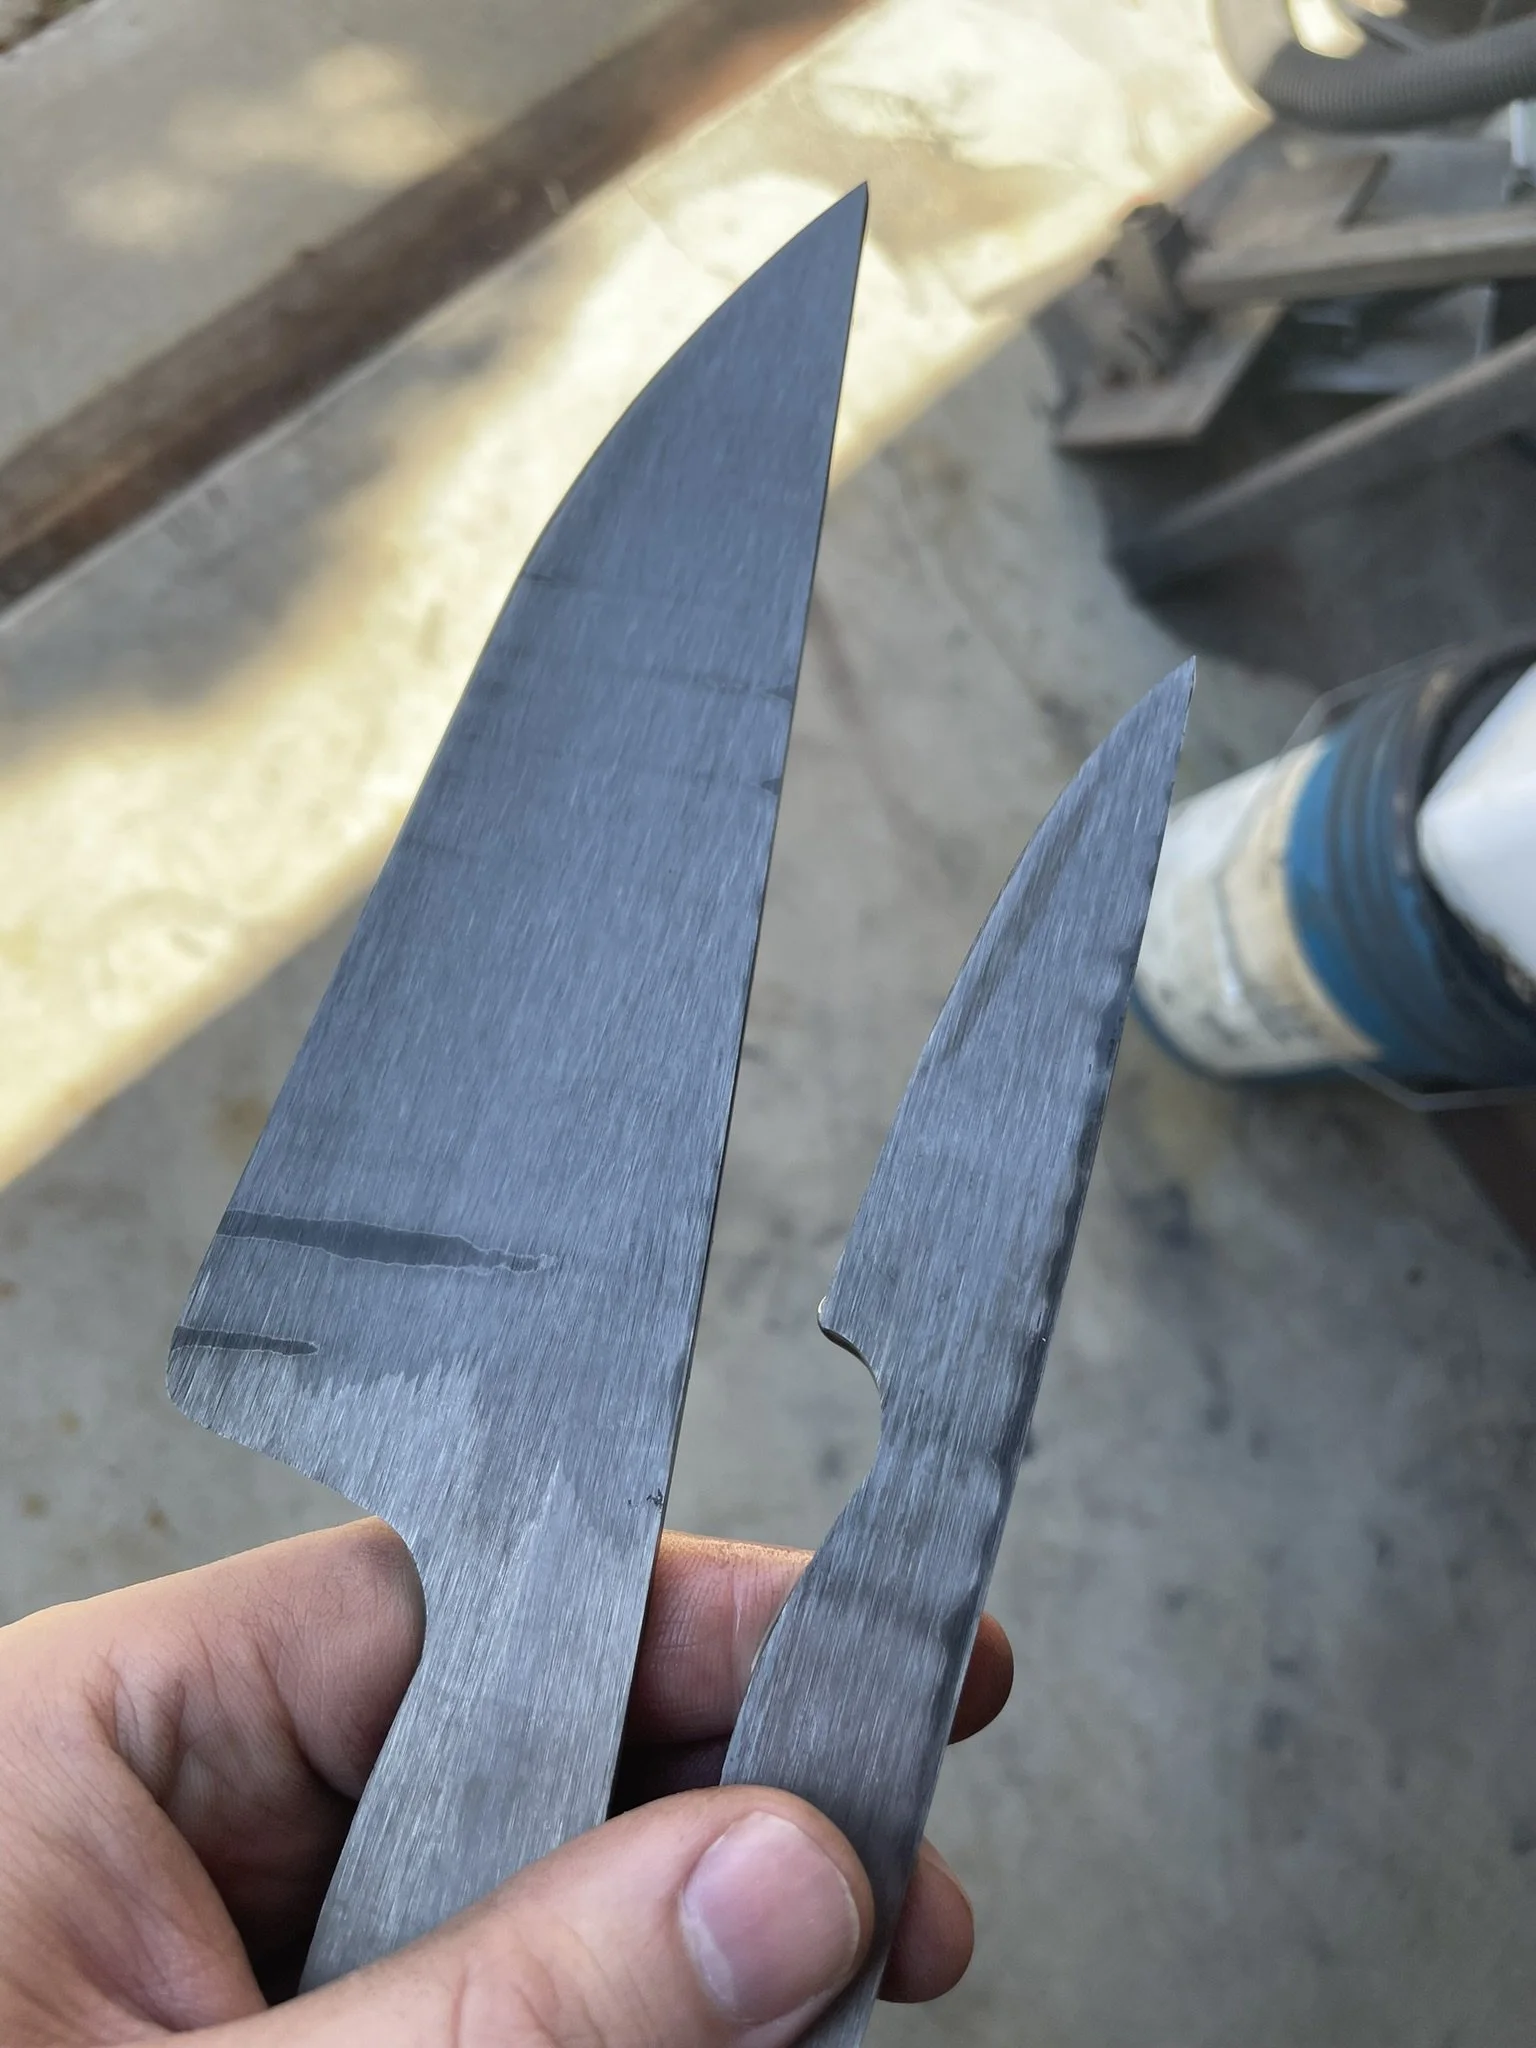
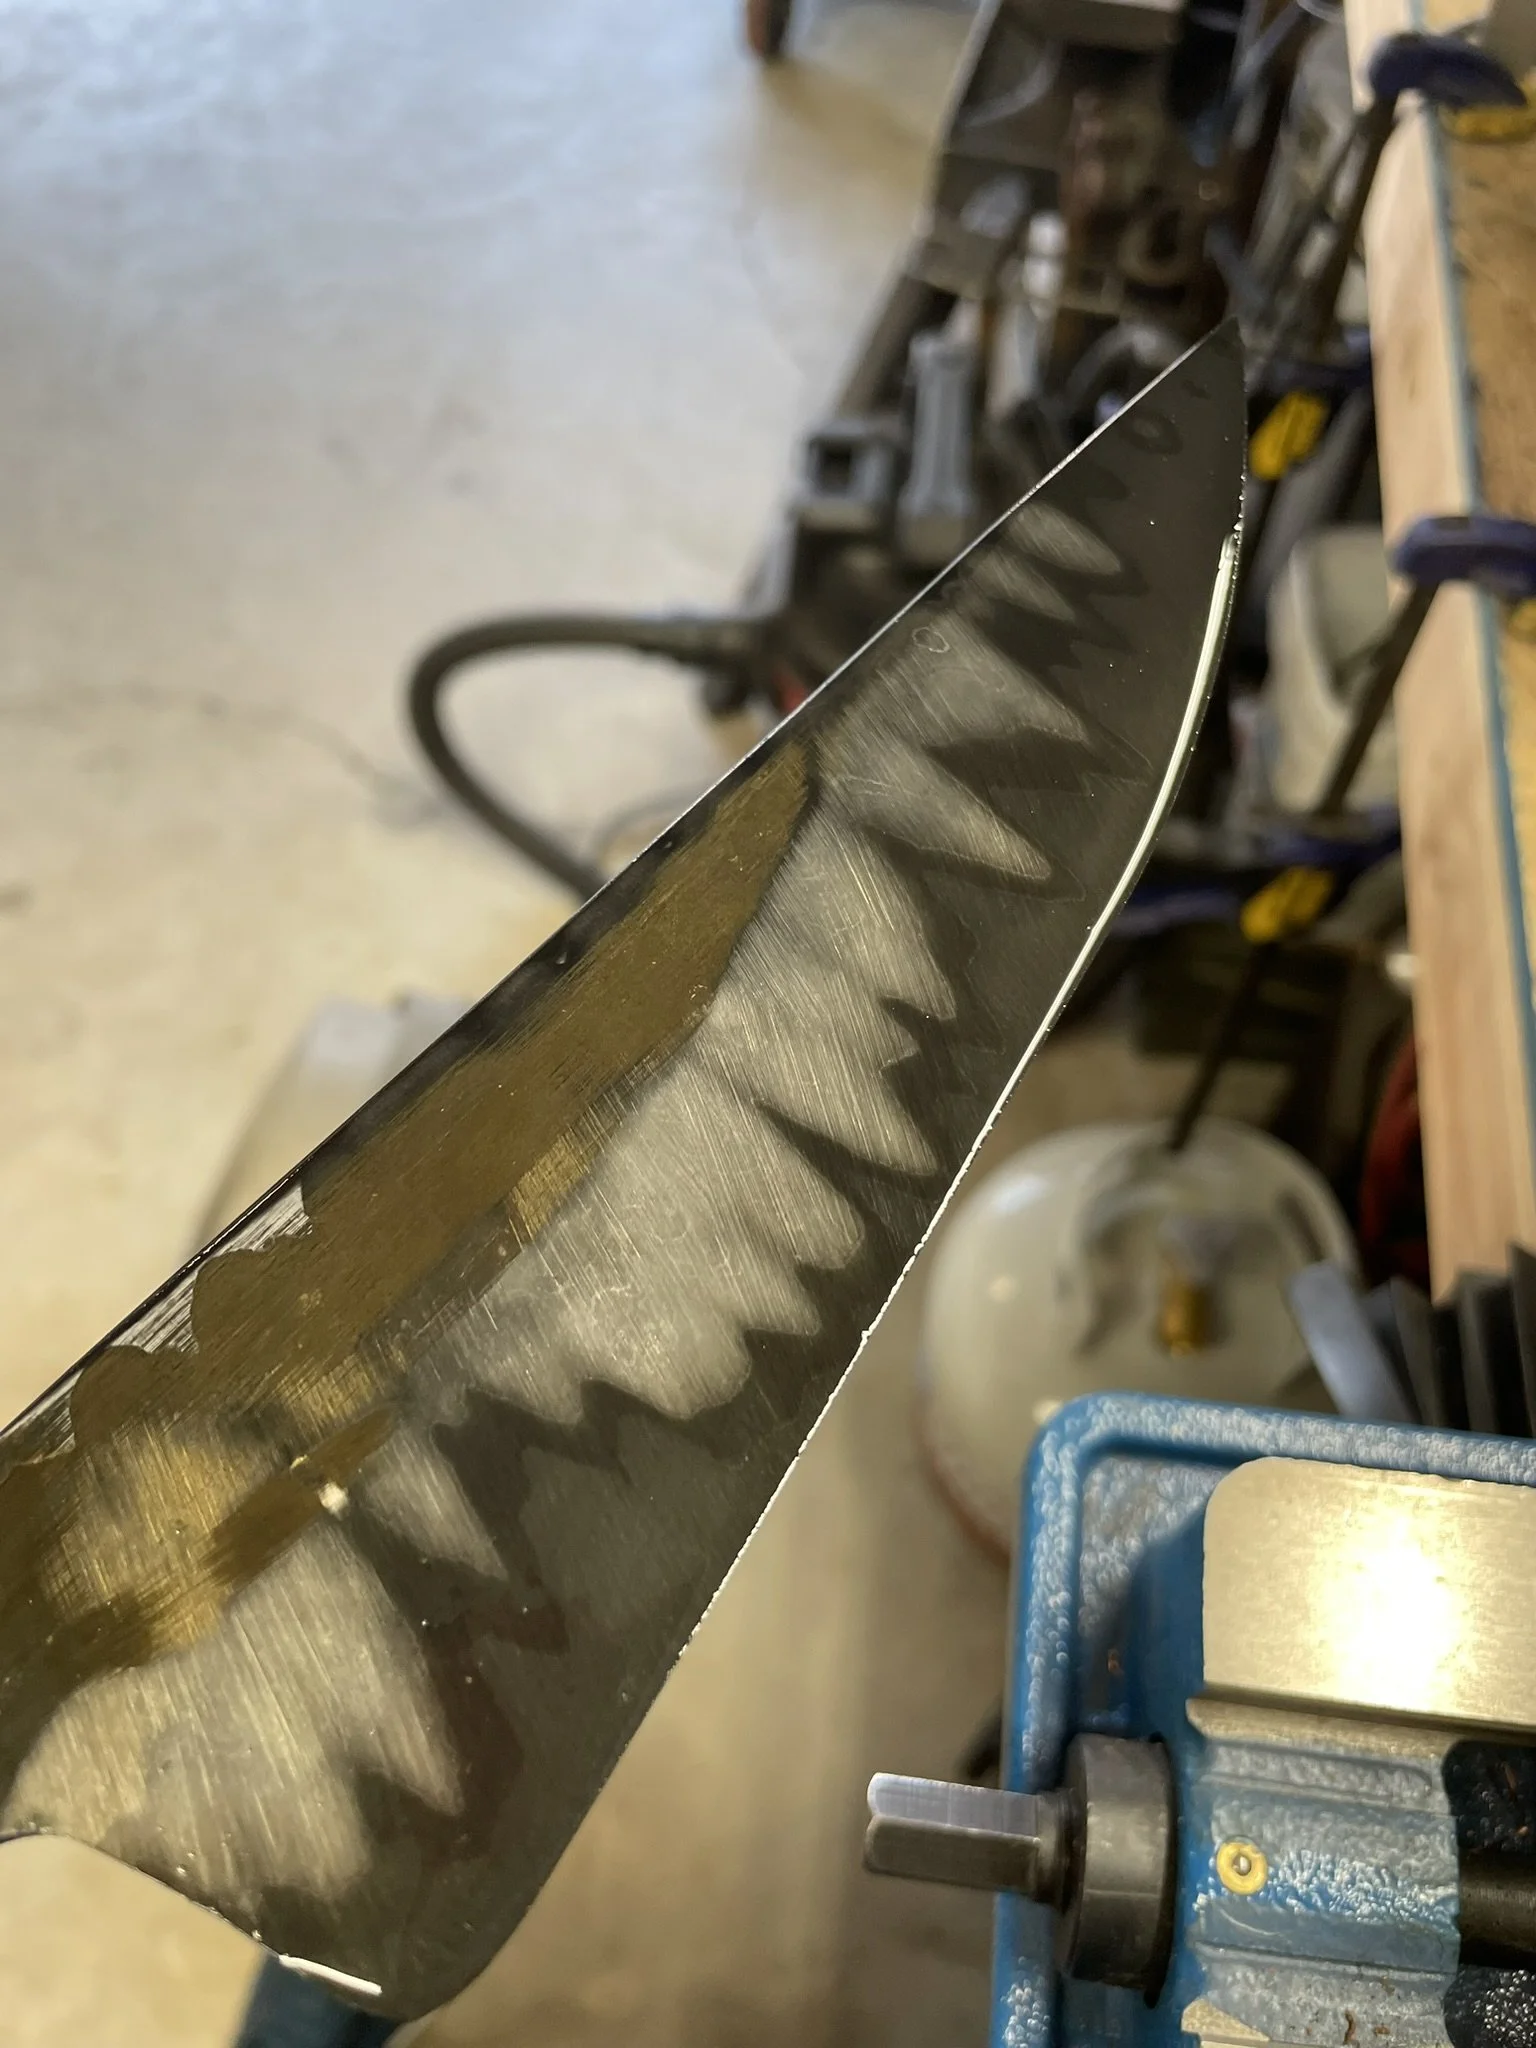
Test etch after some beveling on the grinder.
-
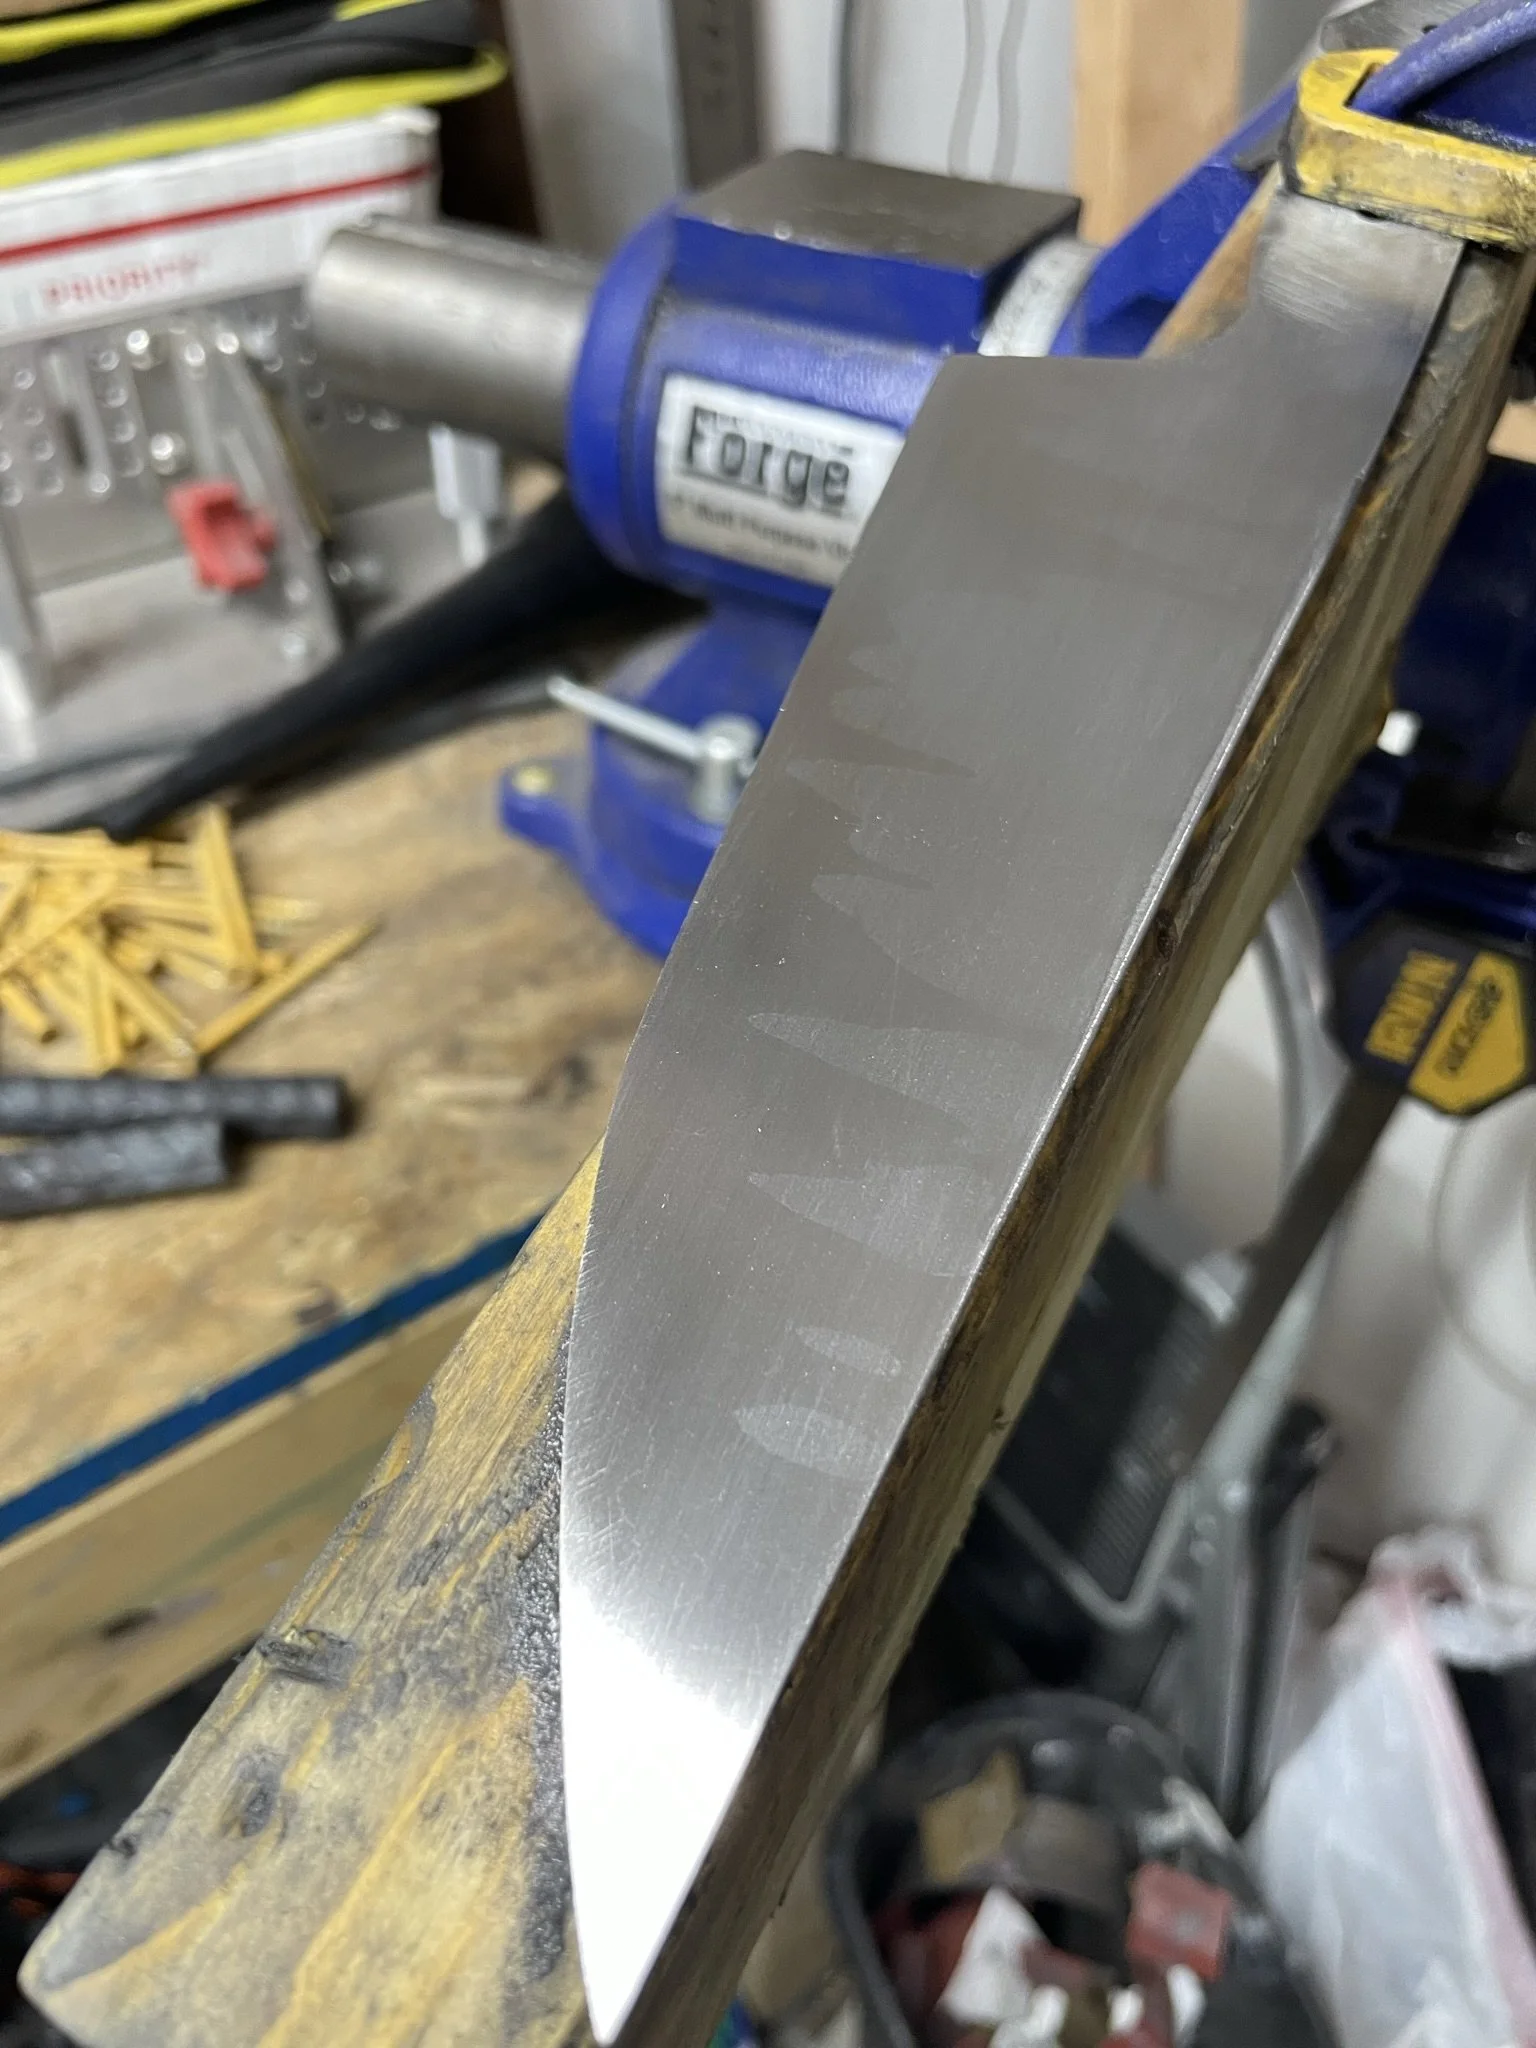
Another test etch to make sure I was watching the position of the mild steel vs the knife steel.
-
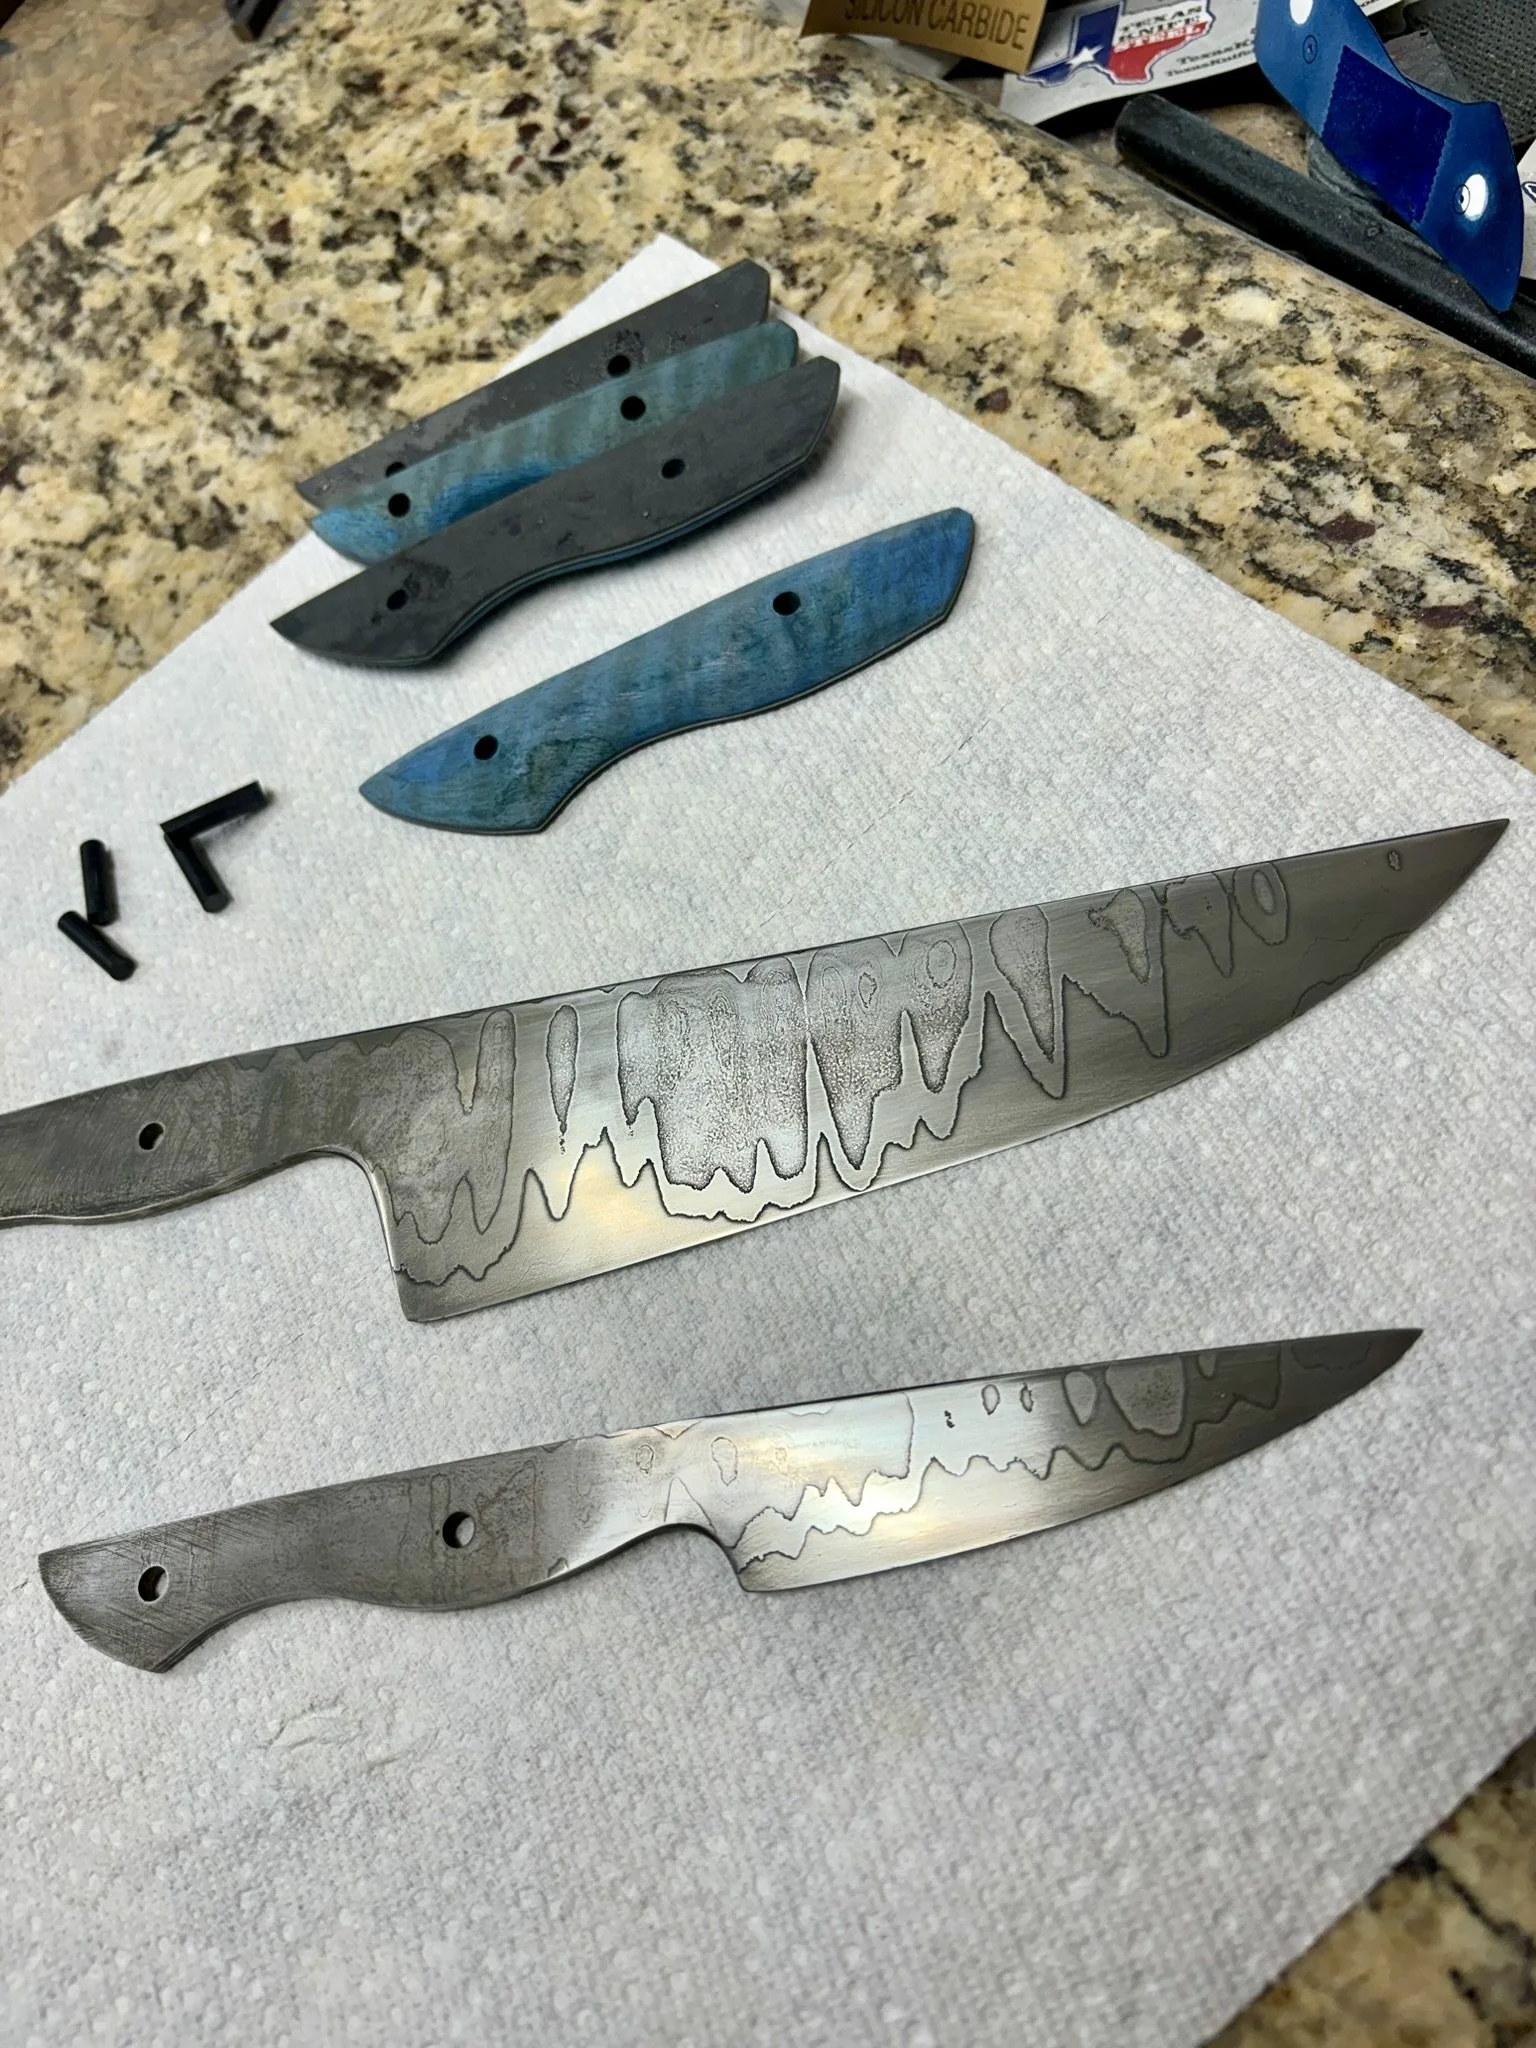
Hand sanding to make sure it's clean and a good final etch.
-
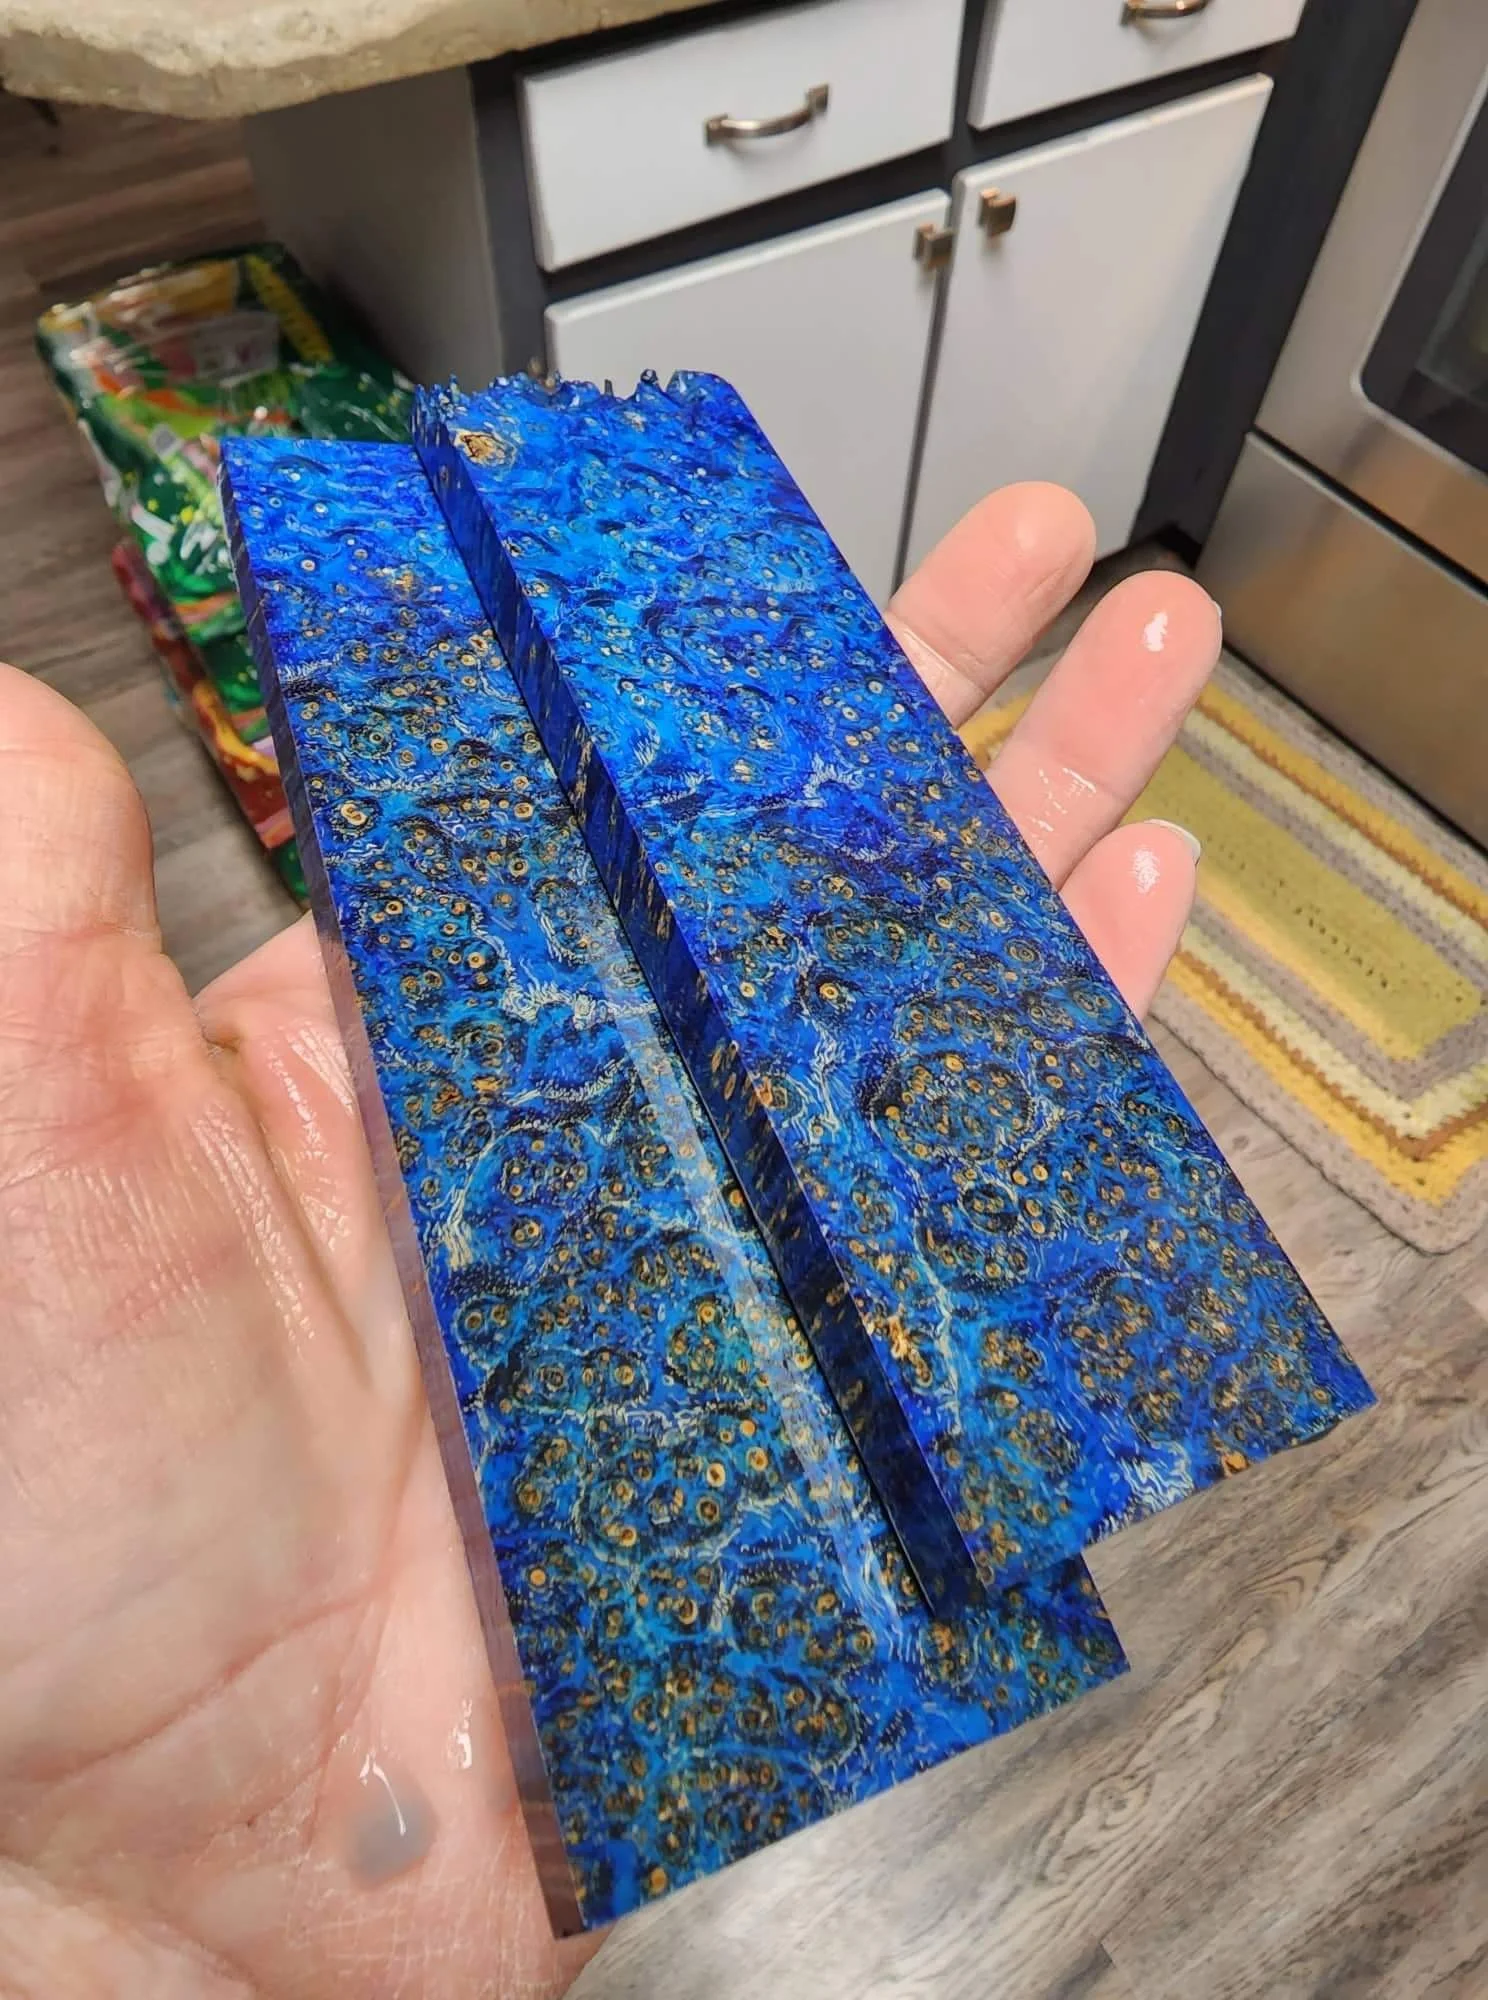
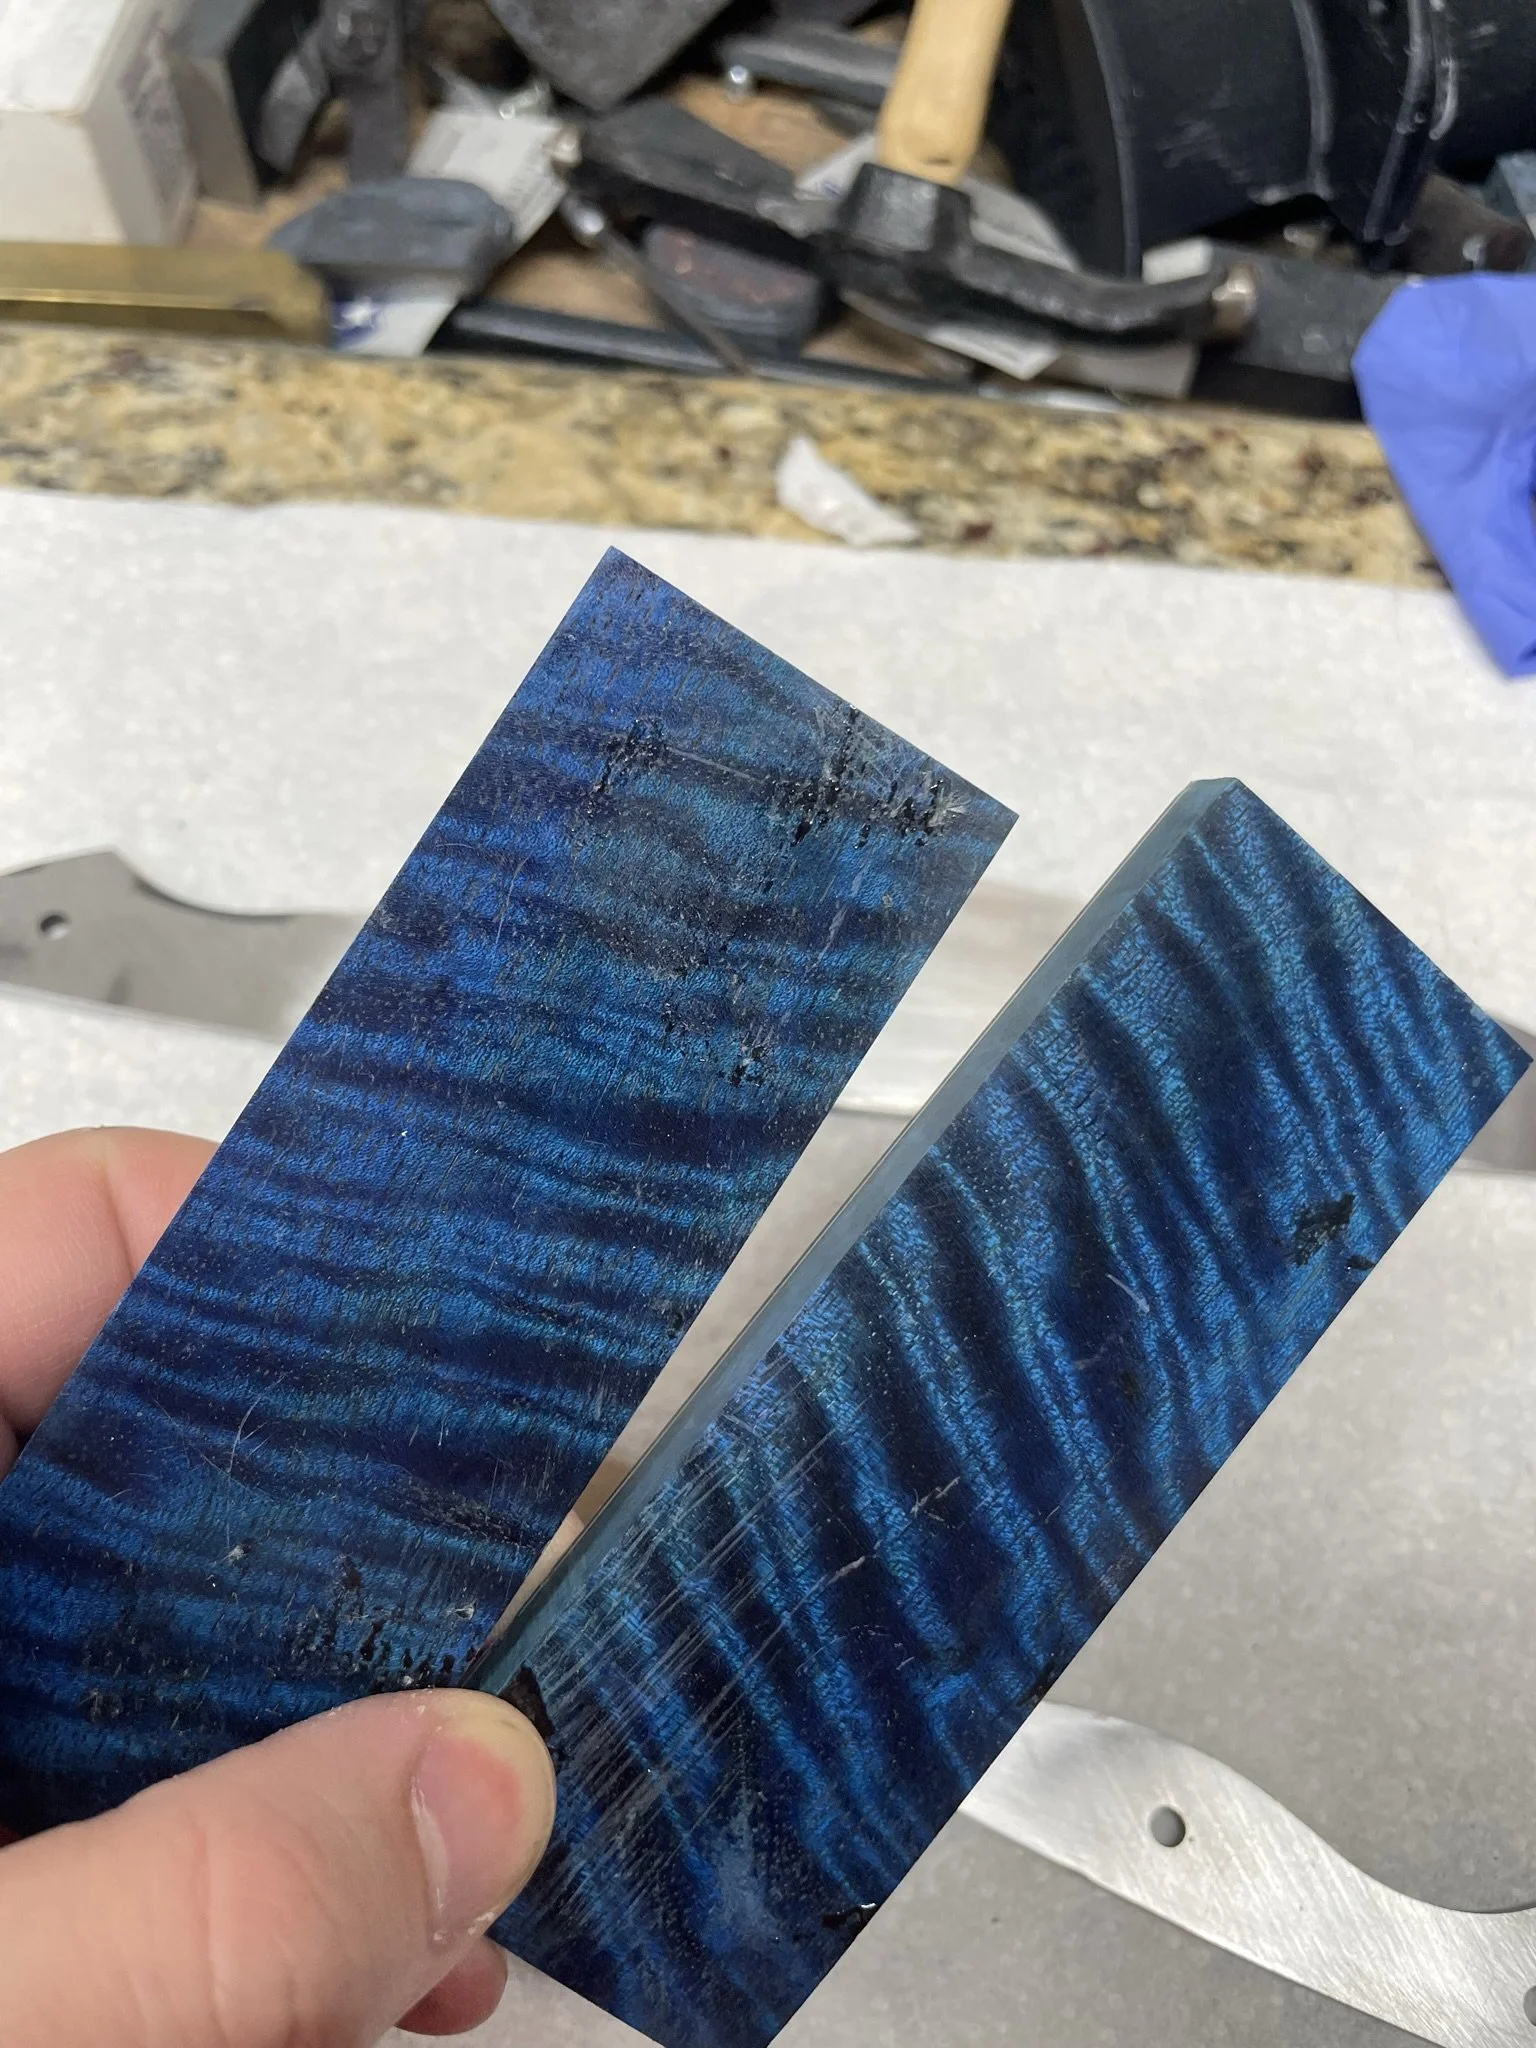
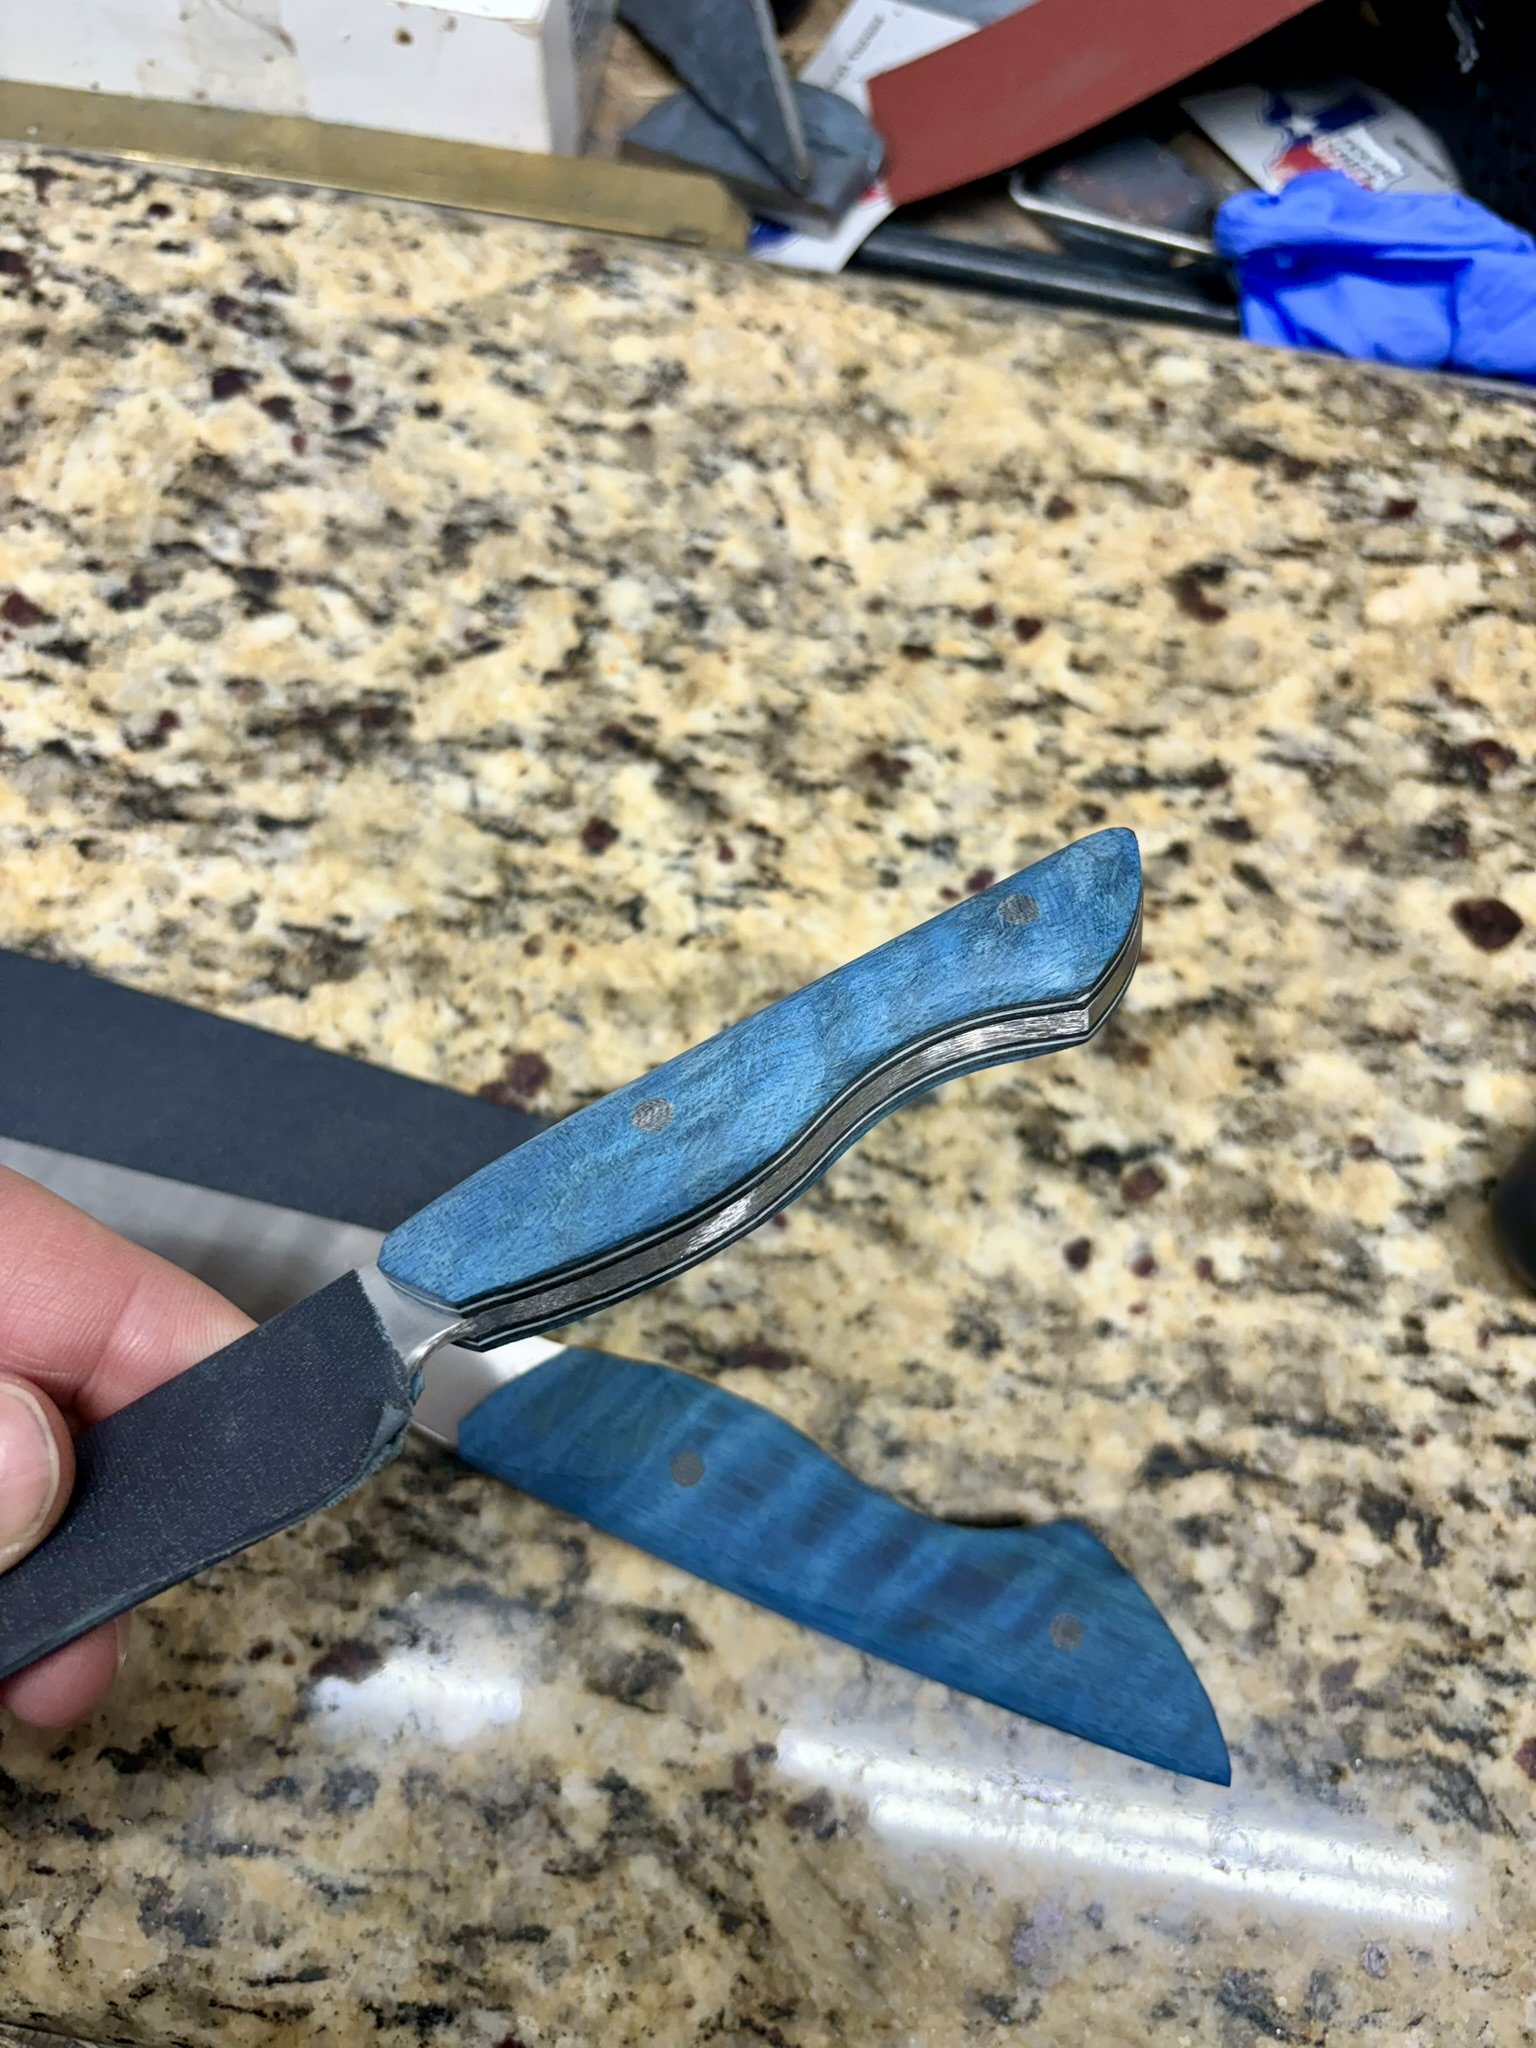
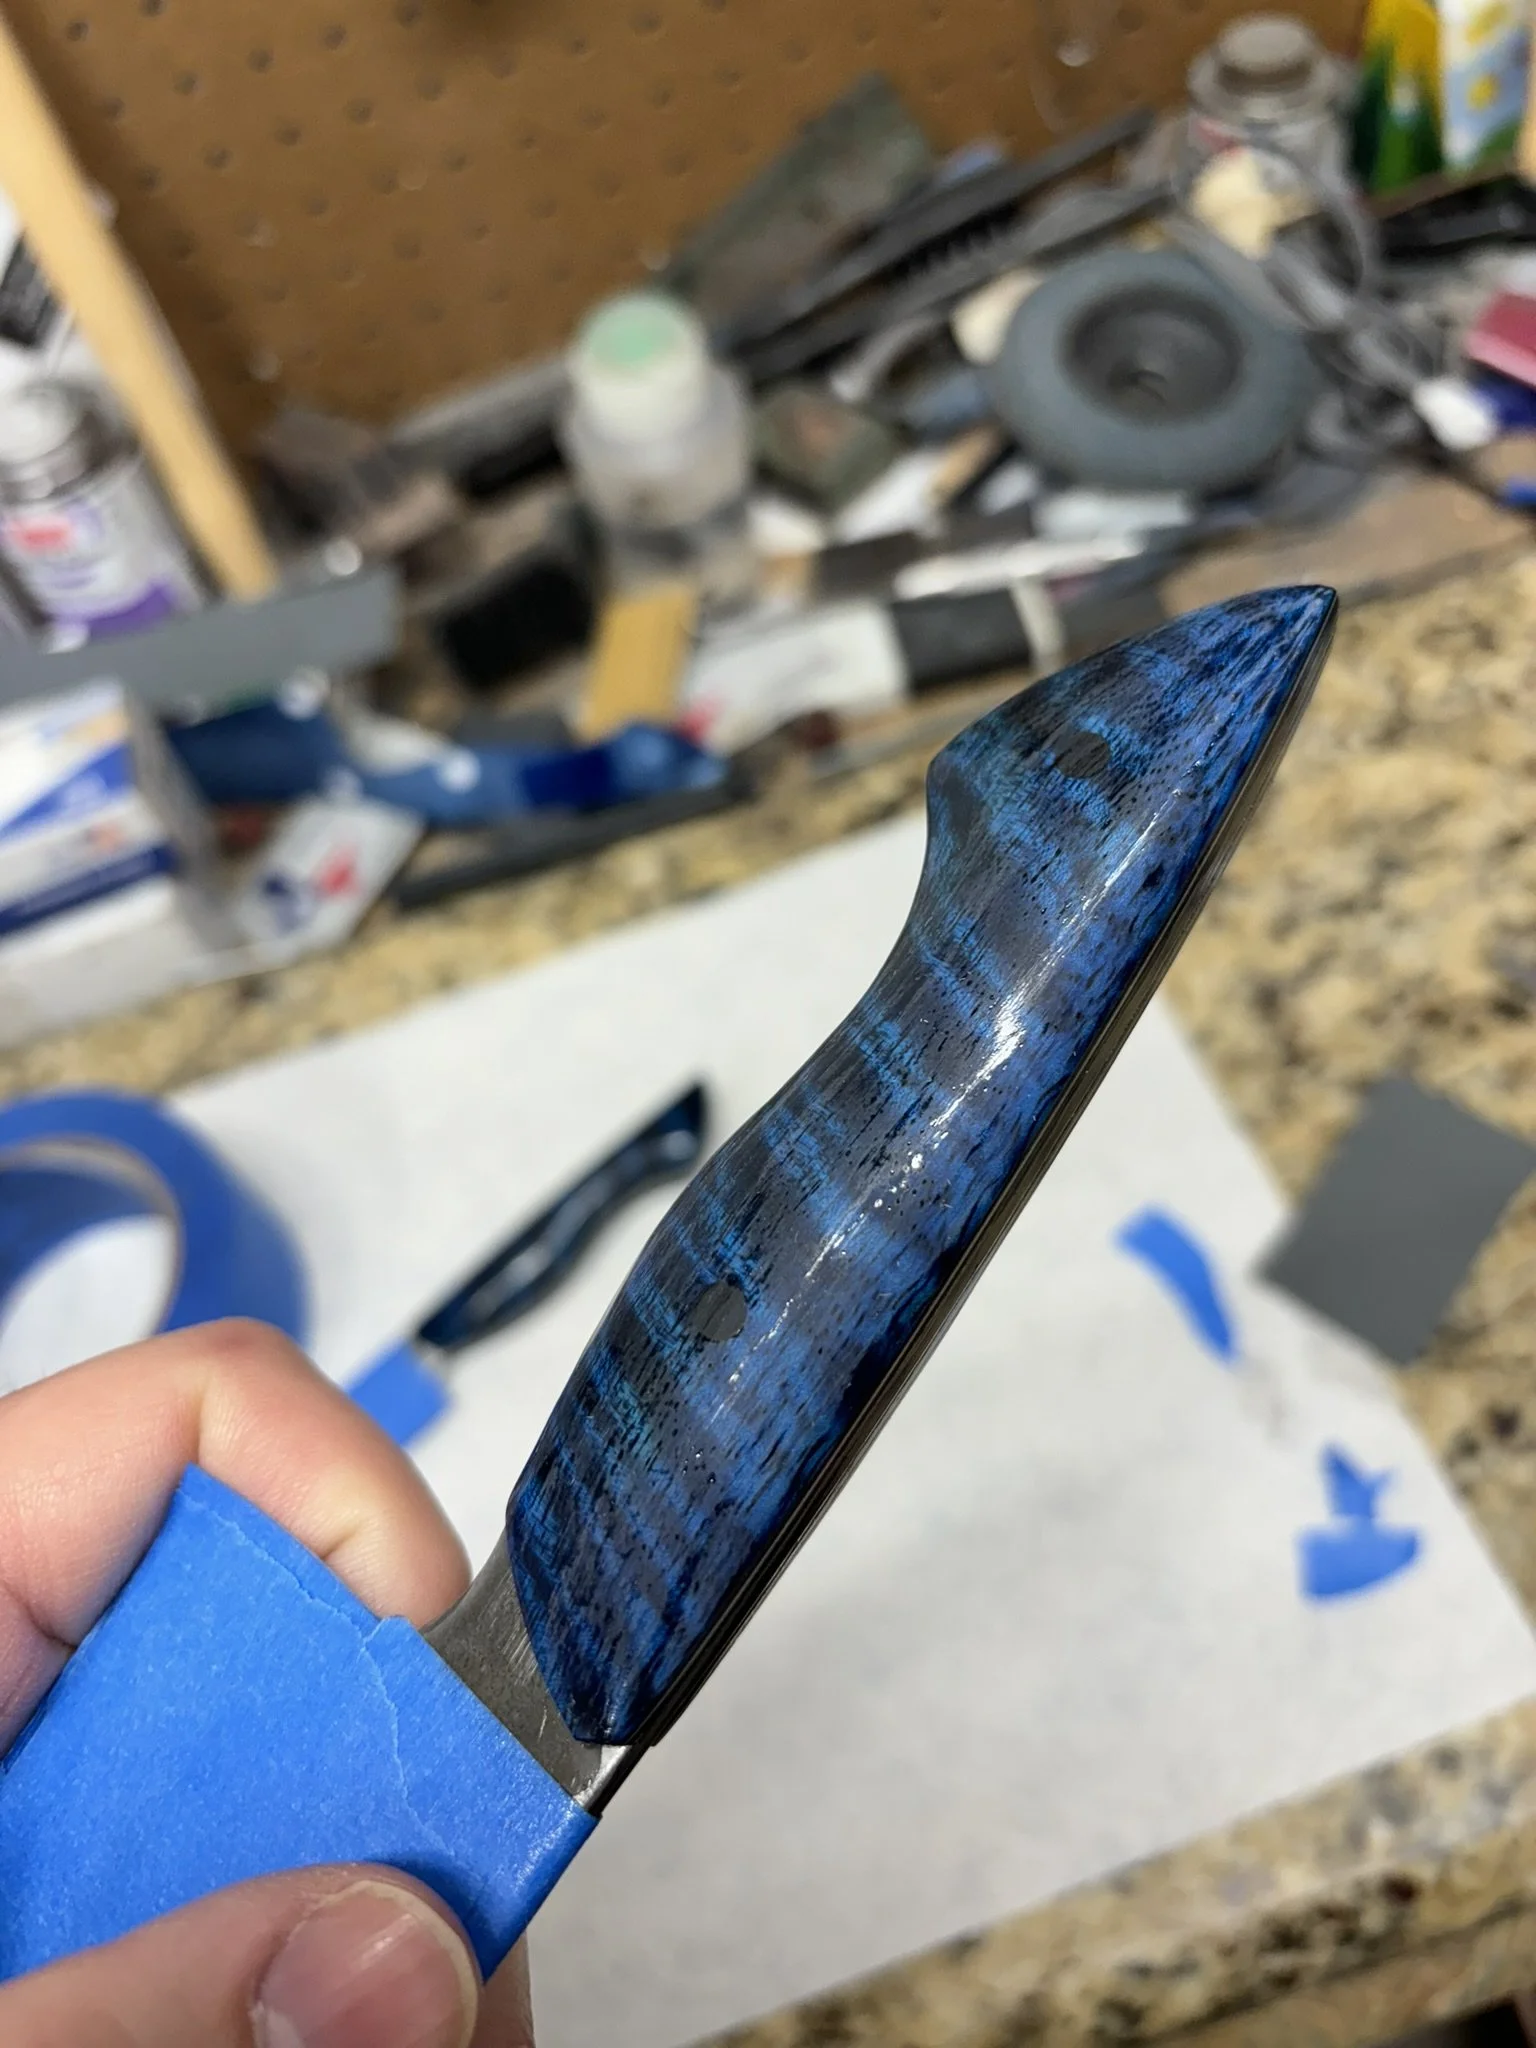
A lot of other makers used the deck wood on the handle, but I decided to use this curly mango that looks like waves on the water to help differentiate my set.
-
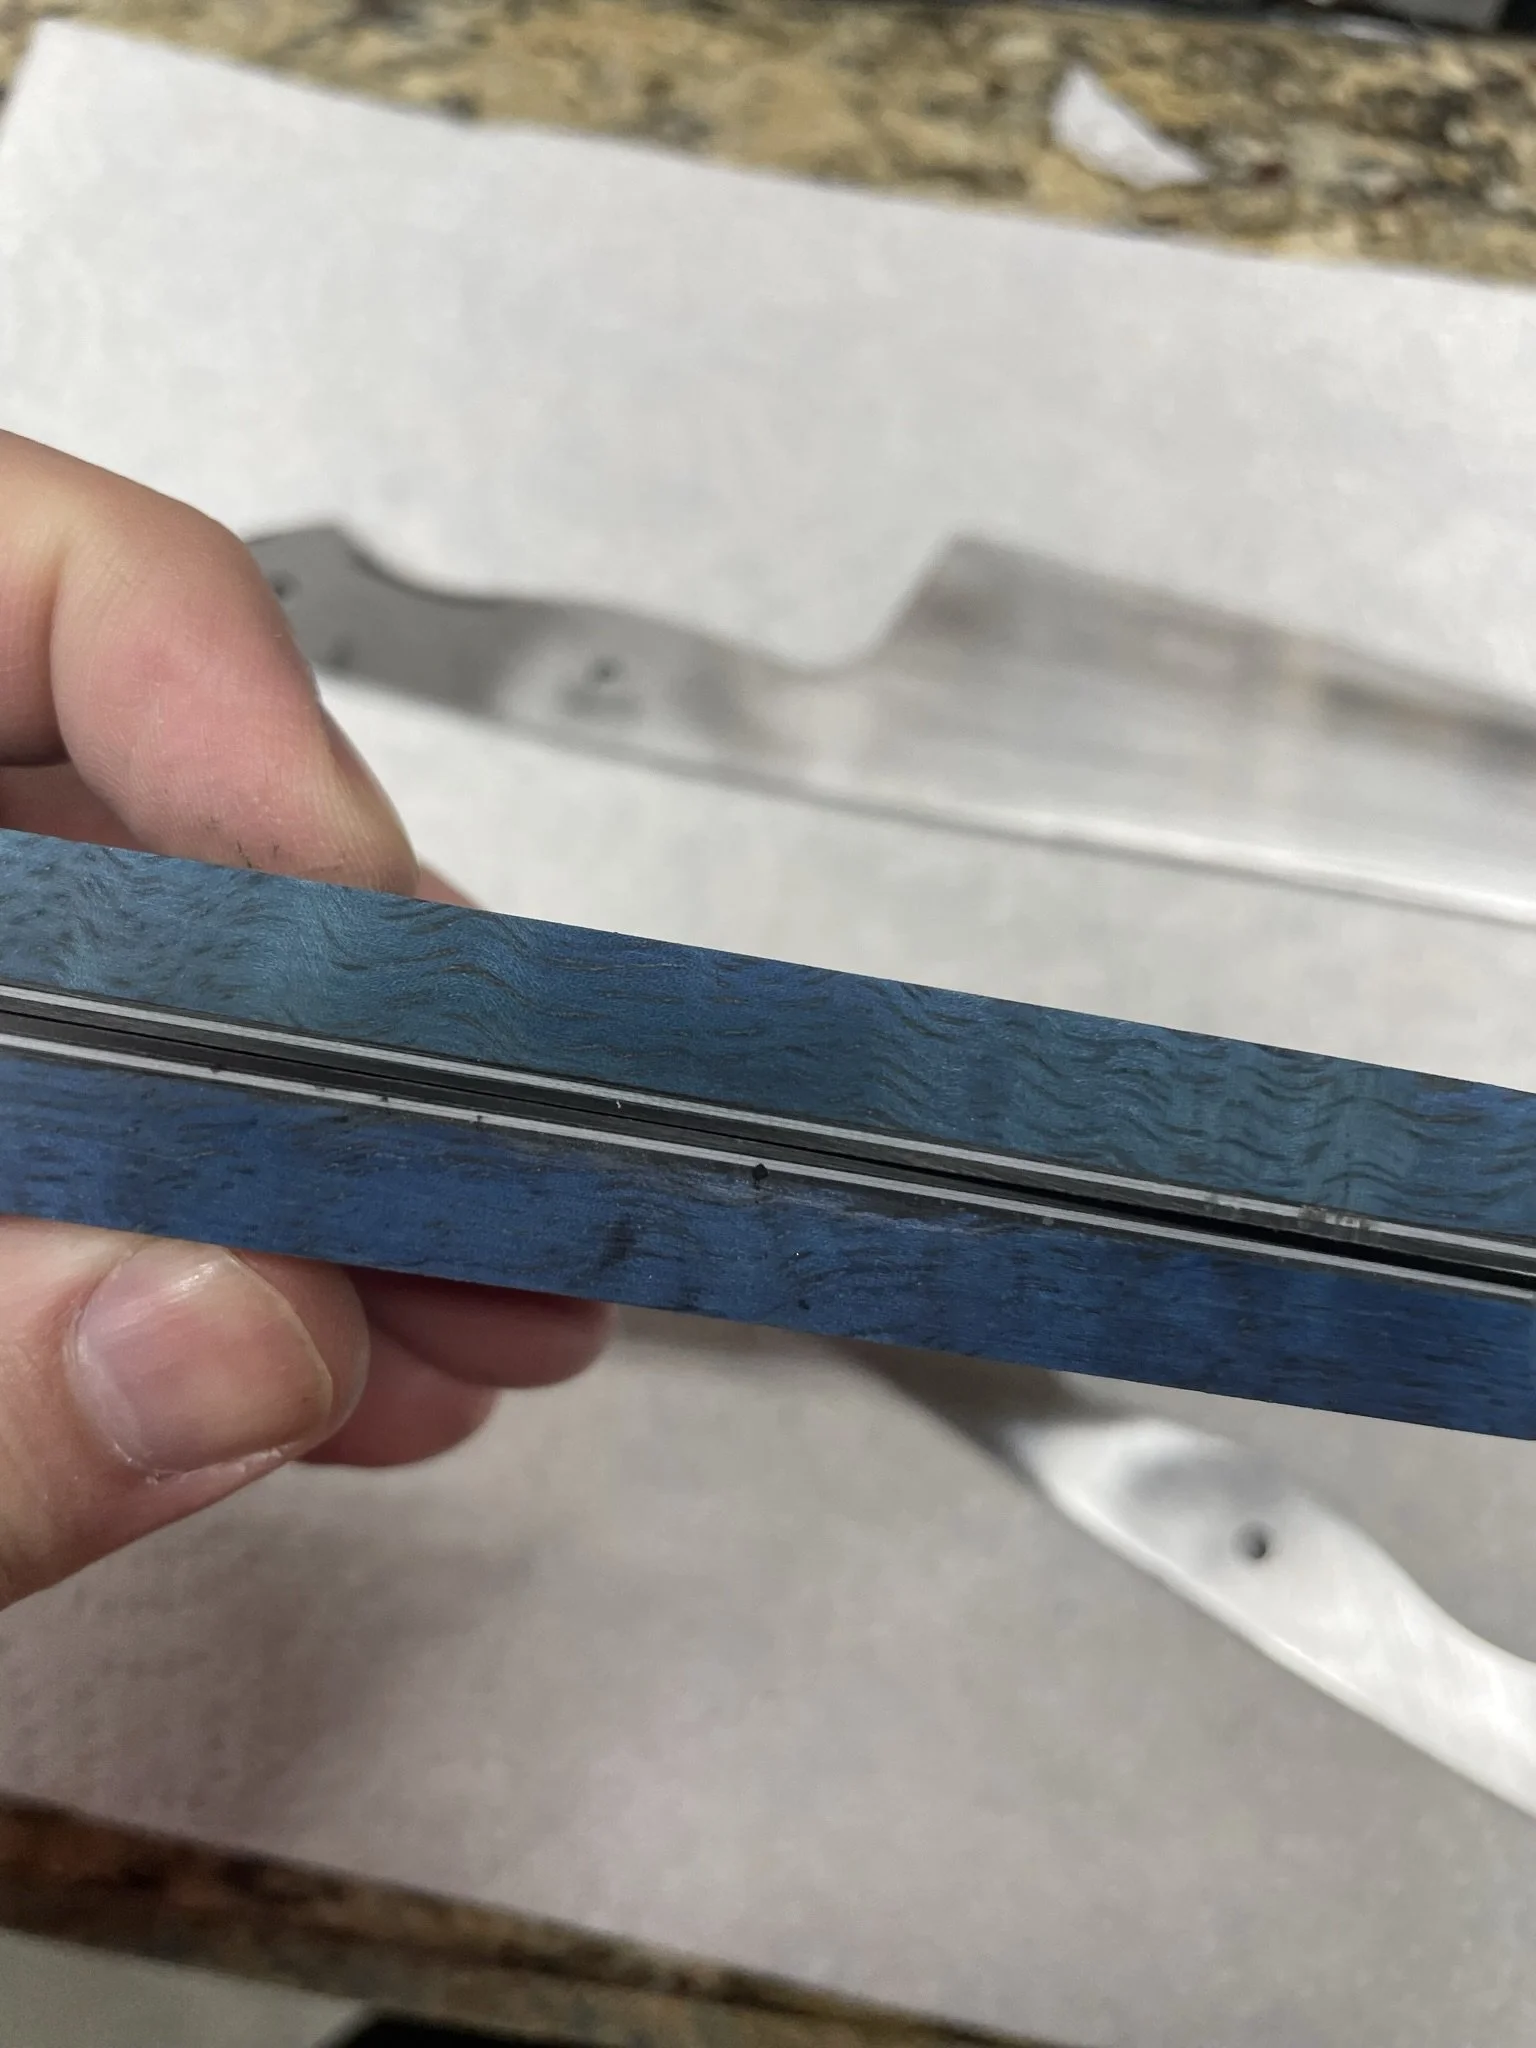
Of course added vulcanized paper and G-10 liners to help it all pop.
-
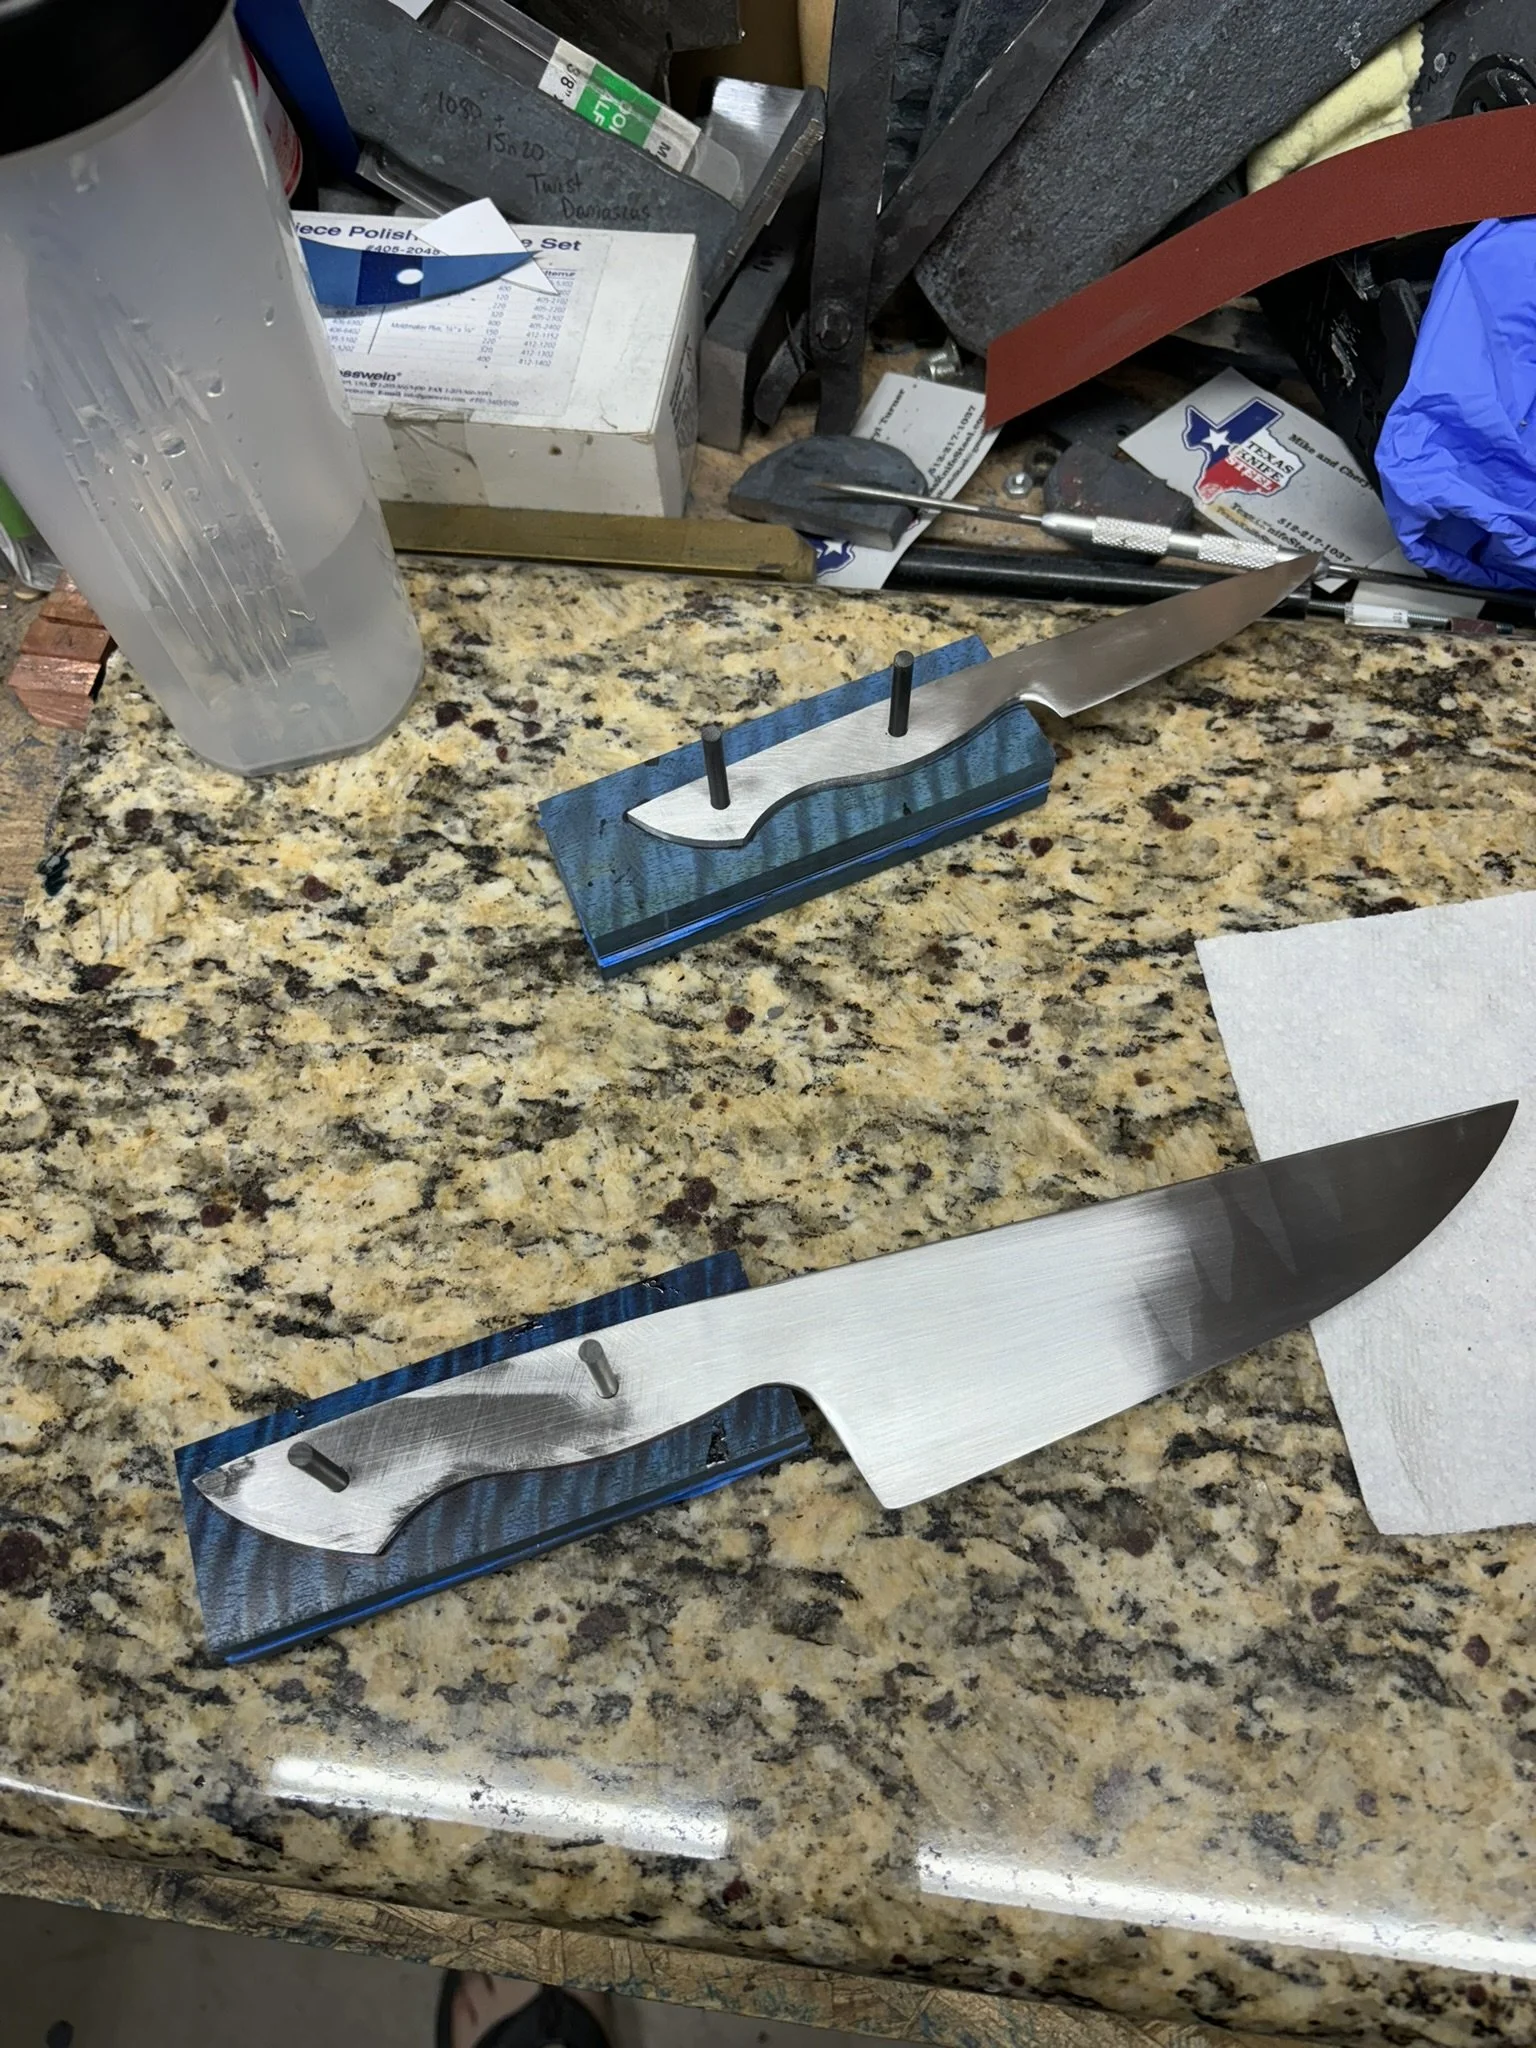
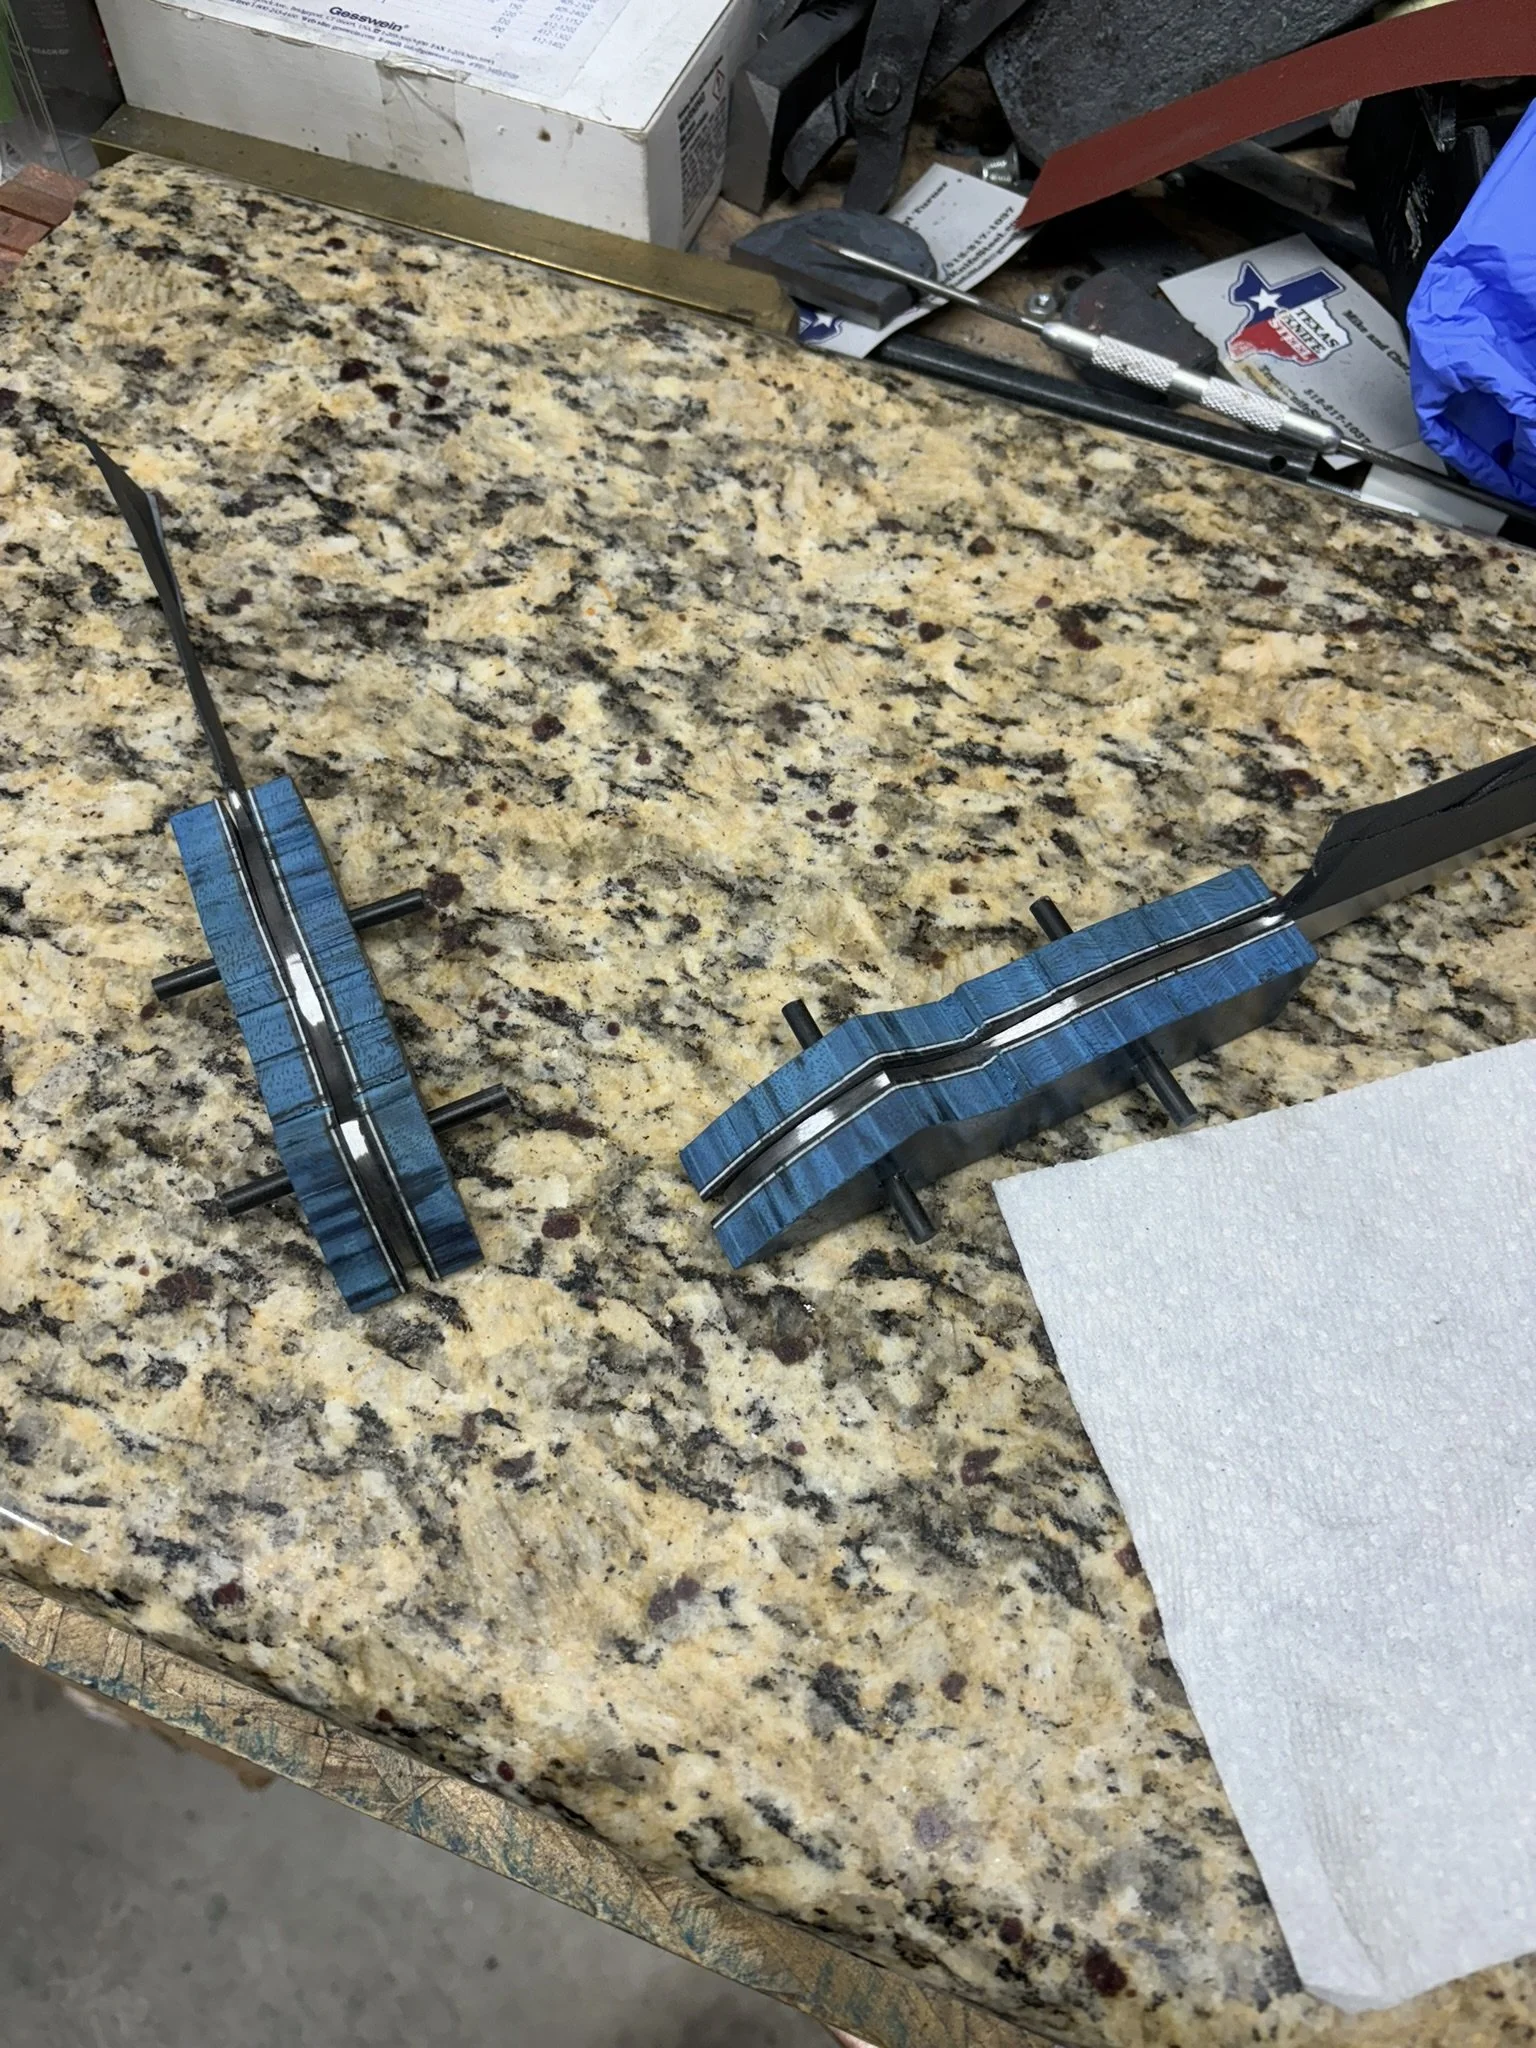
Set up to made sure it all lined up.
-
Handles profiled and mocked up for glue up.
-
With through tang damascus, you basically have to finish the knife before final assembly. It's curious problem, so I basically dry pin everything in place.
-
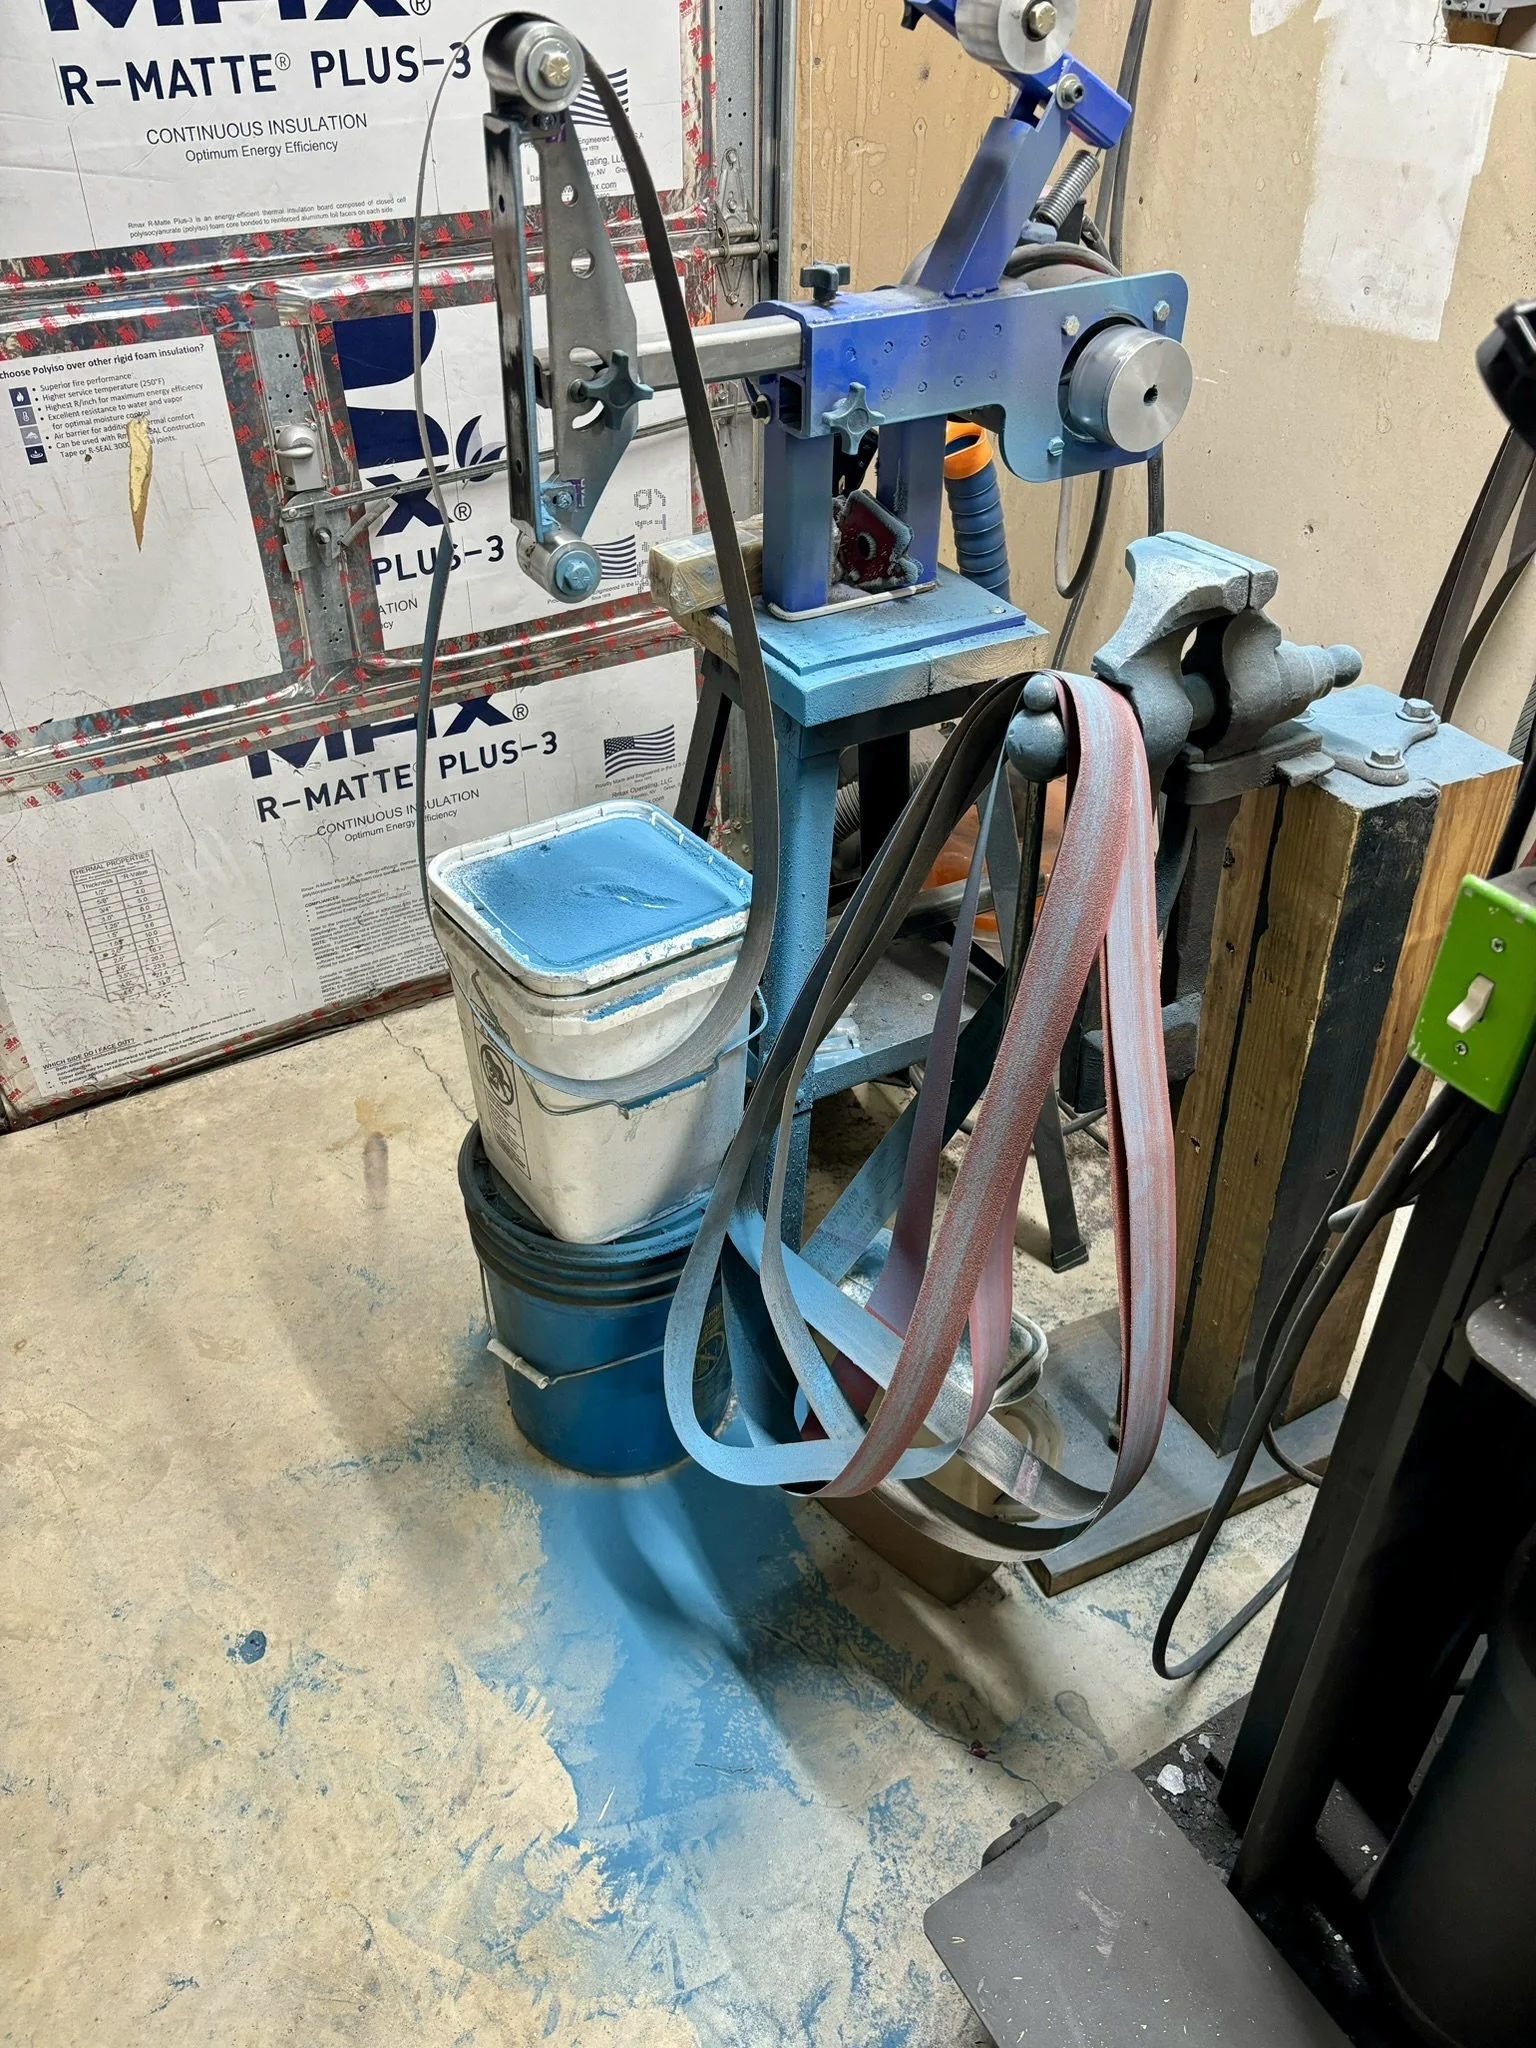
It looked like I killed a few smurfs in the making.
-
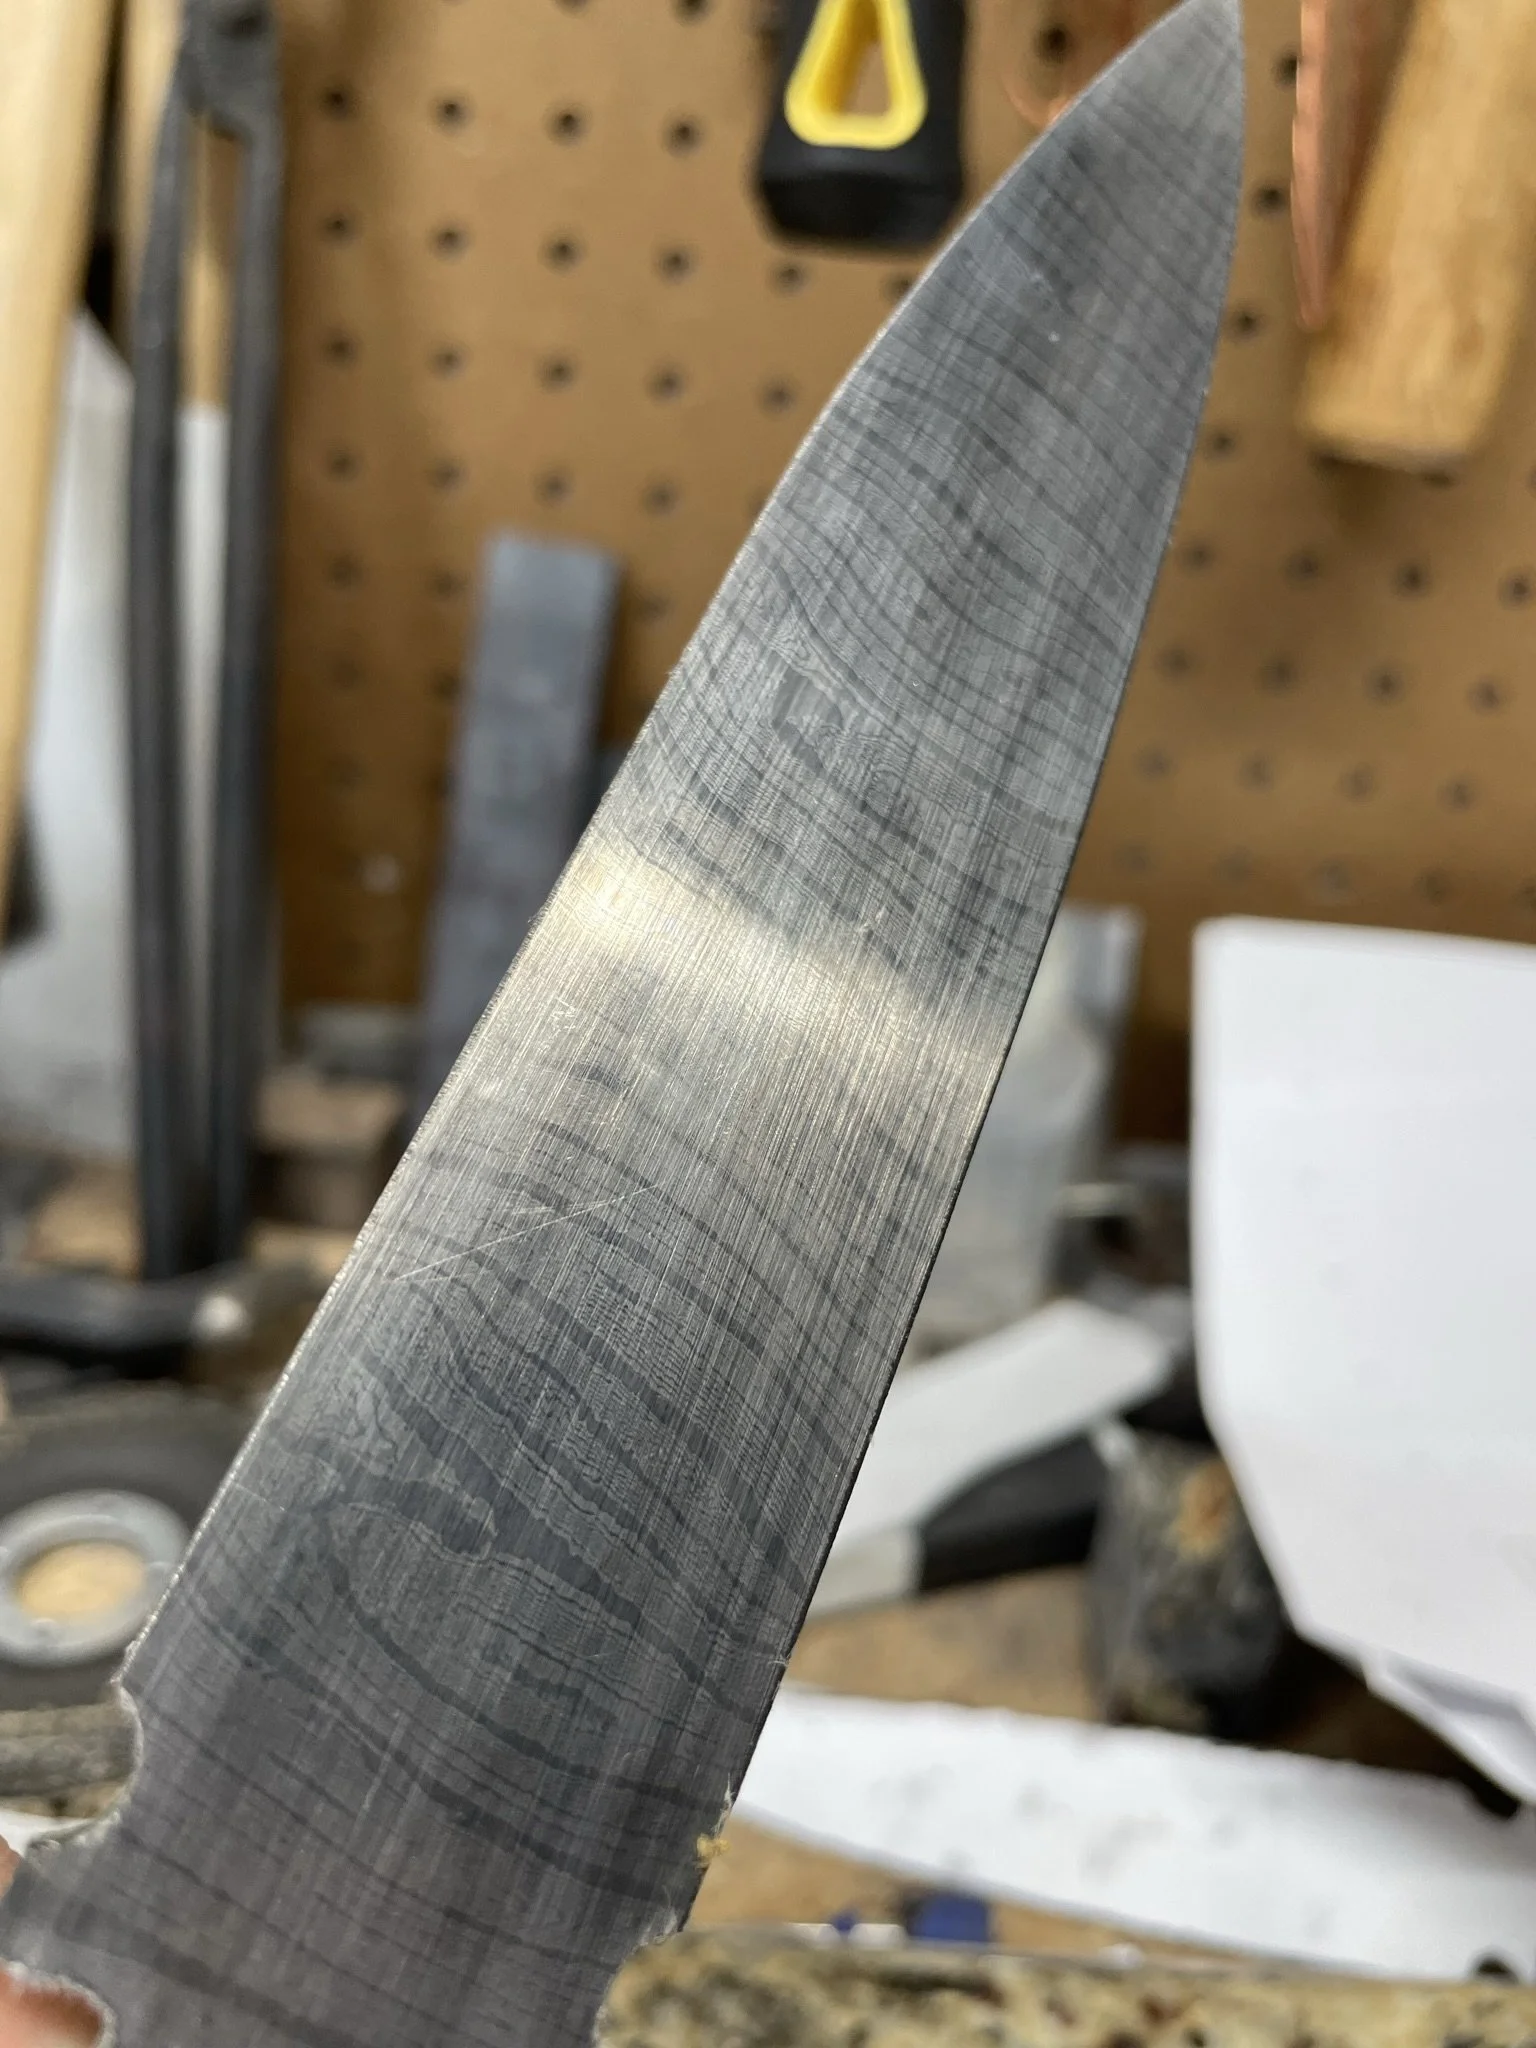
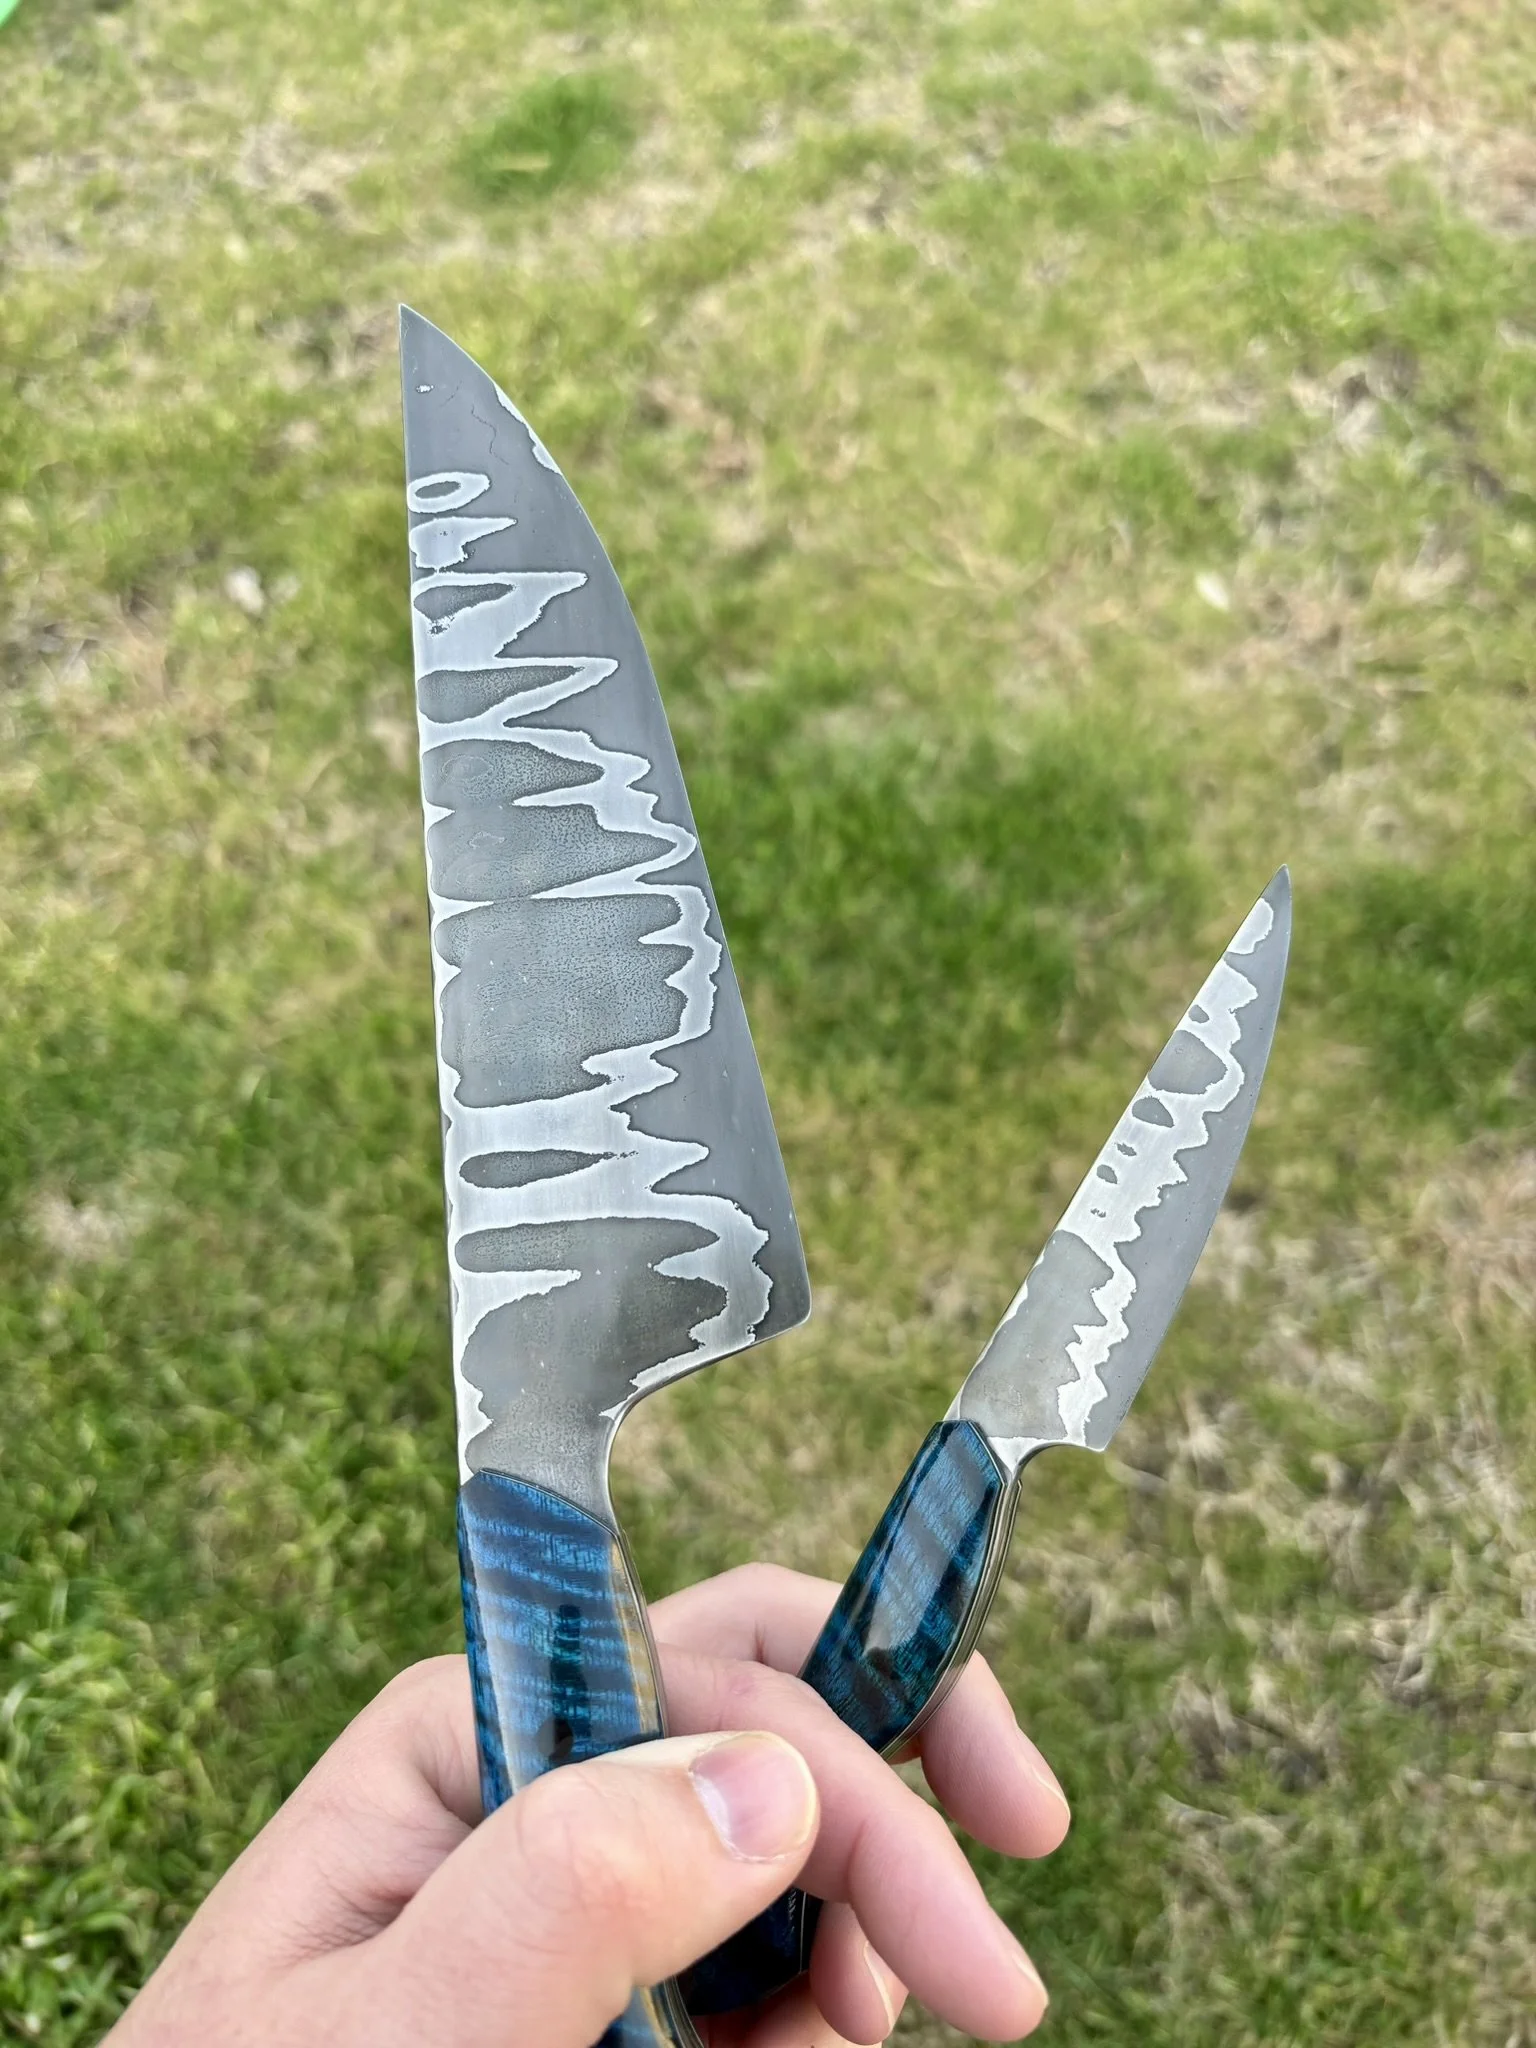
Cleaned up after the first etch. Top layer is the mild ship steel, then 15n20 and the cutting edge is 1084.
-
Glued up and starting to finish out the handles.
-
Finished etch on the final blades.
-
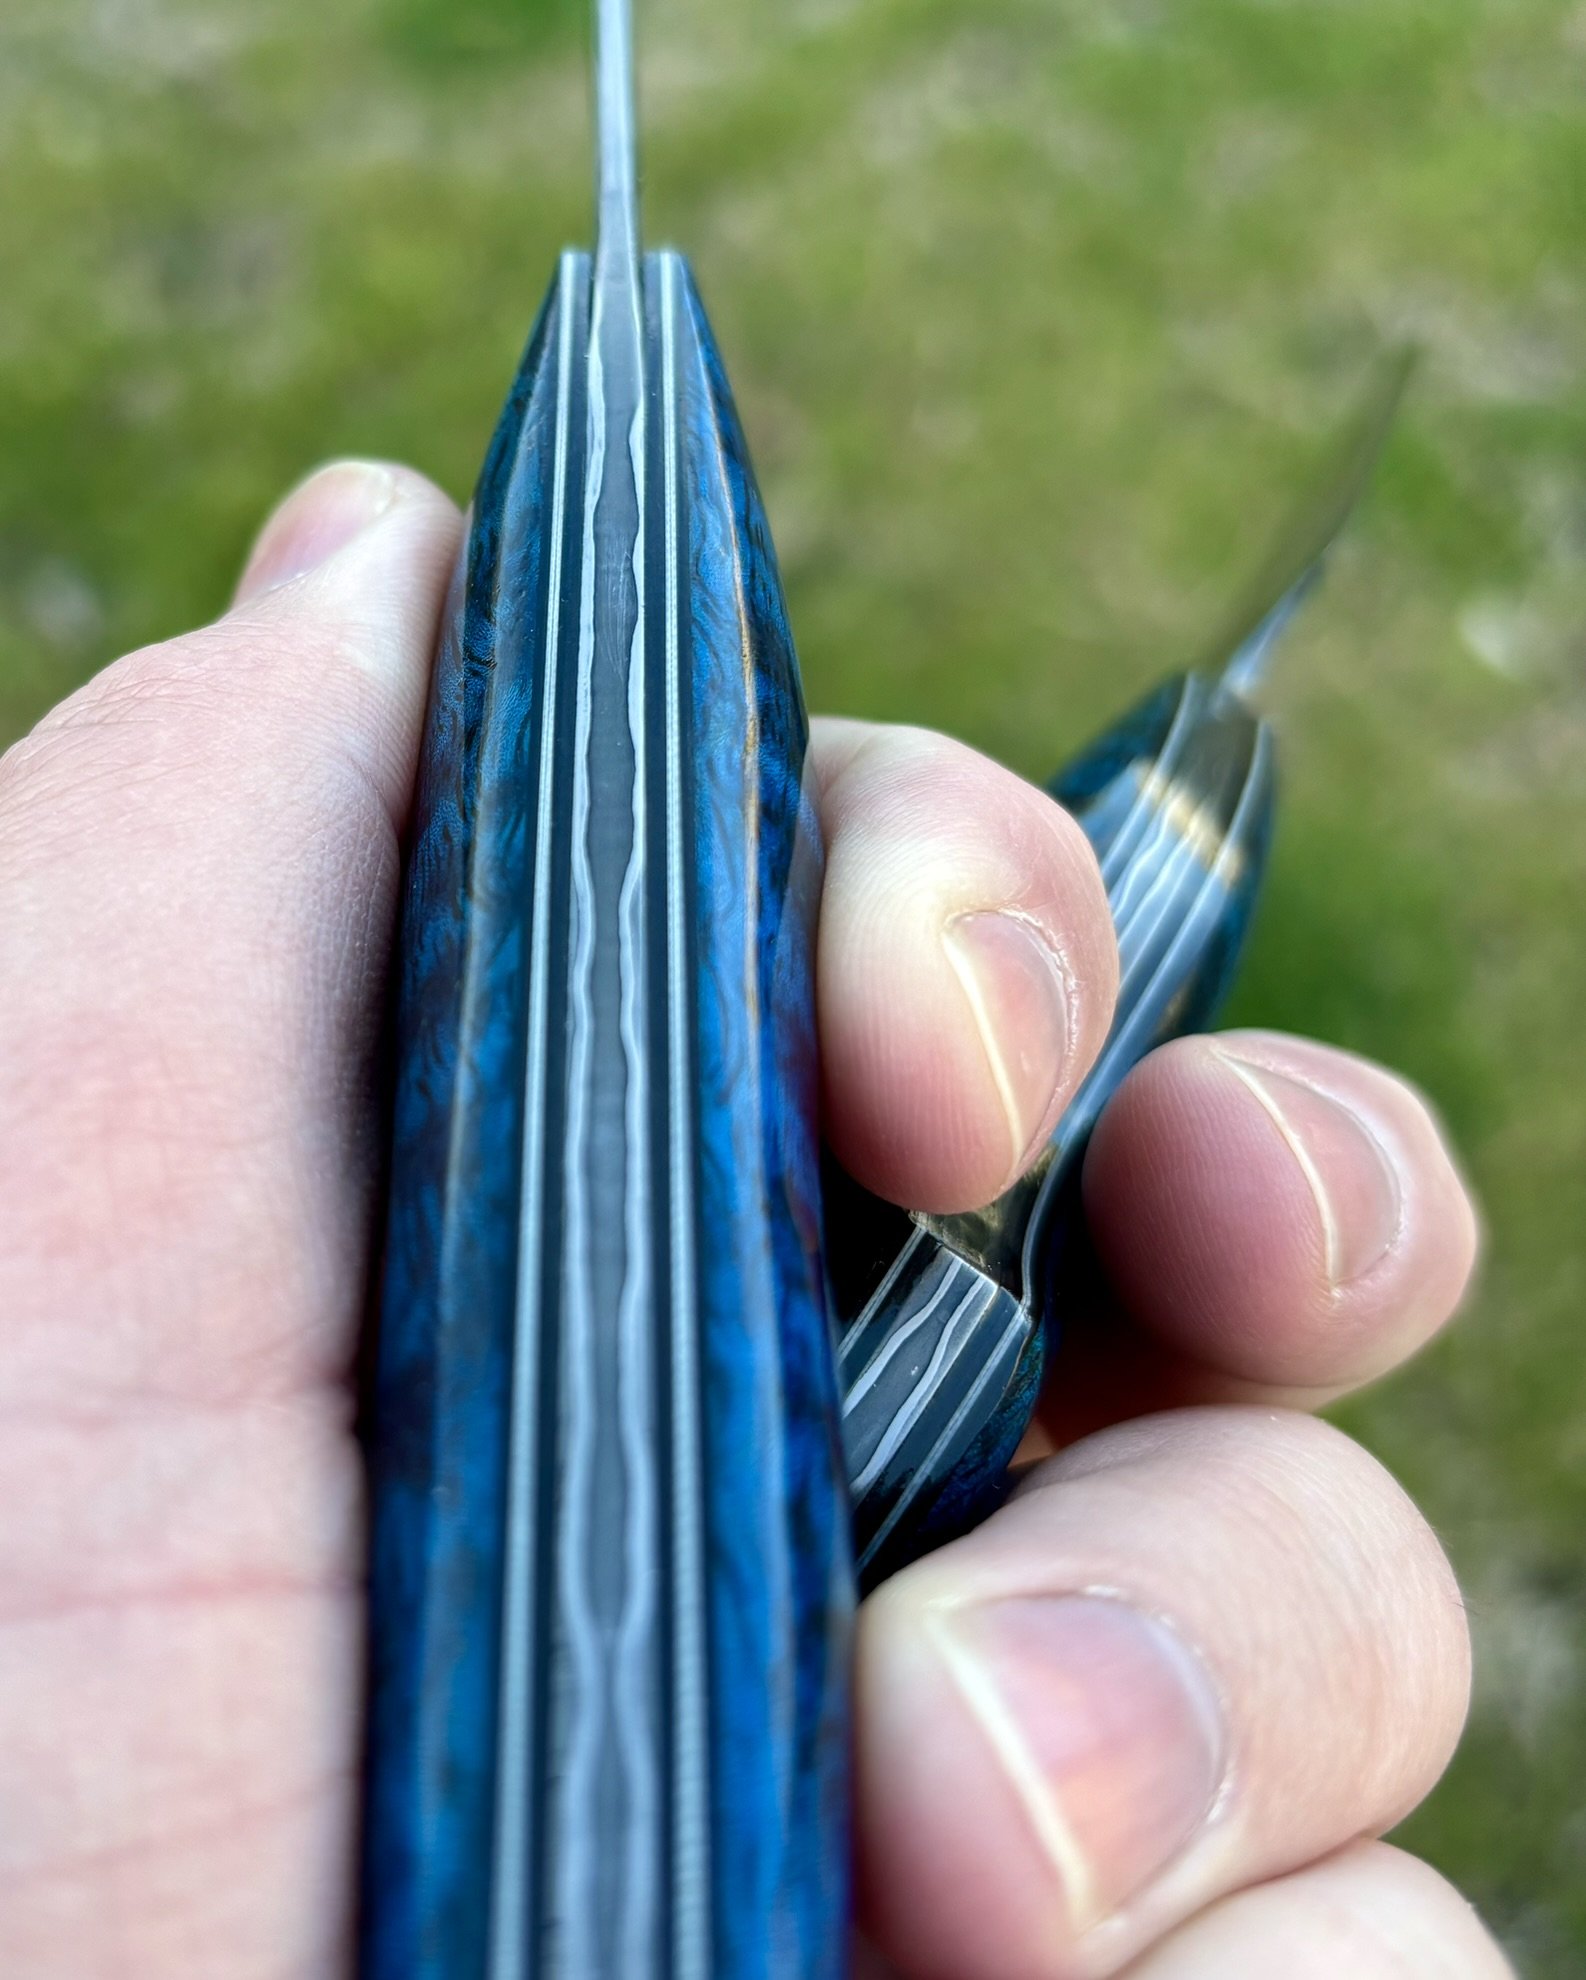
I love full tang damascus as you get this cool view from the spine of the knife.
-
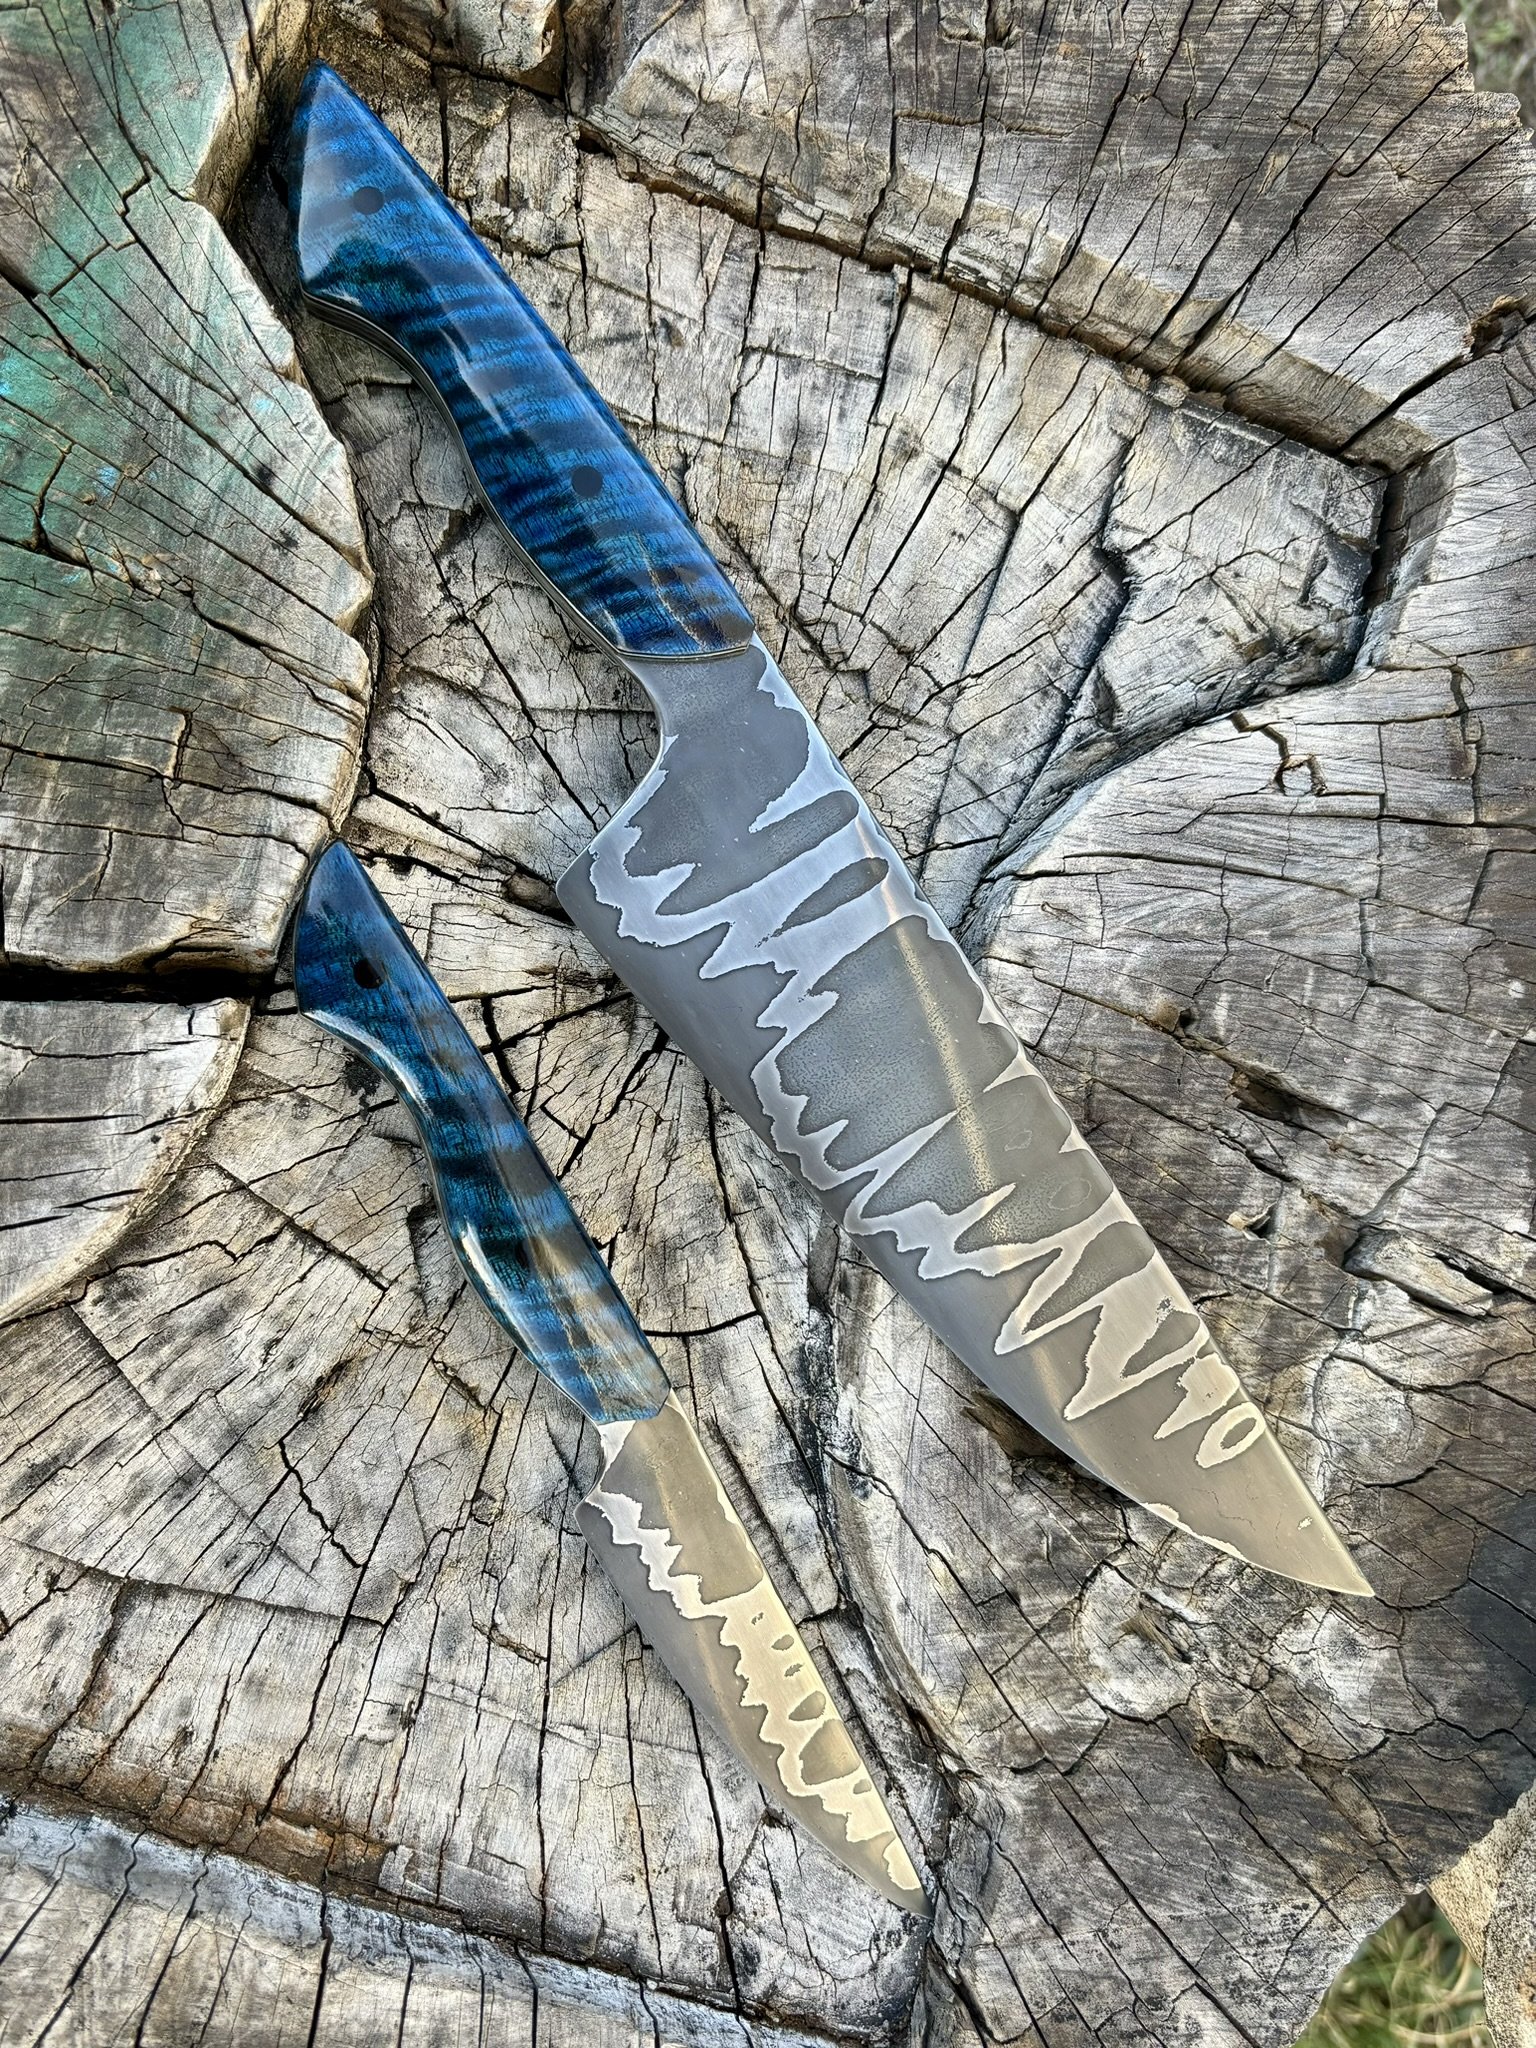
Glamour shot #1.
-
Glamour shot #2. Proud to say this set sold right away when the online auction for $2,000. So happy to help contribute and that someone thought so highly of my work.
