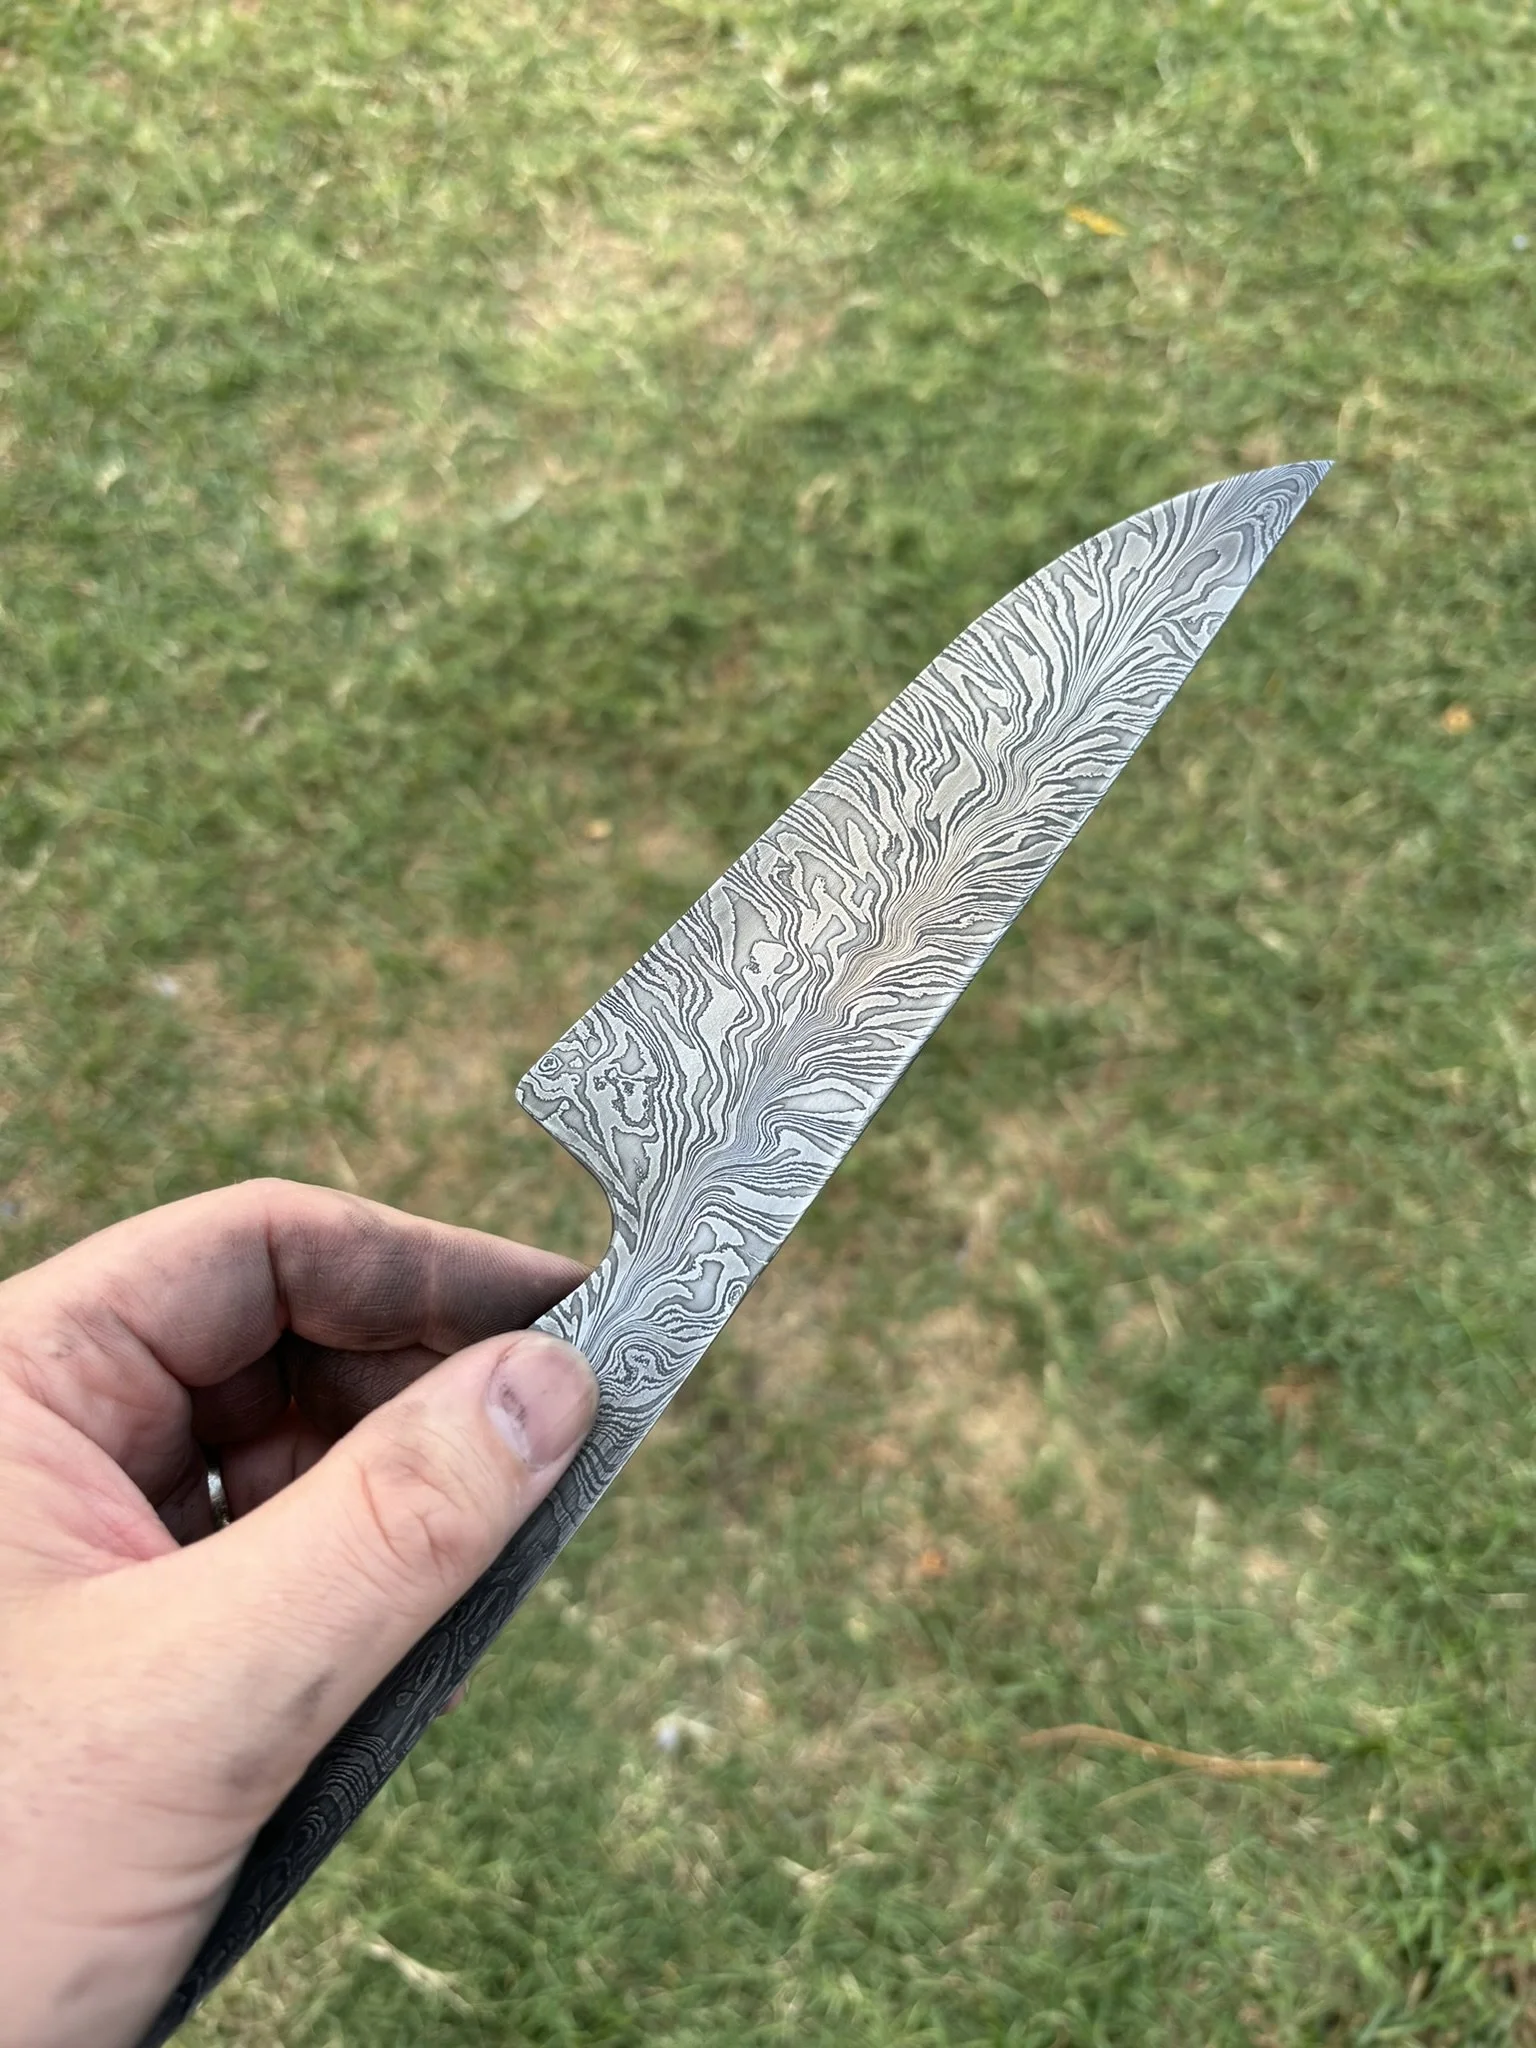
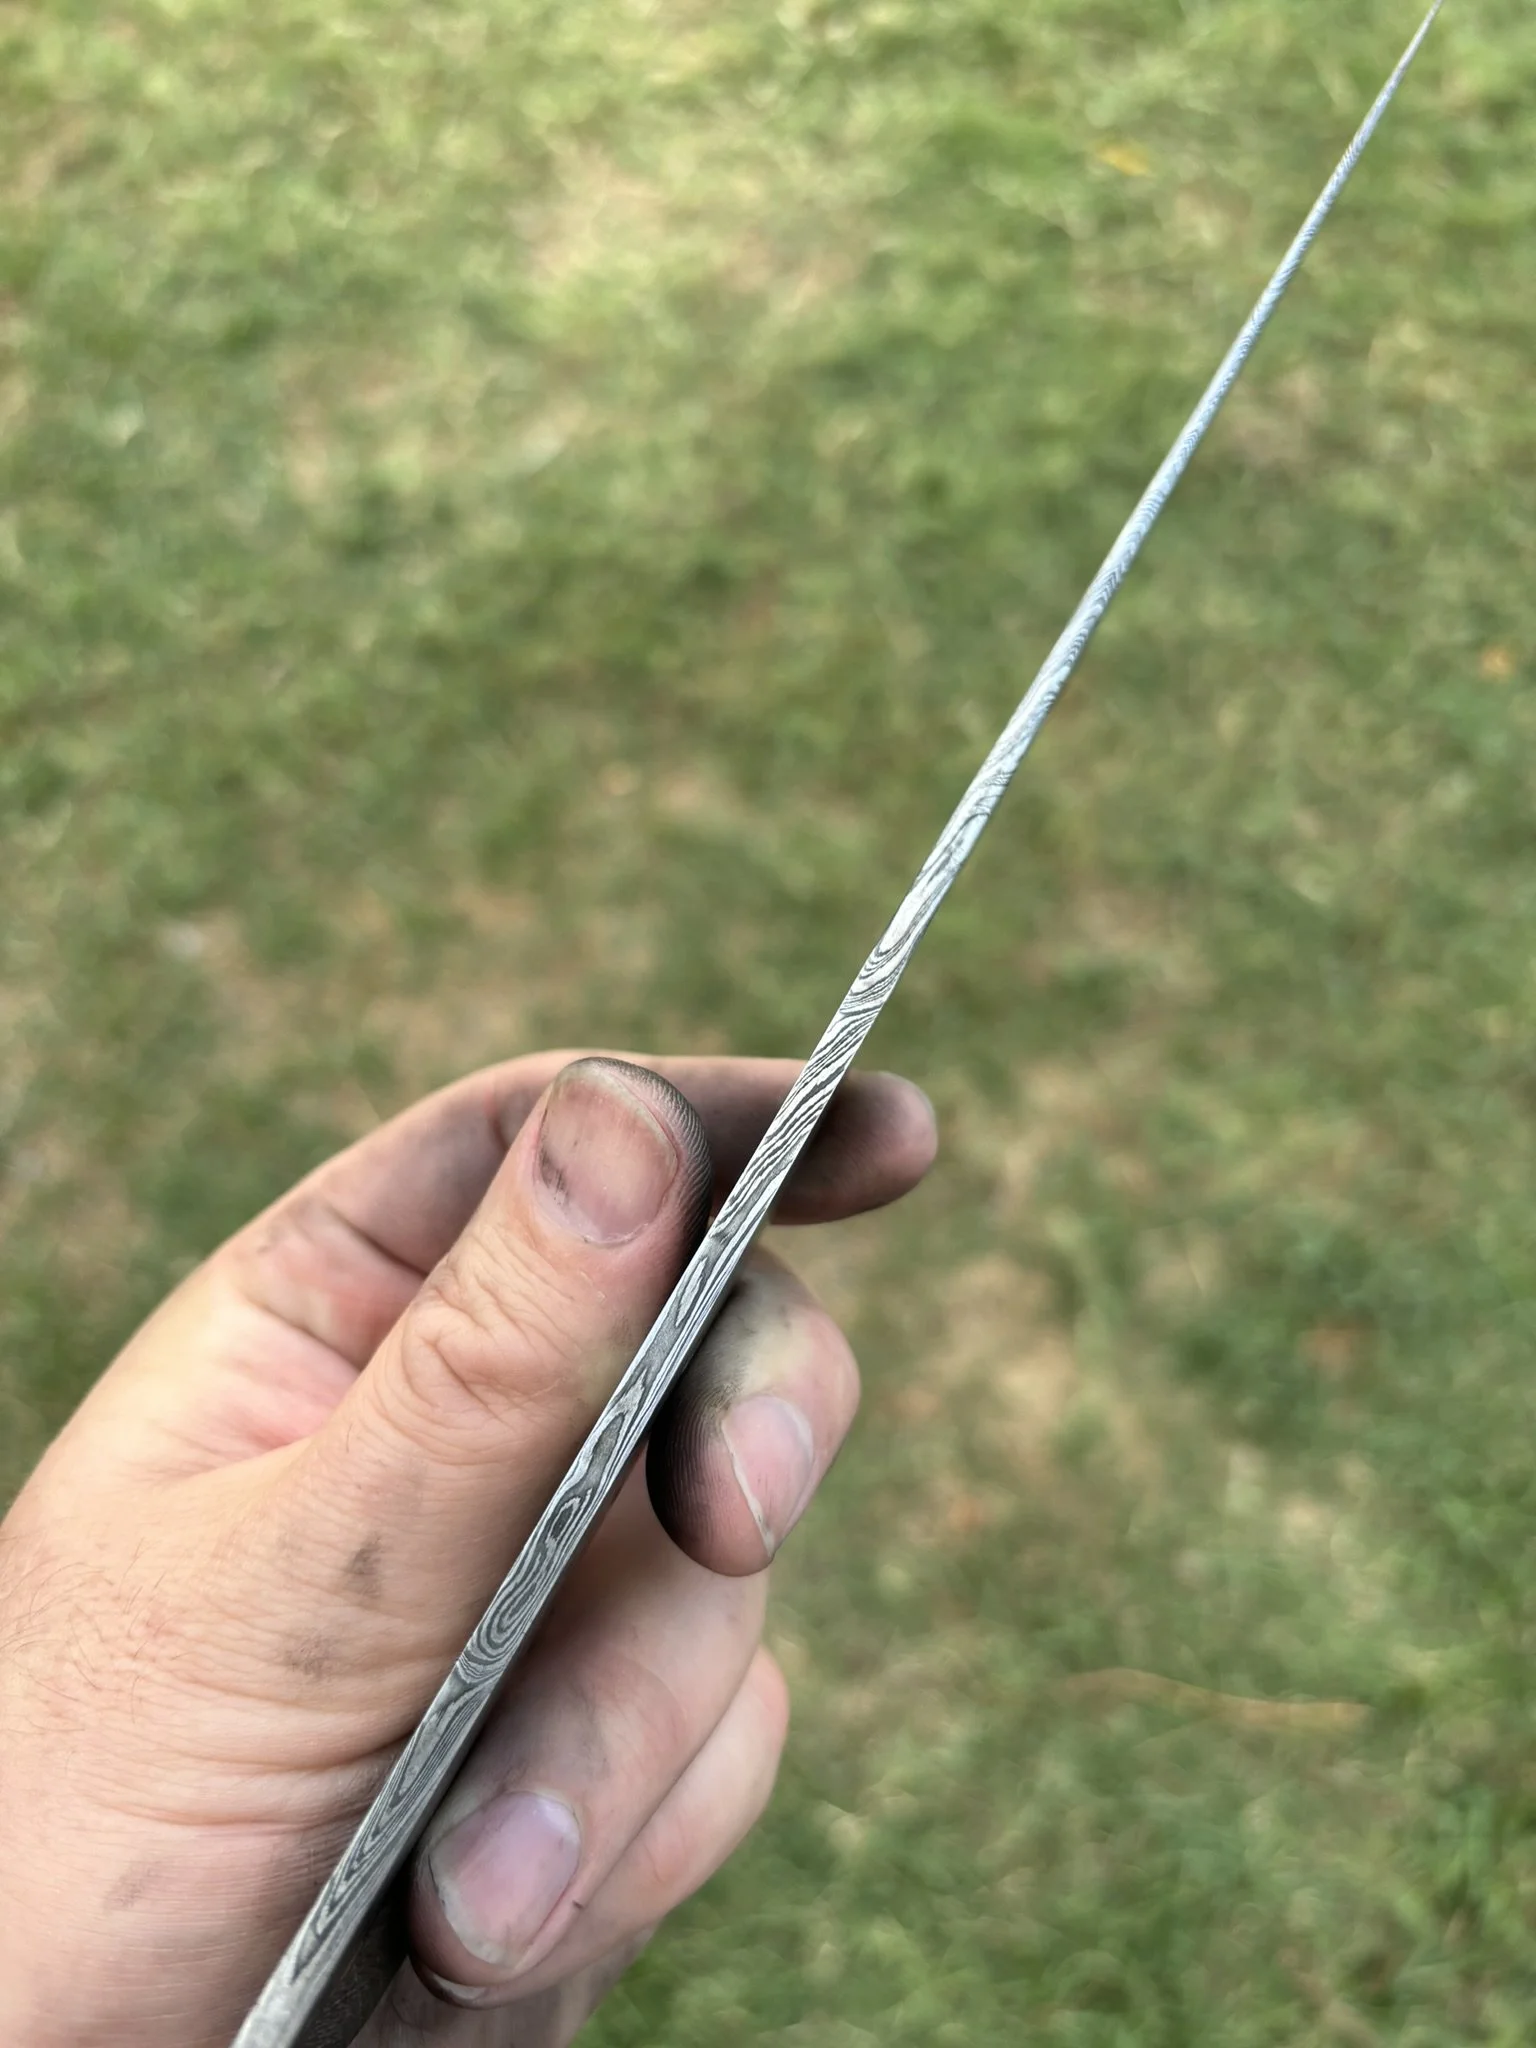
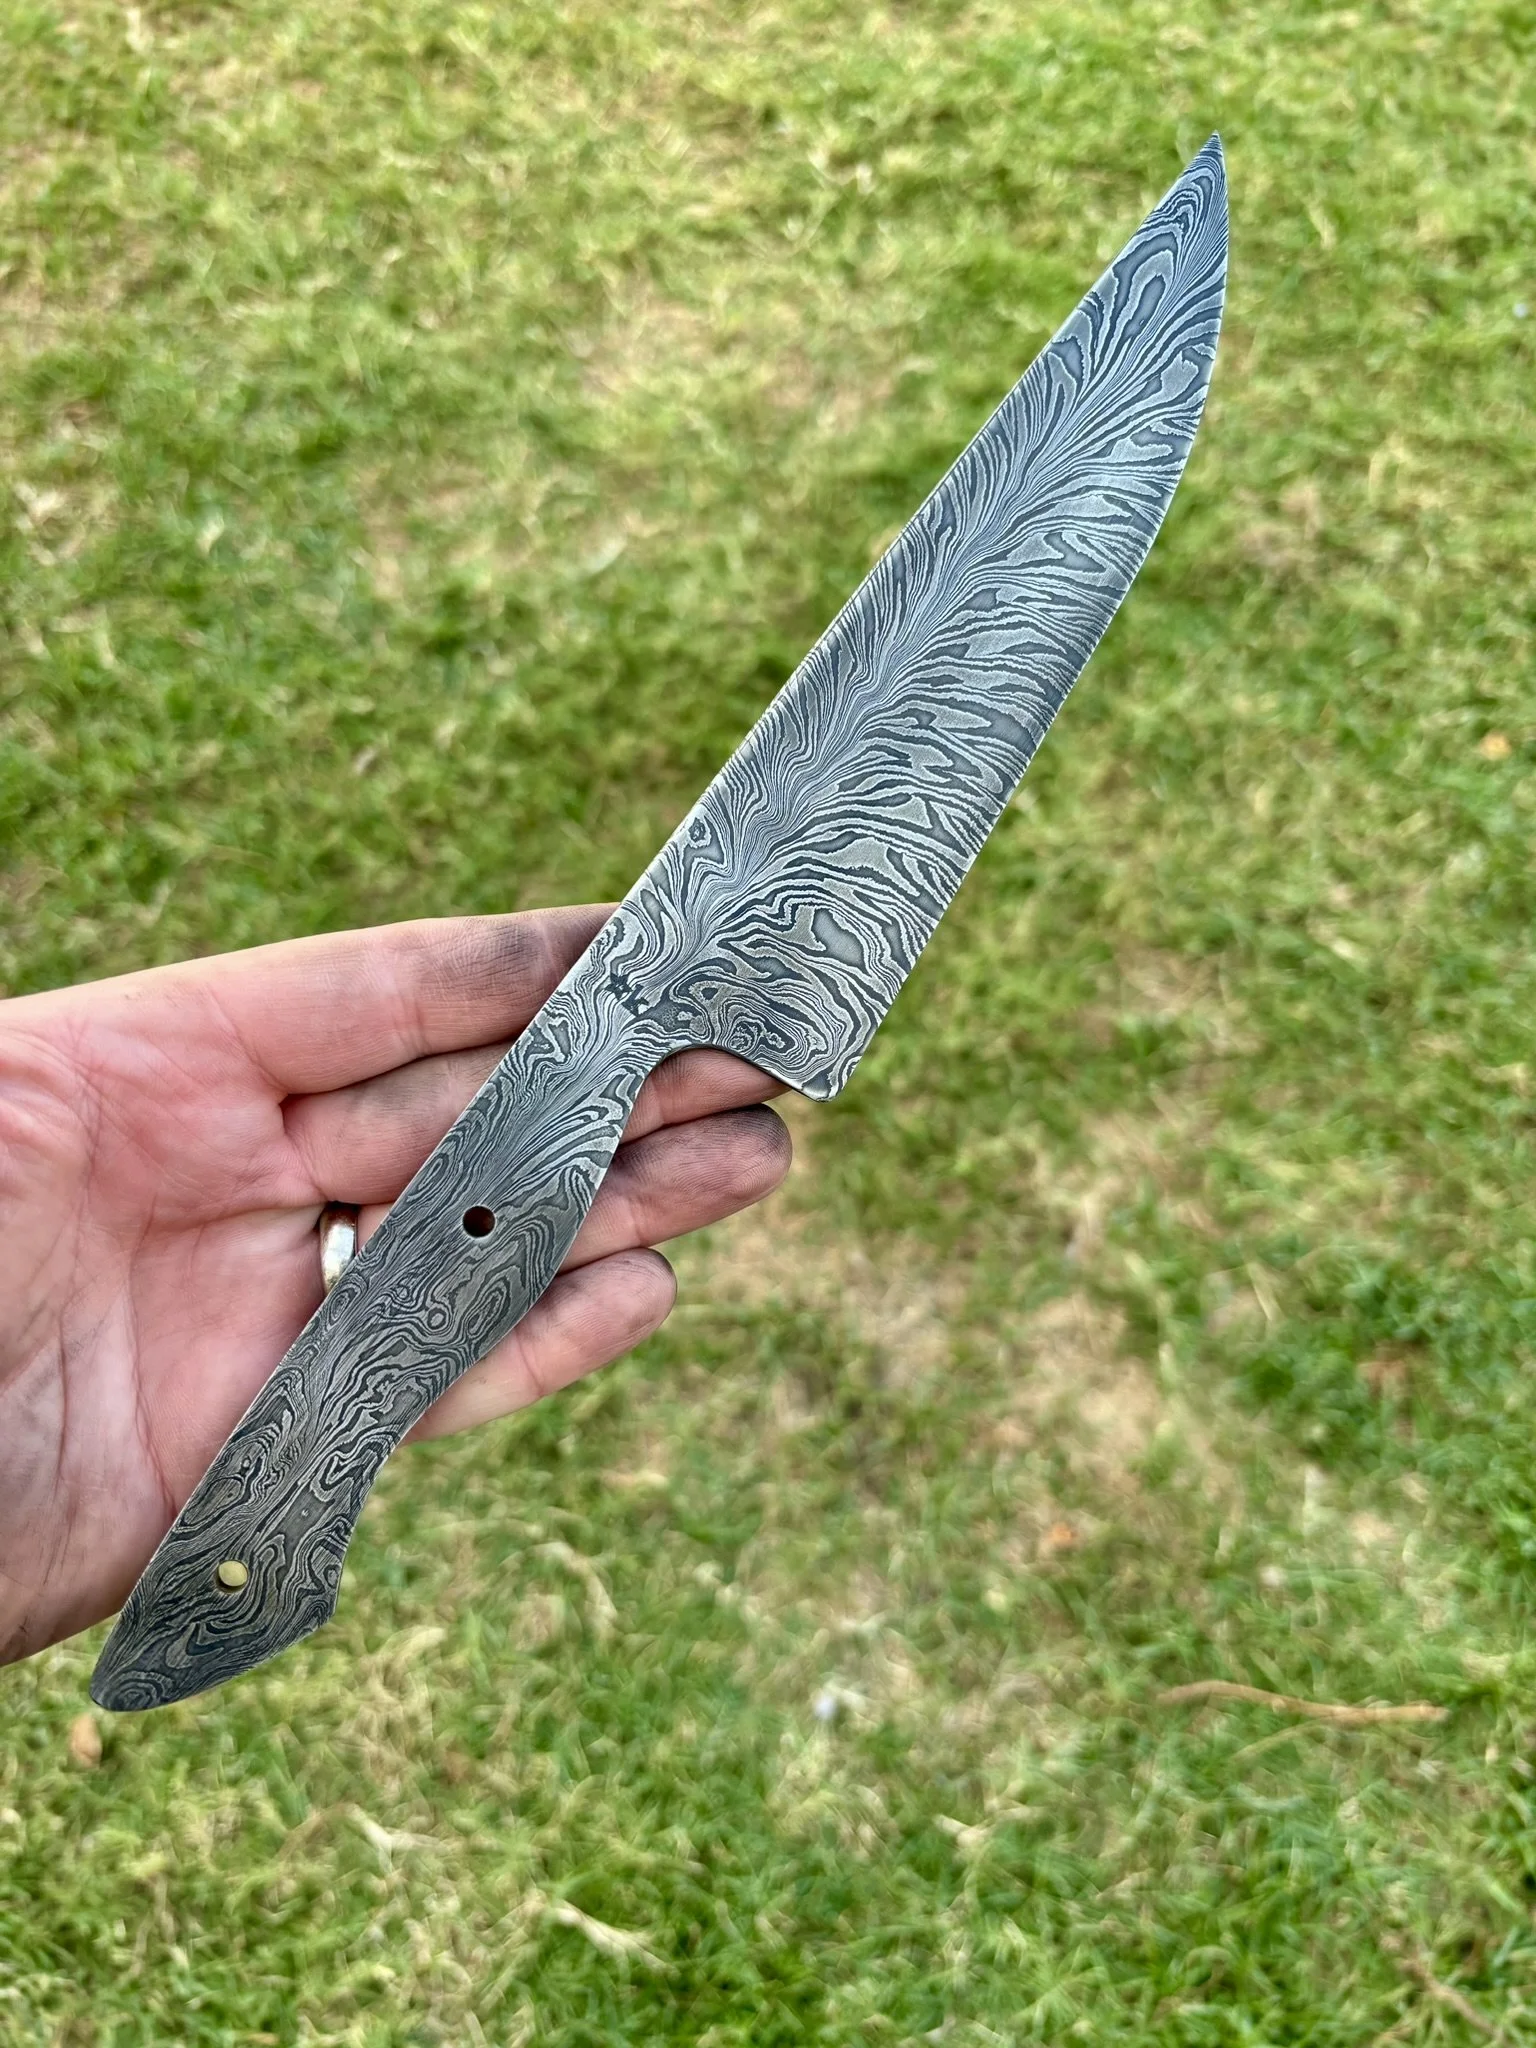
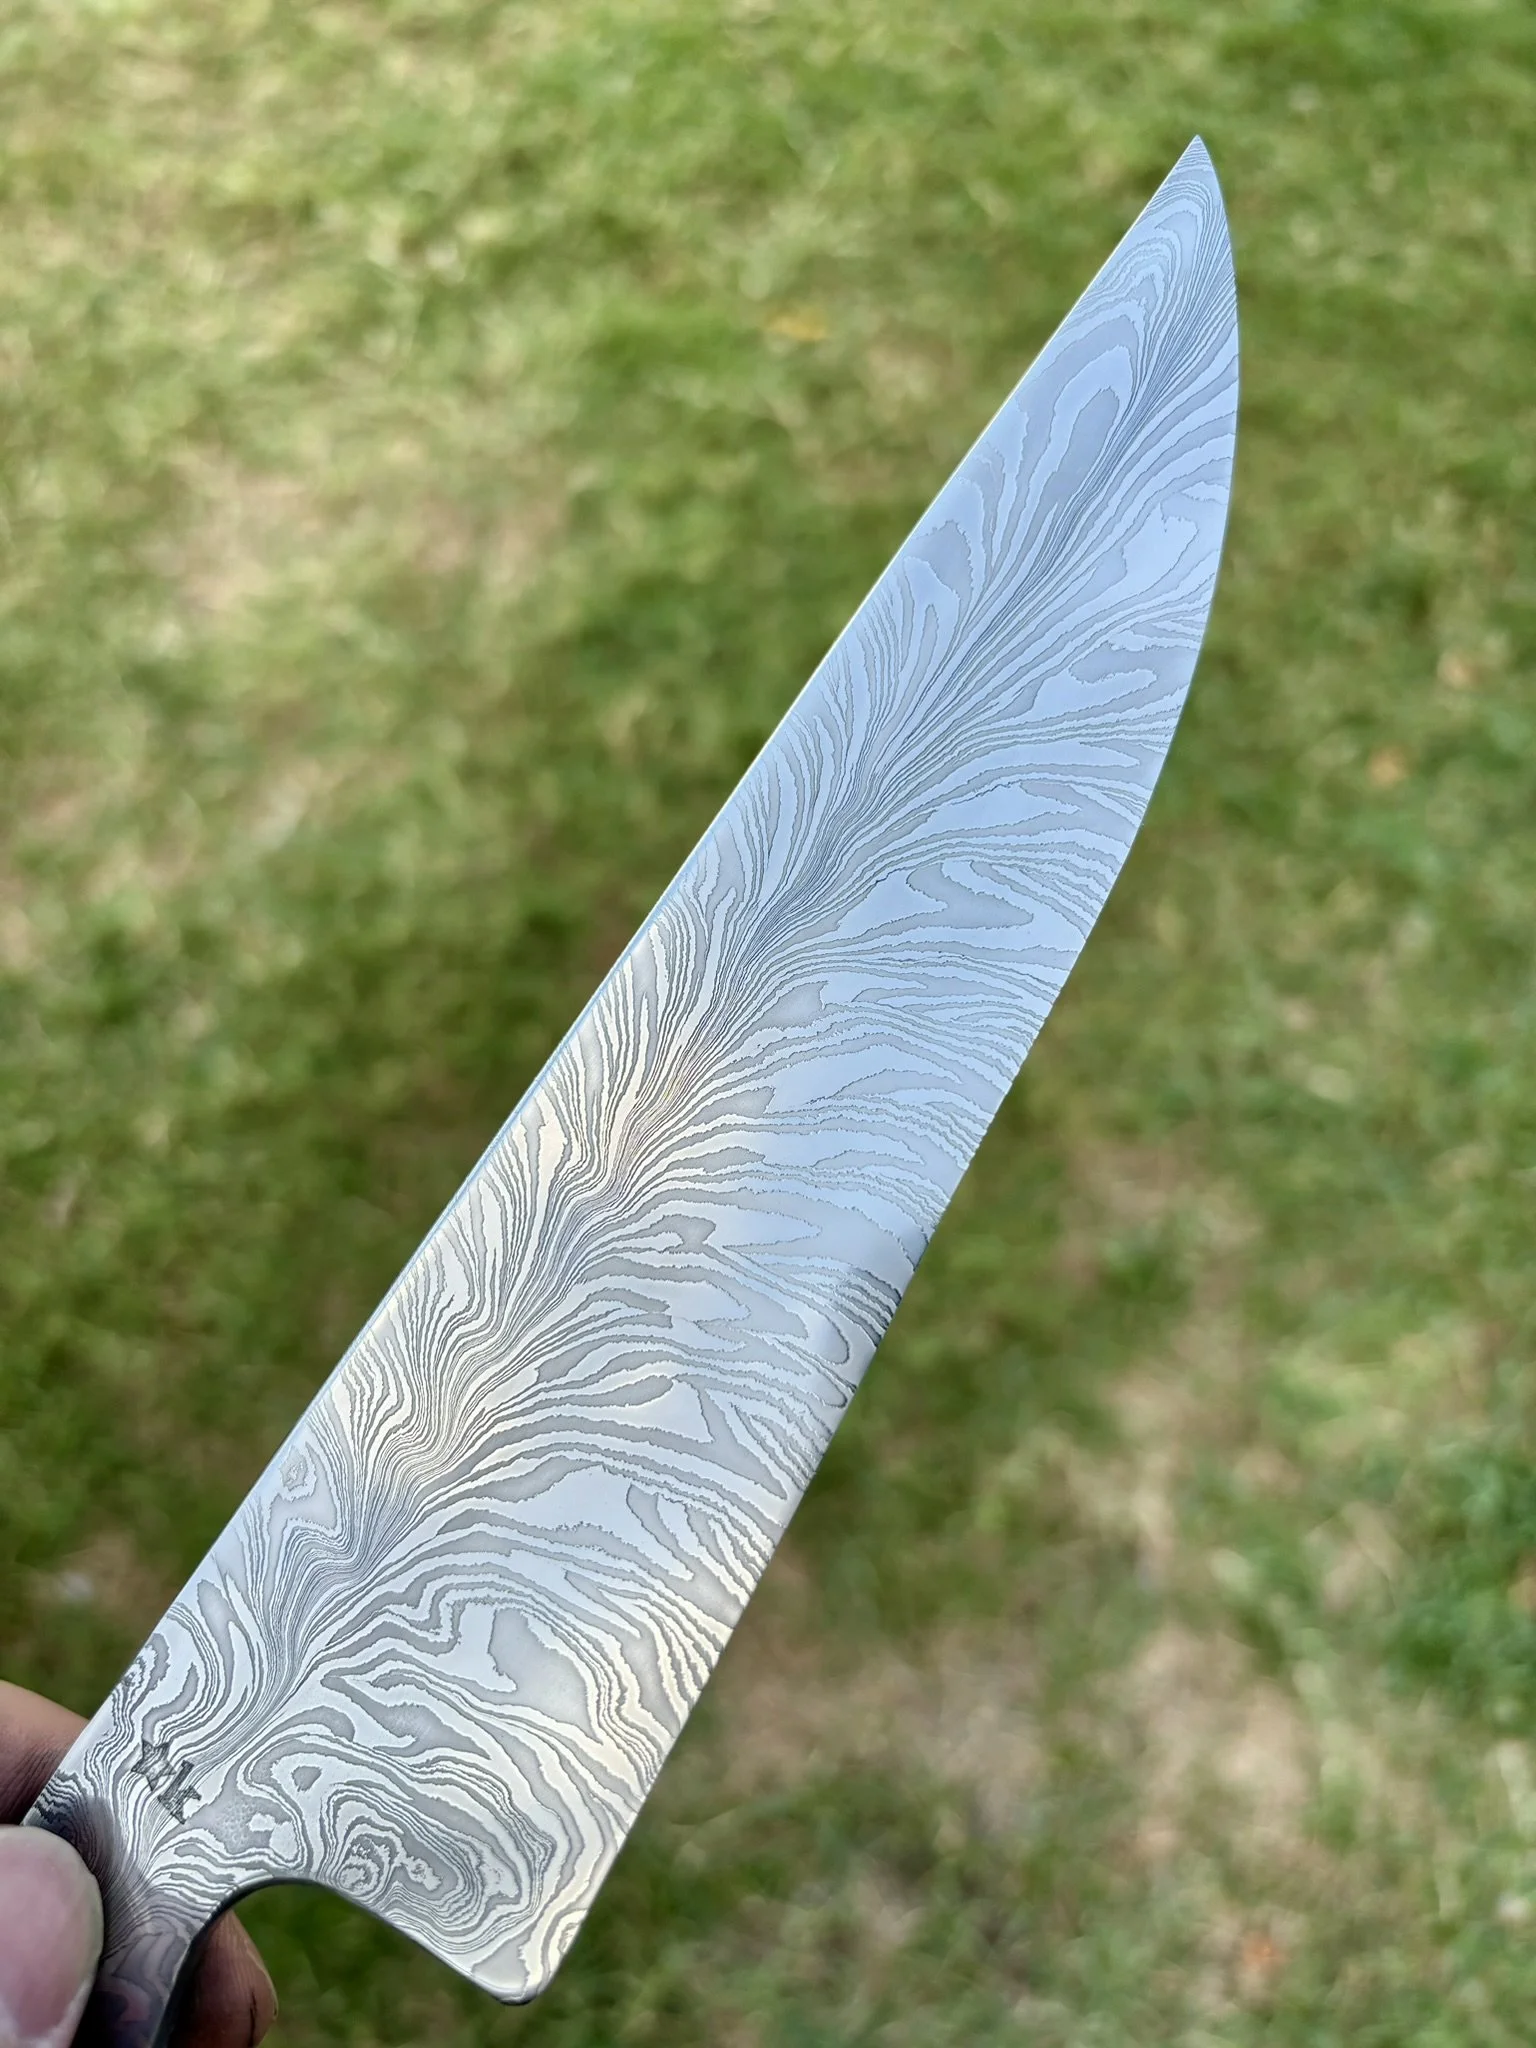
Aeson H. - Twist Damascus Tanto Chopper
-
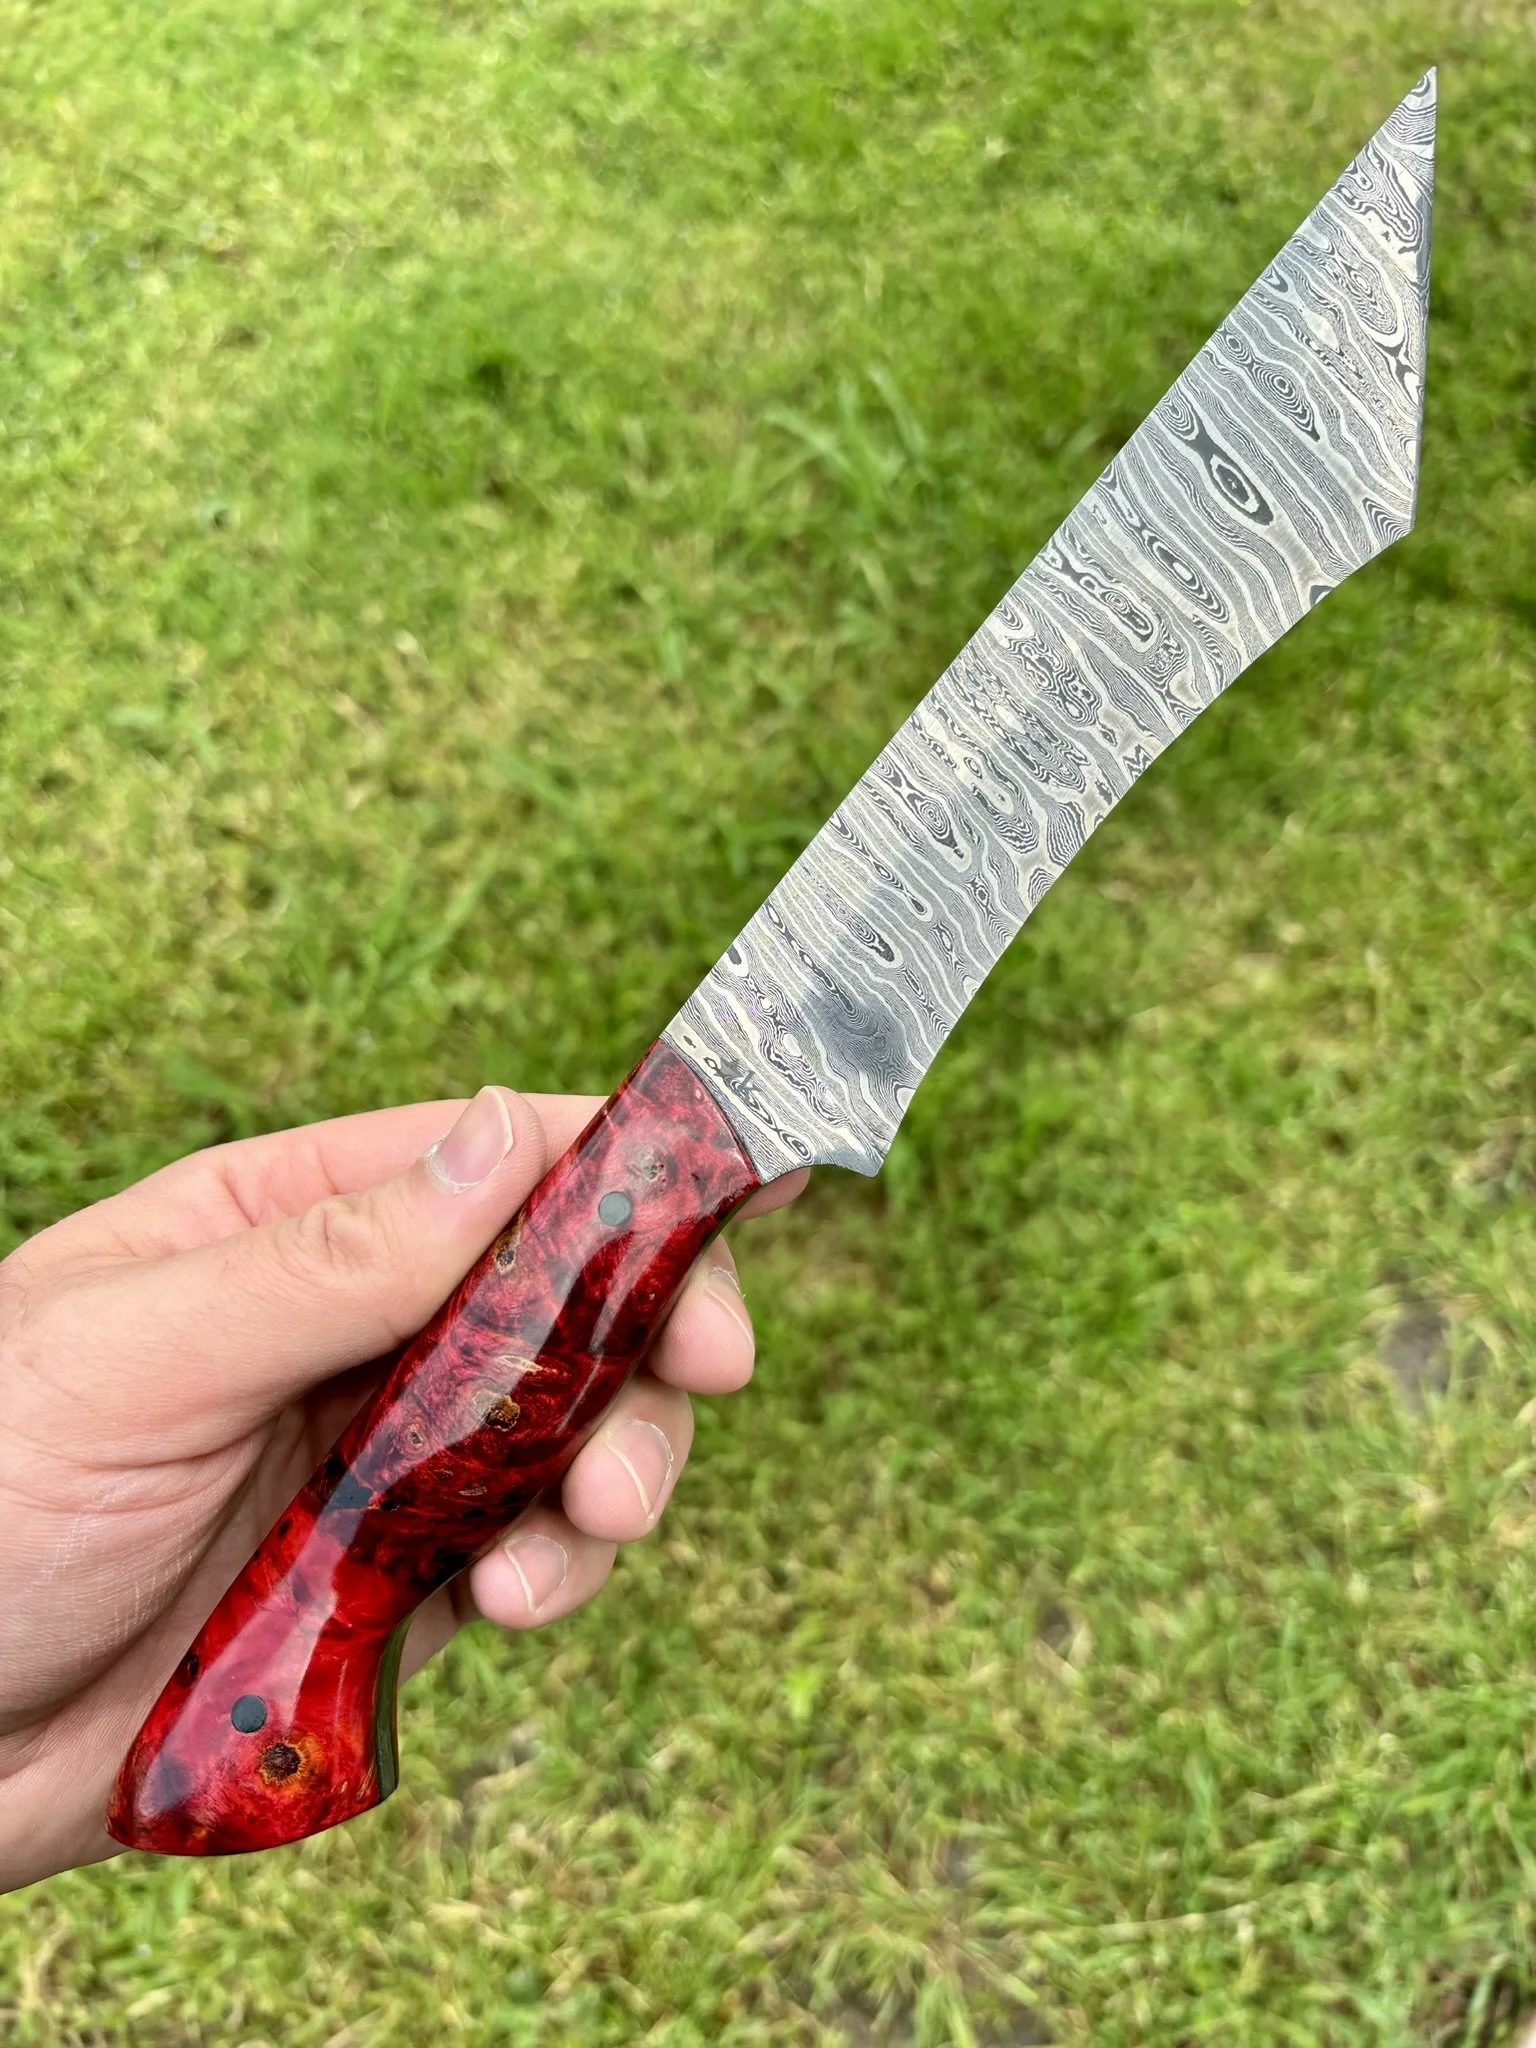
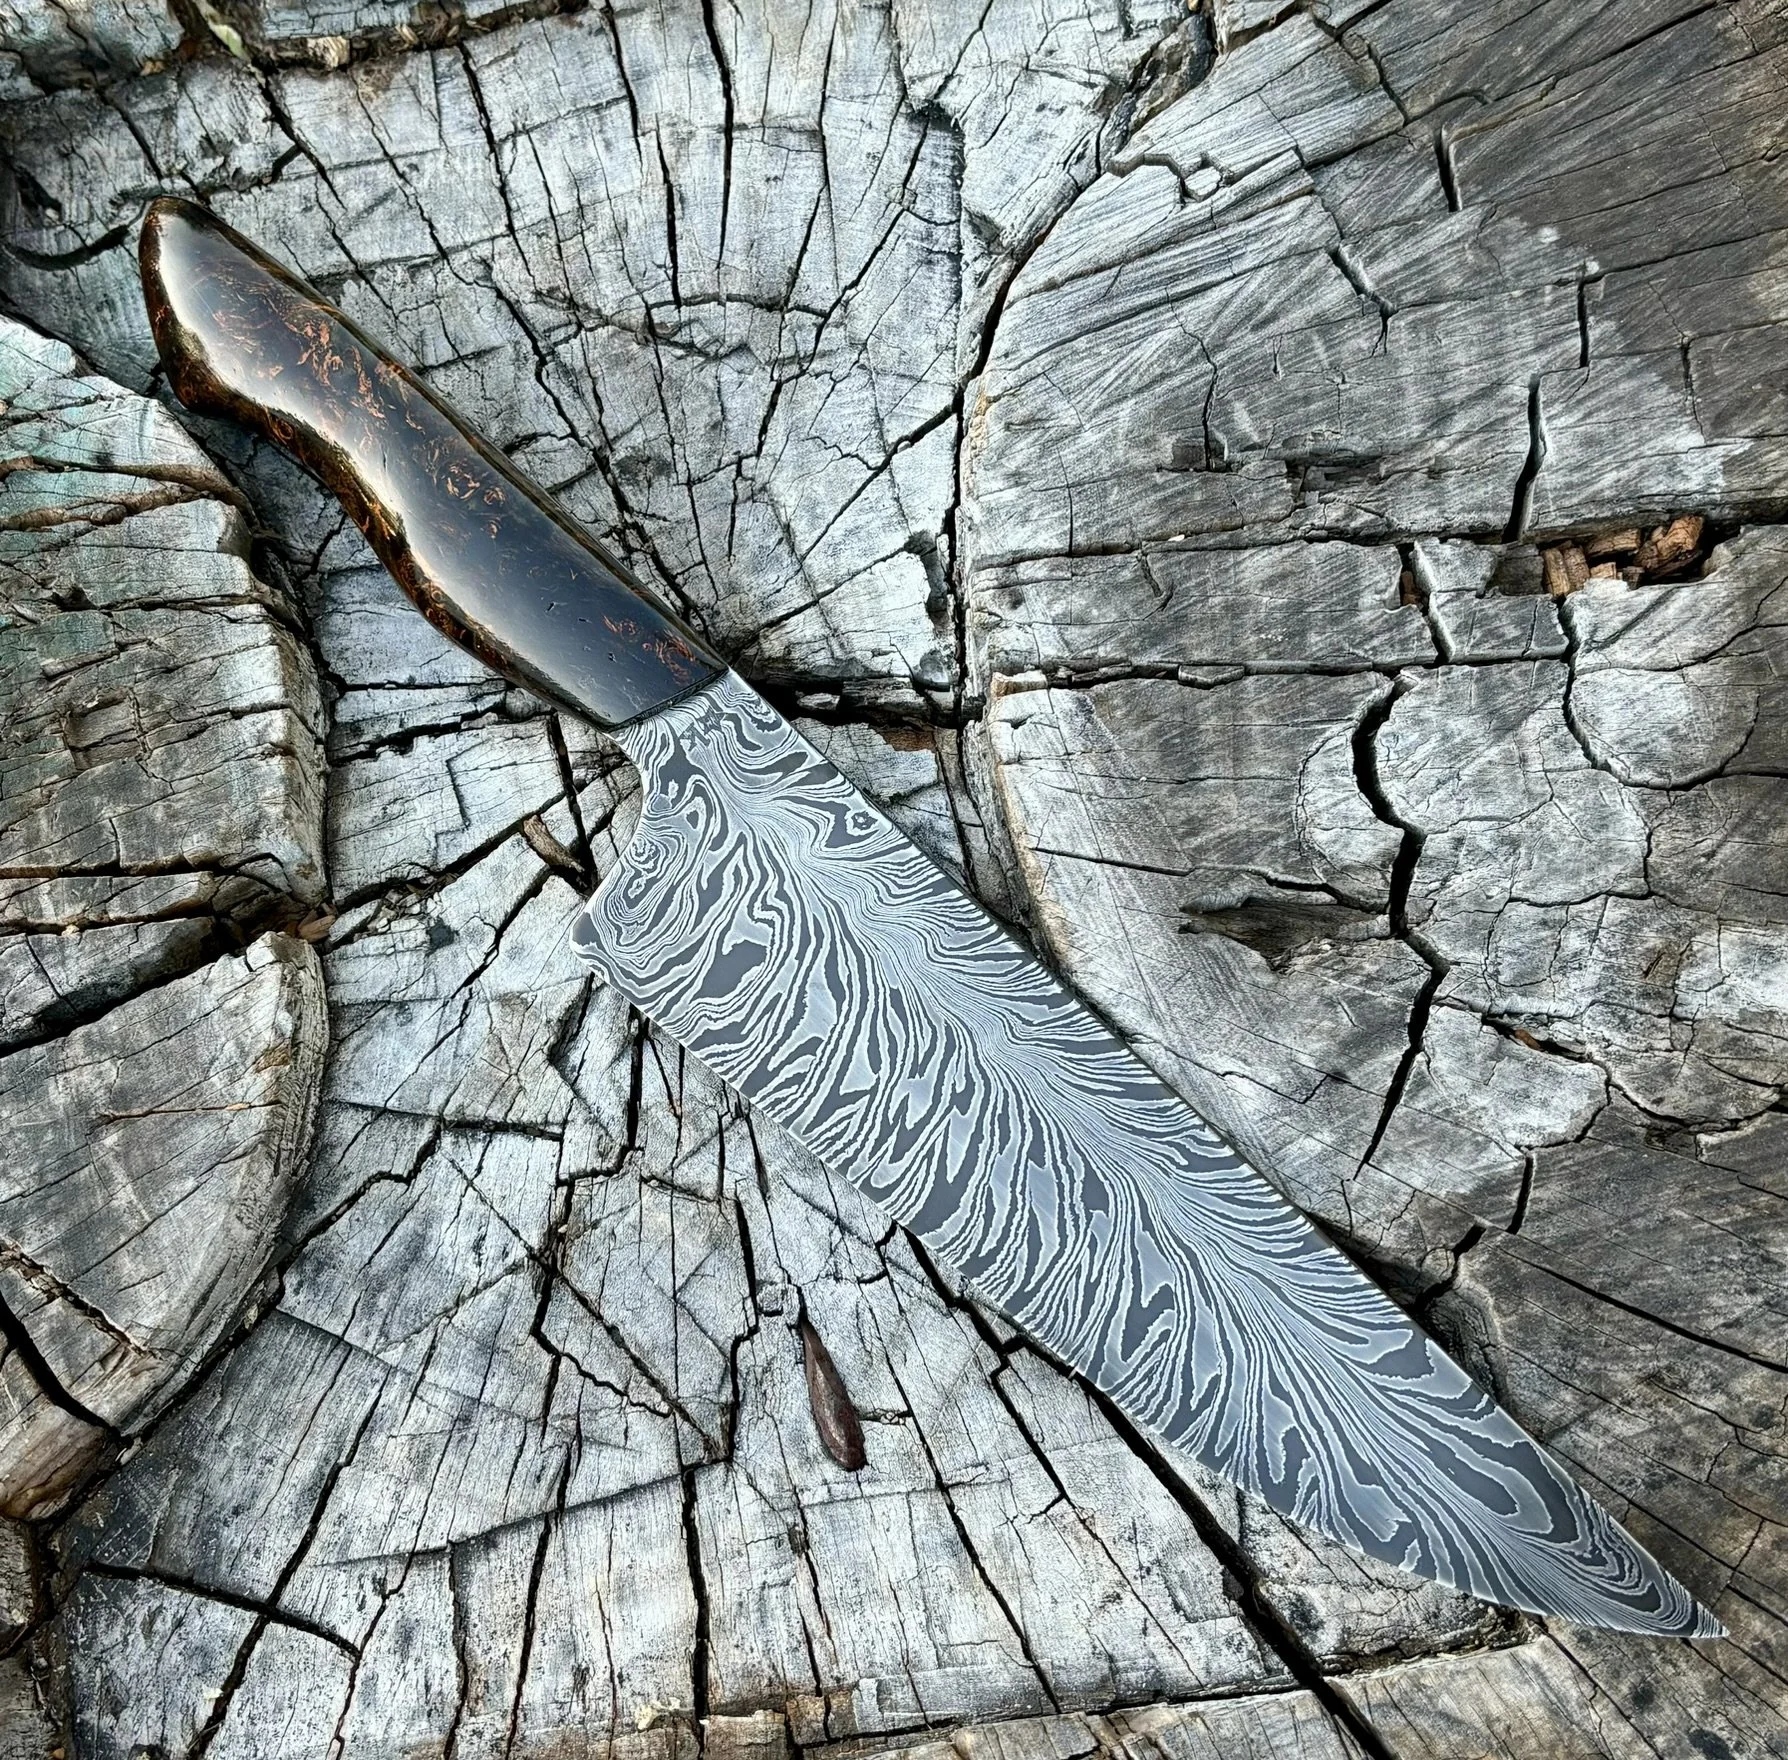
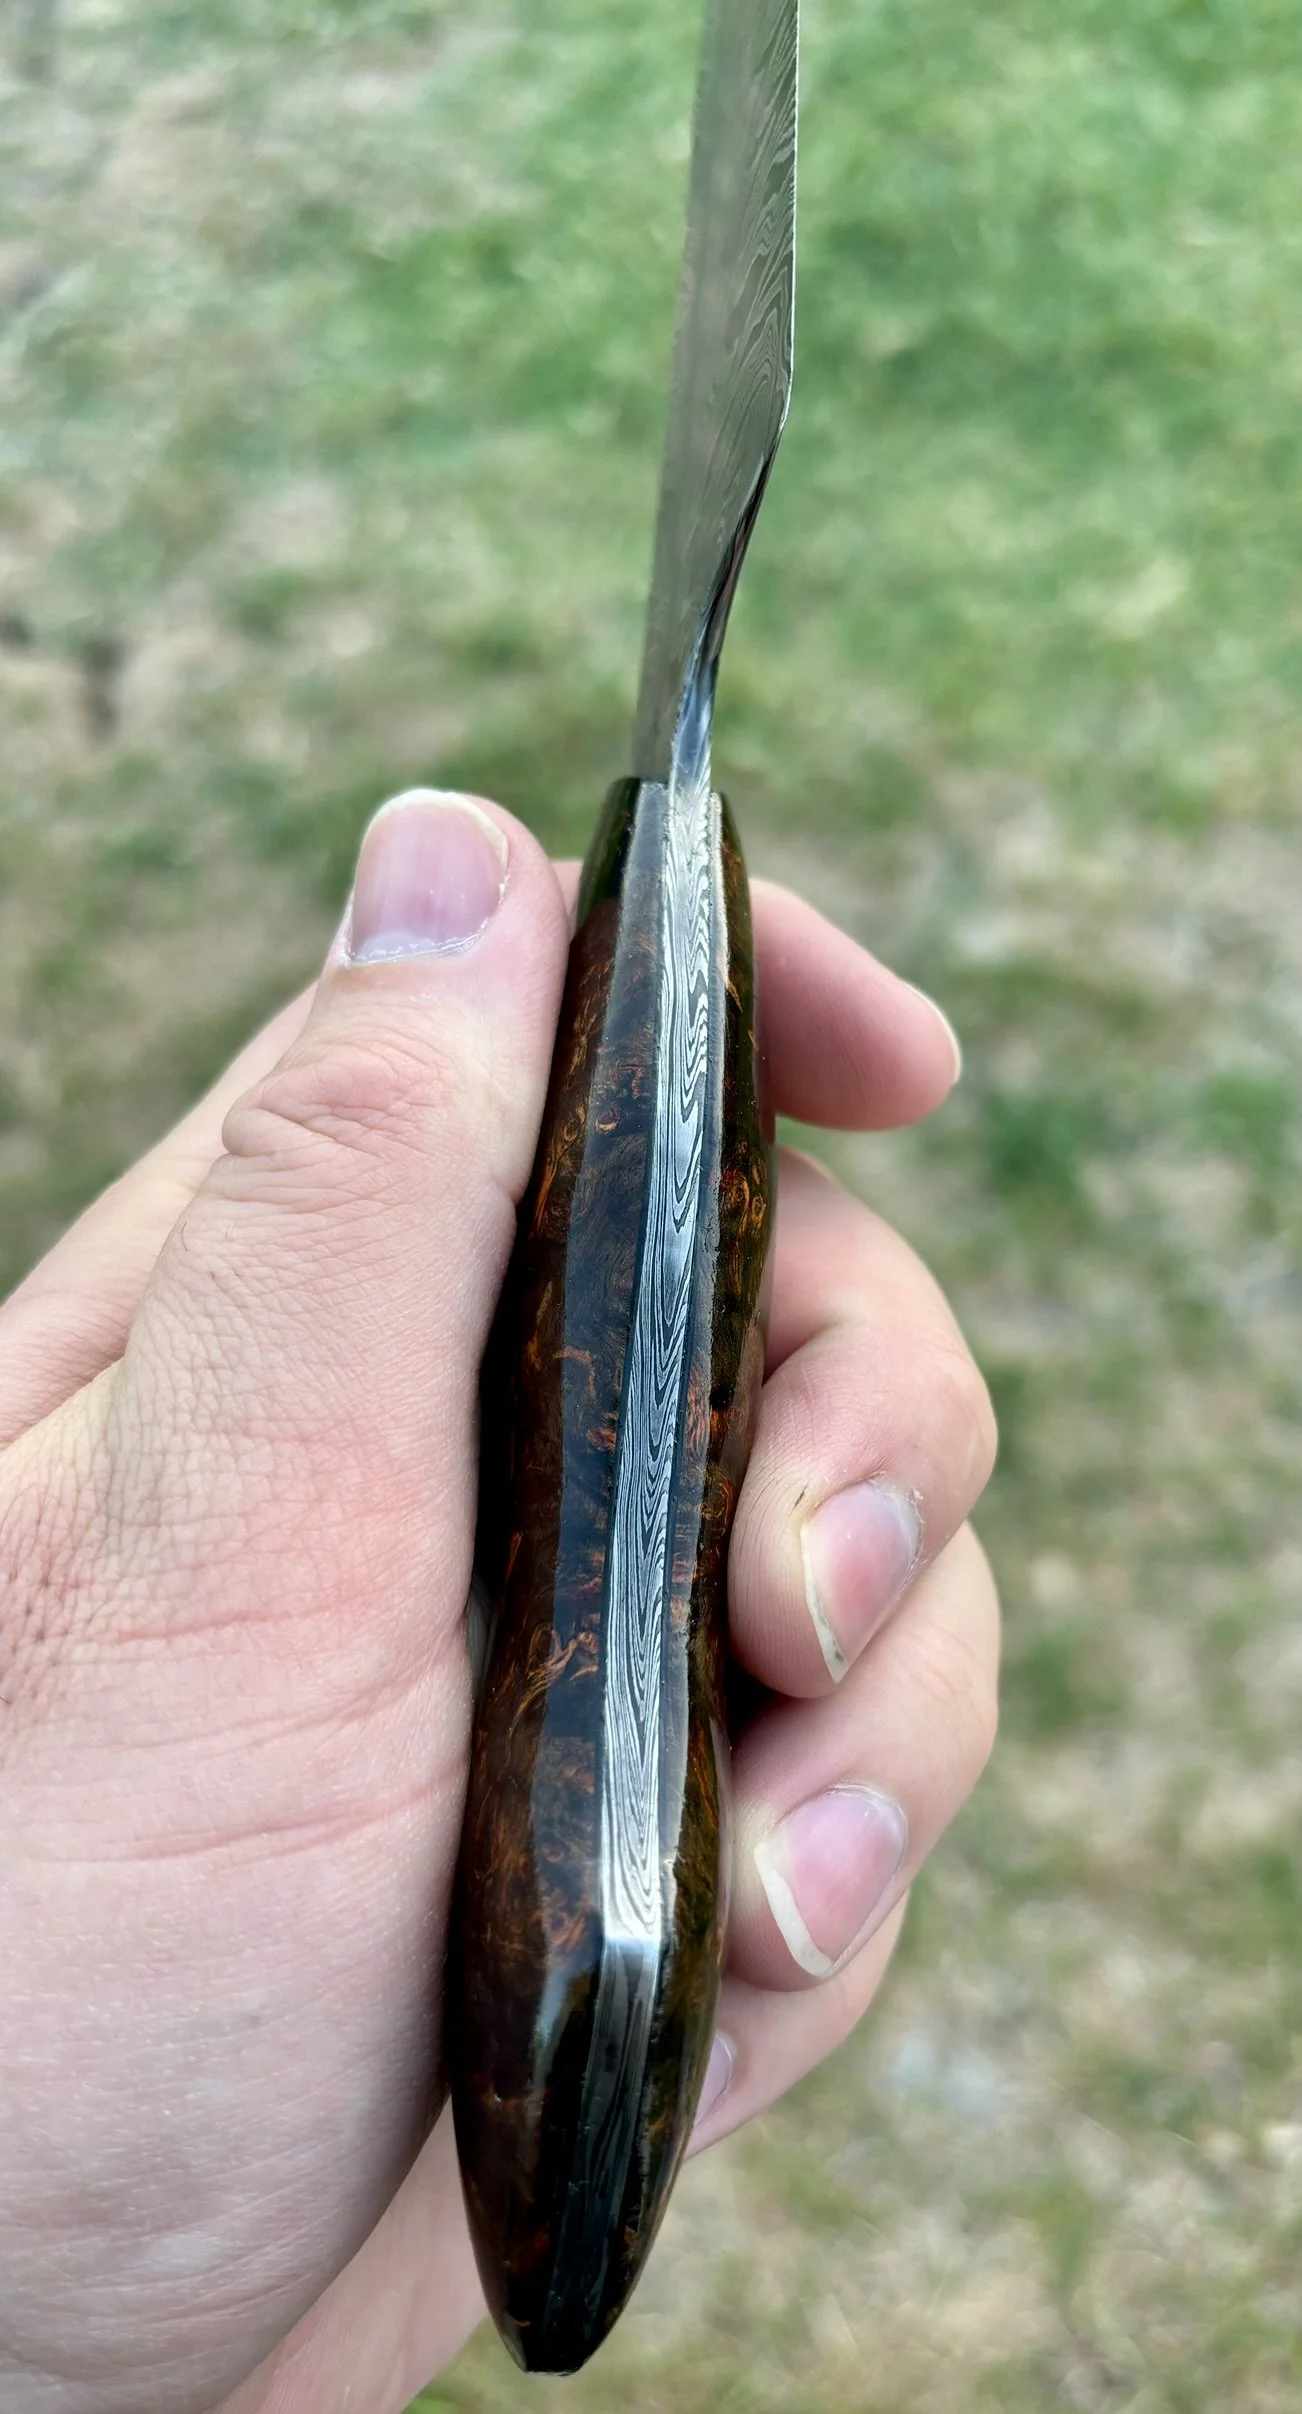
Final blade - keep scrolling to see the journey.
-
Back to working on blades for the family friend. This time a custom chopper for the oldest son. I worked on the design preferences with him, and decided to make his knife out of the same special twist damascus as his brothers.
-
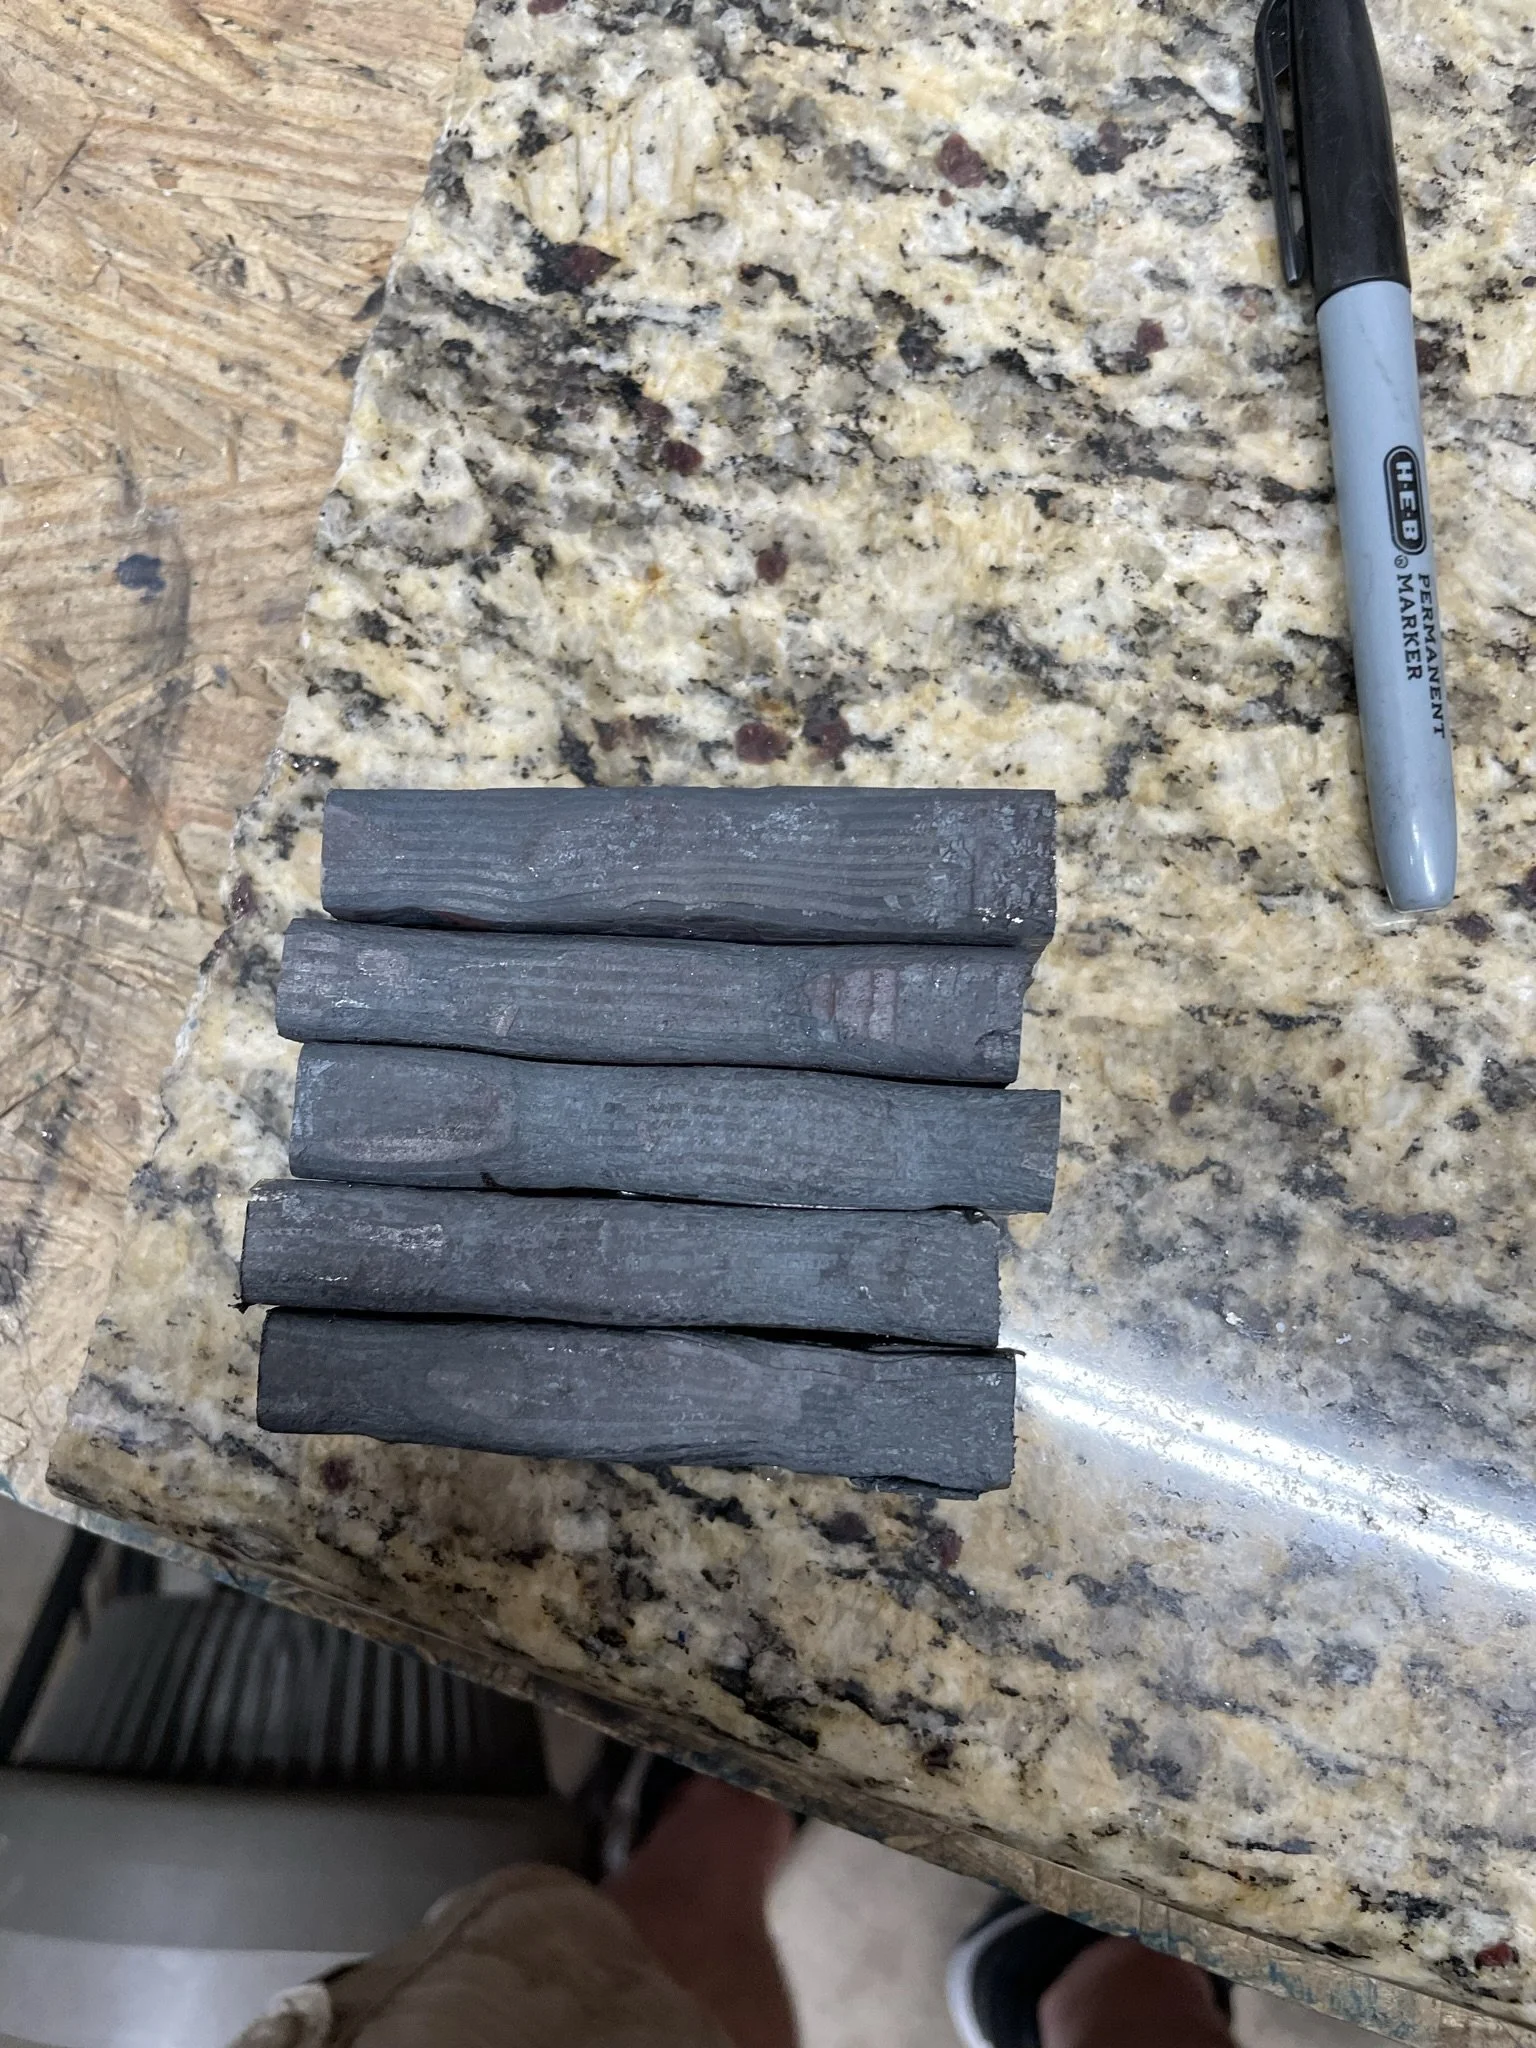
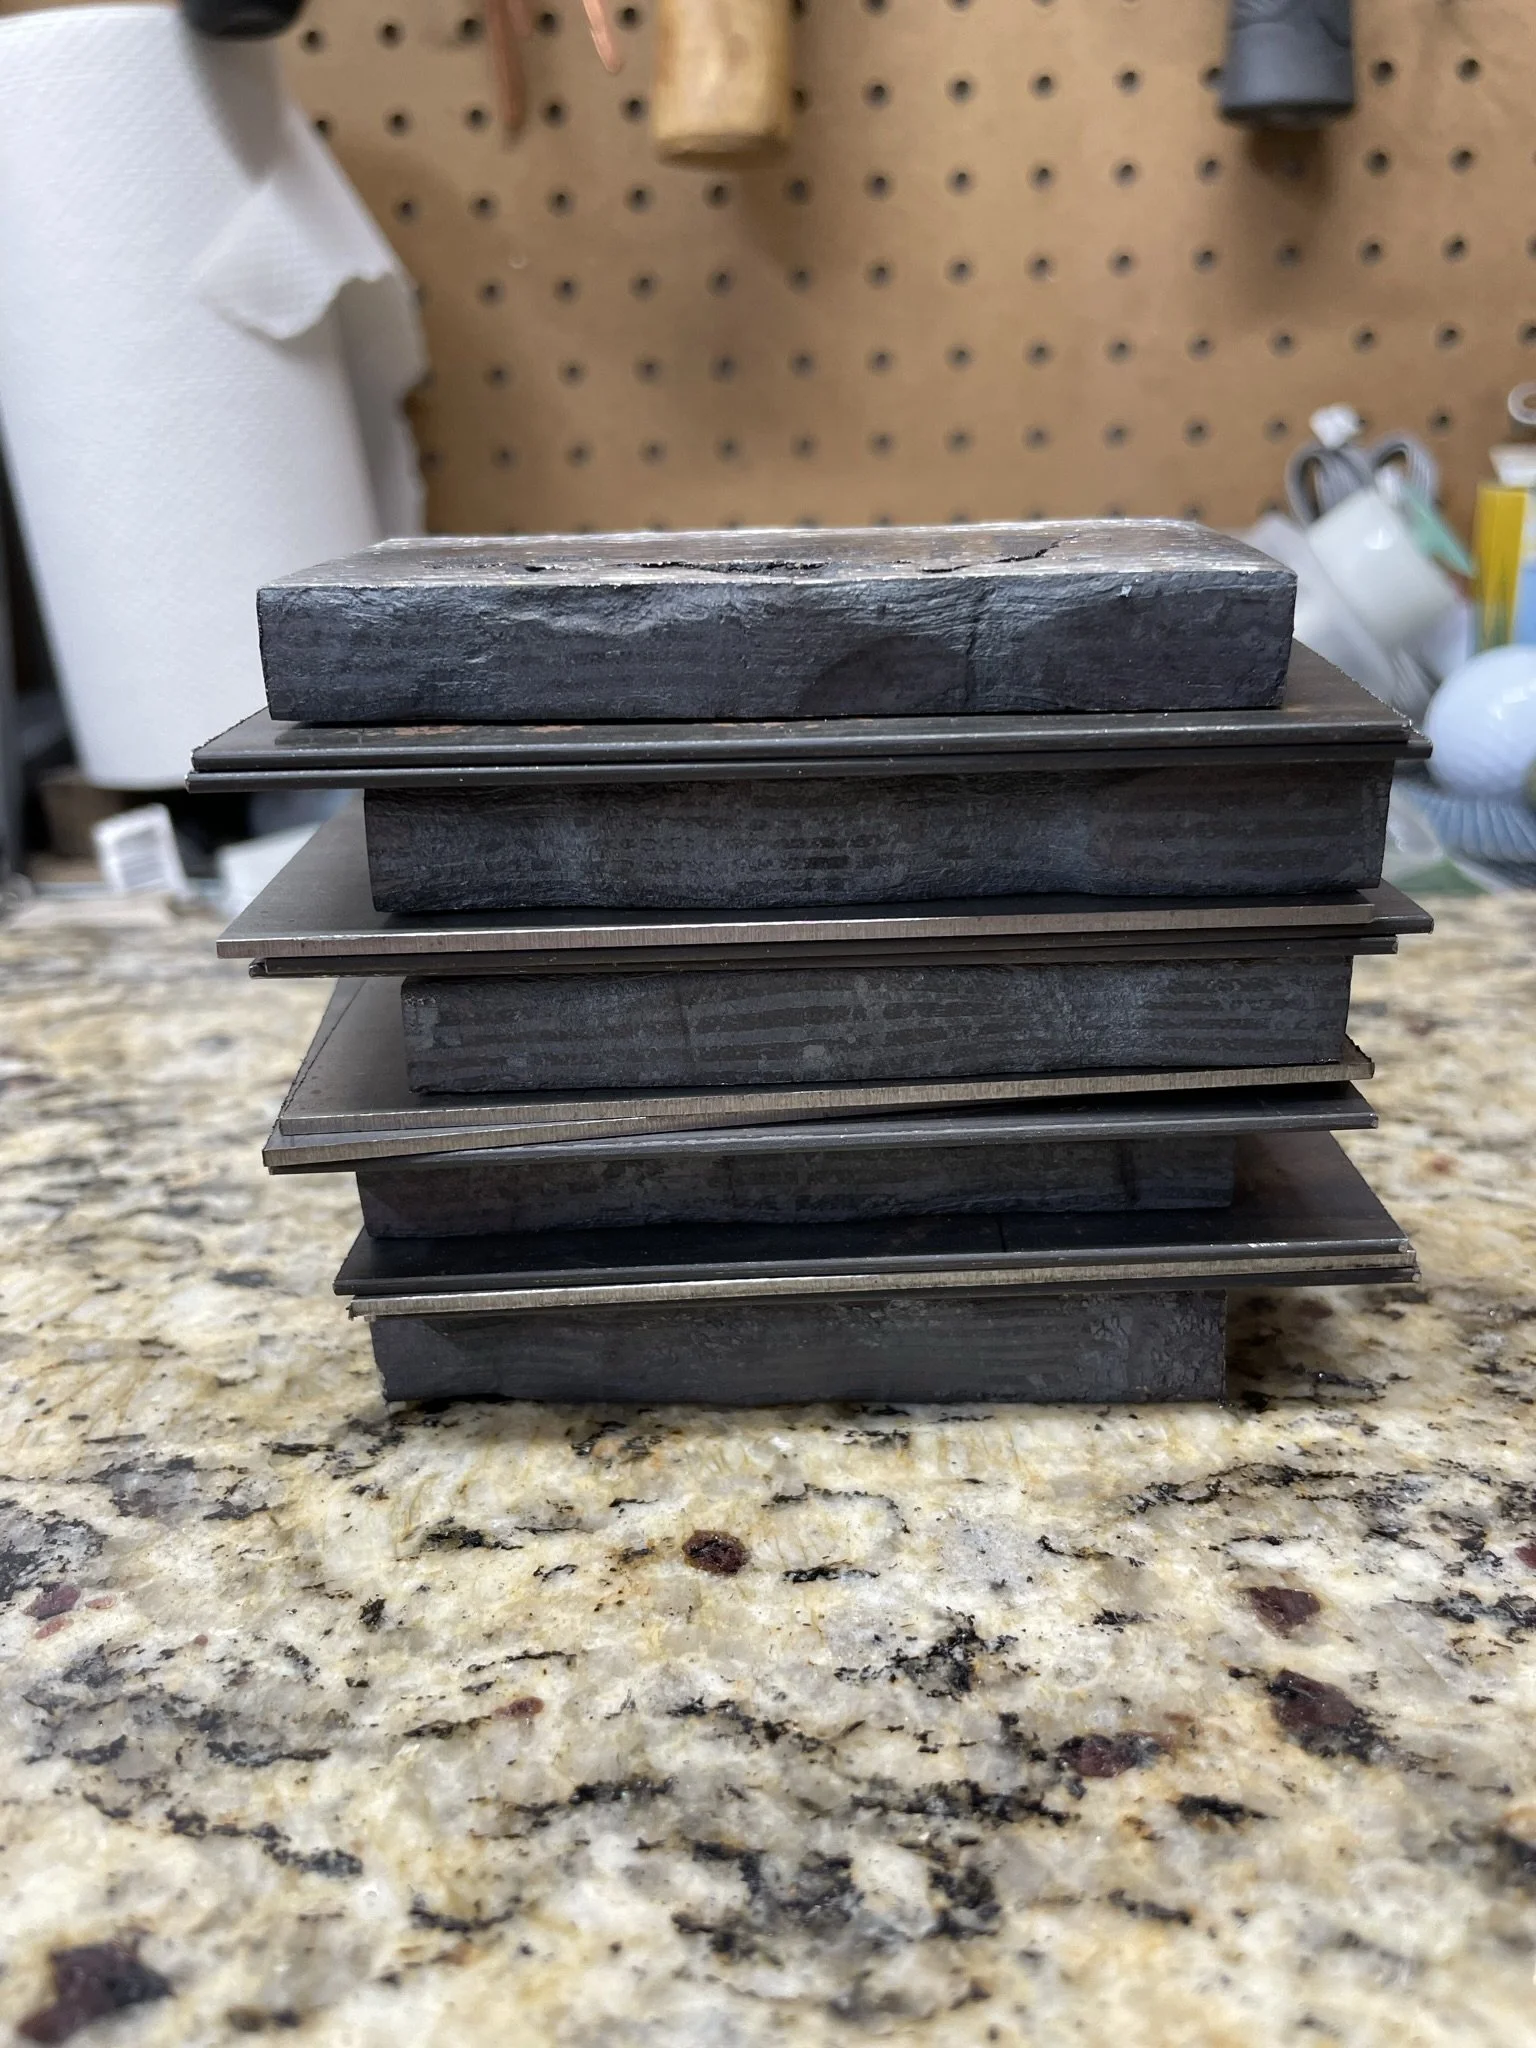
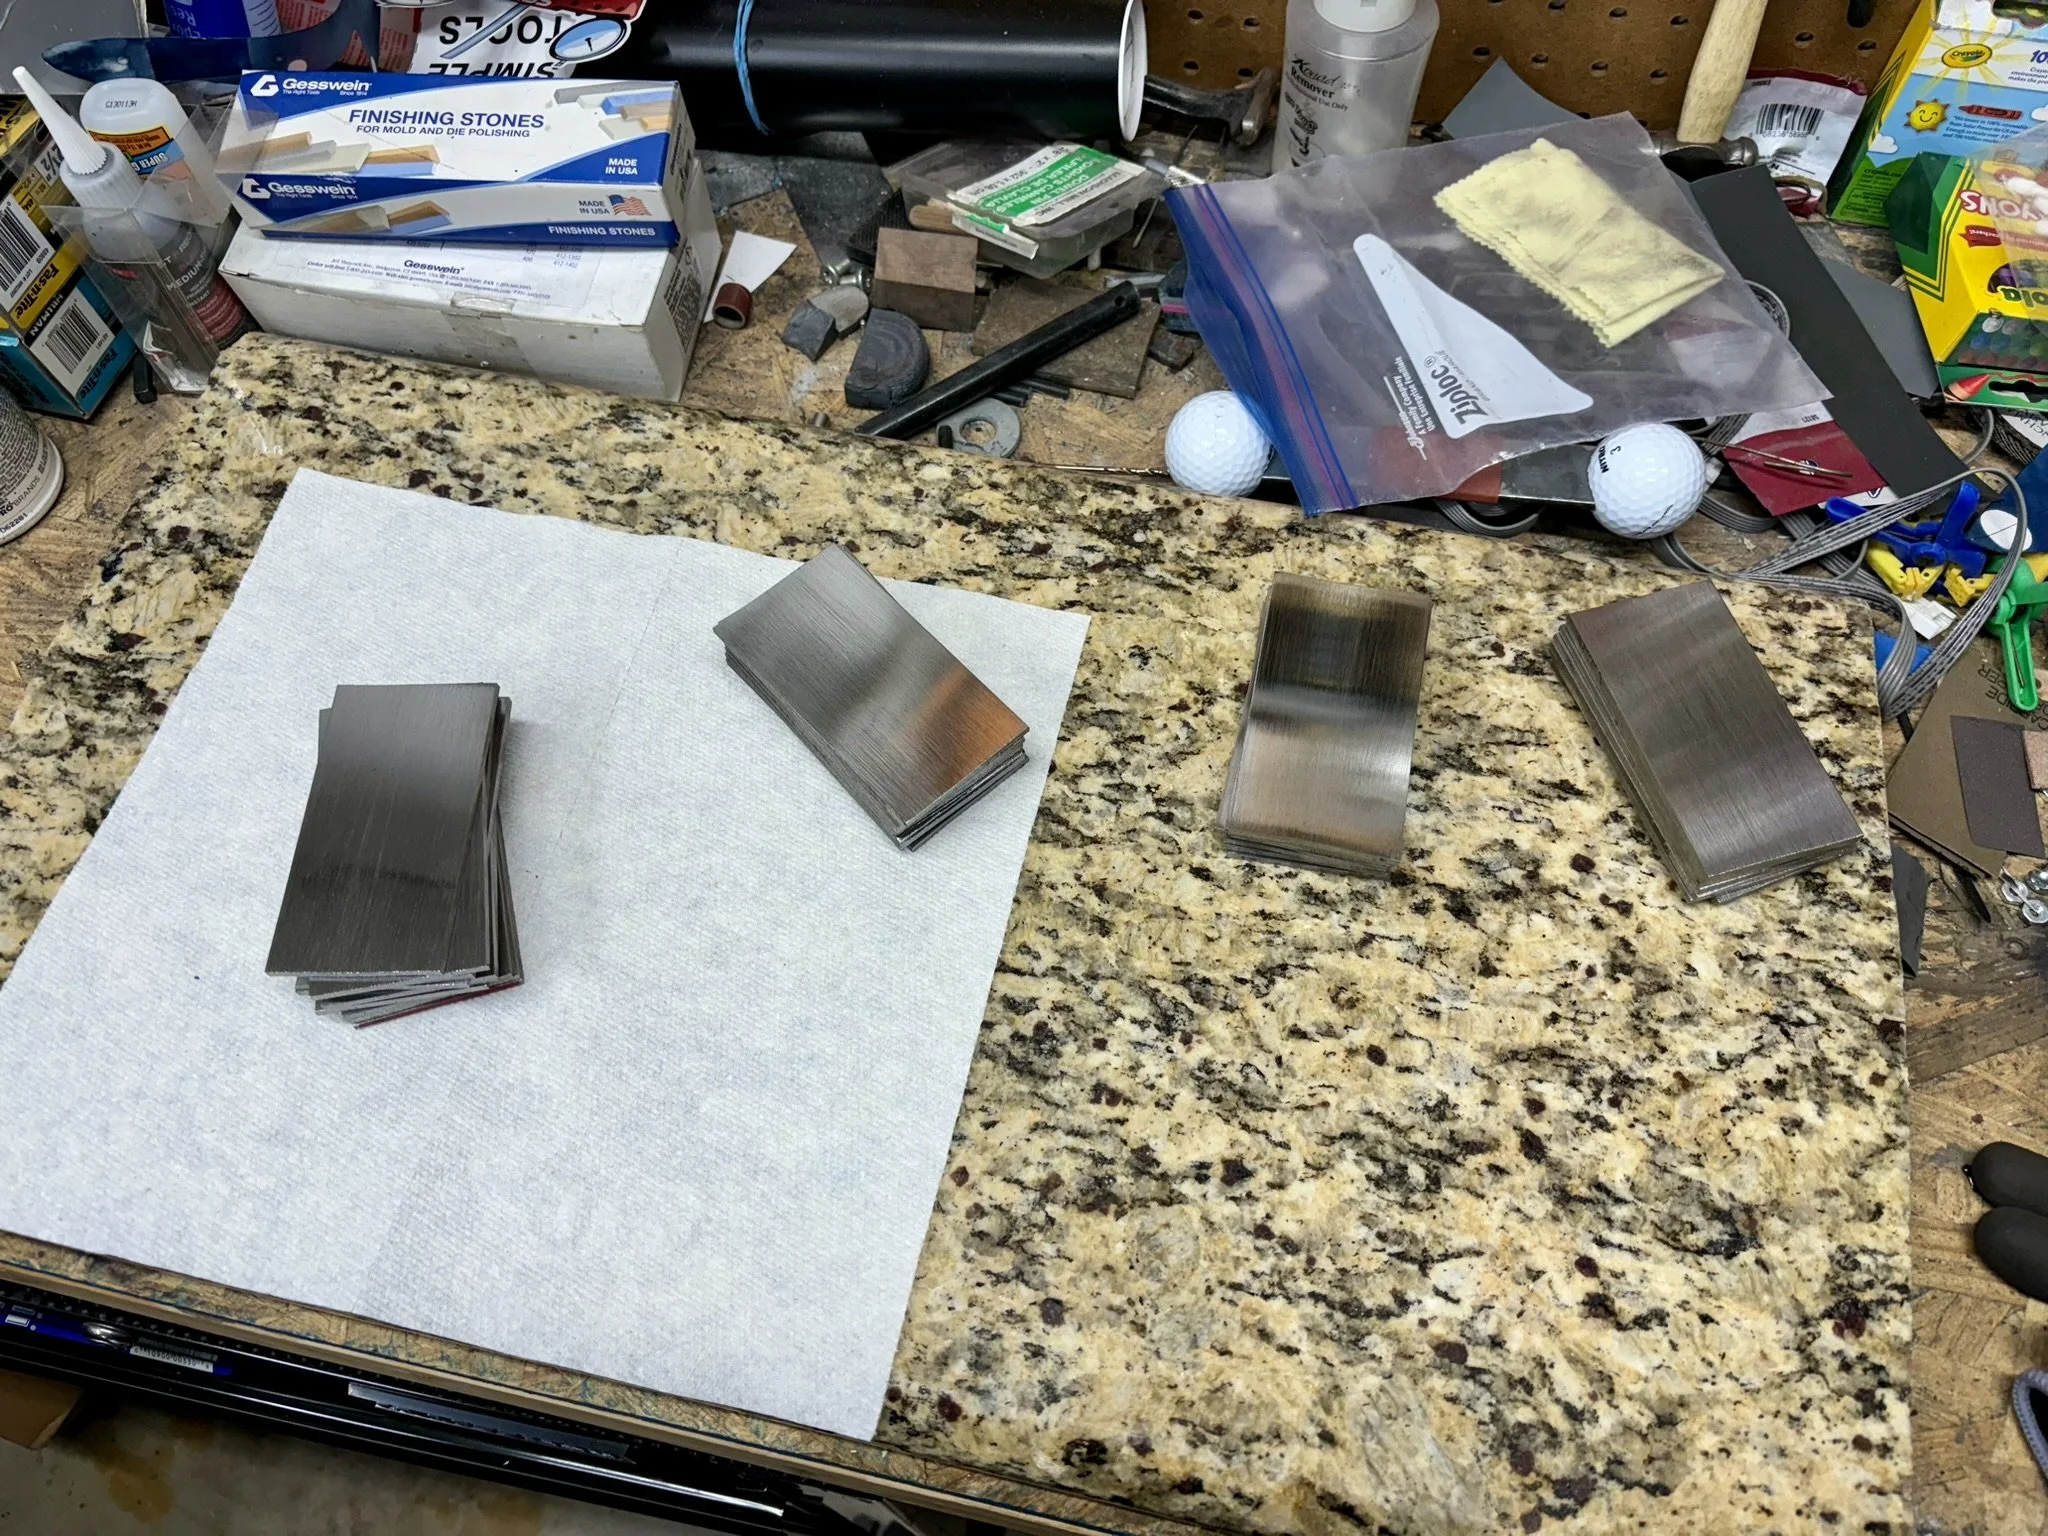
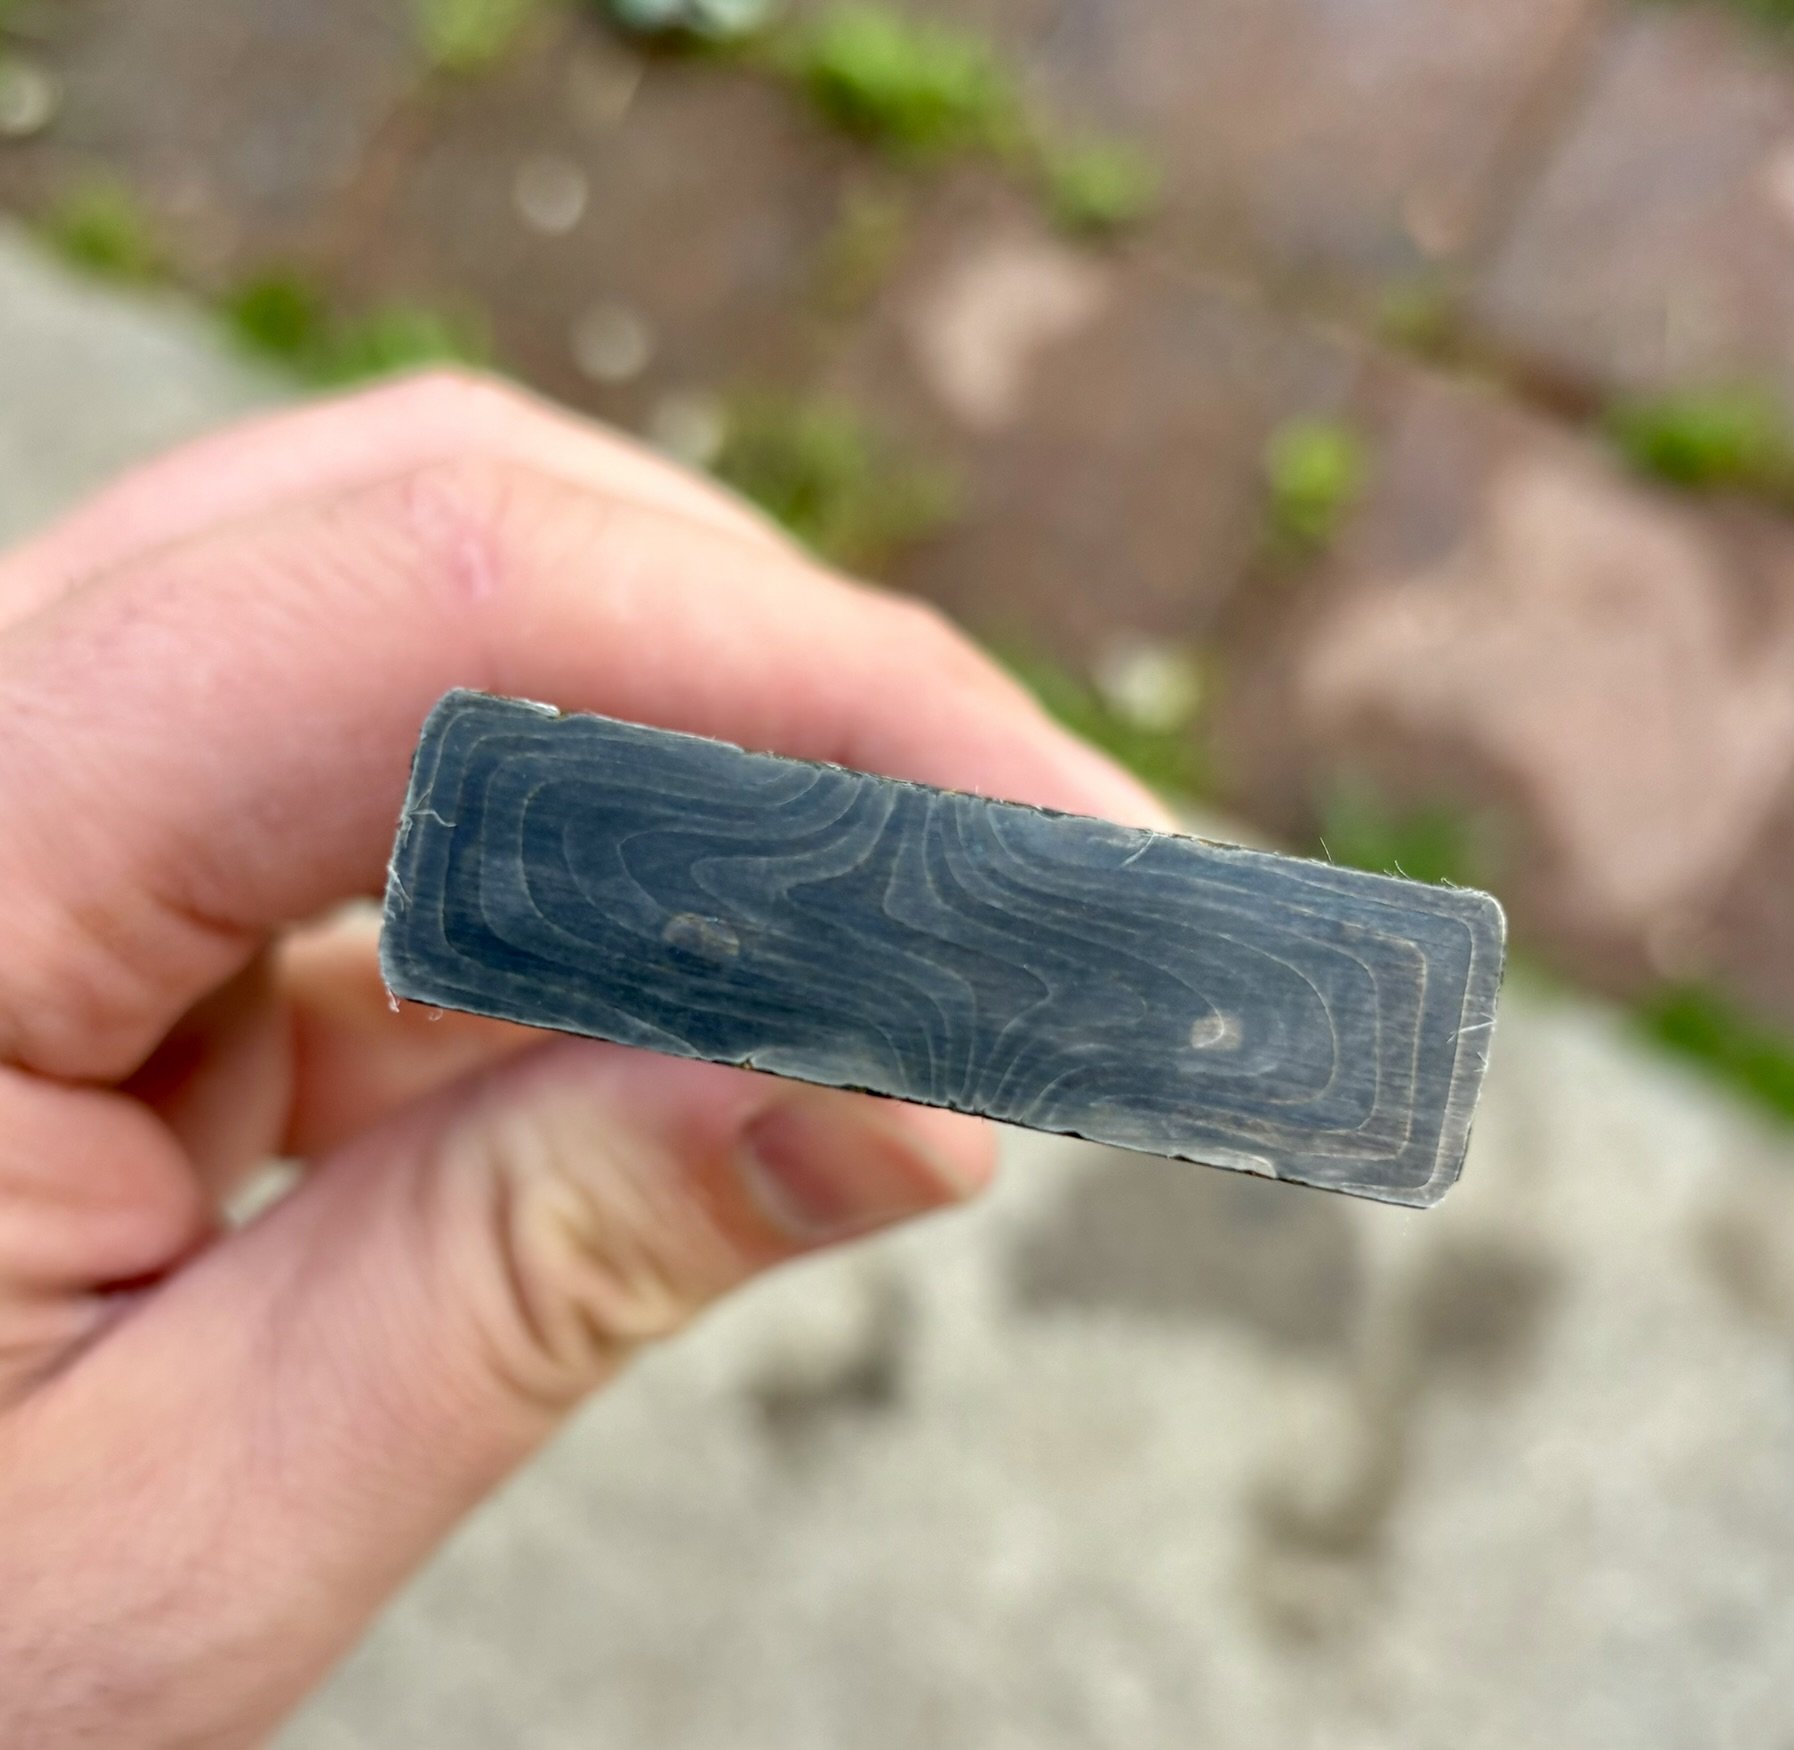
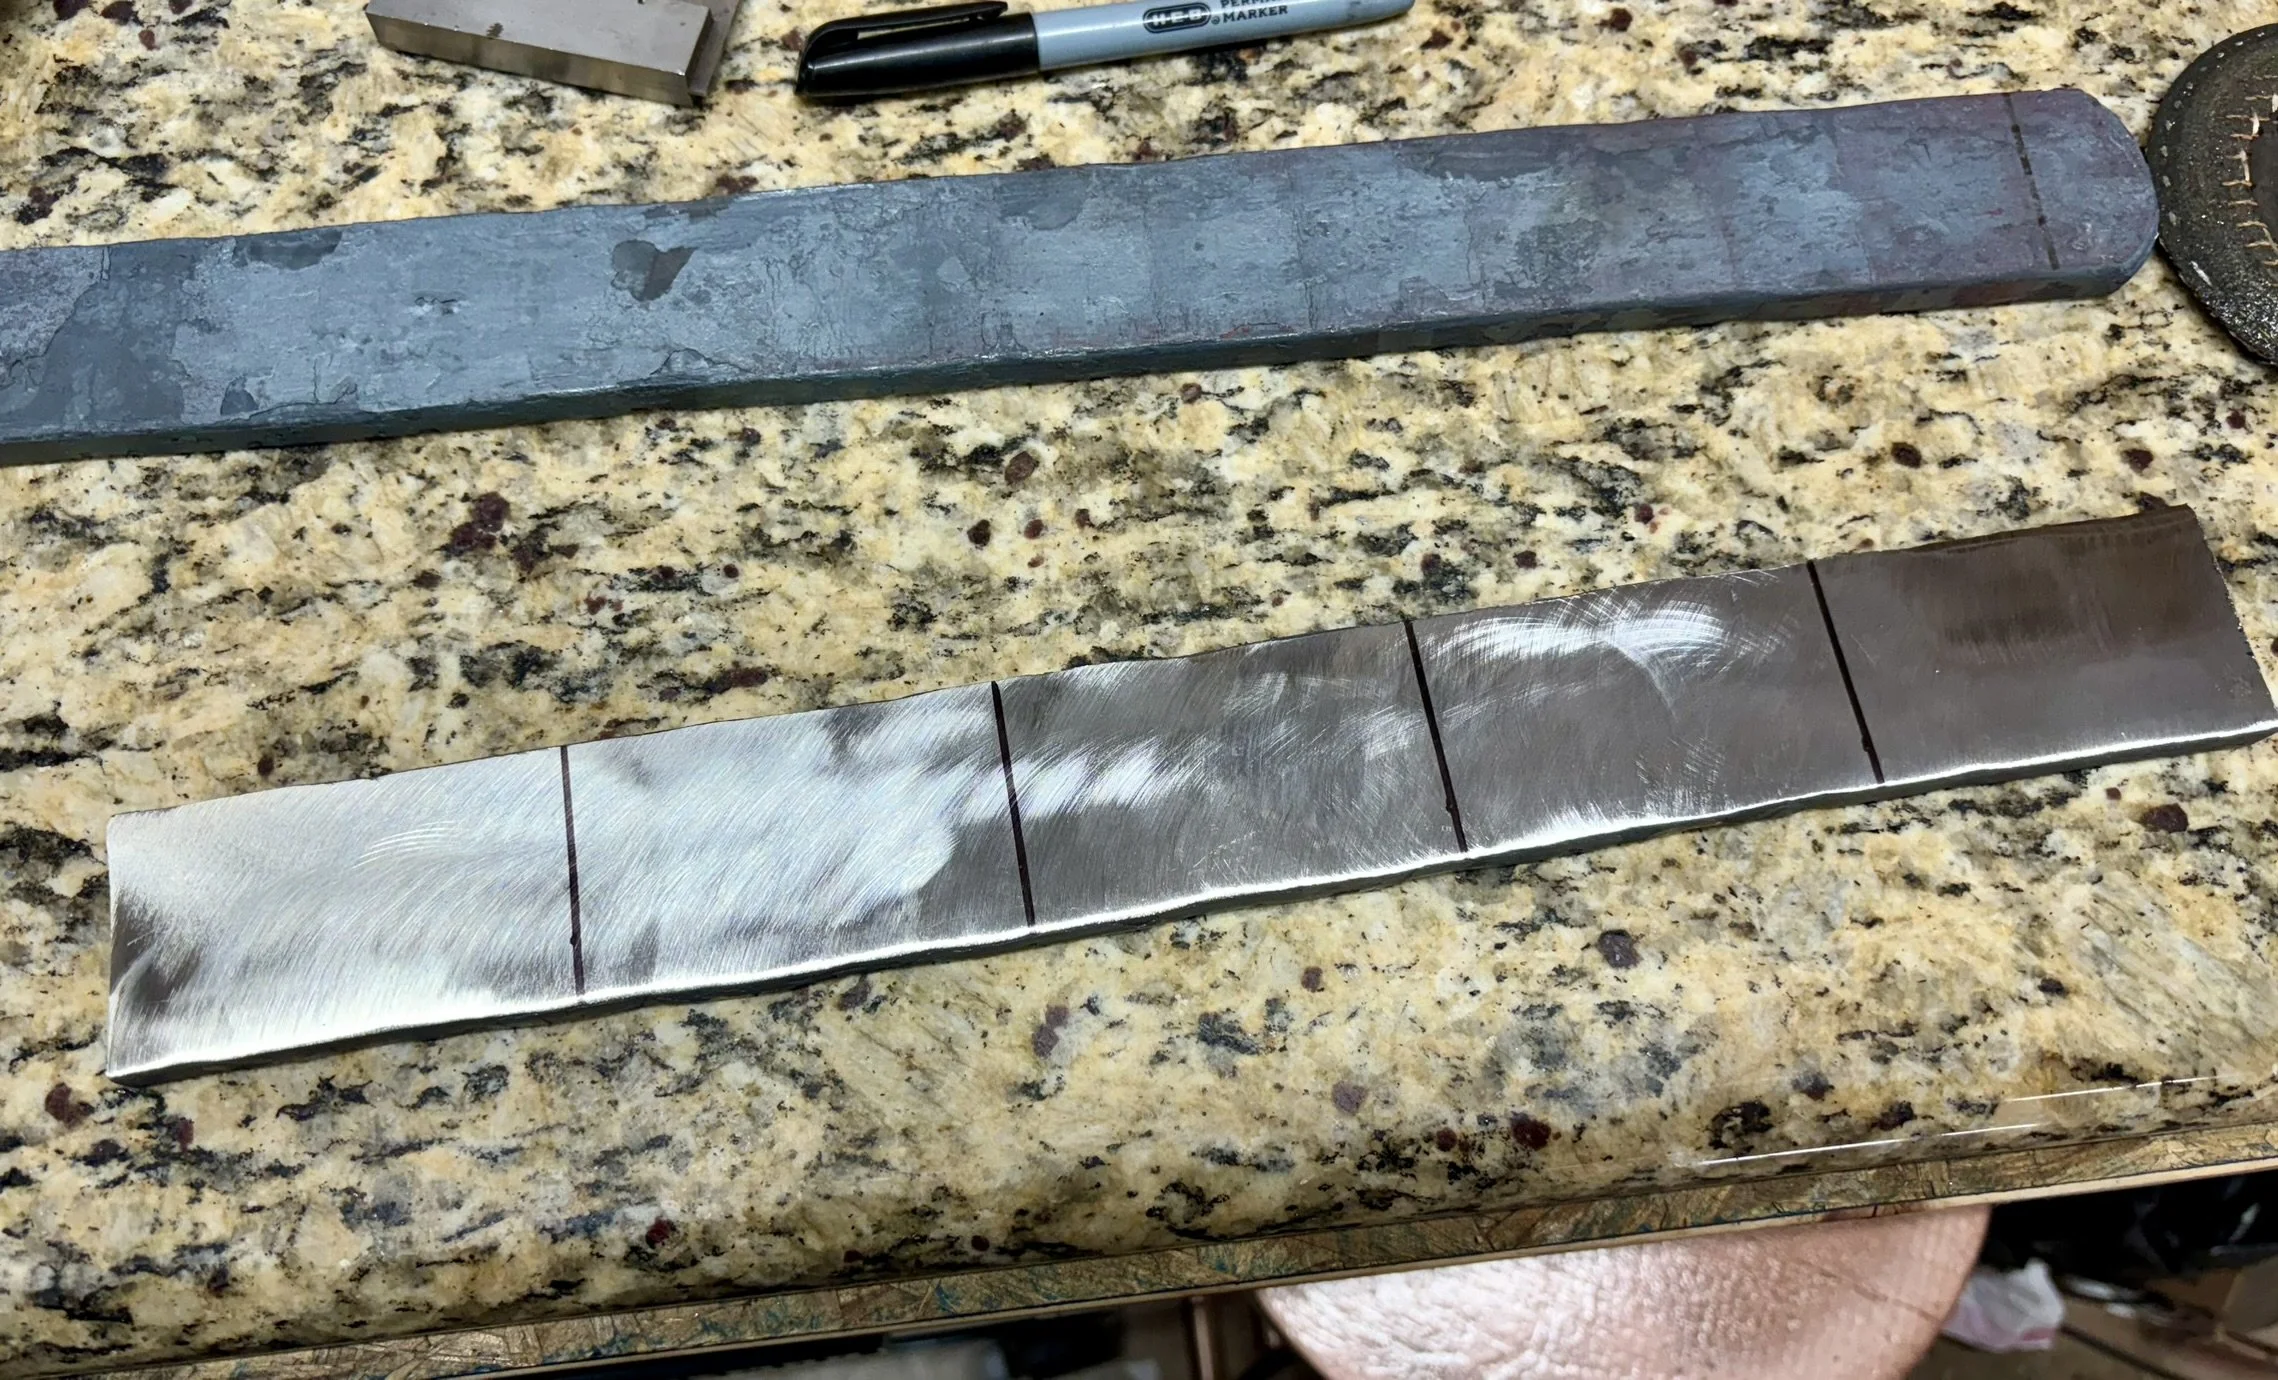
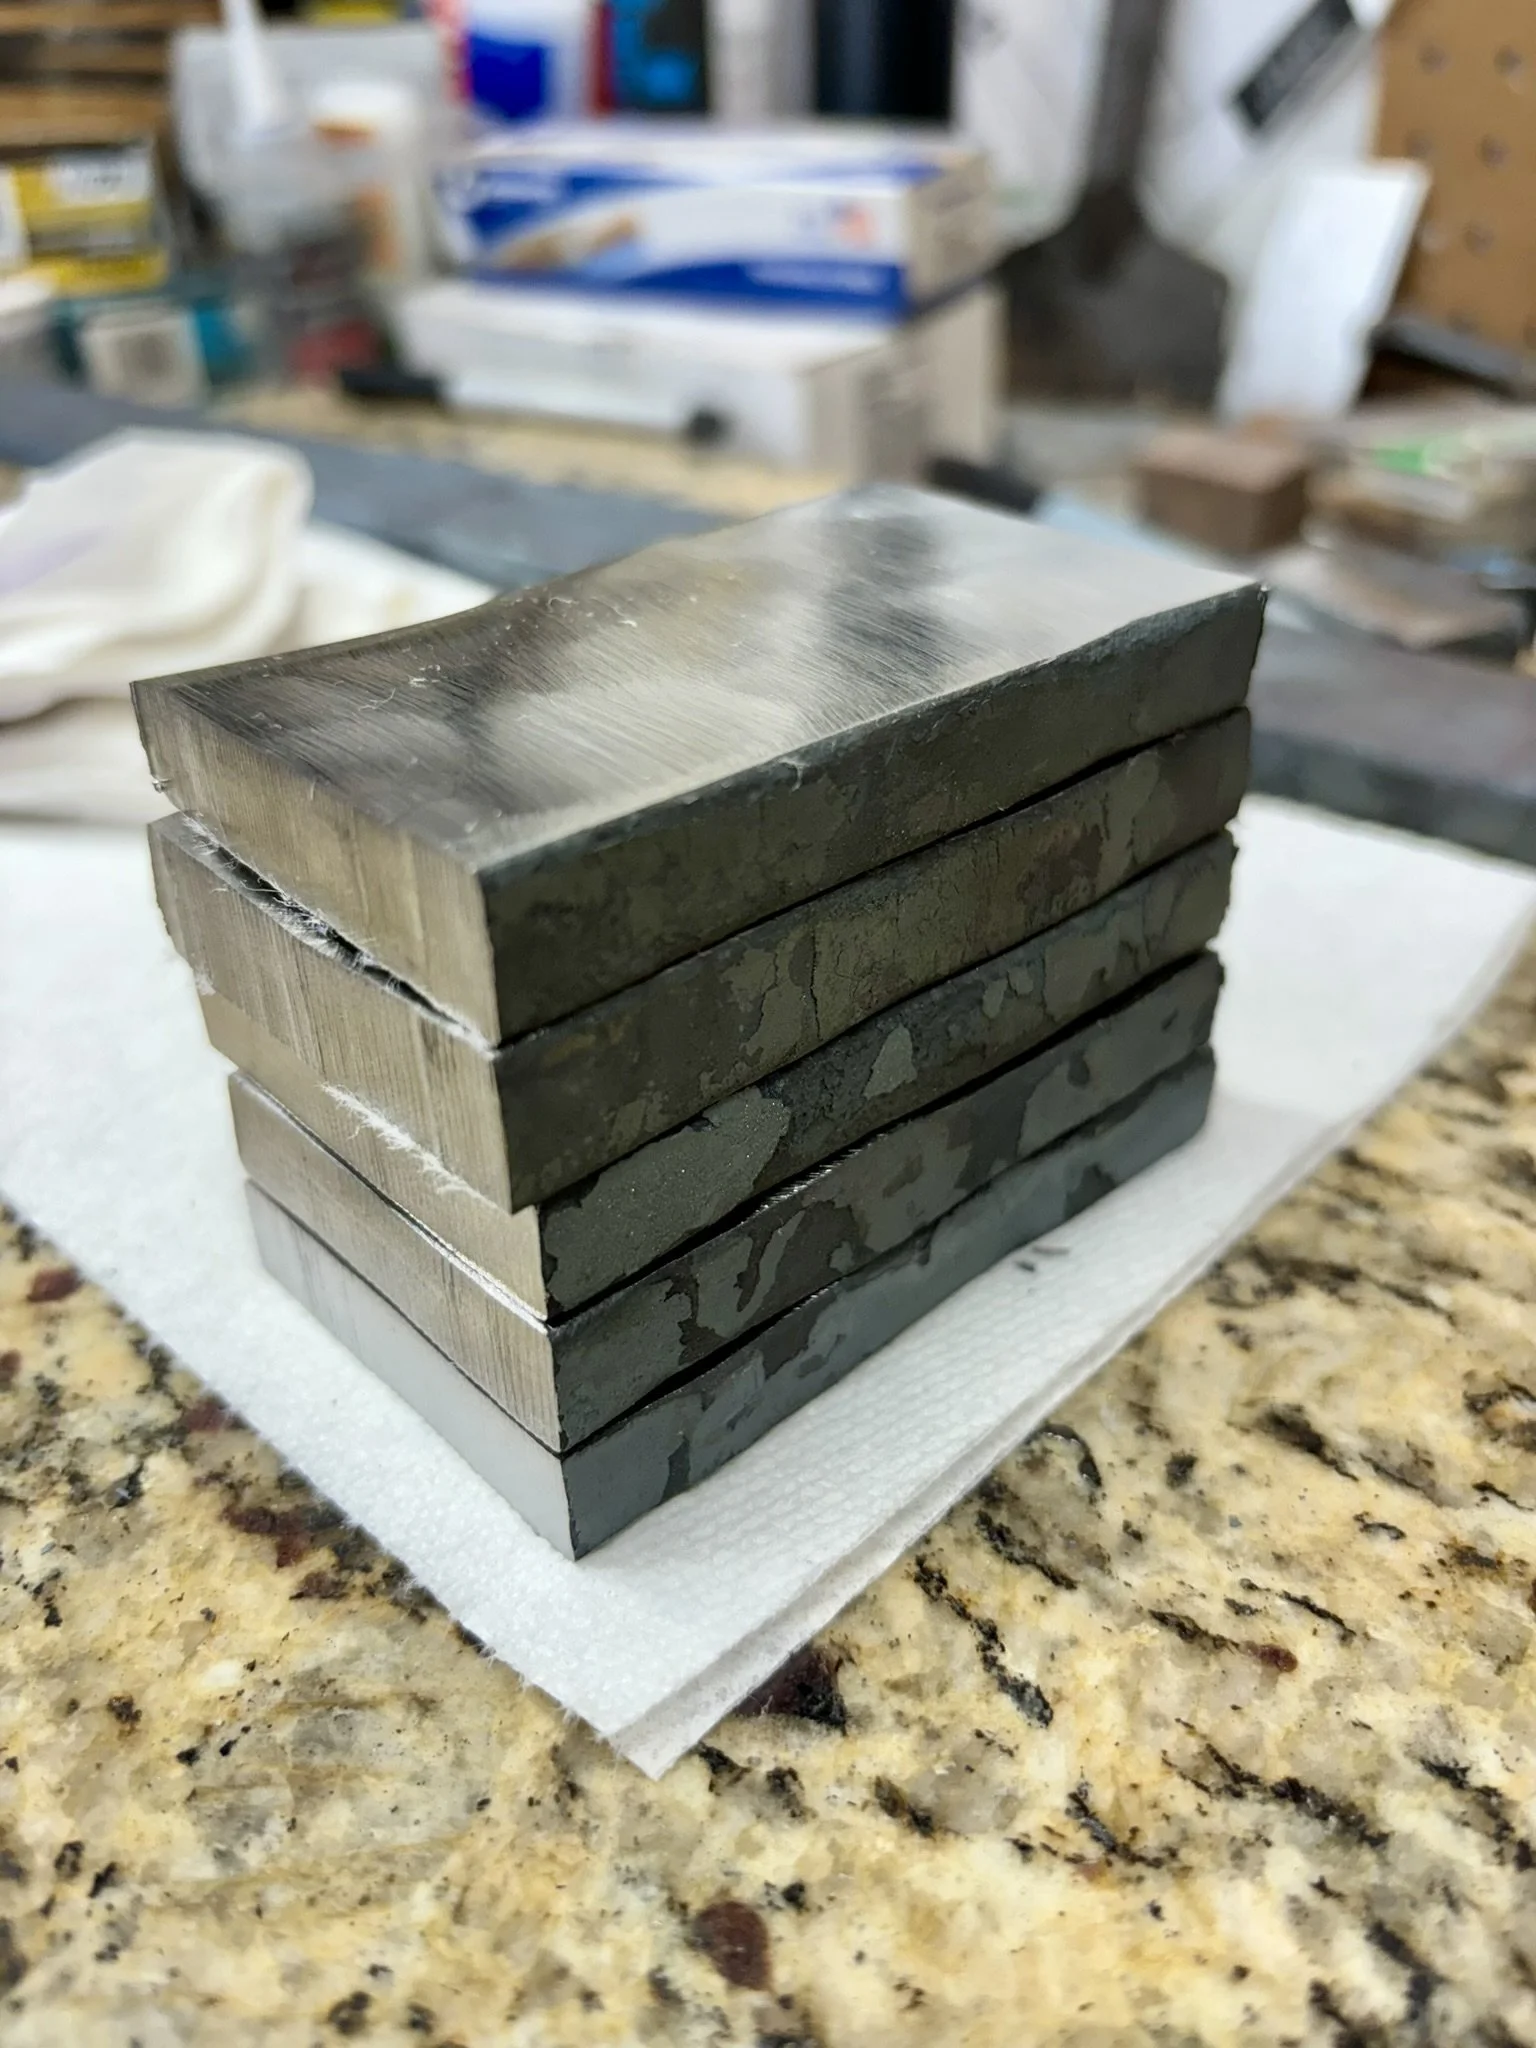
Some repeat photos, but chopped the fist stack up to increase layer counts.
-
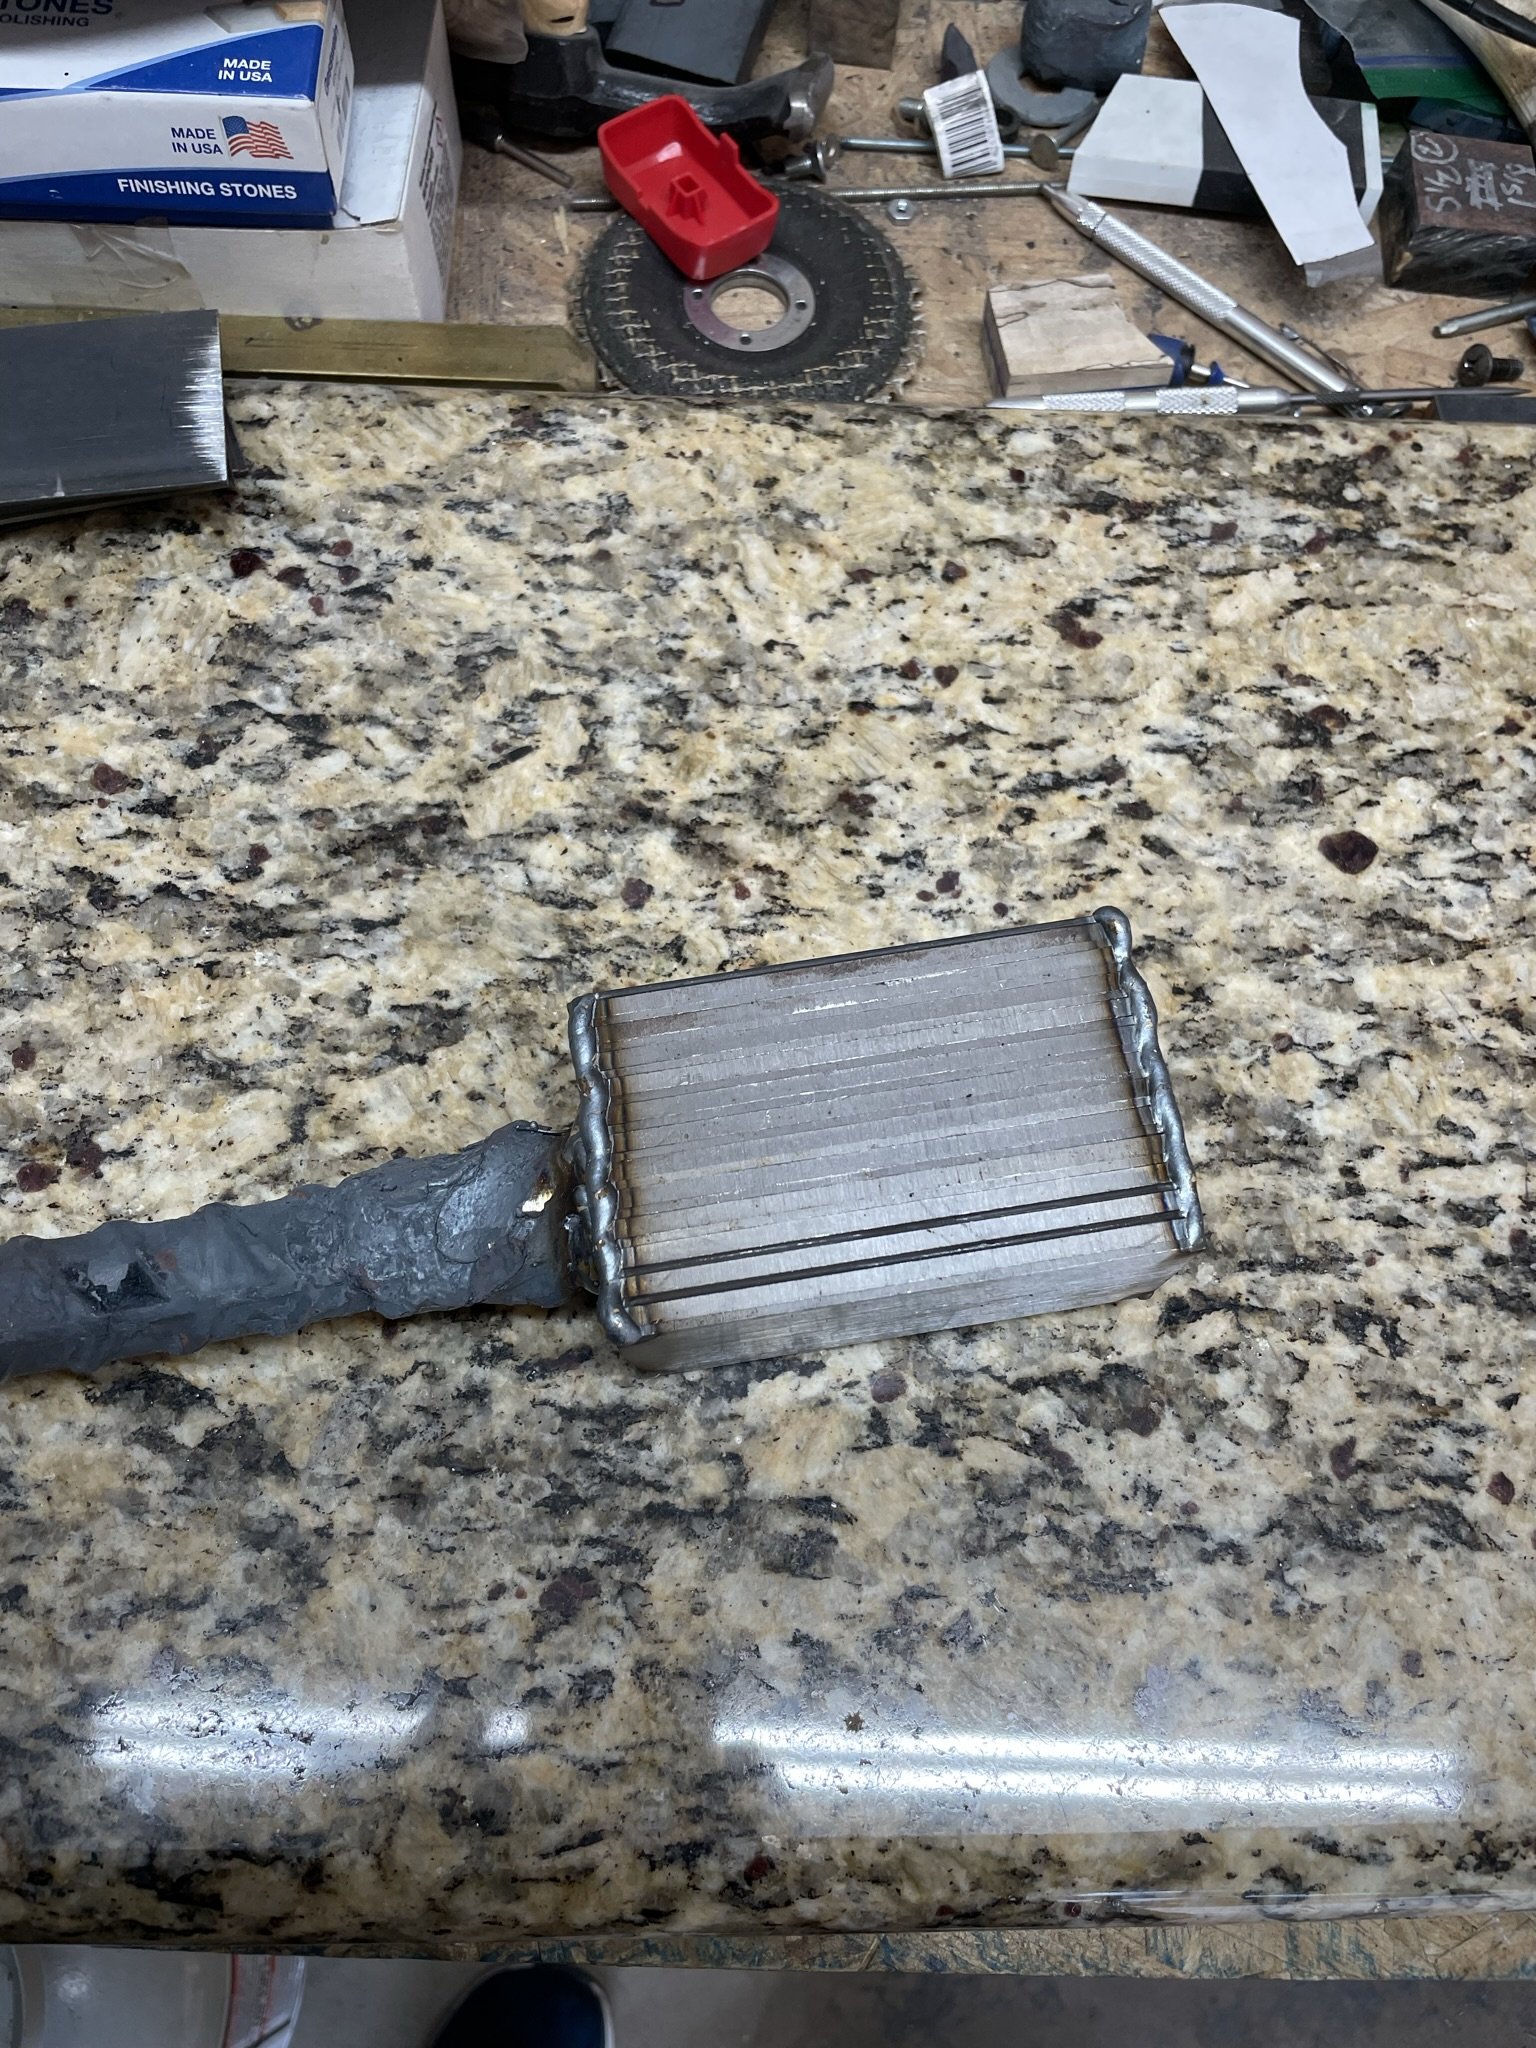
Added layers of 15n20 to add more bright lines in the final steel.
-
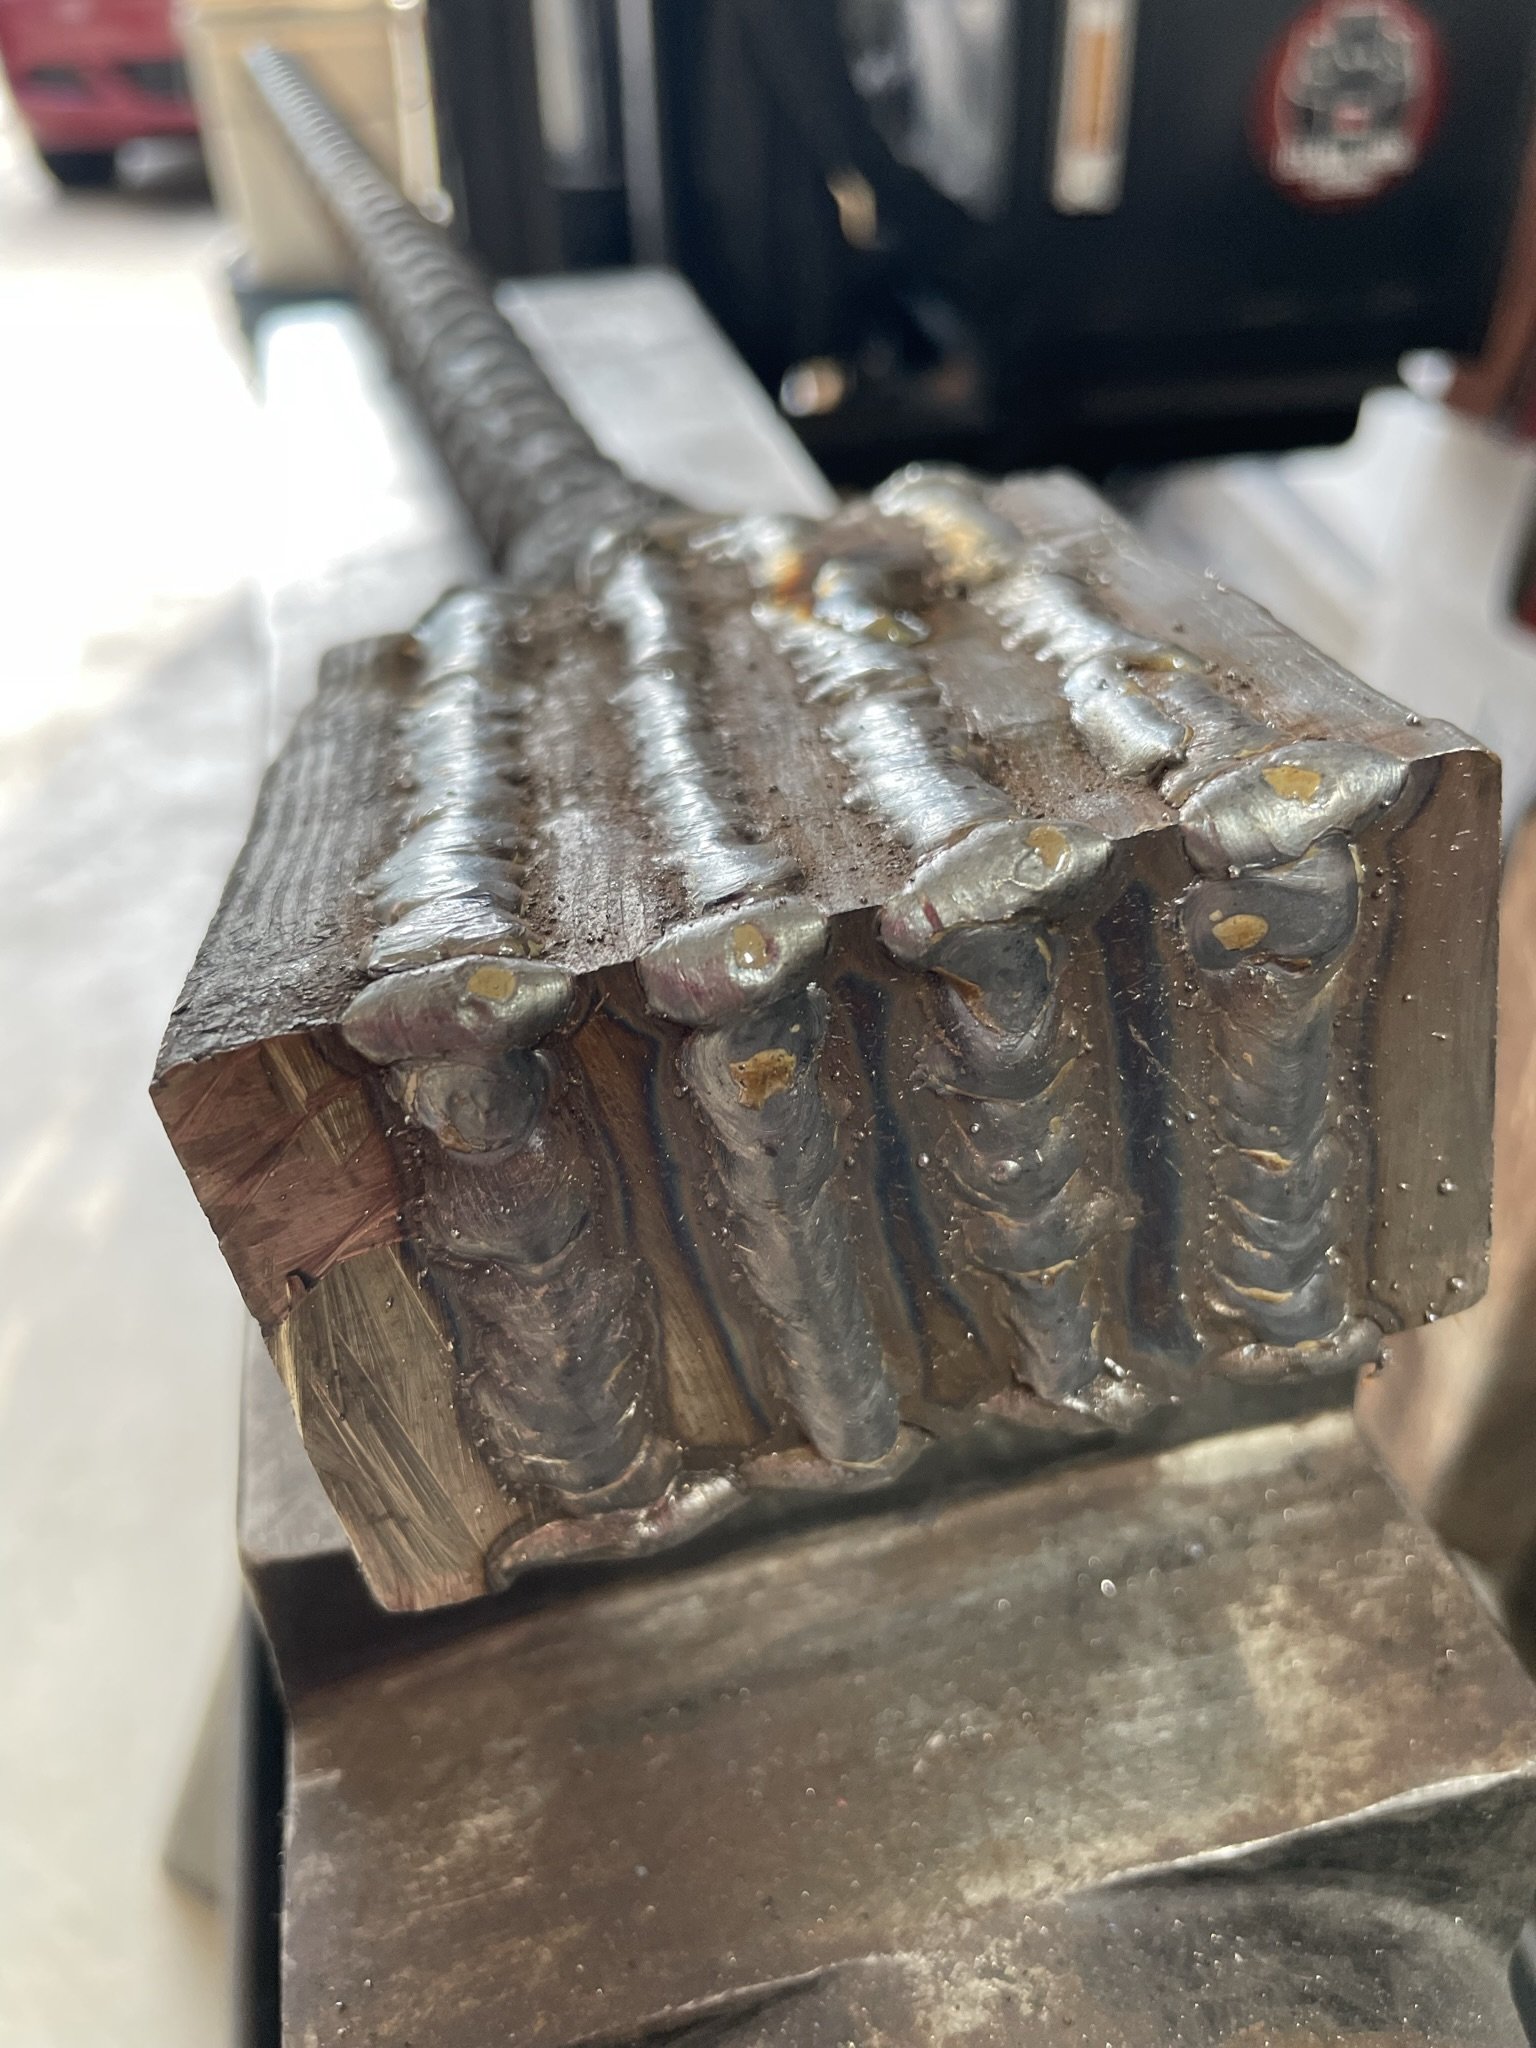
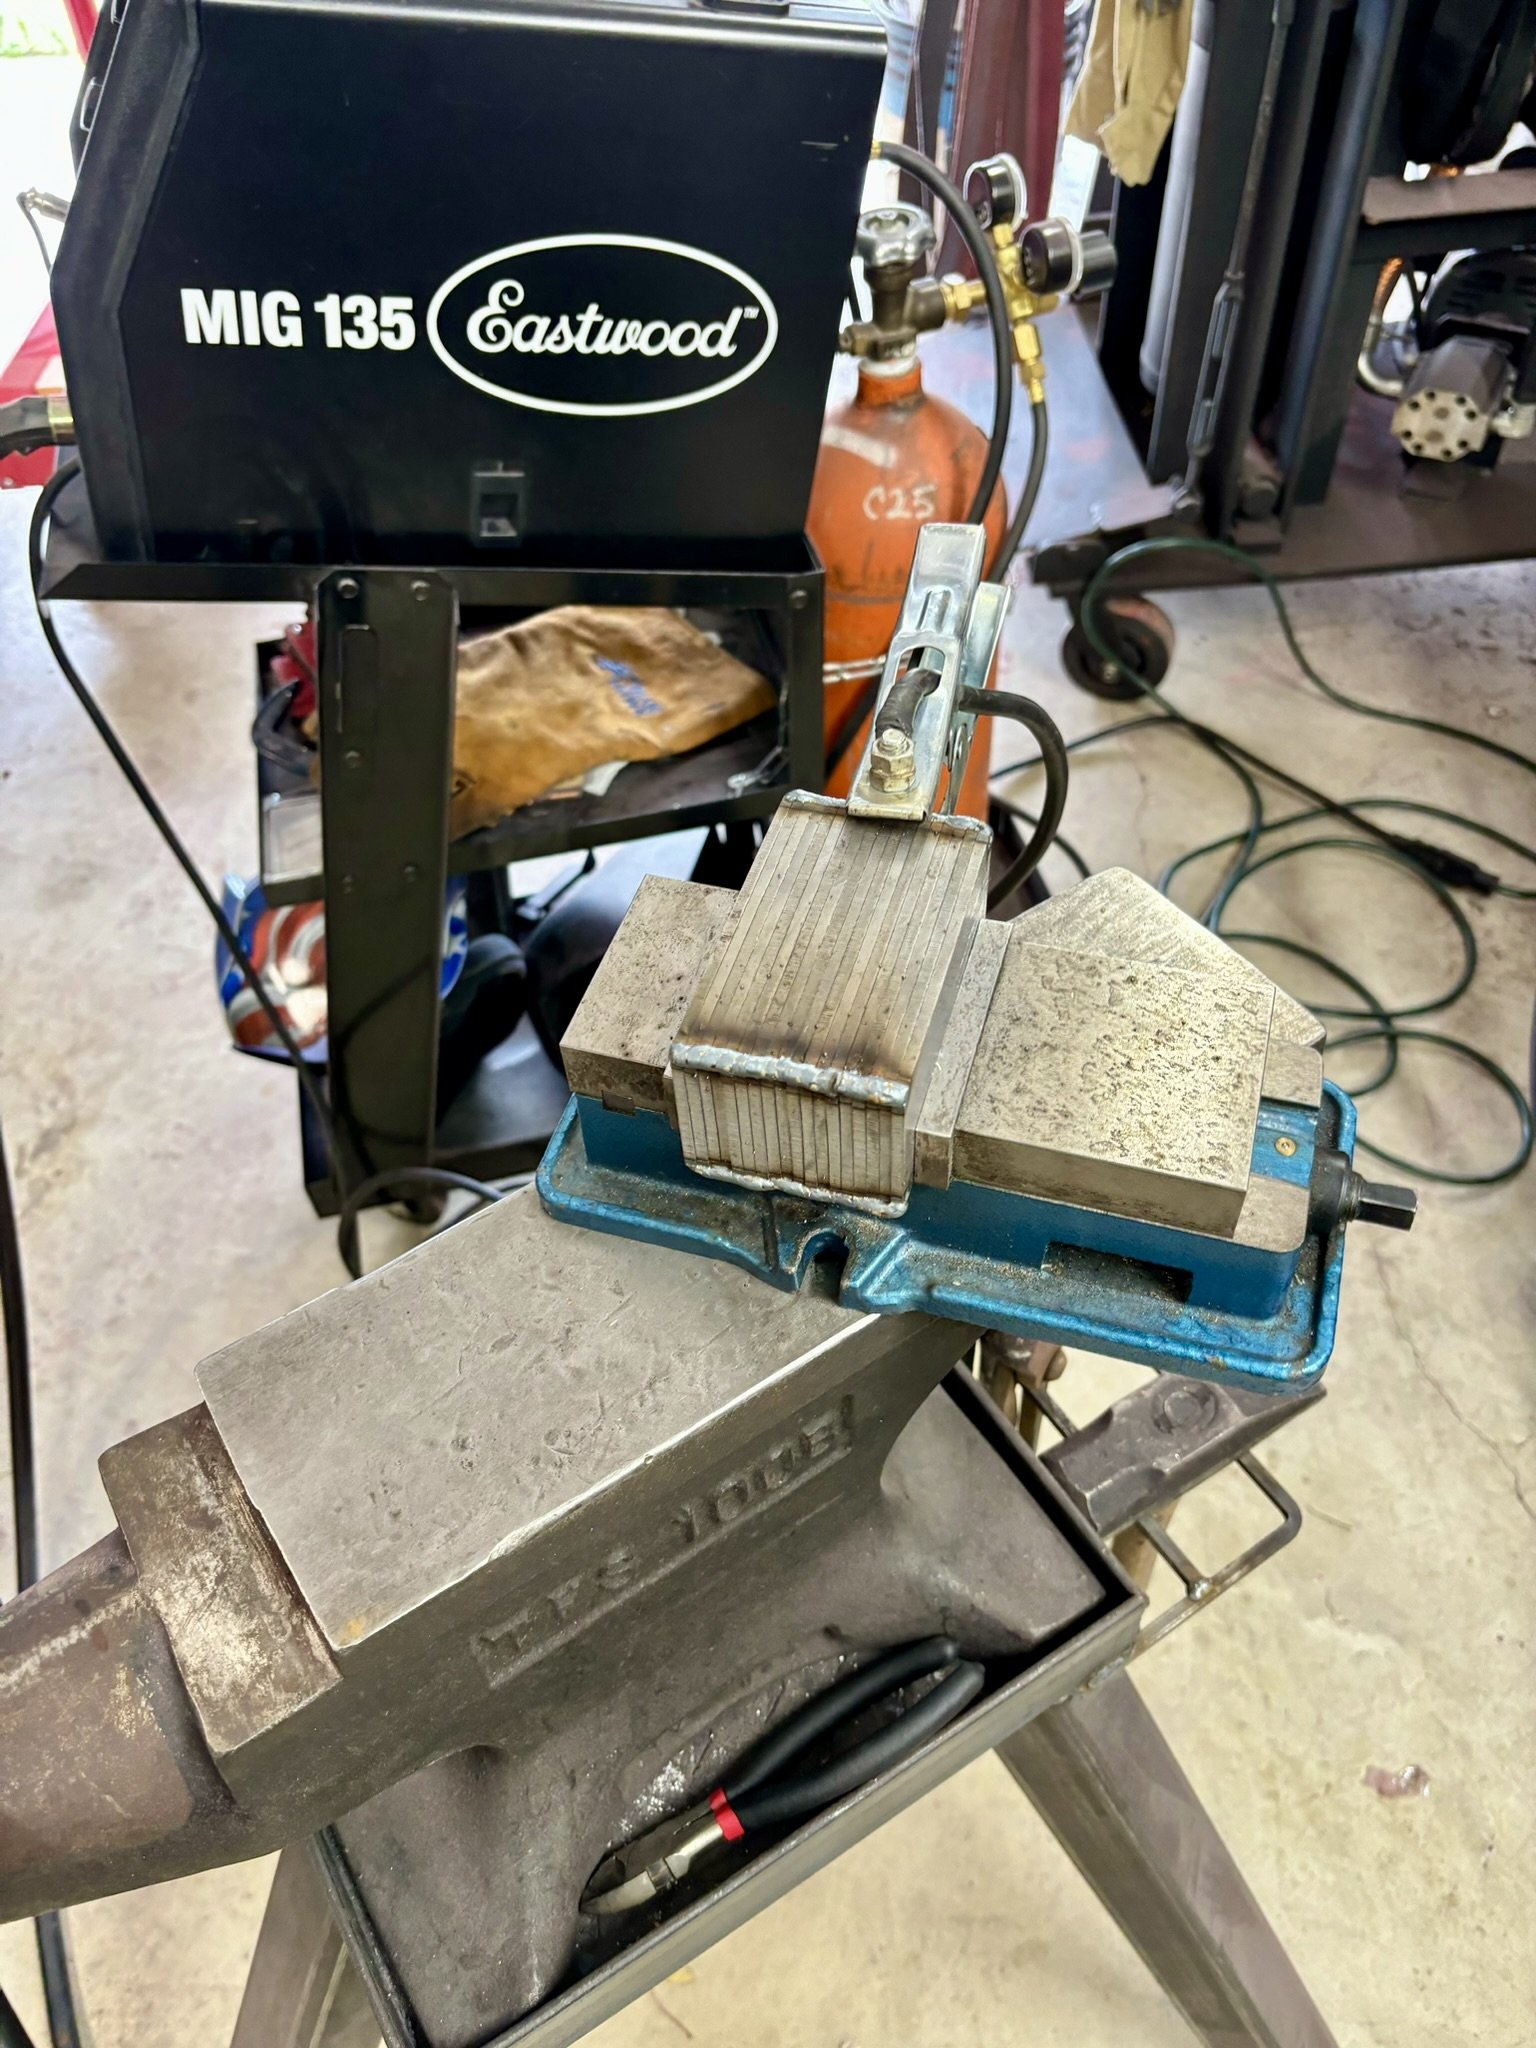
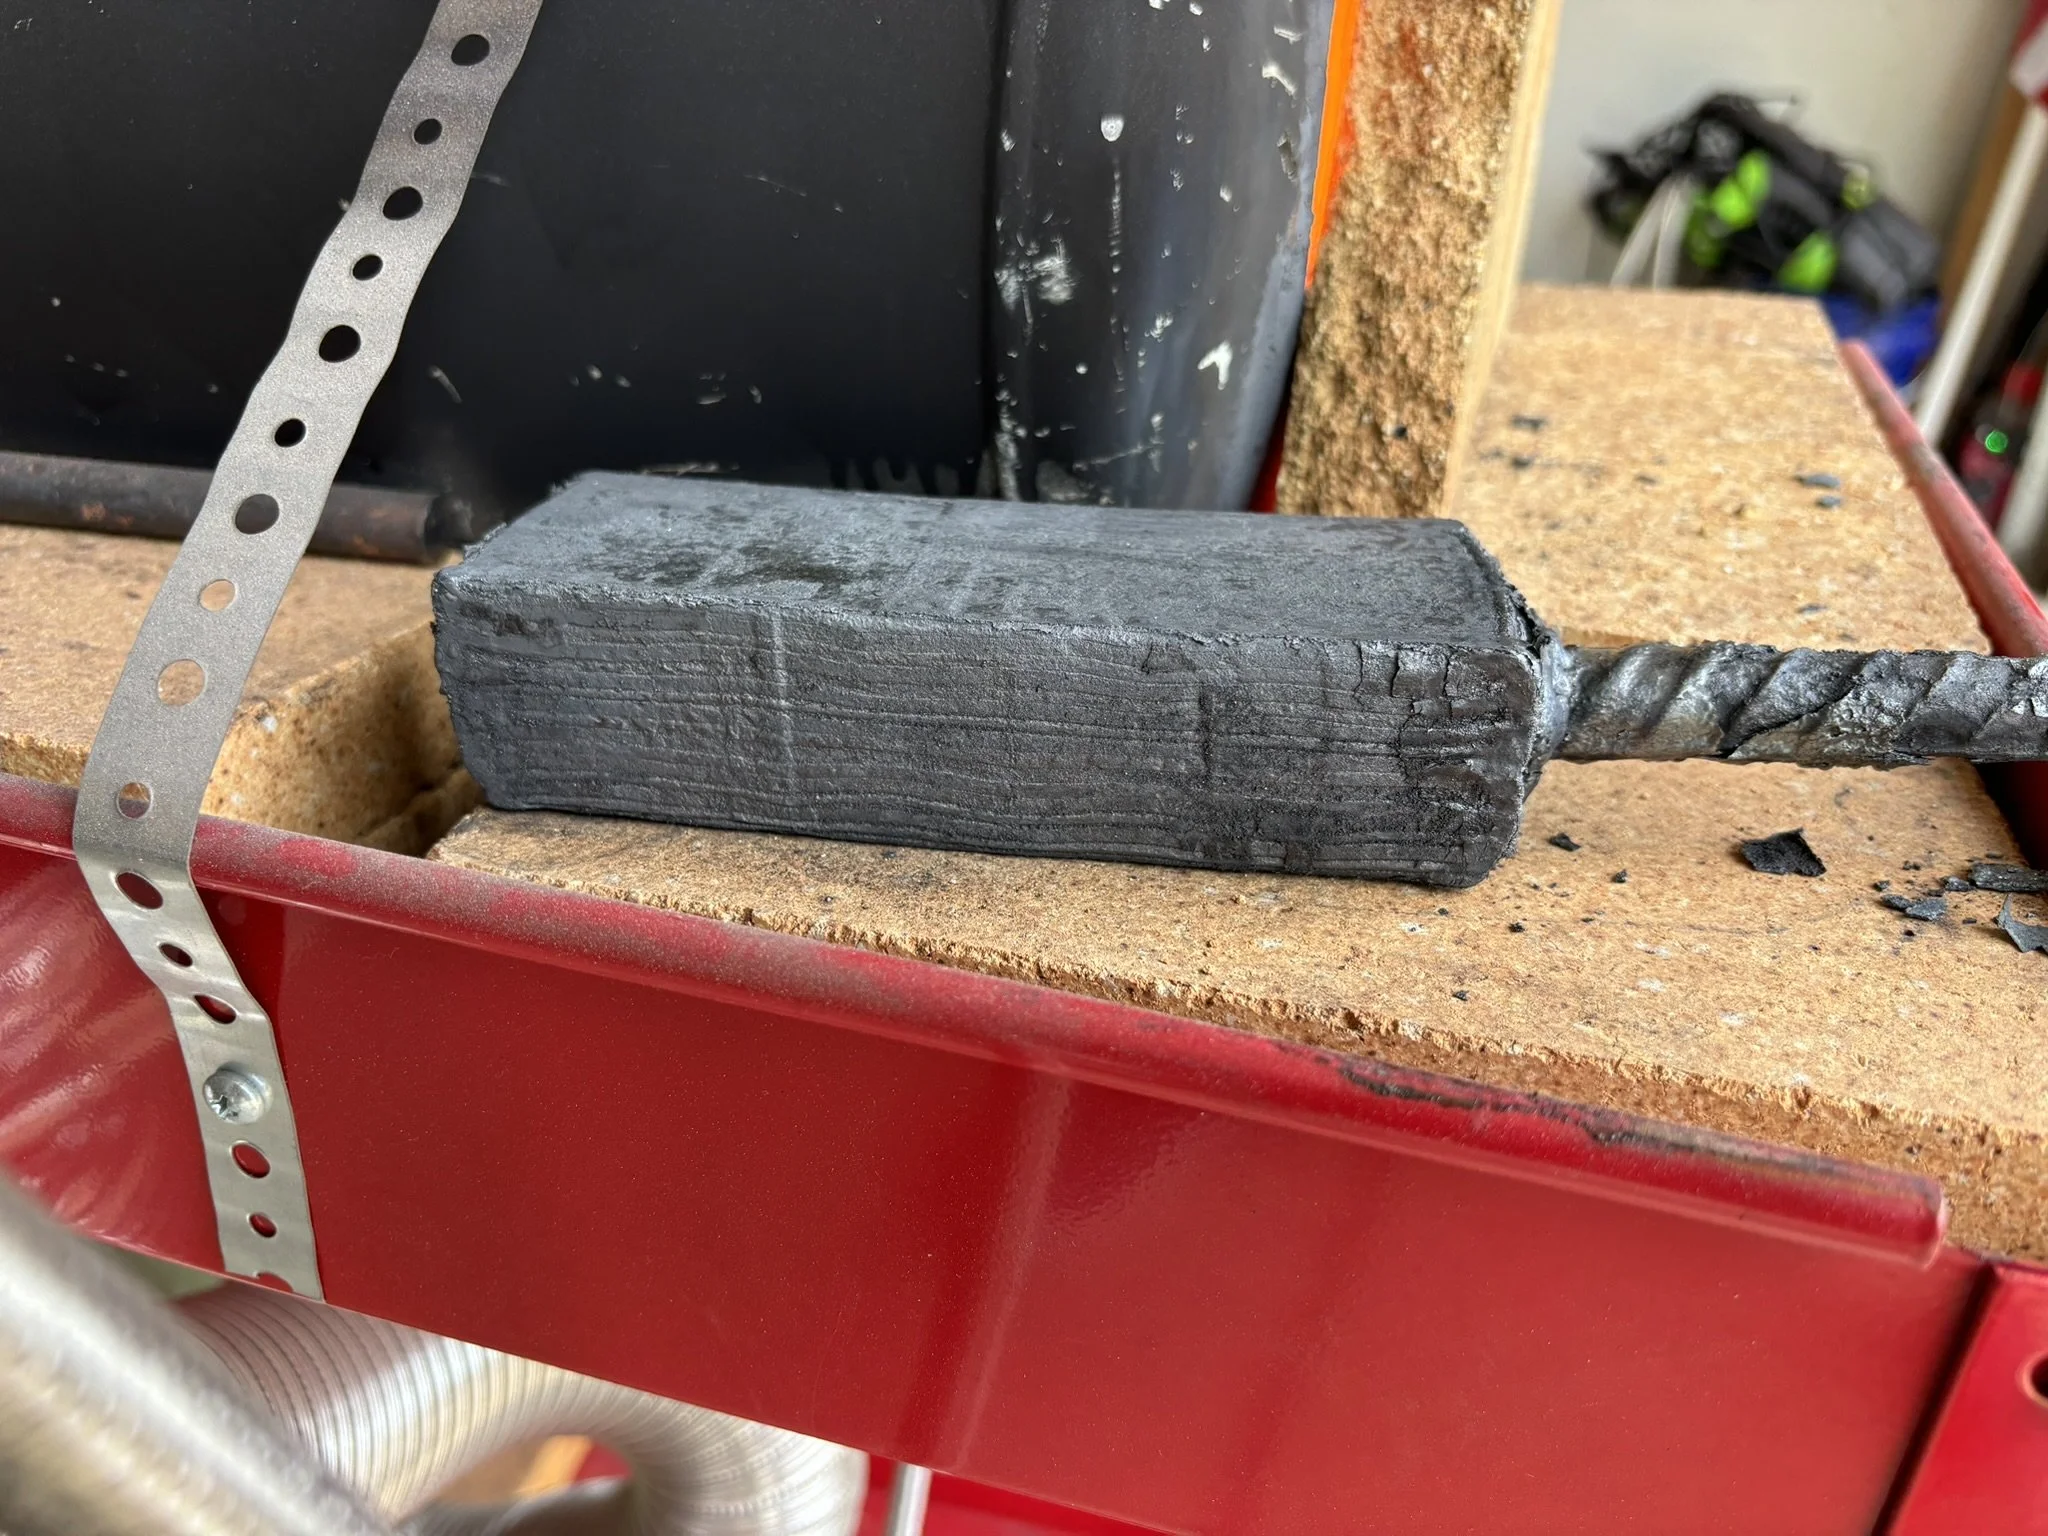
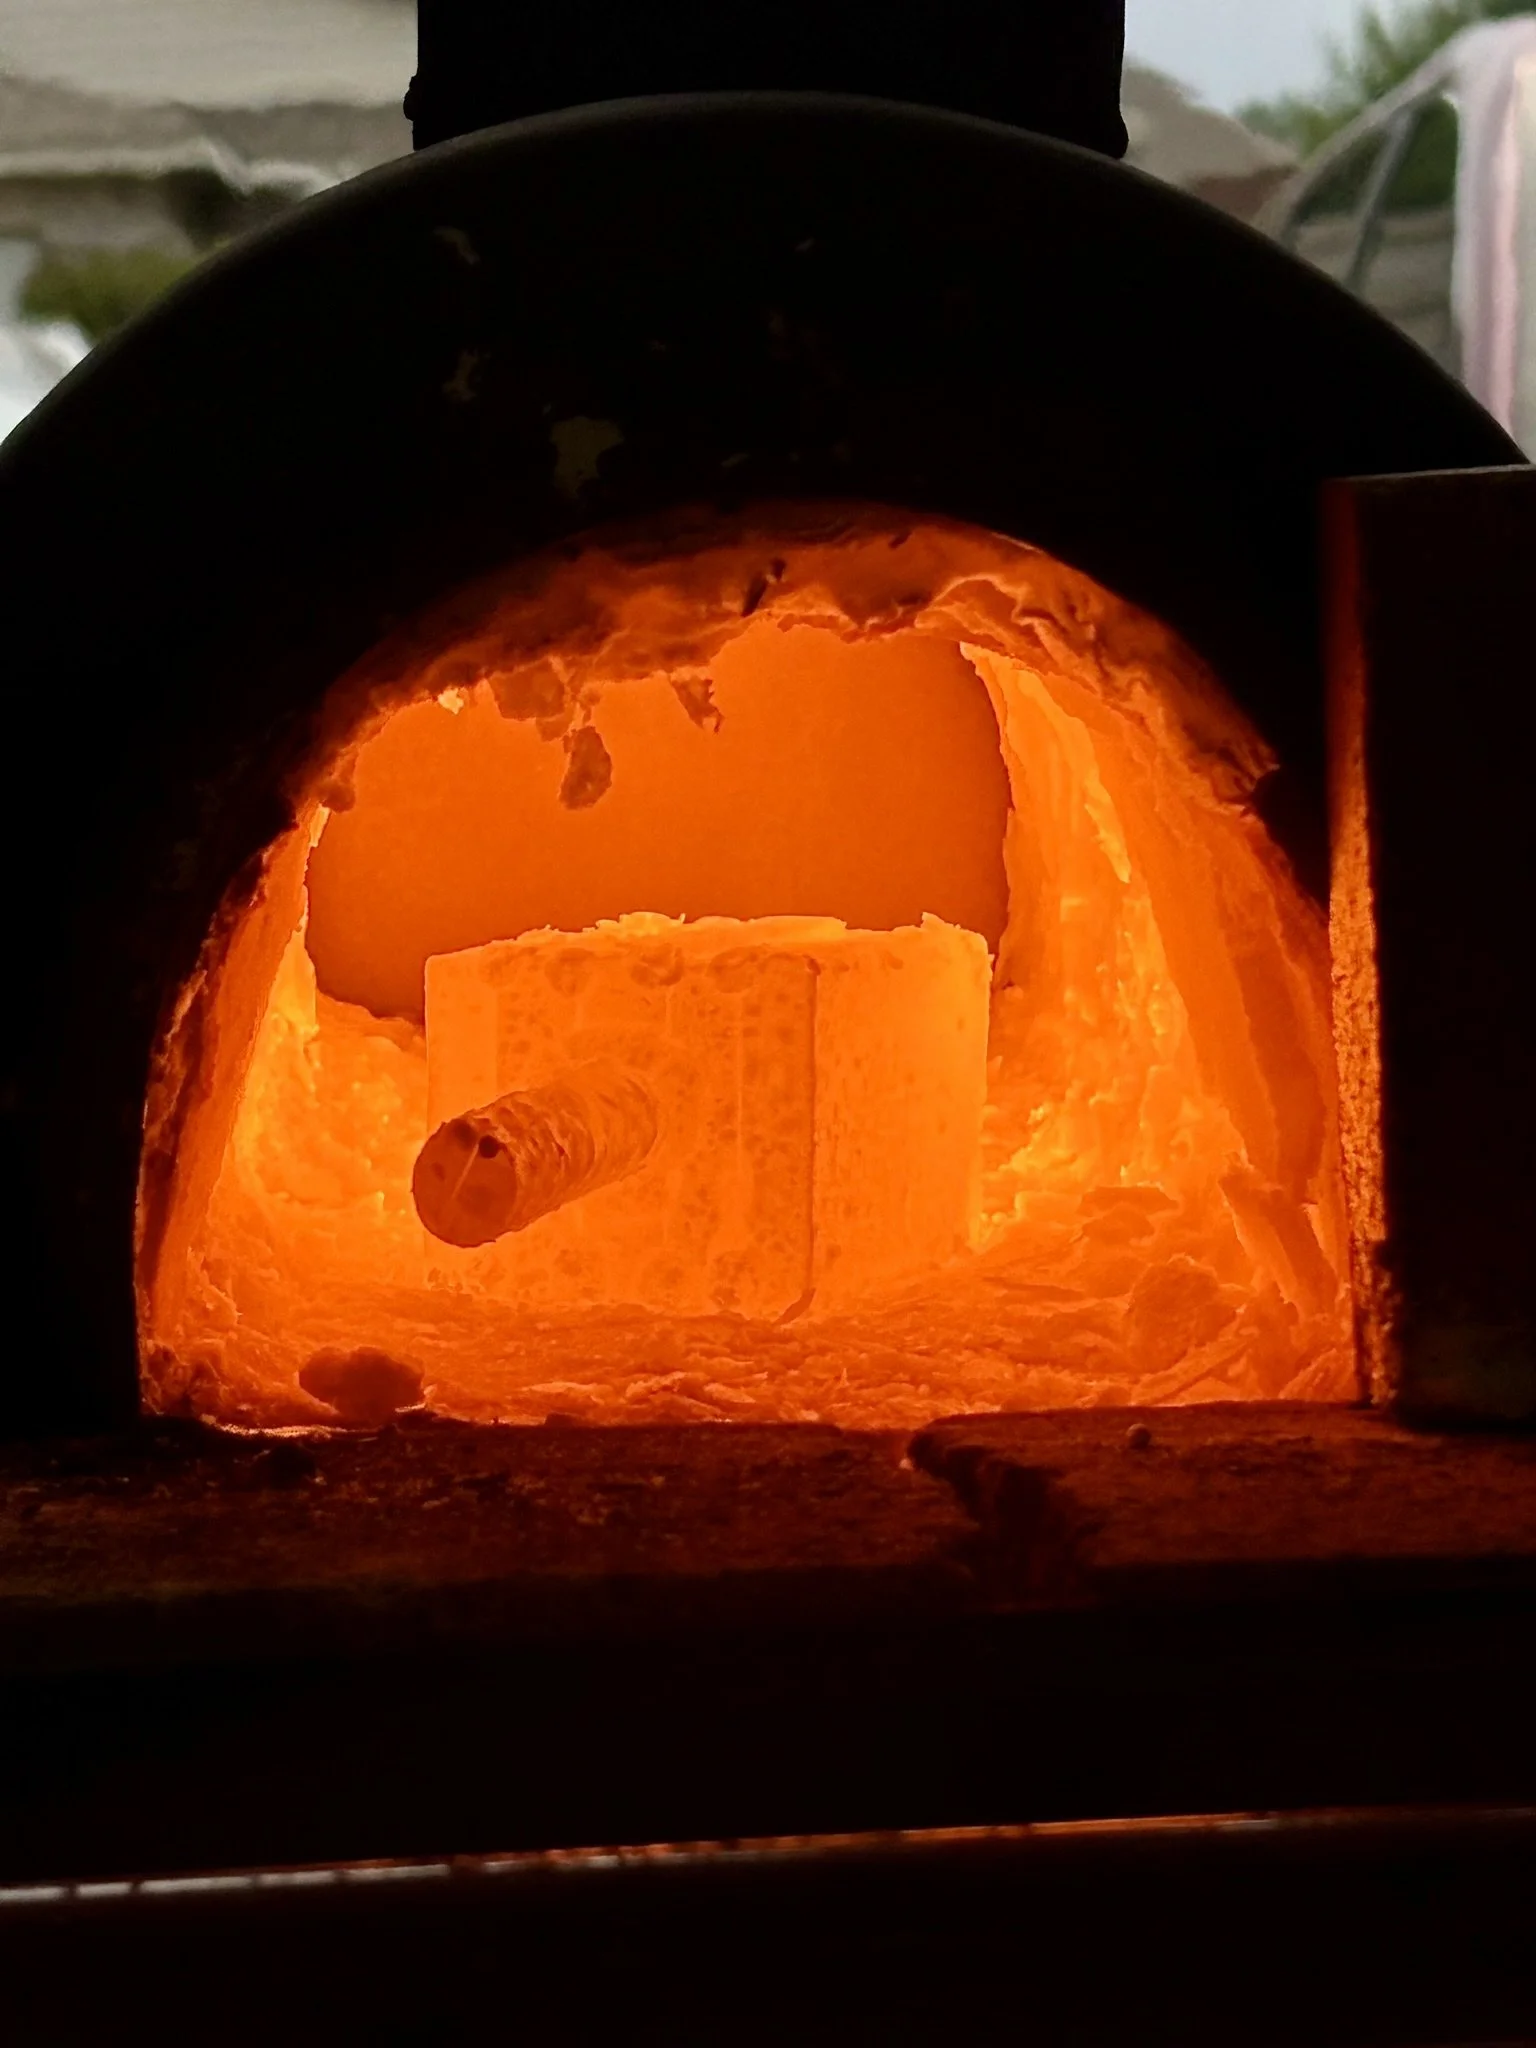
Welded all the way around to prevent oxygen between the layers.
-
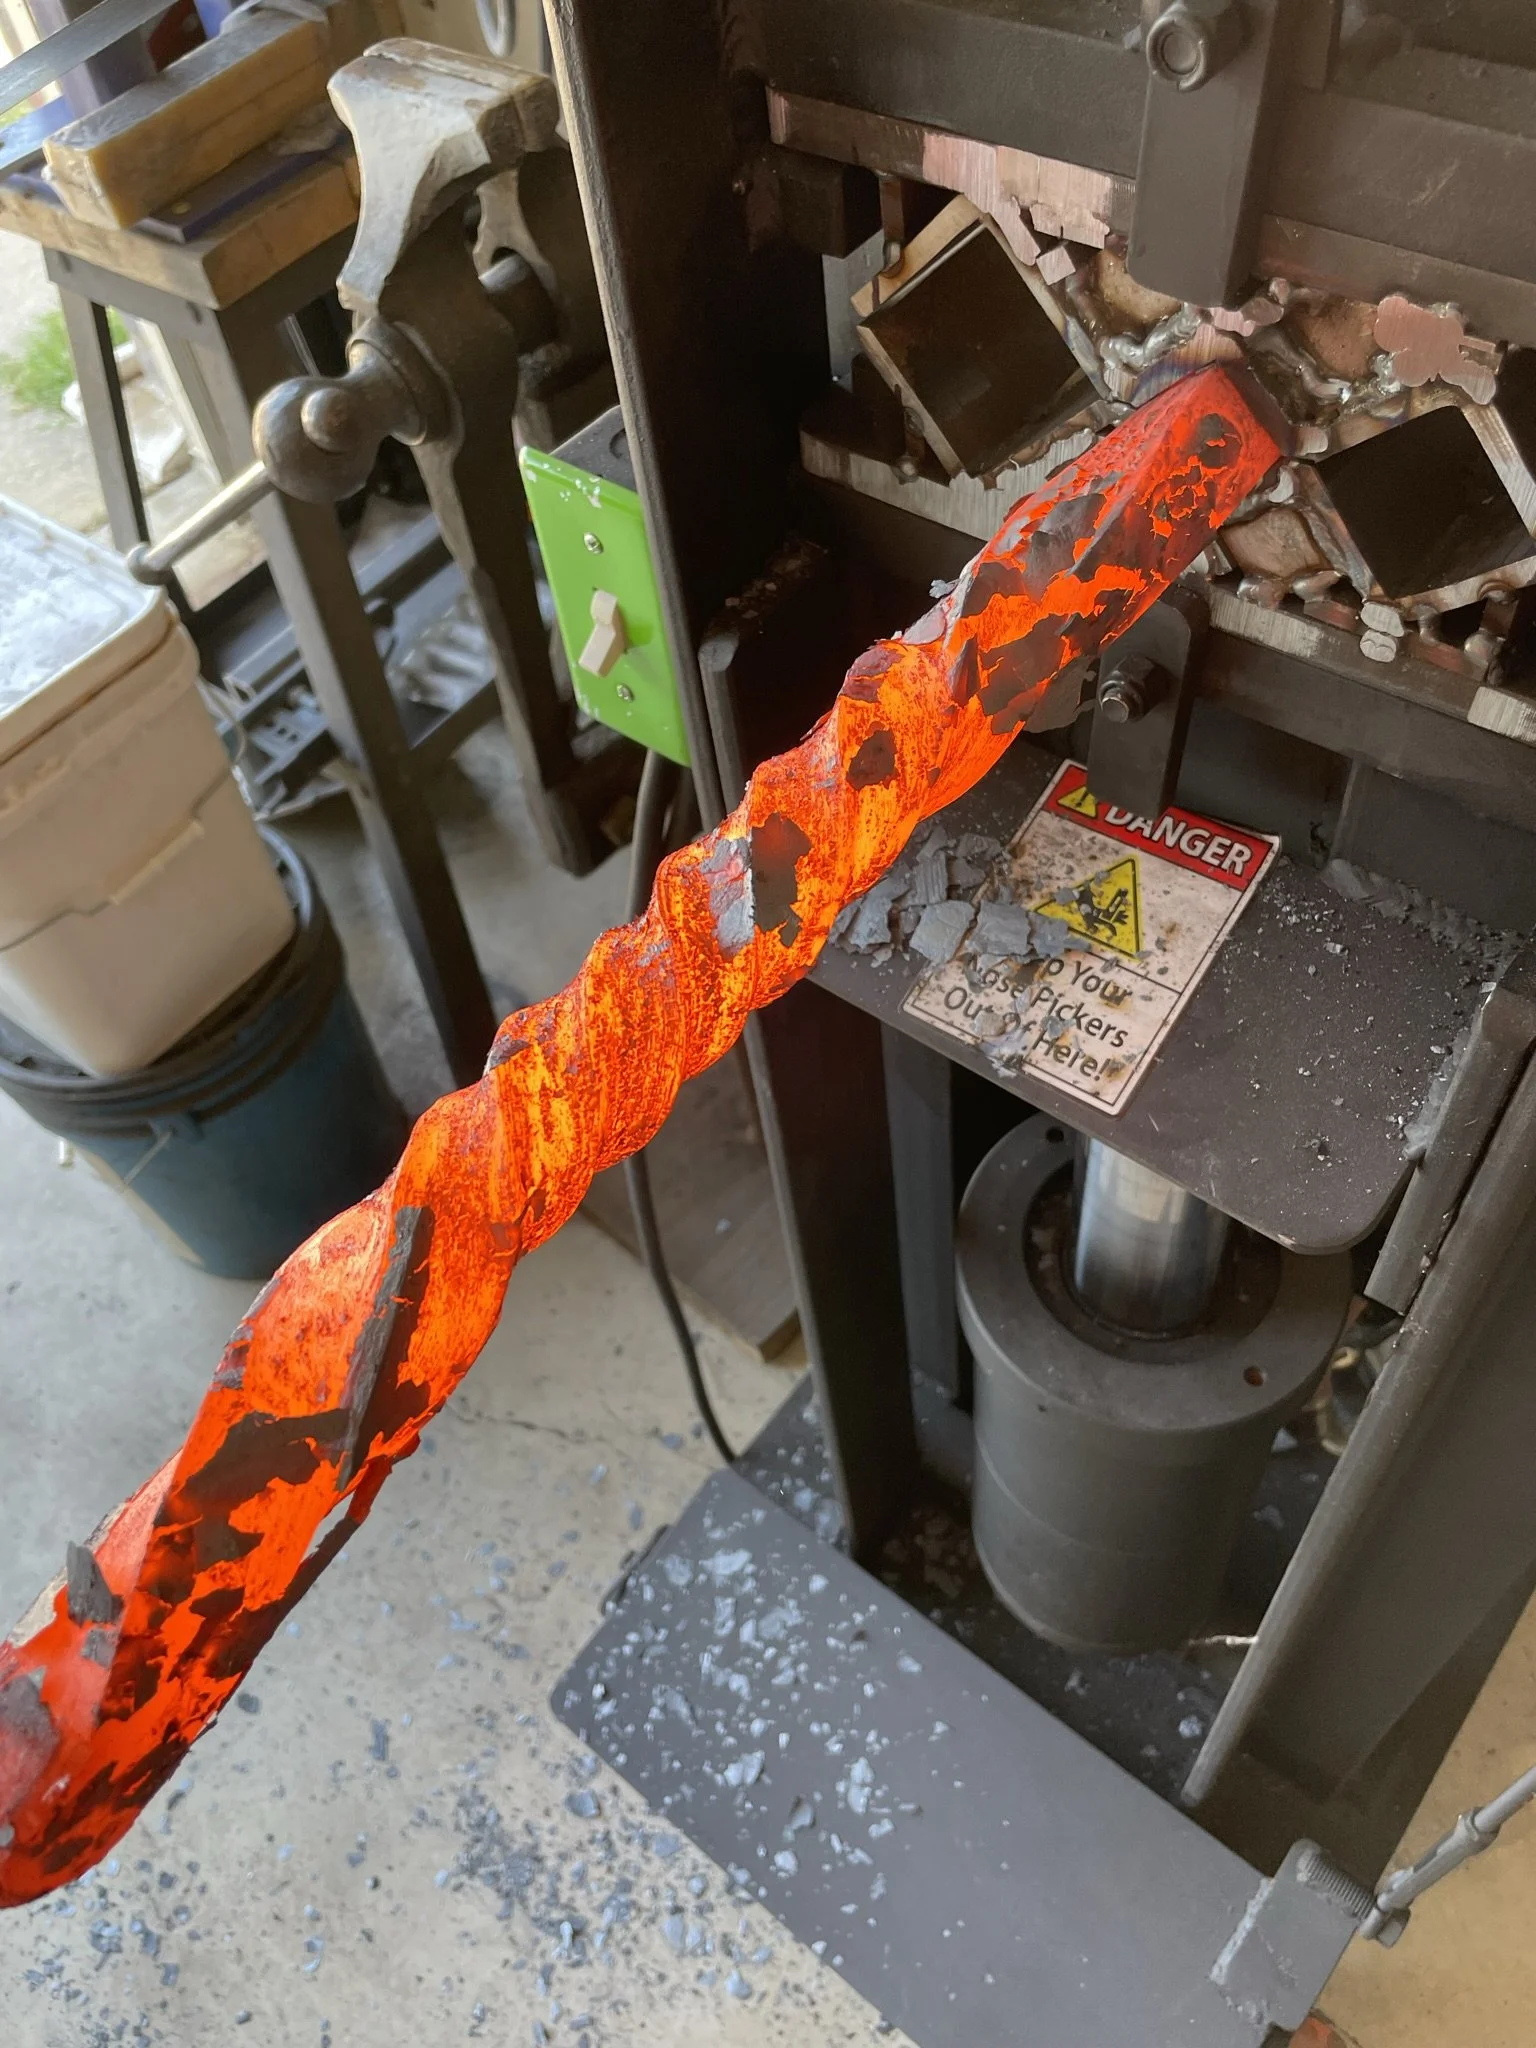
Twisting up the new billet.
-
![]()
Final billet of twist damascus.
-
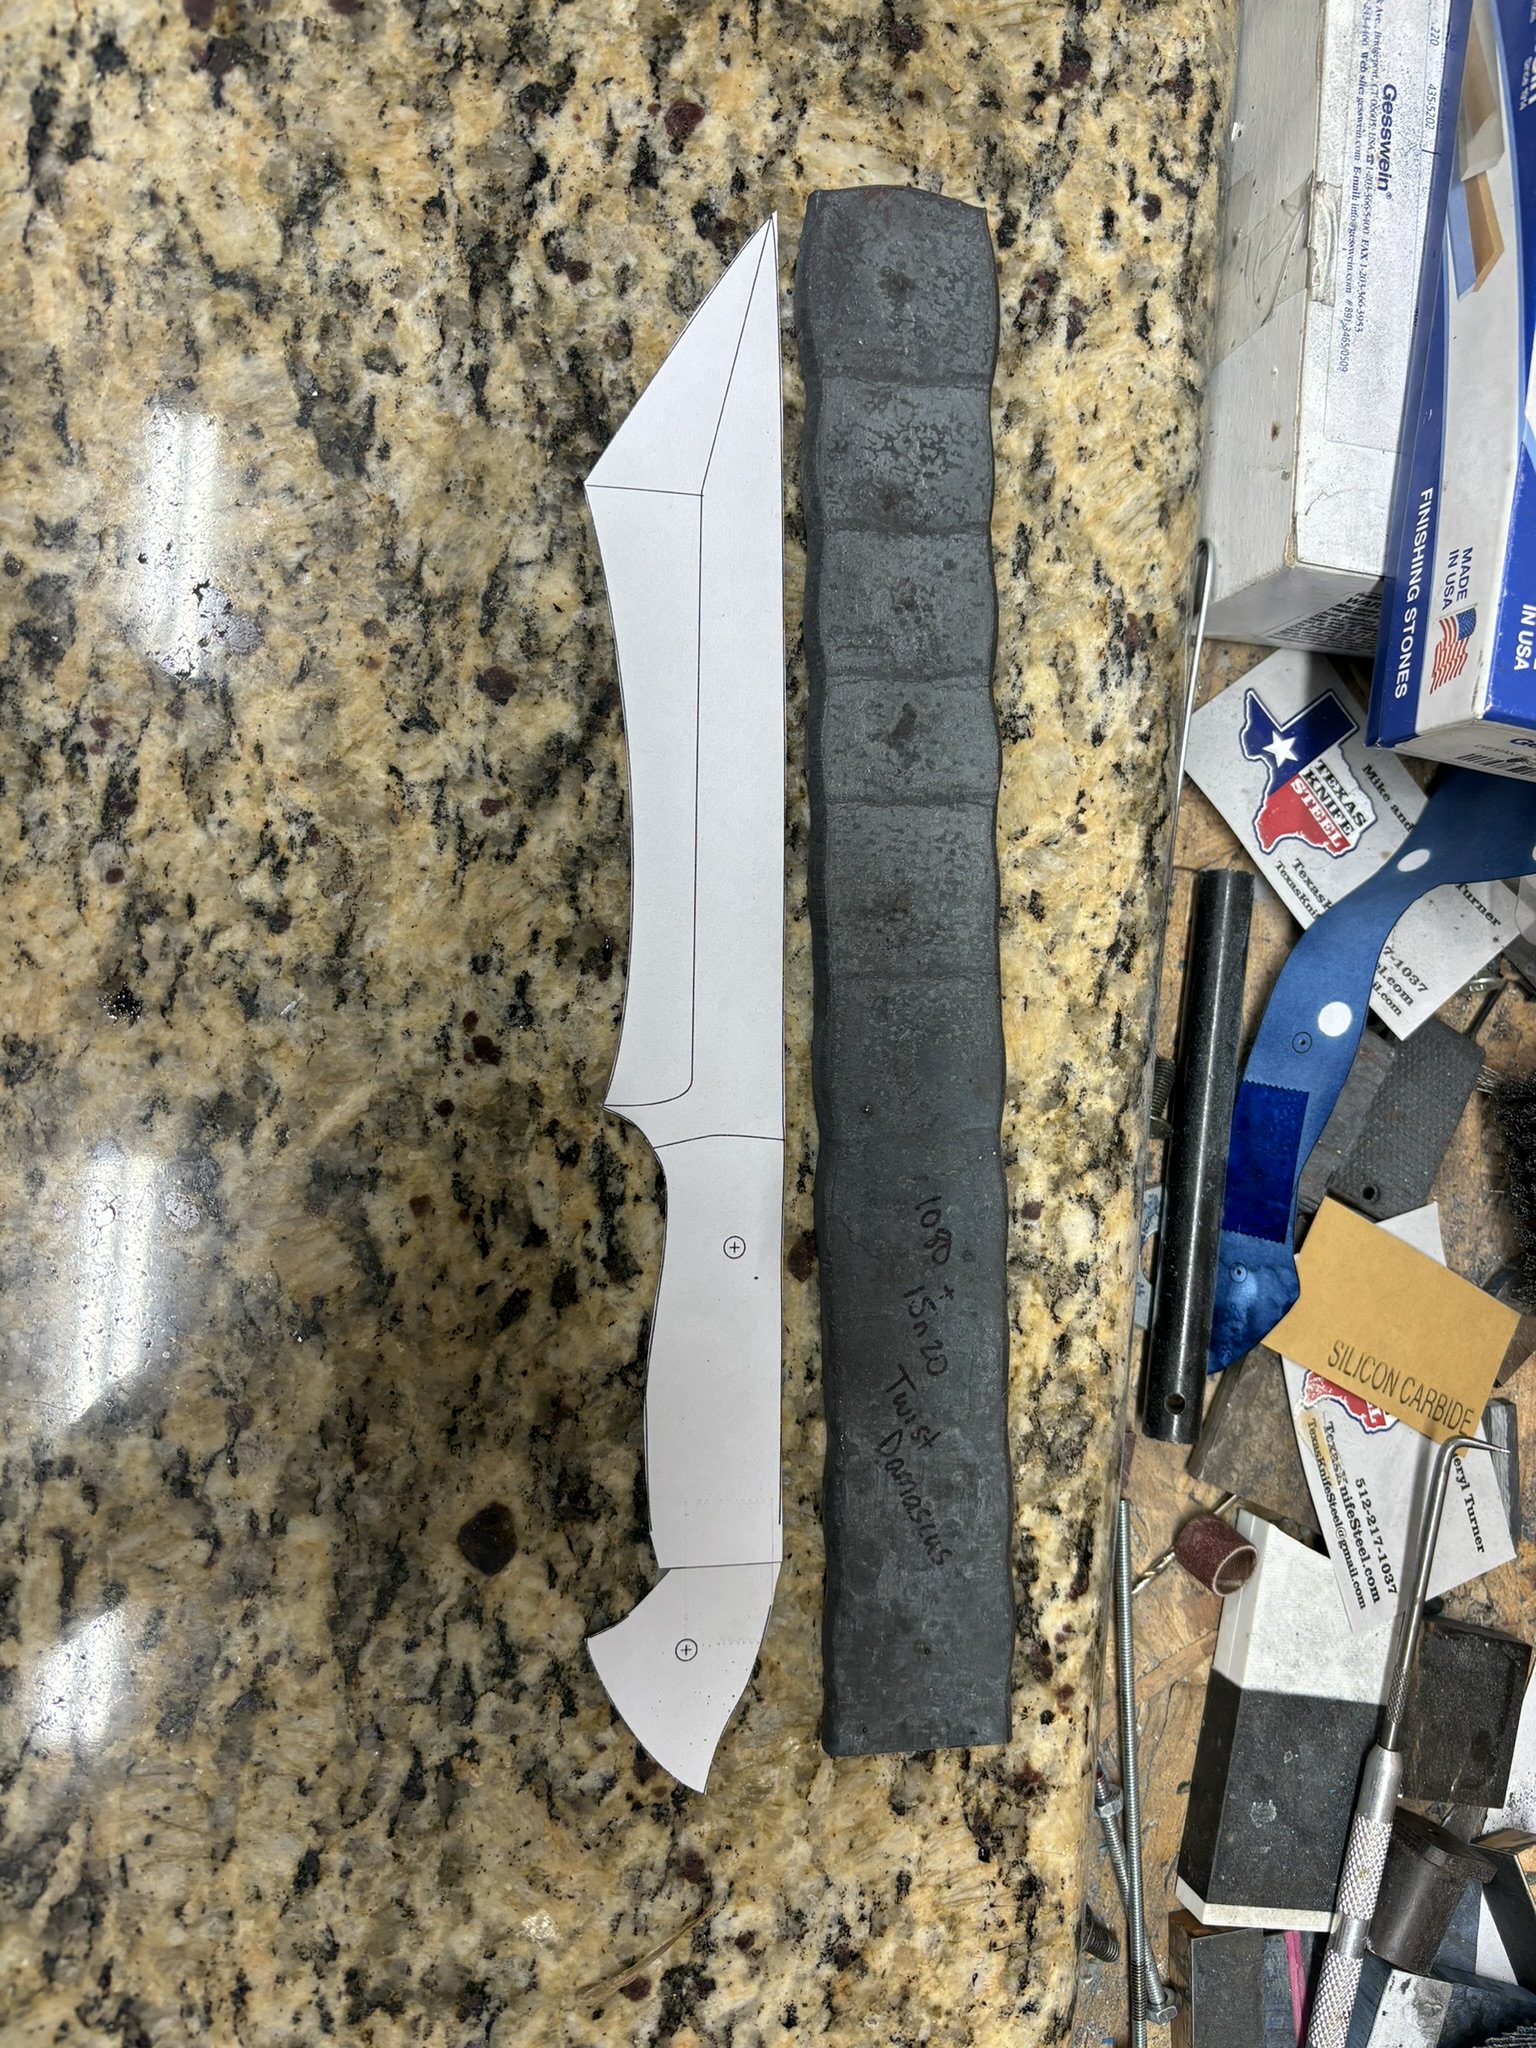
Custom designed chopper lined up with the remaining damascus.
-
![]()
Also decided ot use this gorgeous set of red handle scales.
-
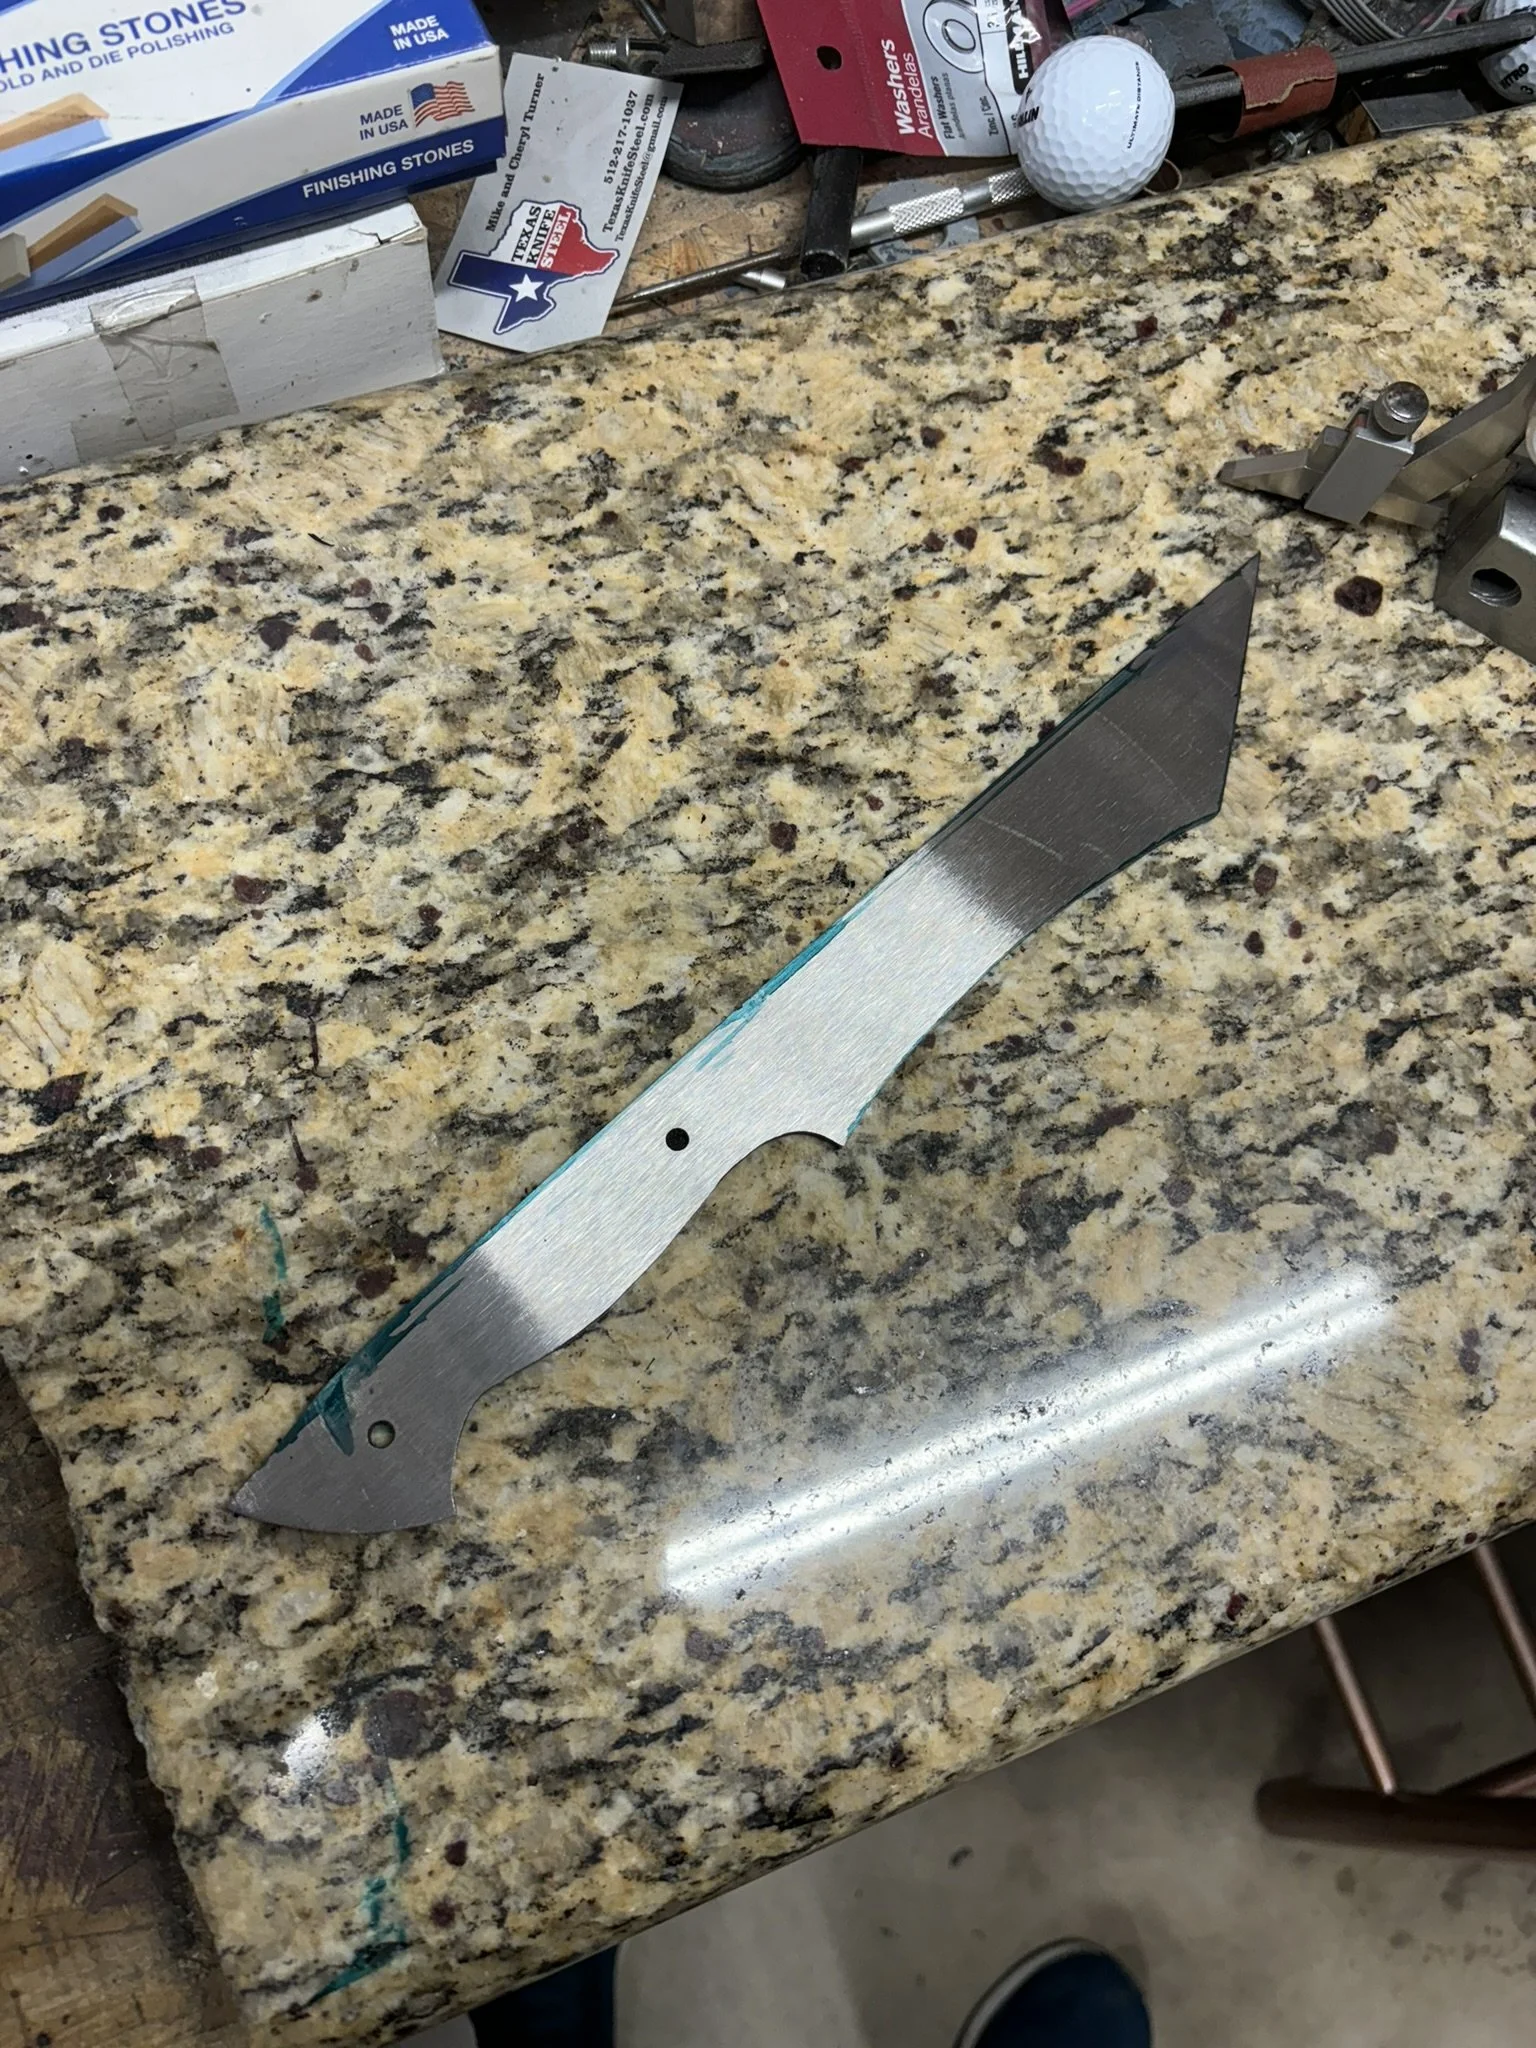
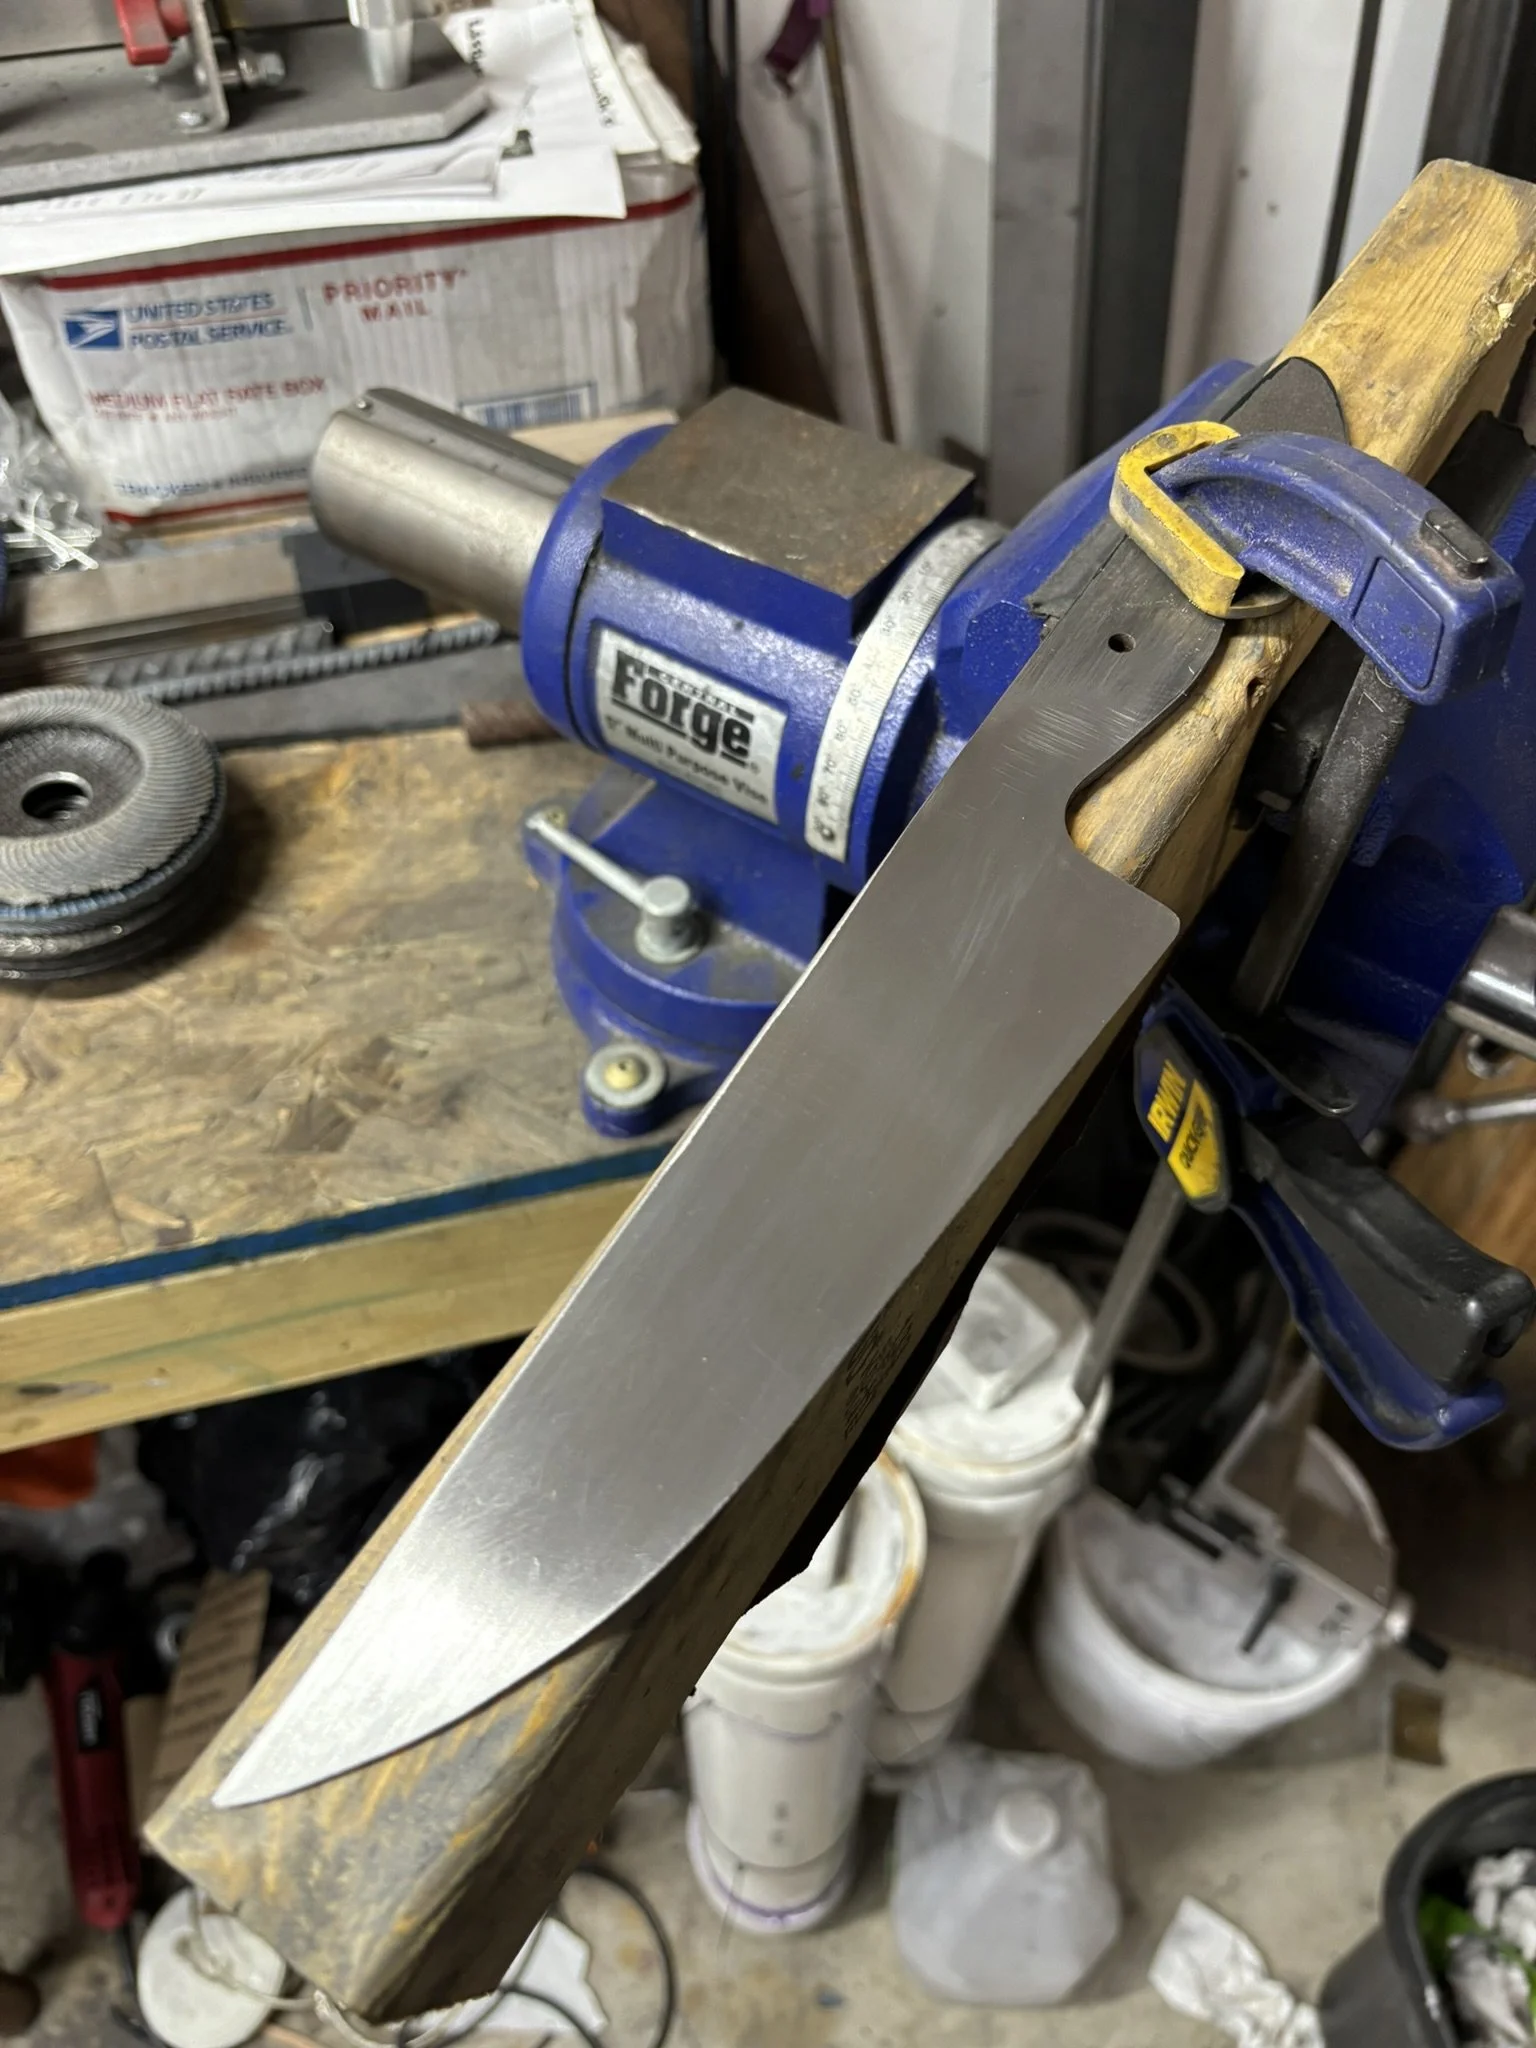
Blade profiled.
-
![]()
Starting to get those bevels in.
-
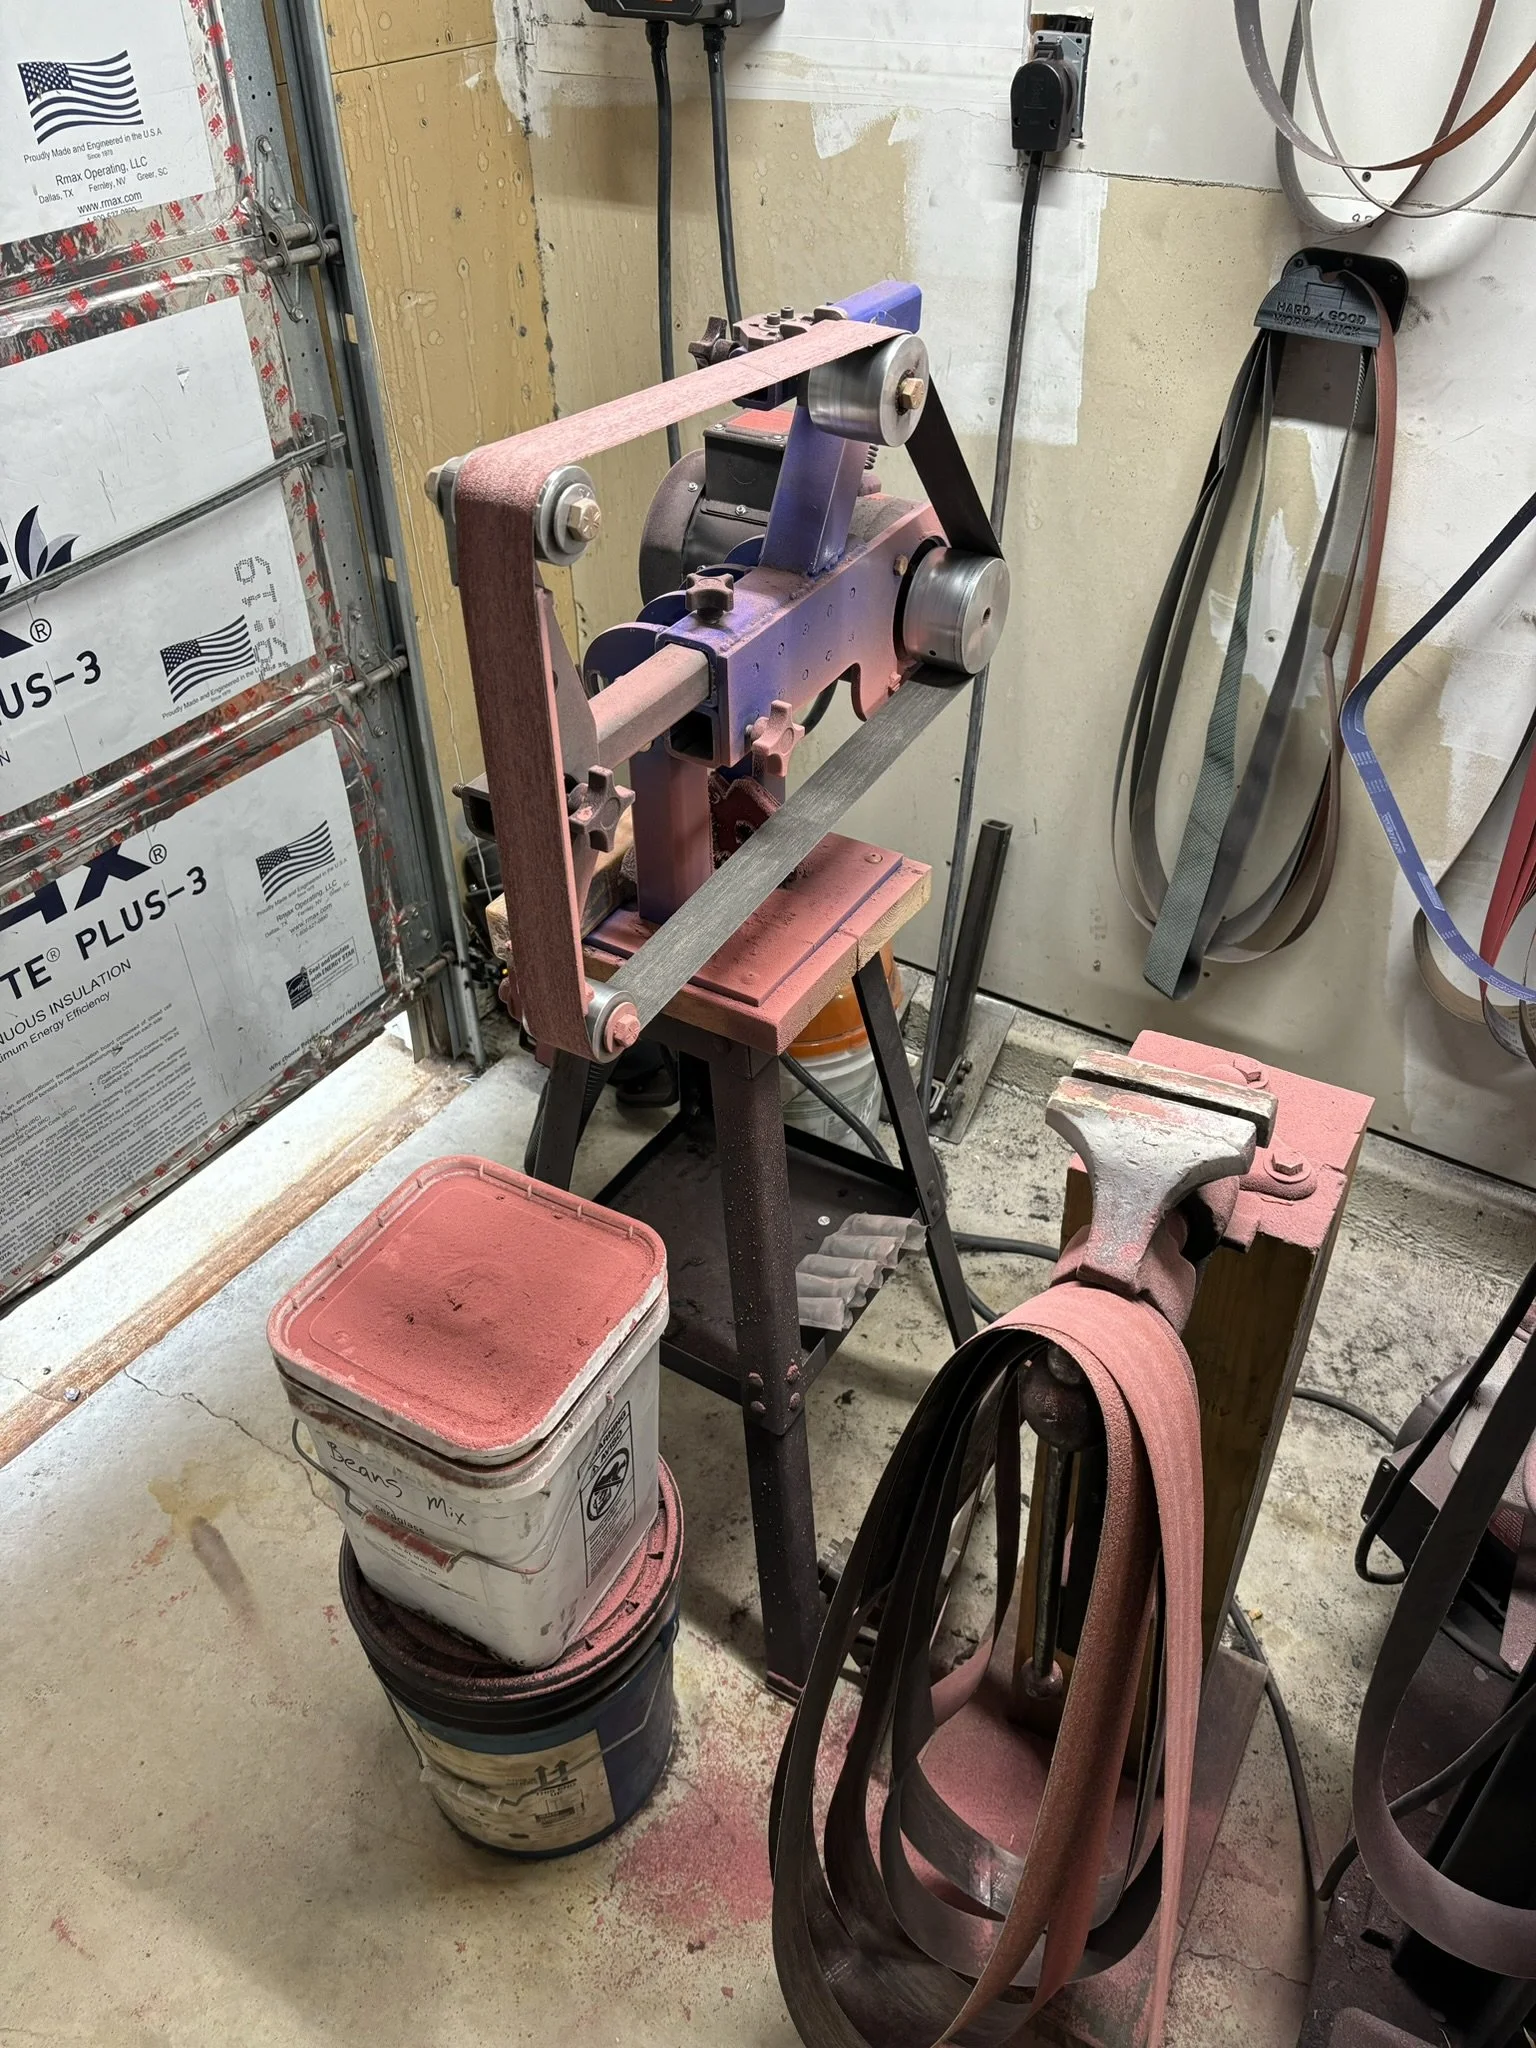
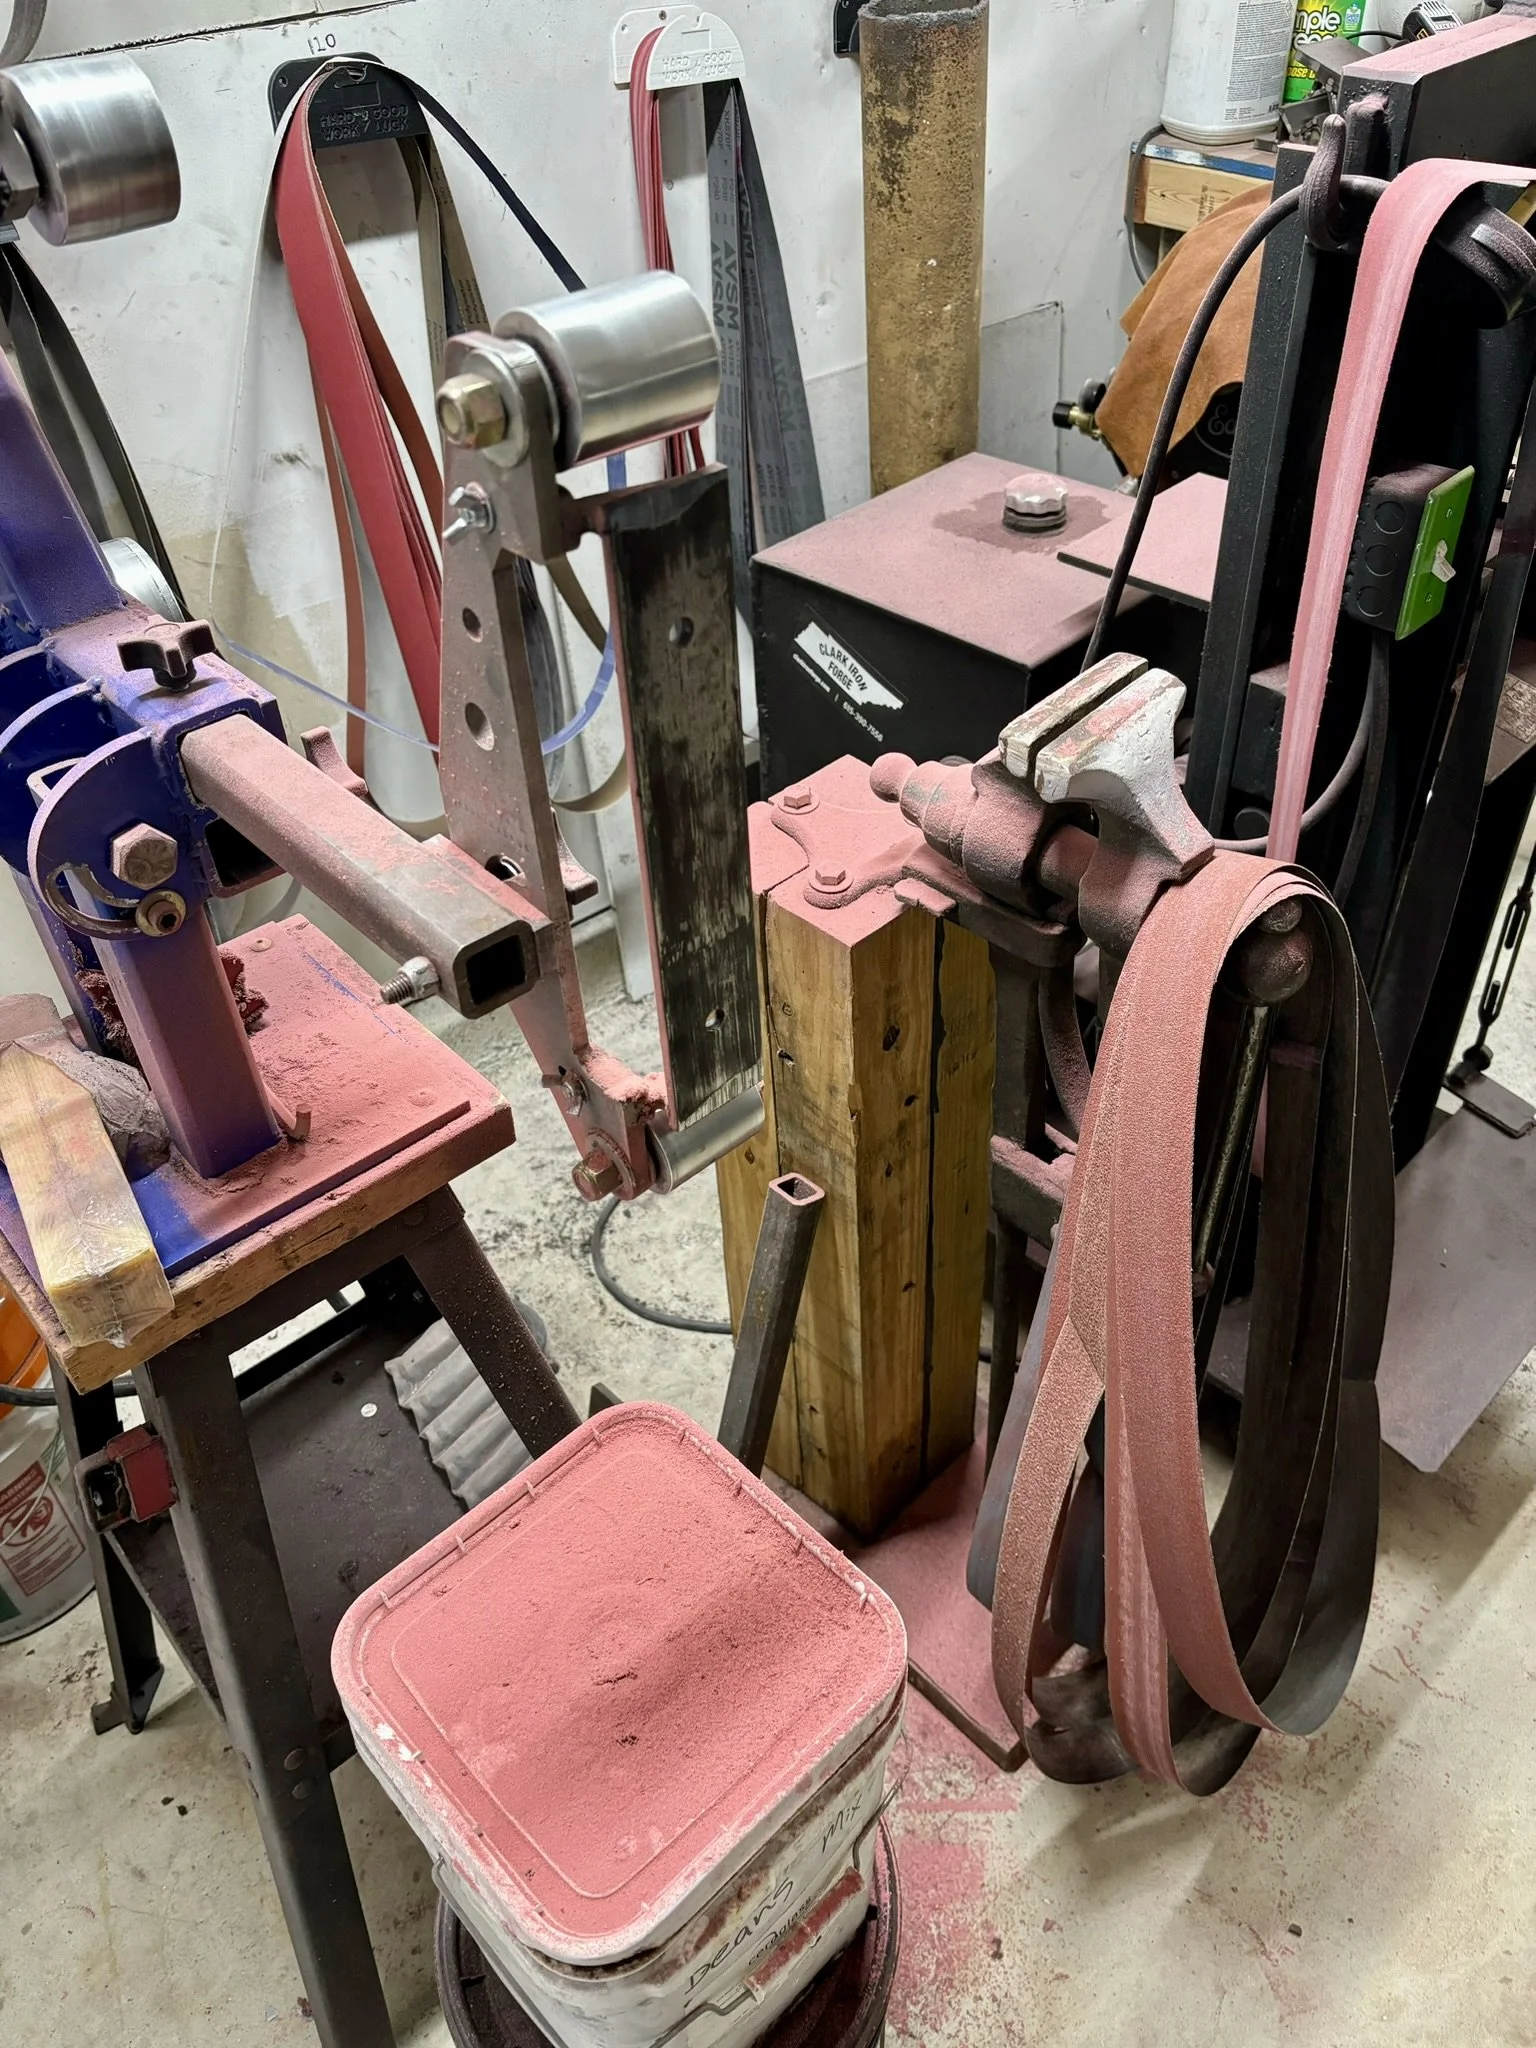
Killed a load of red smurfs this time.
-
More smurf carnage.
-
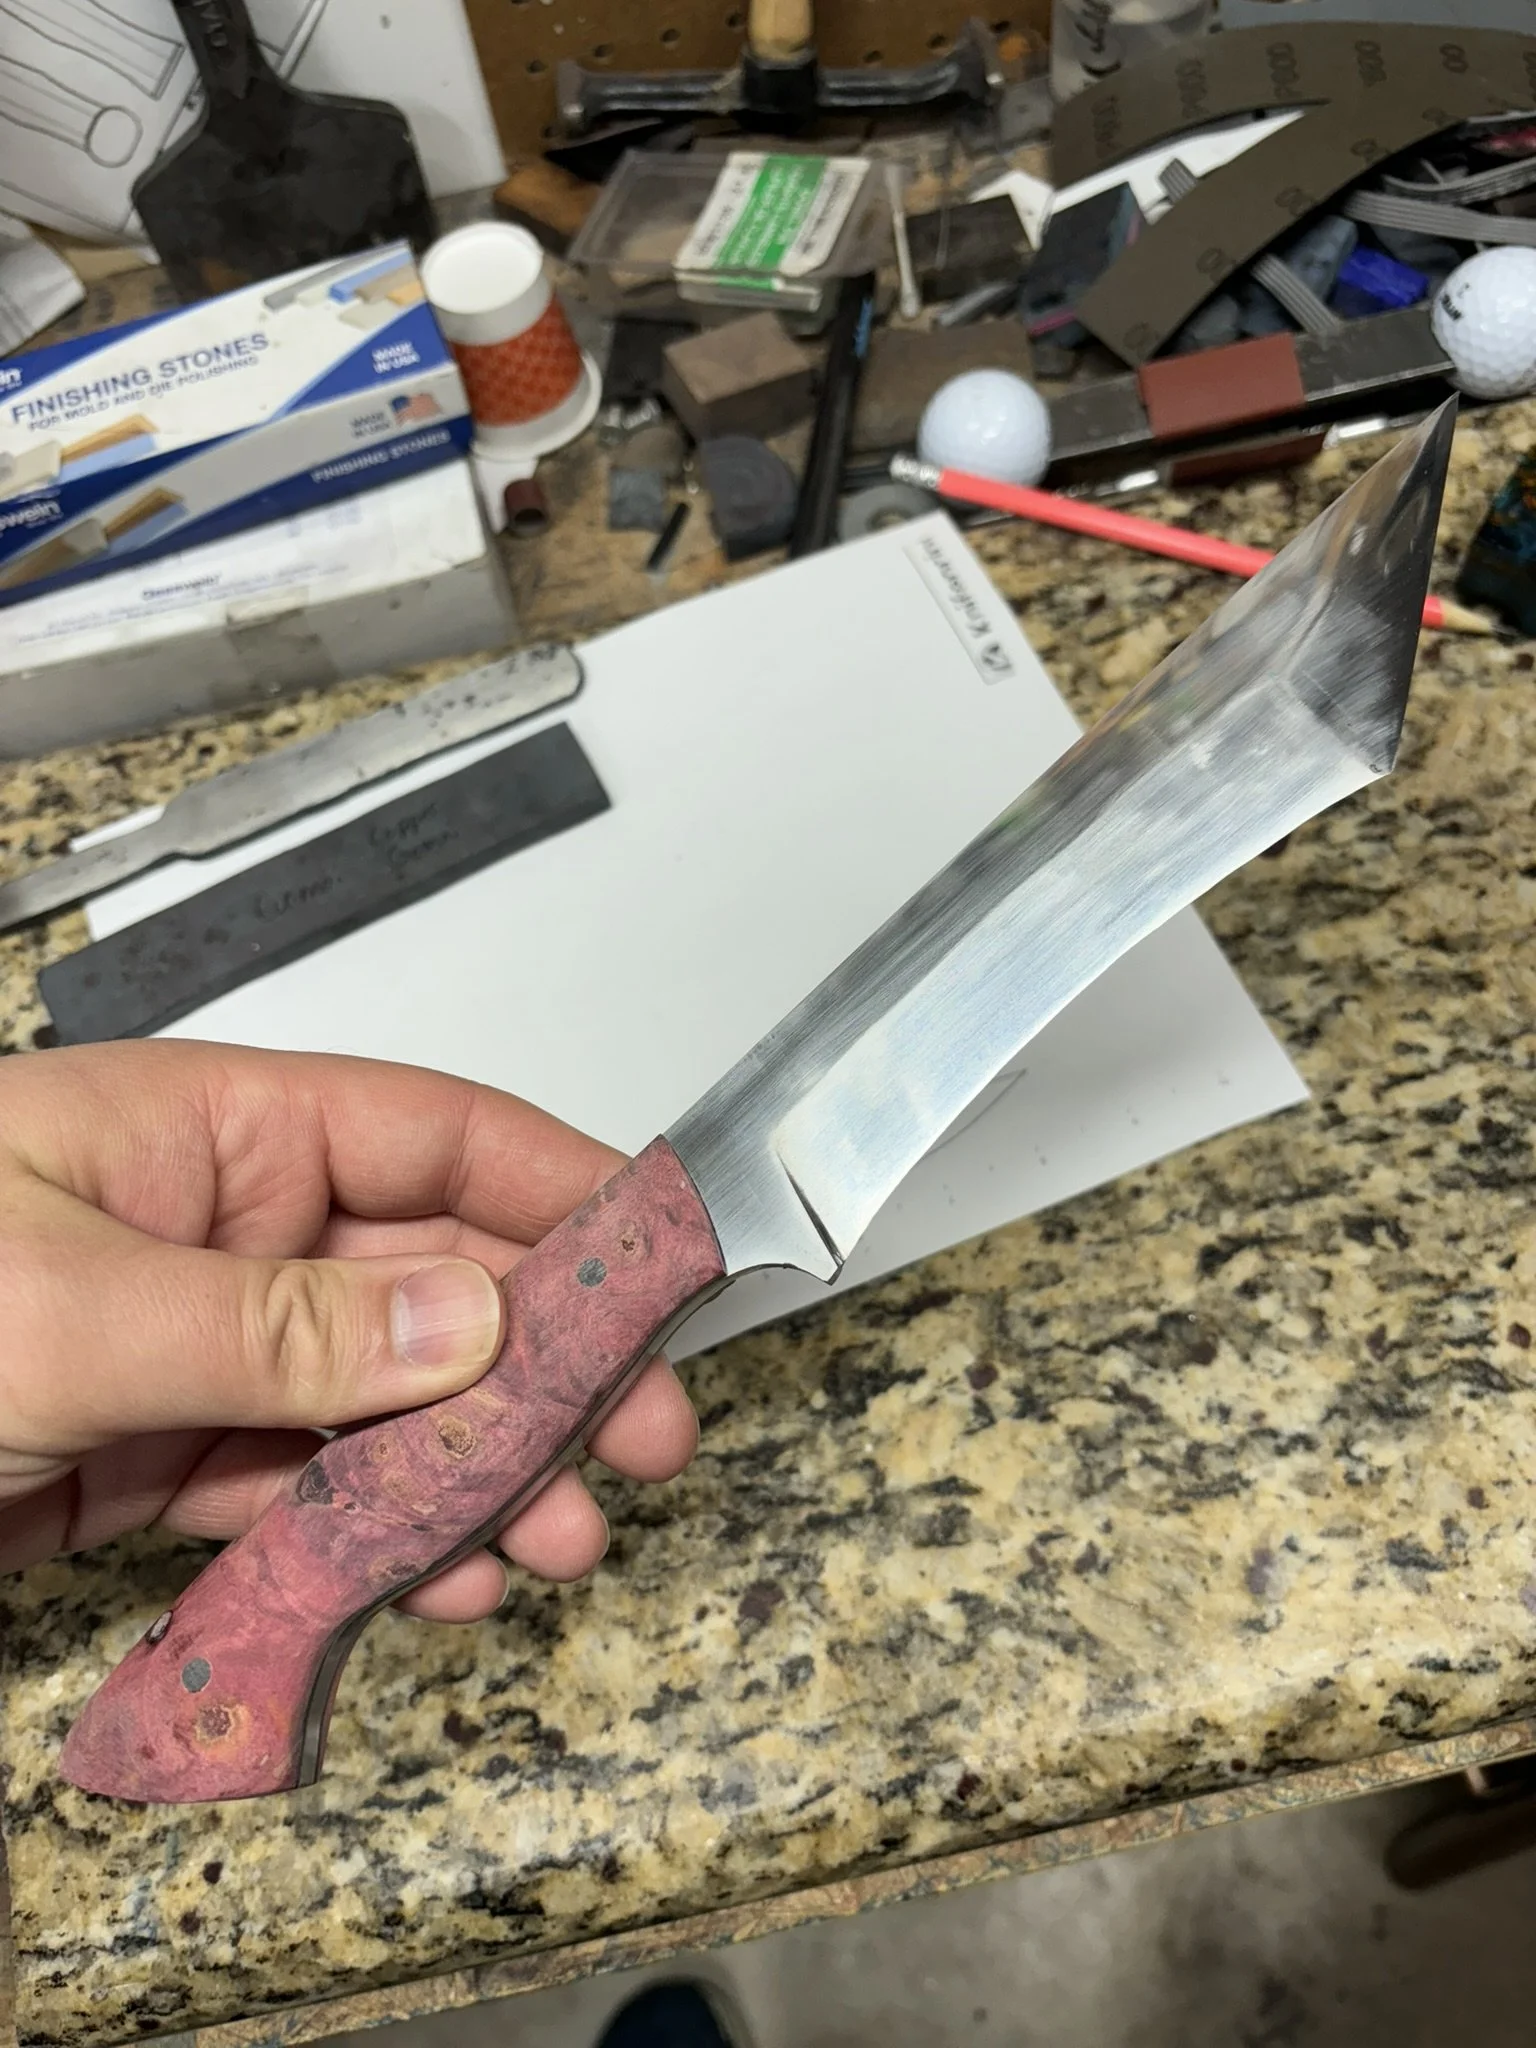
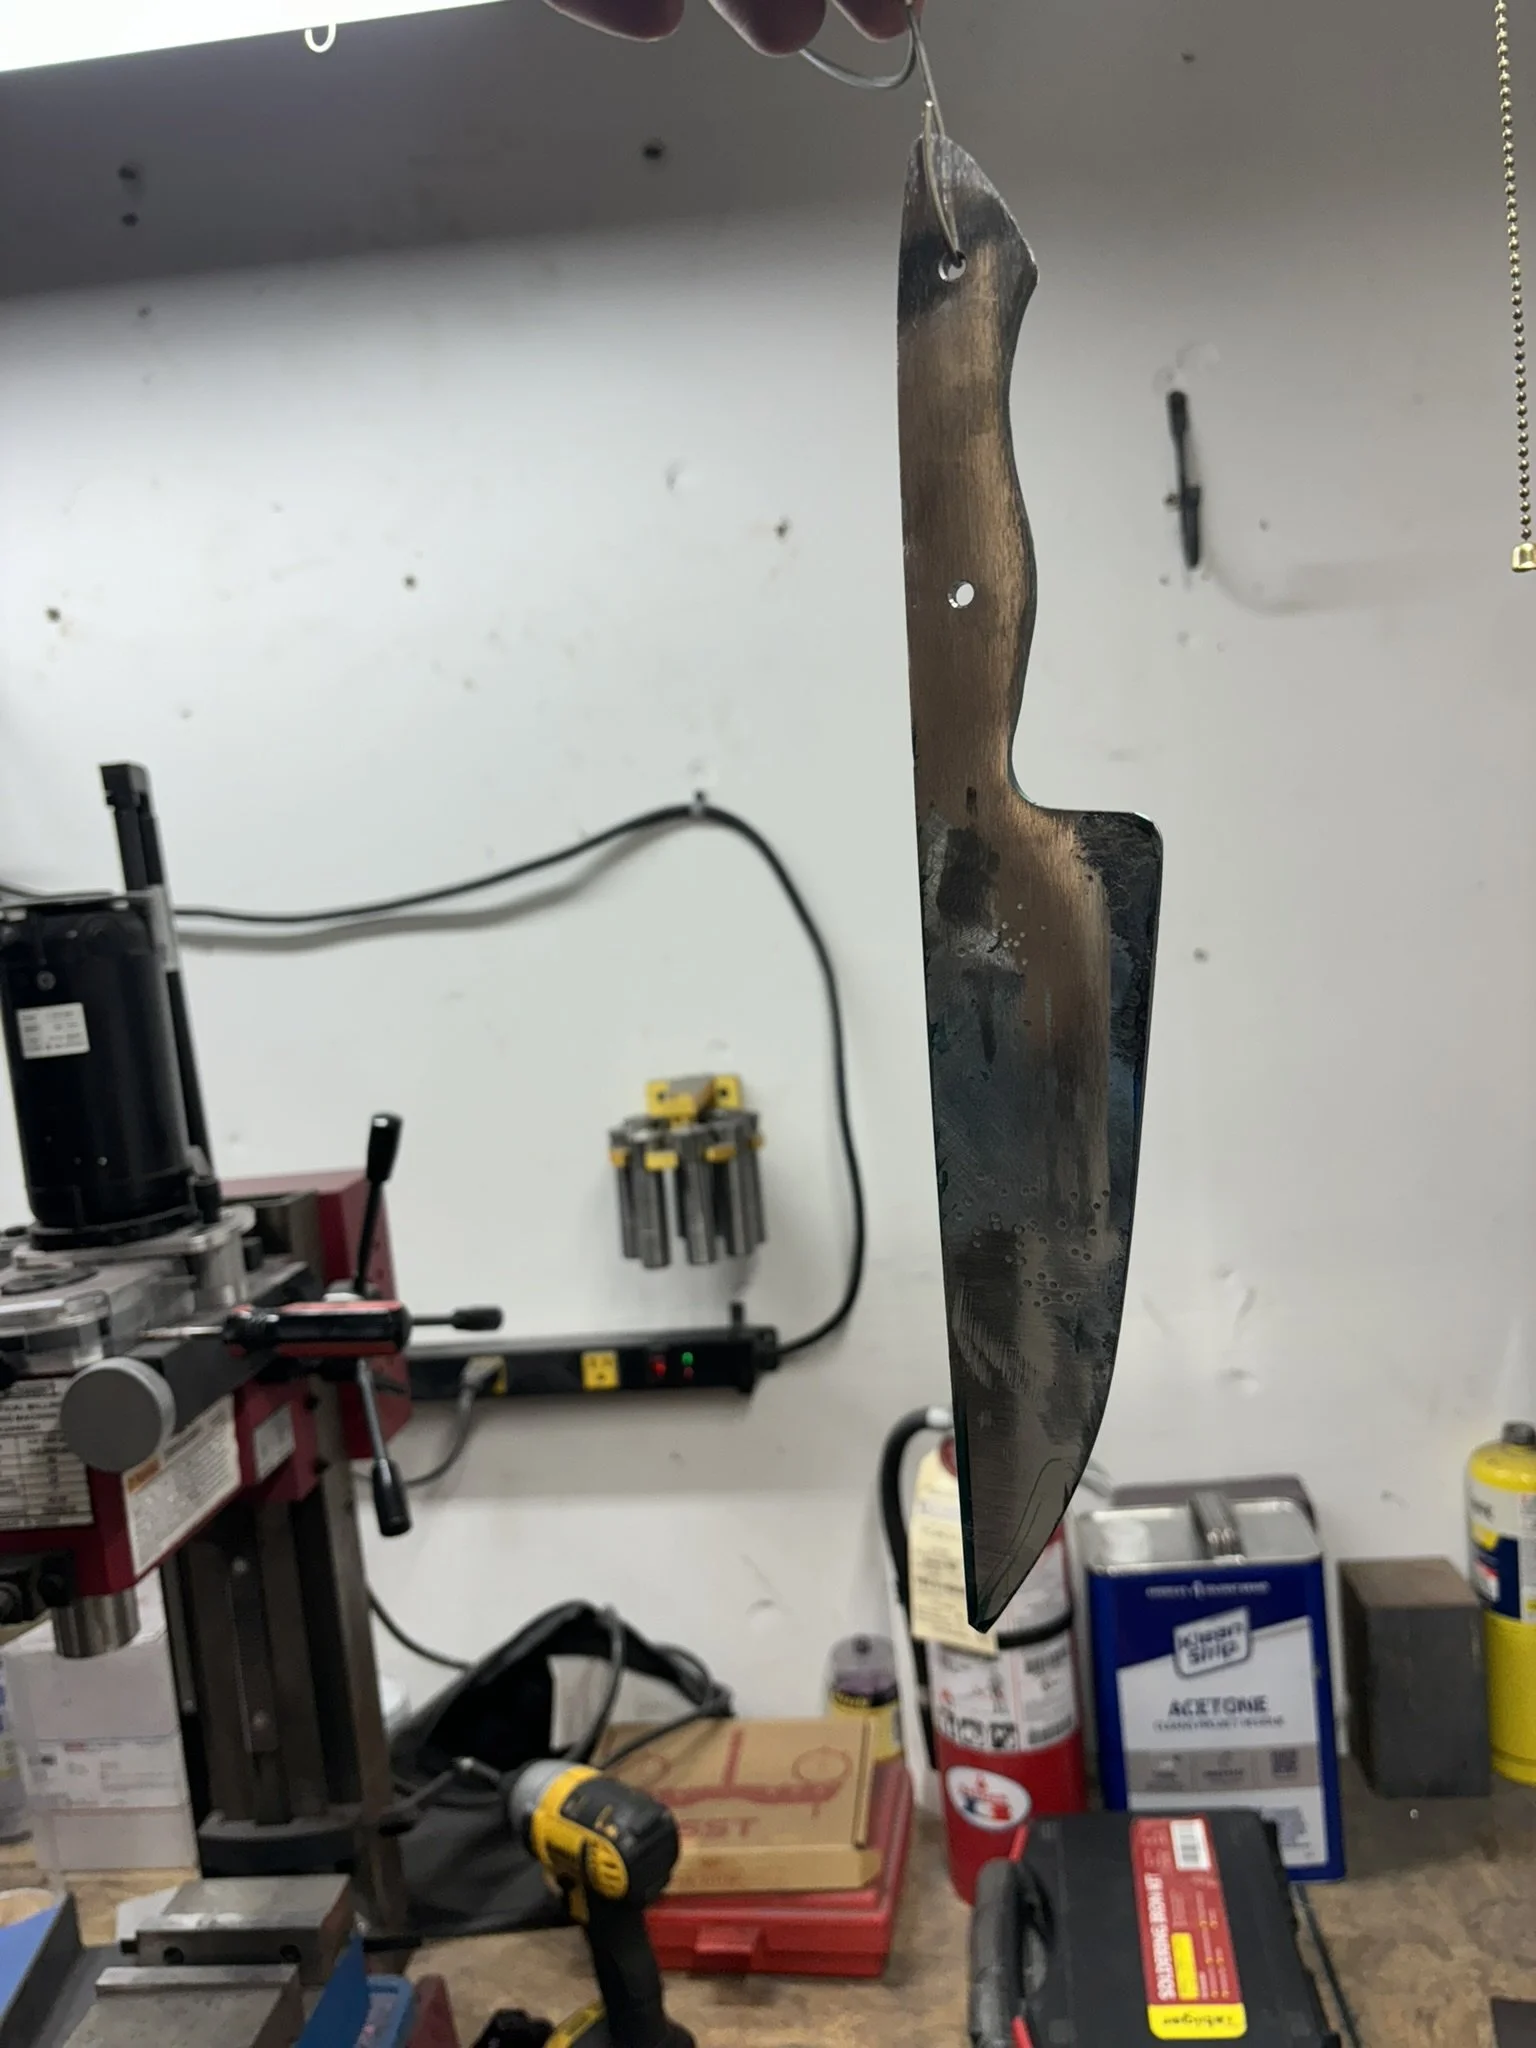
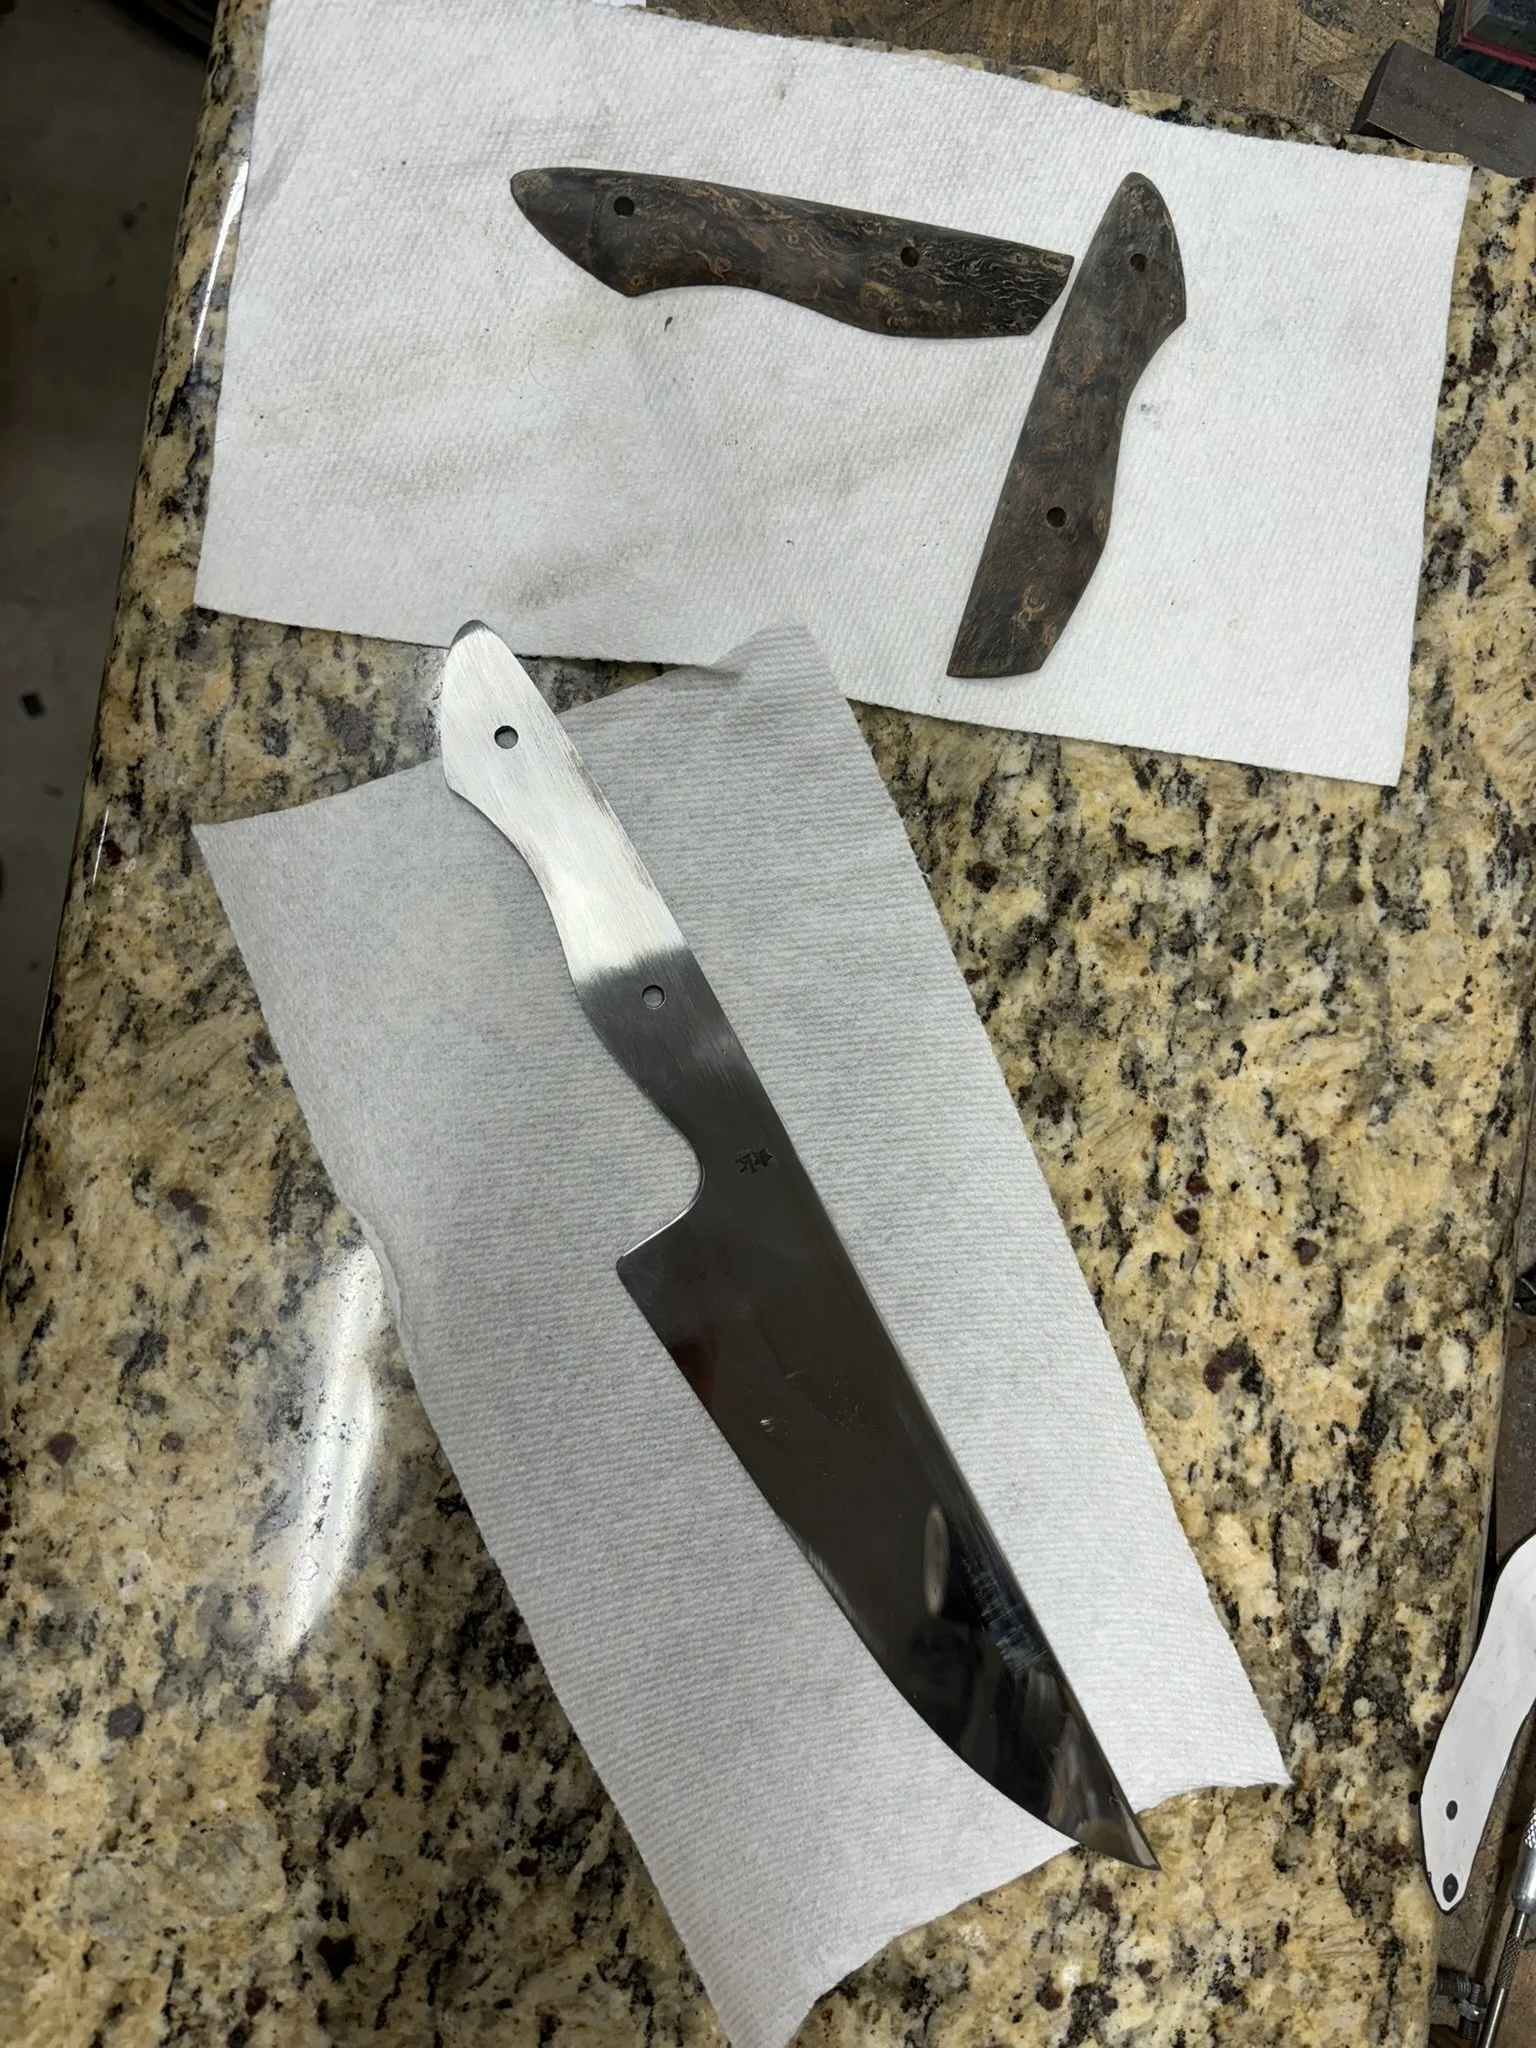
Blade cleaned up and handle profiled.
-
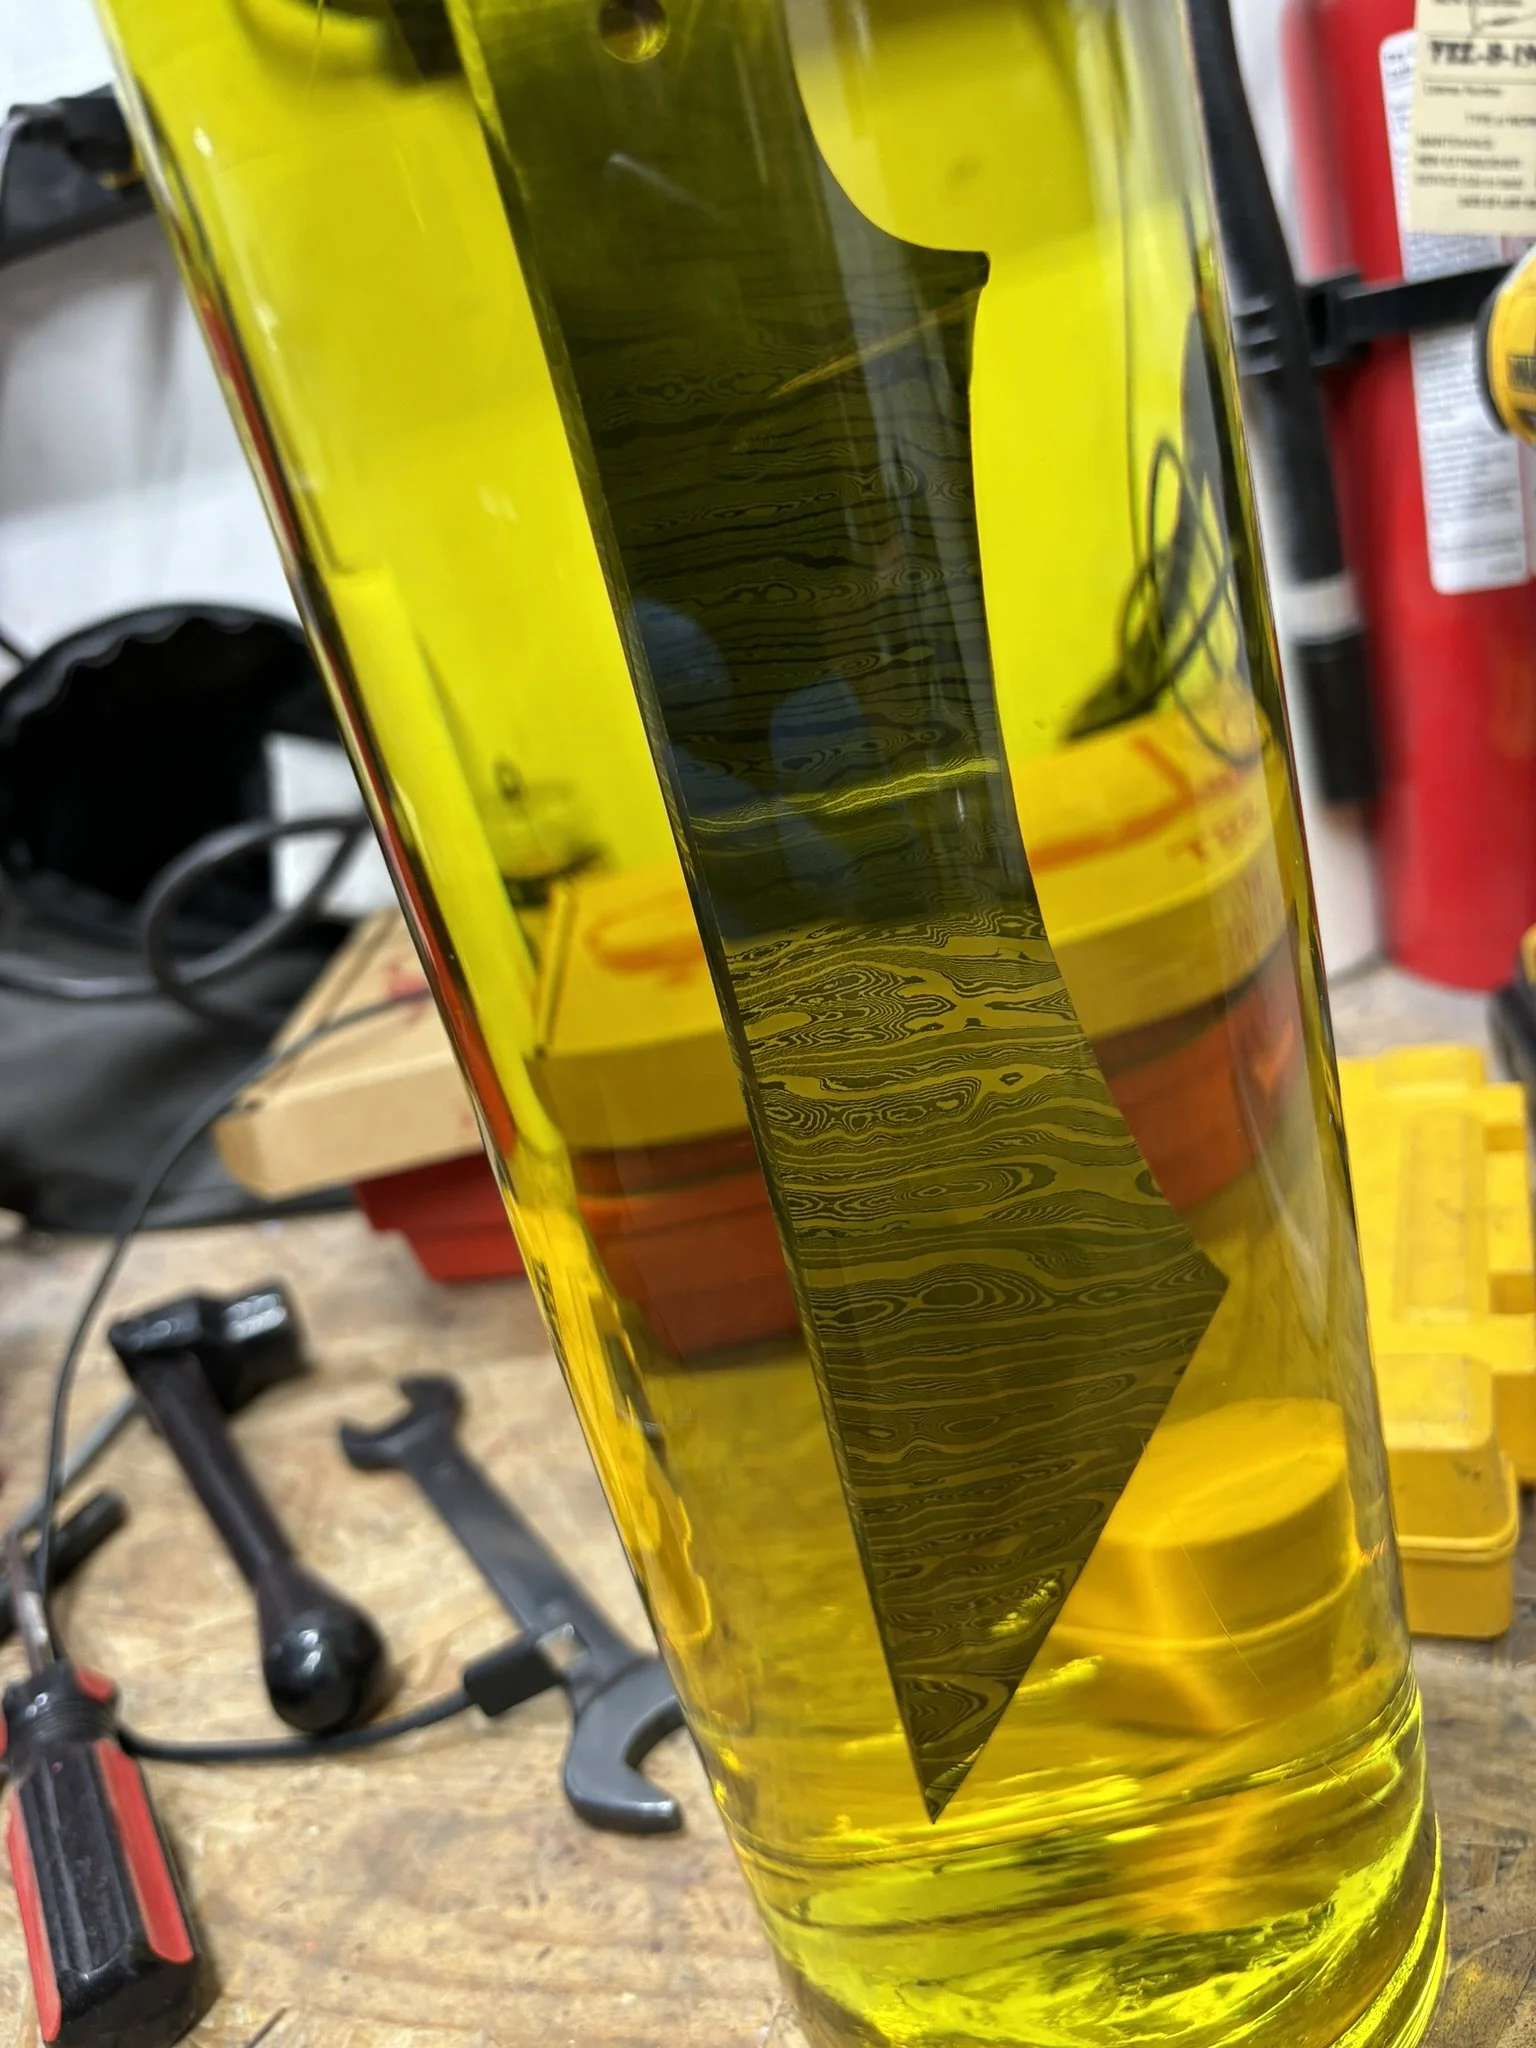
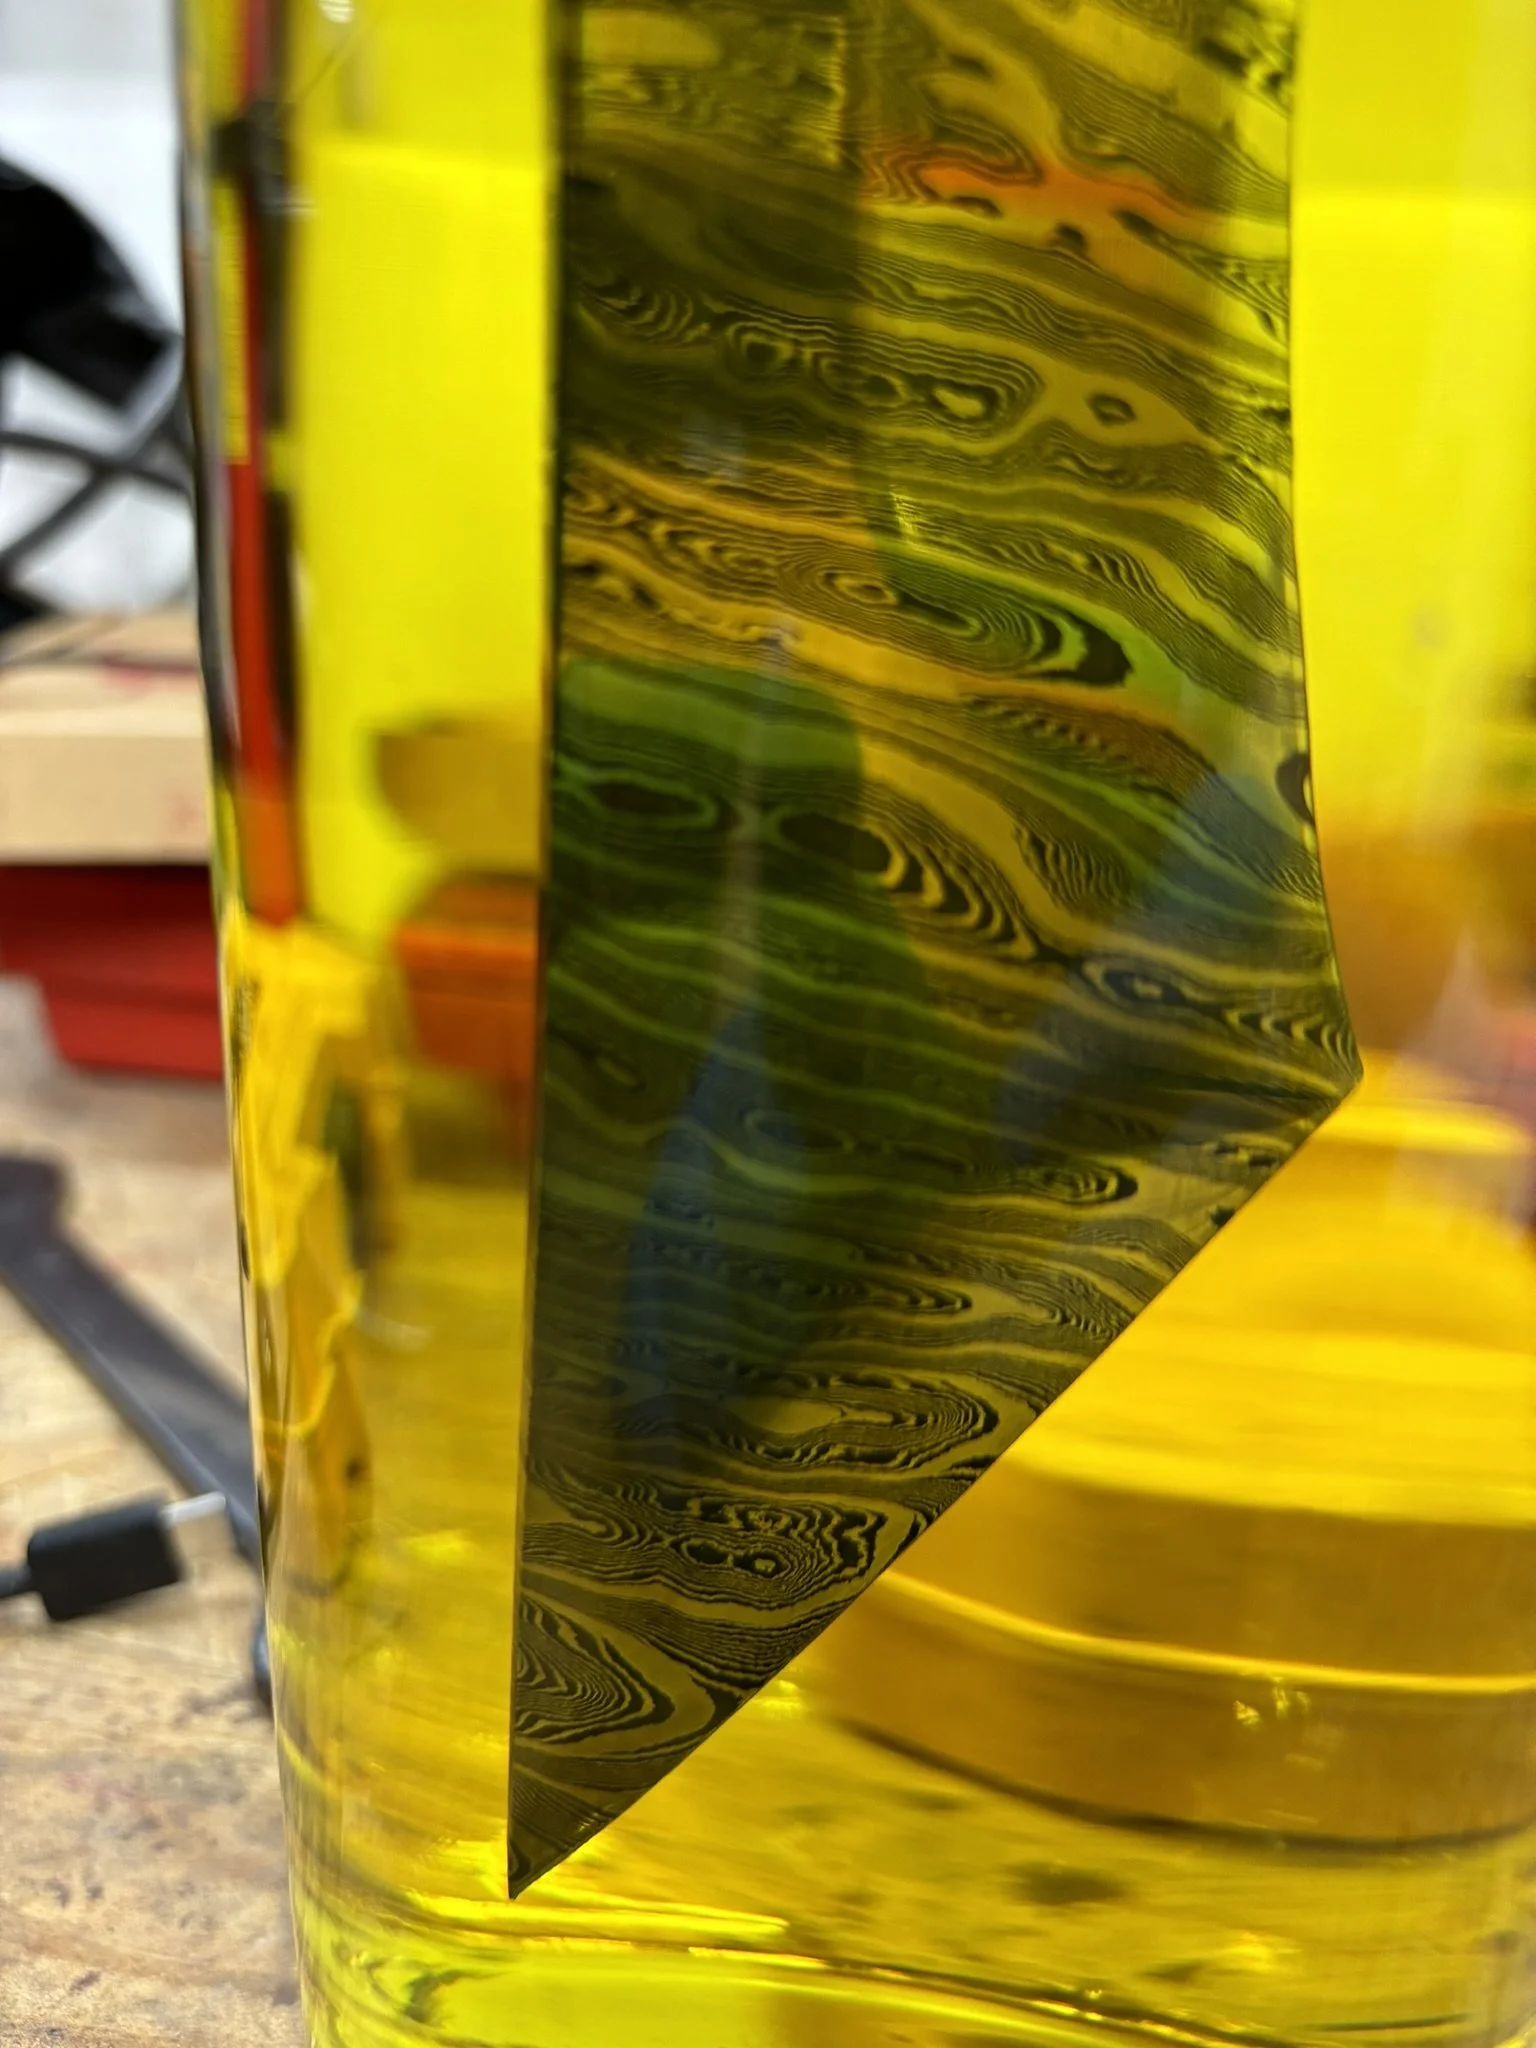
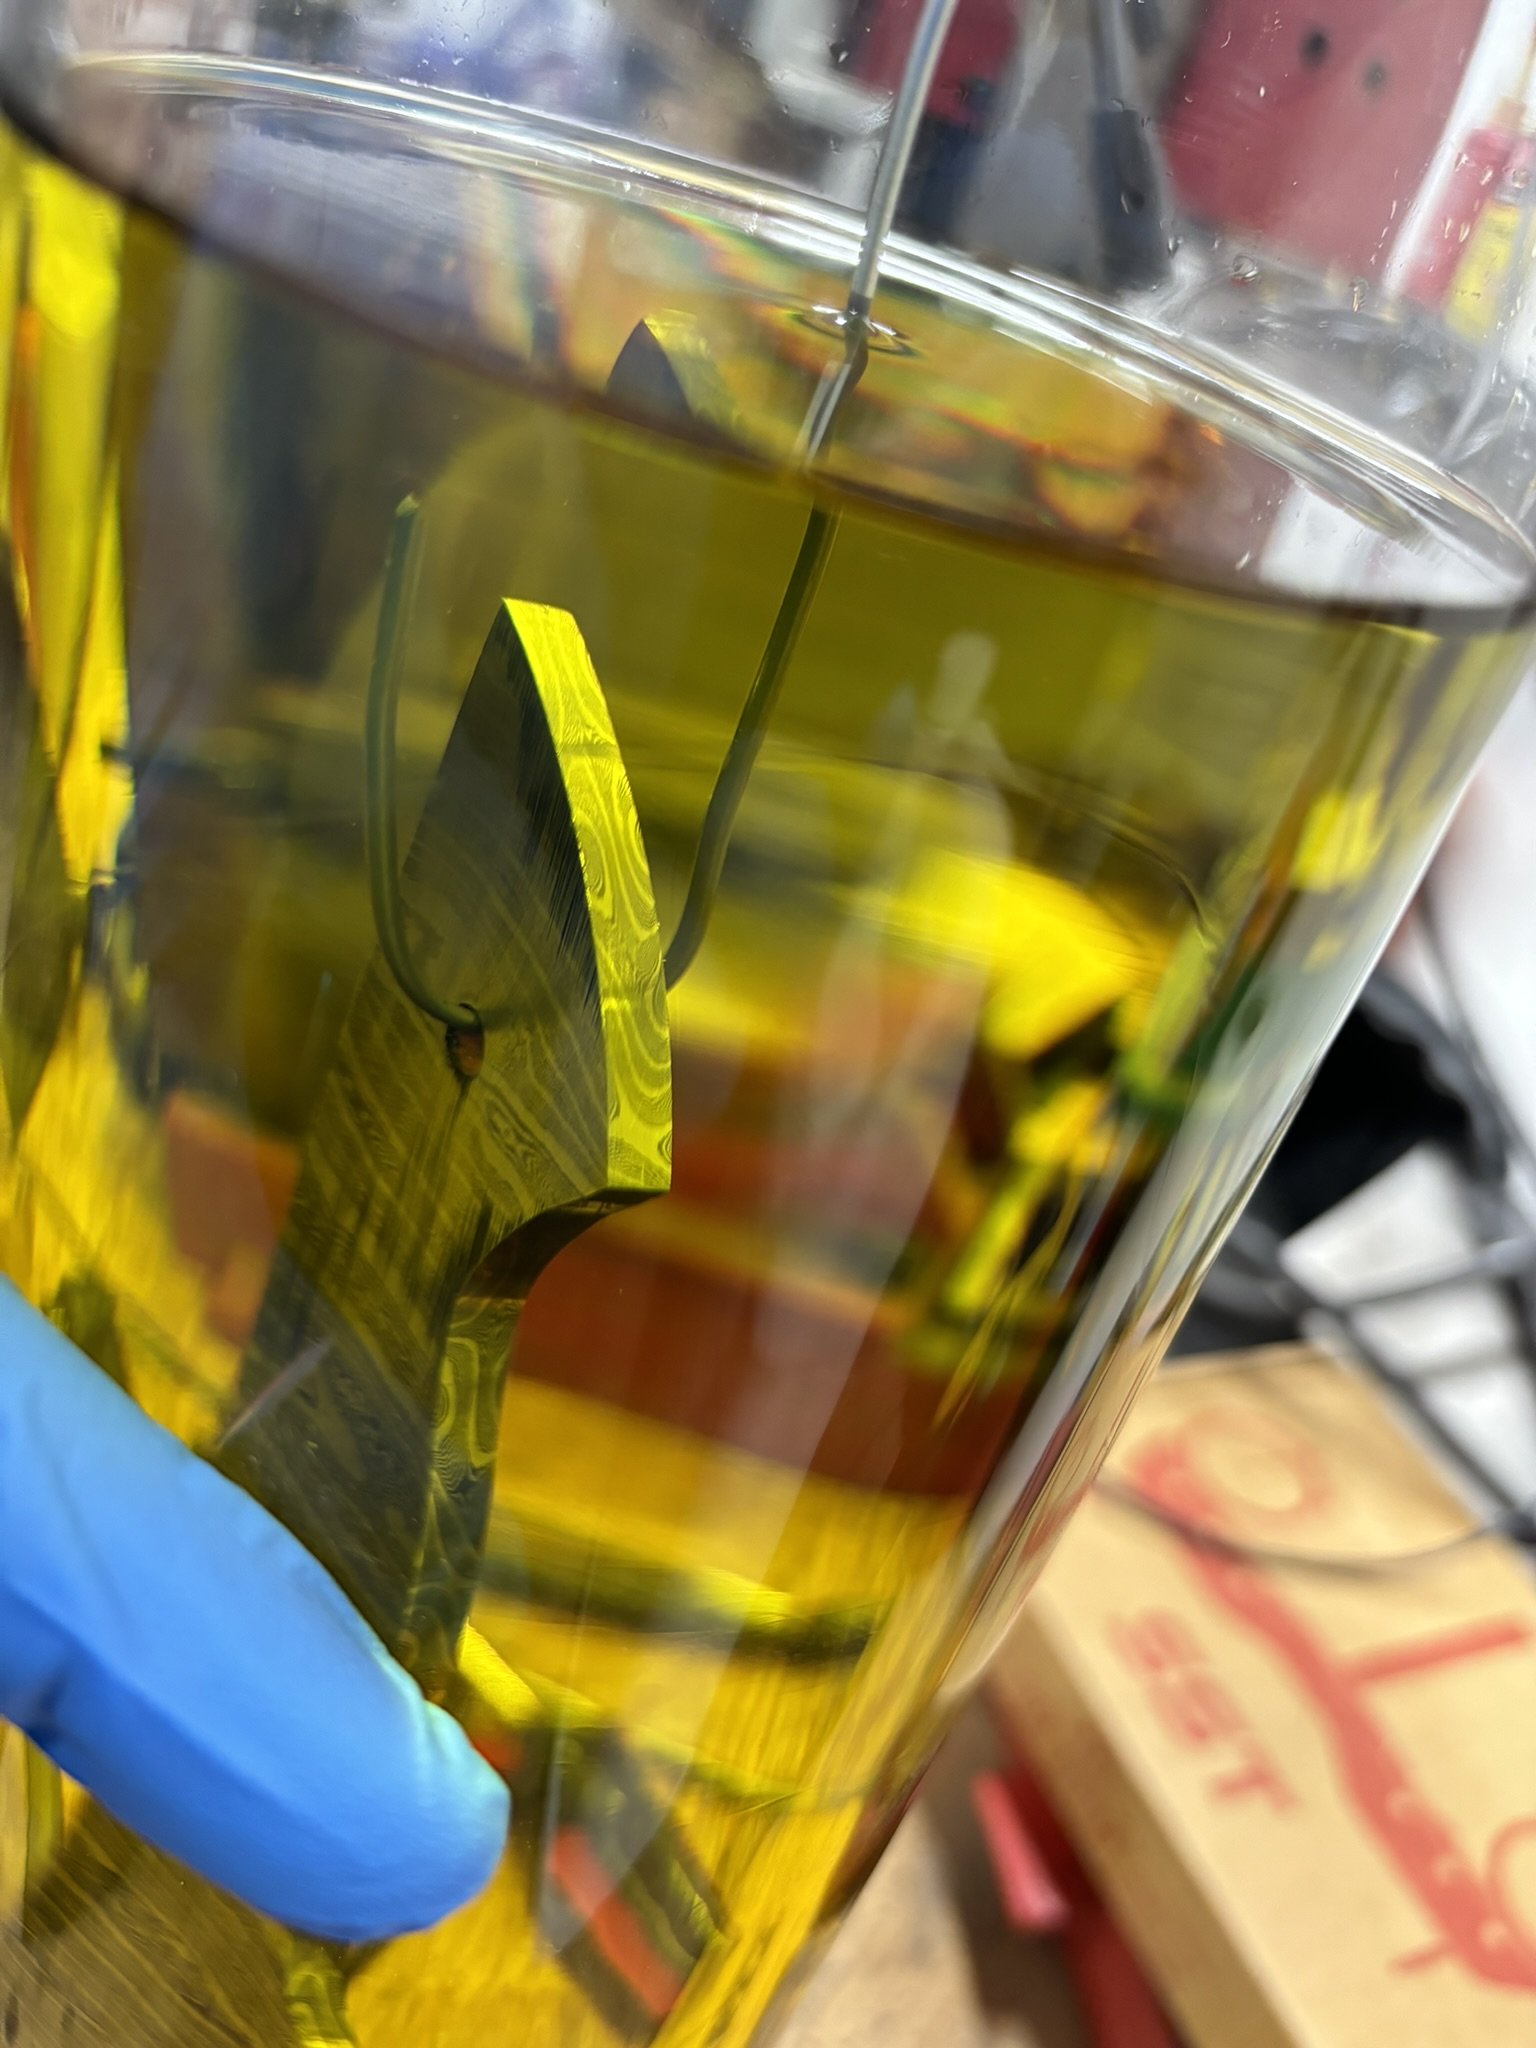
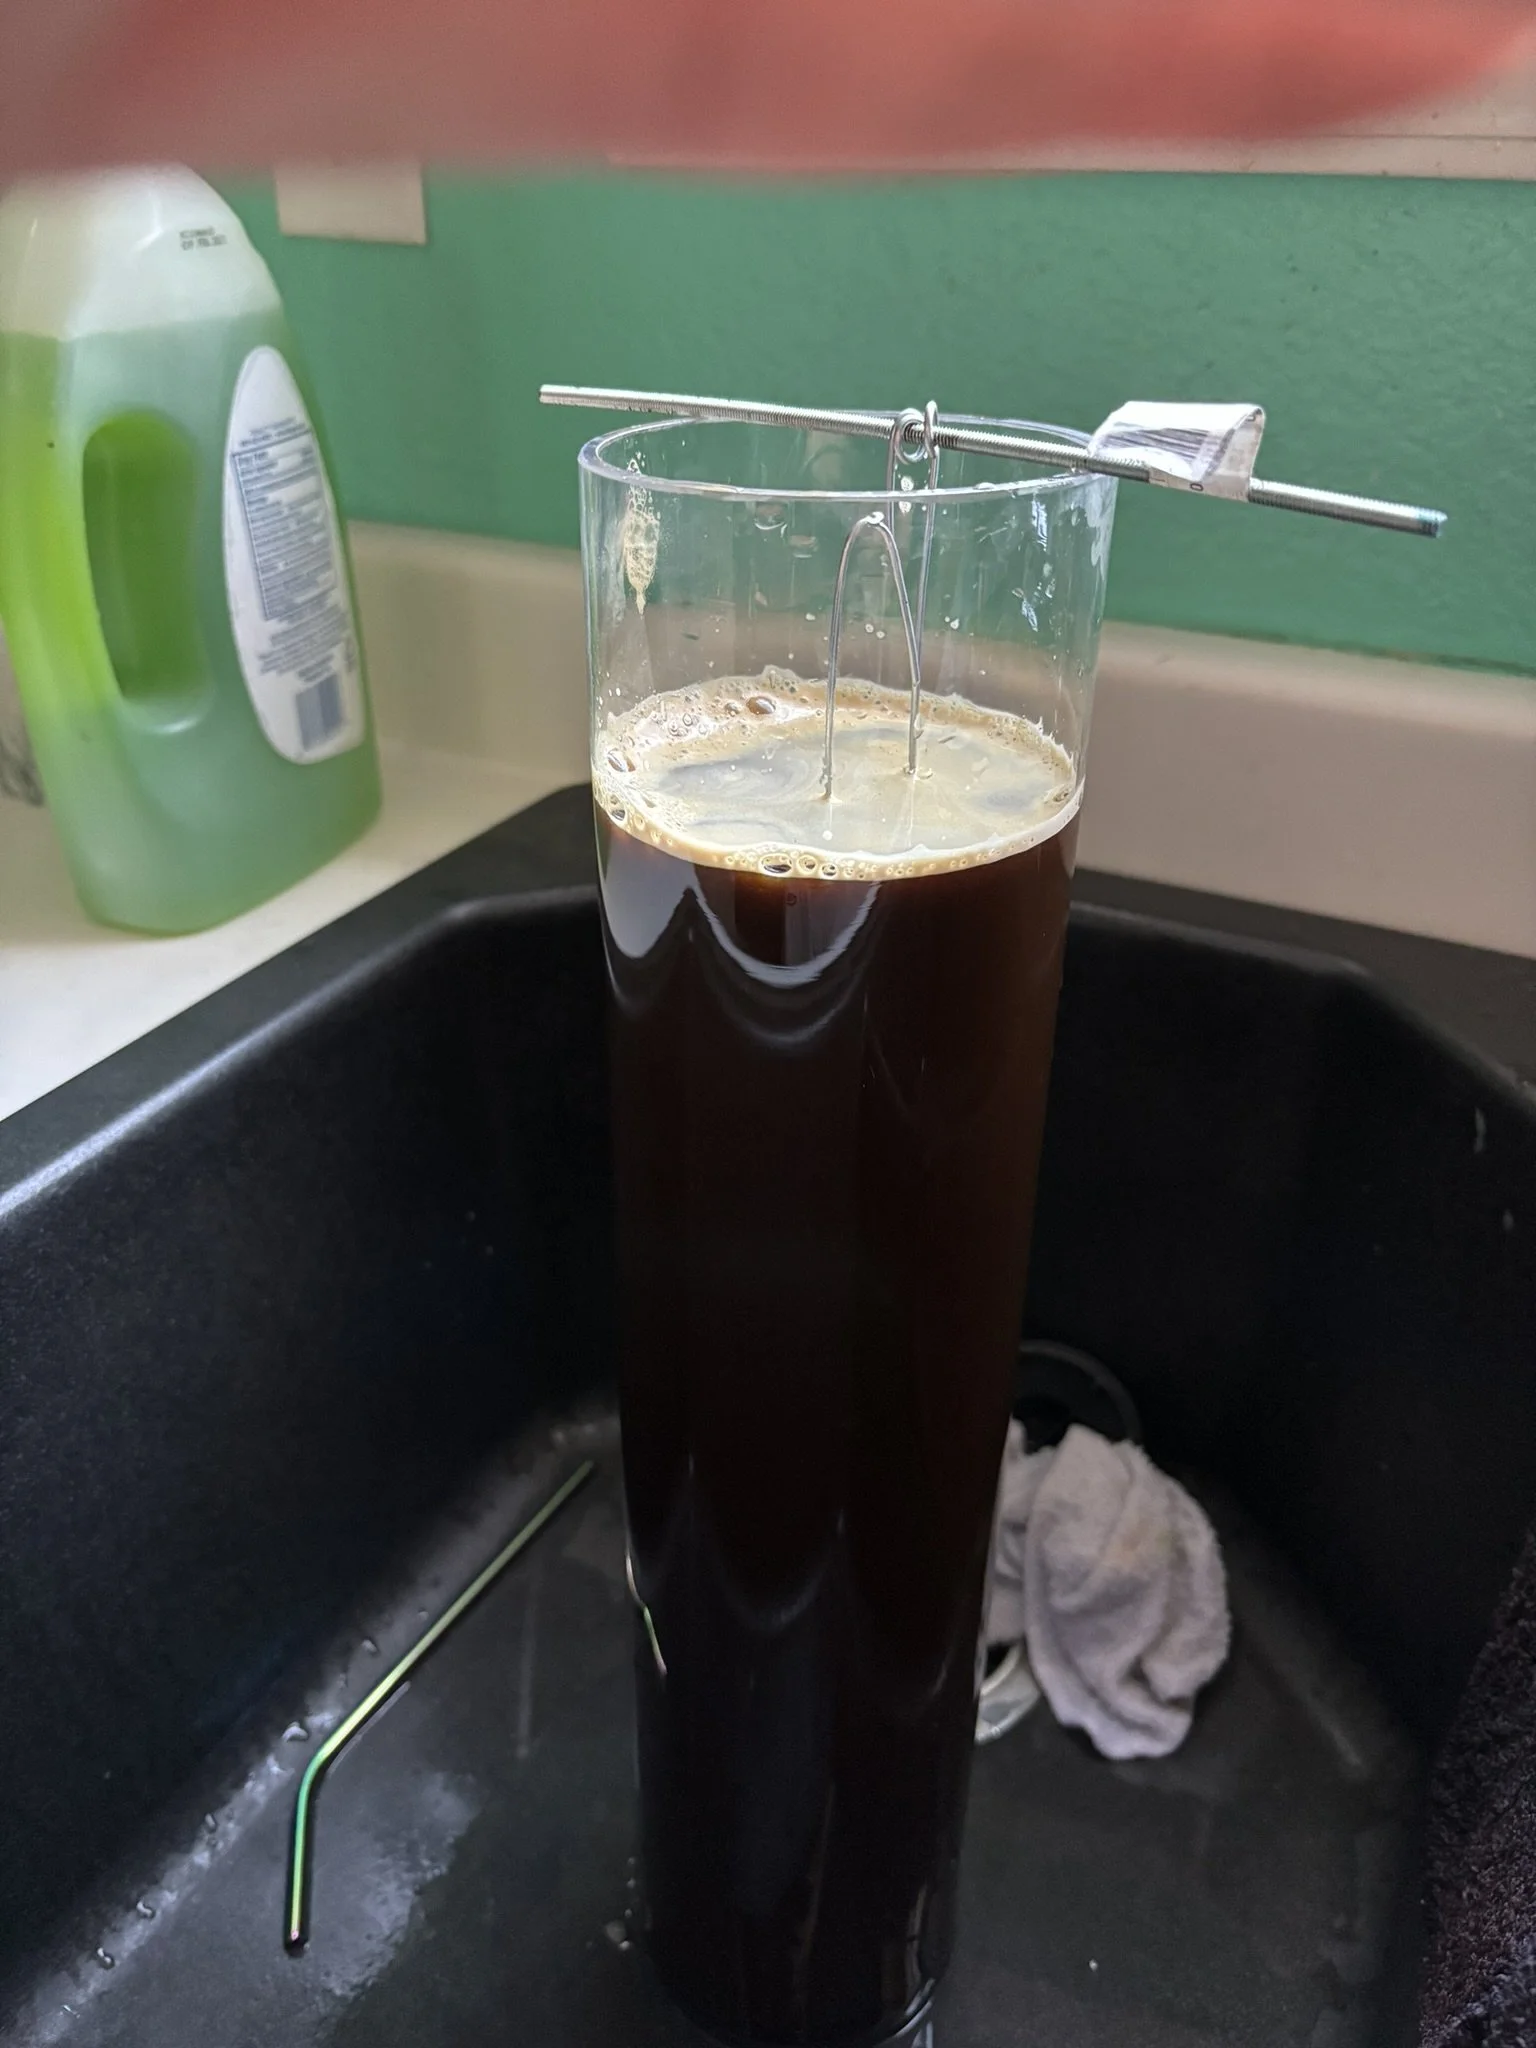
Decided to try out a new echant on this knife to prevent some common issues with ferric chloride and coffee.
-
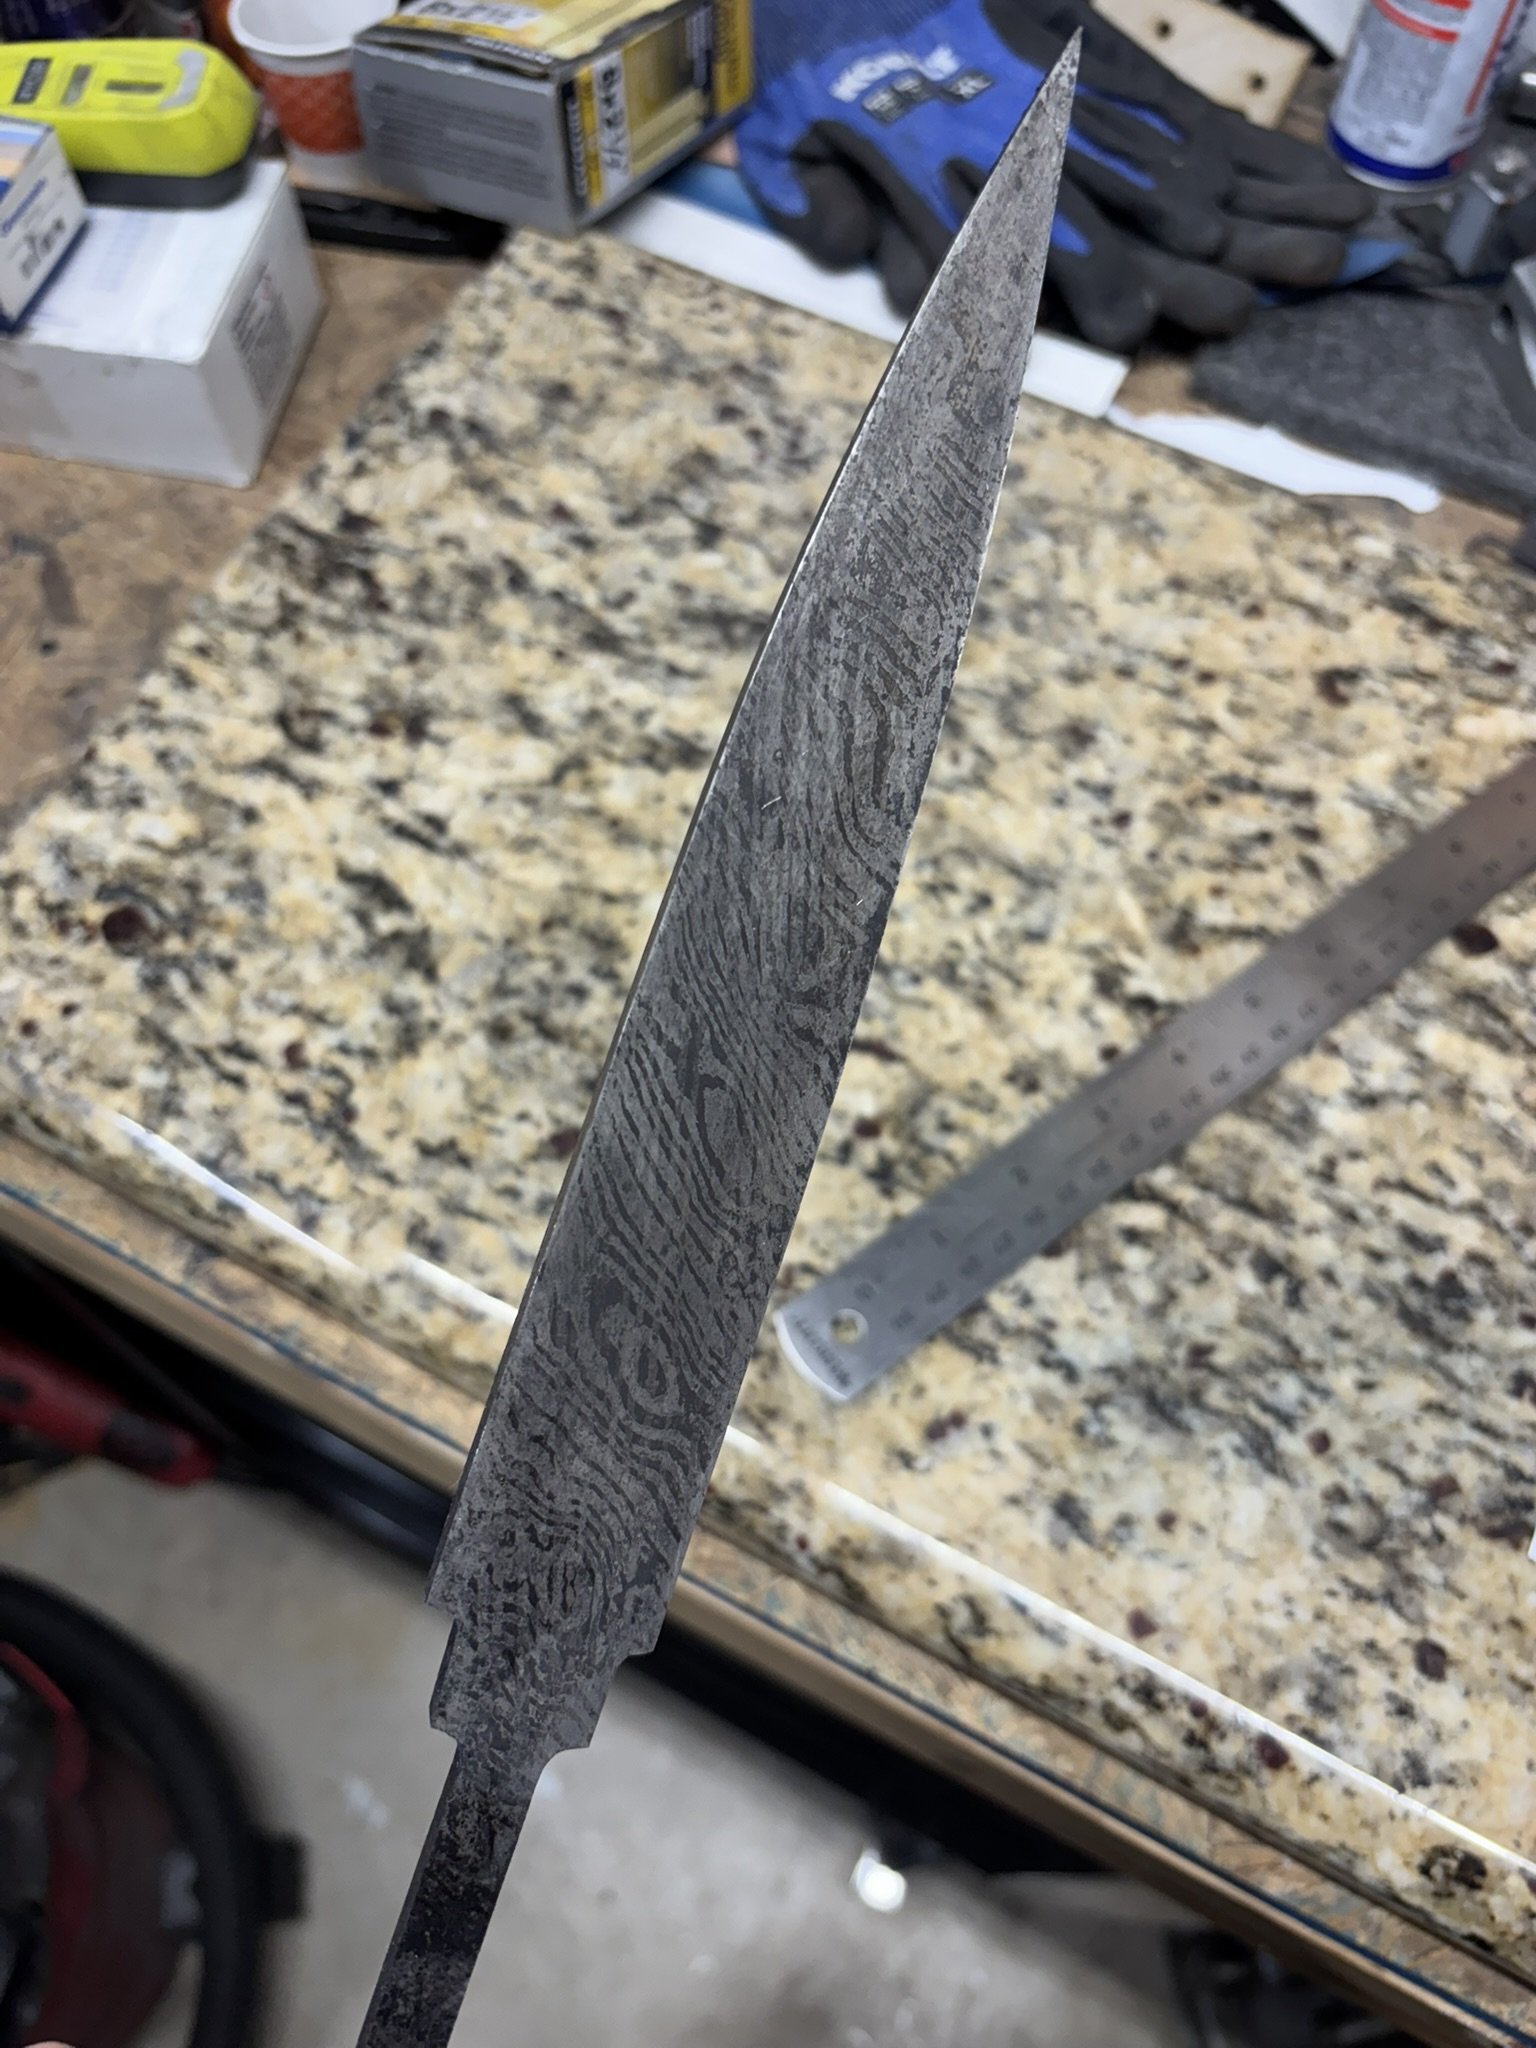
It really shows the pattern cleanly and leaves the 15n20 super shiny.
-
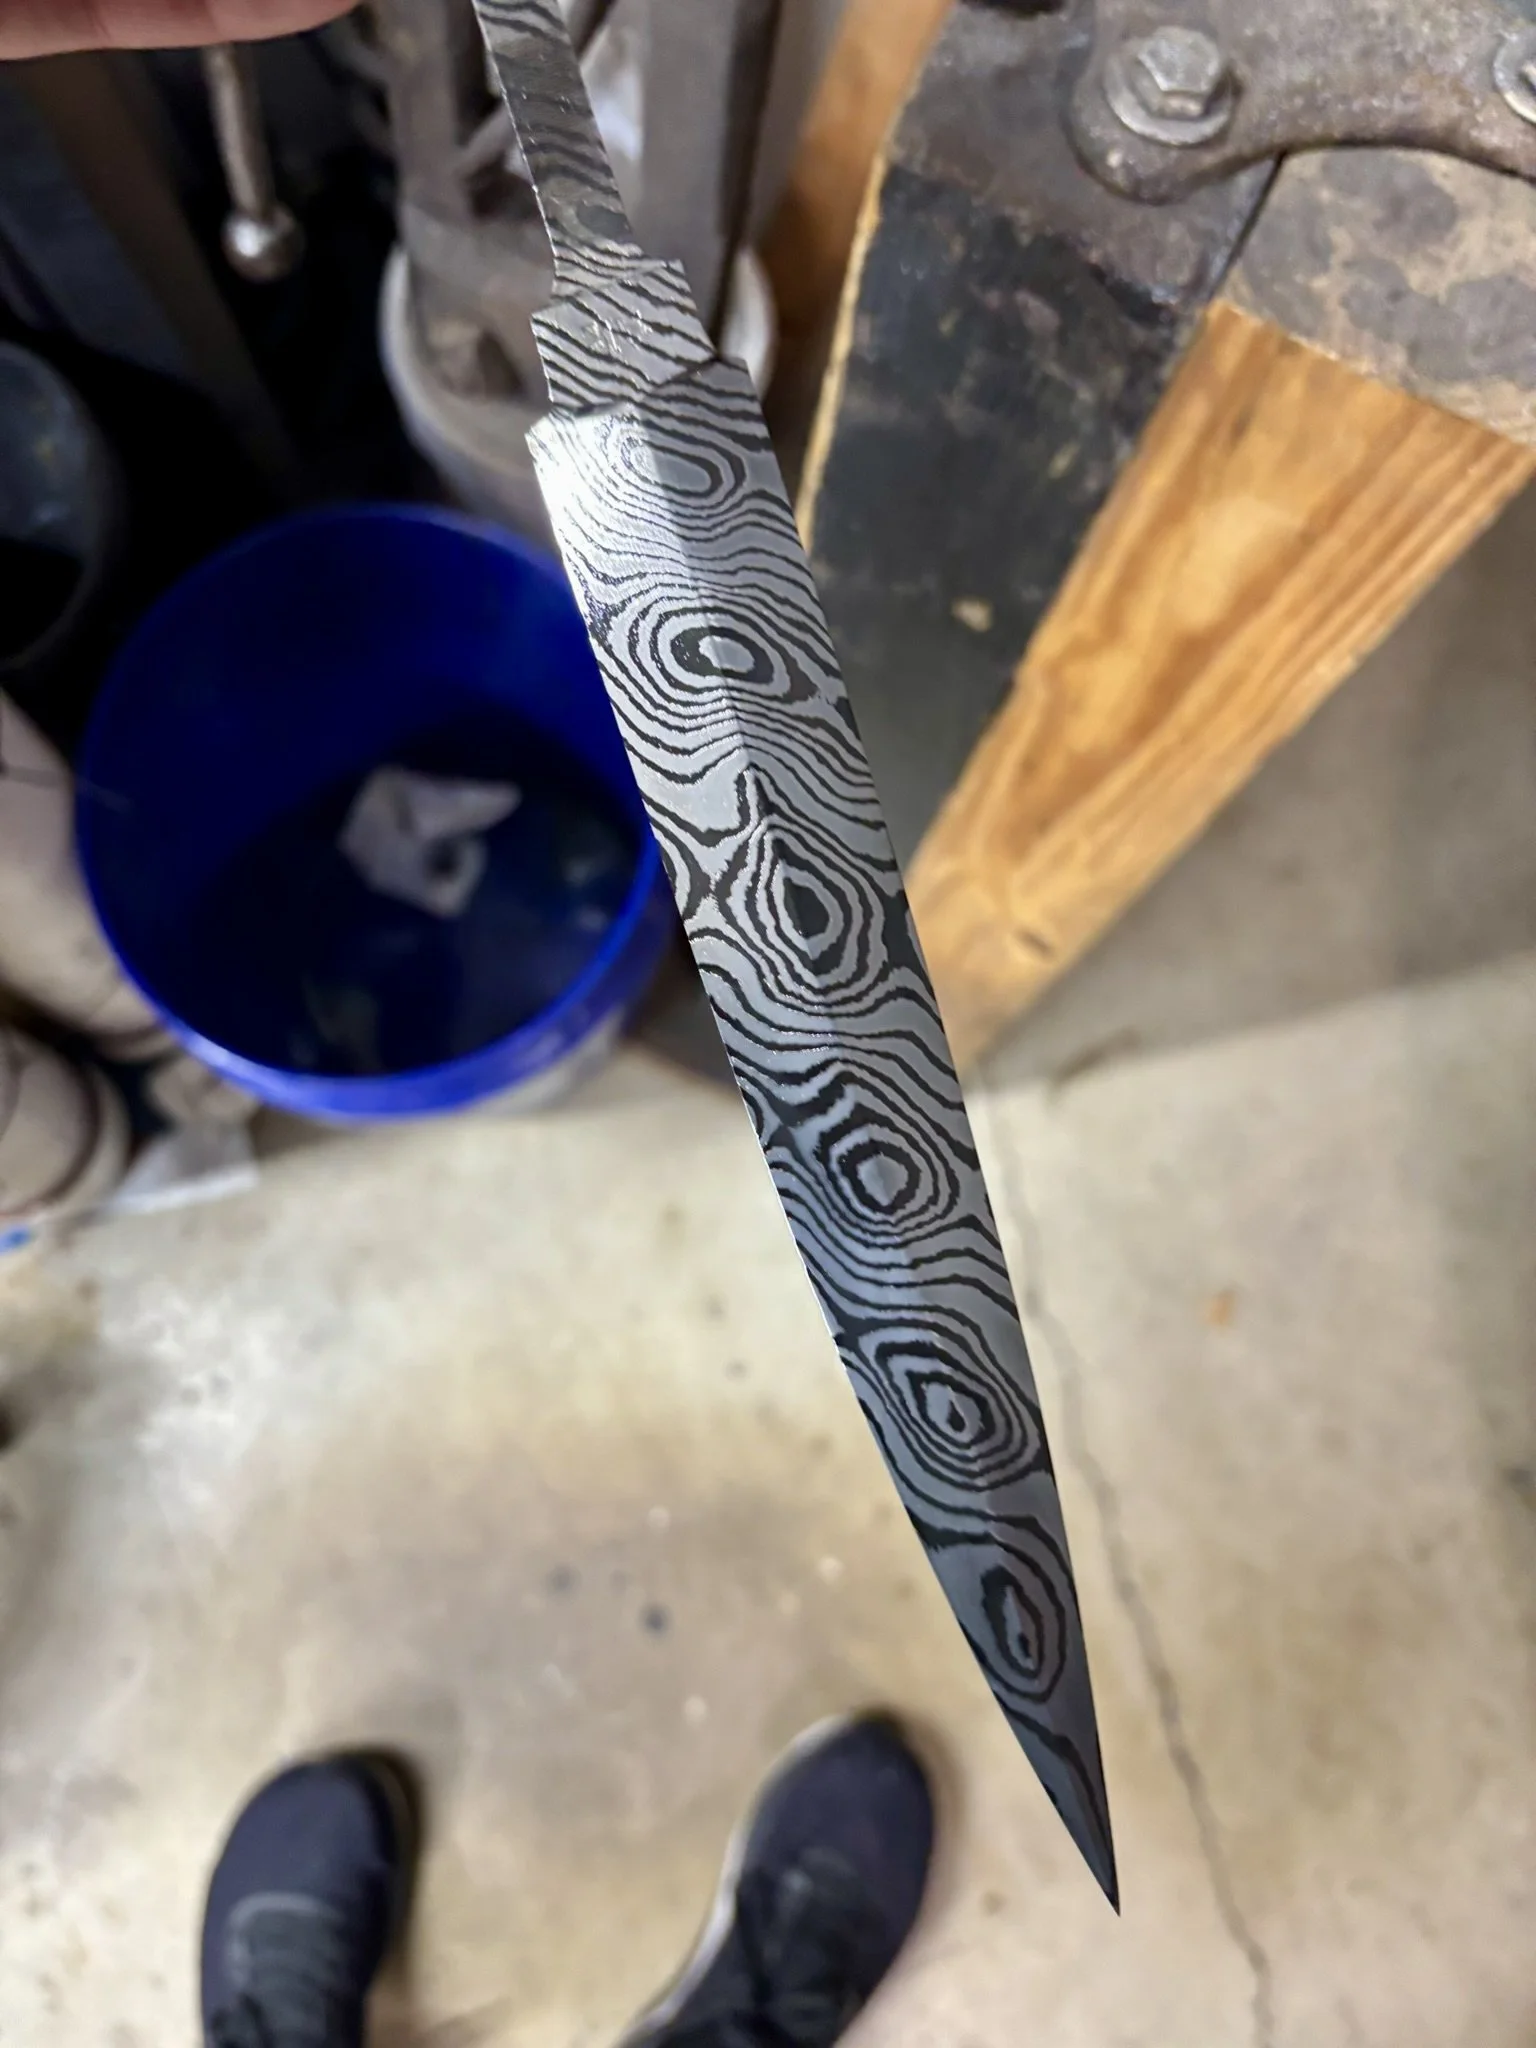
Cool to see all the way up.
-
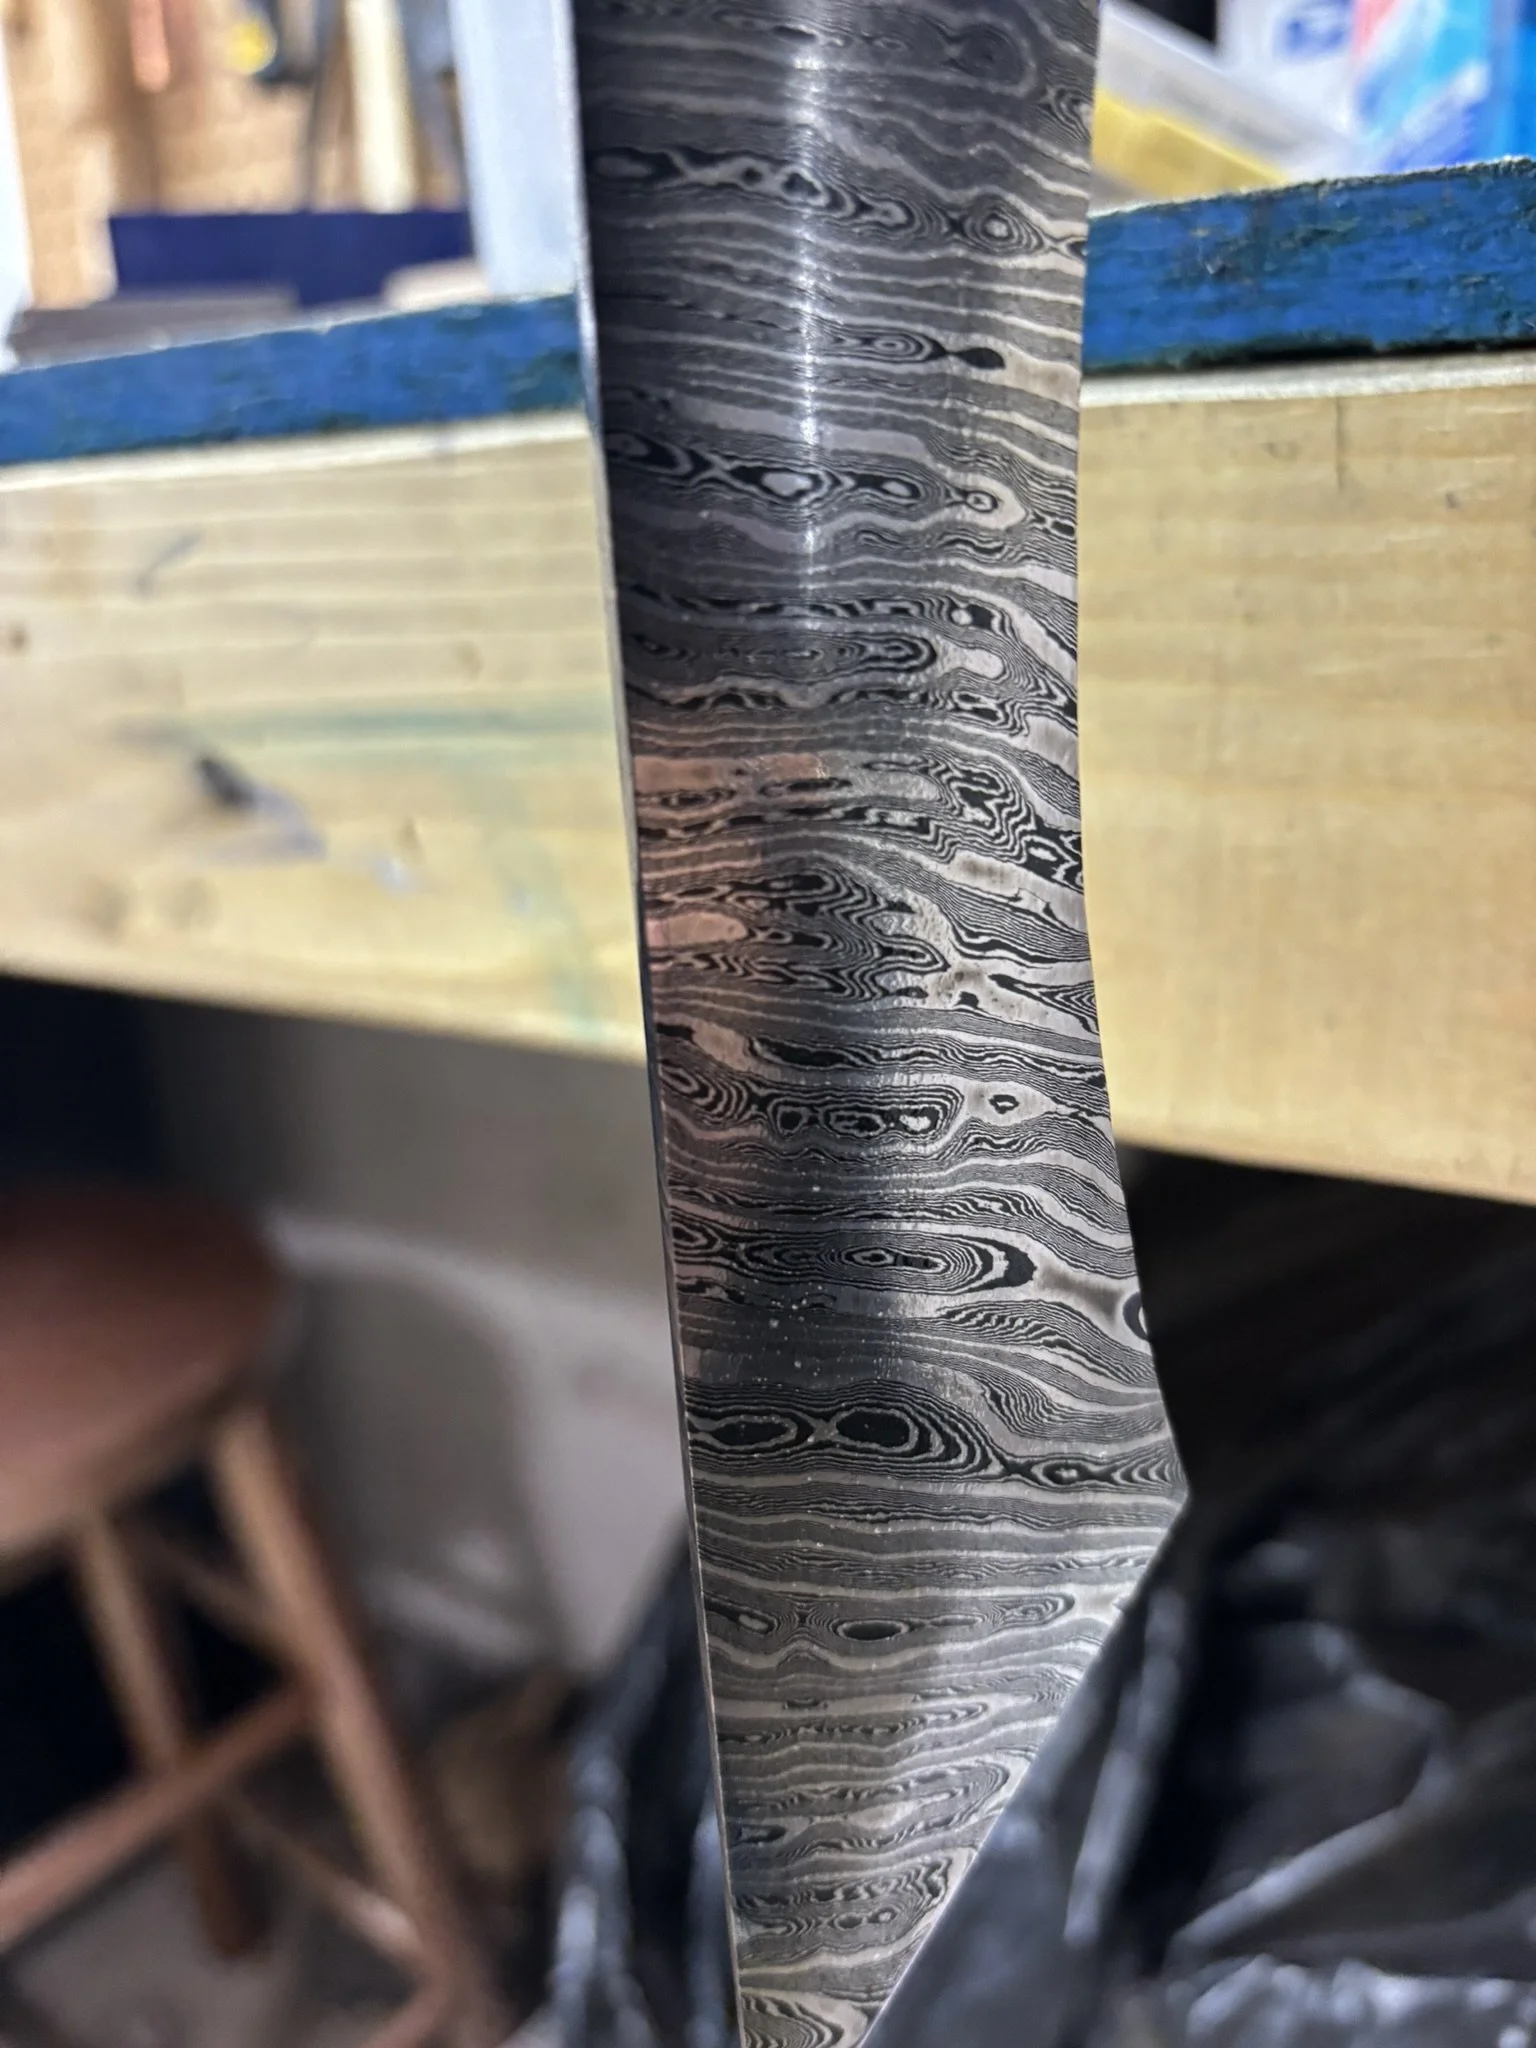
Post etch, no need for coffee.
-
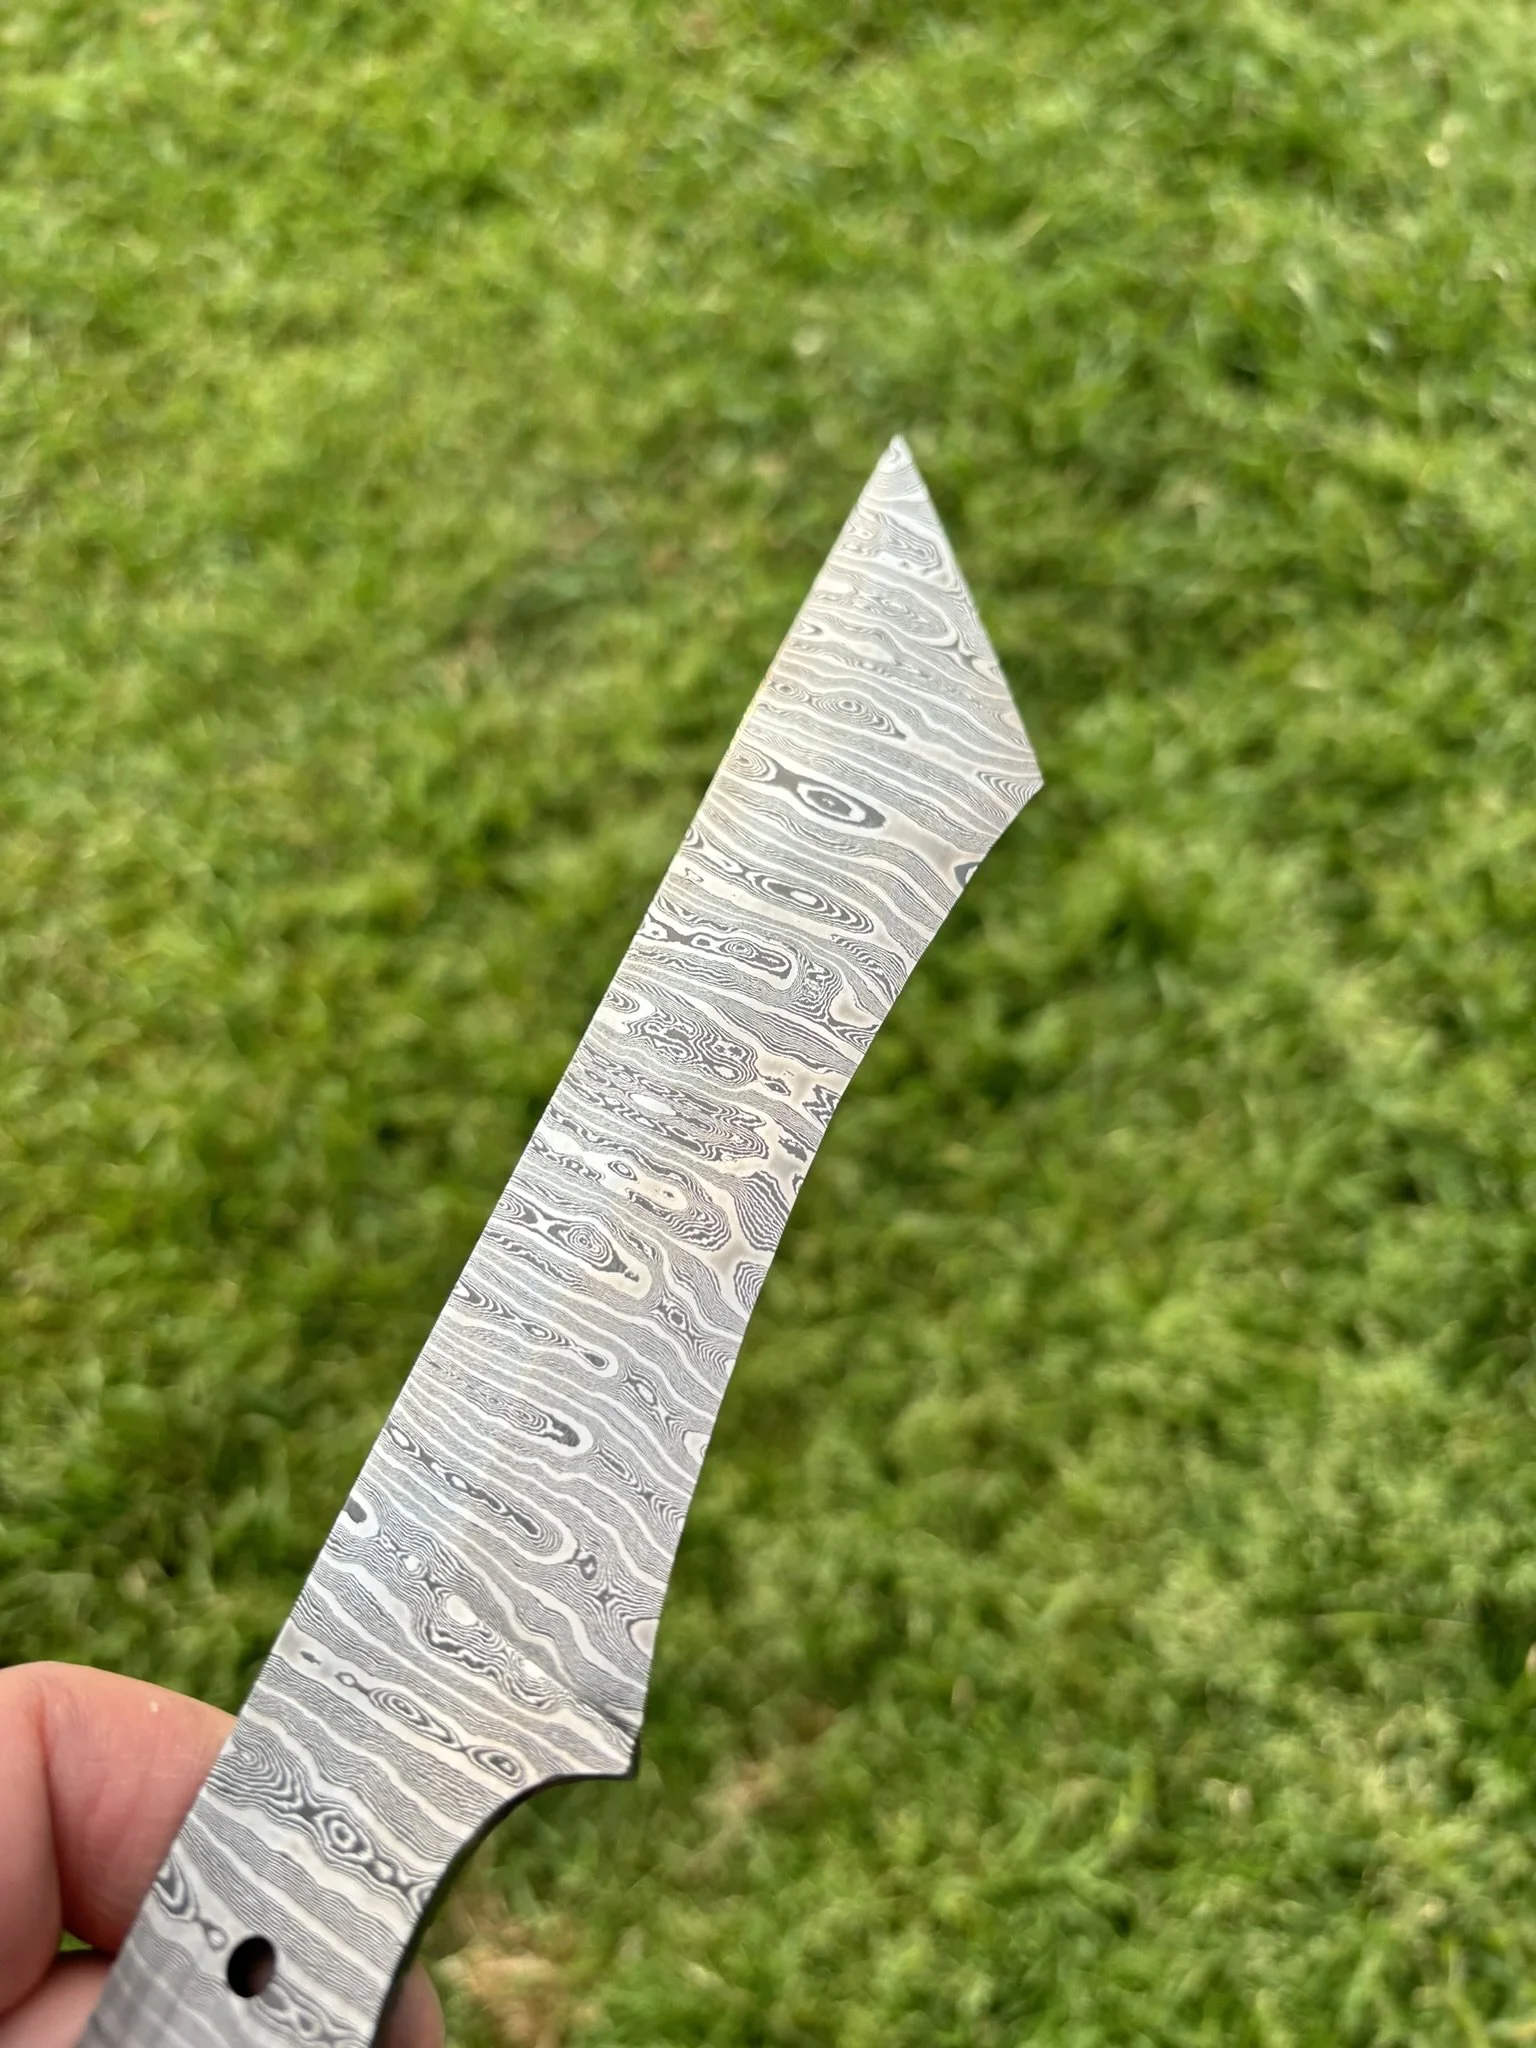
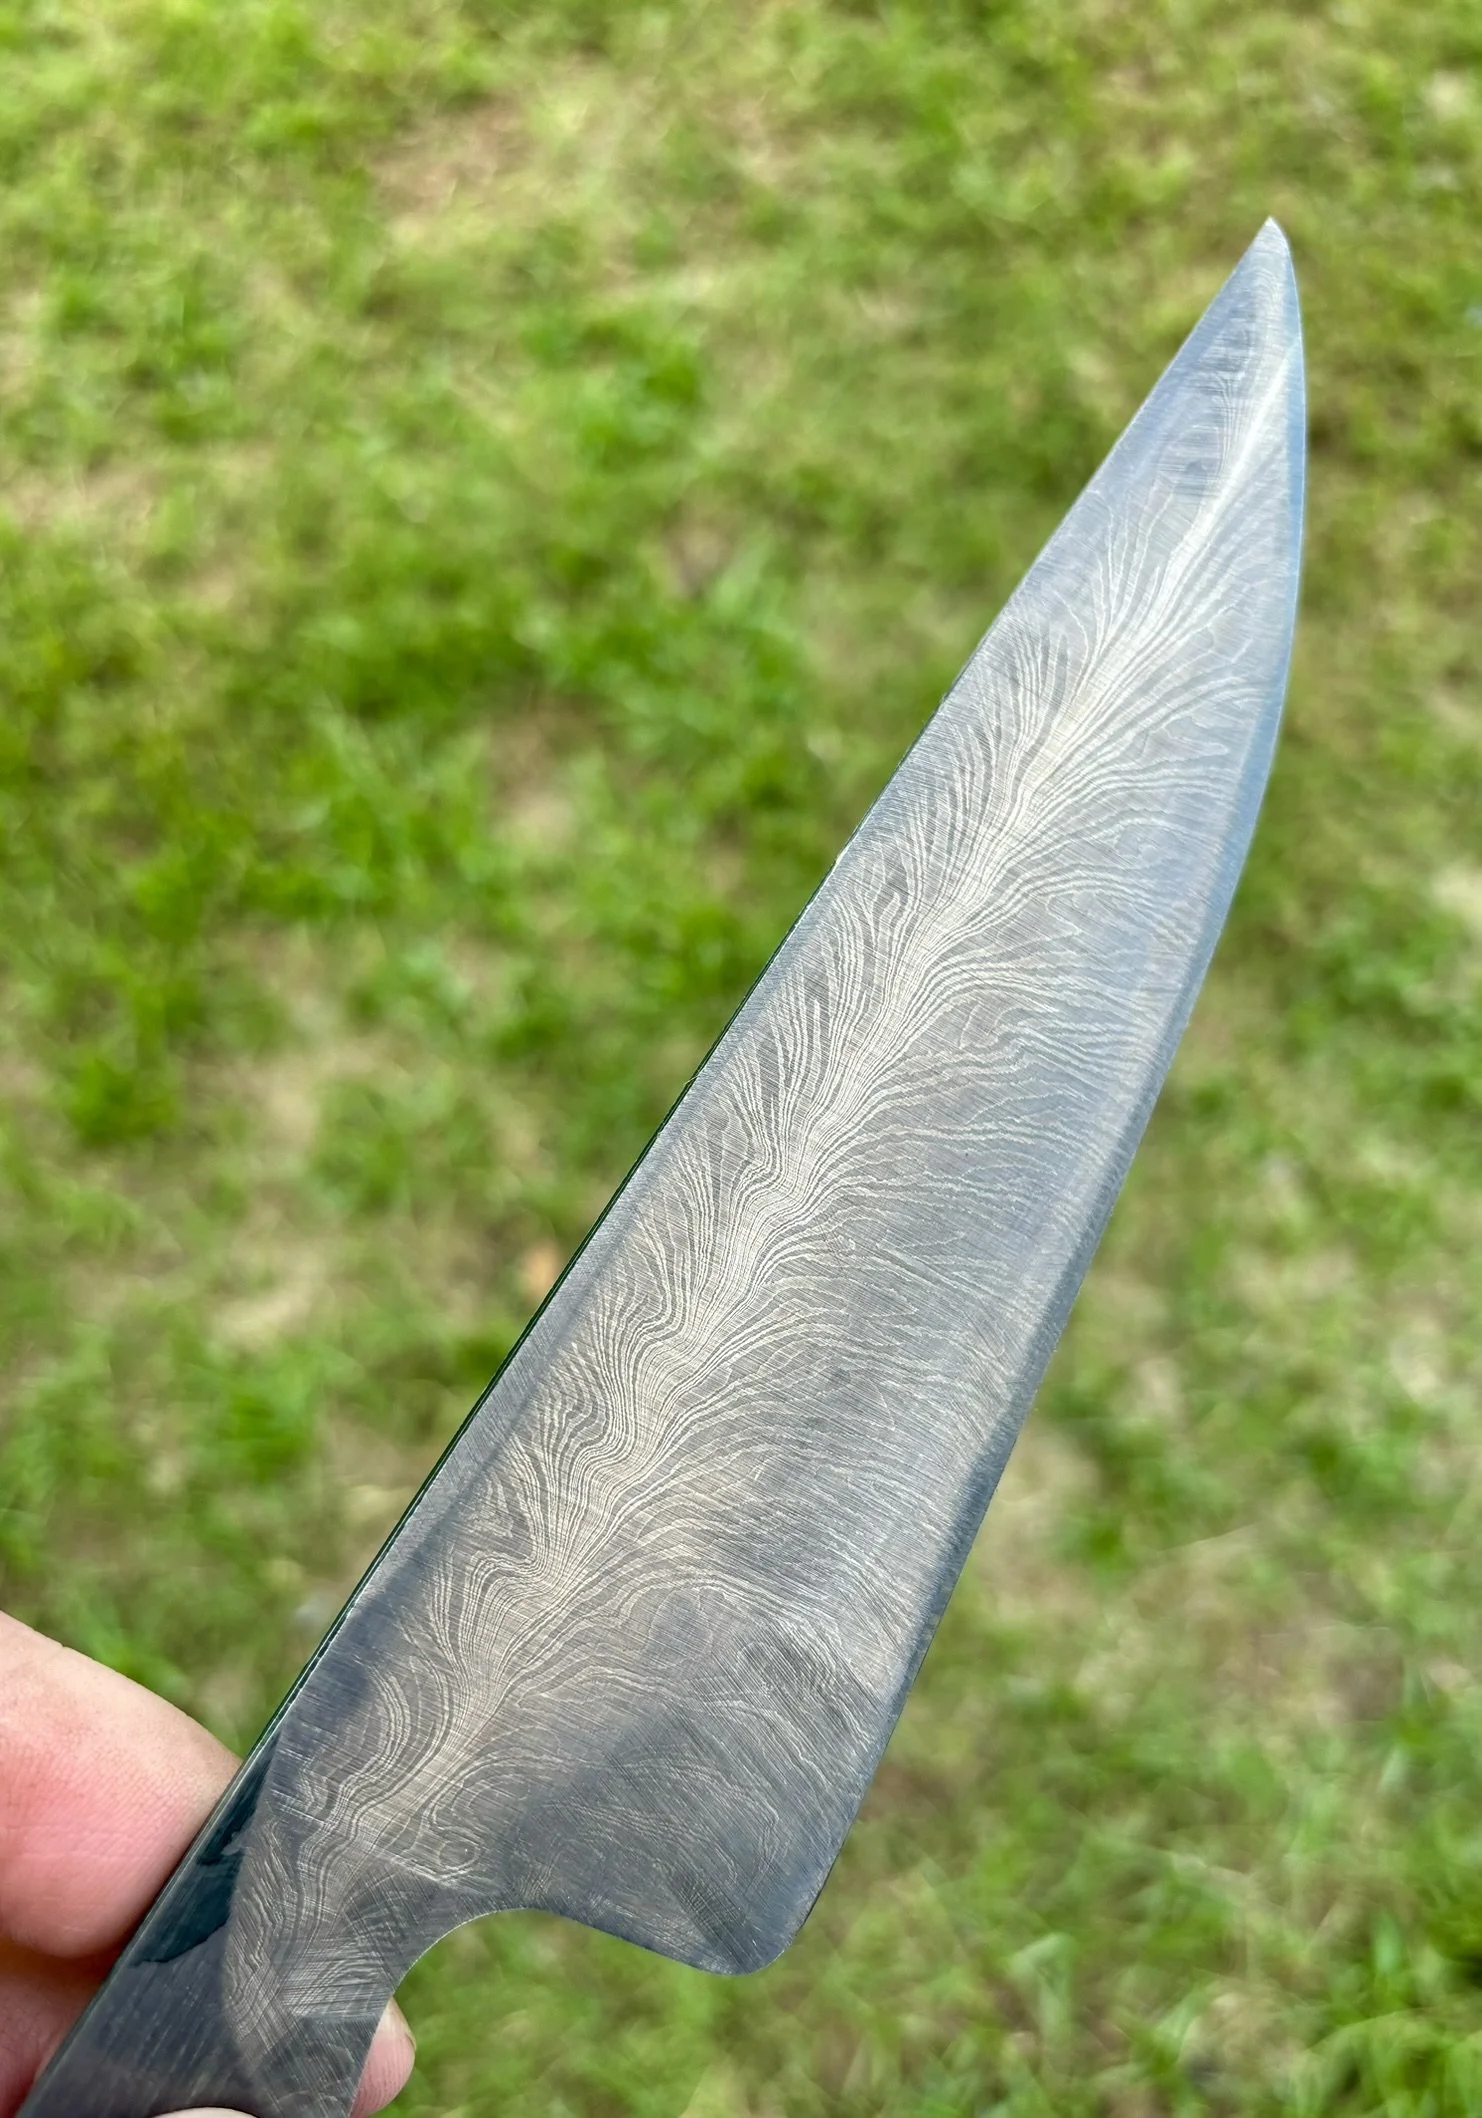
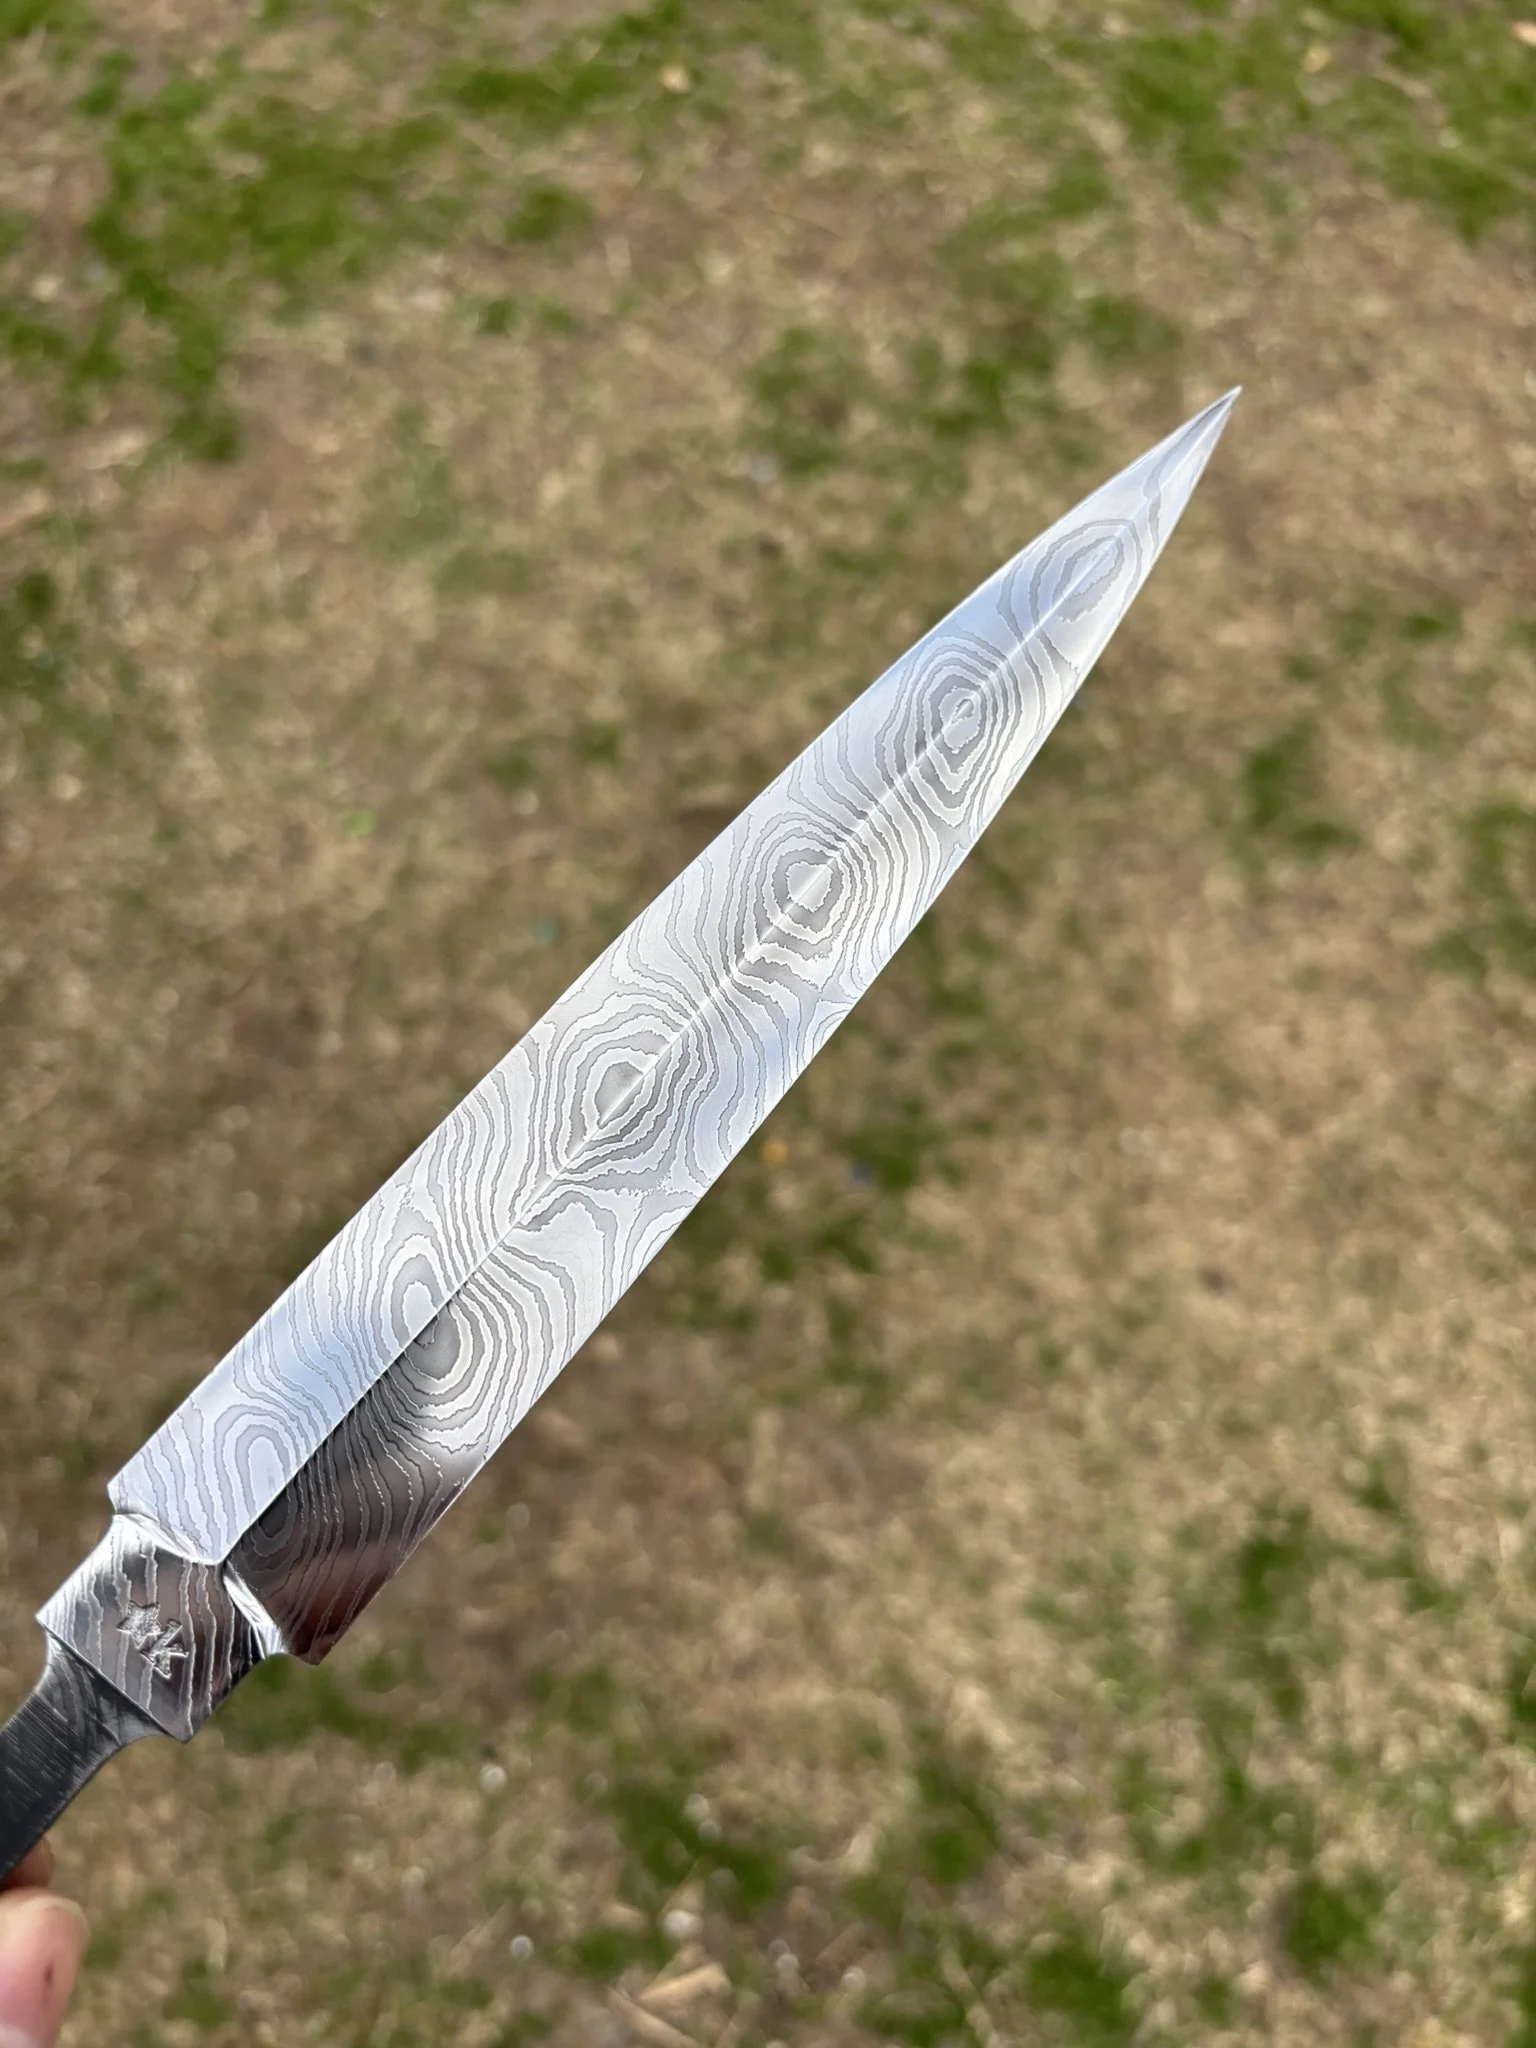
Had to take it outside to see it in natural lighting.
-
Belly looked really cool also.
-
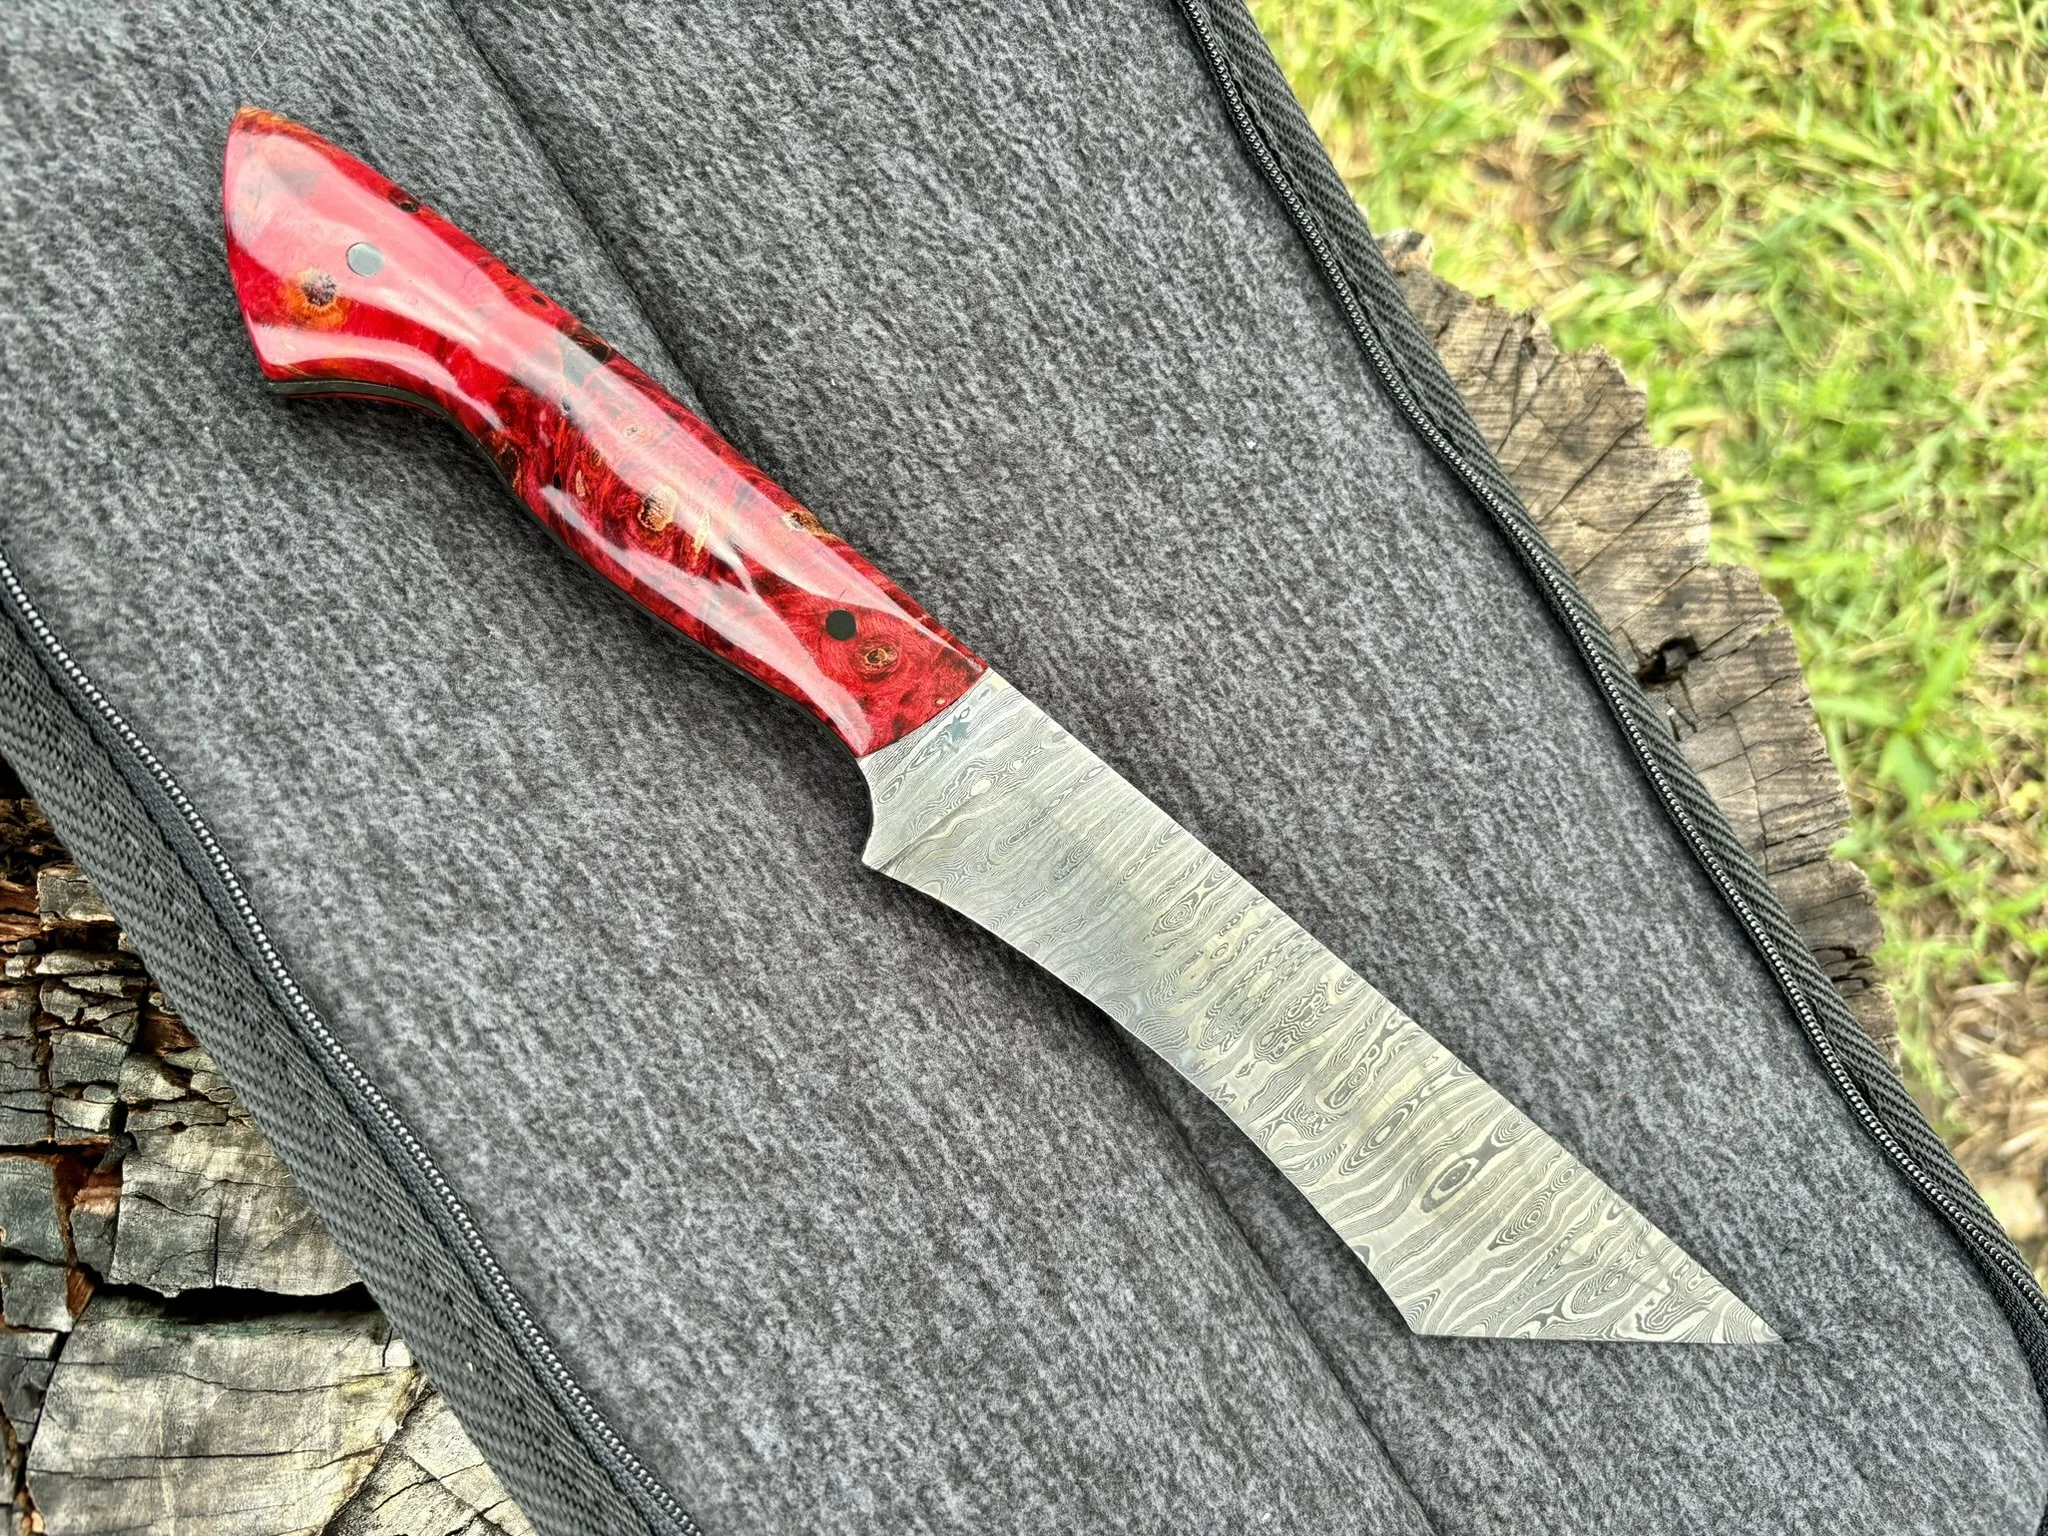
Finished glamour shot #1.
-
Finished glamour shot #2.
-
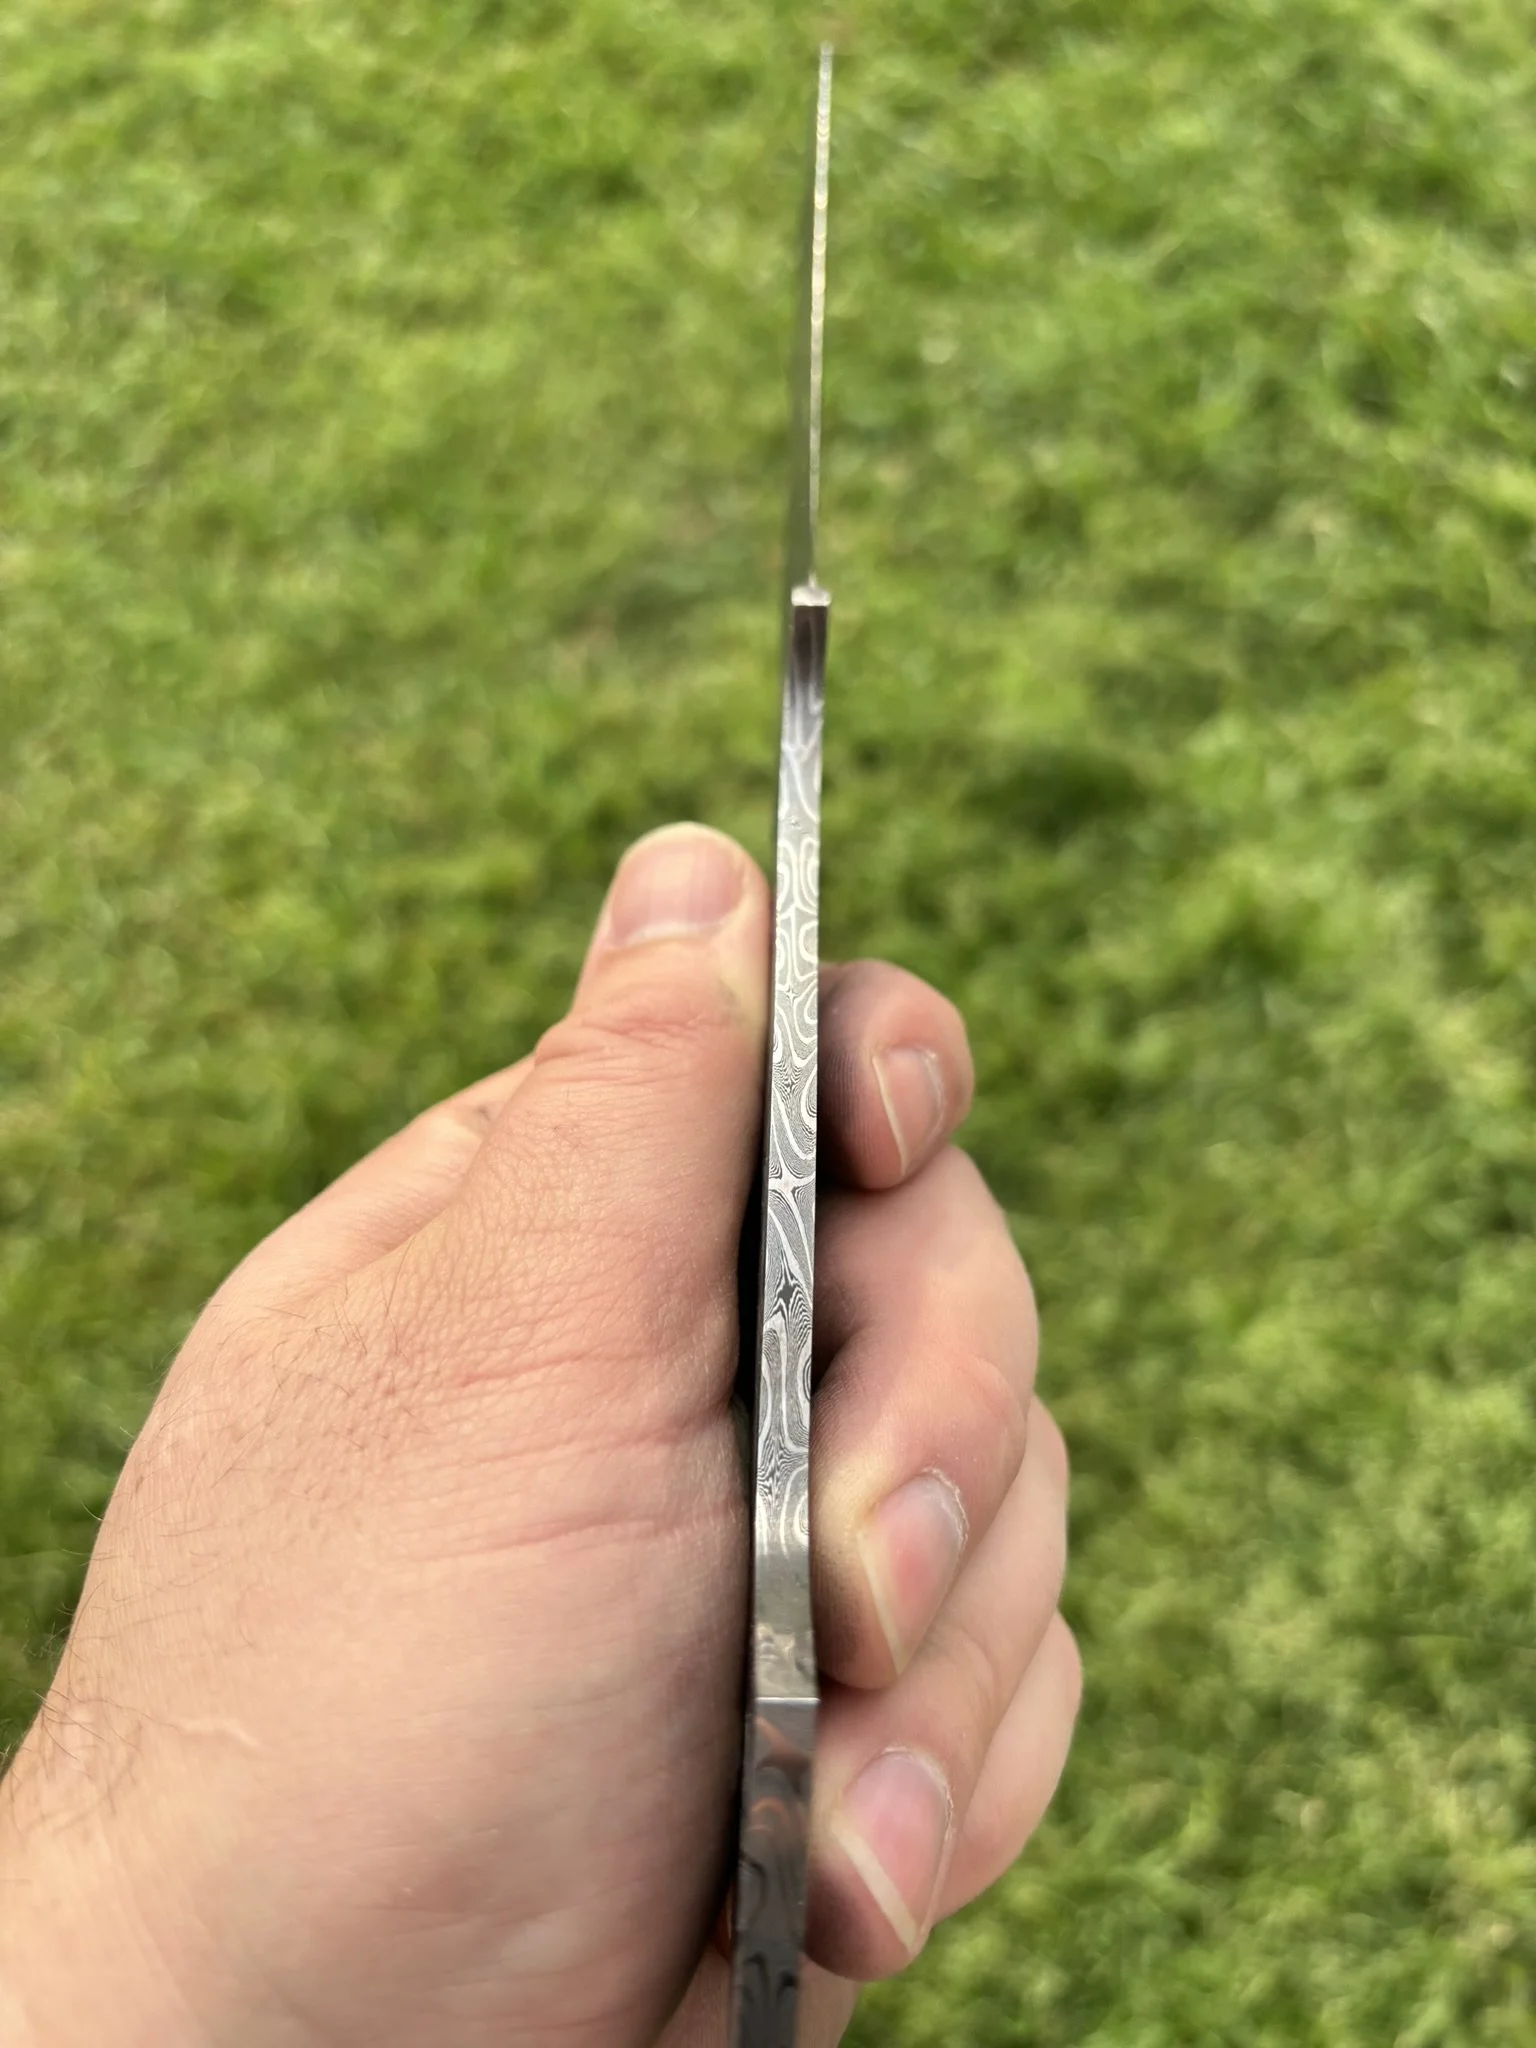
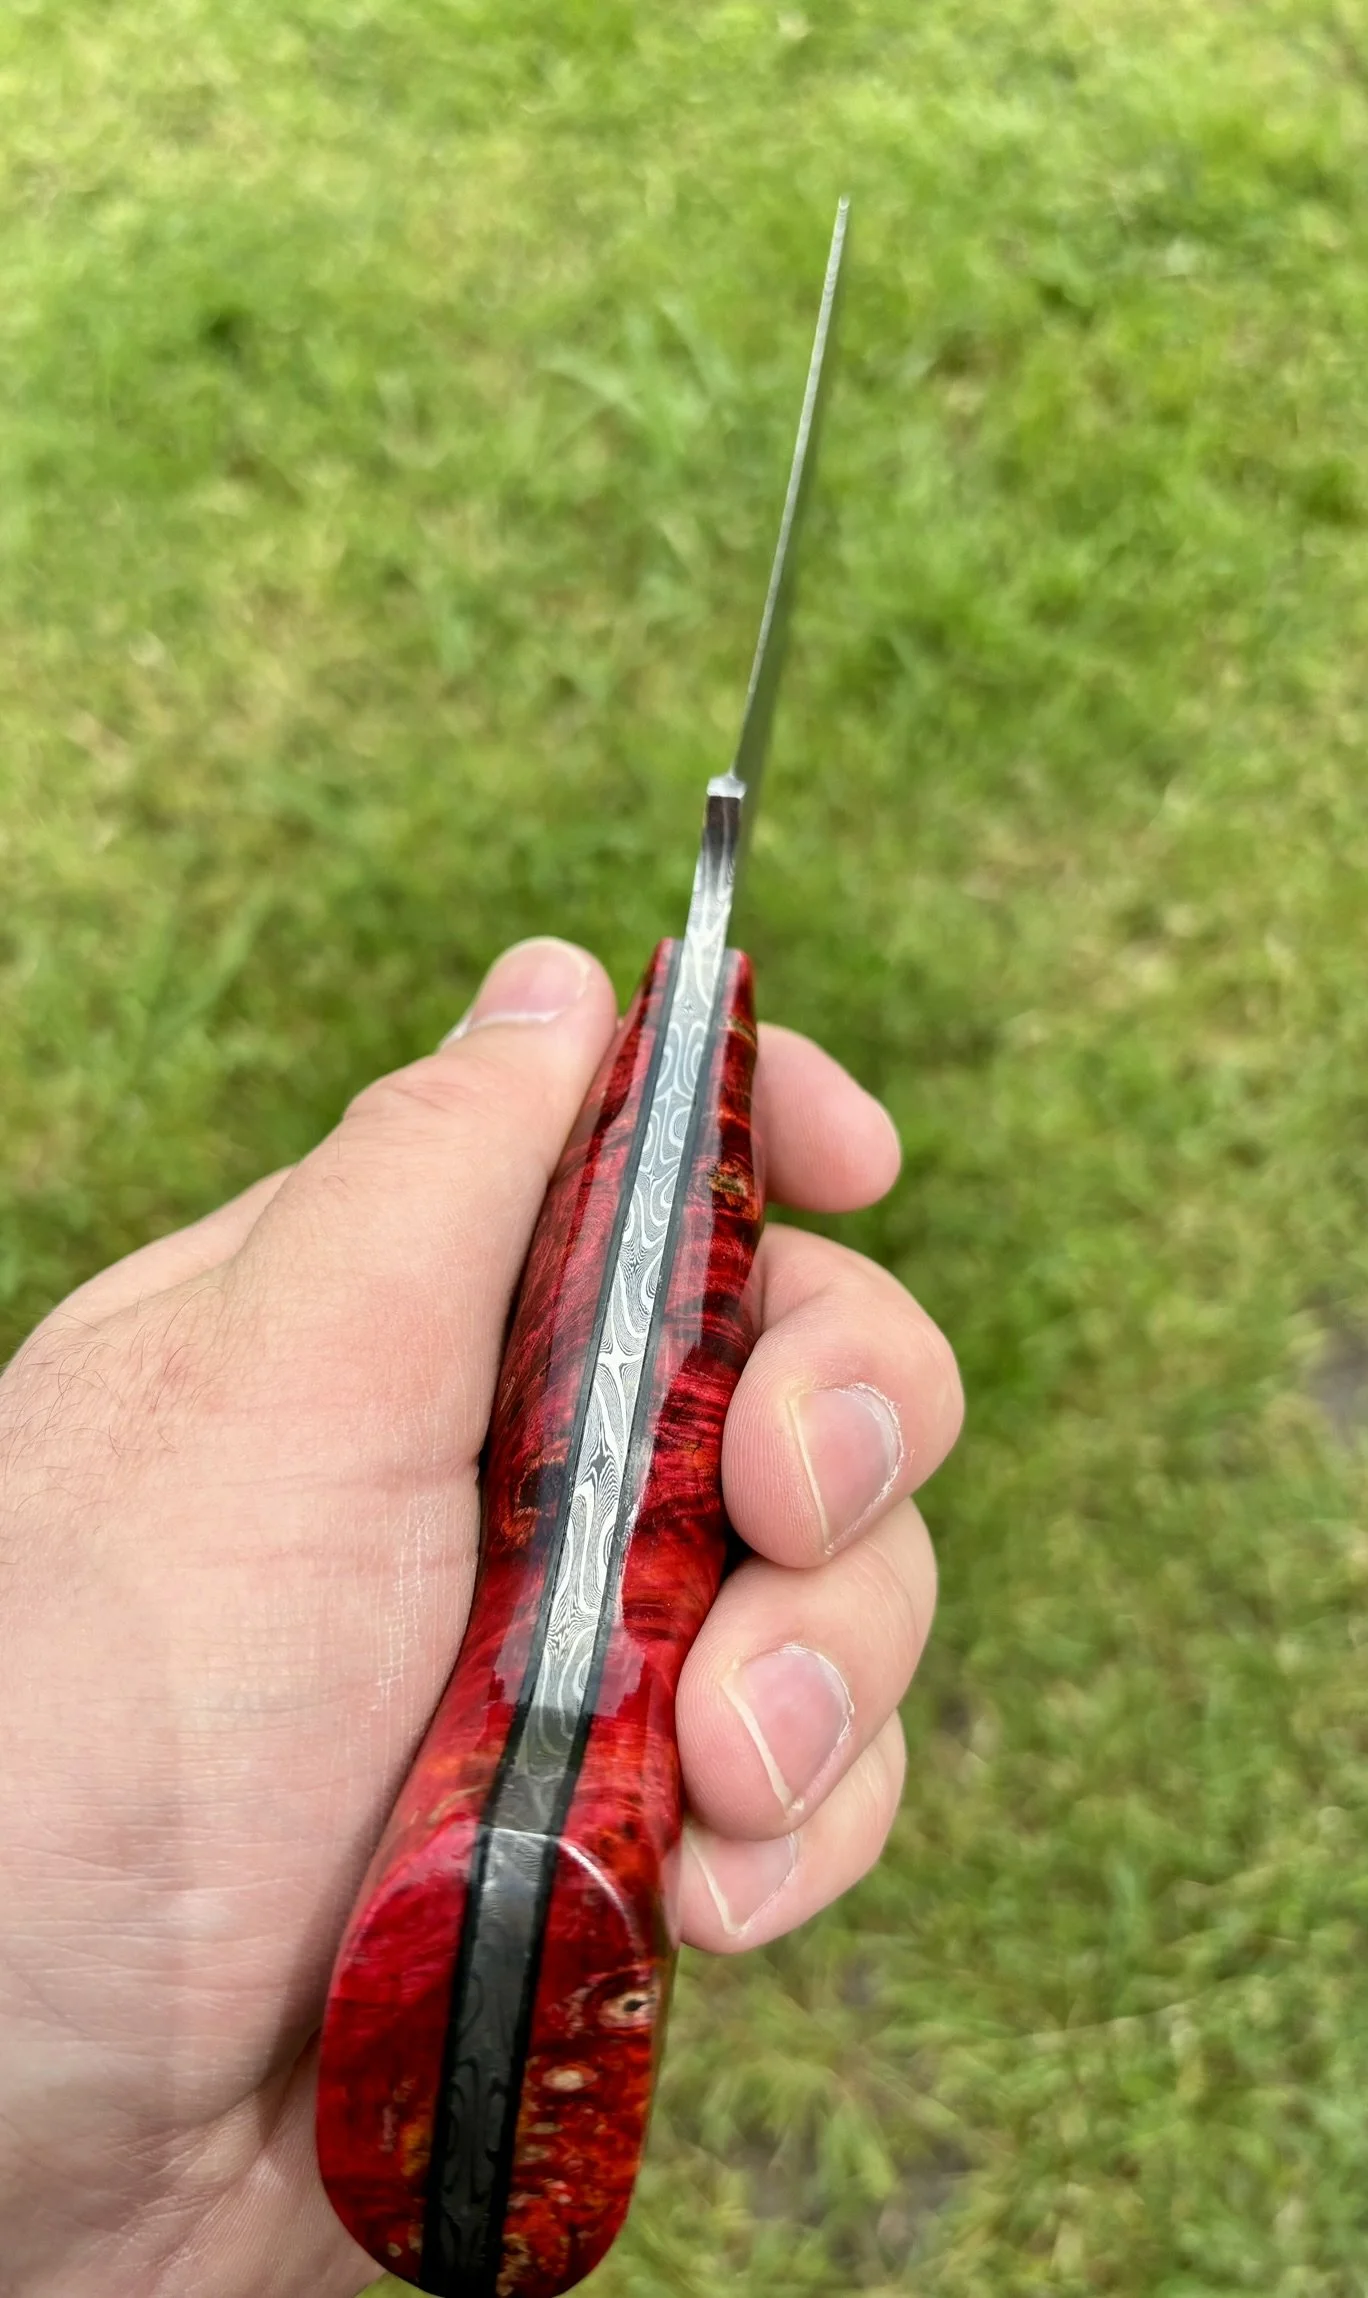
Spine glamour shot.
-
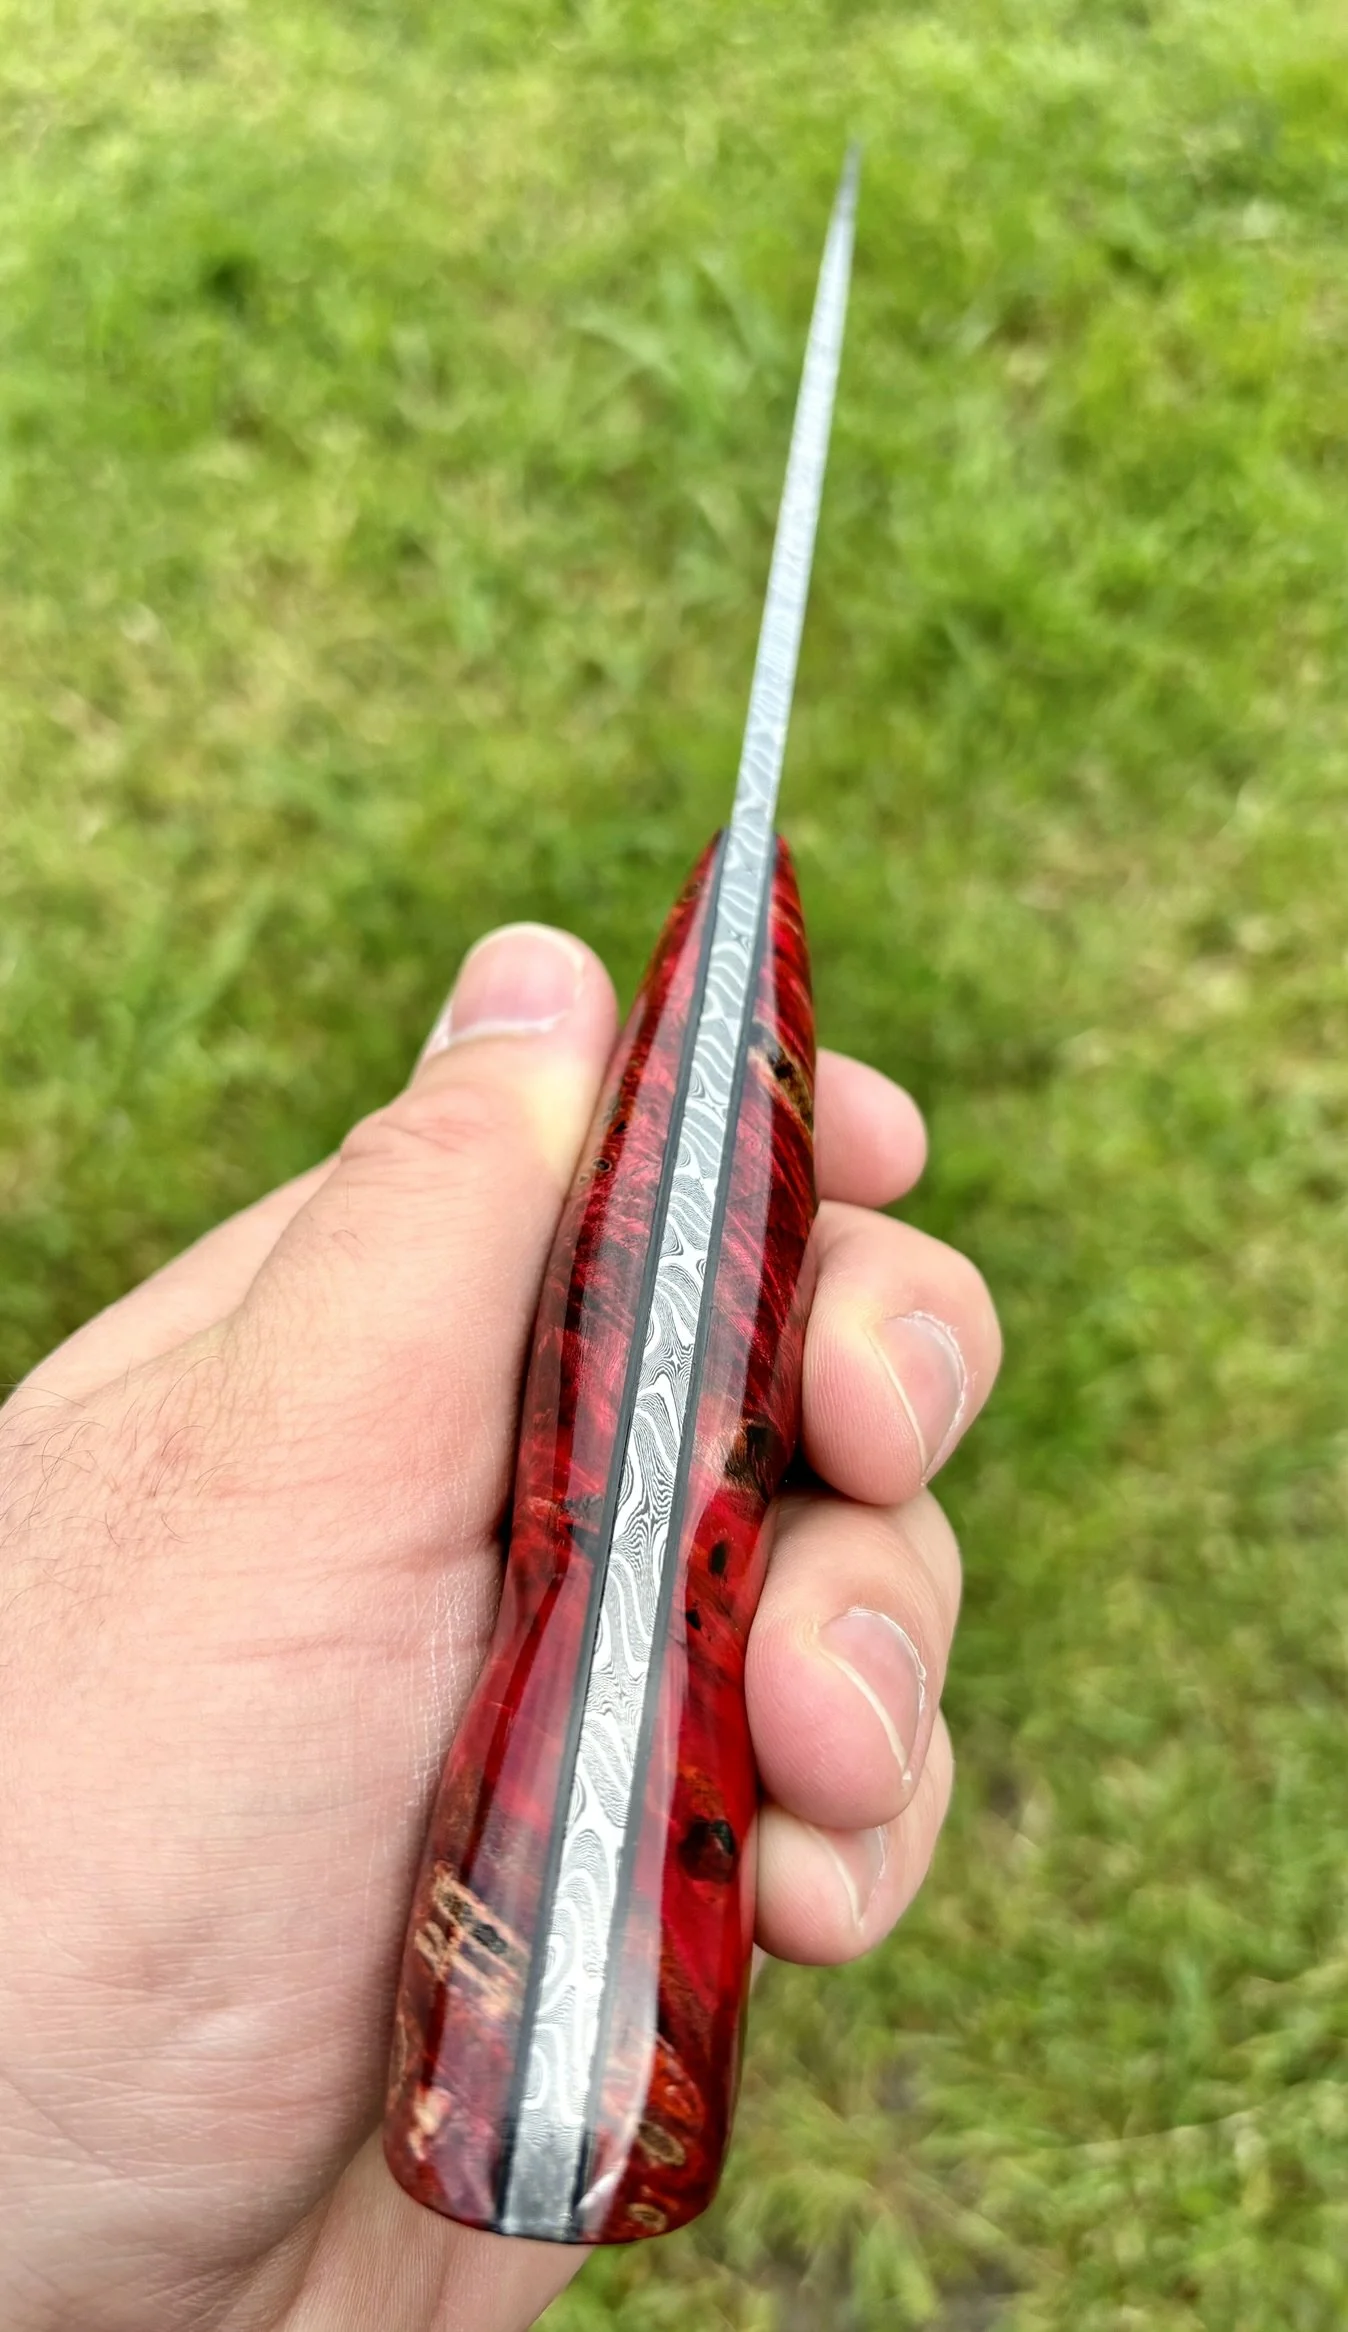
Belly glamour shot.
-
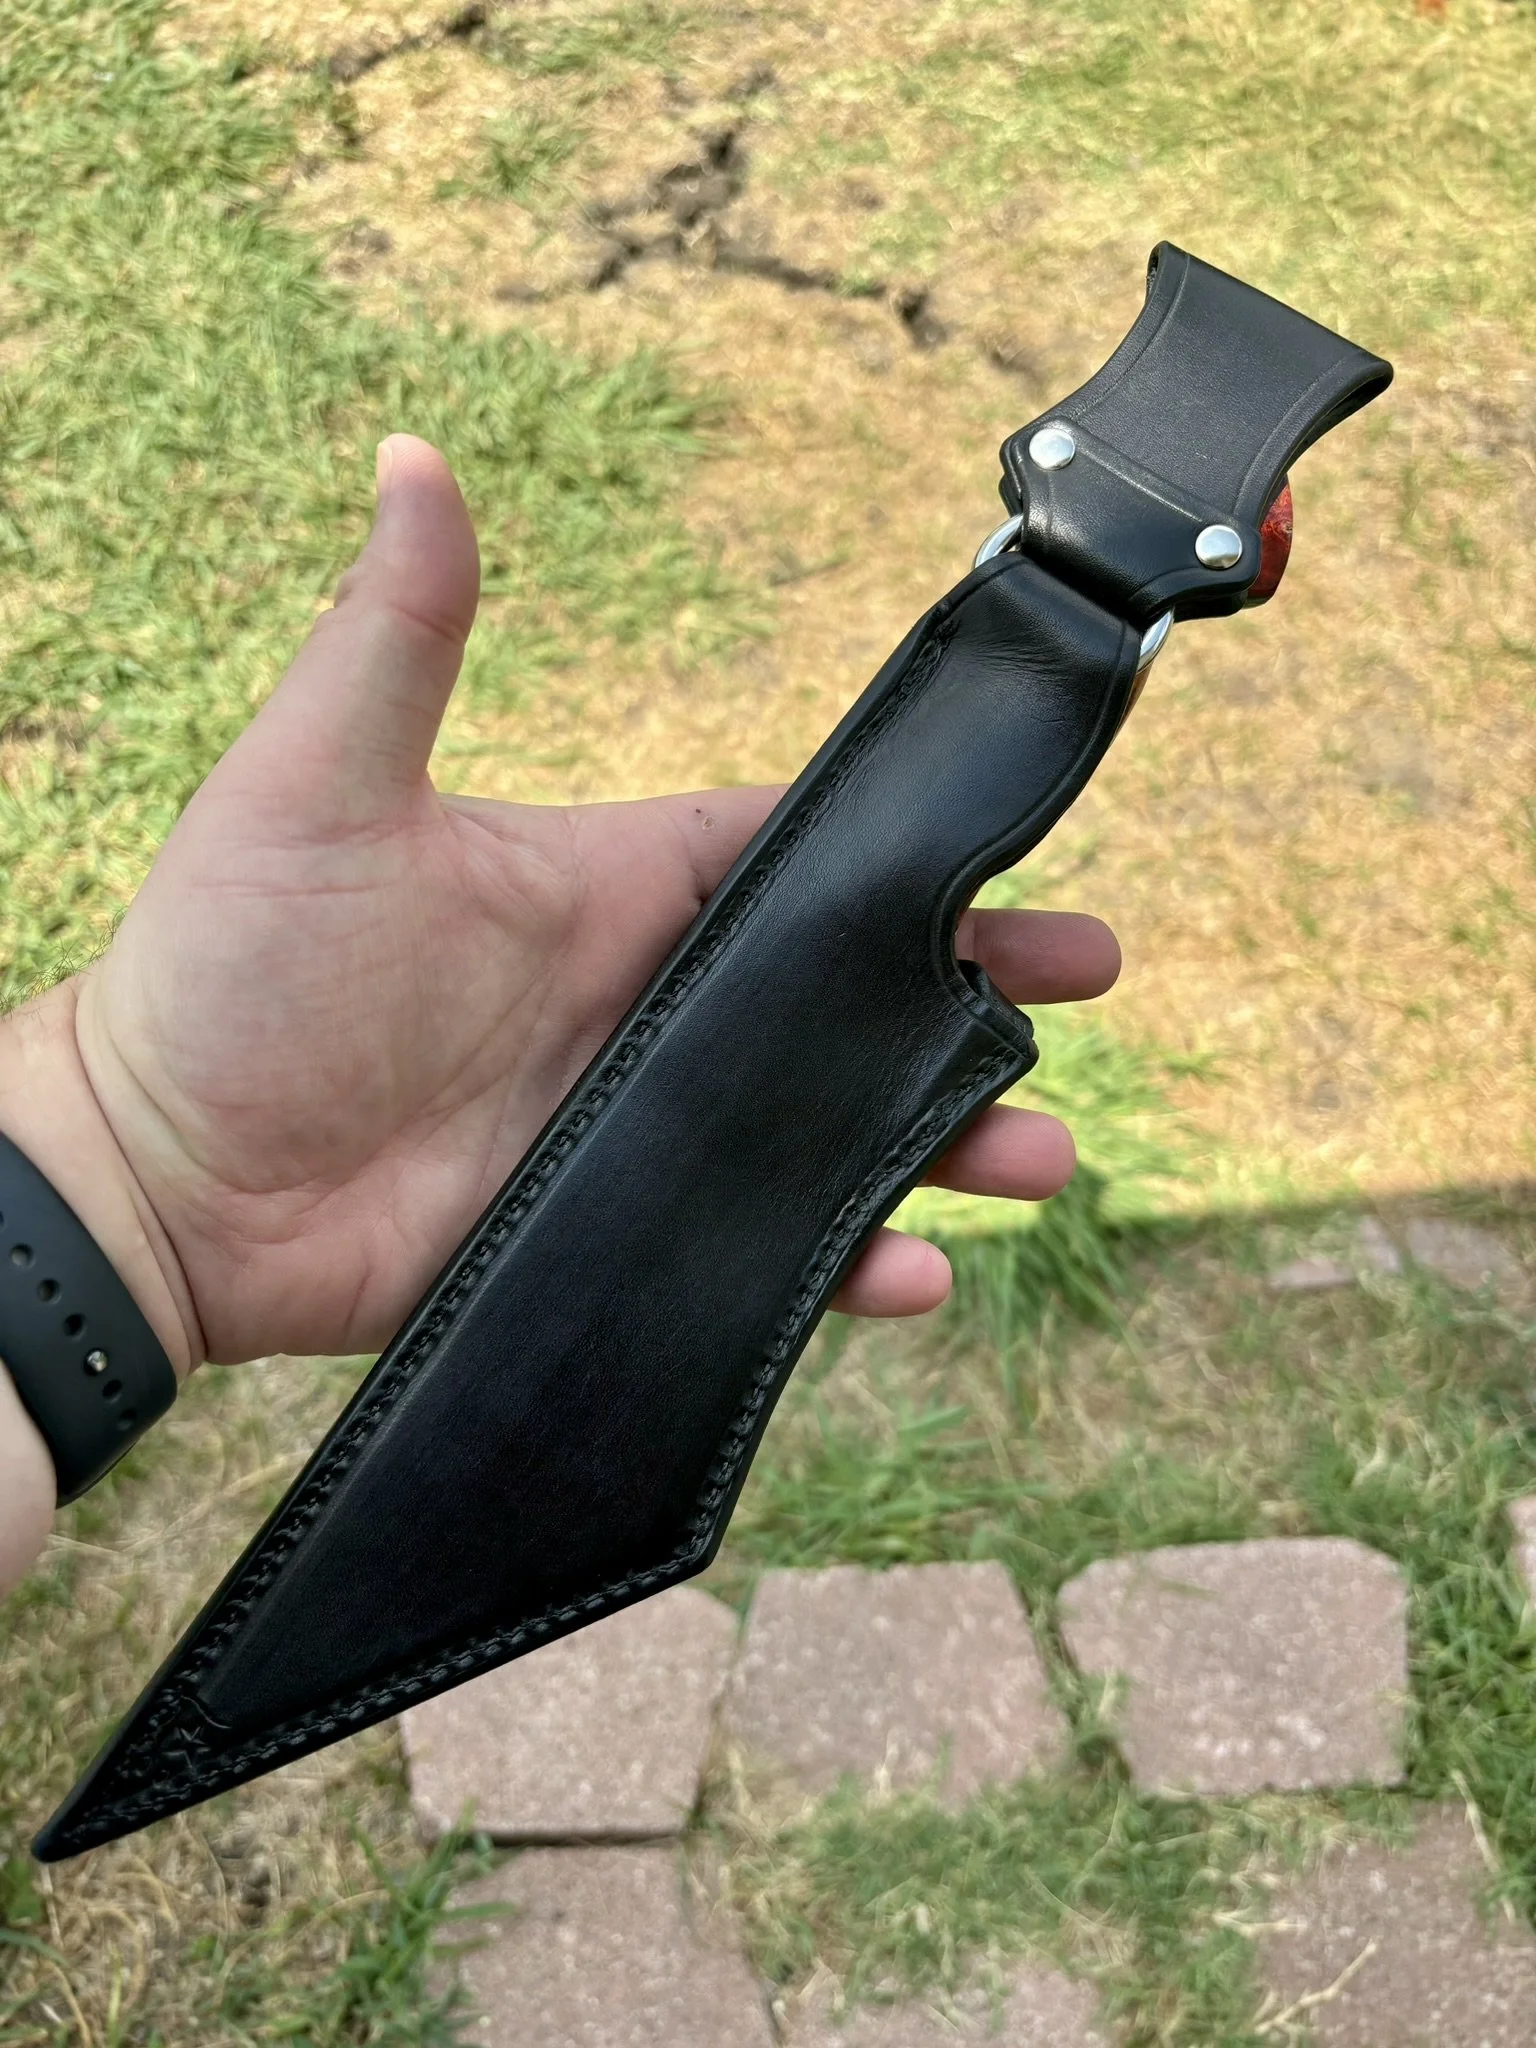
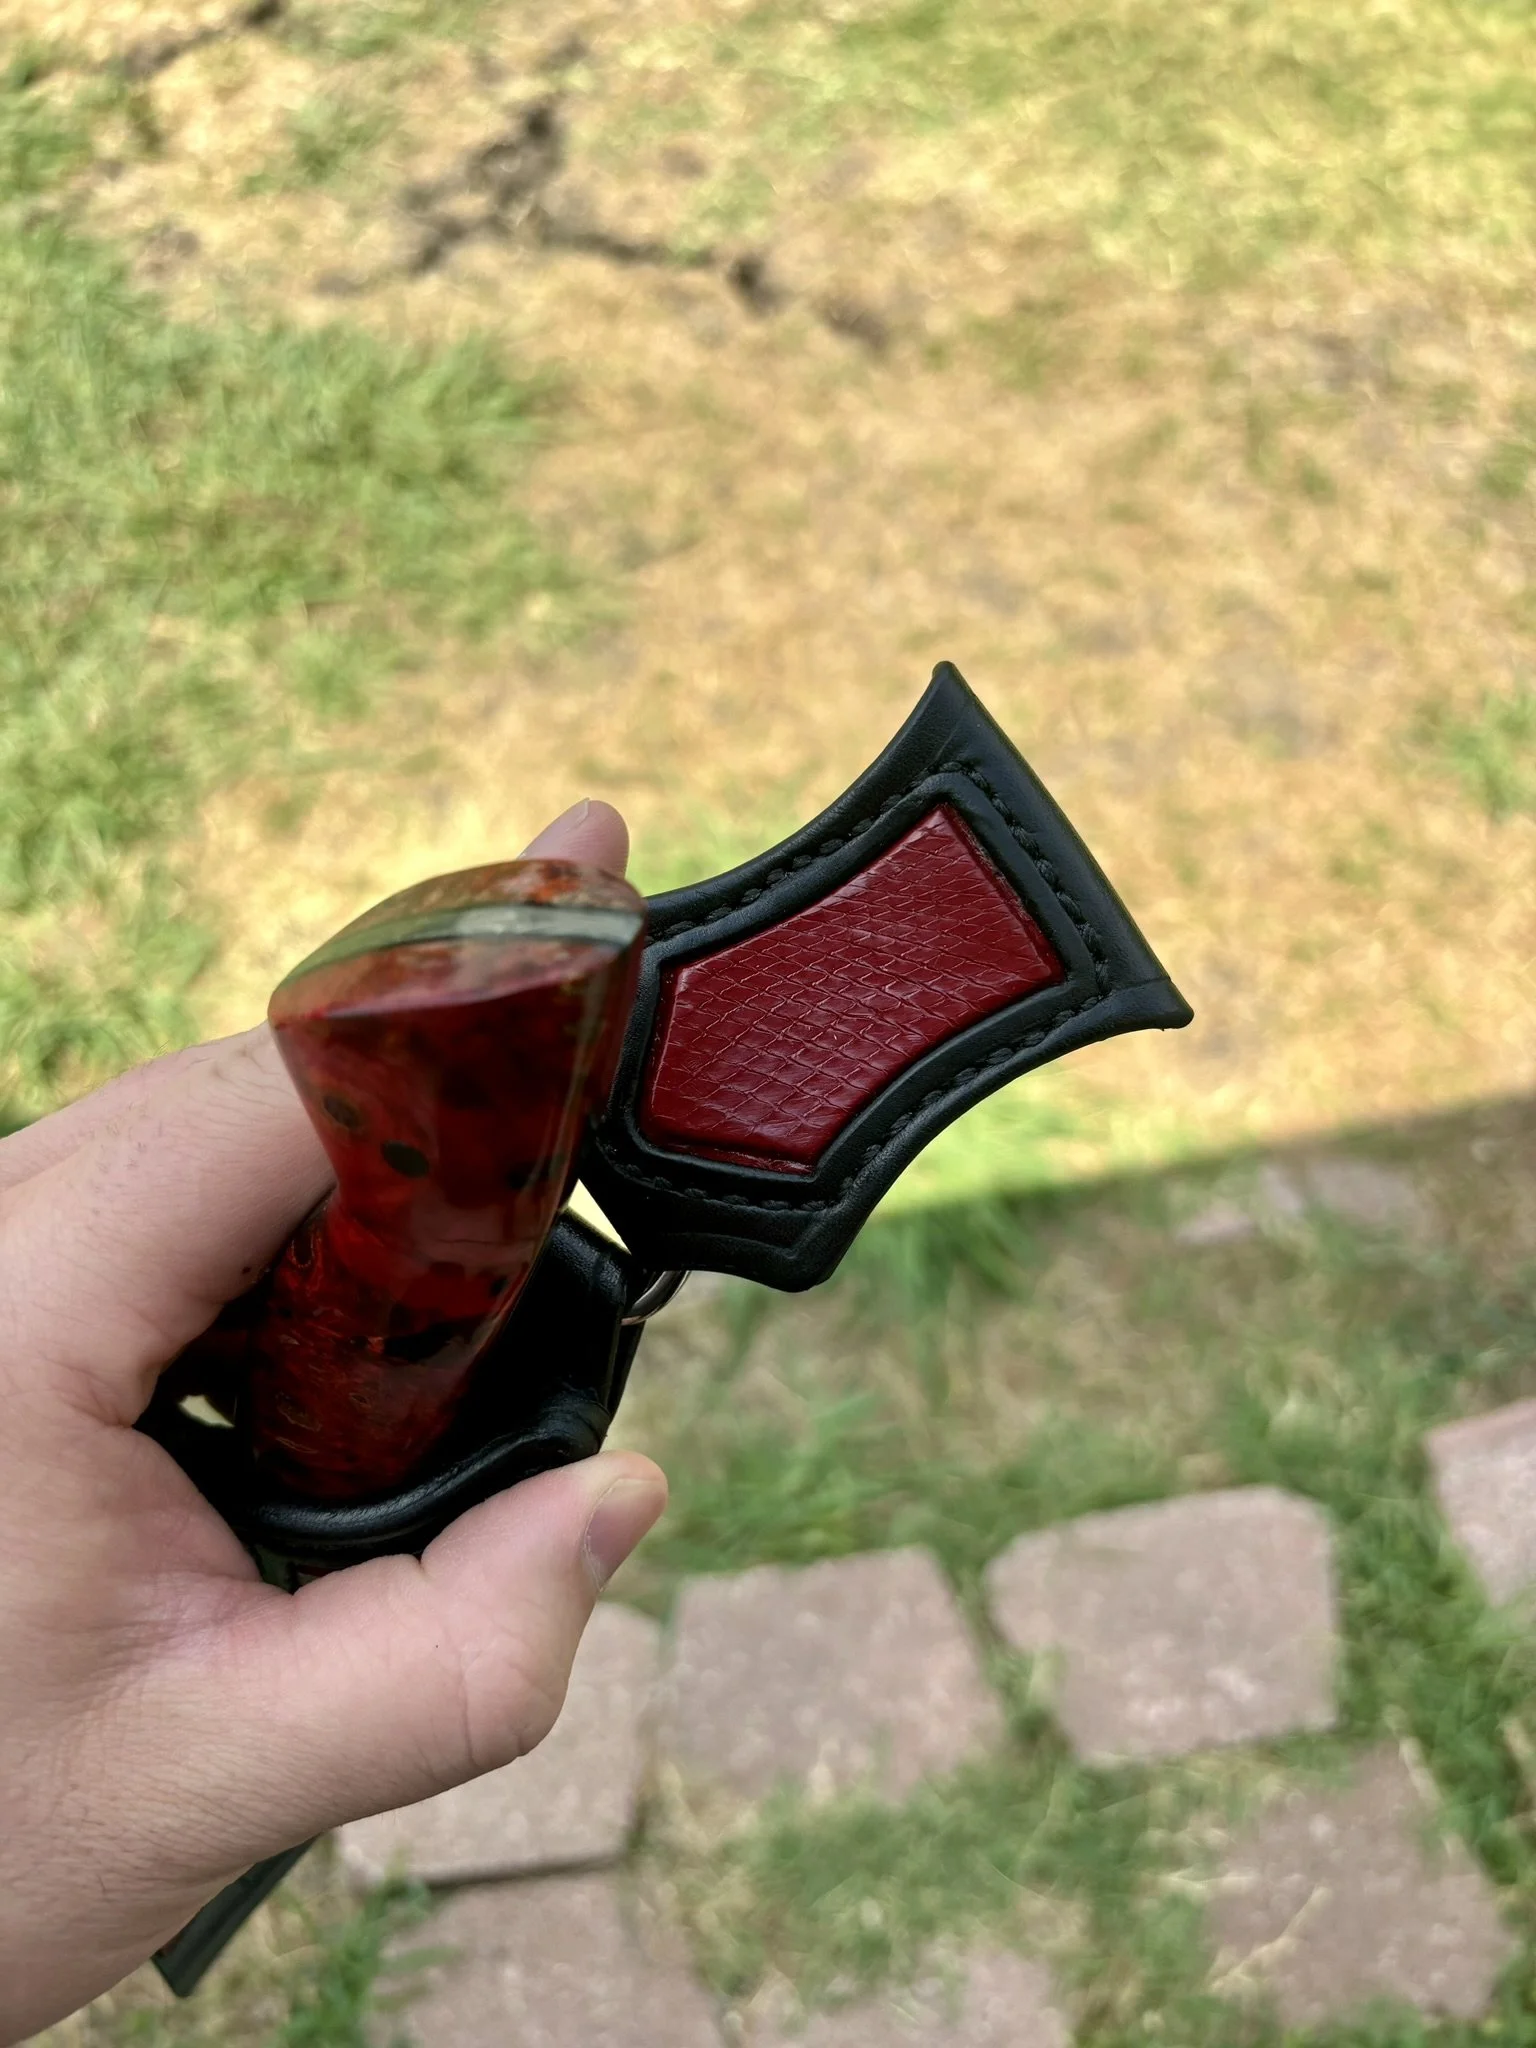
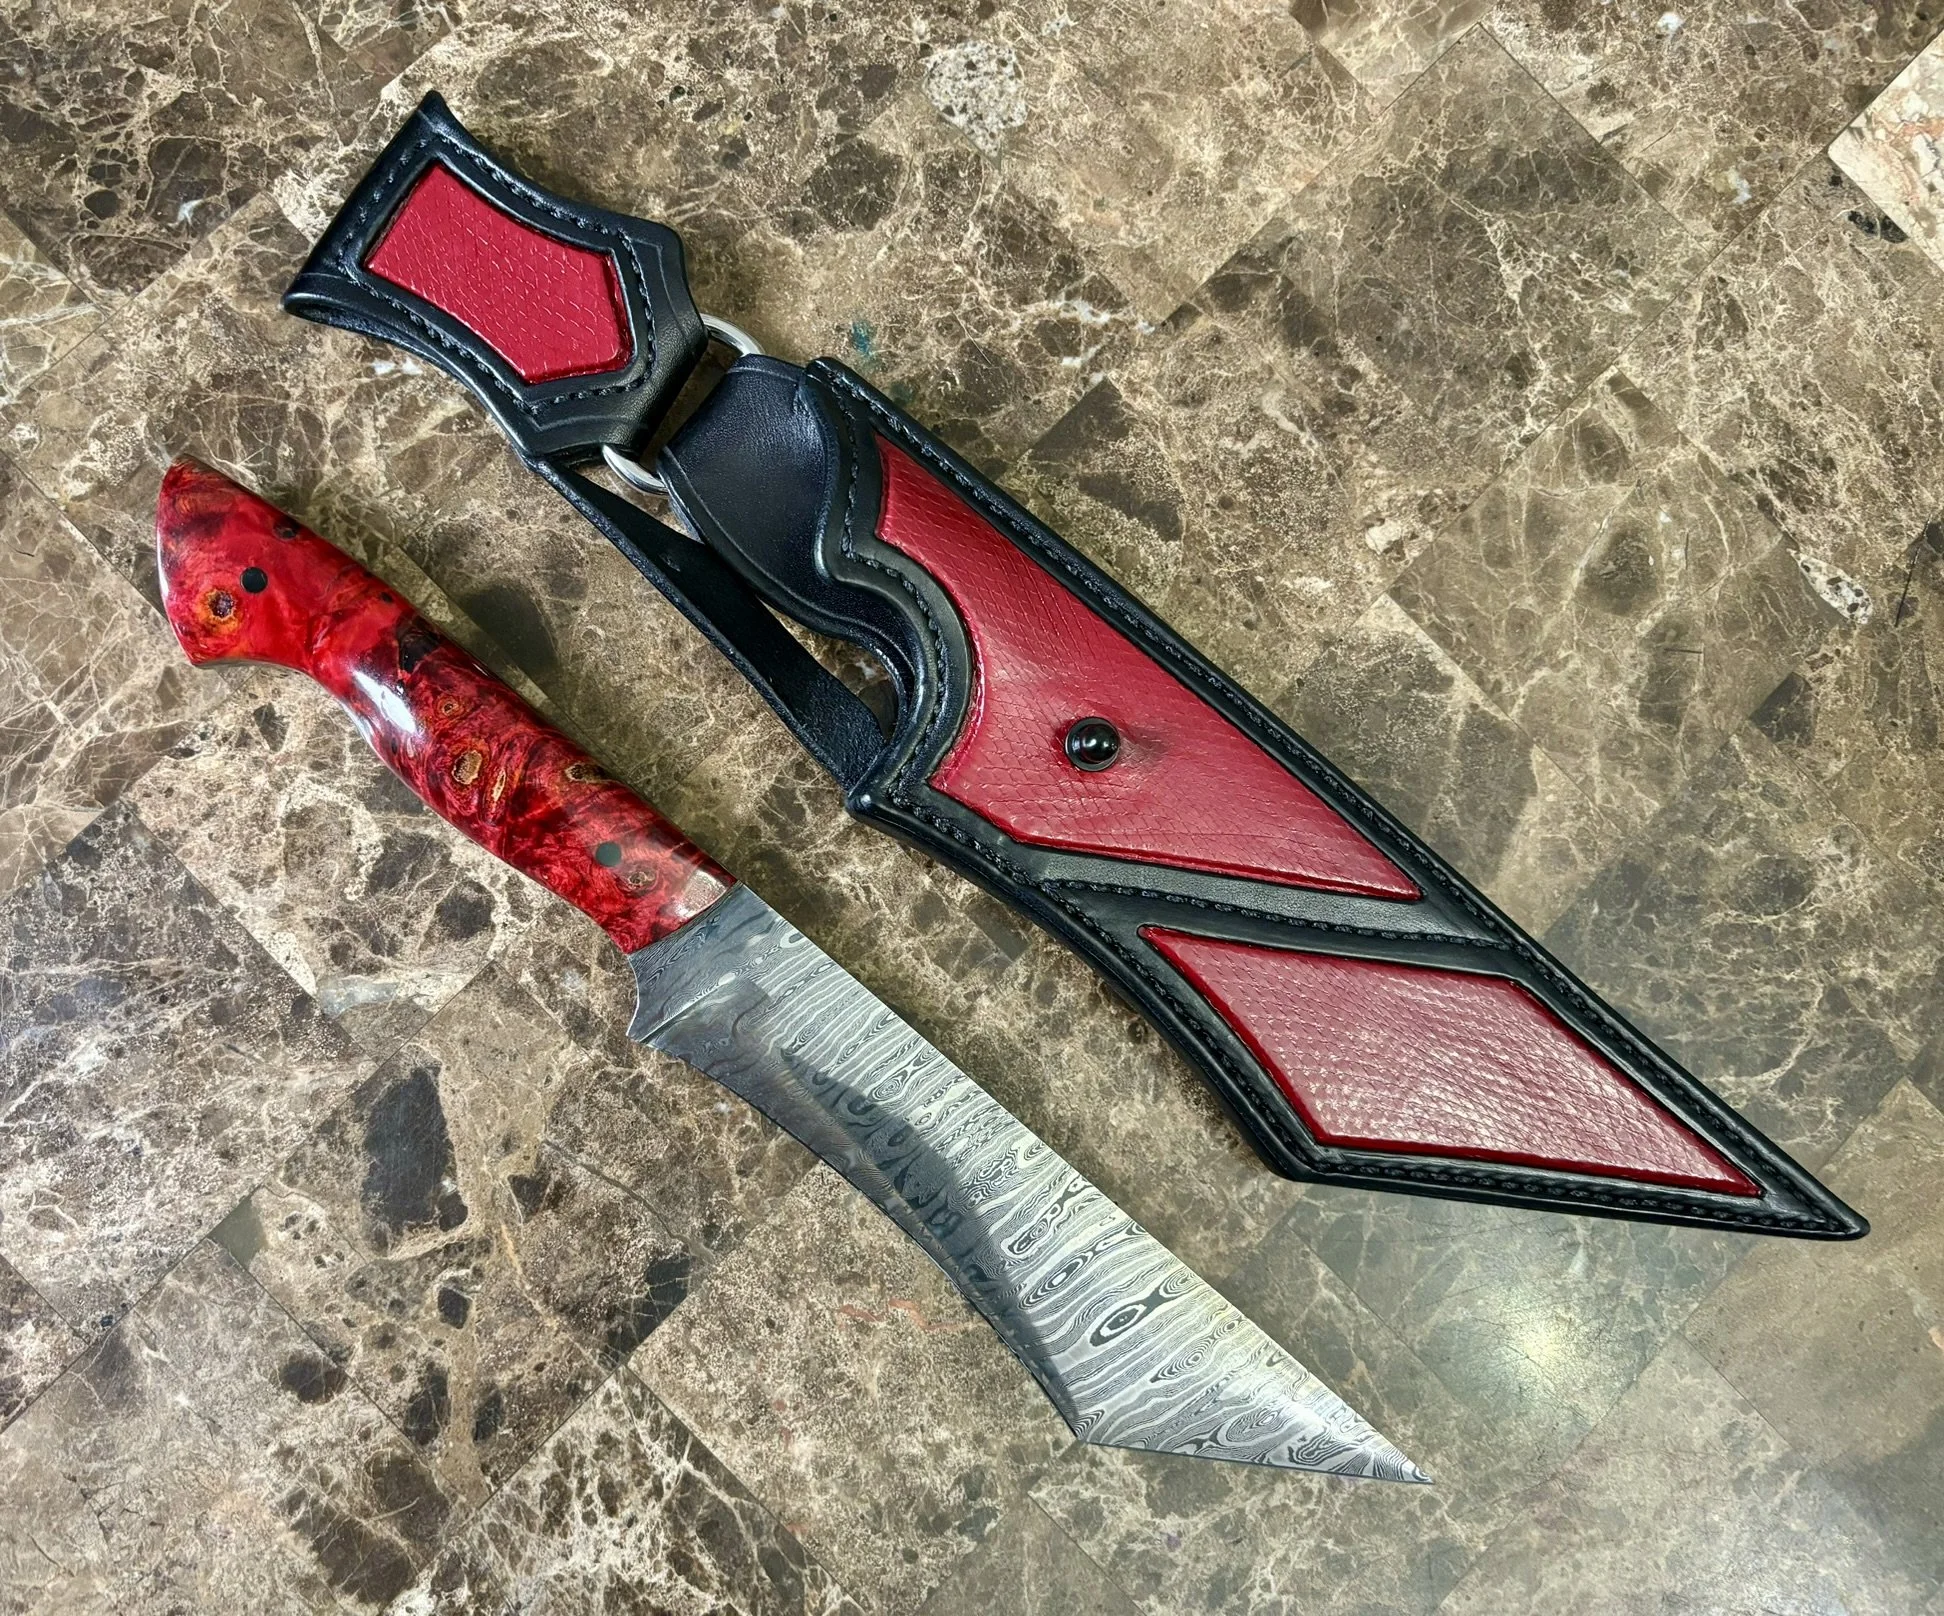
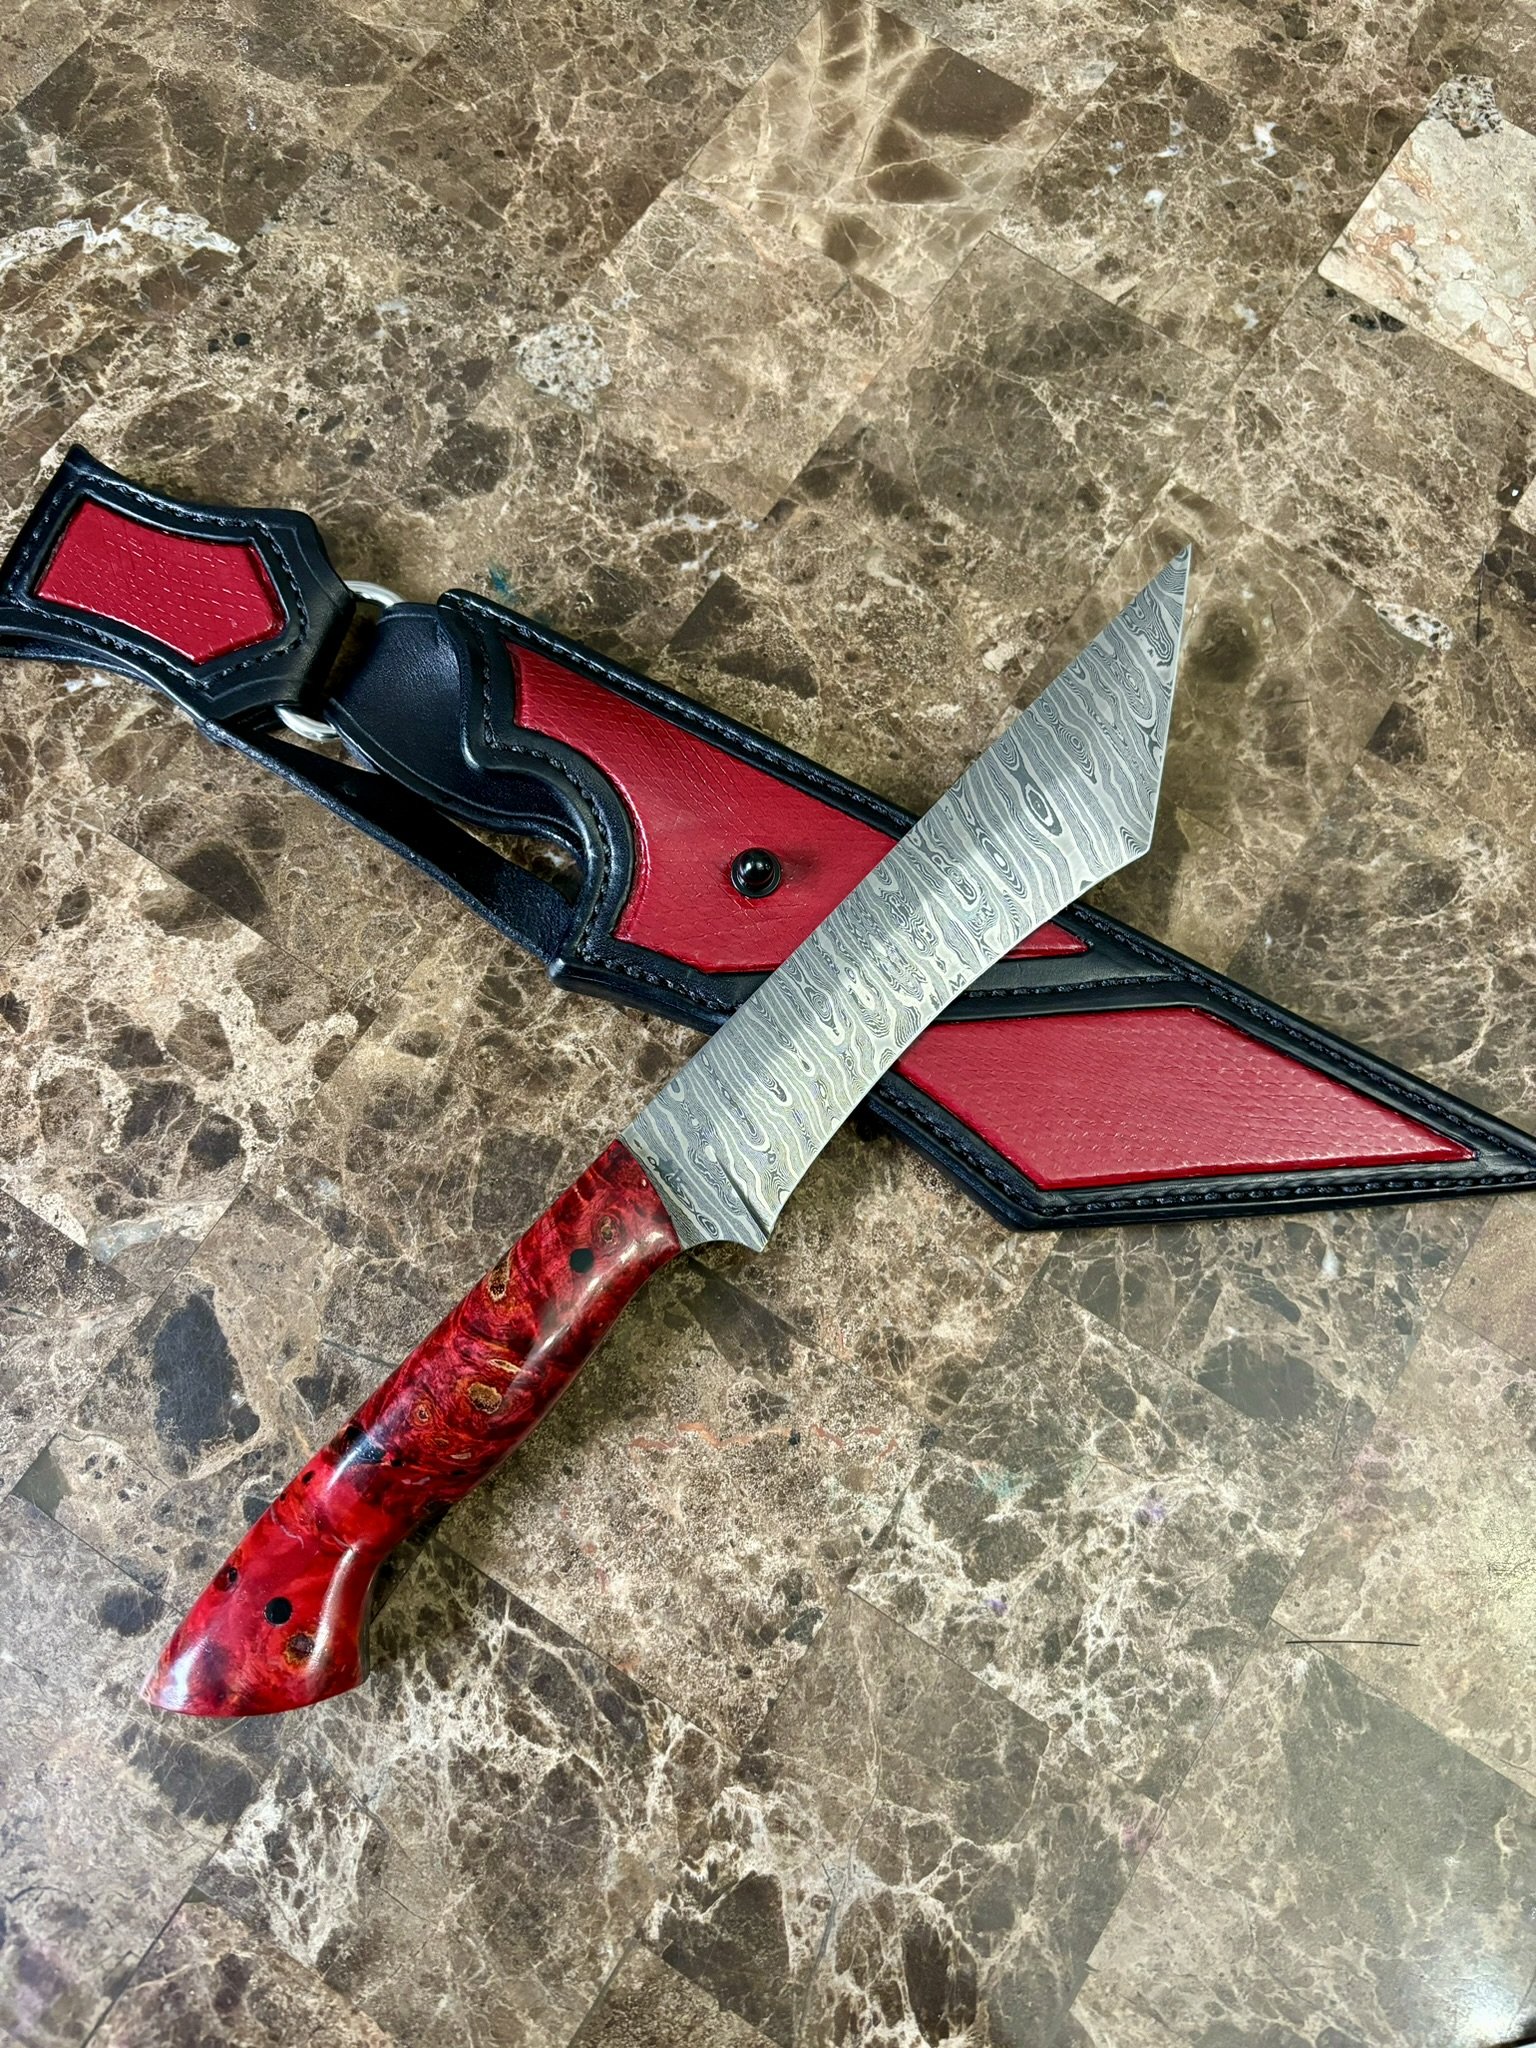
I decided before making this knife that I was getting pretty tired of making sheaths and had met an amazing leather worker at Bladeshow Texas. I decided to have him make the sheath for this blade and he did not disappoint!
-
Even the belt loop was amazing! T-Star Leather clearly does a much better job than I do.
-
Blade and sheath glamour shot #1.
-
Blade and sheath glamour shot #2.
Feather Damascus - personal collection
-
Final blade - keep scrolling to see the journey.
-
I decided that I wanted a updated chef's knife for my personal collection, and wanted to try my hand at feather damascus. I knew it would be challenging, but I personally enjoy the process of making damascus.
-
15n20 and 1084 all lined up and ready.
-
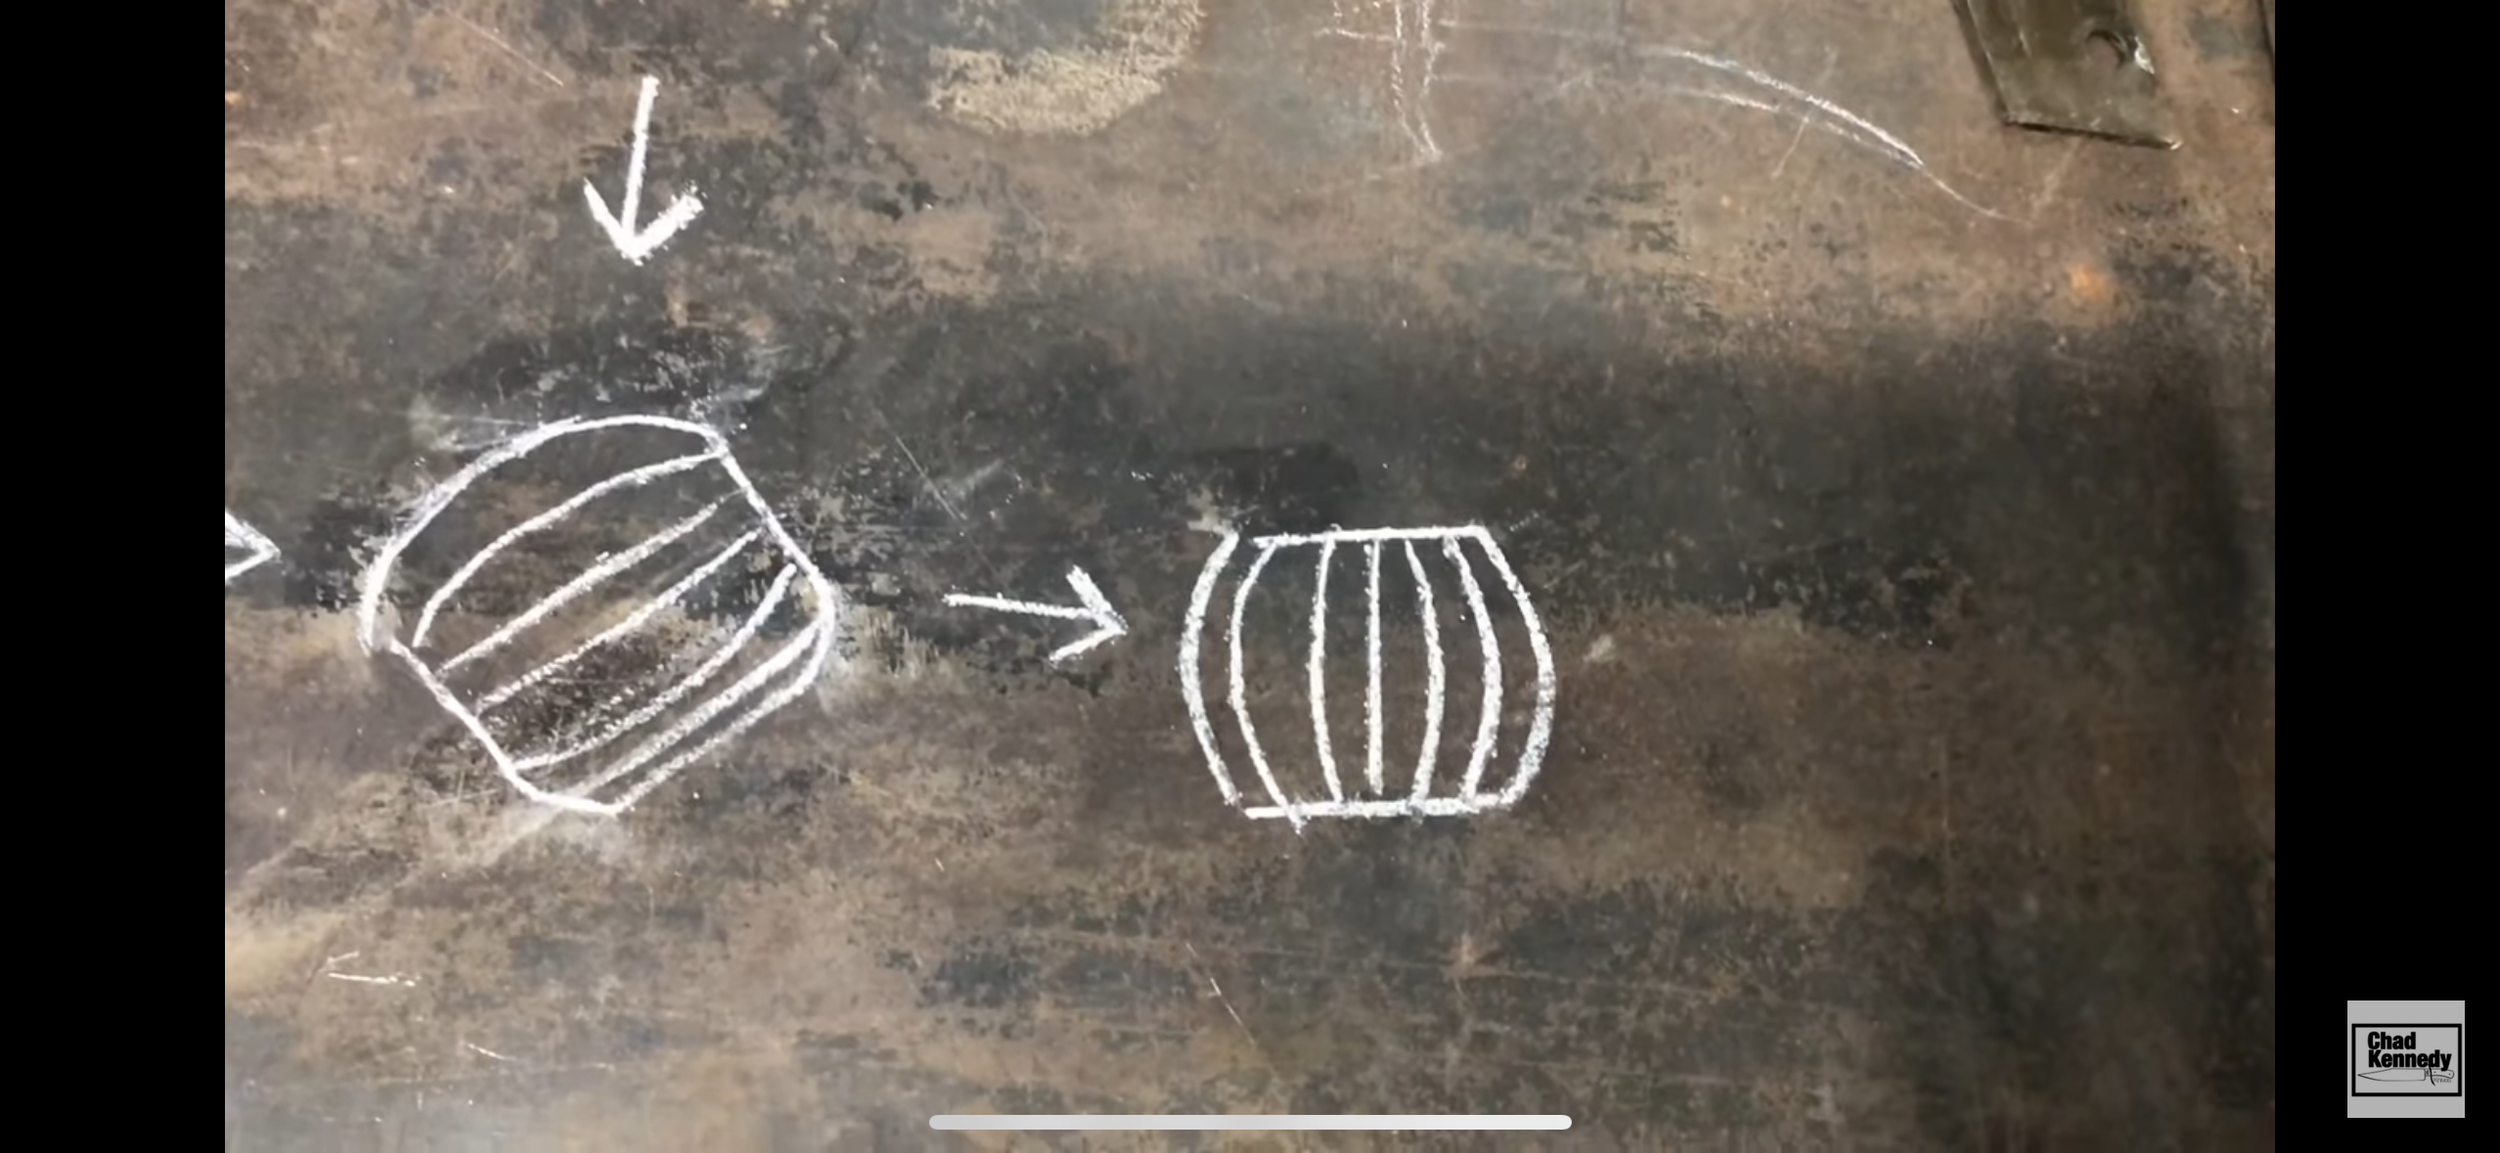
Some research into making crushed "C"s, which was a new thing for me.
-
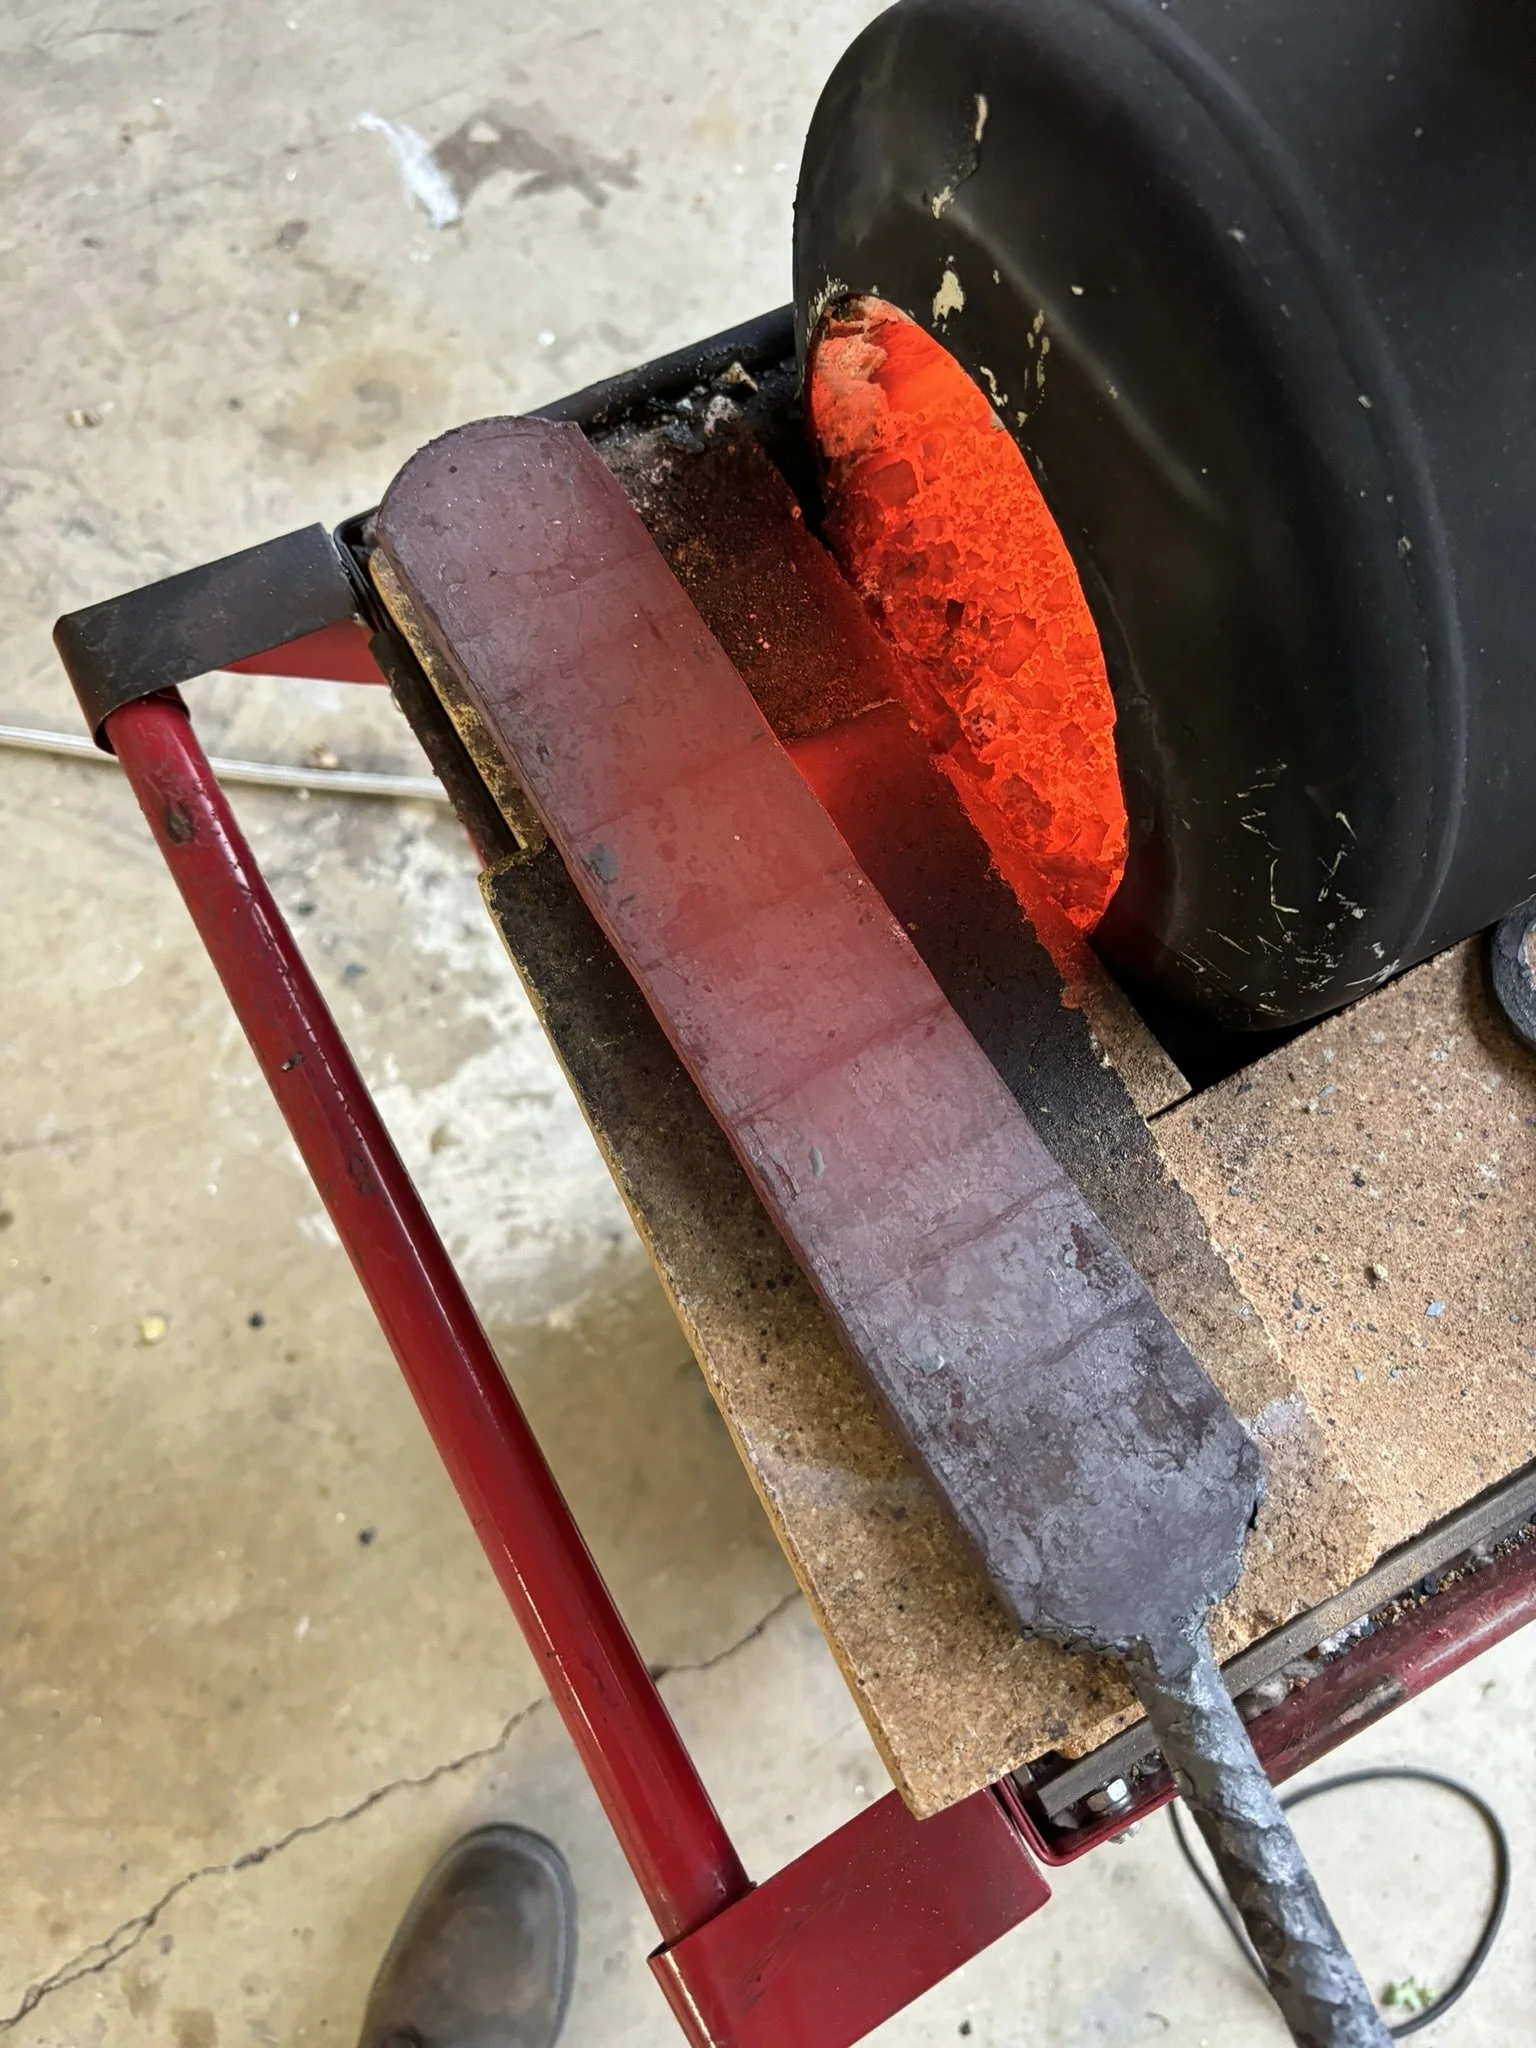
Base billet forge welded together.
-
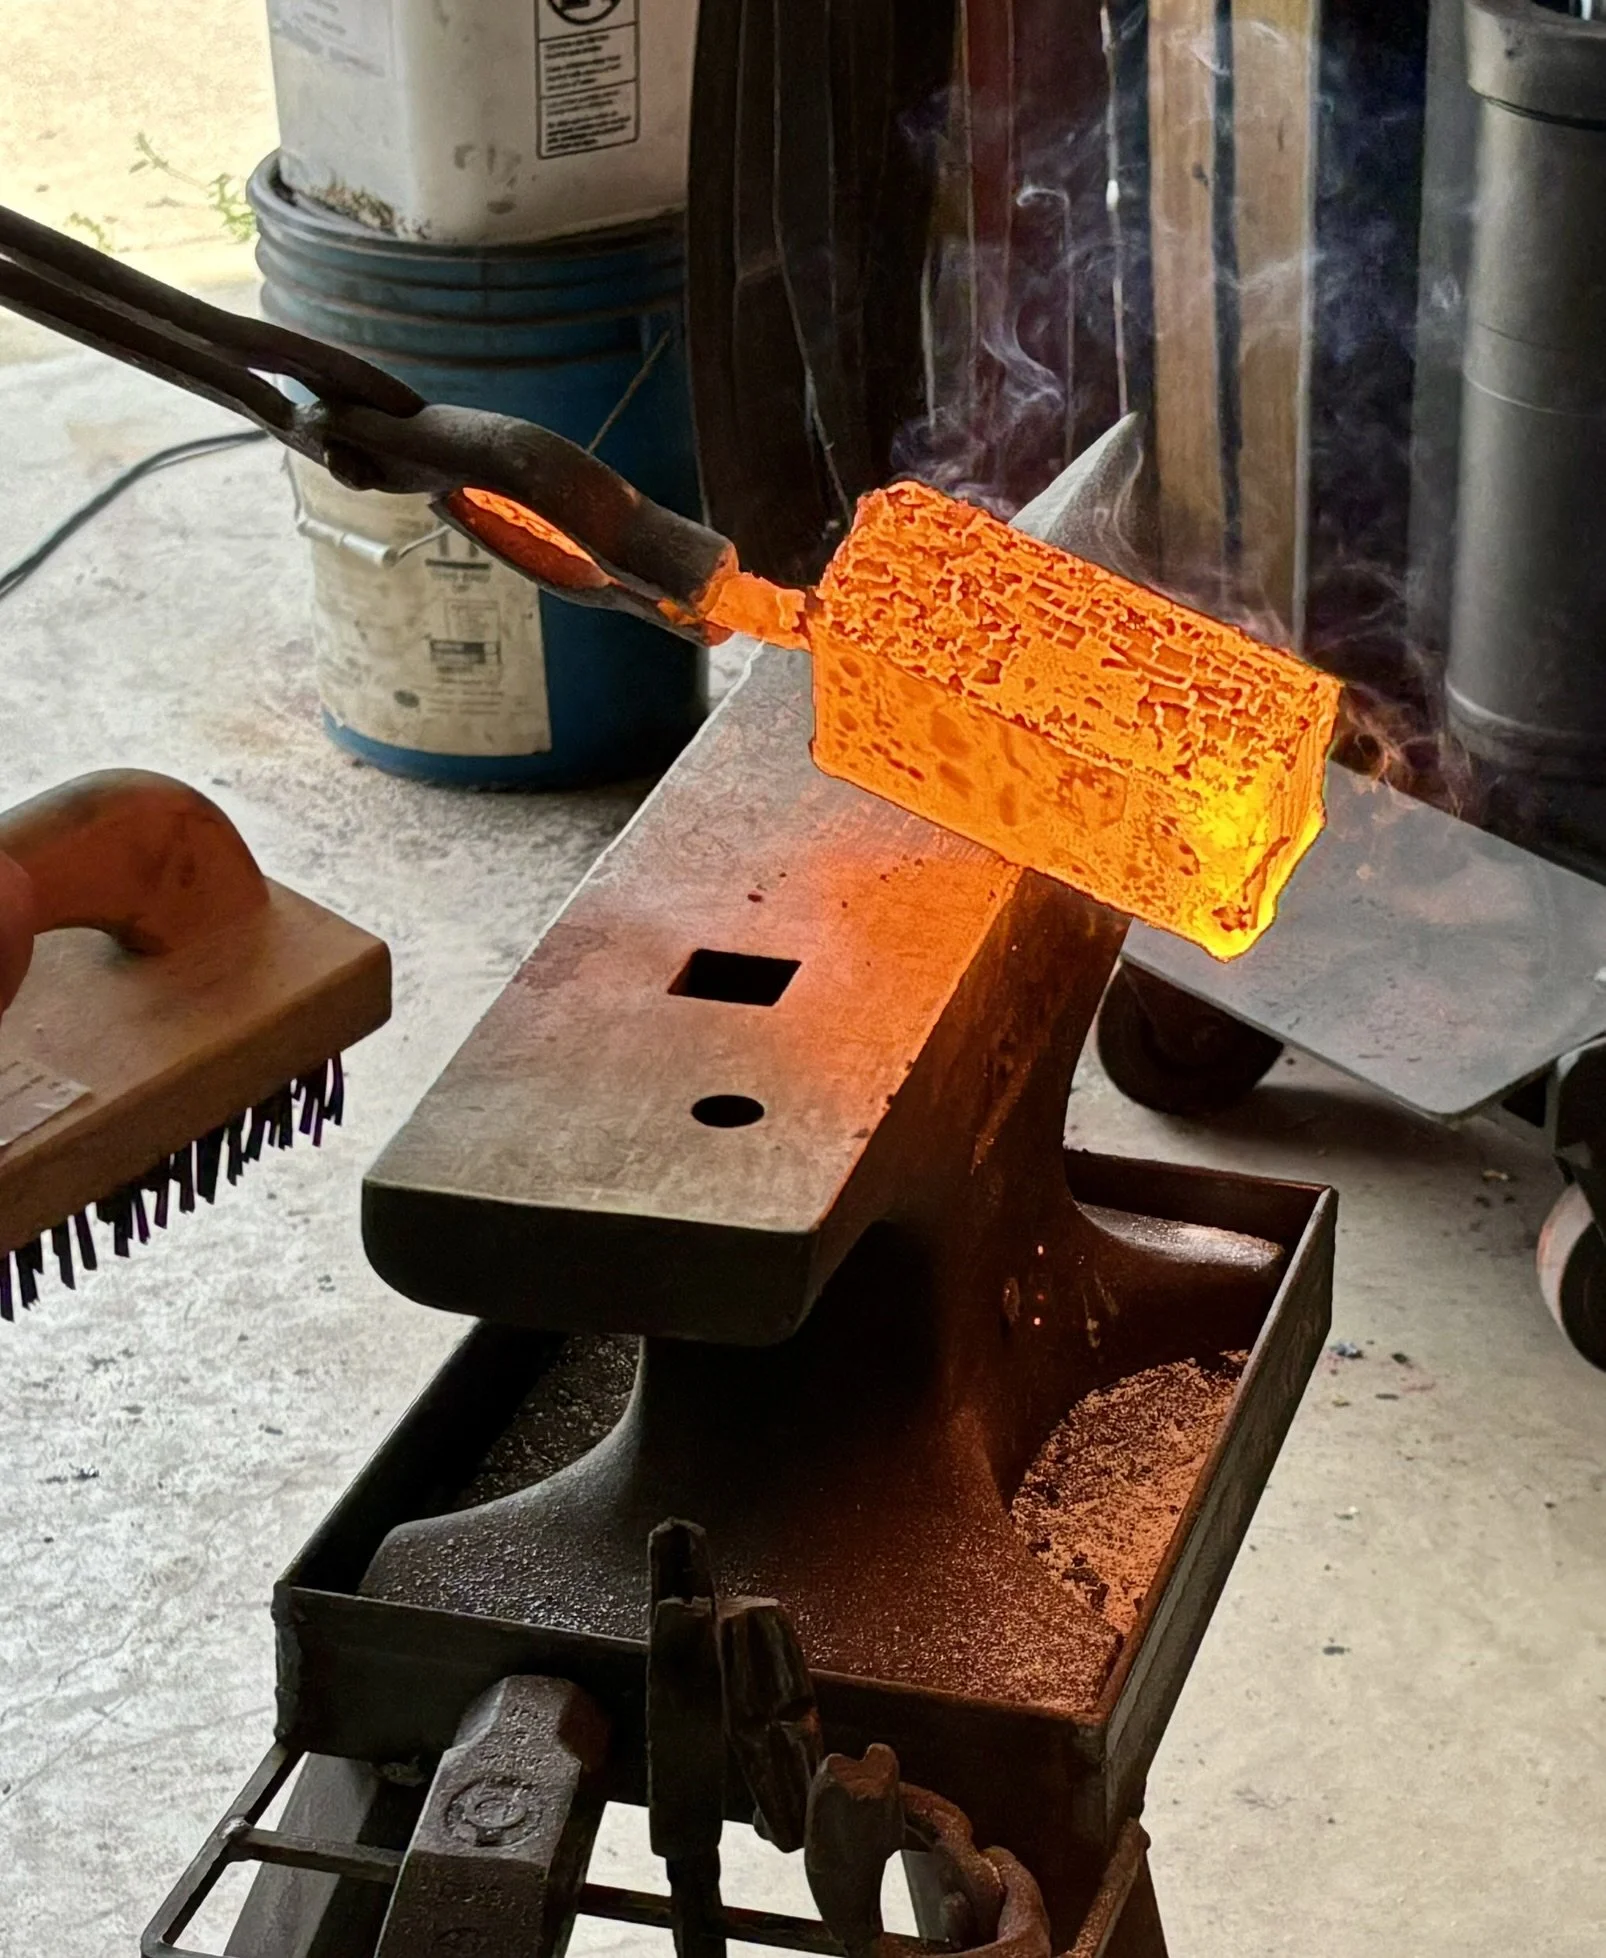
Get it hot!
-
I actually made two billets, one because I used up the last of my twist damascus and one for this feather blade.
-
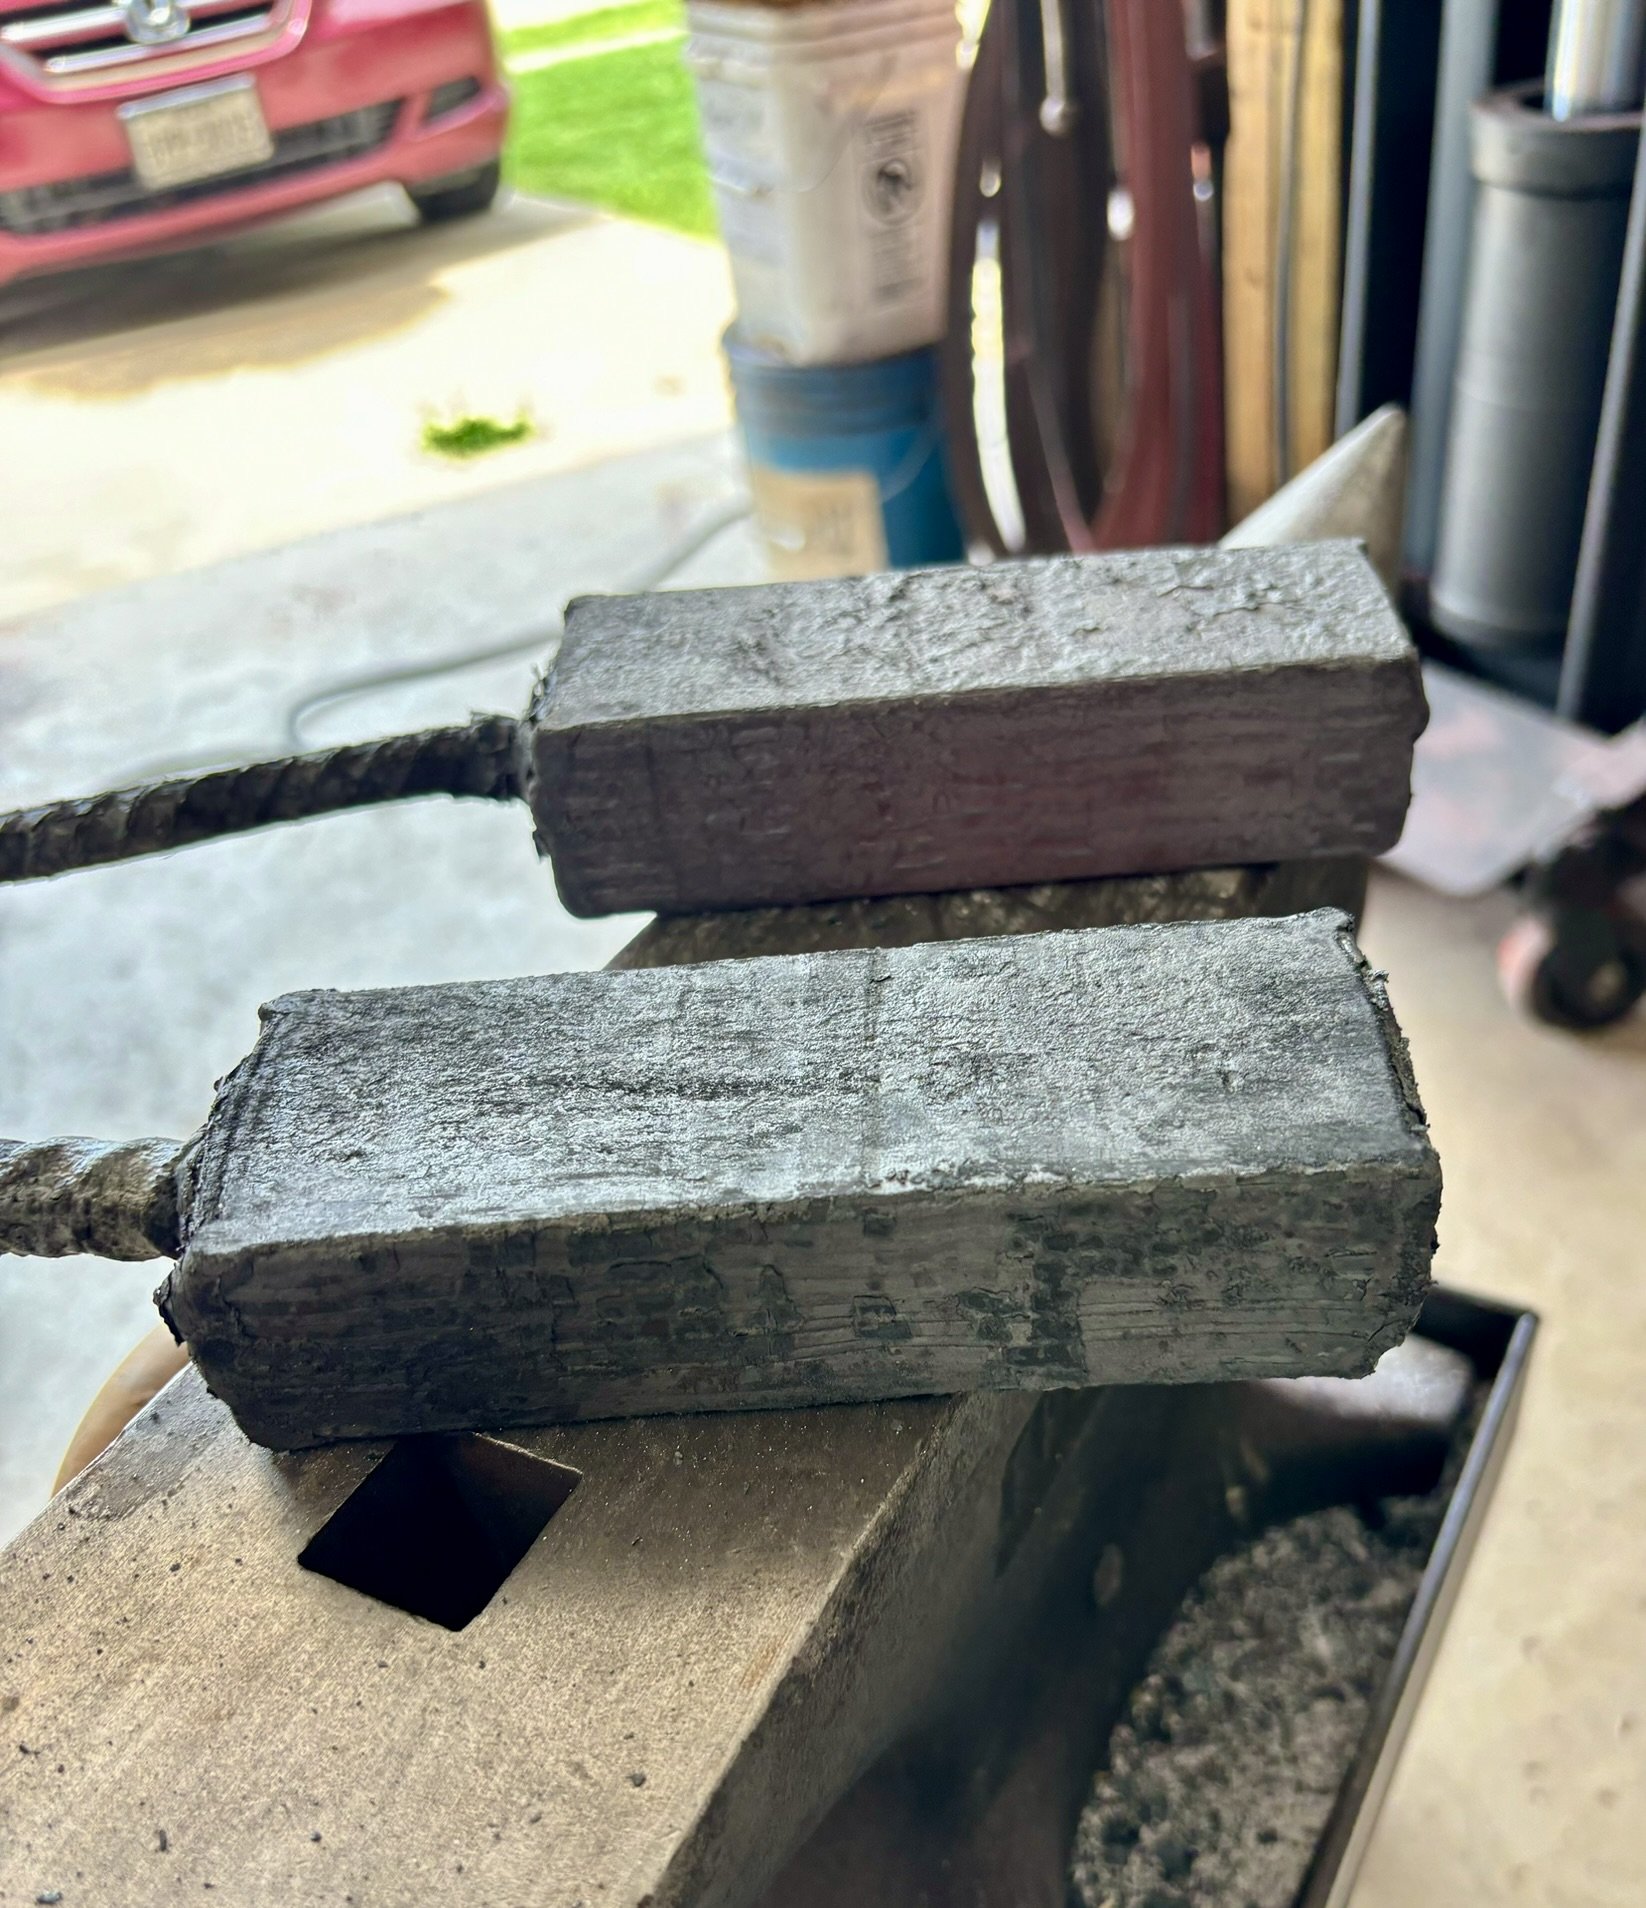
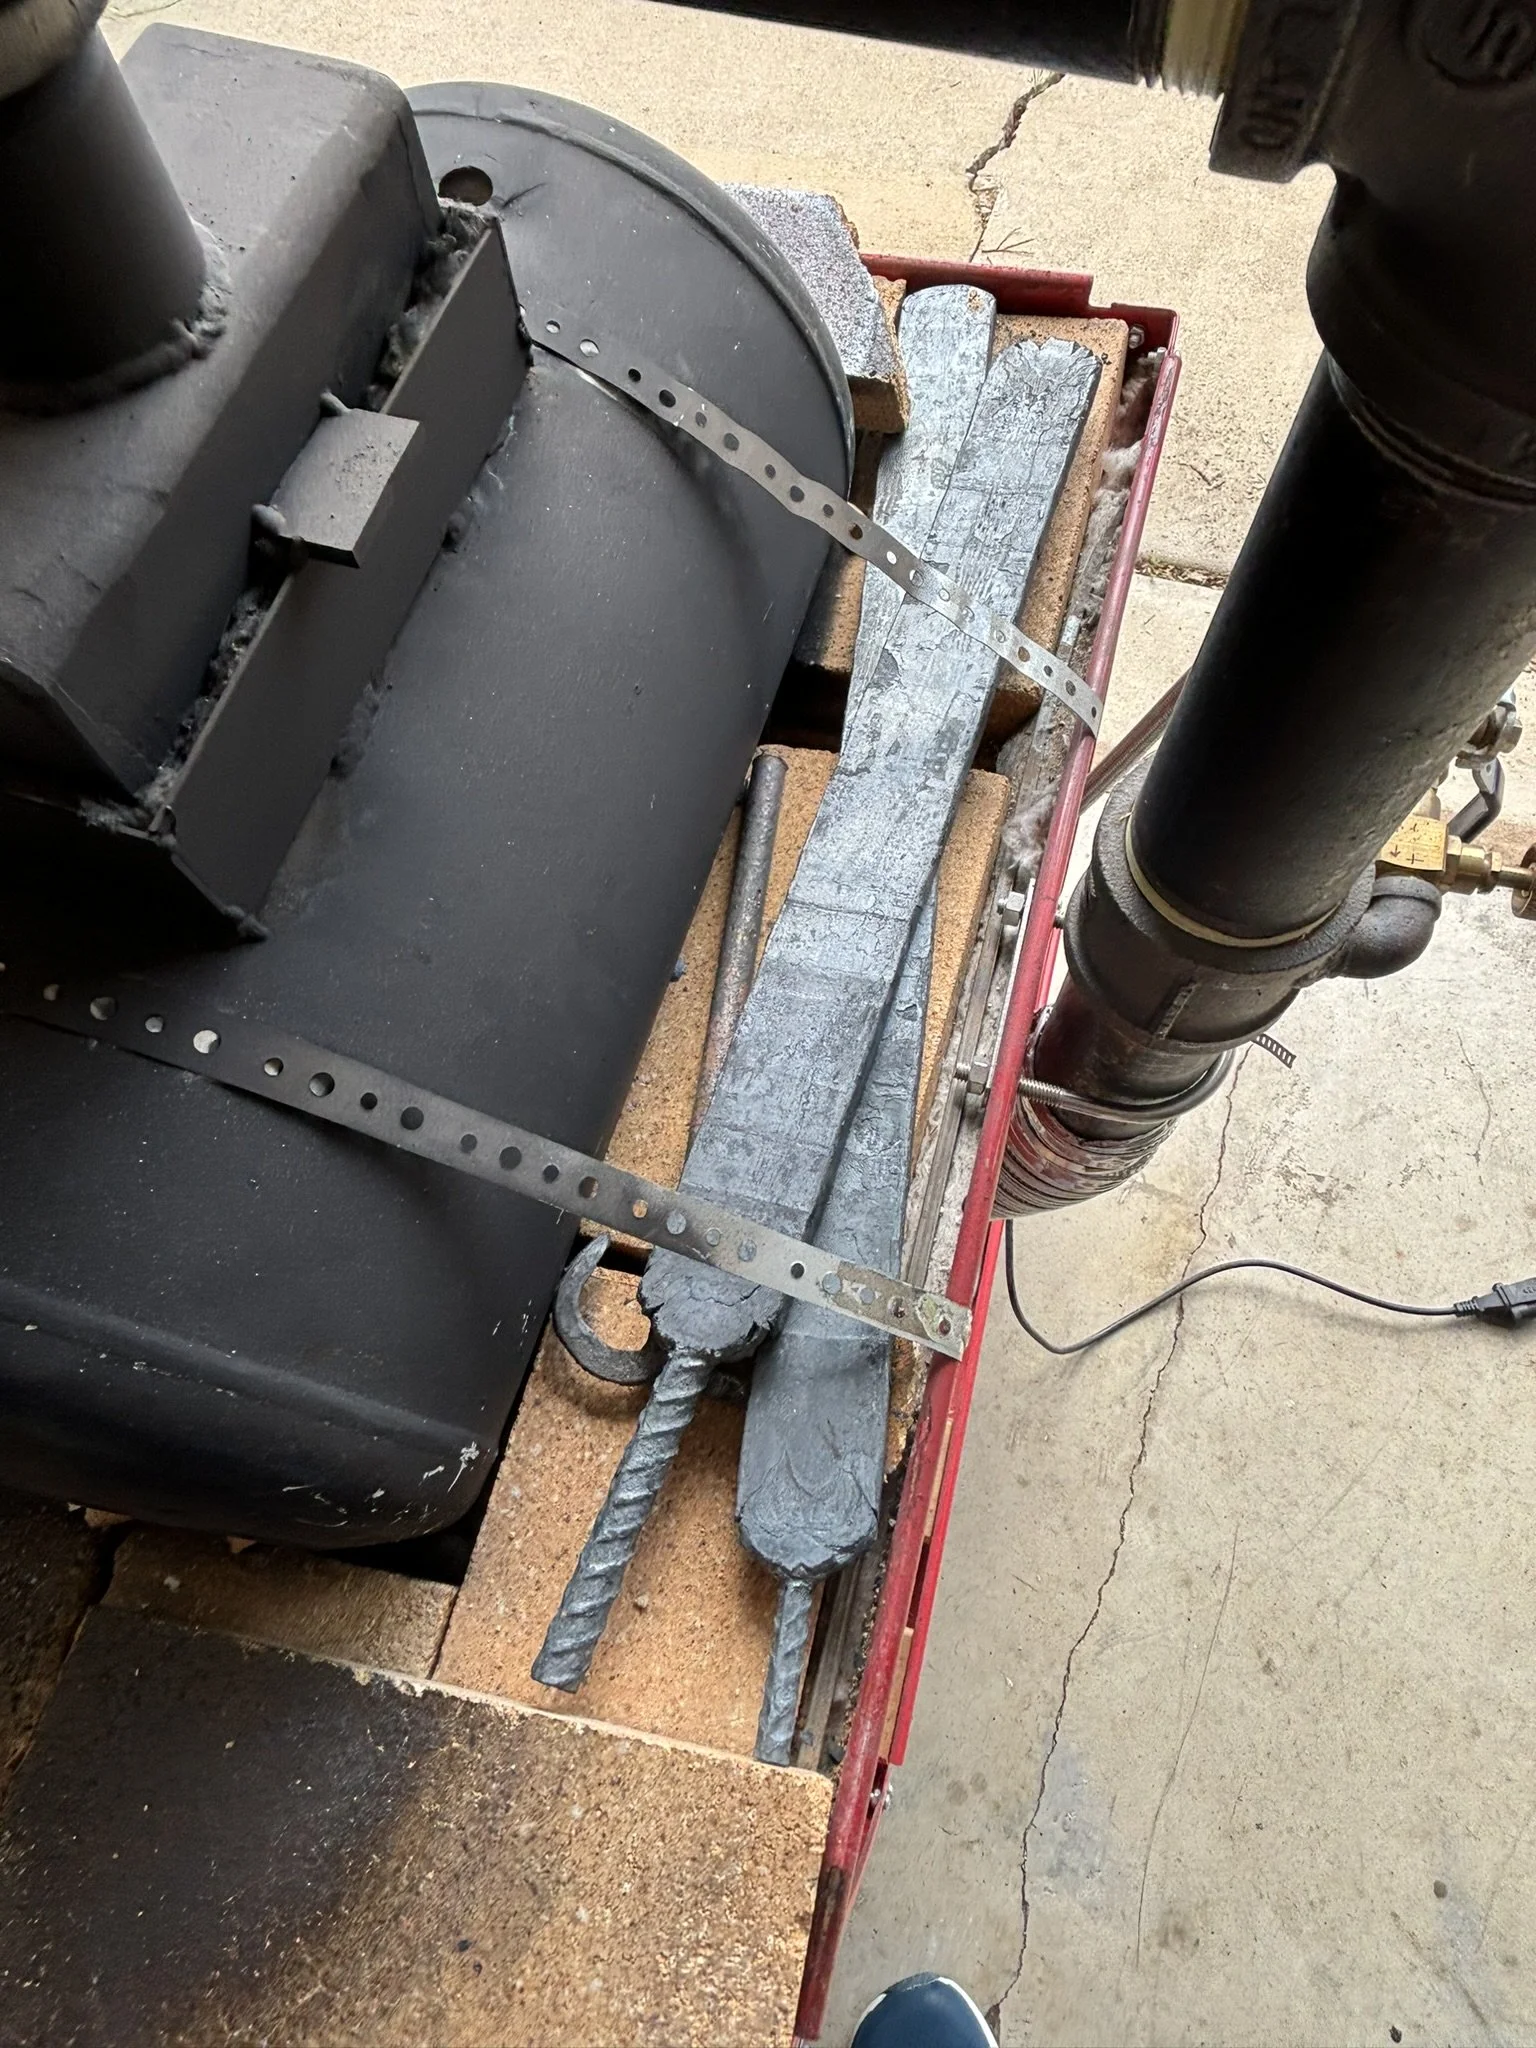
Two billets drawn out.
-
Crushed "C's" looking good.
-
Time to restack to get crushed "W's".
-
Cleaned up better than before. This one costs a lot of mass, so I tried to conserve as much as I could. It became the struggle for this blade.
-
Love this image. So much happiness within.
-
Forge welding the billet together.
-
Crushed "W's" drawn out. So much smaller that the first bar.
-
A little peak at the developing pattern.
-
Cut up again to increase layer counts.
-
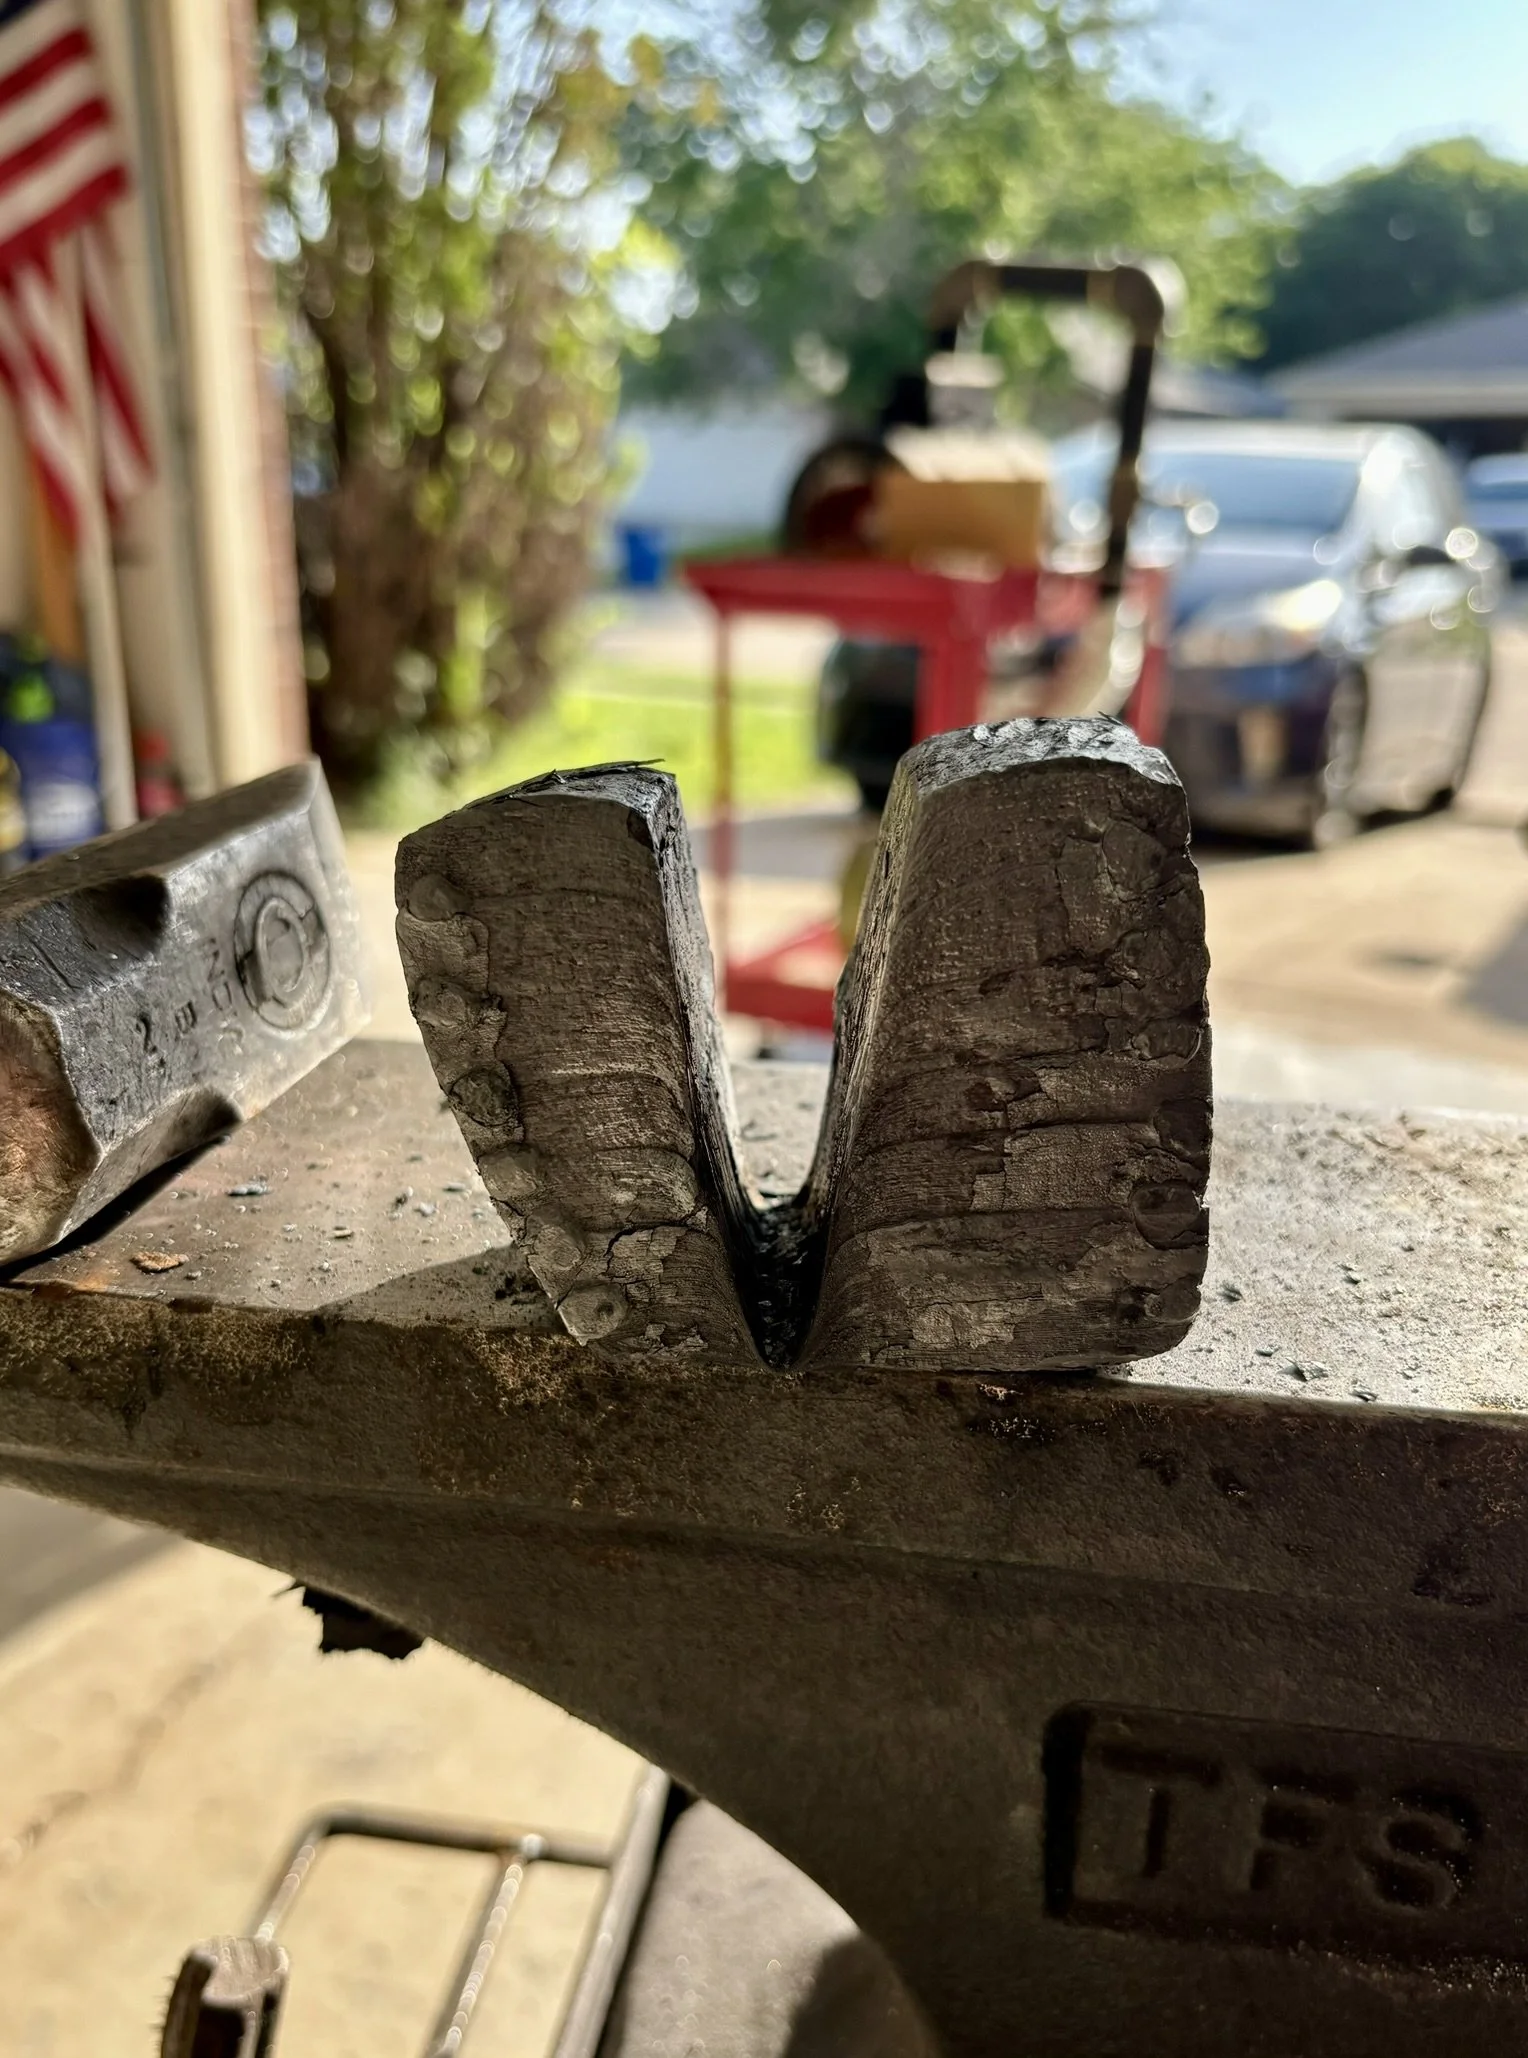
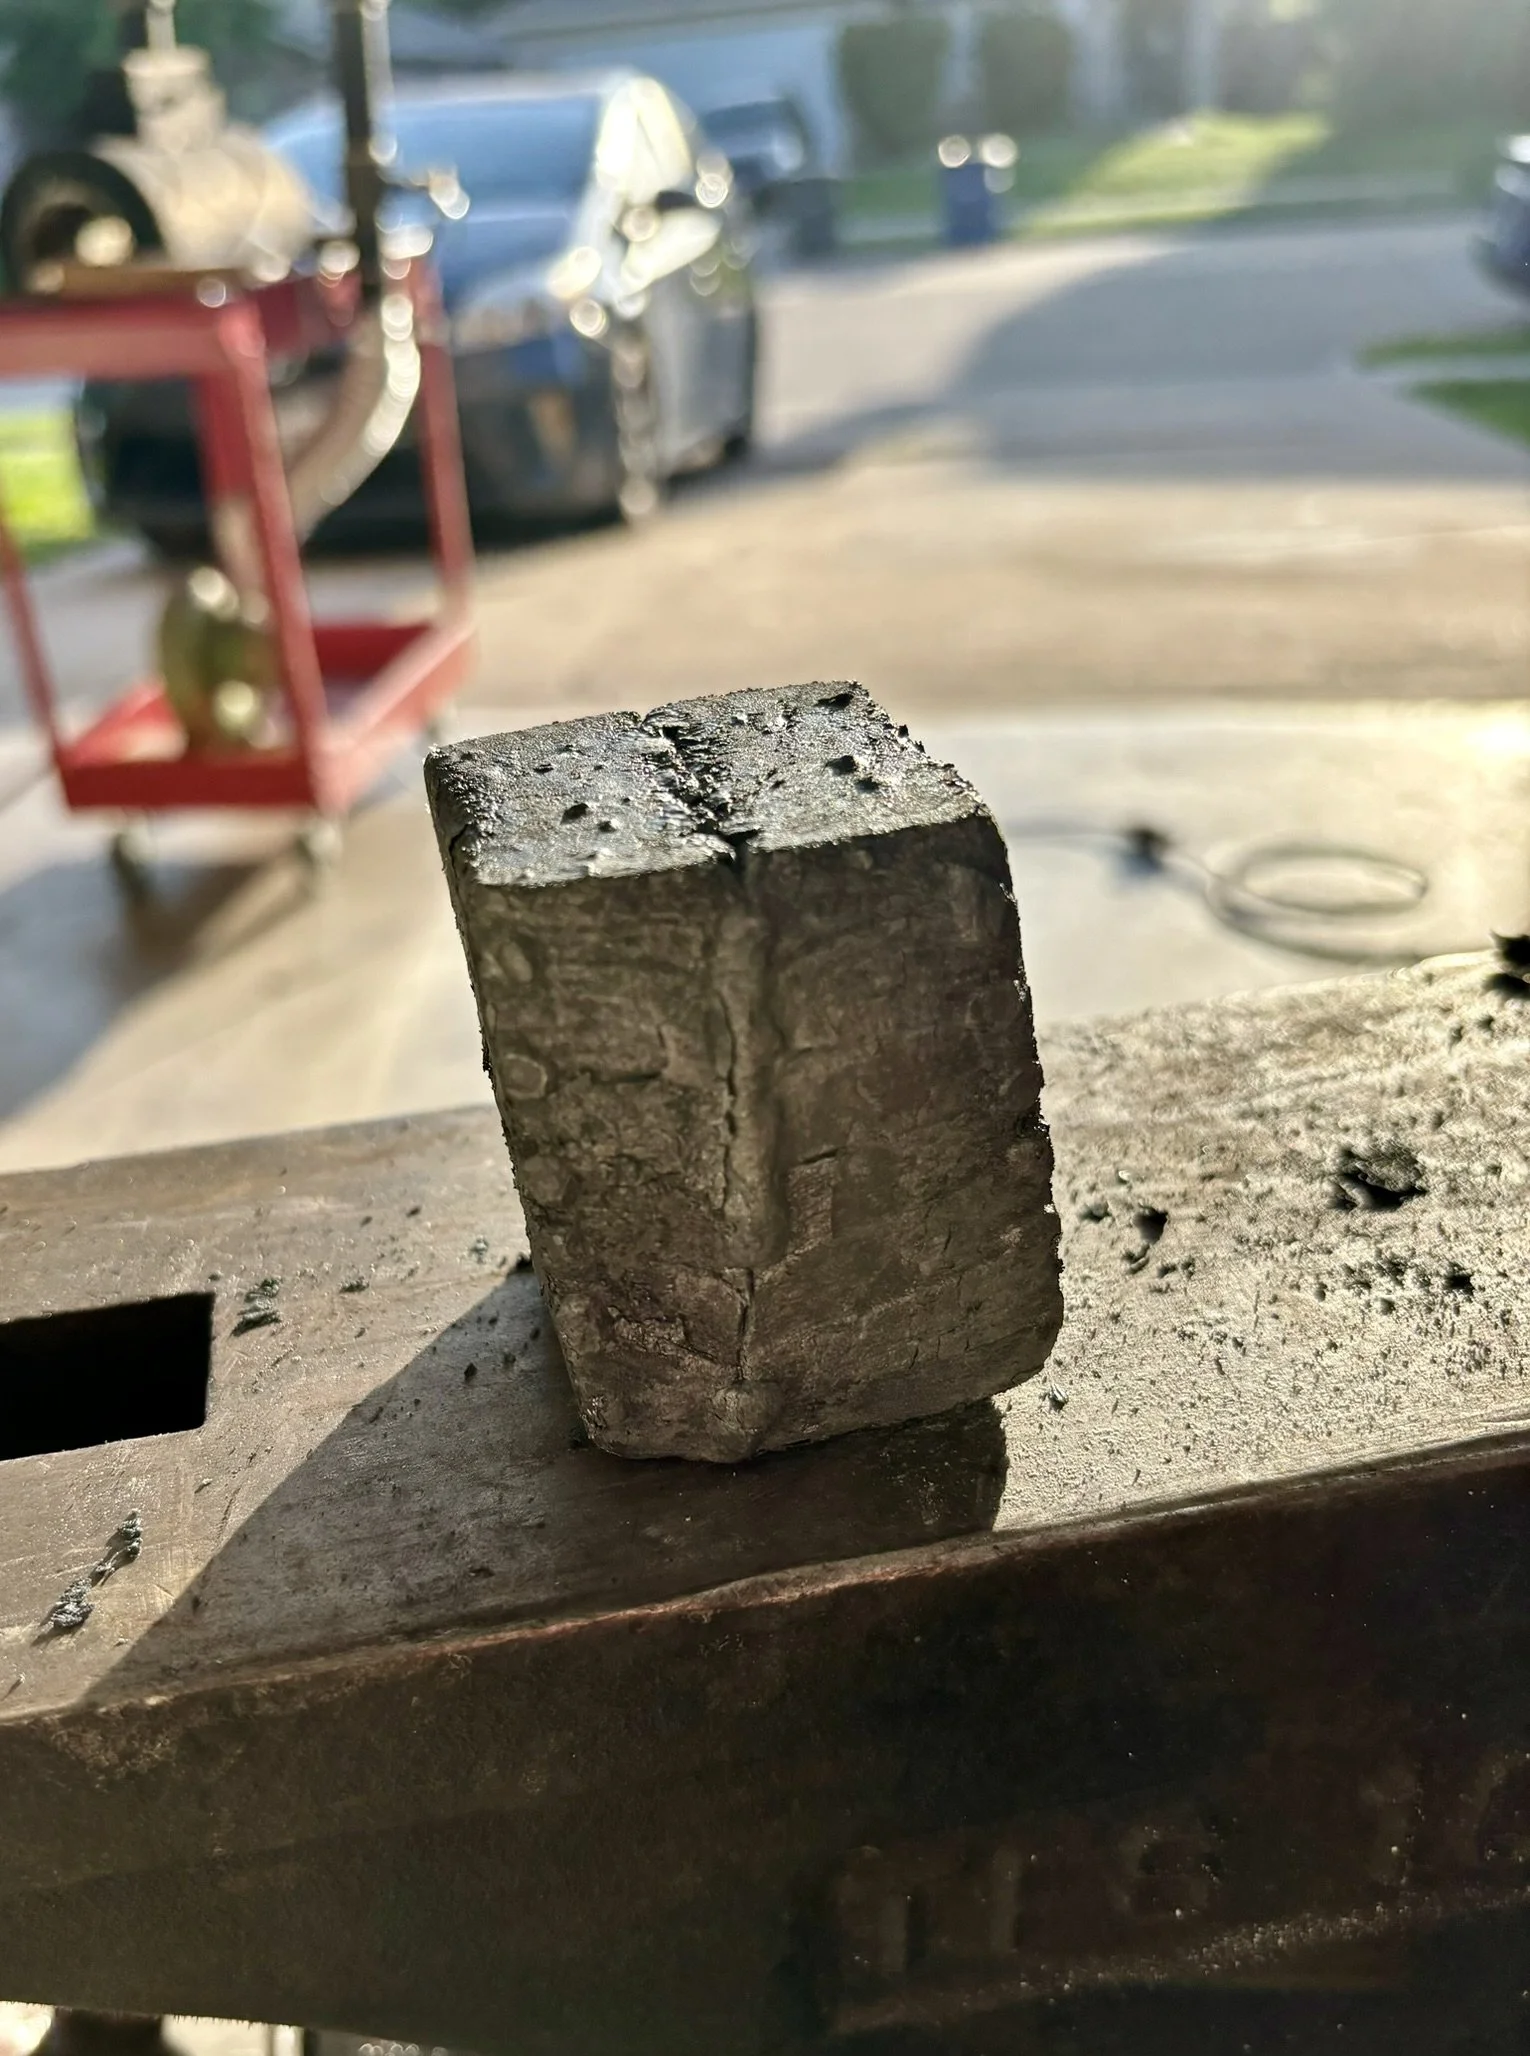
After the third restack I ugly split the billet to draw the "W's" down into the feather pattern.
-
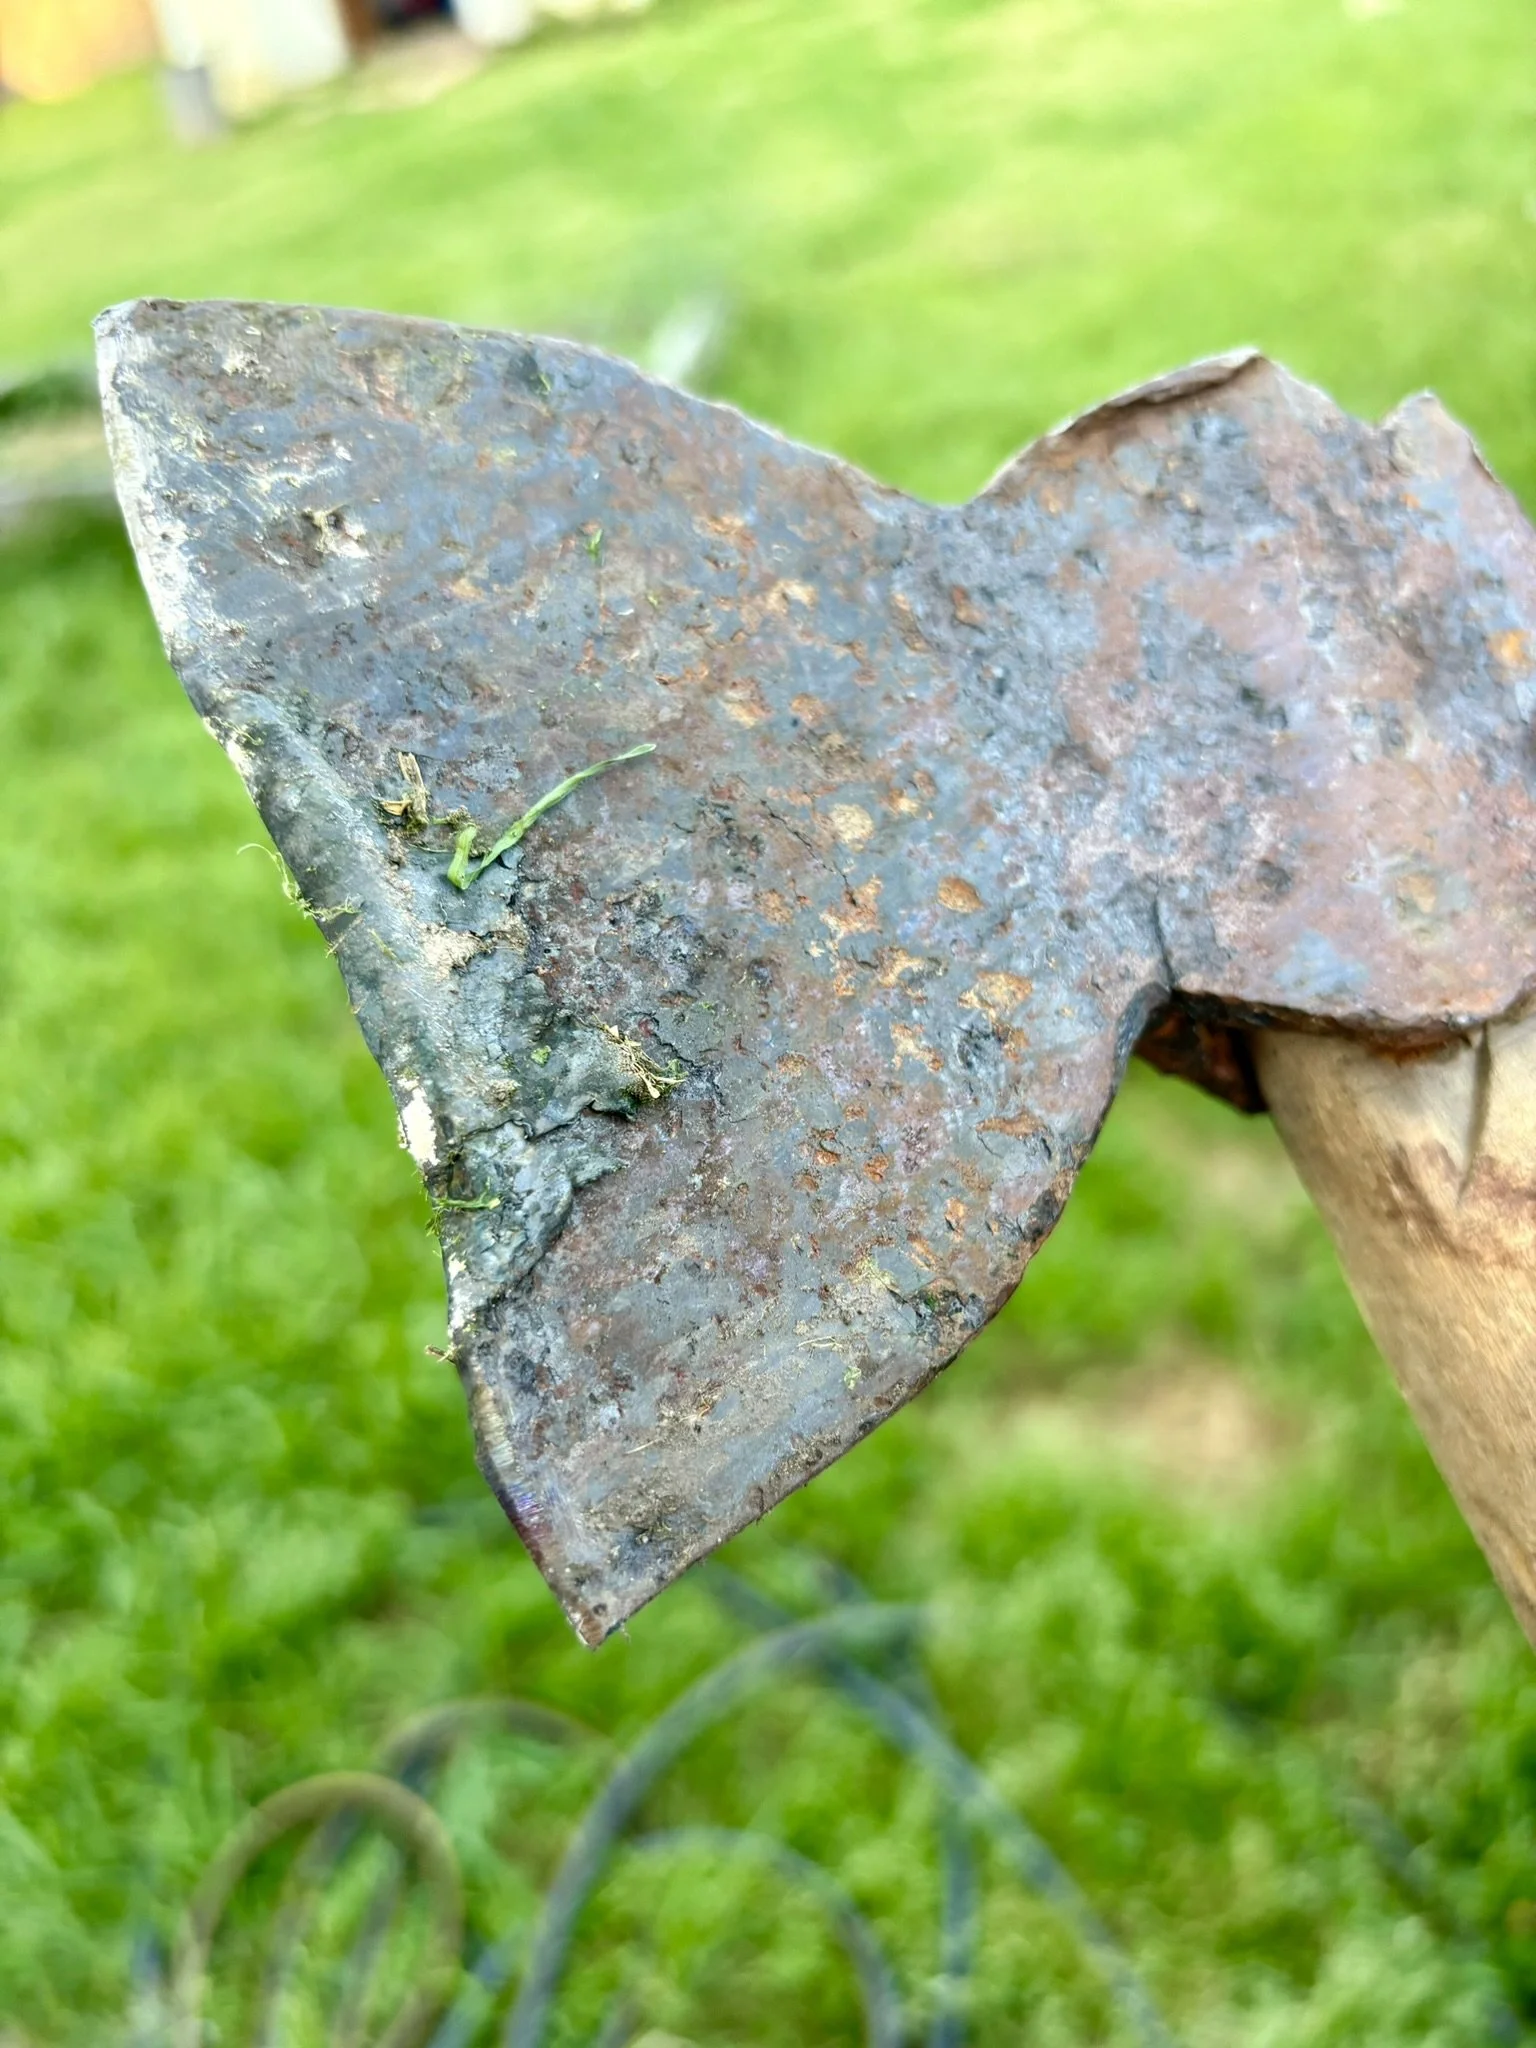
I hadn't thought ahead, and ended up using this old rusty hatchet to split it. It's now in the trash and I learned a lesson.
-
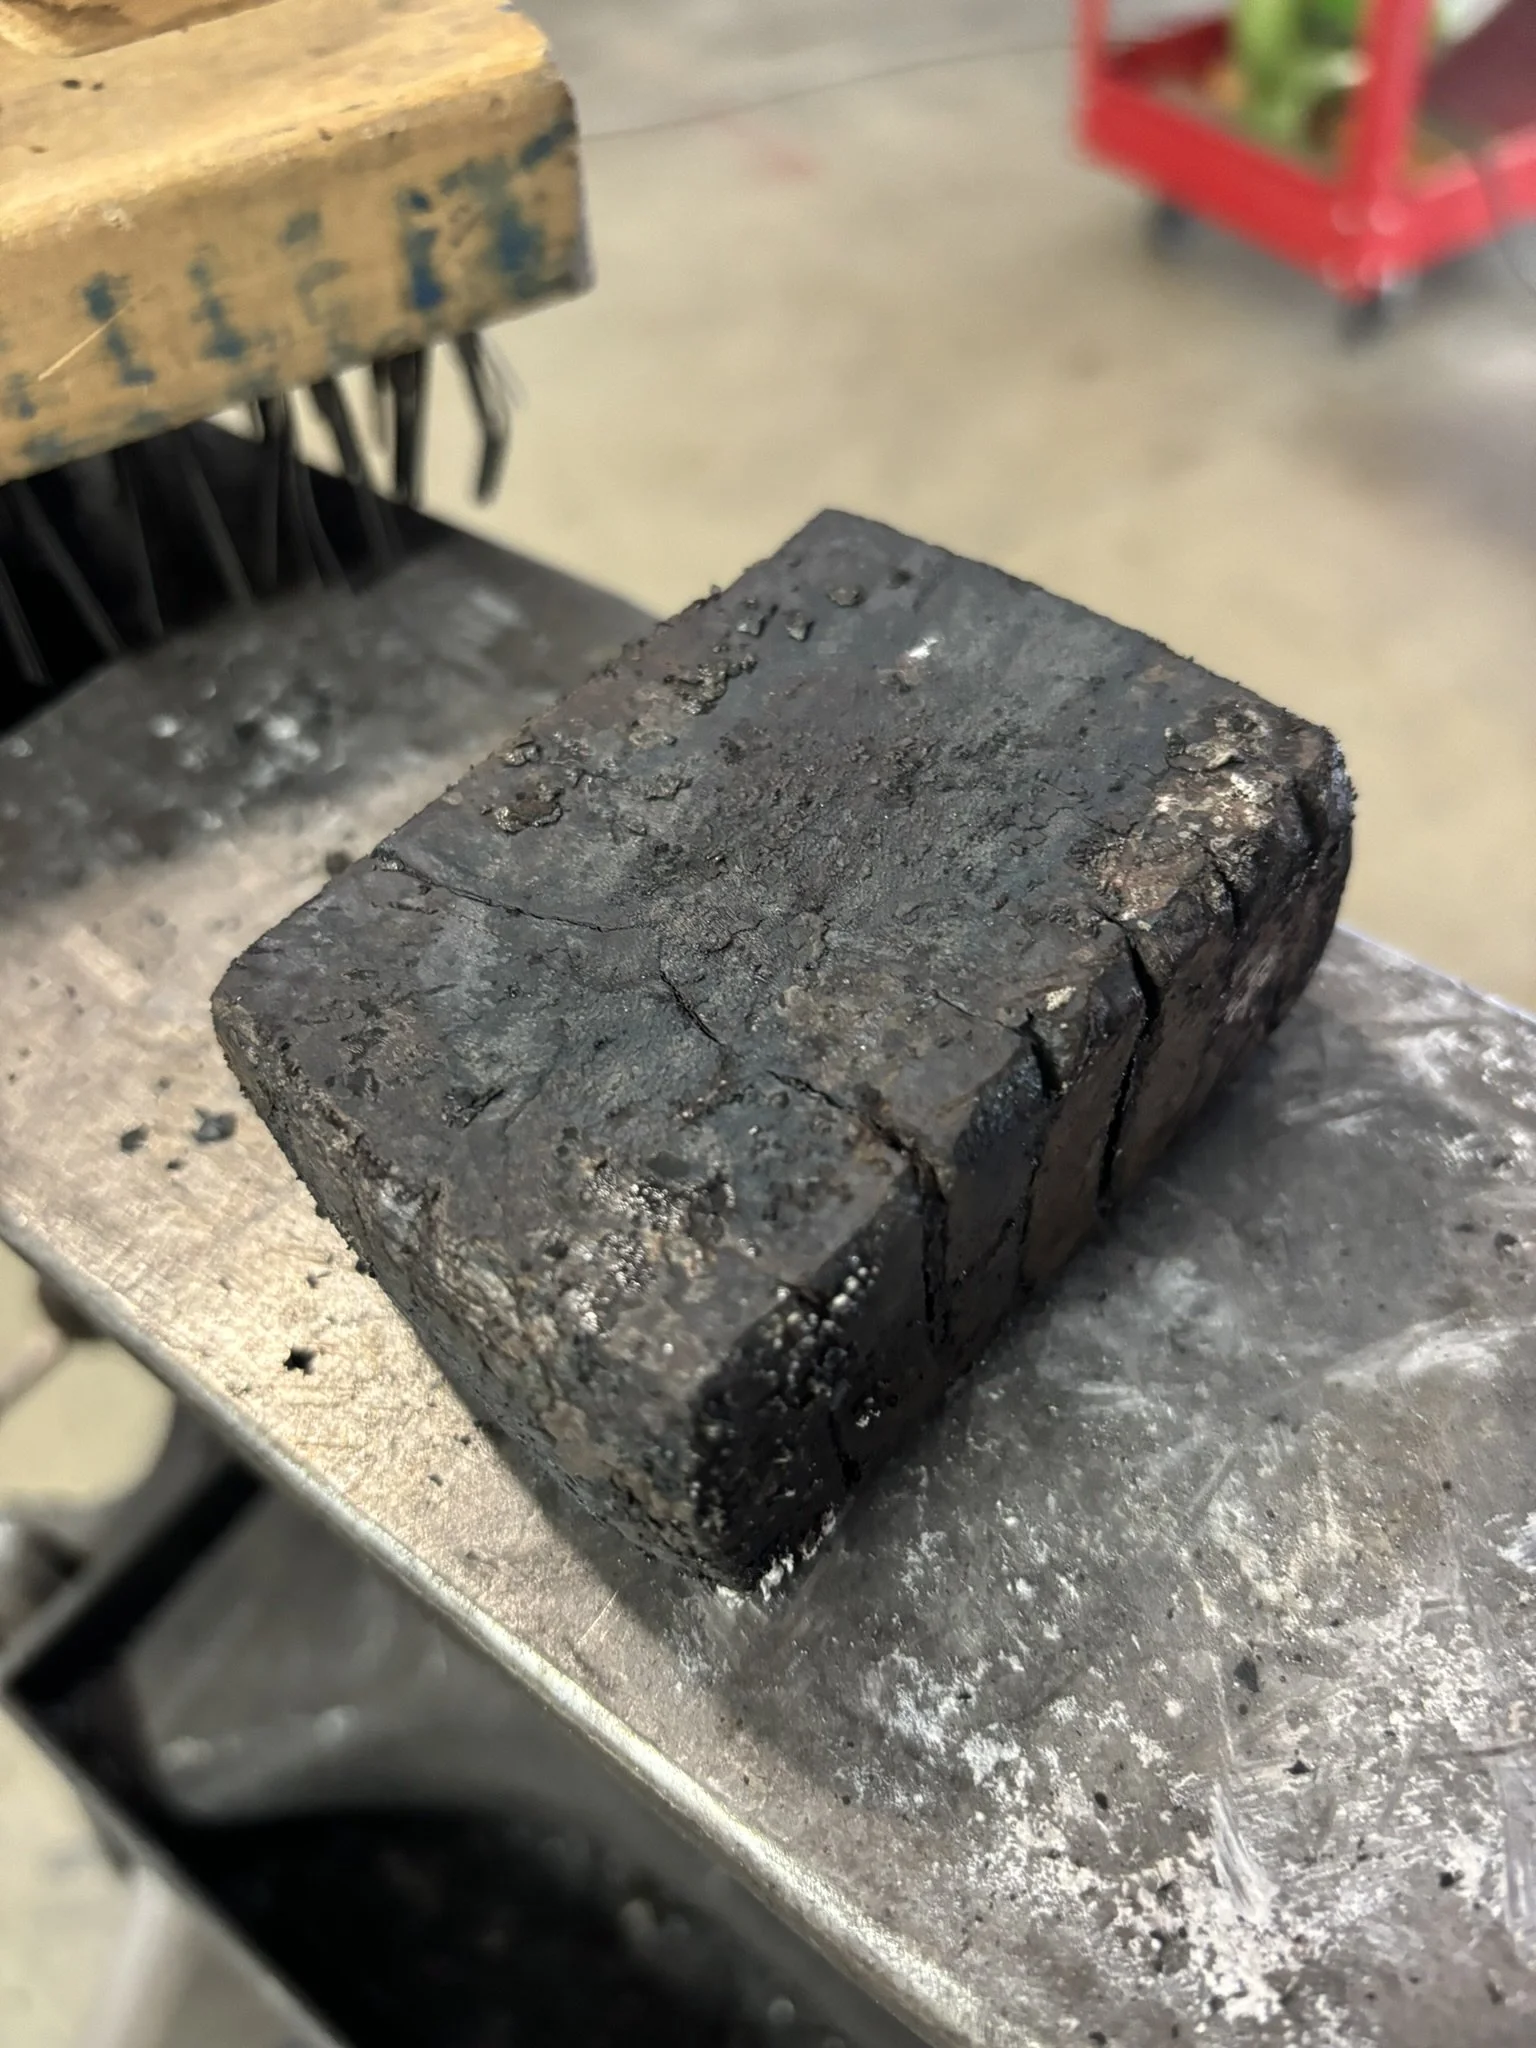
Rewelded the billet to forge weld back together.
-
It's an ugly little guy, but holding some beauty inside.
-
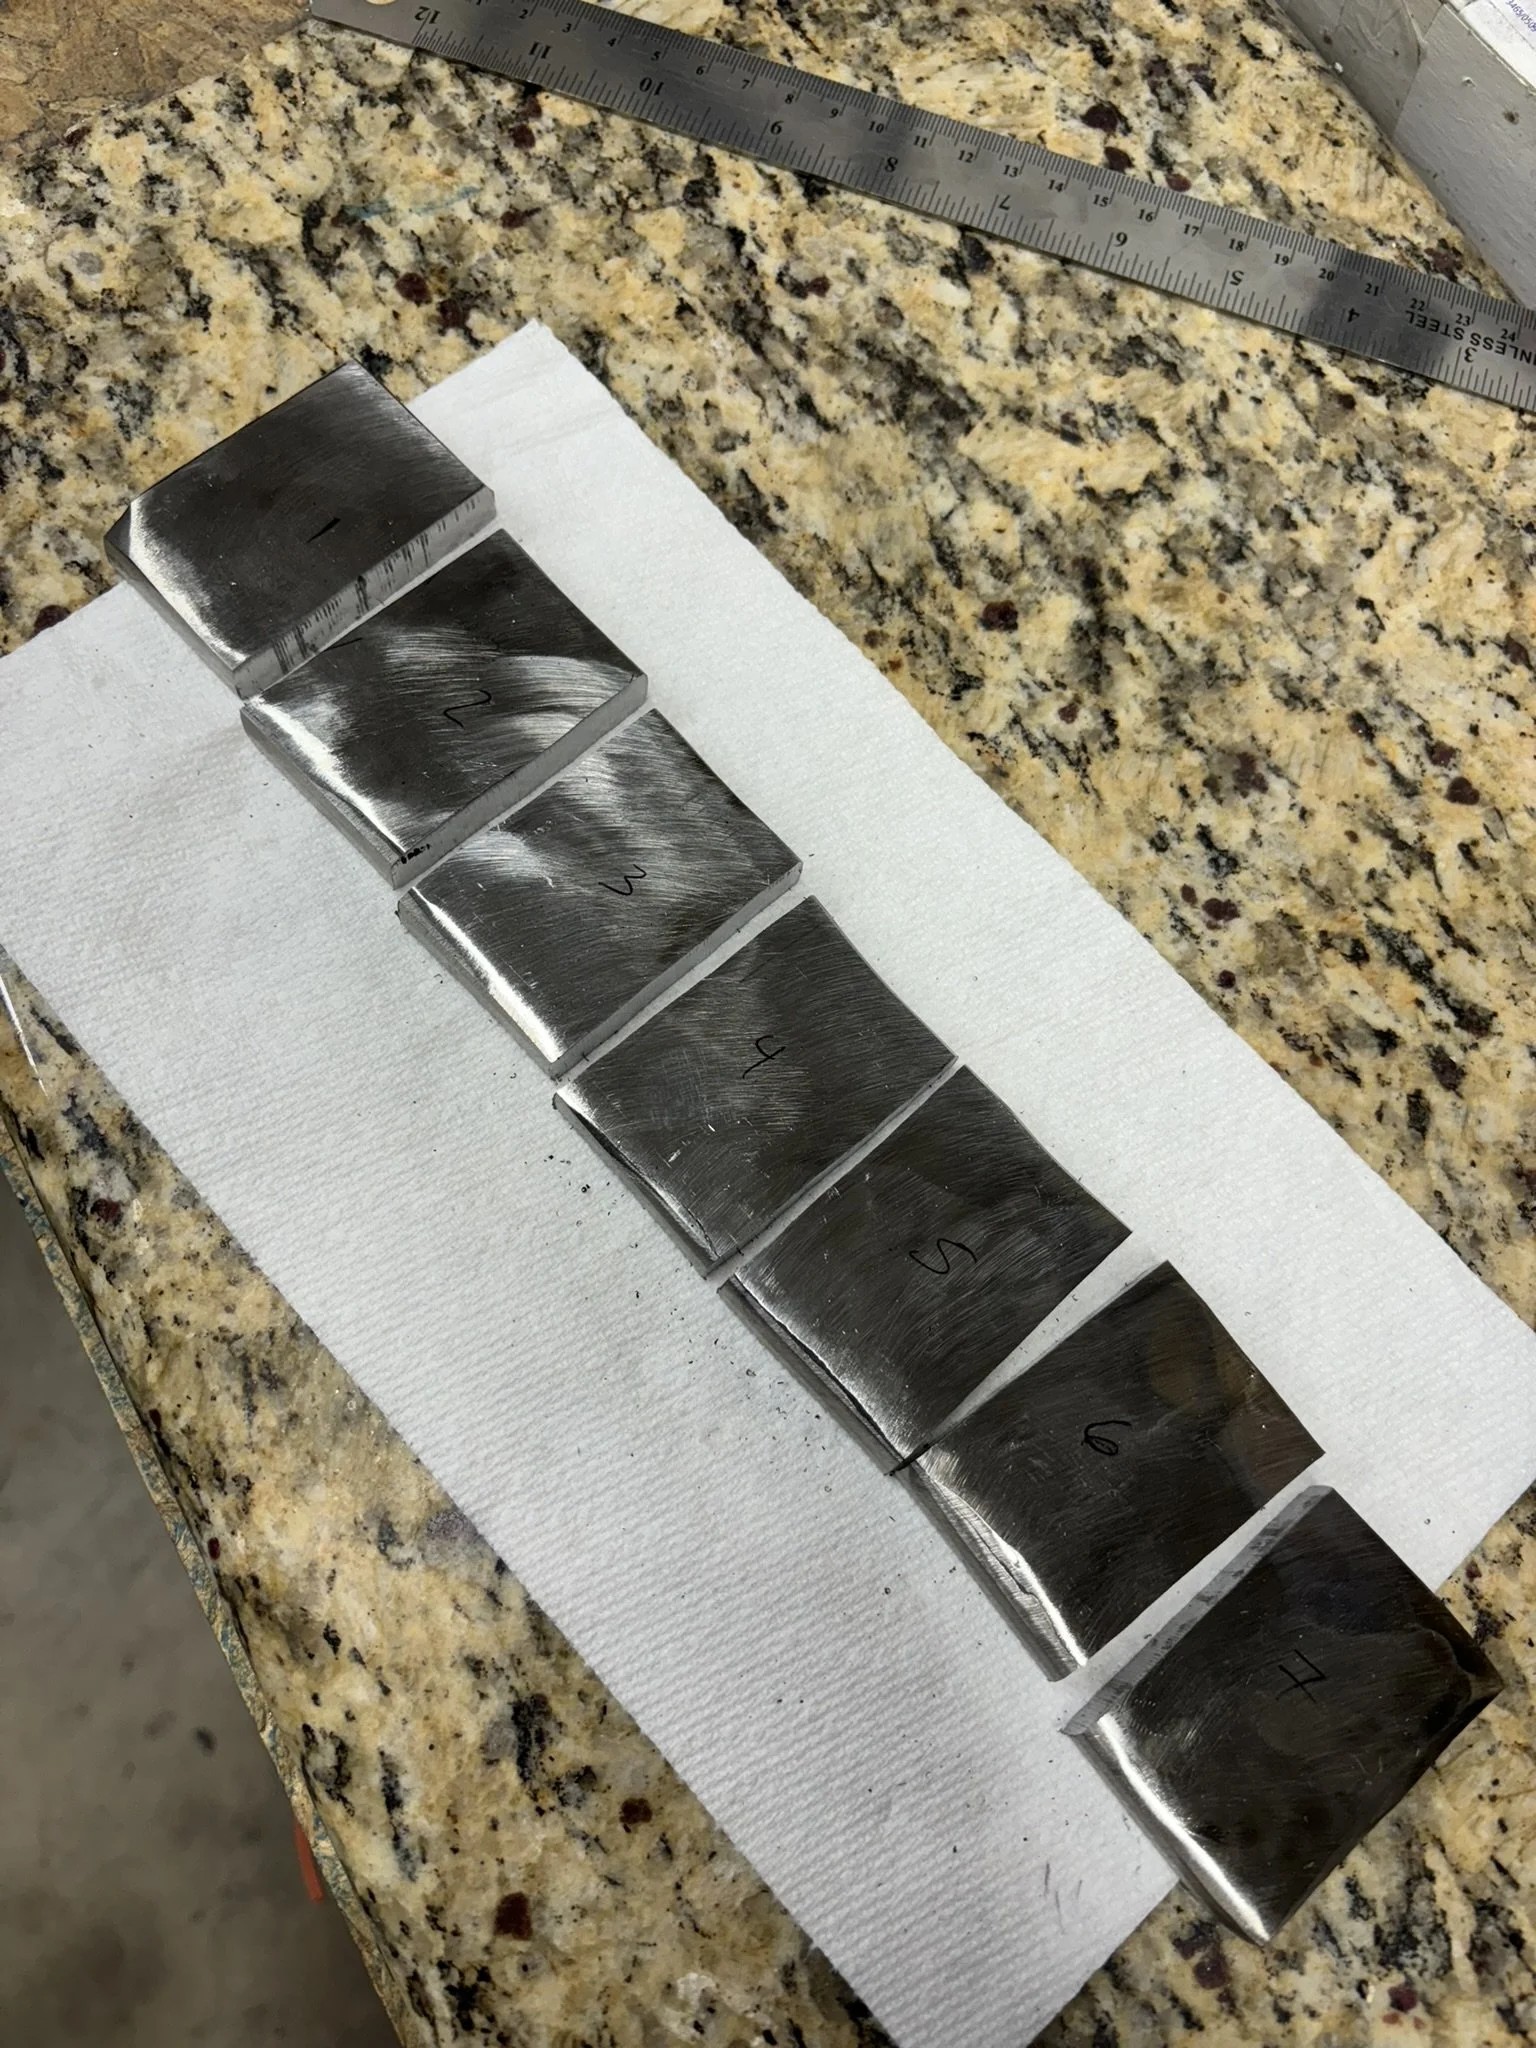
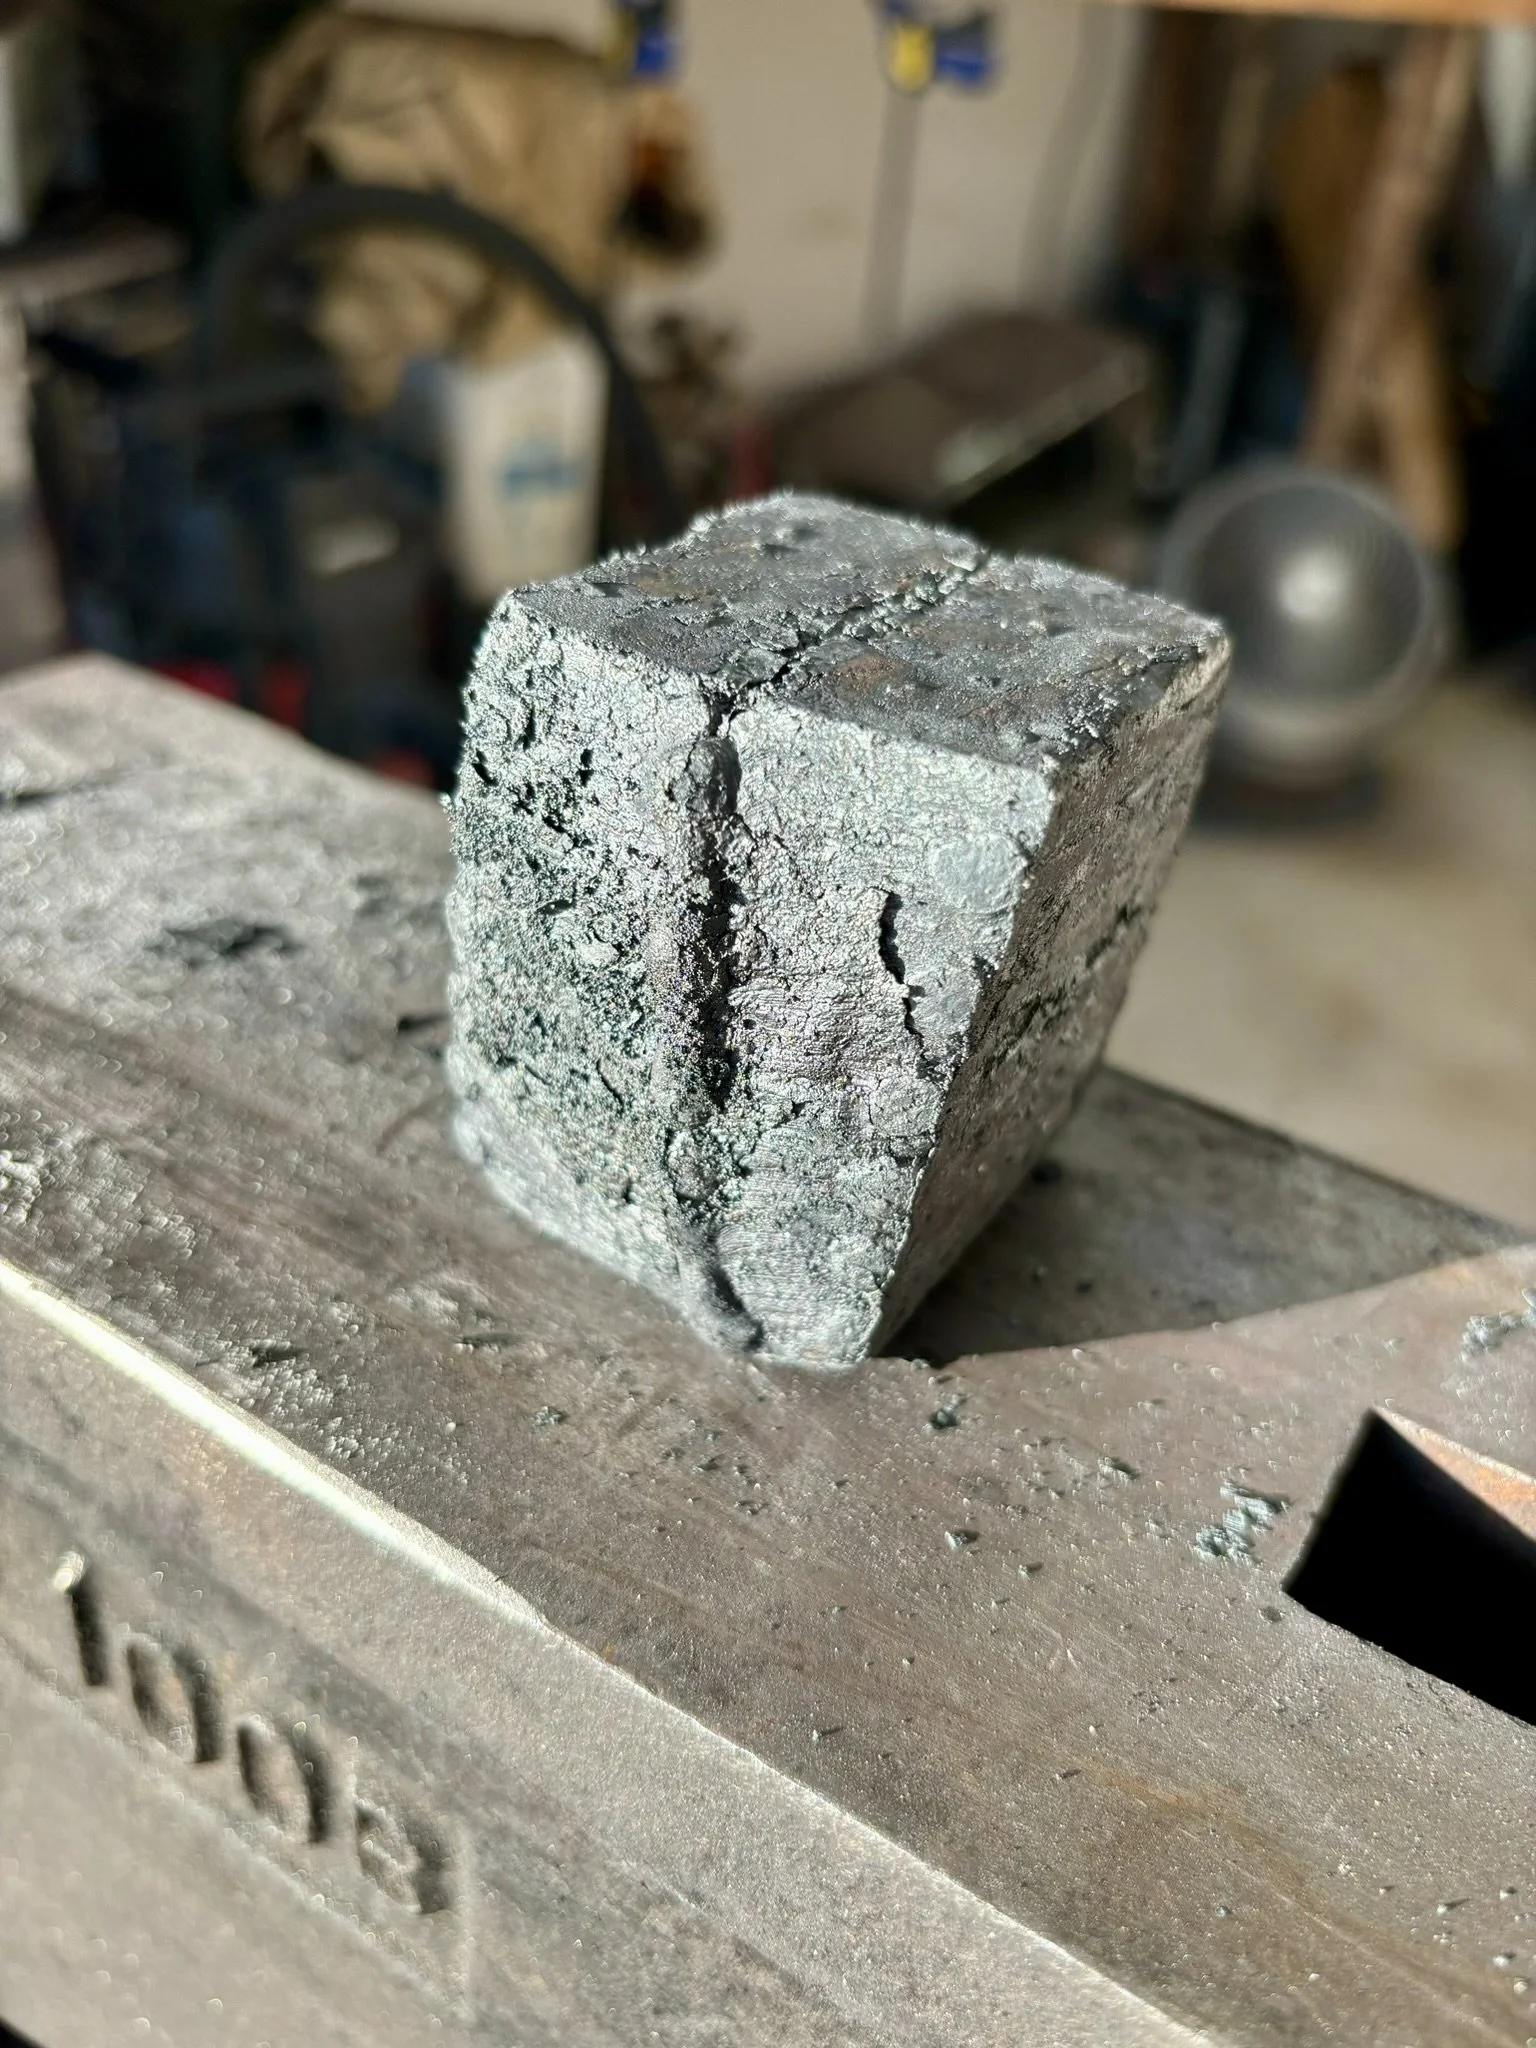
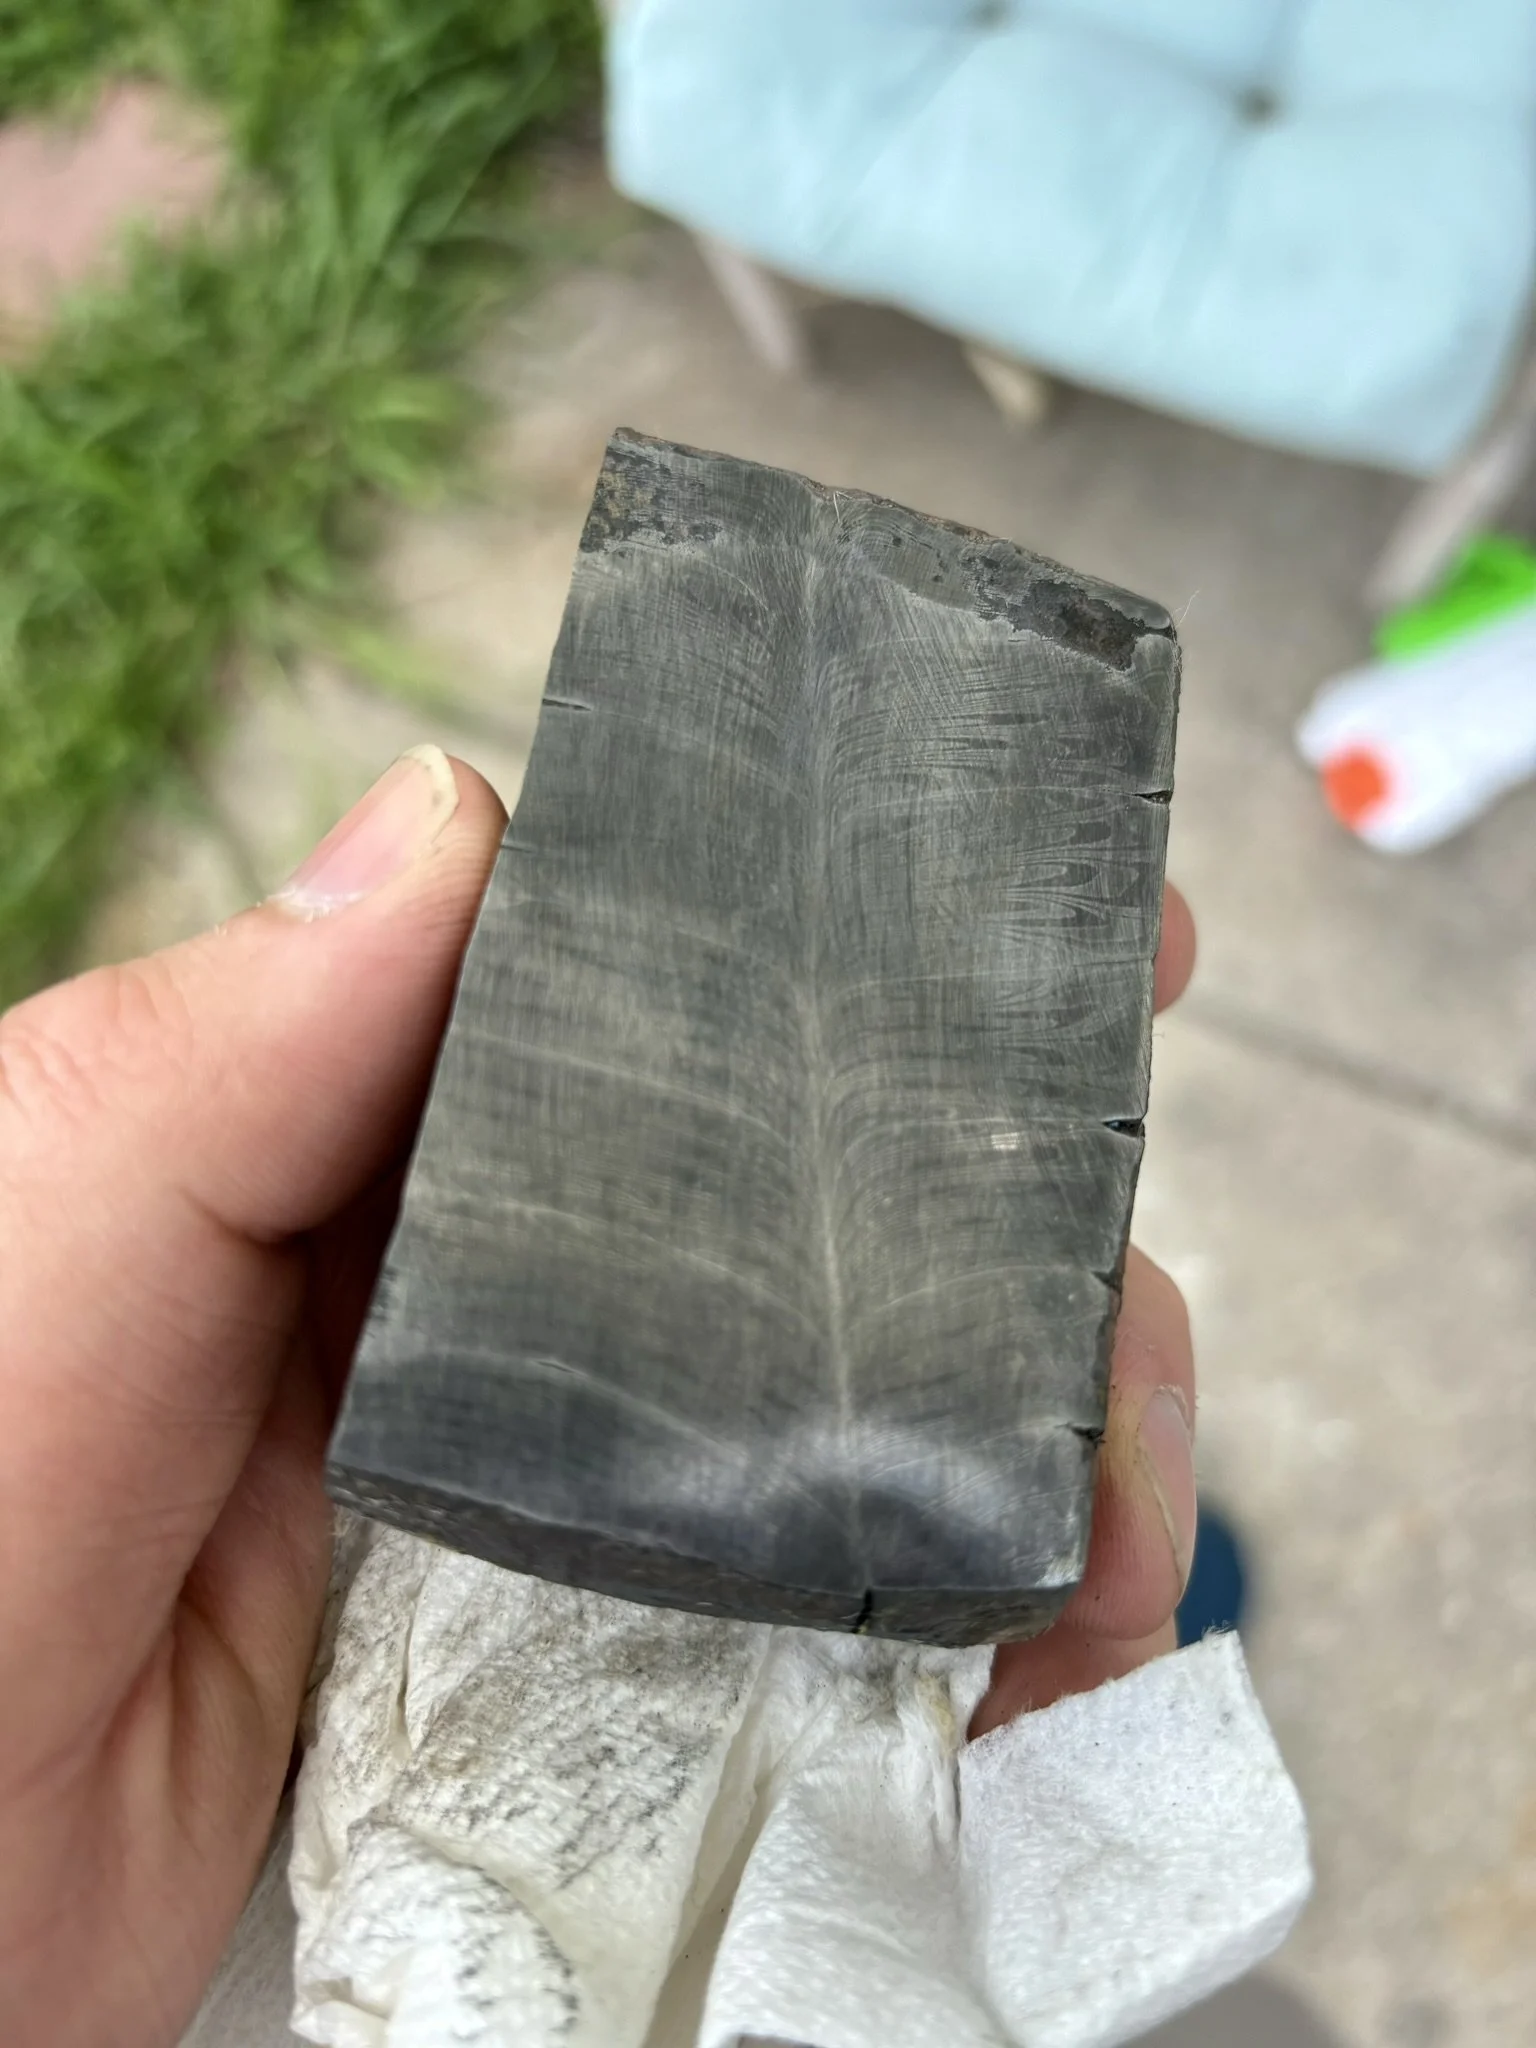
Cleaned up again and after chasing delaminations.
-
Forging back into a bar and rushed it - the key with feather is to be super gentle. All welds are not as solid as you'd think.
-
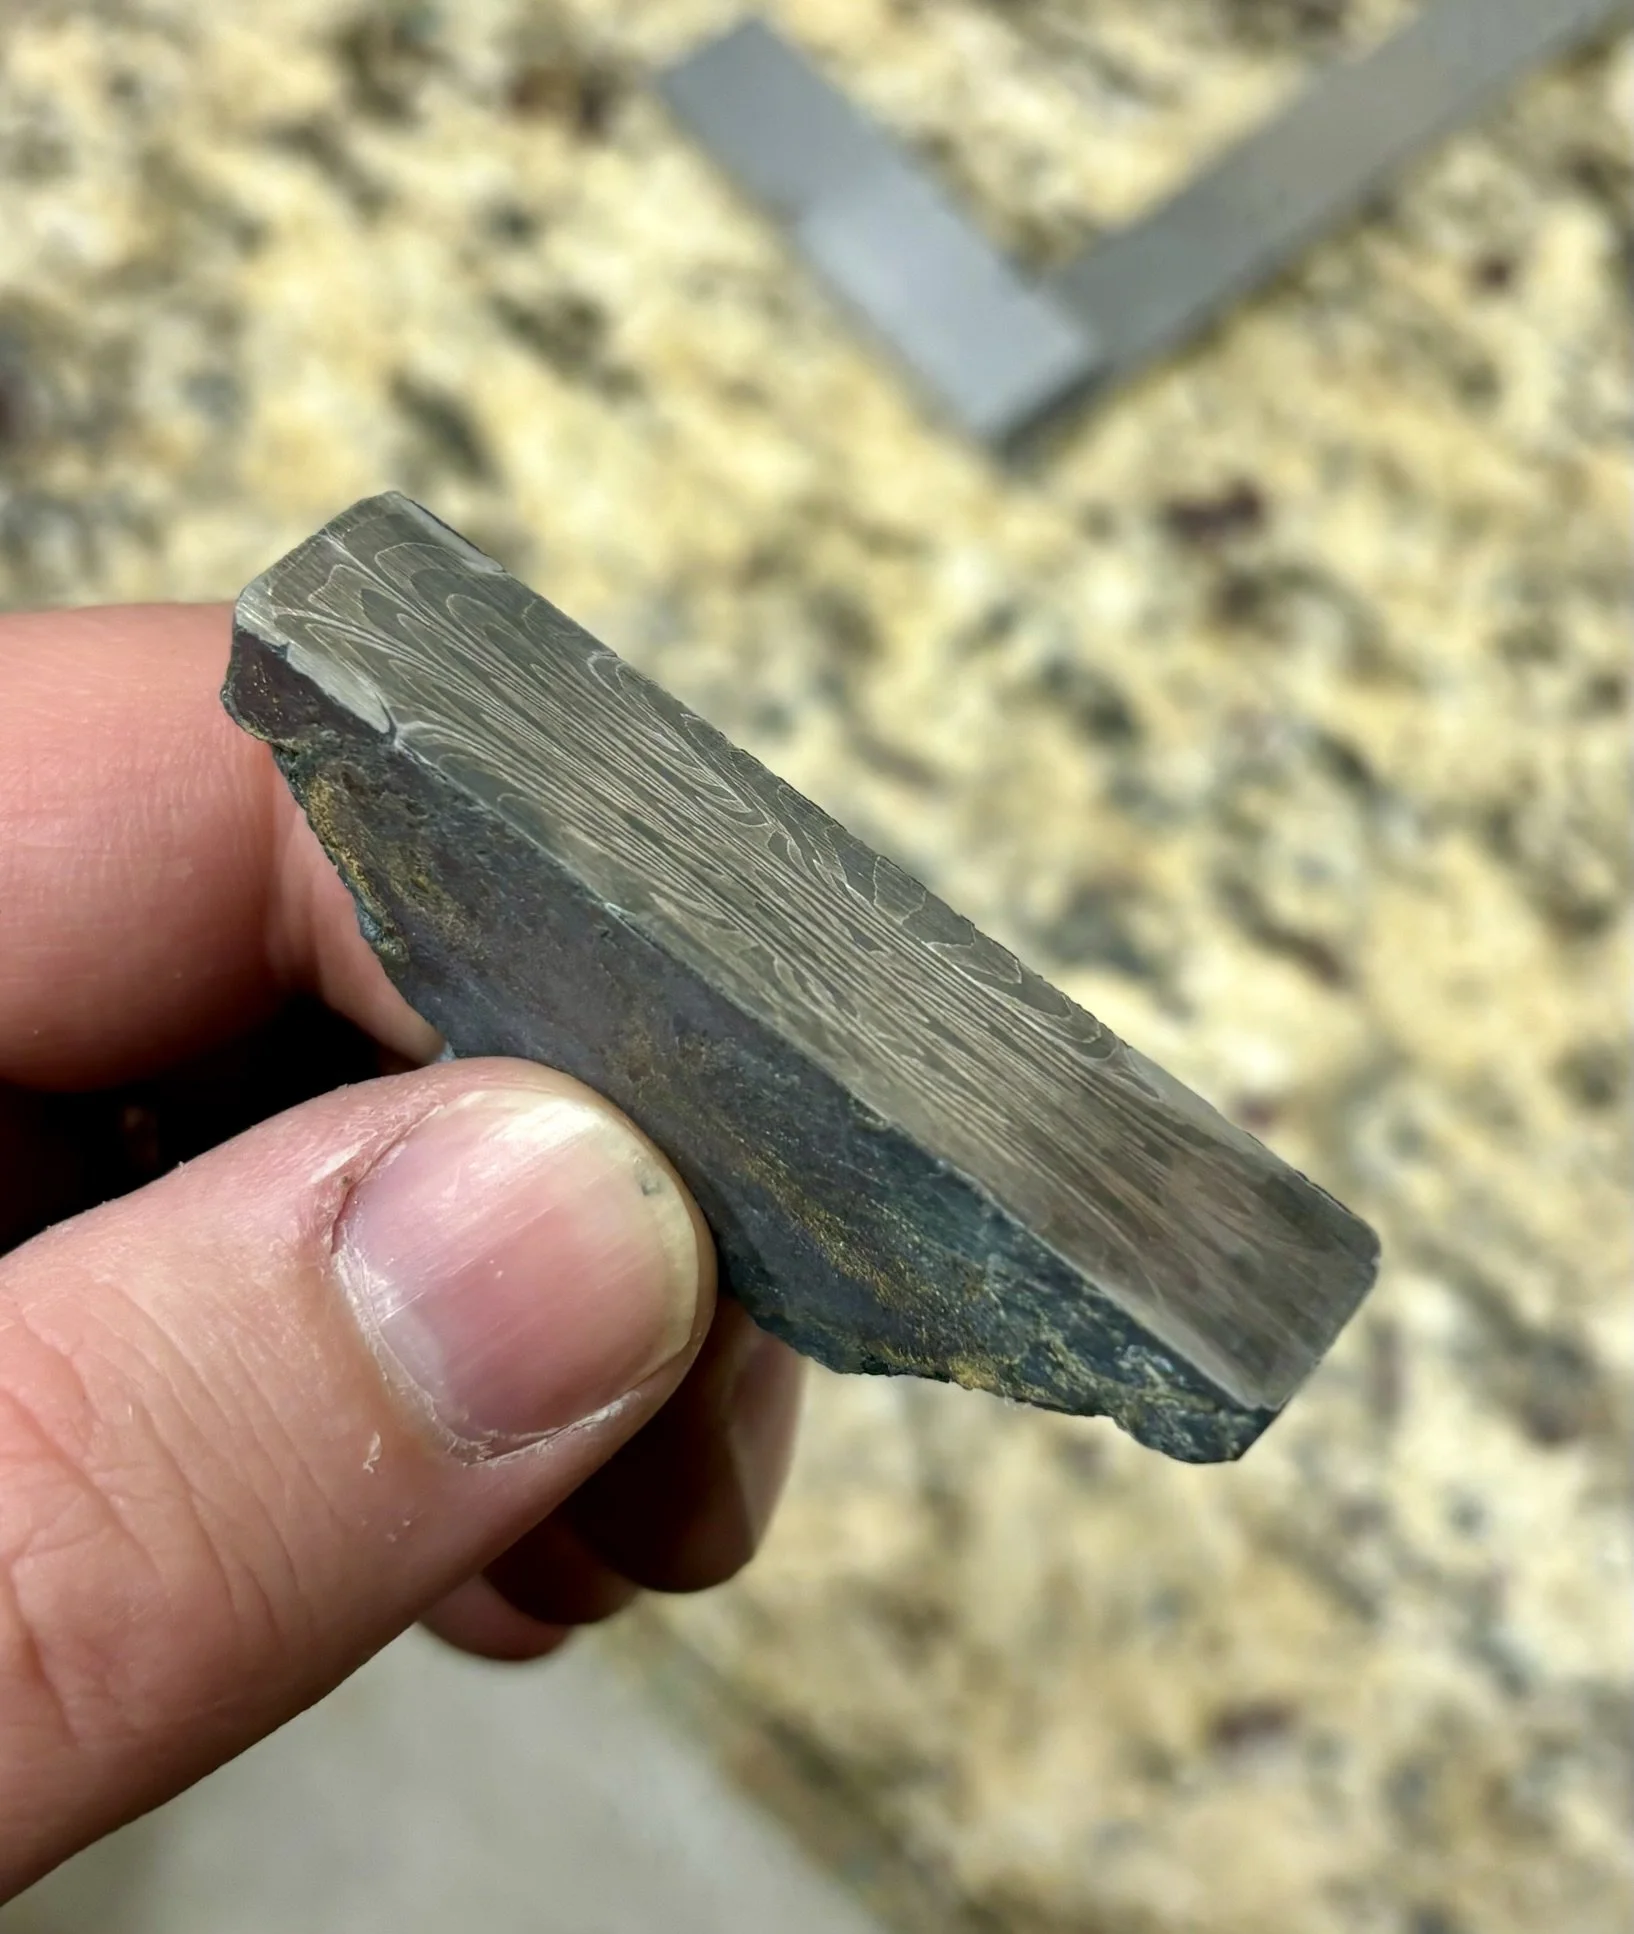
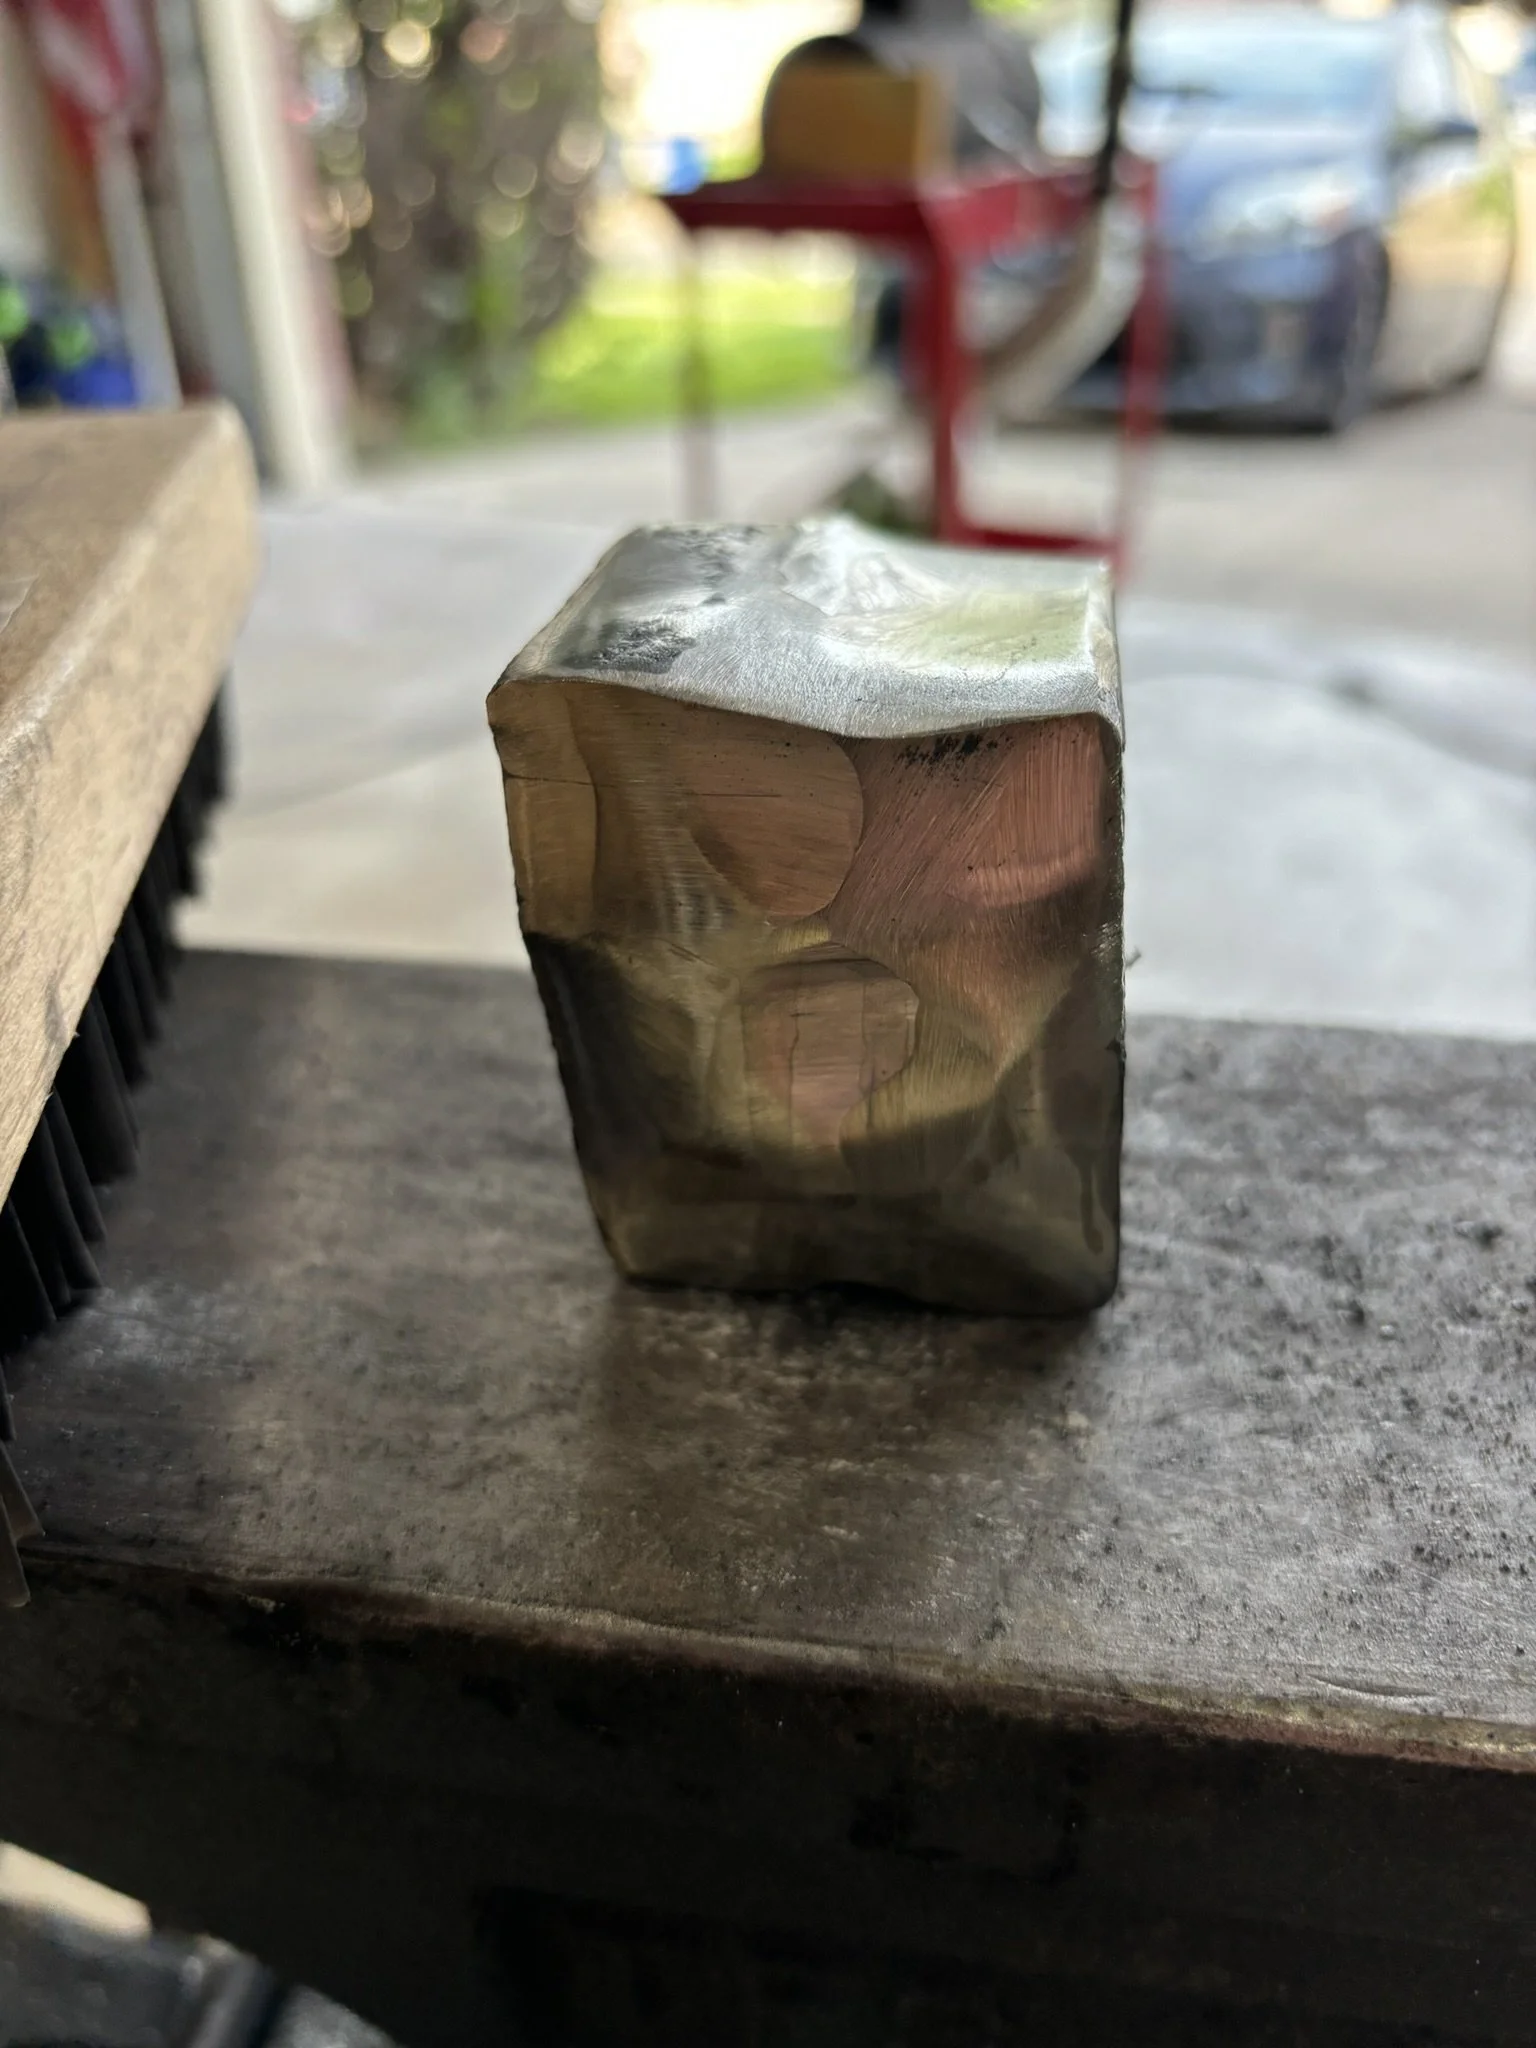
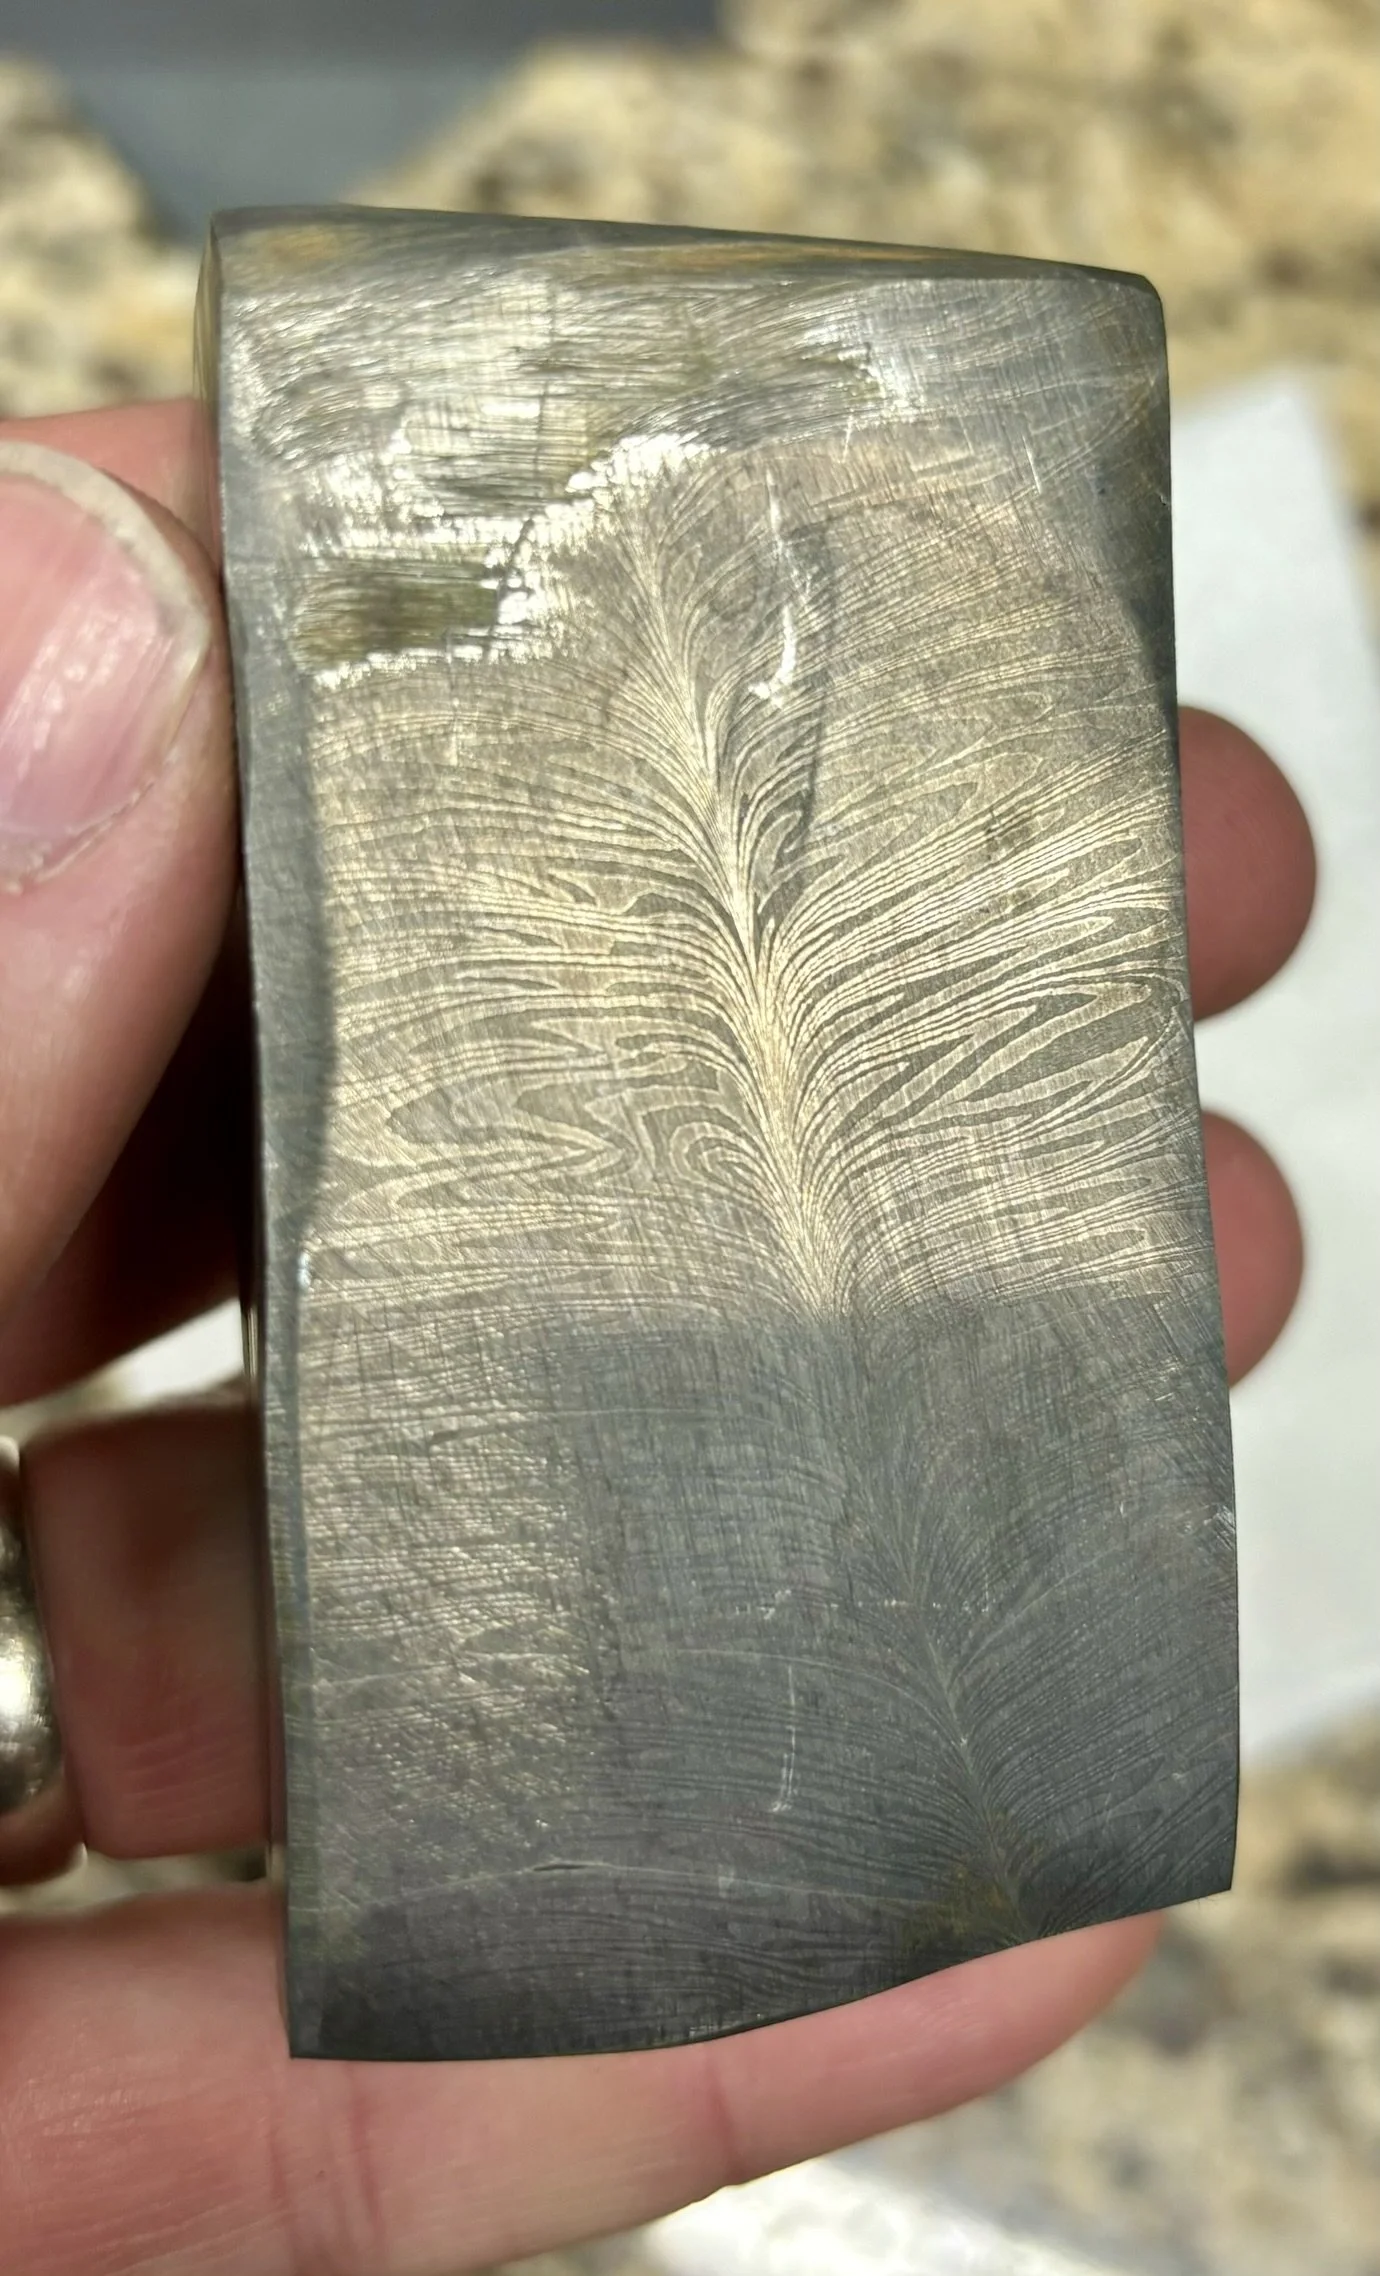
Cleaned up chunk. I see a feather in there!
-
More shiny feathers.
-
Drawn out for a personal chef's knife in my own style.
-
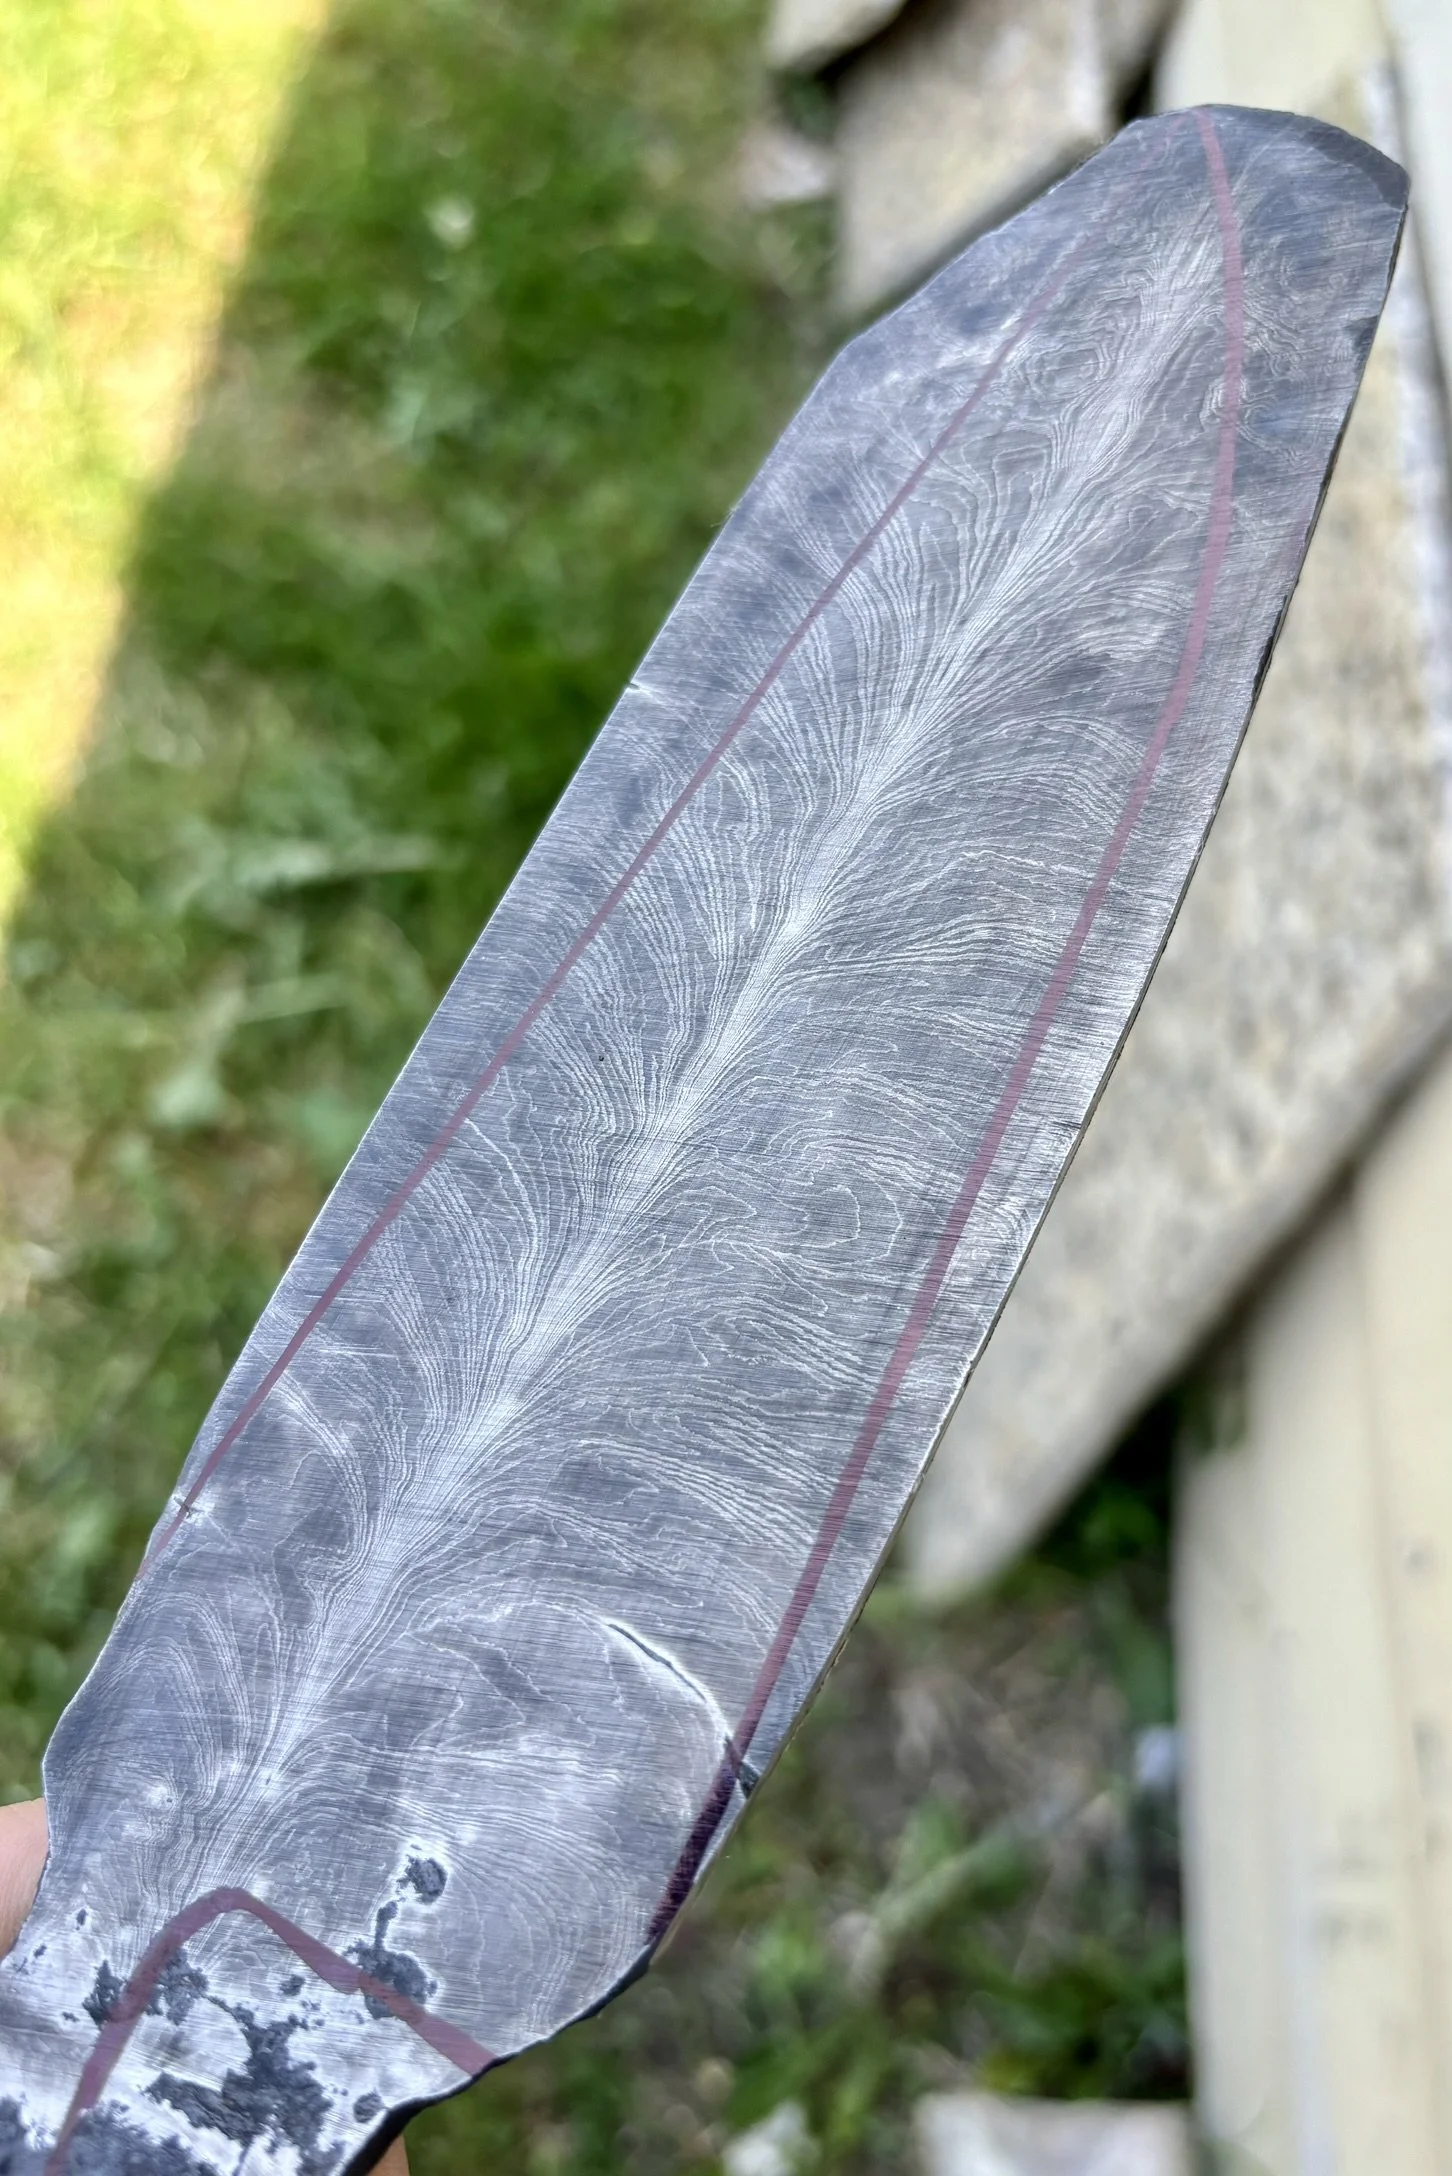
trying to make sure I have the feather in the optimal position.
-
Profiled and getting closer.
-
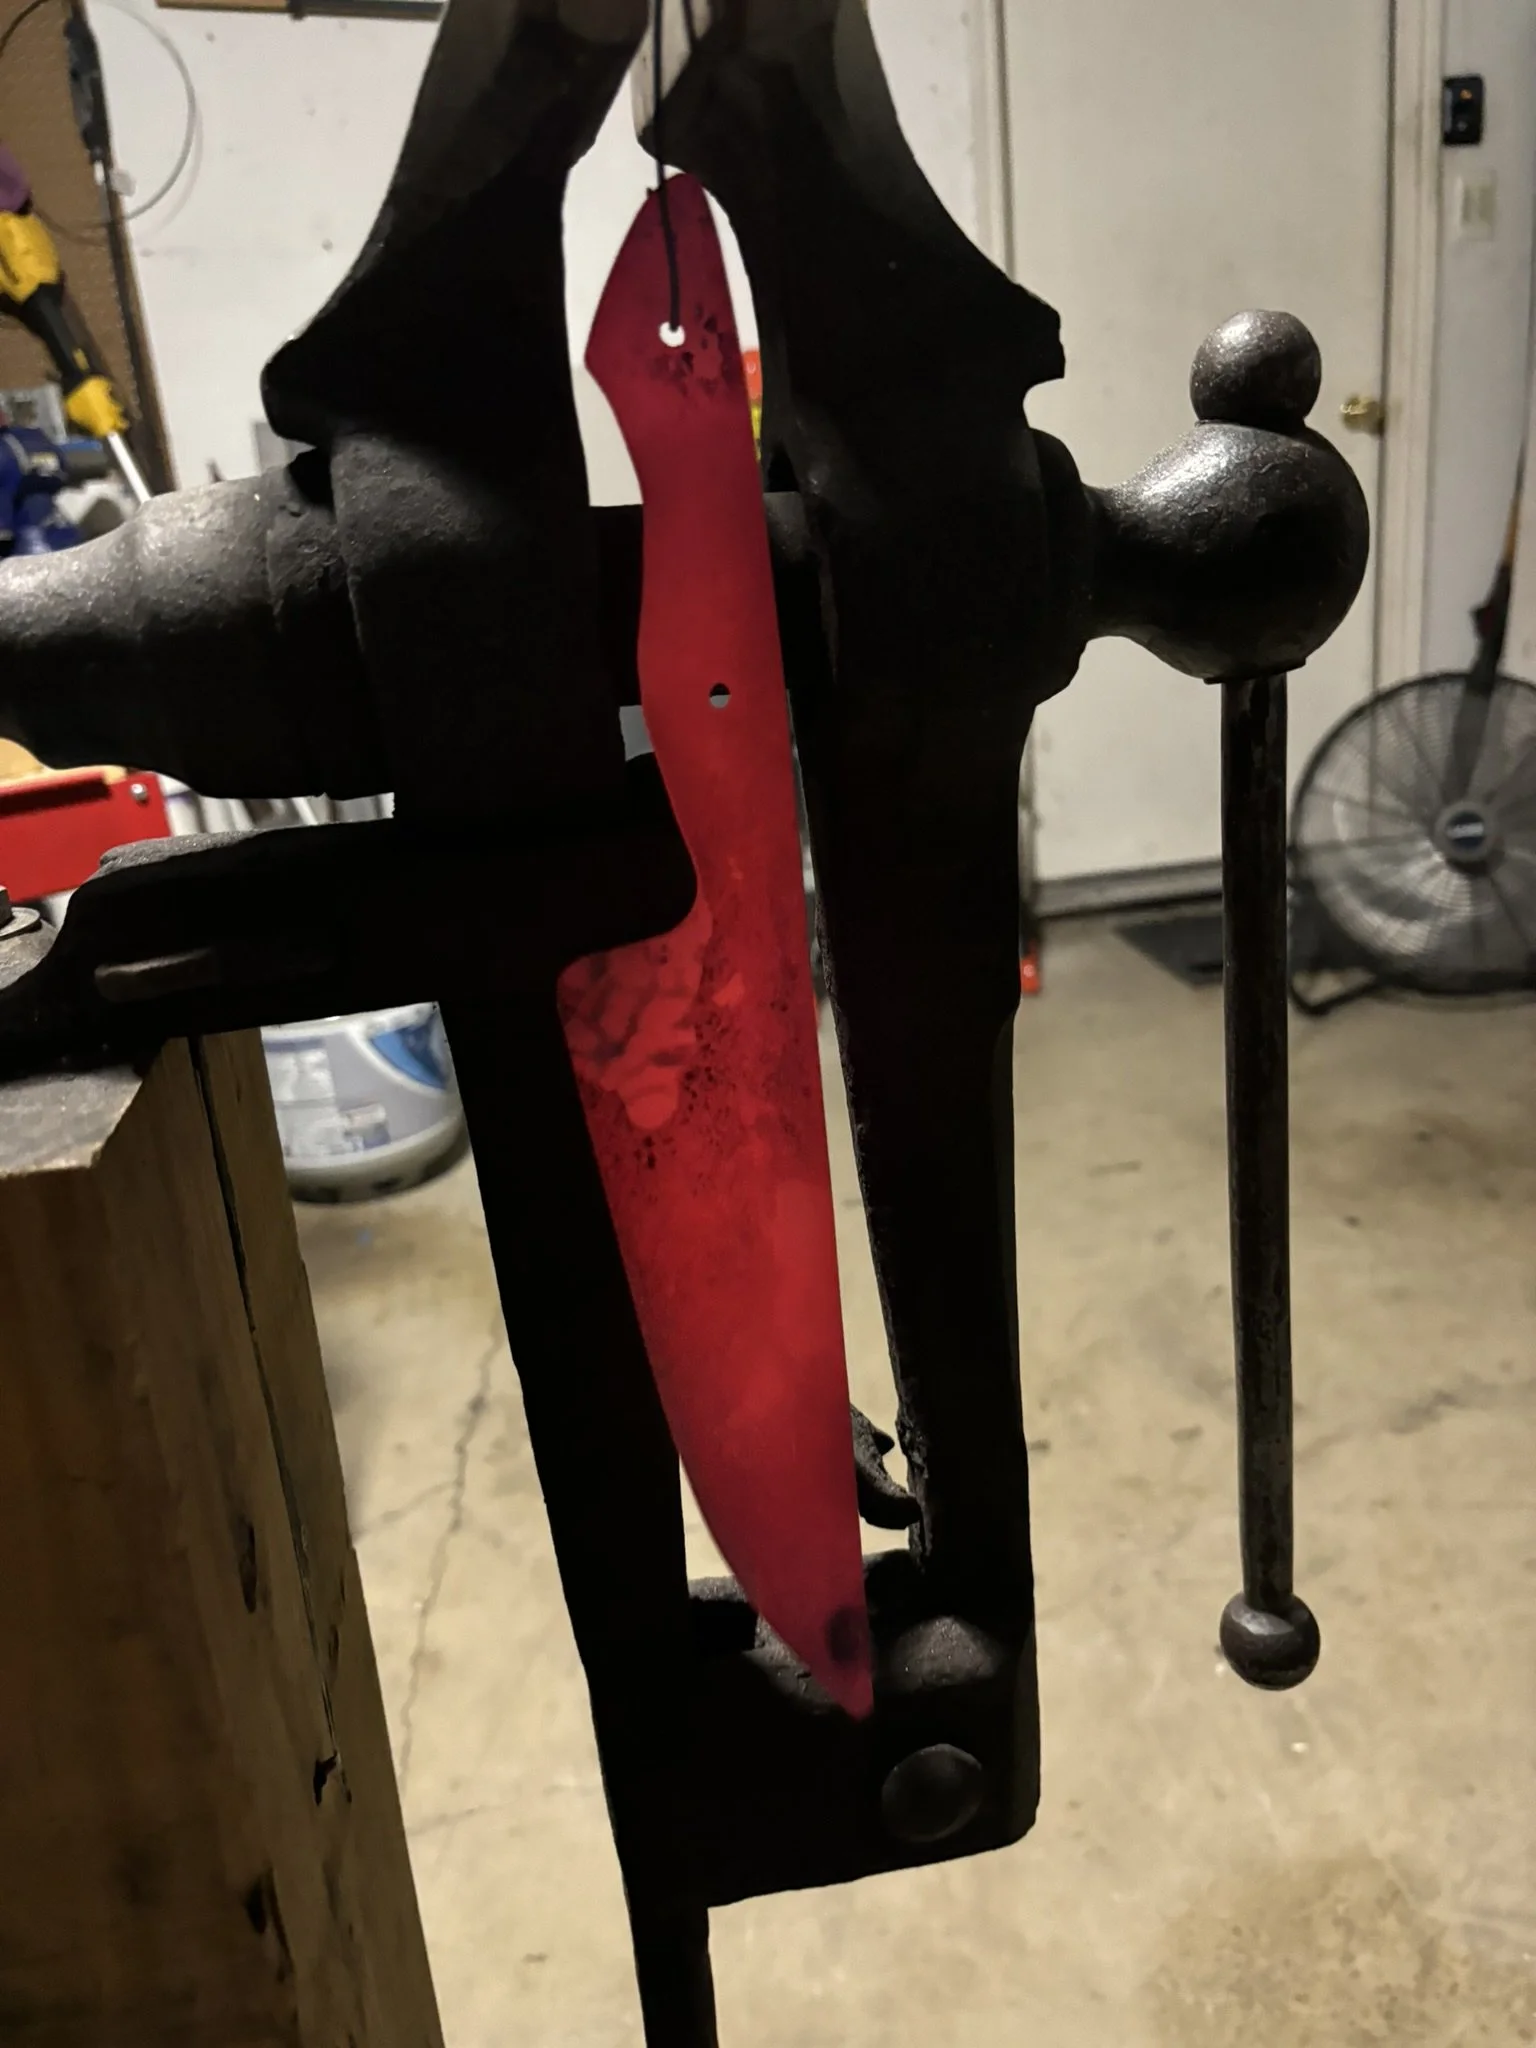
I love this part as well. During heat treat, I typically give each blade a couple of normalizing cycles to relax the steel and prevent warps. I was able to watch some amazing recalescence on this blade. It looked like a heart beat within the knife.
-
Post heat treat.
-
Handle post heat treat.
-
Peaking at the pattern layout.
-
Hand sanding!
-
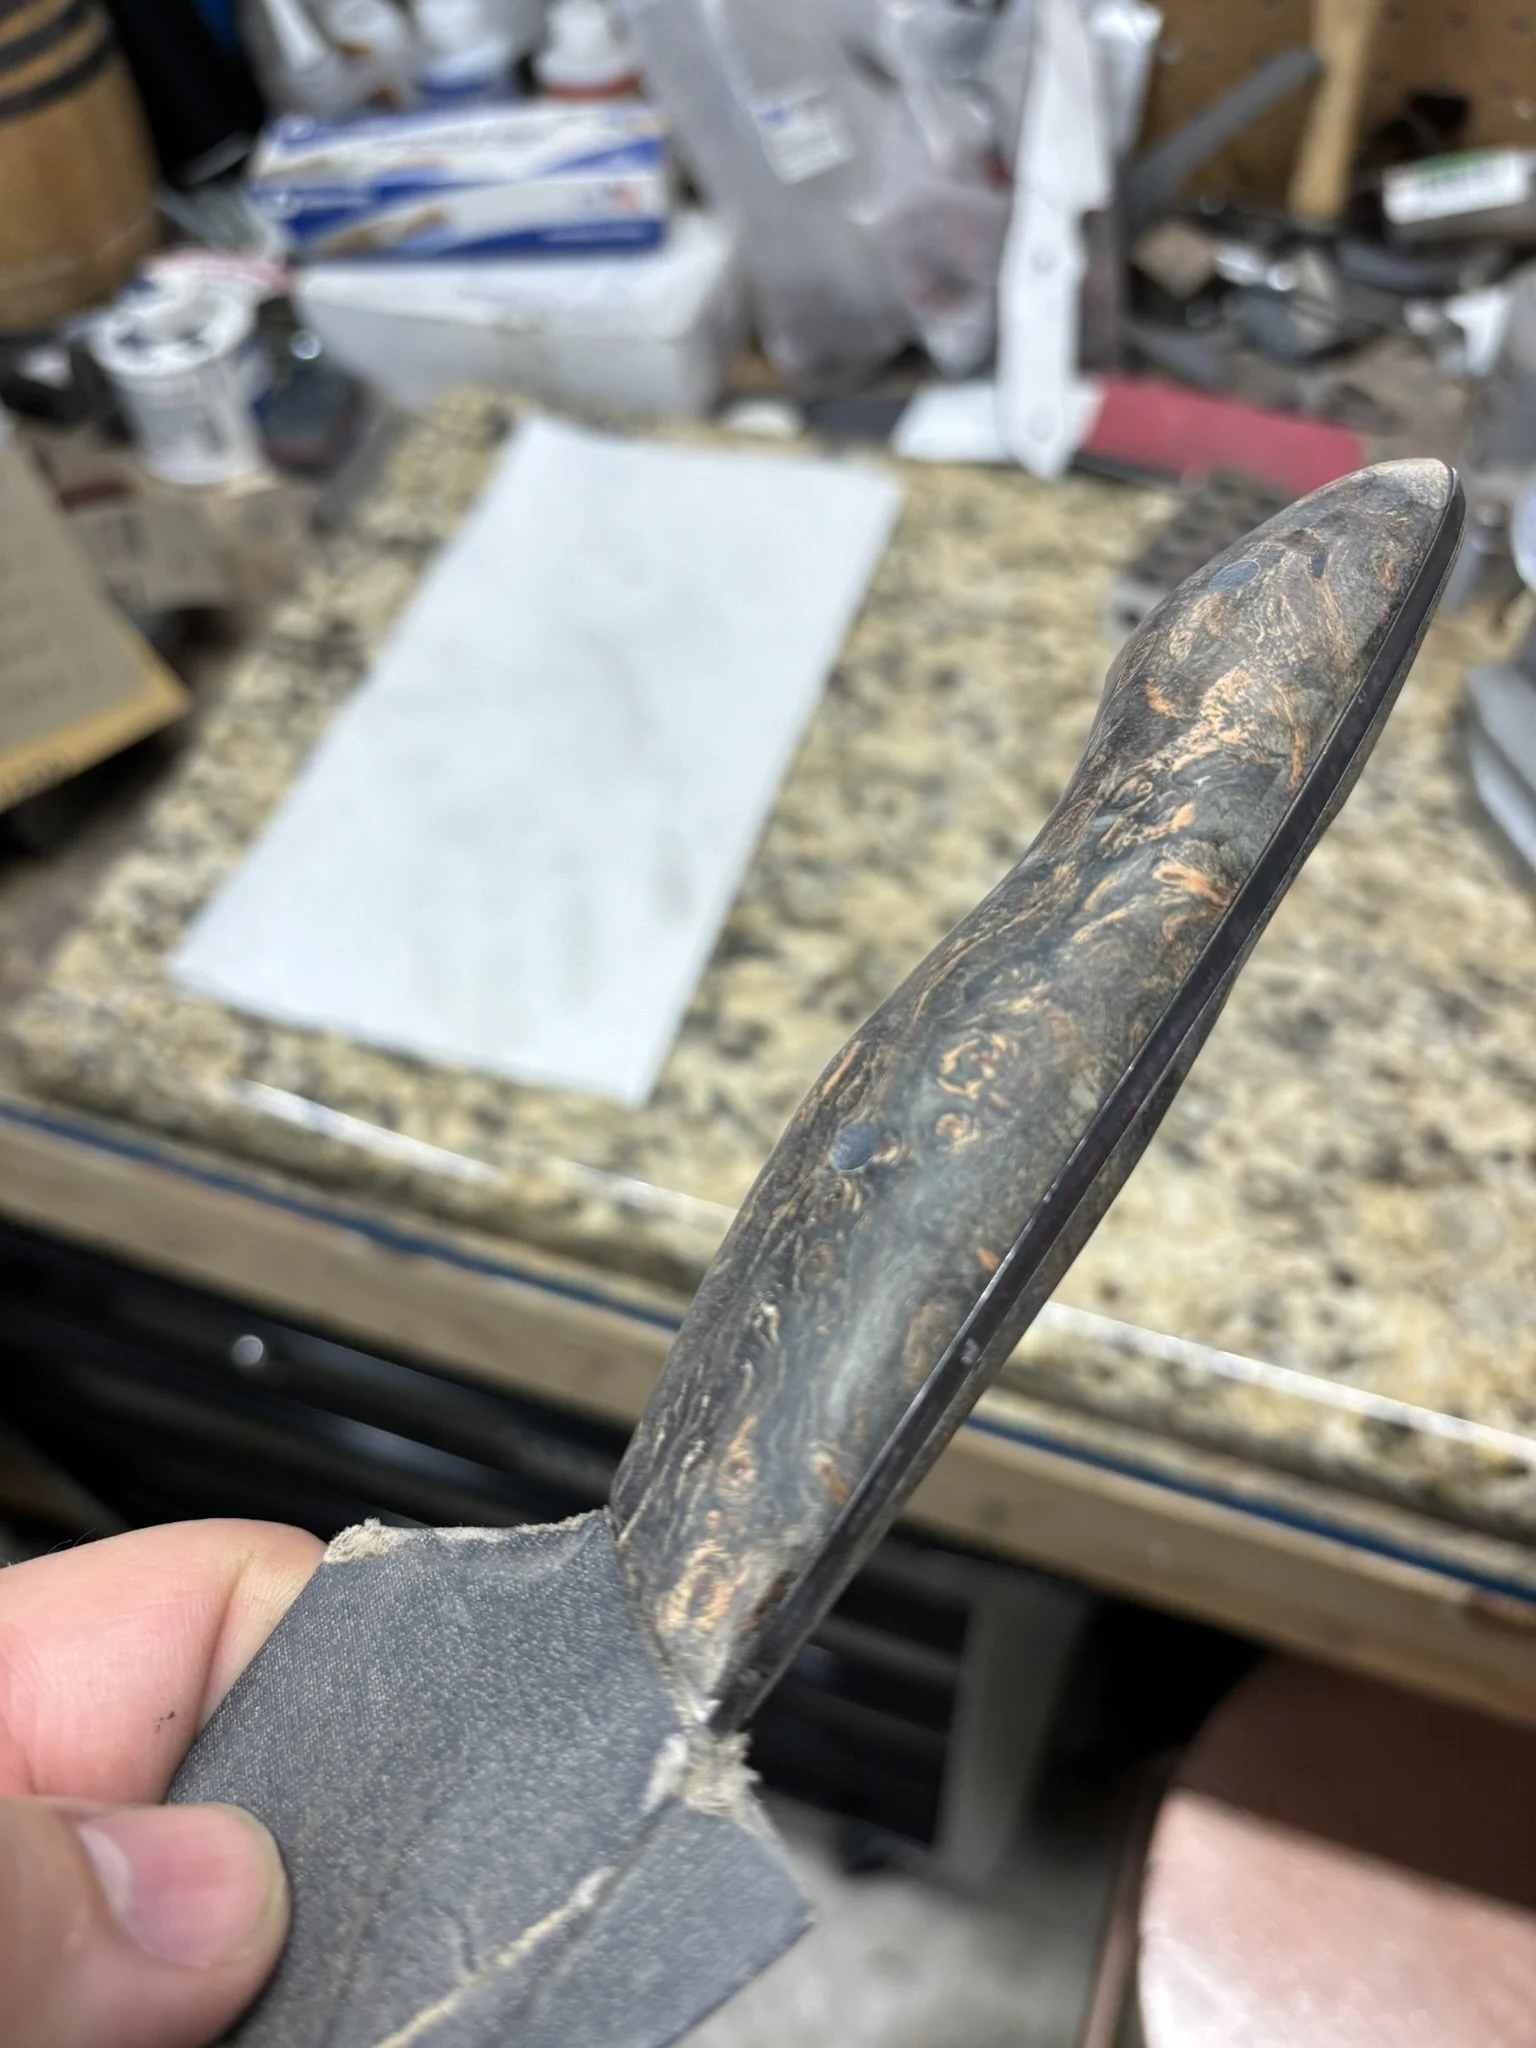
Dark and smokey looking burl for the handle.
-
Final shaped handle scales and the final blade.
-
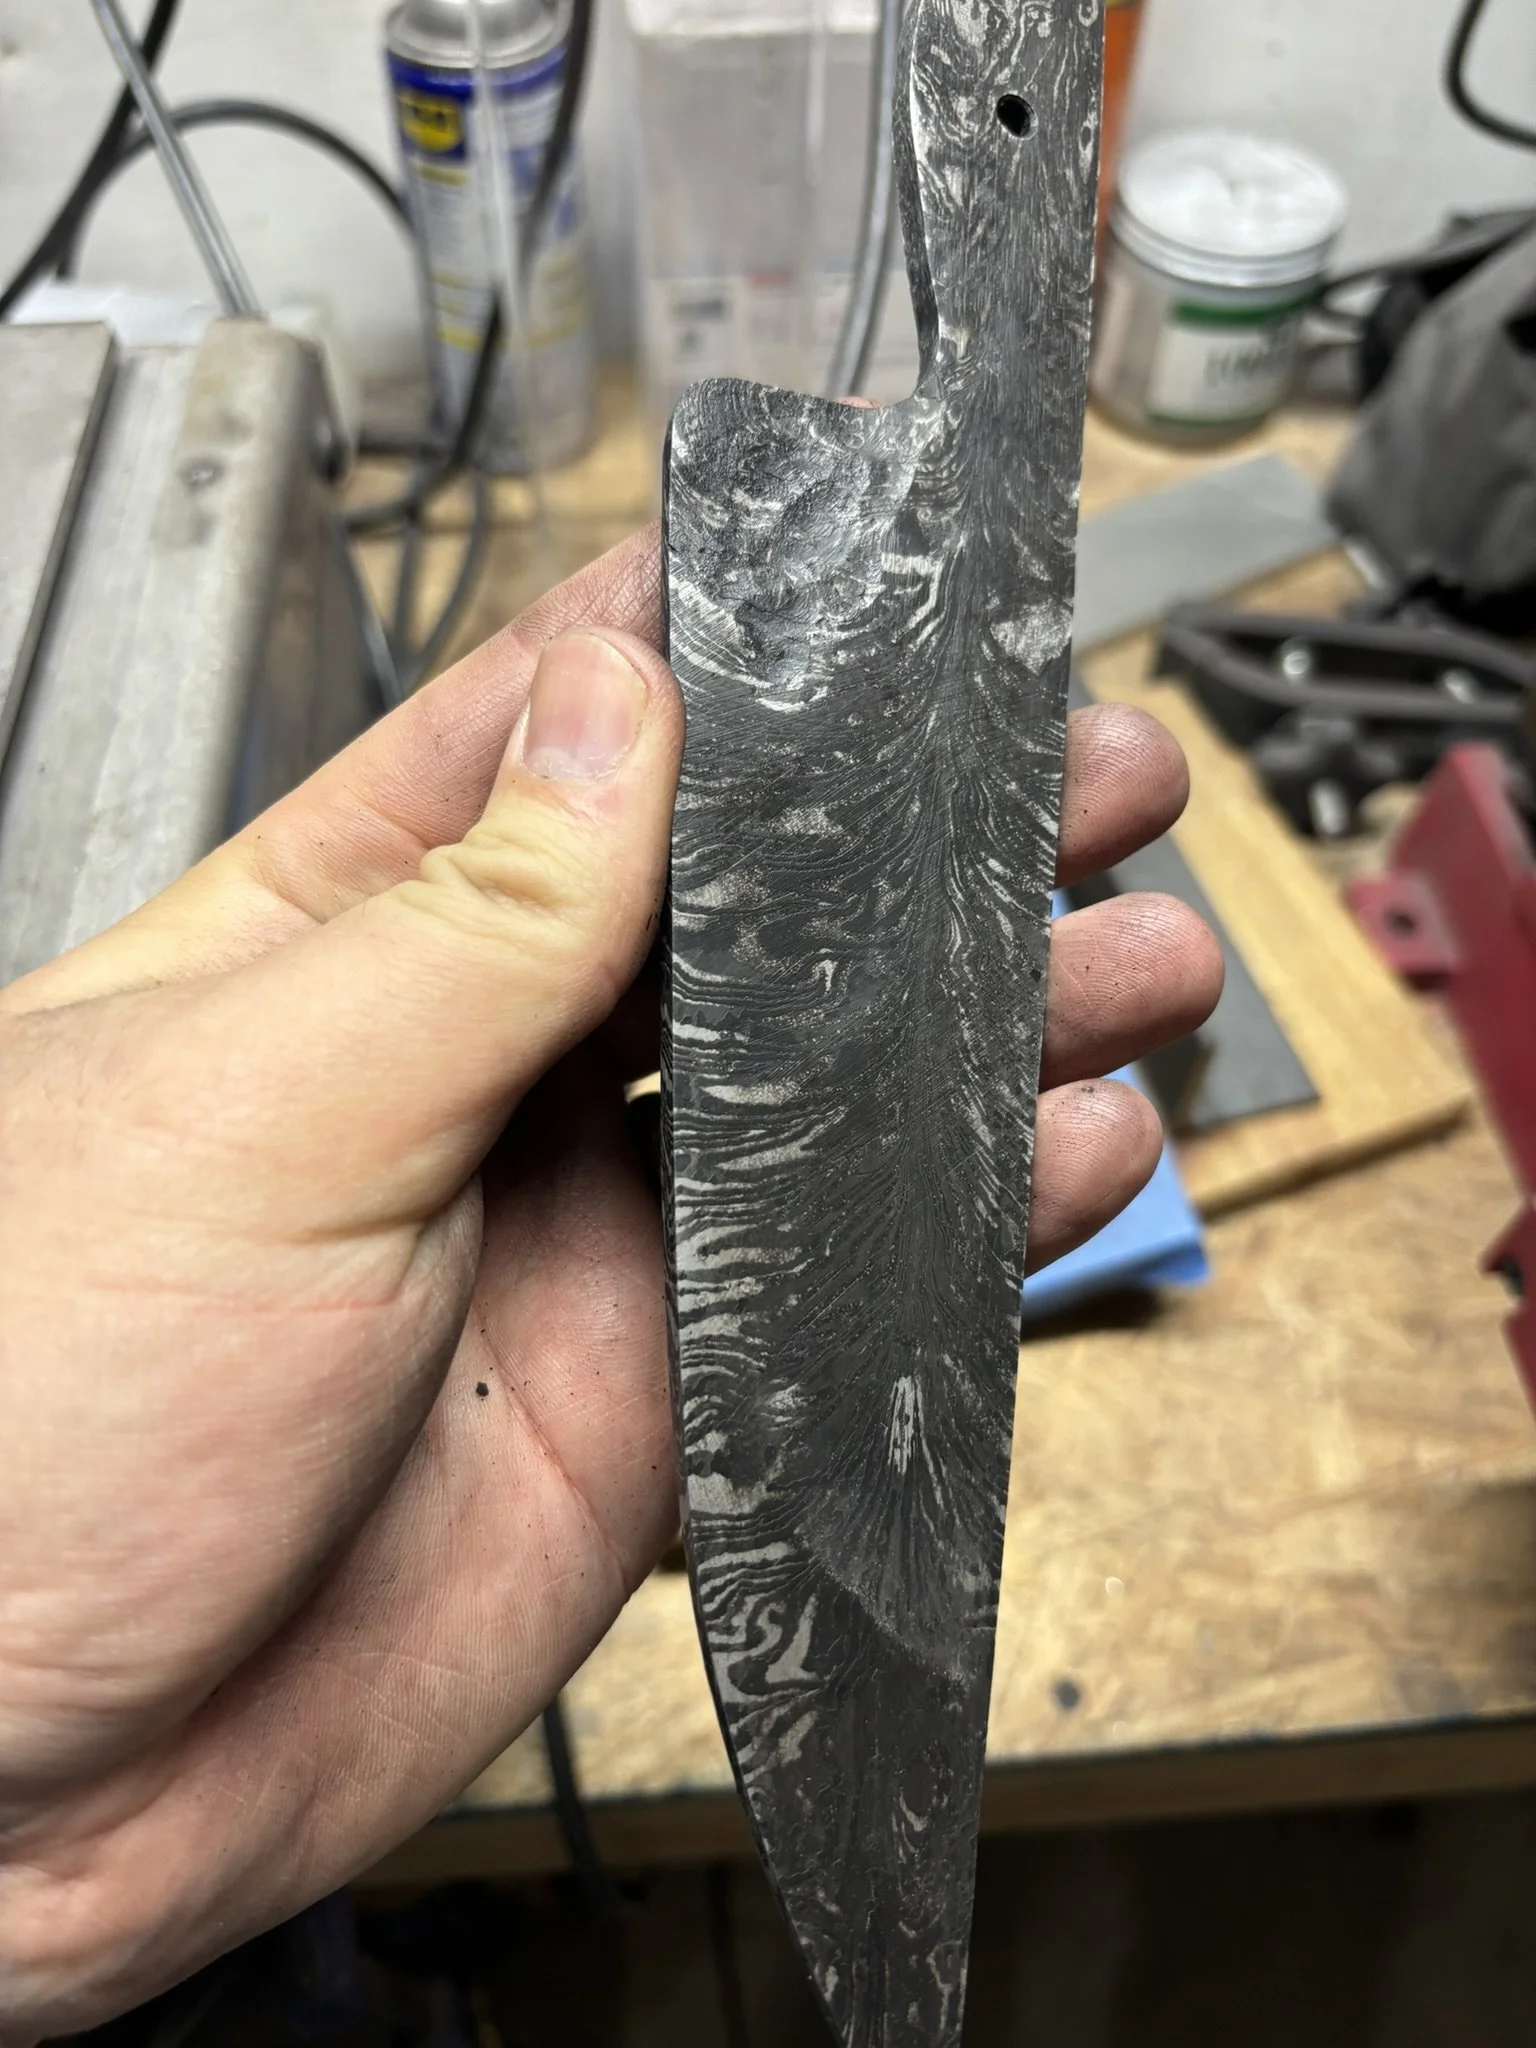
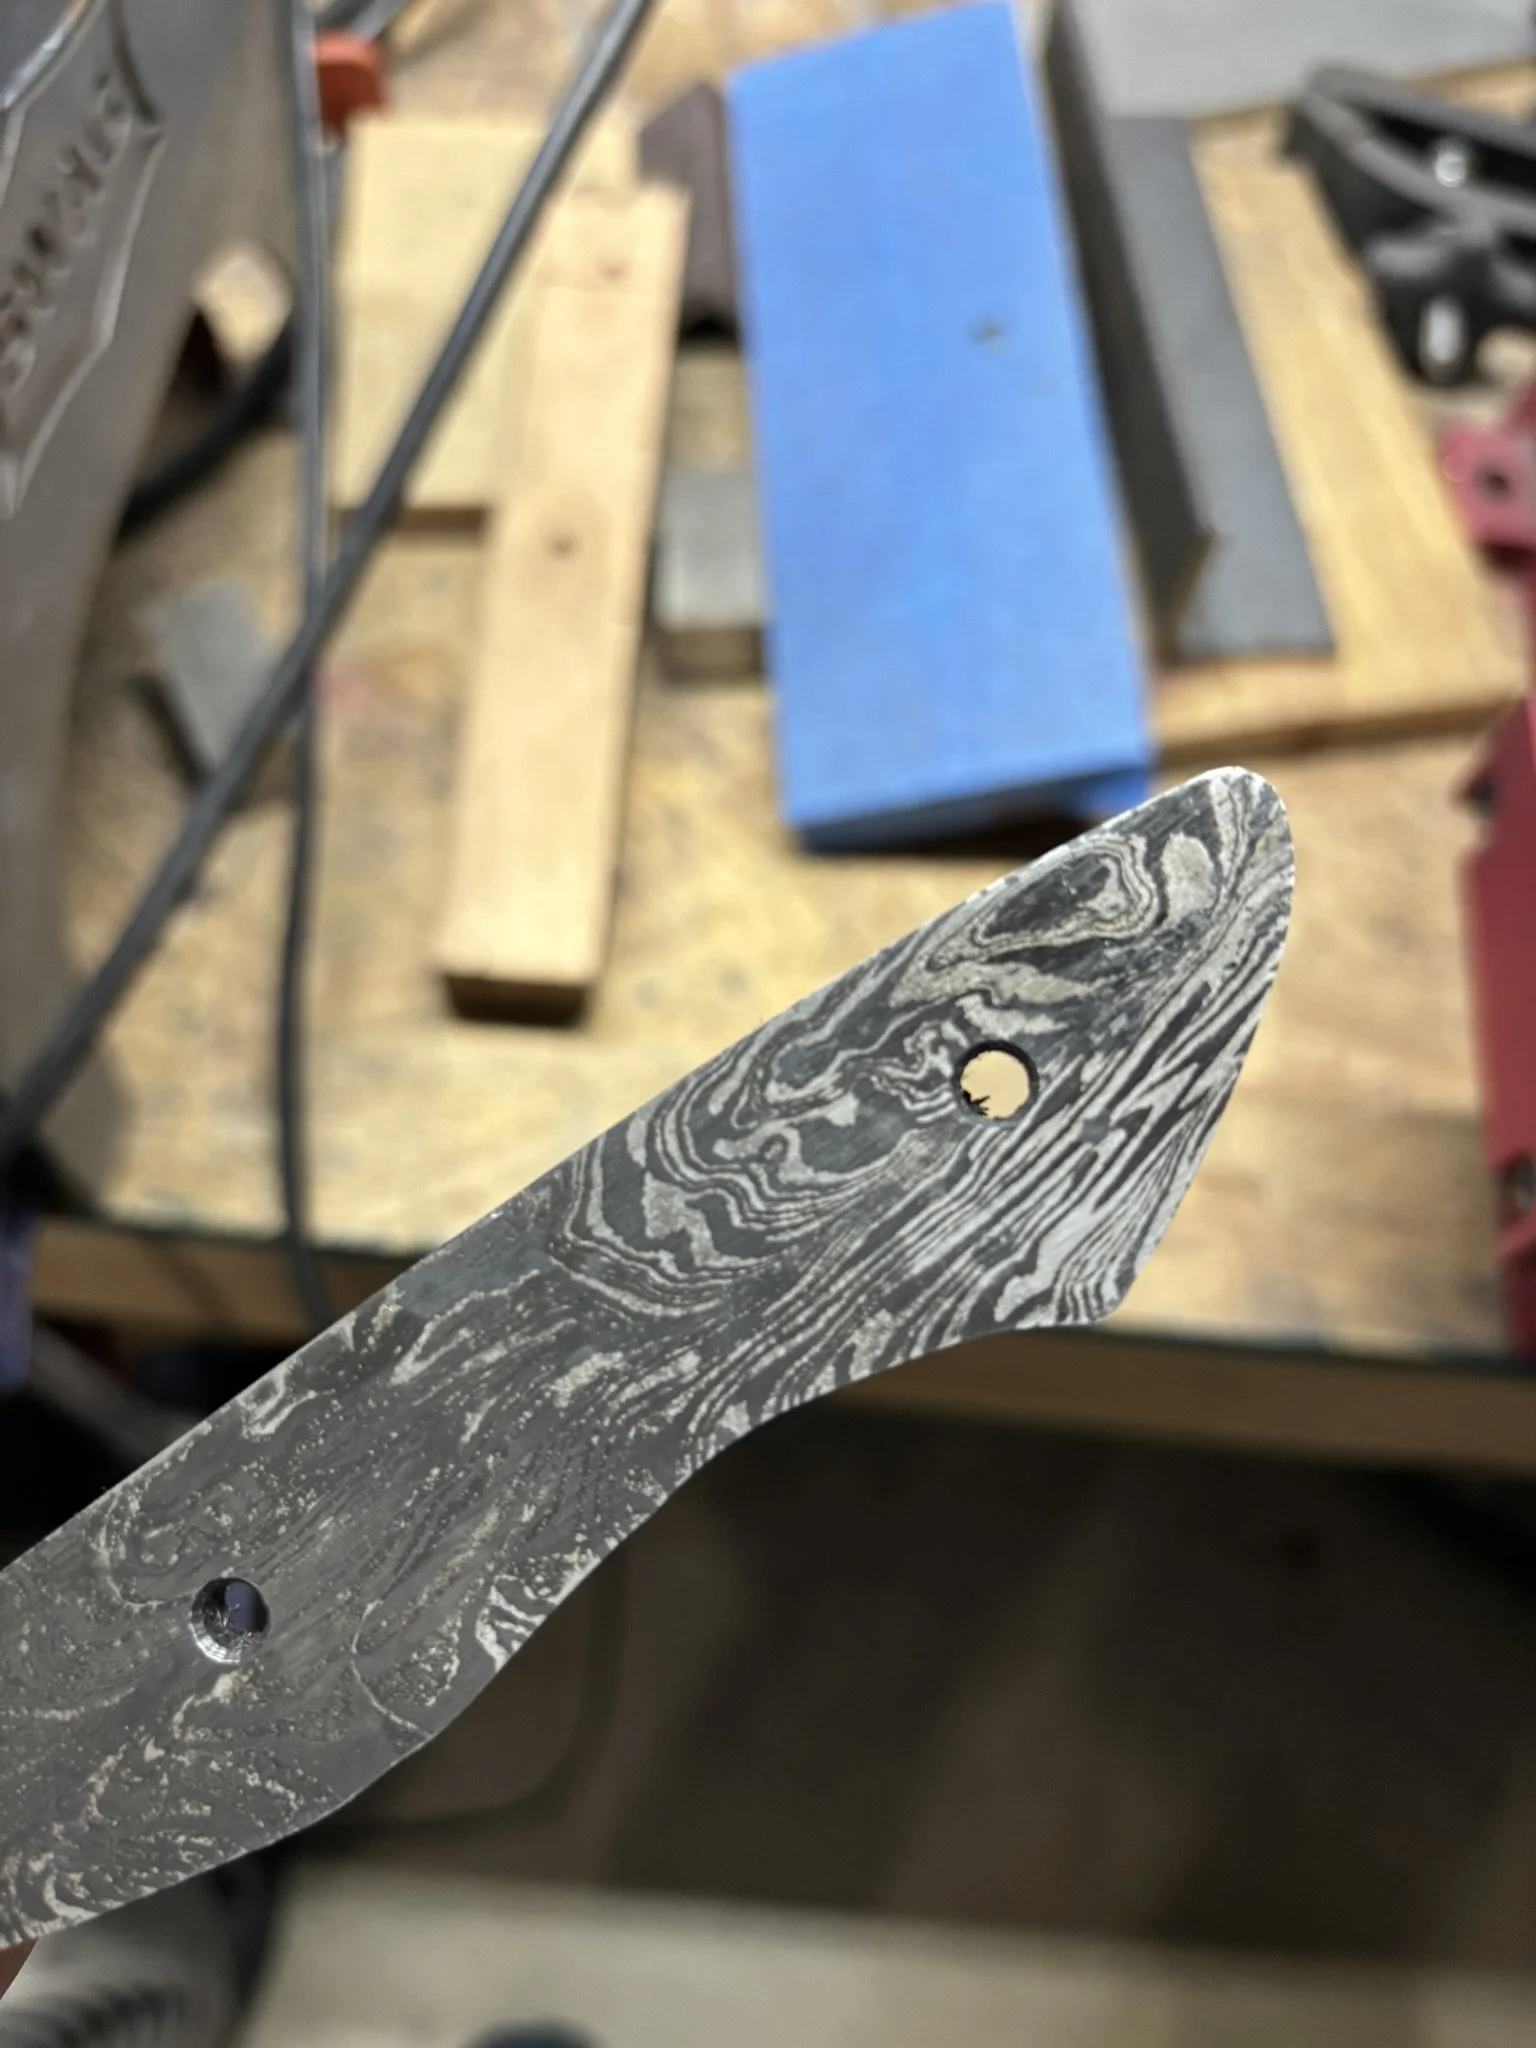
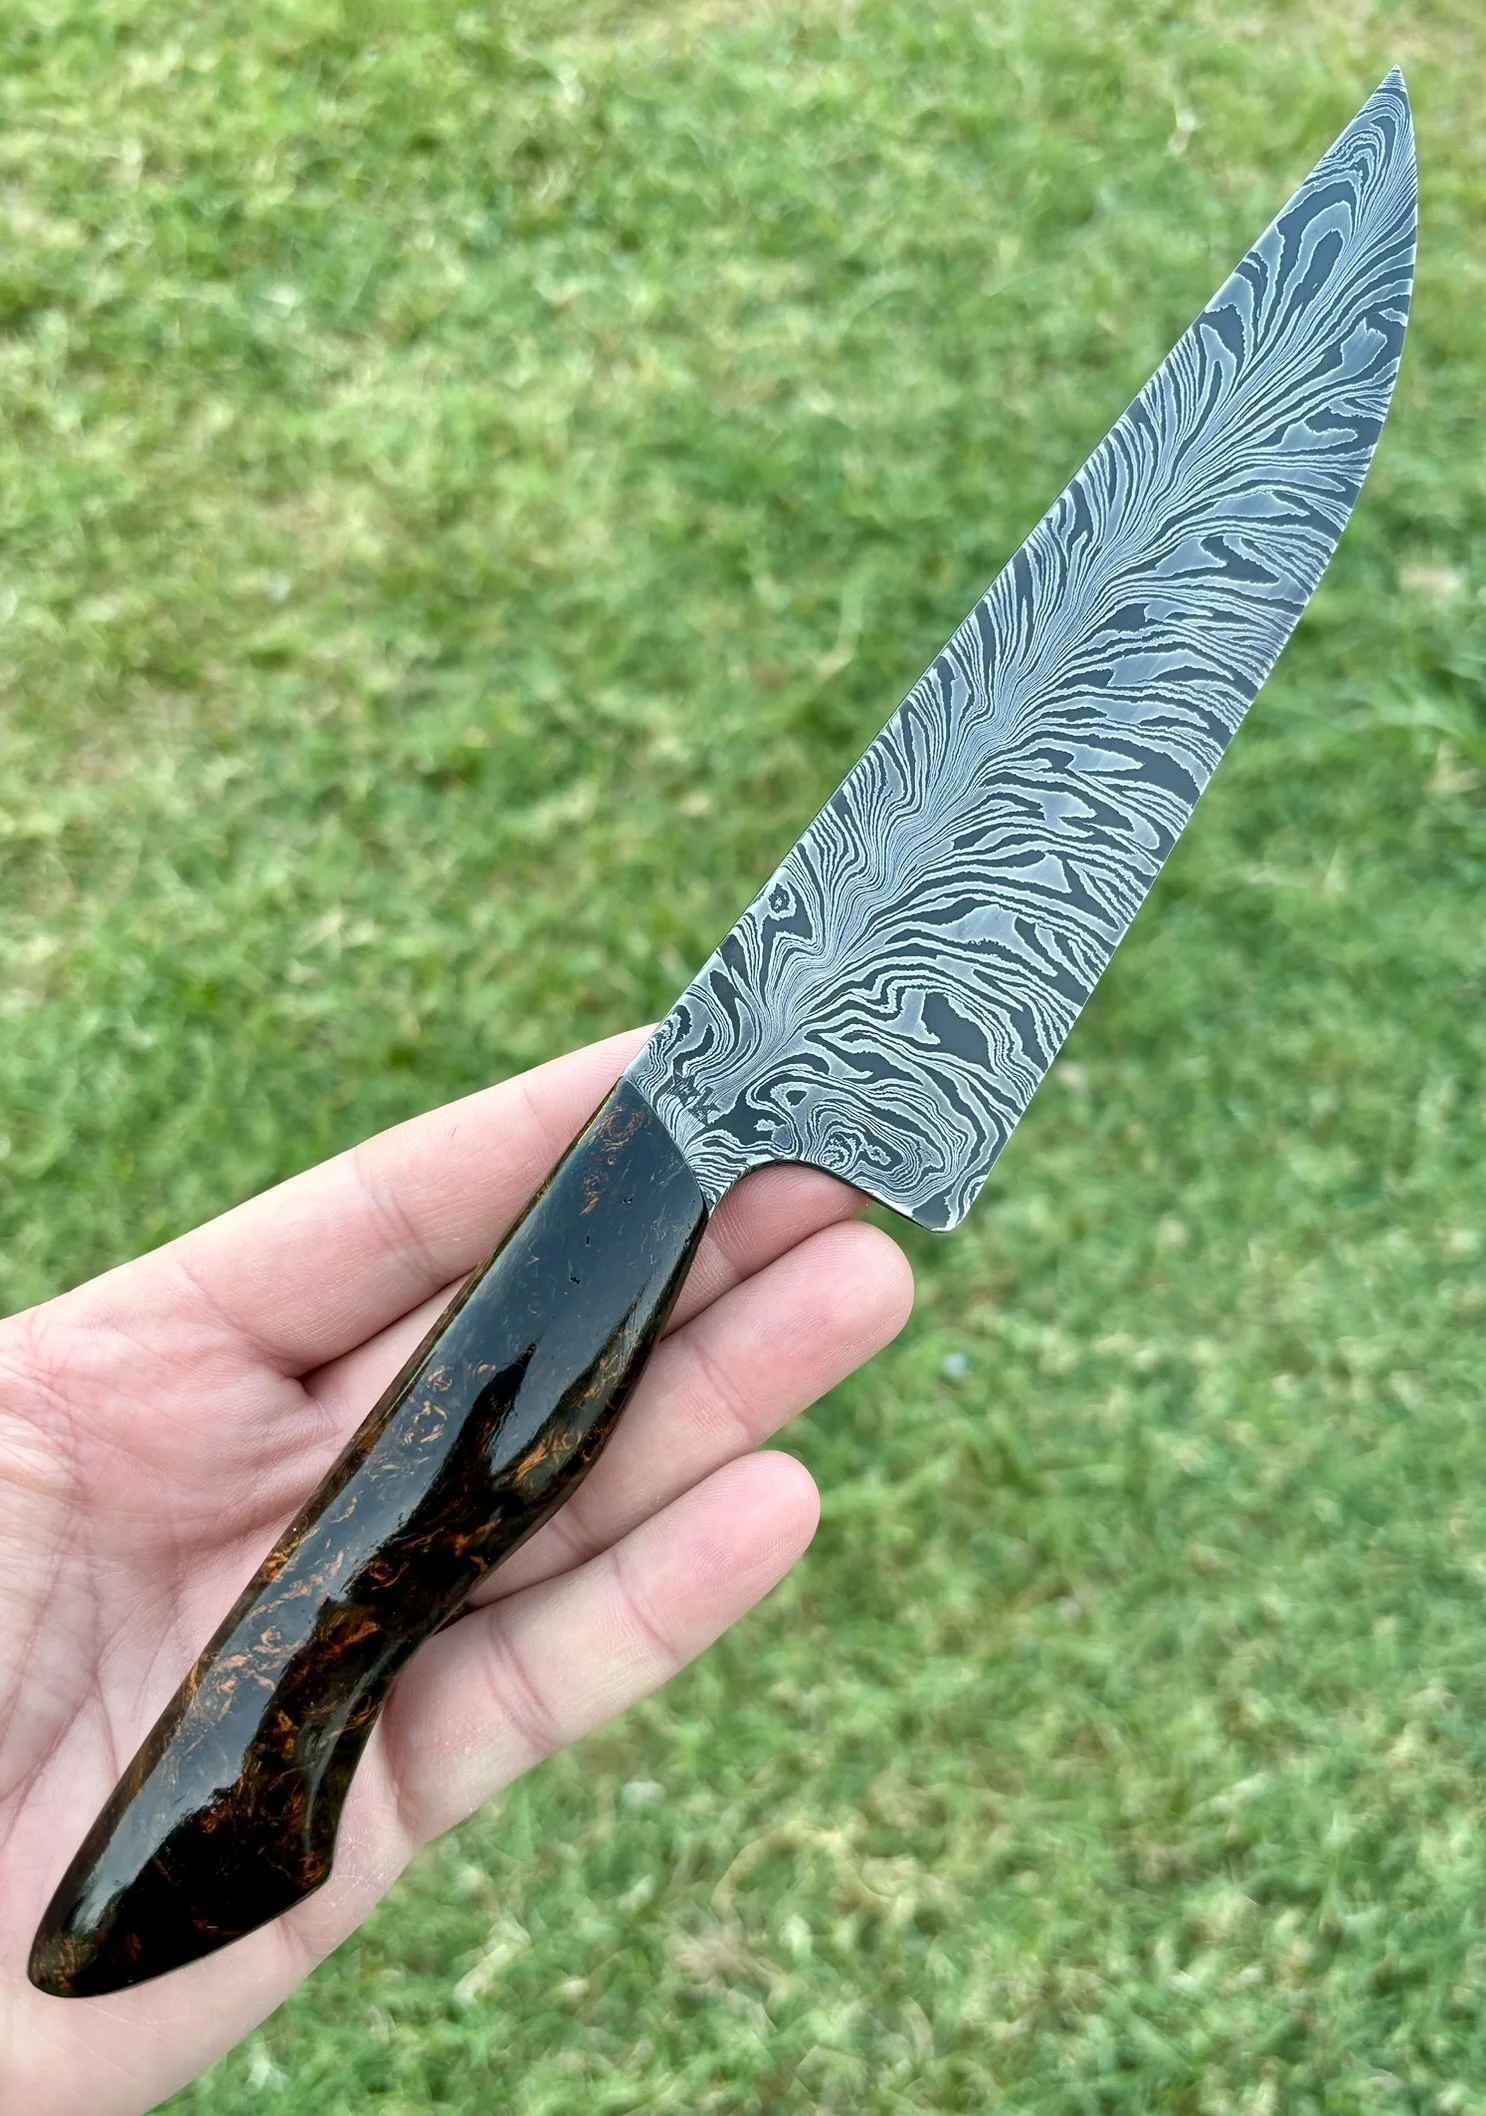
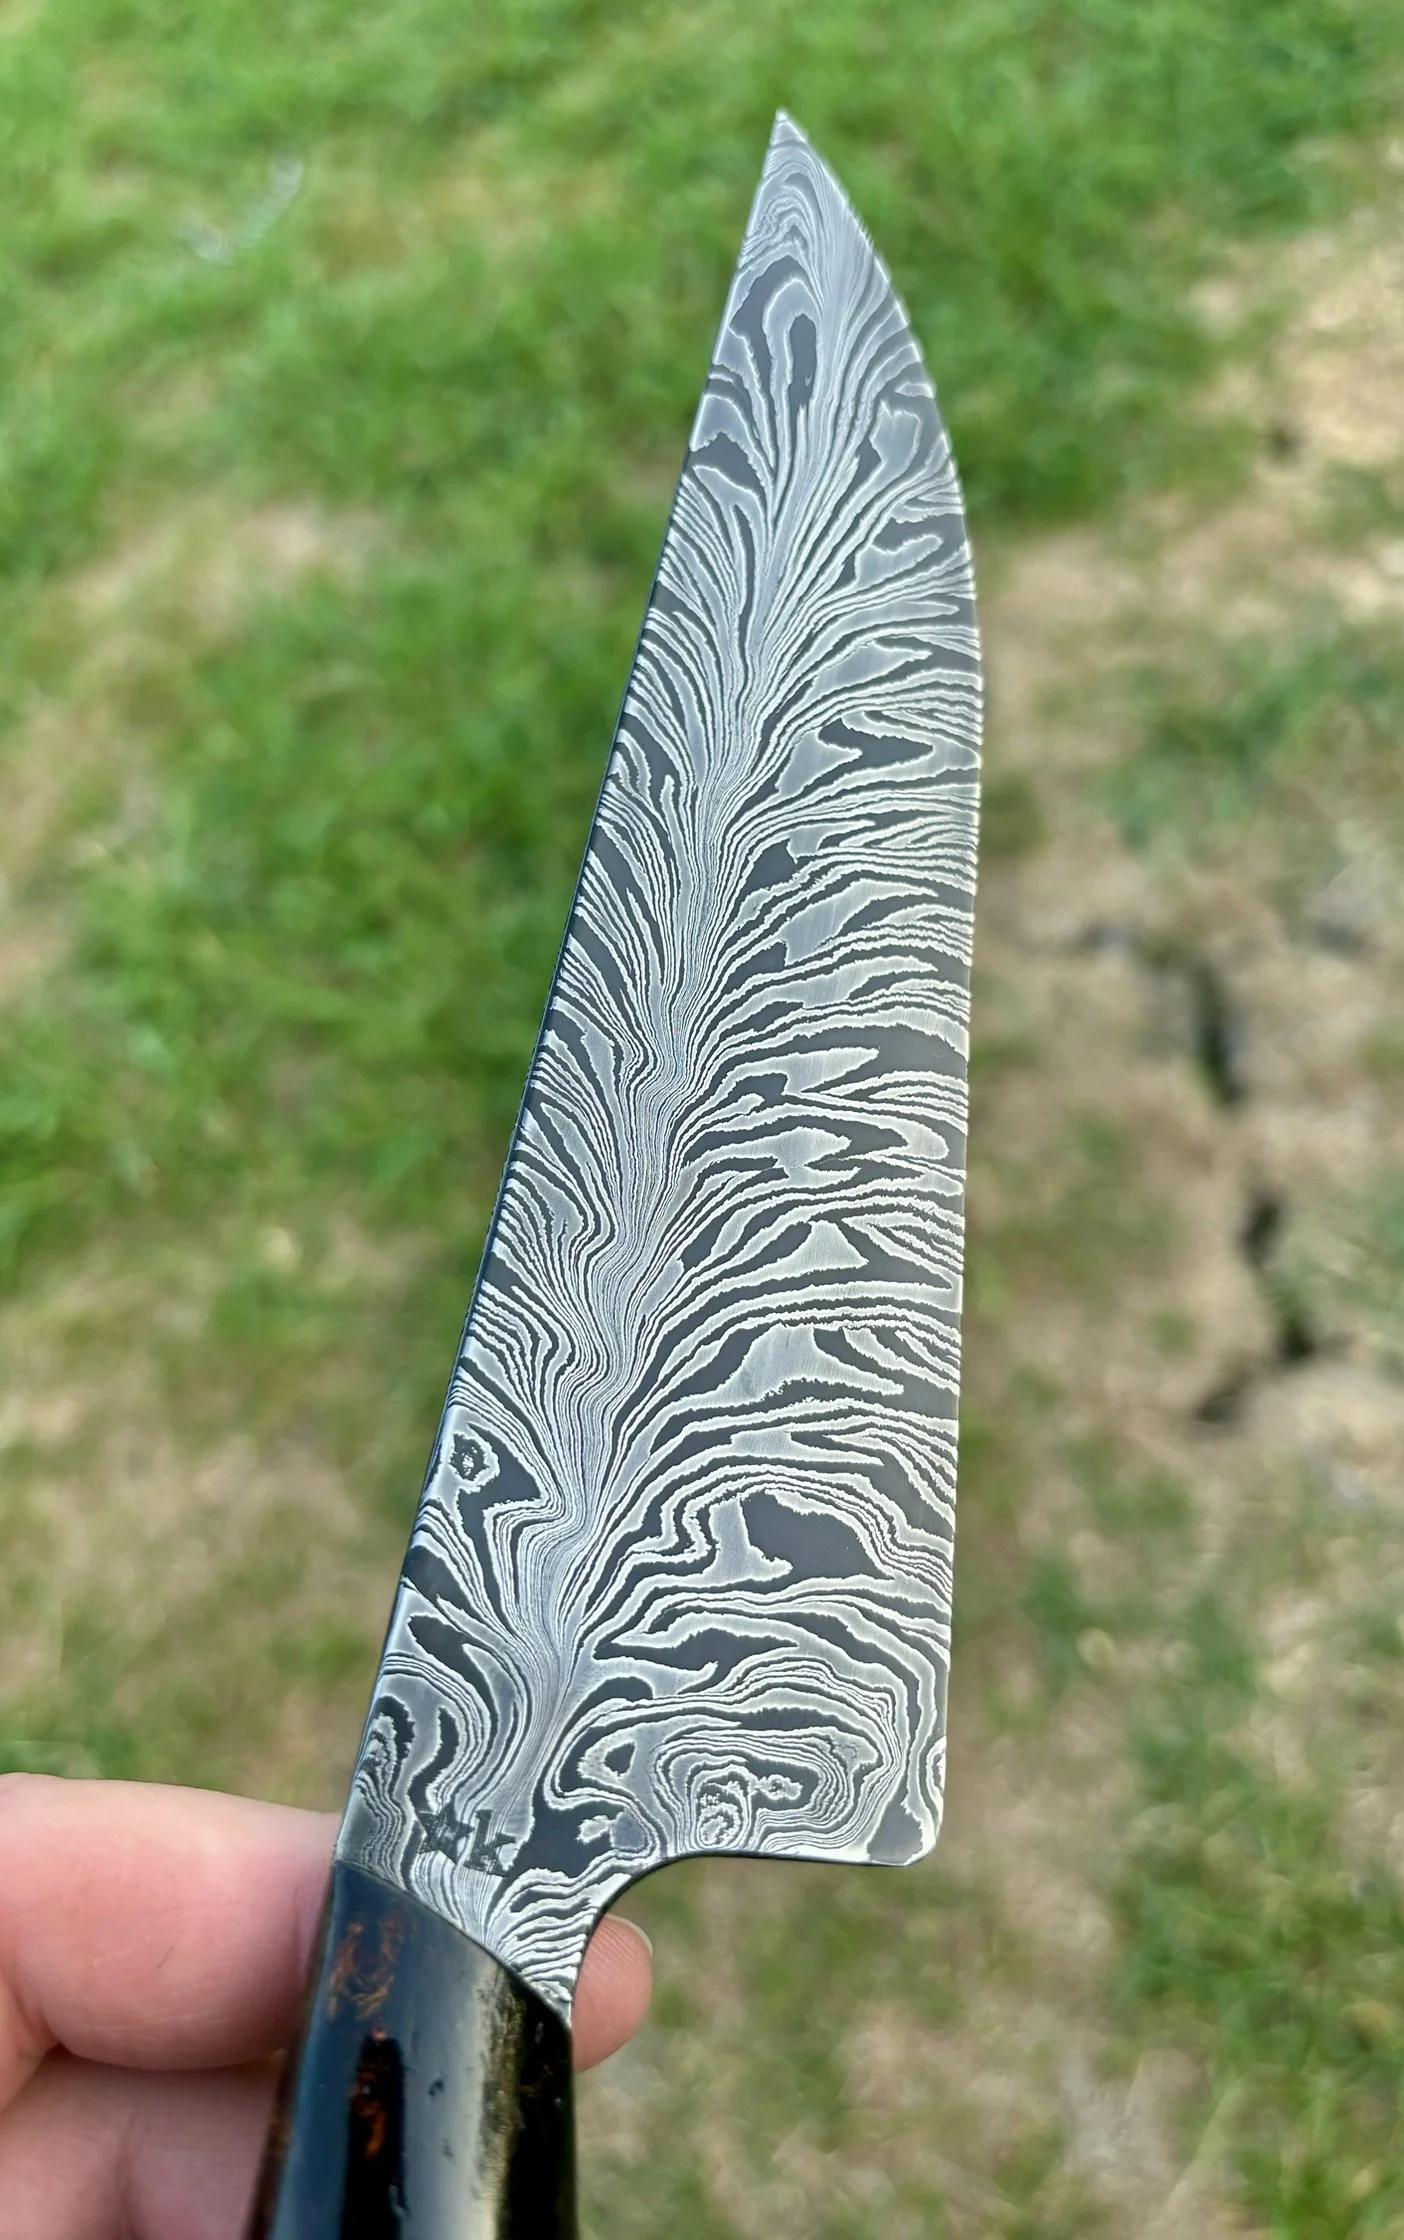
Post acid etch. So captivating!
-
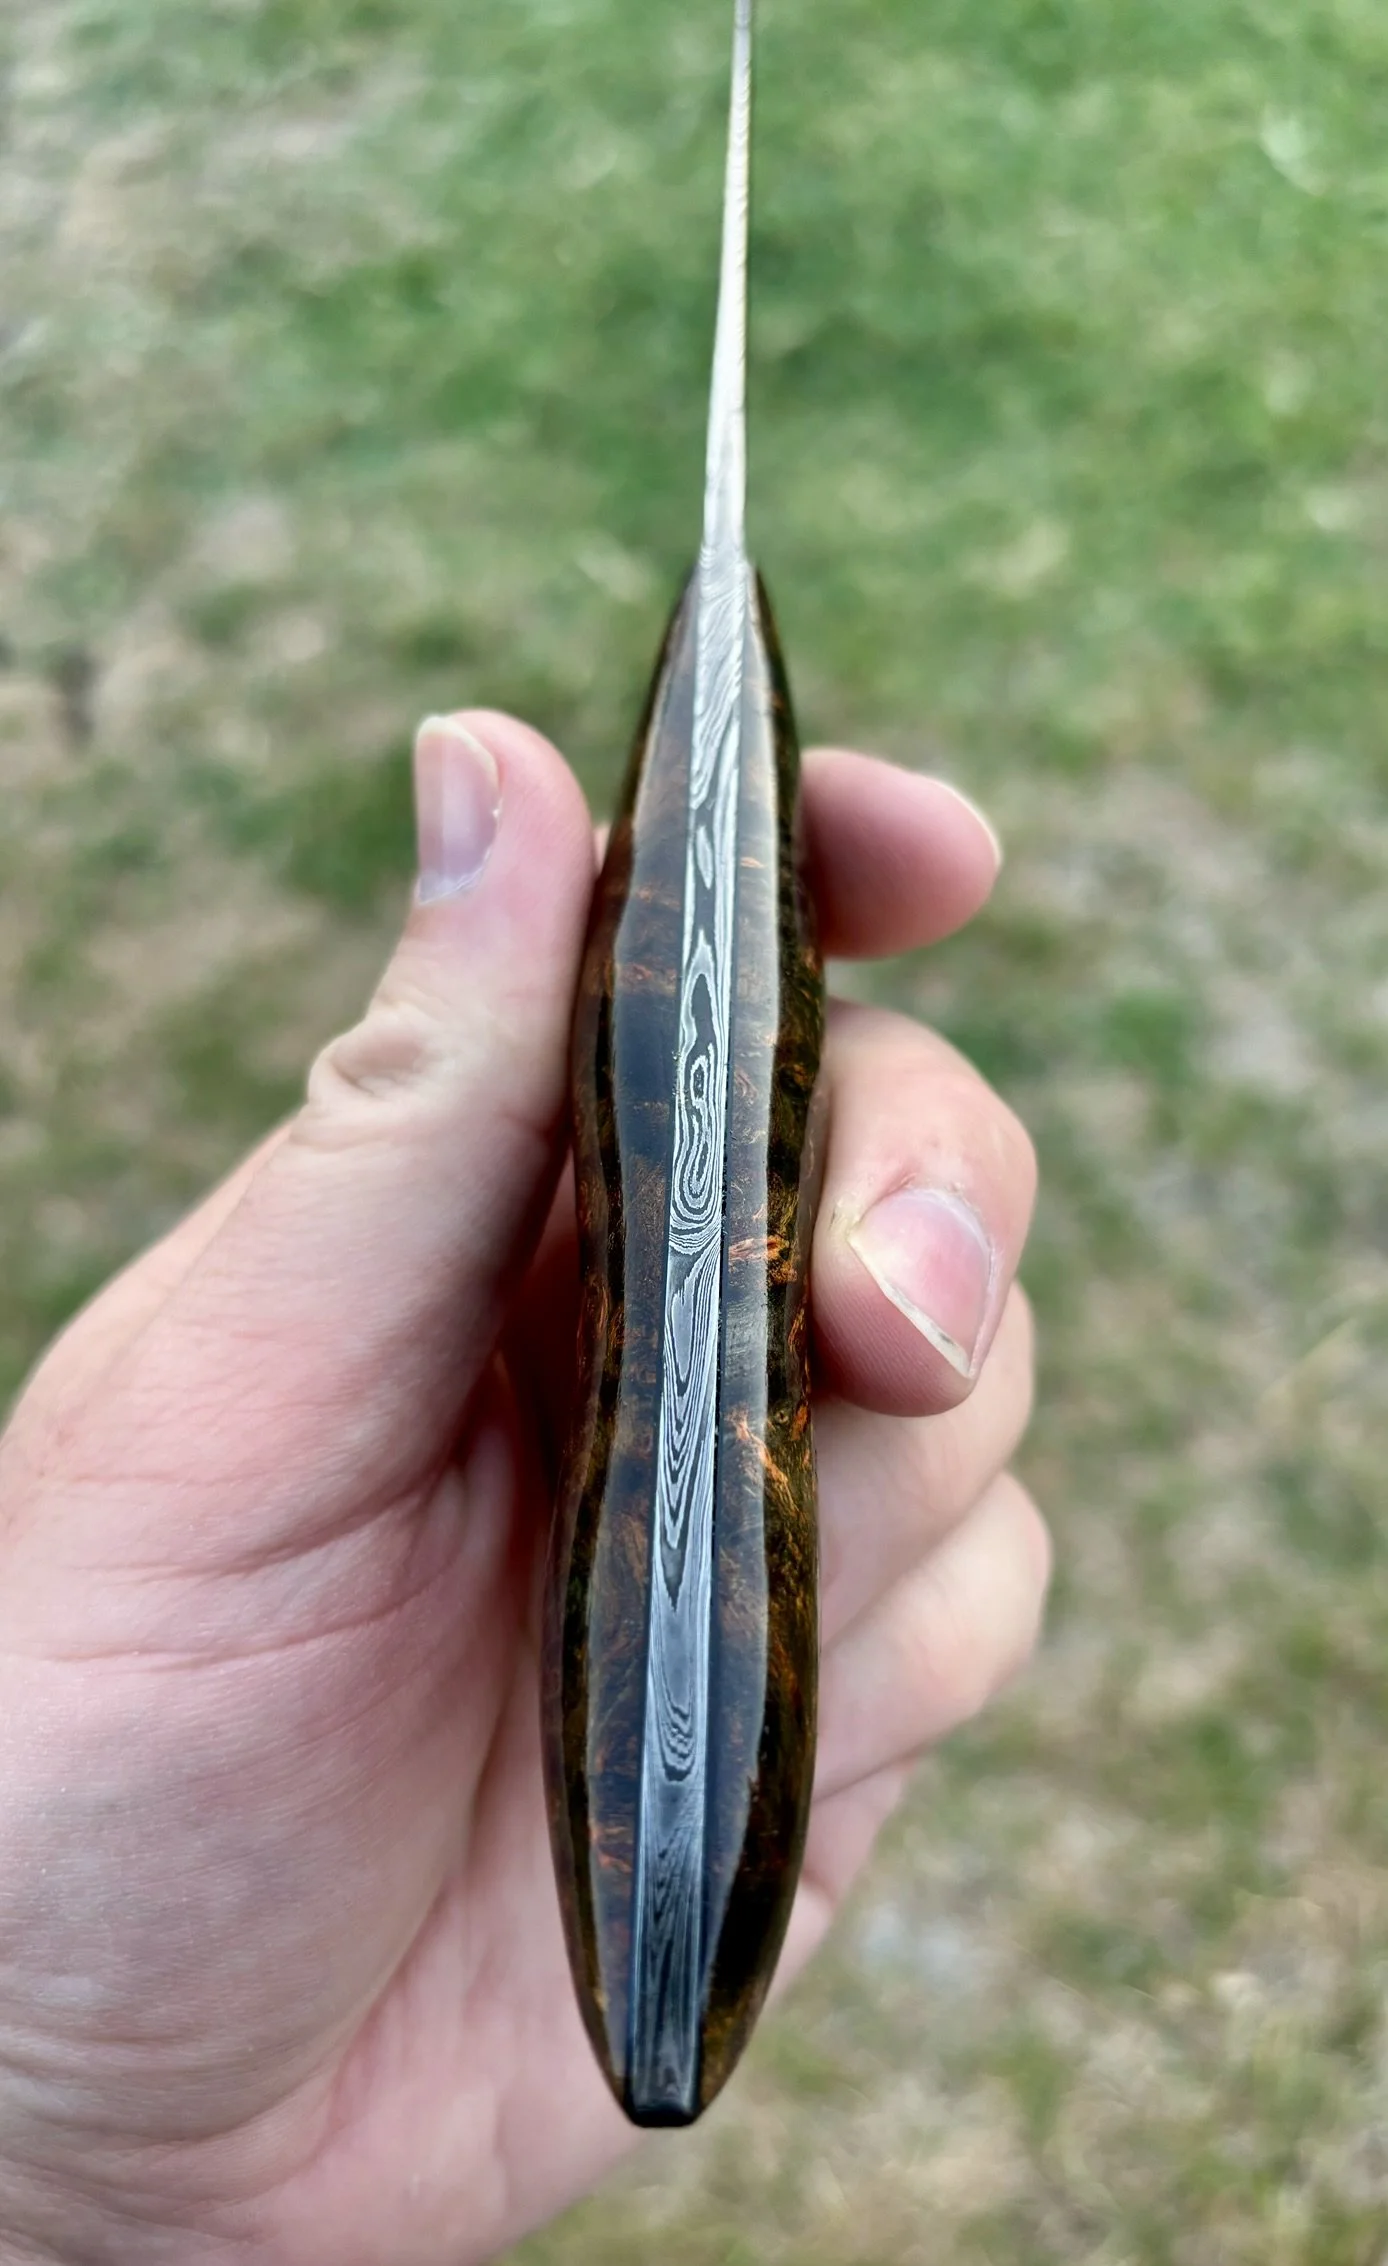
Spine post etch.
-
Another post etch shot.
-
Buffed and ready for coffee etch.
-
Do the thing coffee!
-
It ended up darked than I wanted, but this knife fought me along the way, so I let it be.
-
Spine glamour shot. You can see how far the hand shape and contouring has come from the early years. Now I have very strong opinions on it.
-
Glamour shot #2
-
Again - full tang damascus is fun - love seeing the pattern throughout.
-
Final glamour shot. She's pretty and very slicy.
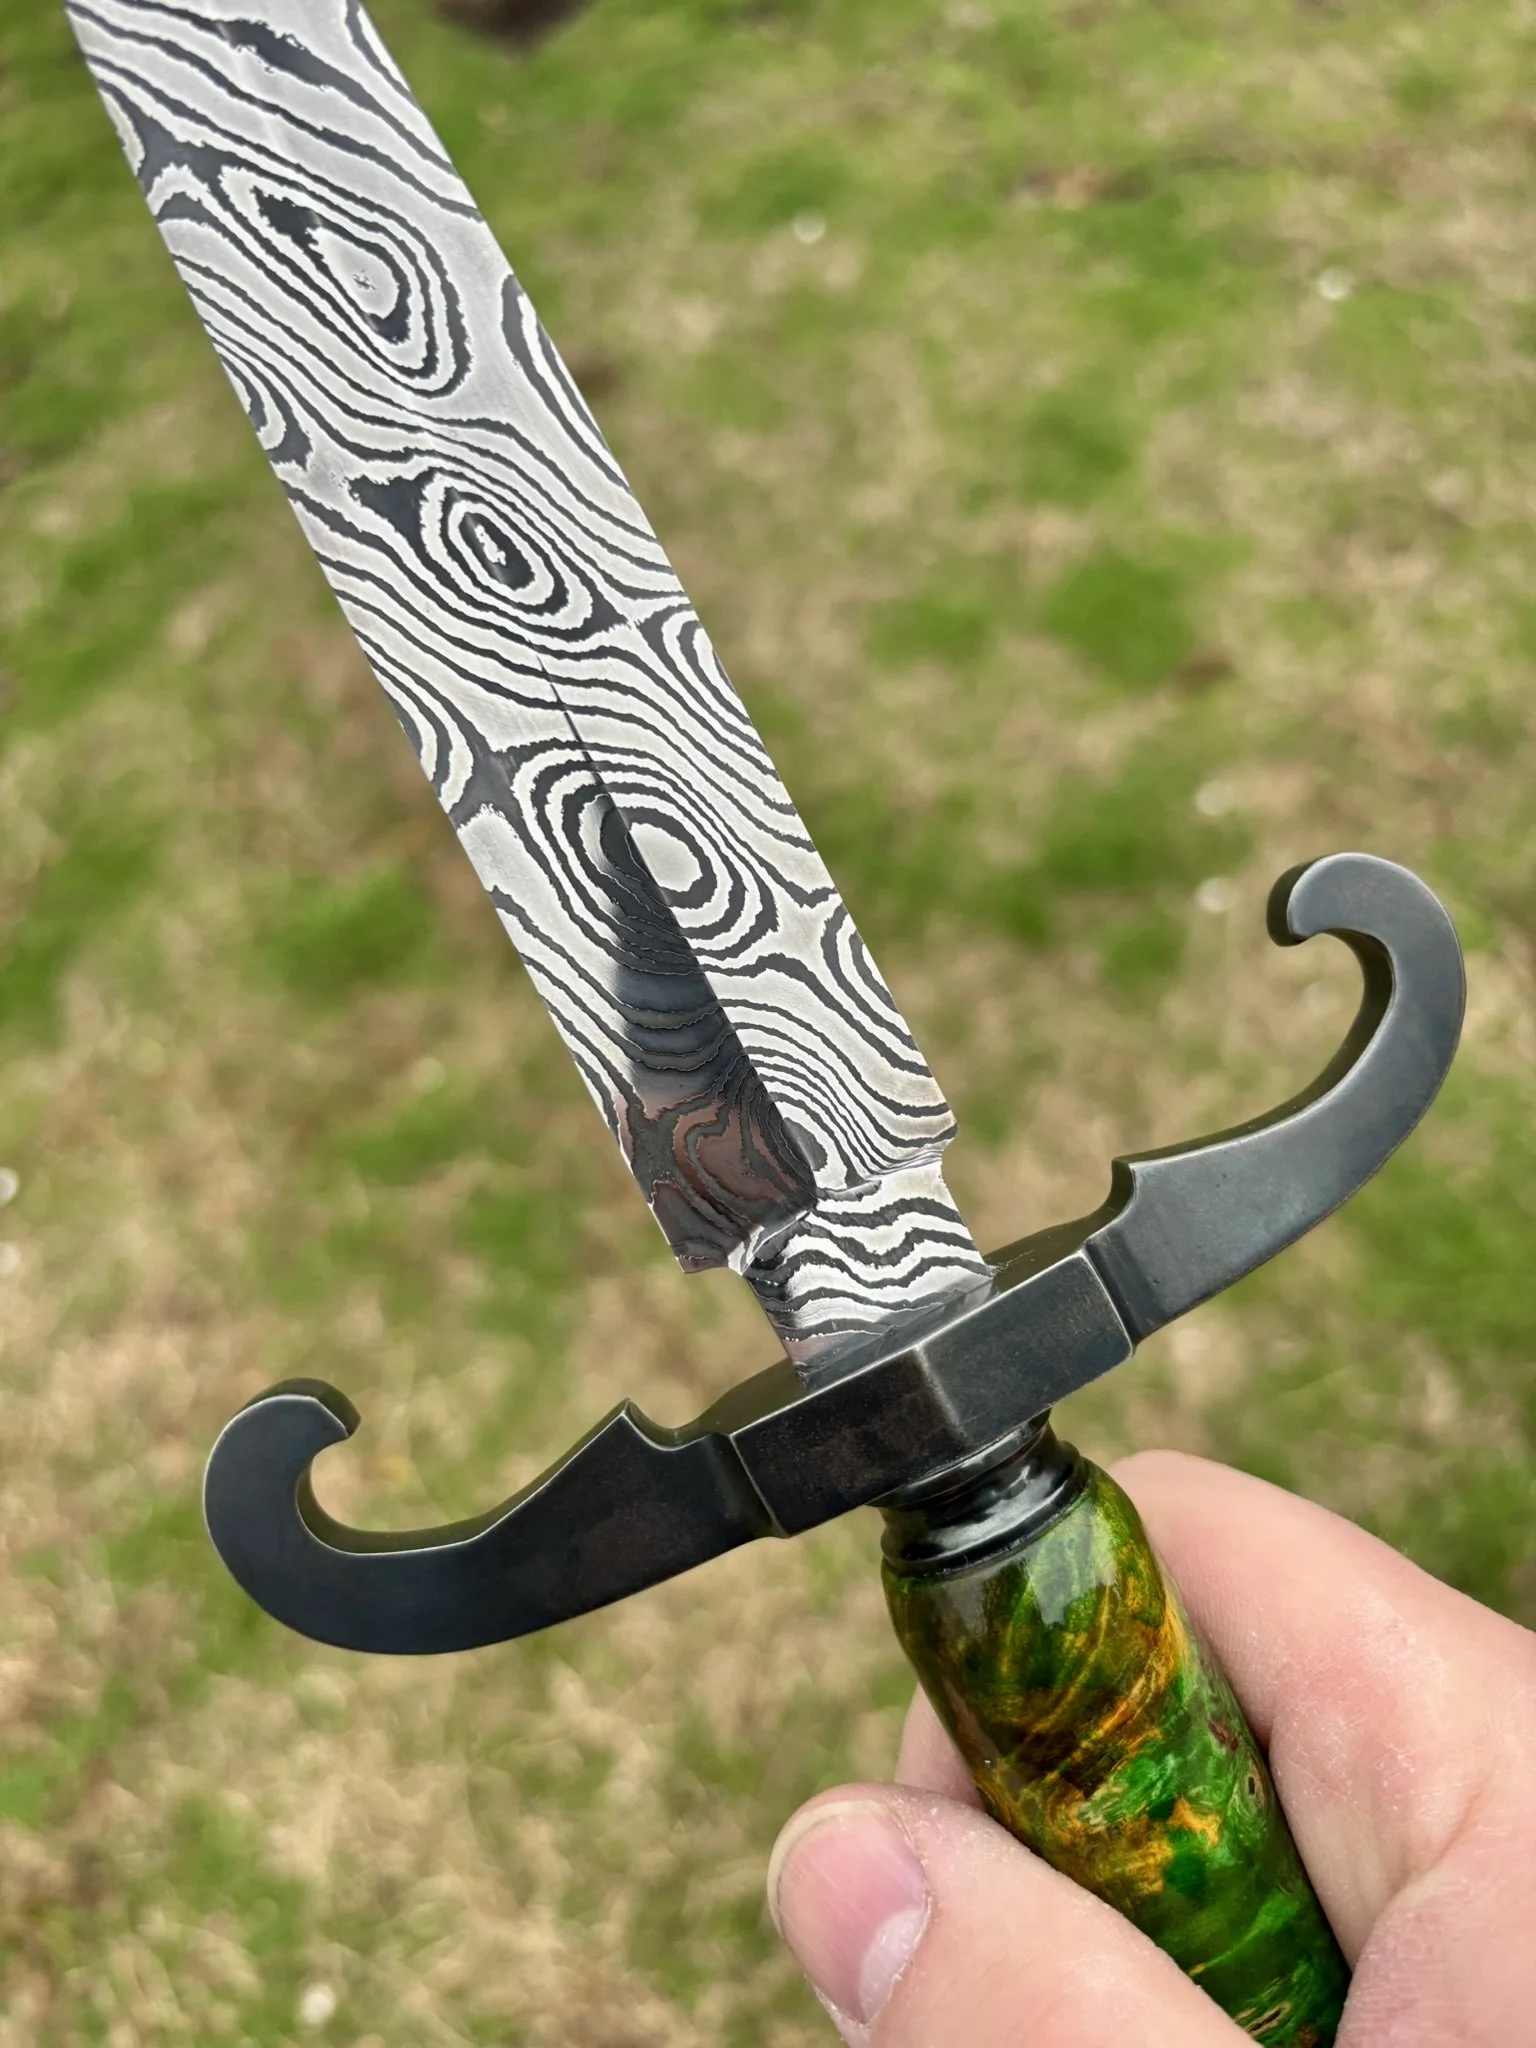
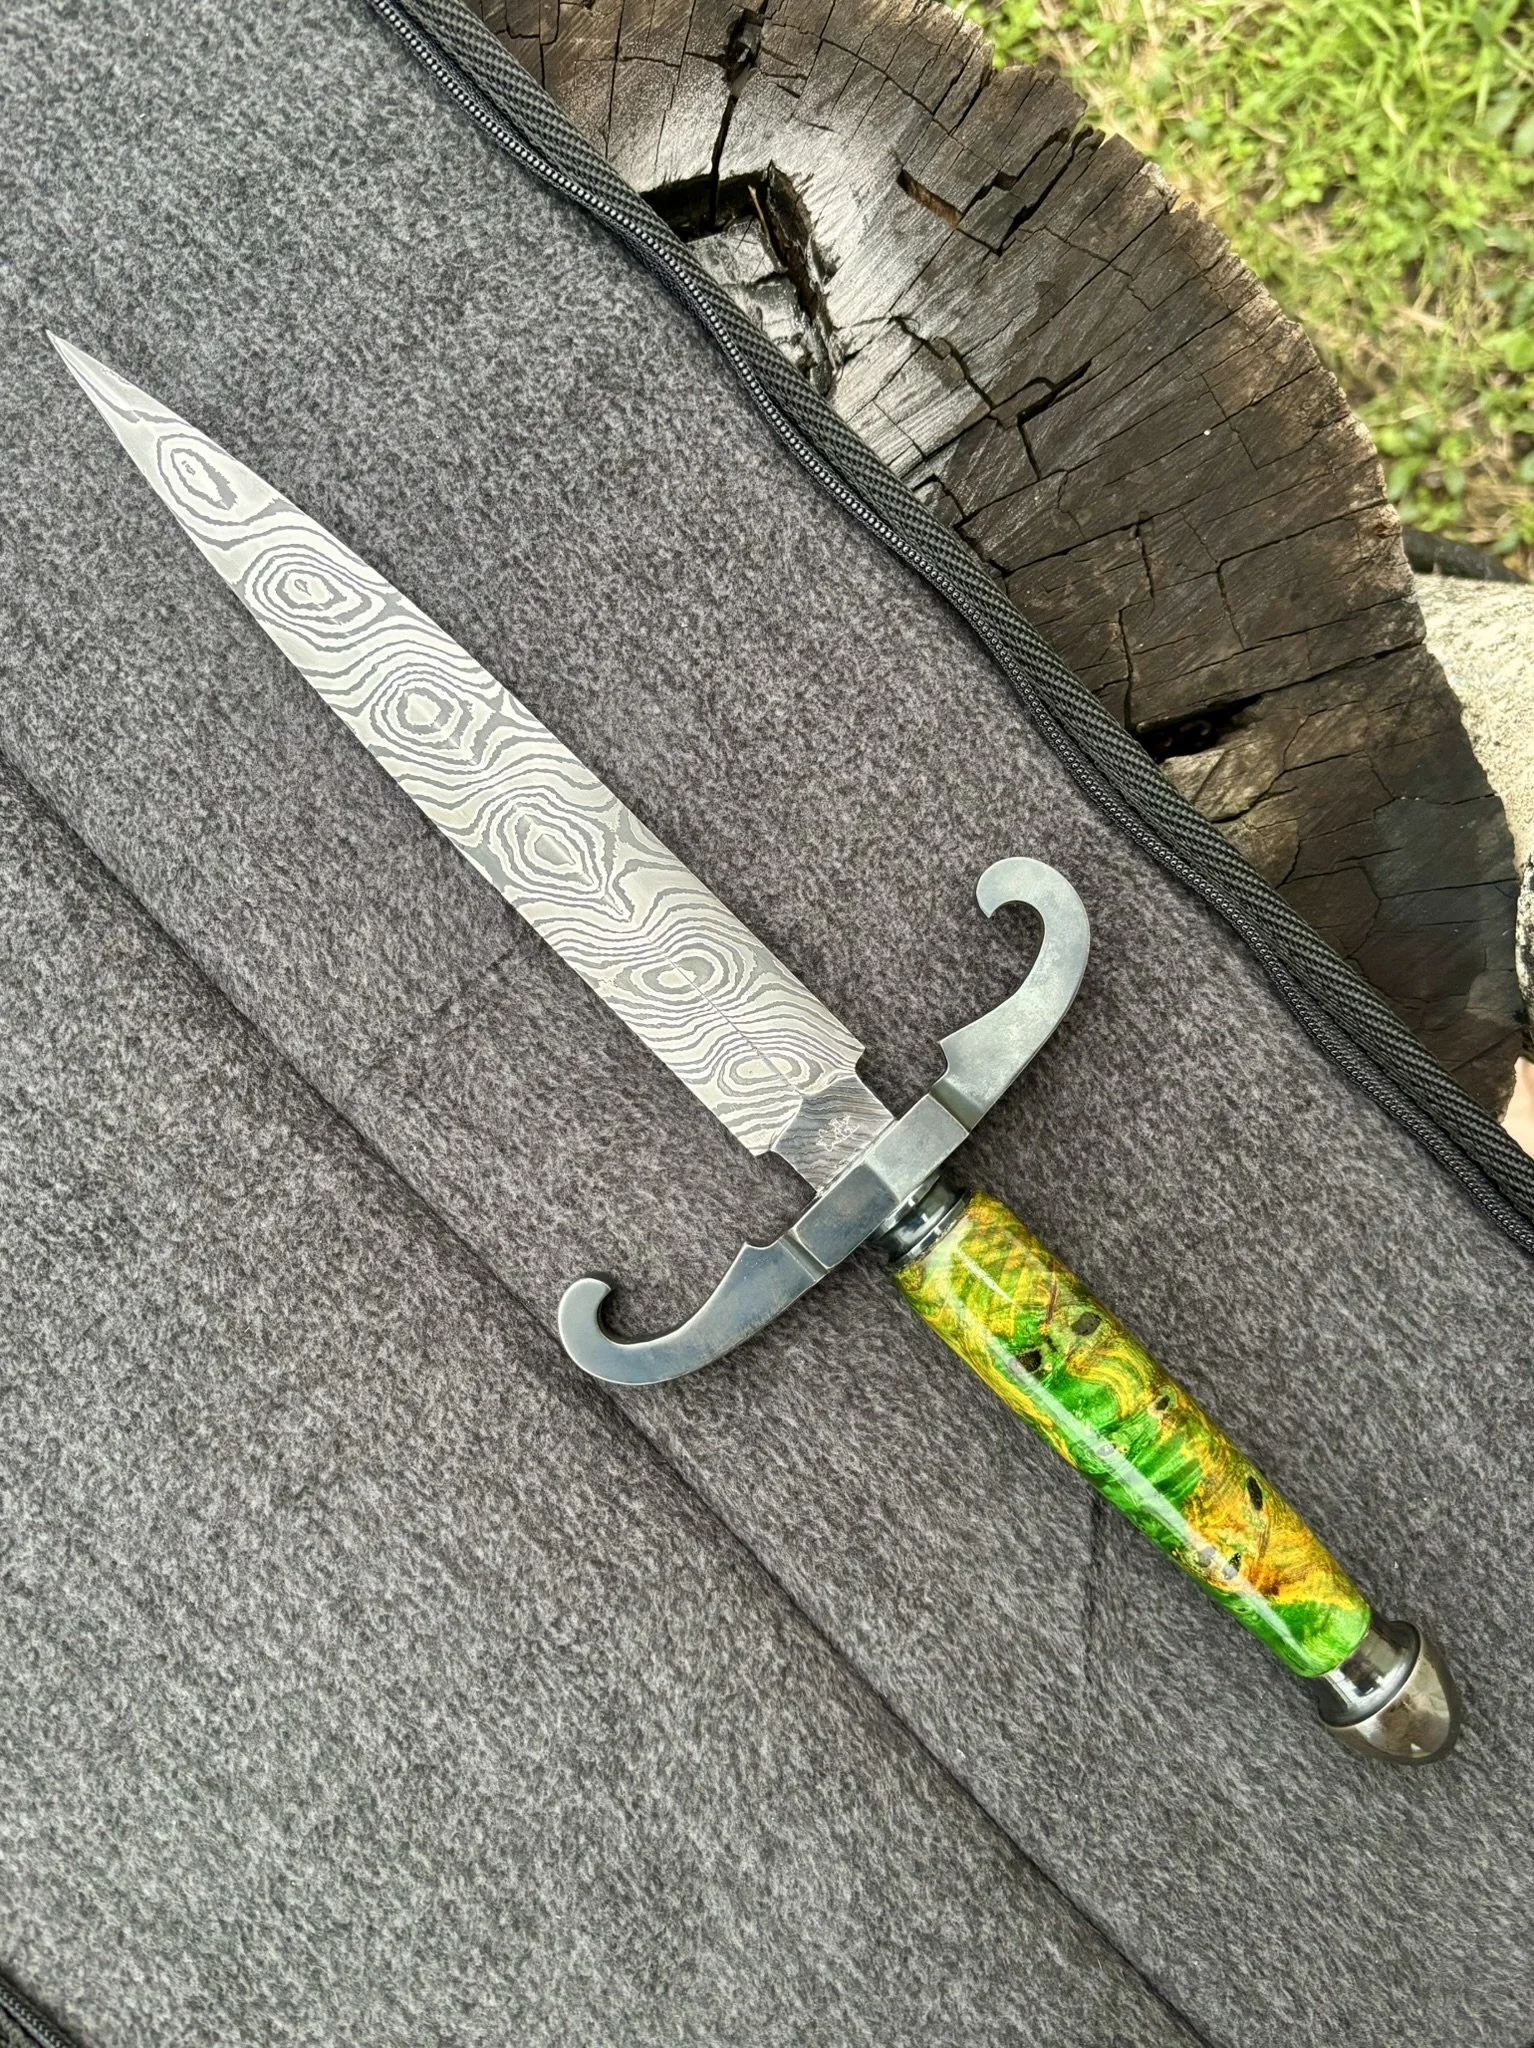
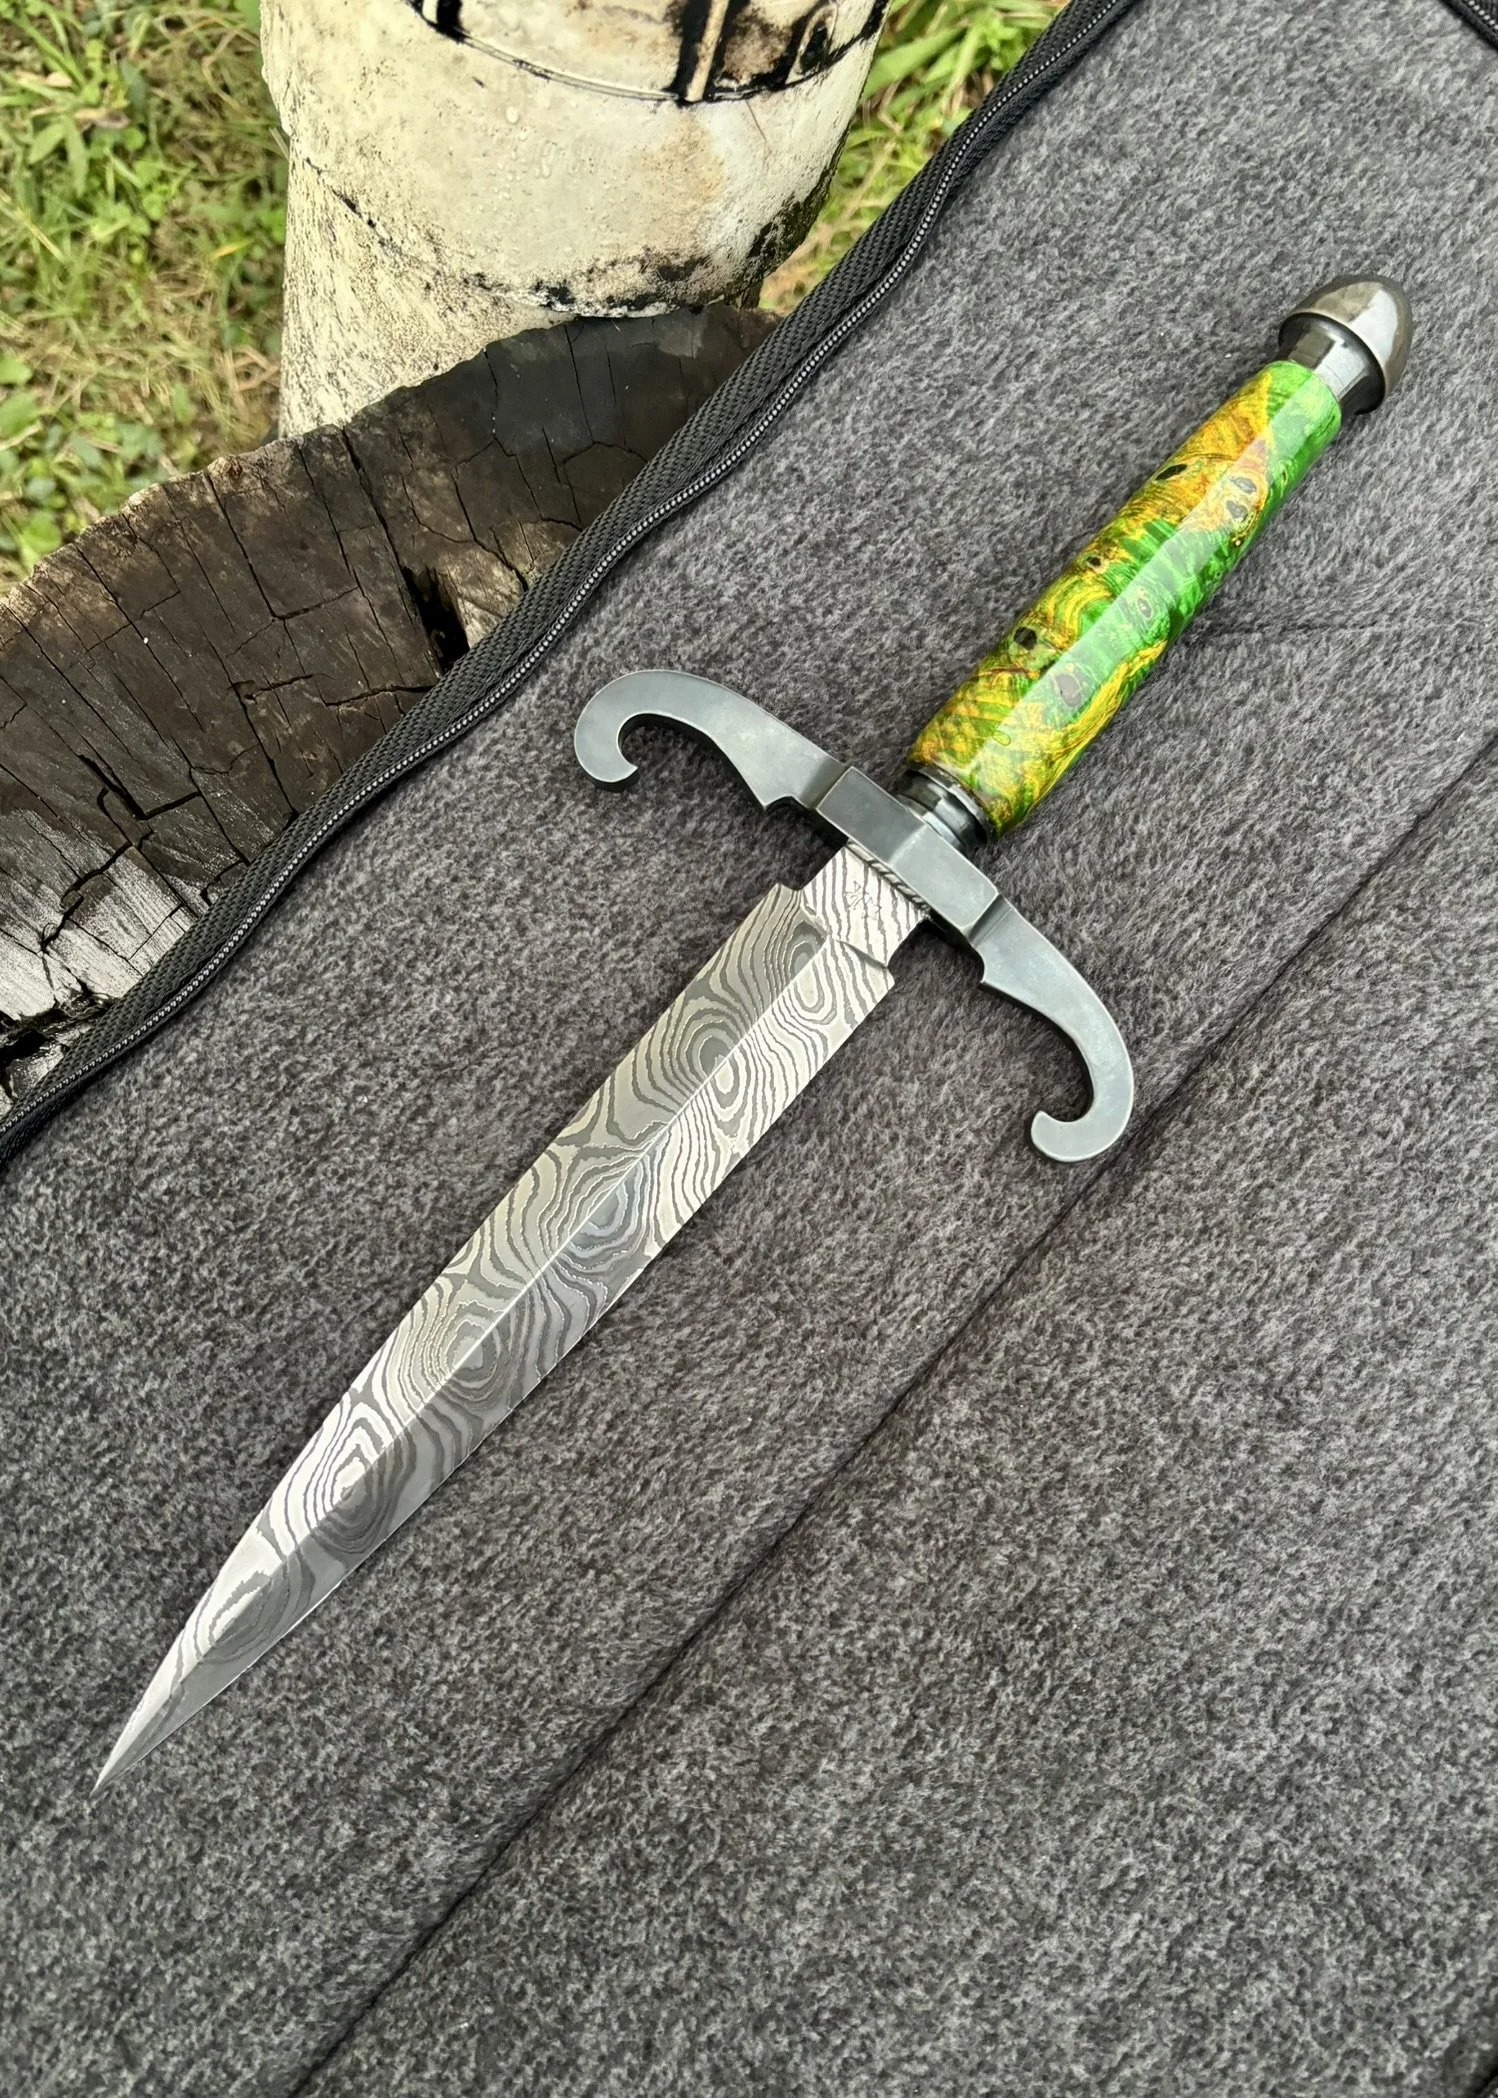
Richard B. - Decorative Twist Damascus Dagger
-
![]()
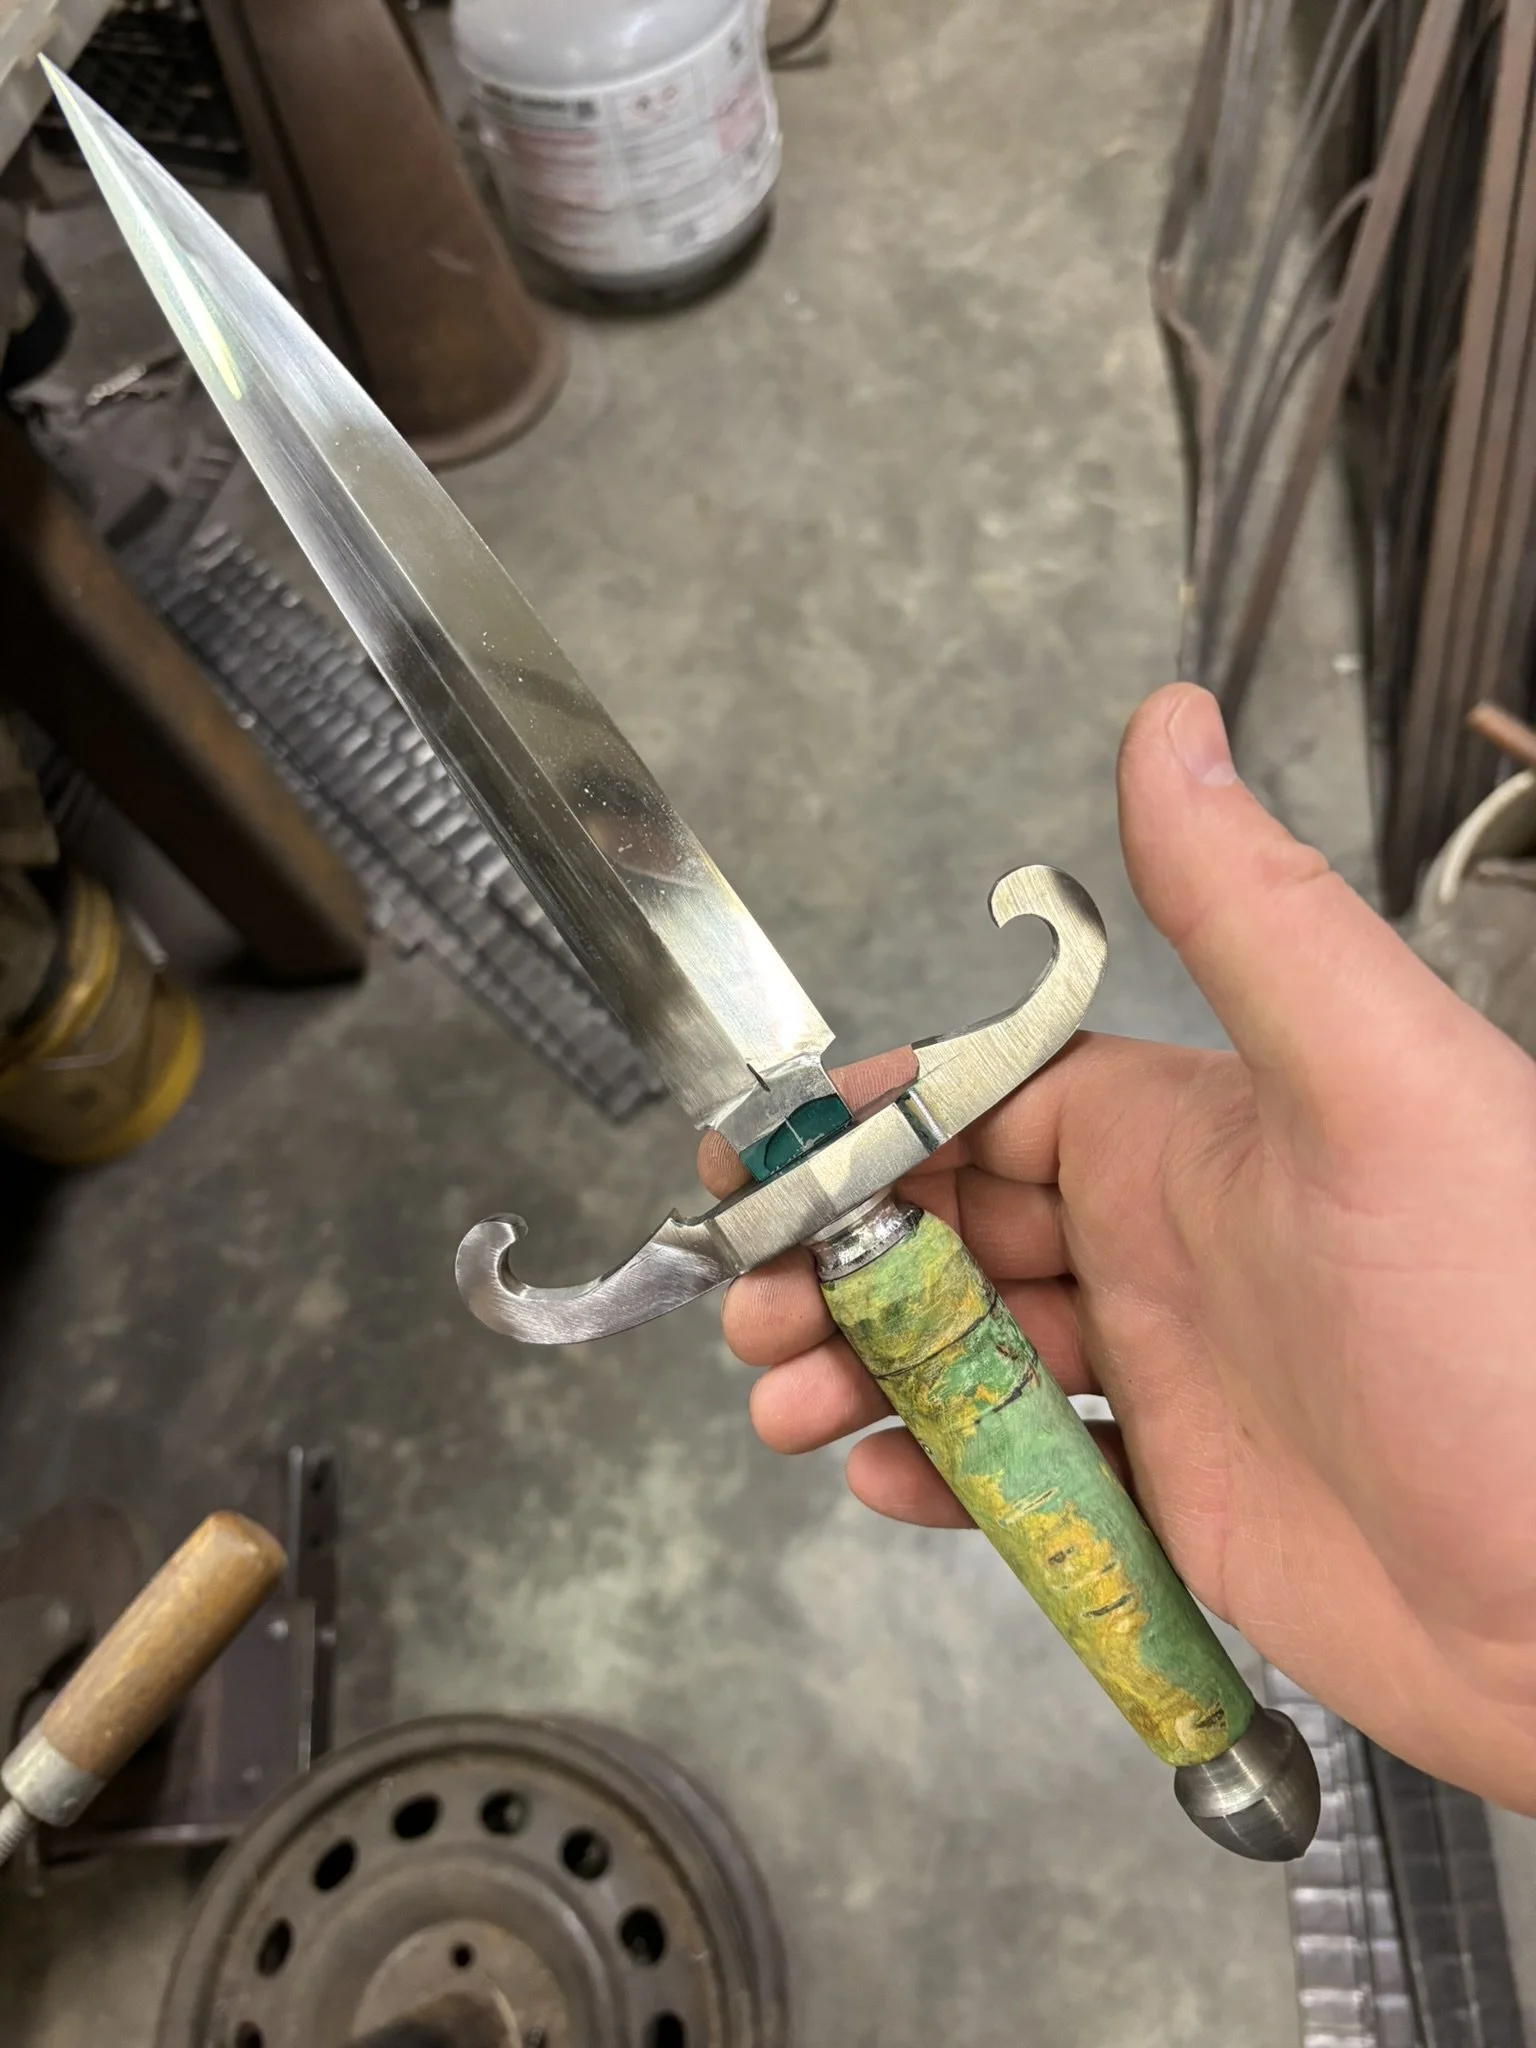
Final blade - keep scrolling to see the journey.
-
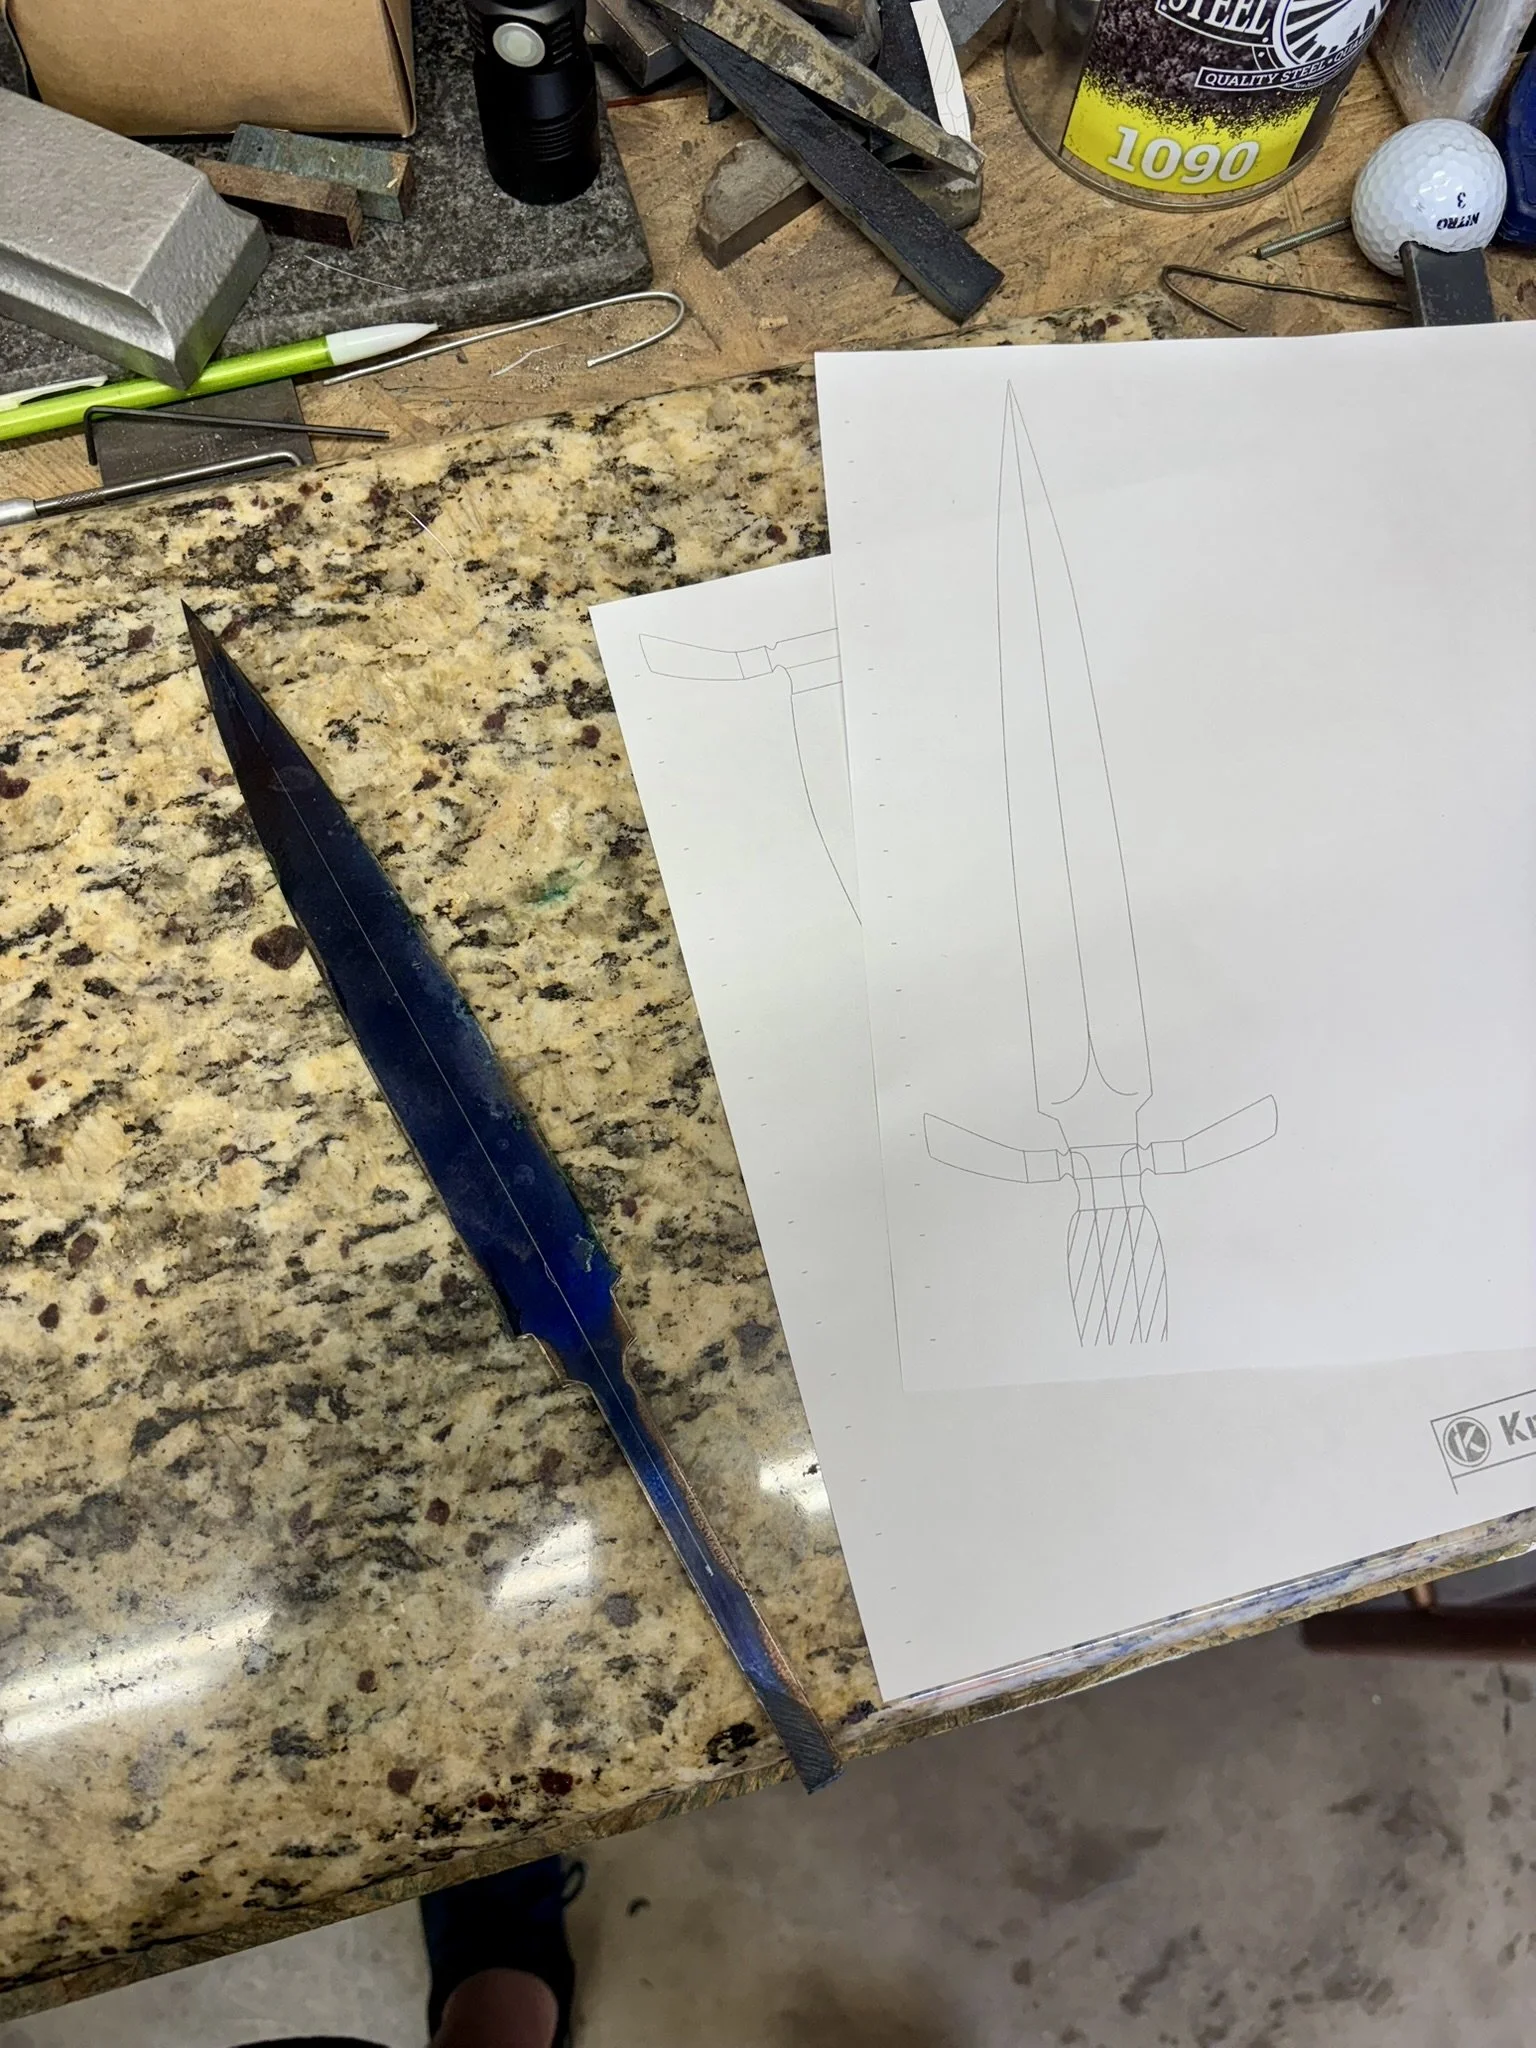
First step is always design - I take inspiration from a variety of sources, but try to make each it's own piece.
-
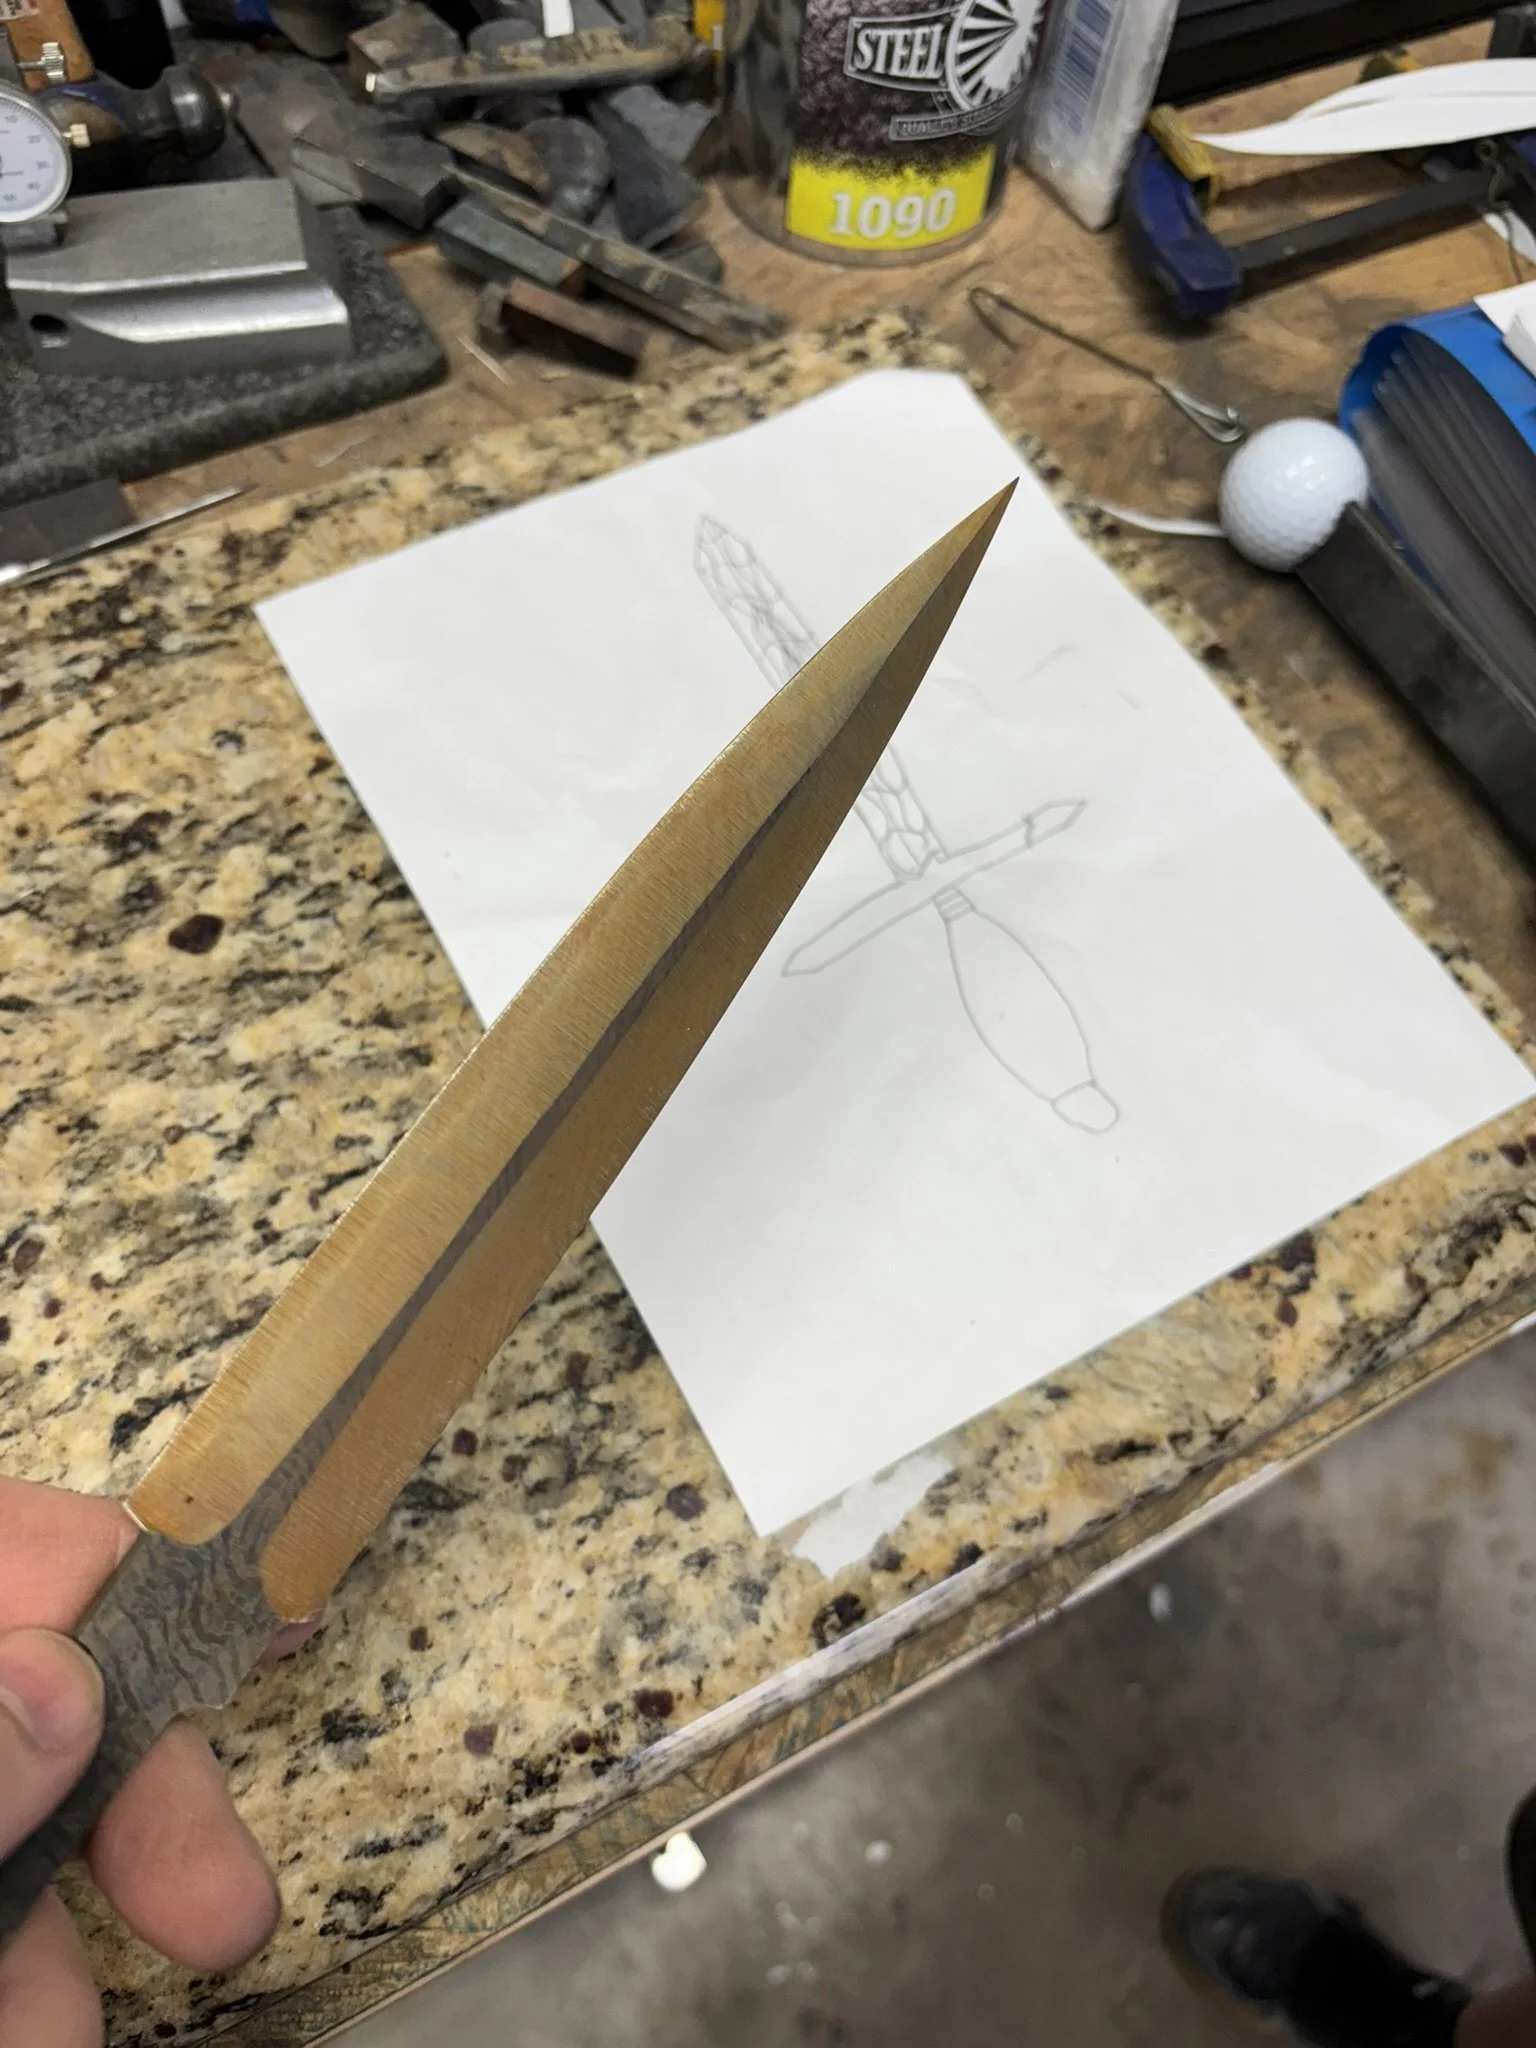
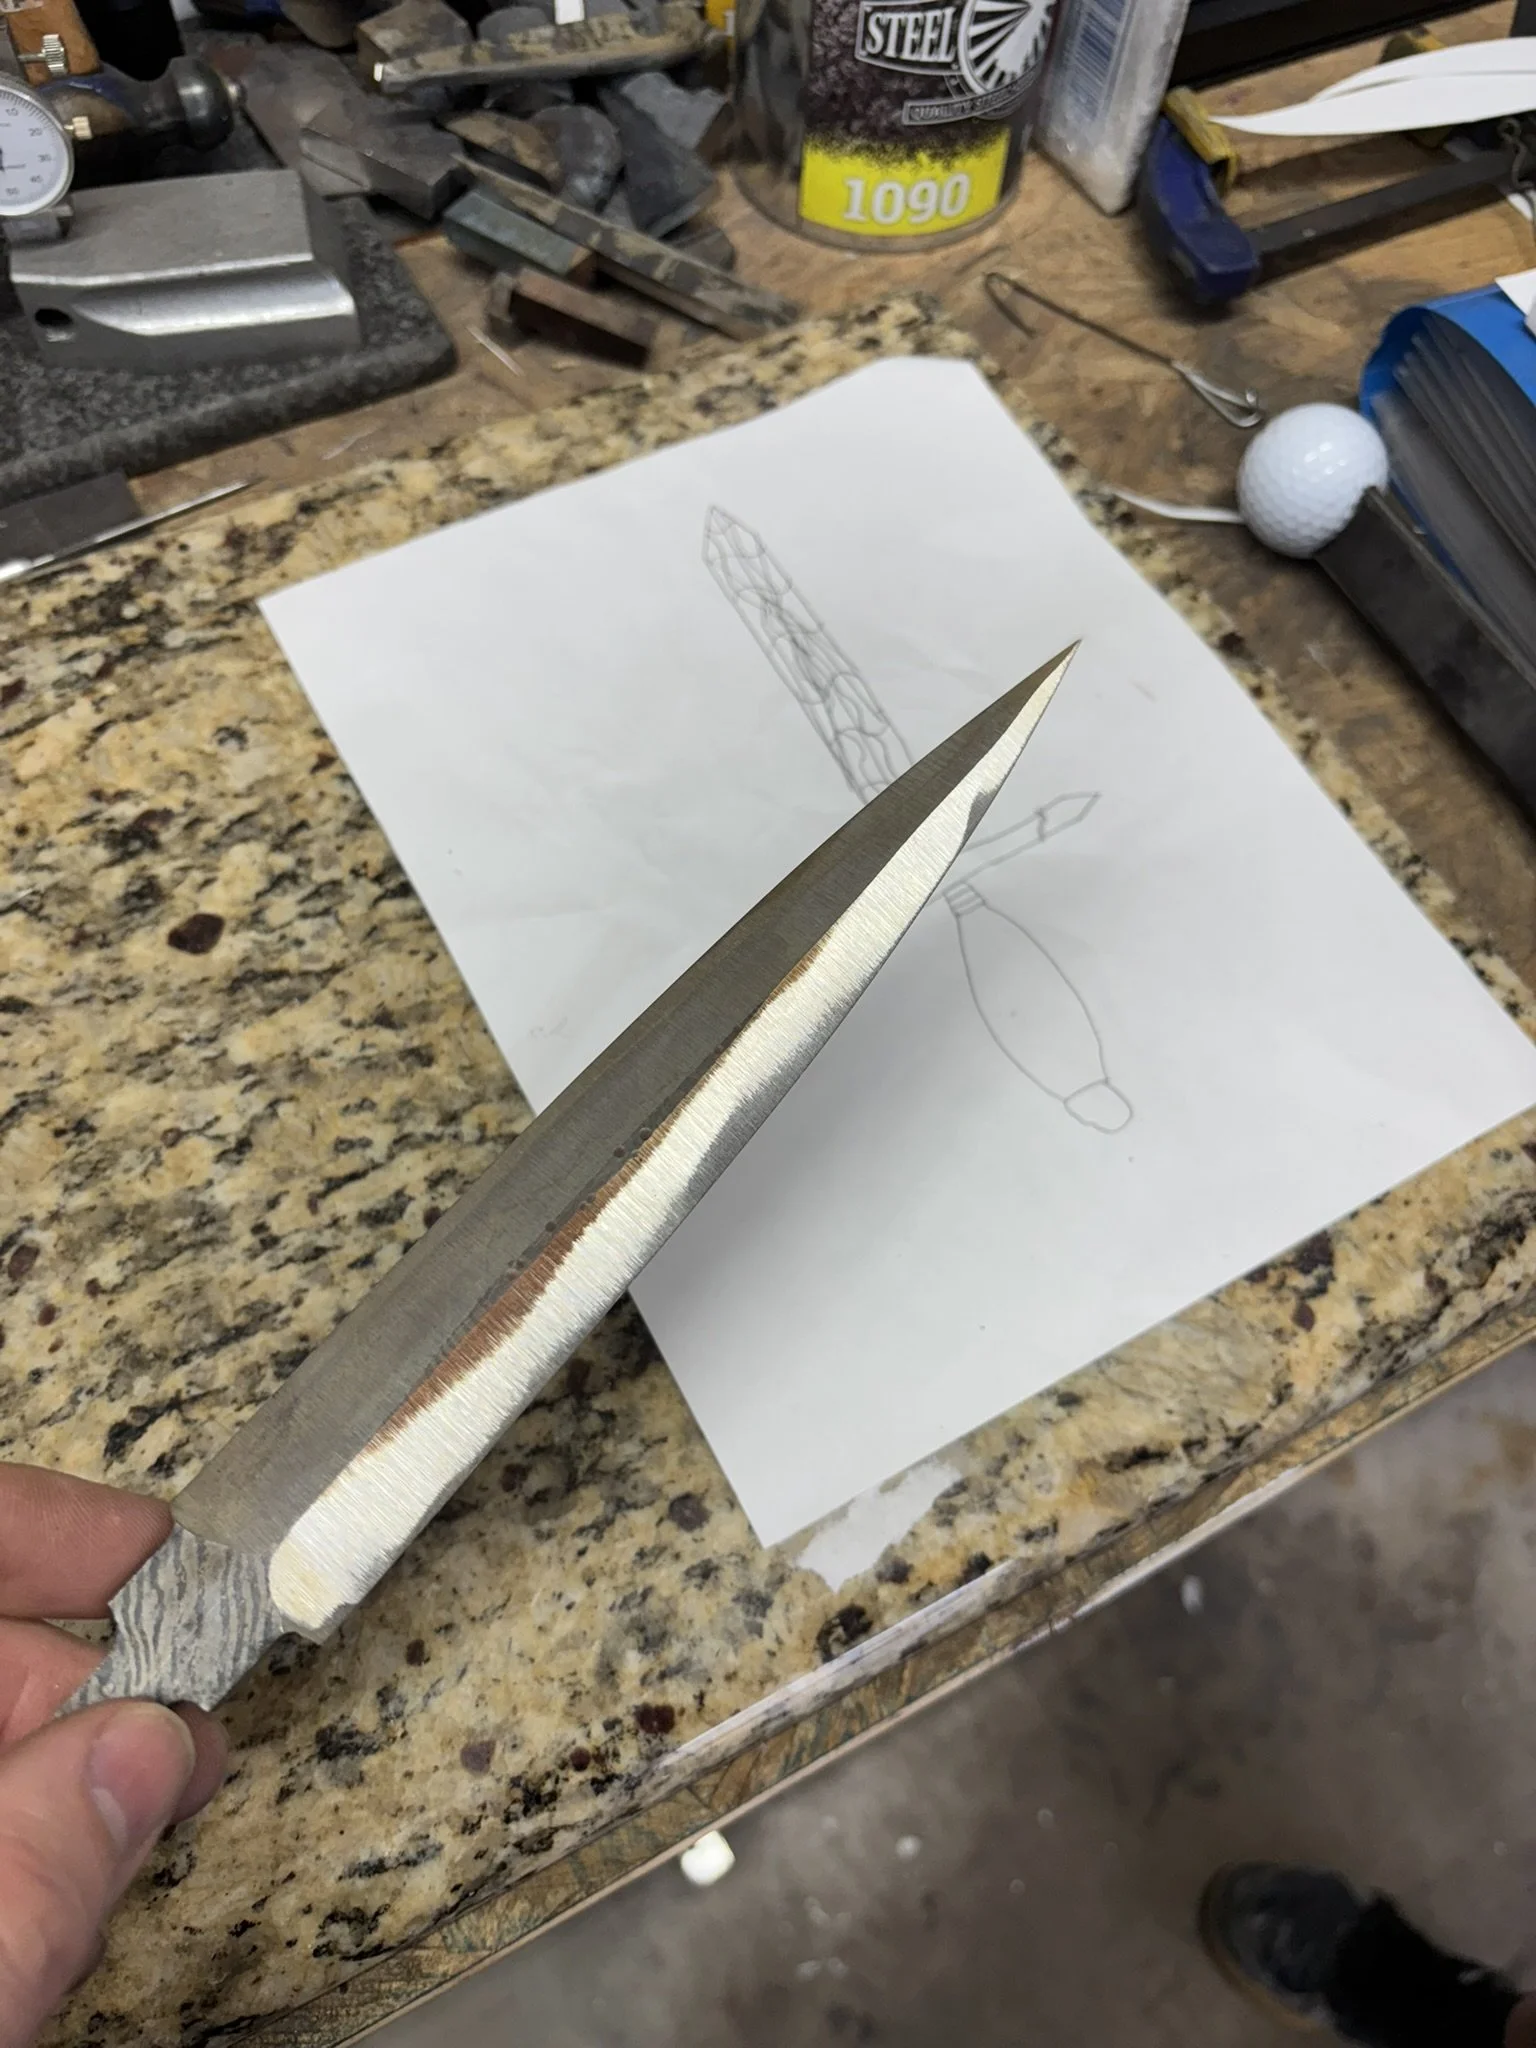
Blade profiled - I wanted this one pointy
-
![]()
Always fun to pick out how to dress each piece up - a variety of options given to the customer for this one.
-
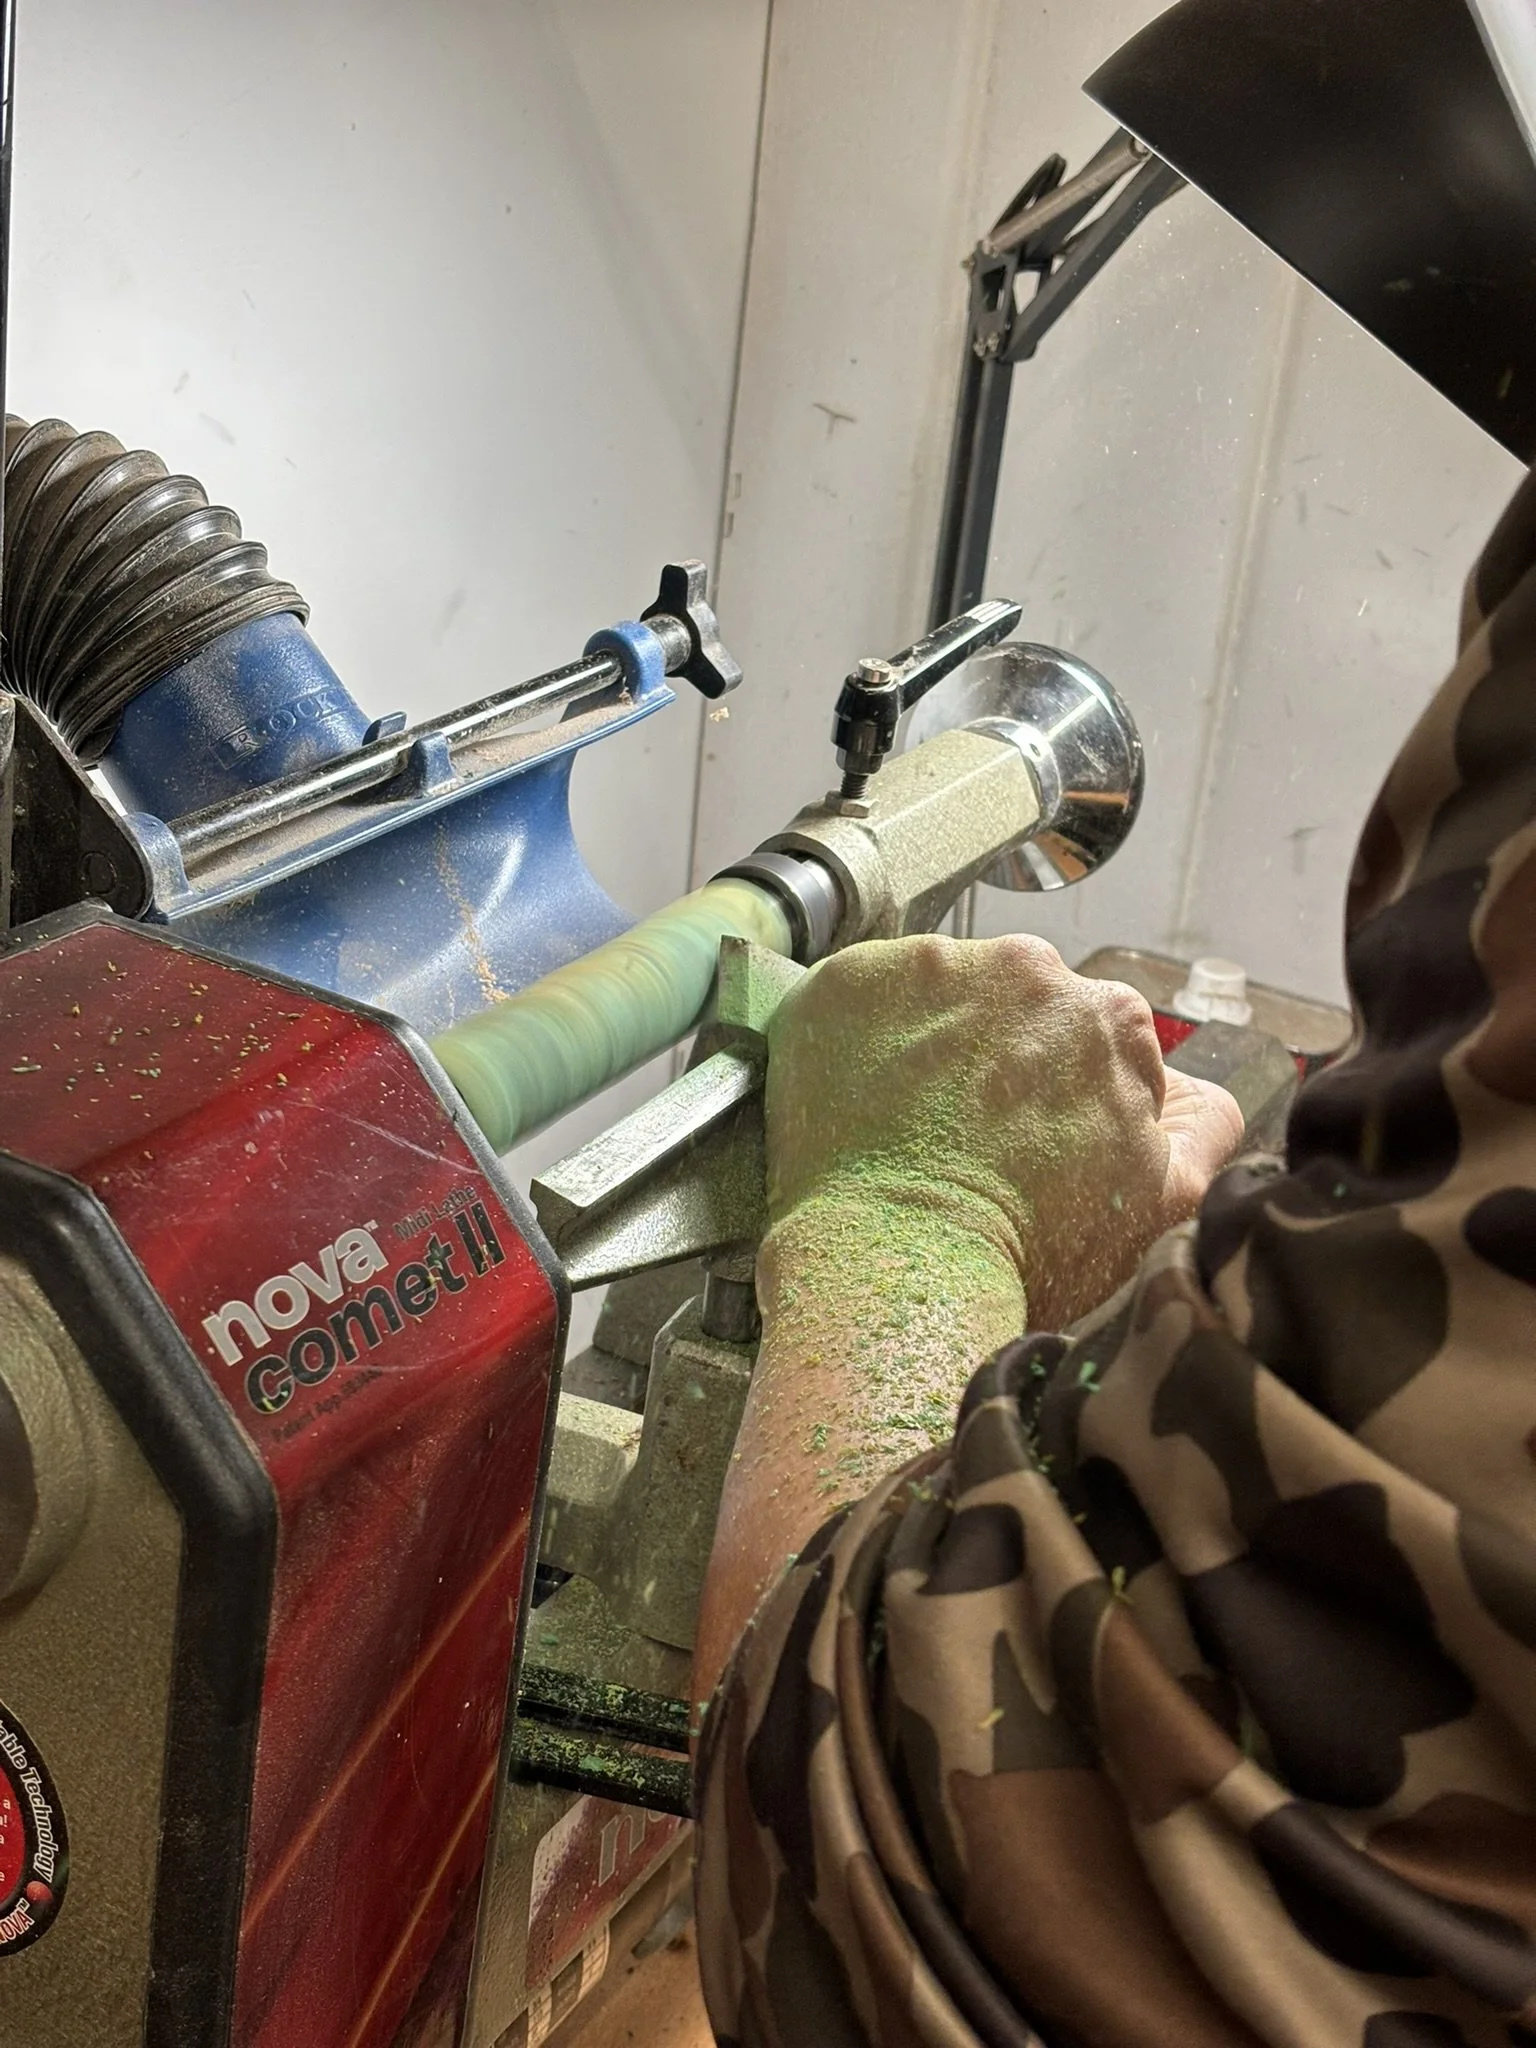
Asked a friend for help turning the handle piece down to a 1" round to start off with an accurate piece.
-
Dialing in the dagger grinds (not my art in the background lol).
-
Getting them closer to provide a good medial ridge.
-
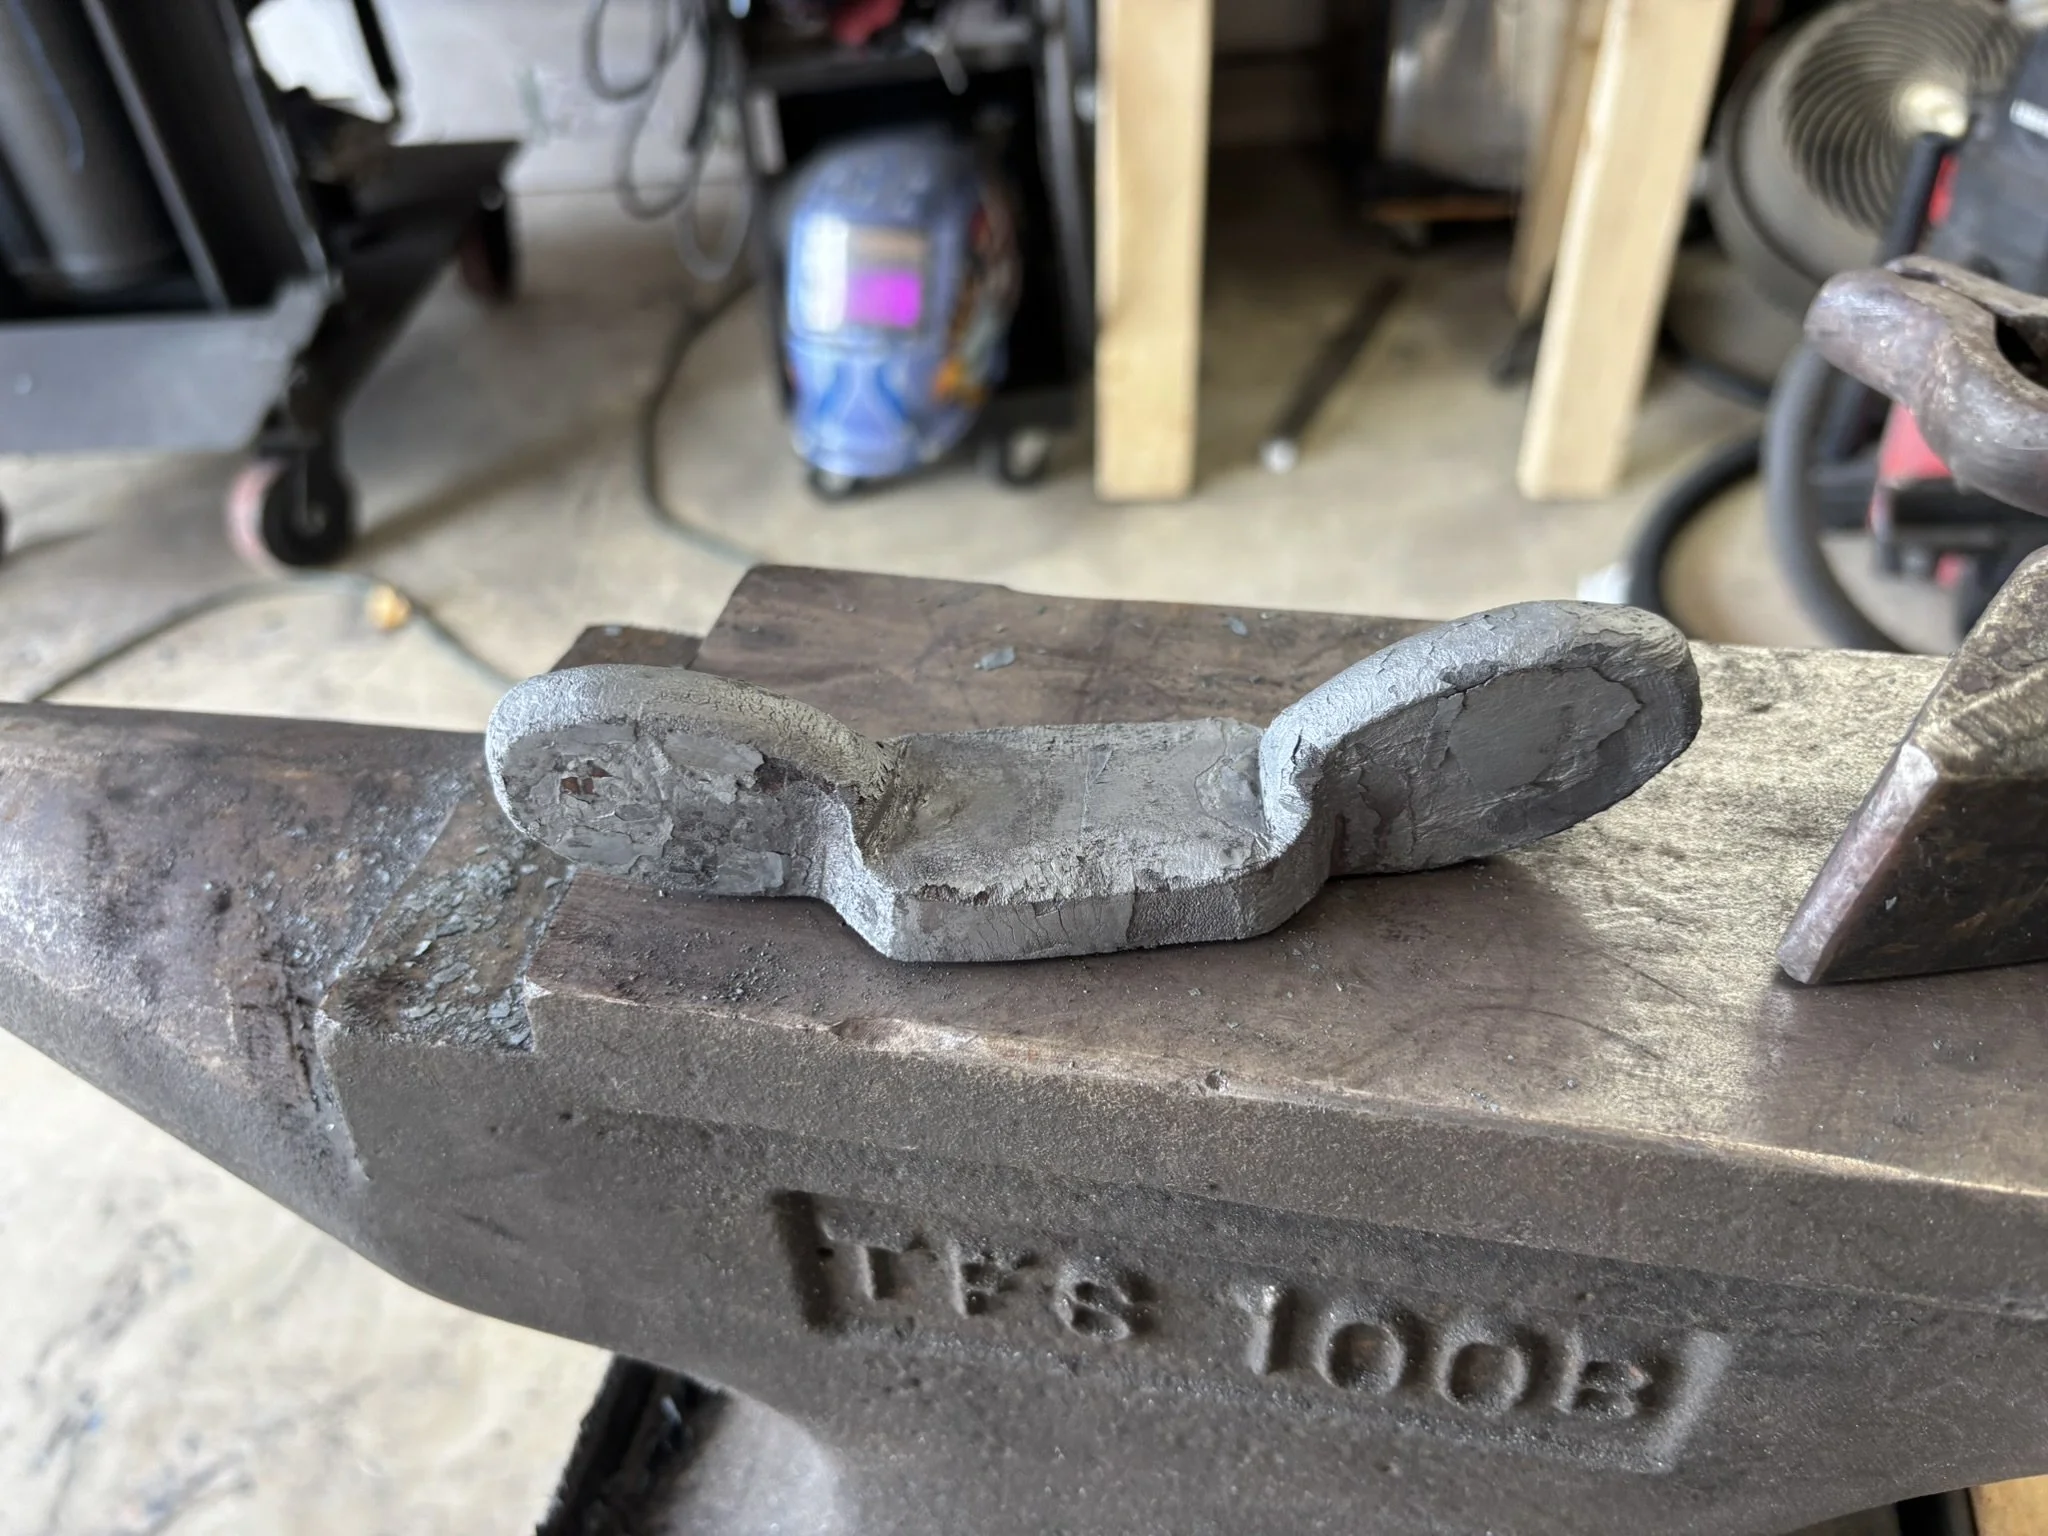
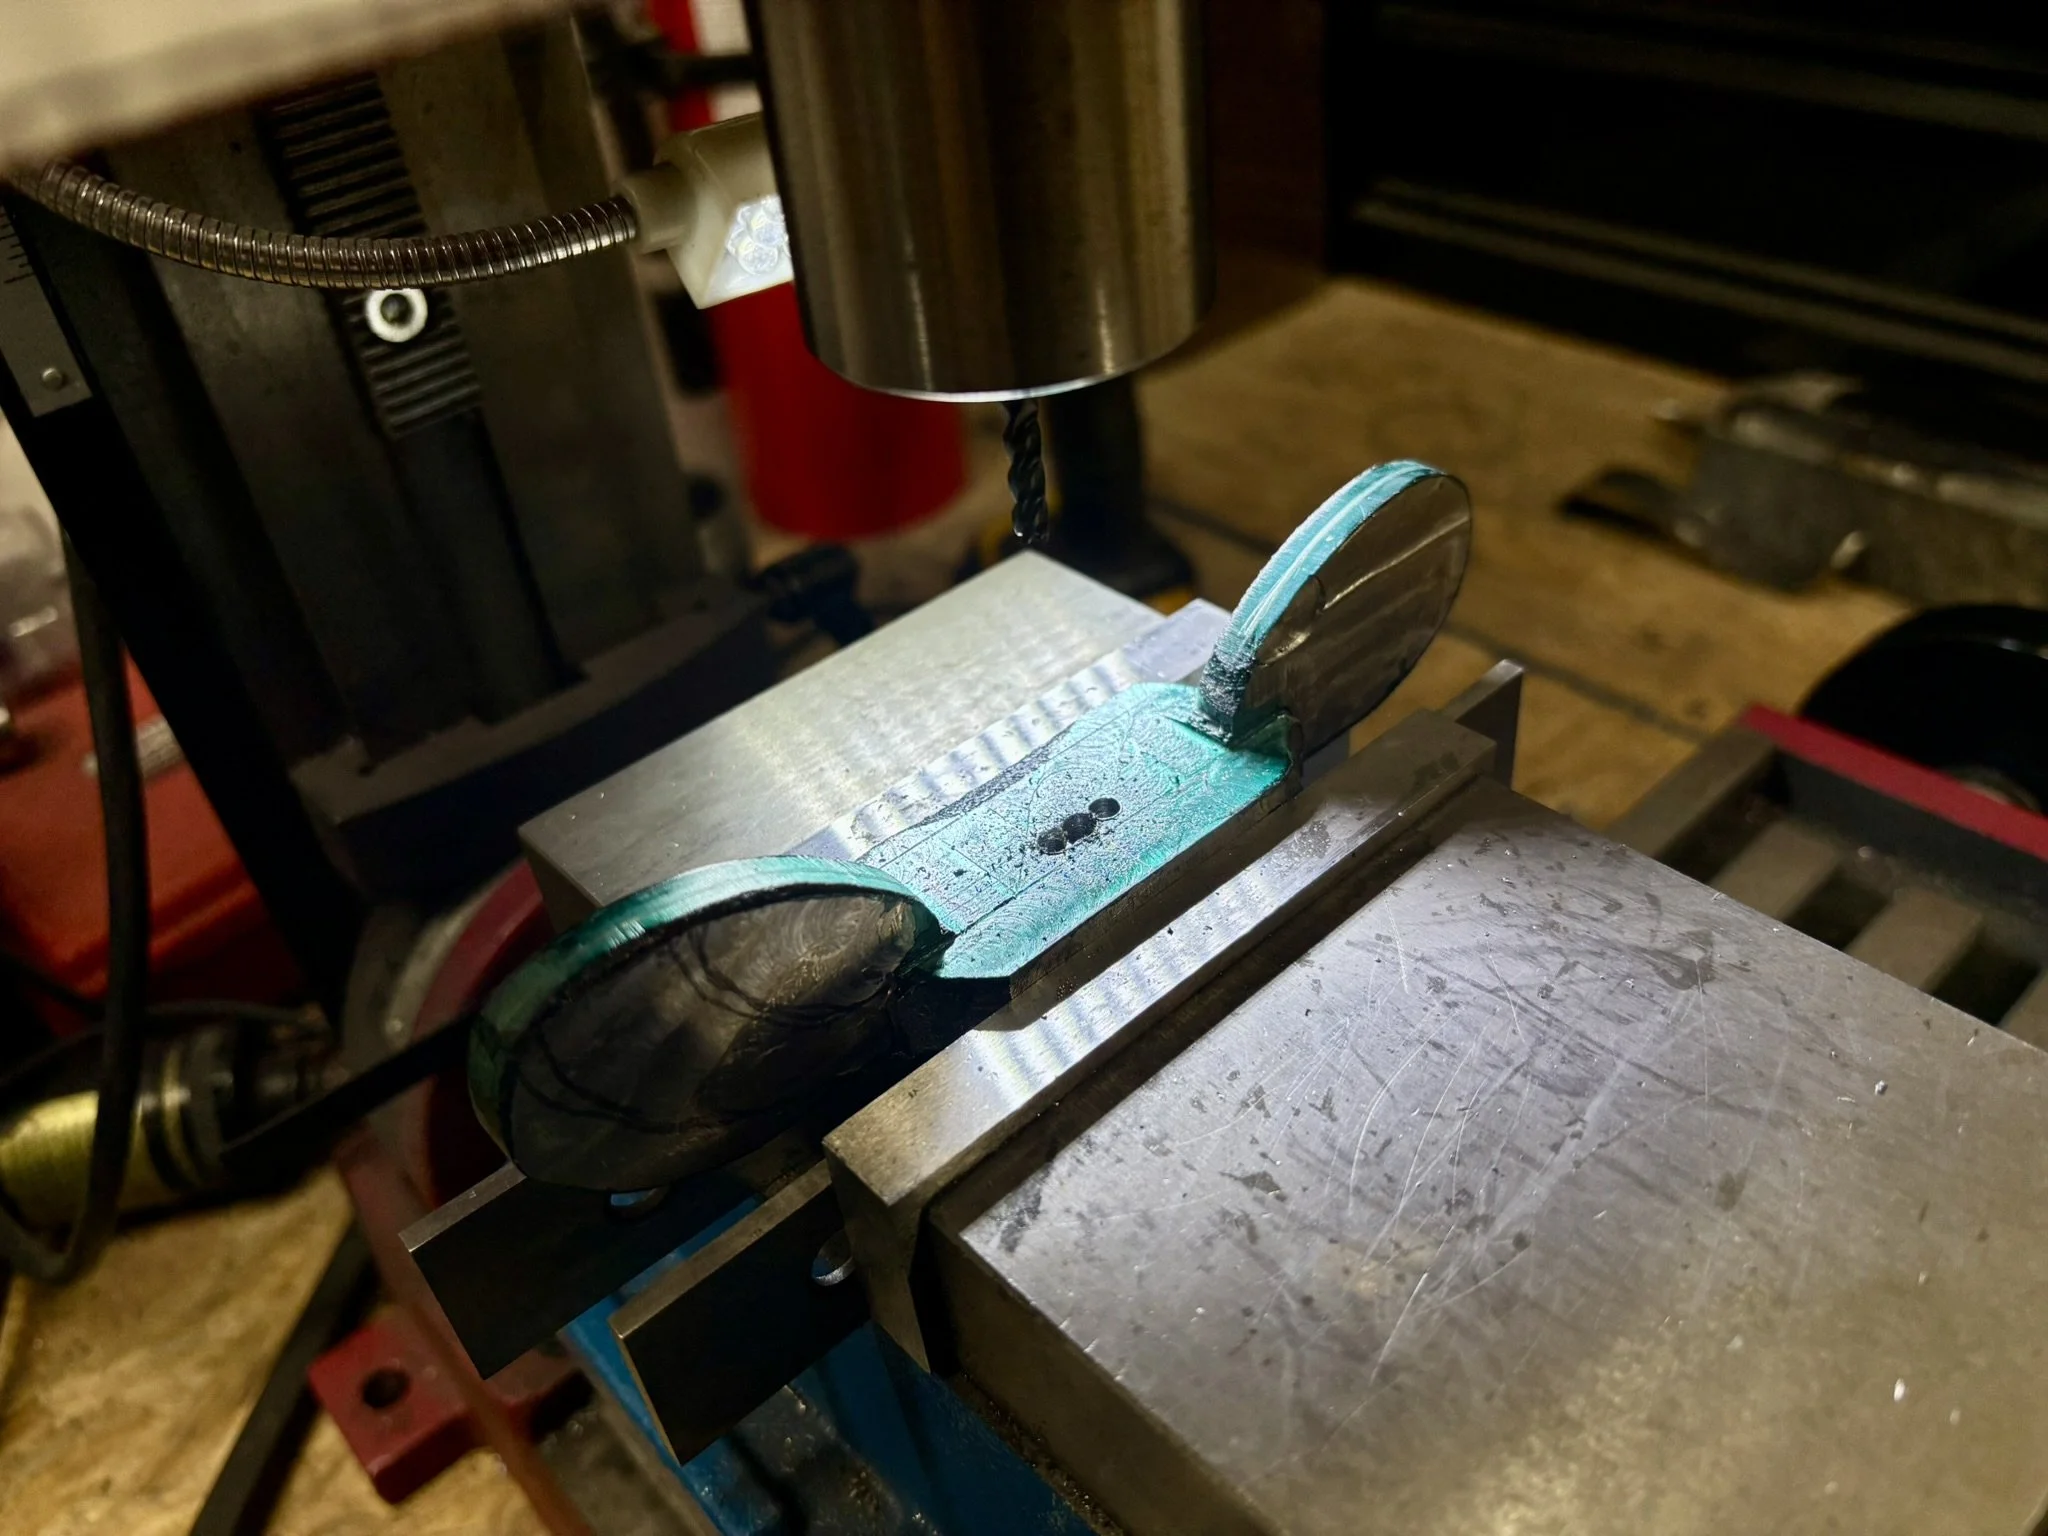
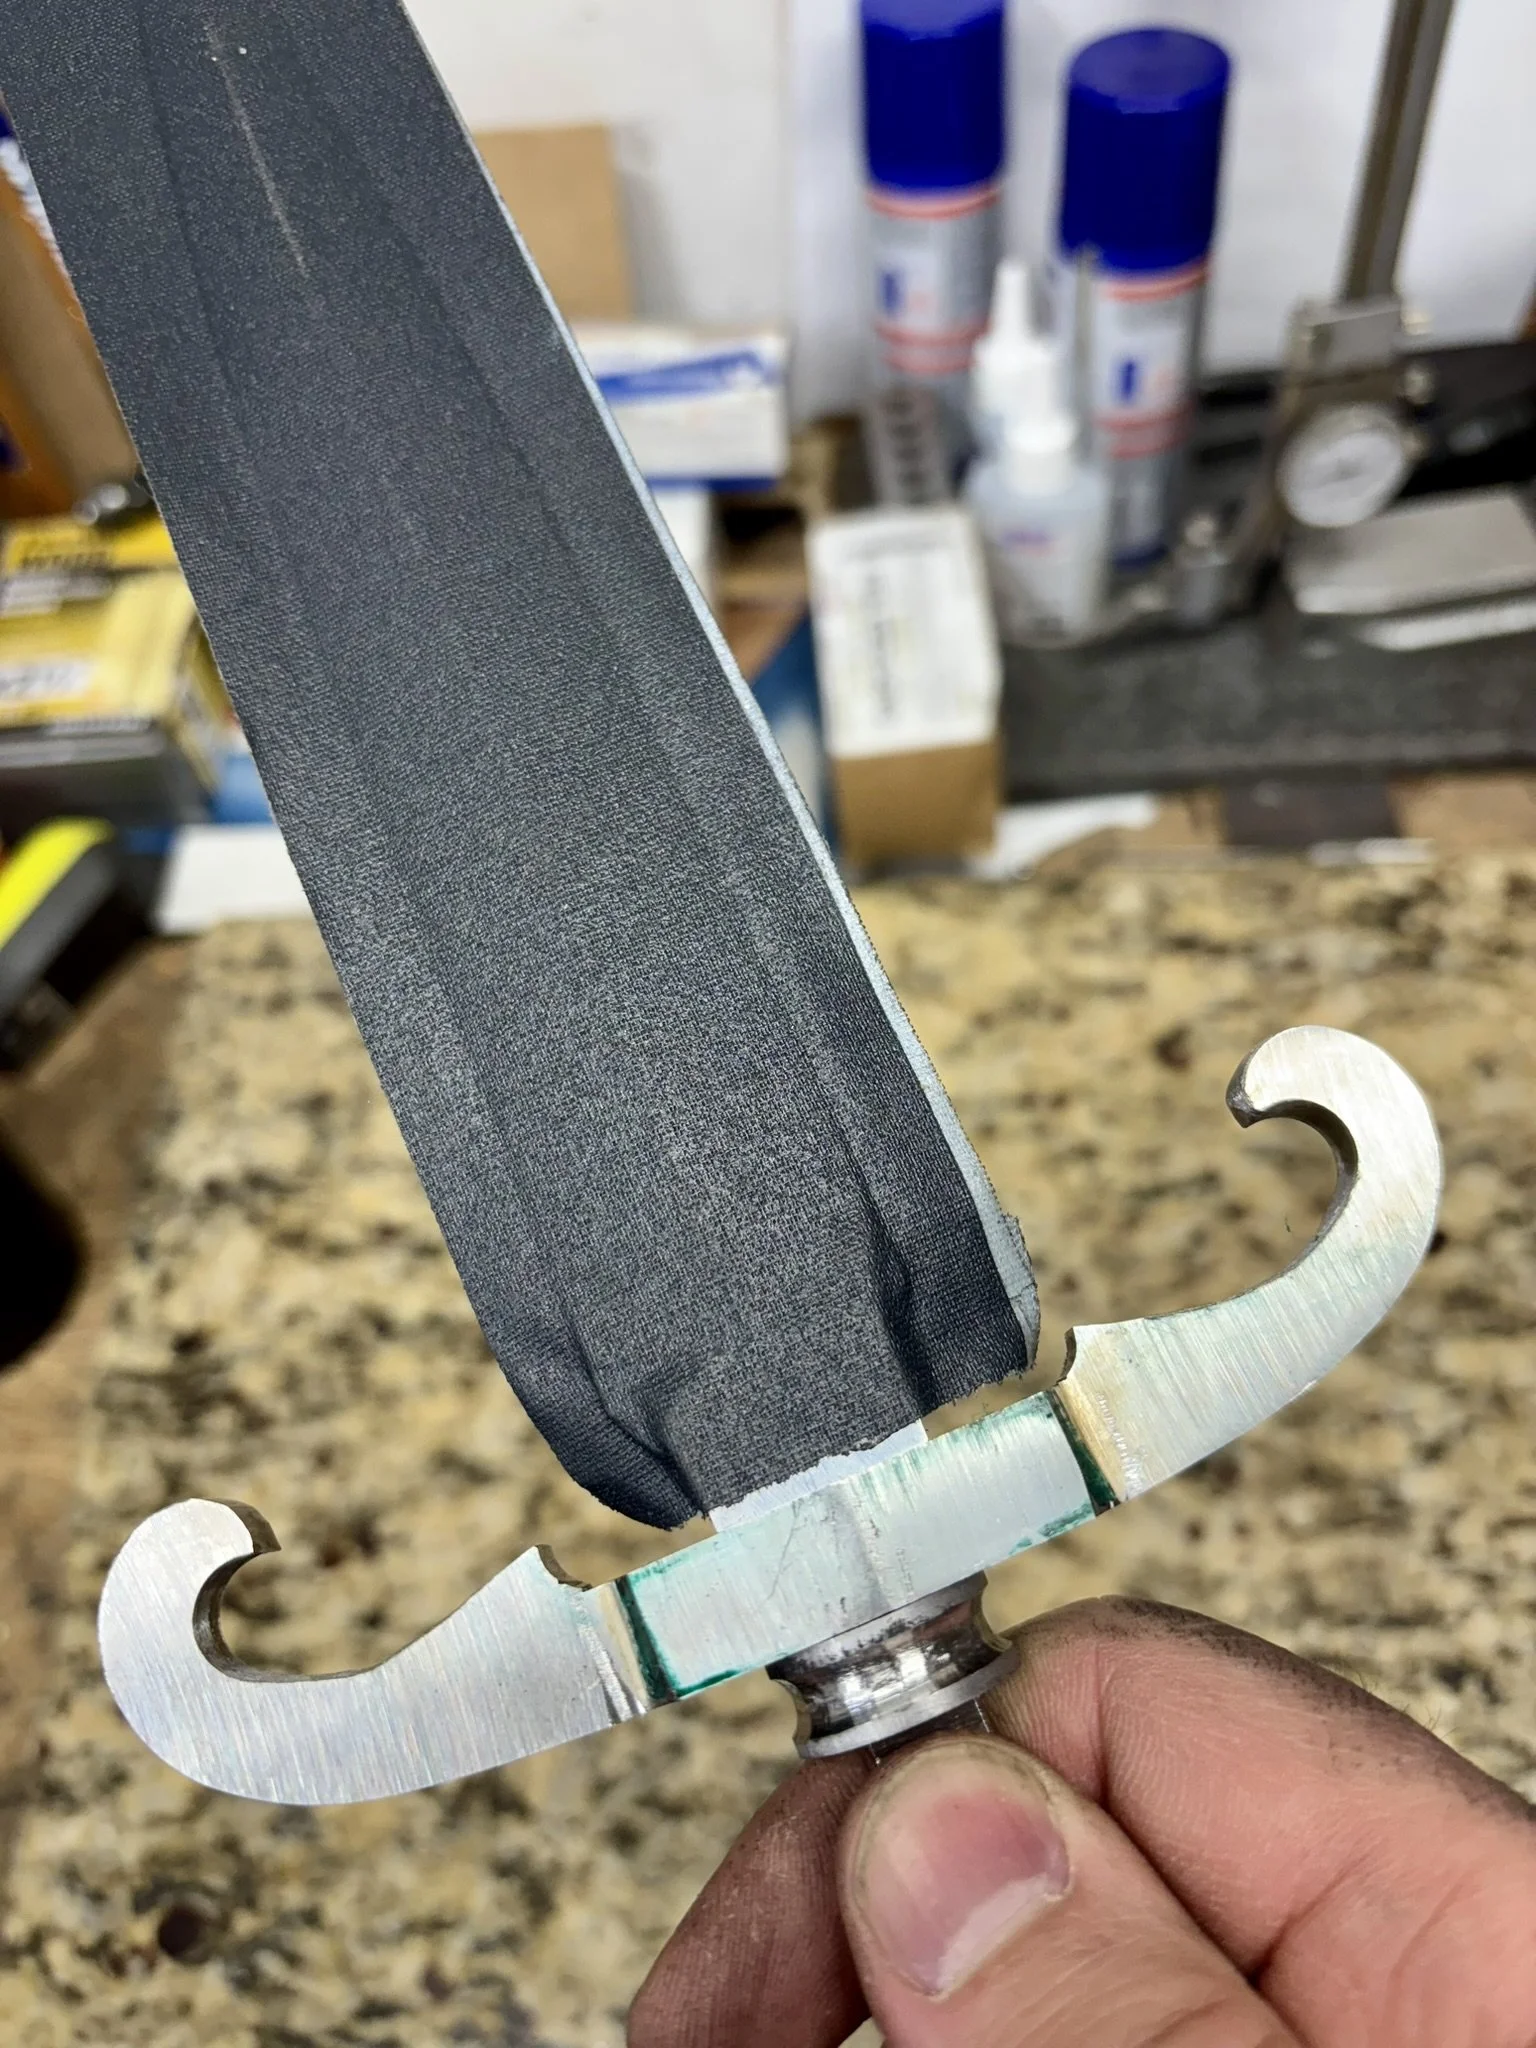
Made a metal mickey mouse as the base for the guard on this one - trying out a new style of guard design.
-
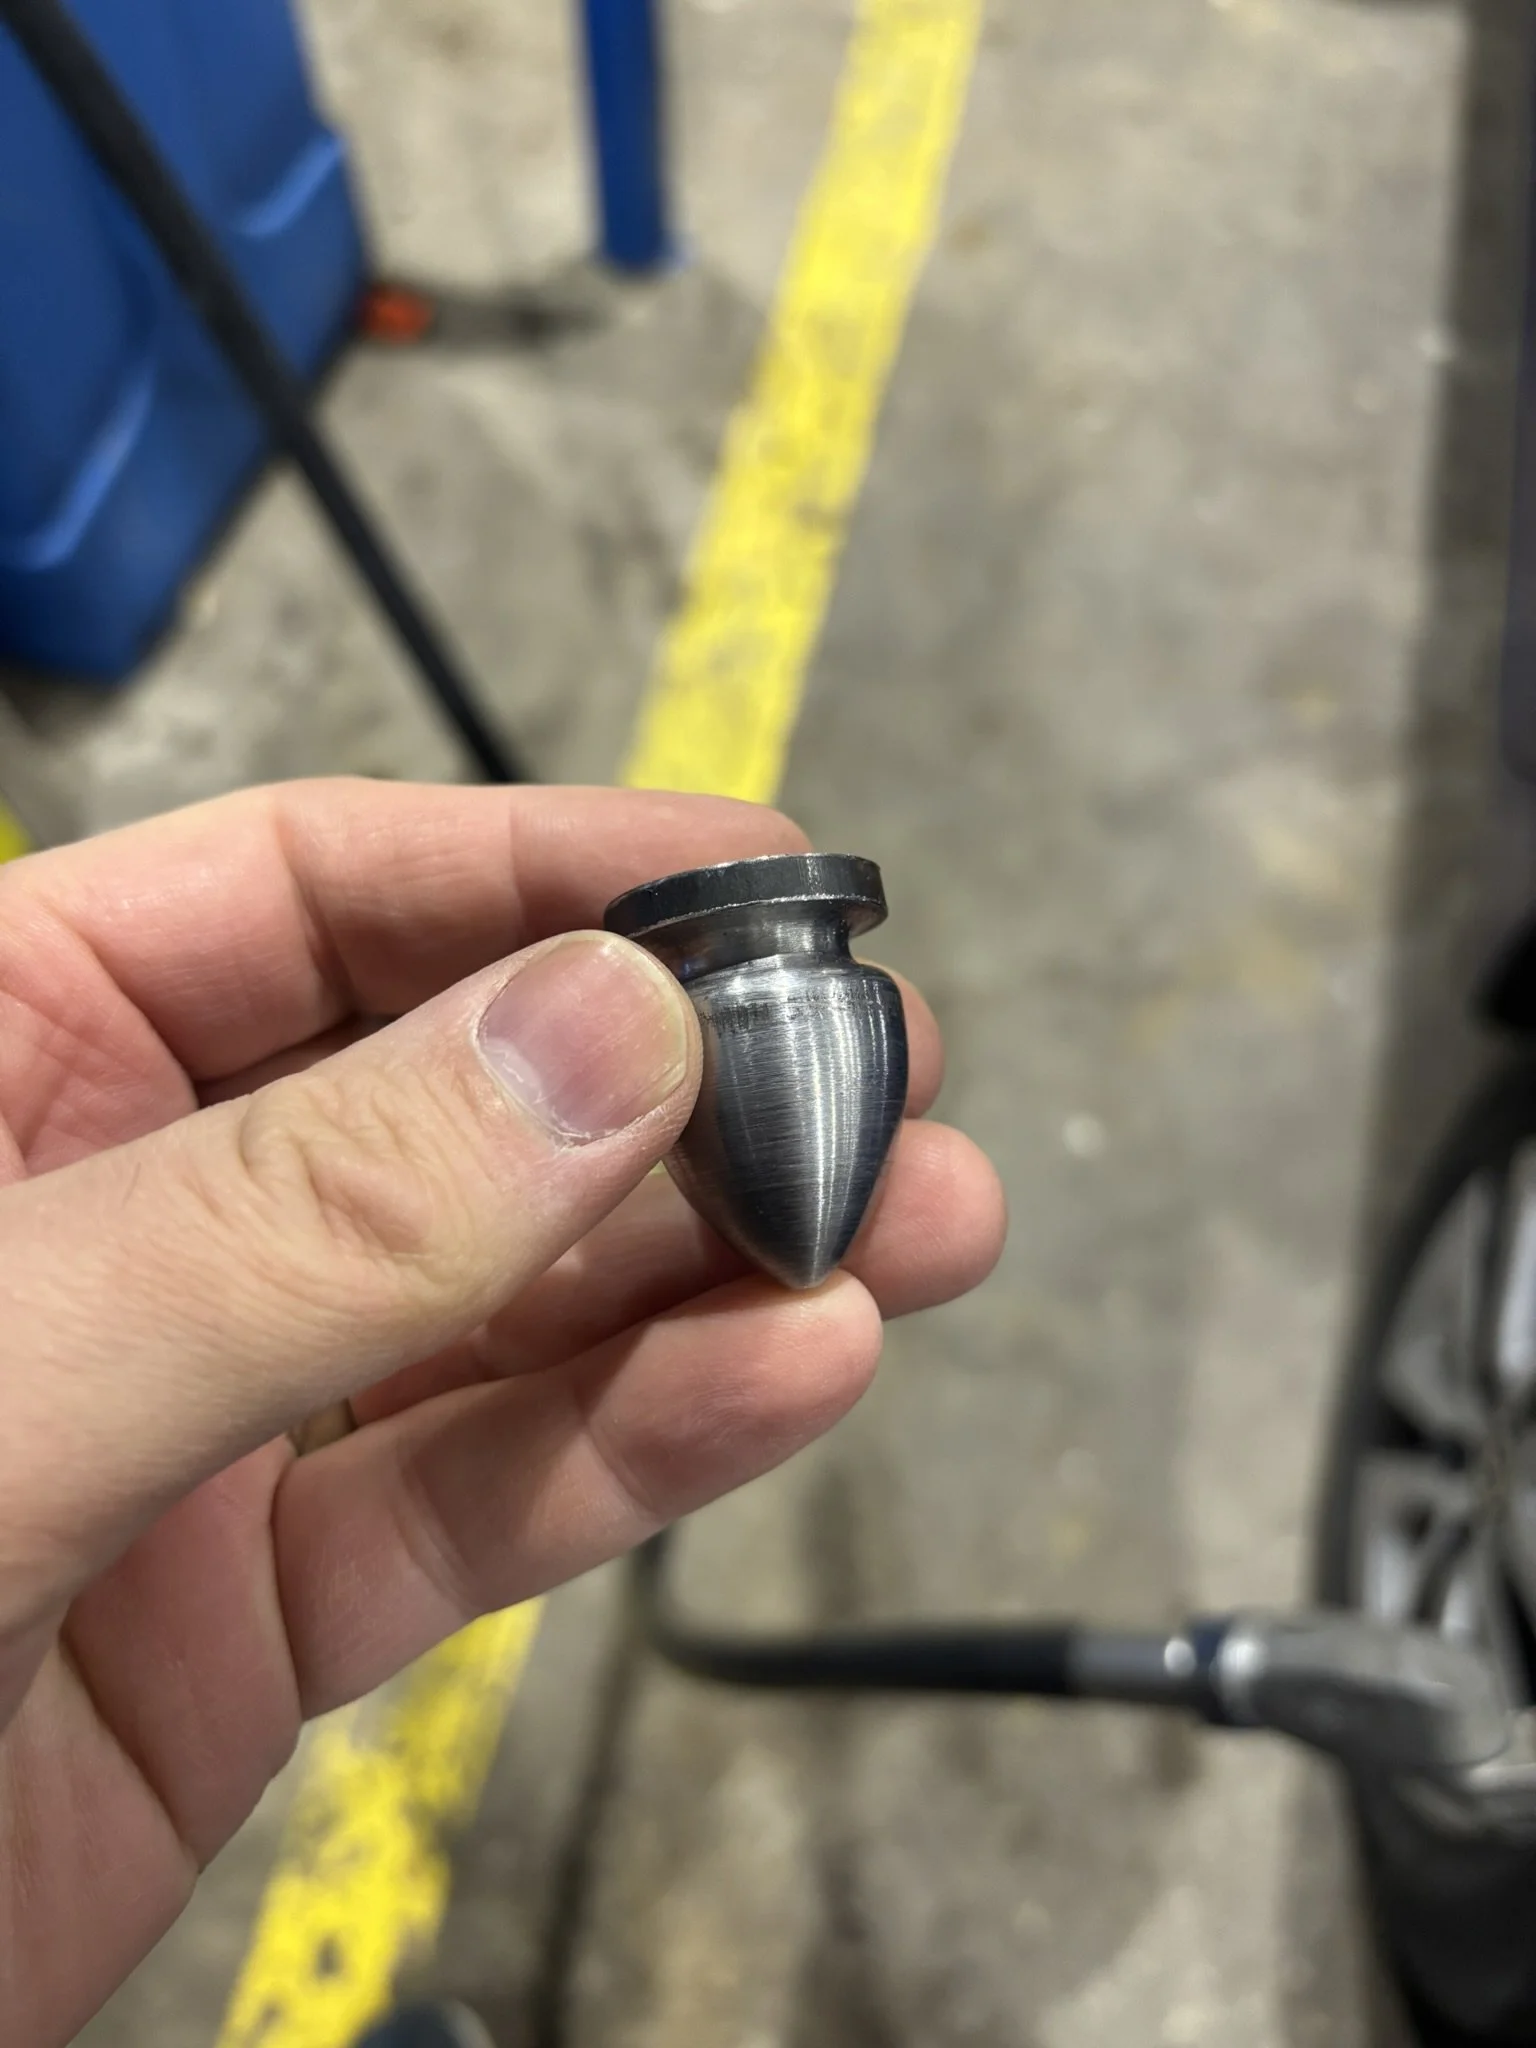
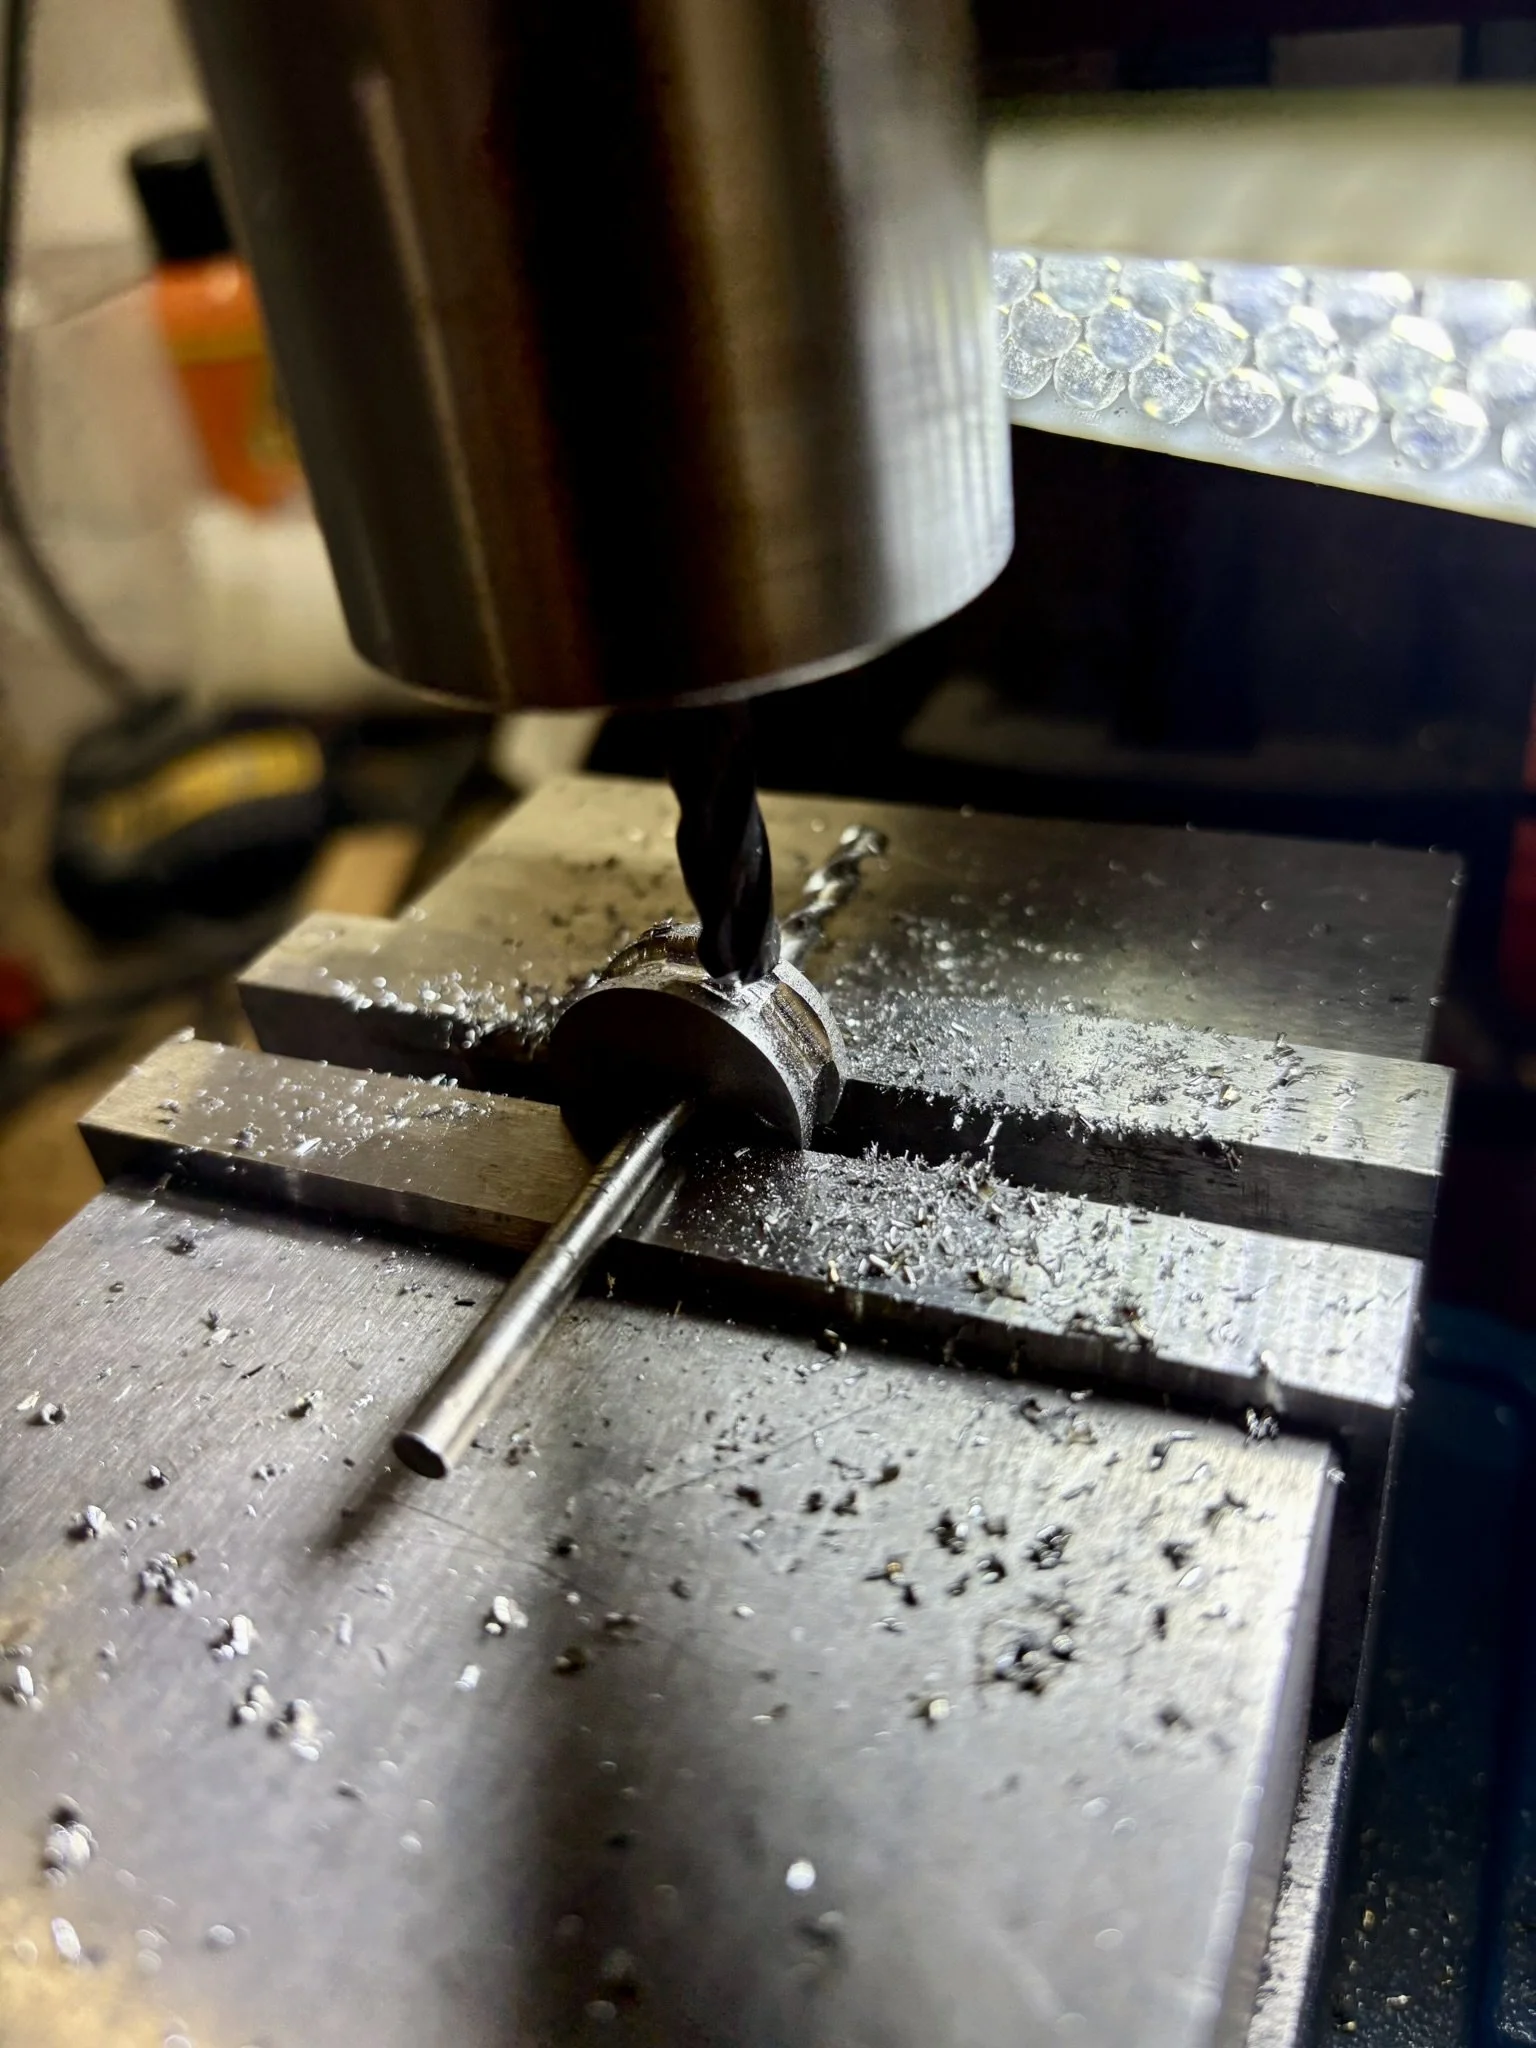
Had help from another friend to turn down the pommel out of roundstock - ended up not using this one, and turned down a second with a different shape.
-
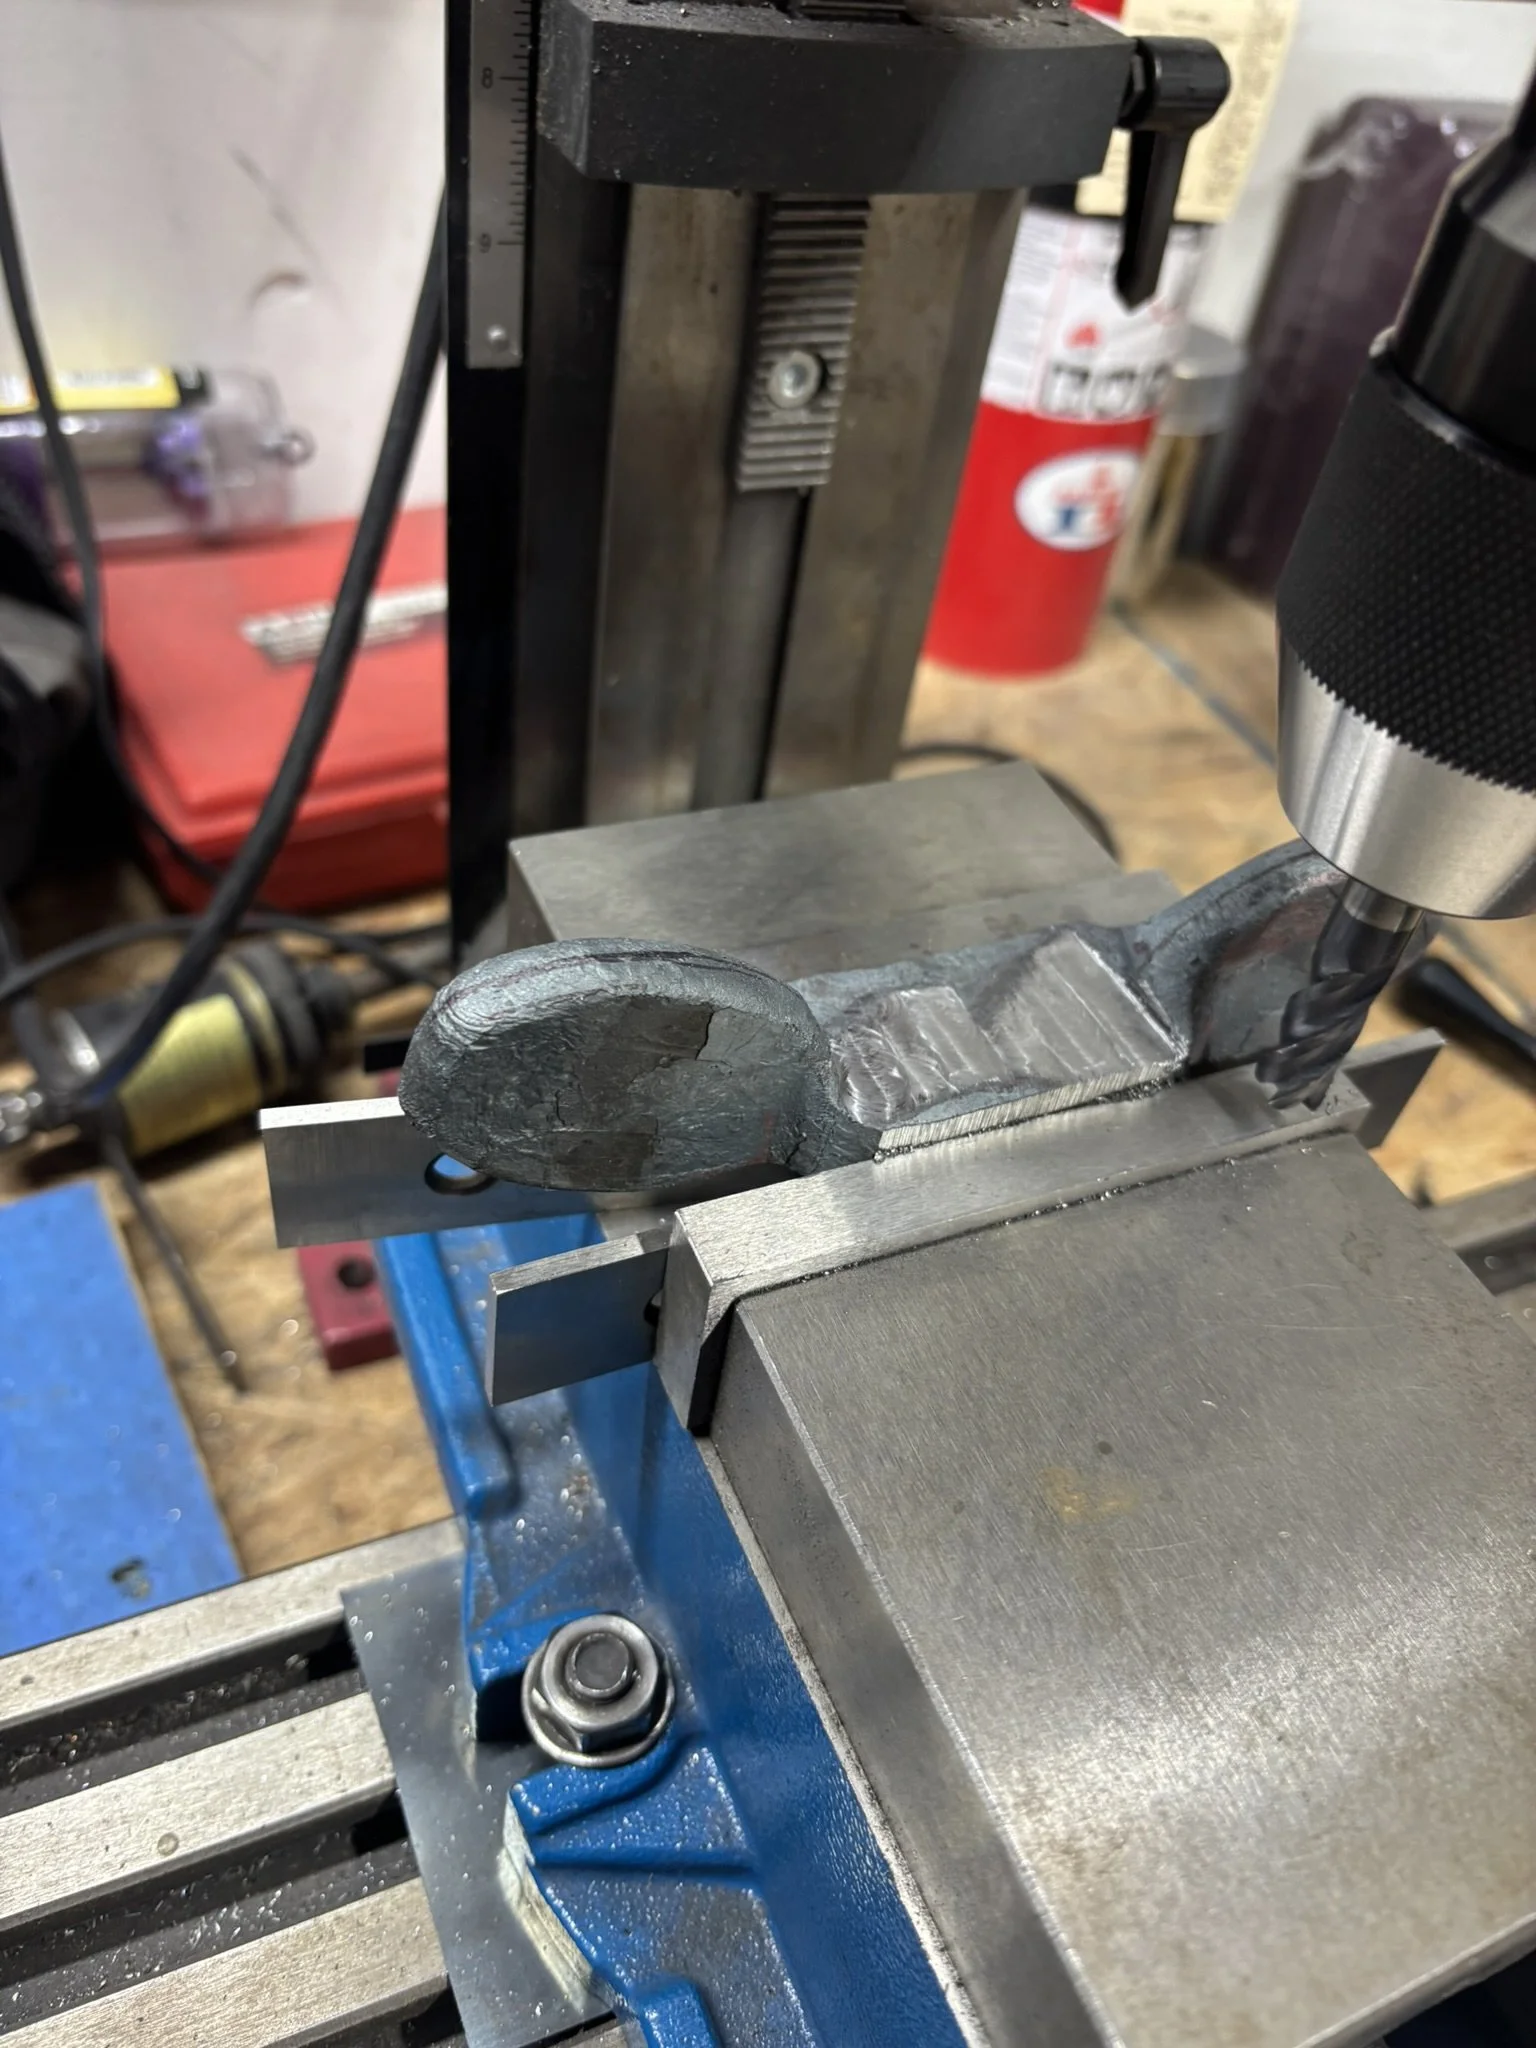
Cleaning up the gurad and starting to shape it on my mini-mill.
-
Dialing it in and drilling the slot for the tang.
-
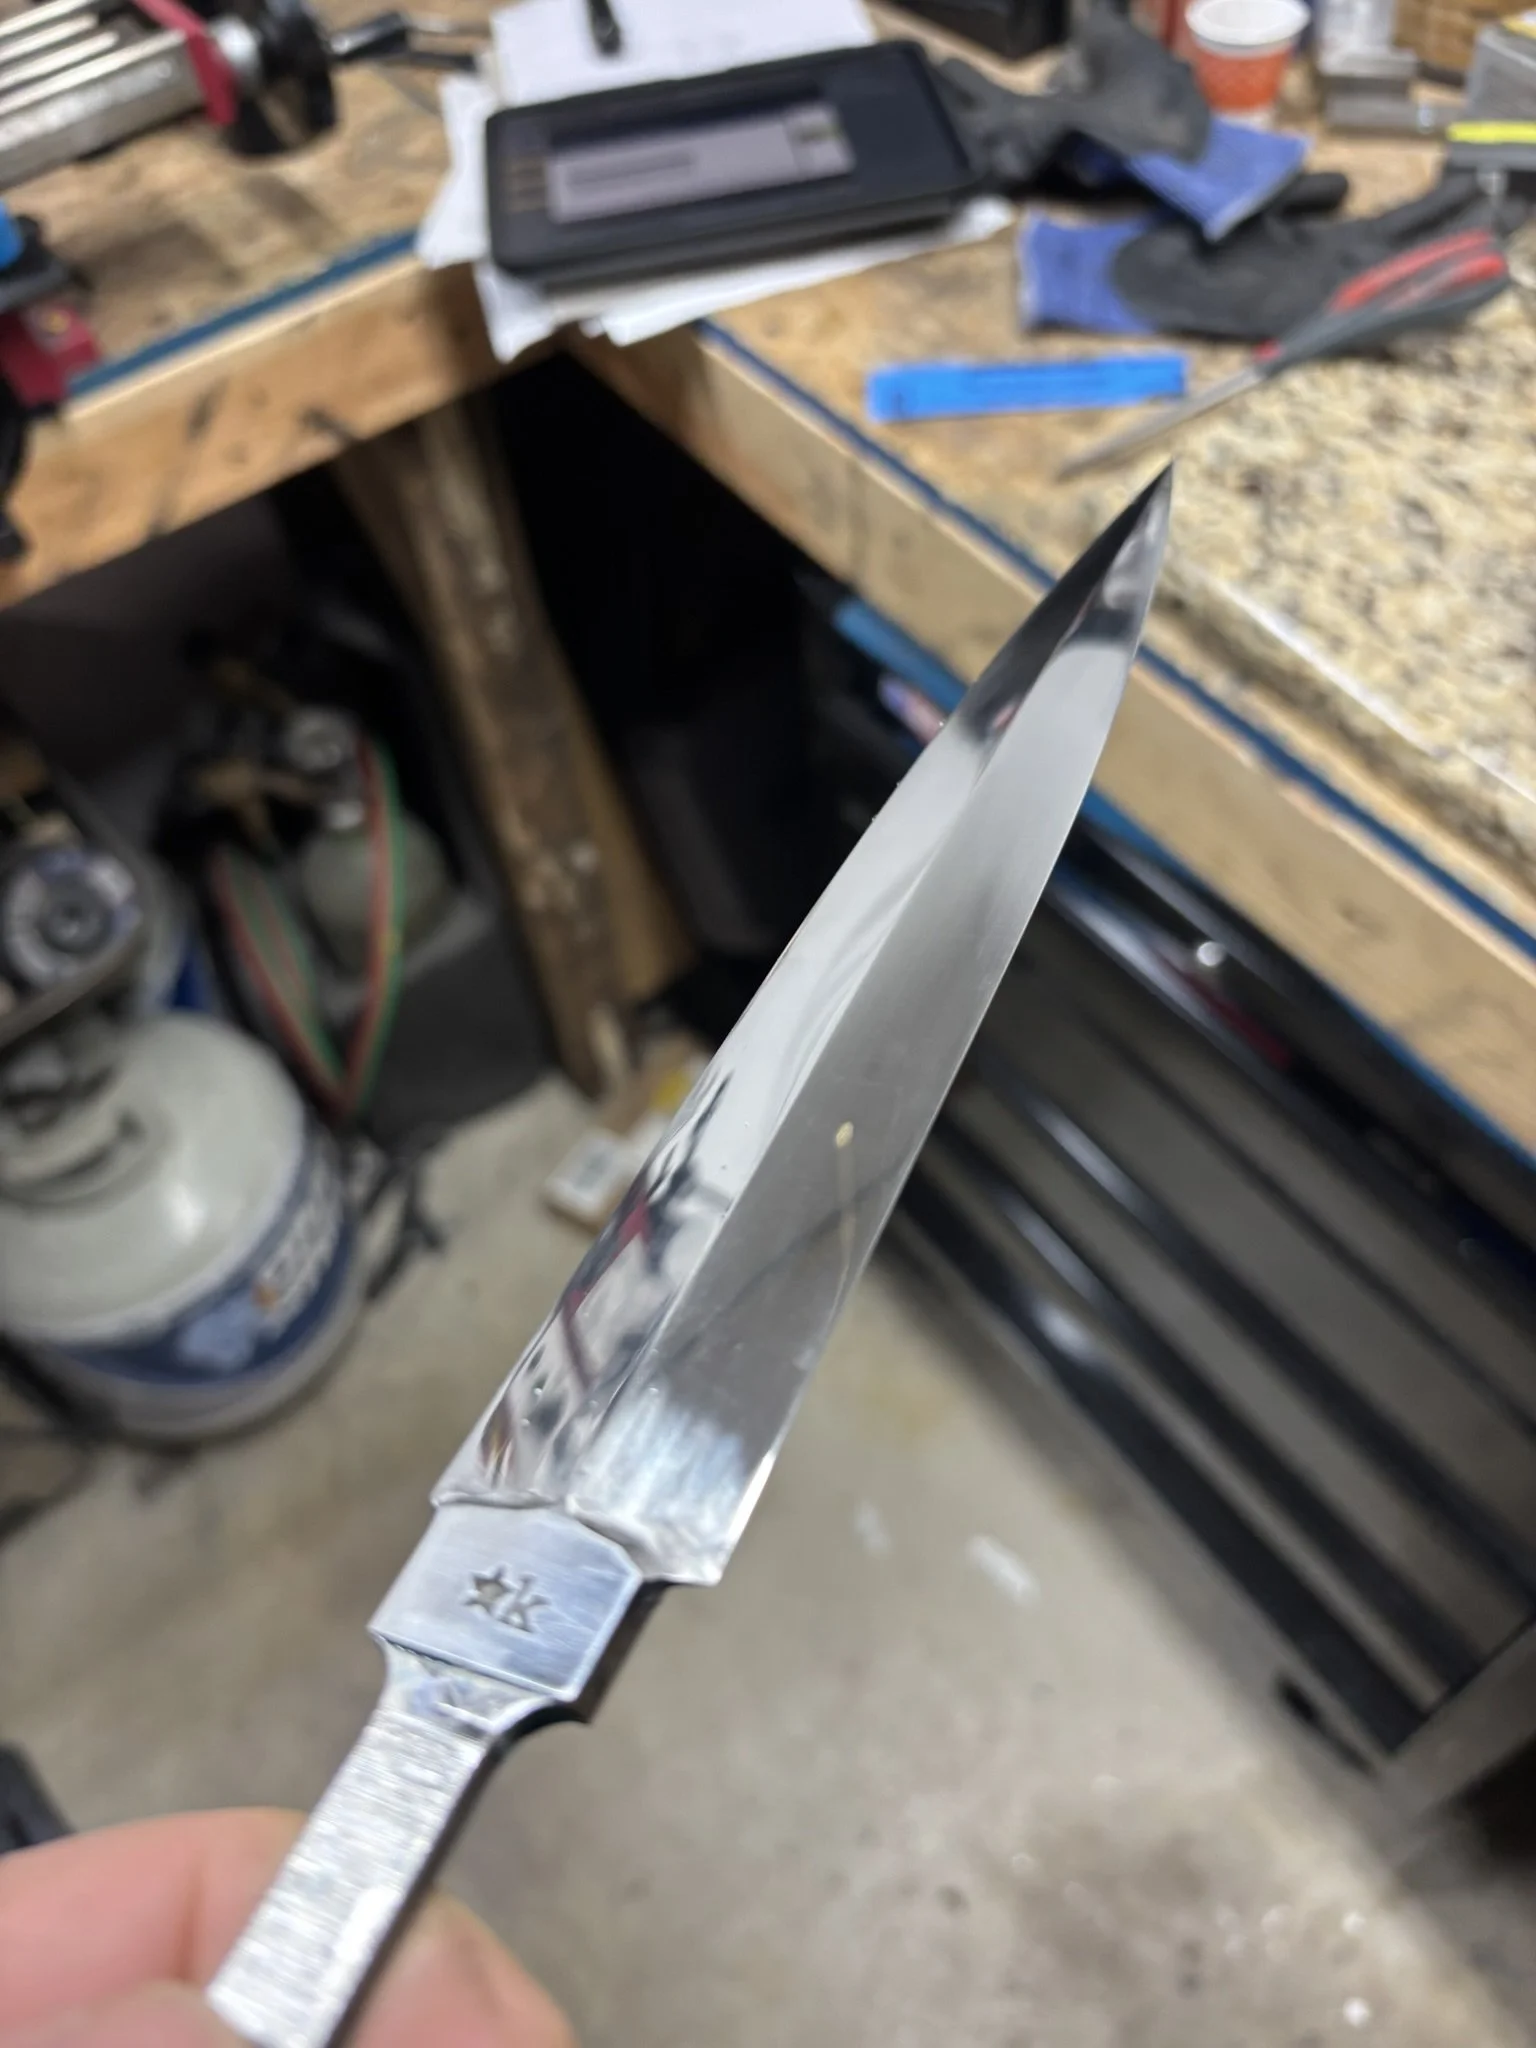
Rough fit up of the guard and first peek at the hand-sanded blade.
-
making the spacer on my own - carving our a slot on the spacer on my mini-mill.
-
Fit up of the spacer with the guard.
-
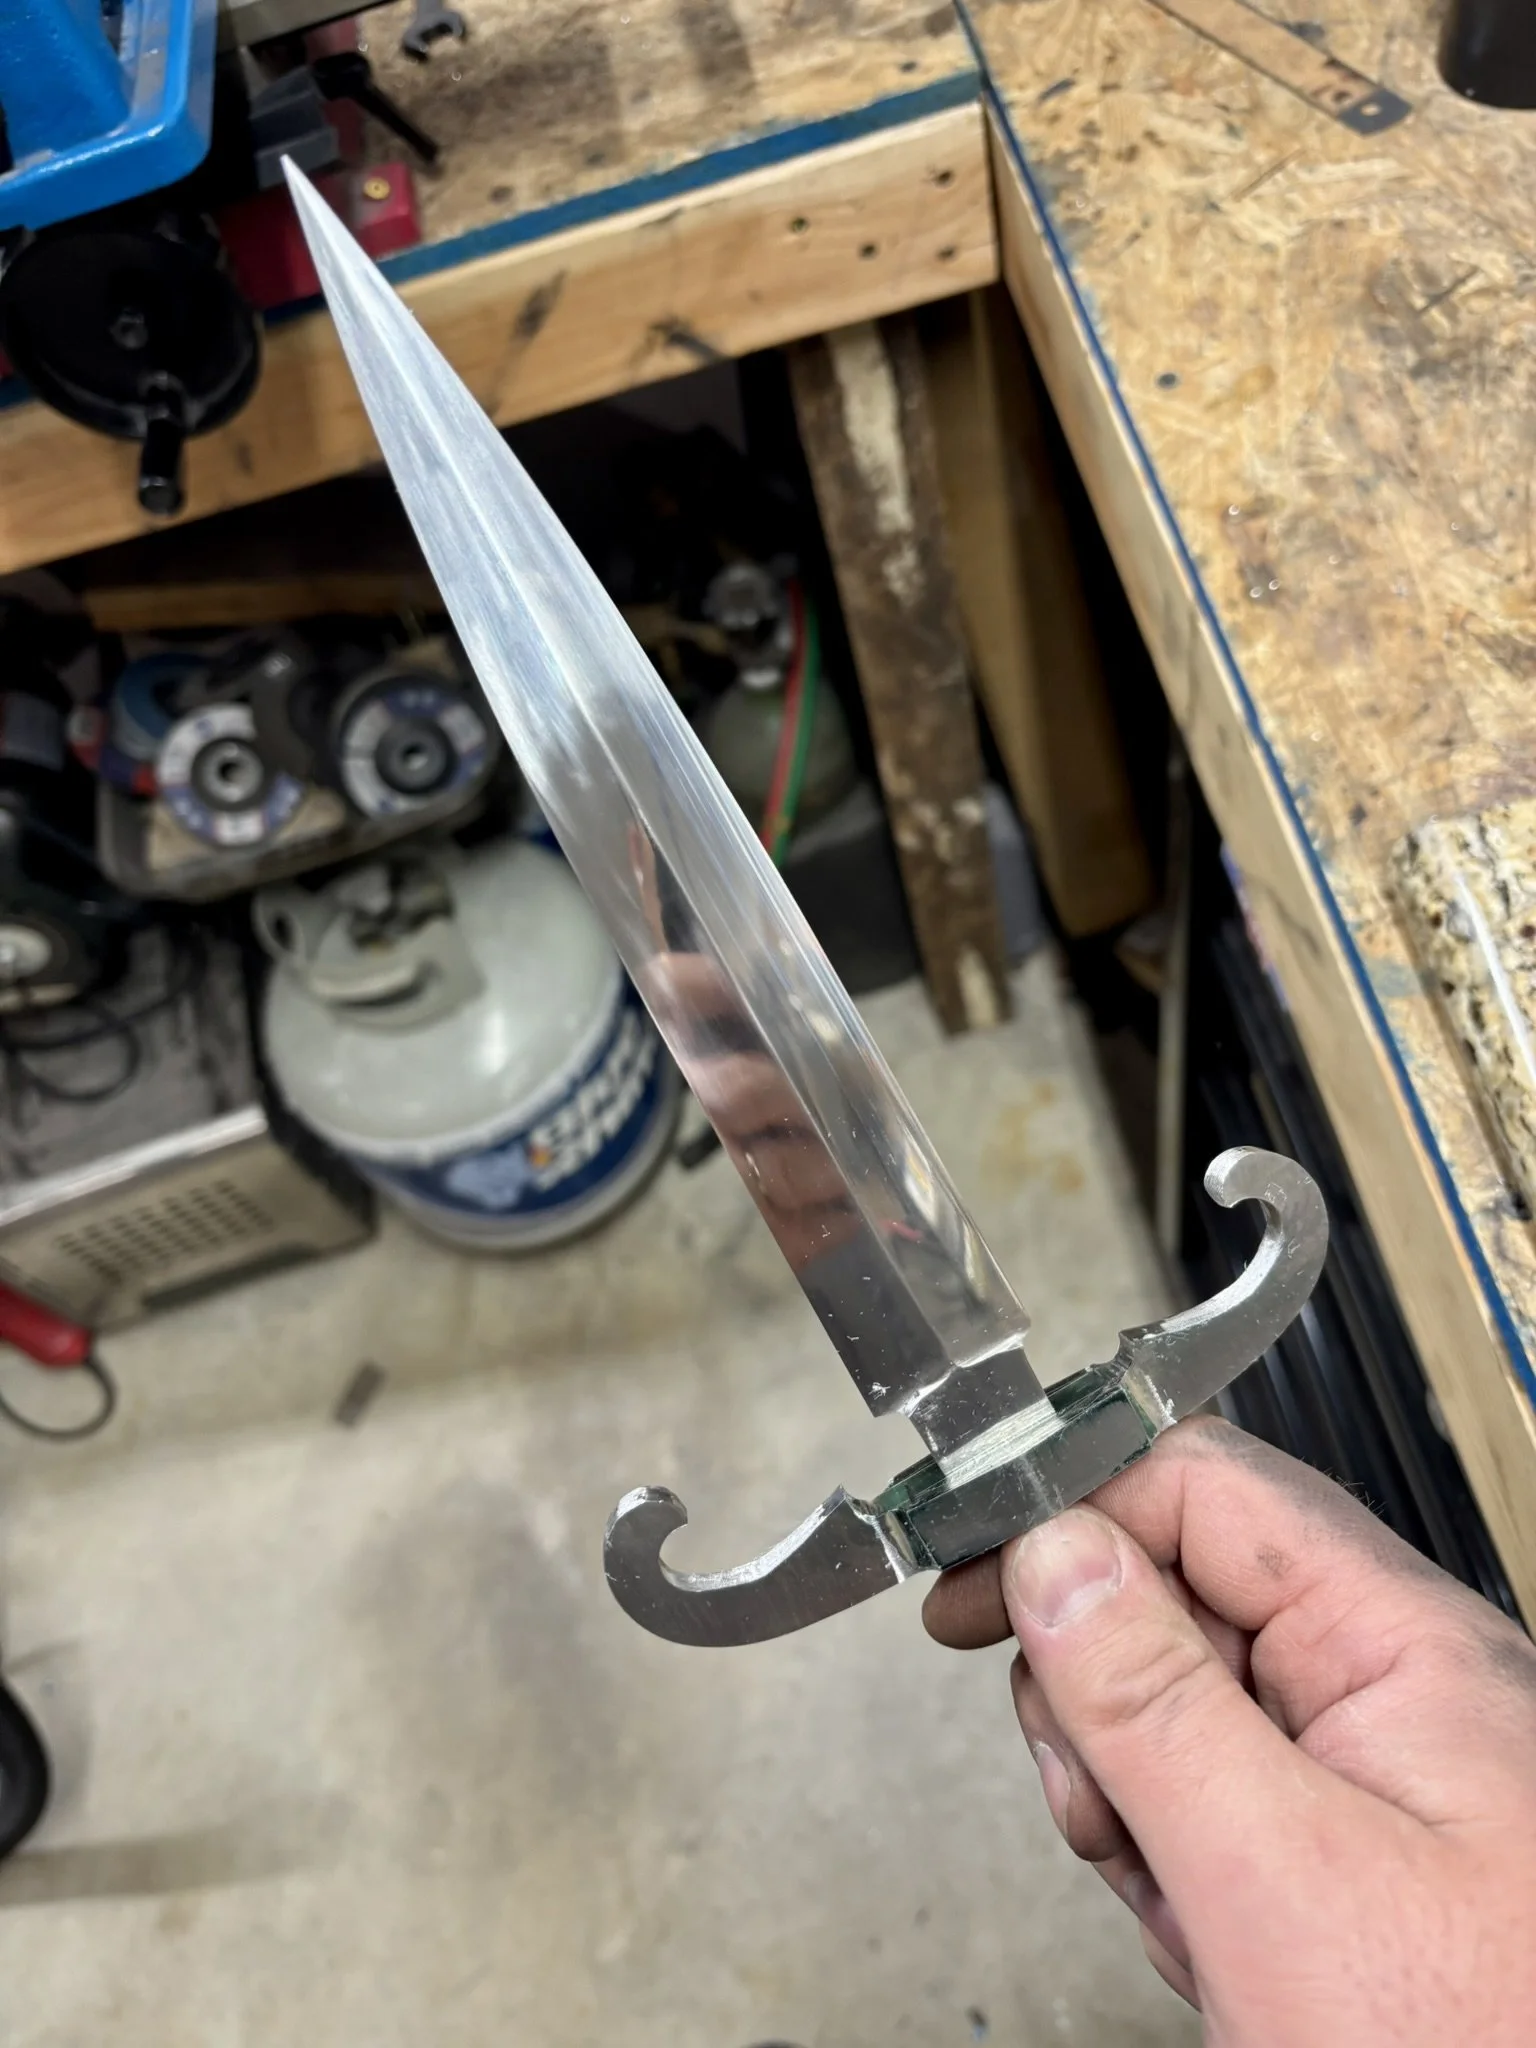
Fit up of all the pieces before refinement and clean up.
-
Blade ready for etch.
-
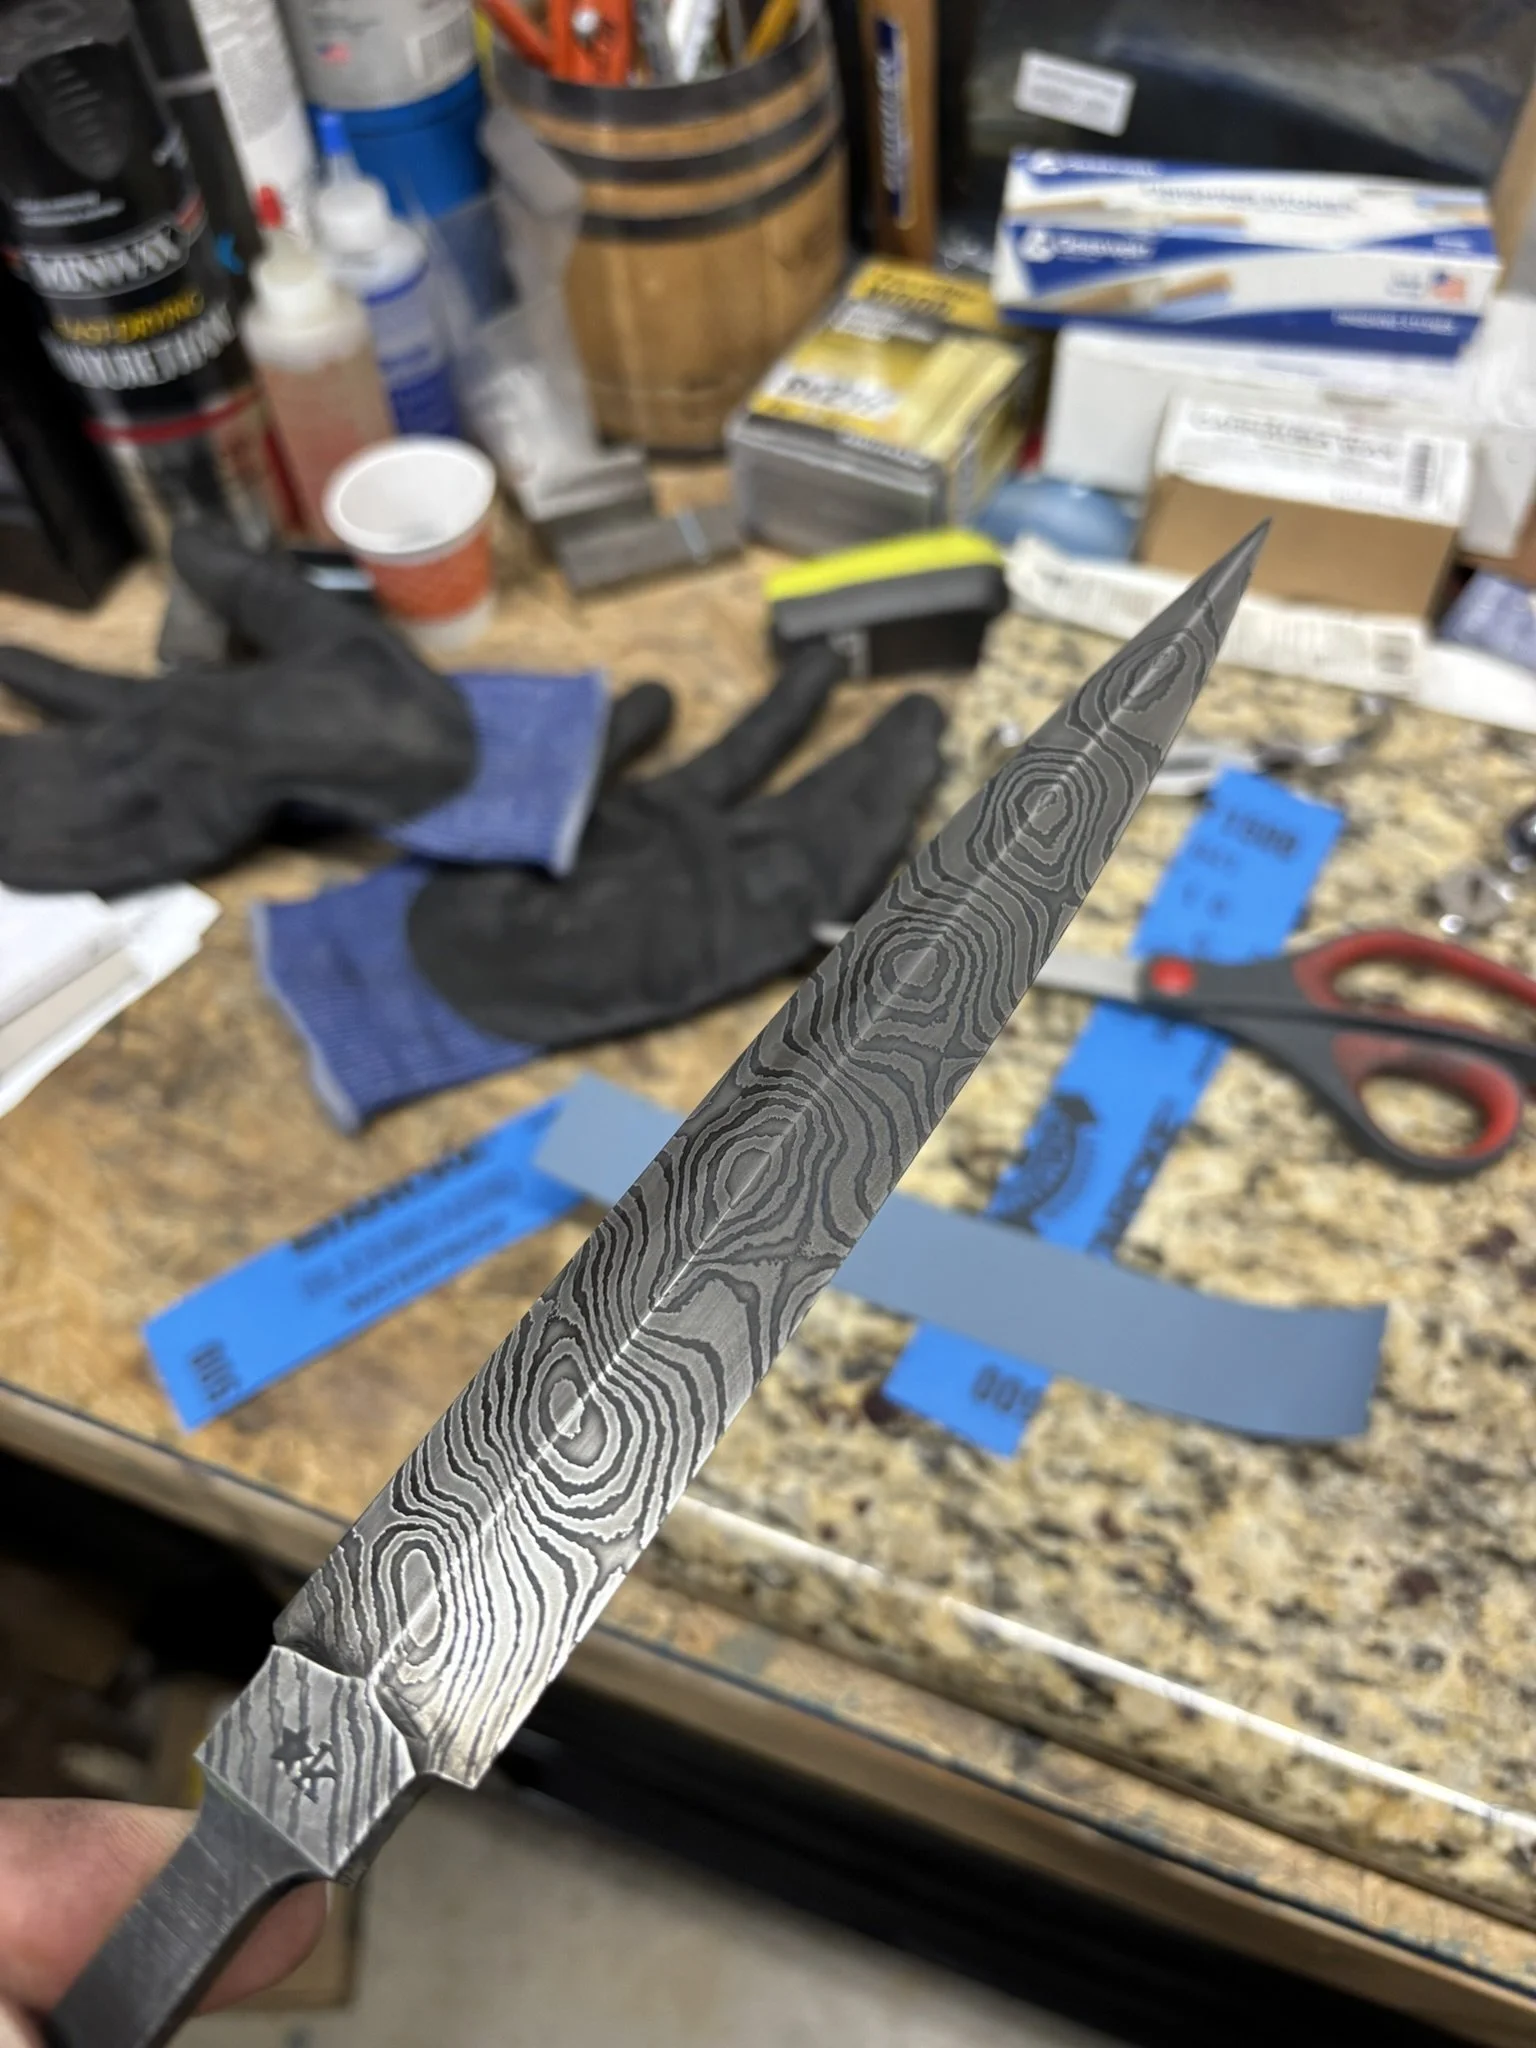
Post acid etch.
-
After buffing off the oxides before coffee etch.
-
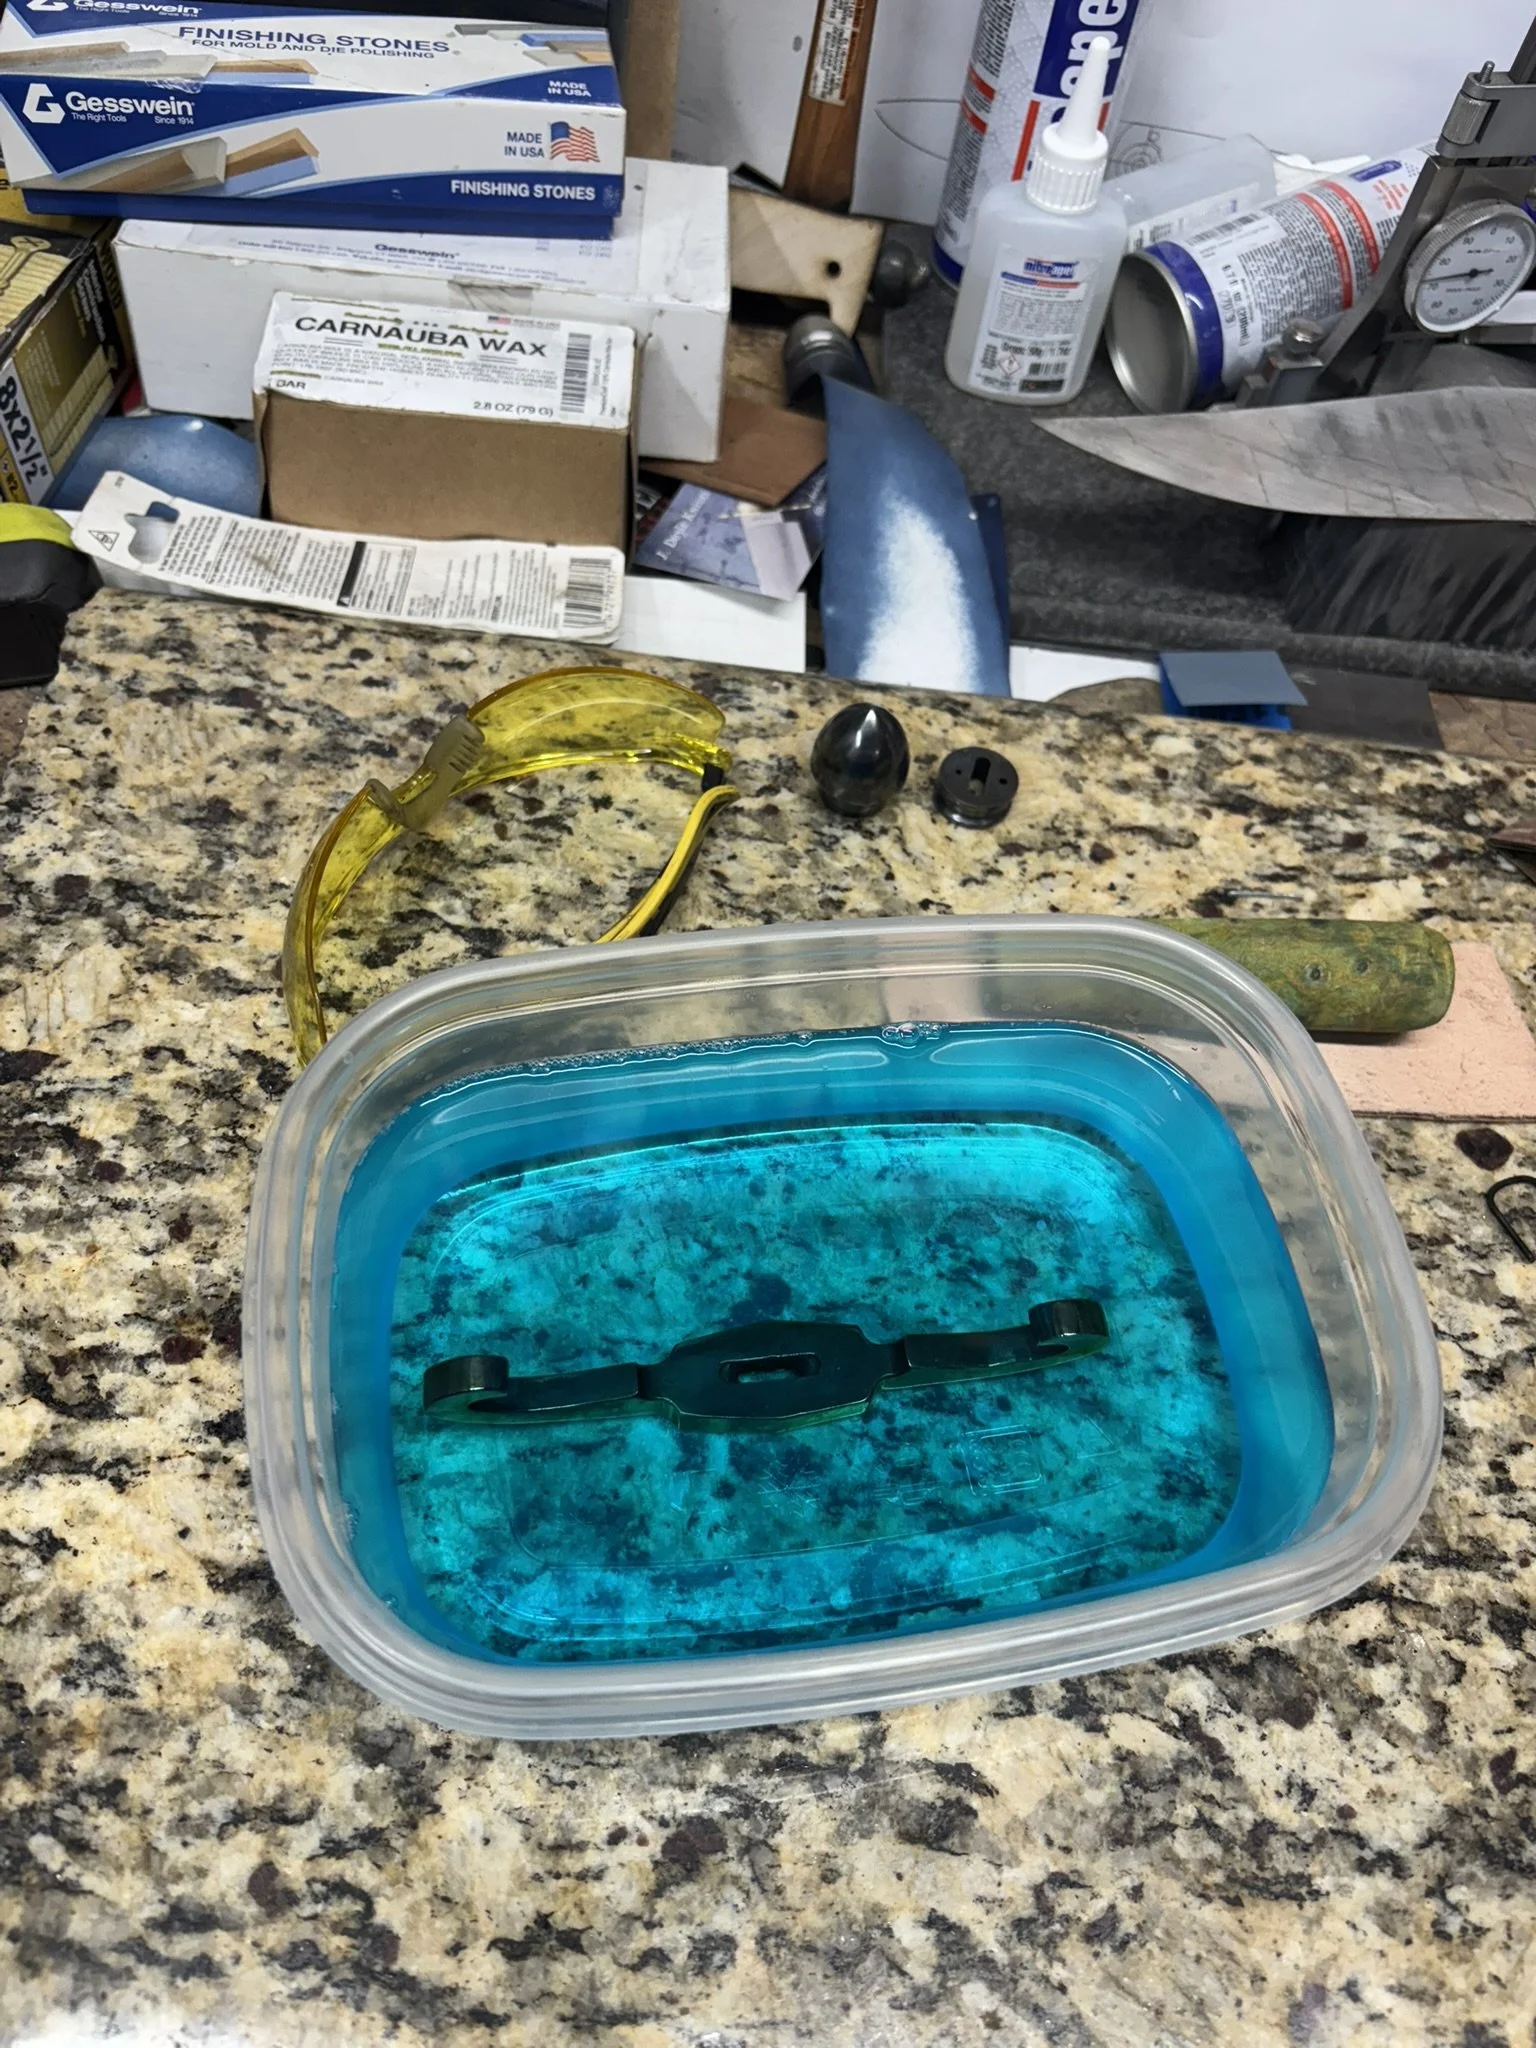
Wasn't happy with the coffee, so used Gator Piss (special etchant) and was able to get the contrast I wanted.
-
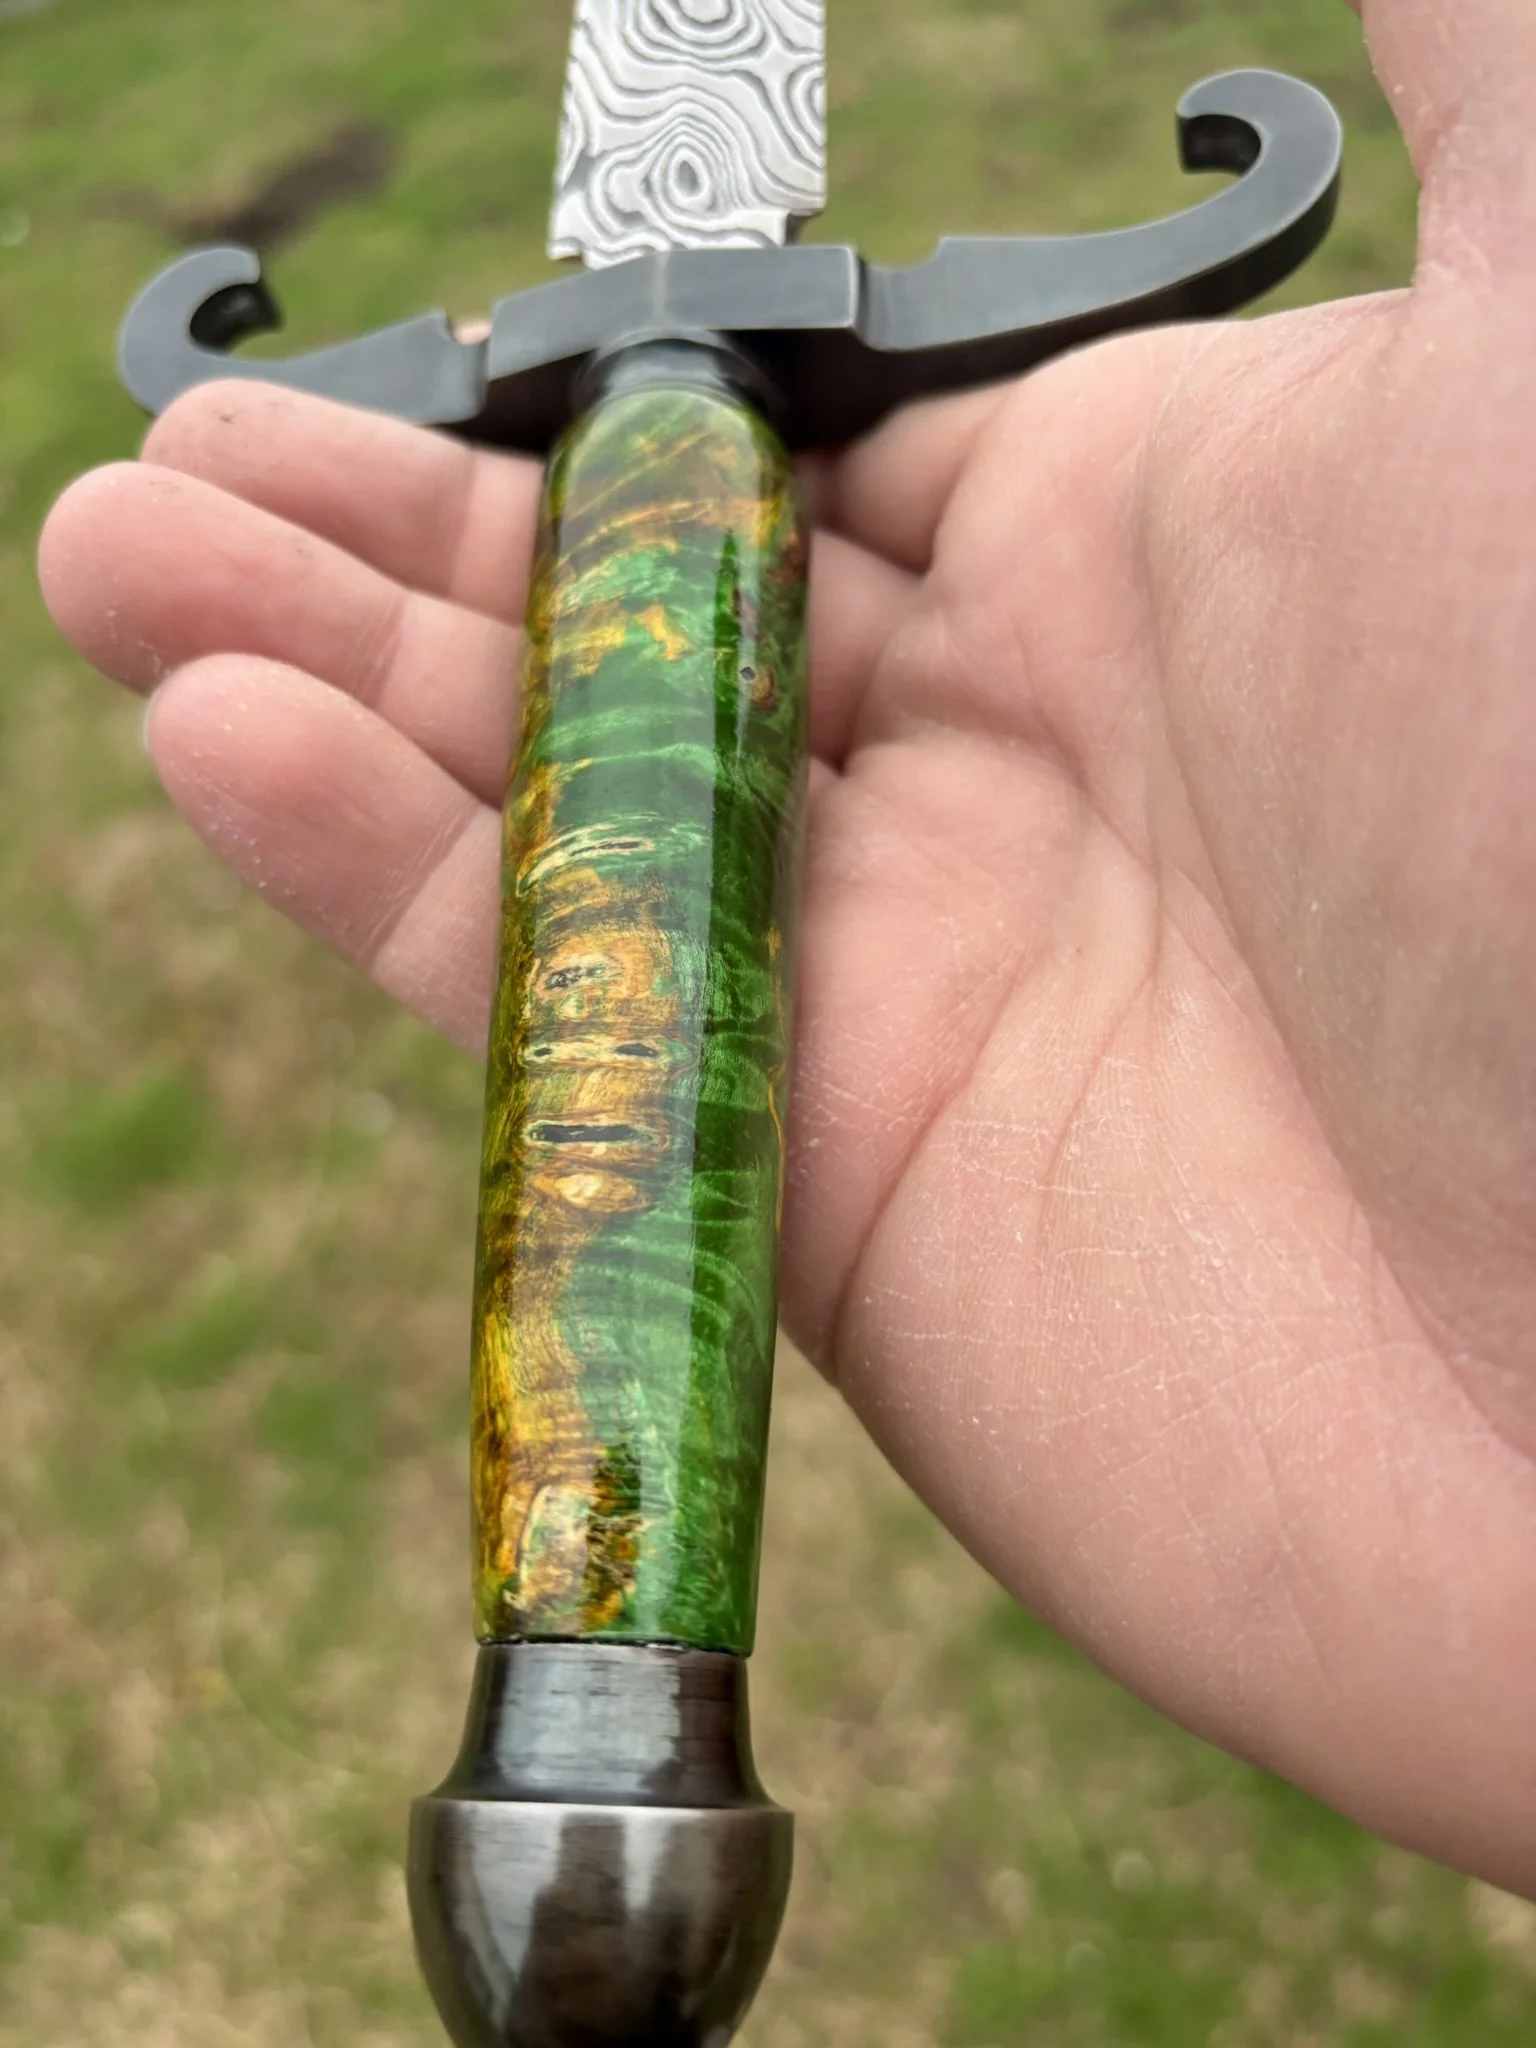
Gun bluing the guard - I'd never done a piece this large. (Blued Pommel in the background).
-
Glamour shot 1.
-
Glamour Shot 2.
-
Glamour Shot 3.
-
Glamour Shot 4.
-
![]()
Glamour Shot 5.
-
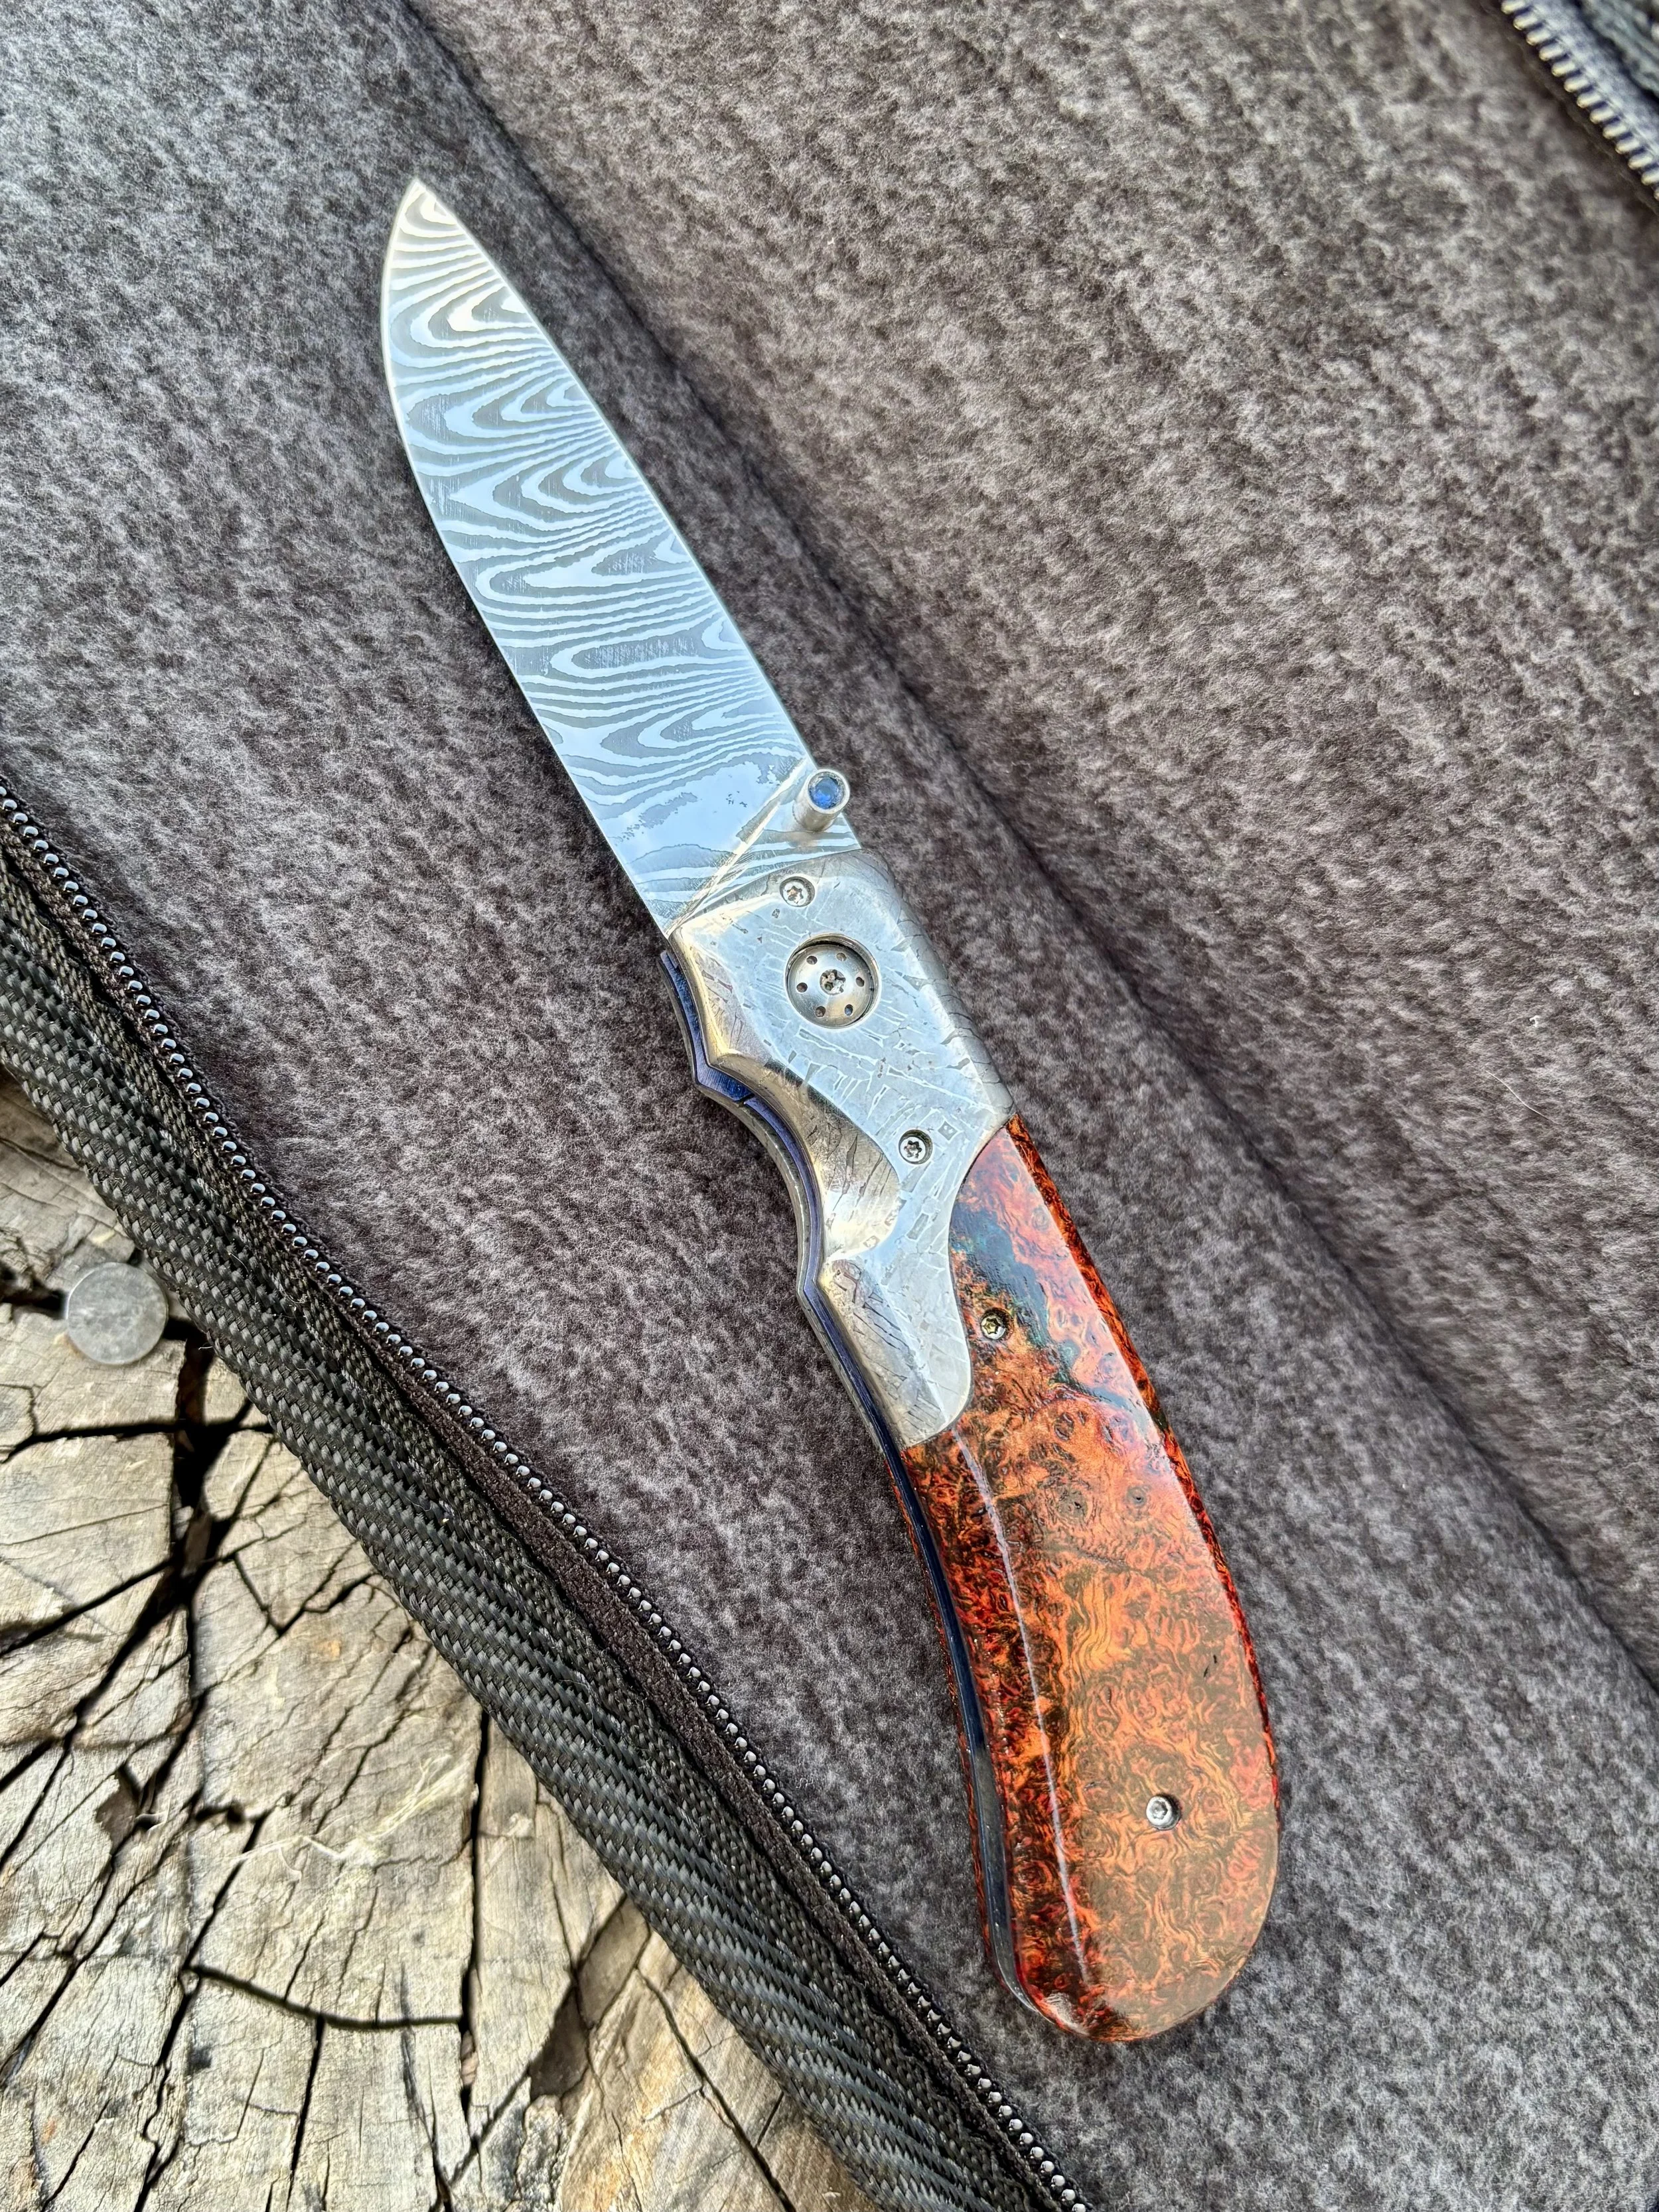
Final Blade - keep scrolling to see the journey.
-
![]()
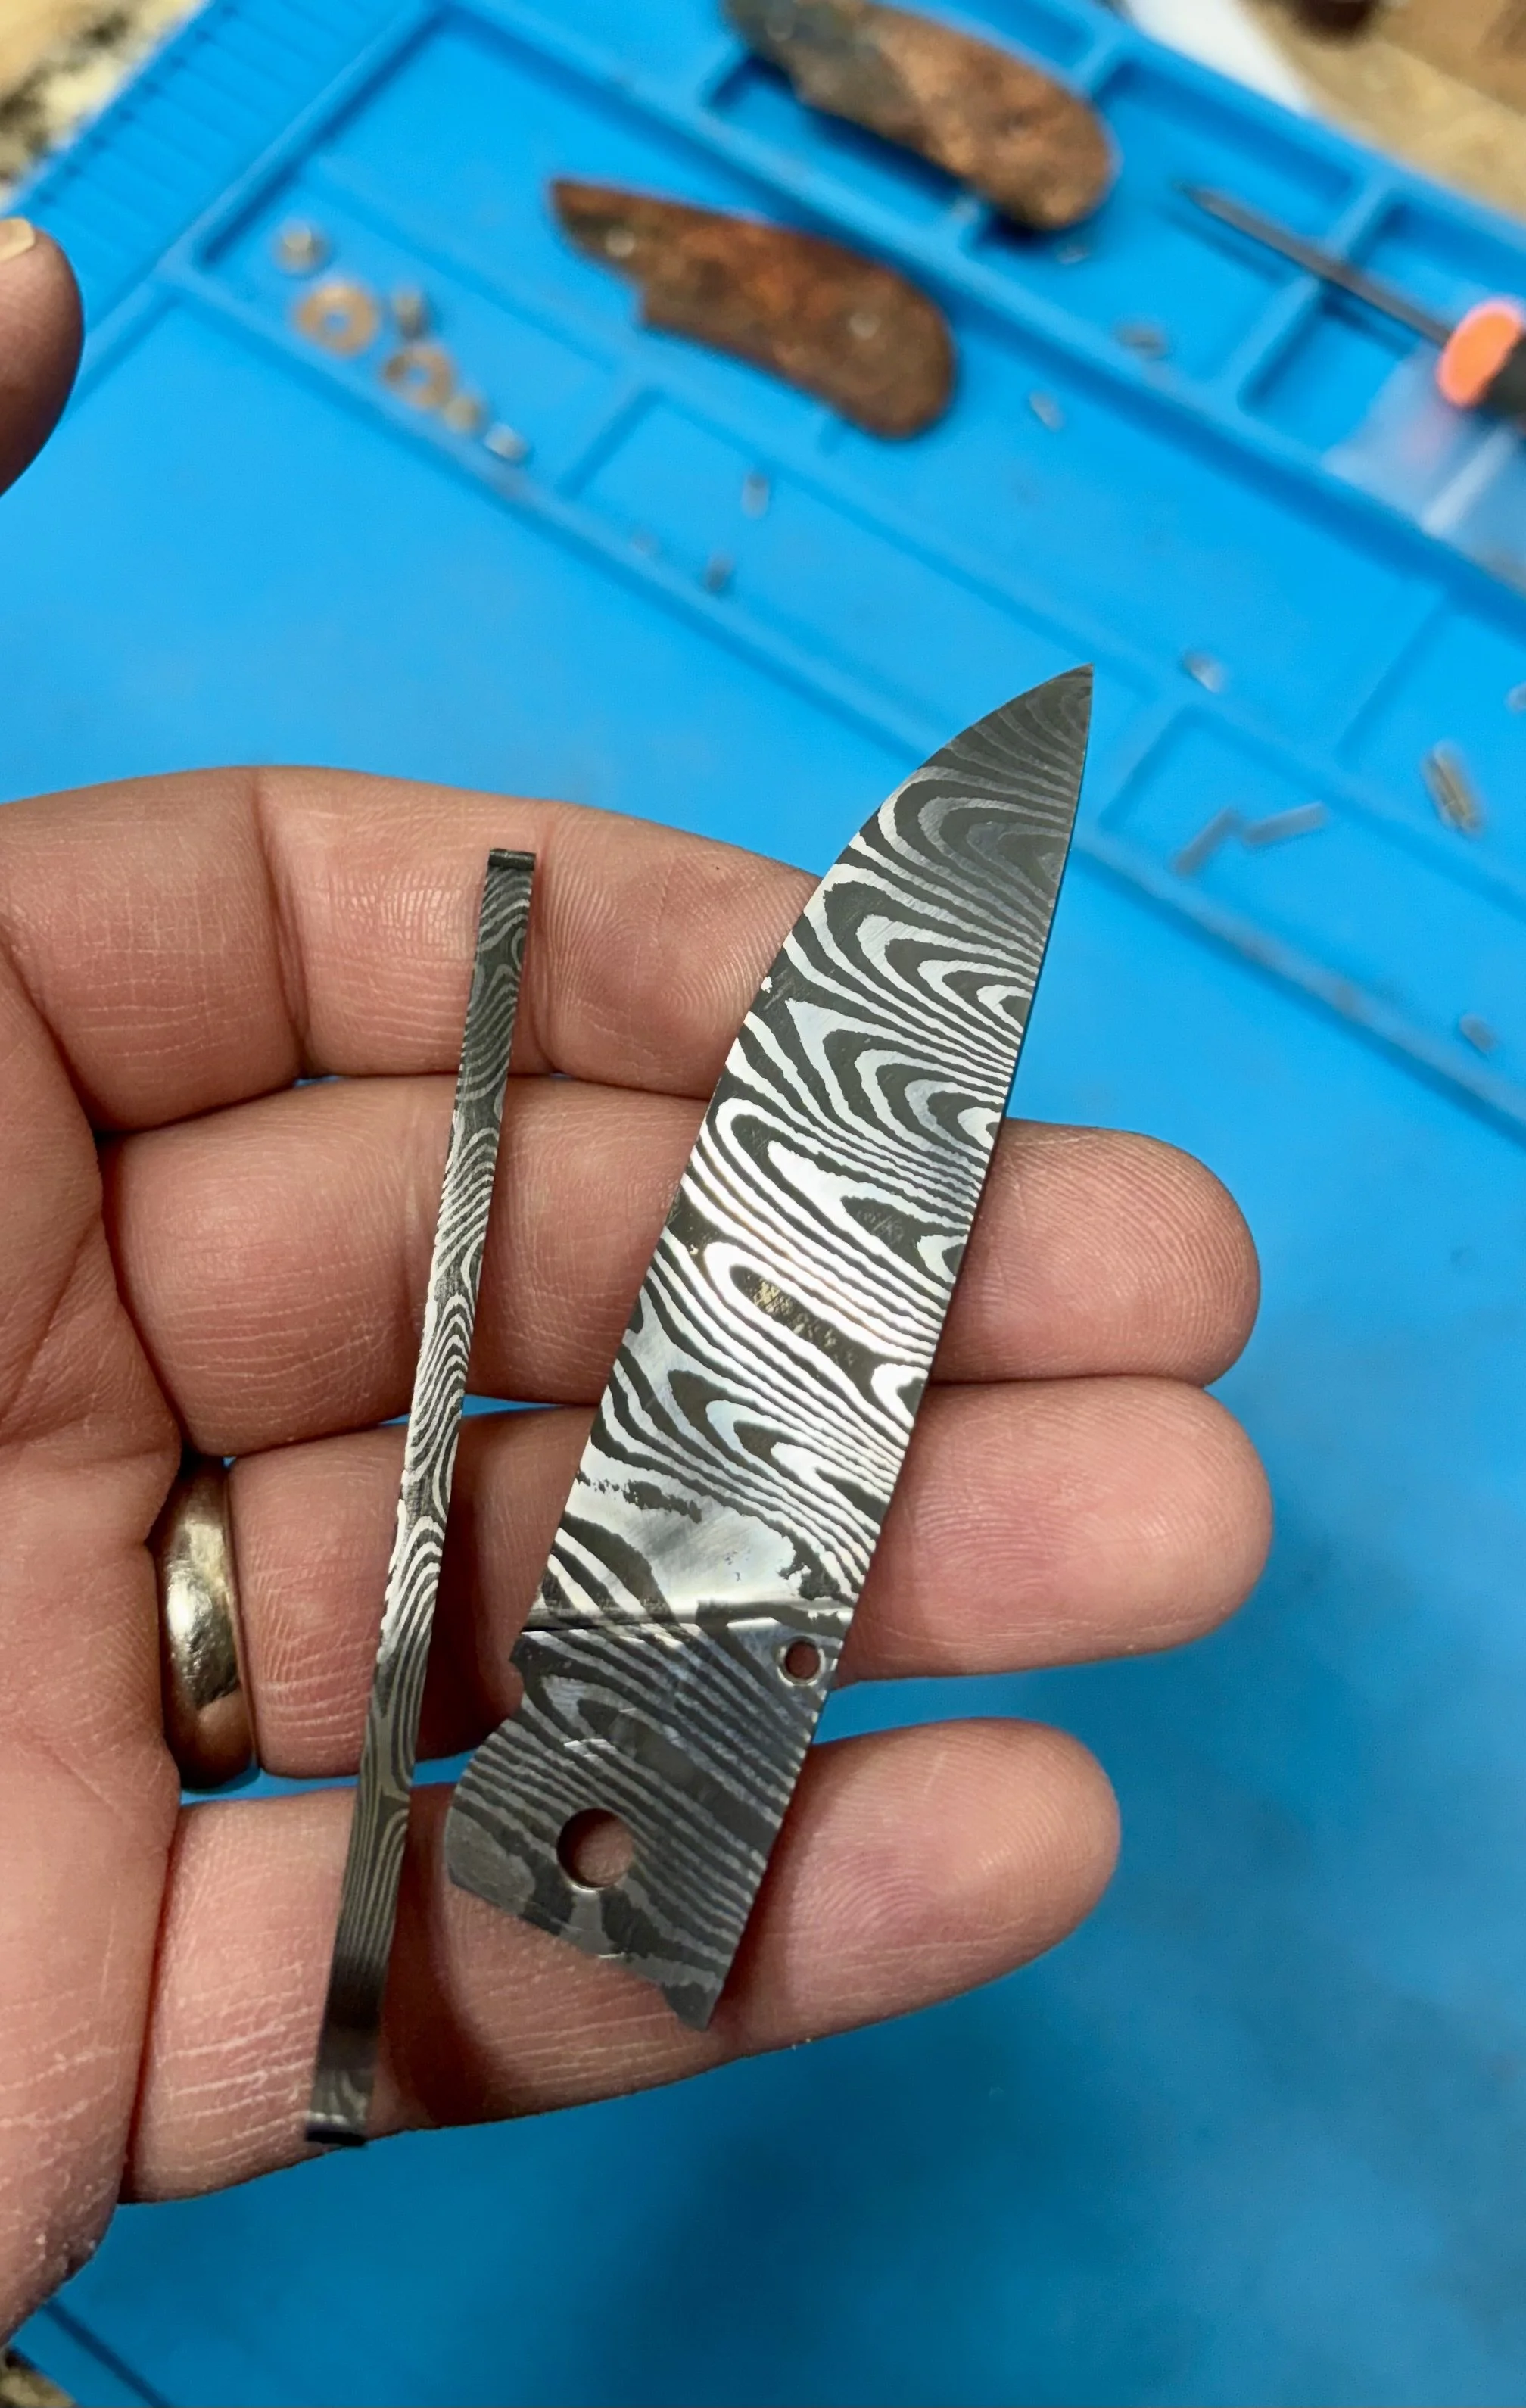
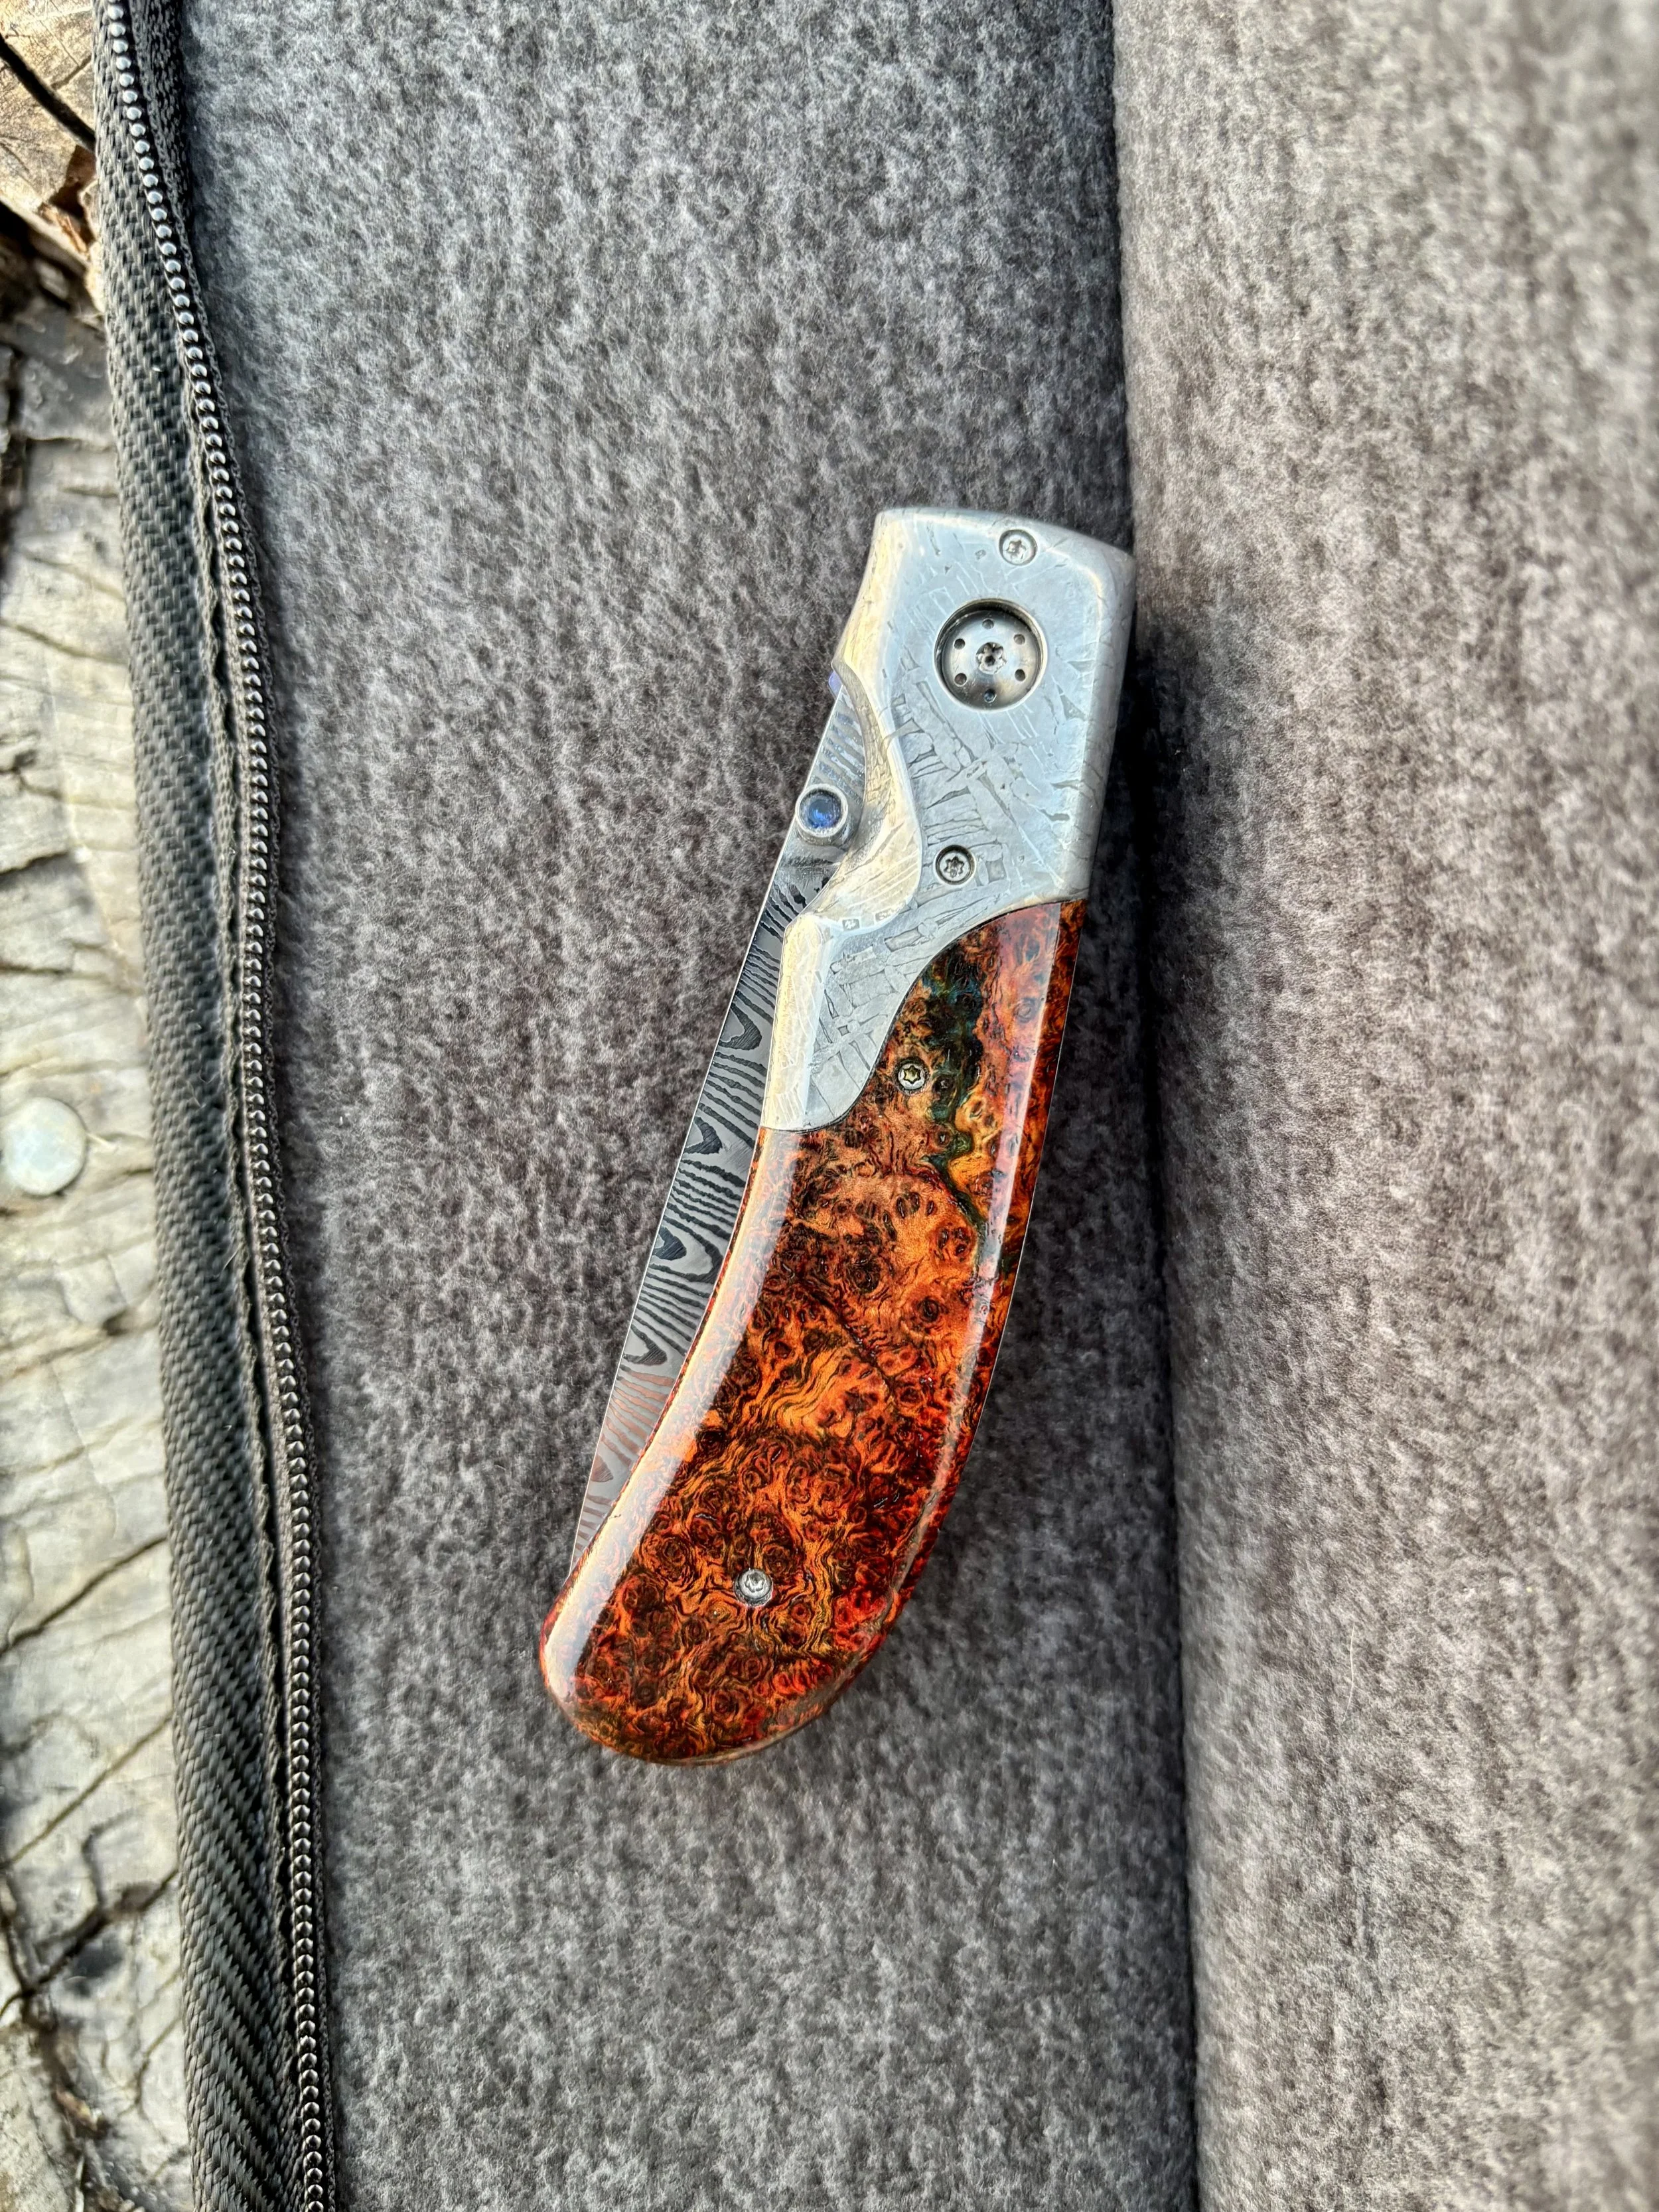
I had the opportunity to take a class from Johnny Stout over the summer. Johnny has been making nice for longer than I’ve been alive and it was a great privilege to learn from him. This is the initial layout on the Damascus bill I had taken to use for my Backspacer and blade.
-
![]()
Back spacer and blade cut out and profiled now moving onto the liners.
-
![]()
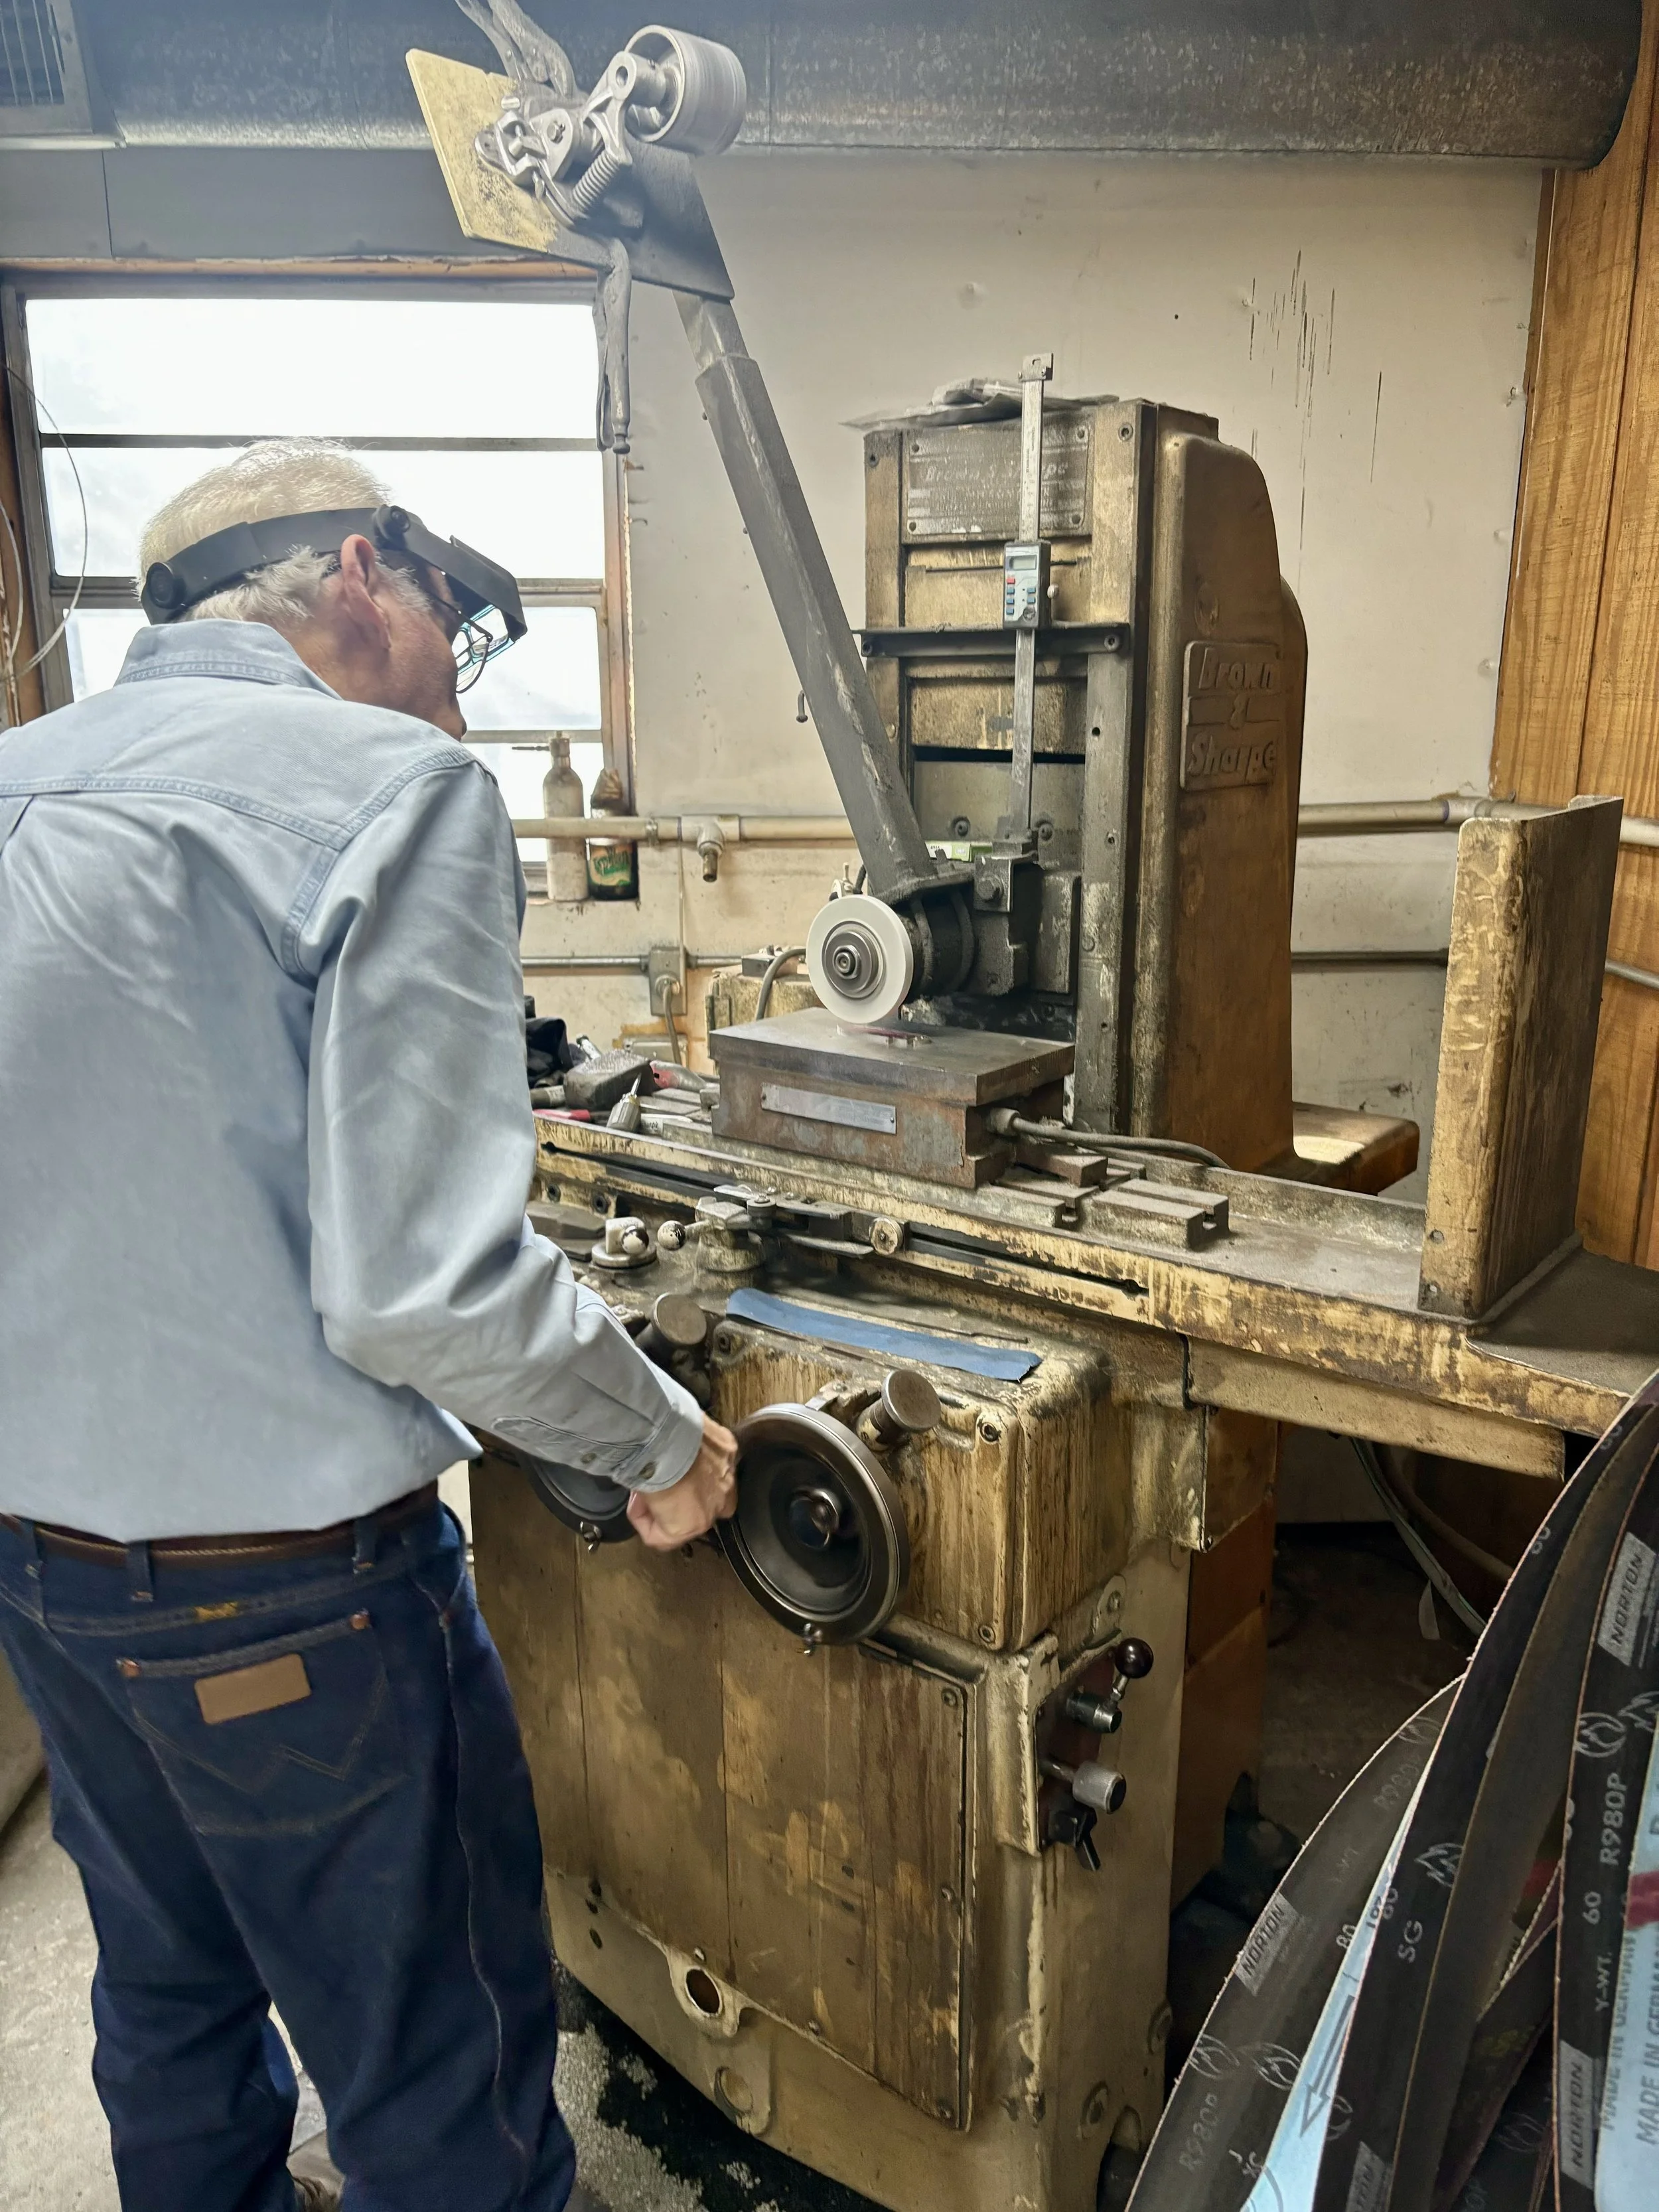
Here’s Johnny surface, grinding my blade and Backspacer to the same height.
-
![]()
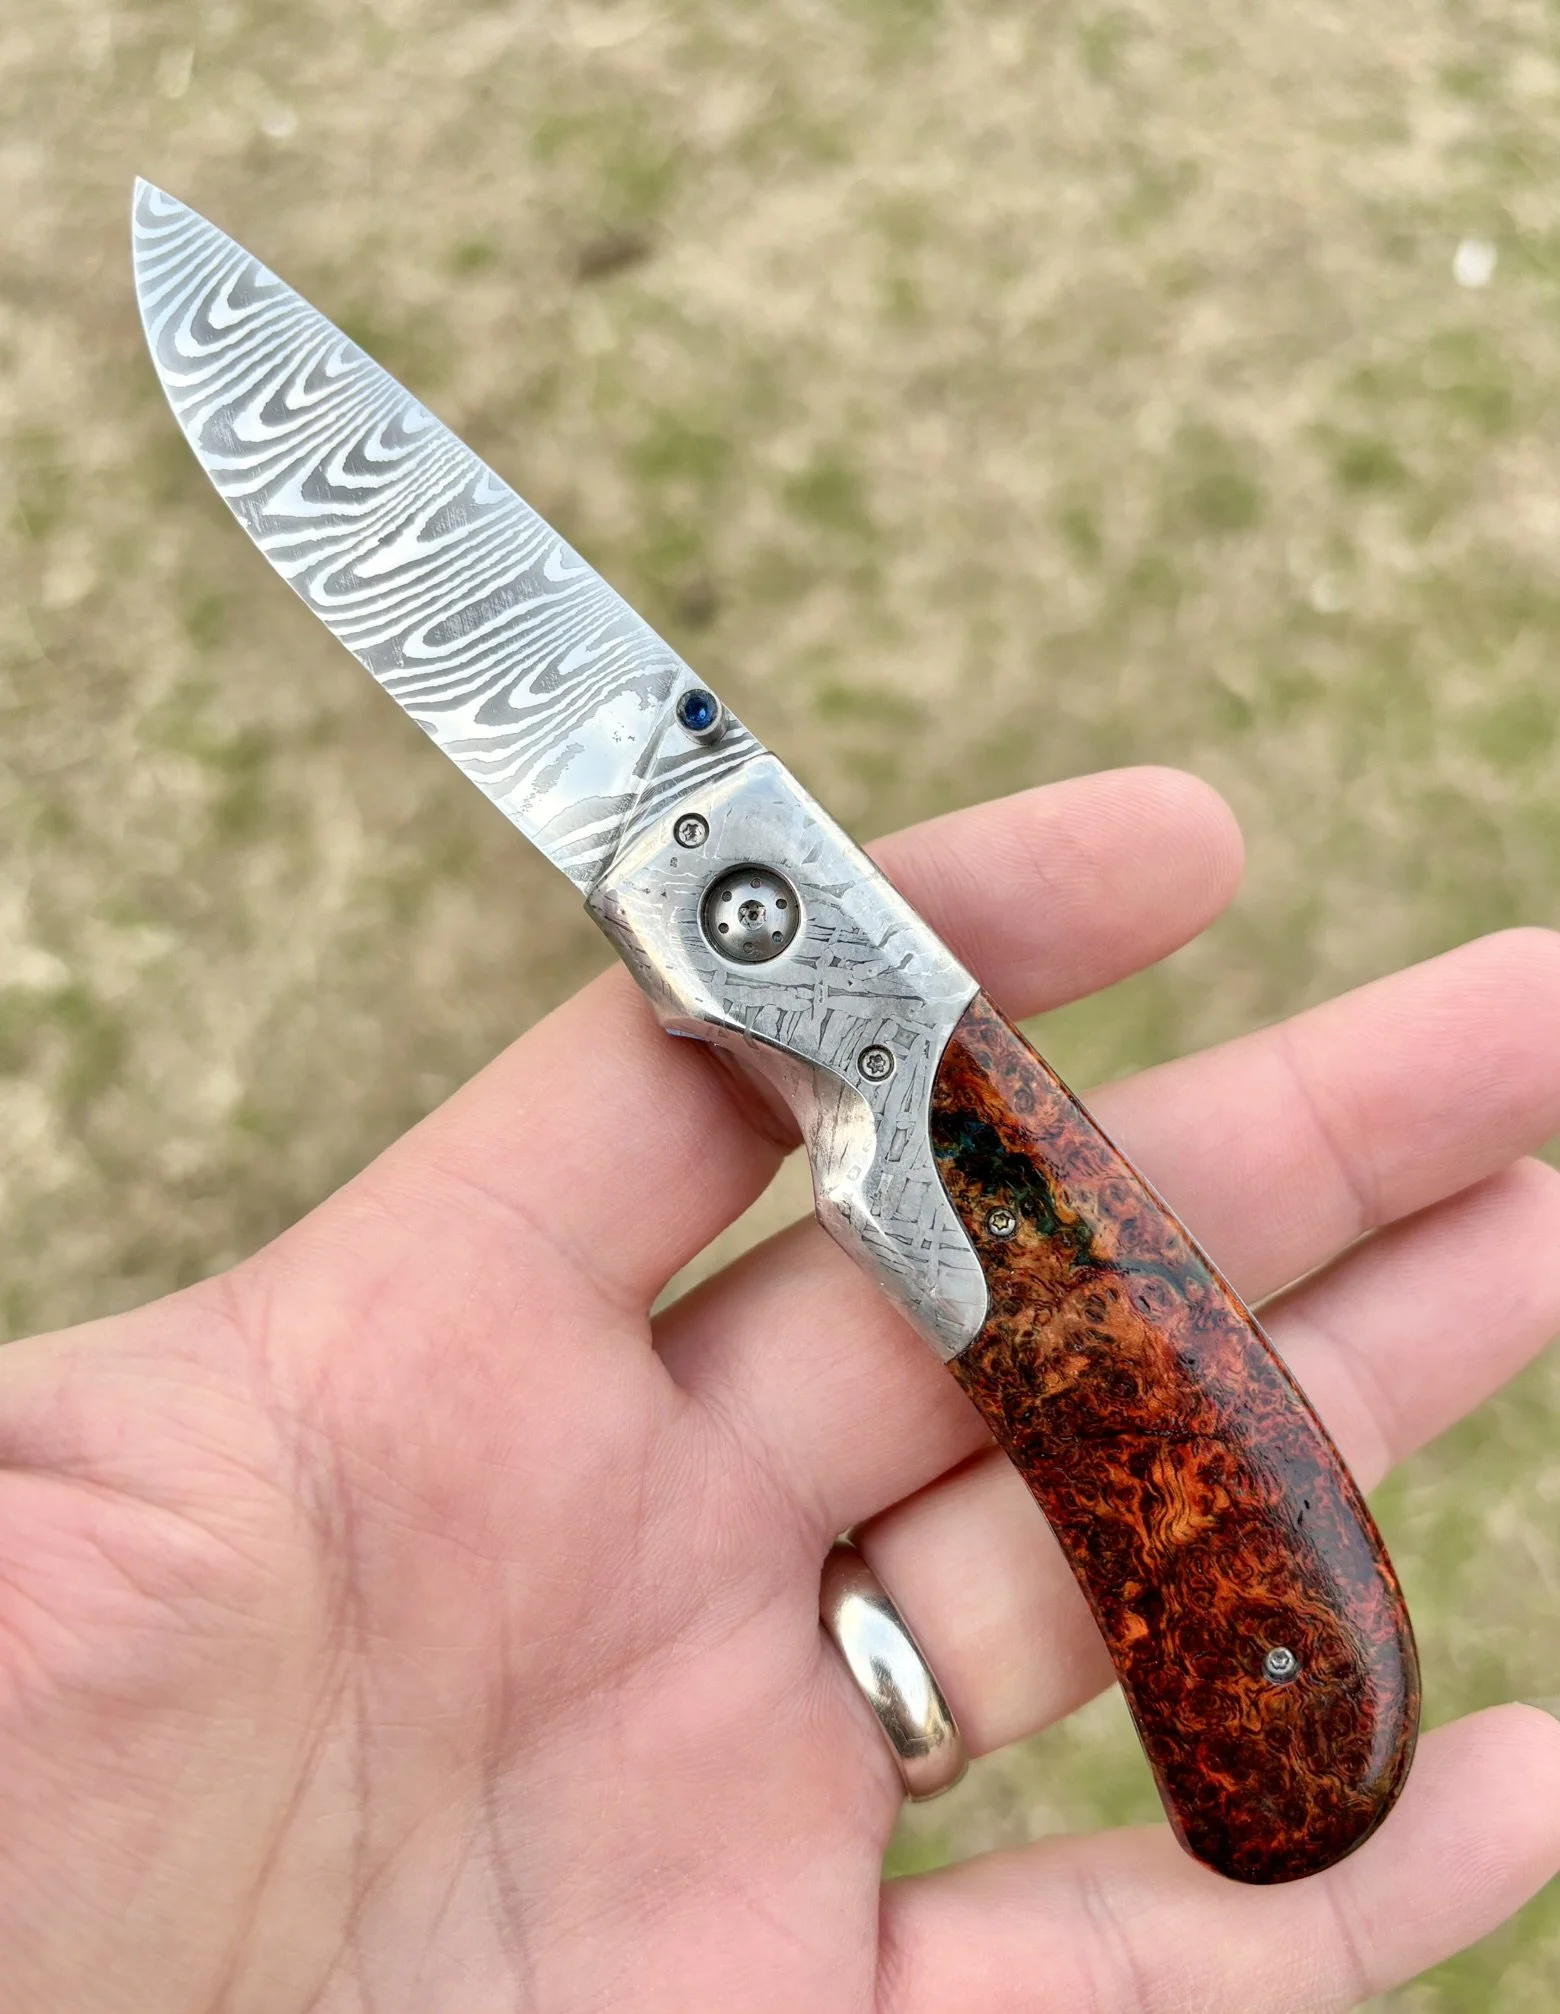
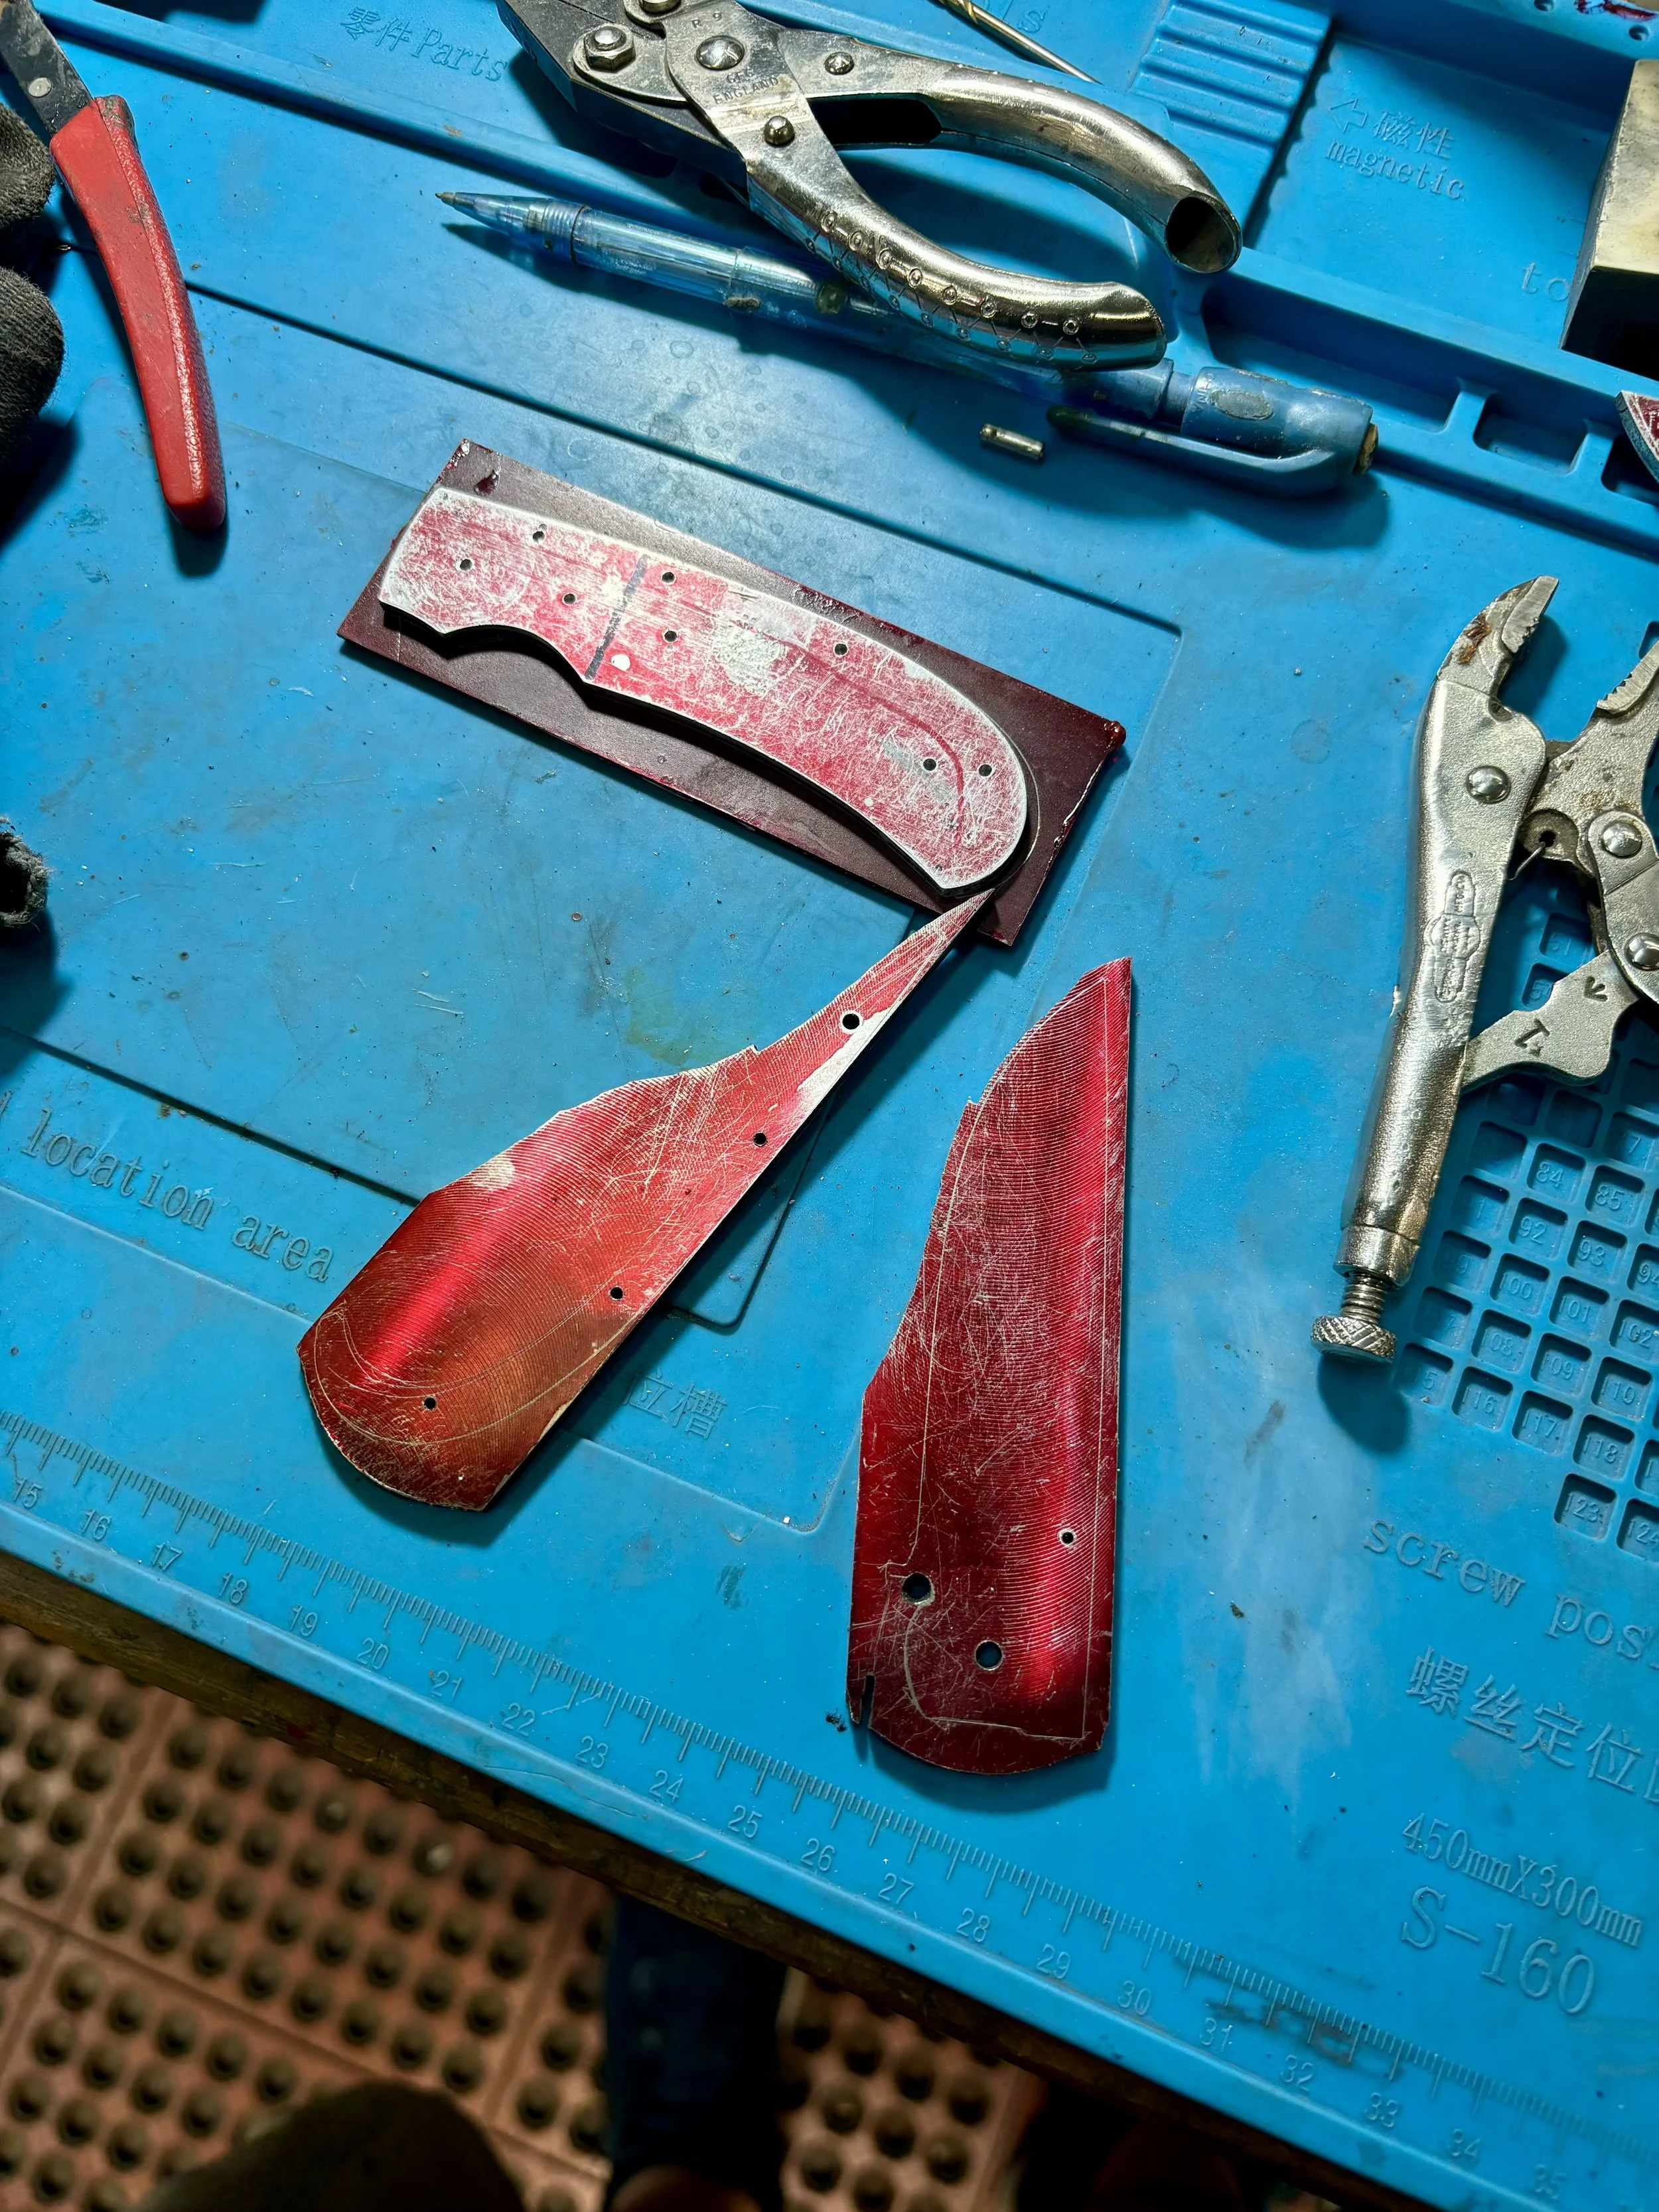
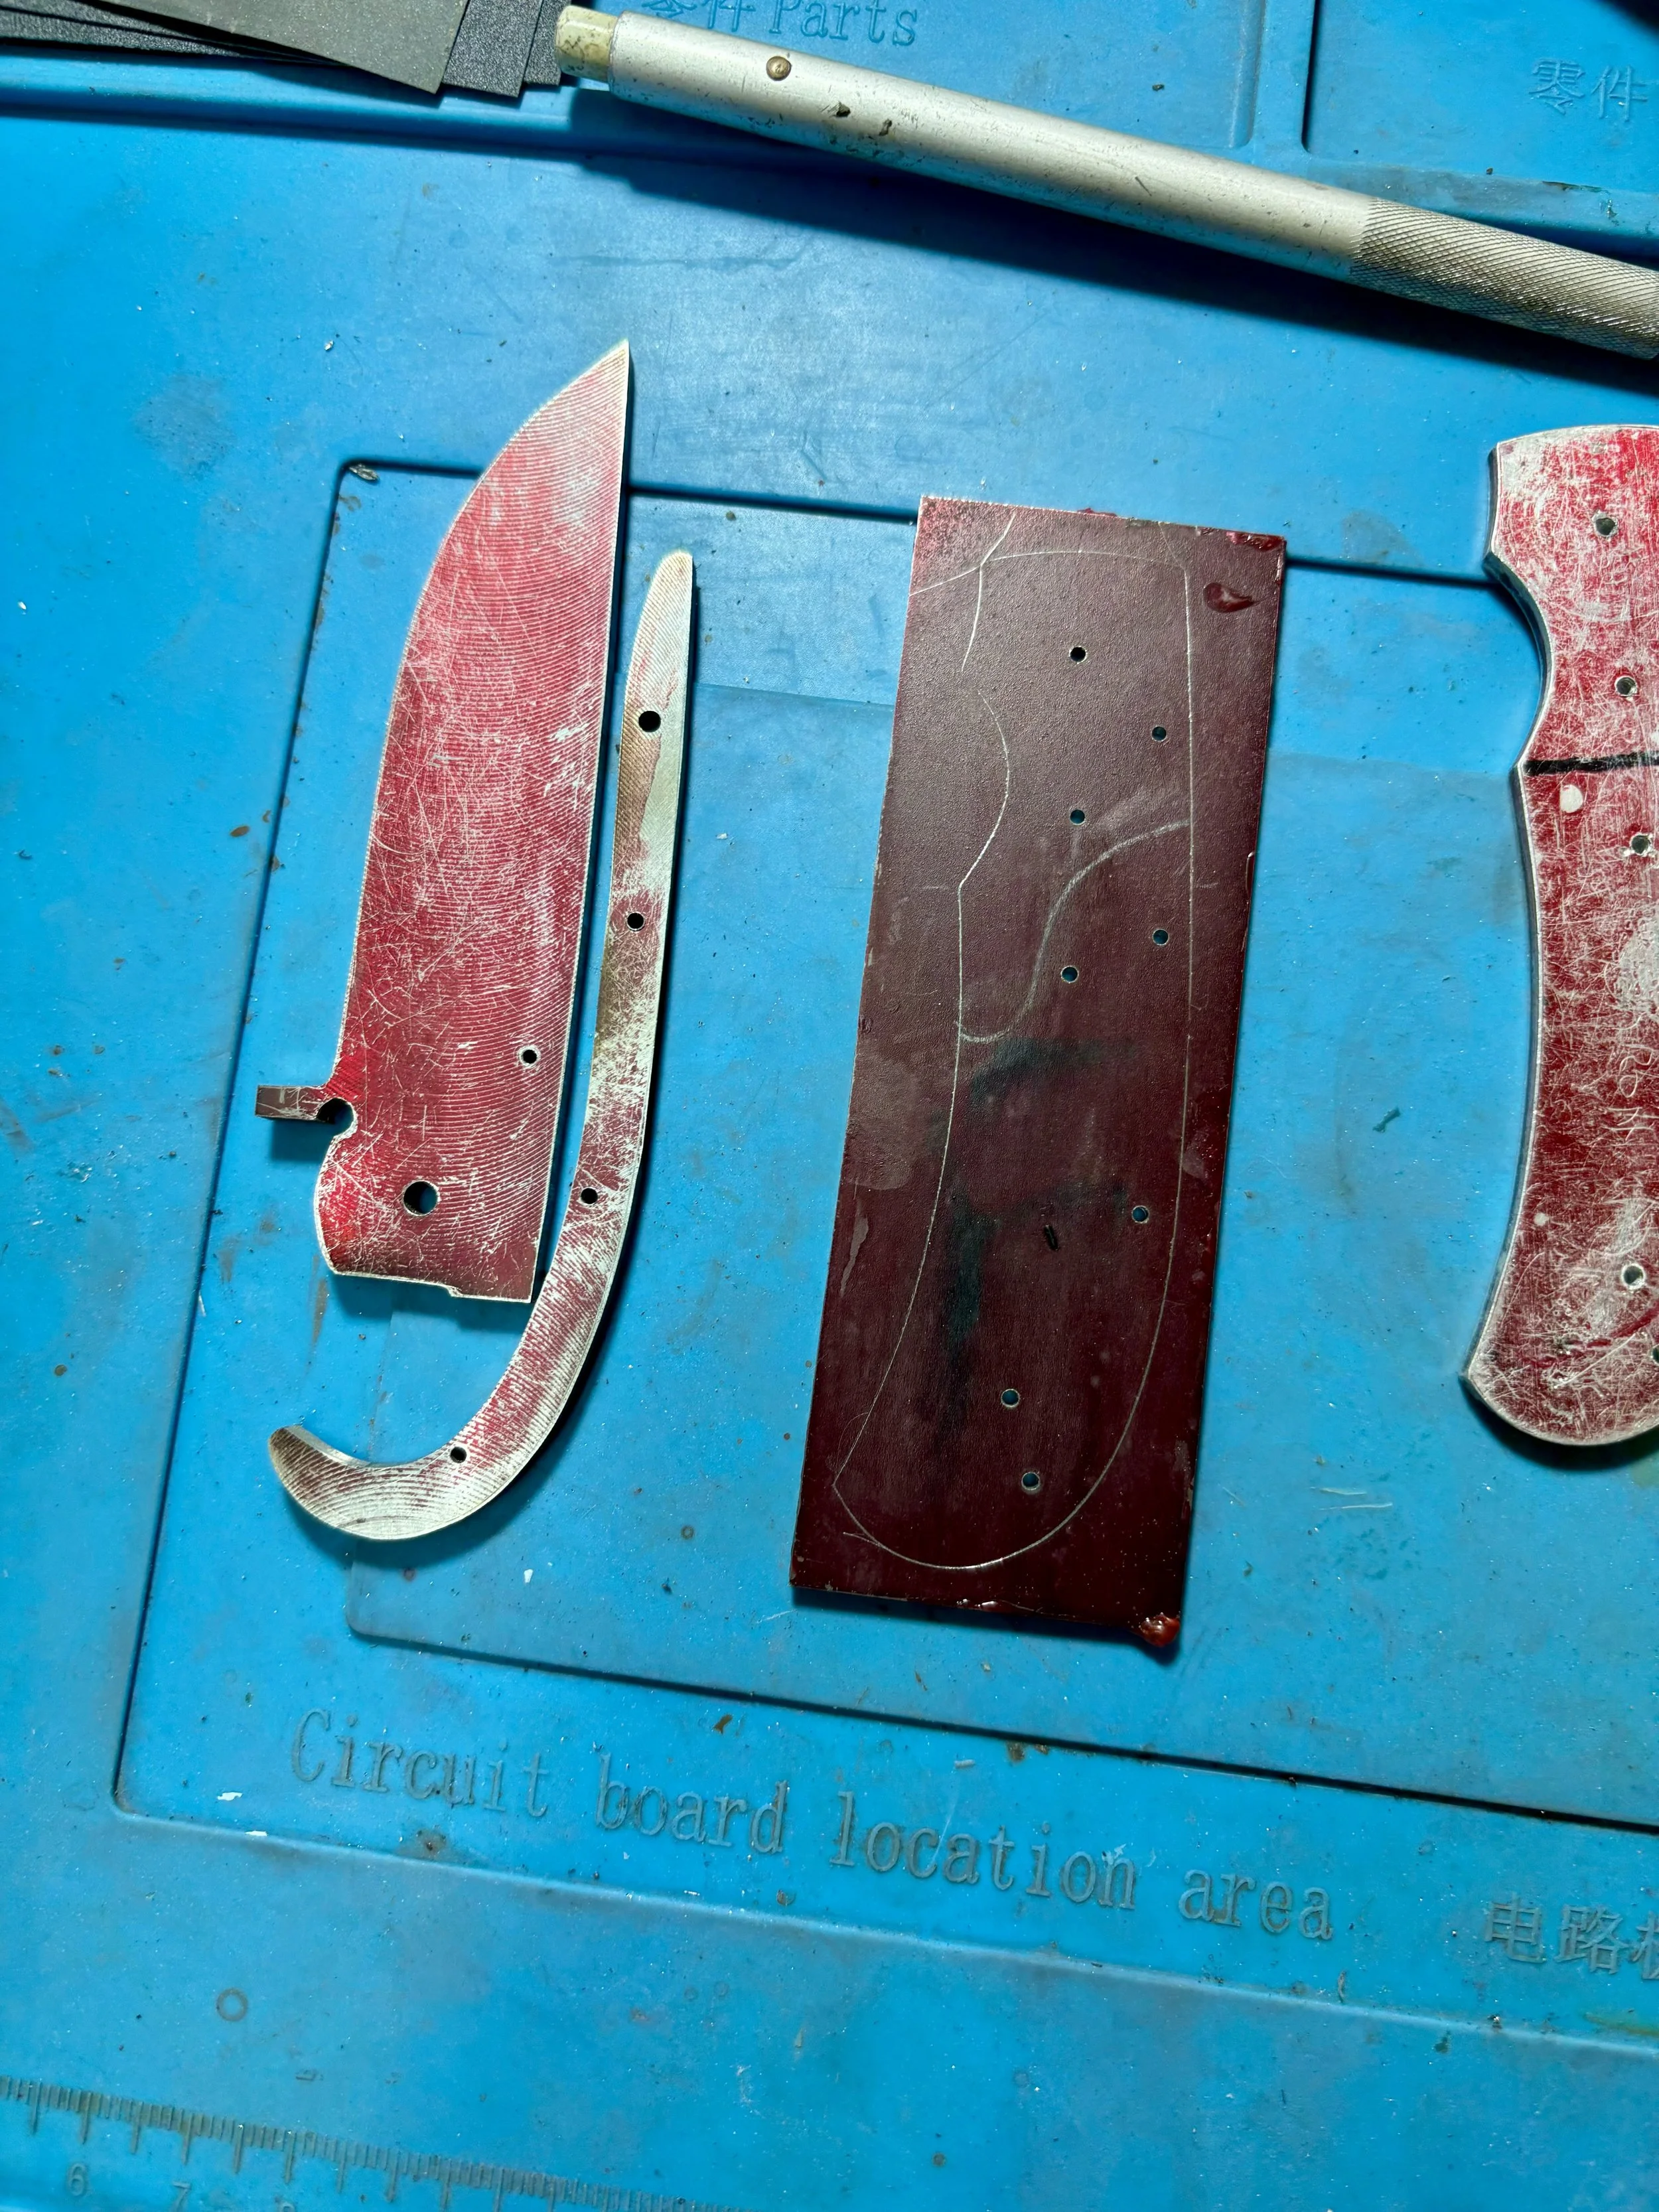
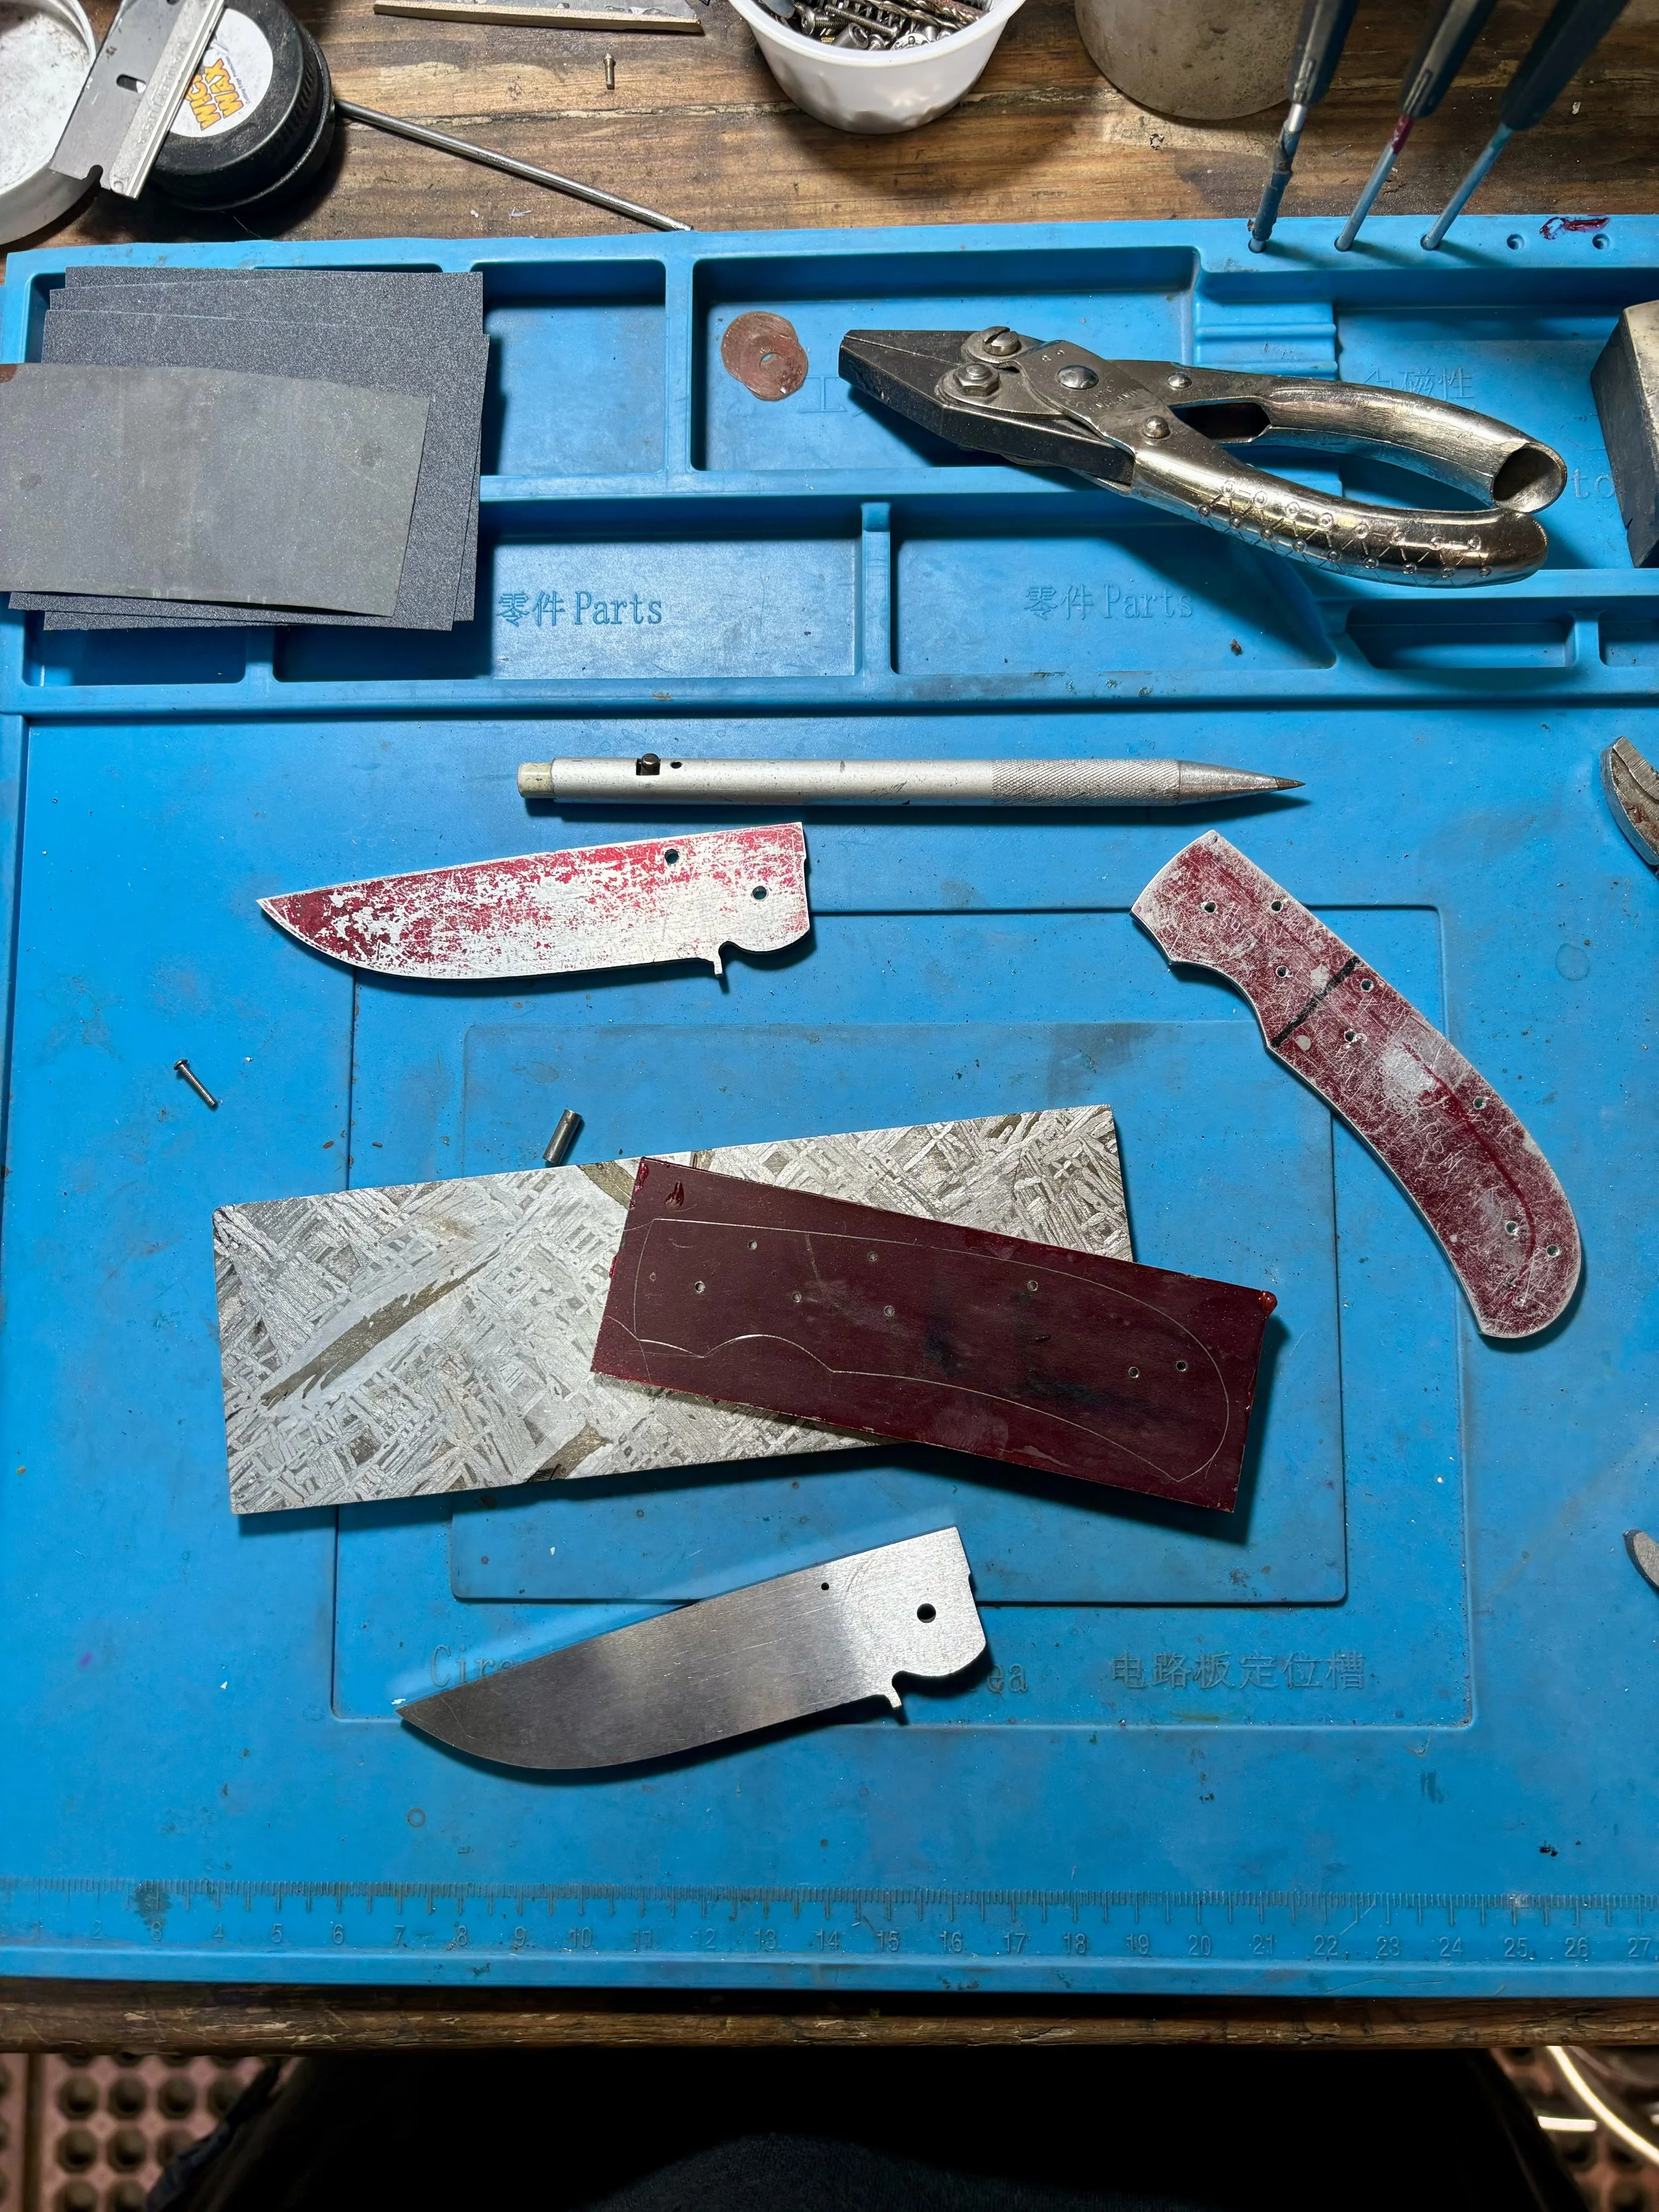
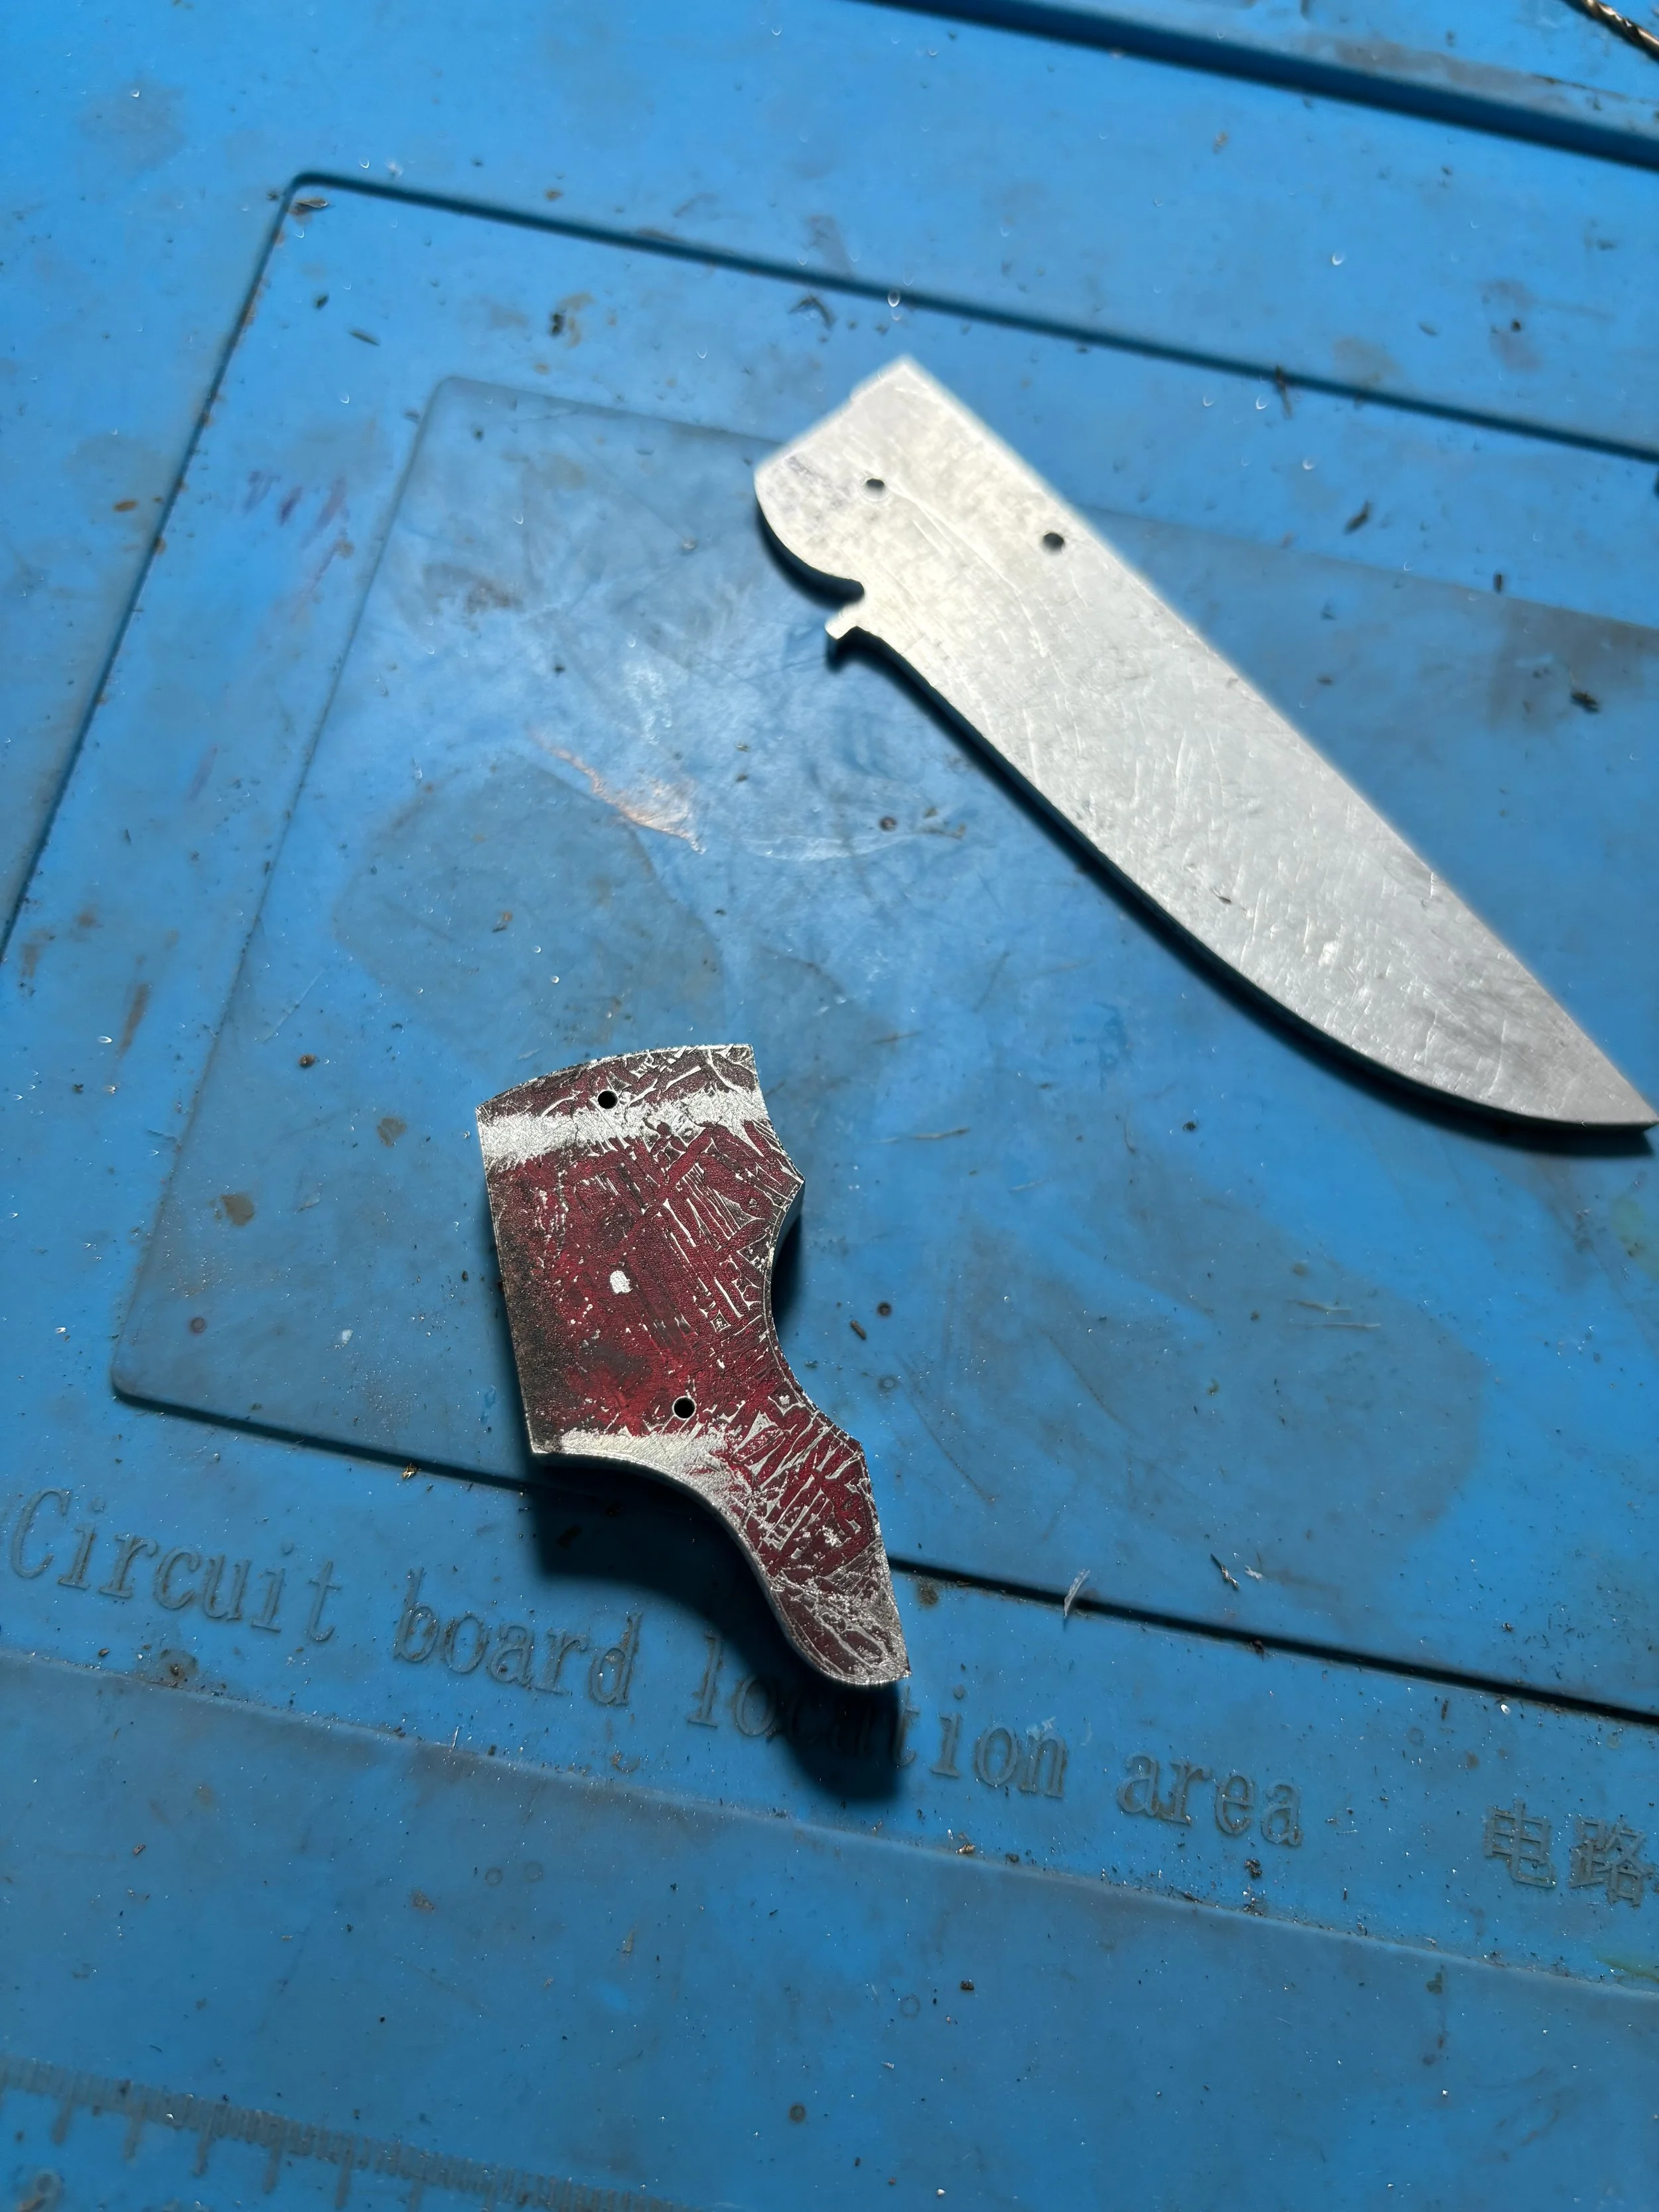
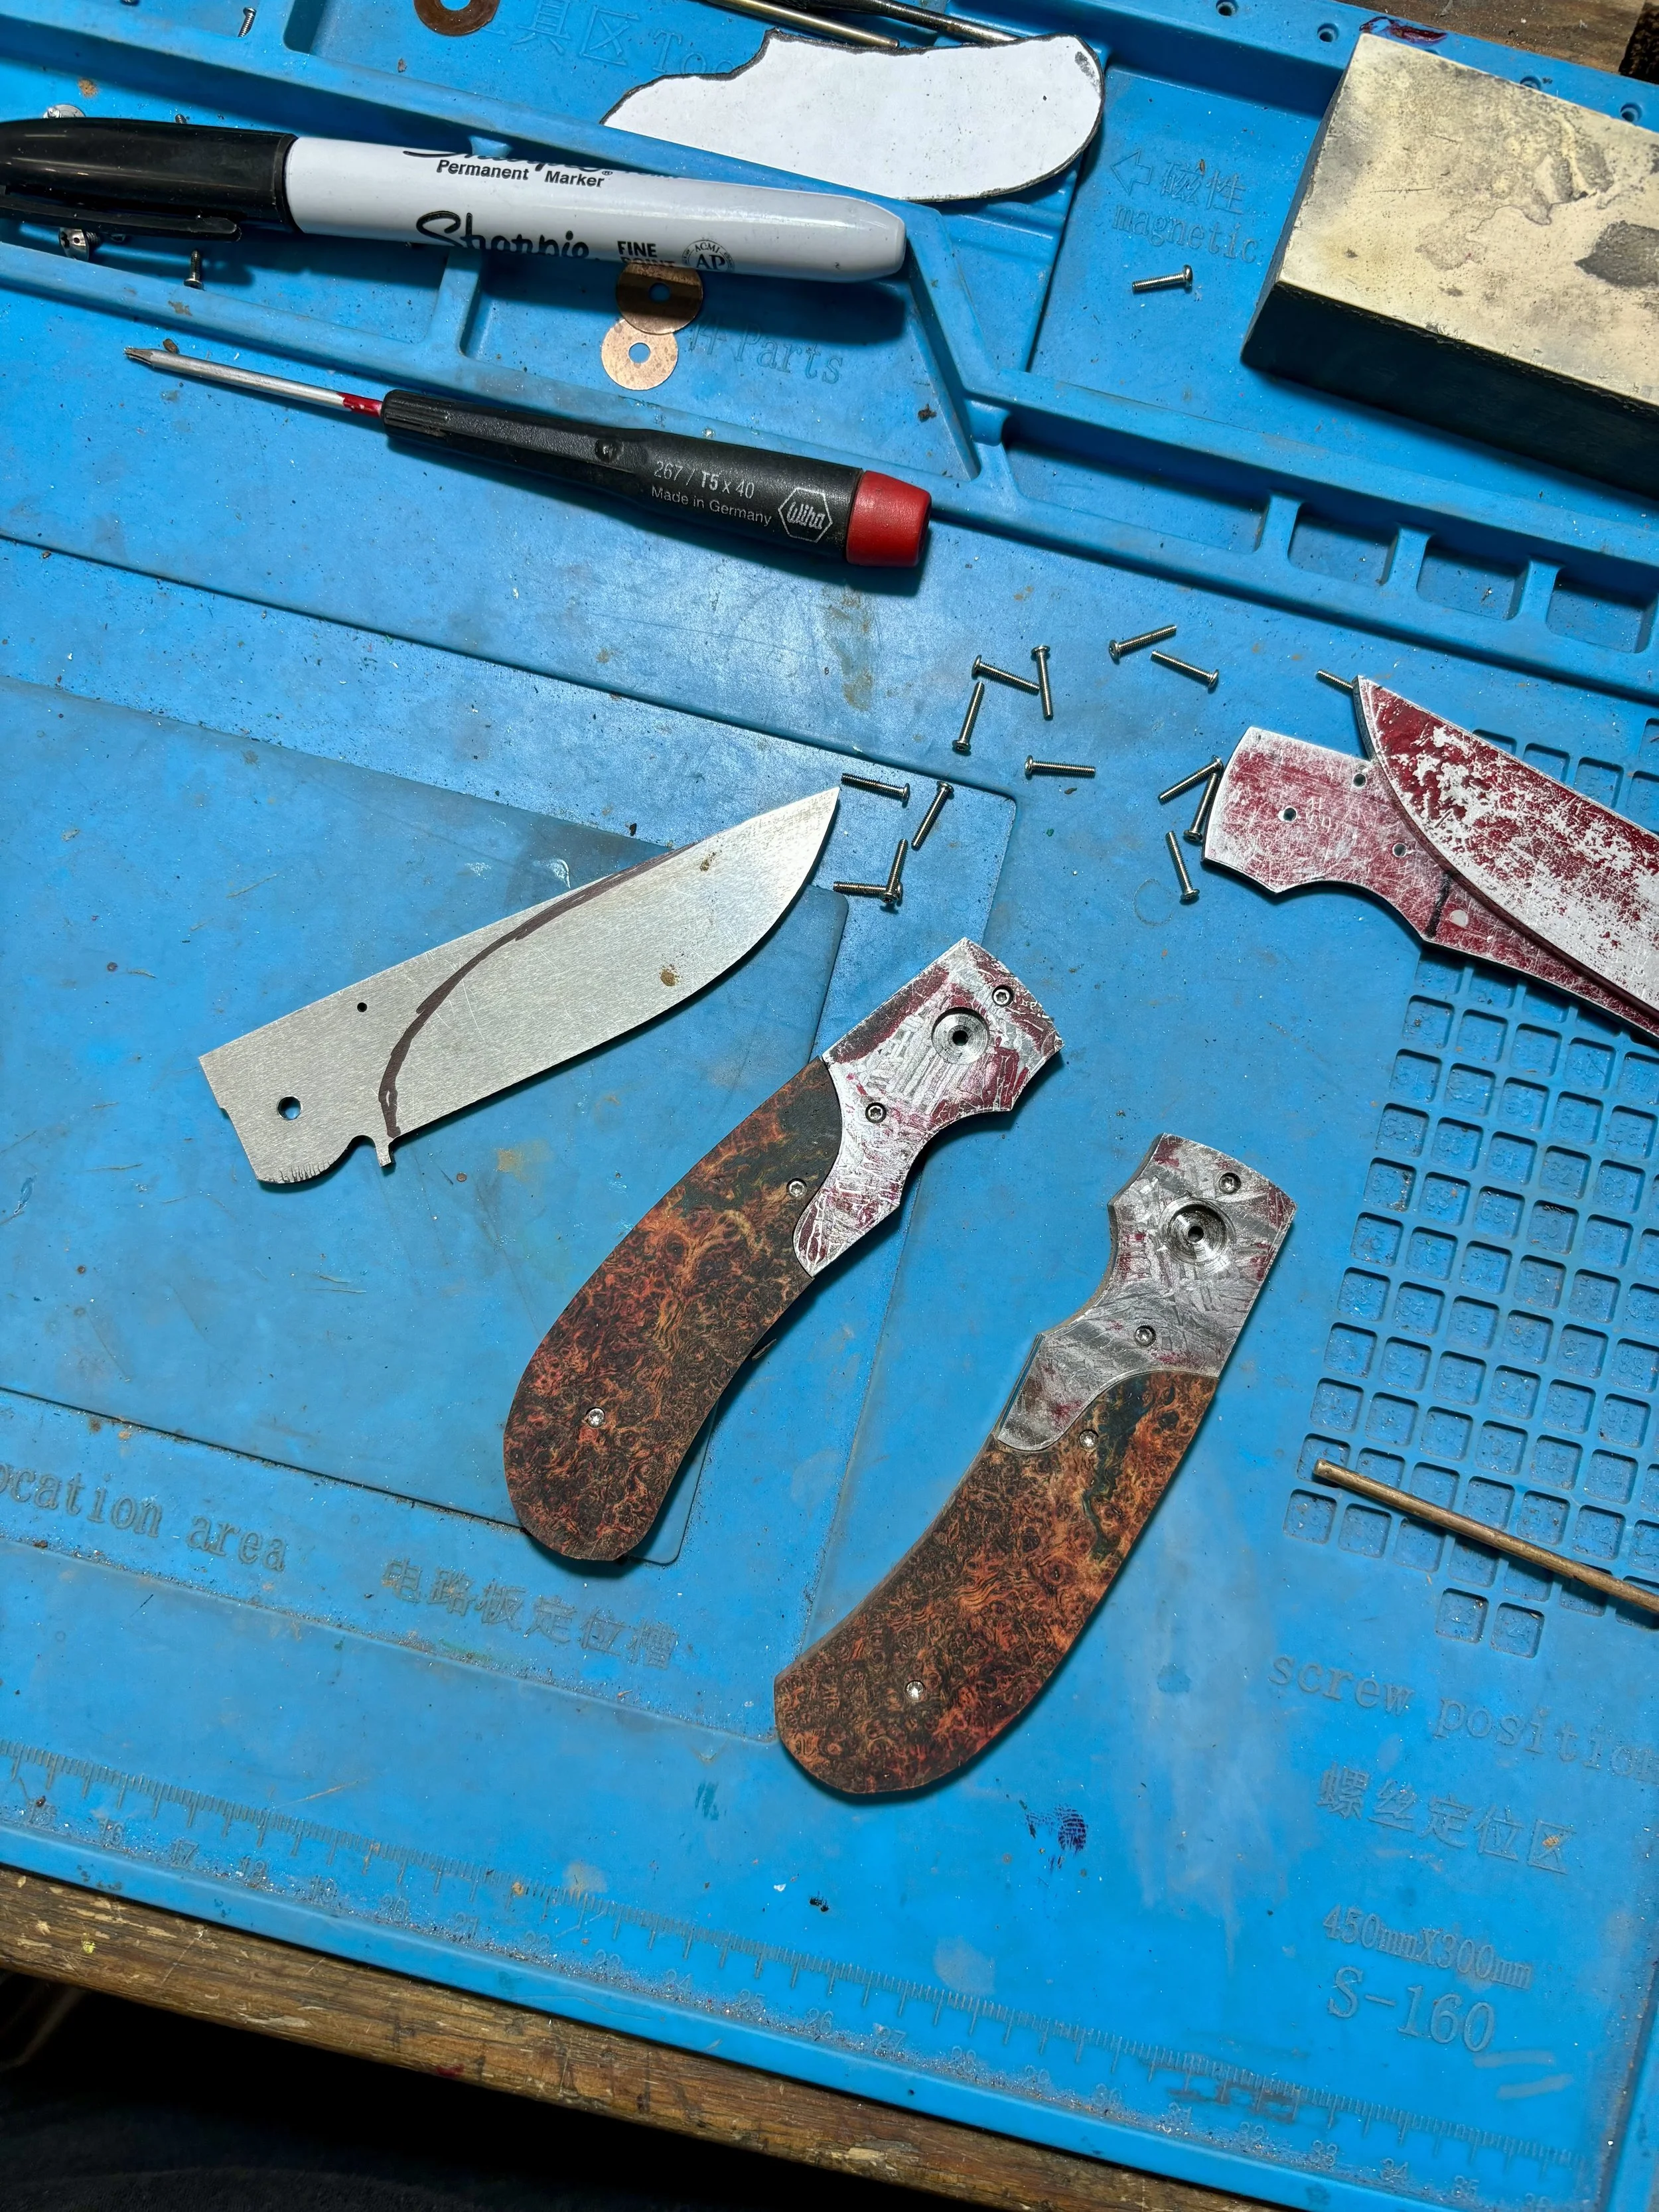
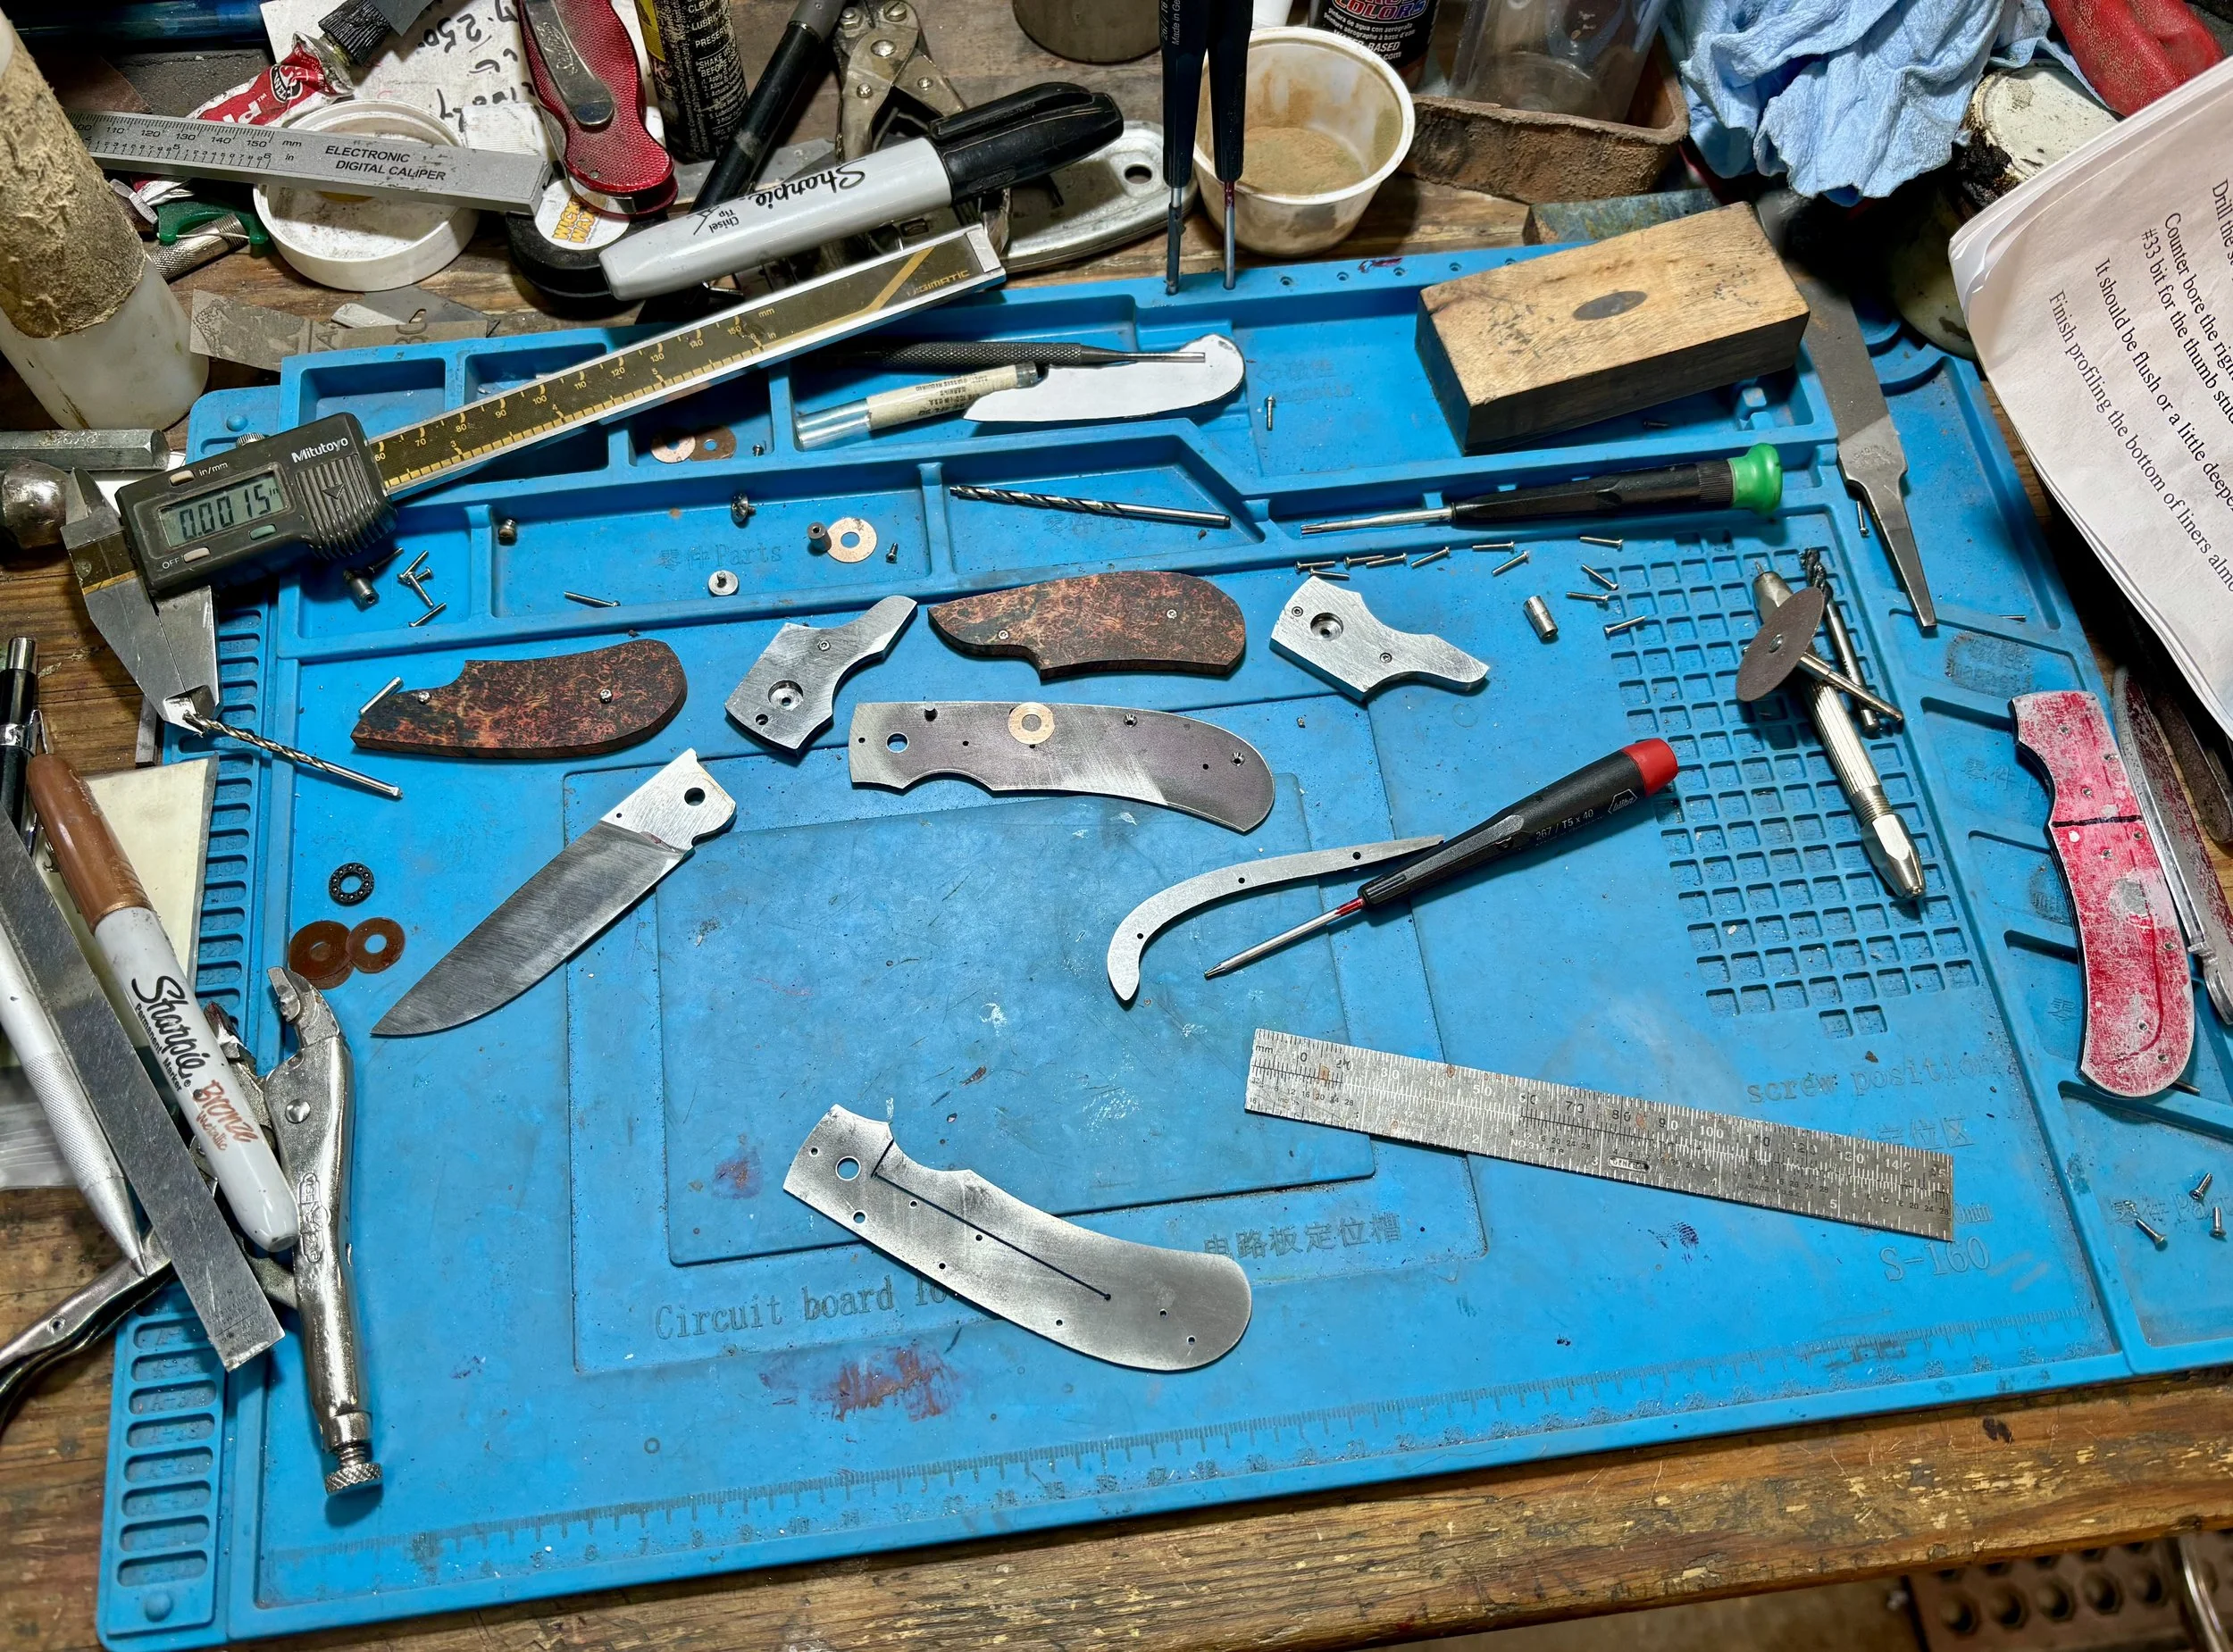
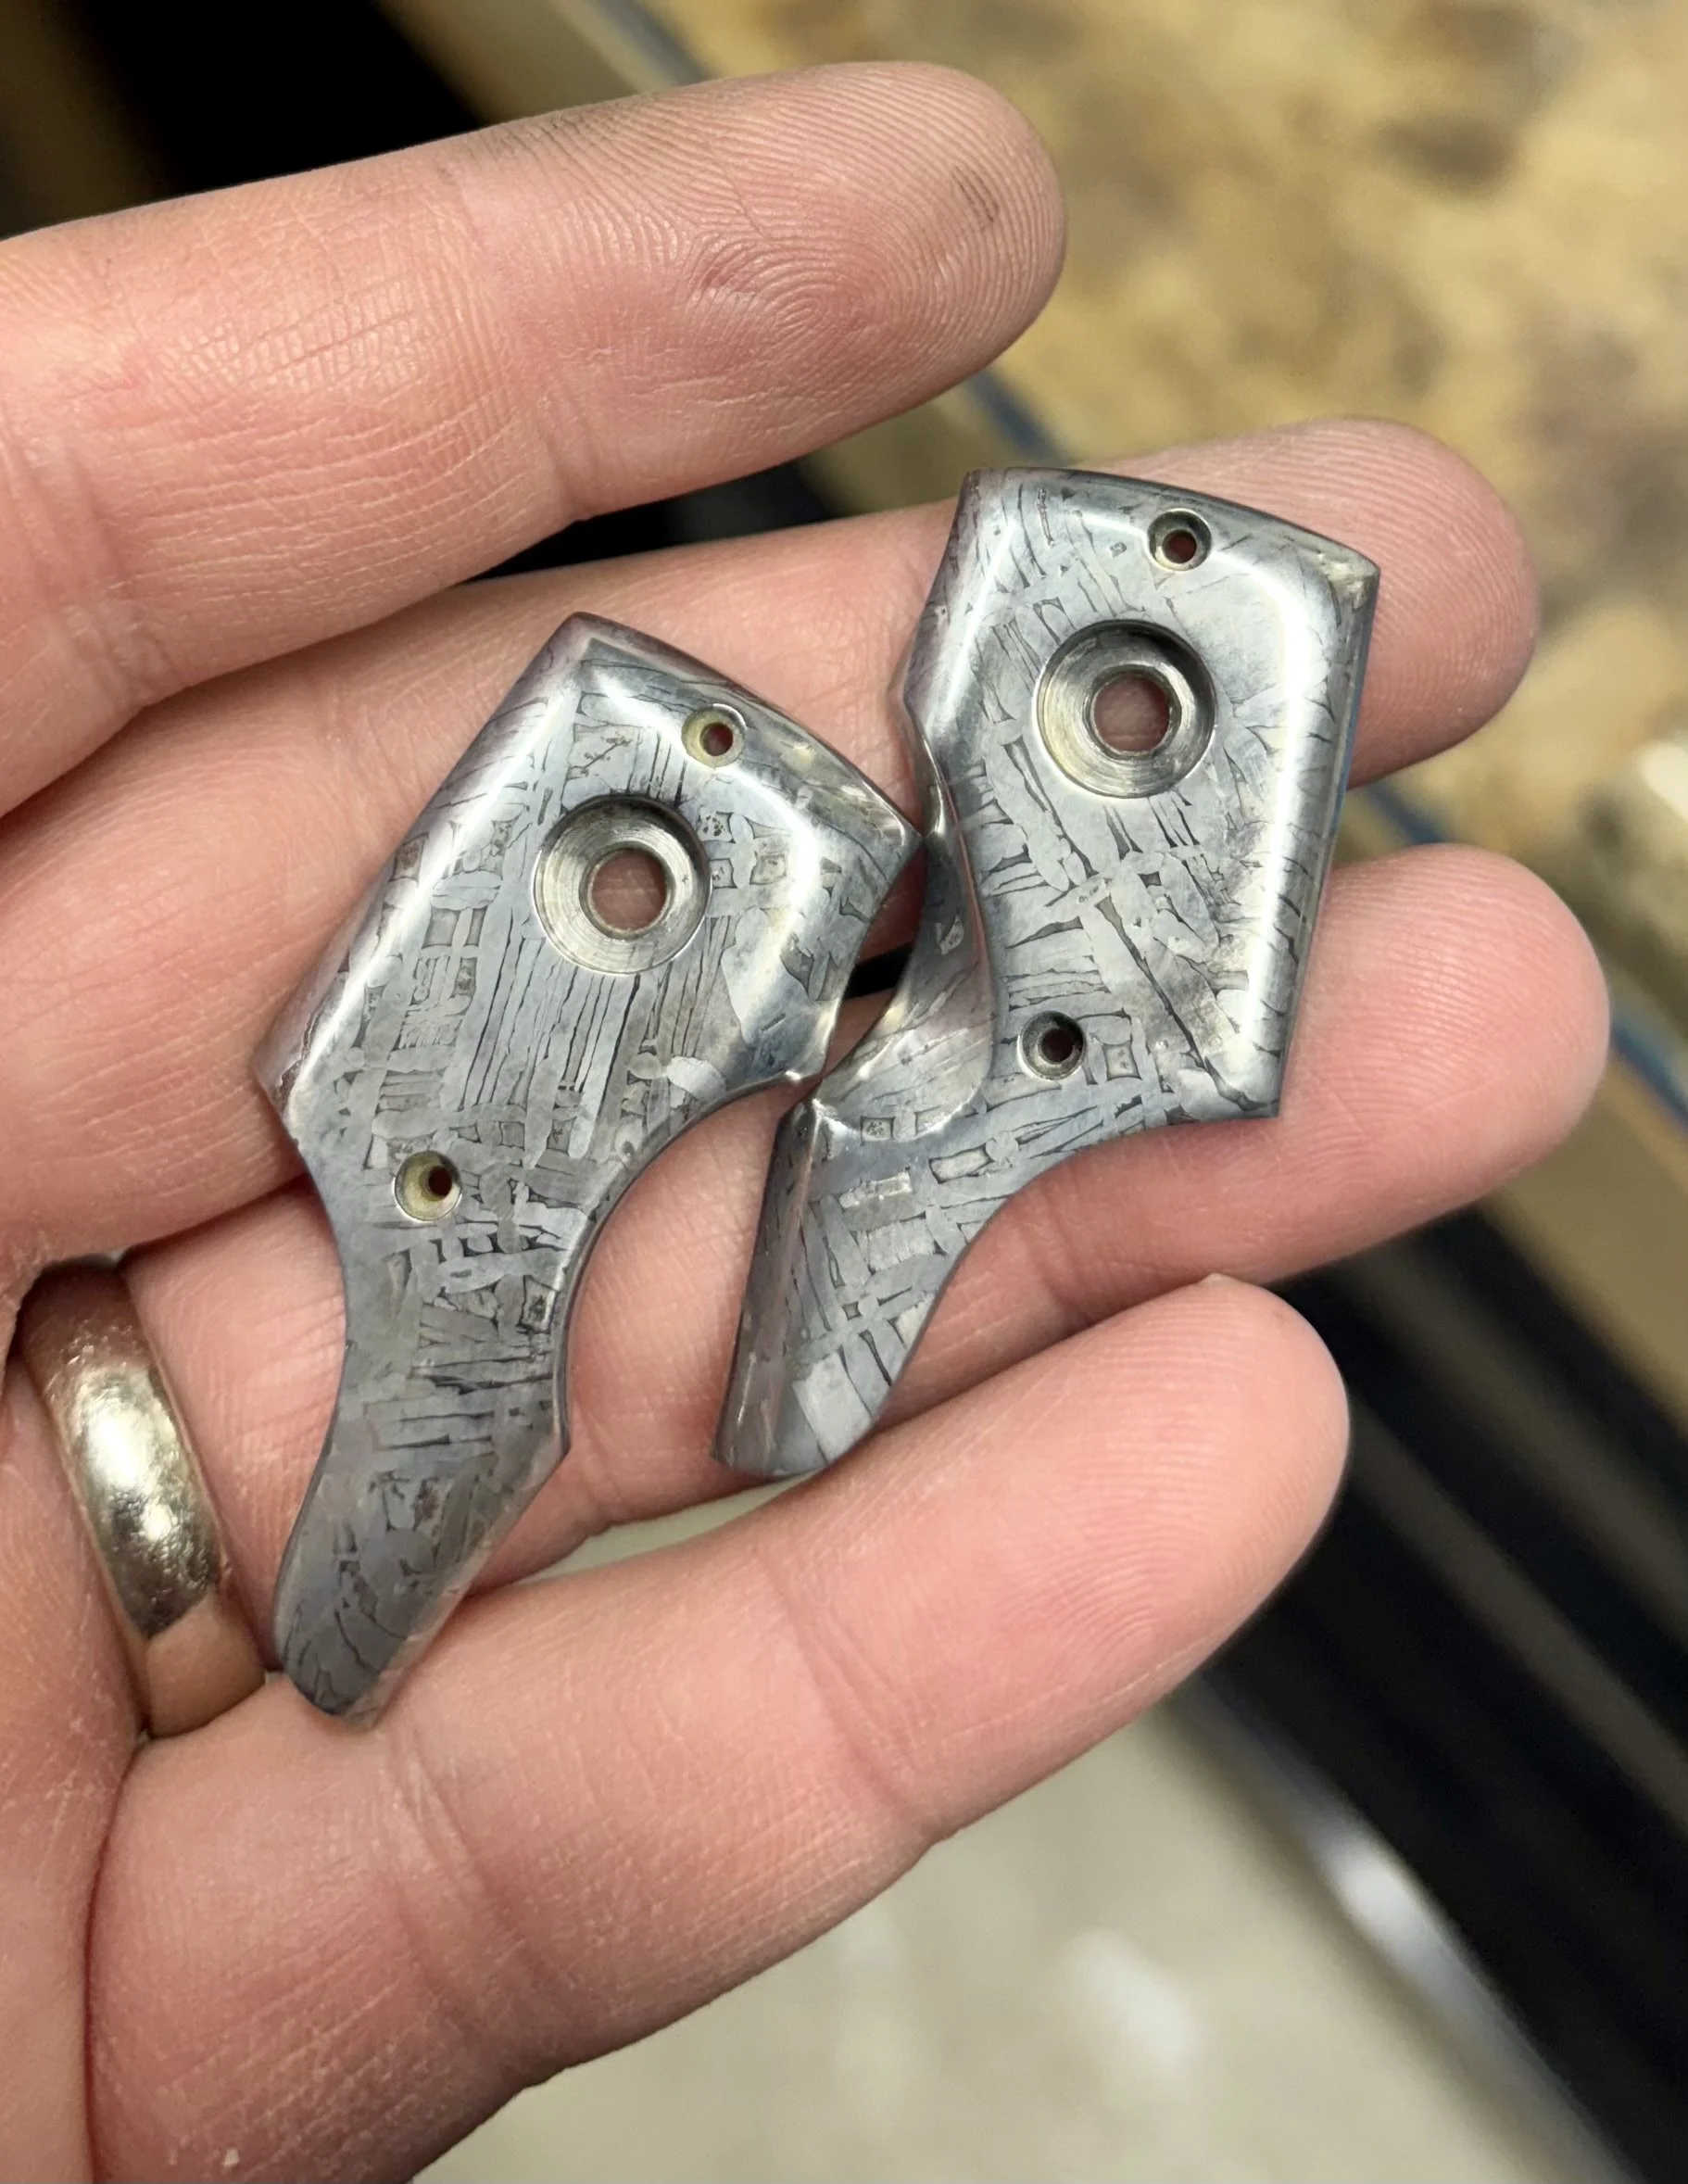
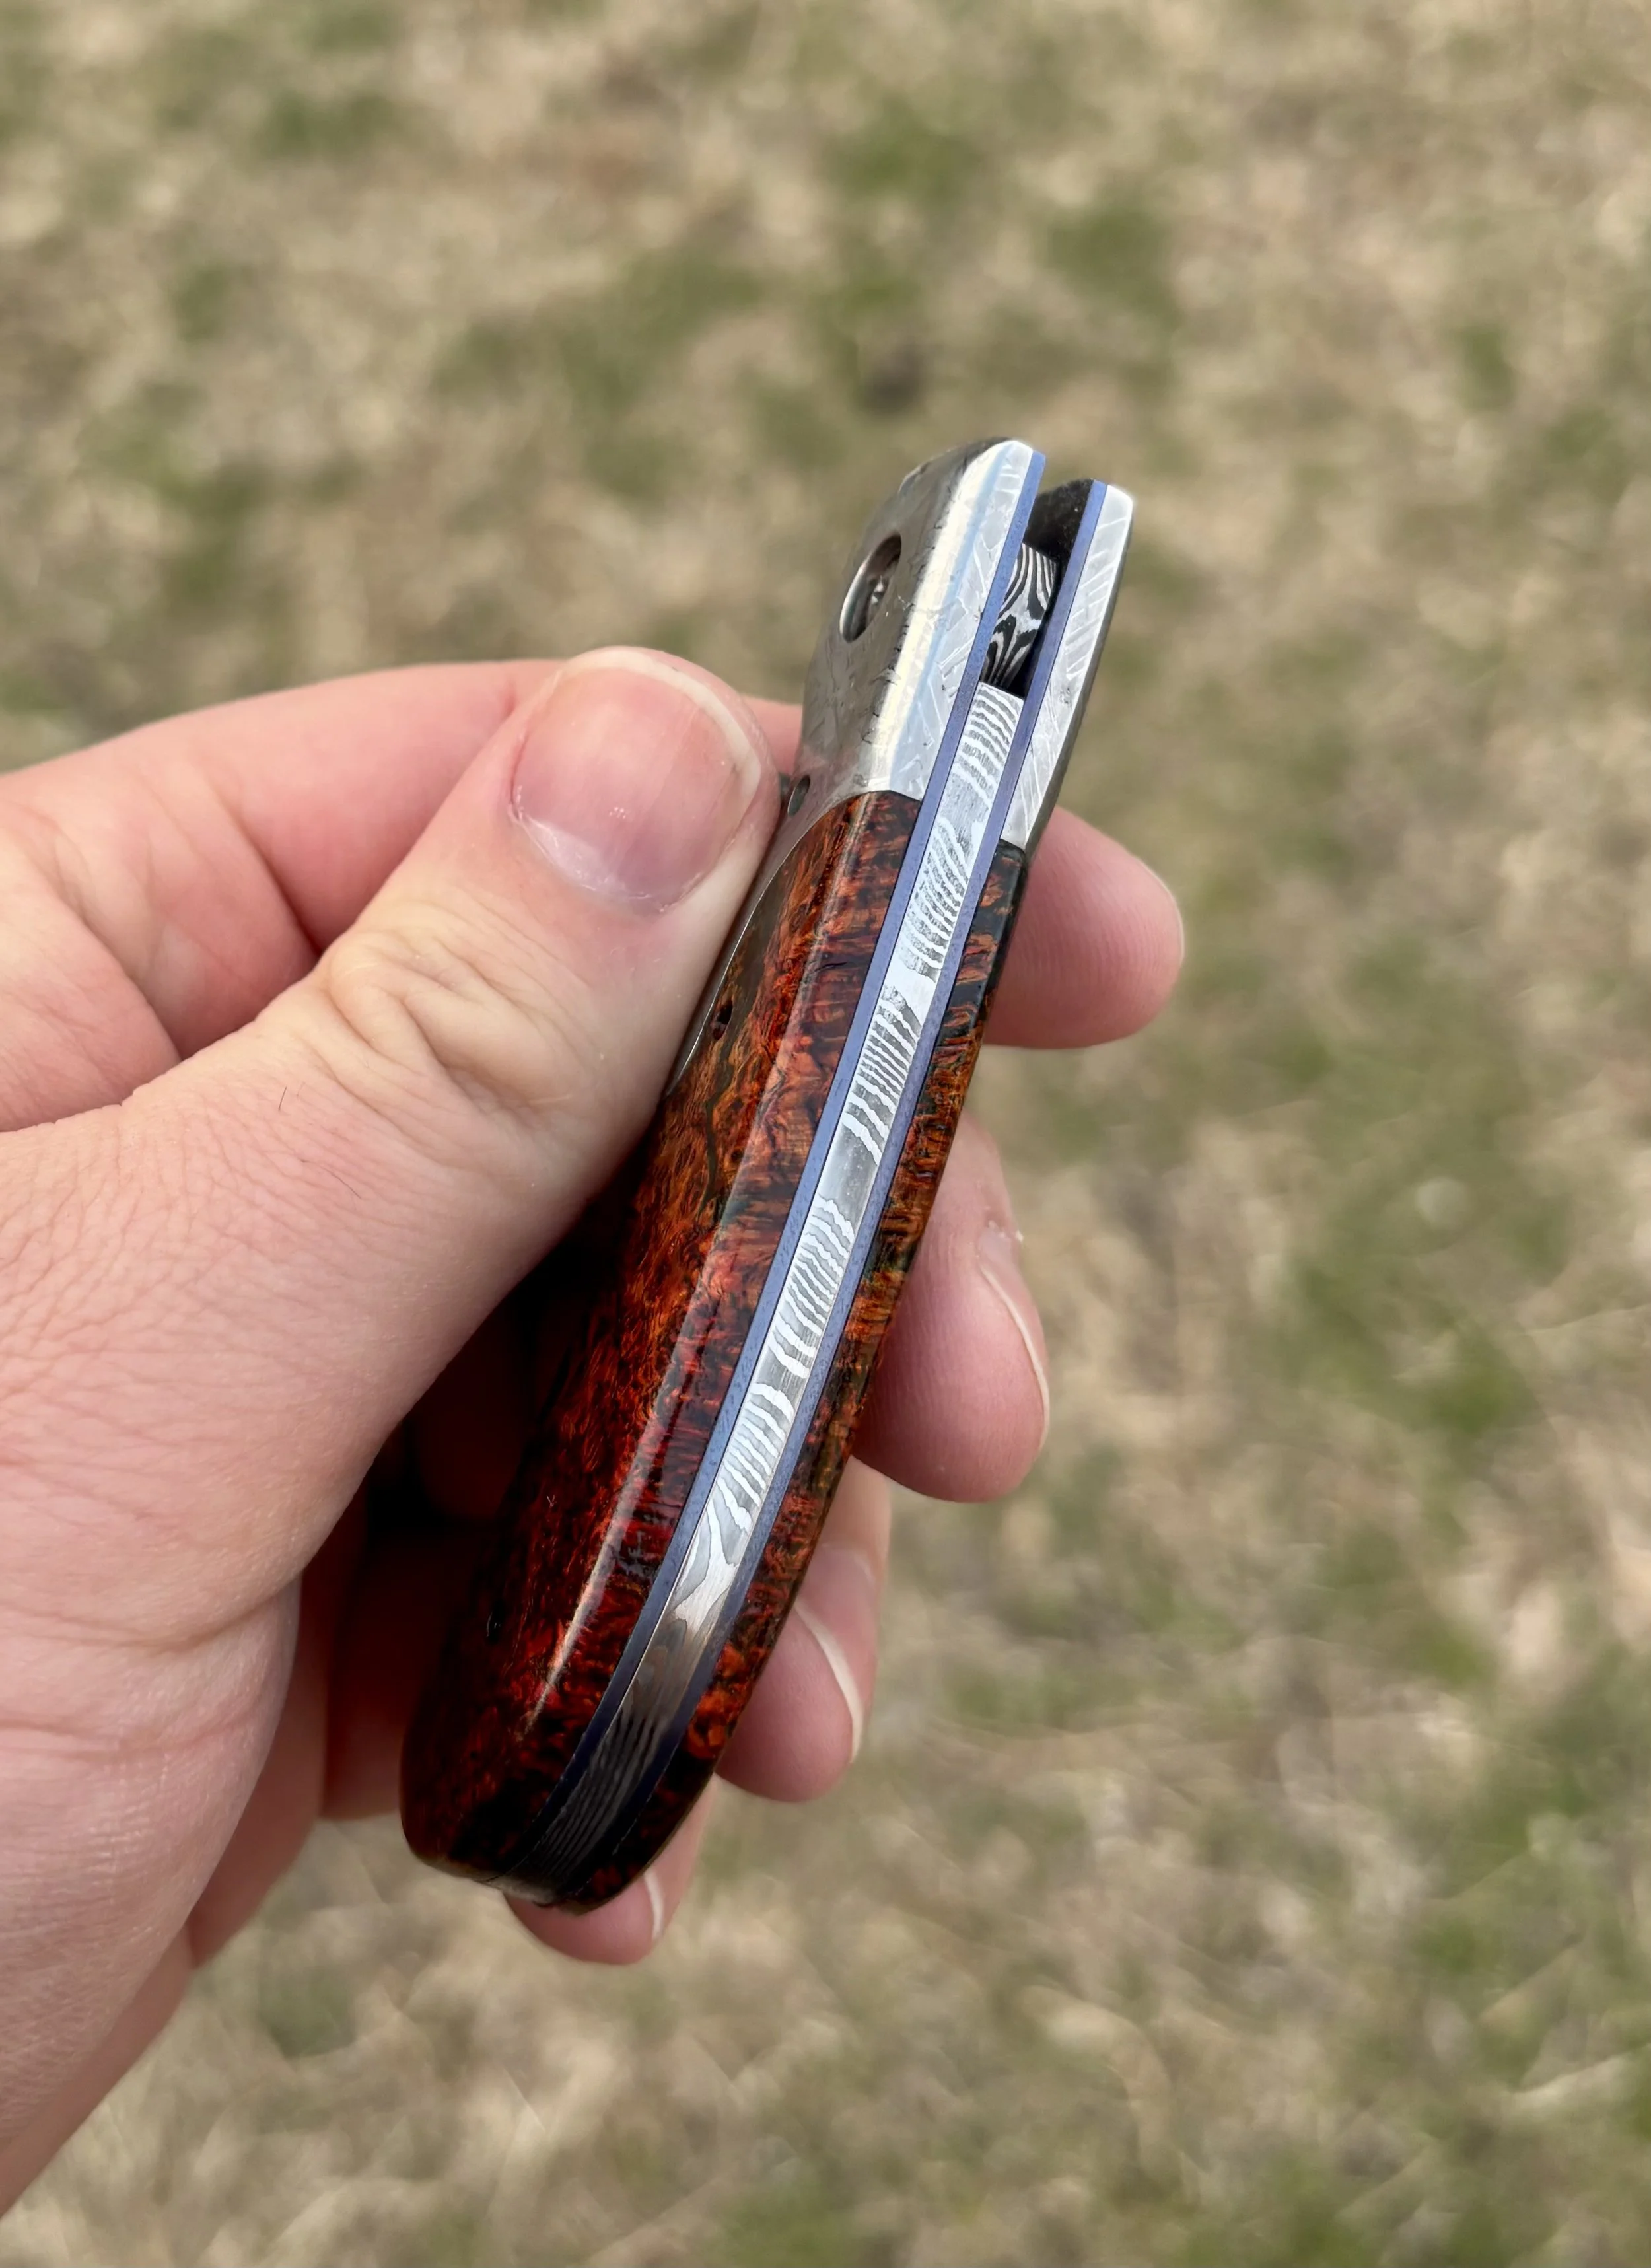
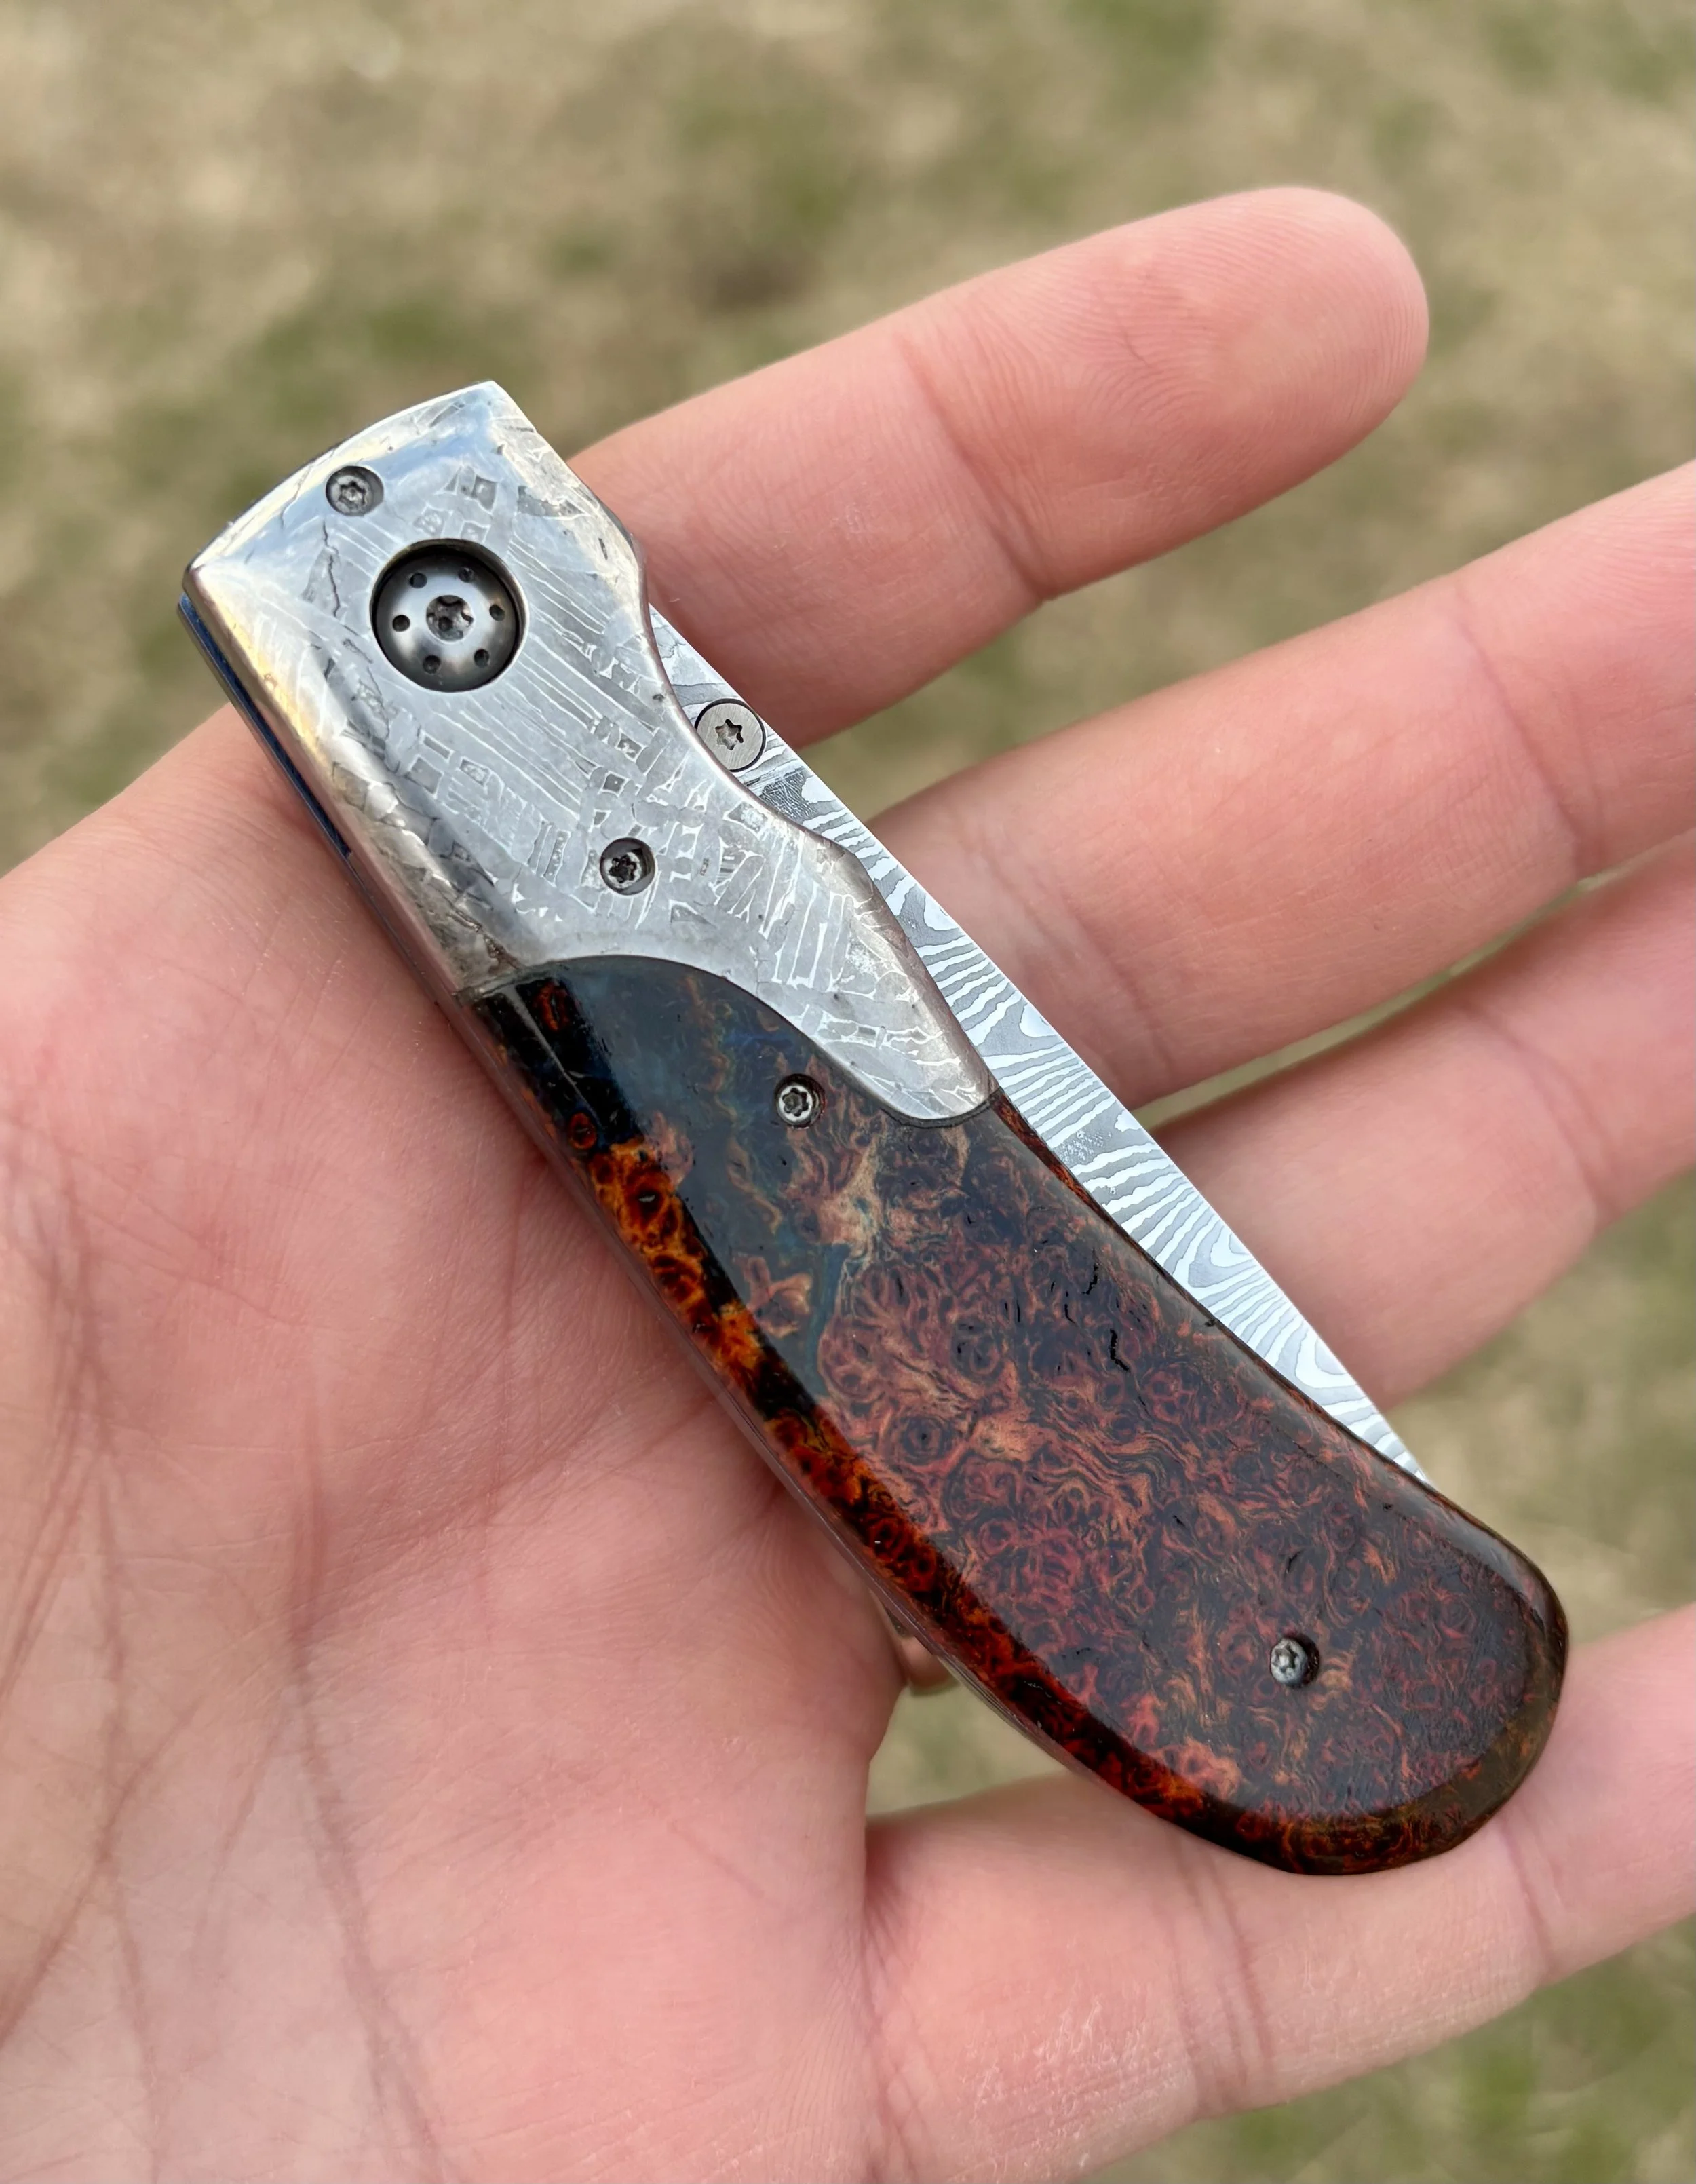
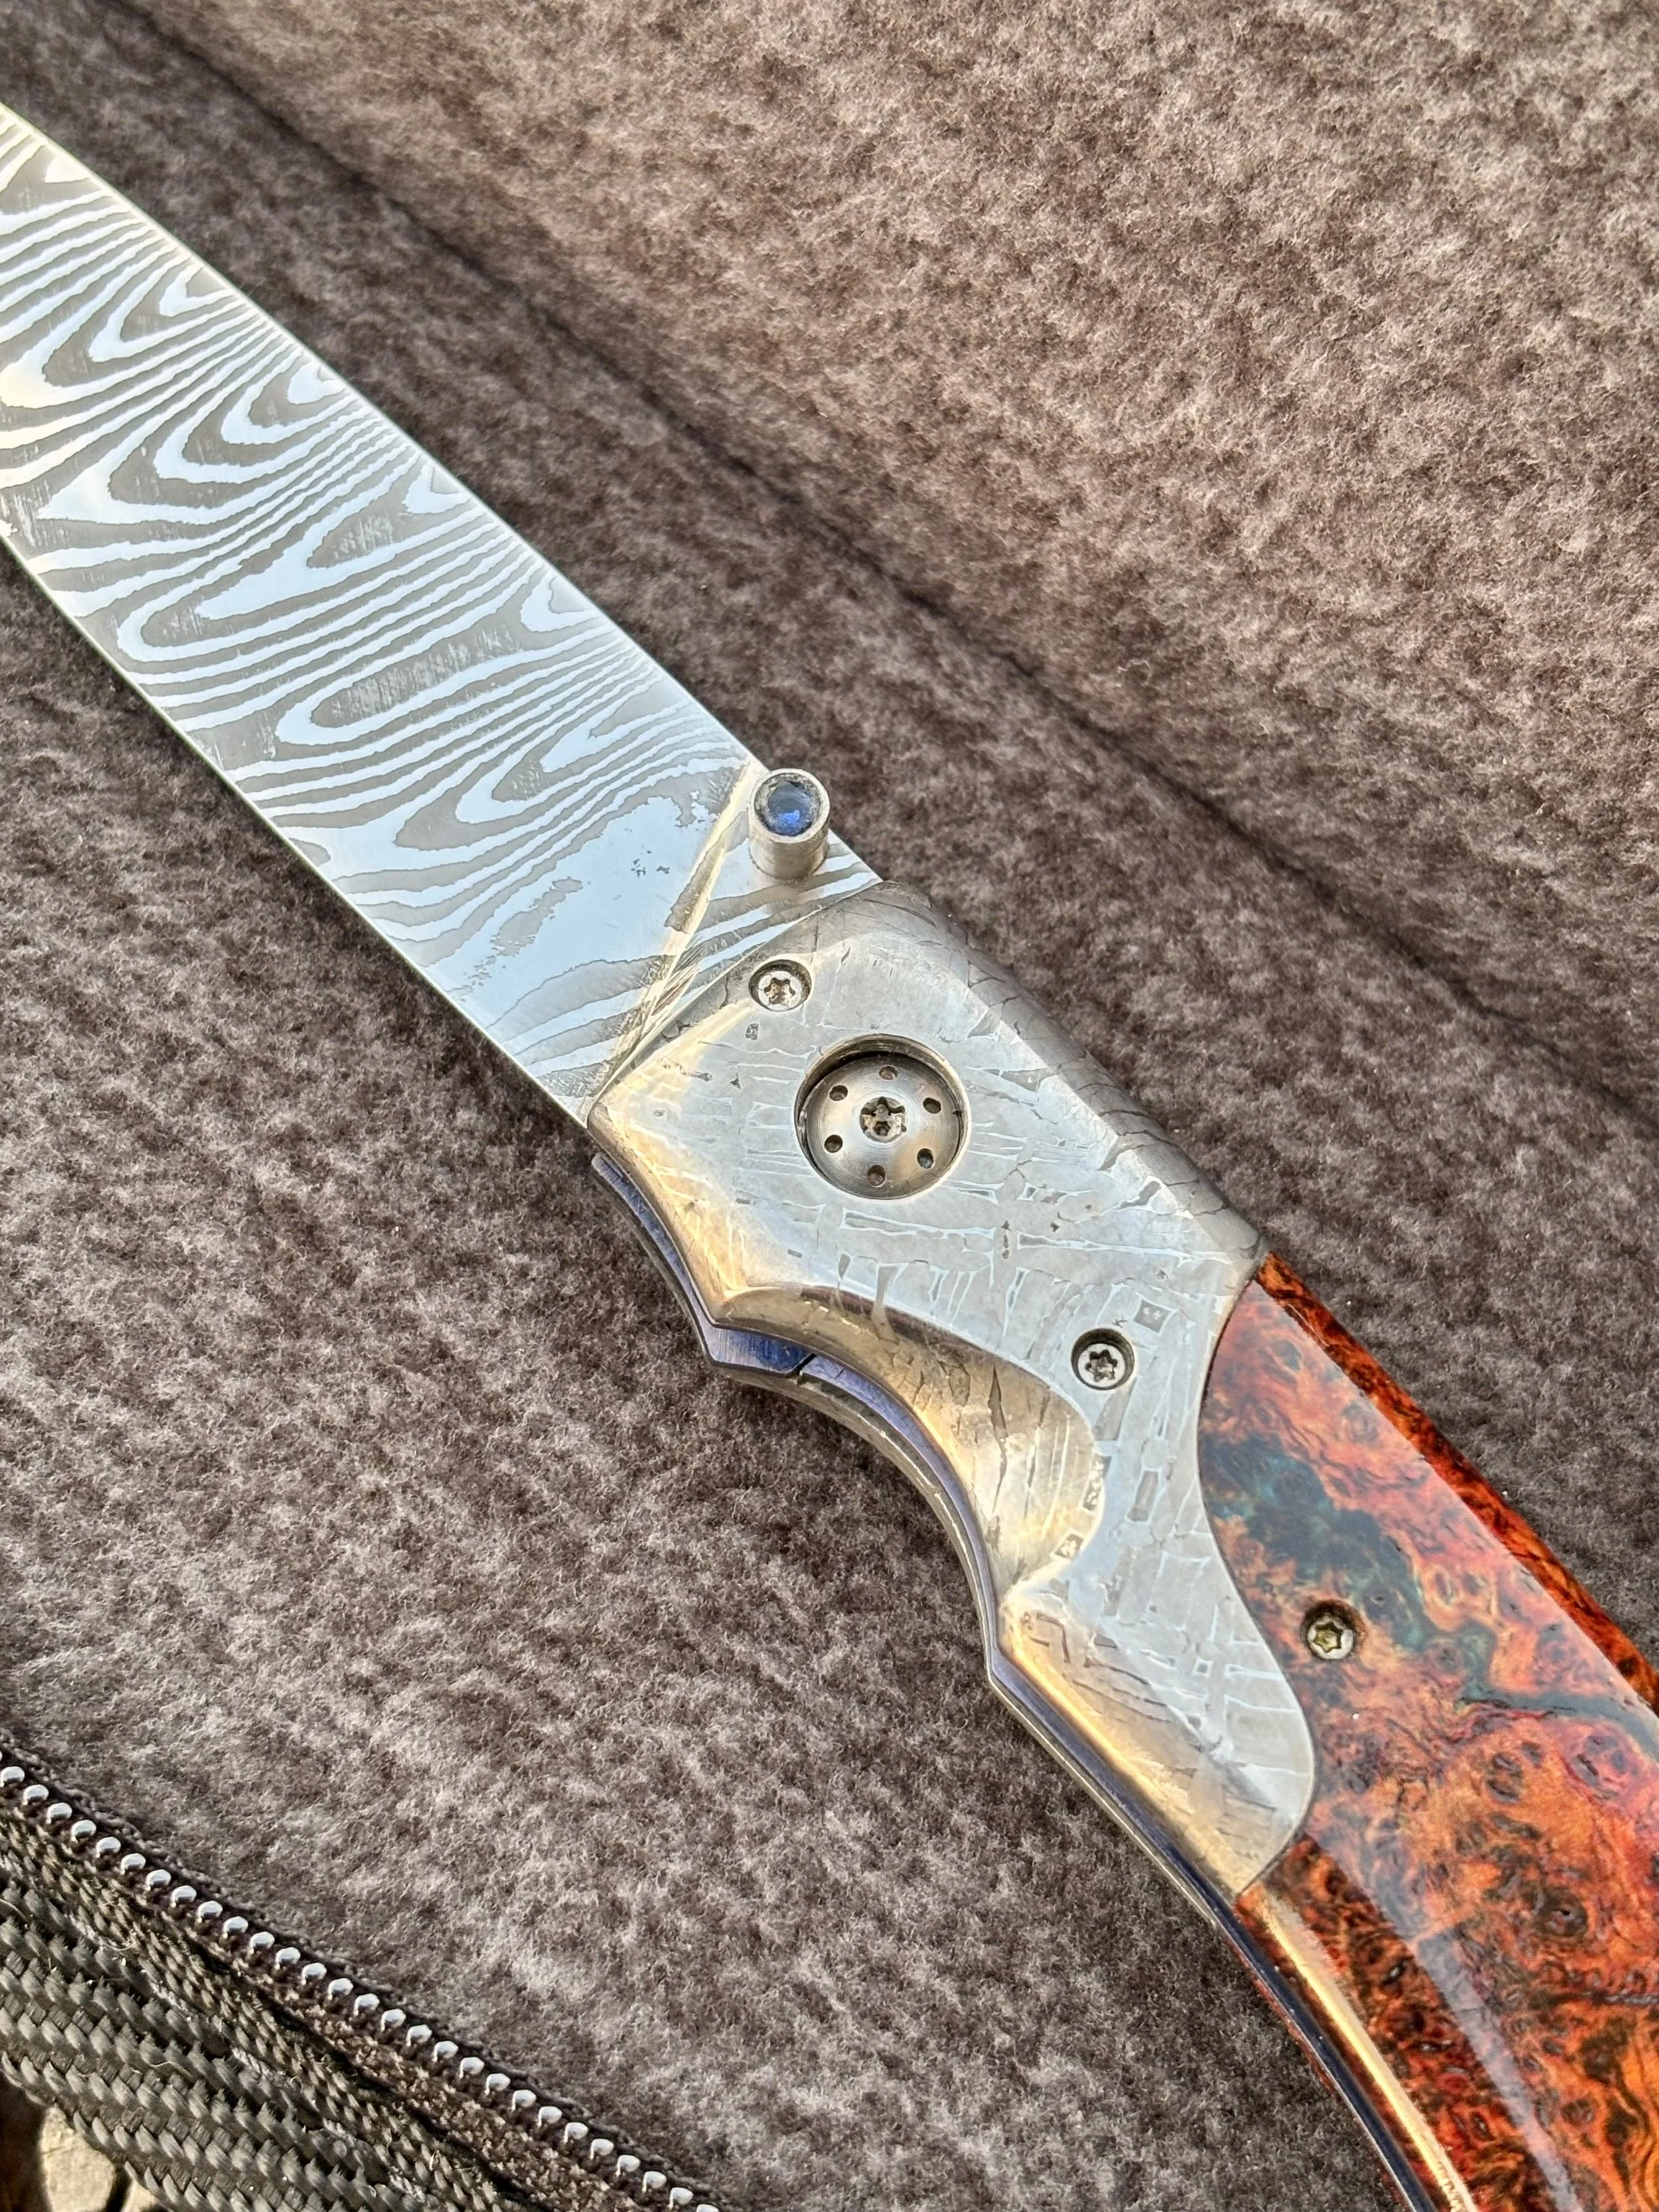
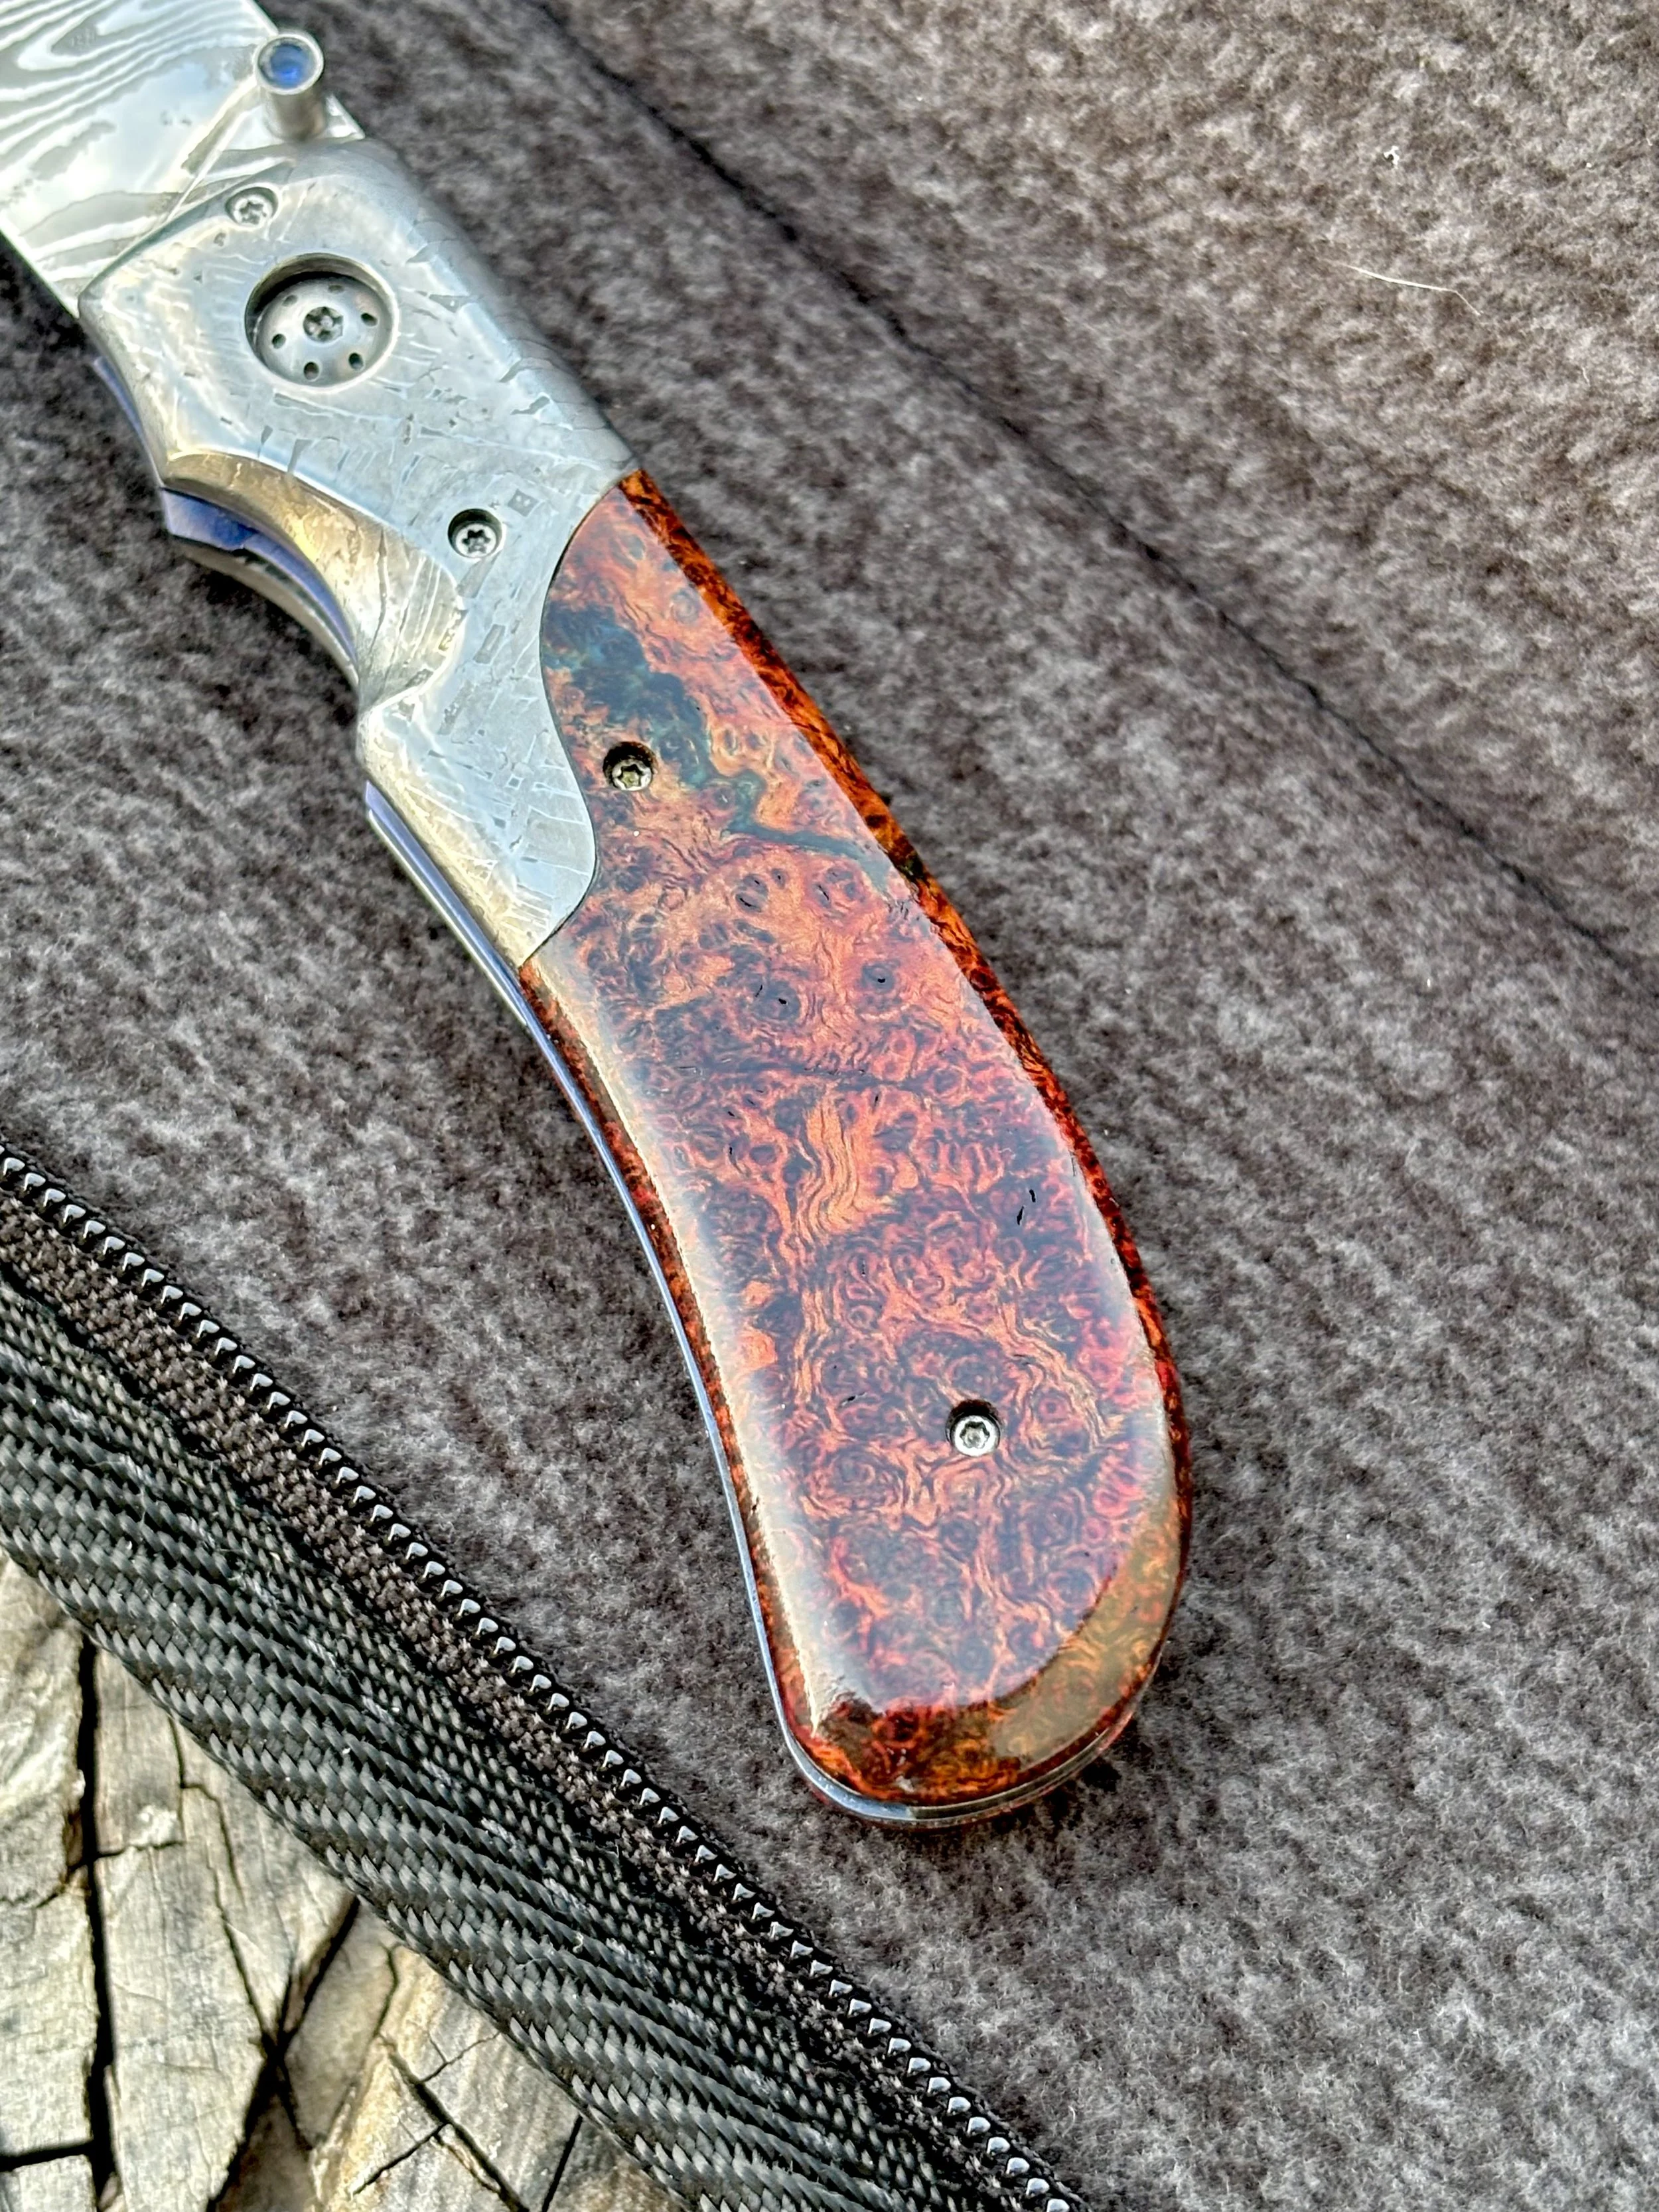
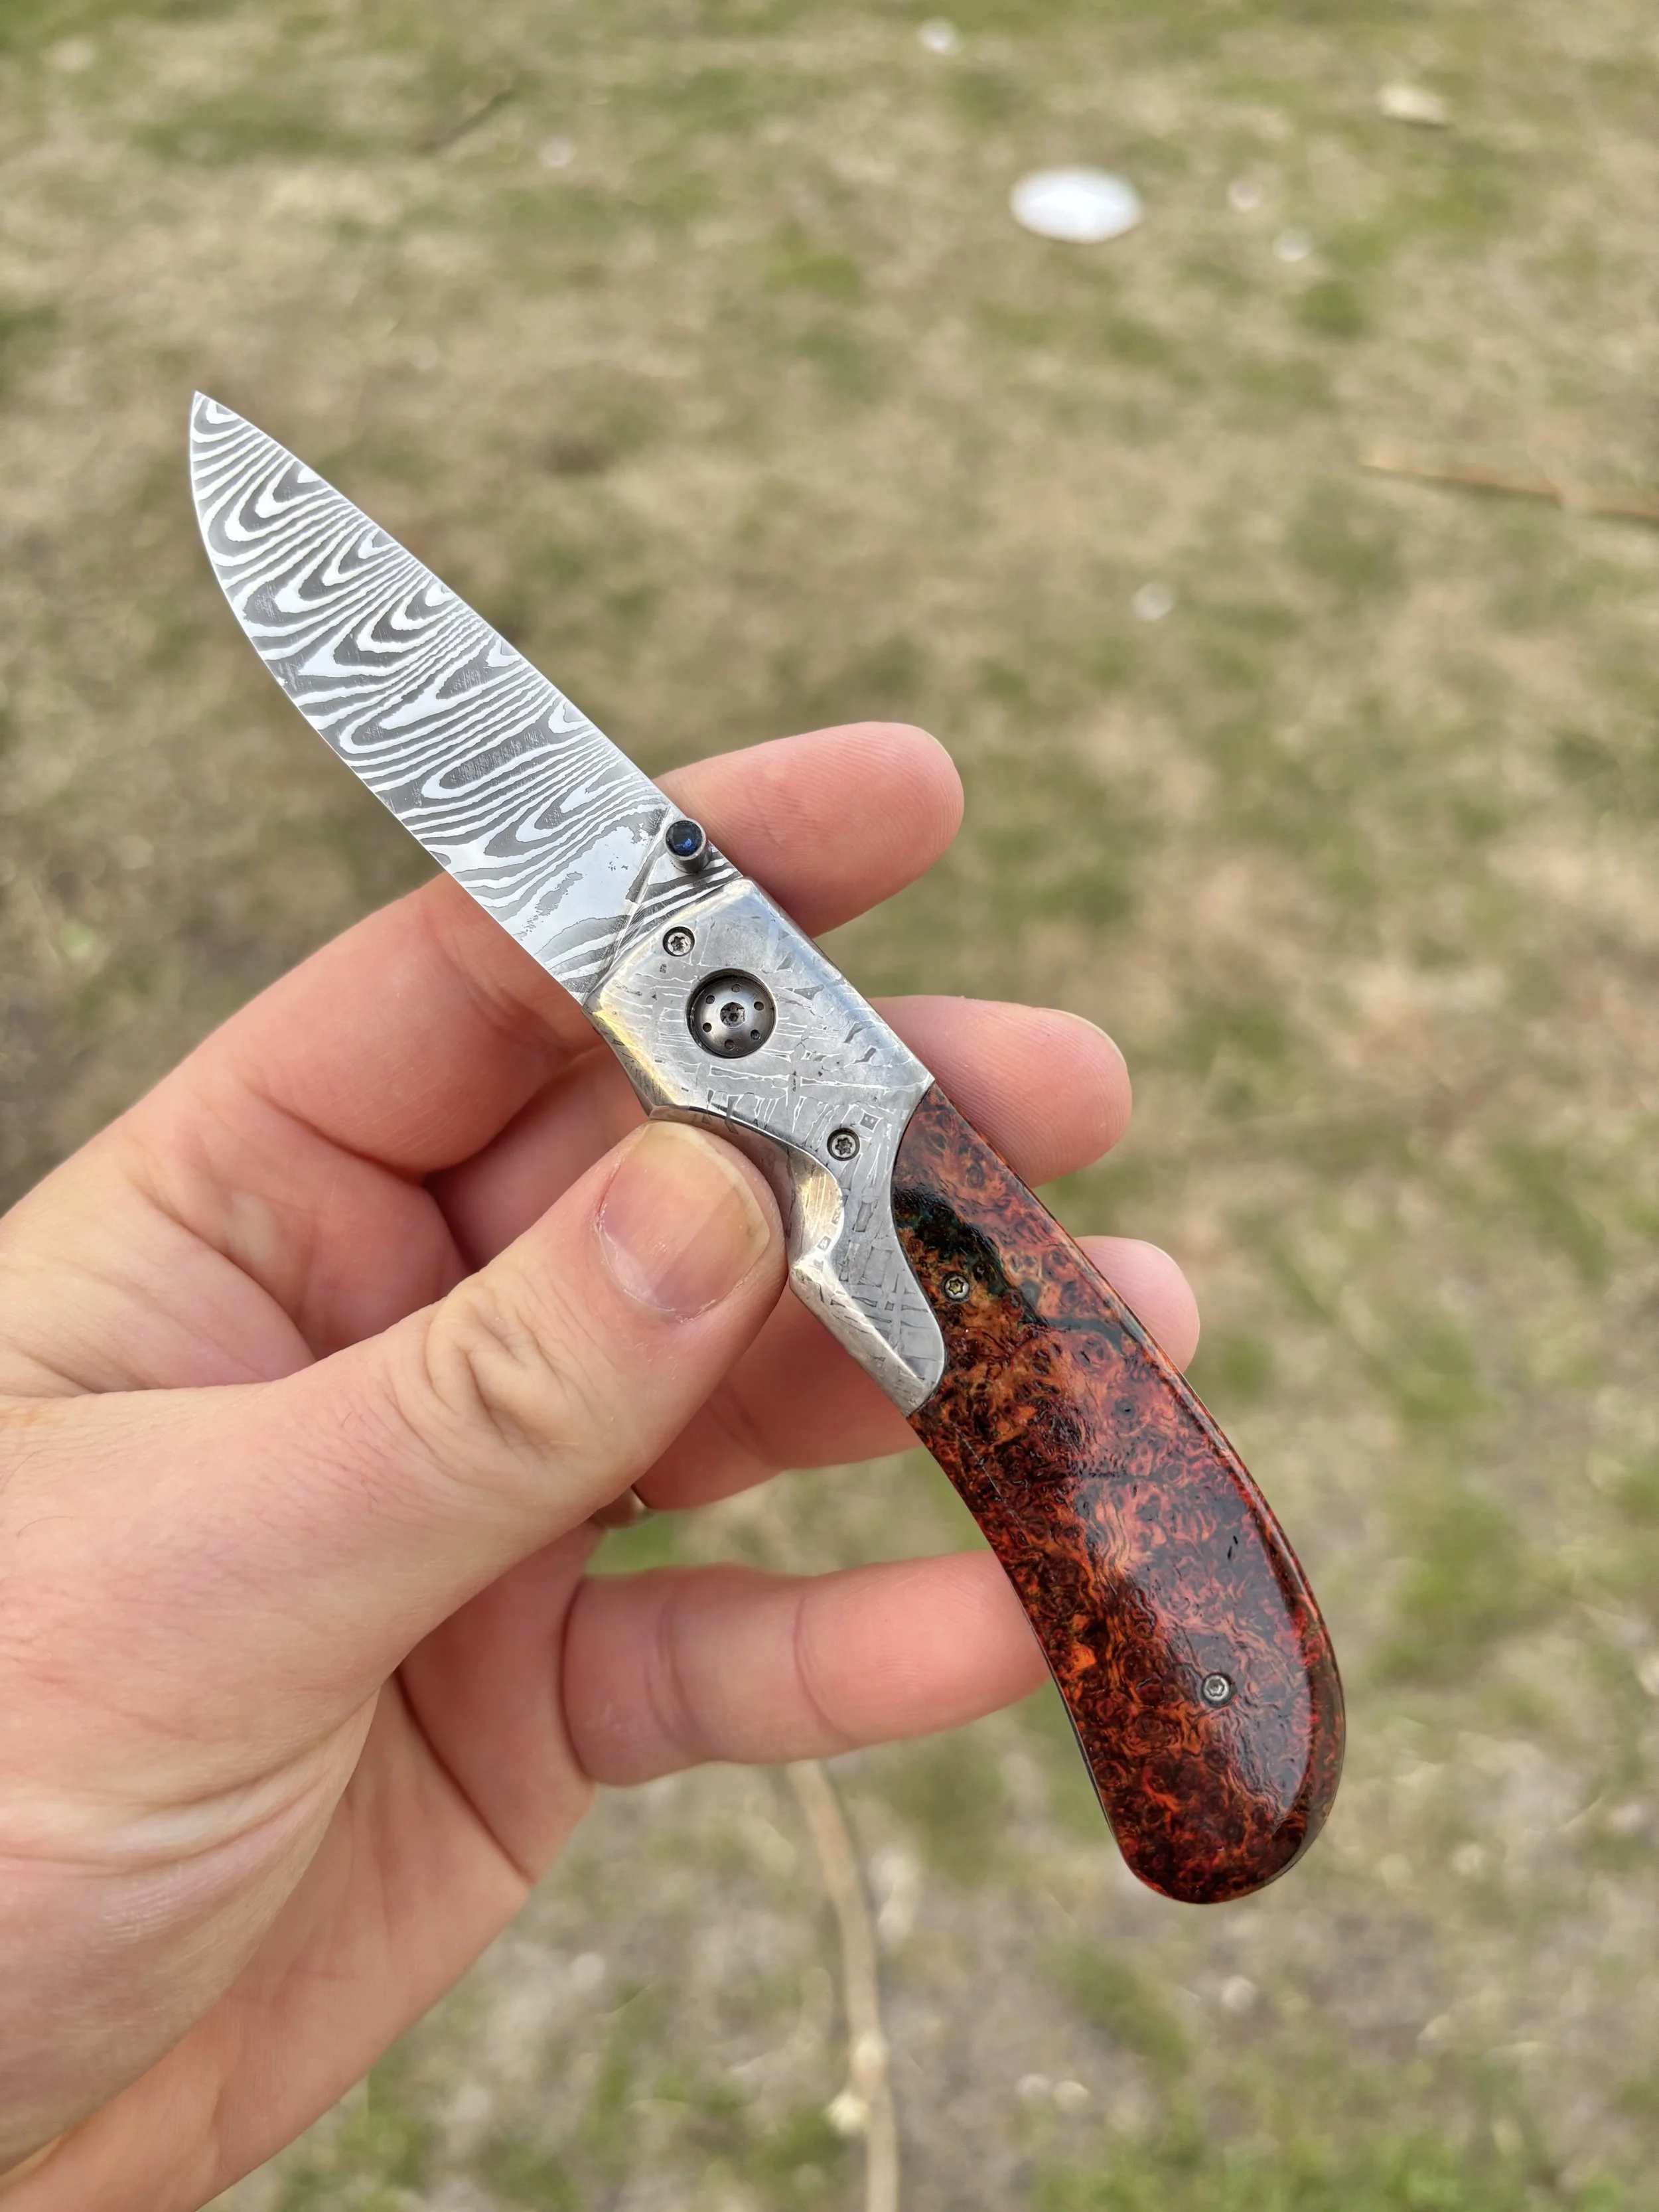
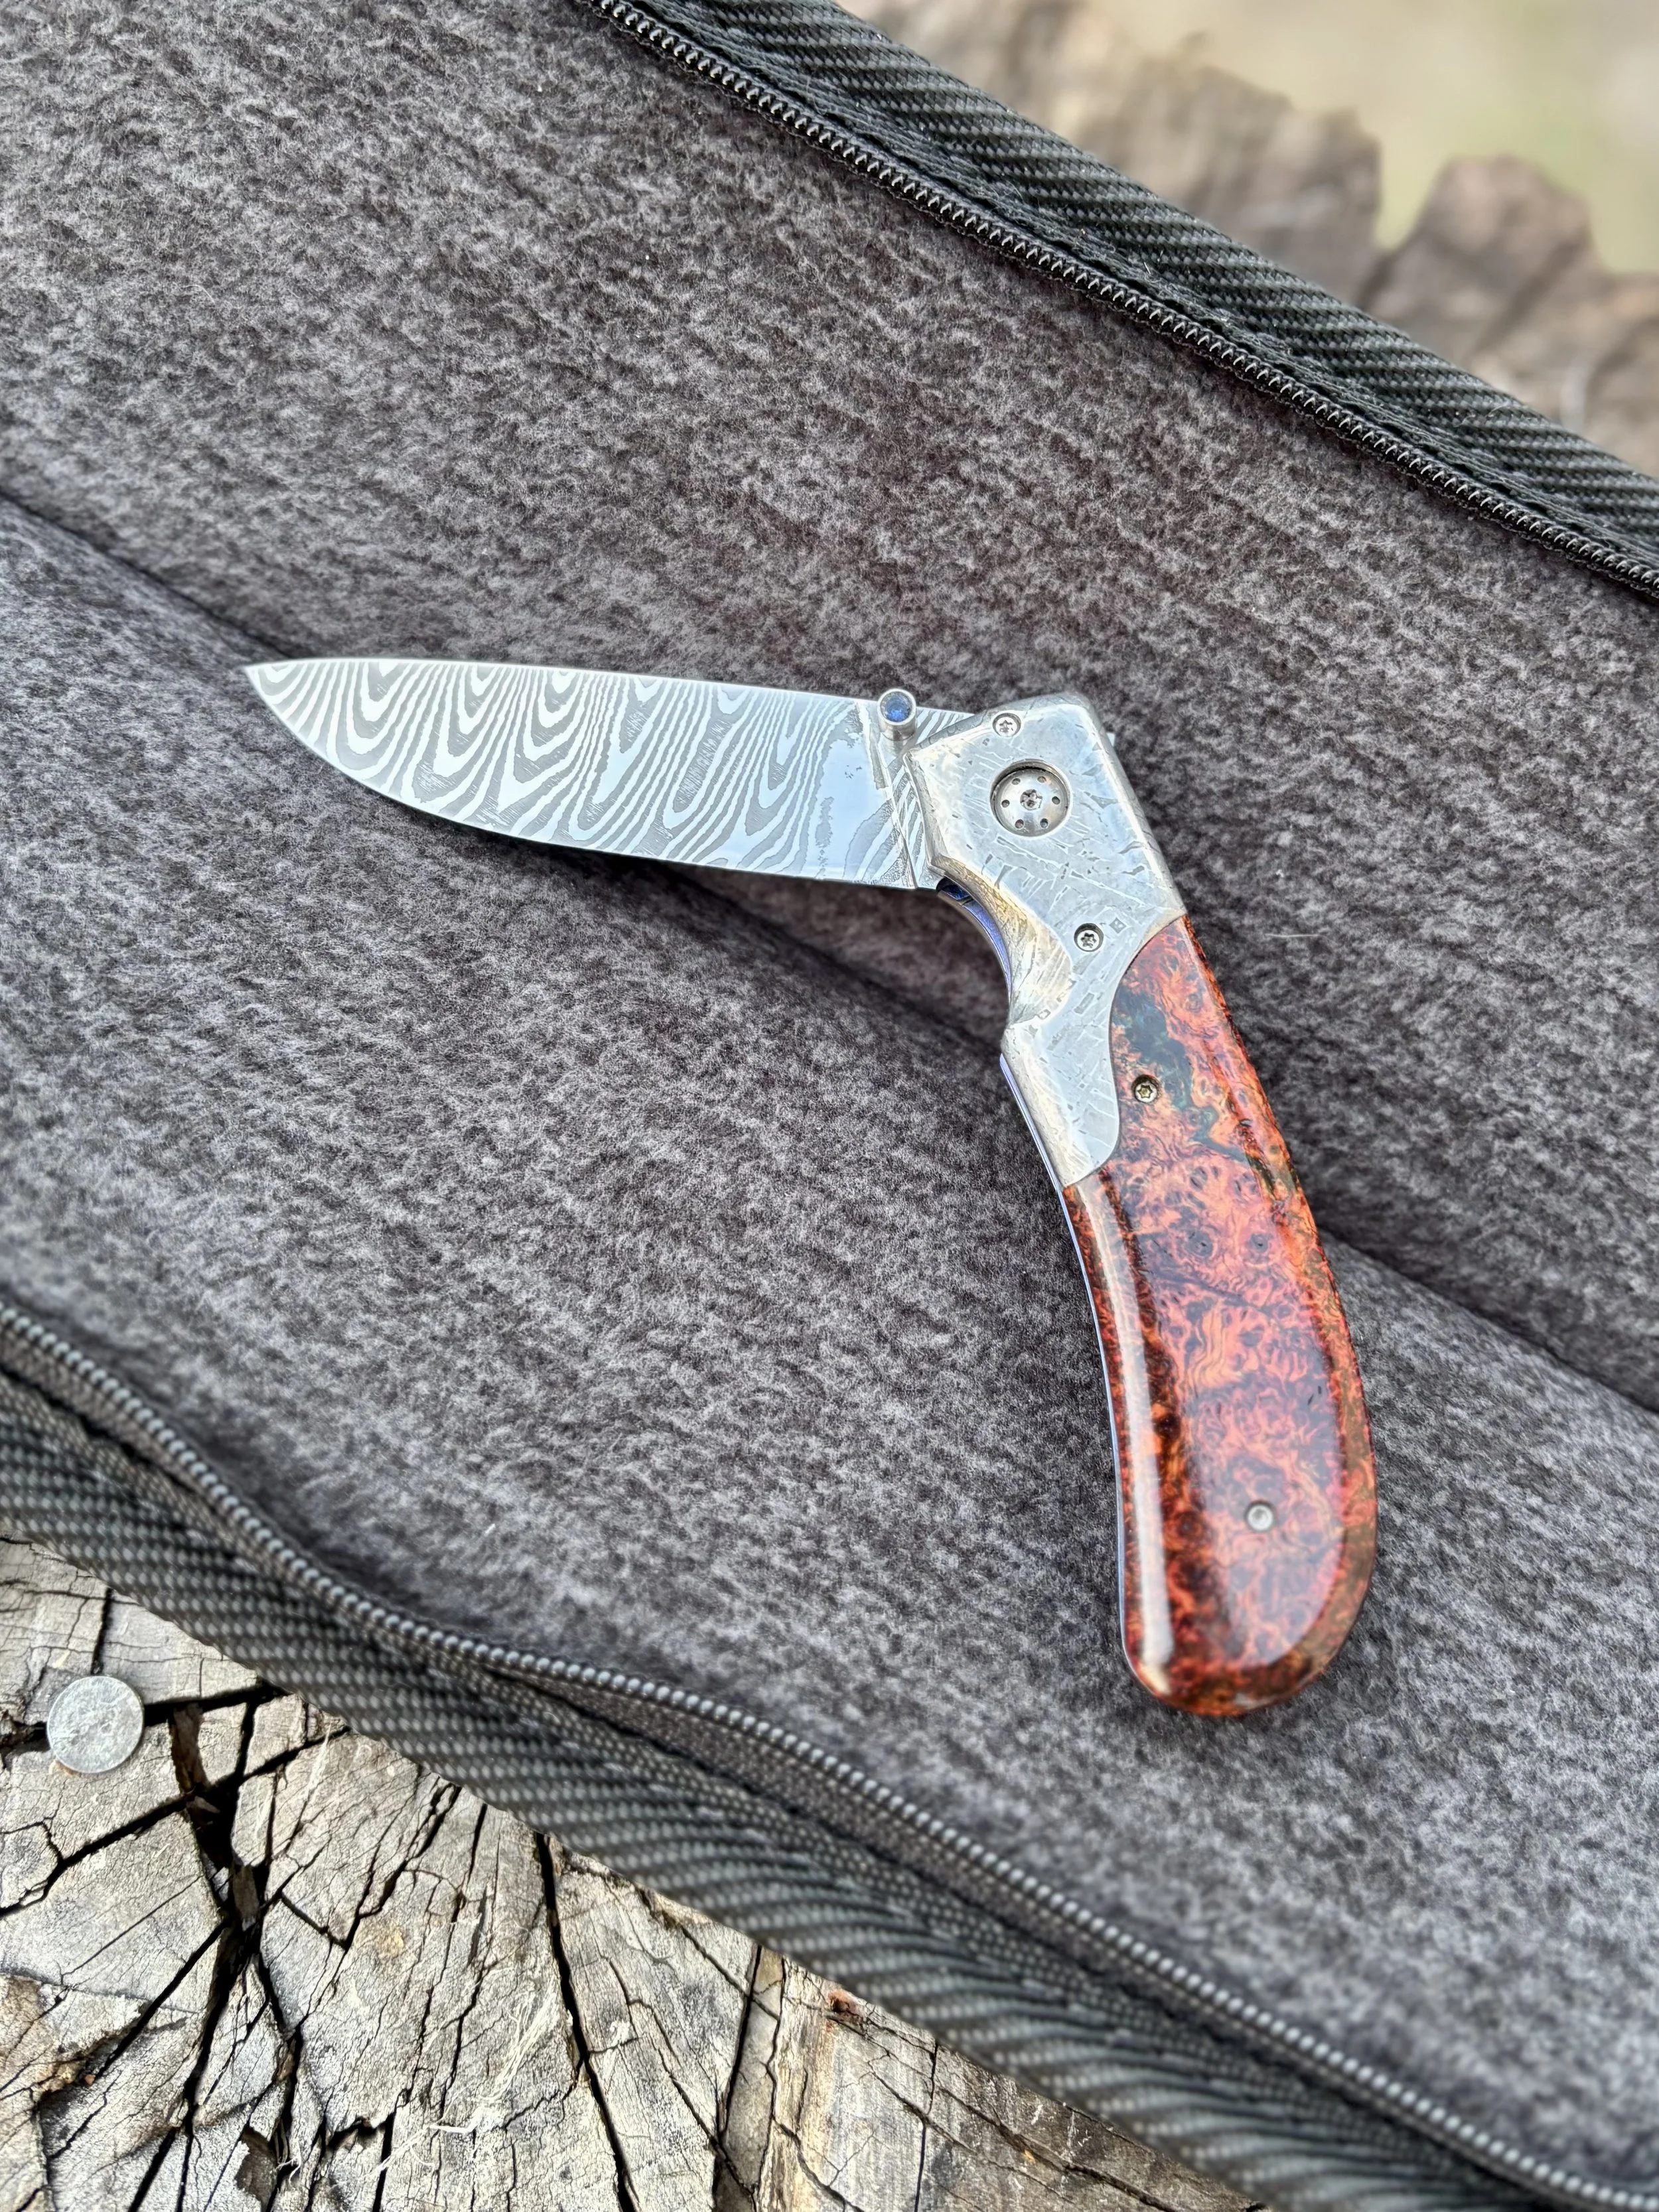
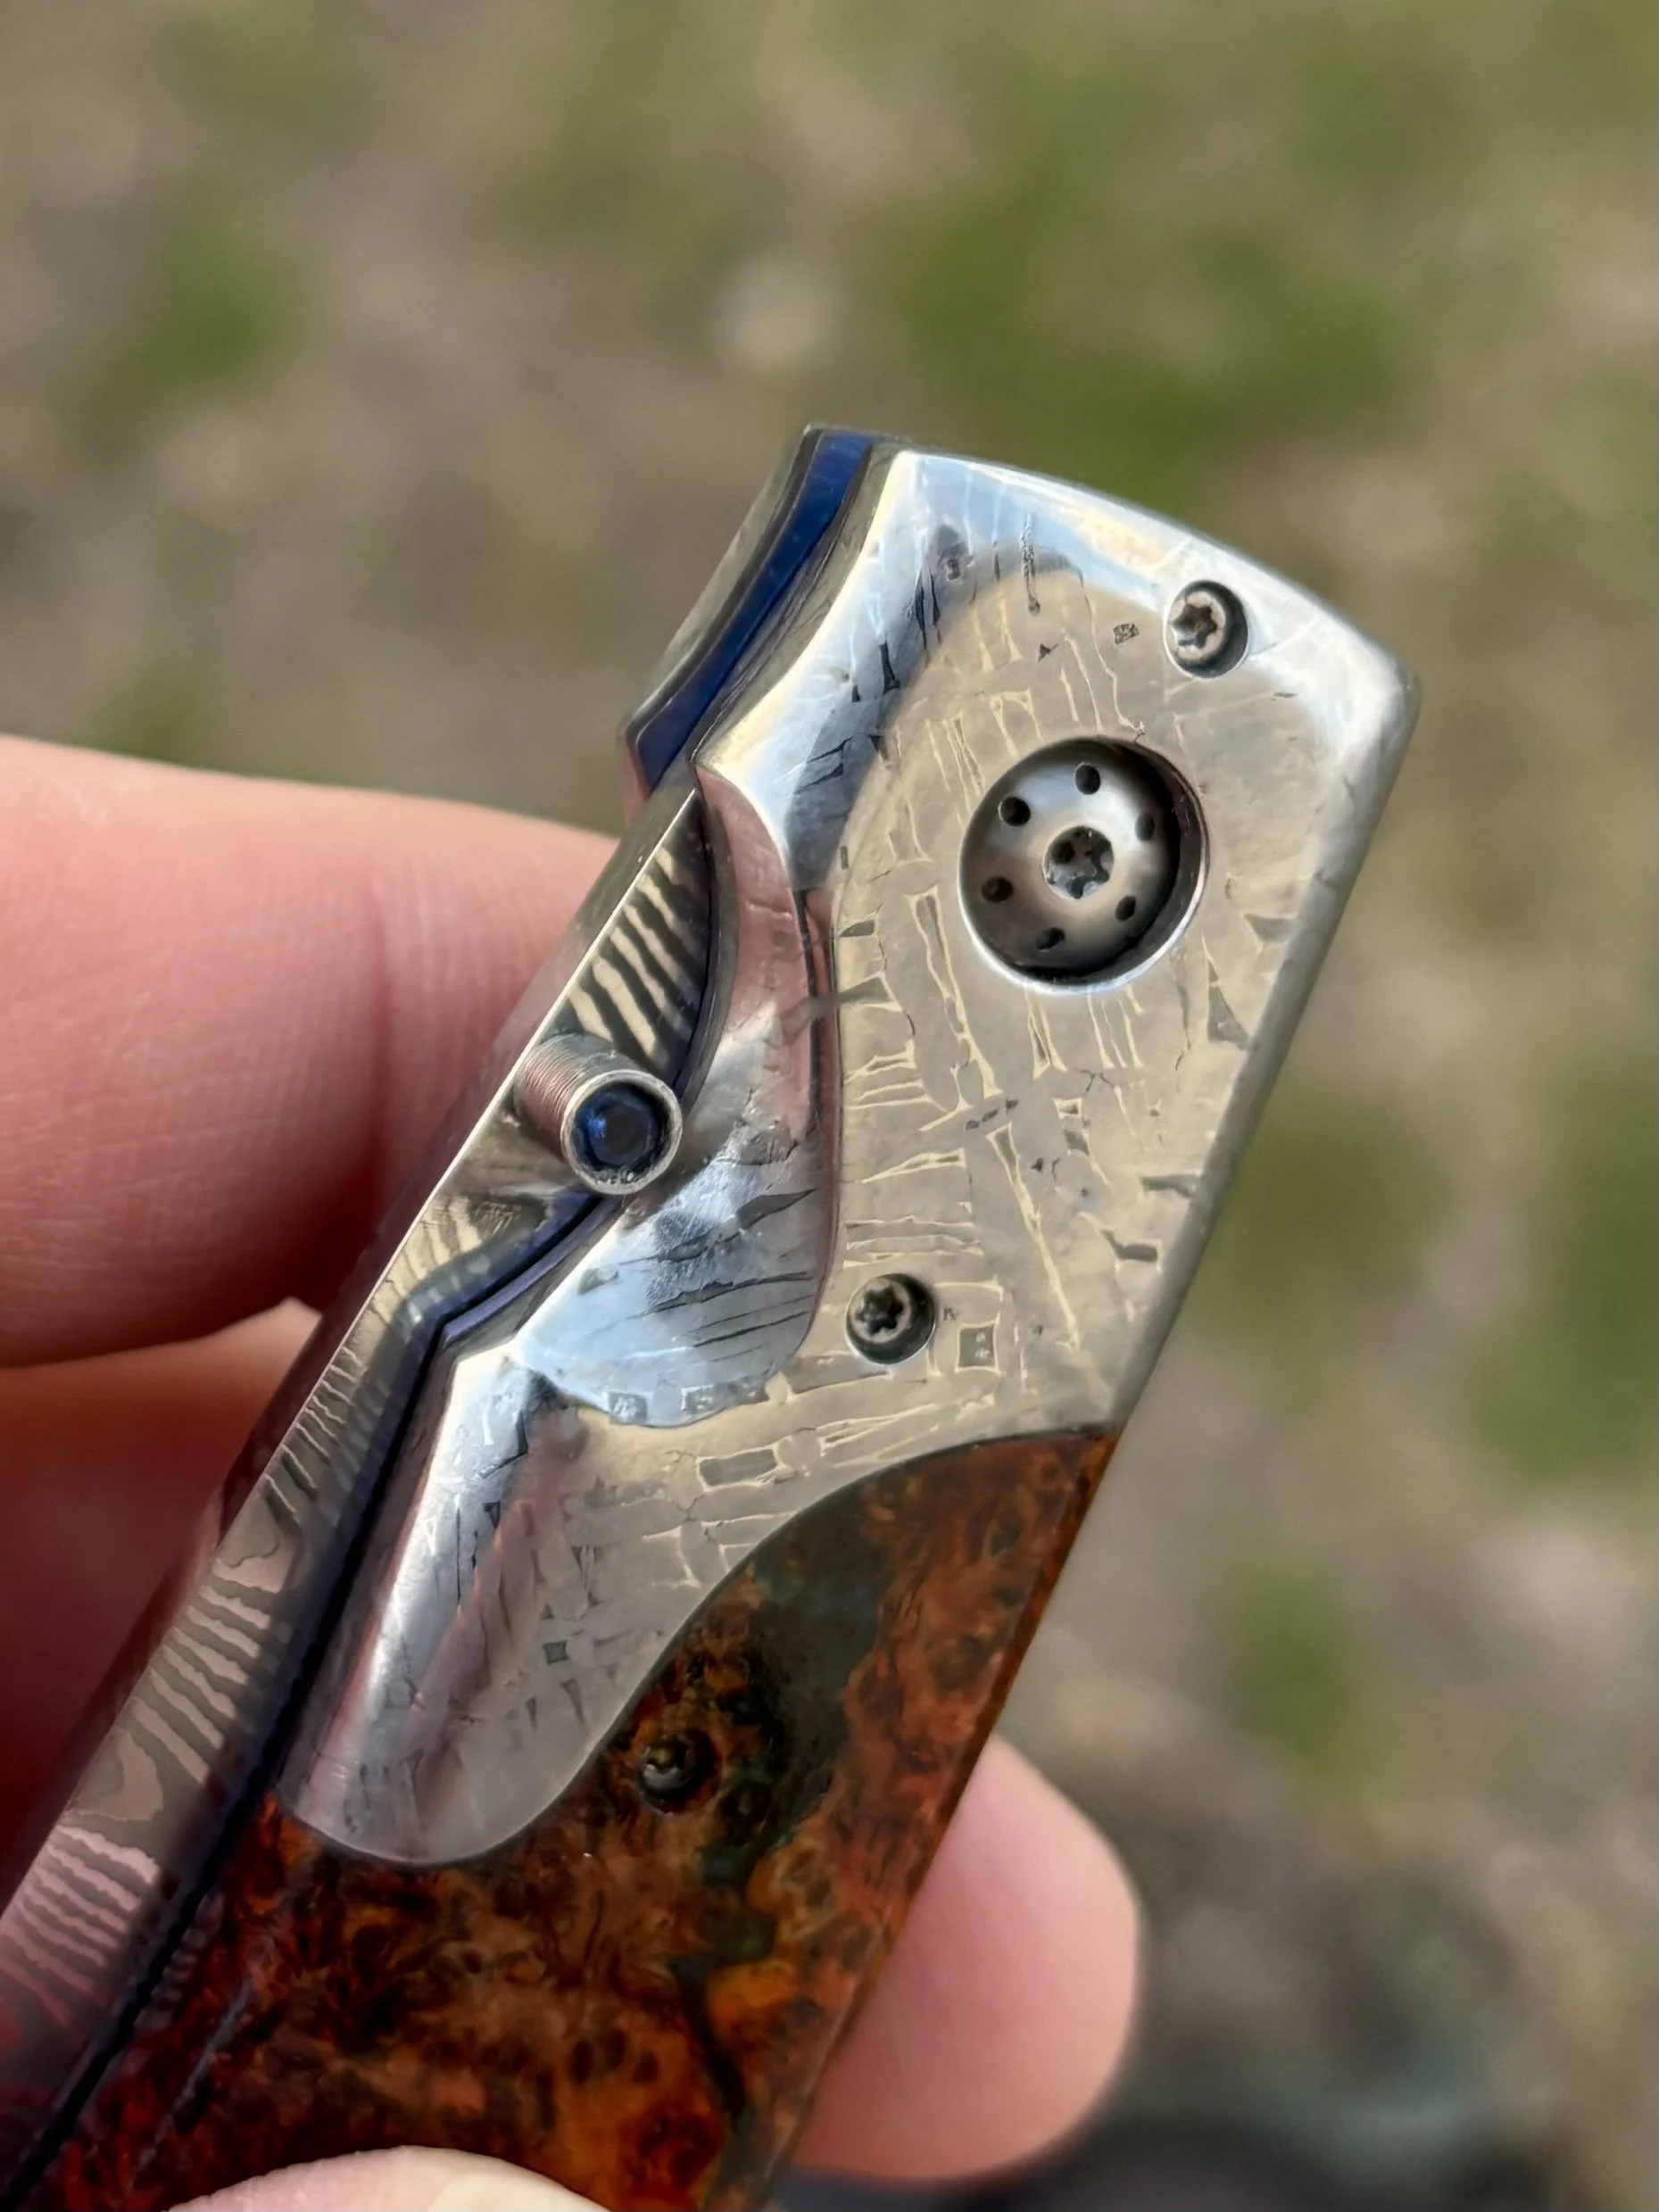
Some of the bits and bobs that would make up my folding knife. I decided to use meteorite for the bolsters as this was my first knife. I wanted something special. They ended up being a great learning opportunity and a challenging material to work with.
-
![]()
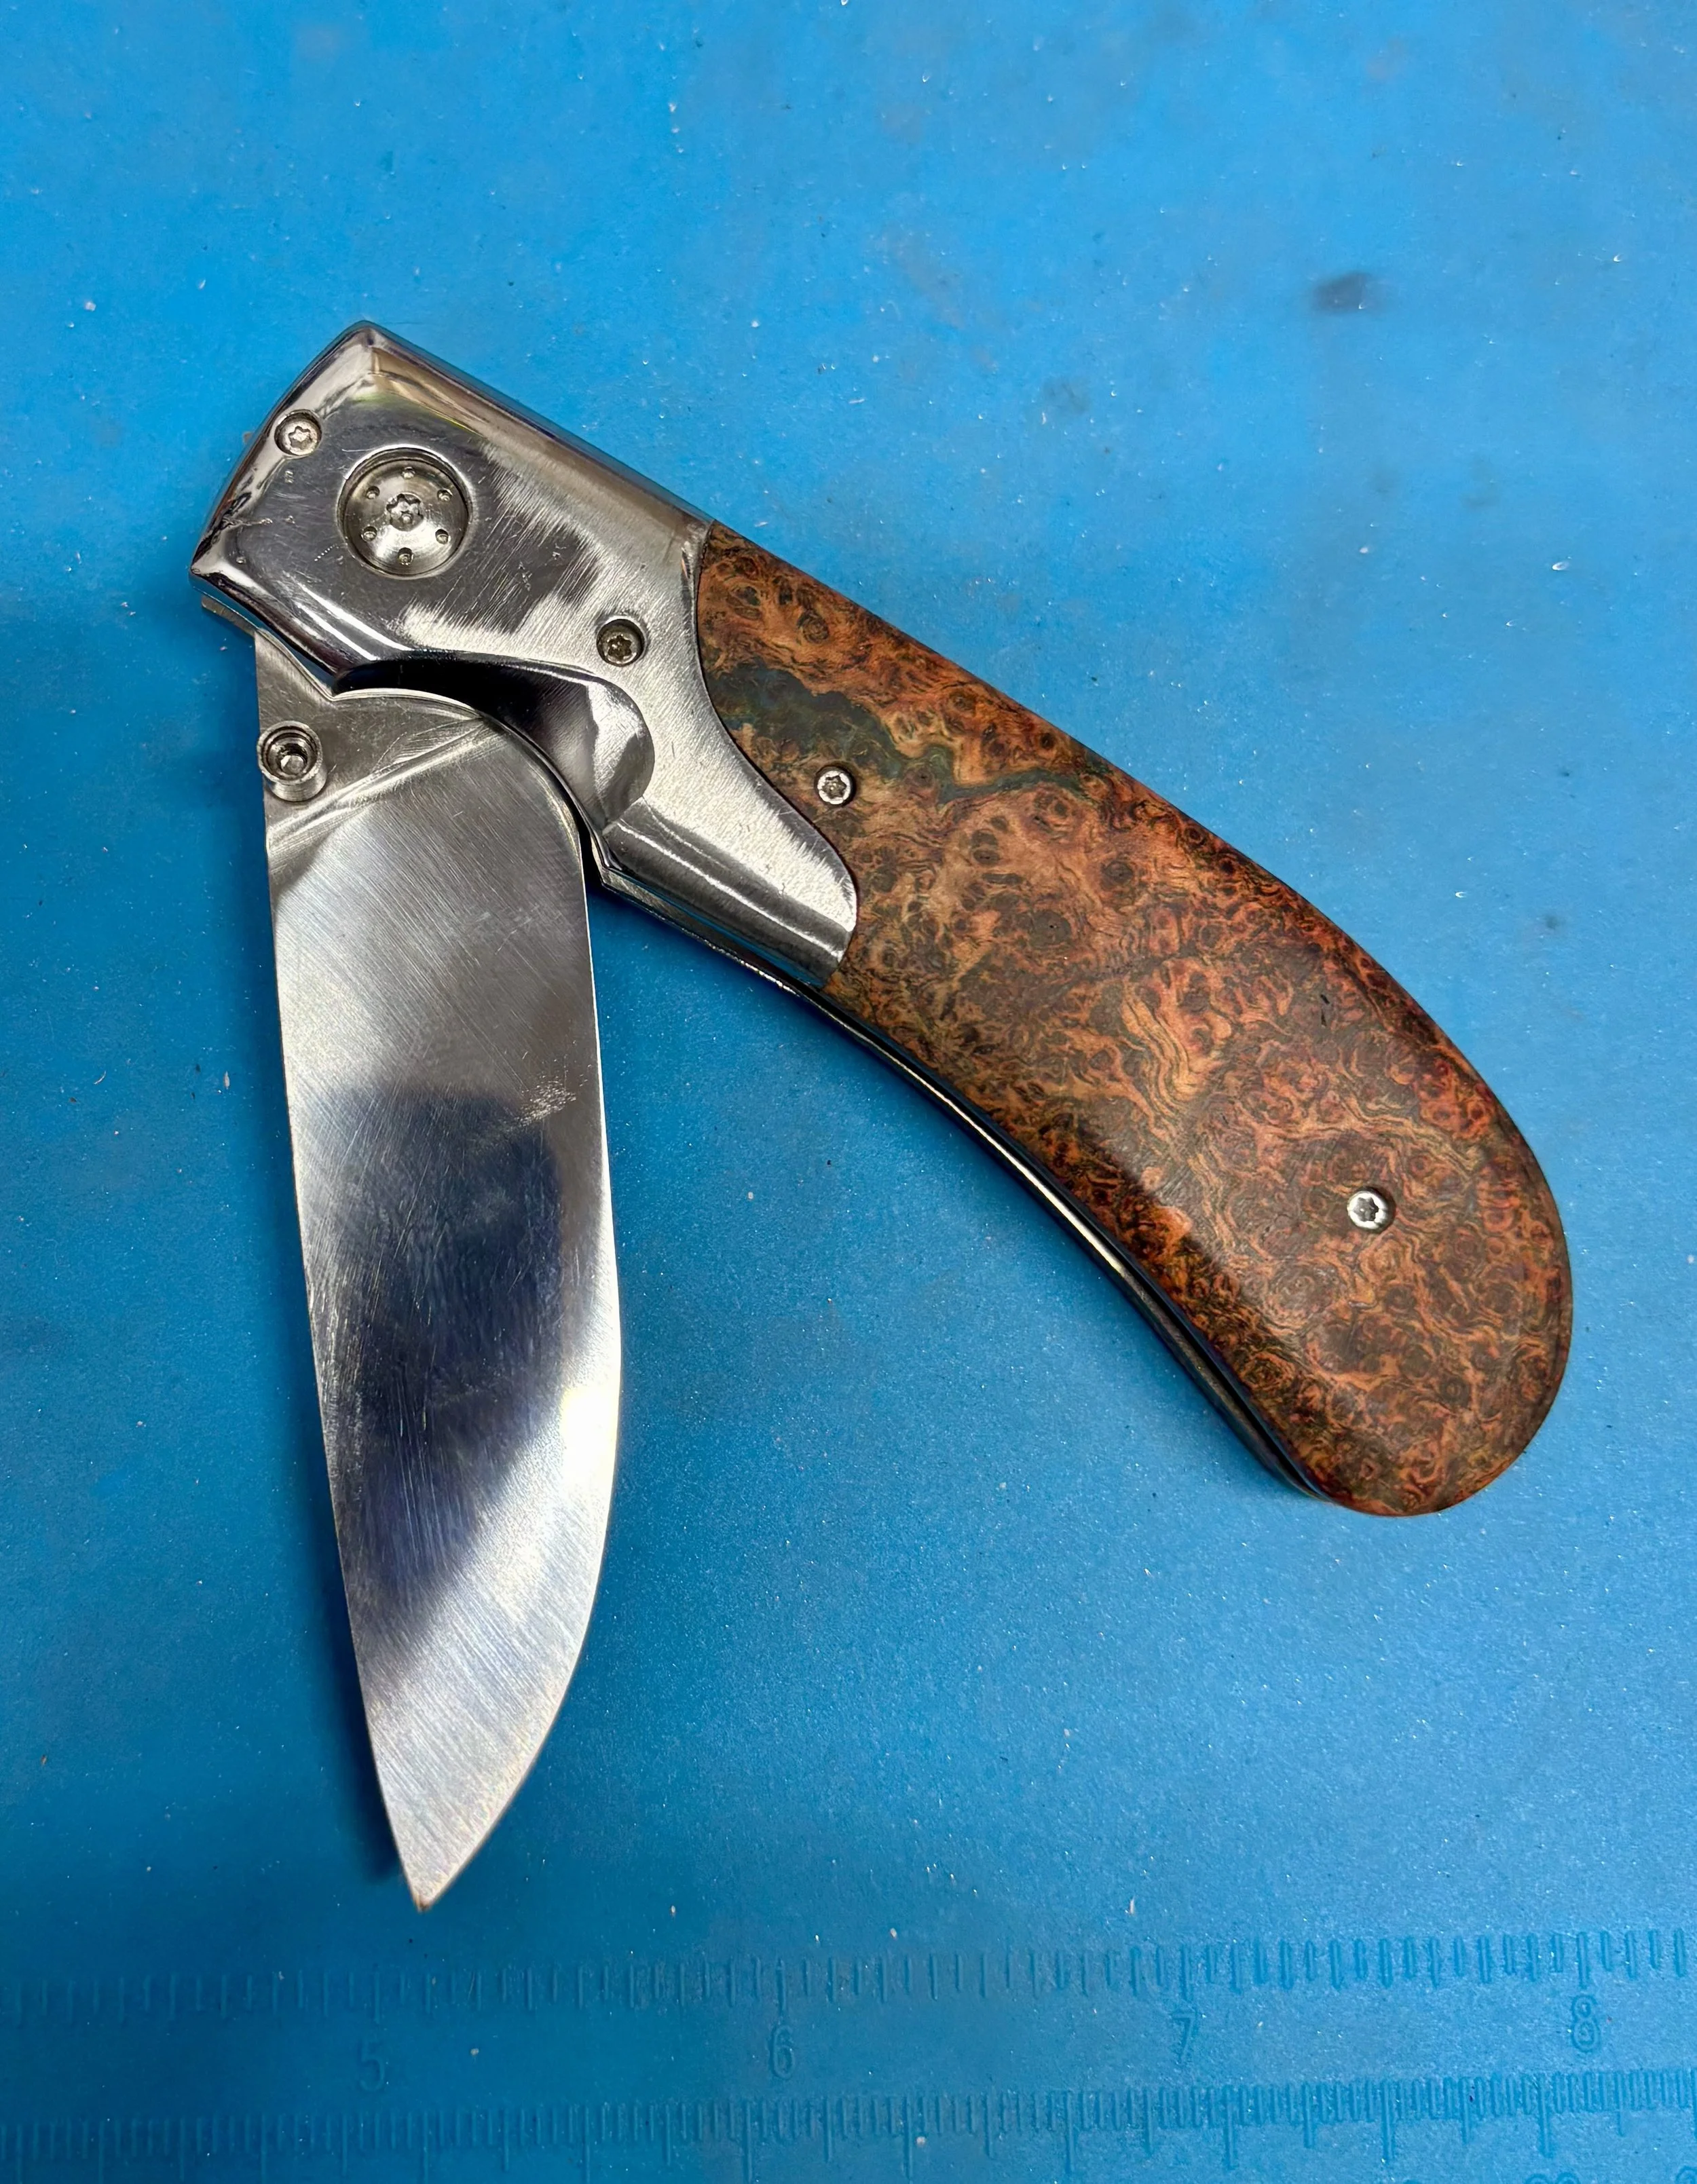
I also decided to make it a fancy bolster Some of the bits and bobs that make up a fold Some of the bits and bobs that make up a fold Some of the bits and bobs that make up a fold Some of the bits and bobs that make up a fold versus the normal flat bolster made in his beginner class. I think this is an added beauty, but it was also another more challenging aspect of this build.
-
![]()
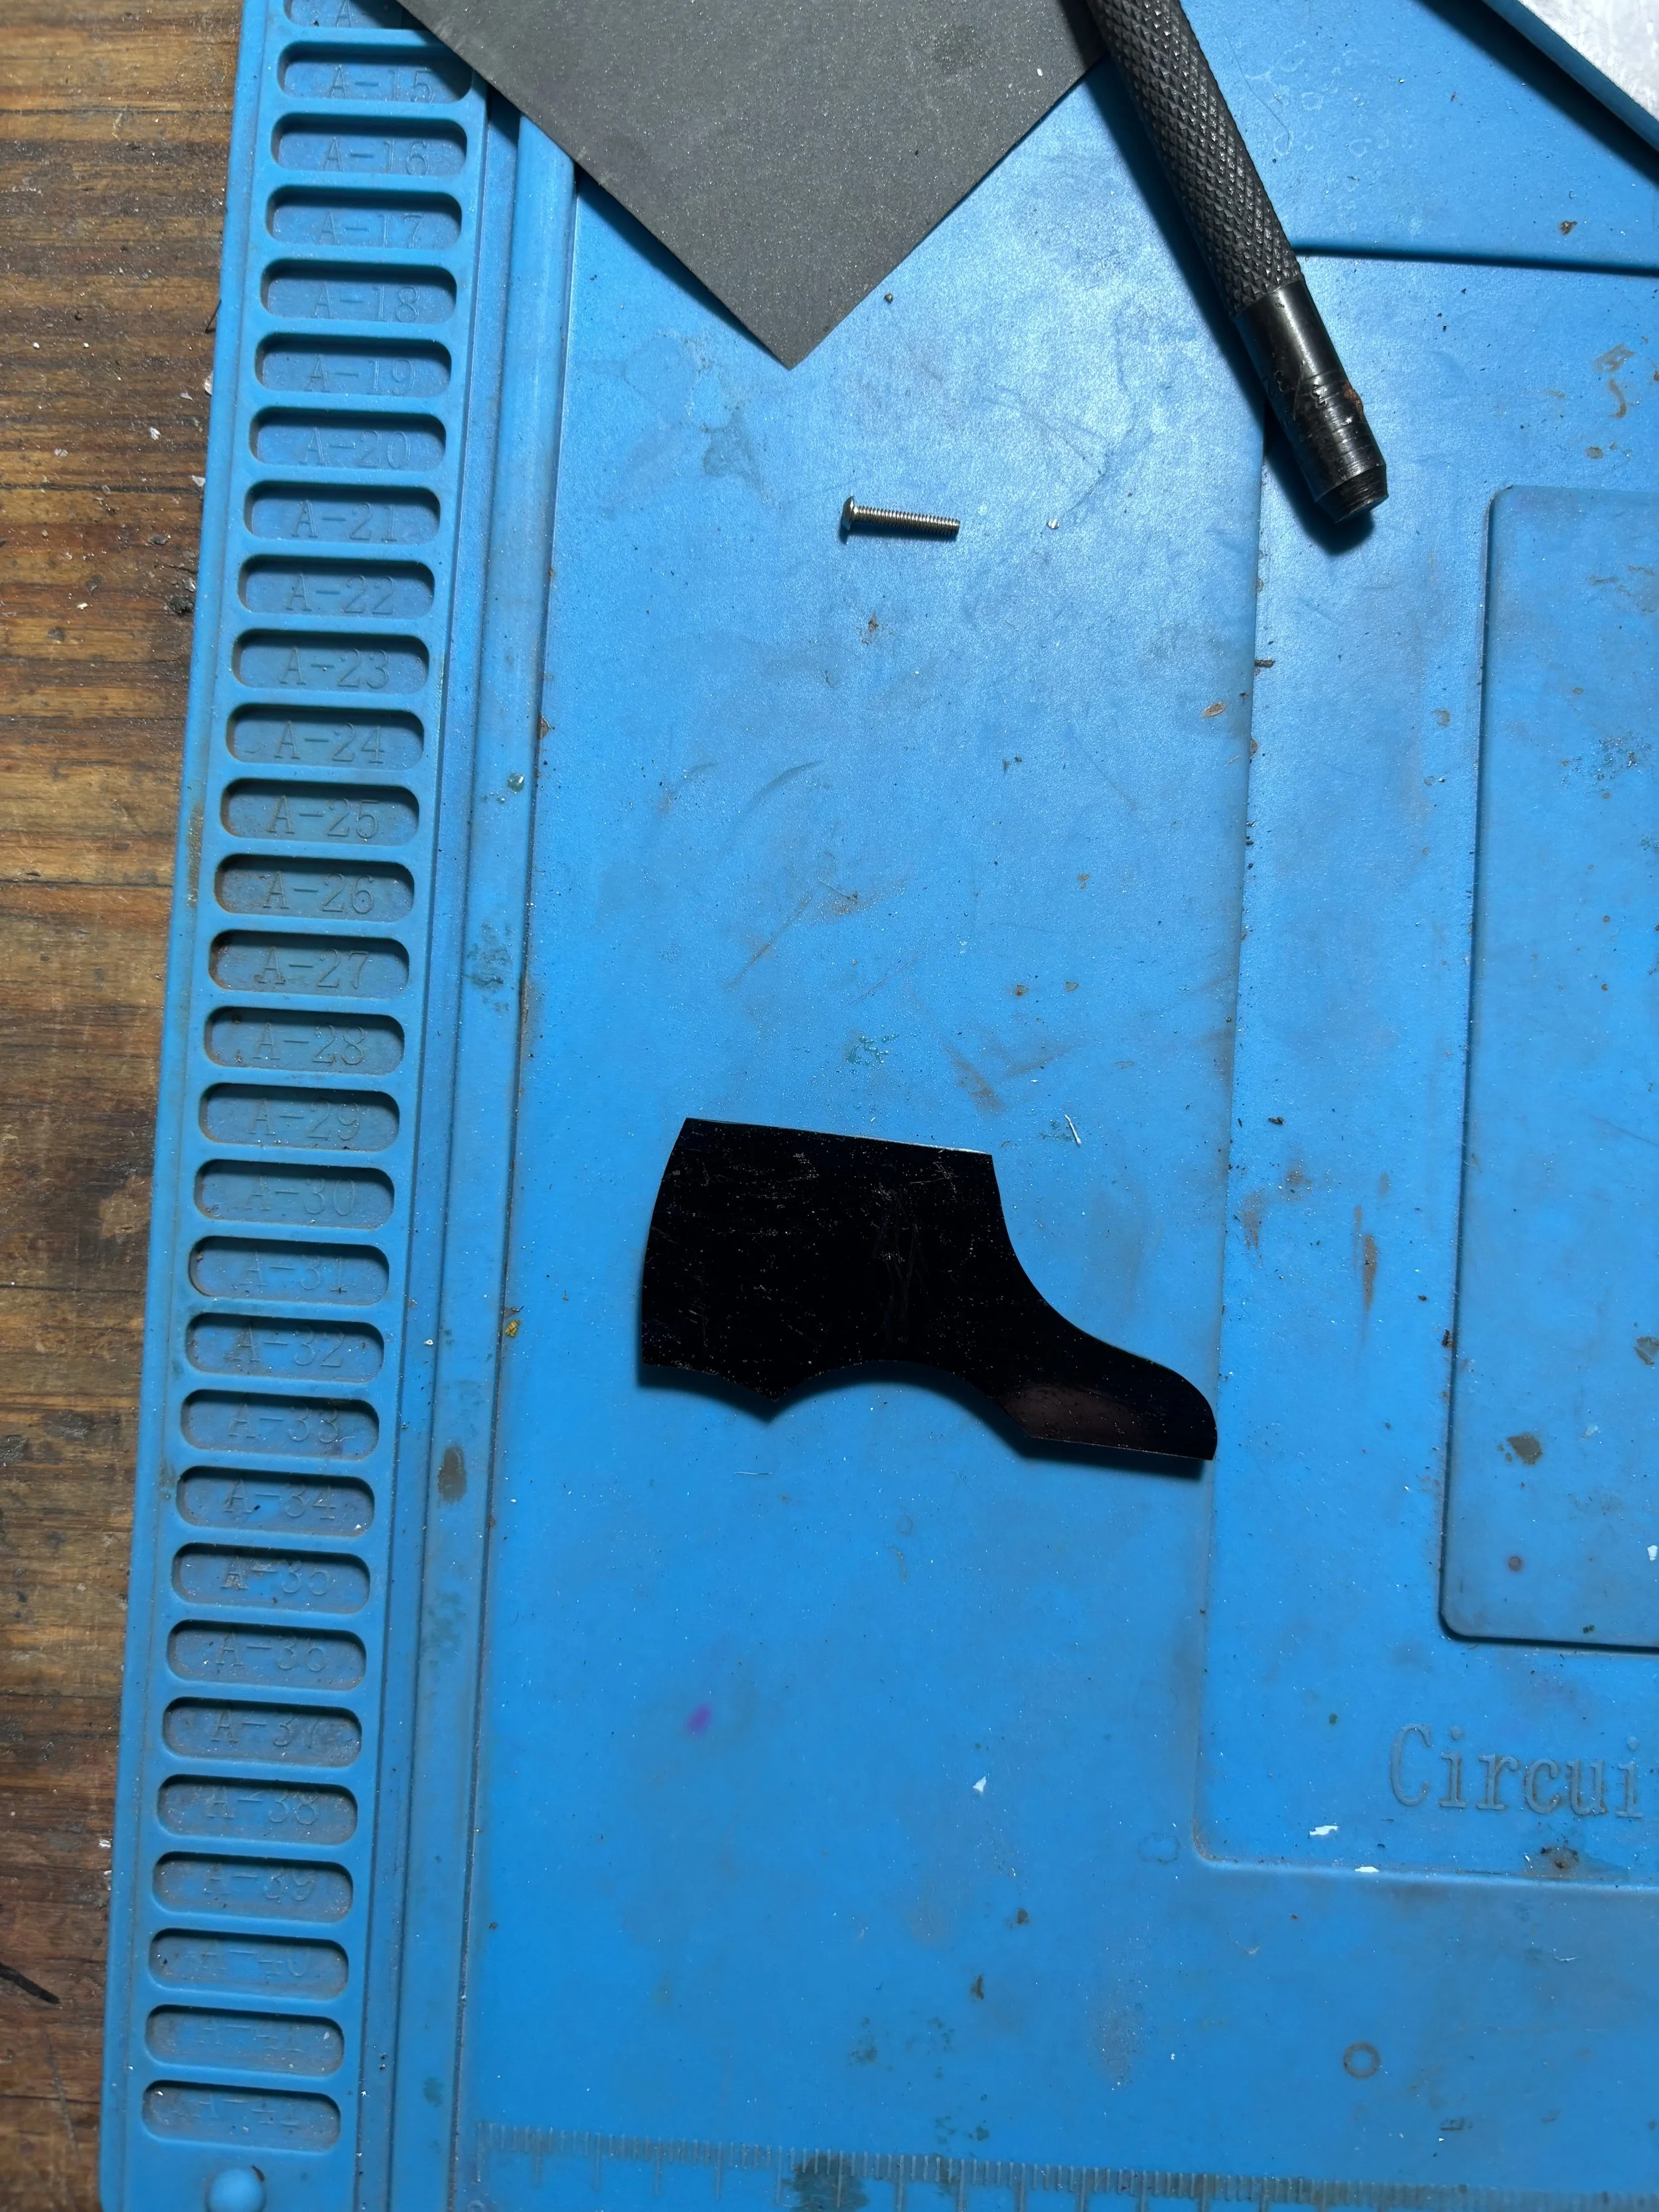
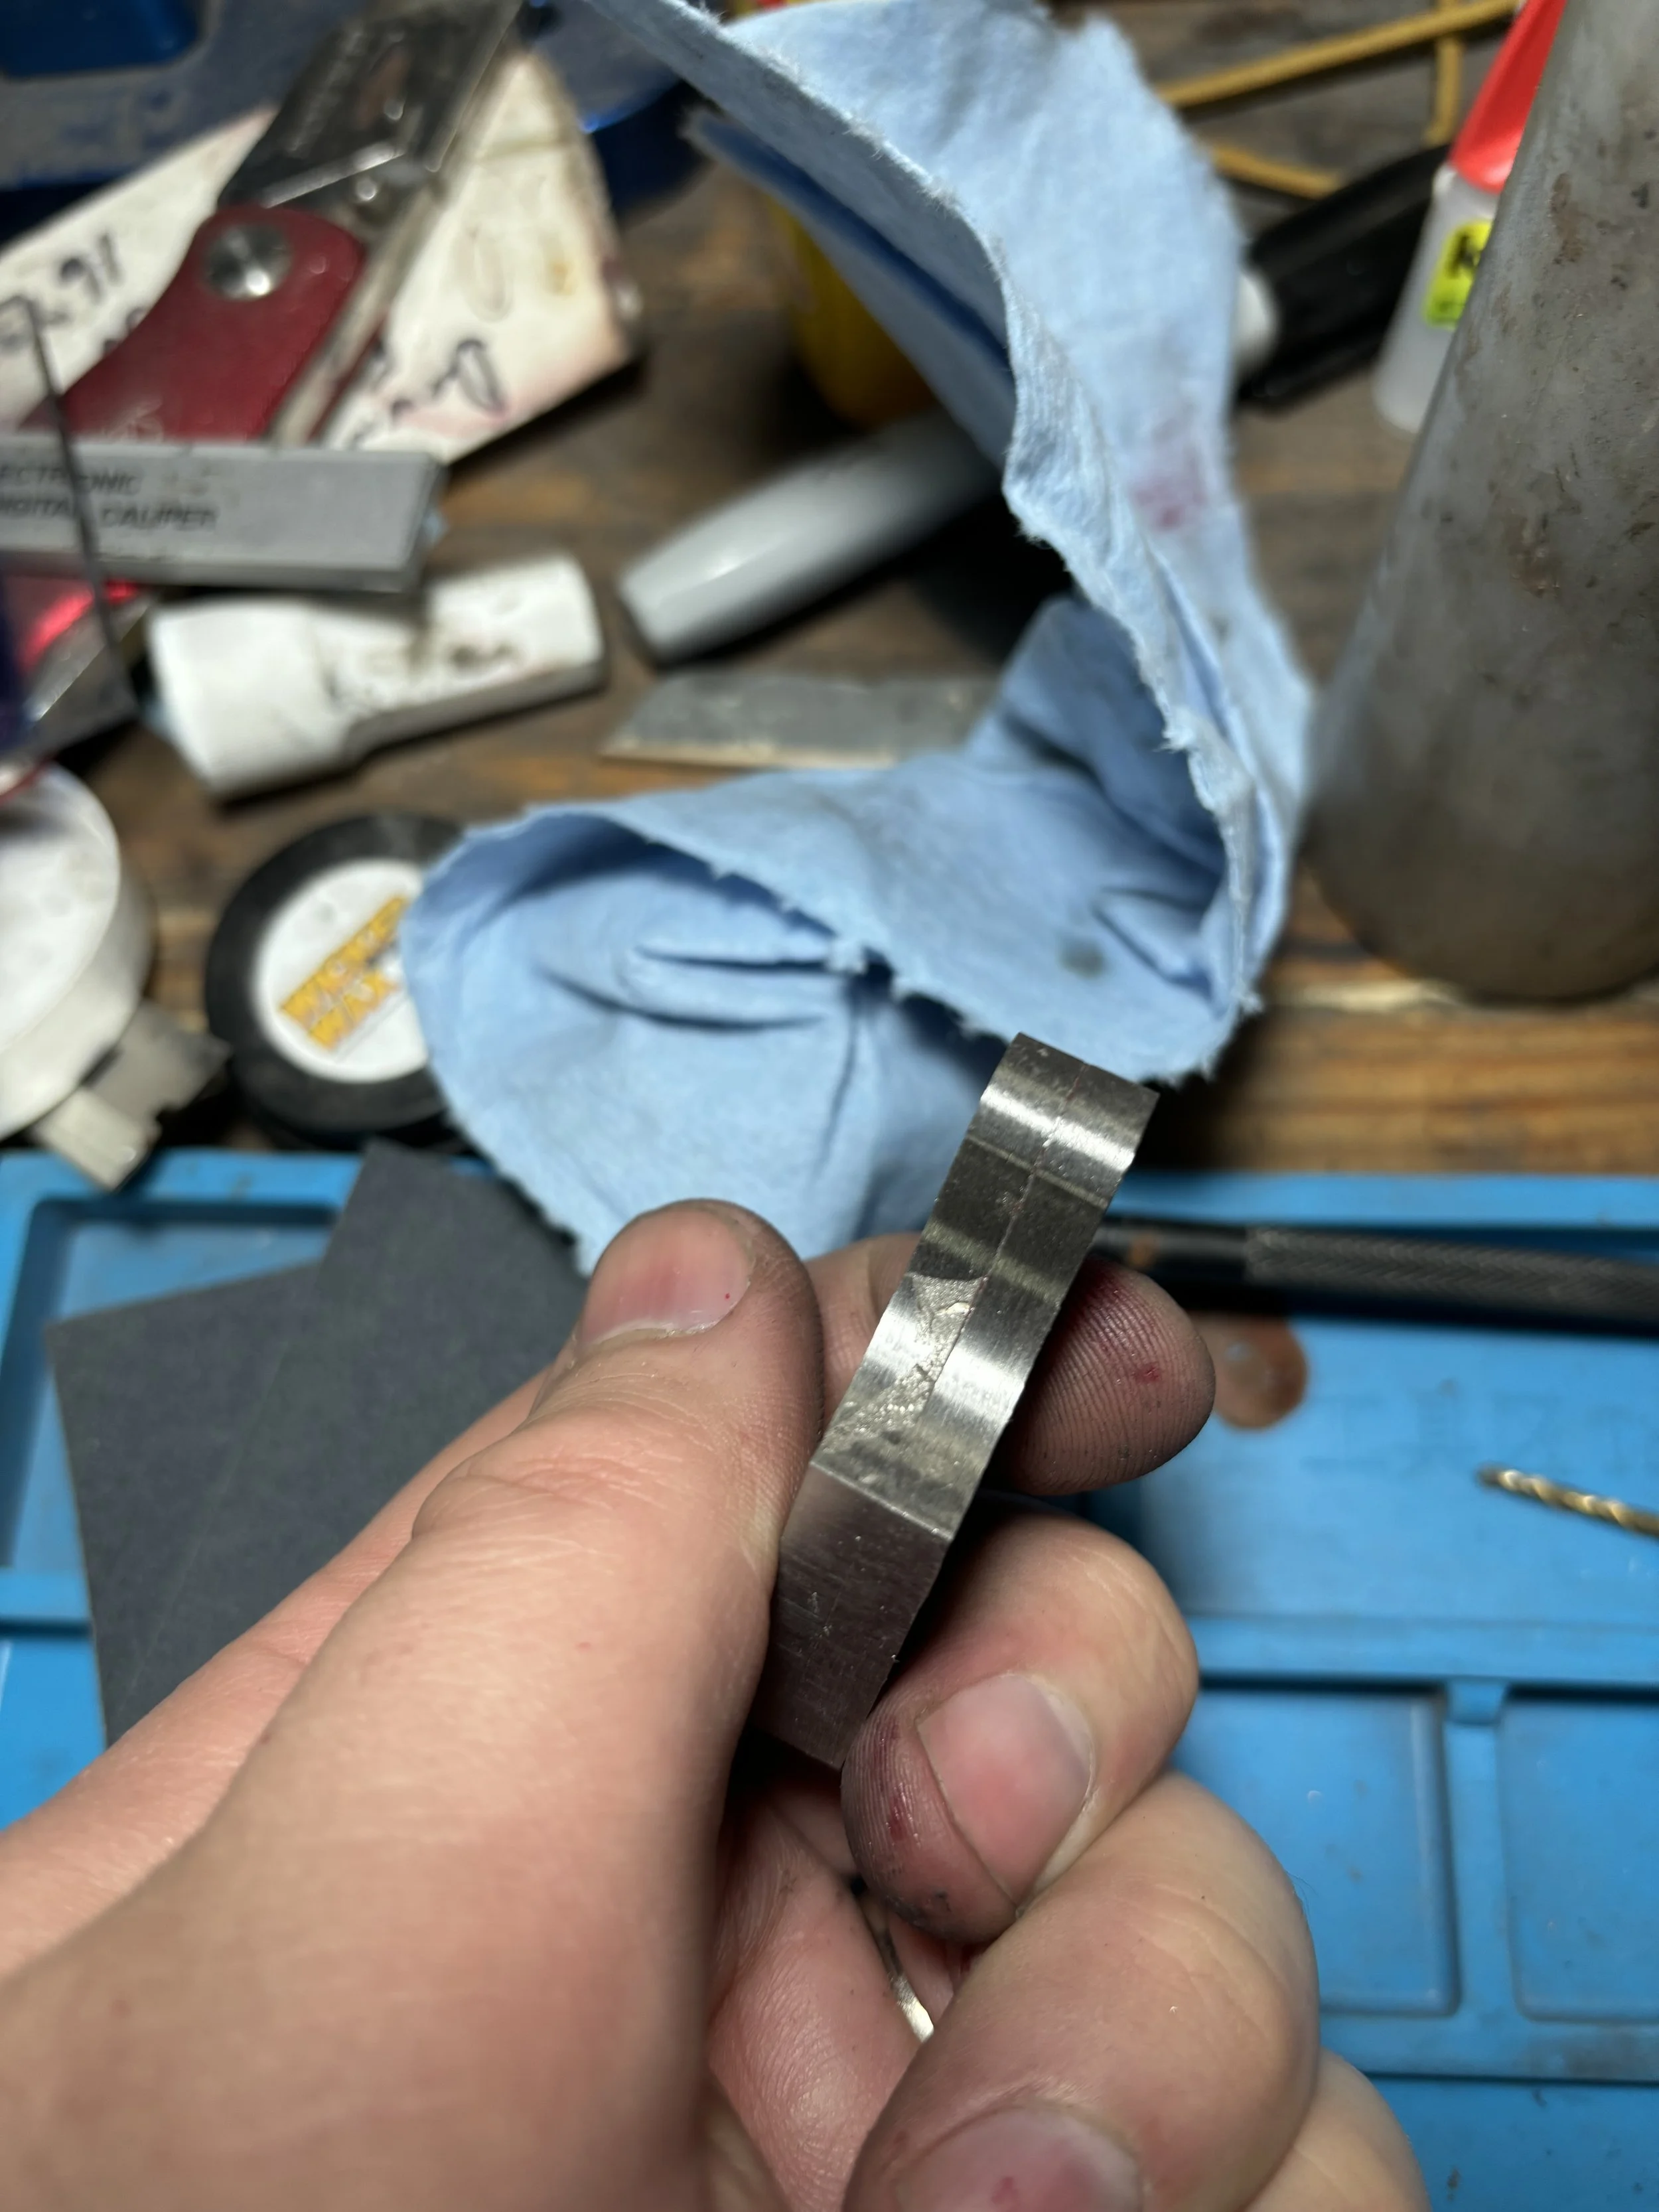
Here are the meteorite bolster Cut out and profiled. I ended up remaking one of them because it broke in the middle. Turns out meteorite is made up of iron bands and a pyrite like material.
-
![]()
You can see a band of this more brittle pyrite material here on the bottom of the bolsters.
-
![]()
All the parts, including handle scales lined up and ready for assembly.
-
![]()
Here was my work area and all it’s messy chaos. Lots of parts to assemble and disassemble and adjust and adjust little more.
-
![]()
This was back in my own shop after the class ended. I ended up completing about 75% of the knife with Johnny and due to my own ambition ran out of time and had to finish the other 25% at home.
-
![]()
Here’s a blade roughly put together before the fine details were added.
-
![]()
My first etch of the blade to see the pattern, but there was a little bit of spottiness in the etch so when removing the oxides on the buffing whale, I actually decided to leave it bright as seen in final photos.
-
![]()
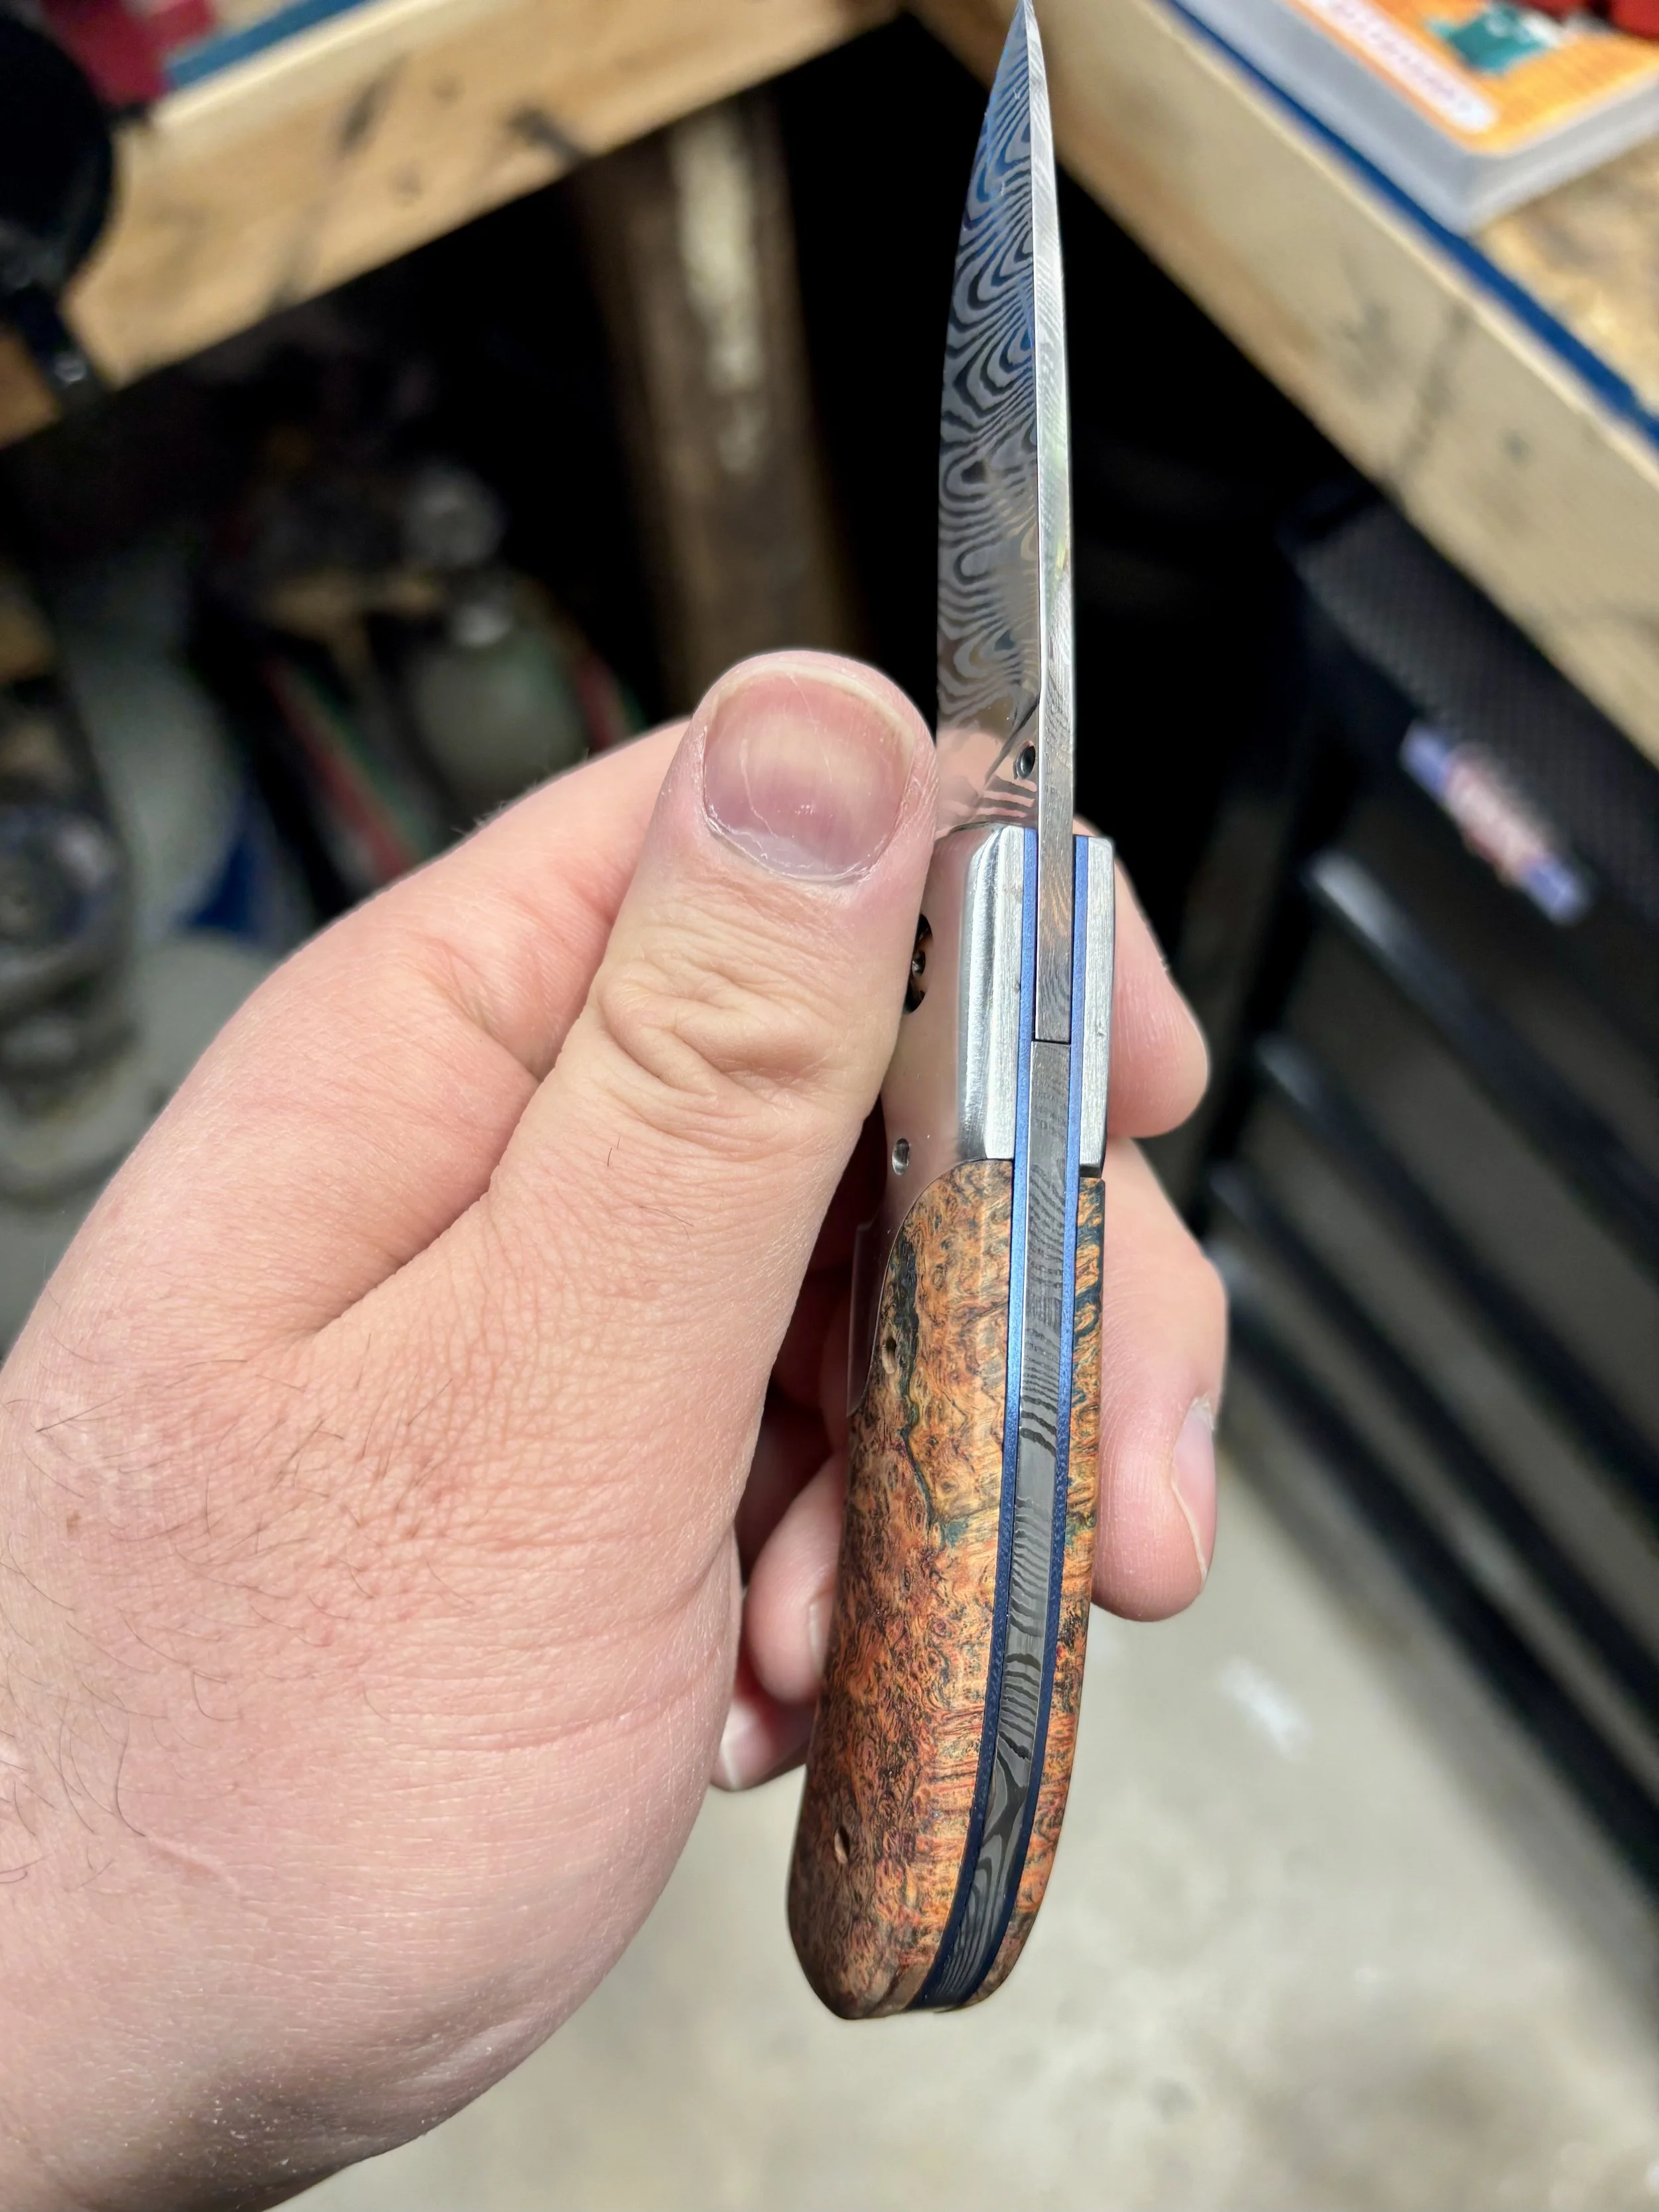
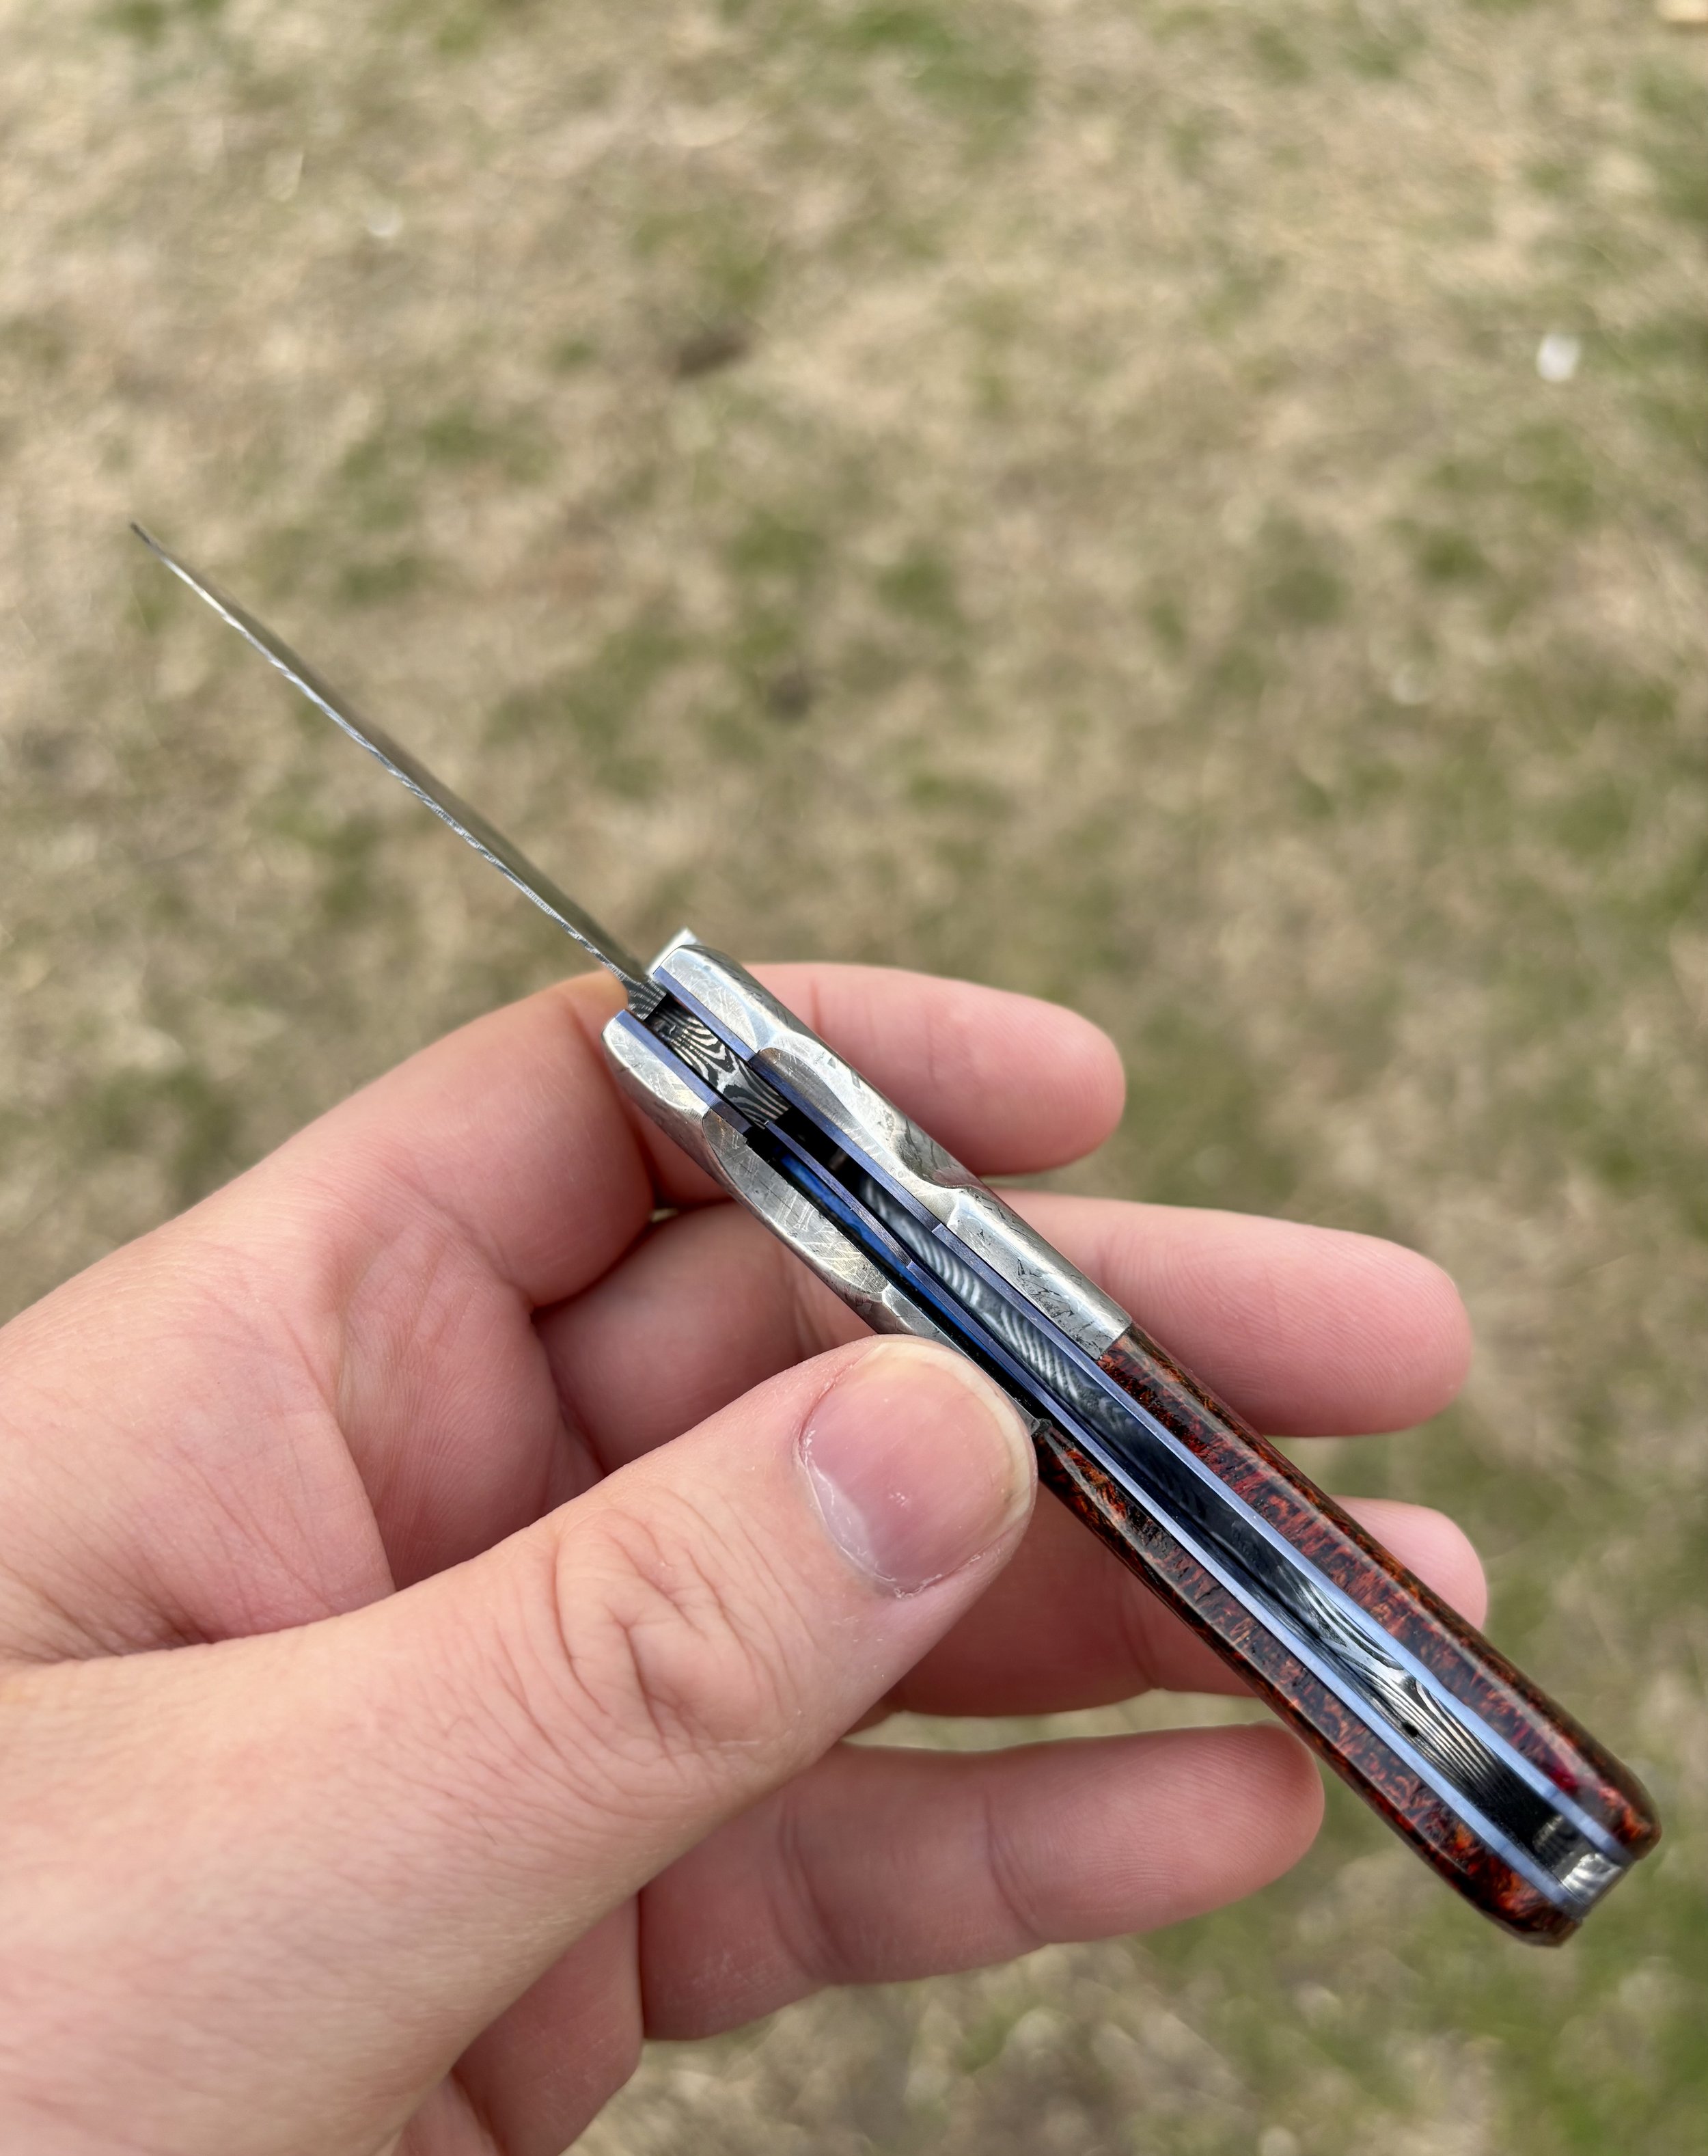
Not as shiny or polished as it could be, but when I first thought about design and style for this knife, I wanted to anodize the titanium to have bright blue liners to match the blue and the handle material and the final little gemstone in the thumb that. I’ve learned how to anodize titanium at home and this was my very first attempt at it. I would call it a great success
-
![]()
They peek at the liners from the back of a knife. I love the little pop of color!
-
![]()
Working some Blade Smith voodoo with wood, dust, and epoxy to fill in some tiny gaps between the final bolsters and handle scales.
-
![]()
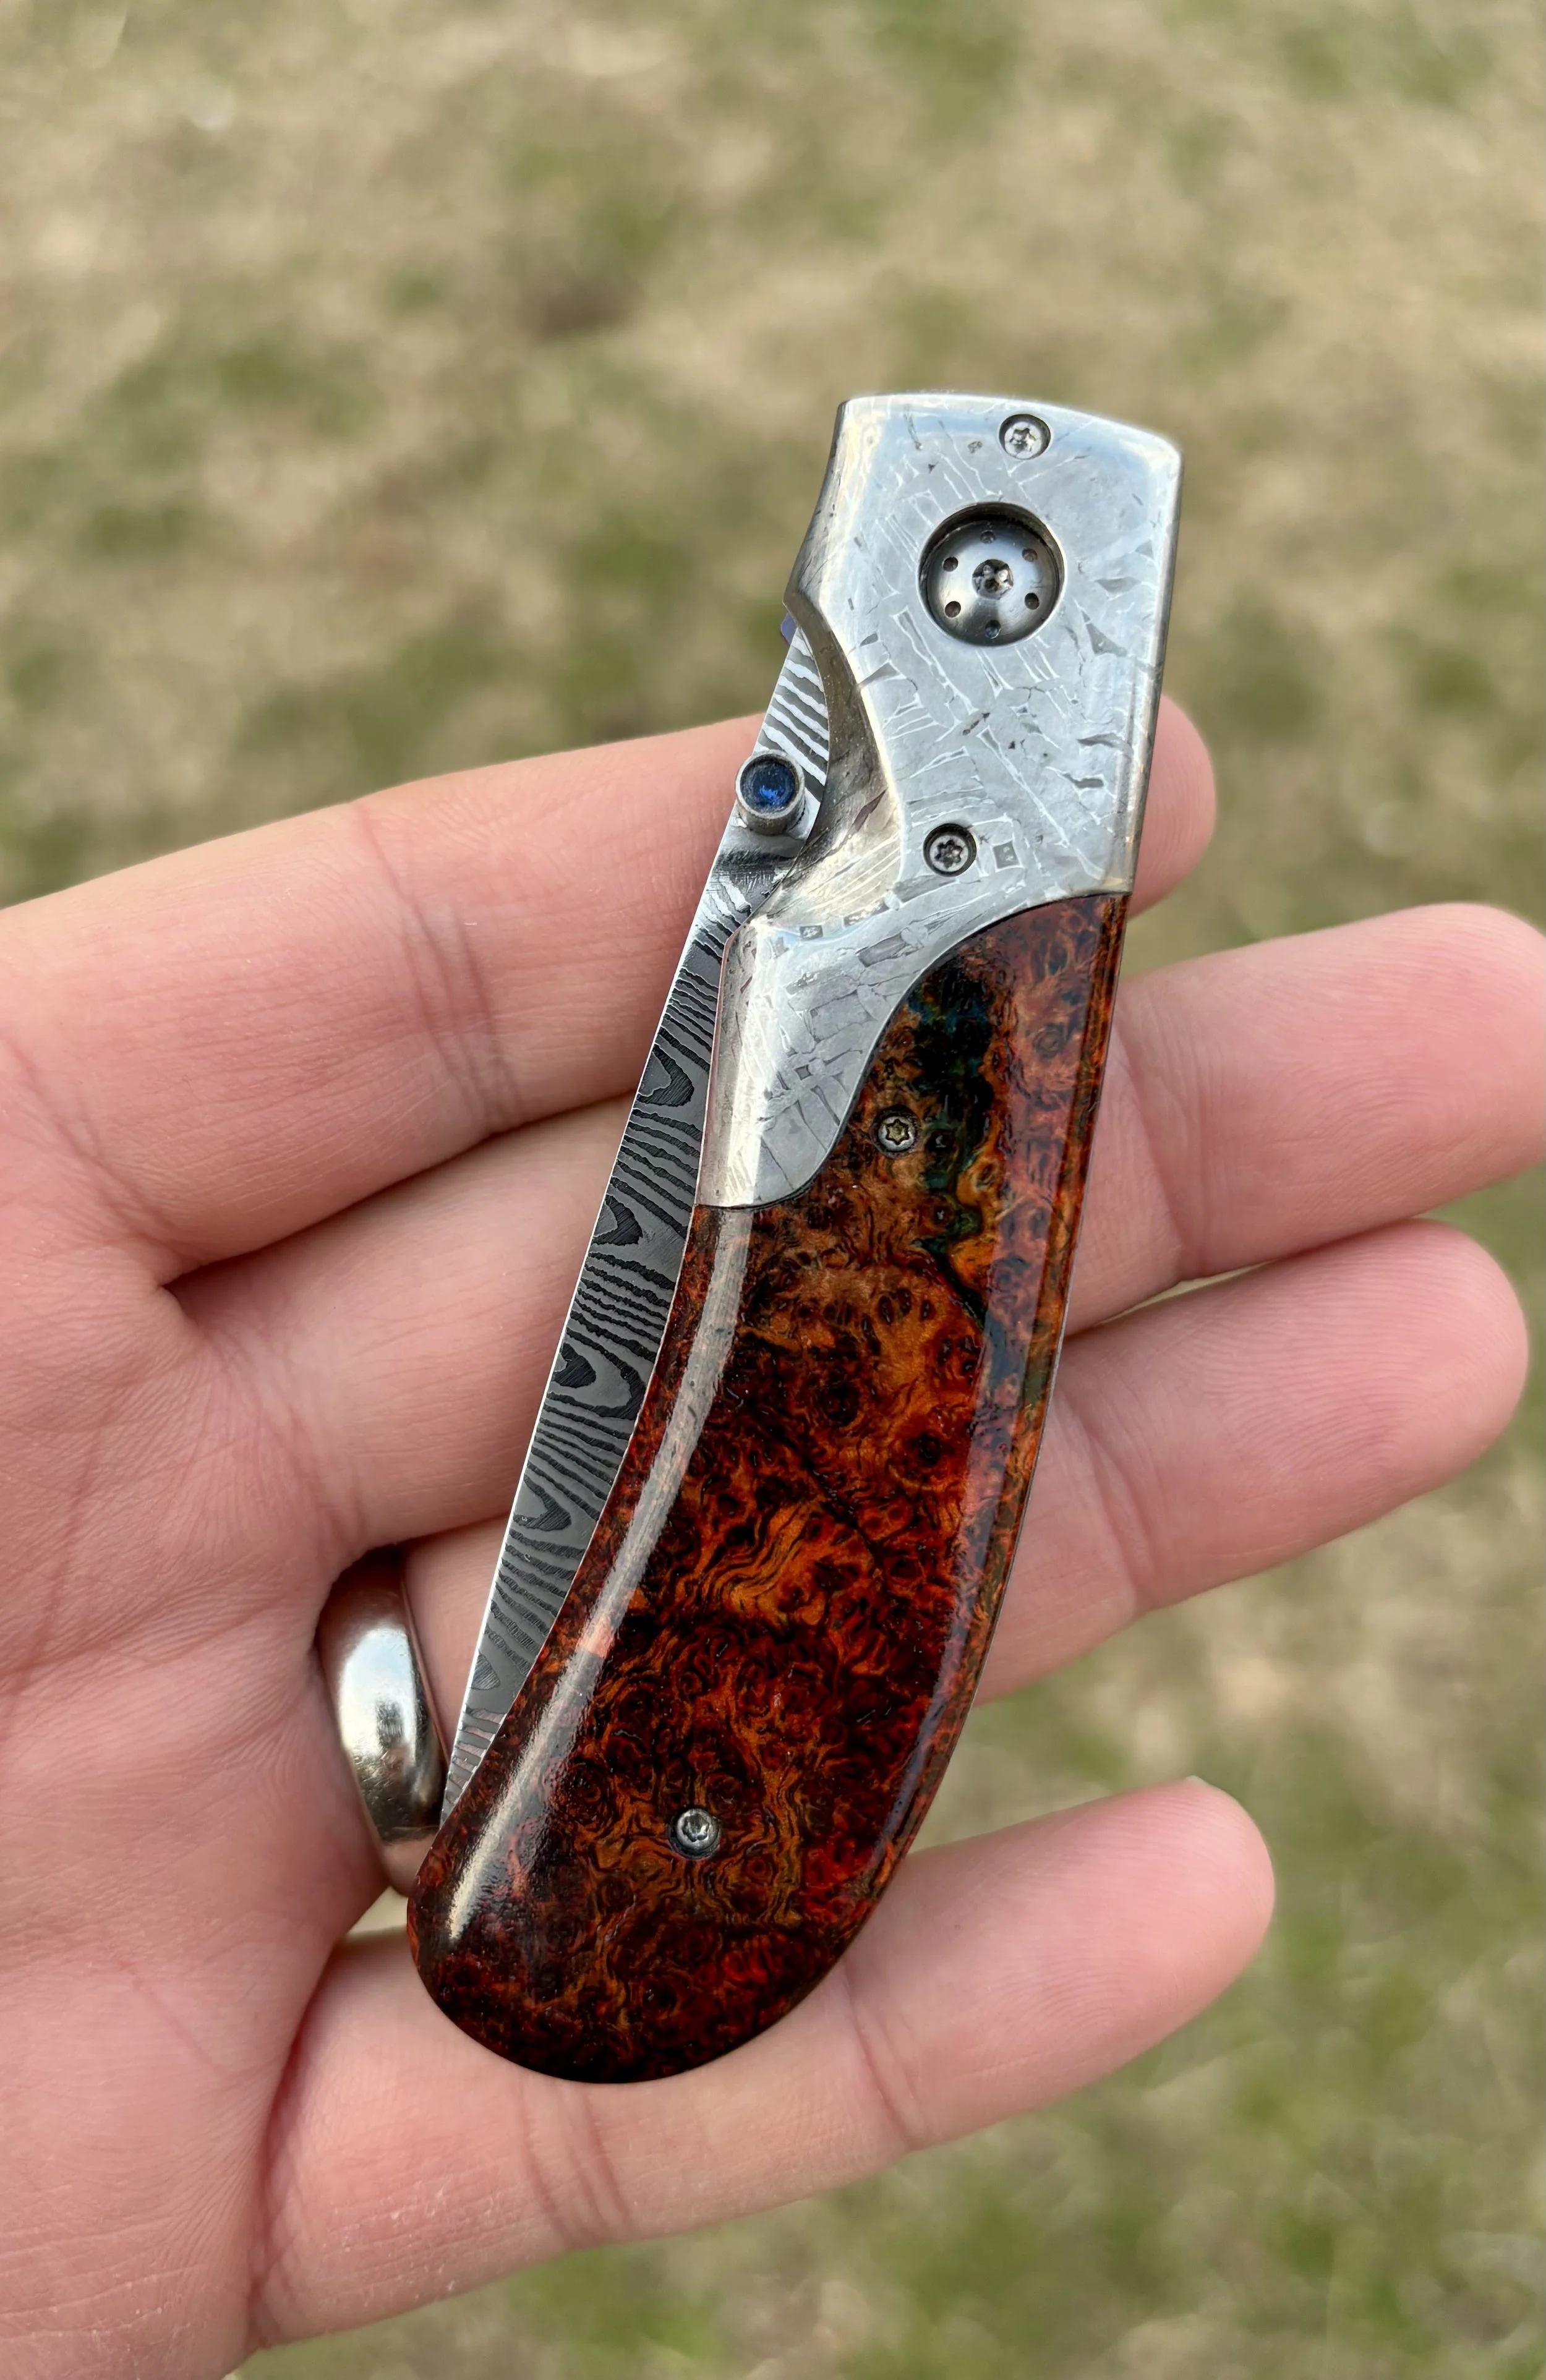
Bolsters finally etched! There’s some unique beauty to me right also, knowing the man could never re-create something God has made.
-
![]()
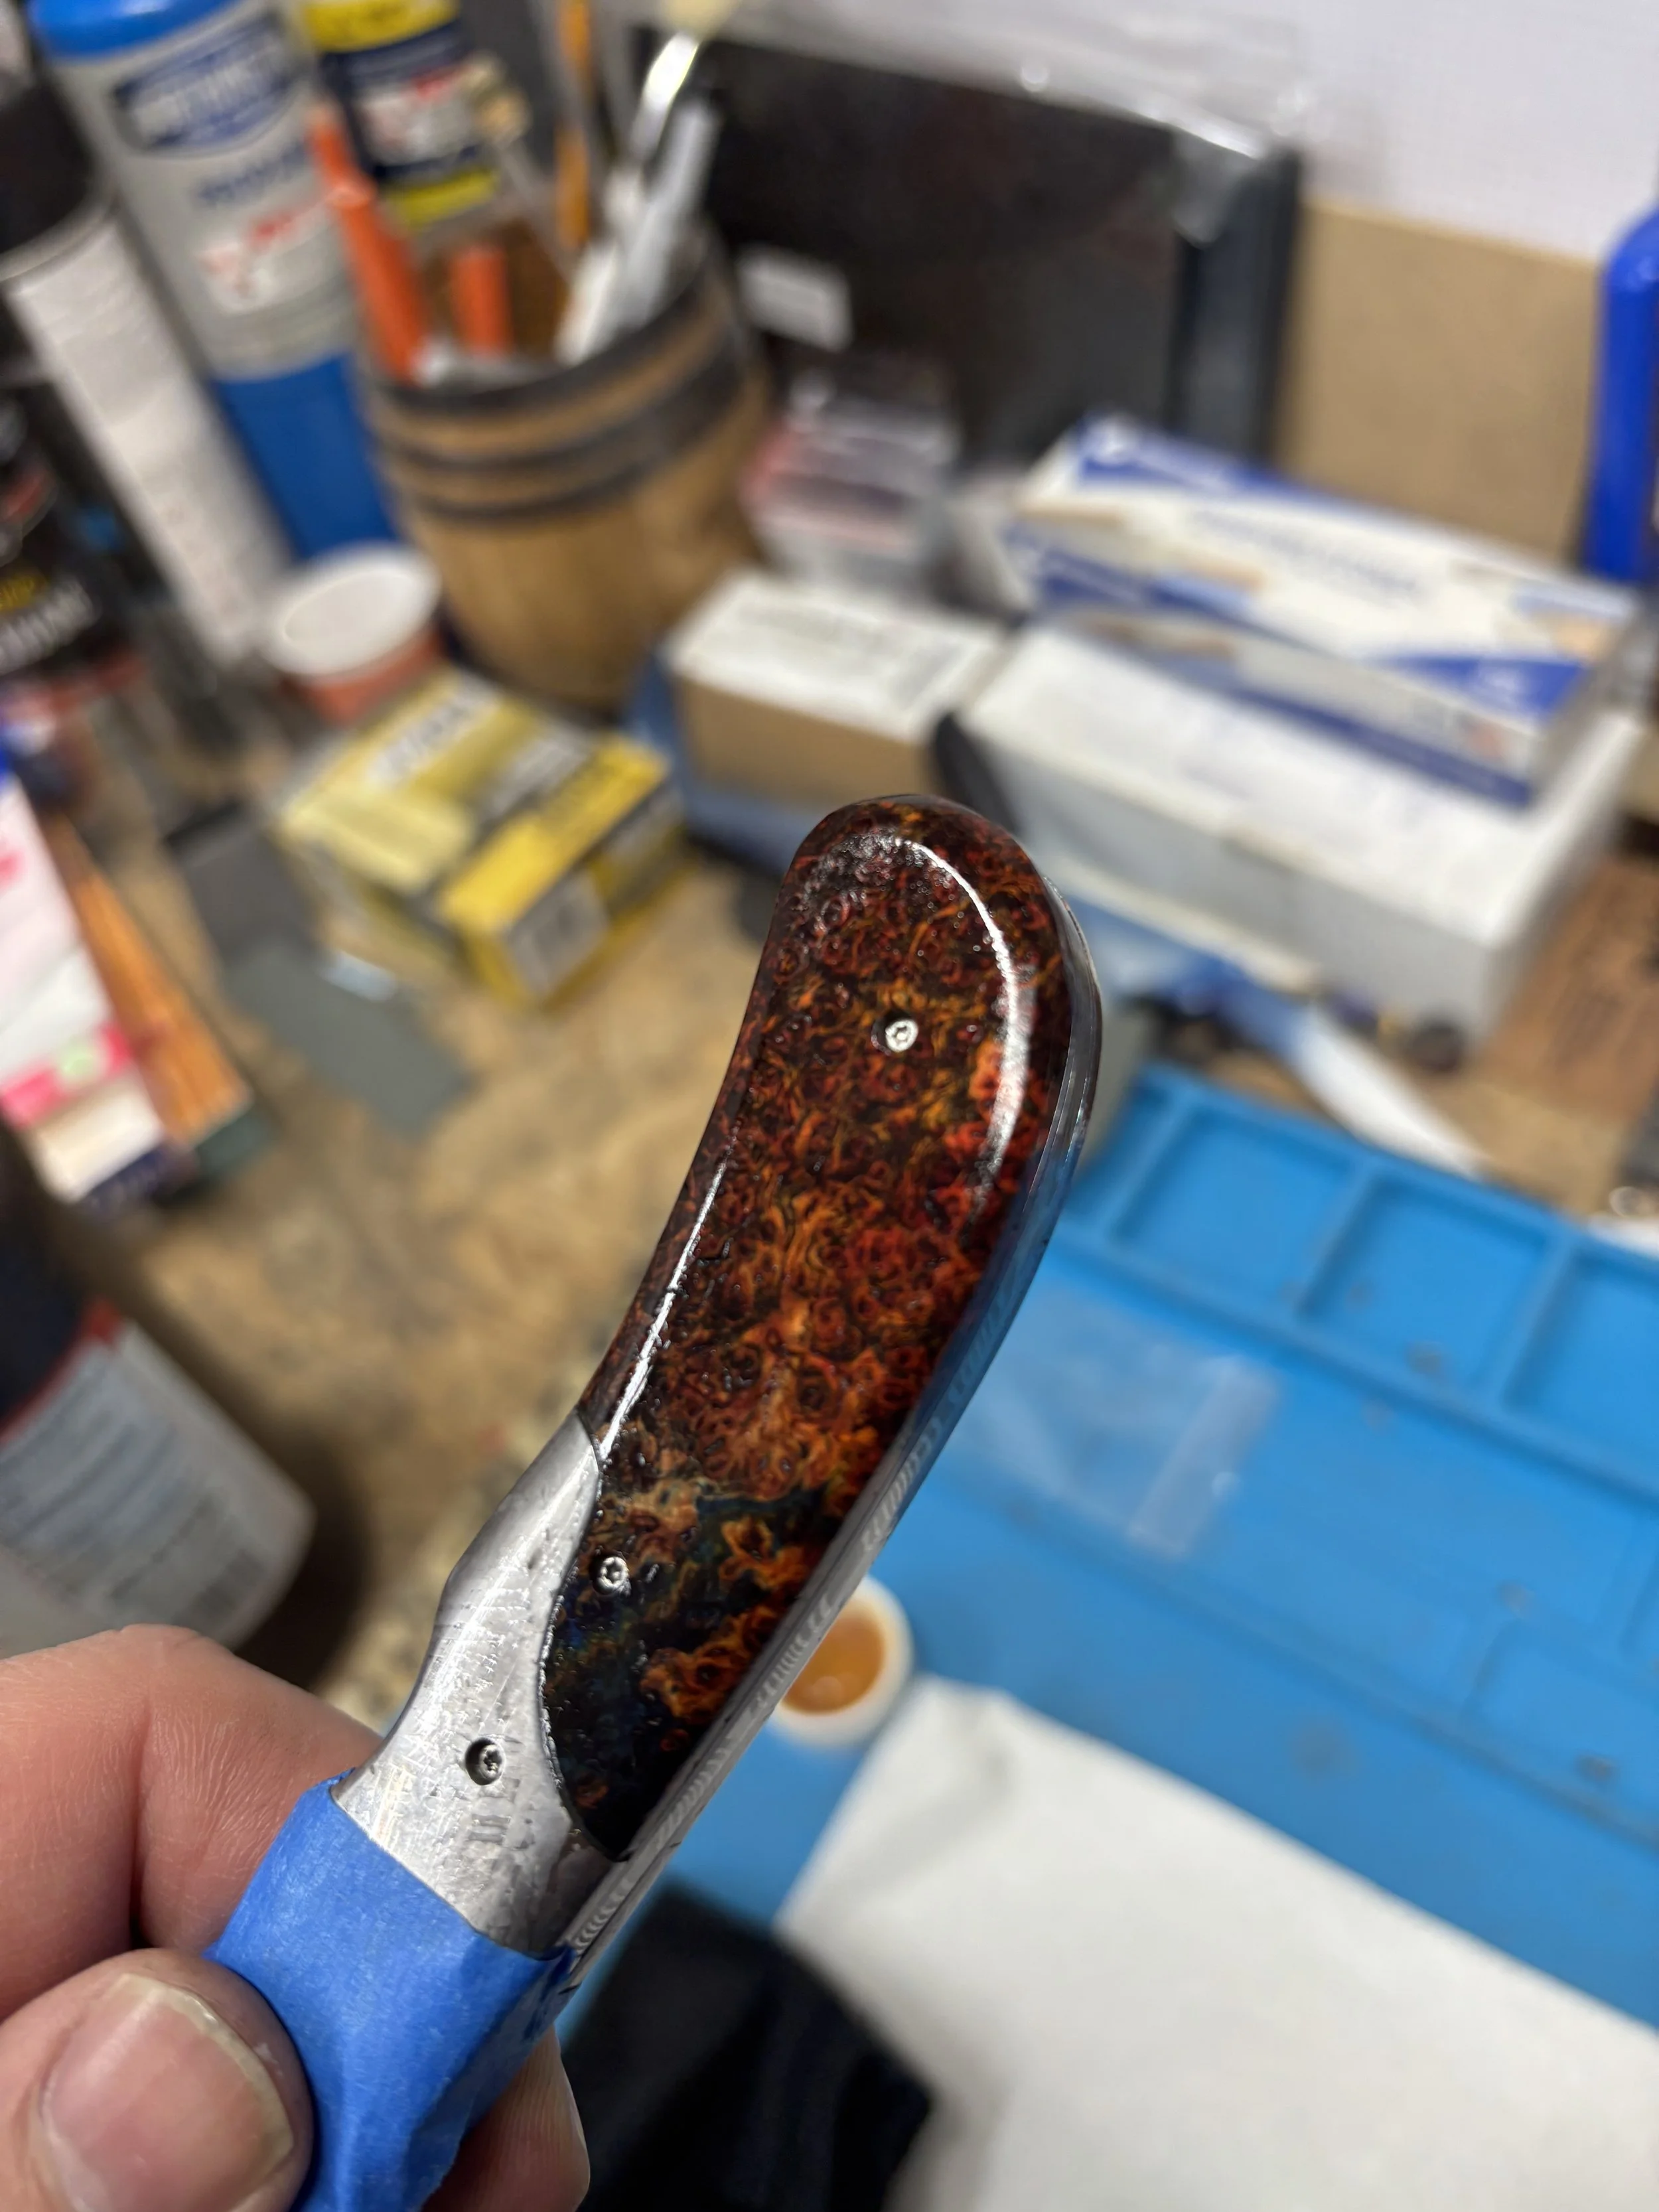
I love how a shiny coat of true oil brings out the colors of all these beautiful pieces of wood that I’m able to use on my blades.
-
![]()
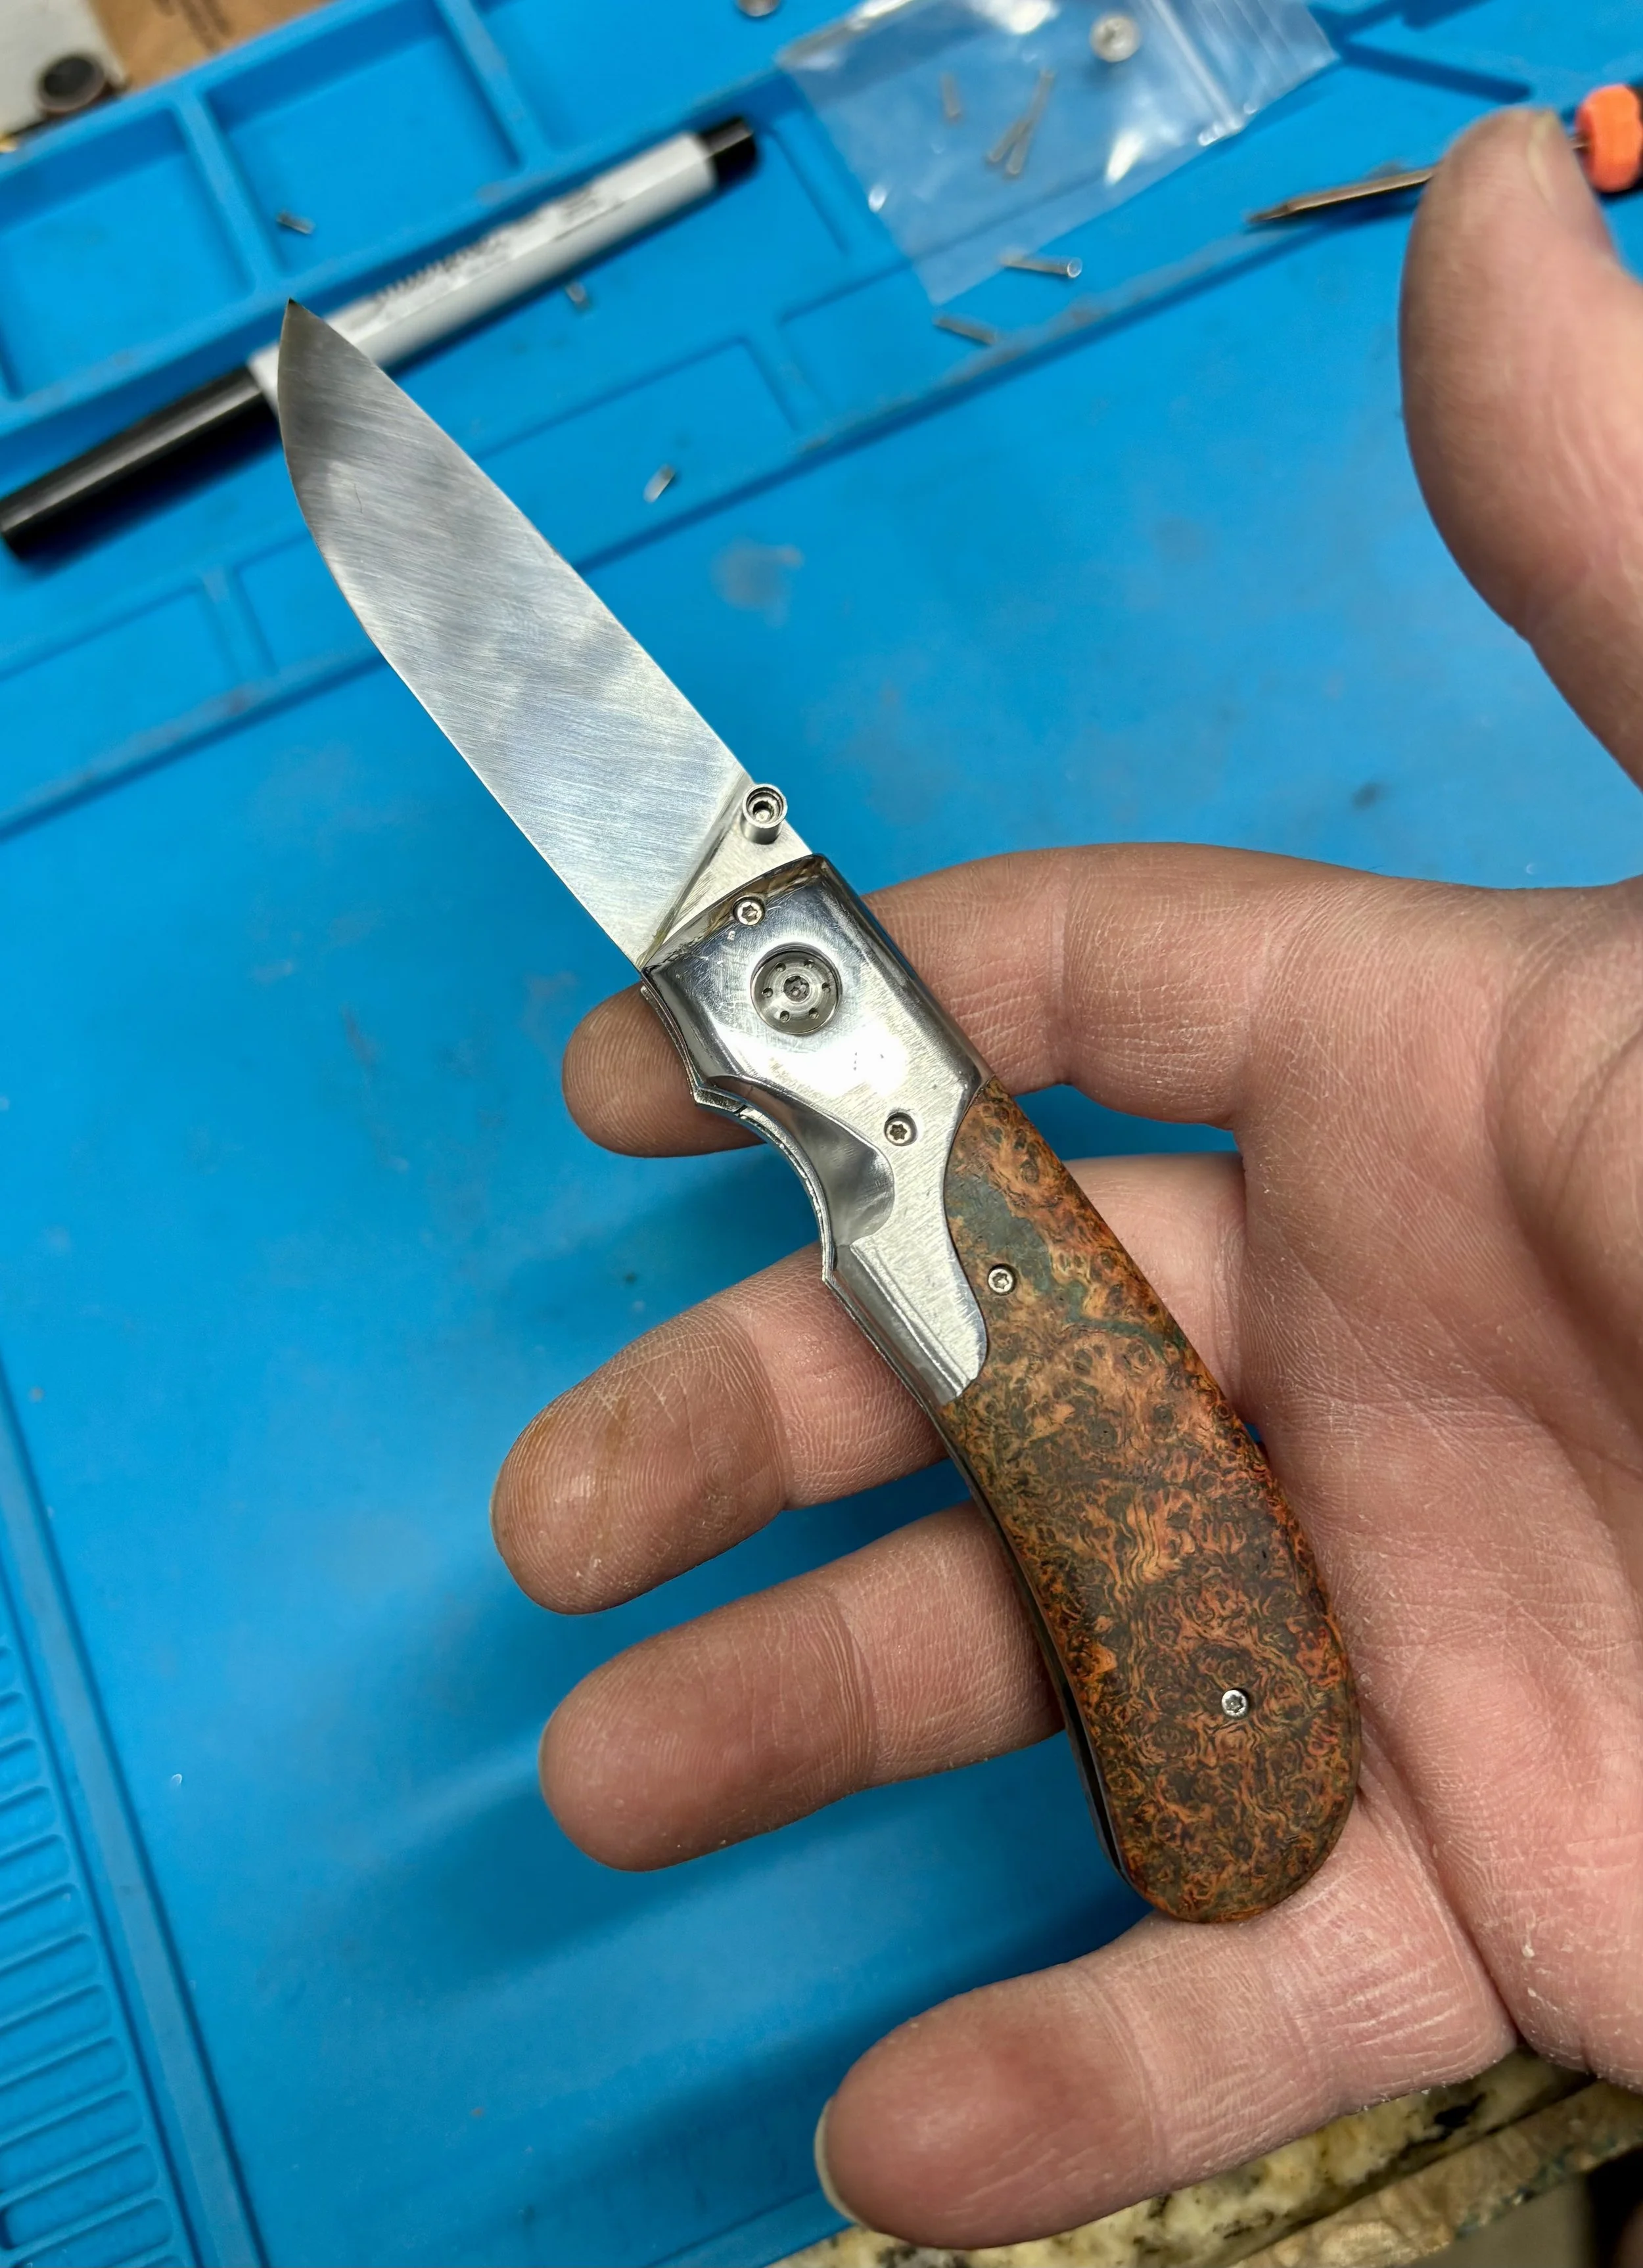
Glamour shot one.
-
![]()
Glamour shot two.
-
![]()
Glamour shot three.
-
![]()
Glamour shot four.
-
![]()
Glamour shot five.
-
![]()
Glamour shot six.
-
![]()
Glamour shot seven.
-
![]()
Glamour shot eight.
-
![]()
Glamour shot nine.
-
![]()
Glamour shot ten.
-
![]()
Glamour shot 11.
-
New List Item
More in progress. Come back soon and see.
