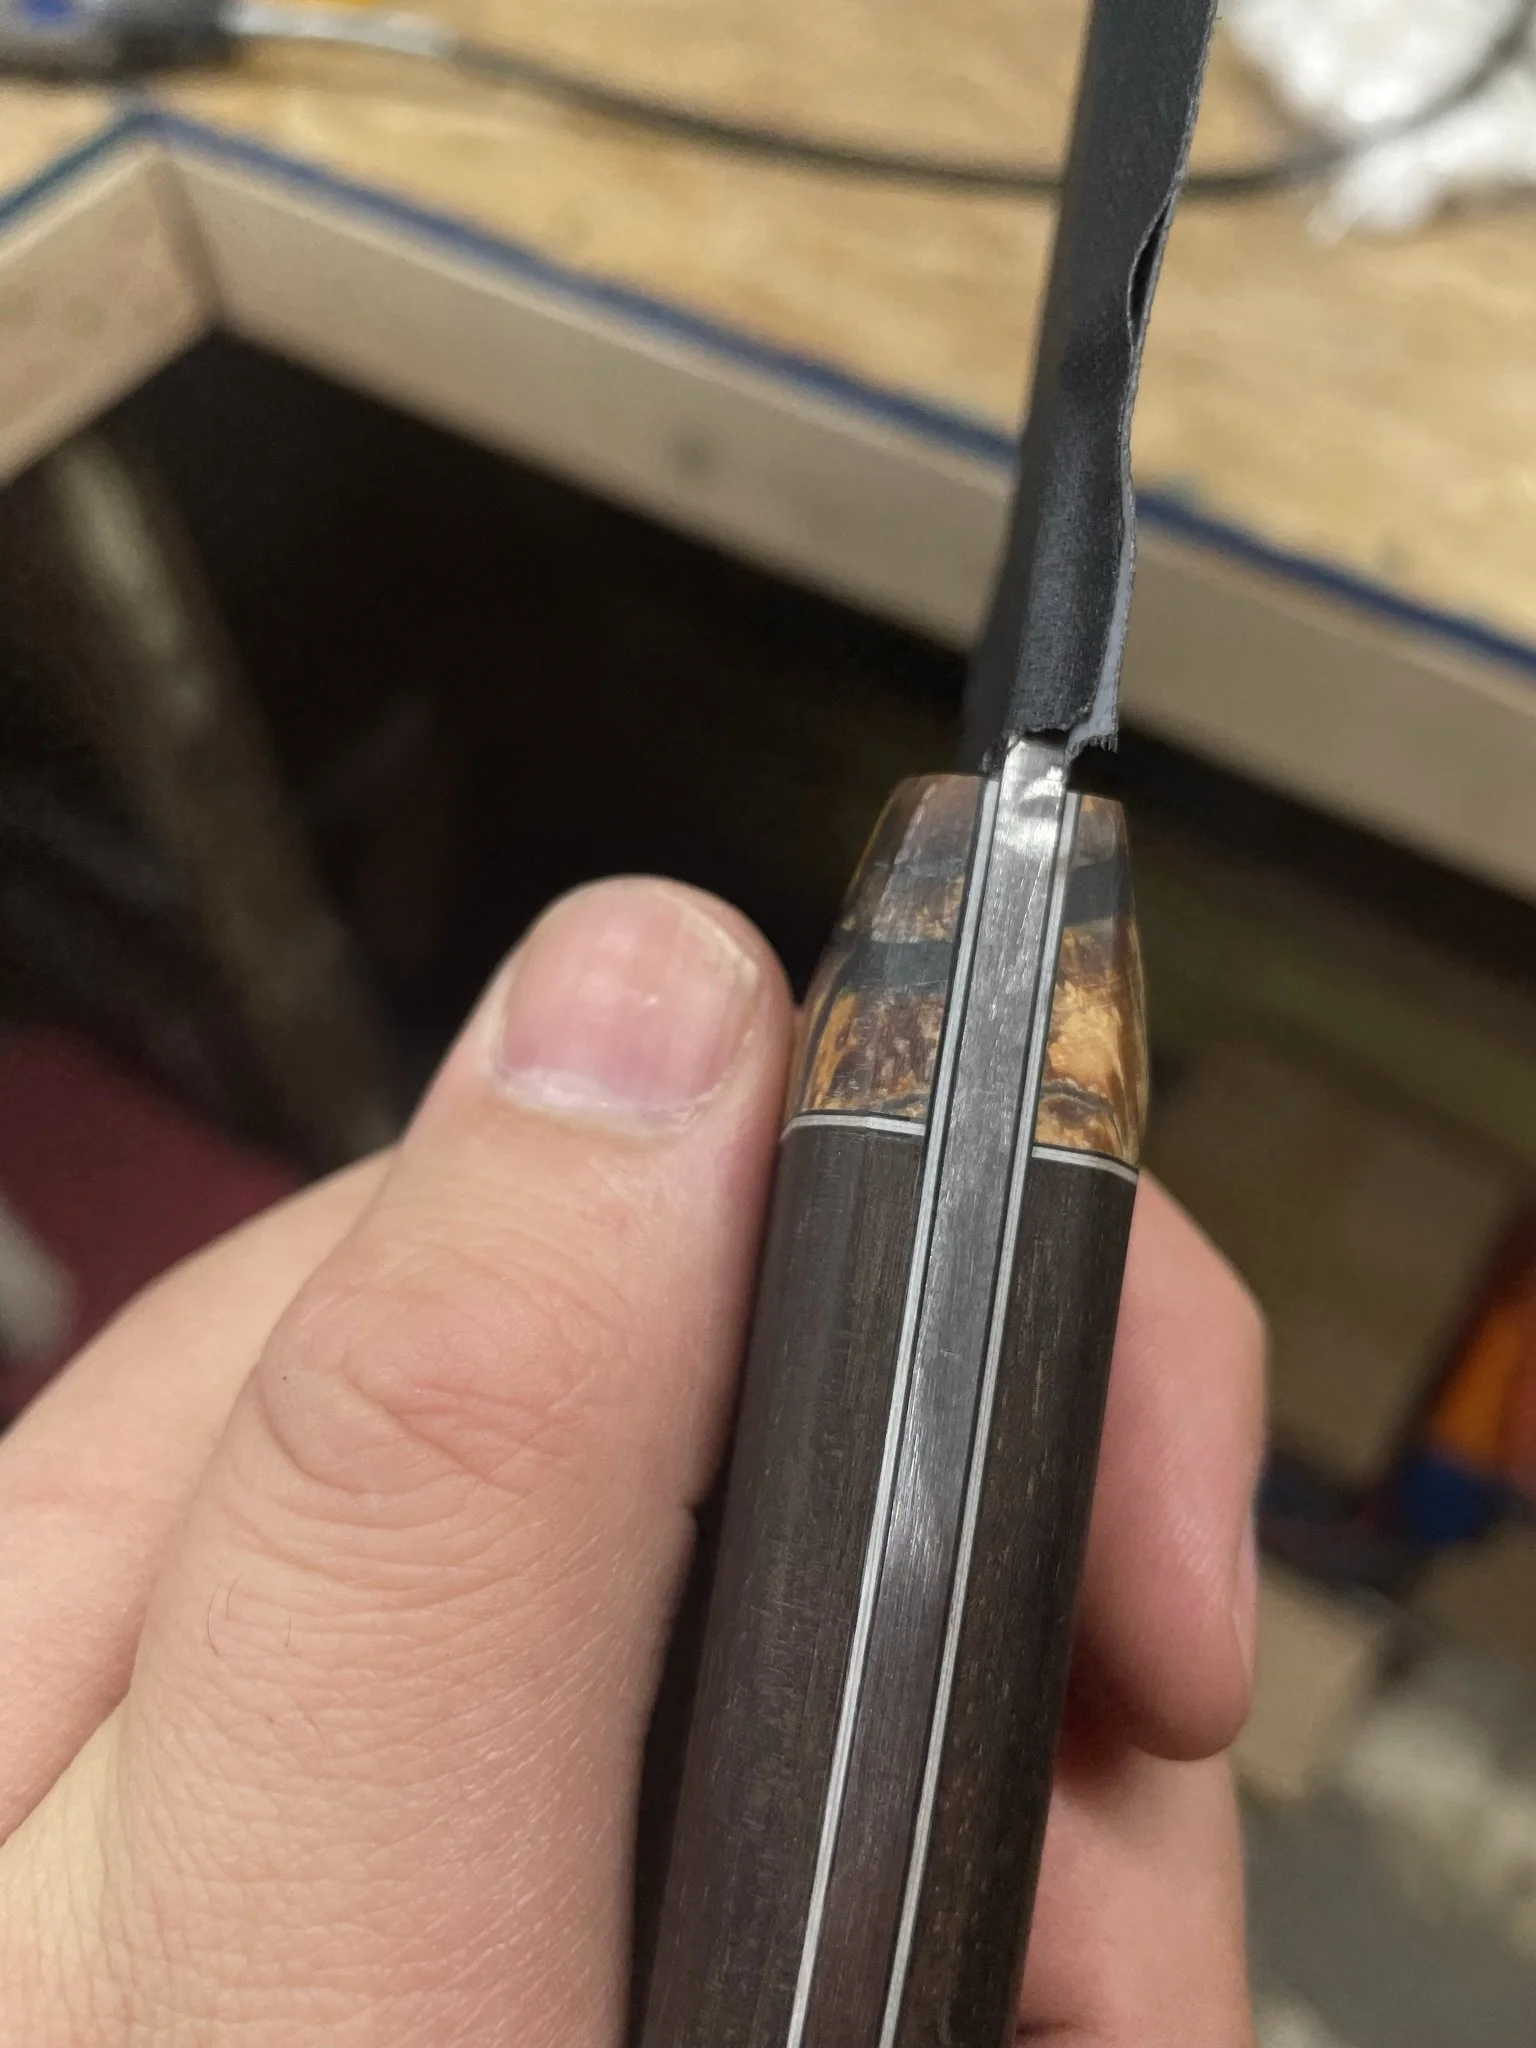
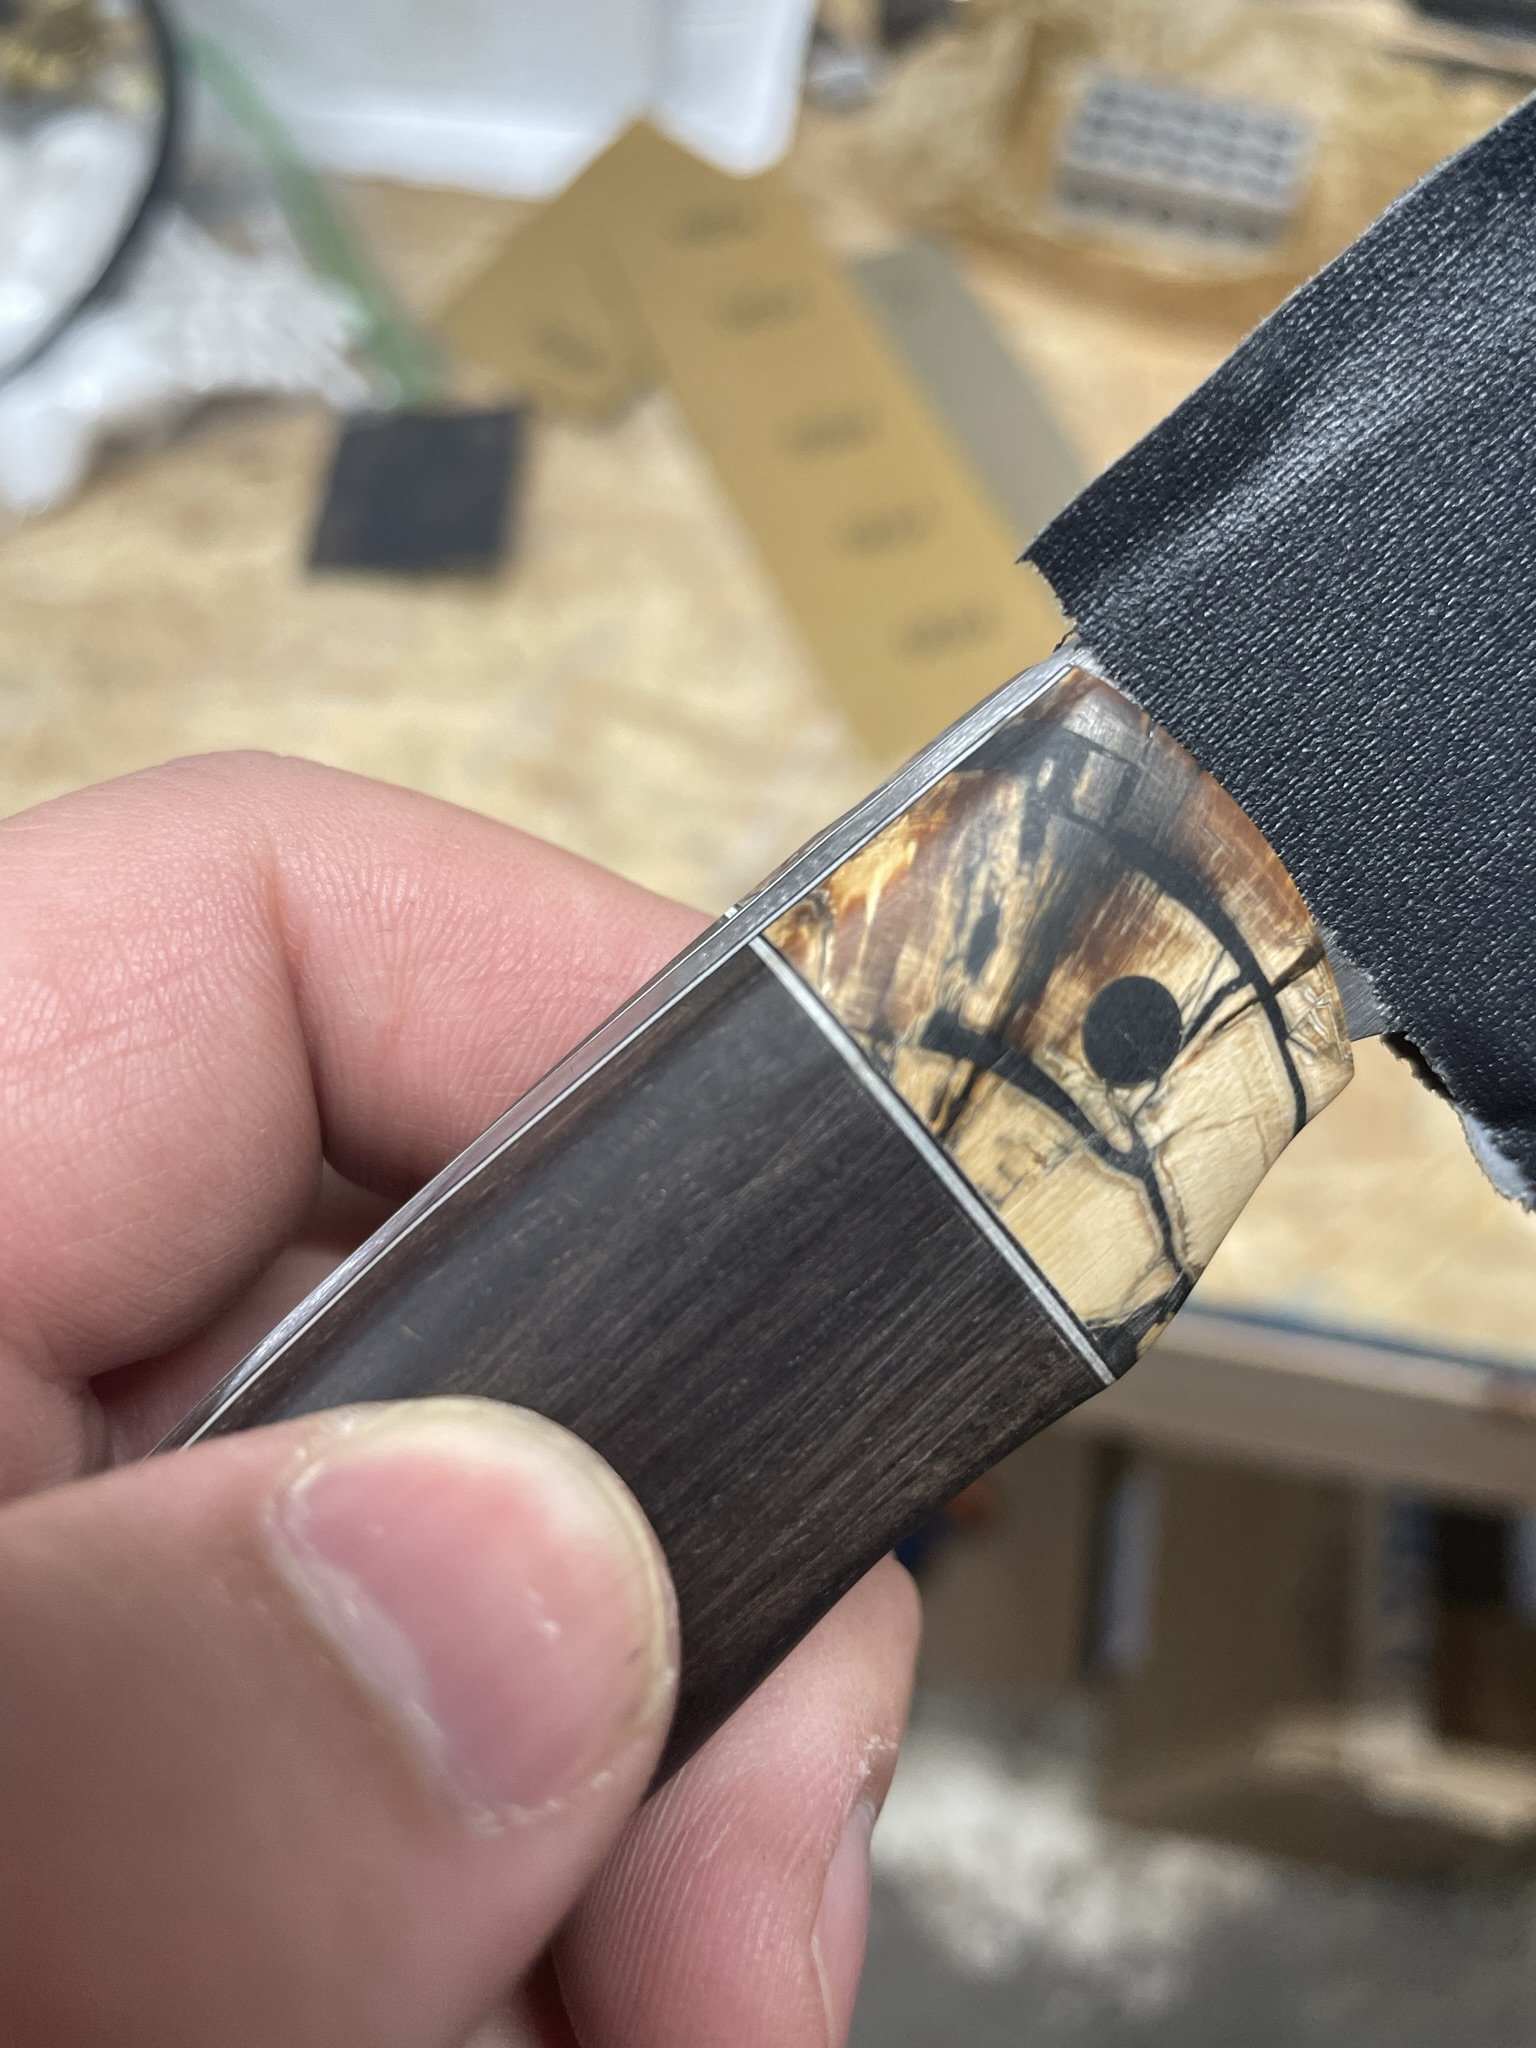
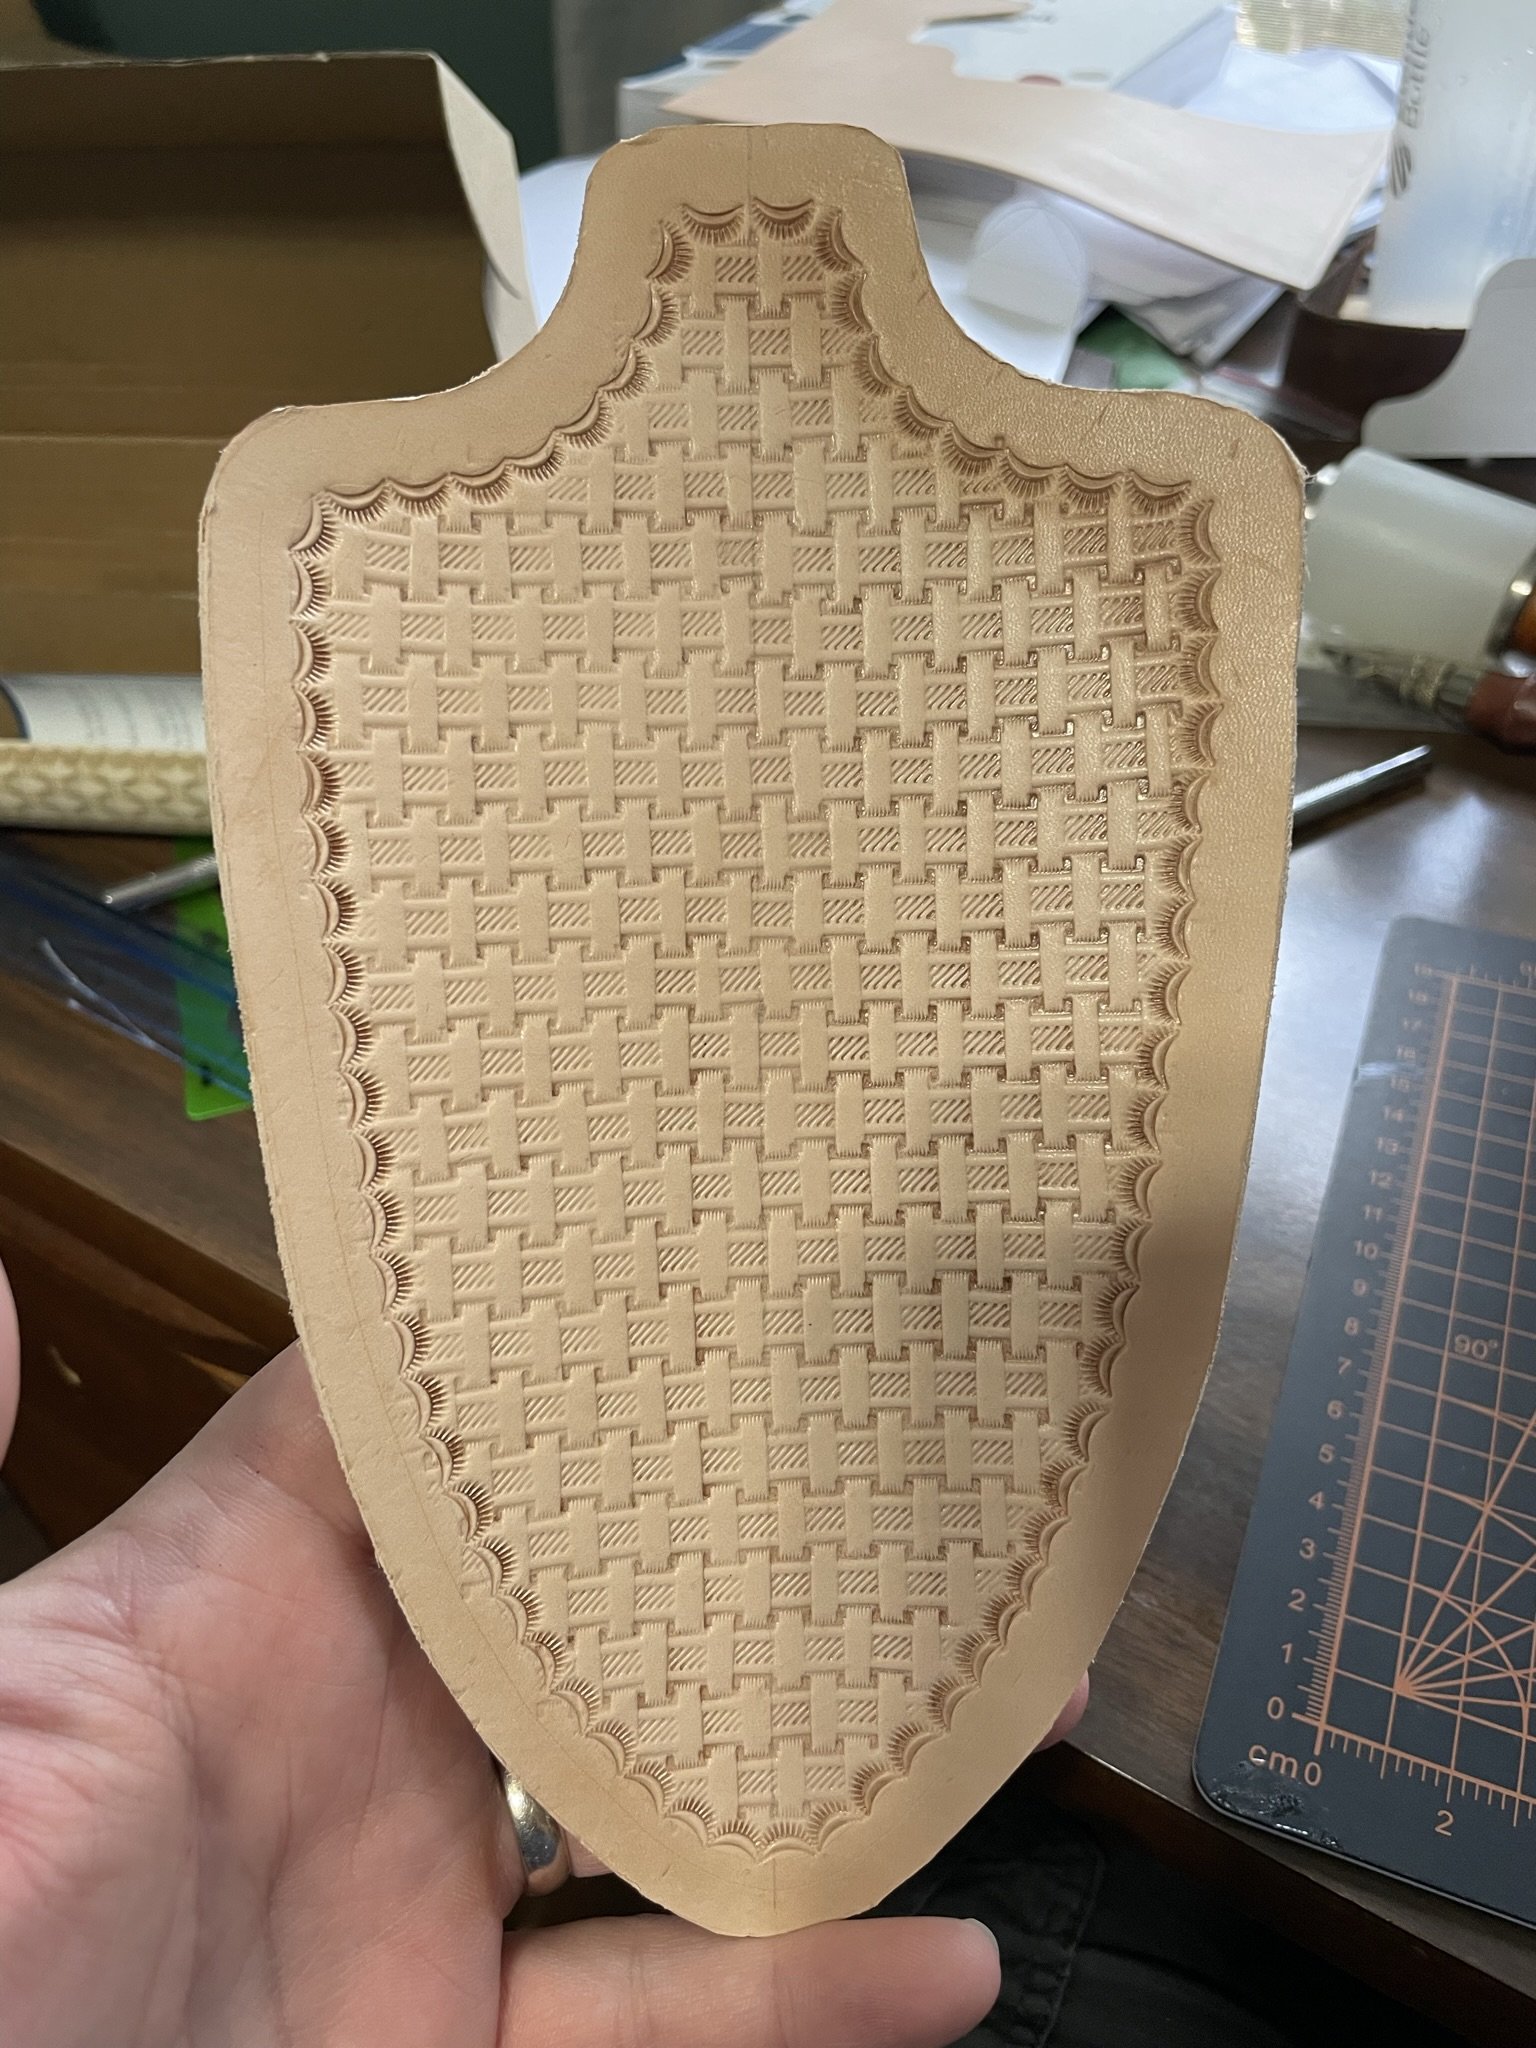
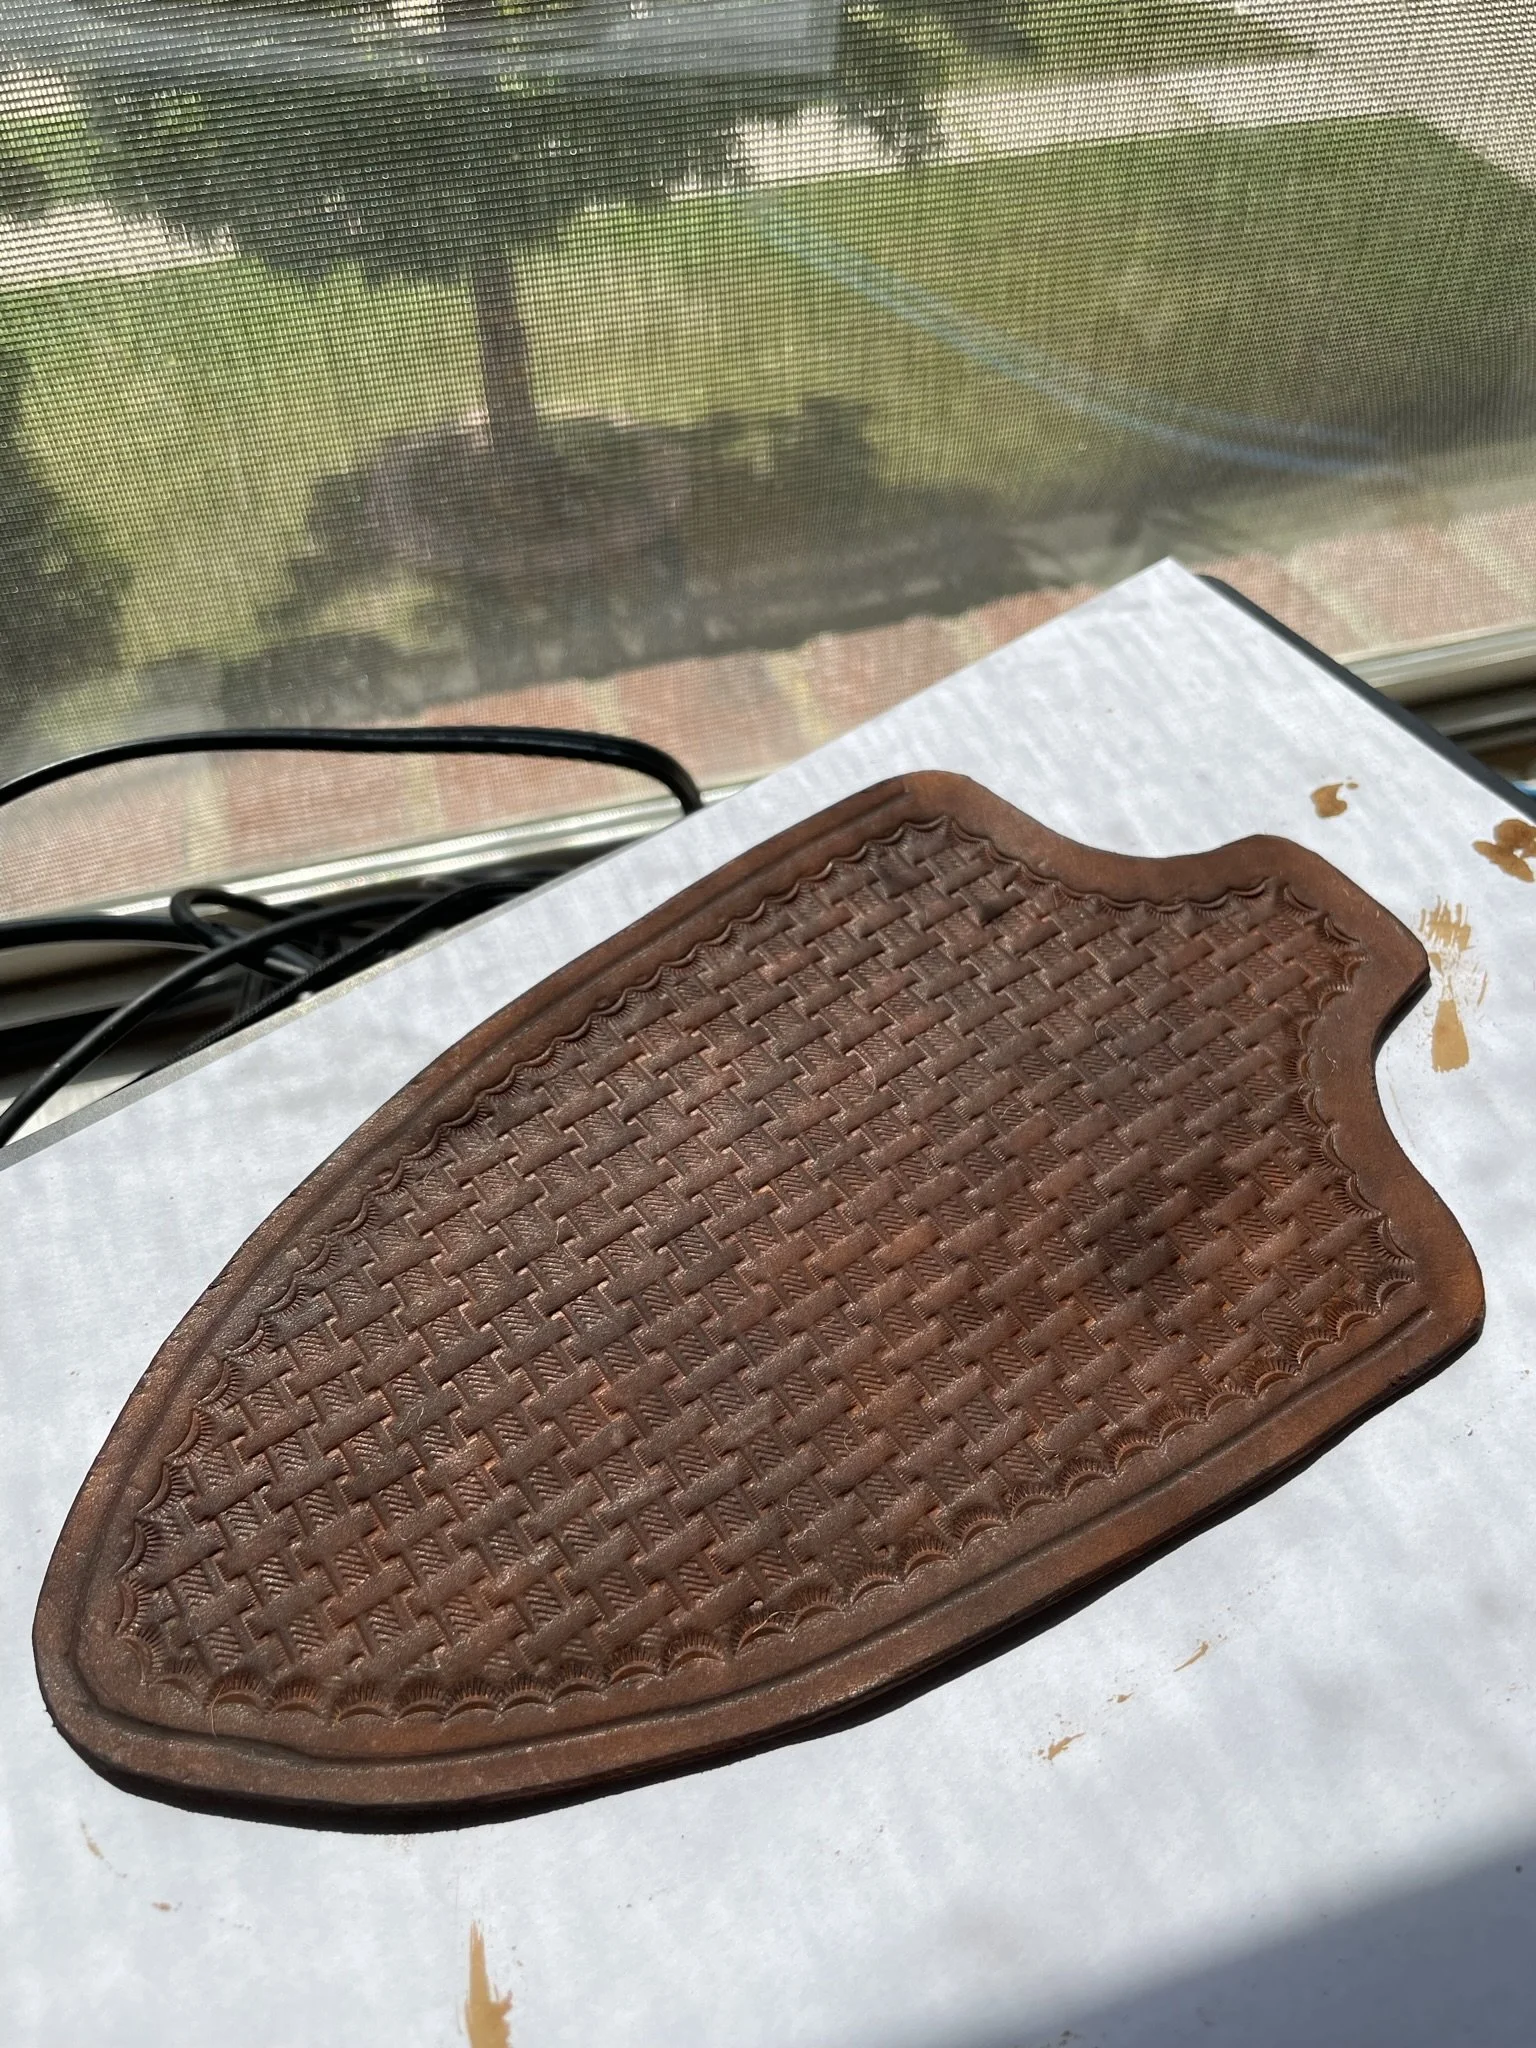
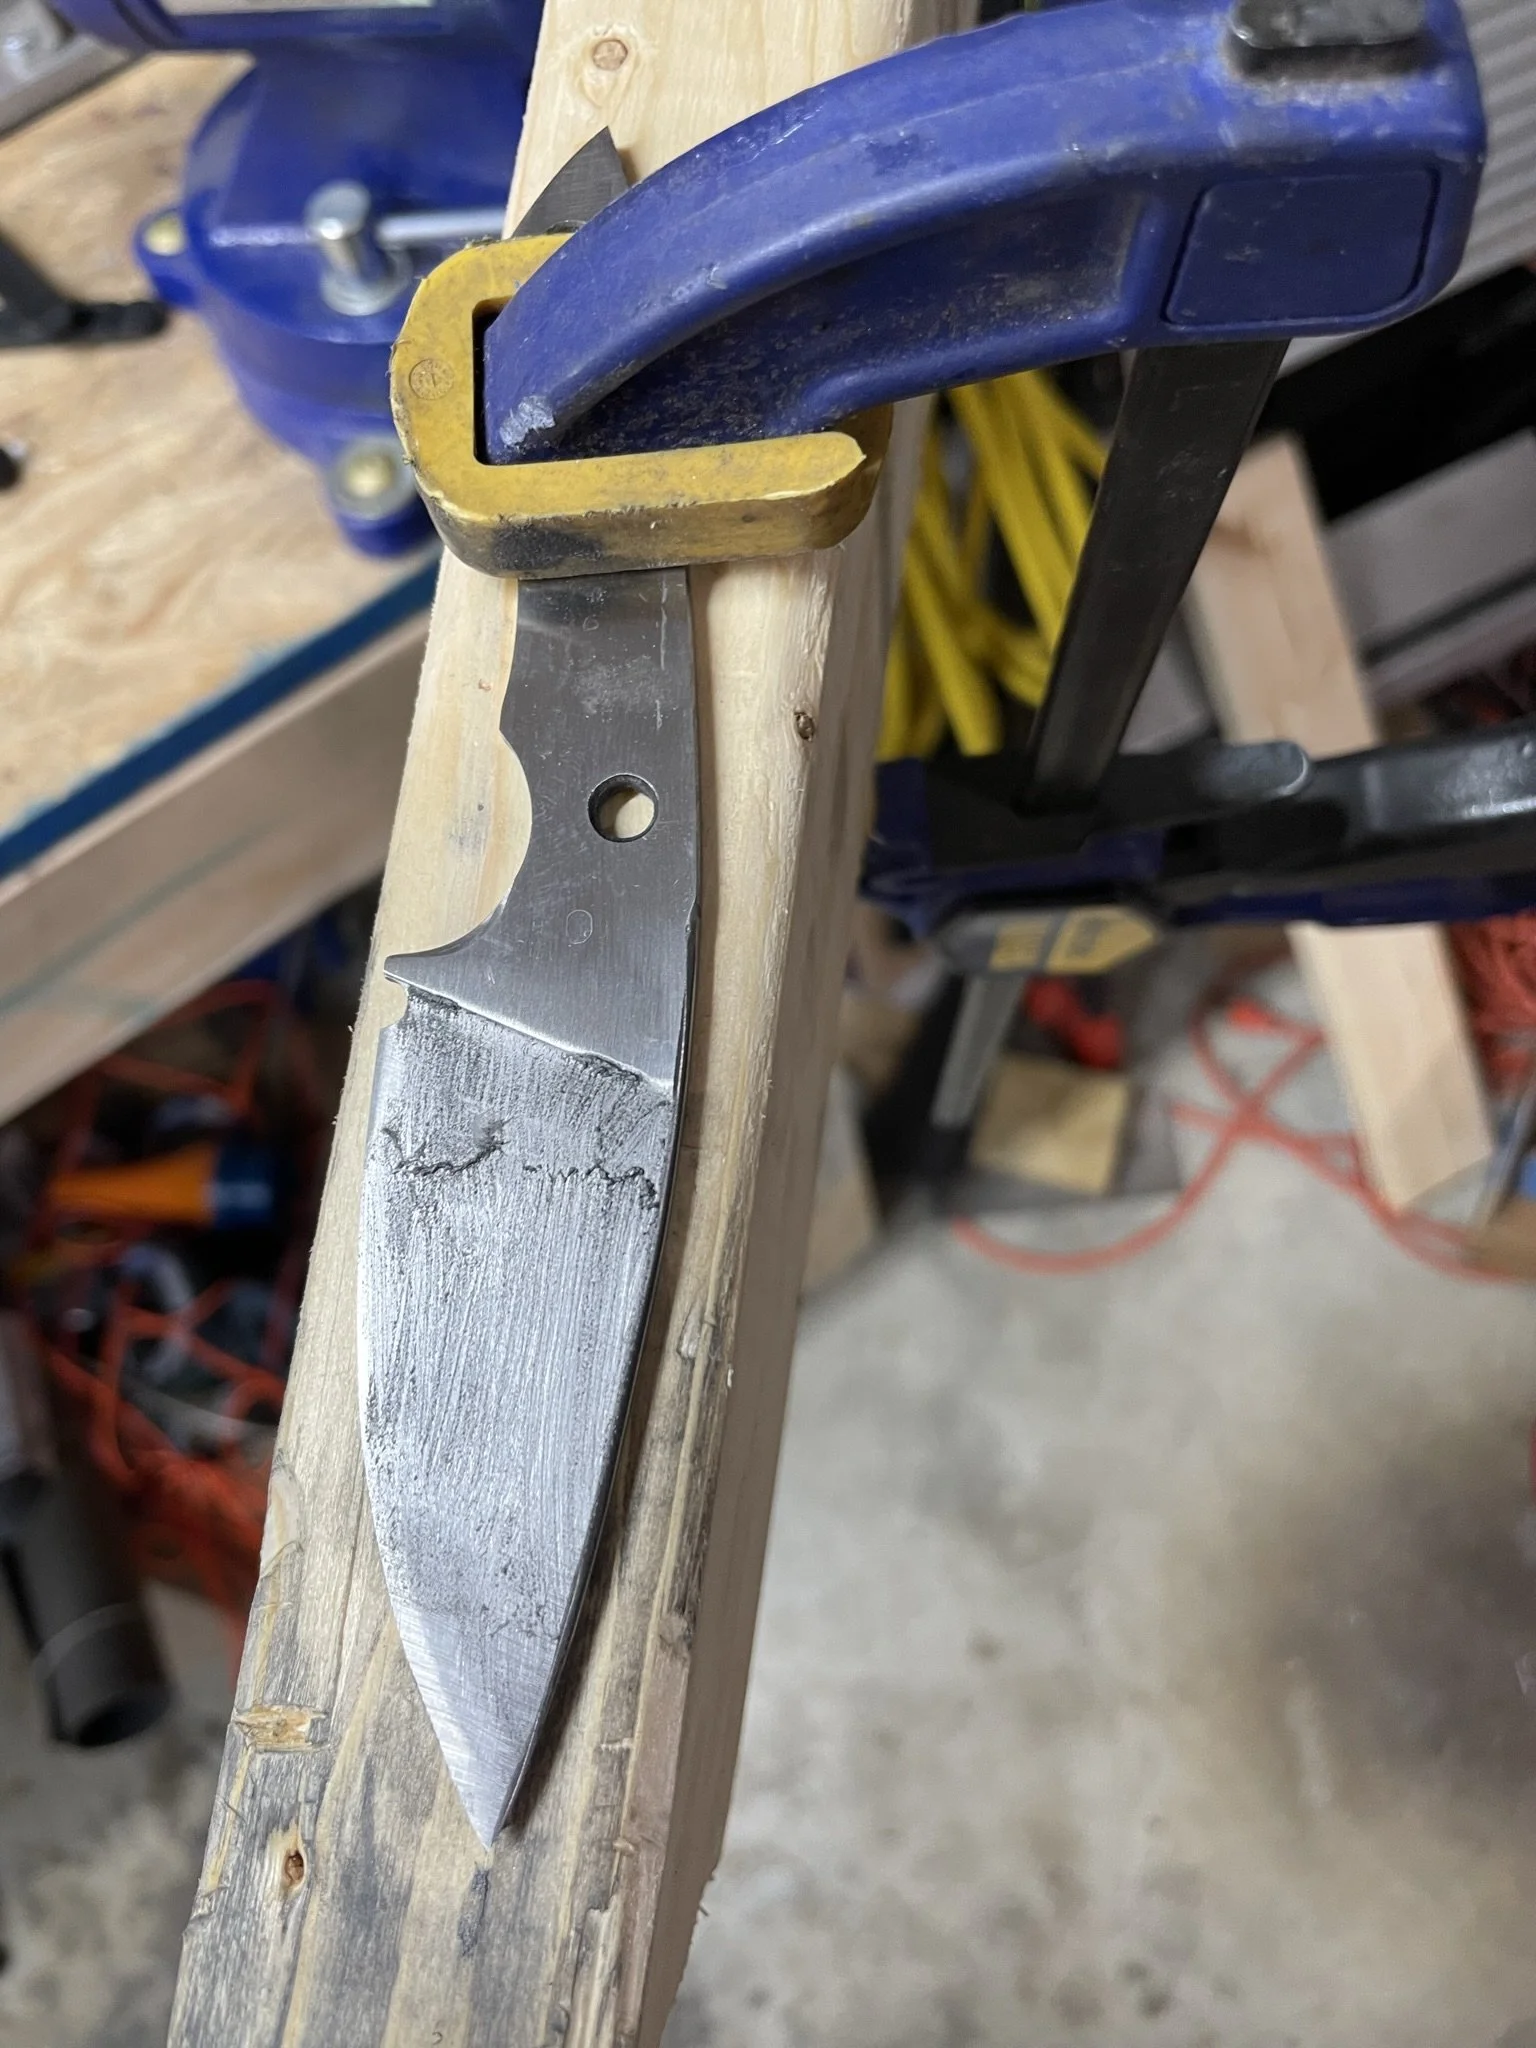
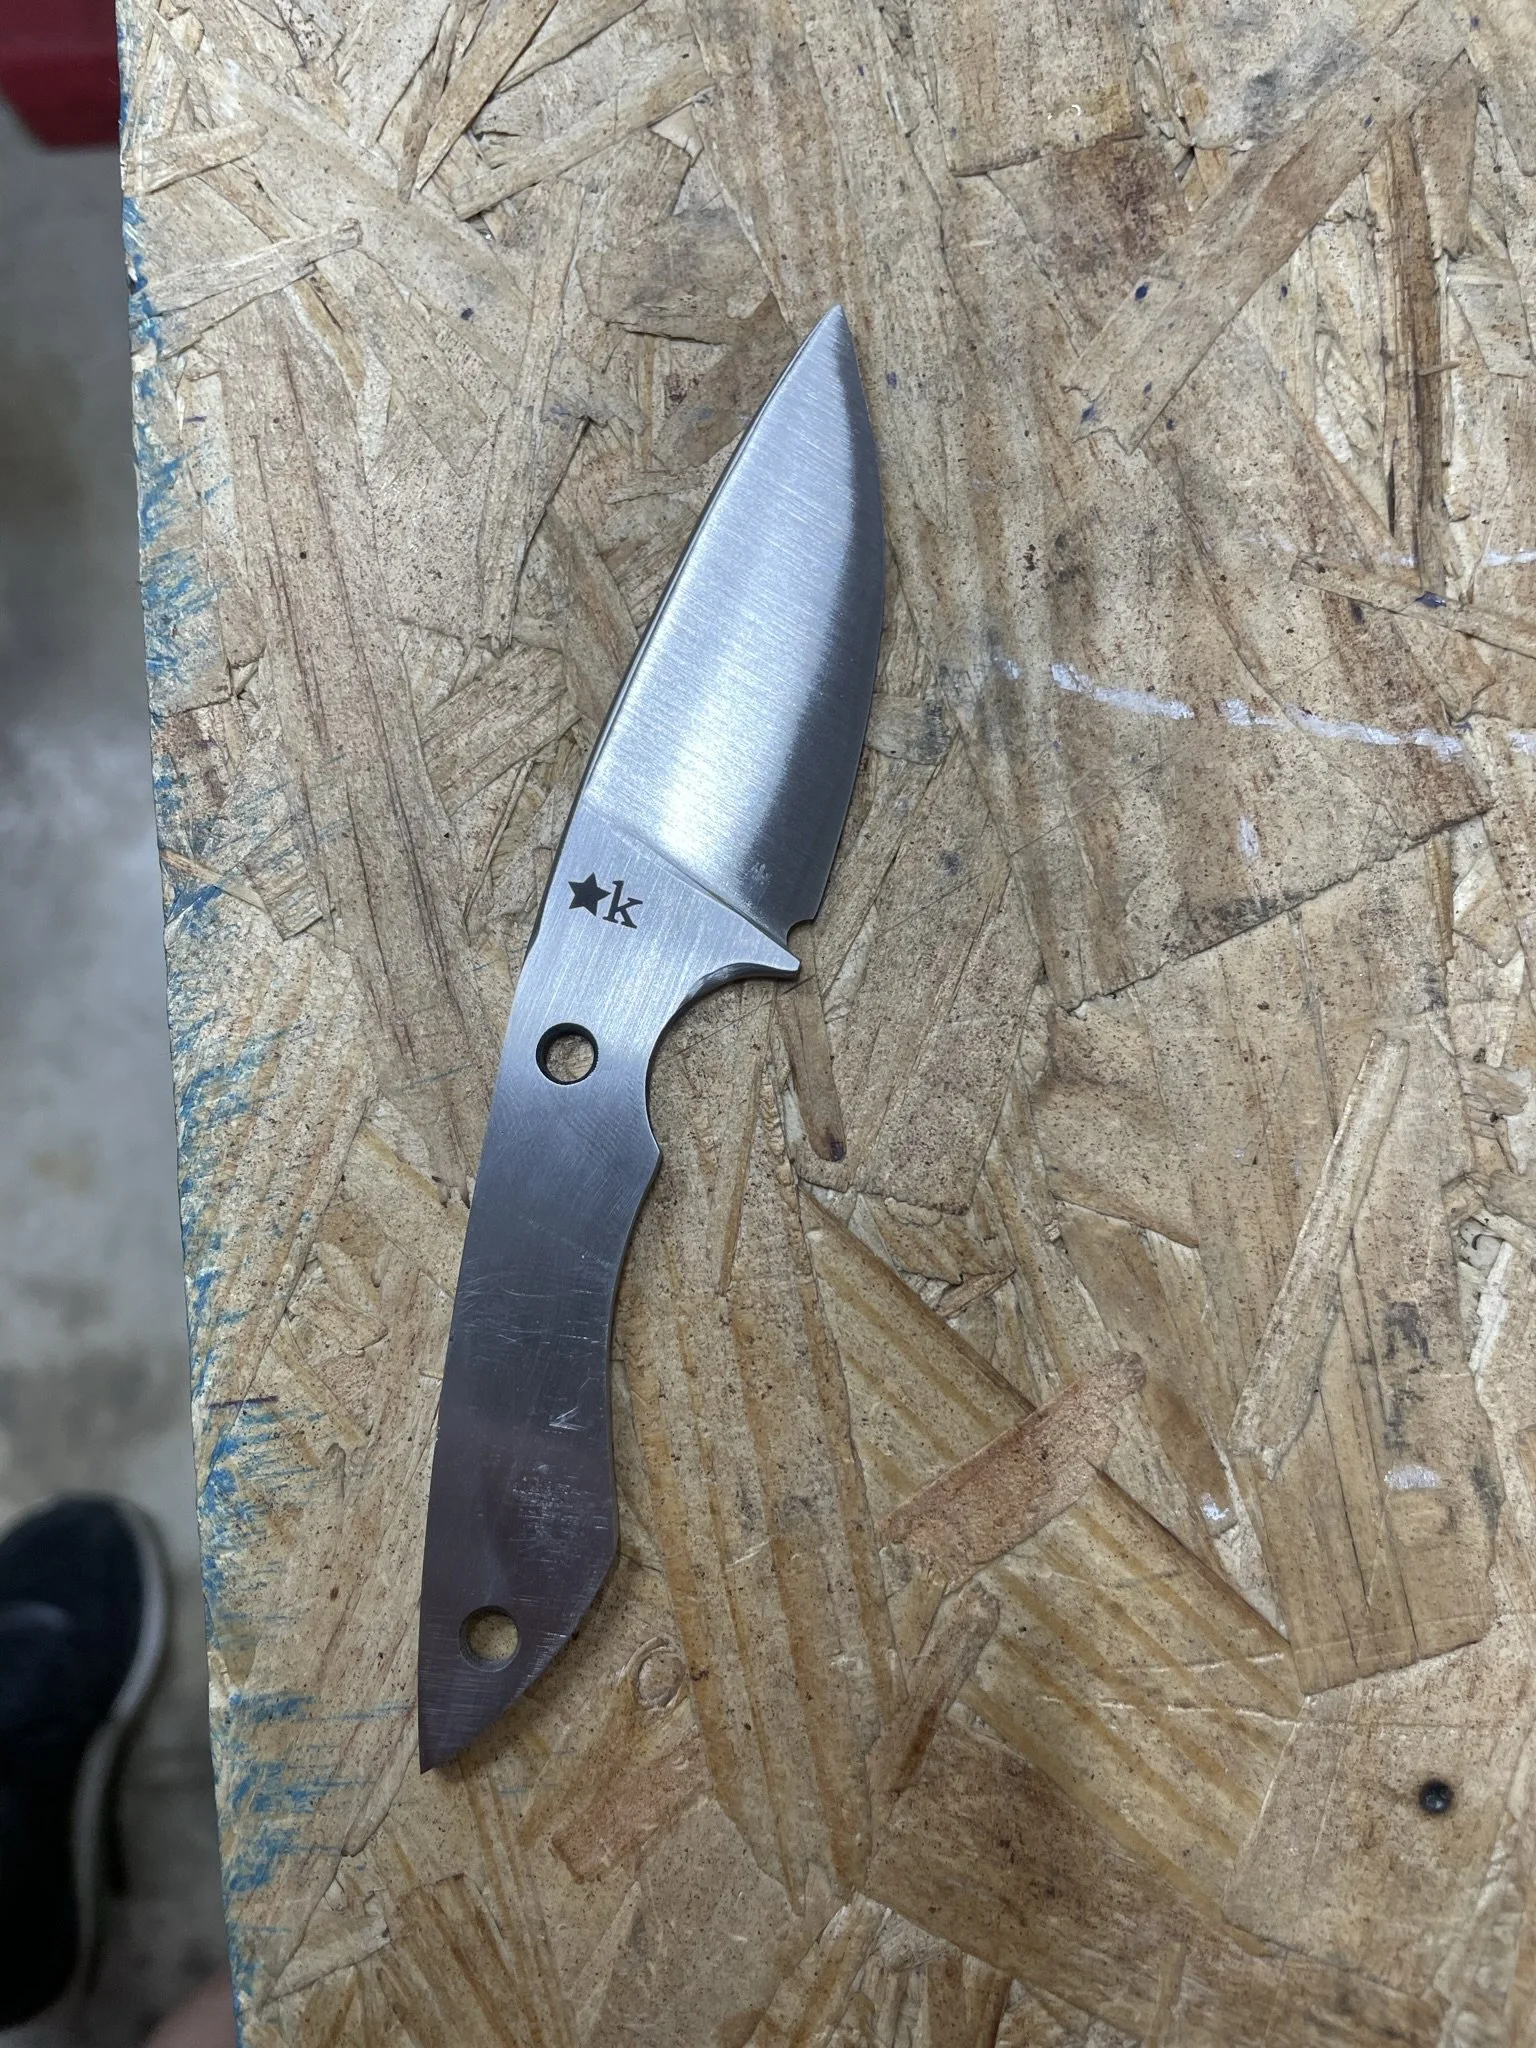
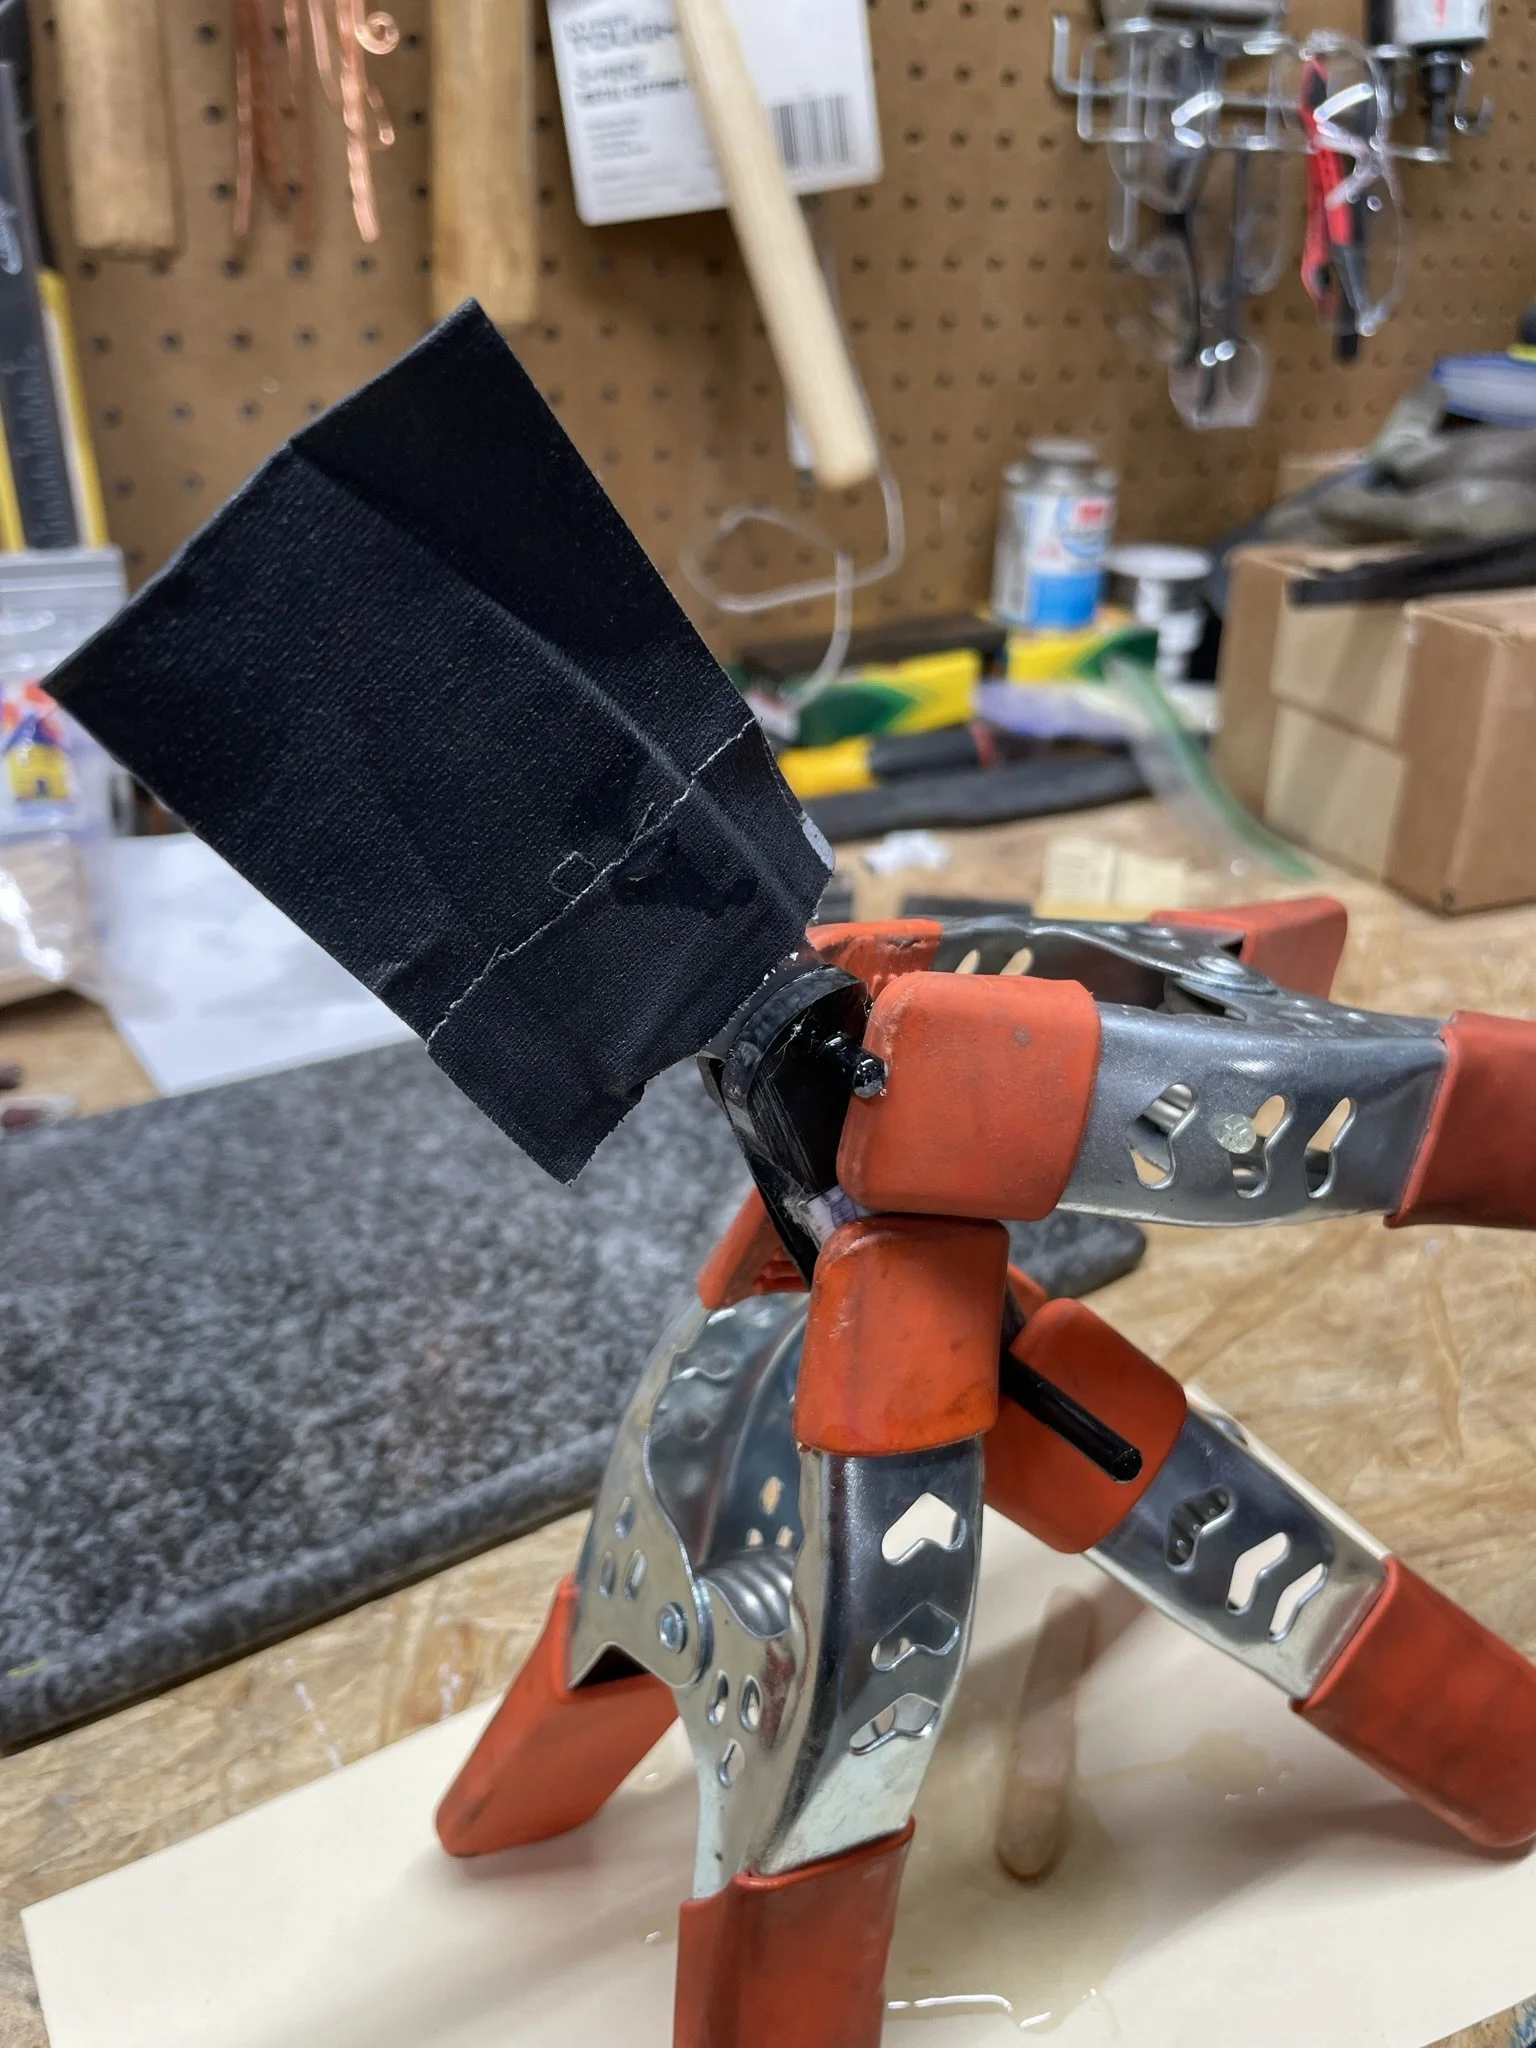
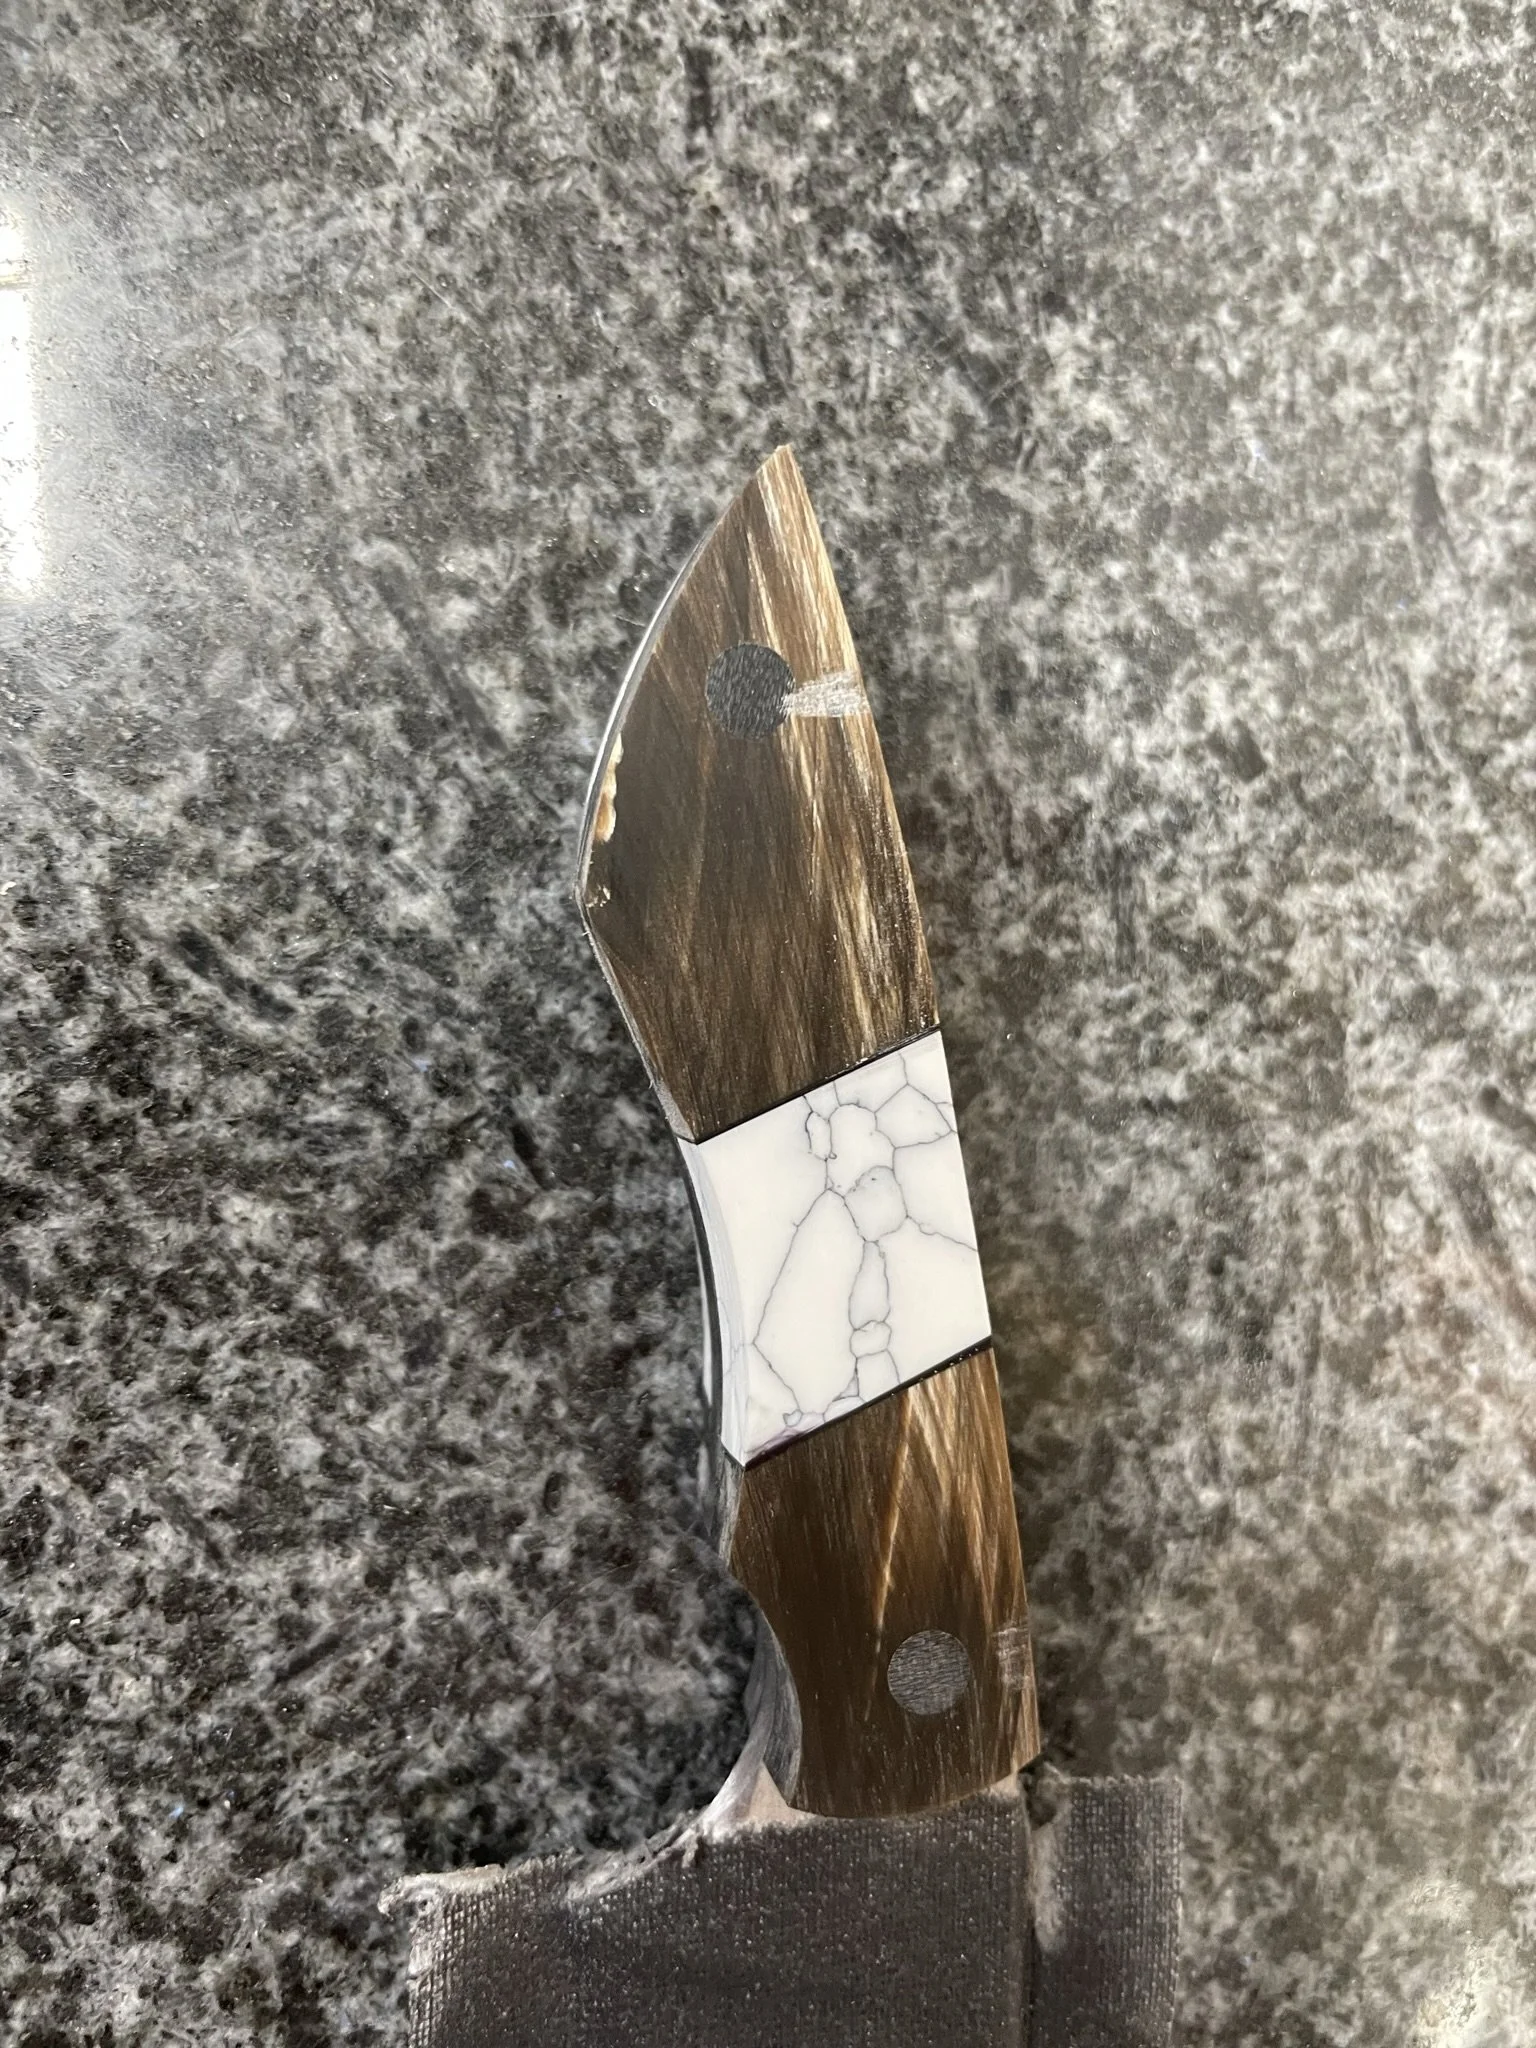
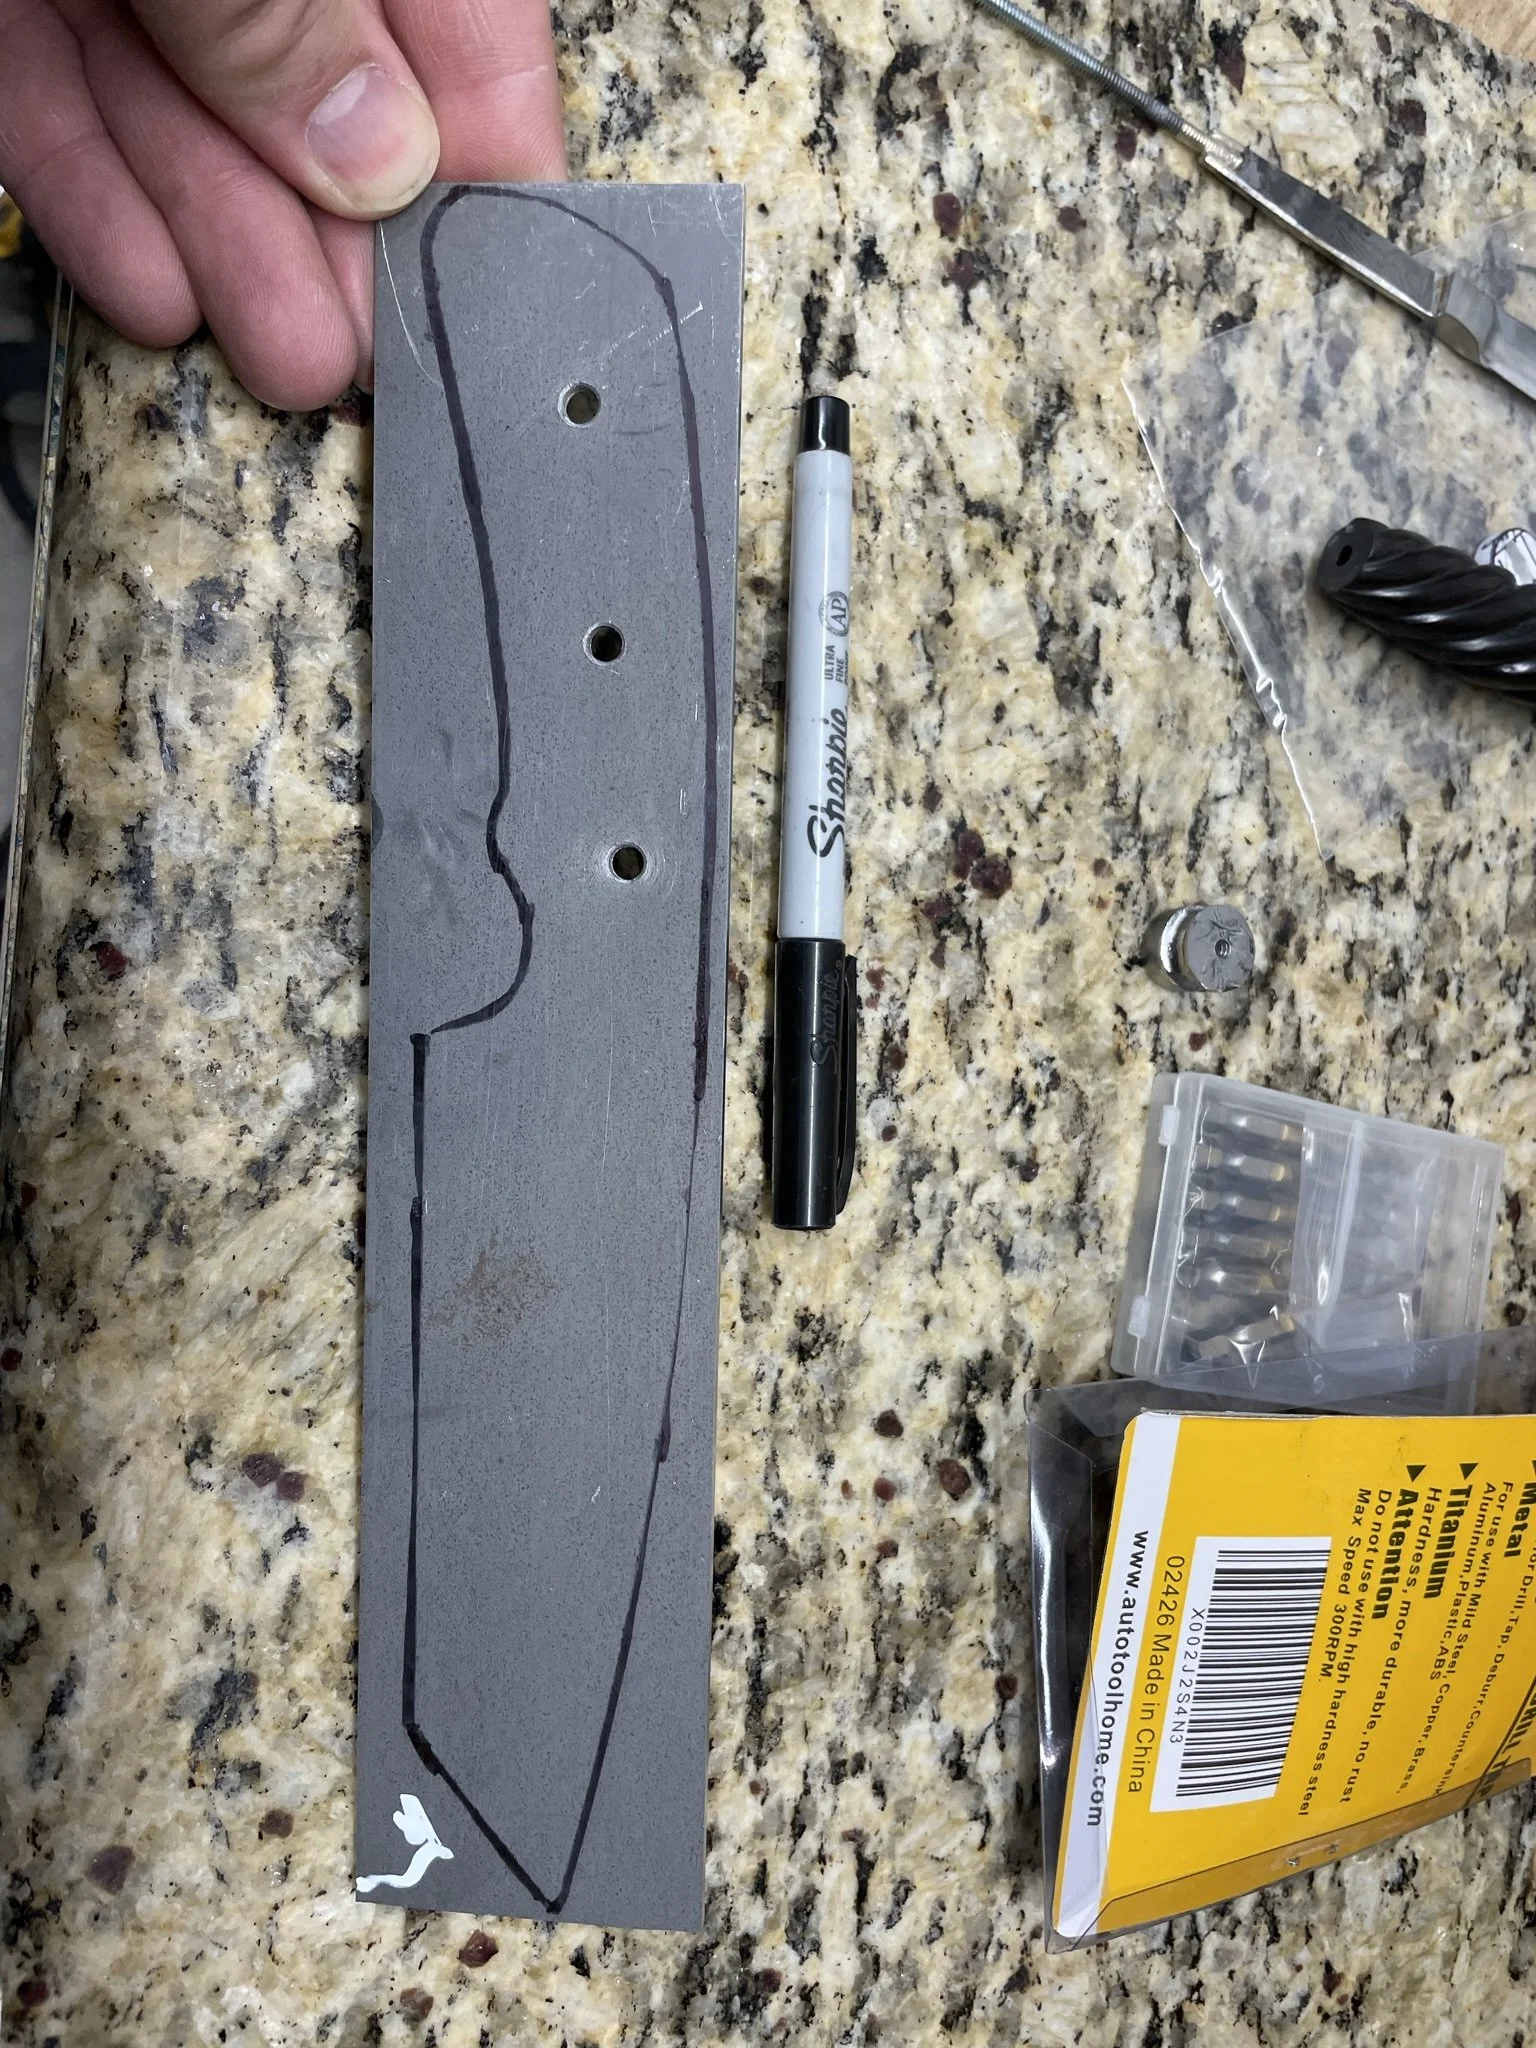
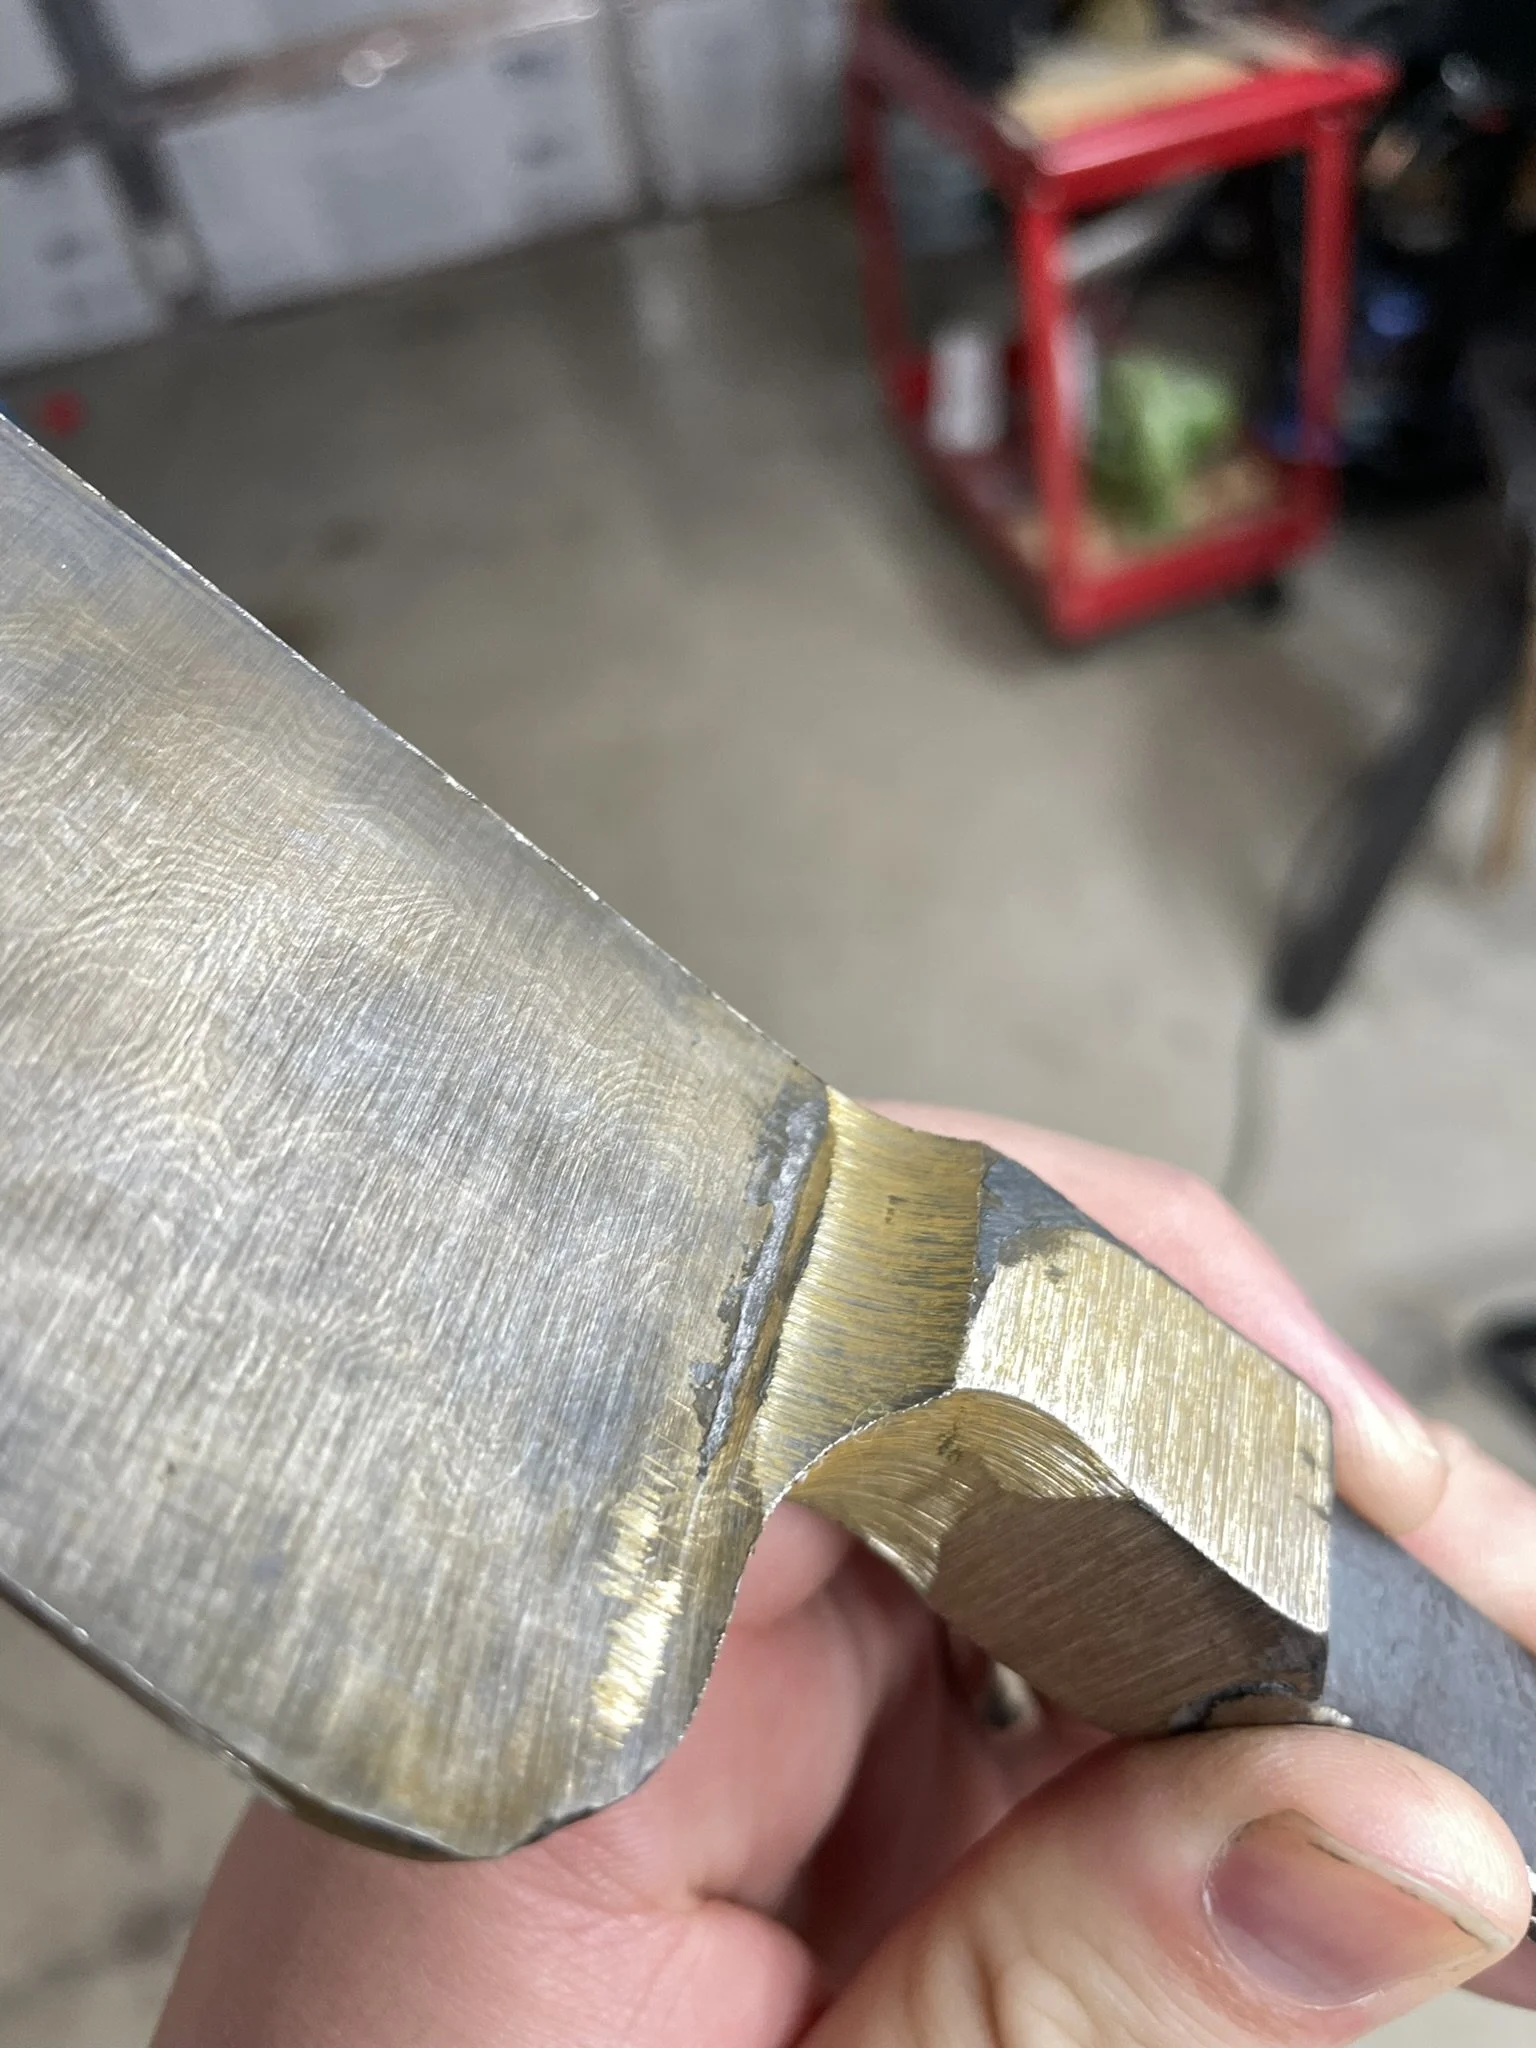
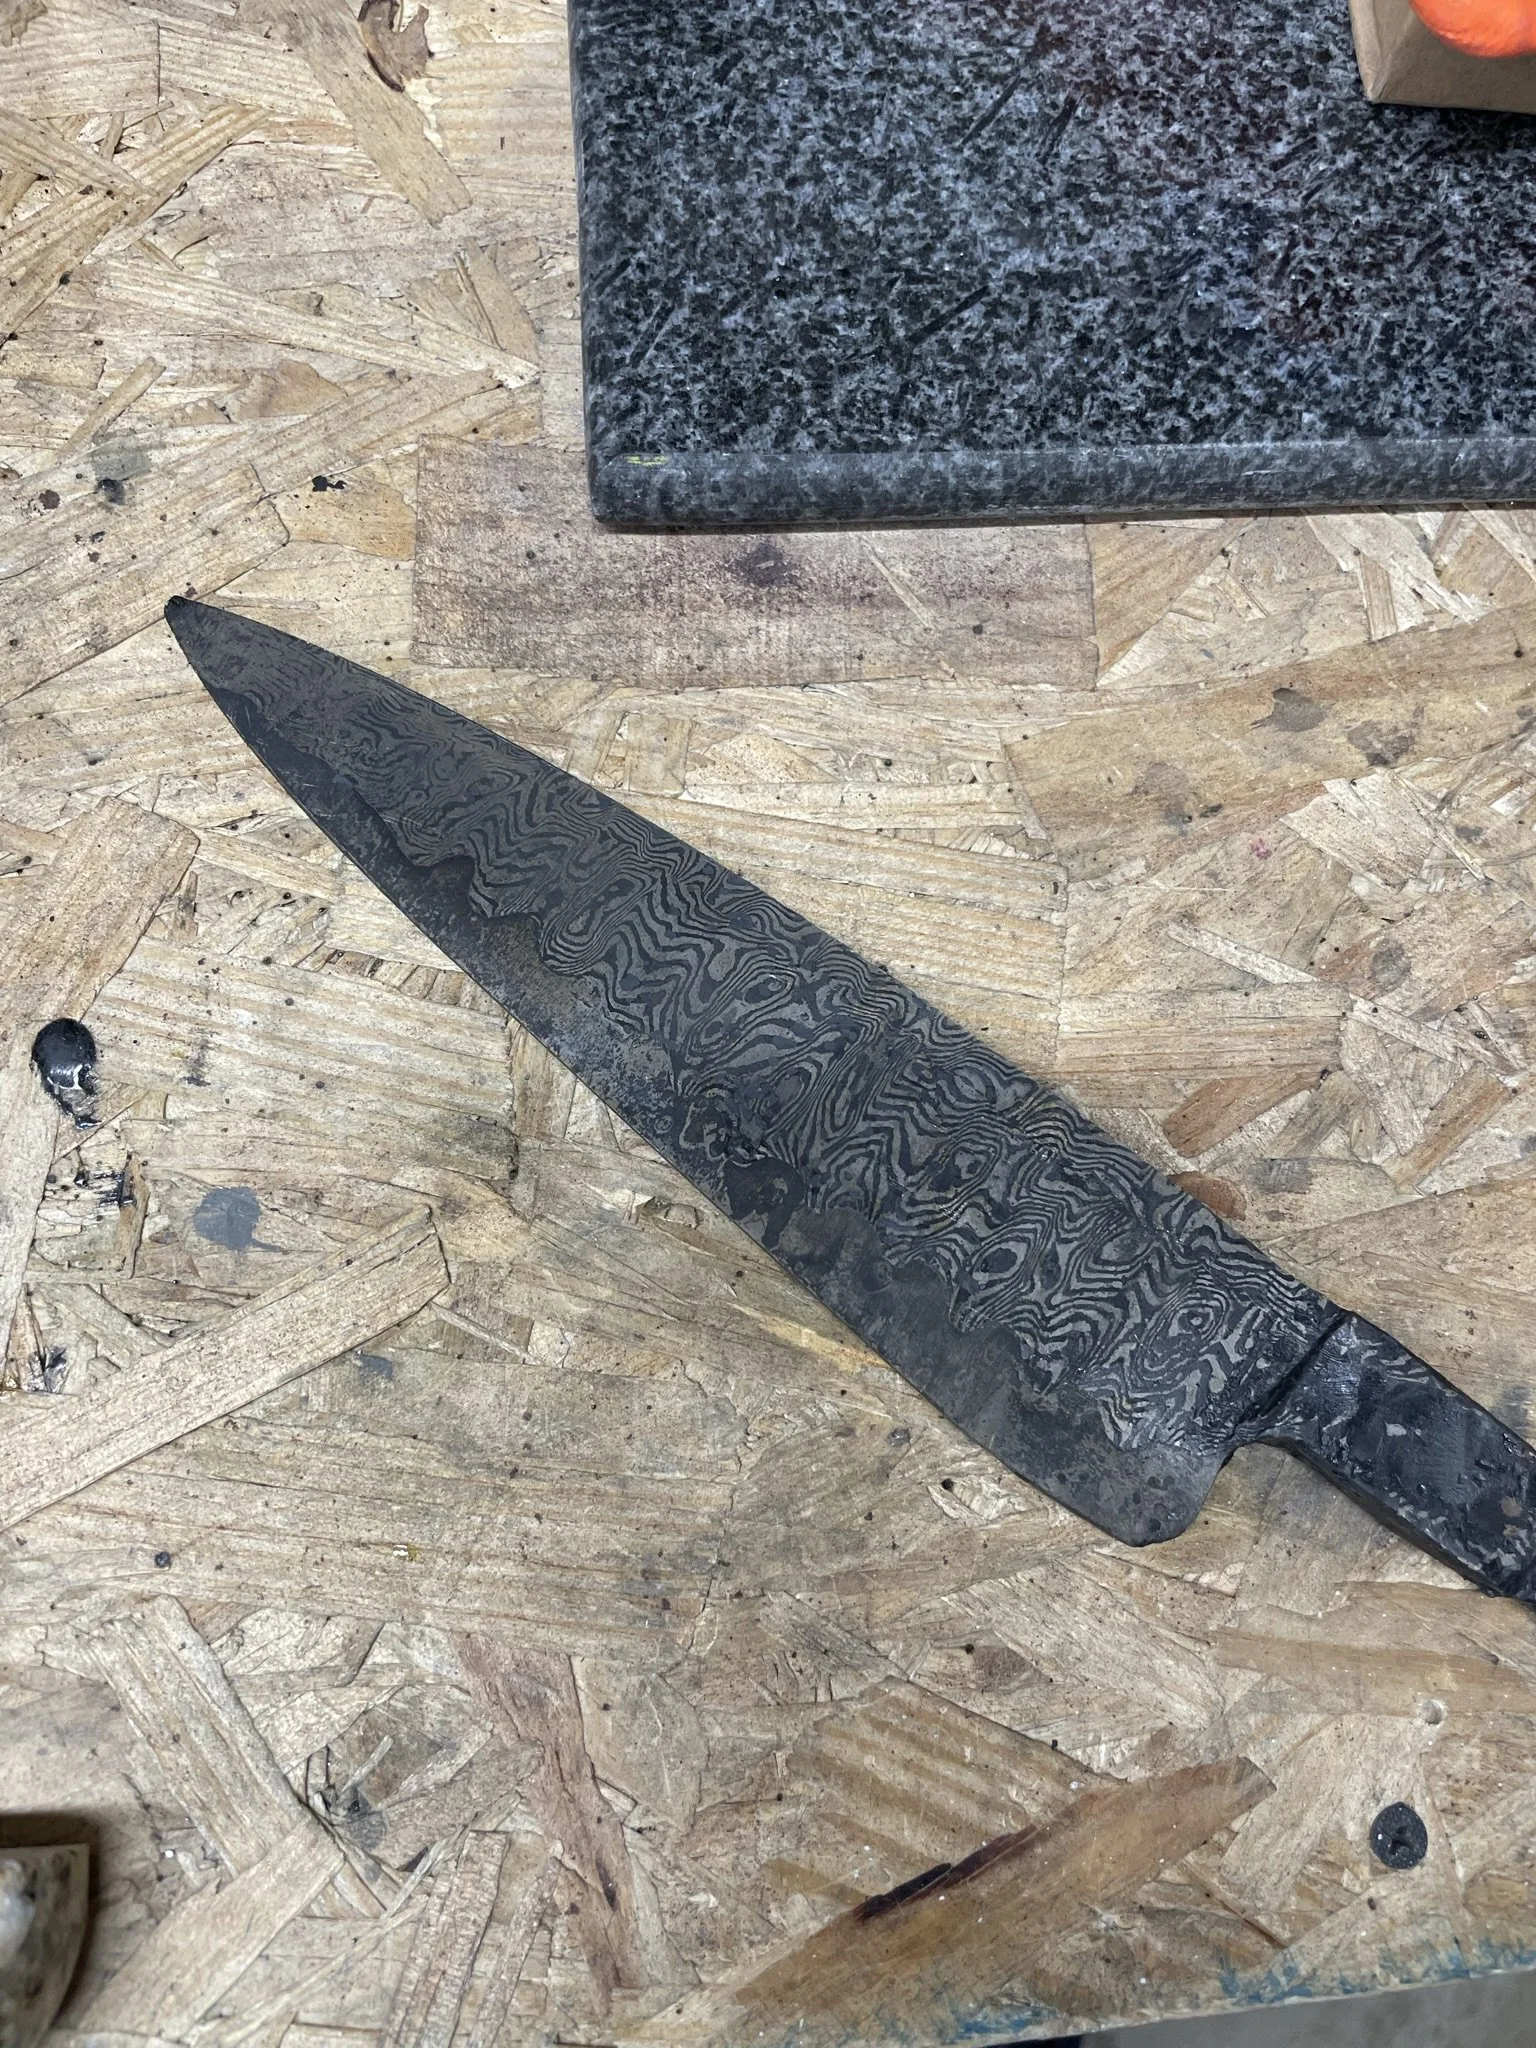
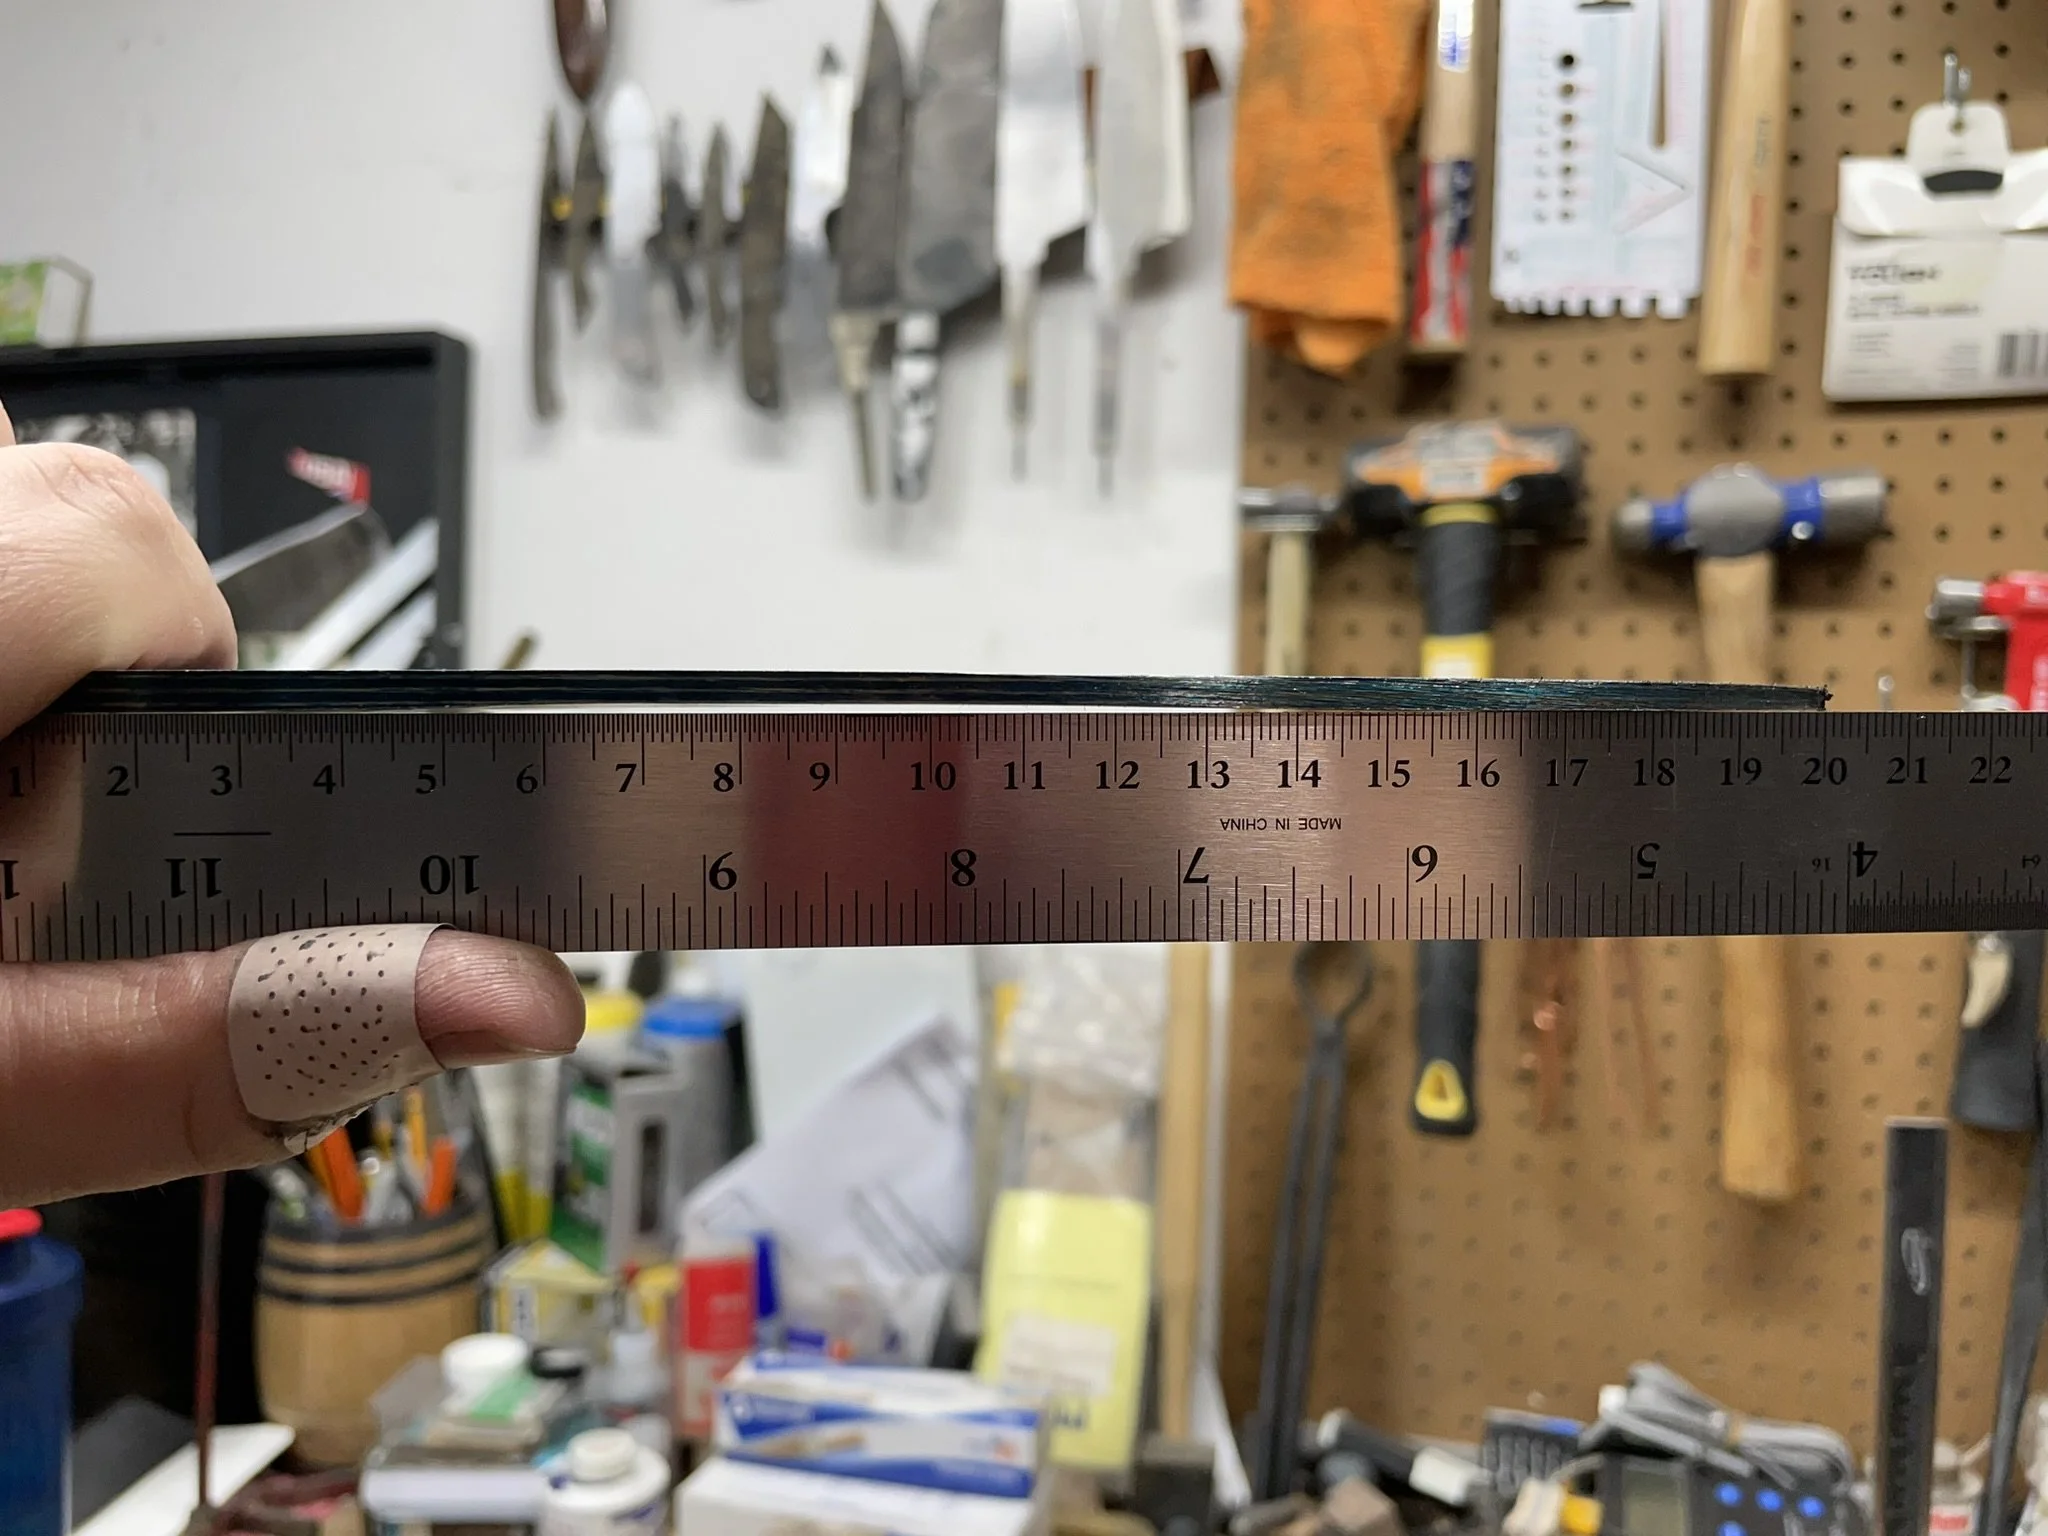
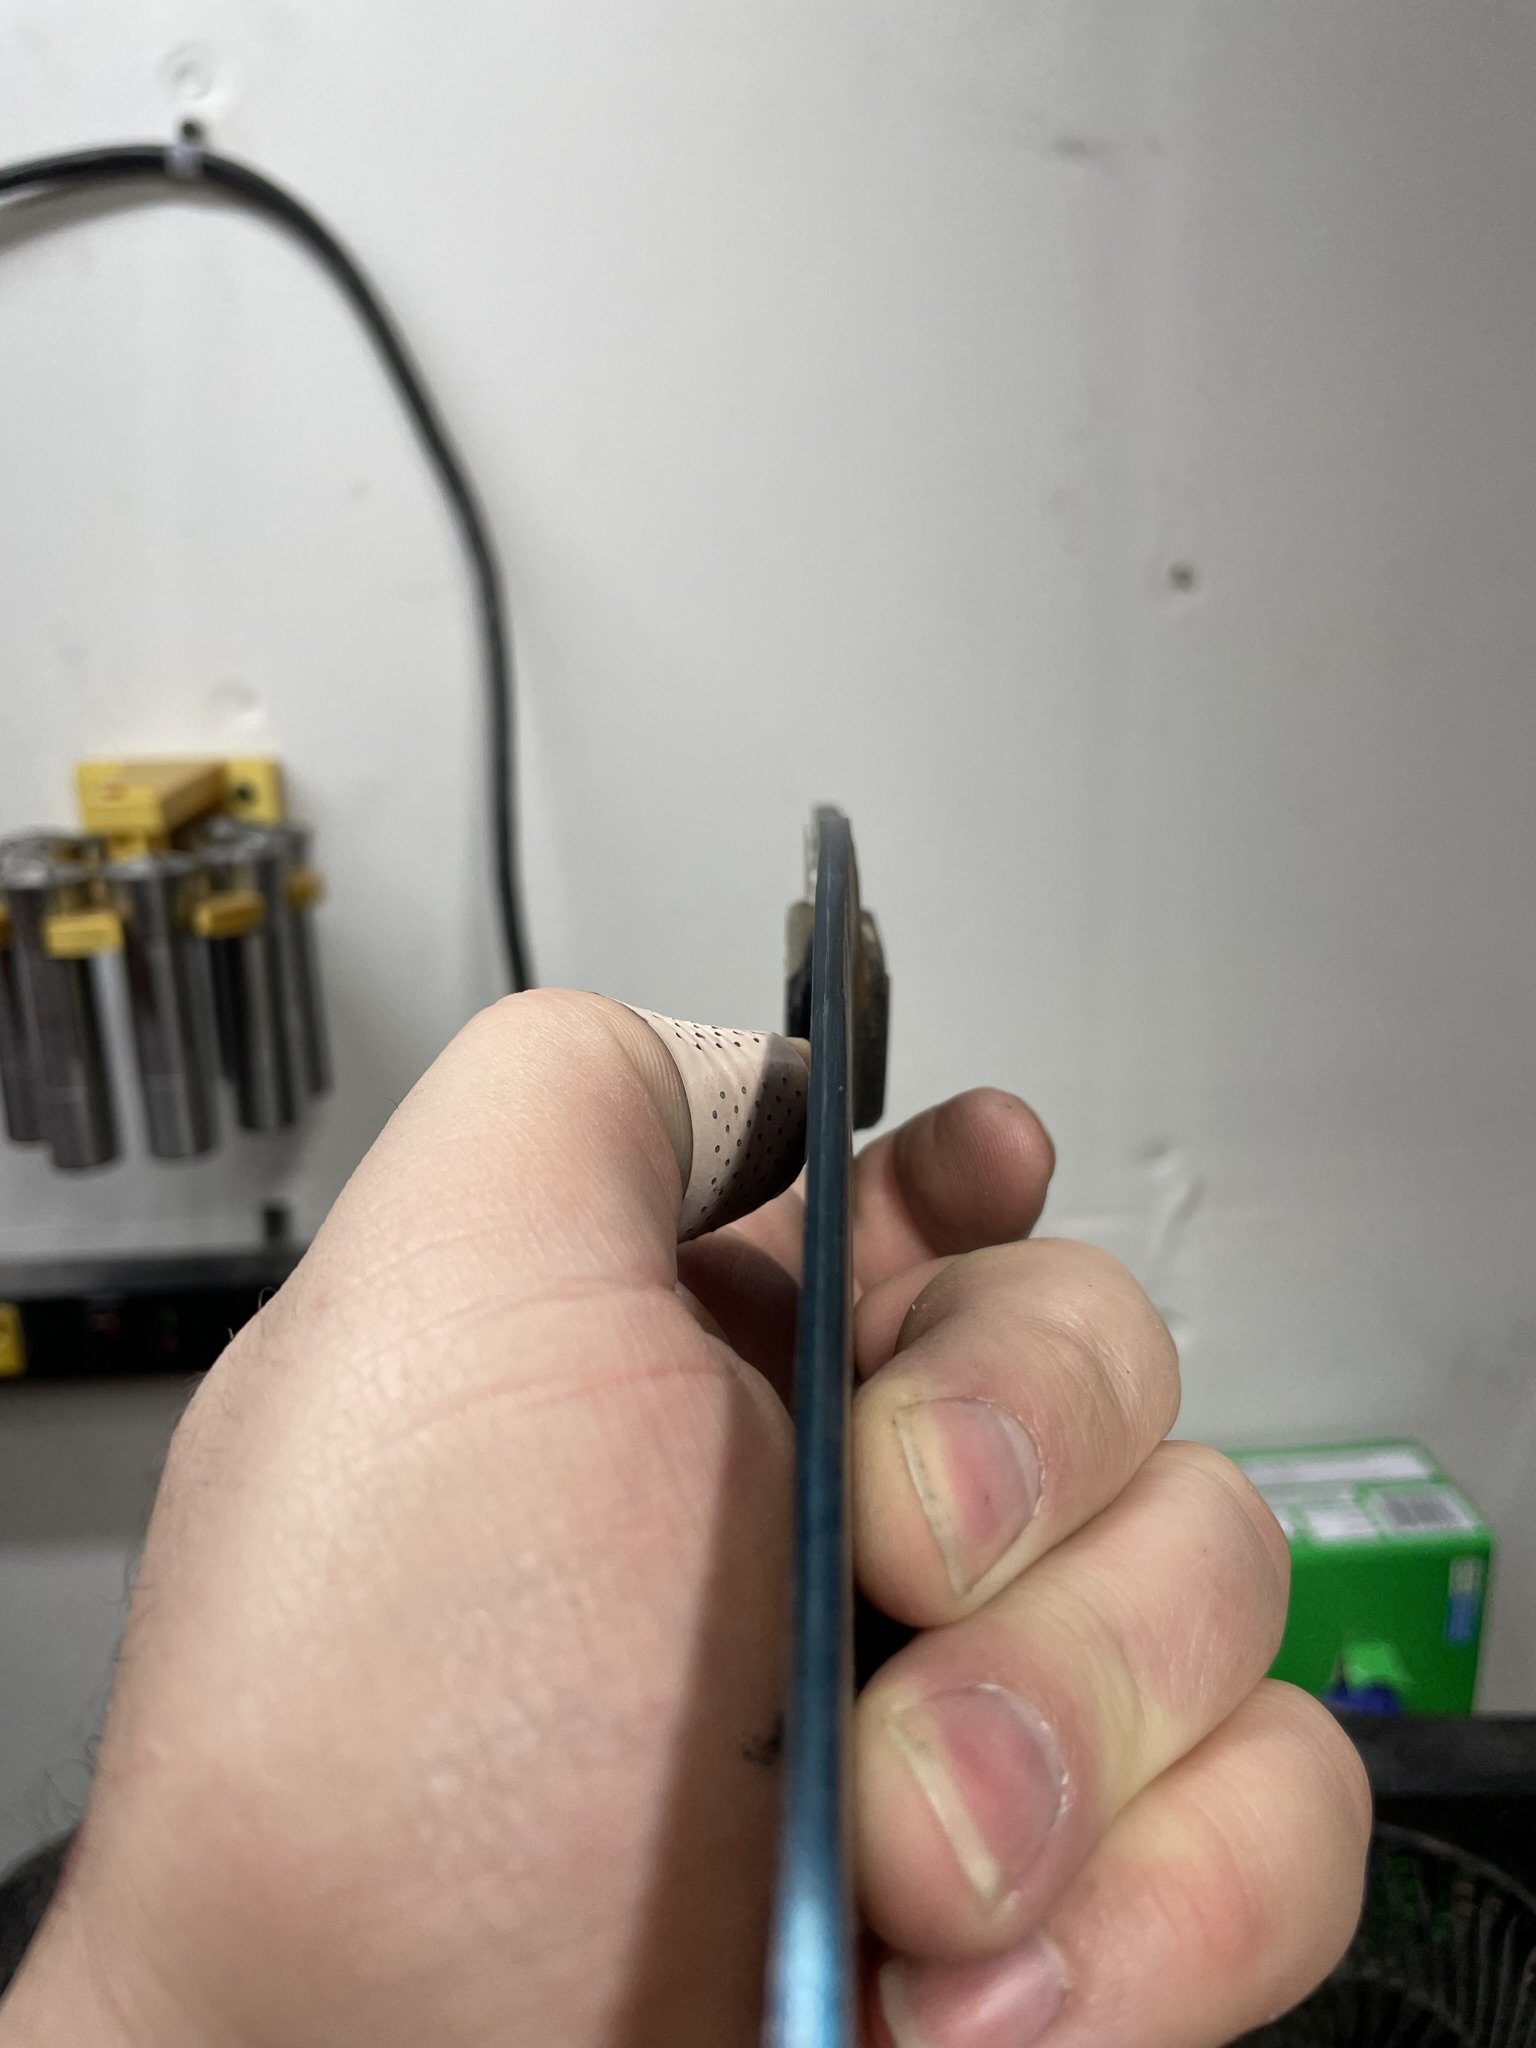
Year Four - Coming into my own
In year four, I continued to learn from mentors and really started to get comfortable with making blades. I gained confidence and continued to push my knowledge and skills. This really was the first year where I started selling more knives than I could keep.
Personal EDC
-
Final blade - keep scrolling to see the journey.
-
![]()
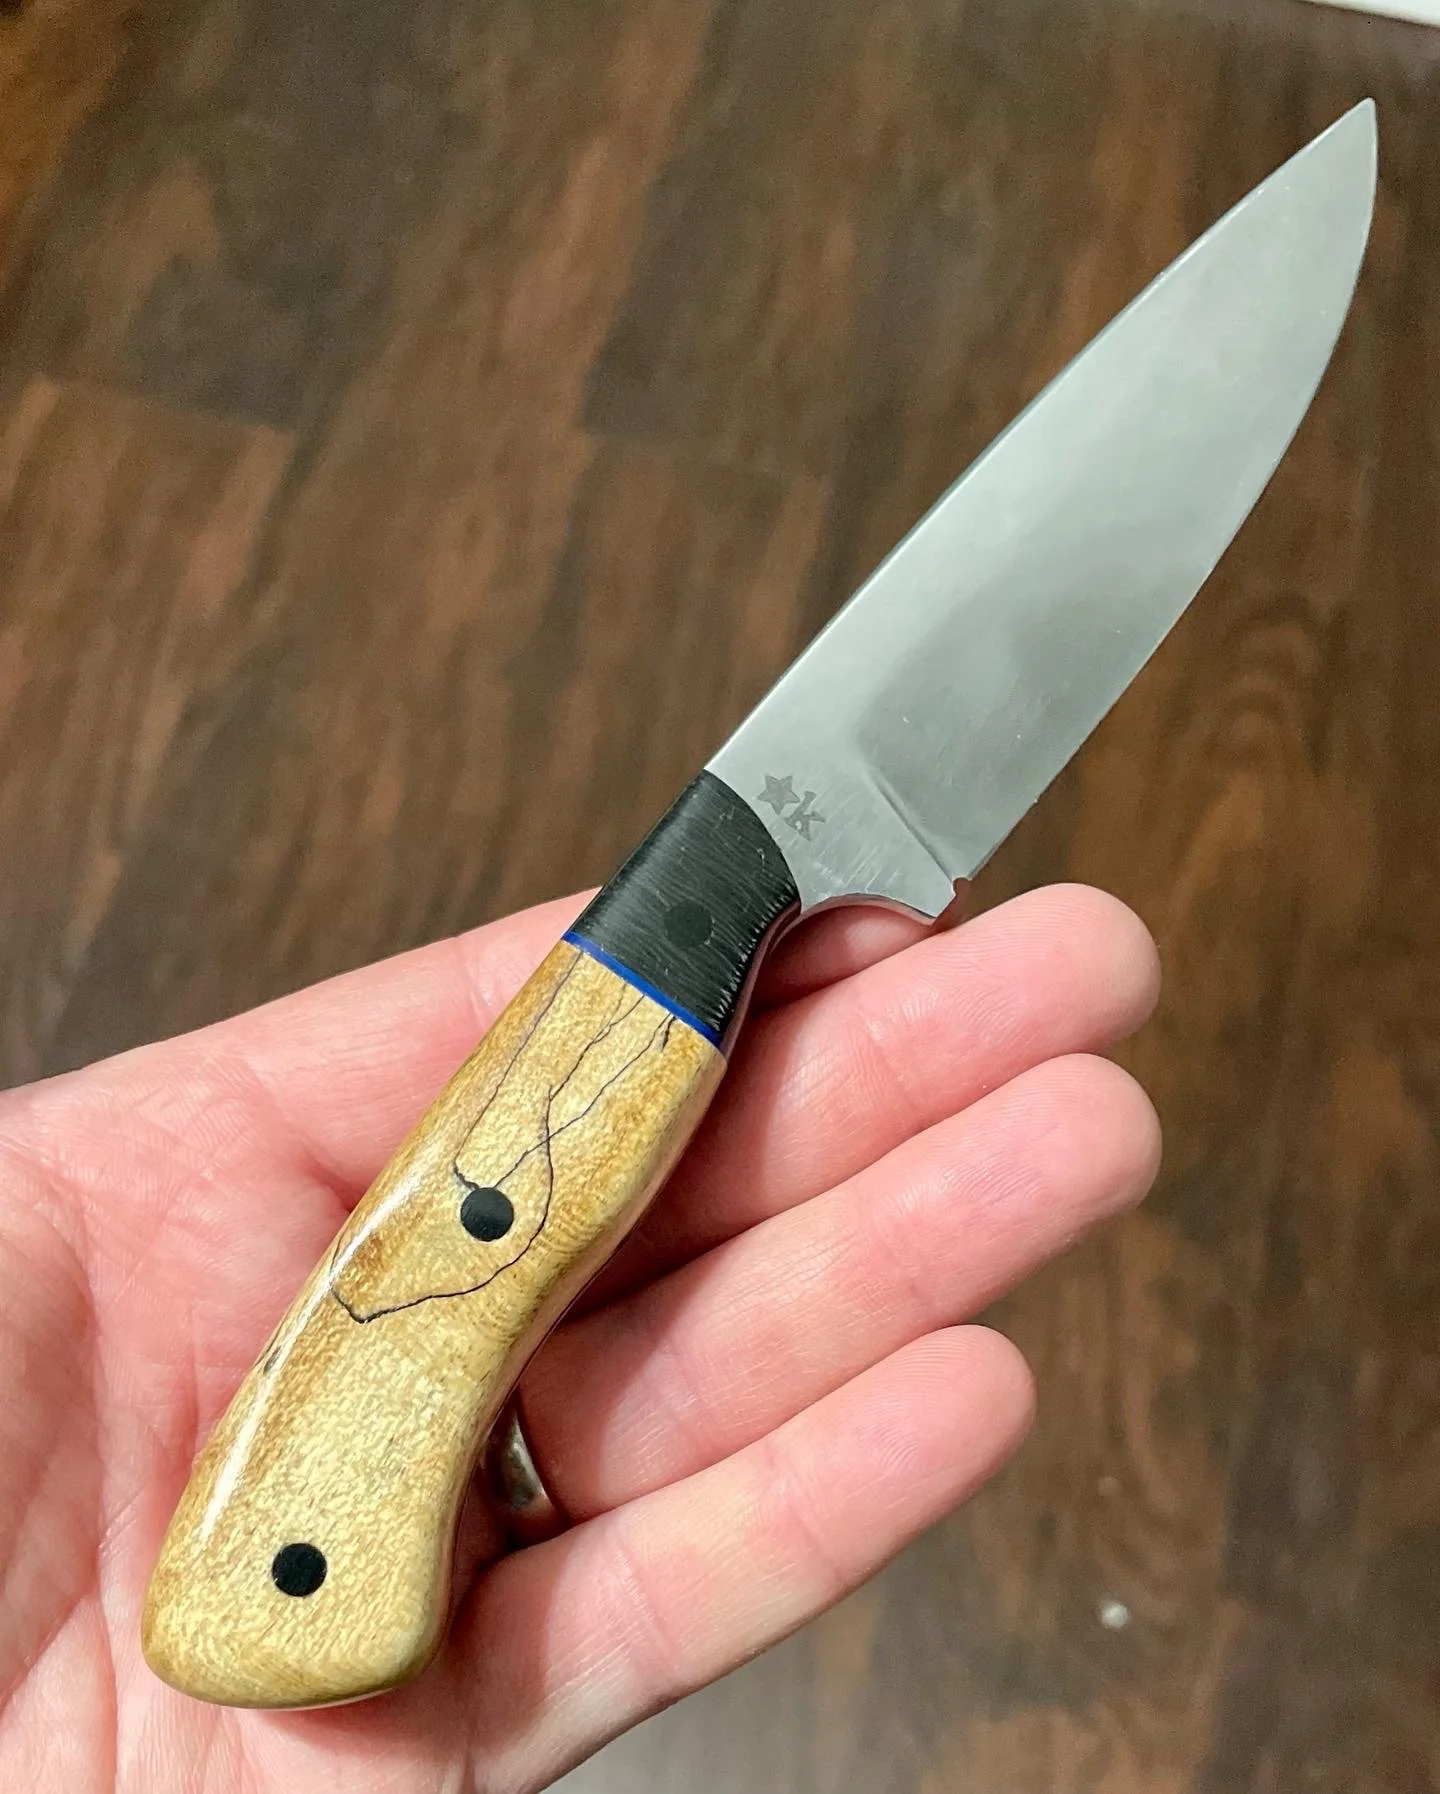
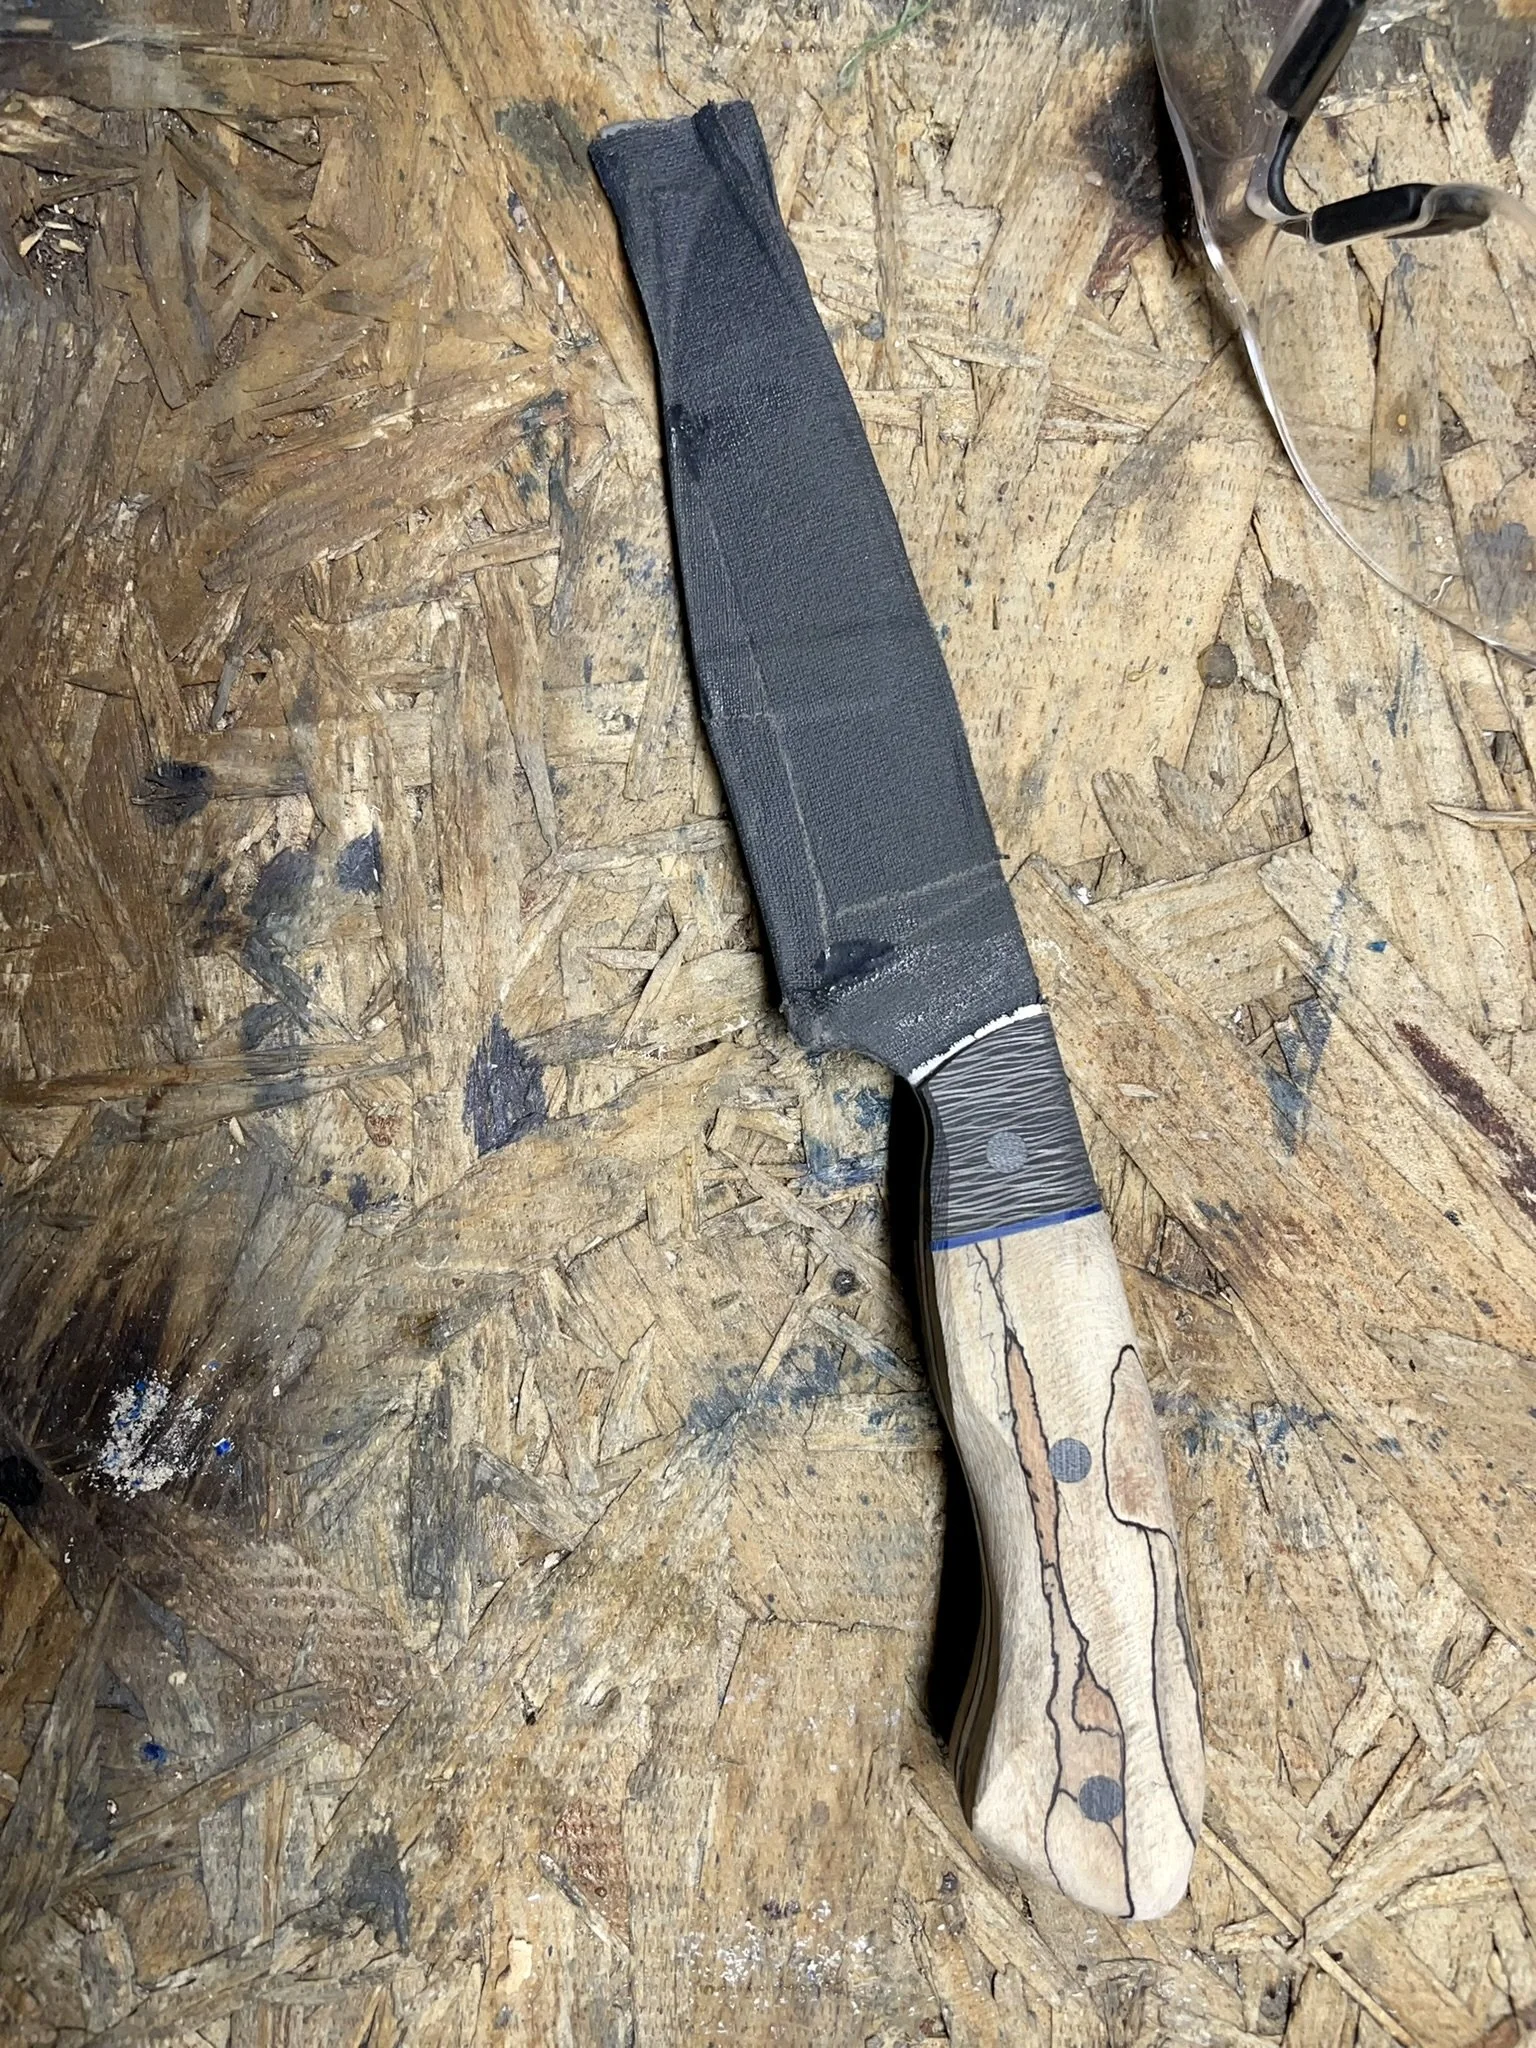
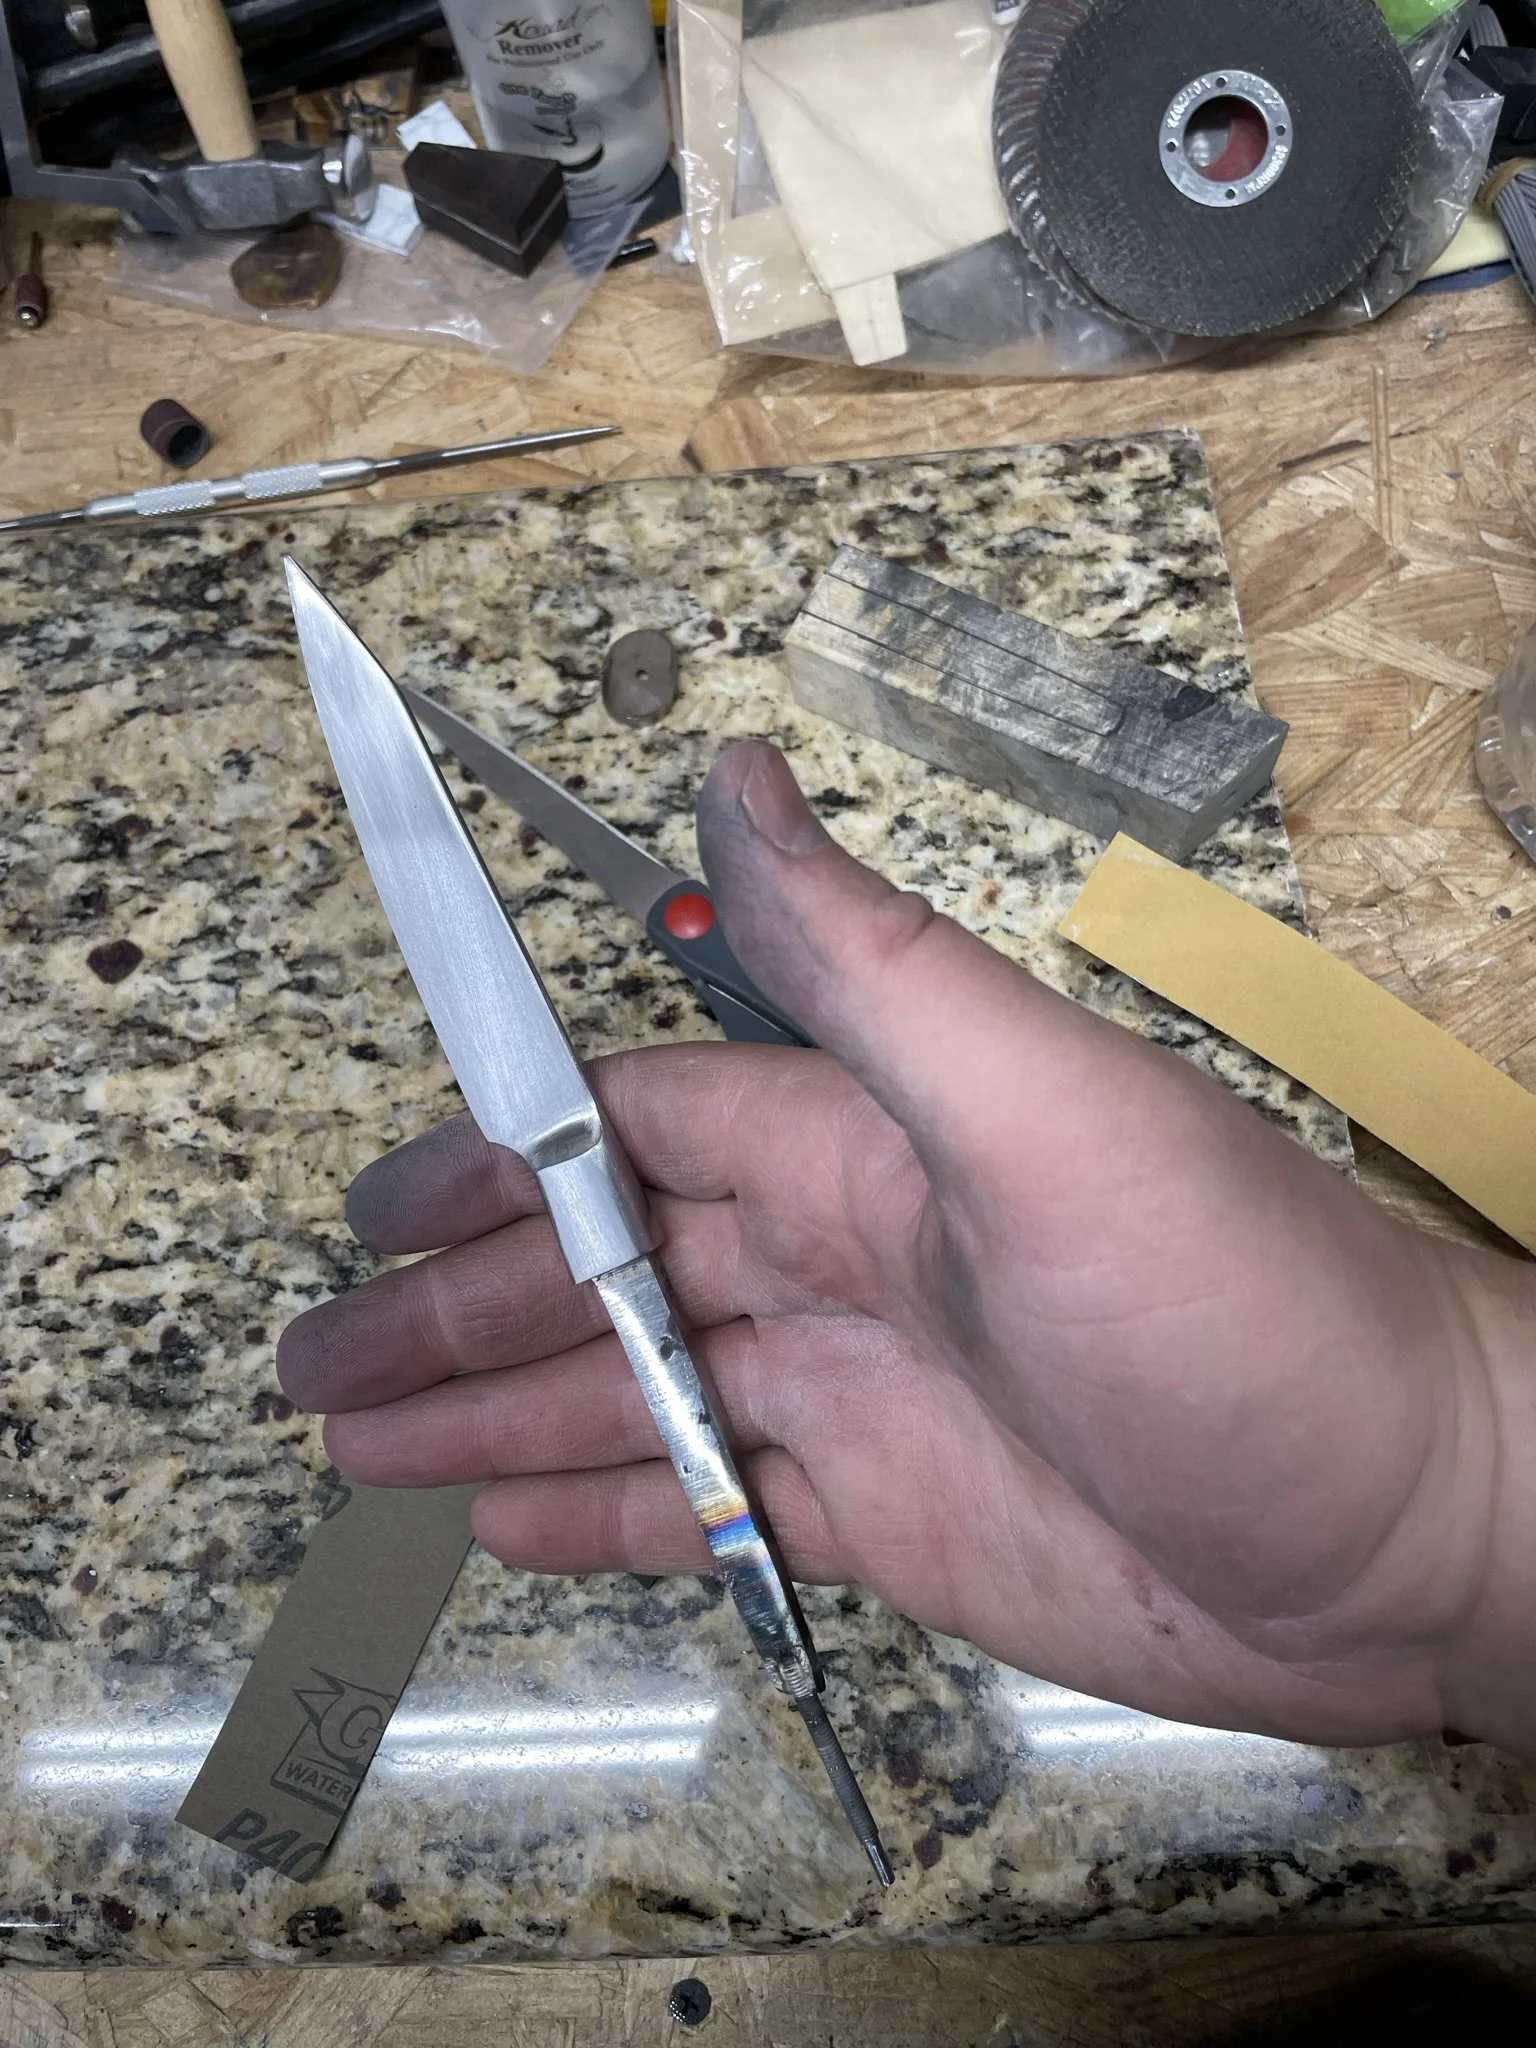
I decided to make an example EDC for myself. This was the remaining blade from the four "brothers knives". 1095 steel already heat treated.
-
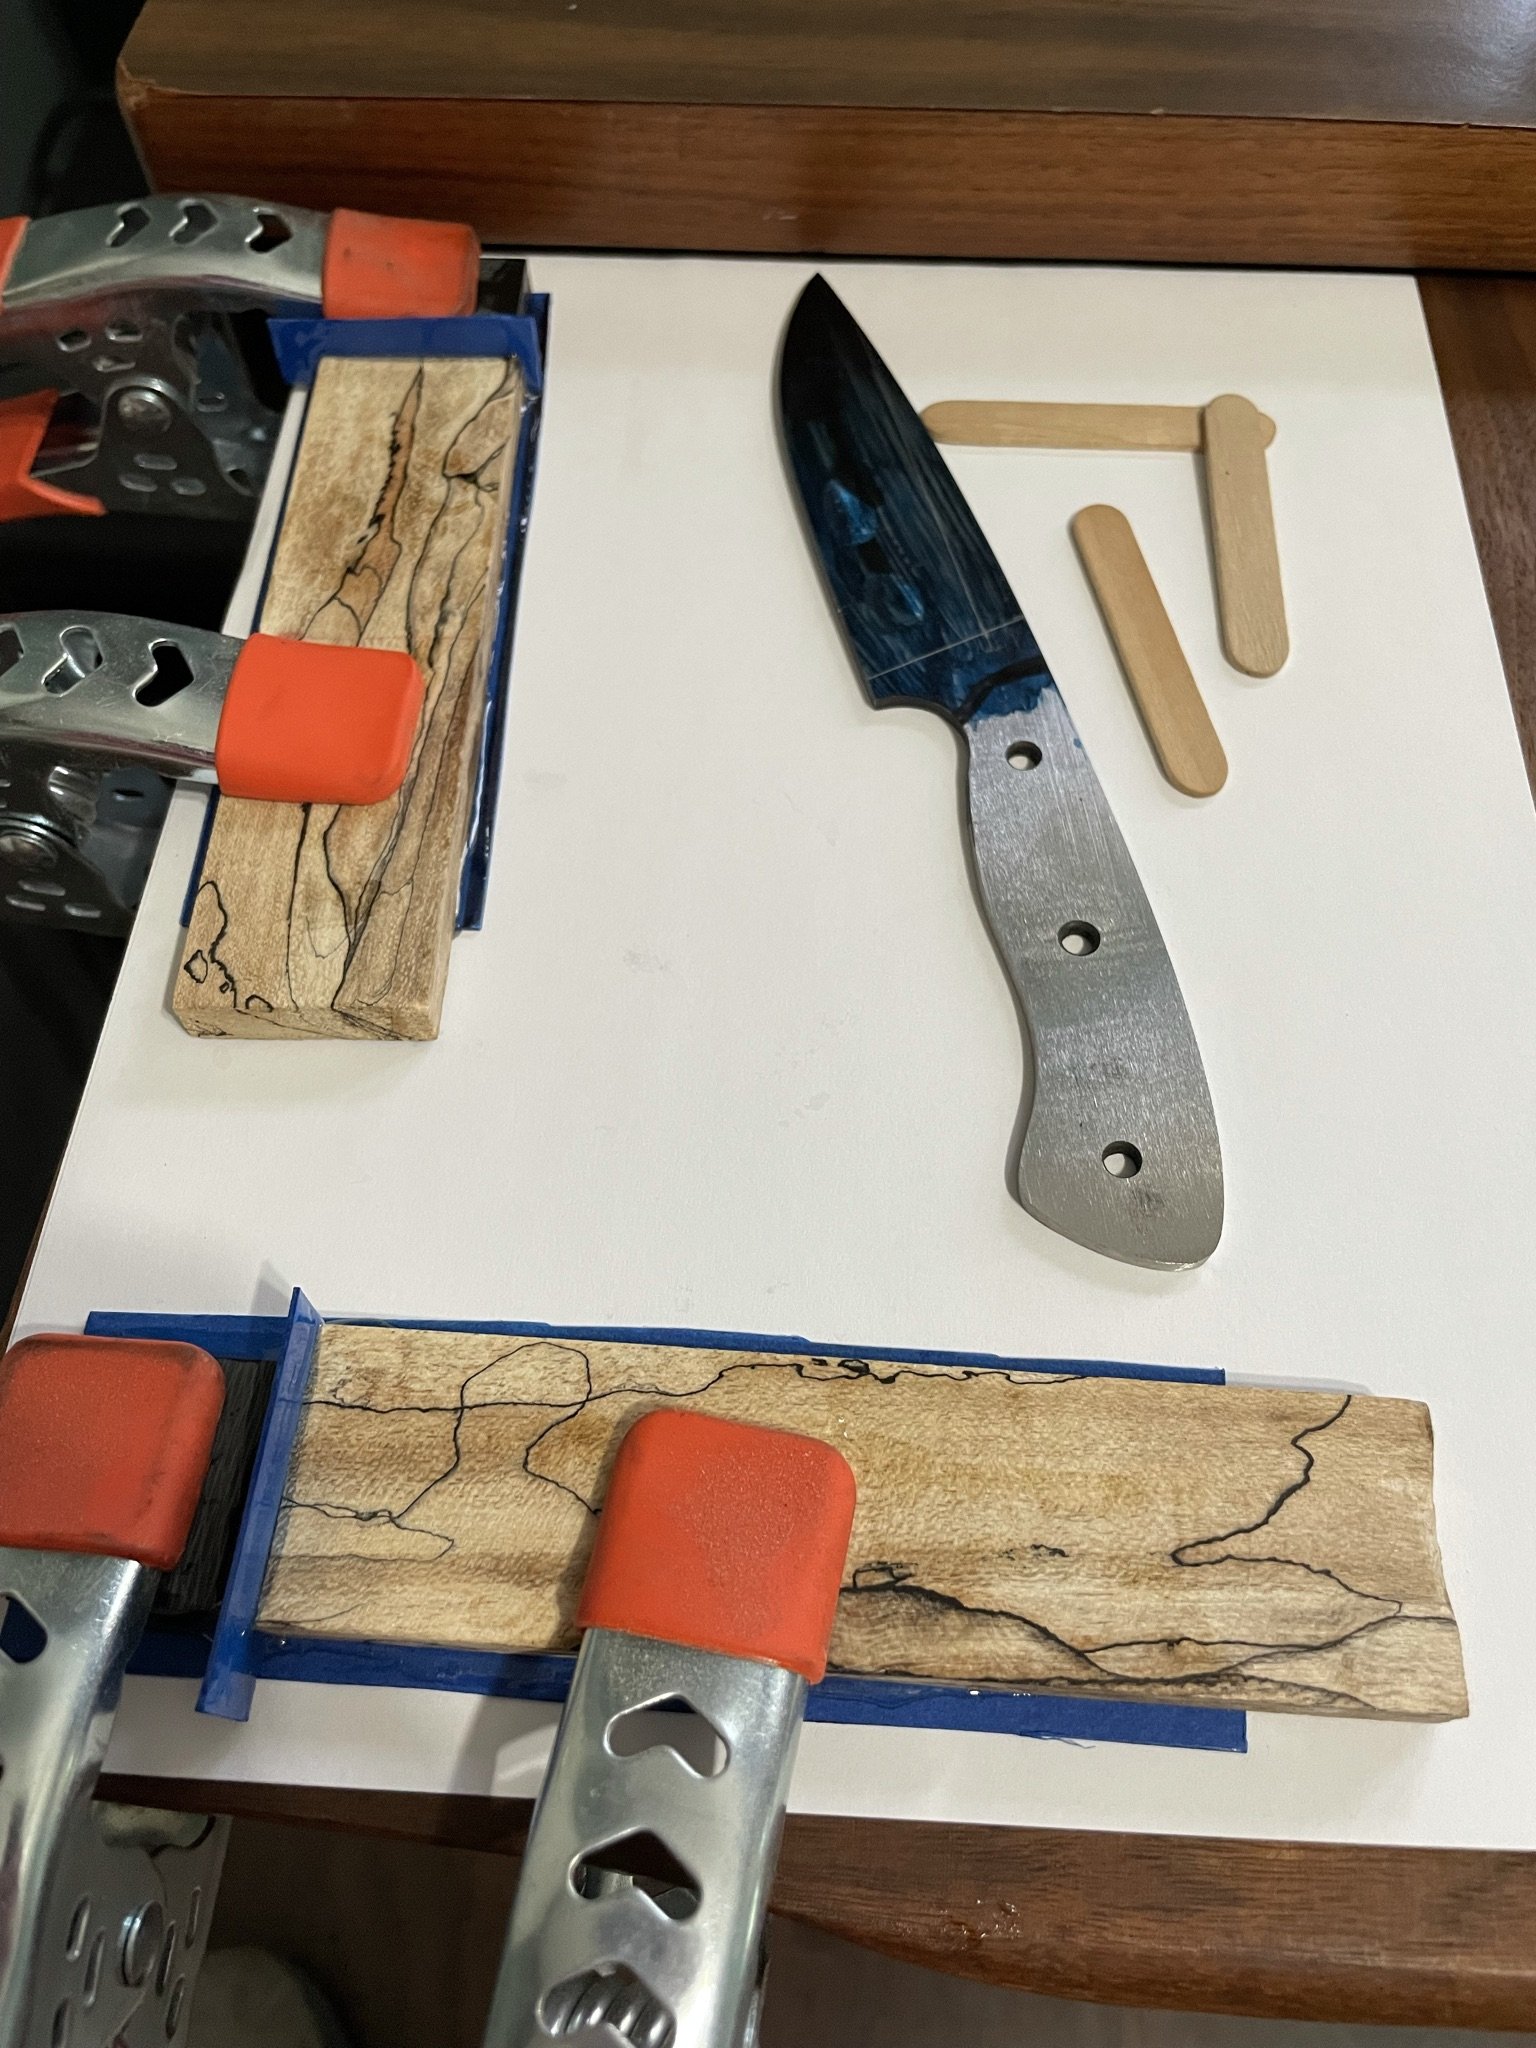
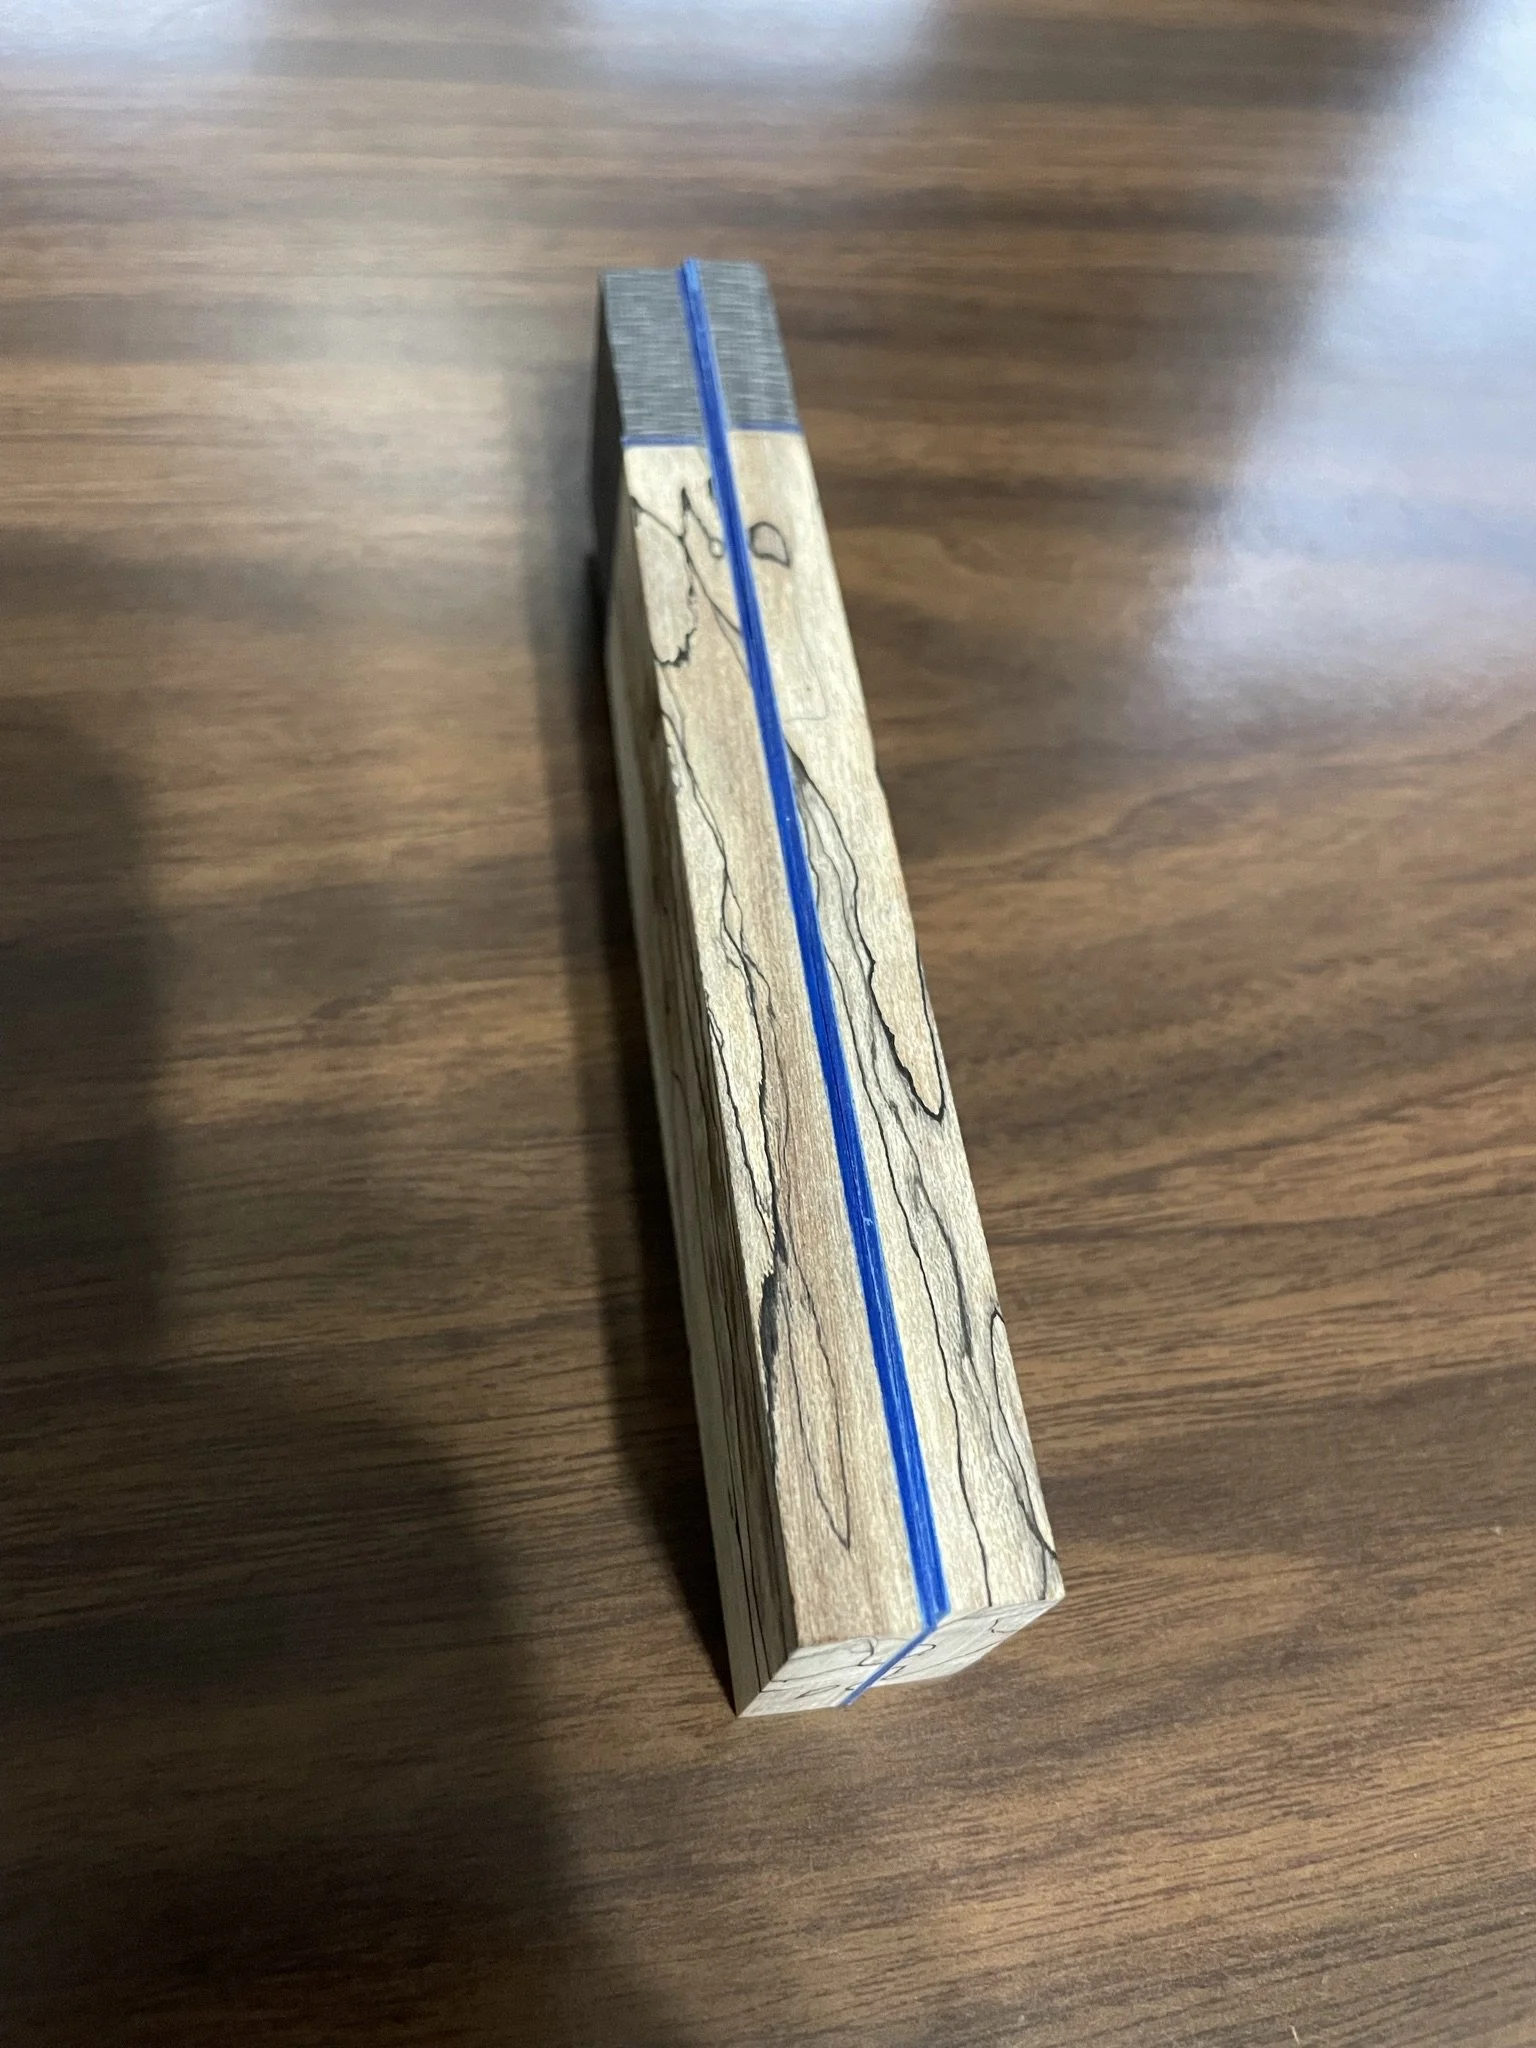
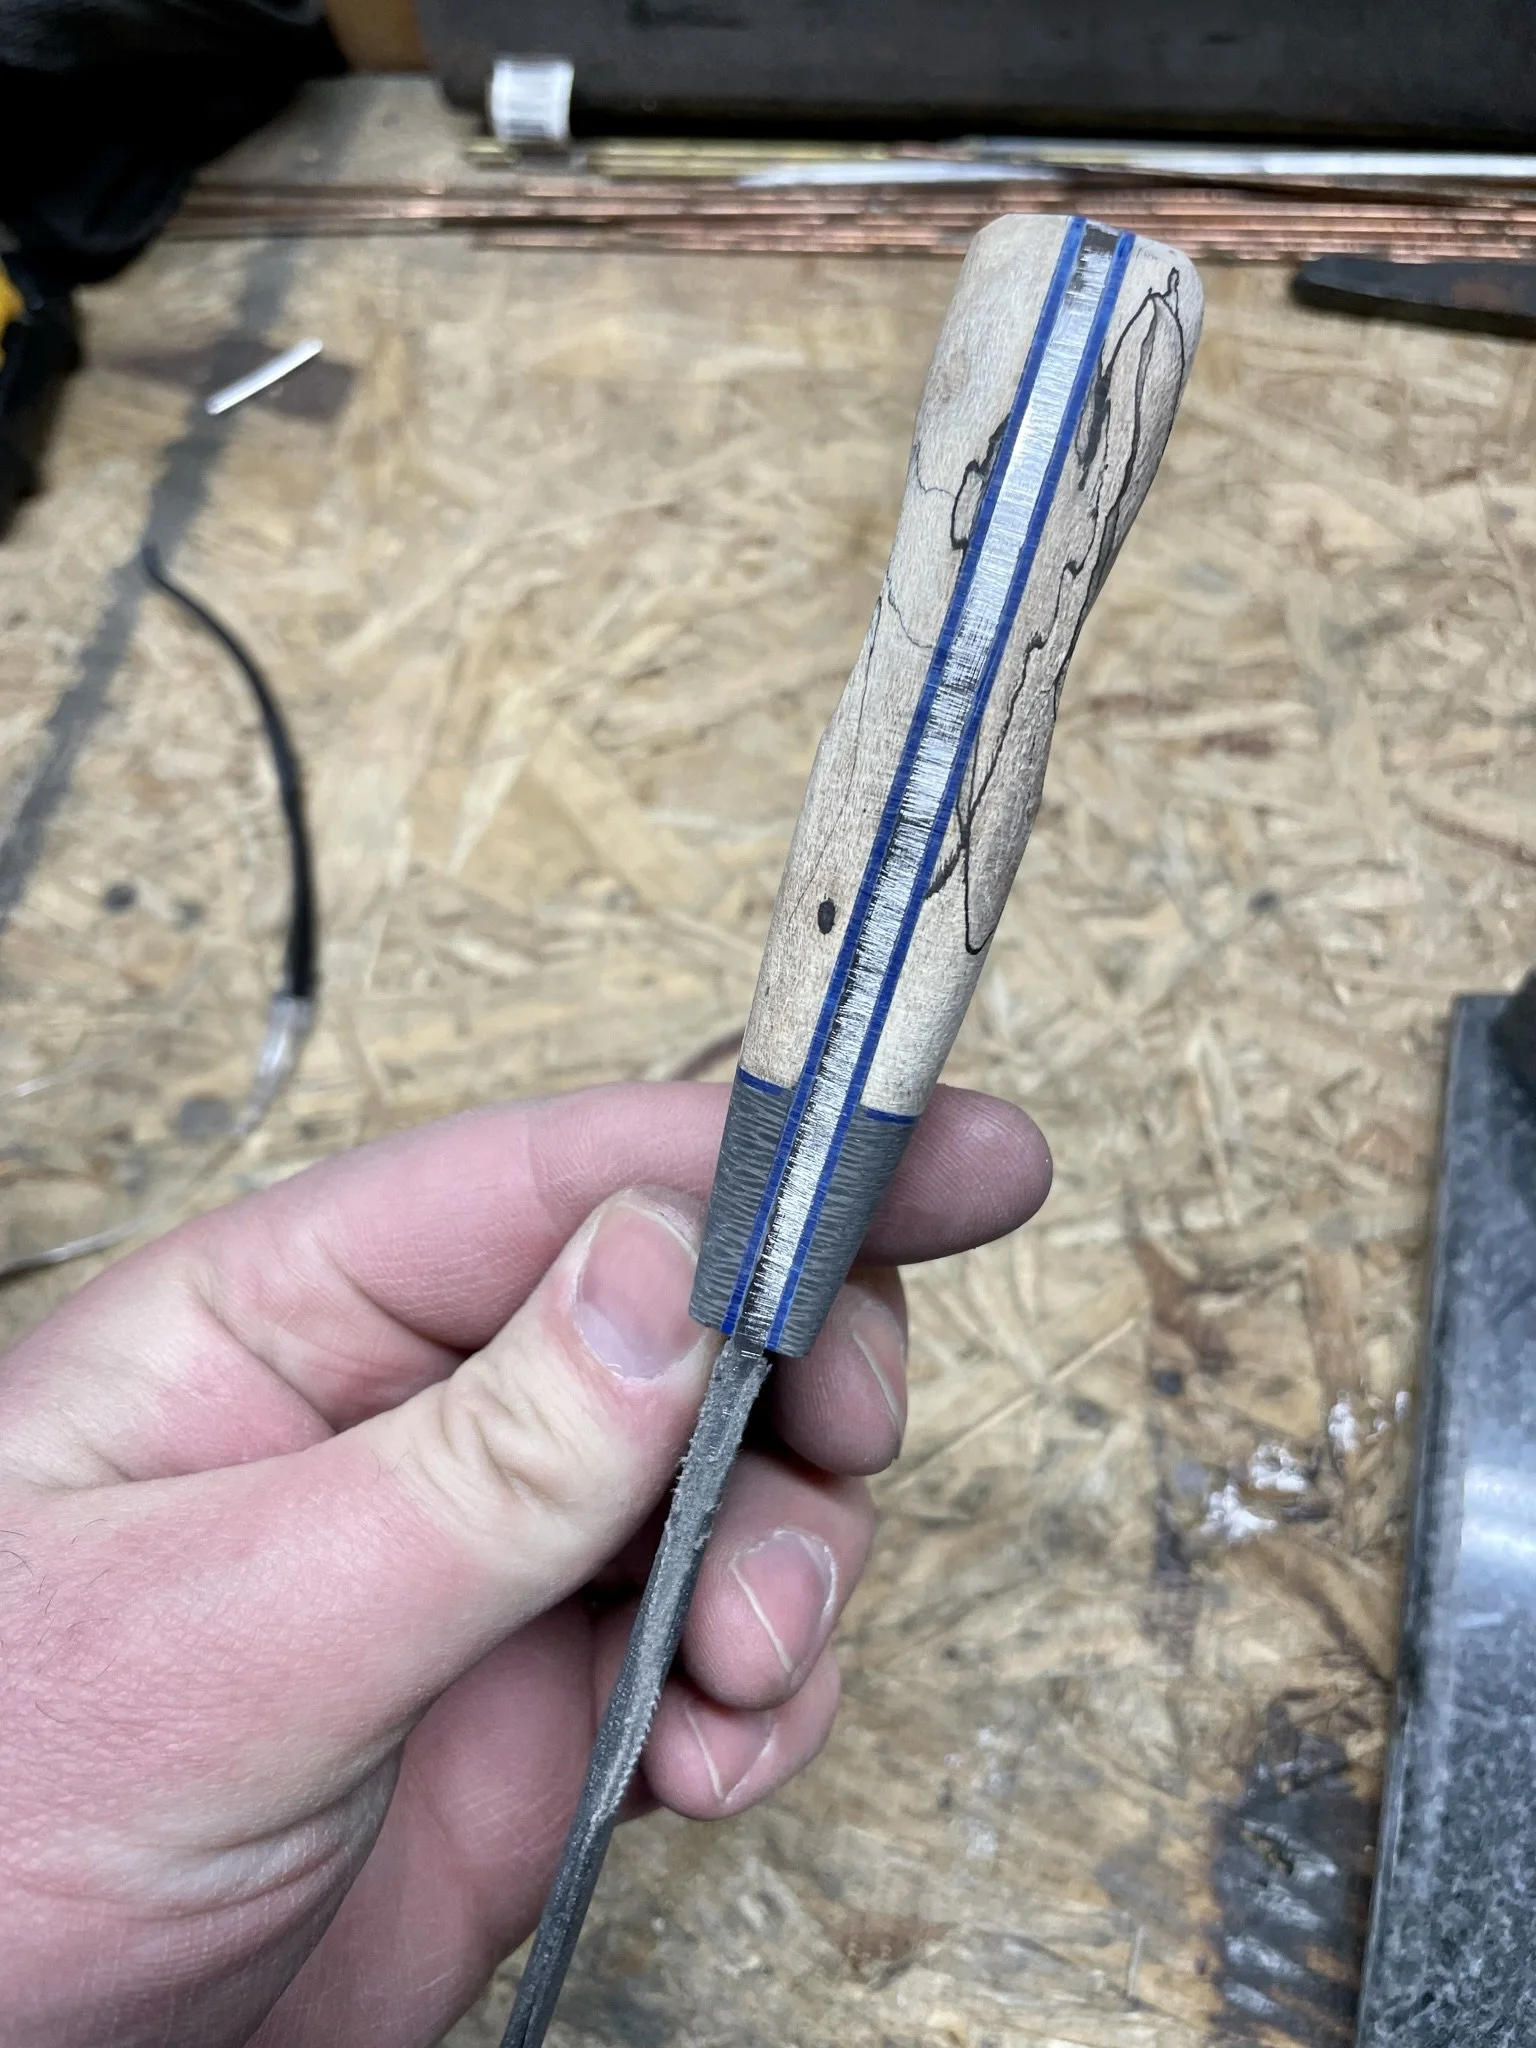
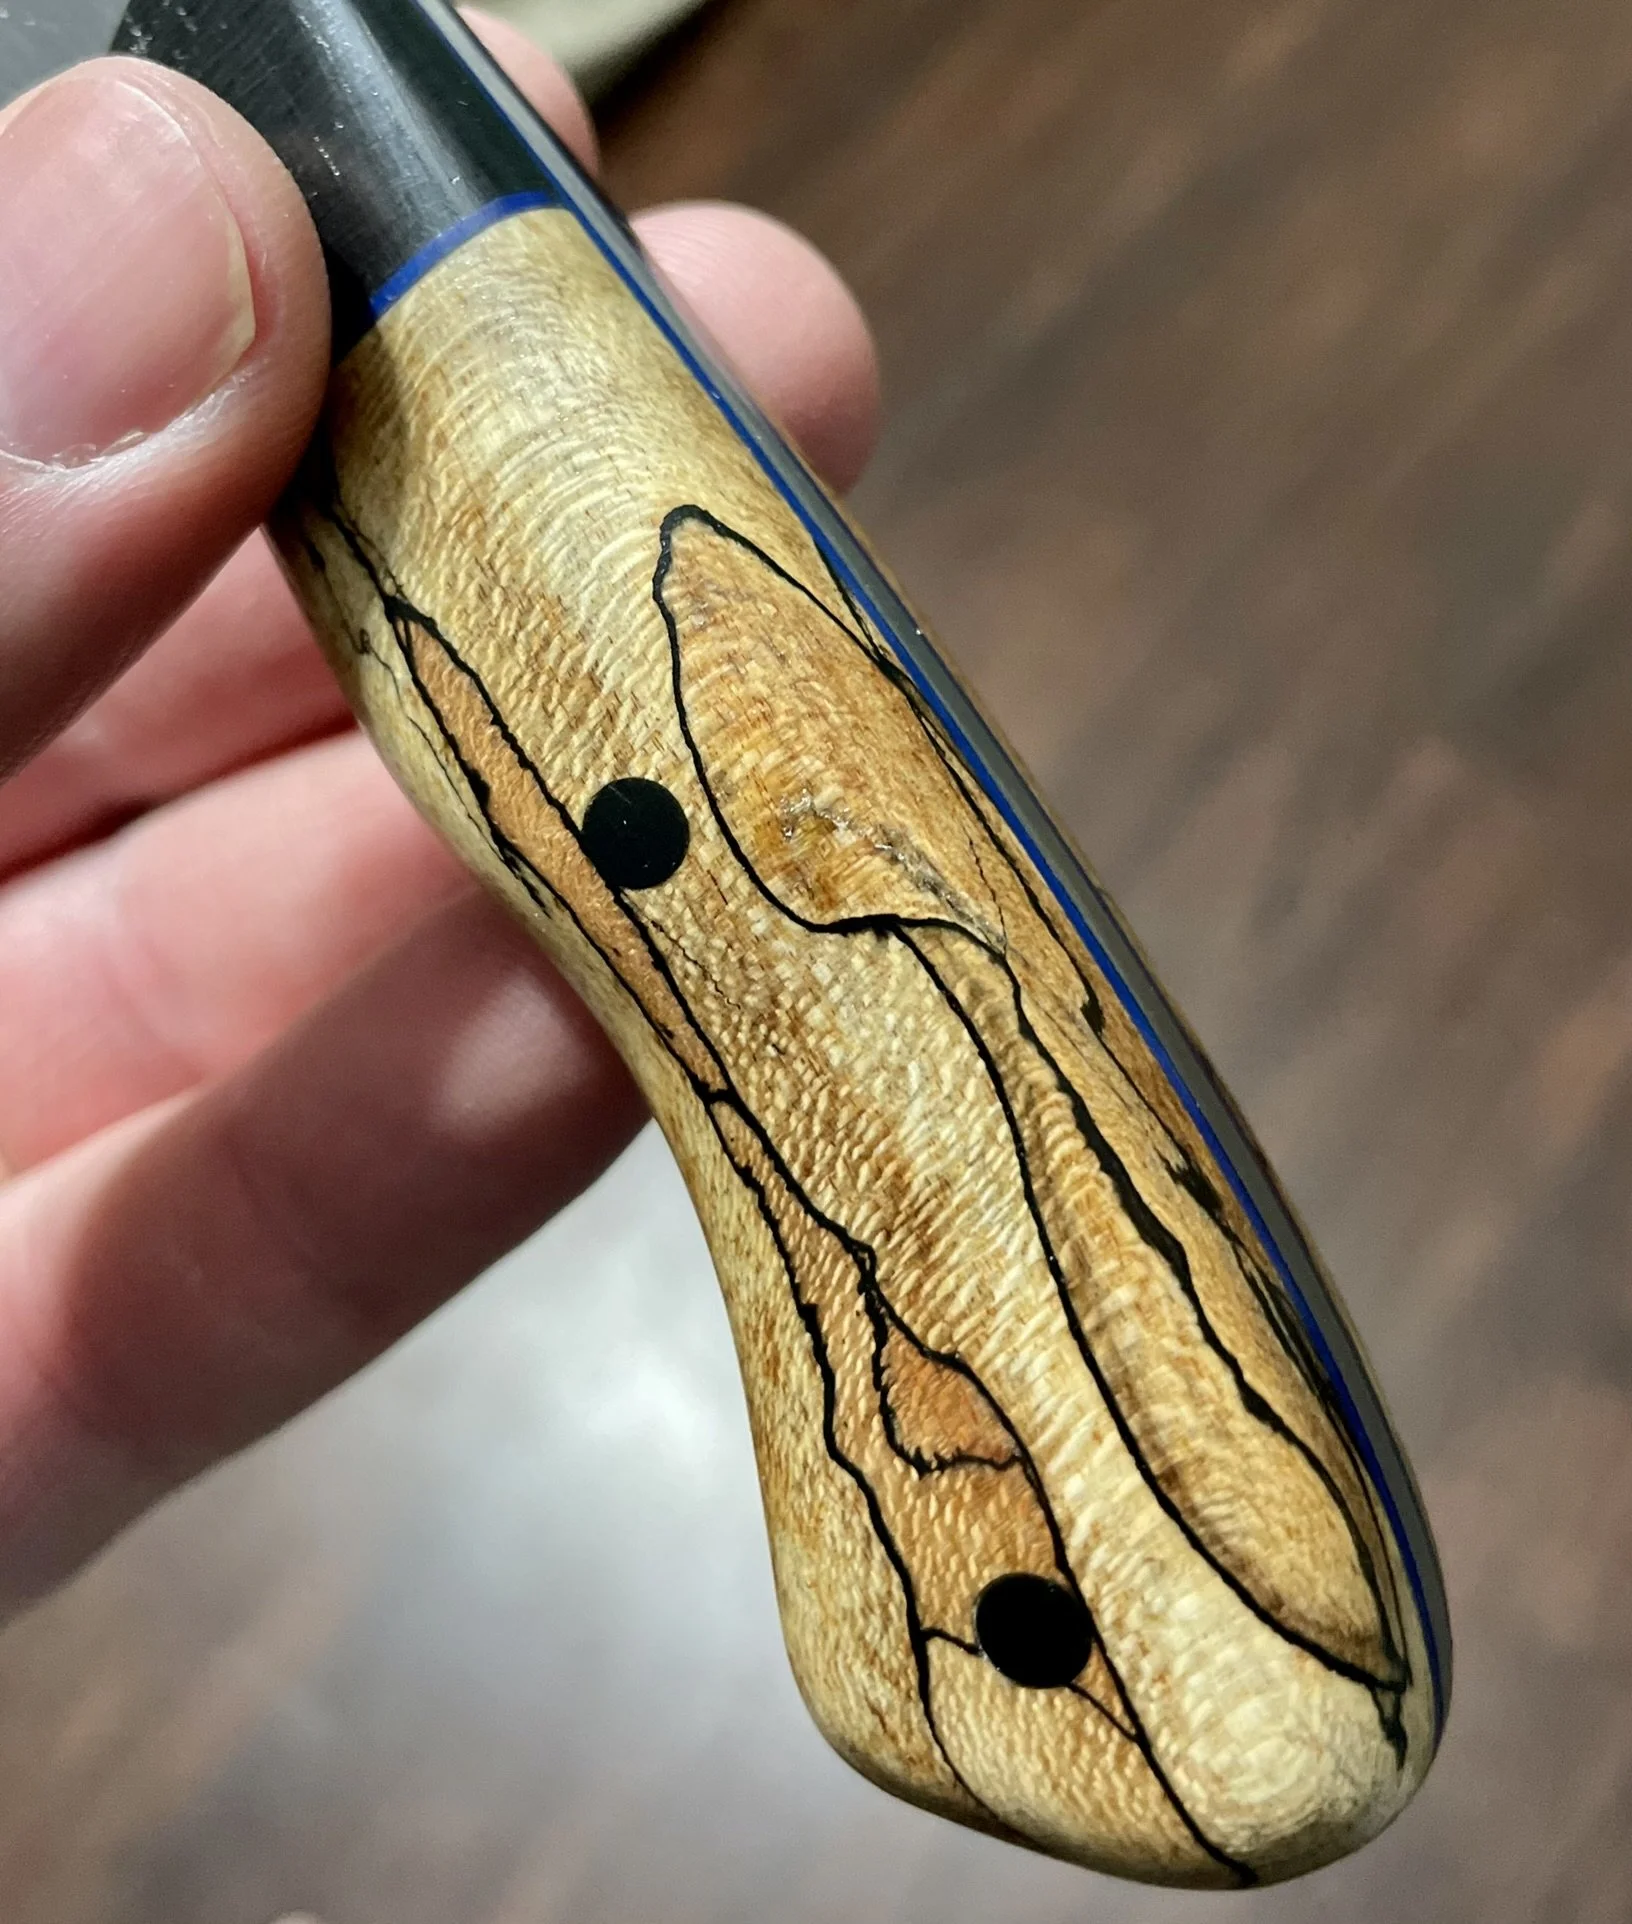
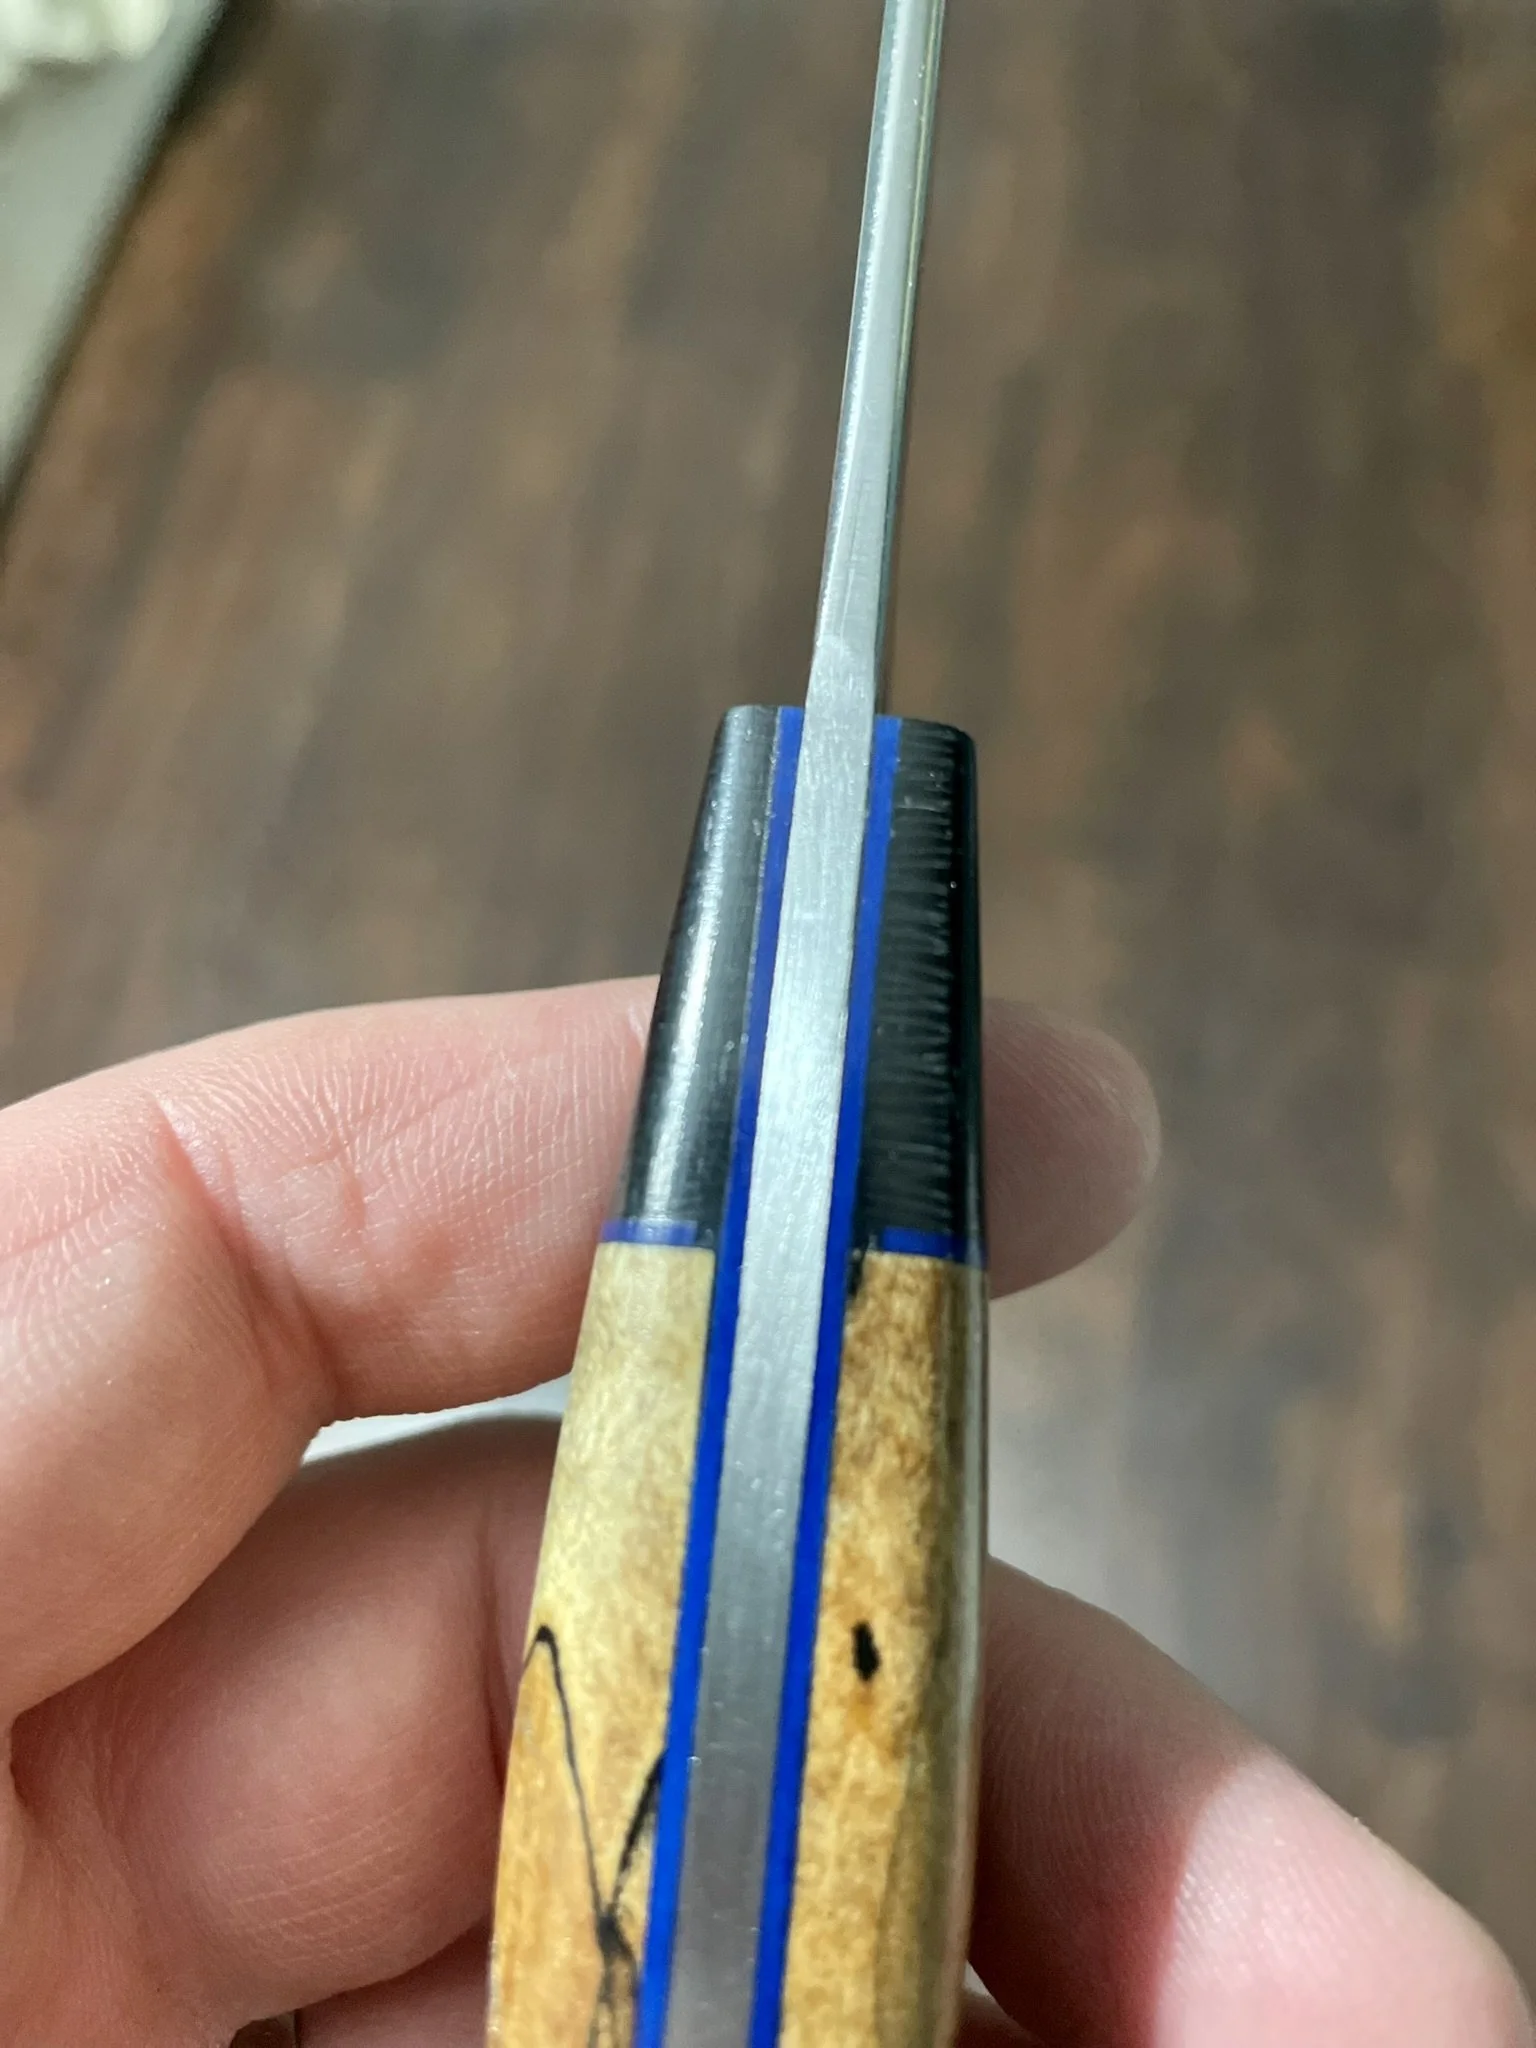
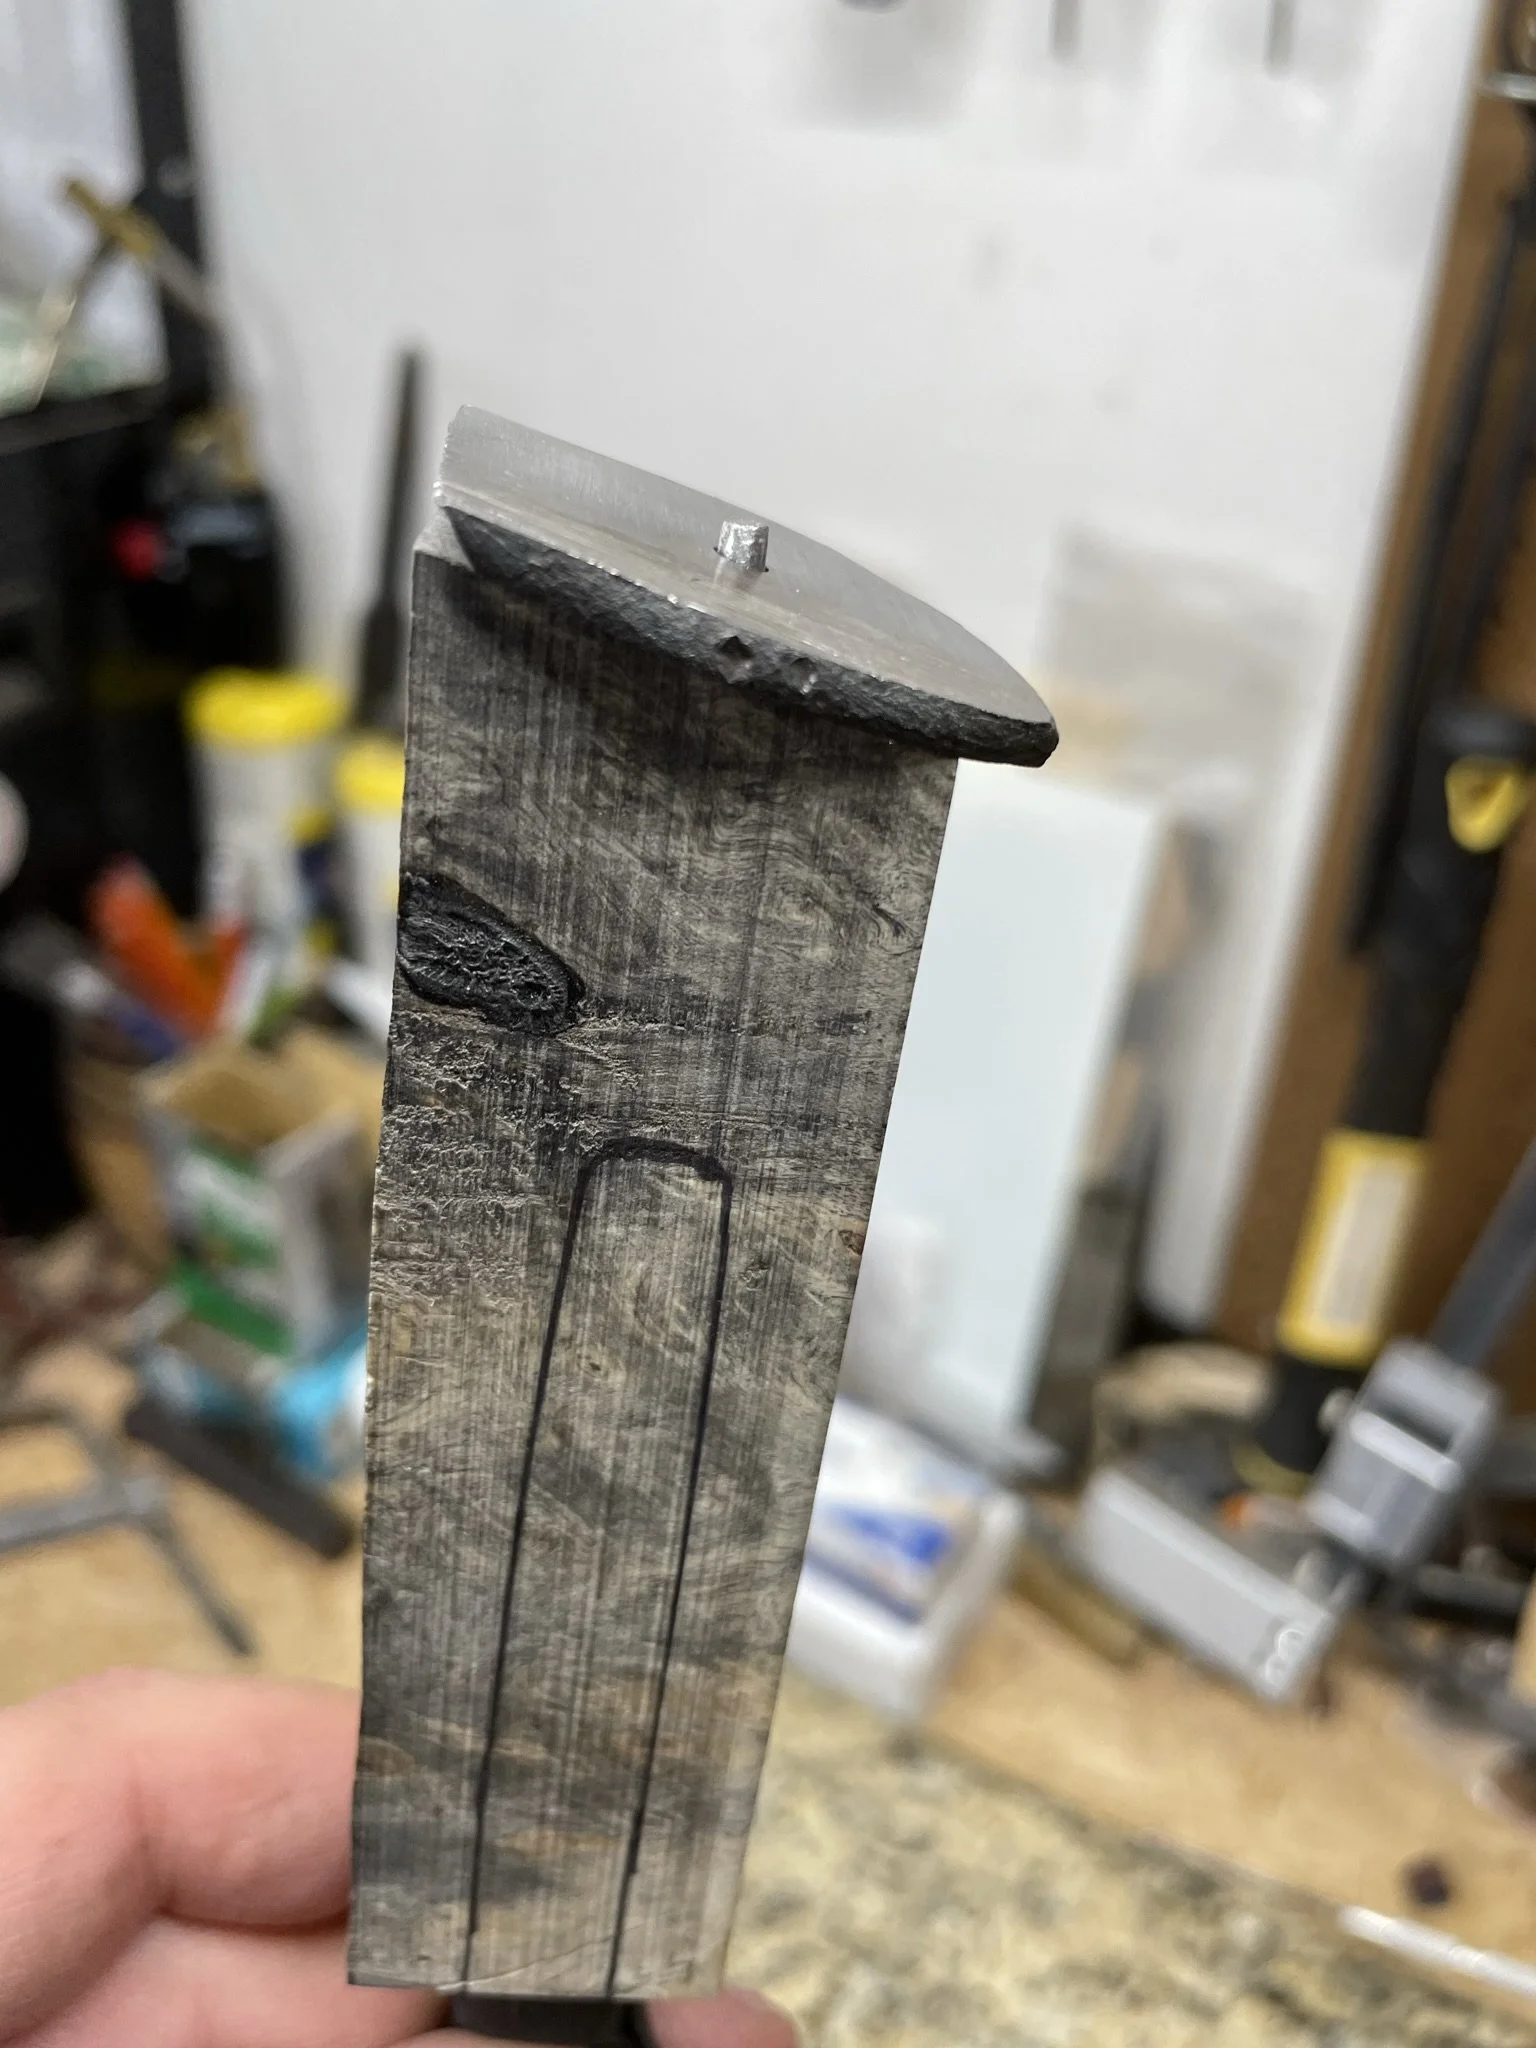
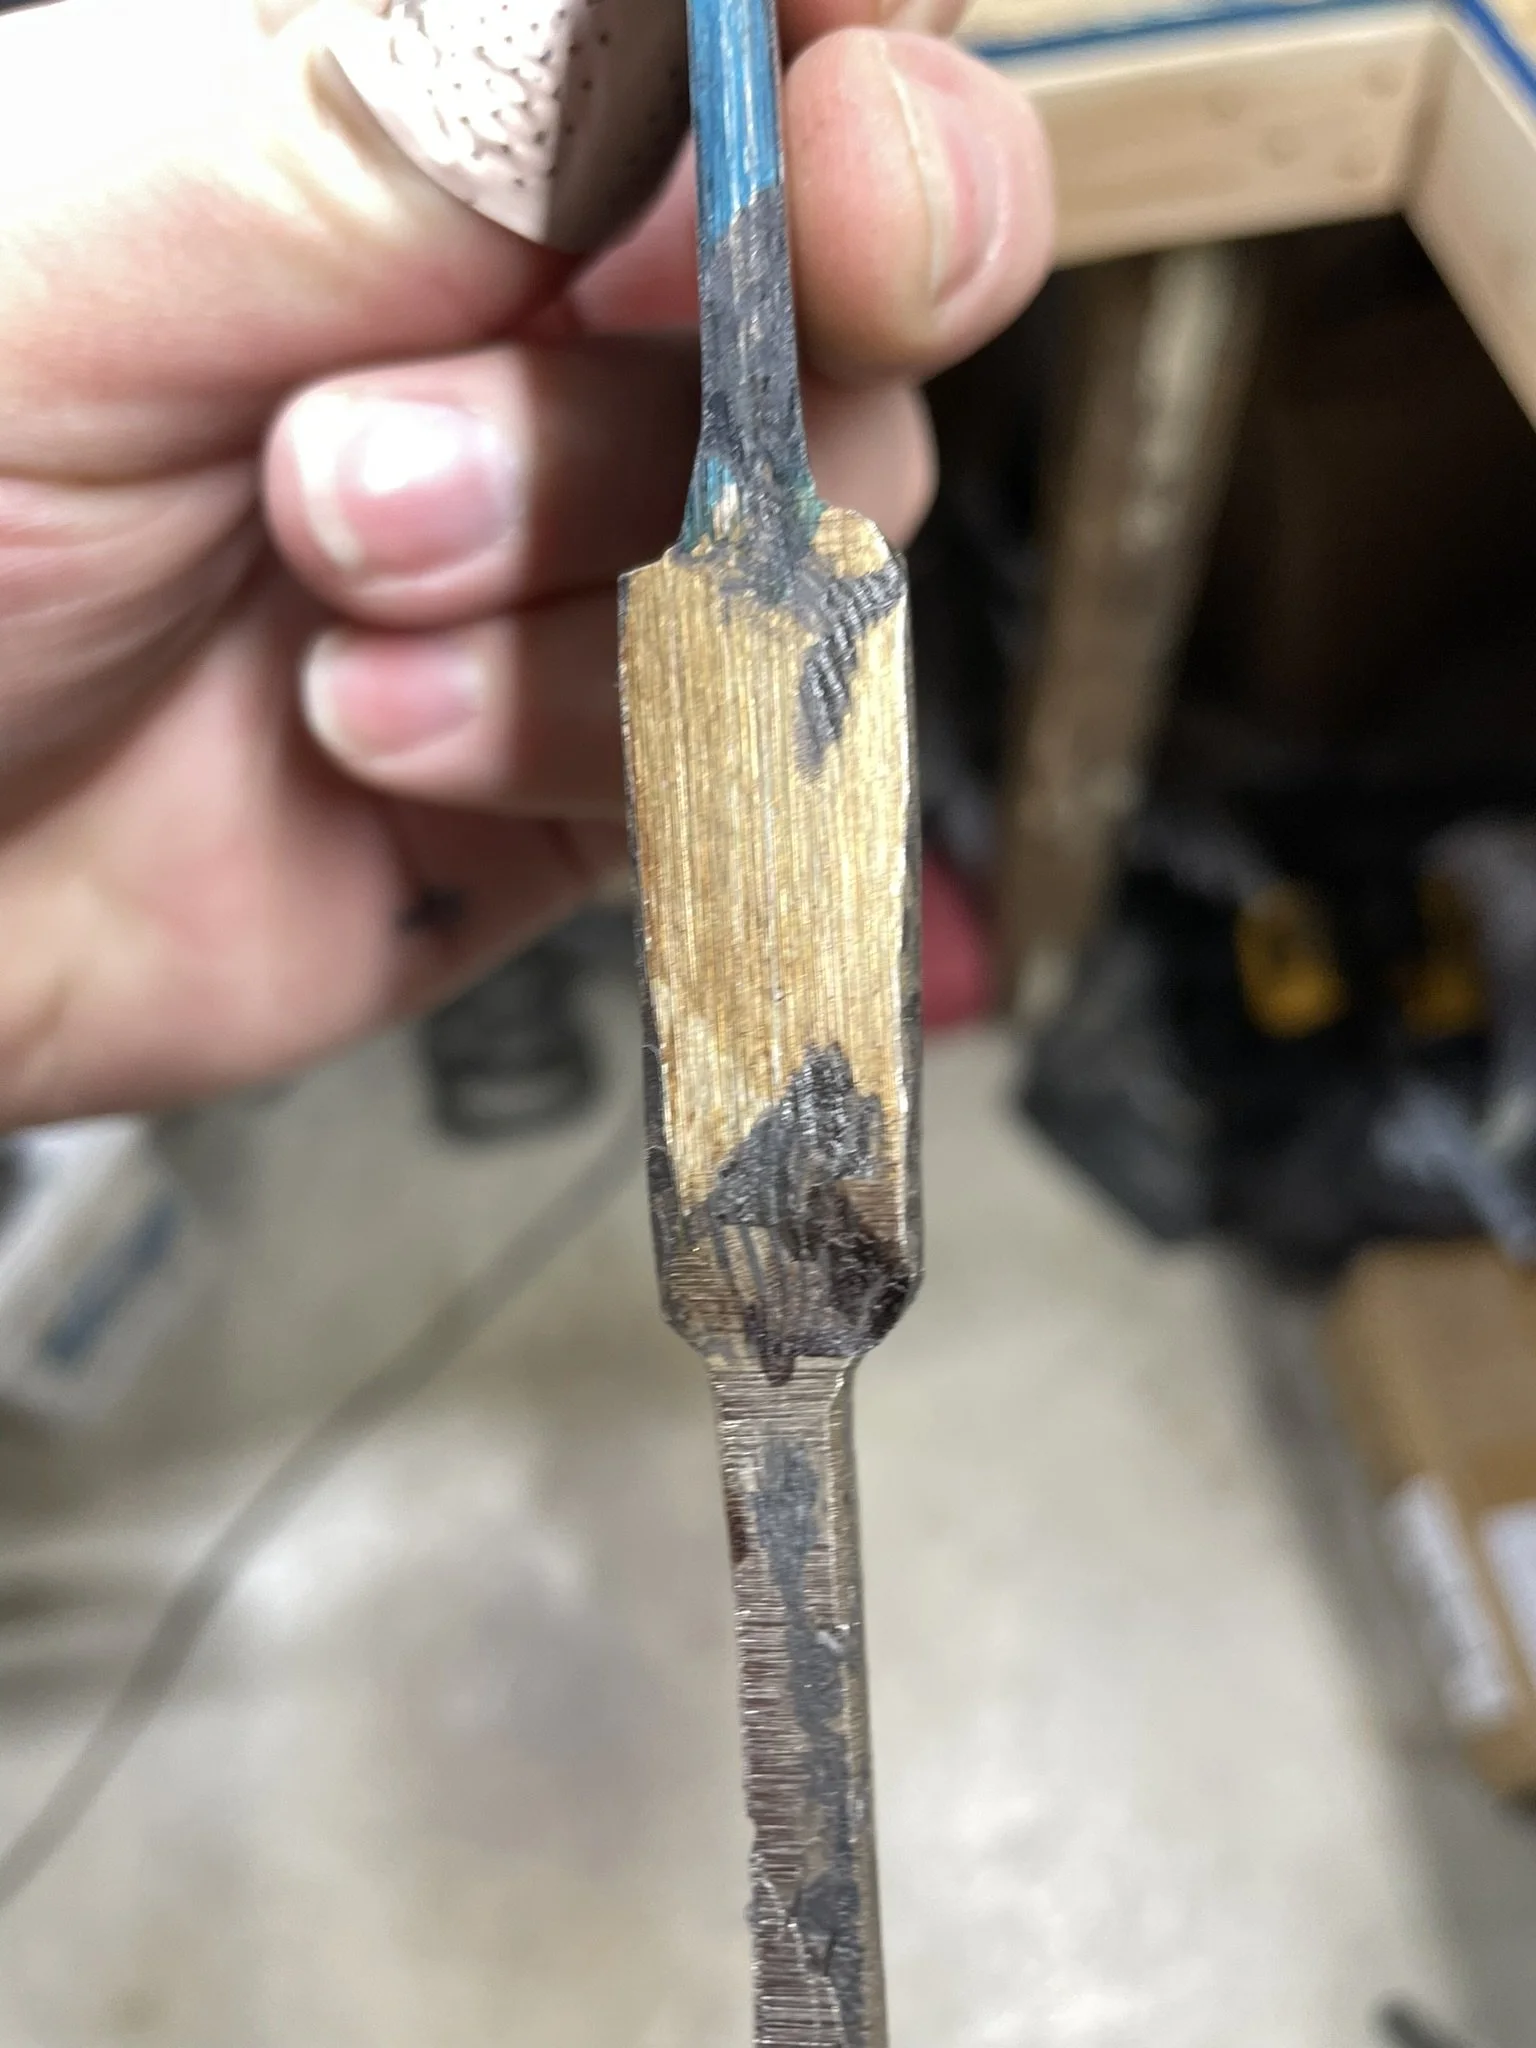
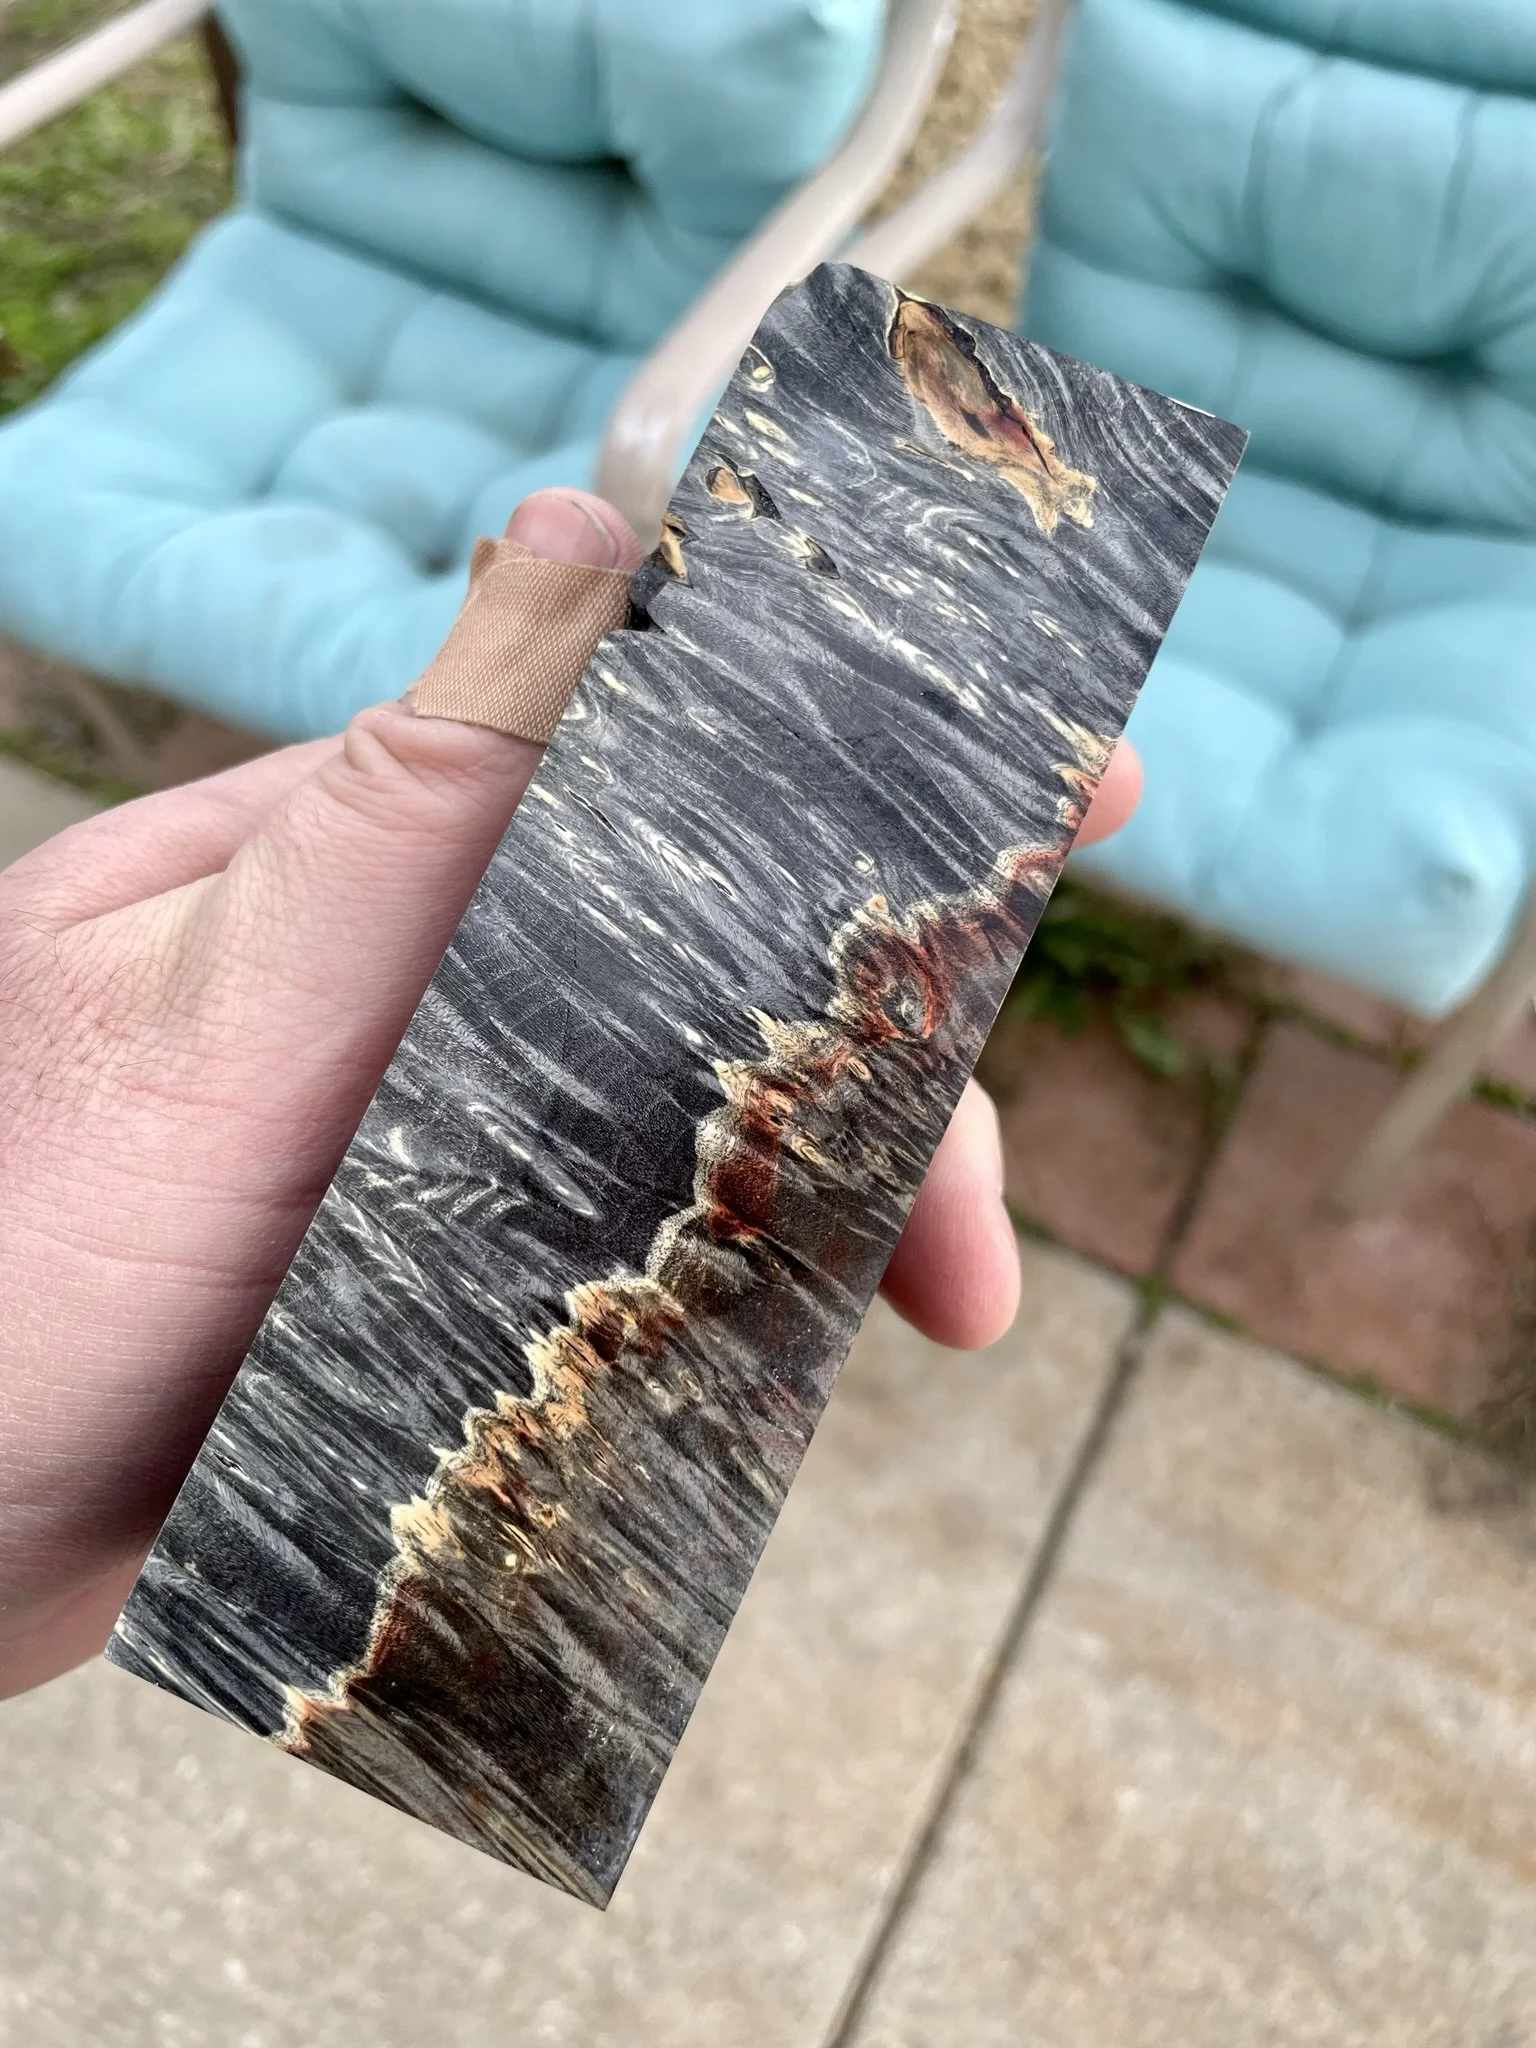
Decided to do another segmented scale using spalted sycamore that I stabilized myself, carbon fiber and blue G-10.
-
Scales done and ready to be mounted.
-
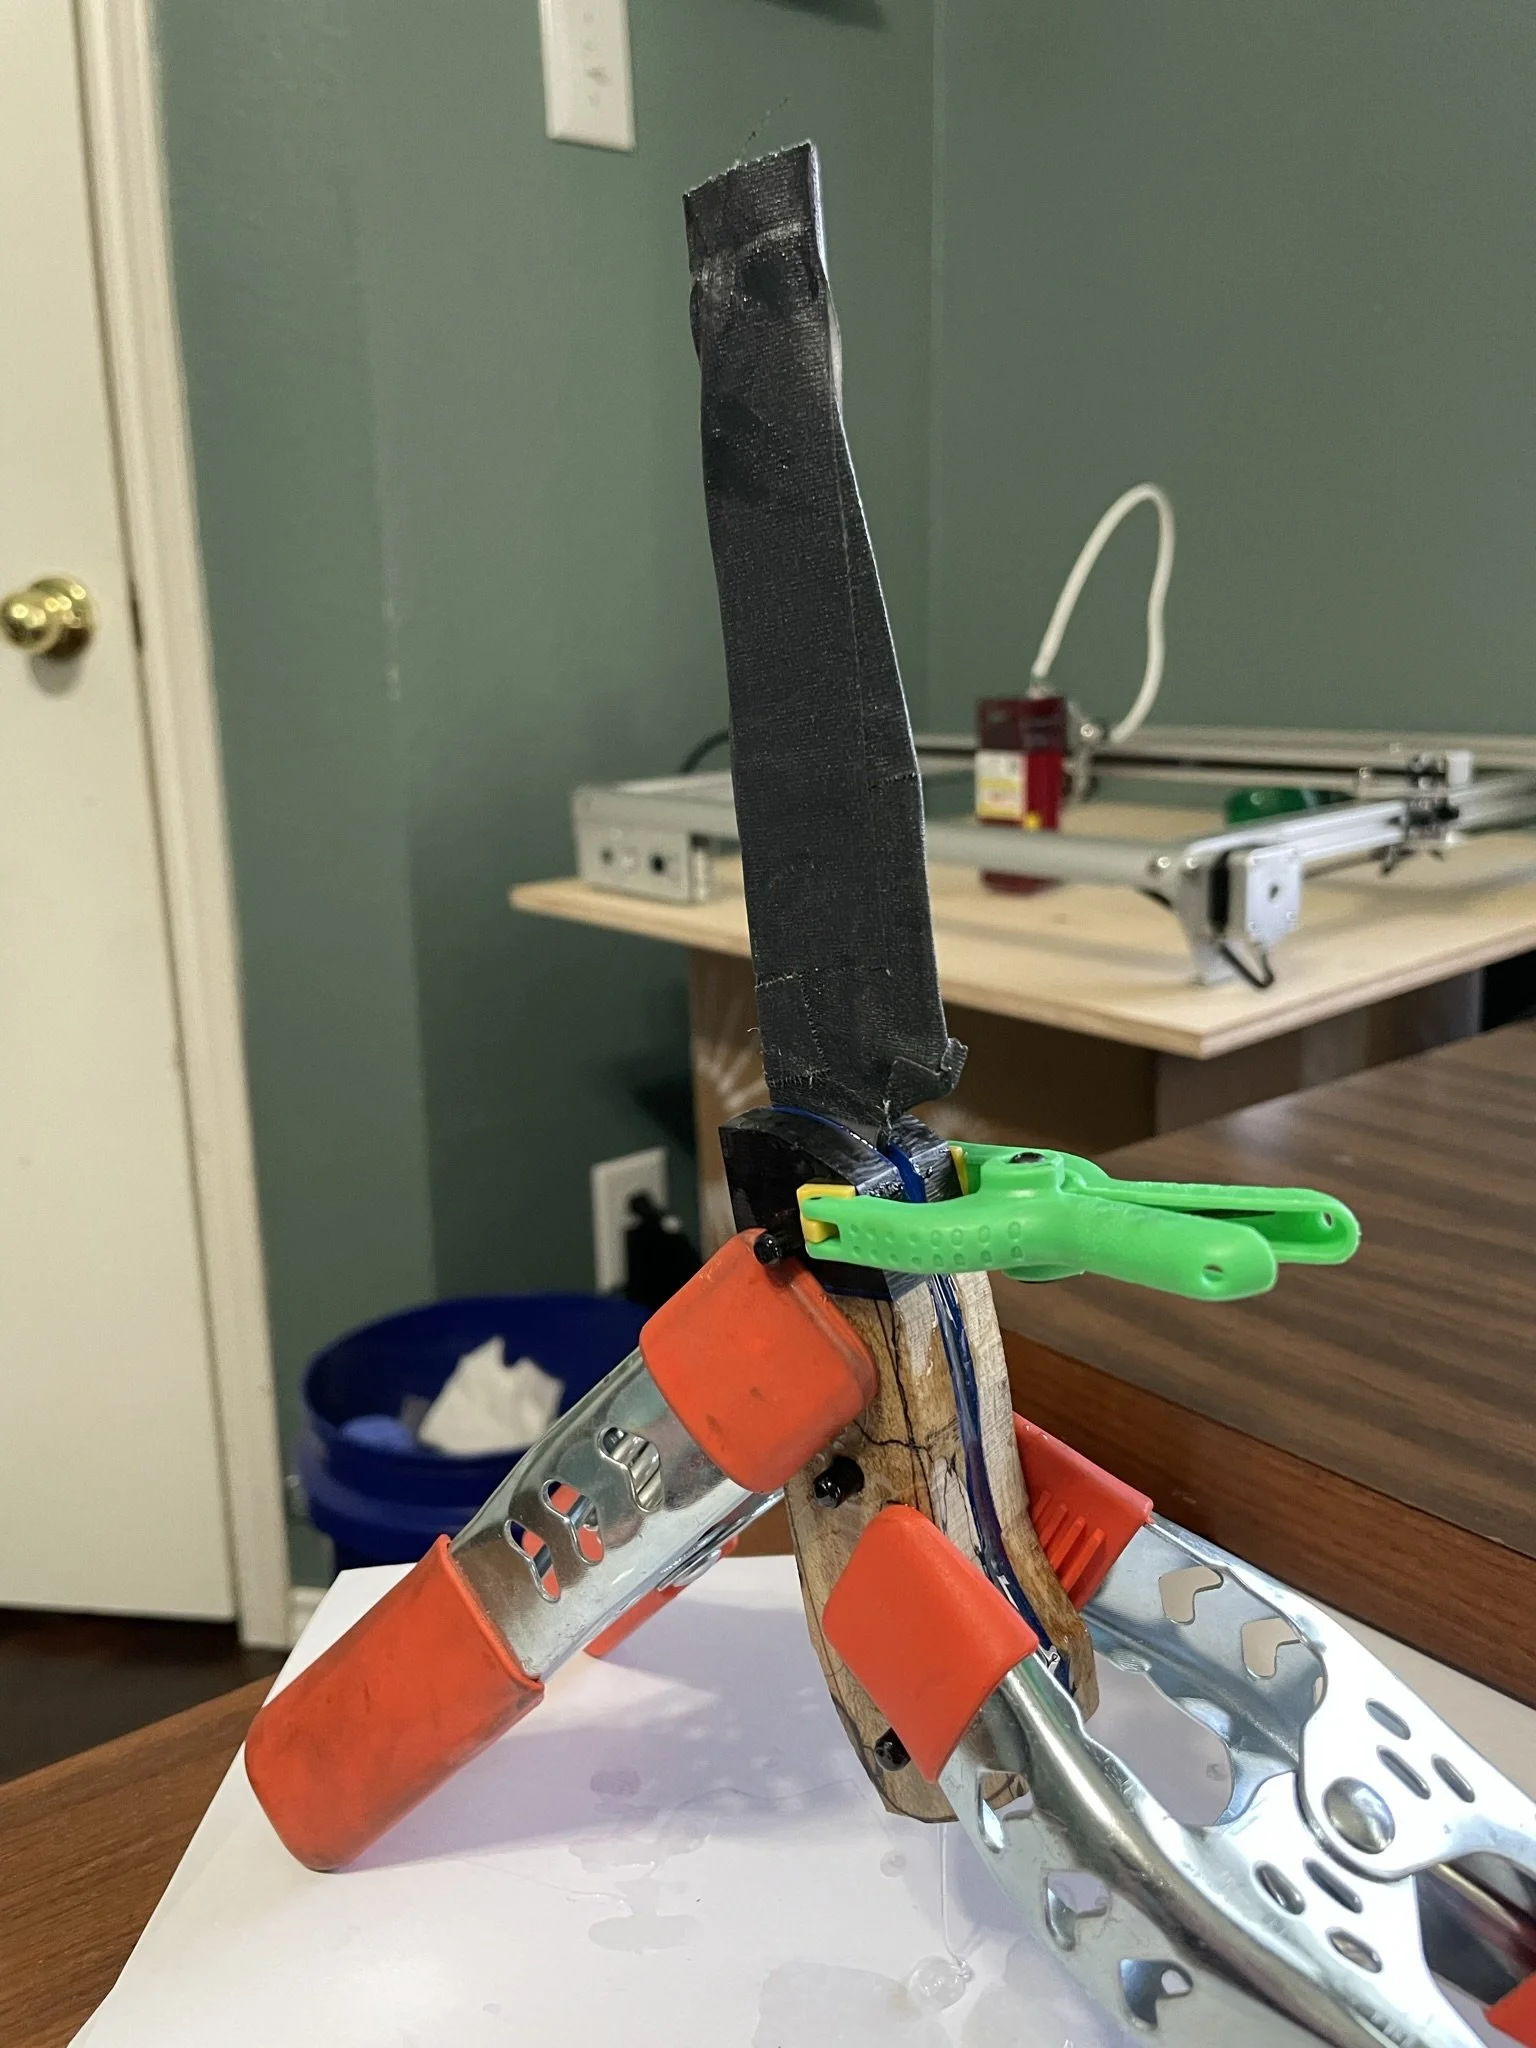
Glue up.
-
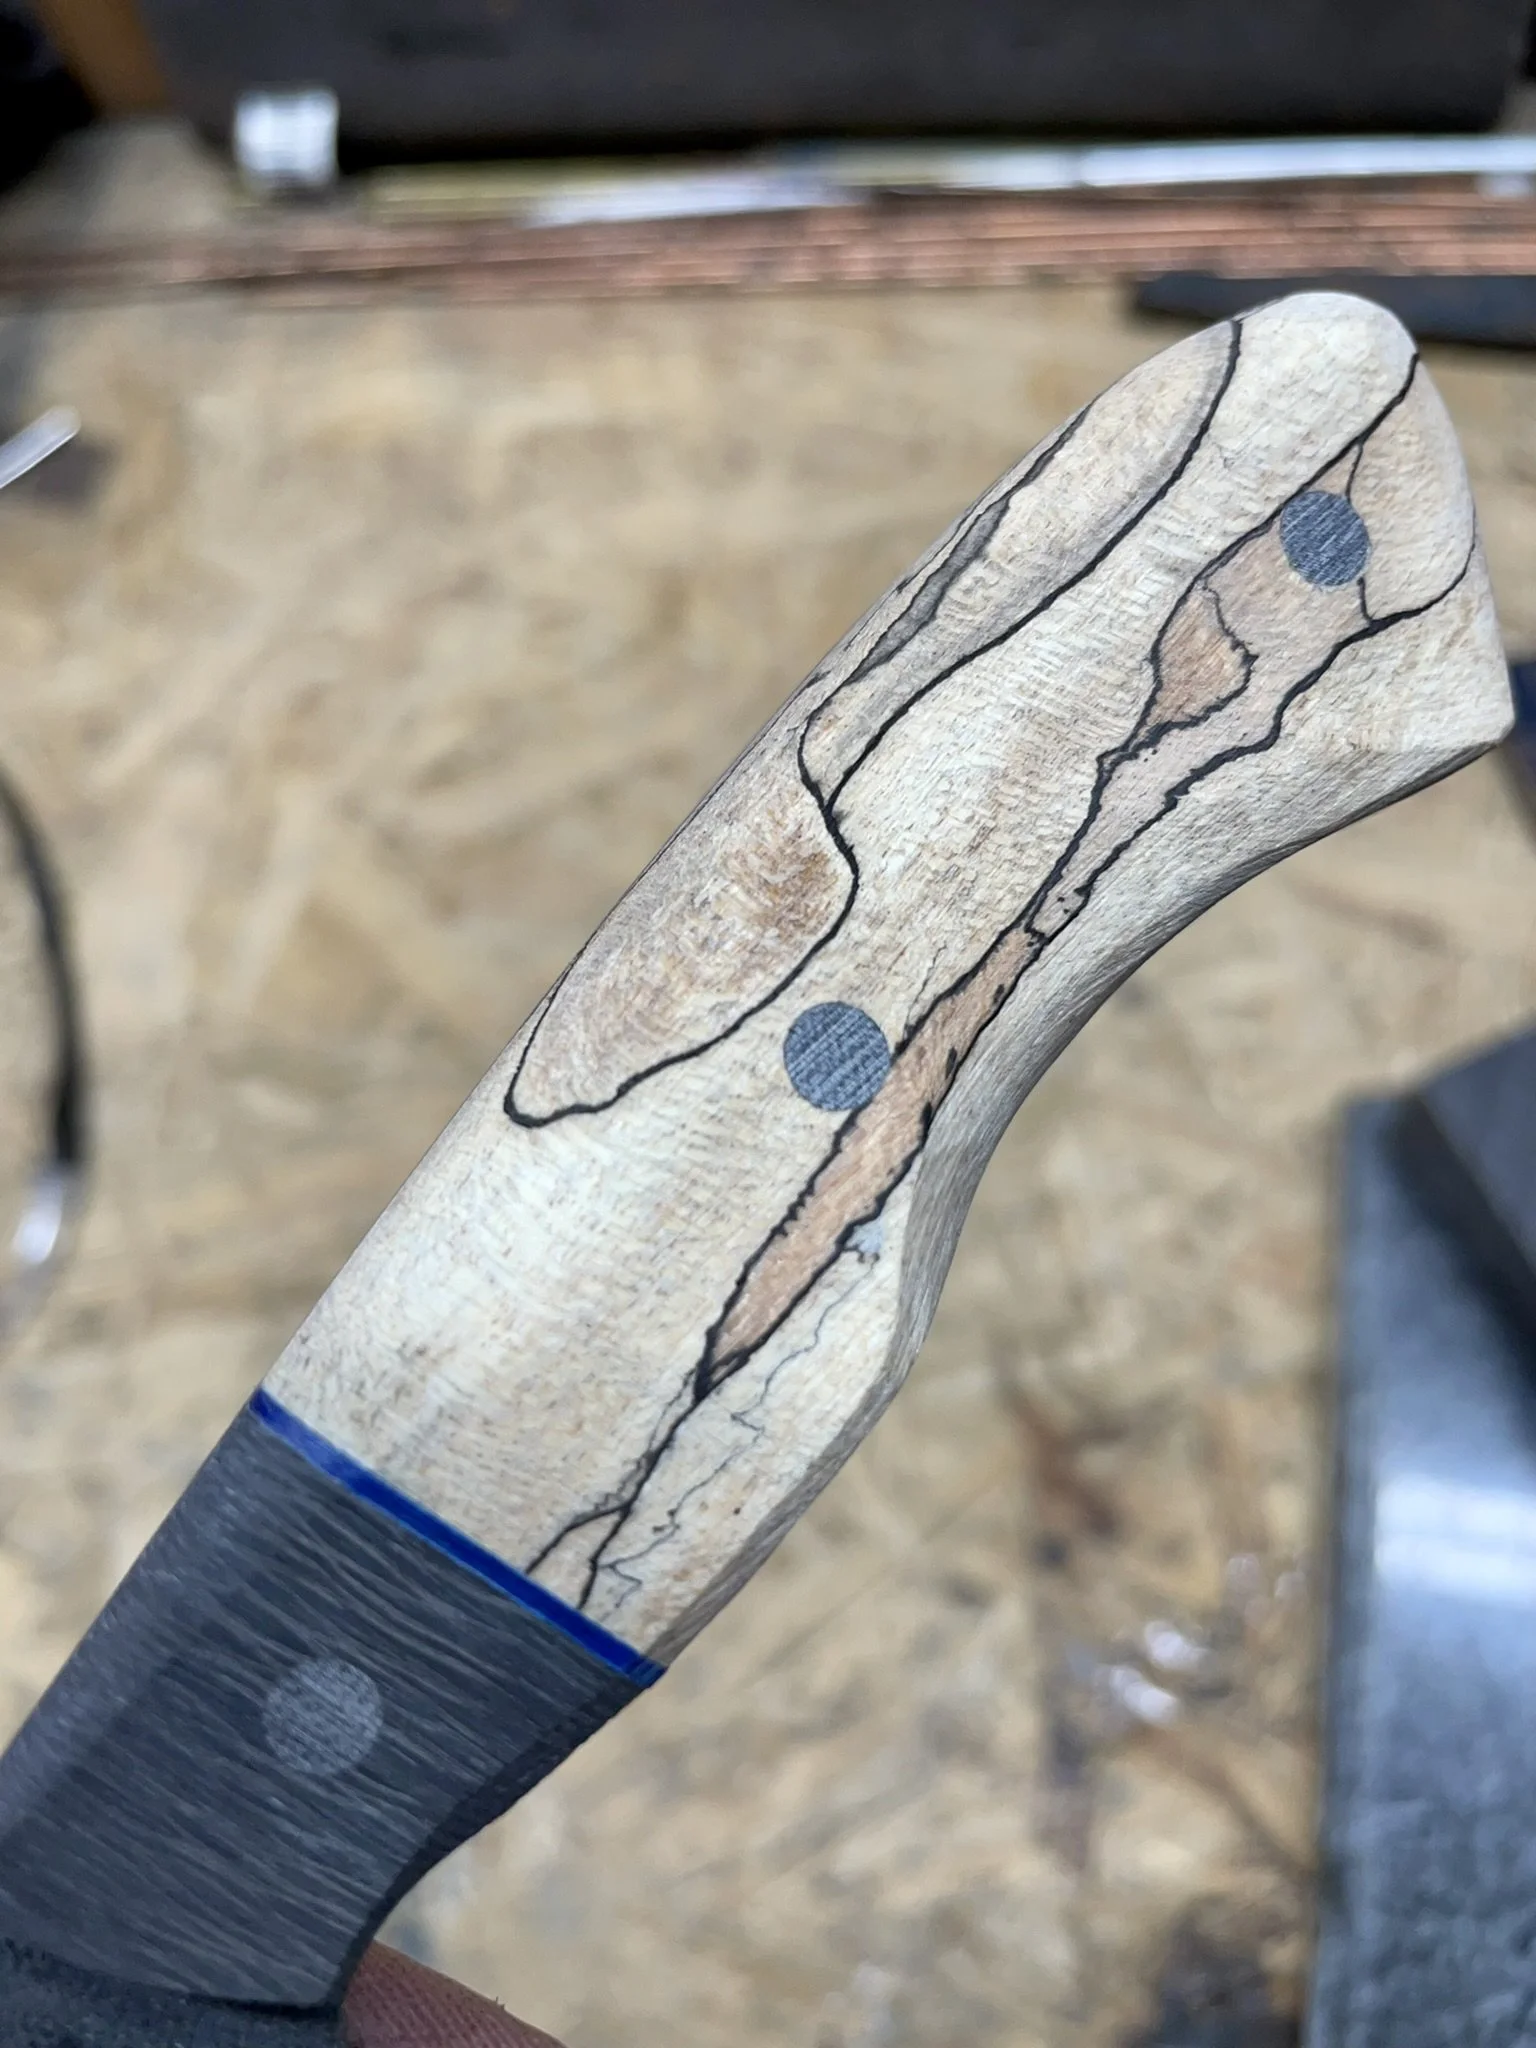
This blade is where I really started to develop my handle shapes. I didn't want bland boring handles, but something that had curves and looked much better.
-
This really was my attempt at a "coke-bottle" handle.
-
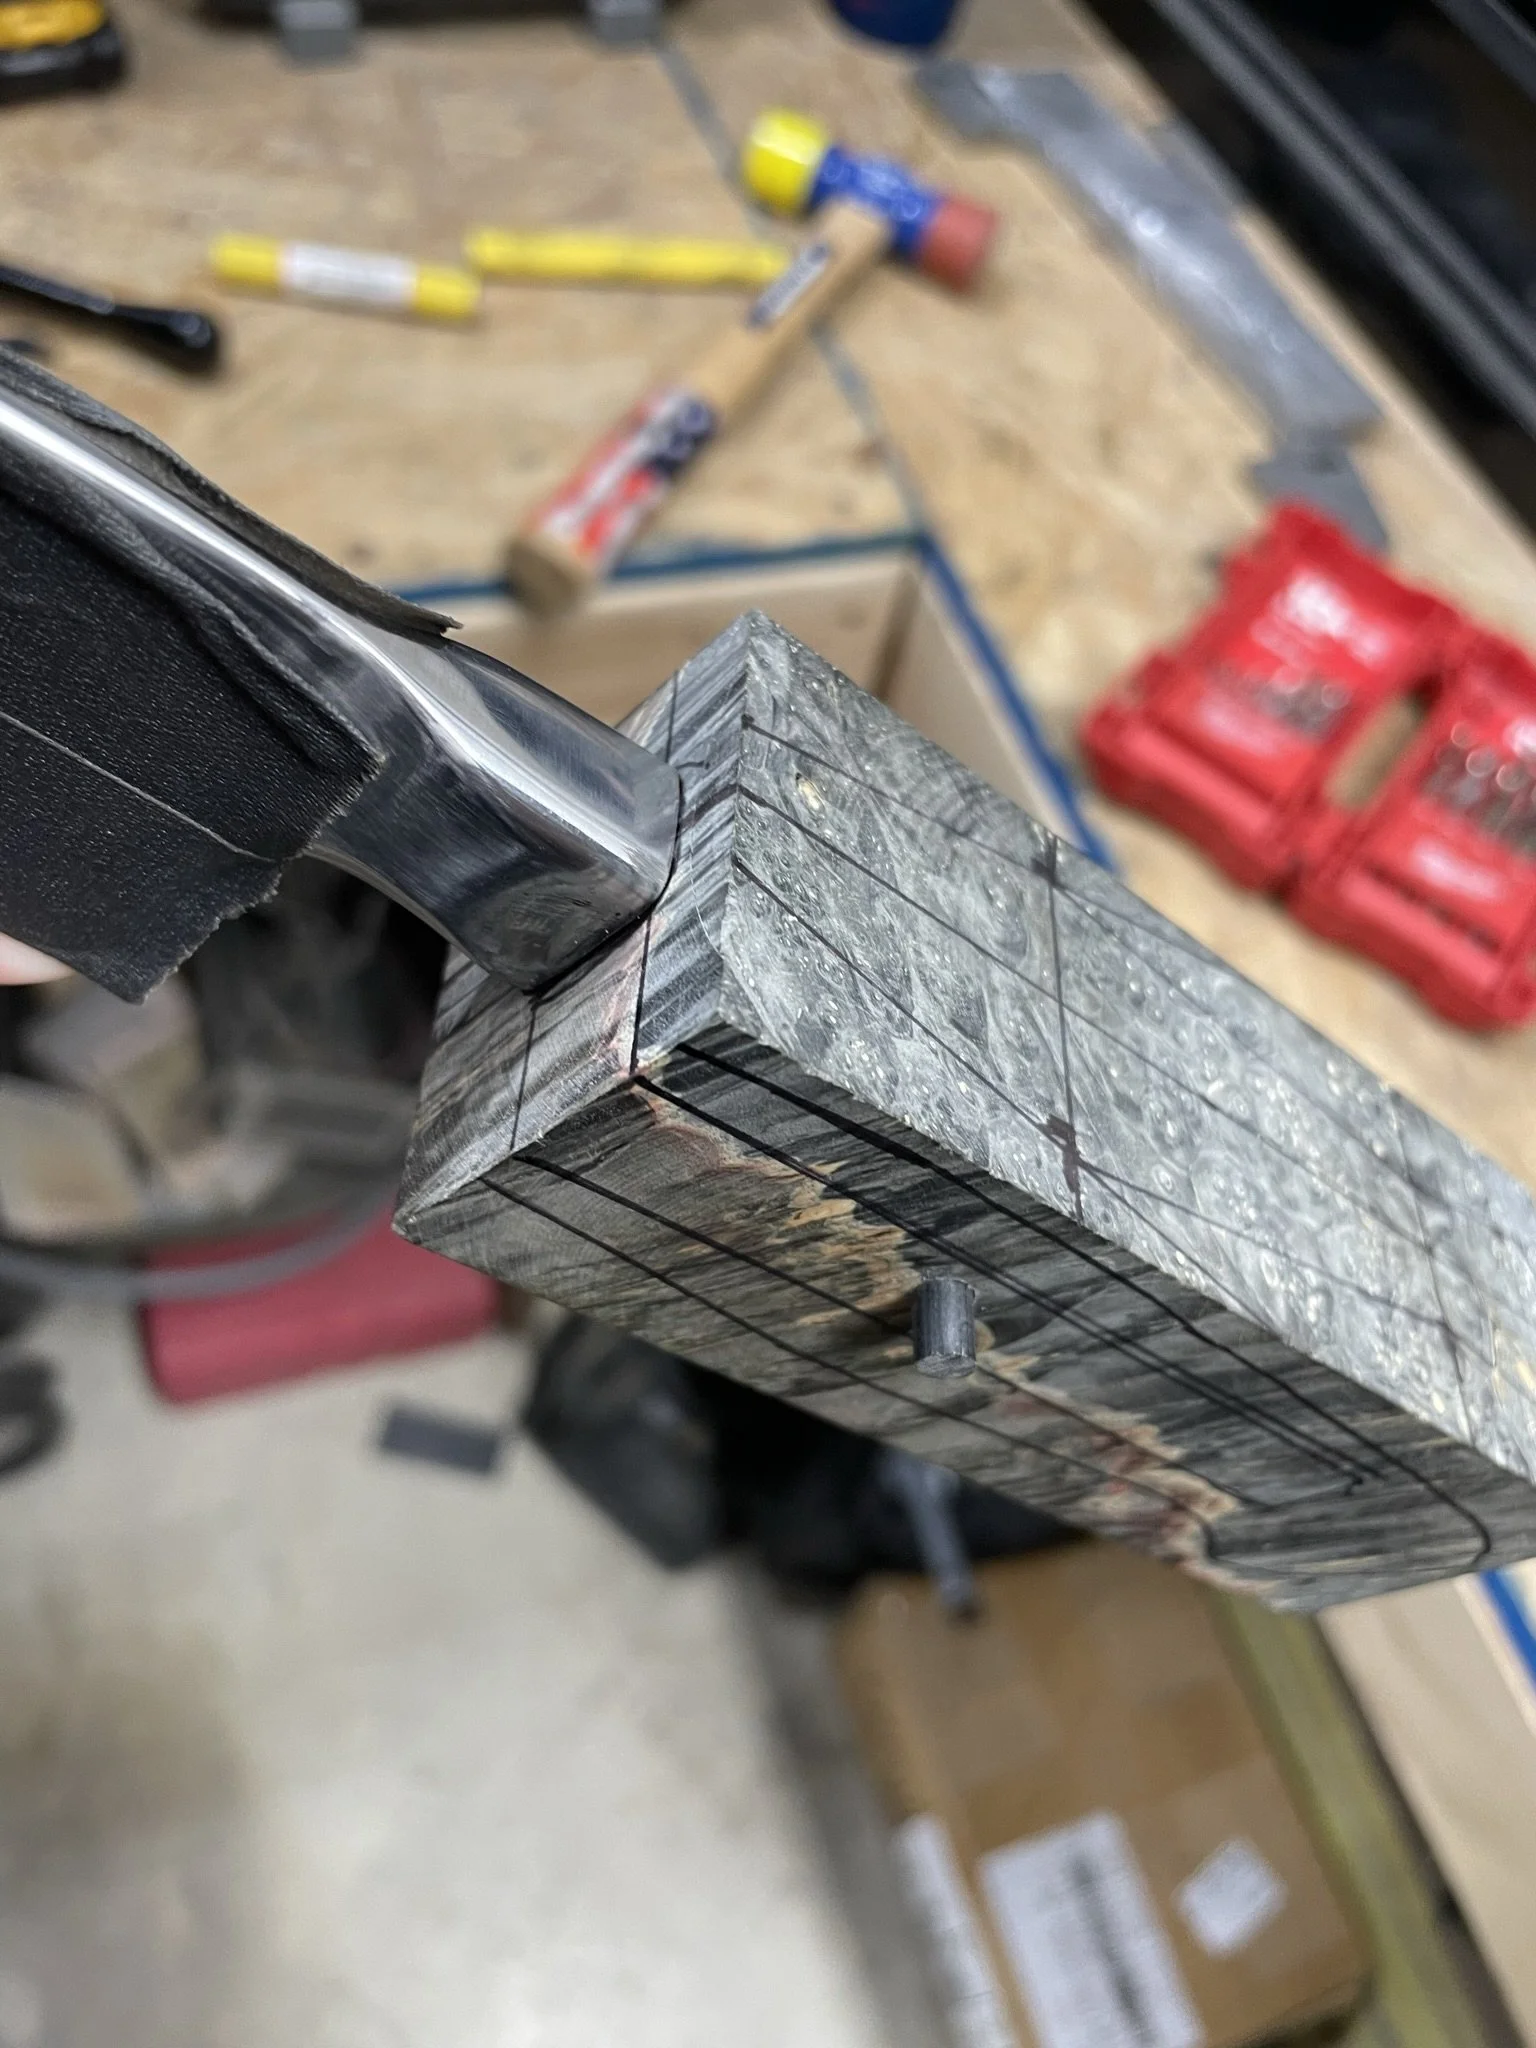
These are the scary curves, but so necessary. It always seems like you're taking too much off, but once blended it gives the handle a great feminine shape.
-
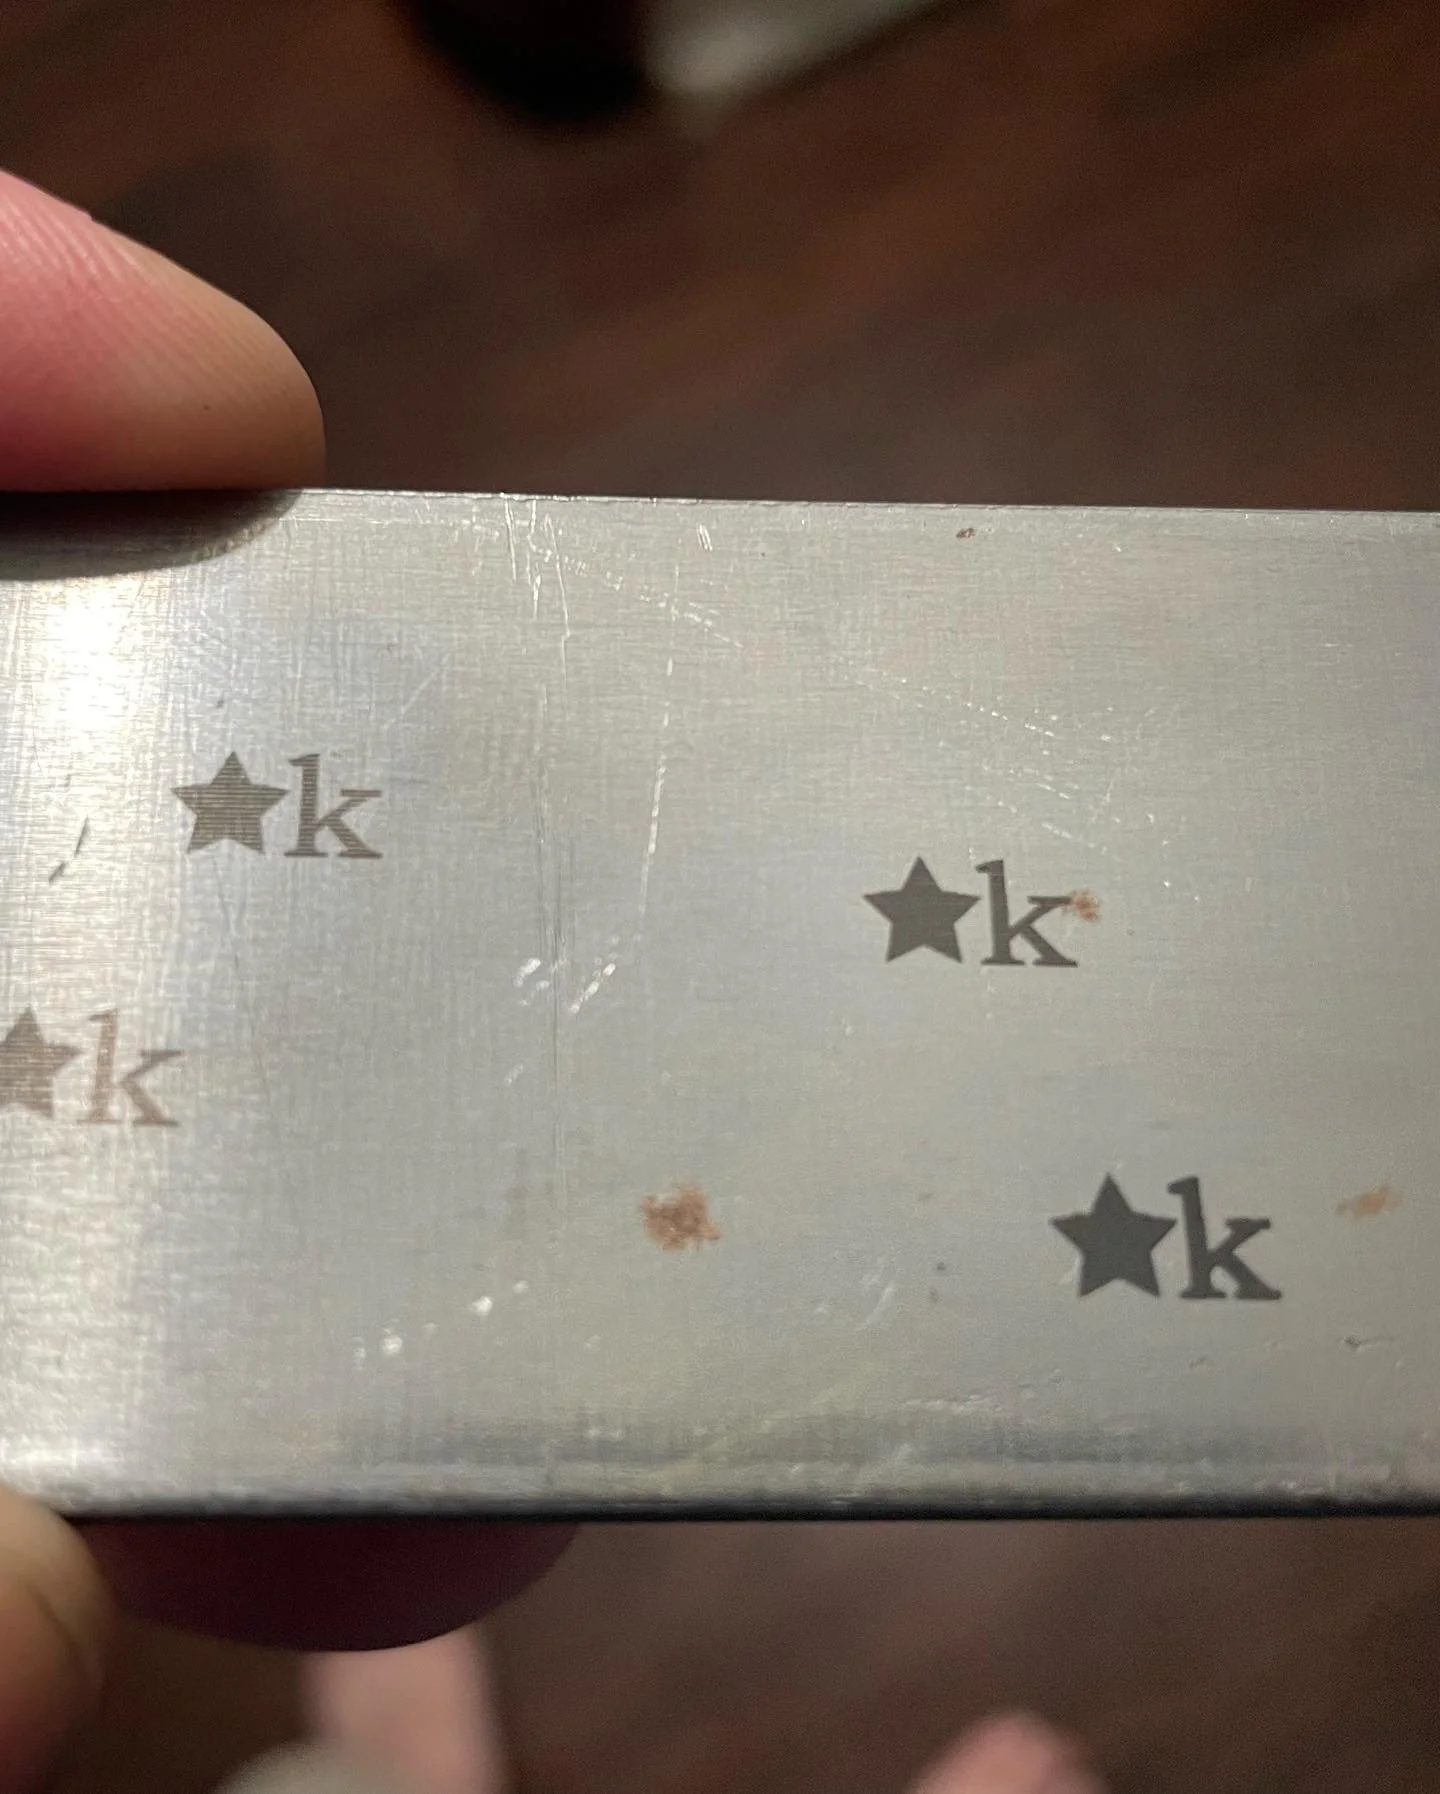
At this time I had transitioned from a Cricut and electro ectching to a cheap Chinese laser to engrave my maker's mark. This was me testing it out on some plain 1095.
-
Handle glamour shot.
-
Shoulder glamour shot - love how the blue really pops.
-
Final glamour shot. Still have this one on my wall.
Mark B. - Set of Alabama Damascus Kiridashi
-
Final blades - keep scrolling to see the journey.
-
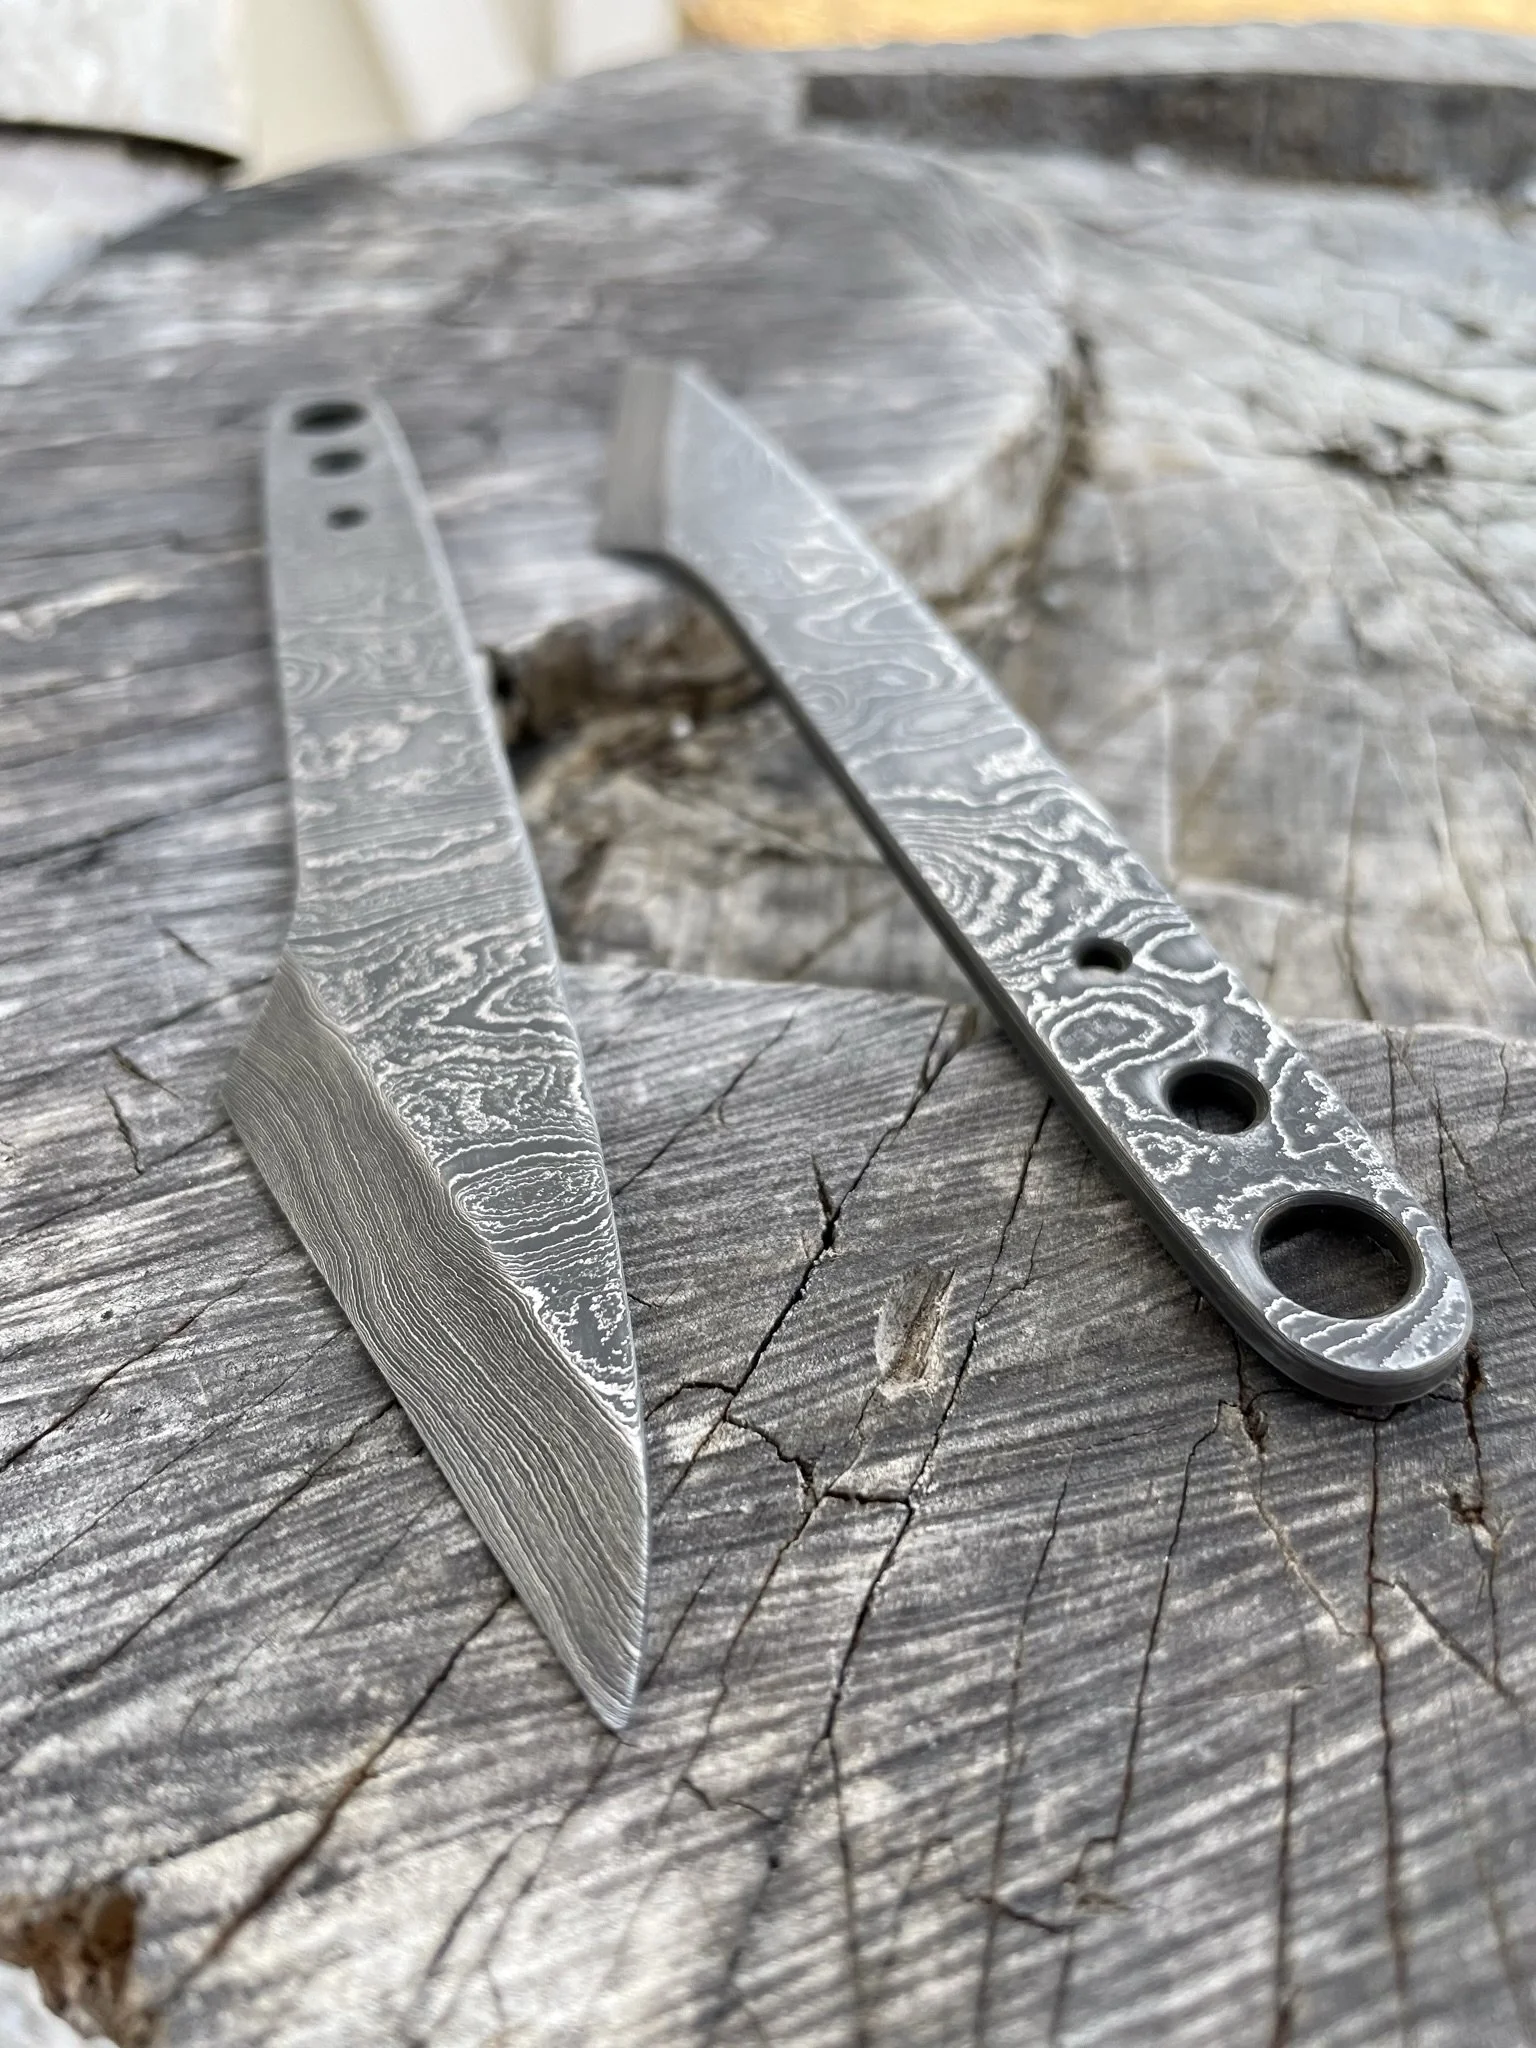
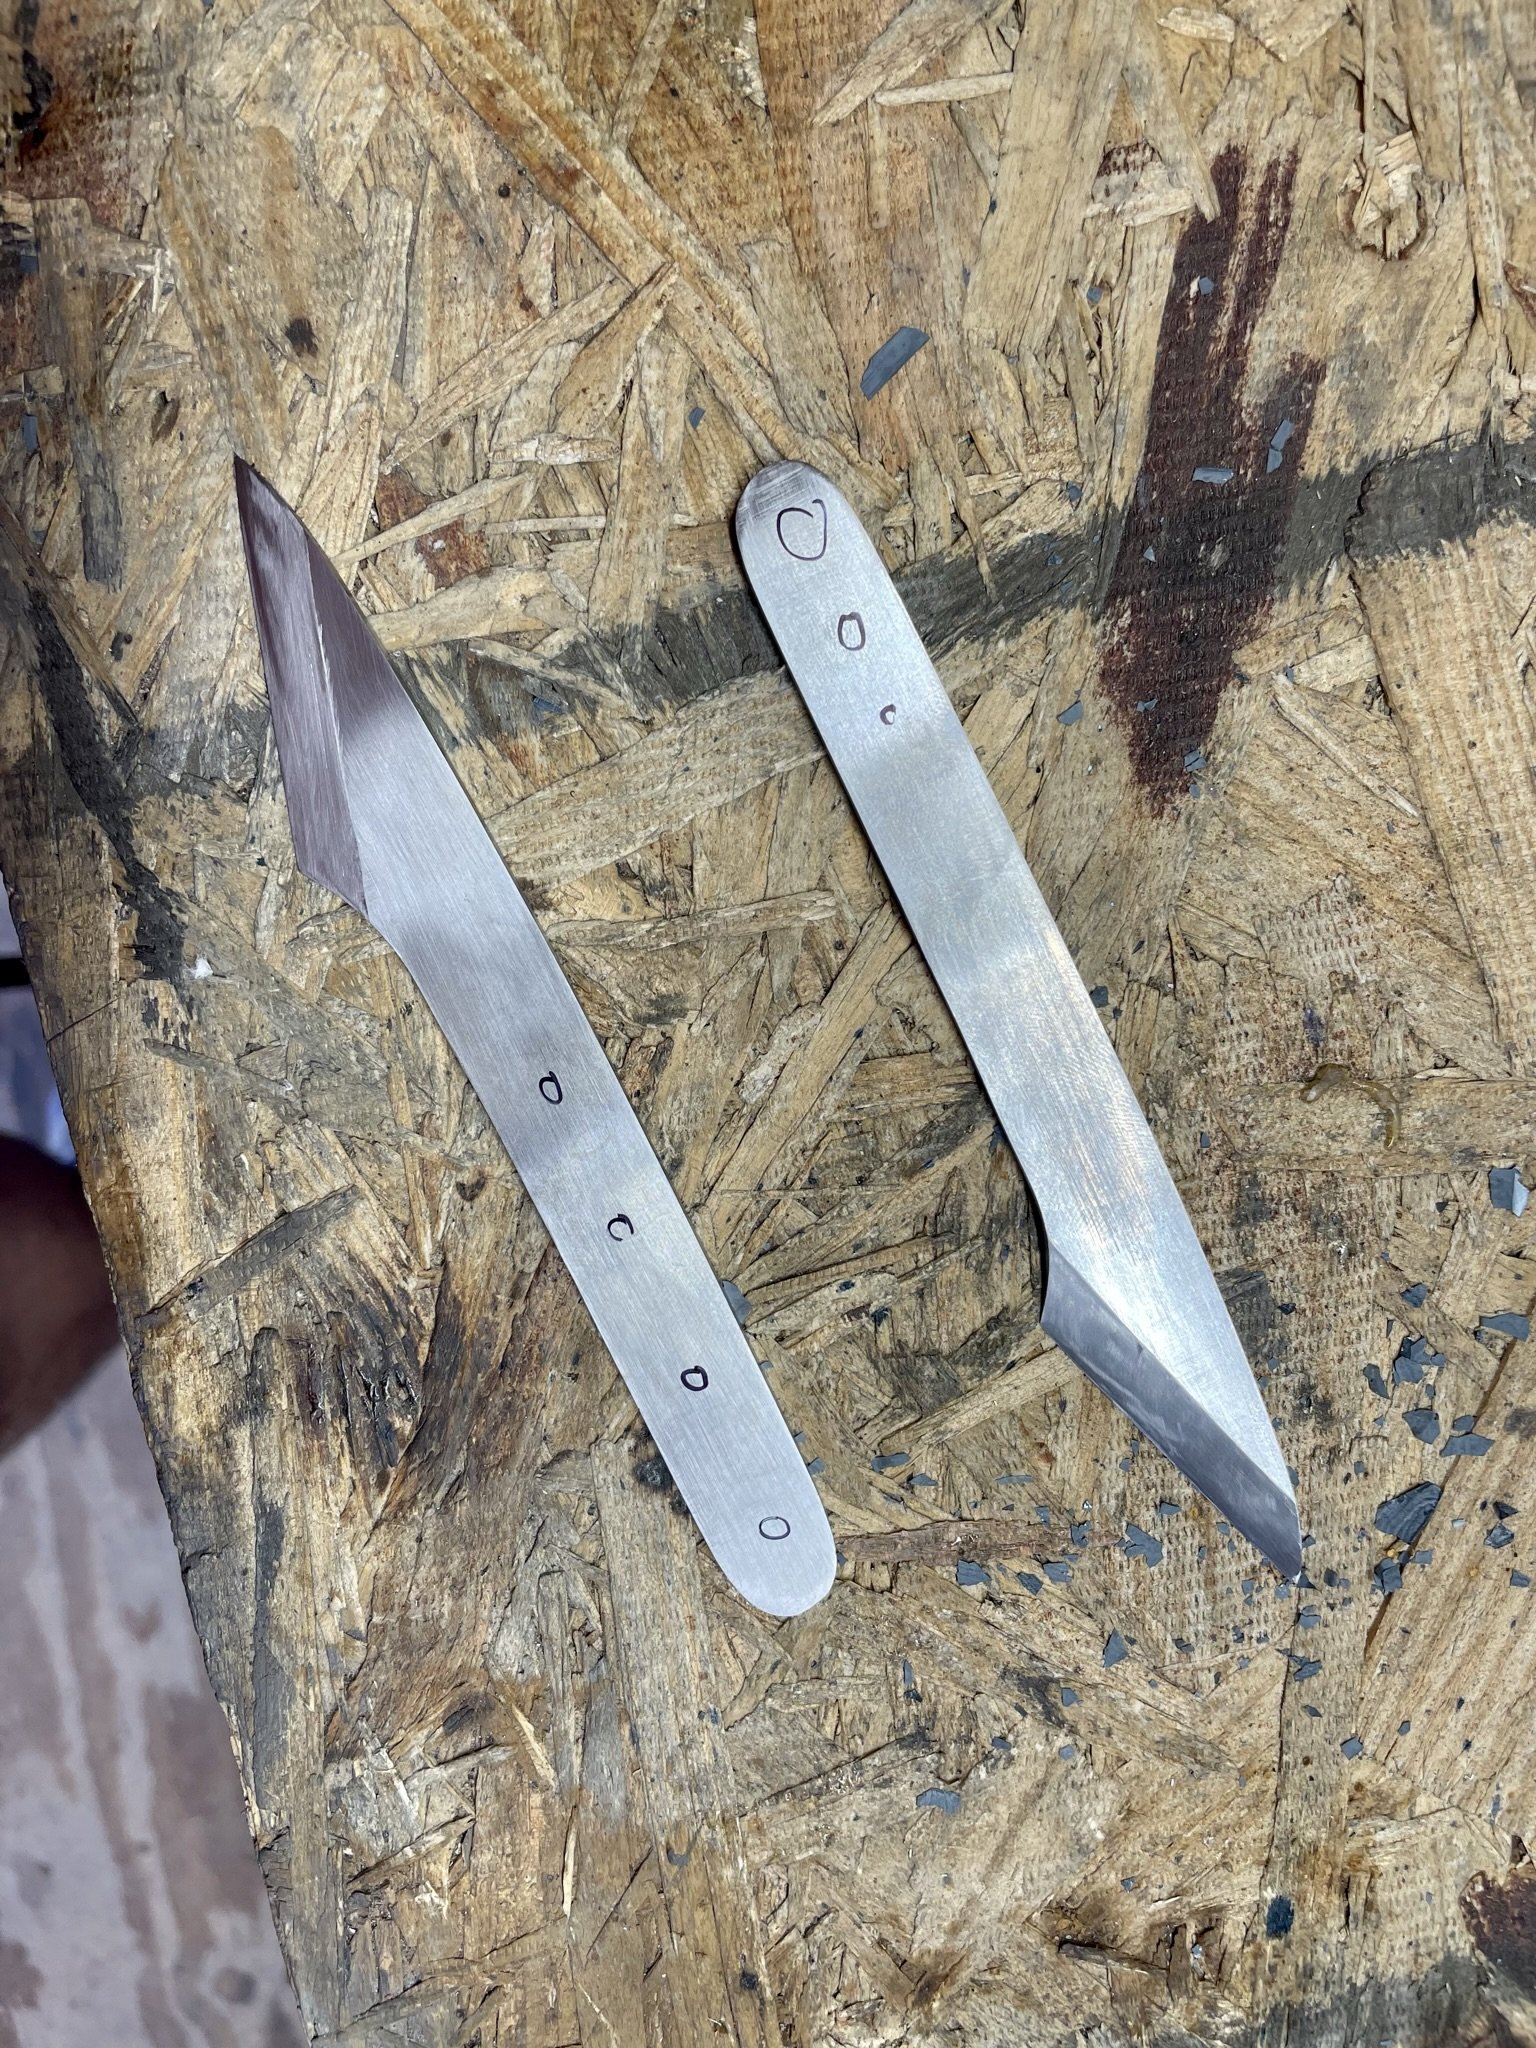
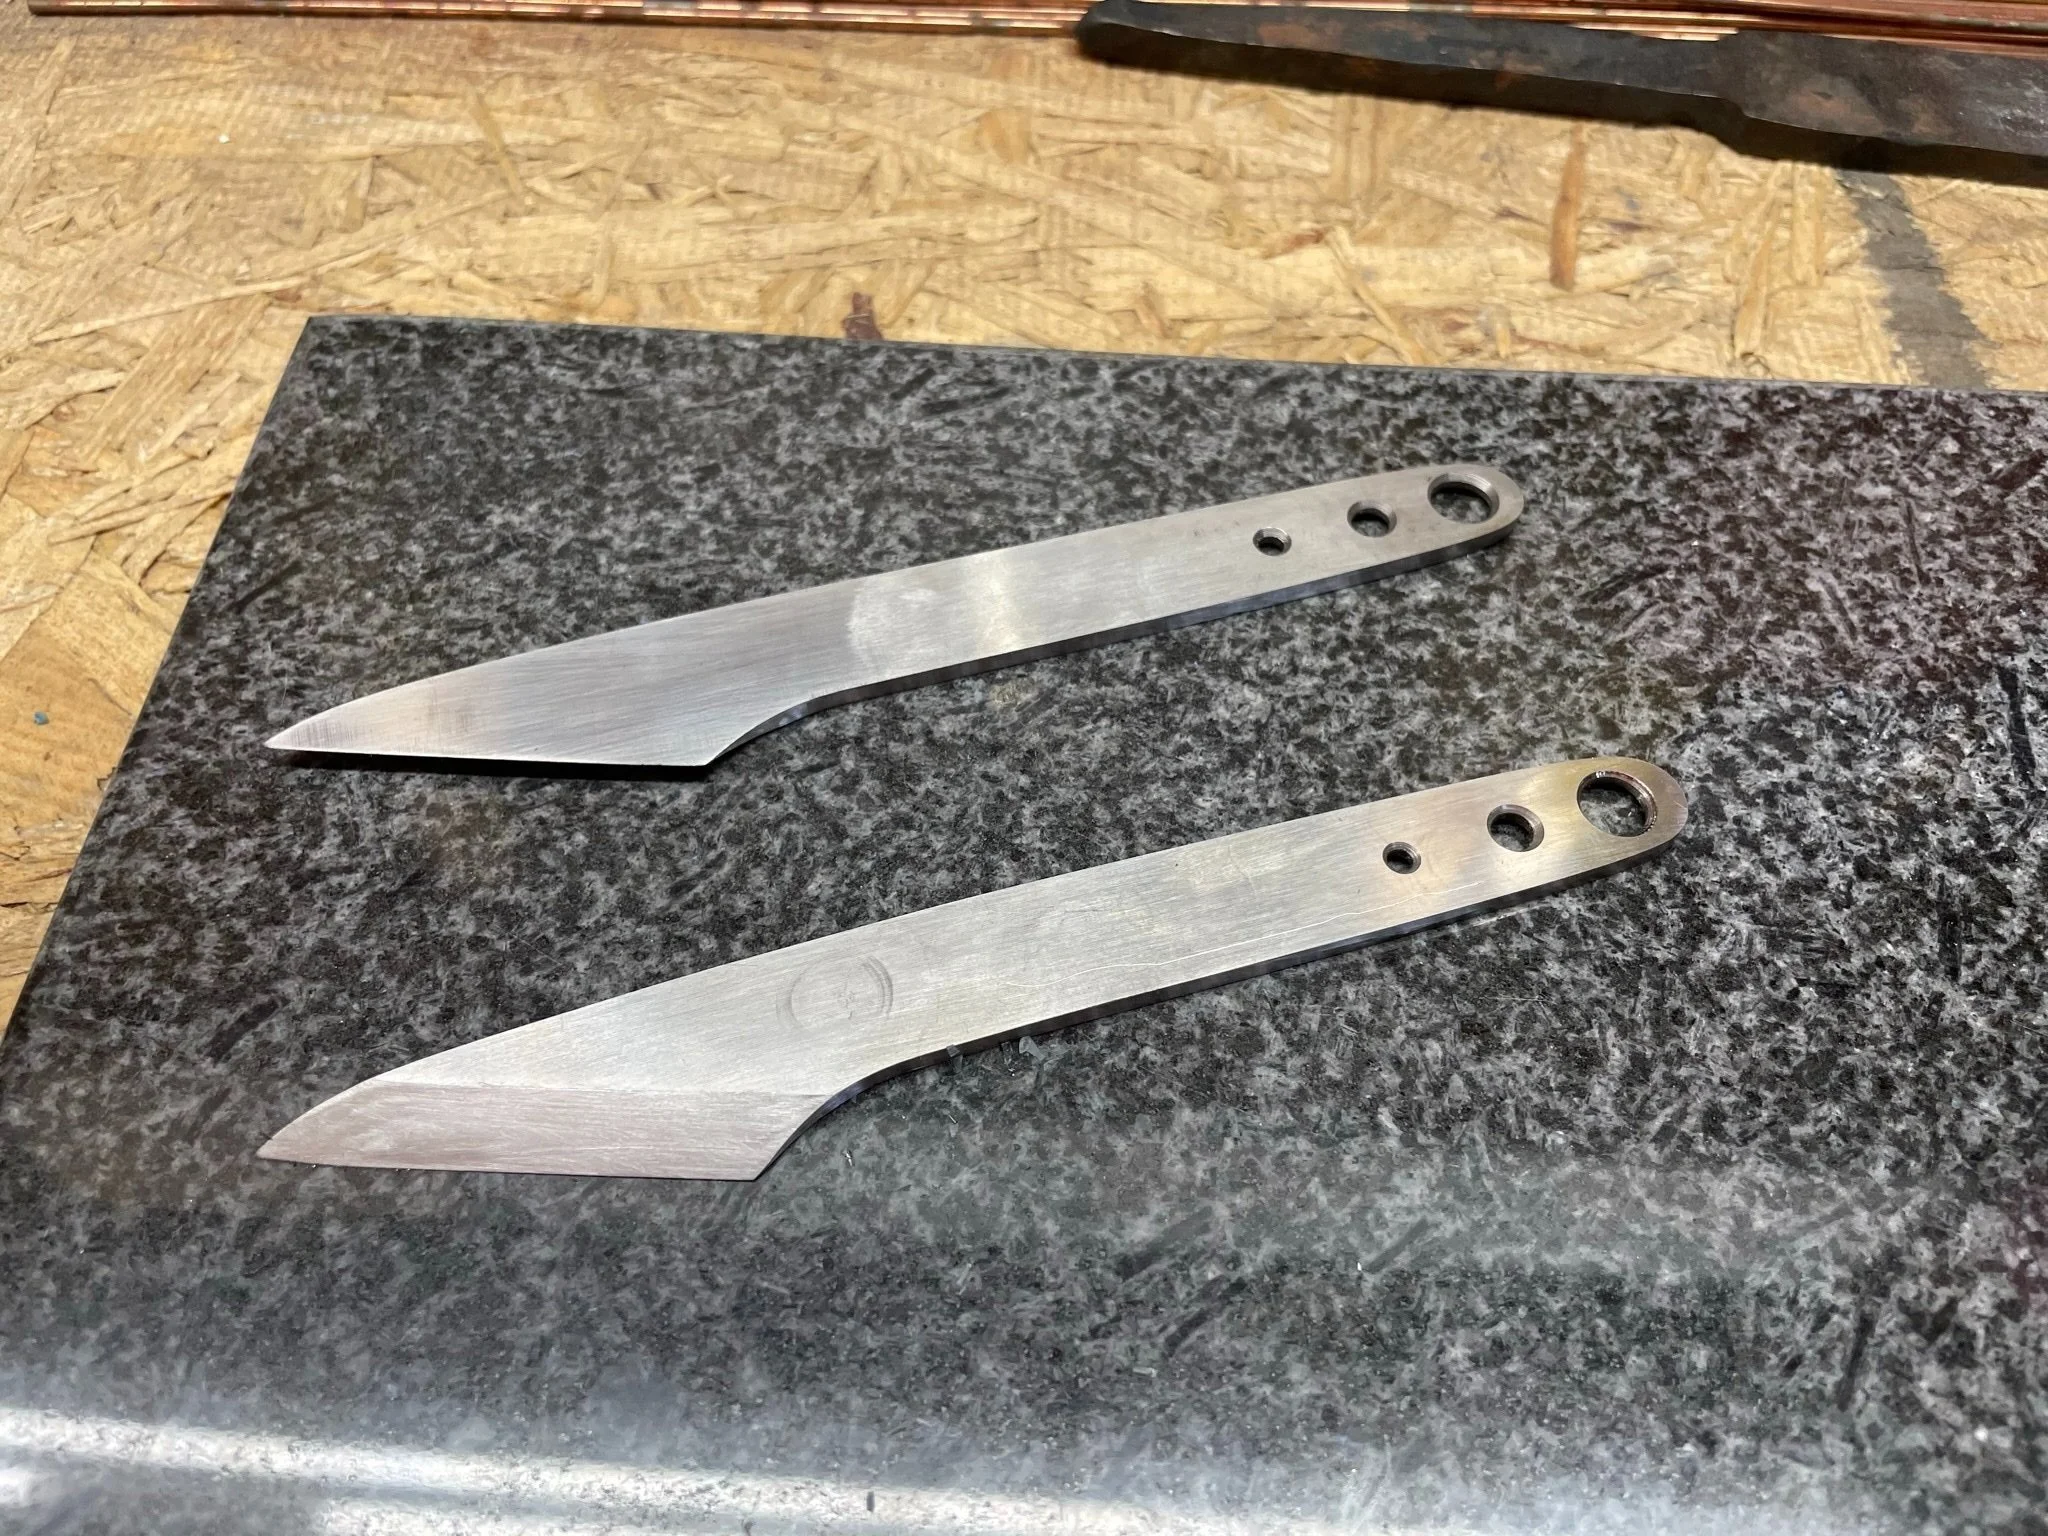
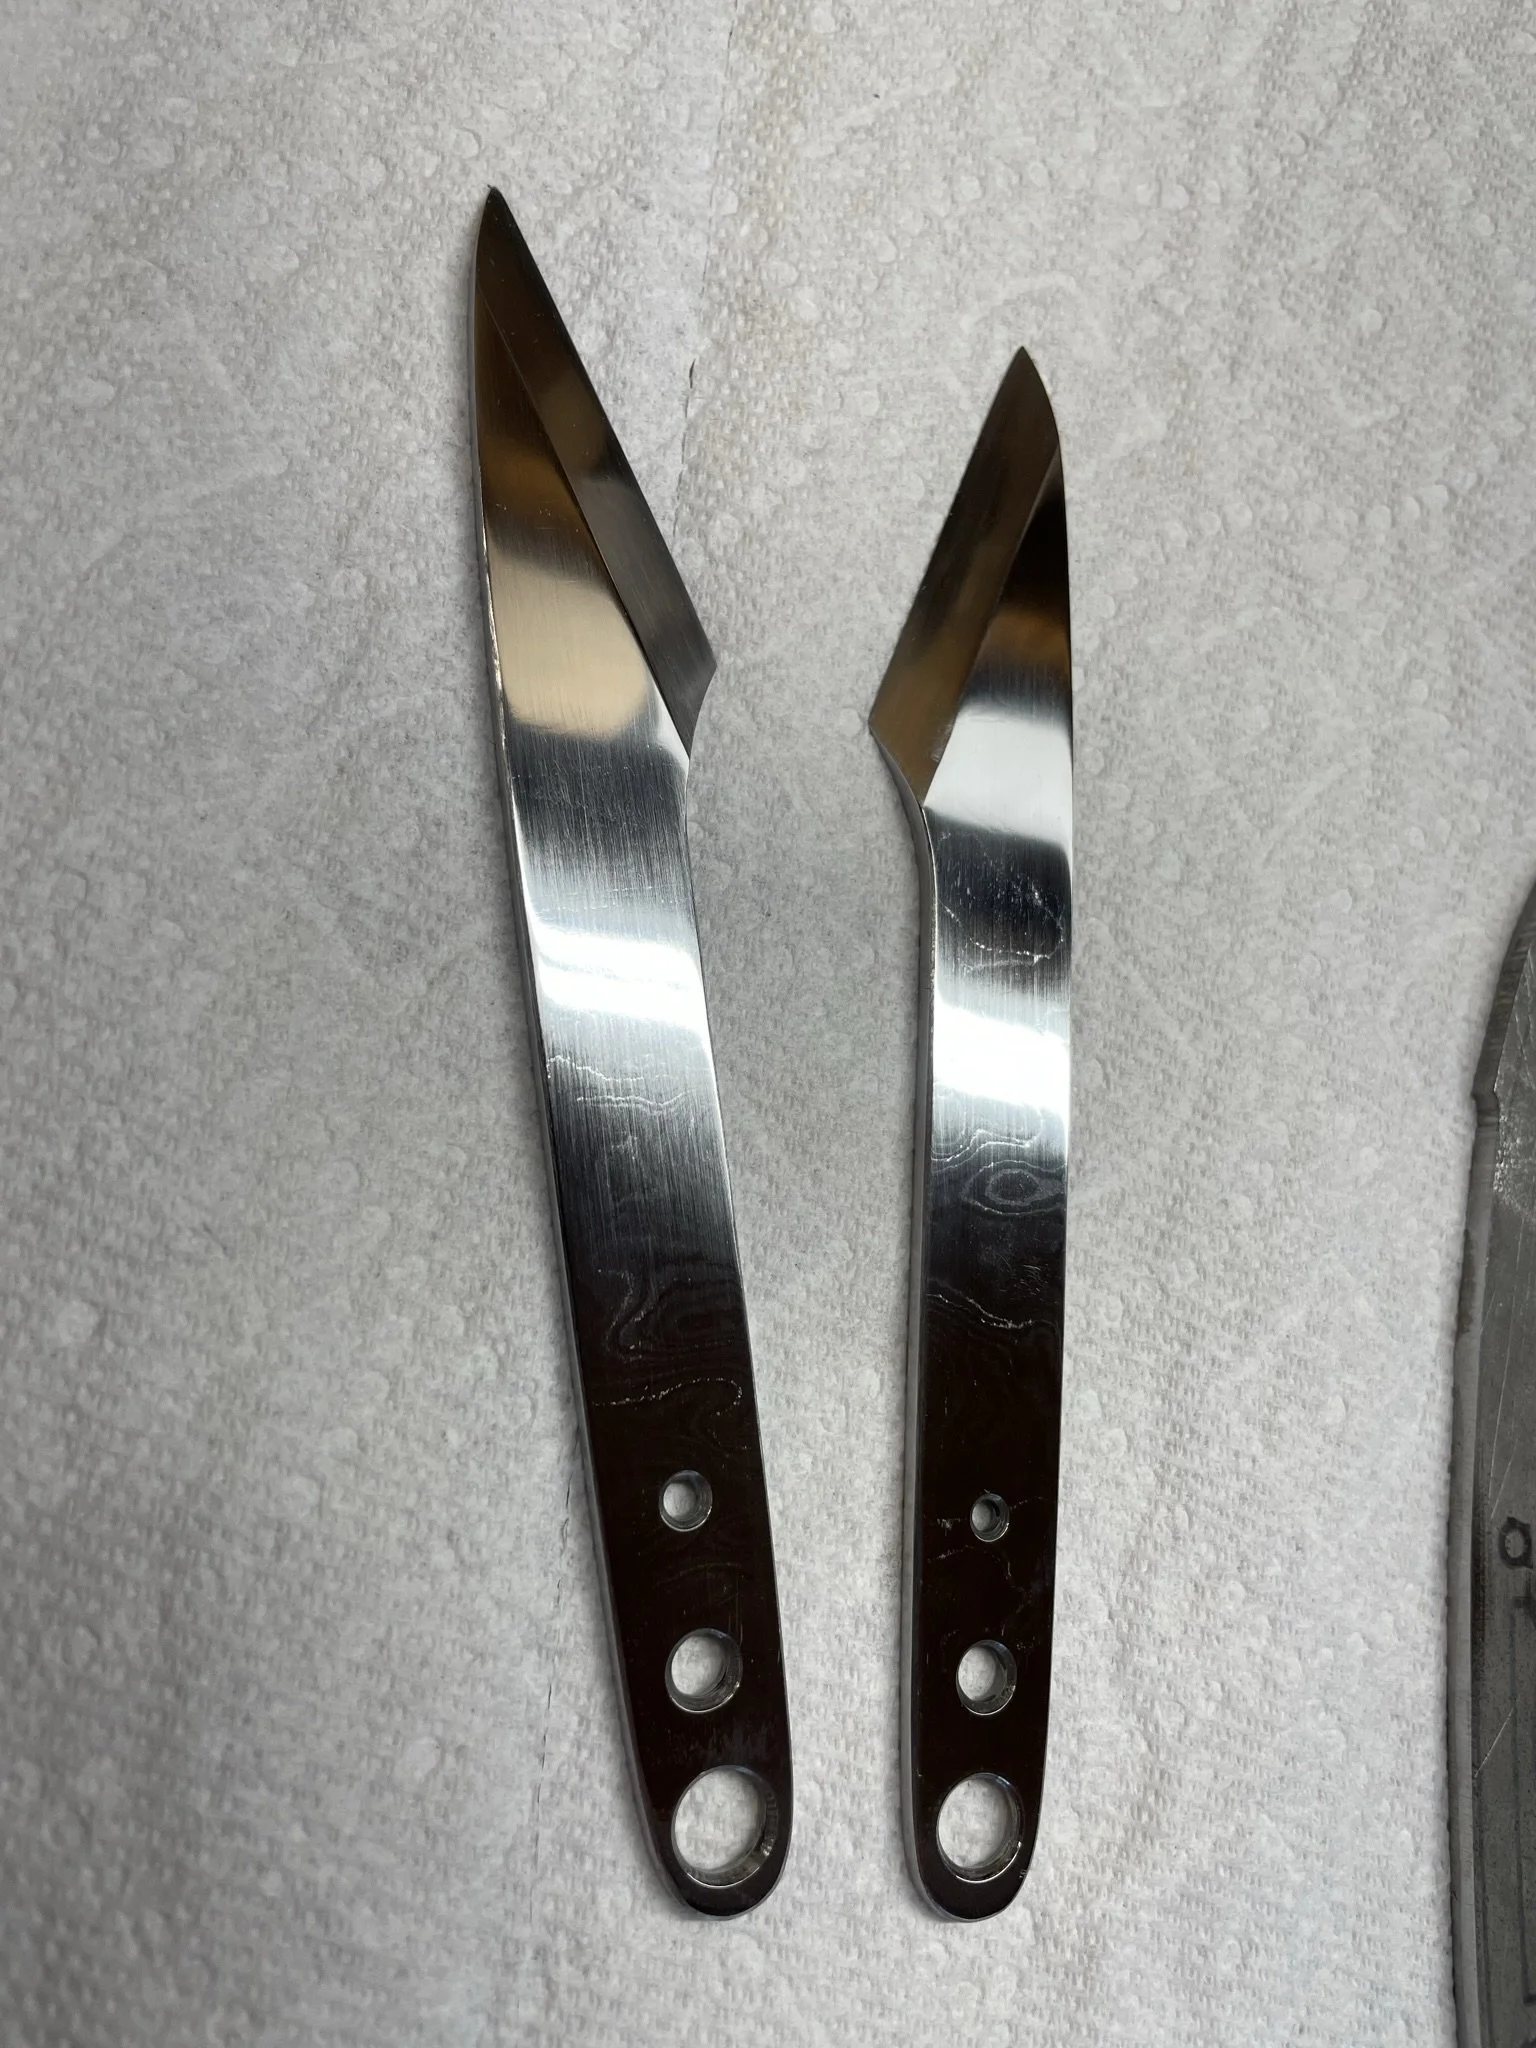
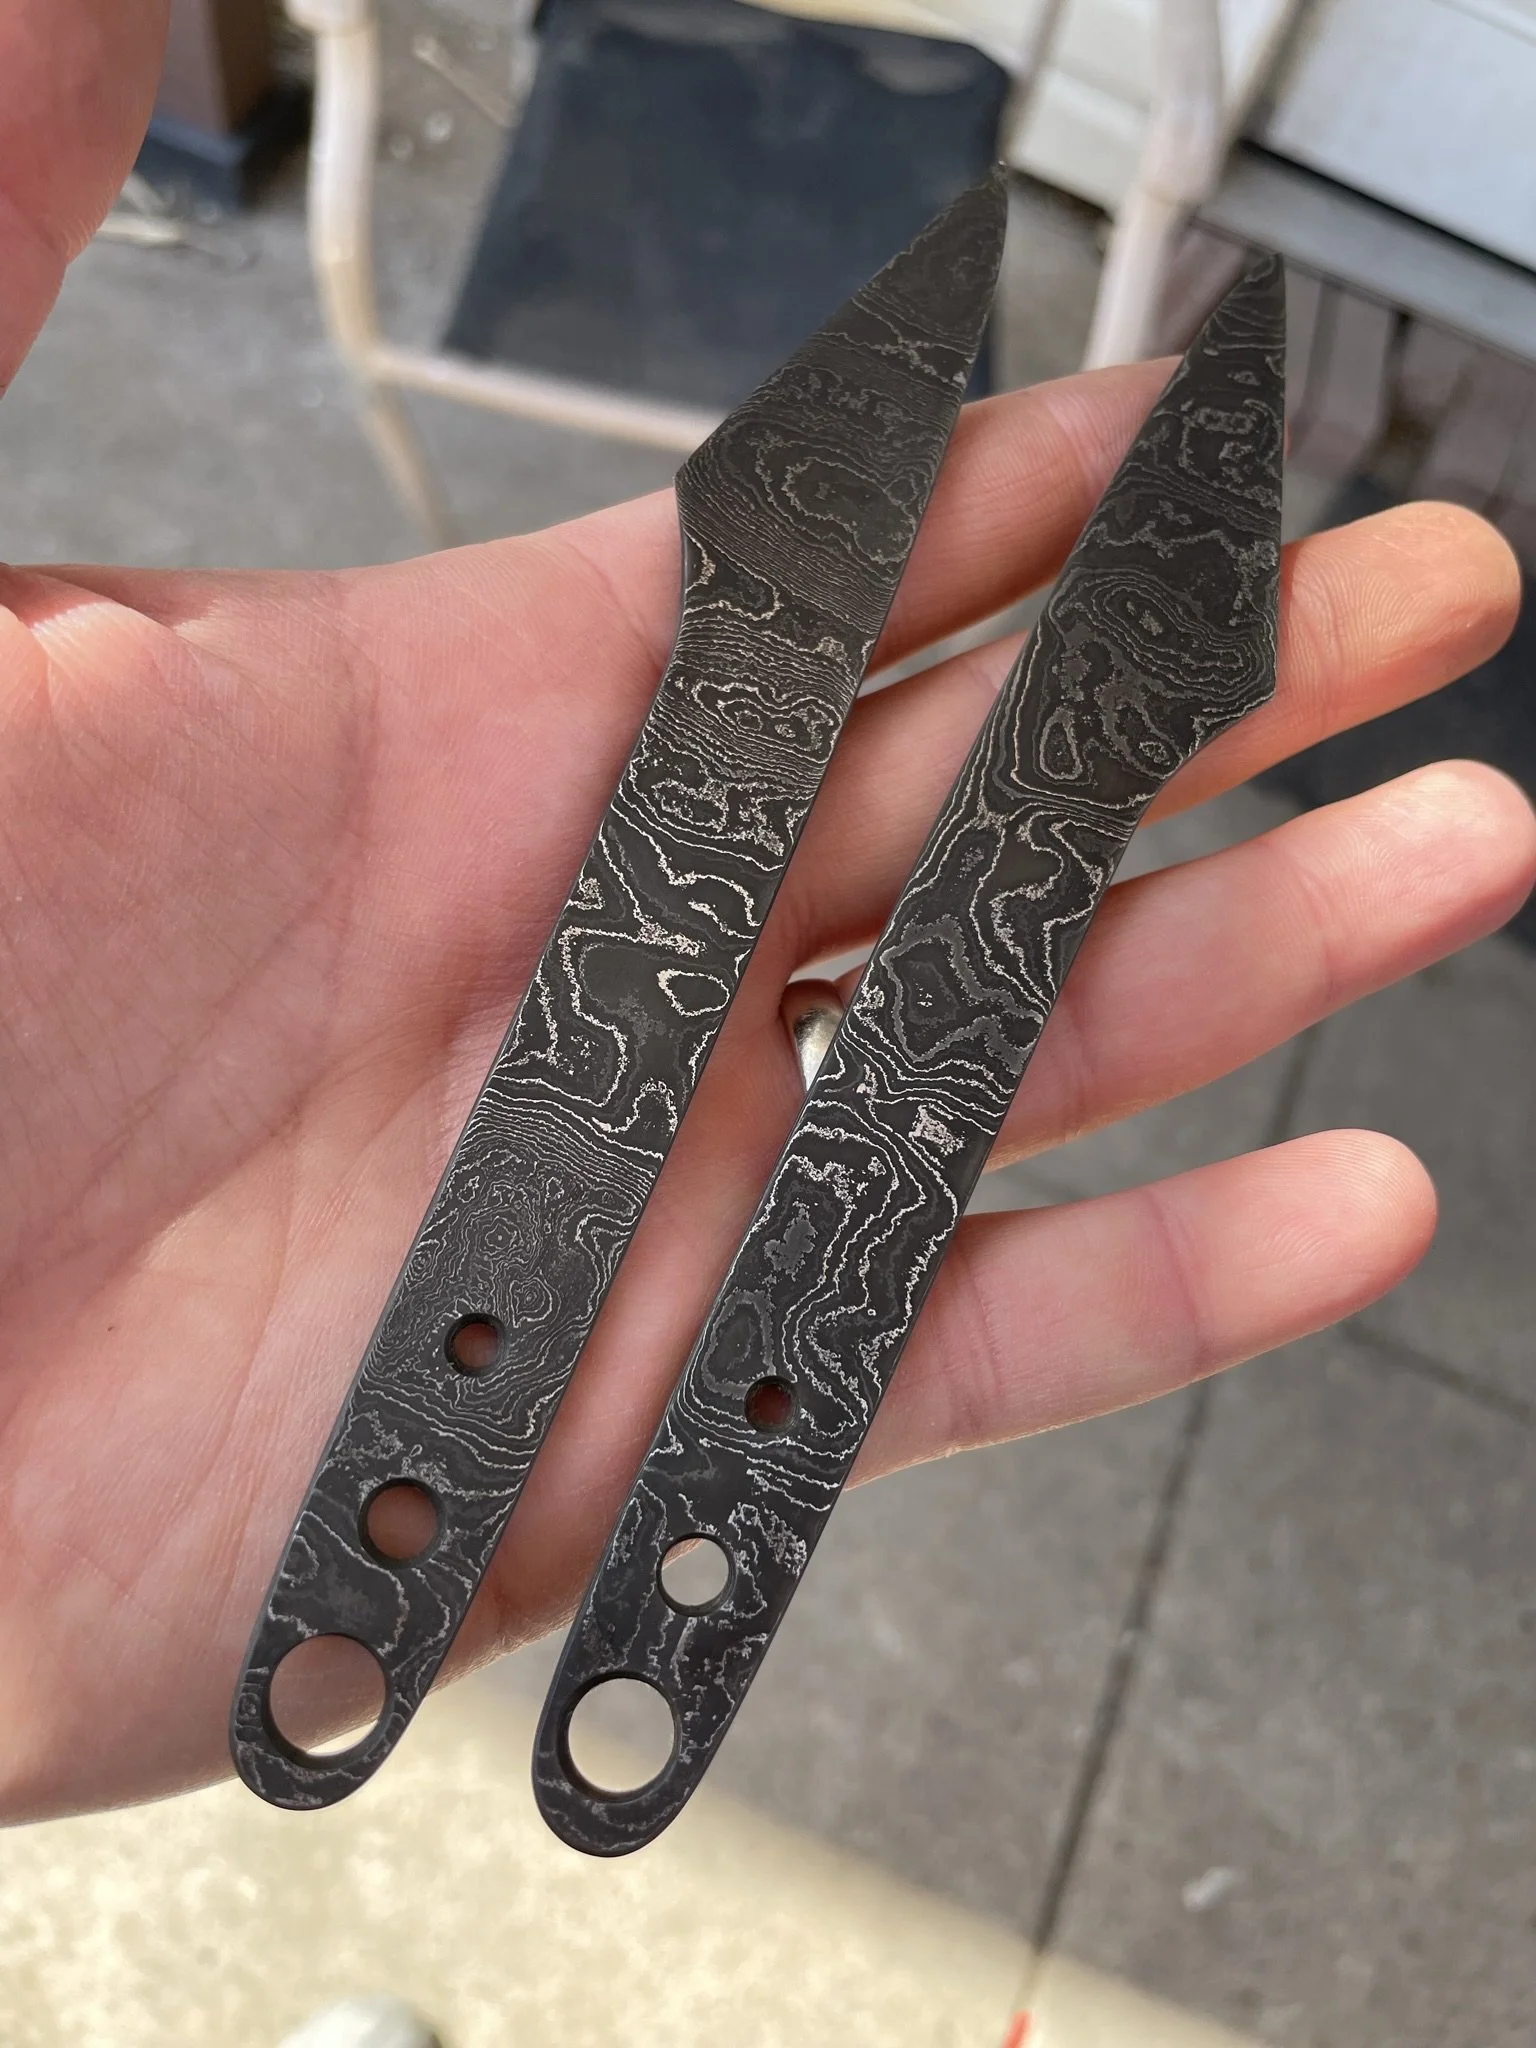
A friend of mine who was an early supported does great woodworking, as a "thanks for believing in me" I made him a set of kiridashi from some Alabama Damascus I was gifted by Austin M.
-
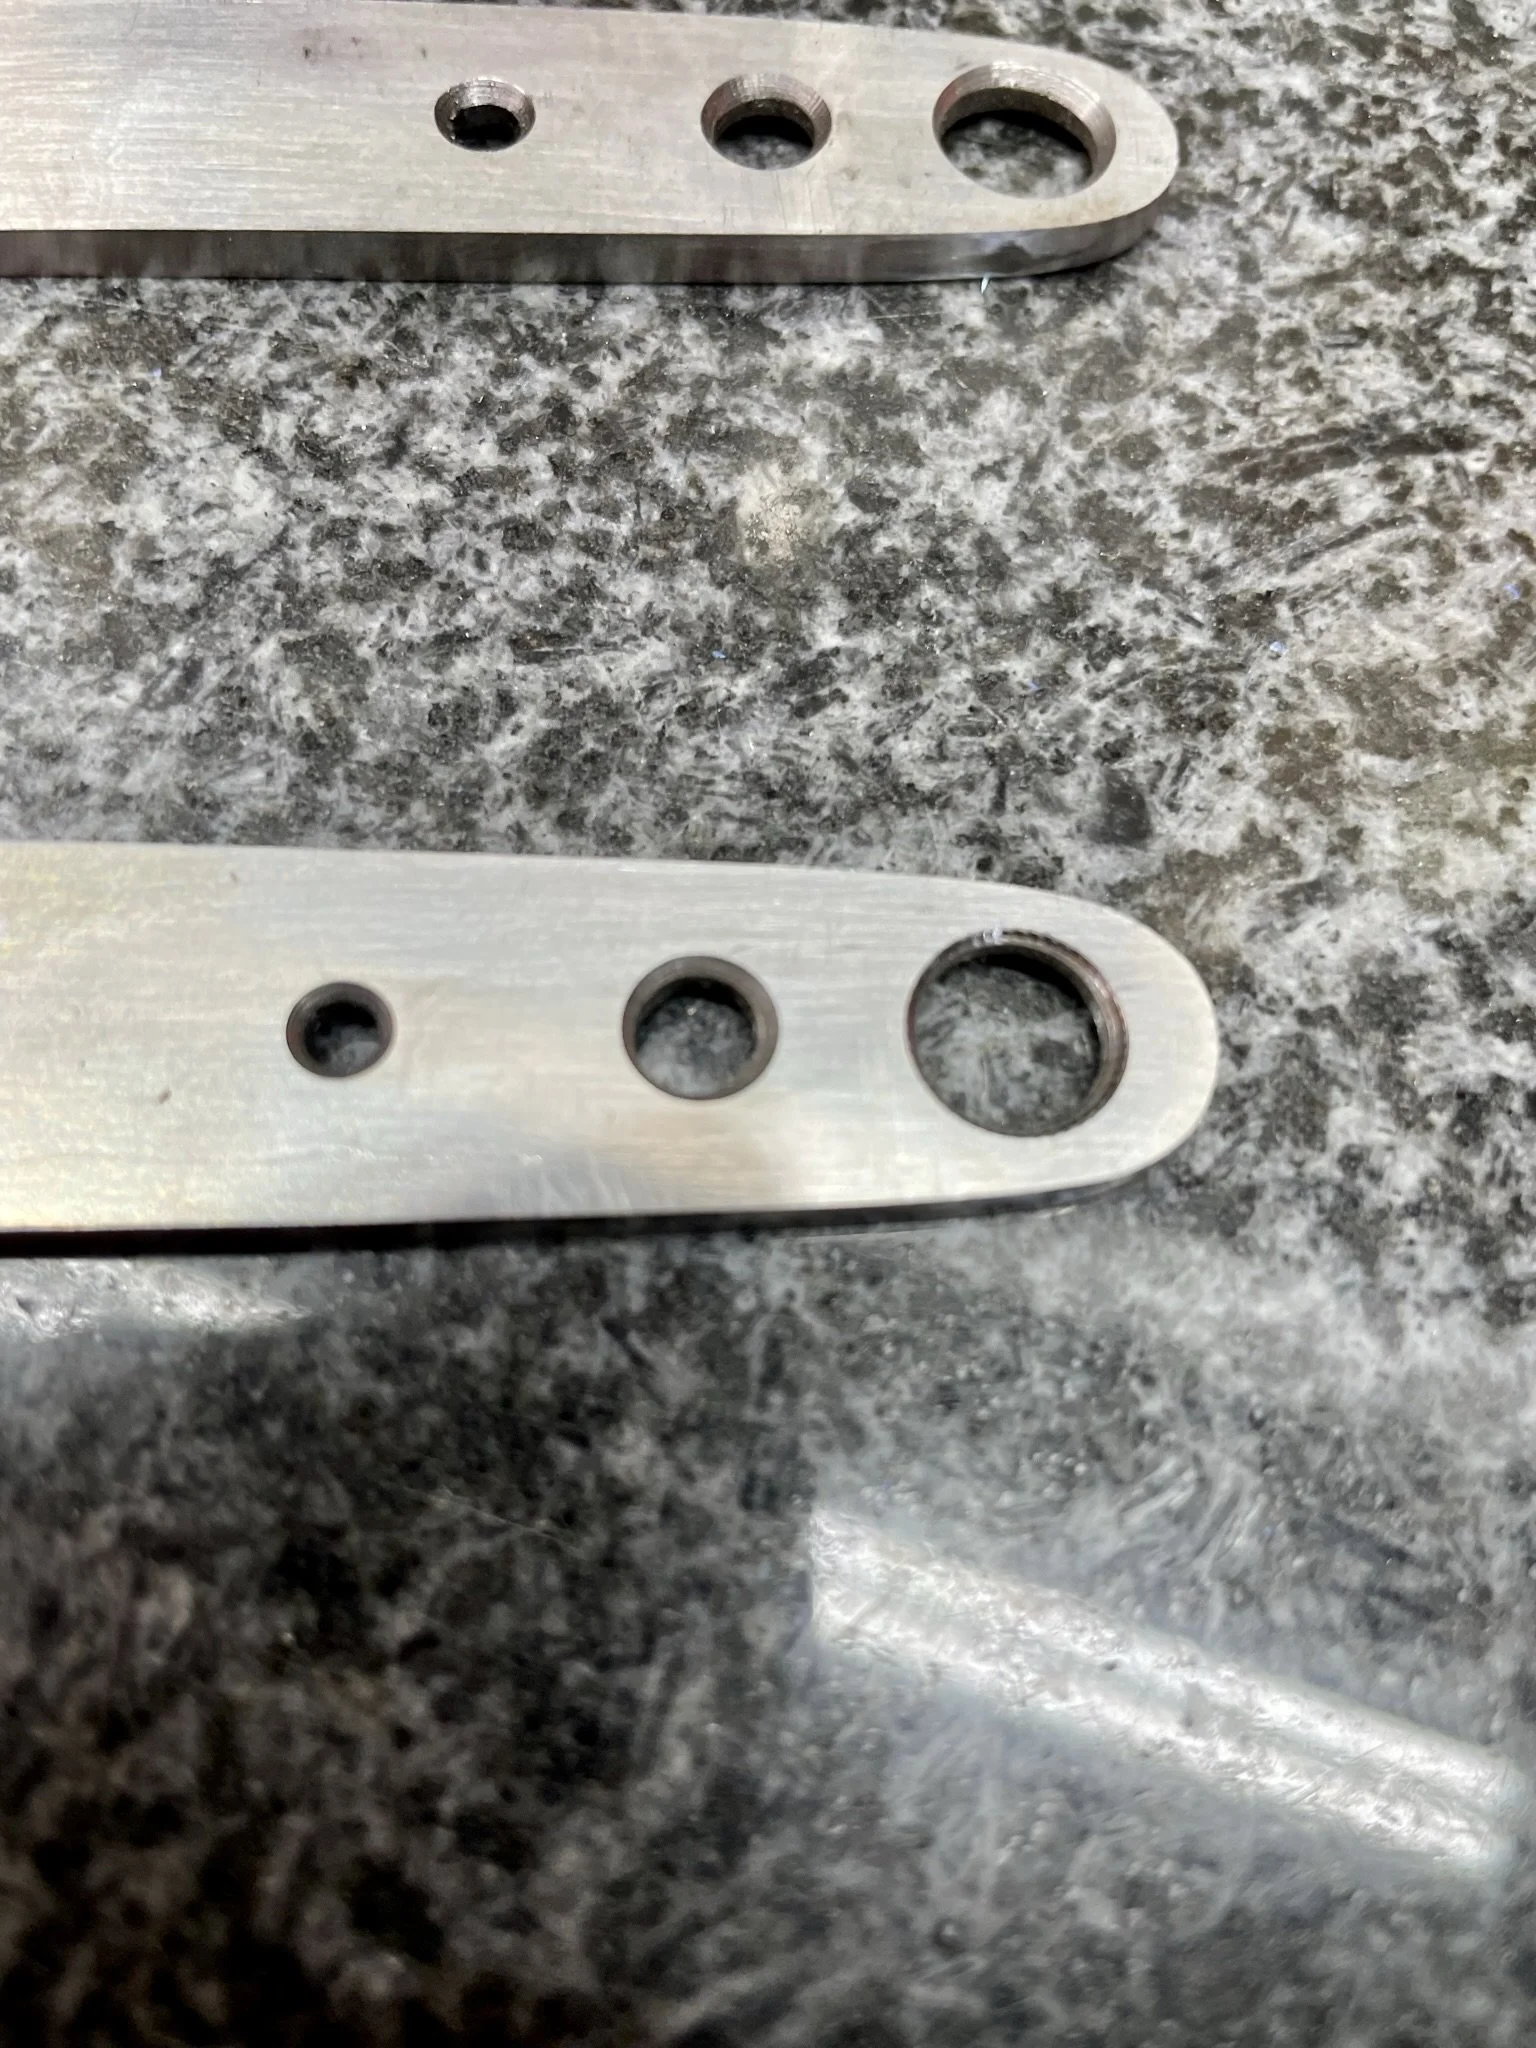
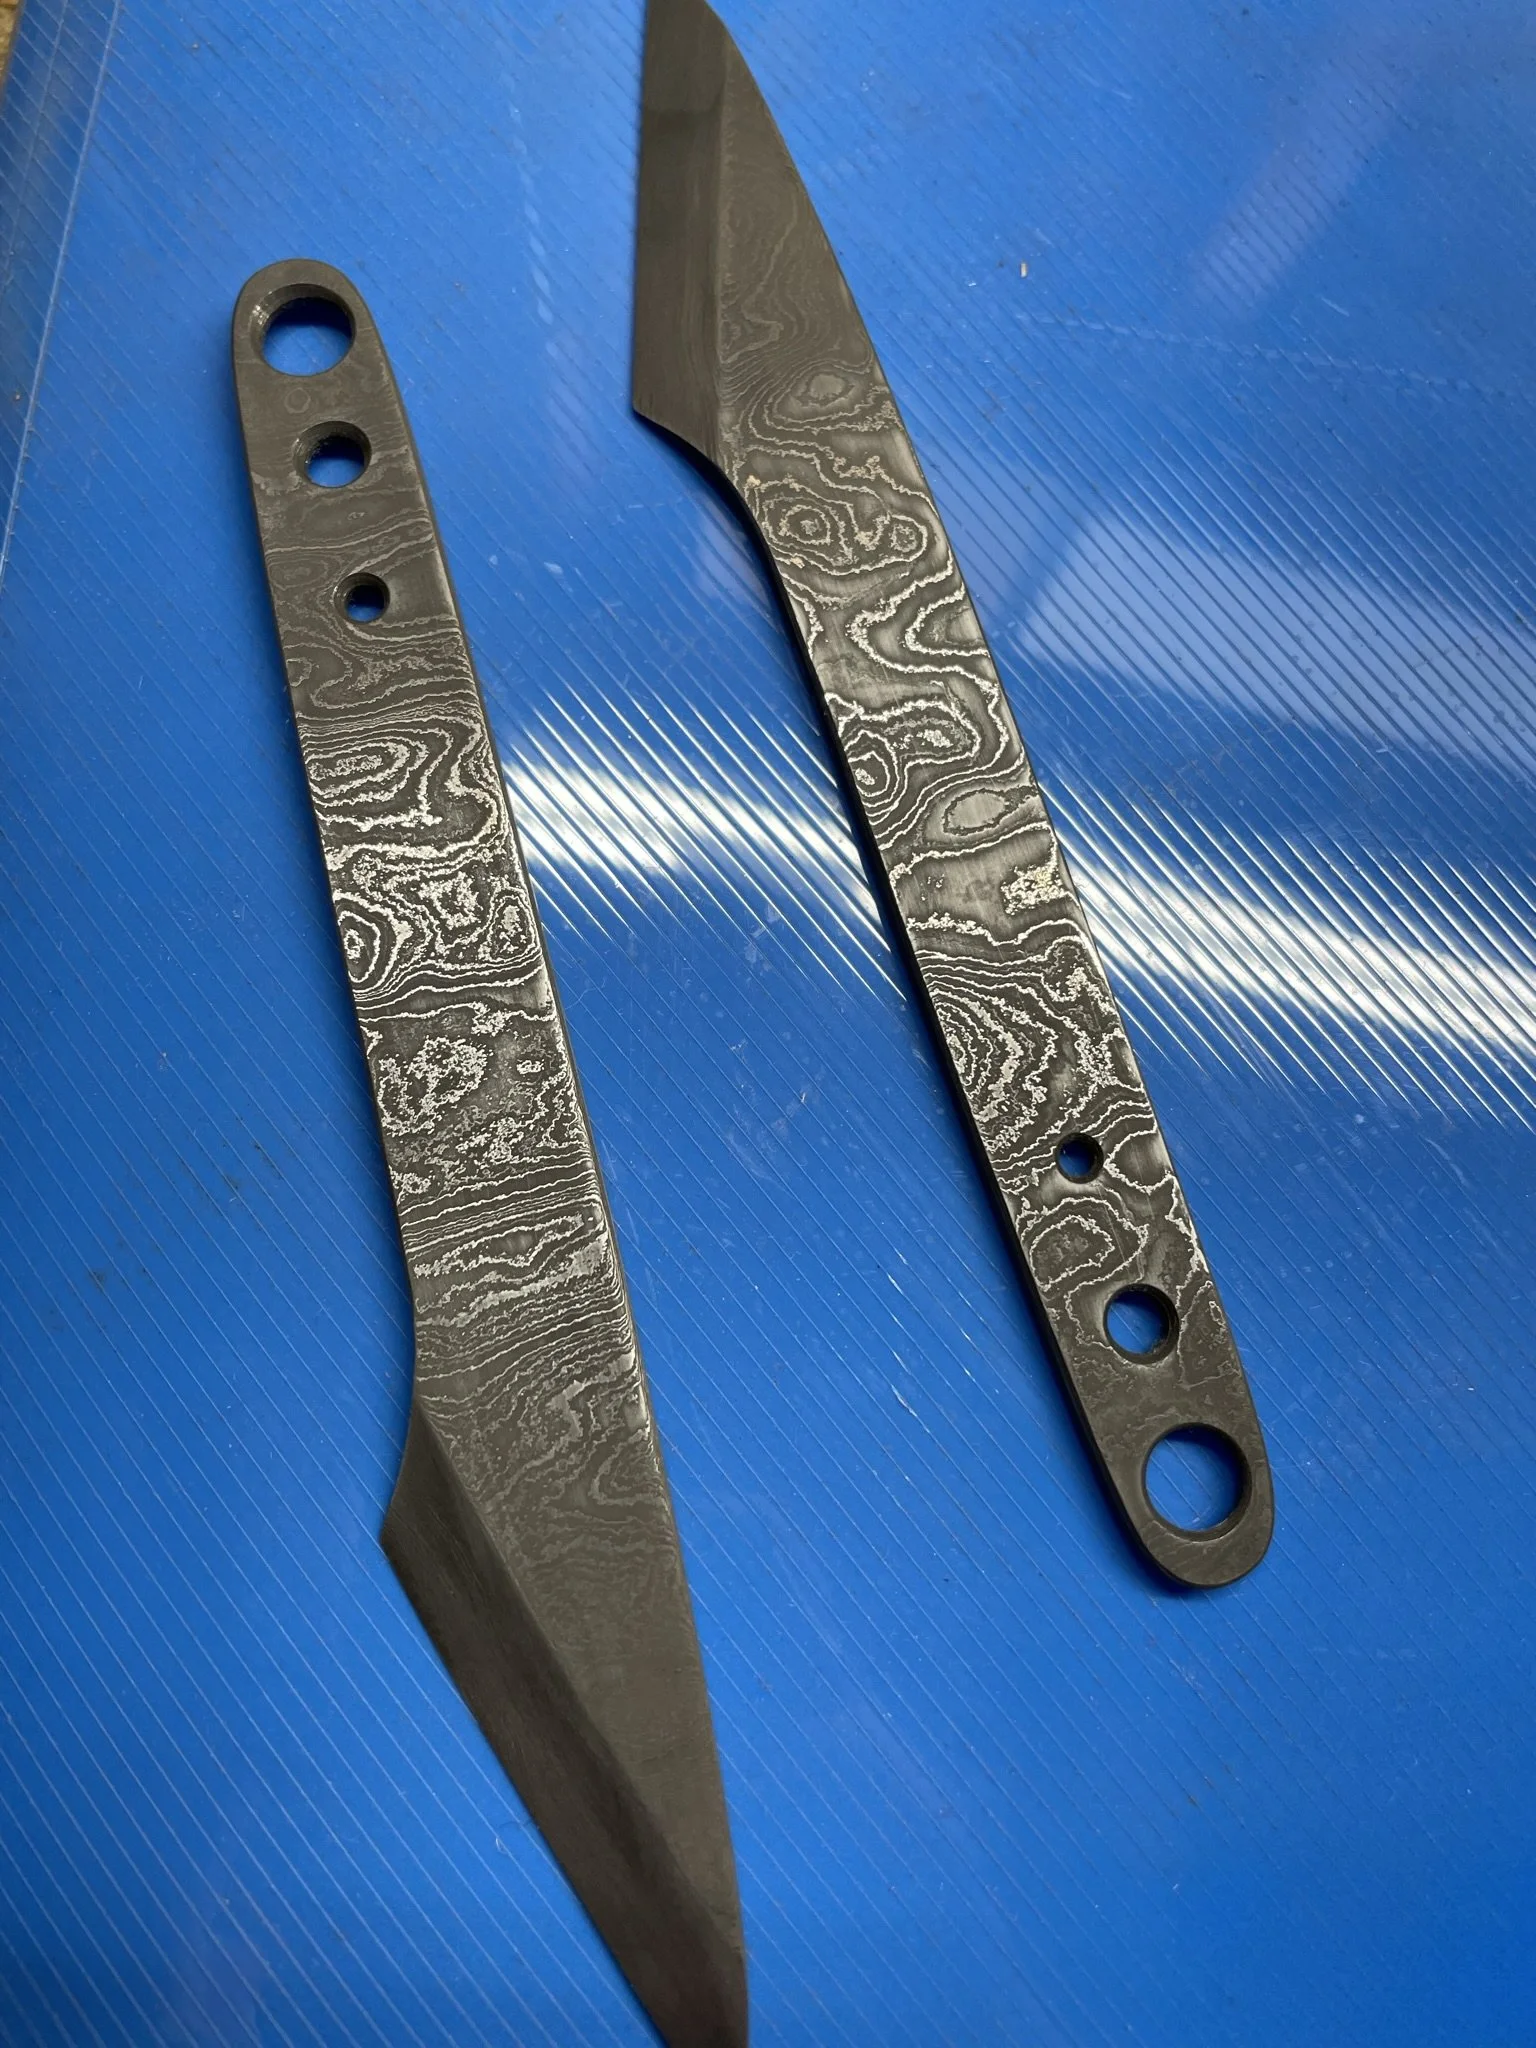
Decided to do some decorative holes on the handles to make them more interesting.
-
Chamfered the holes for comfort.
-
![]()
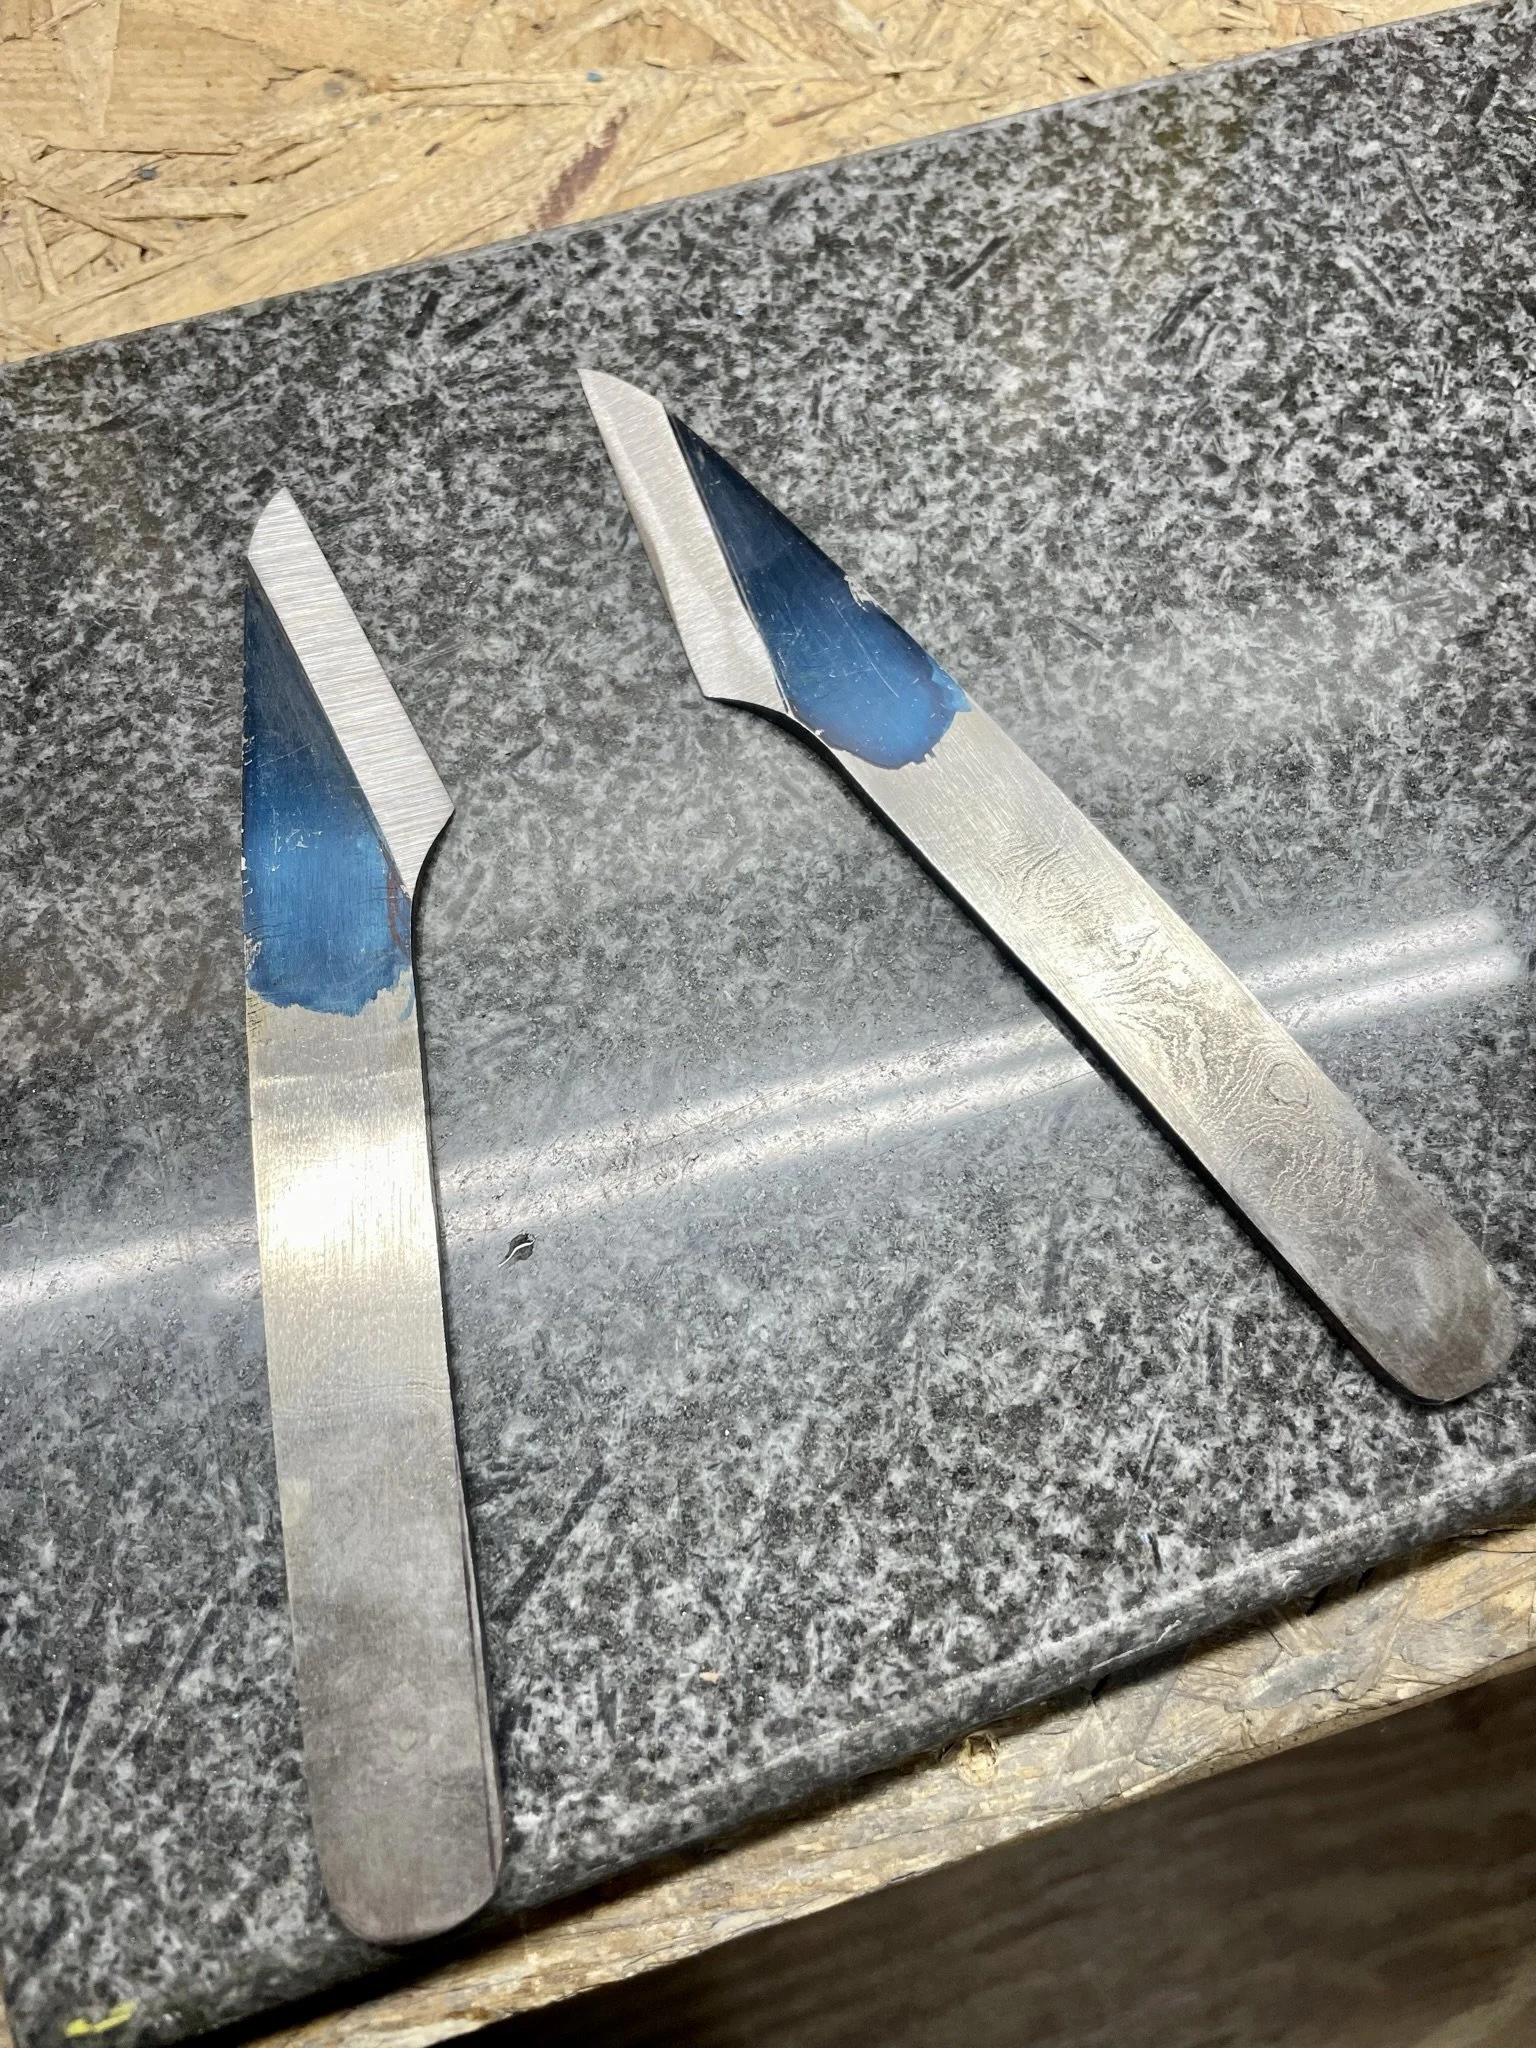
This little marble cutting board was my surface plate back in the day.
-
Hand sanded and ready for etching.
-
This was my etching set up for years. I kinda miss it.
-
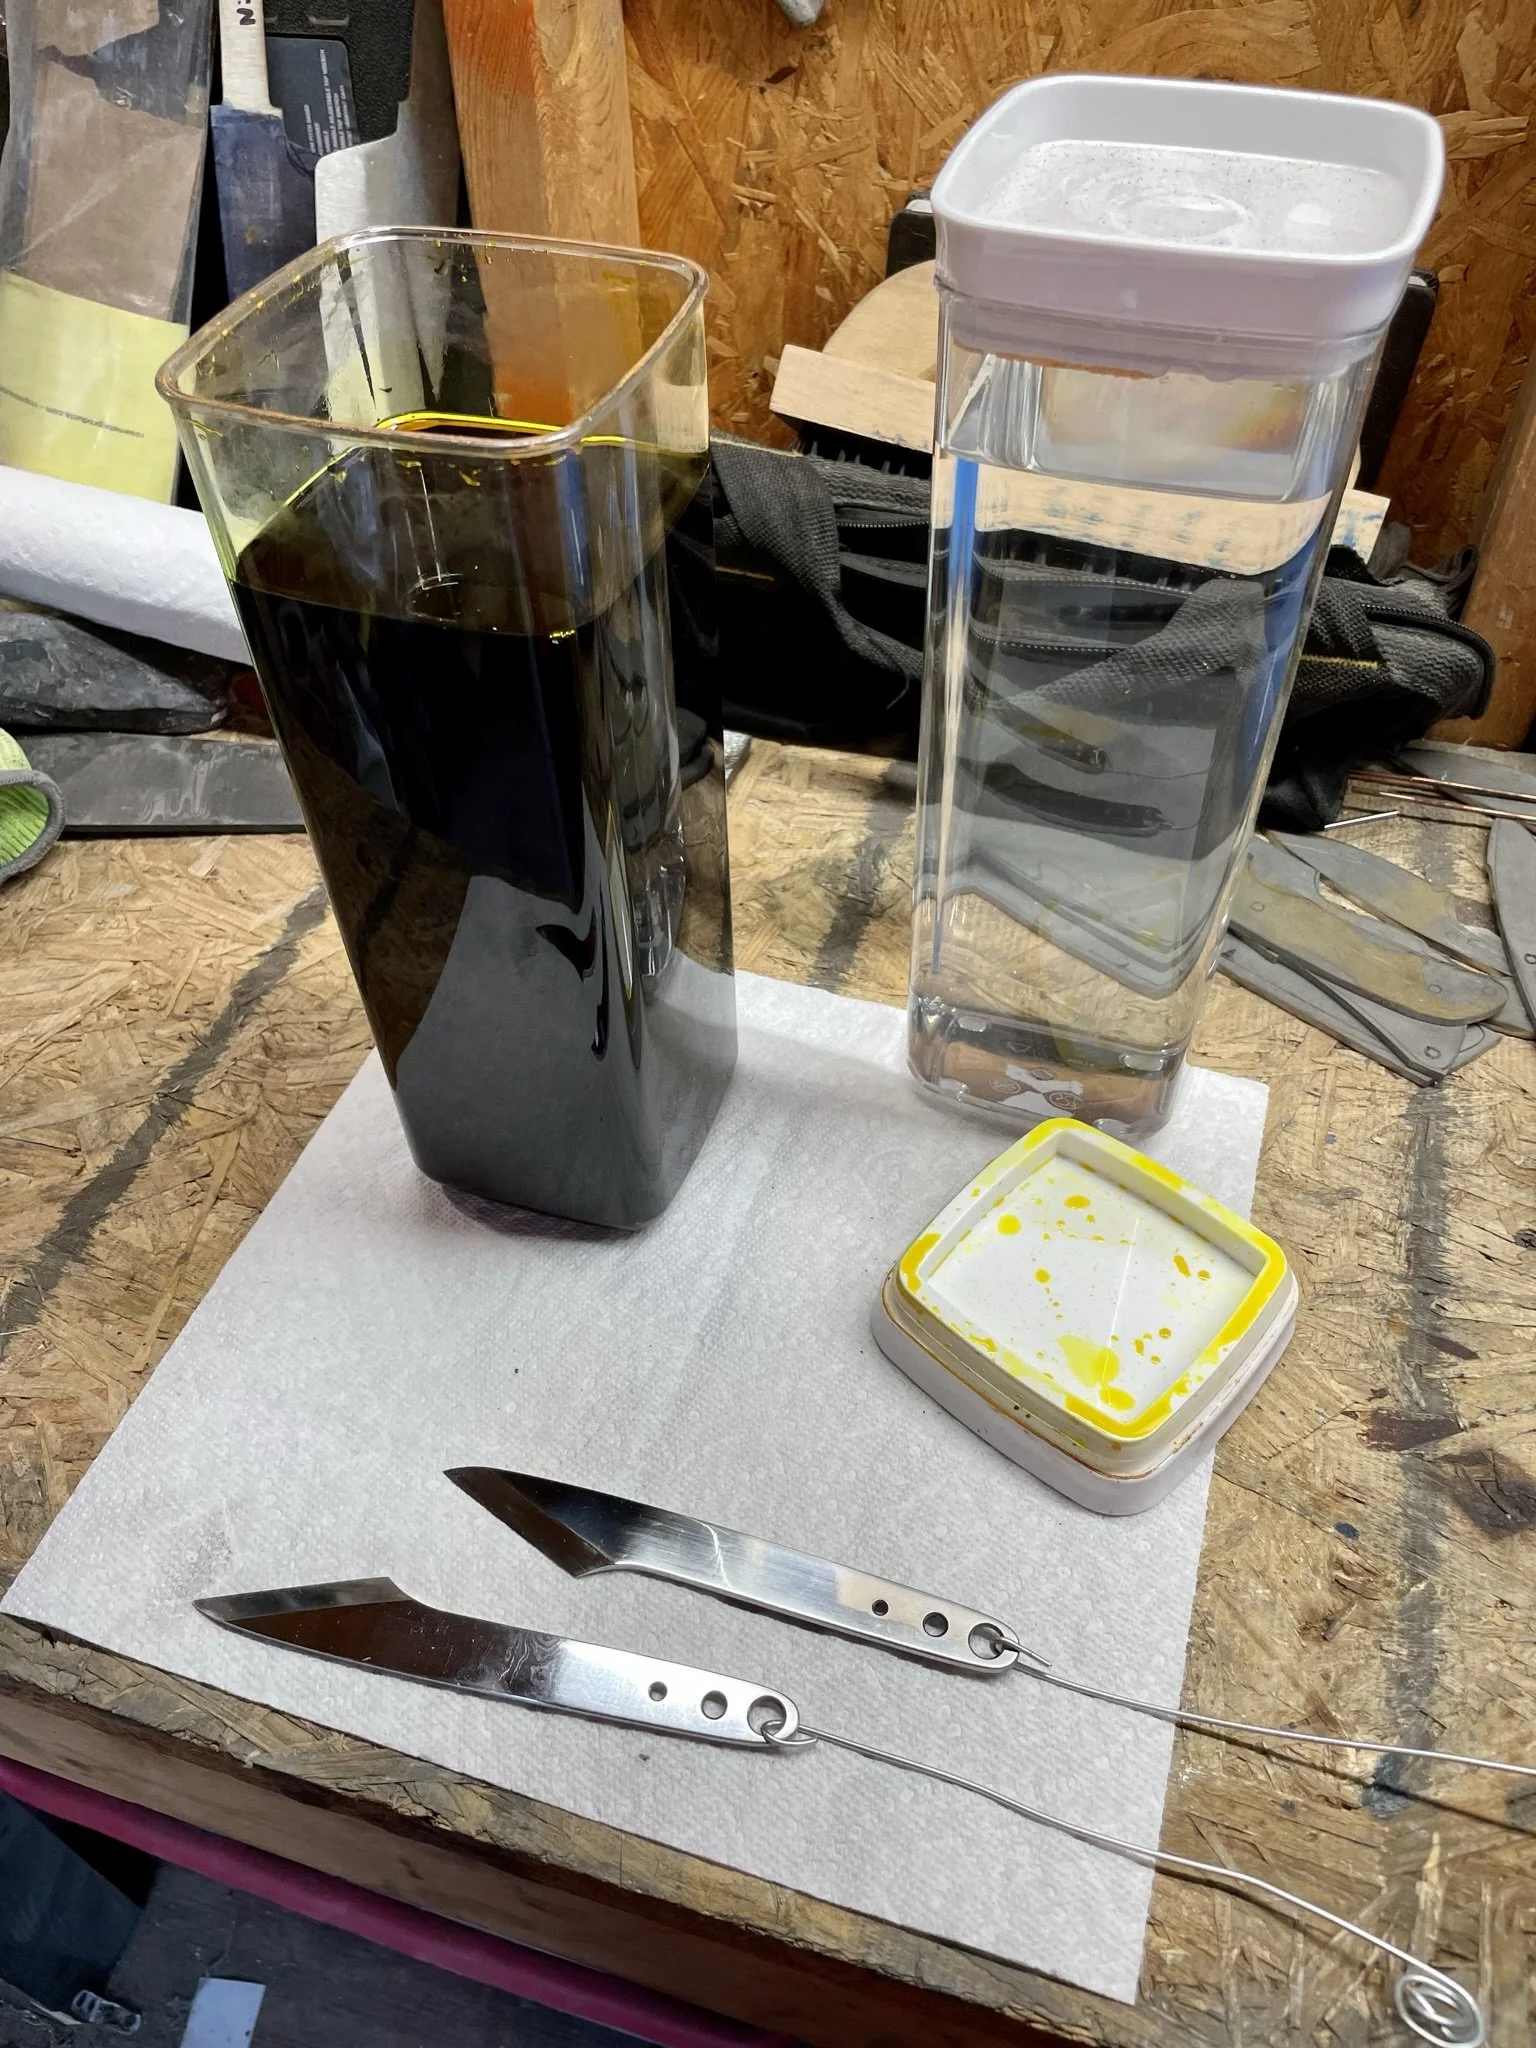
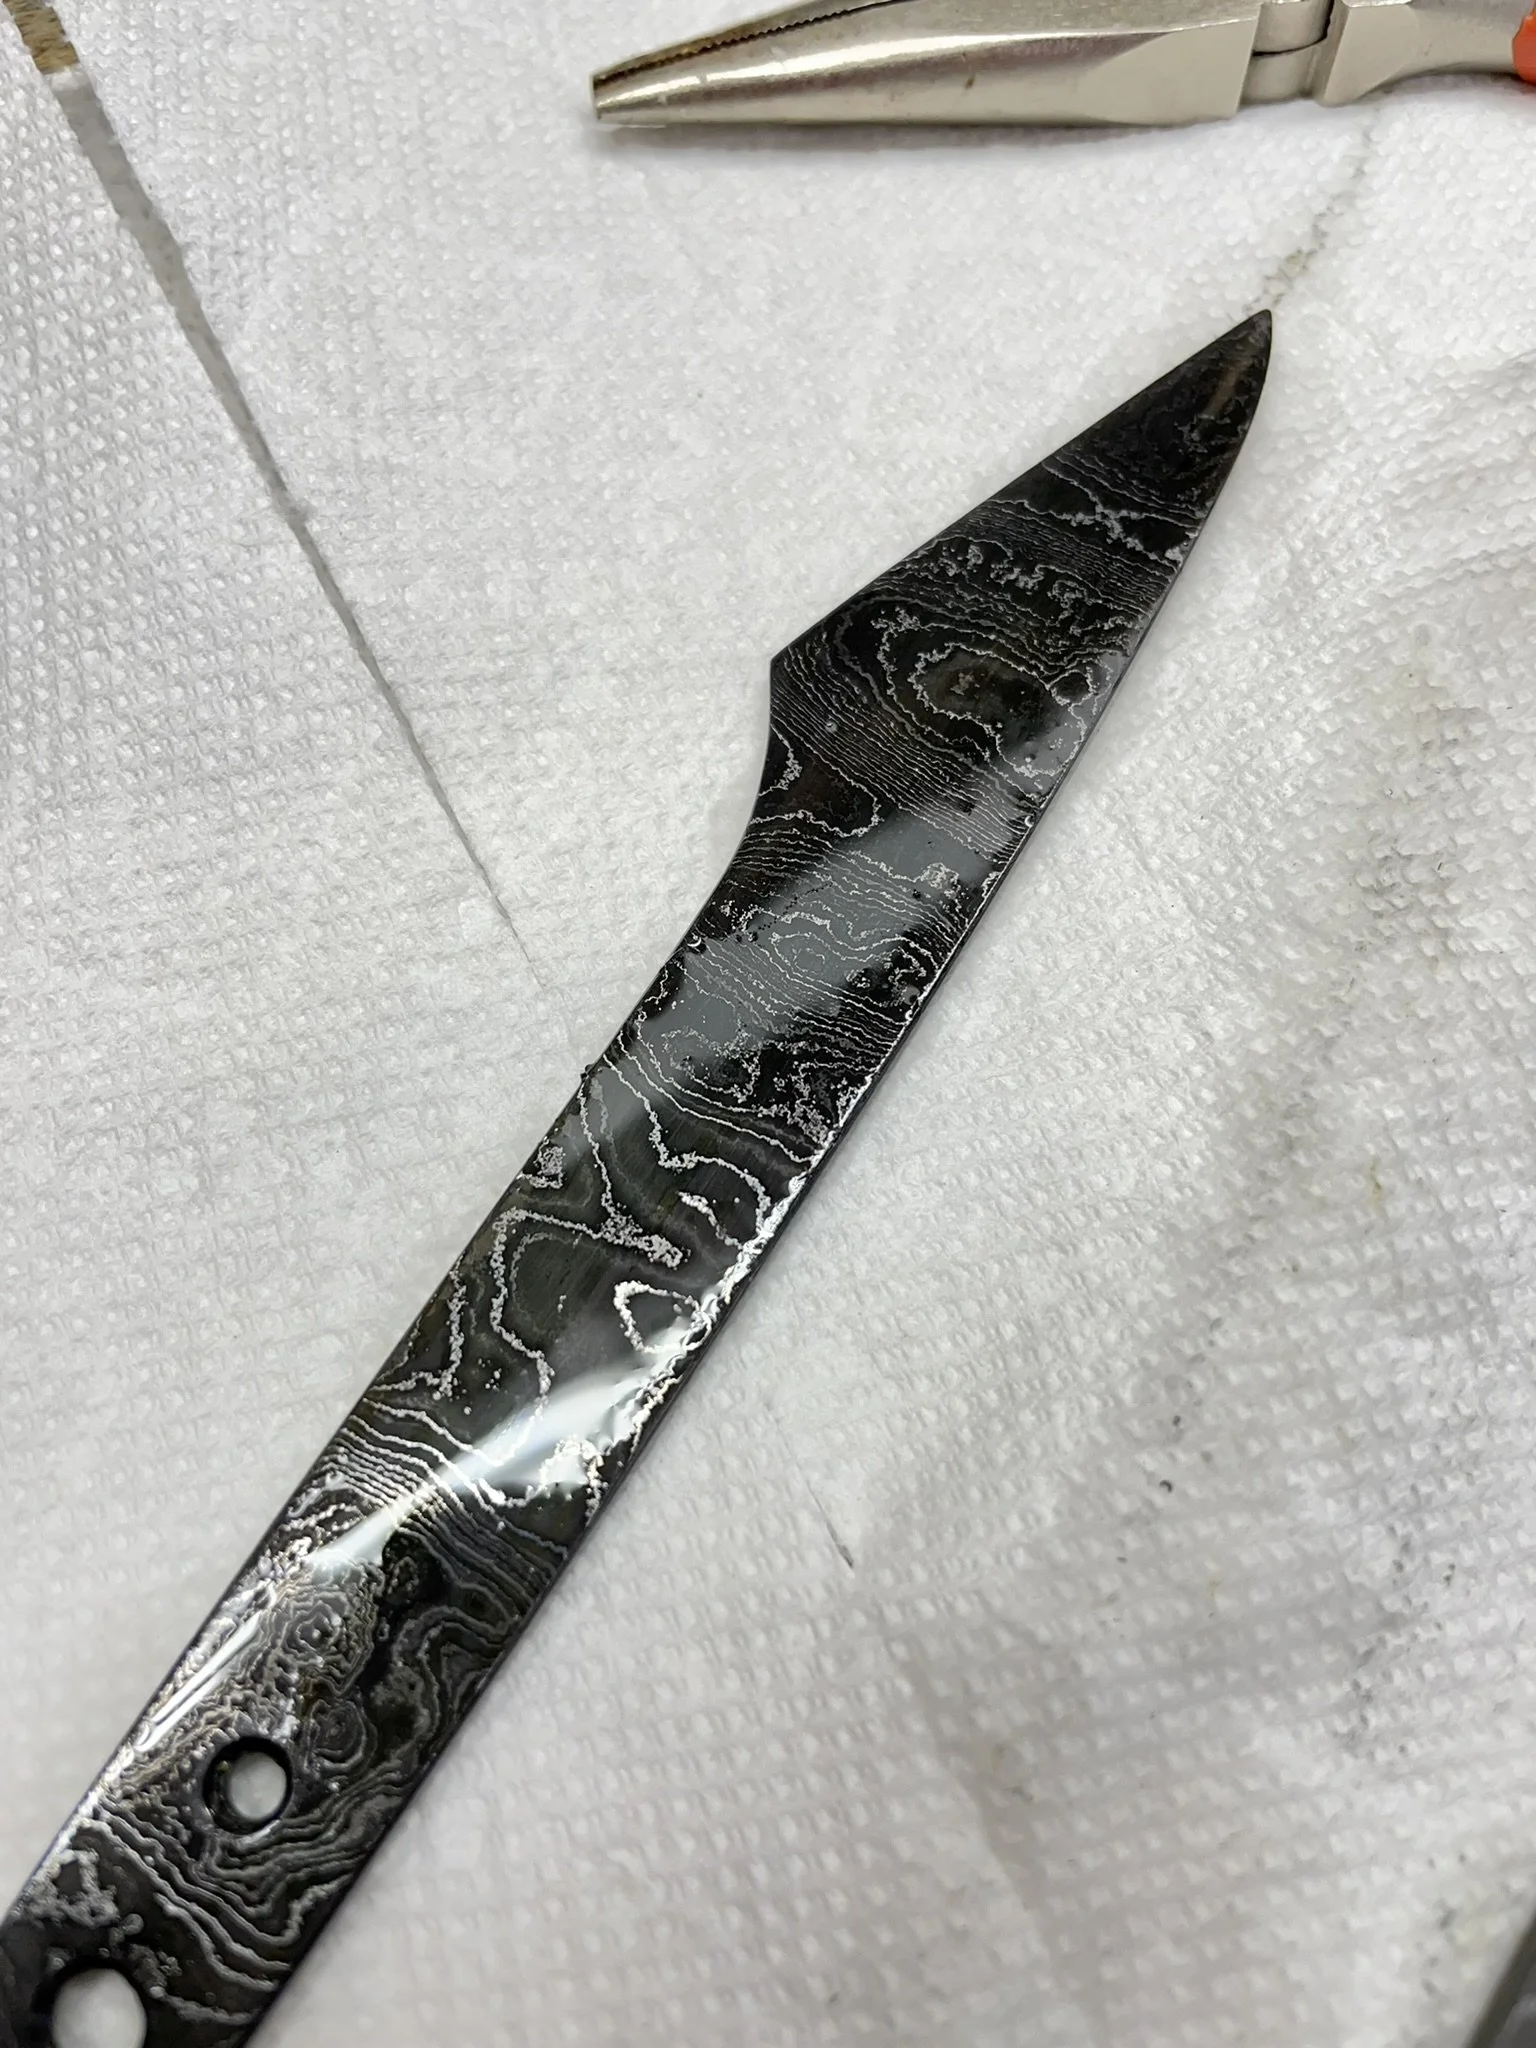
Just out of the acid etch.
-
Both etched and looking great.
-
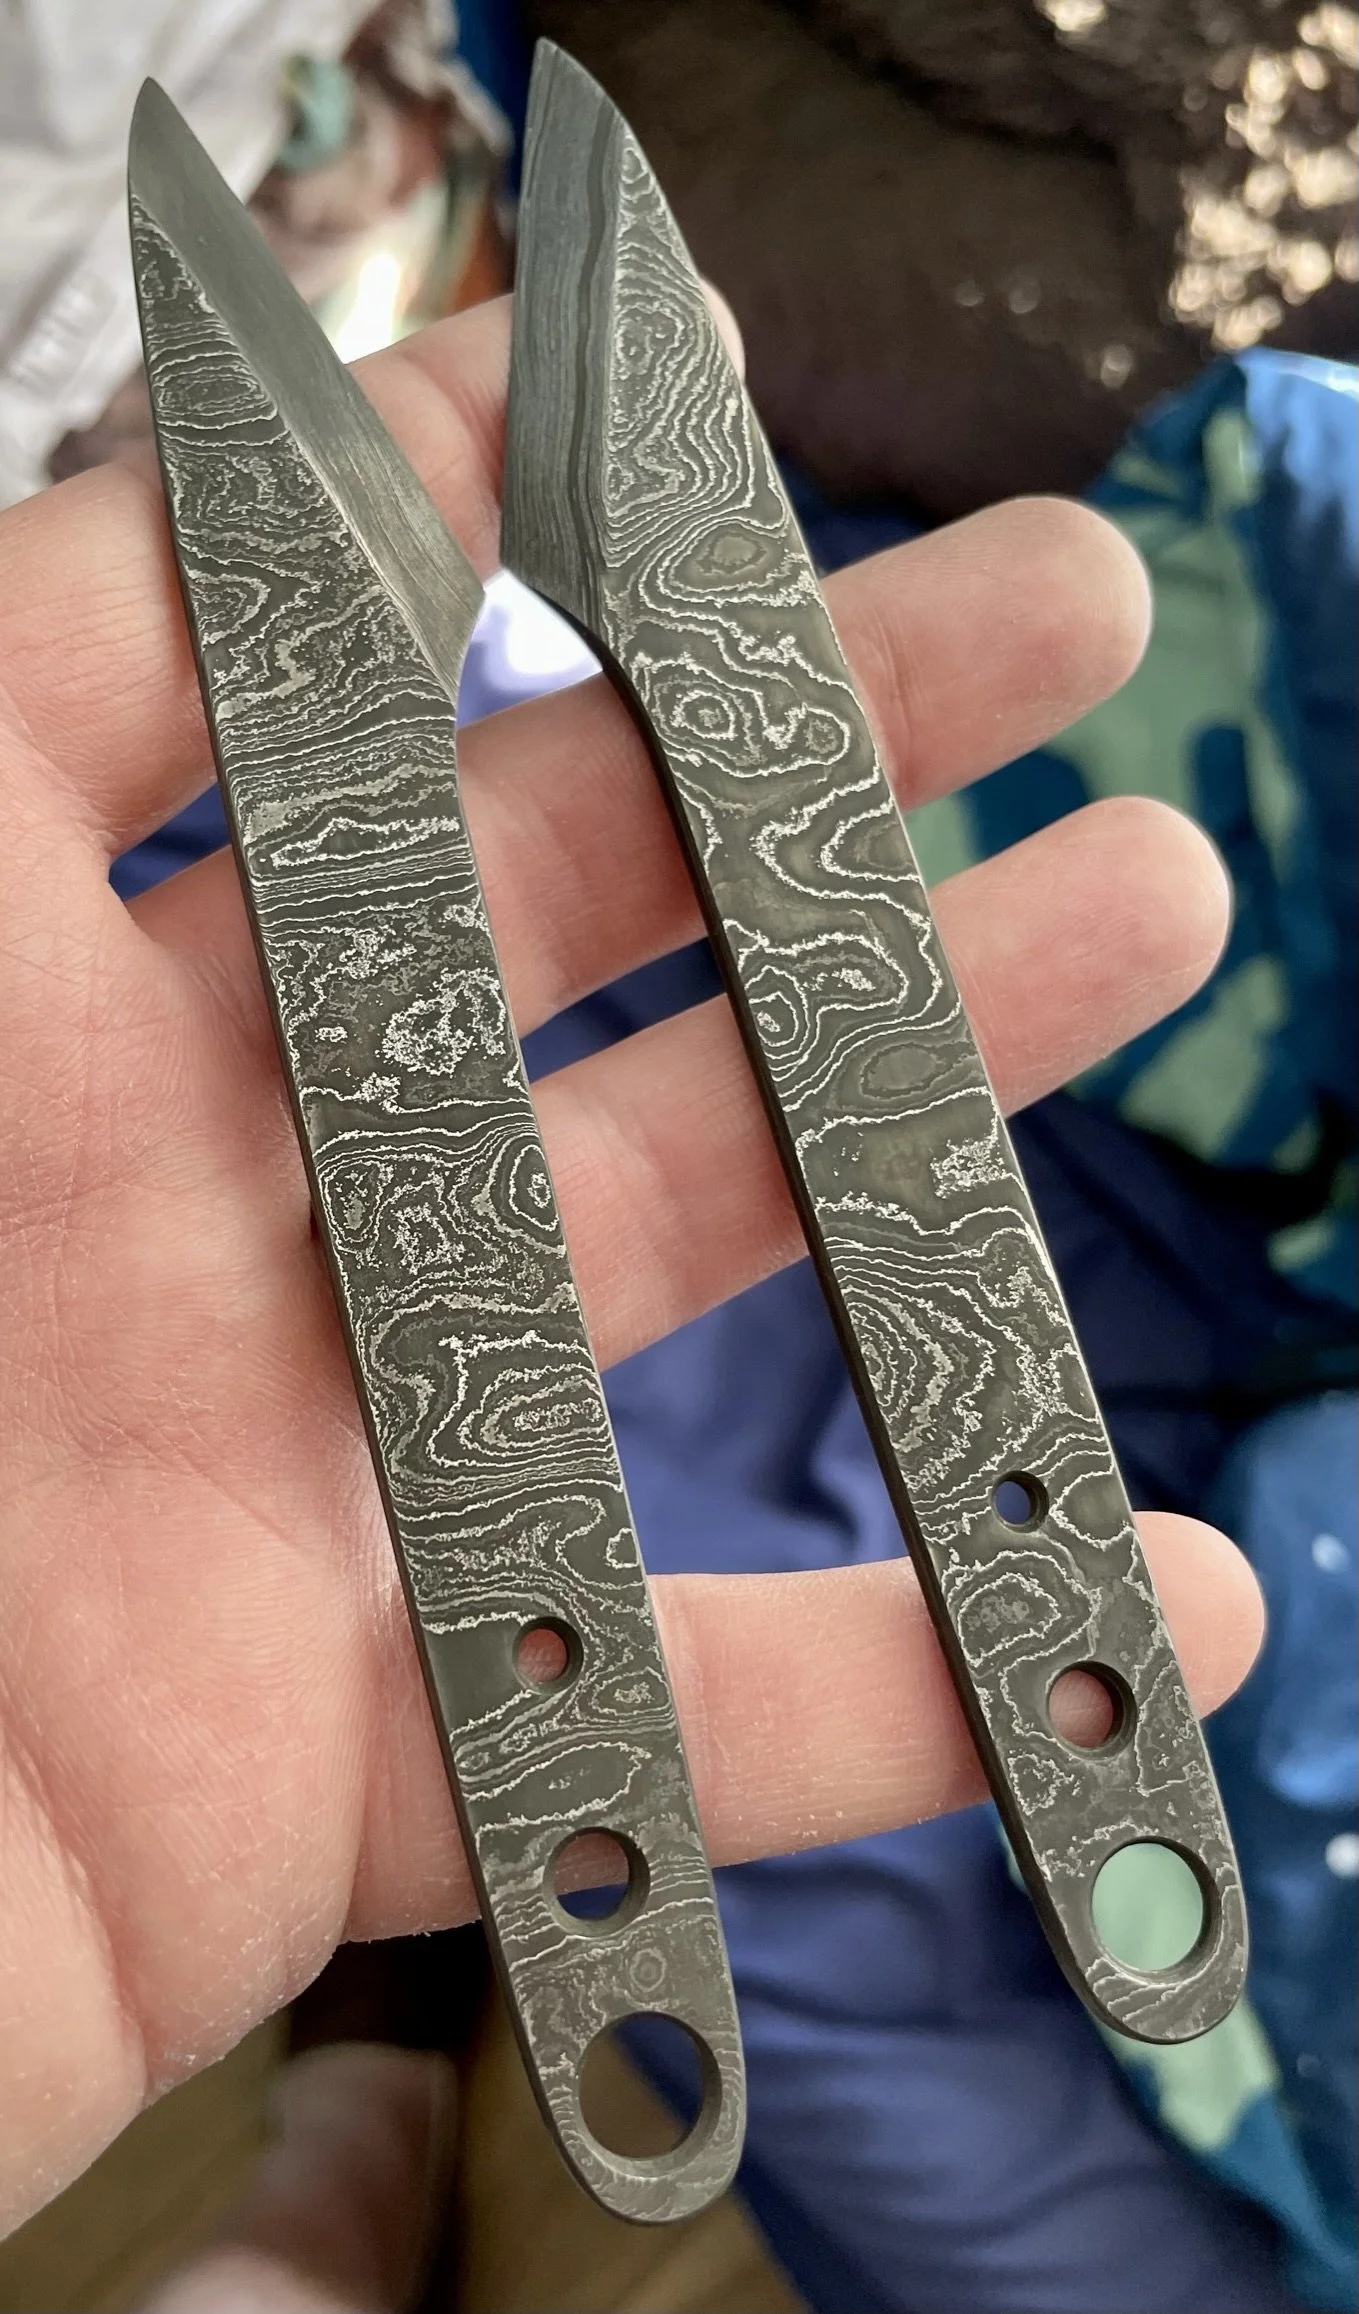
Size in hand.
-
In hand #2
-
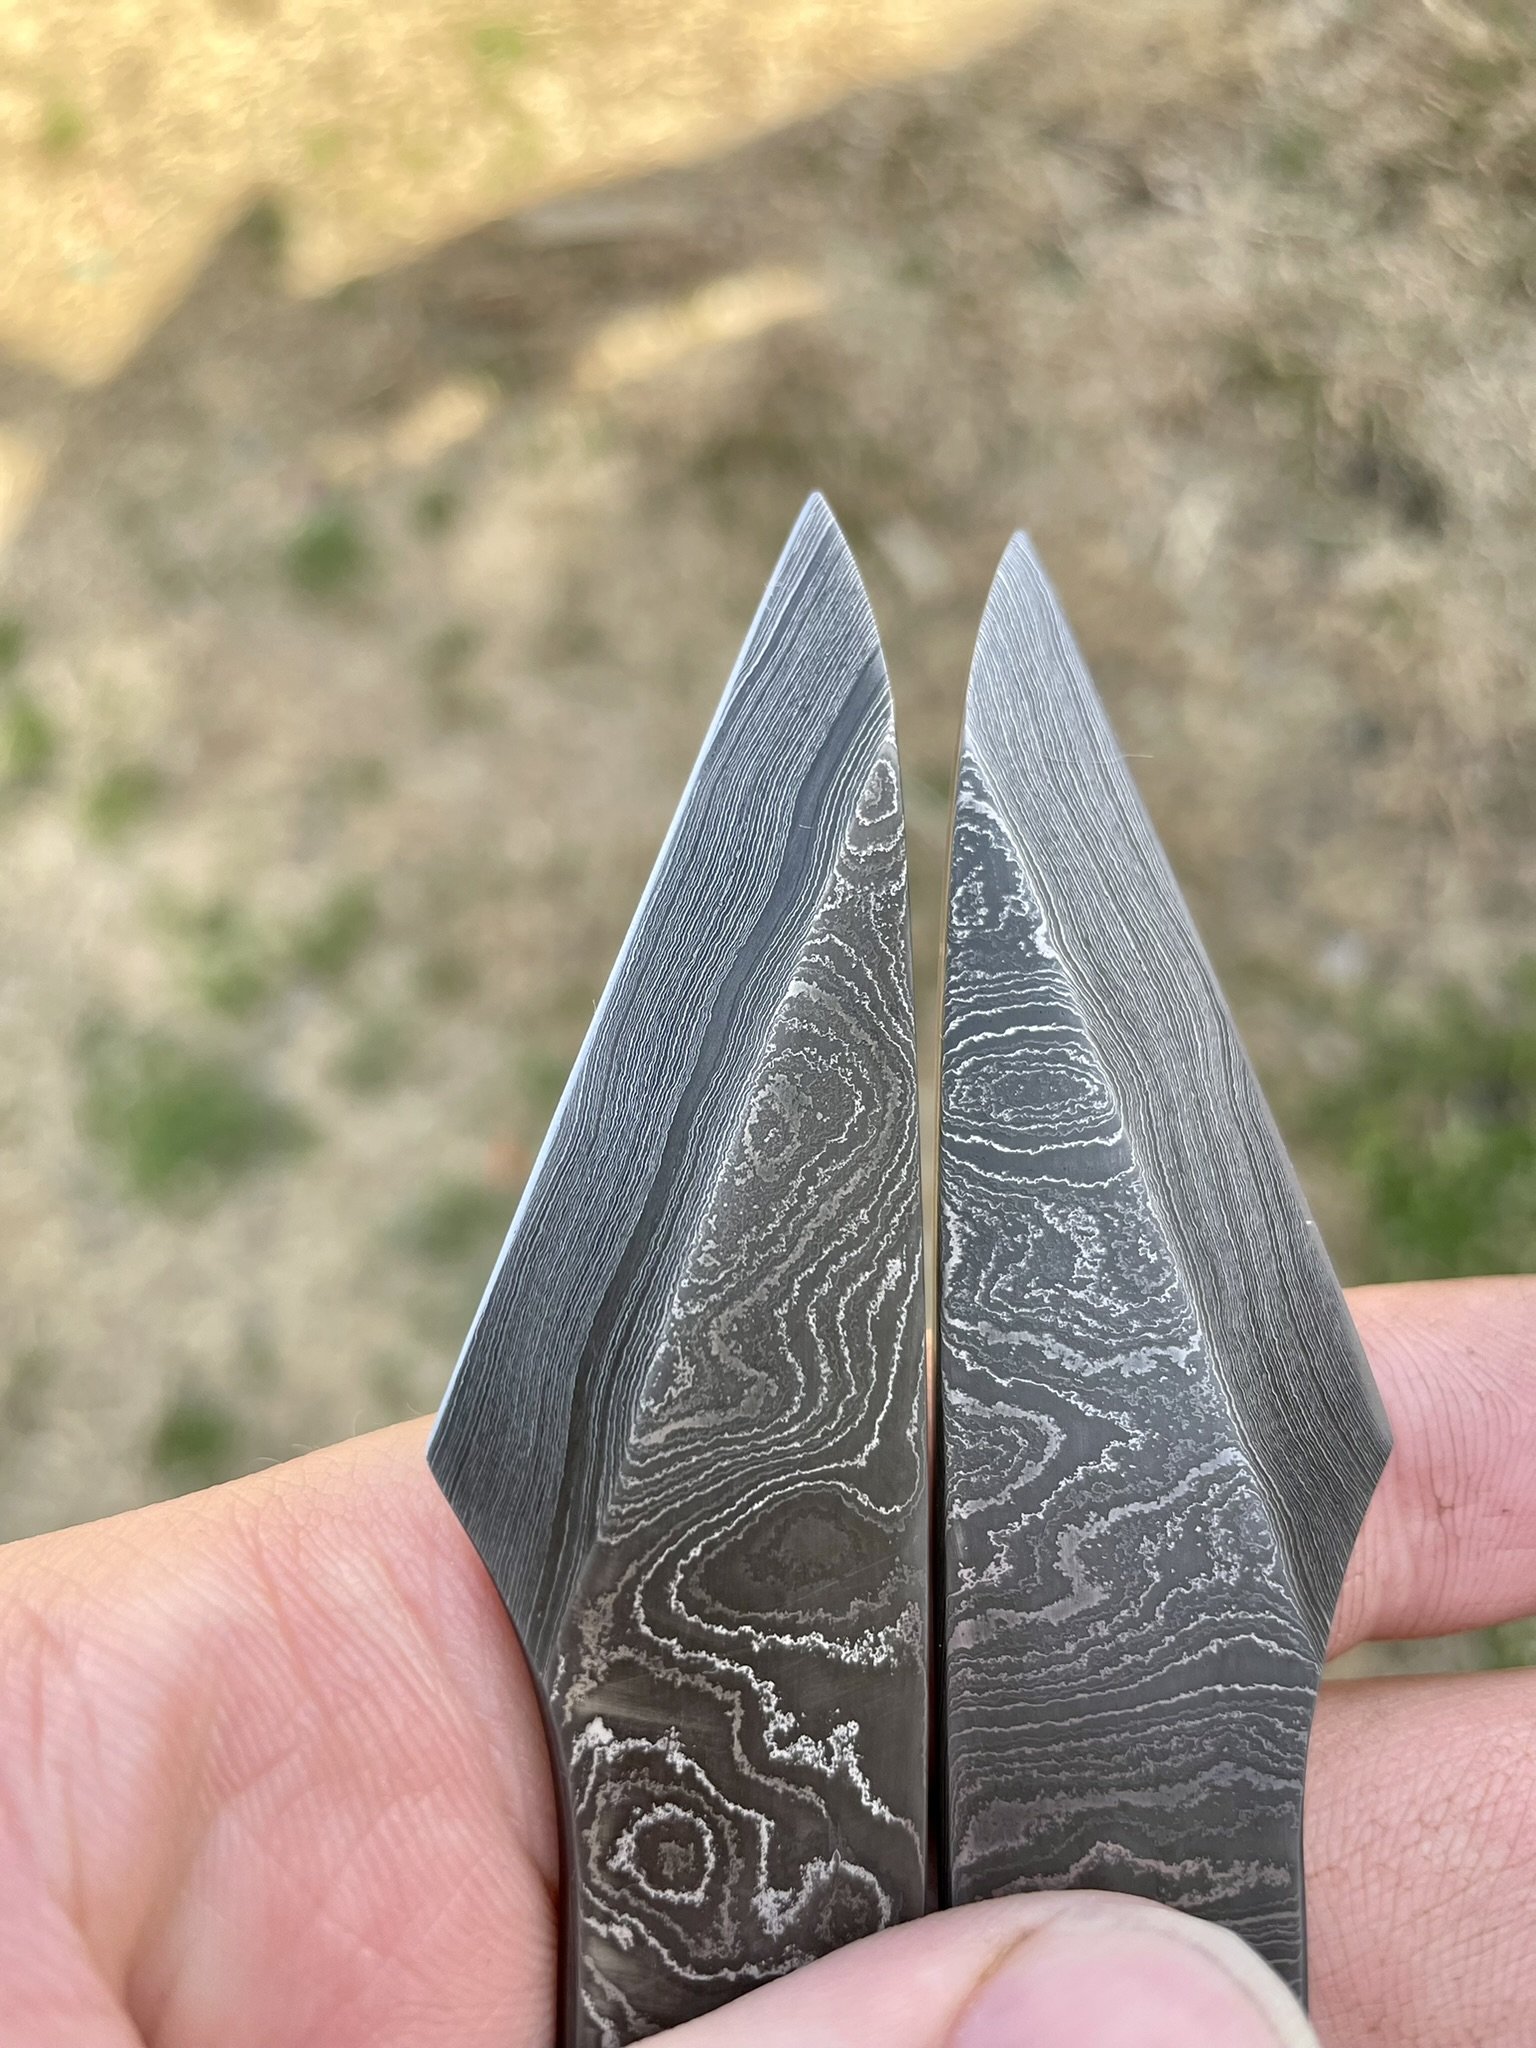
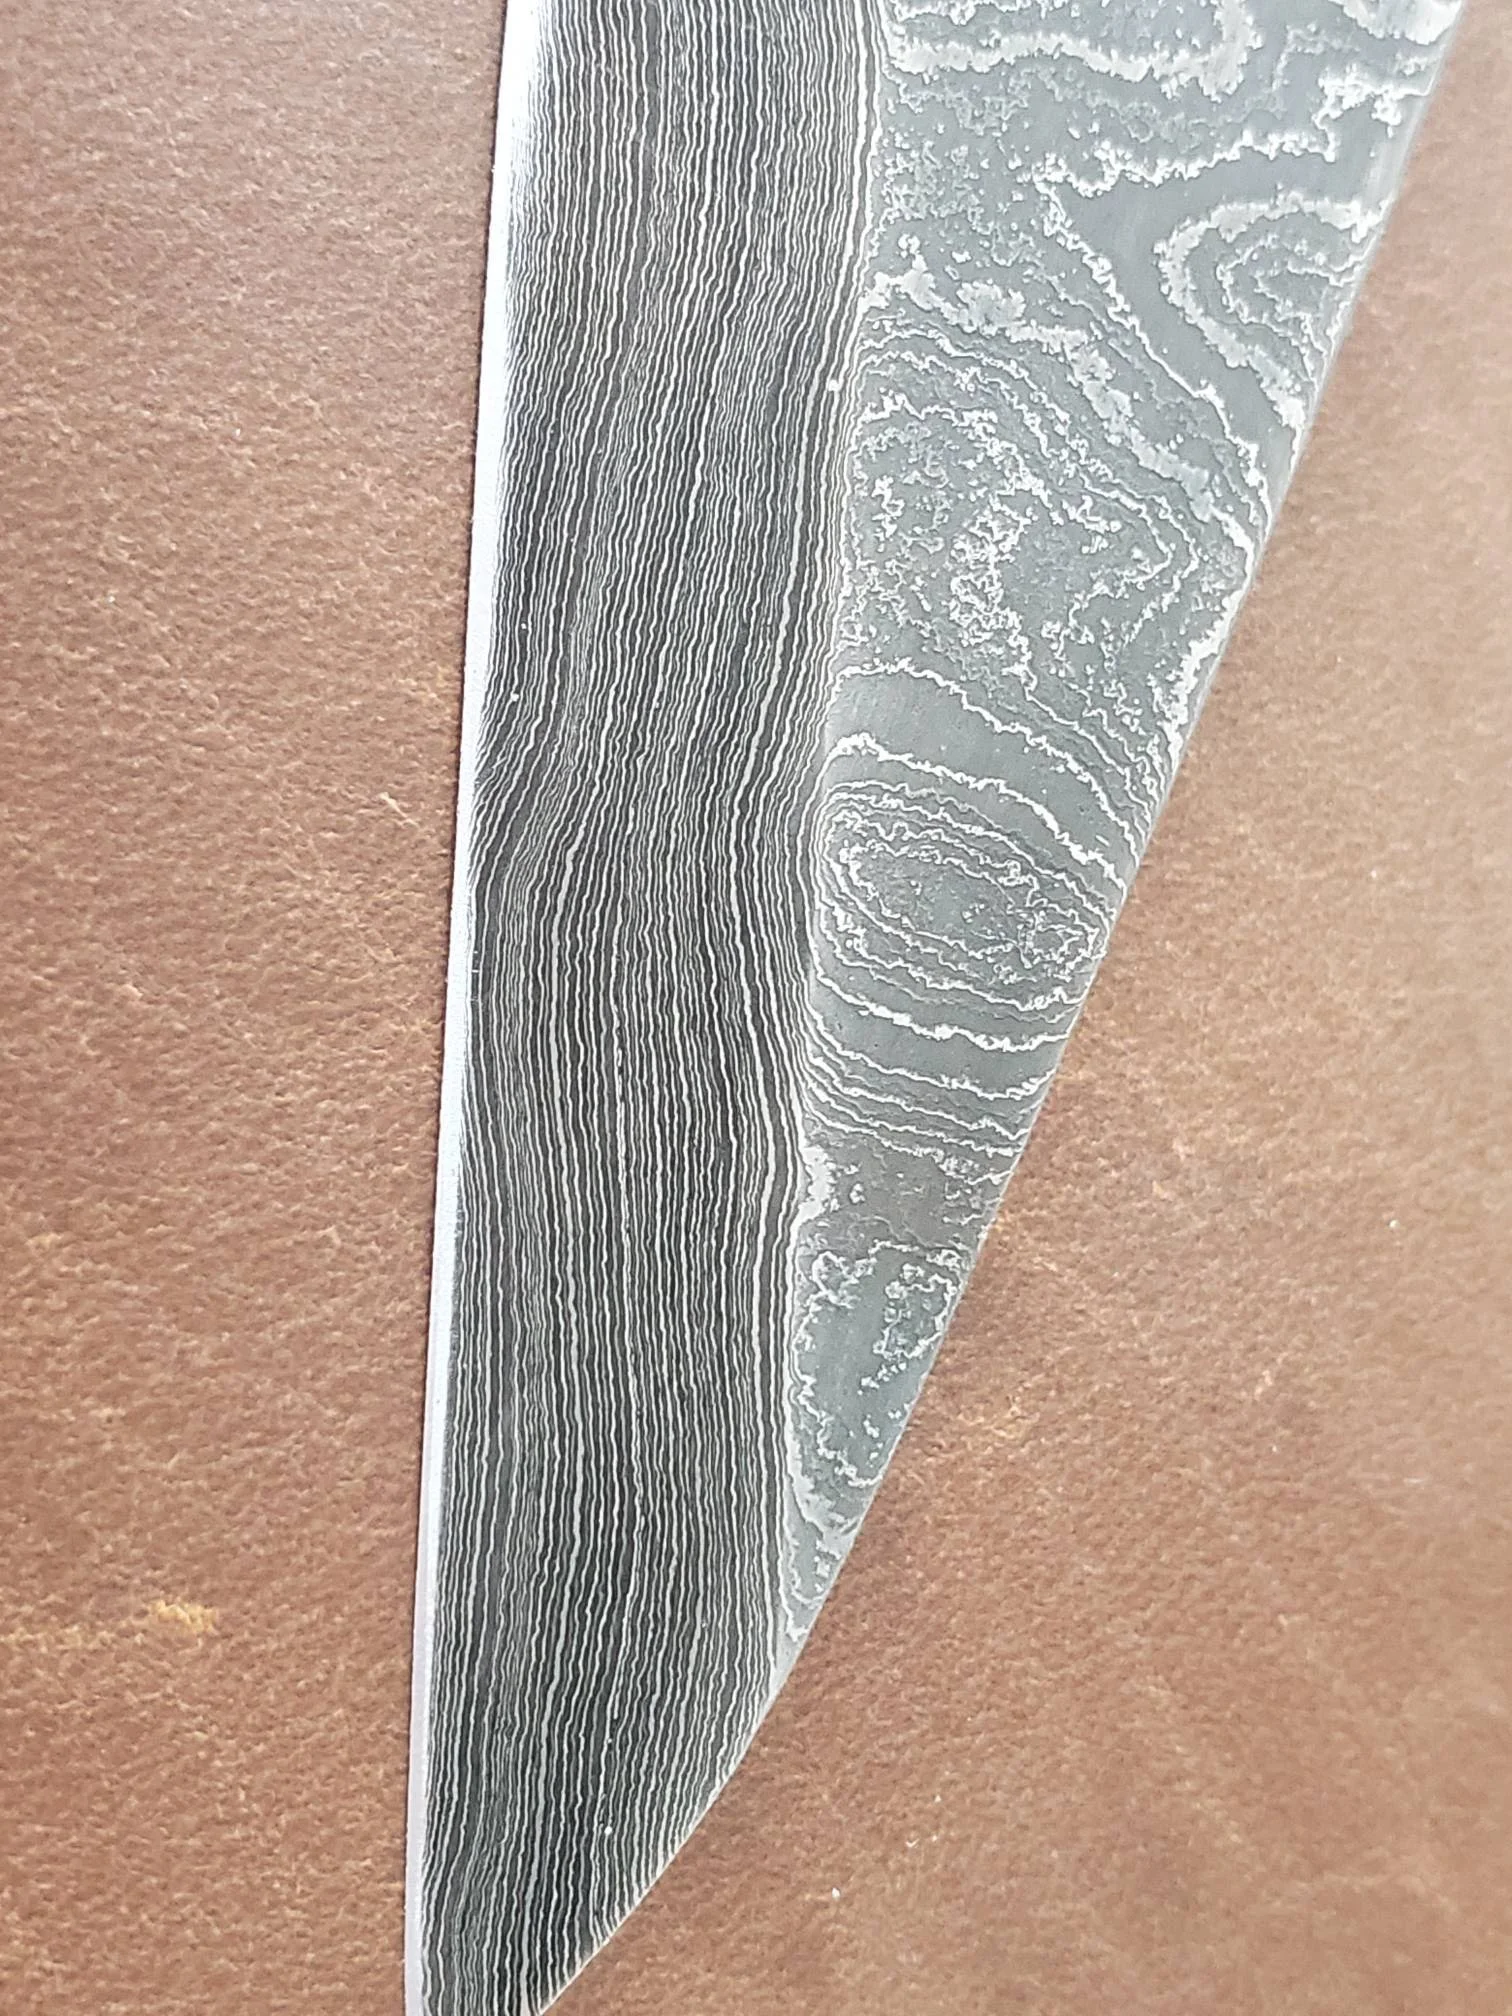
Love to see the layers on these.
-
Close up from Mark as he wanted to count the layers.
-
Final glamour shot.
Ribbon Burner Forge
-
Final Project - keep scrolling to see the journey.
-
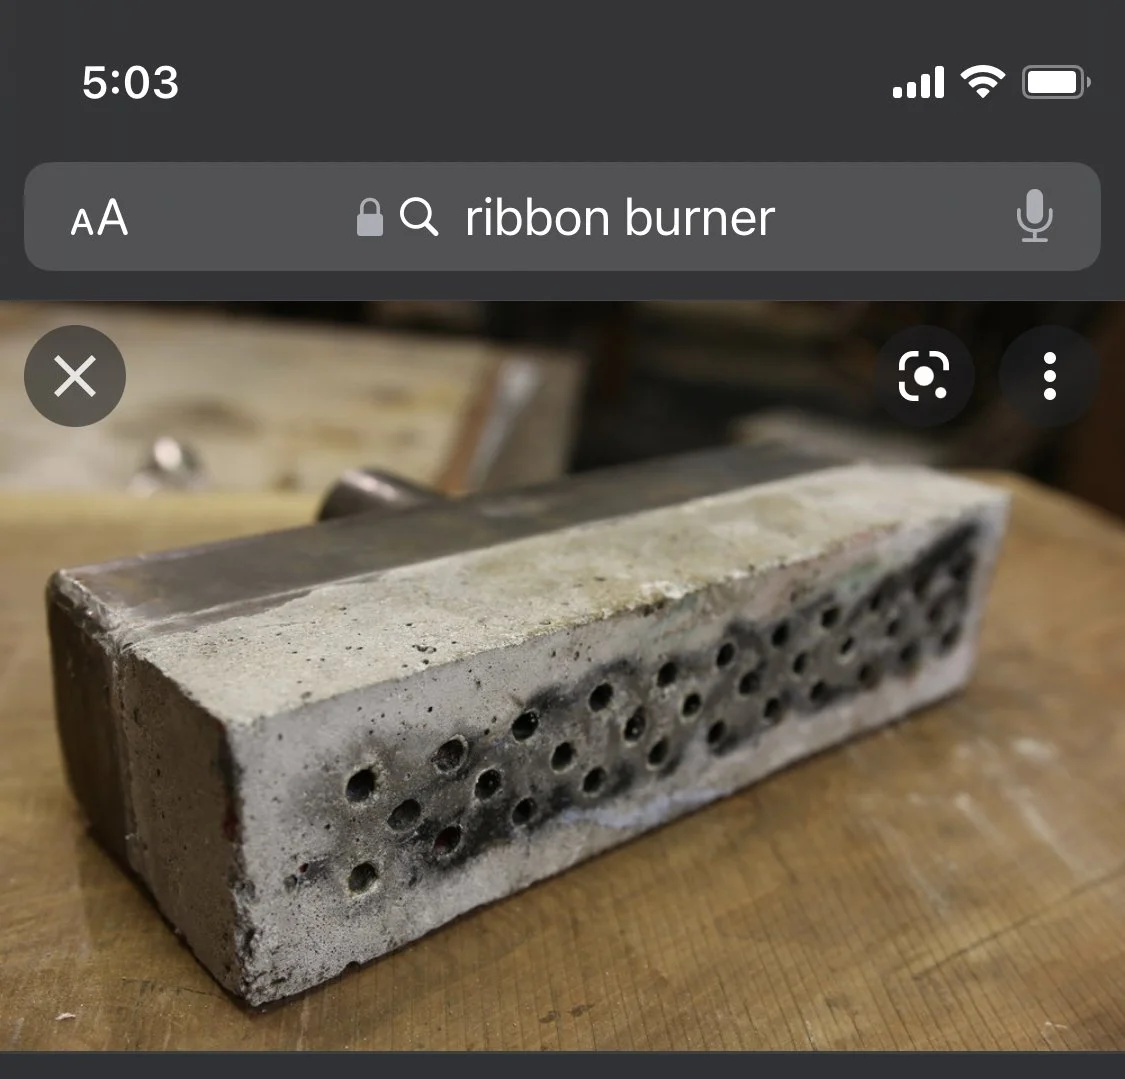
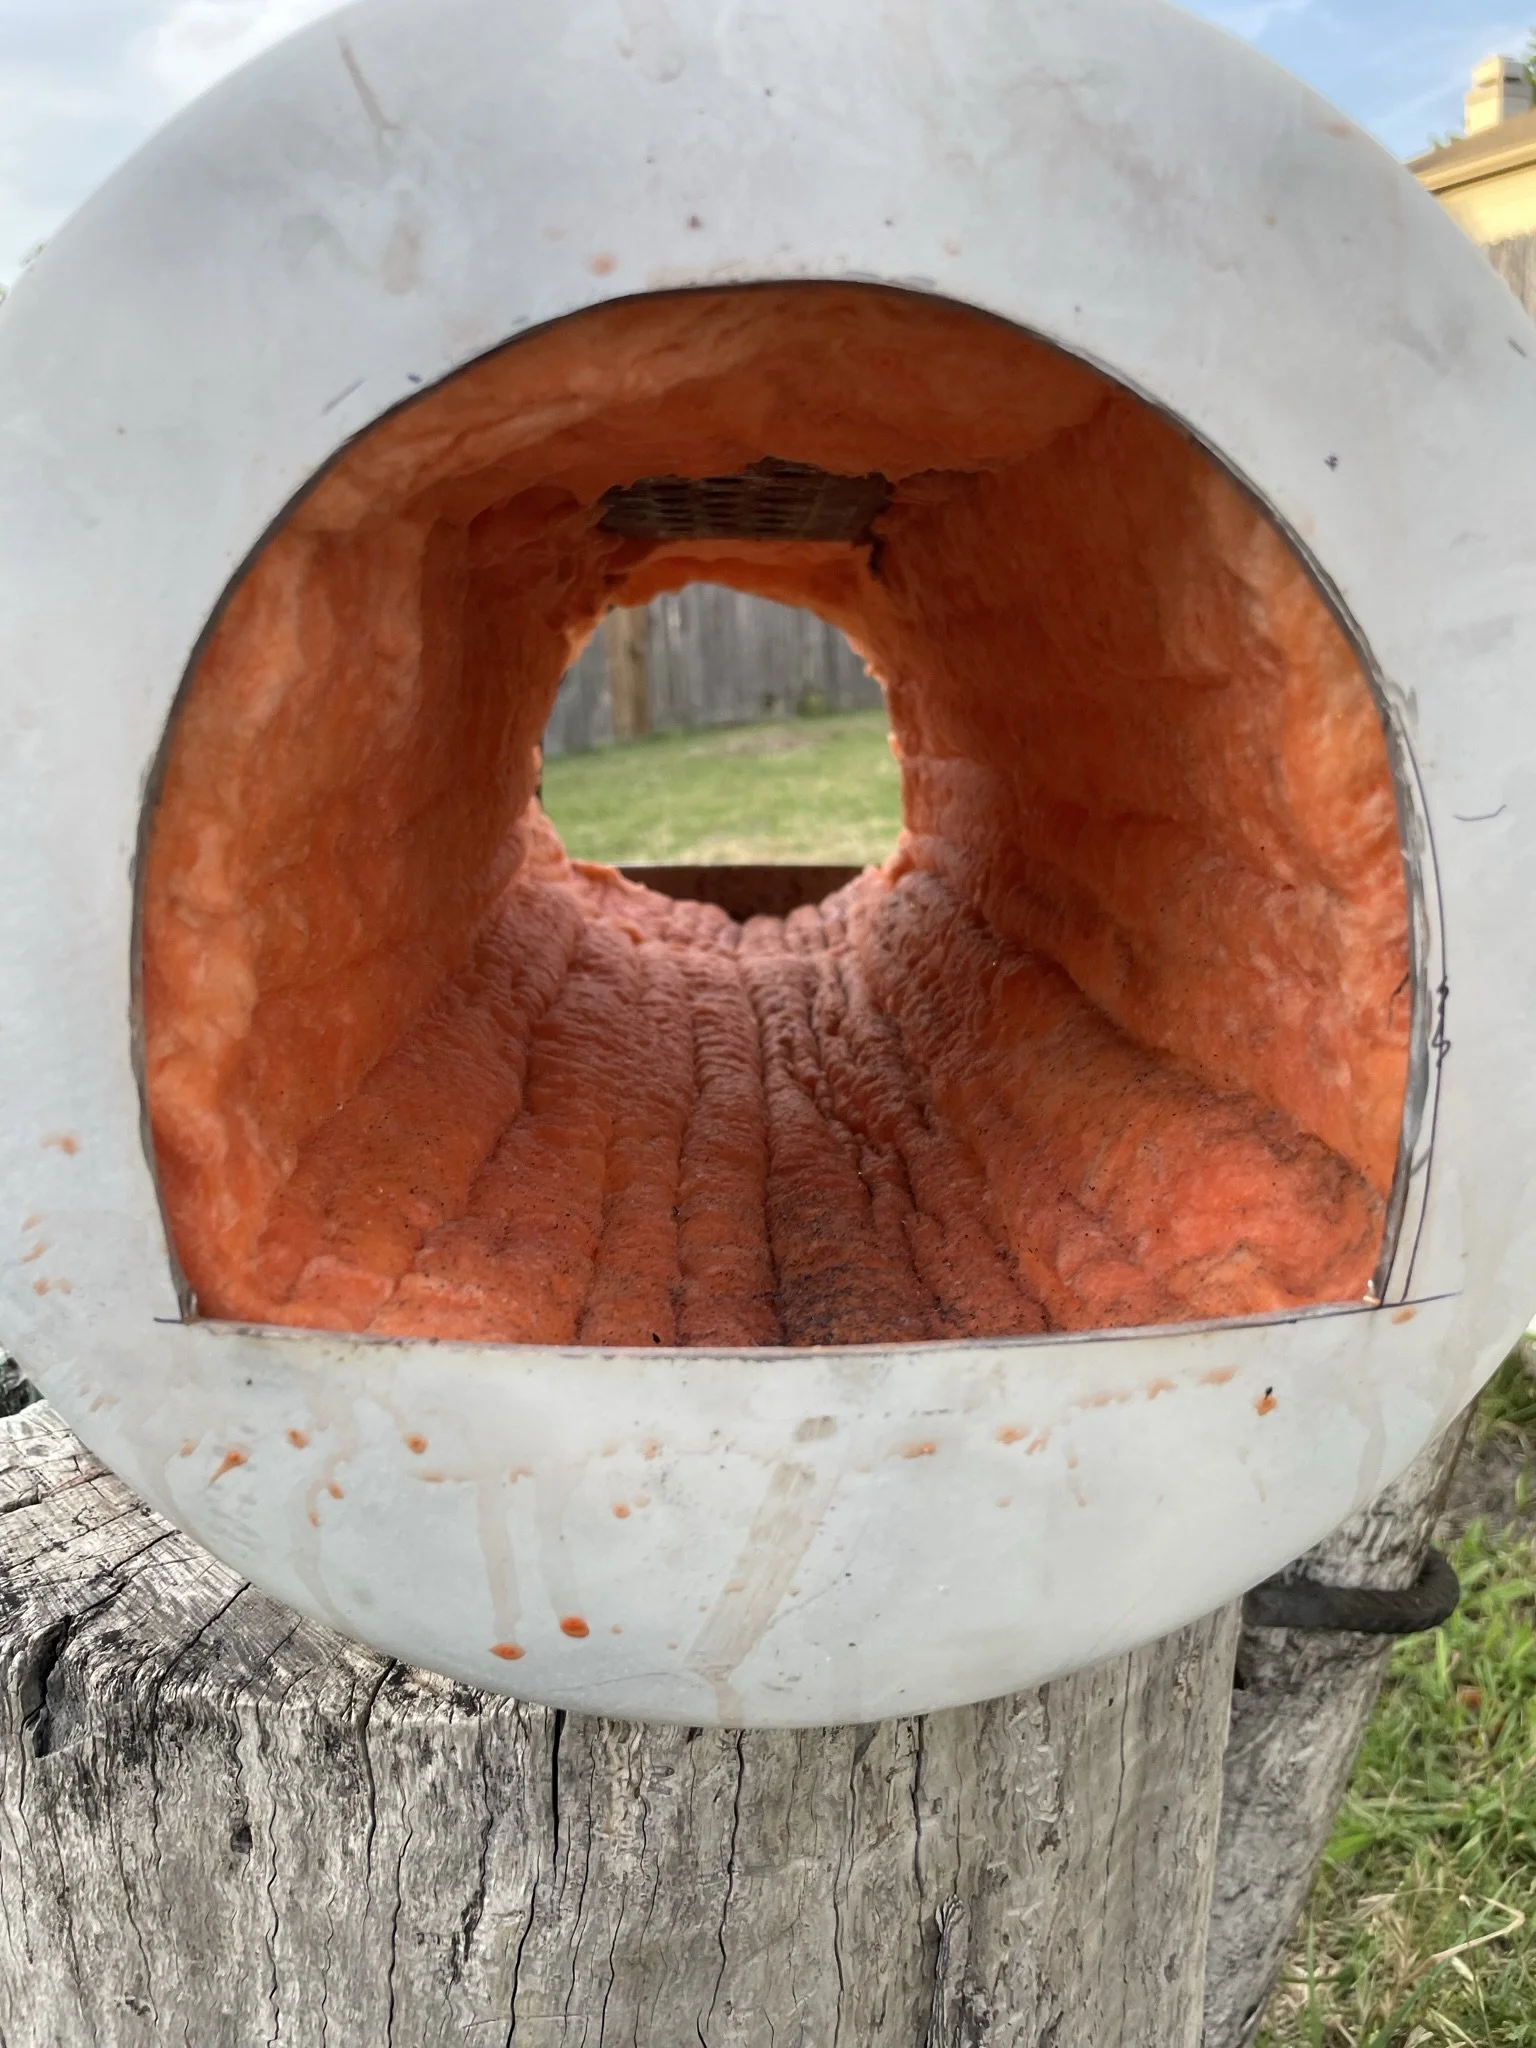
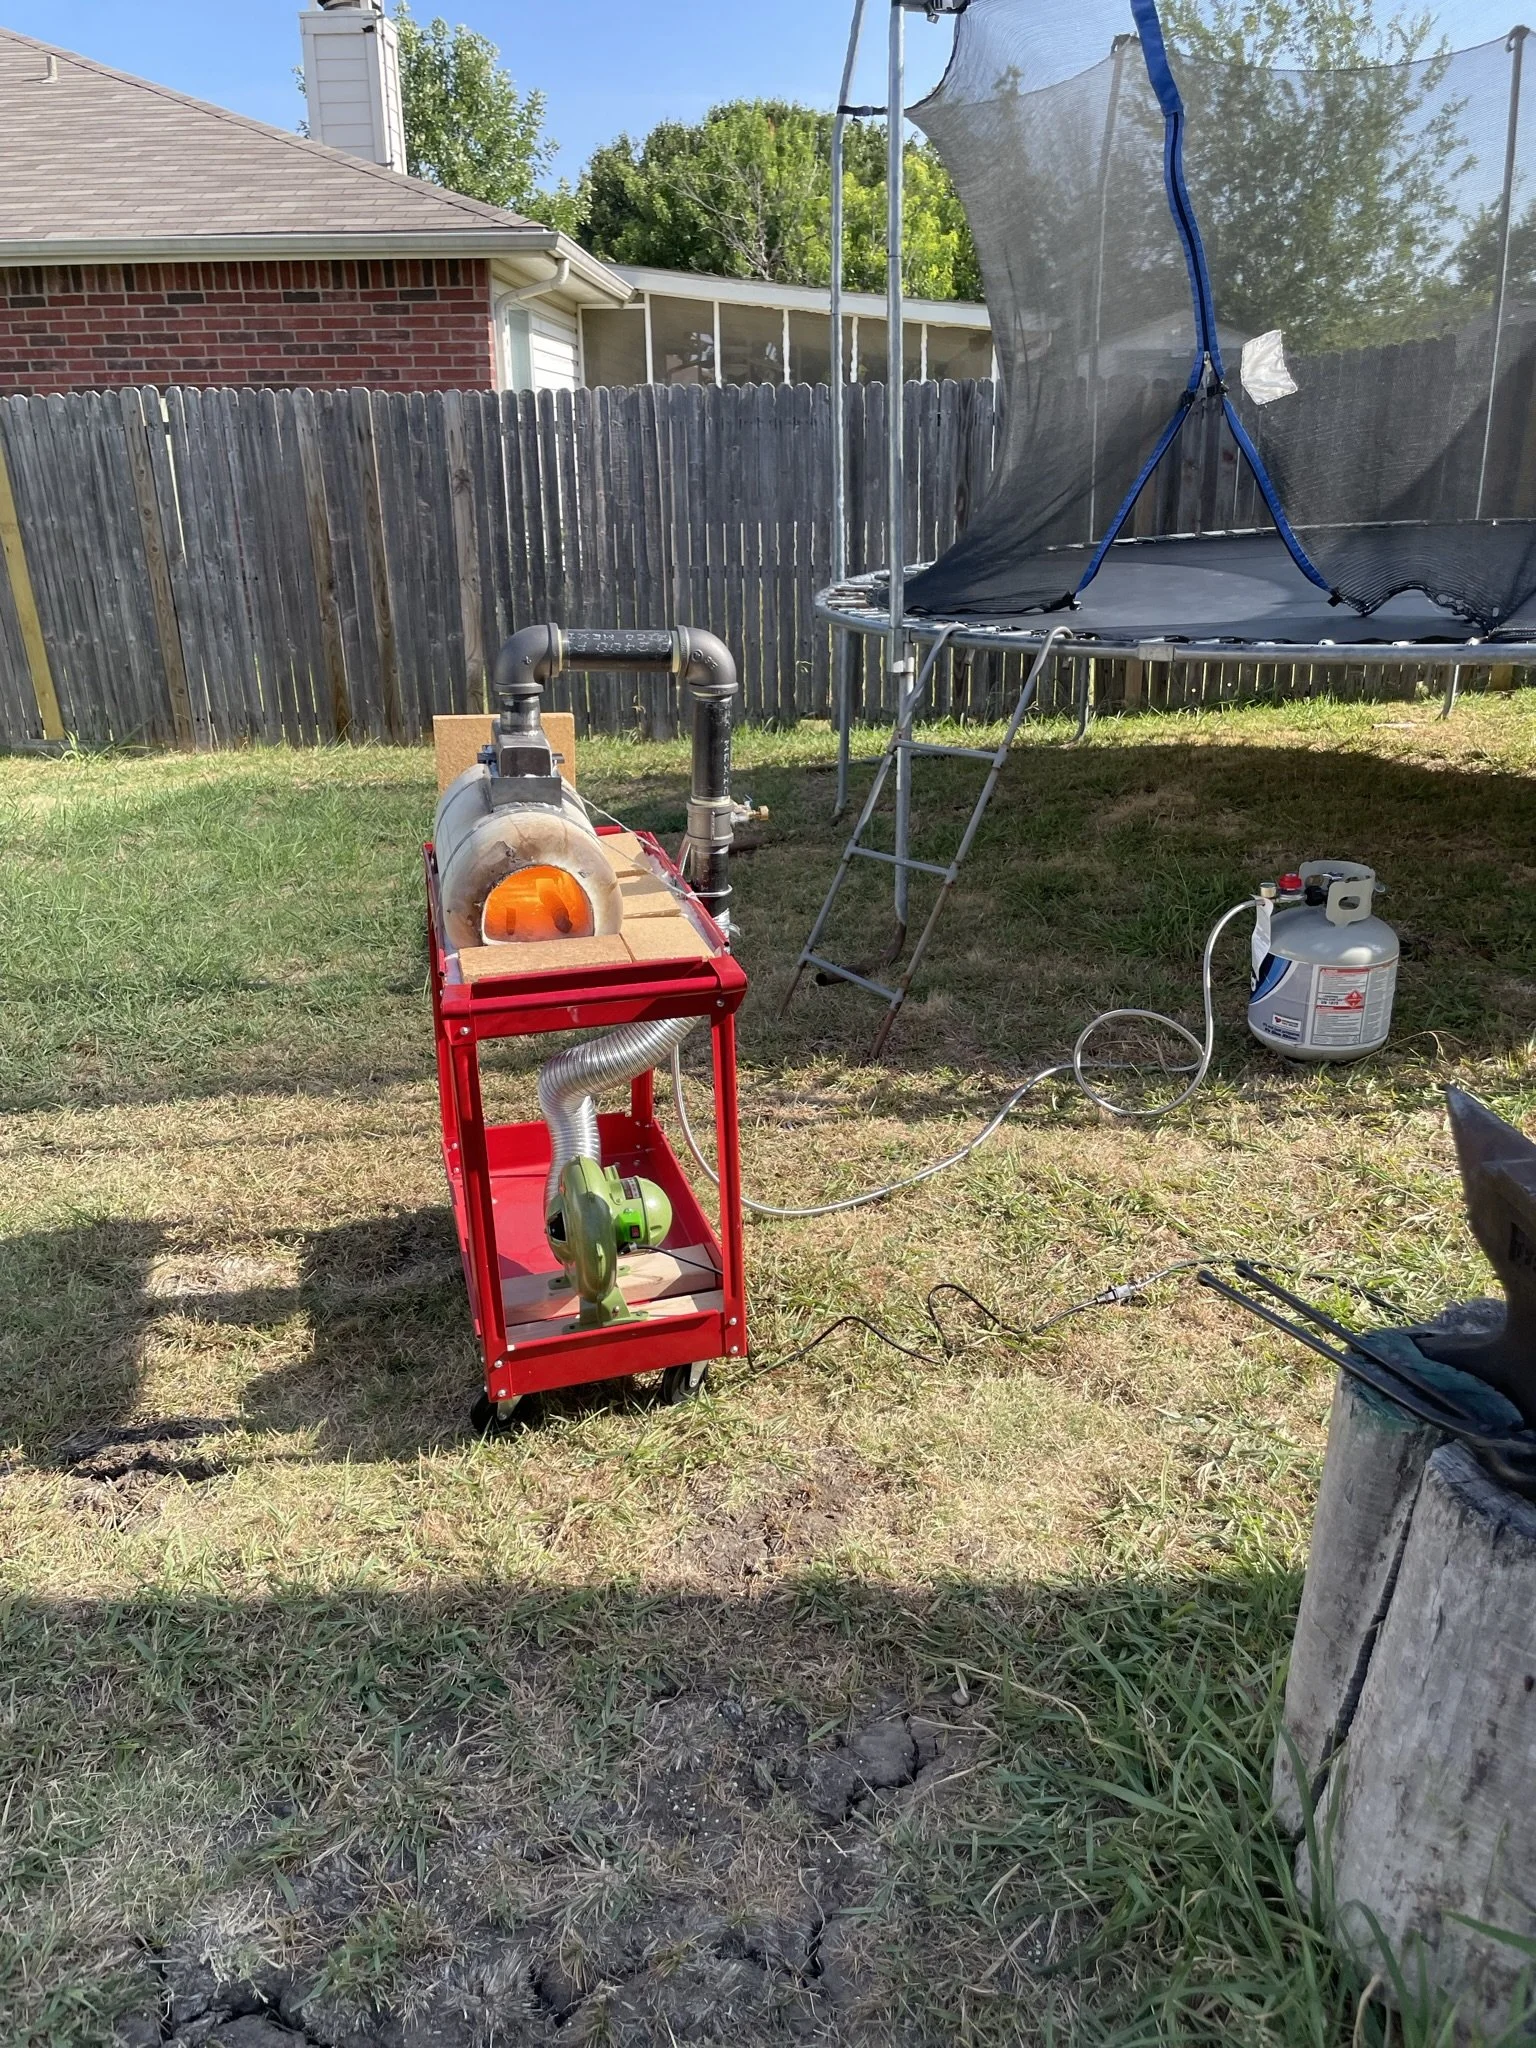
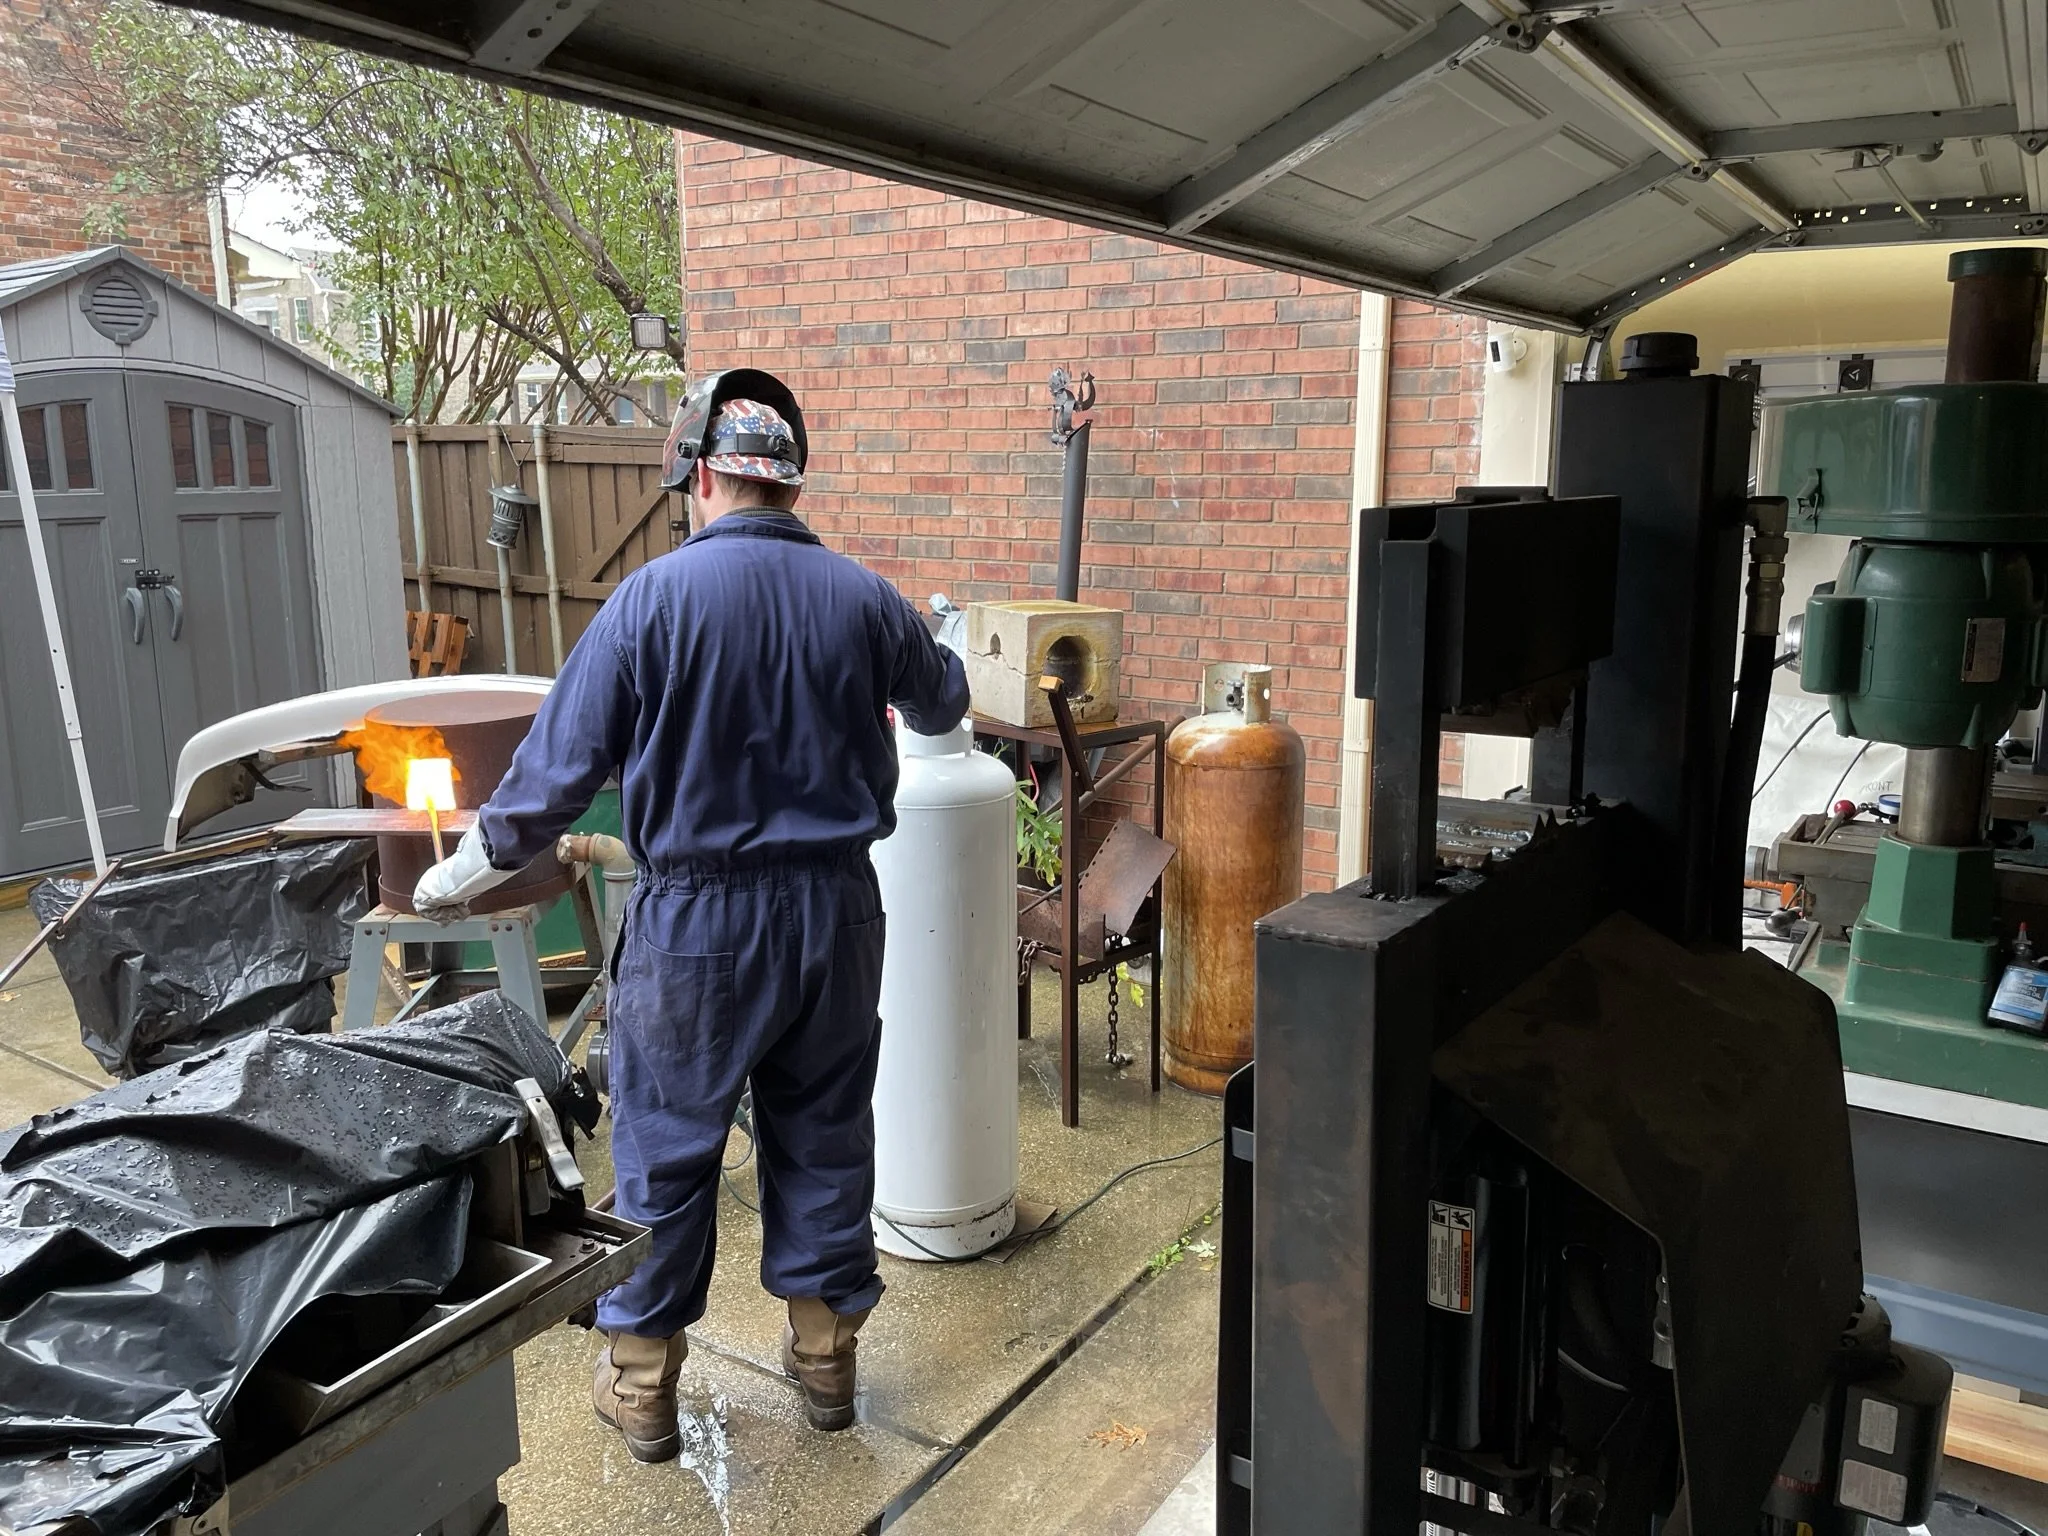
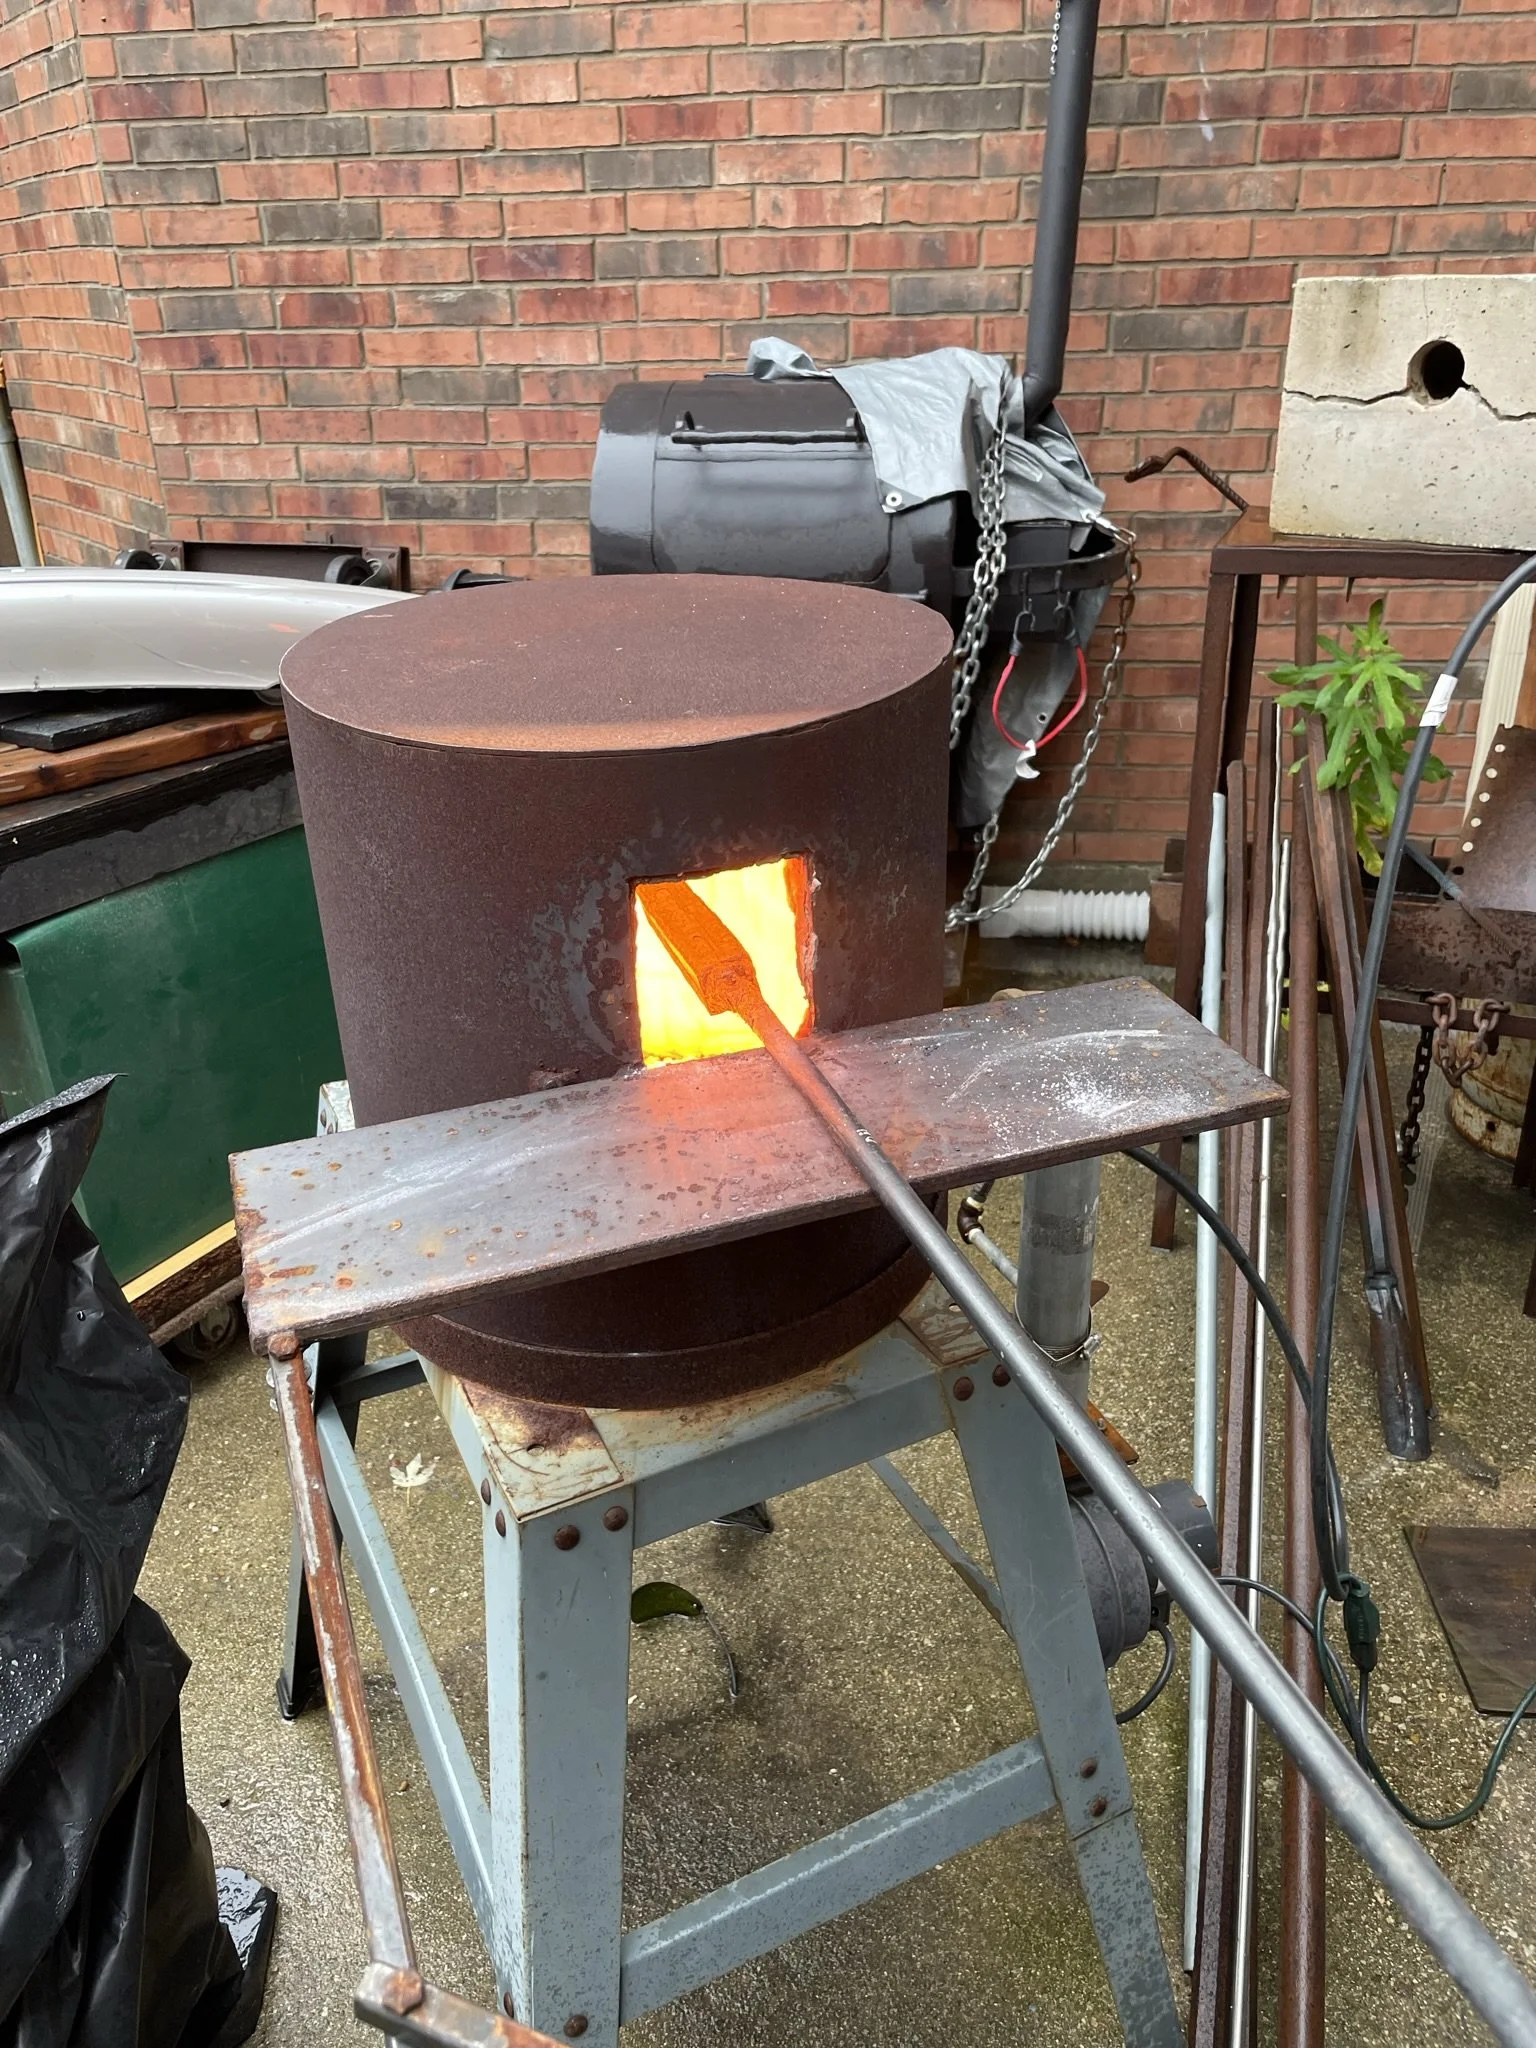
Decided that it was time to upgrade from my OG forge to a larger more efficient forge. The next progression was clearly a ribbon burner forge, especially as I wanted to start making my own Damascus. This photo was part of the inspiration.
-
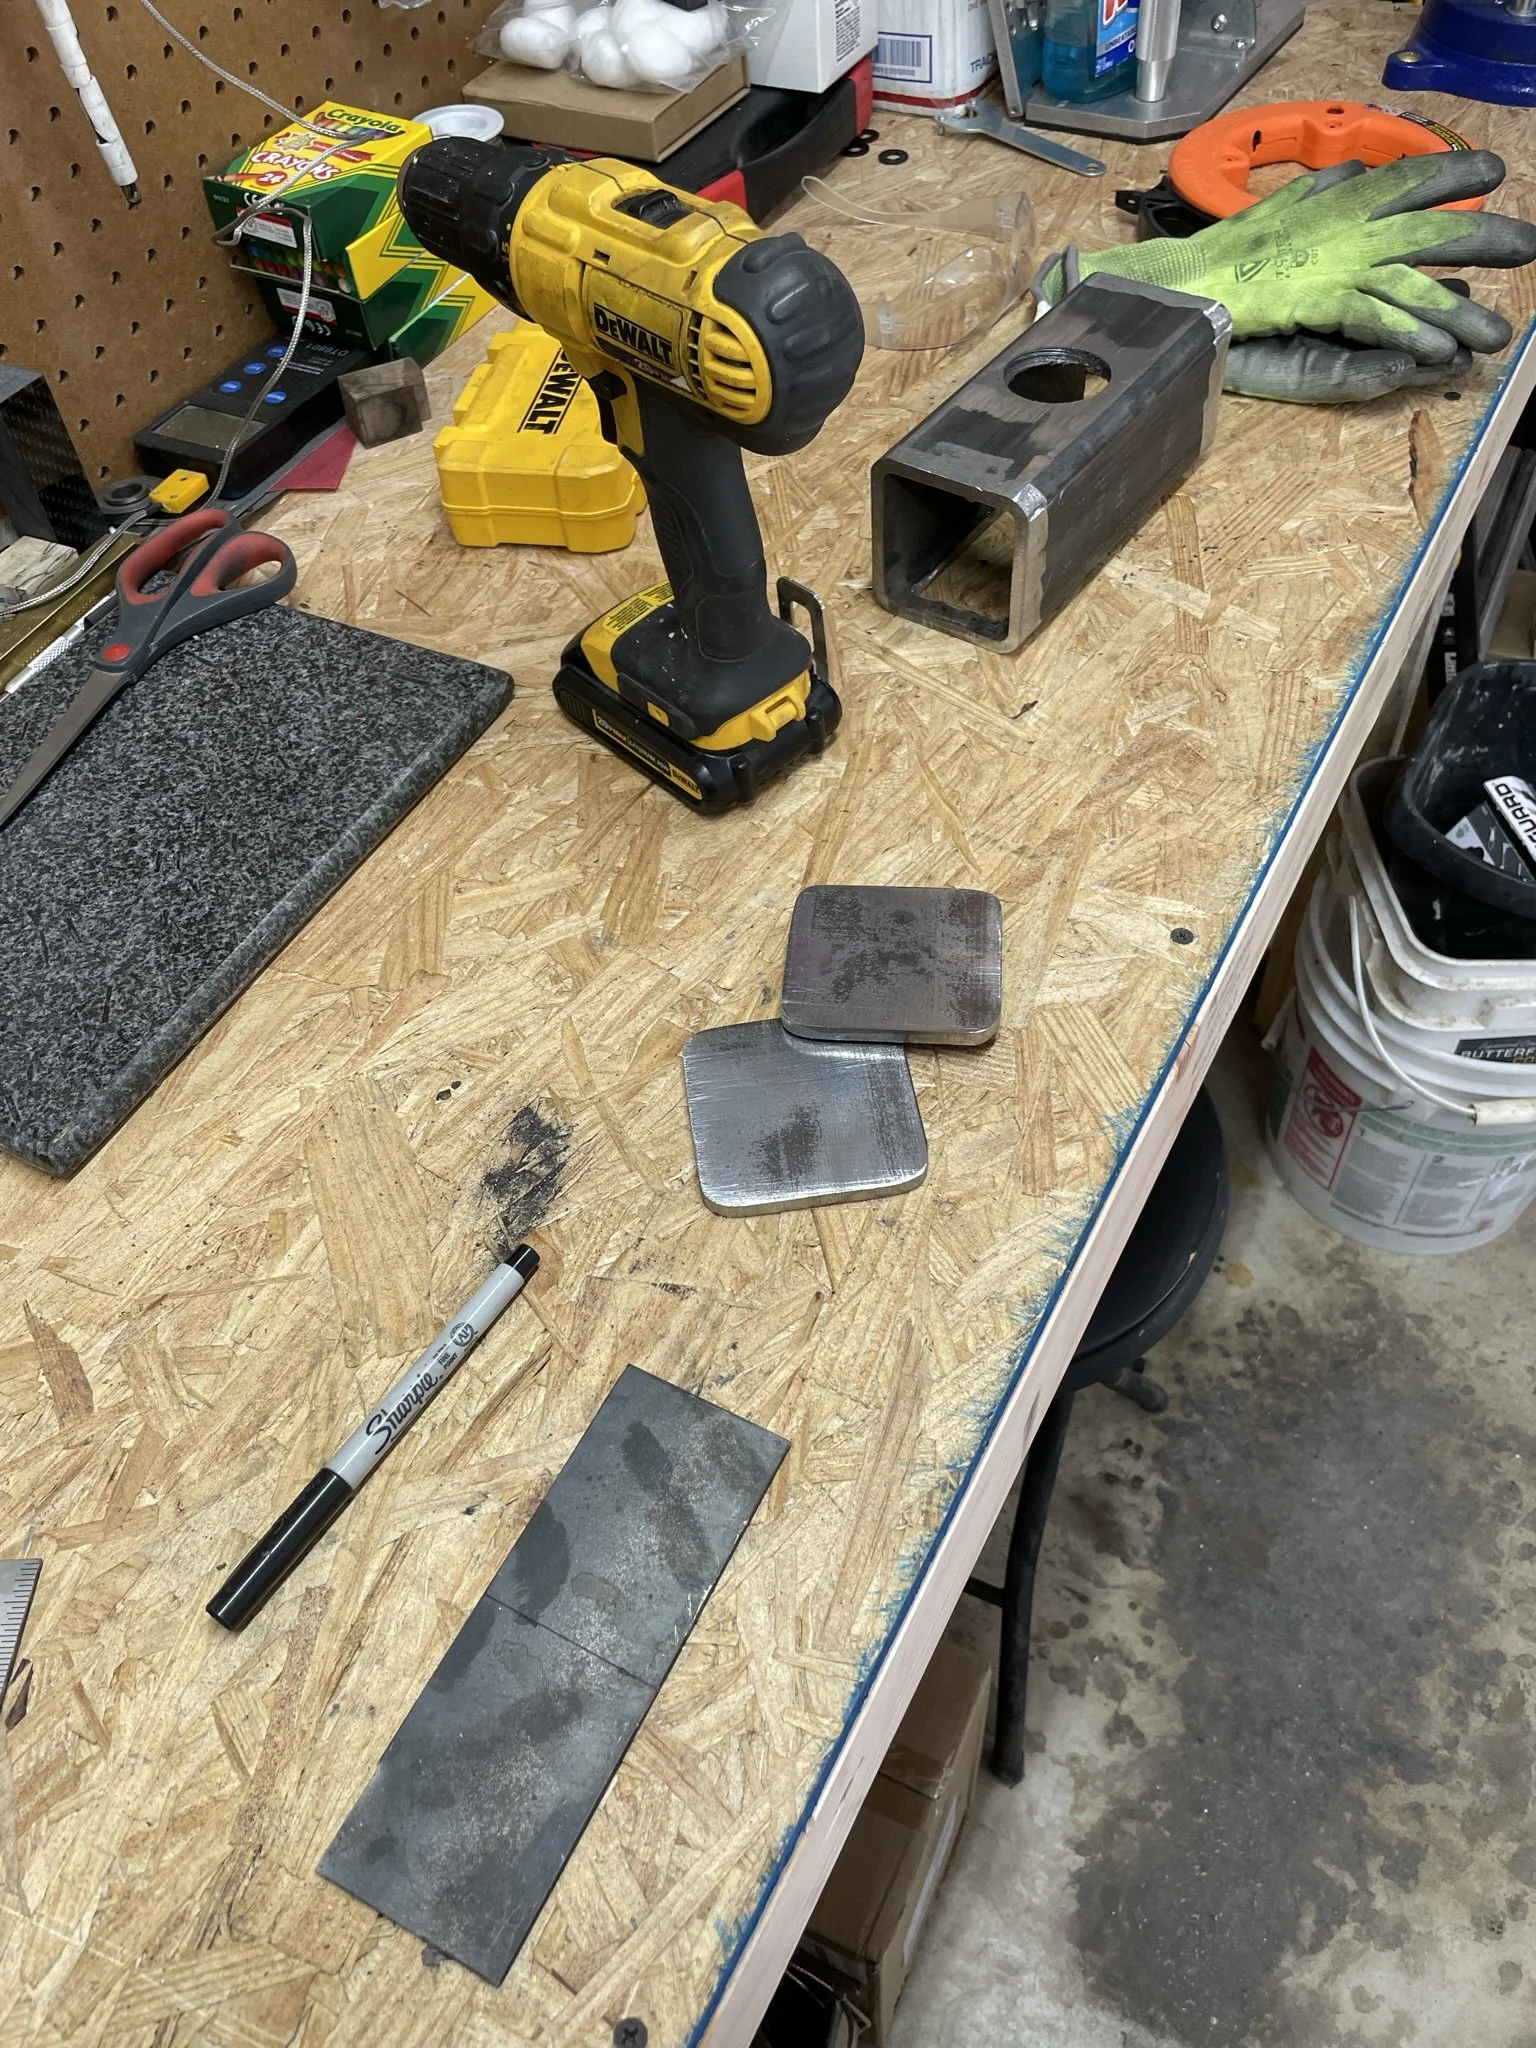
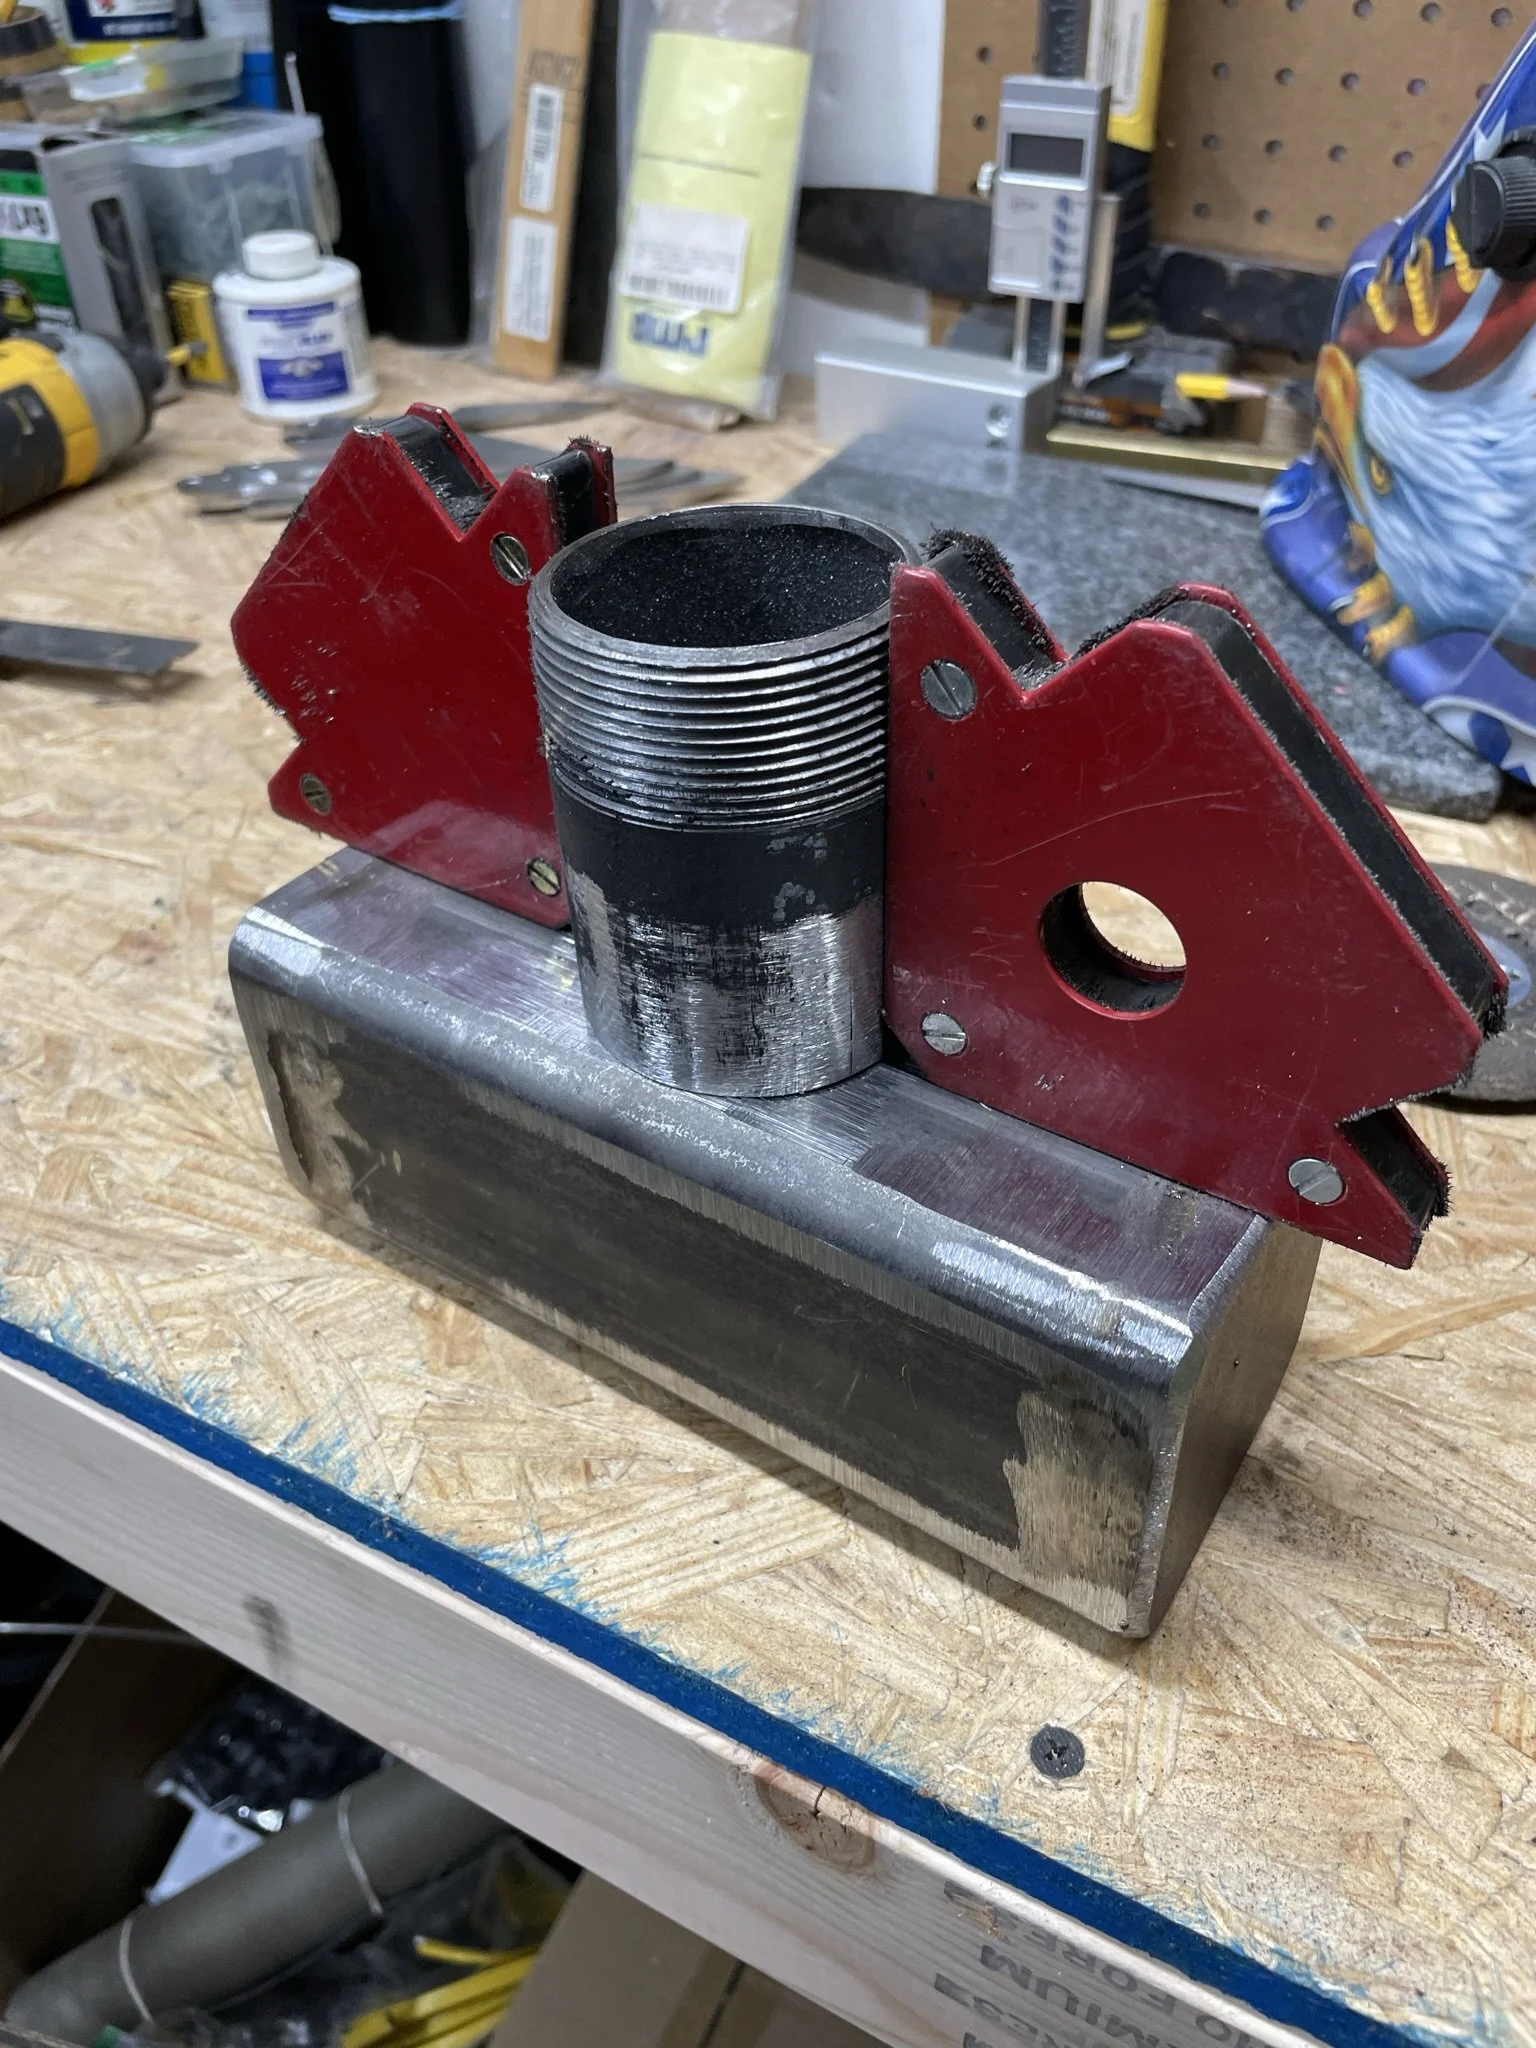
Making the burner body out of square pipe.
-
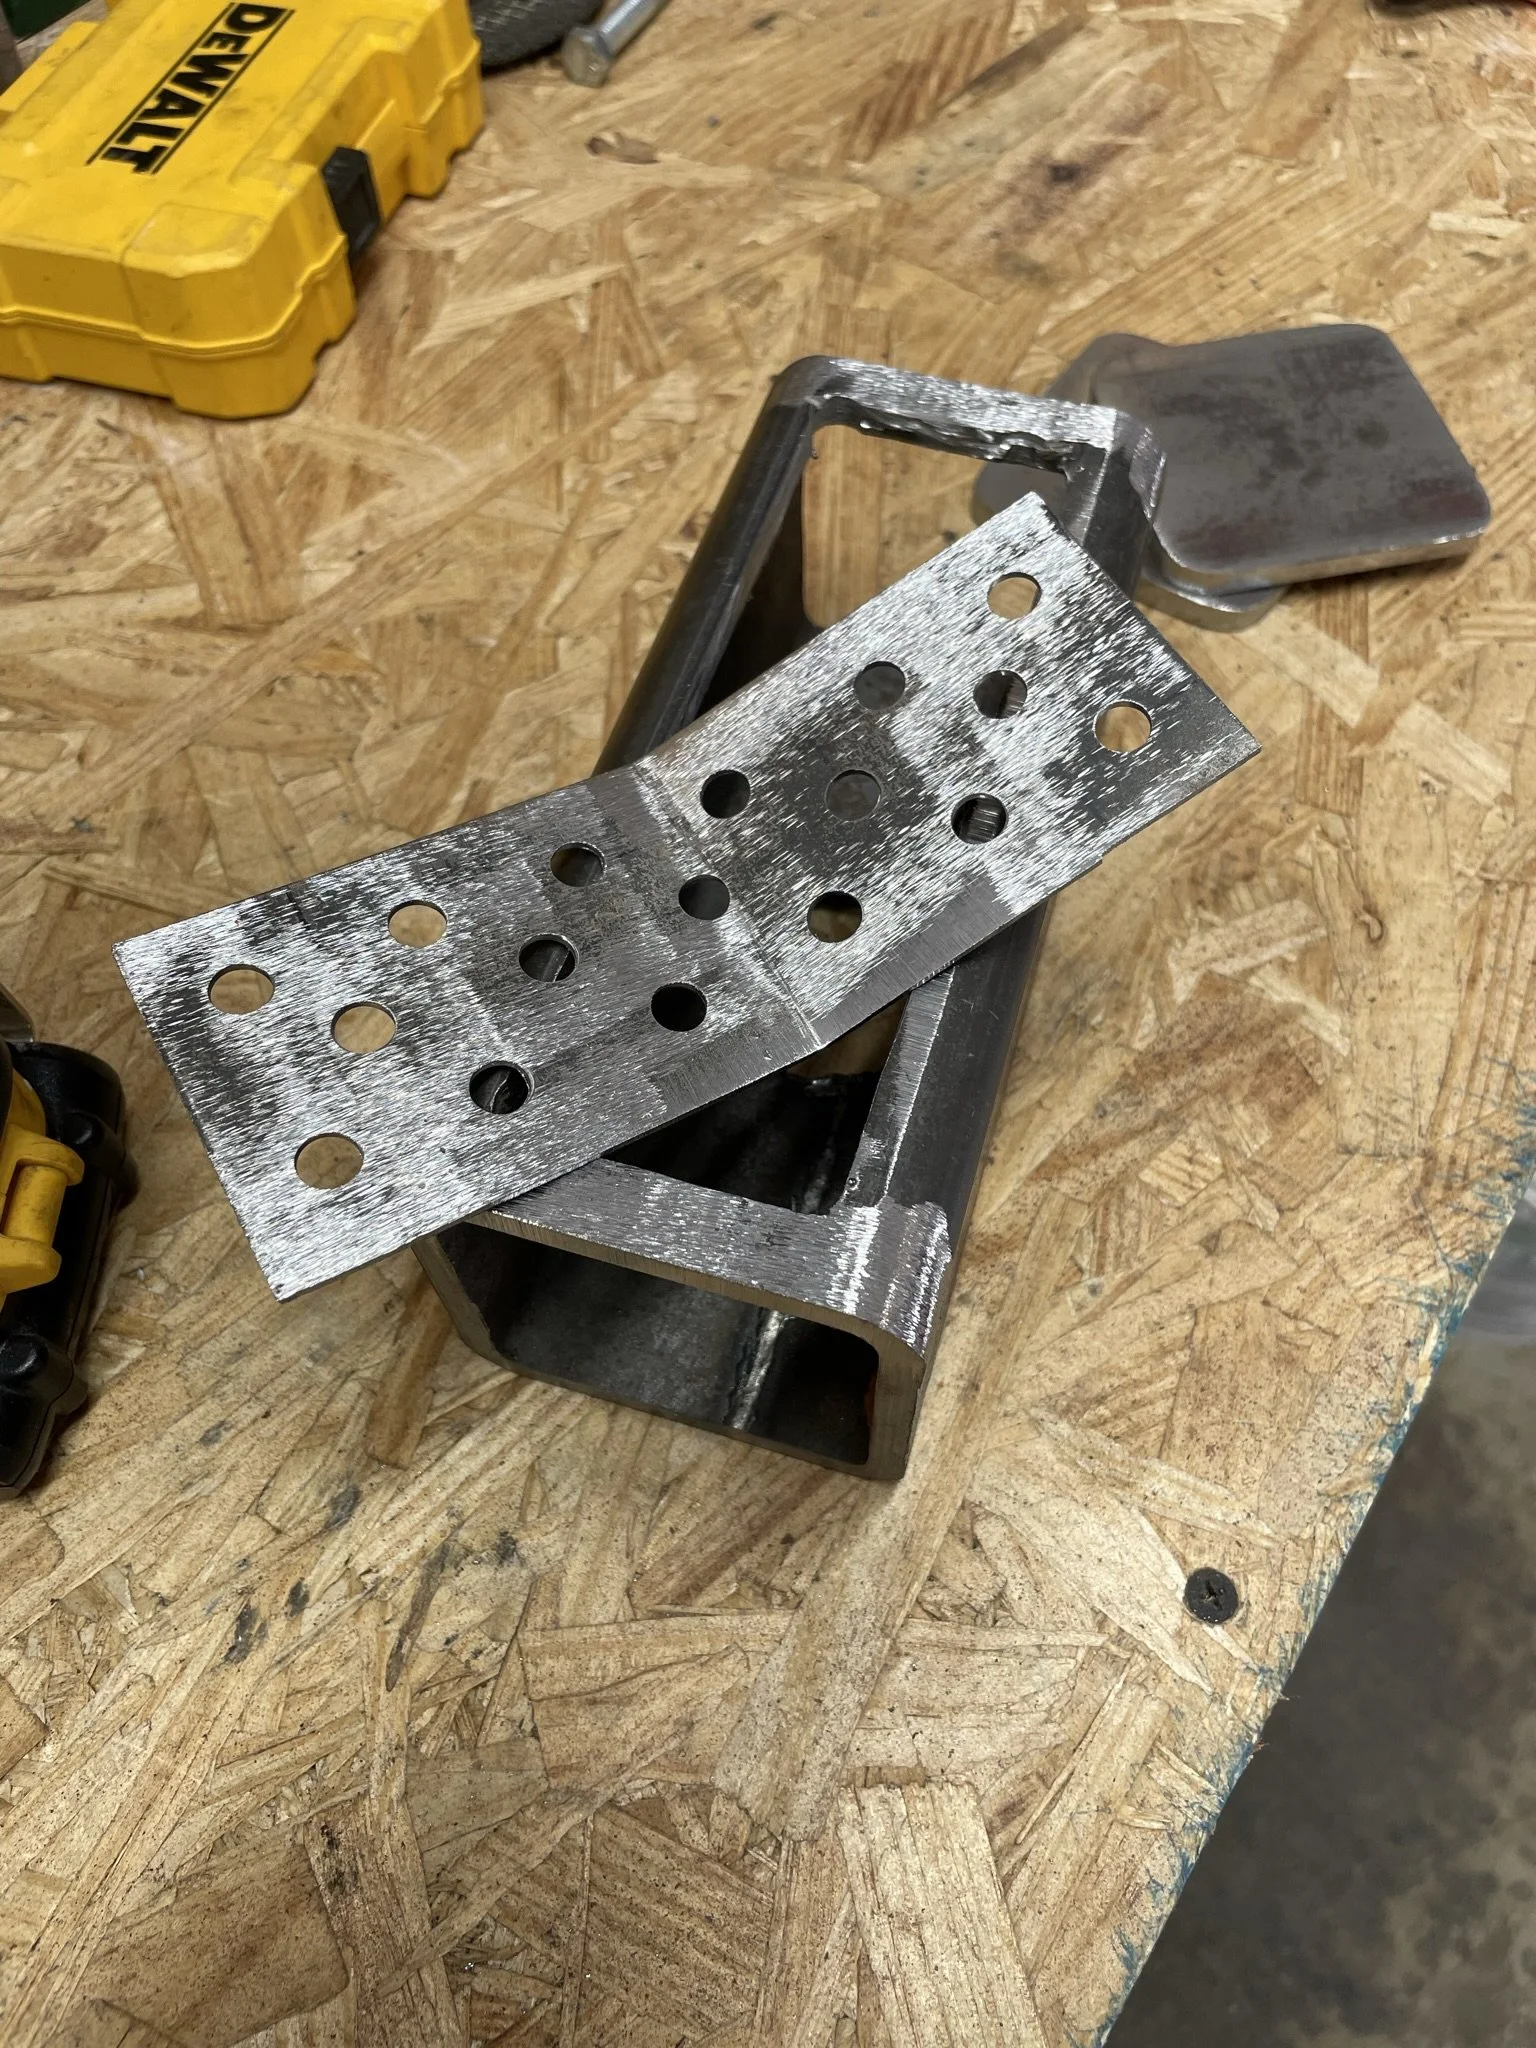
Making the baffle out of a thinner sheet of steel I had on hand.
-
Body put together.
-
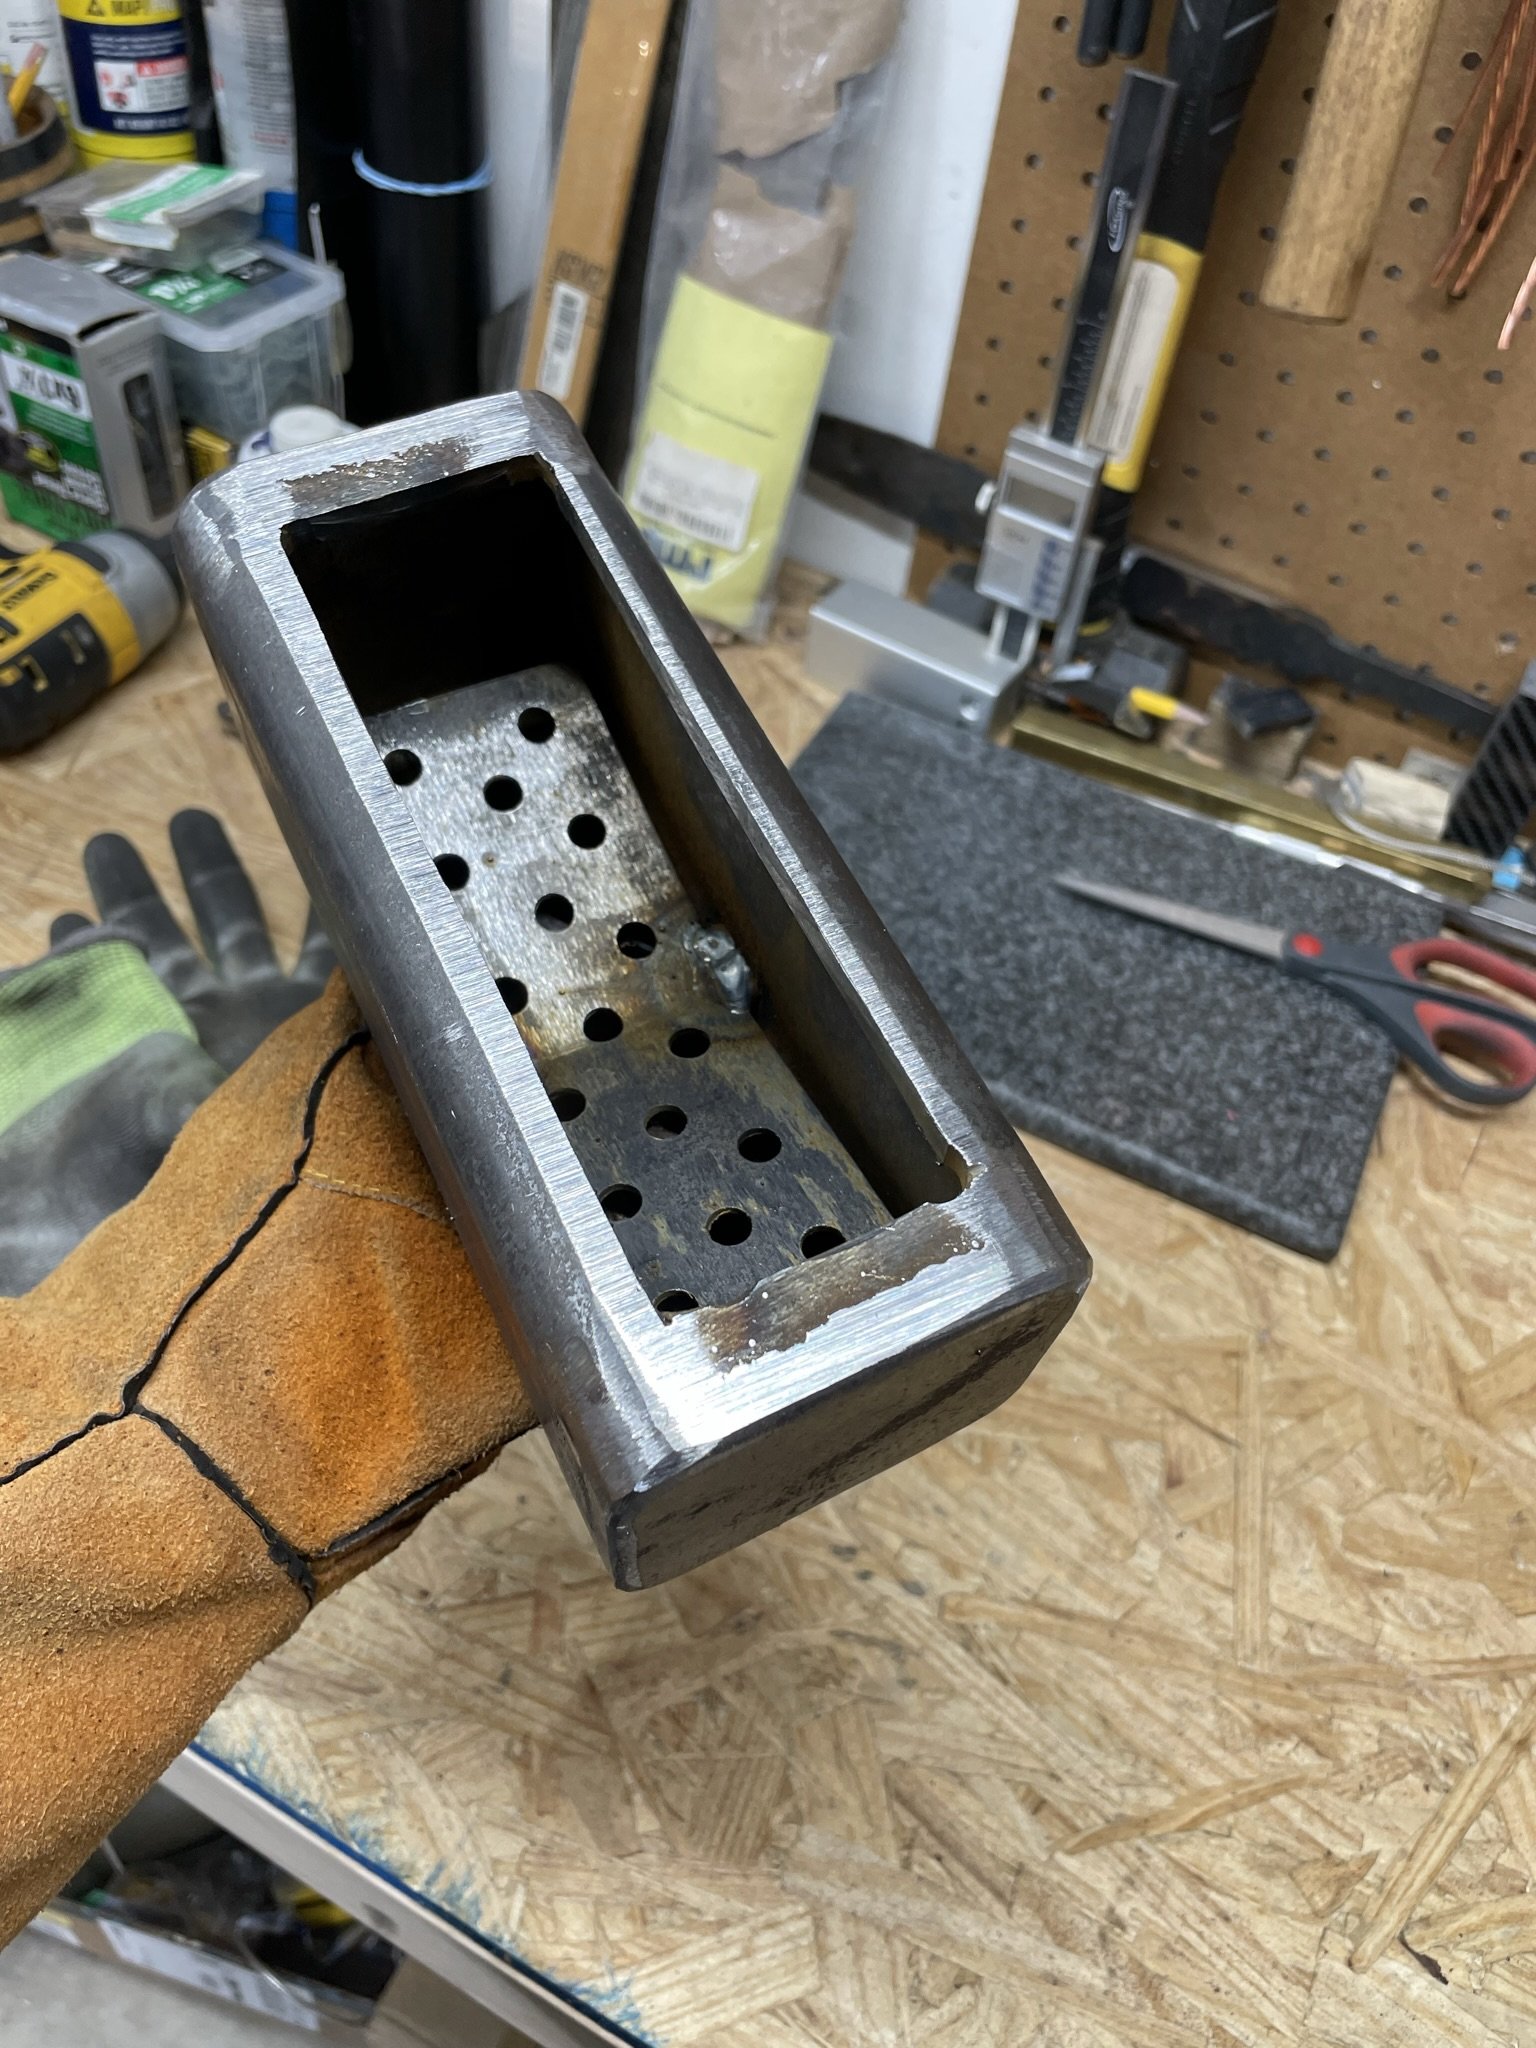
Good airflow is necessary.
-
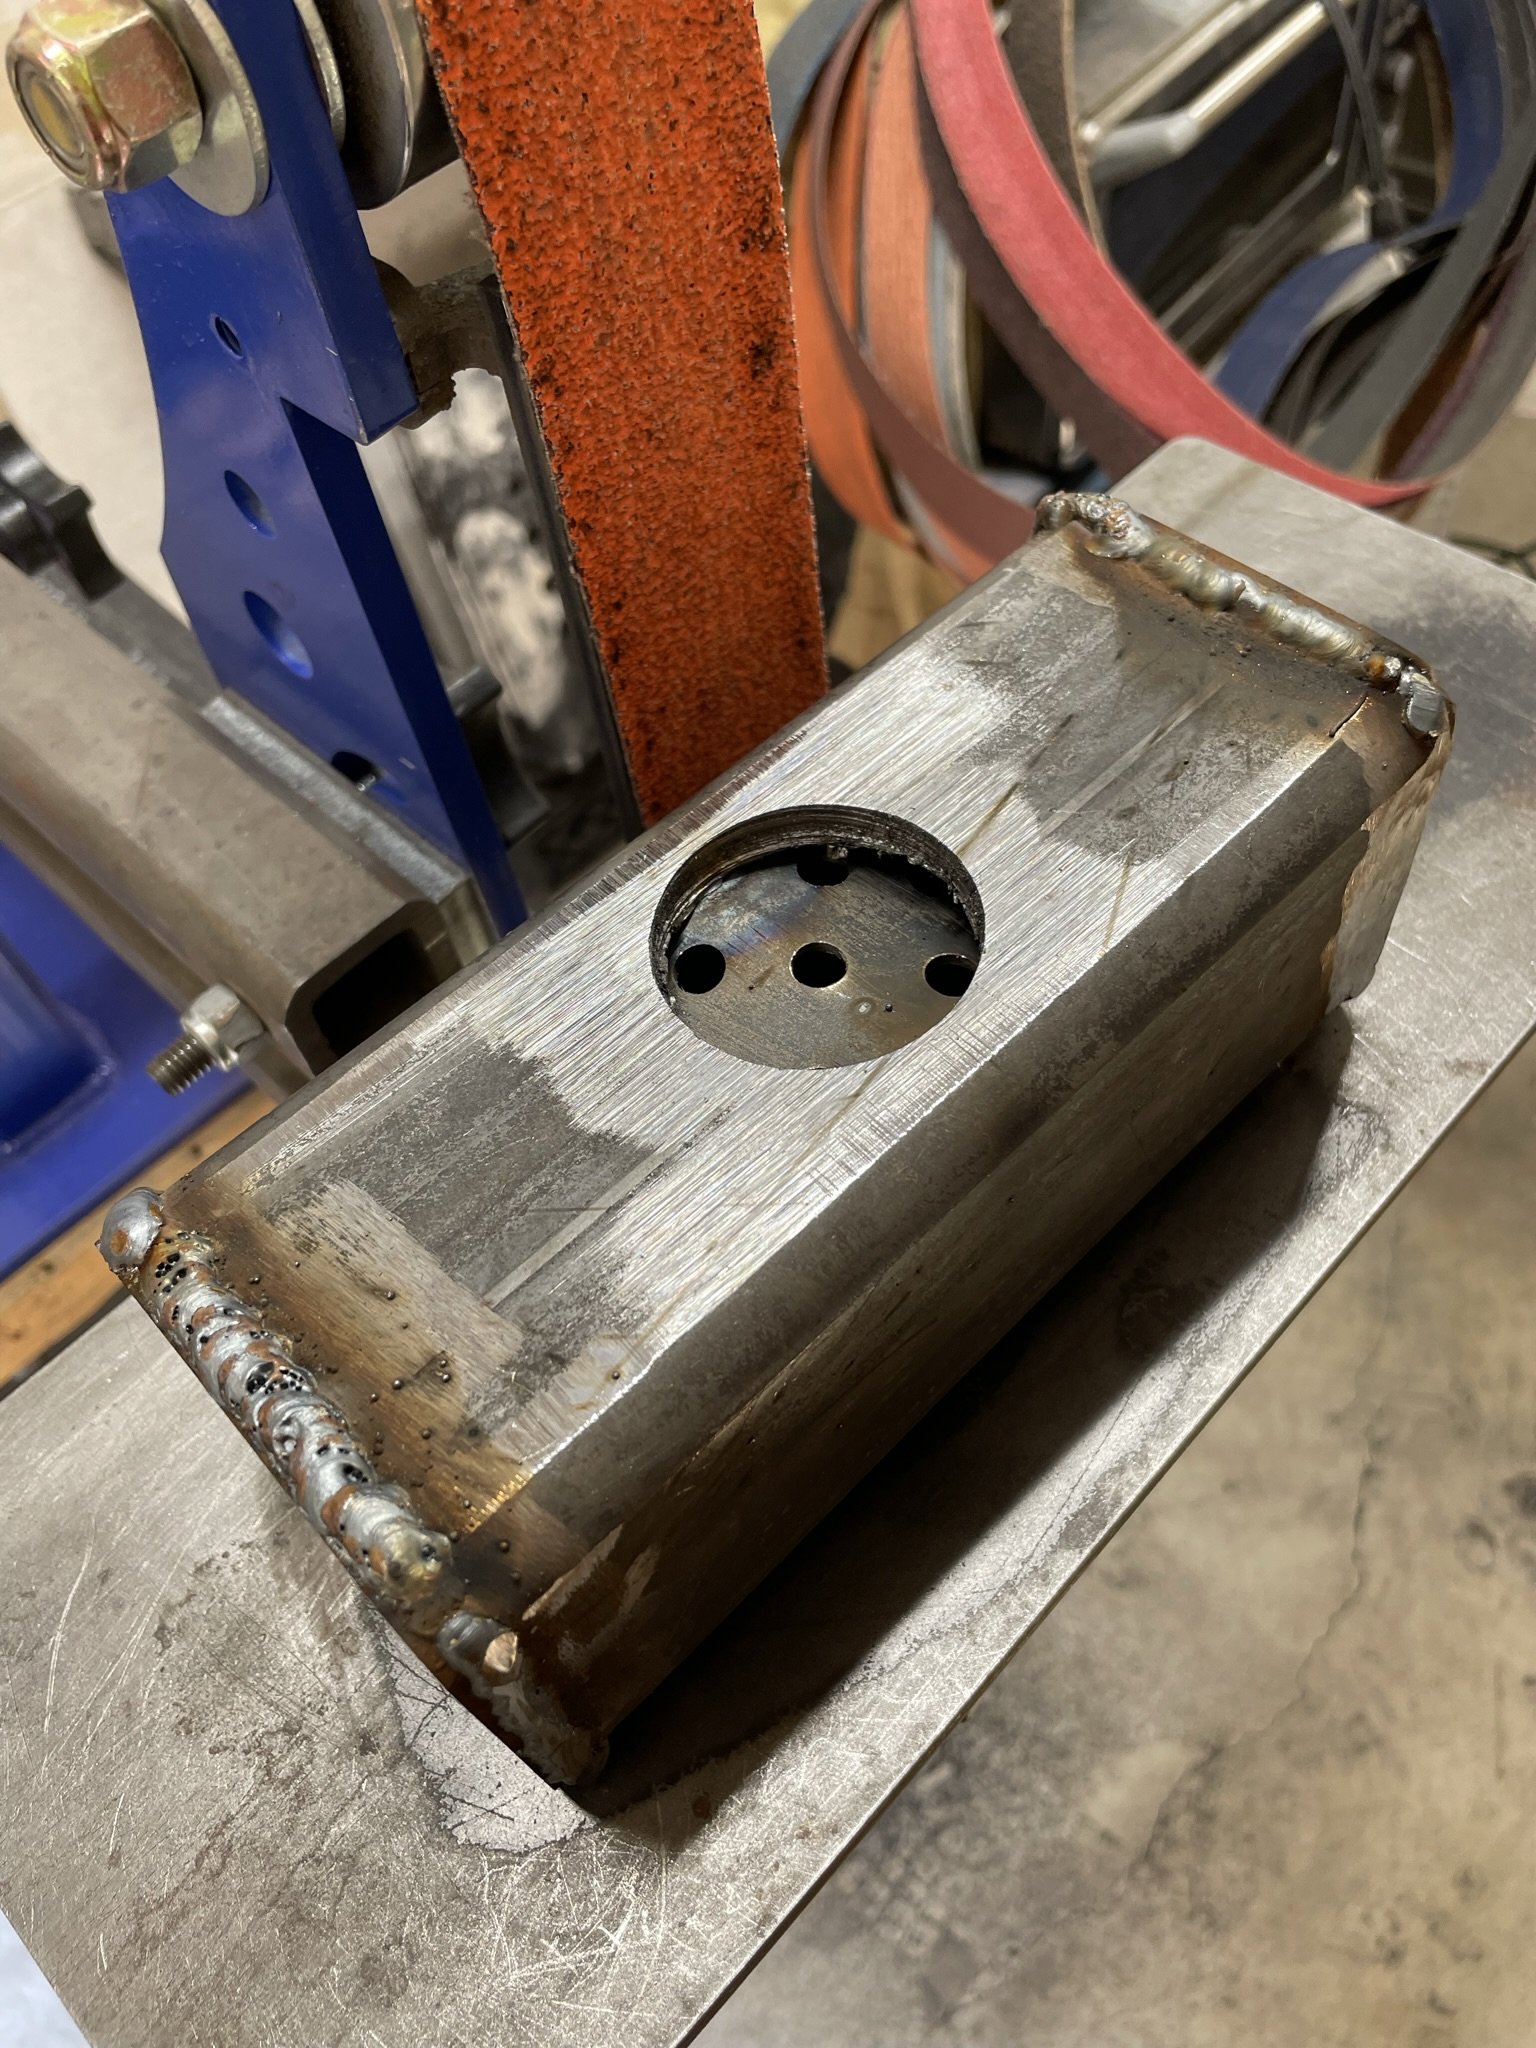
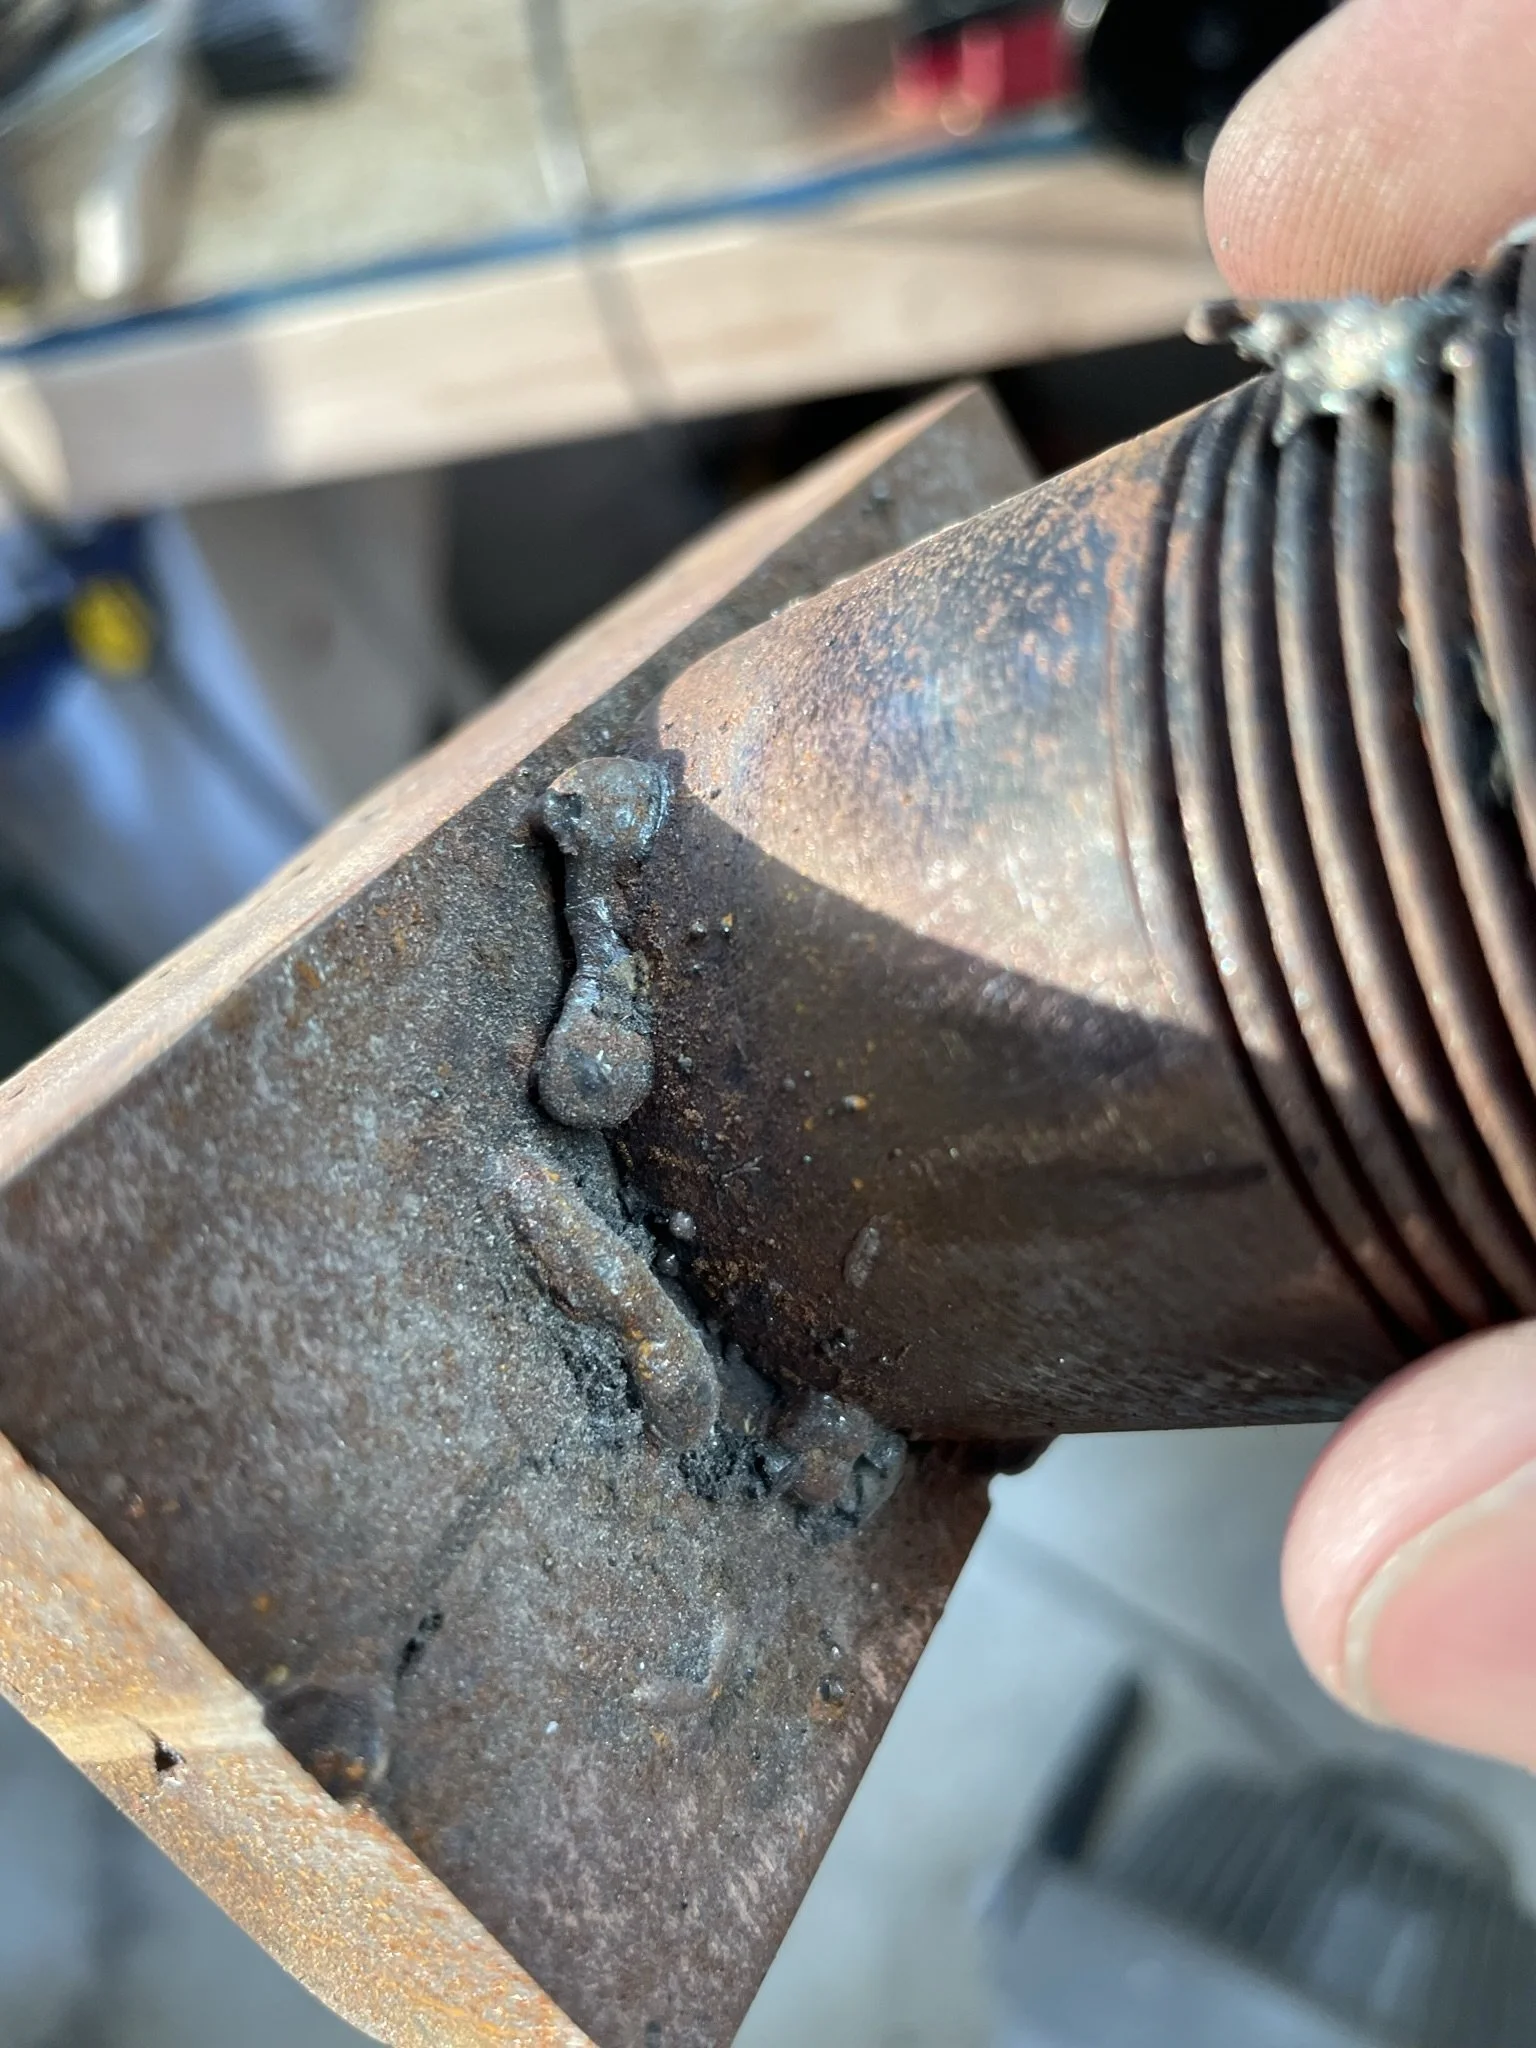
This is how not to weld, it's poopy doo-doo.
-
![]()
This is how you should weld. P.S. - I did both of these welds, one on the $40 Facebook marketplace stick welder I bought back in the day. The other on my 110V Mig Welder - clear improvements.
-
Inside the body.
-
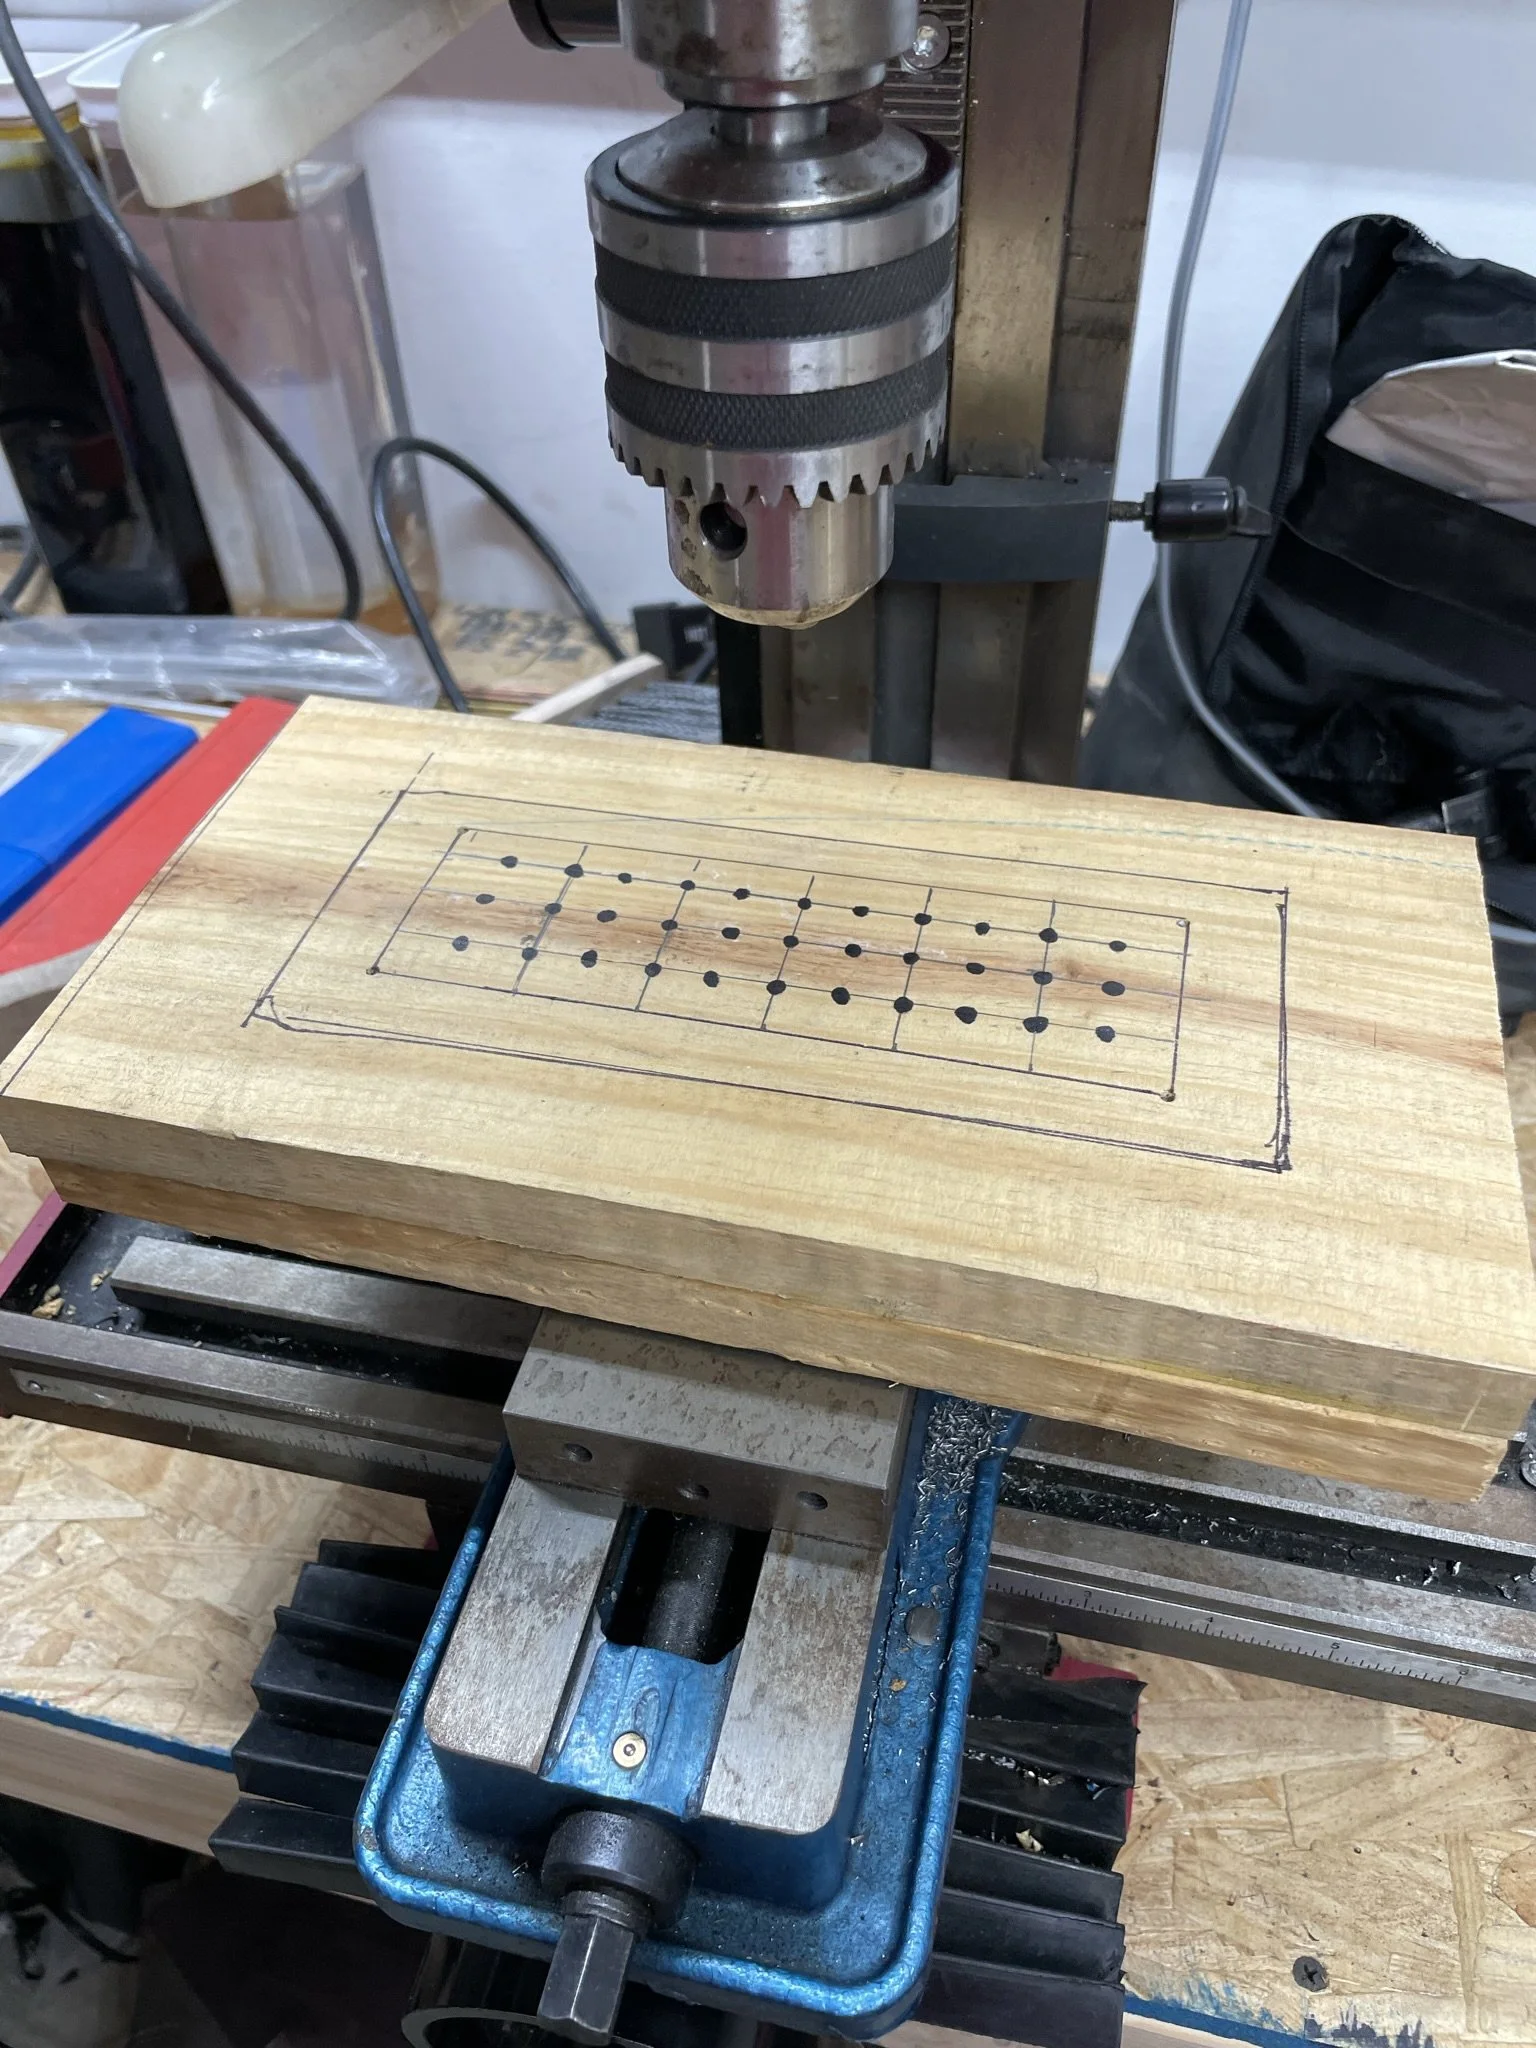
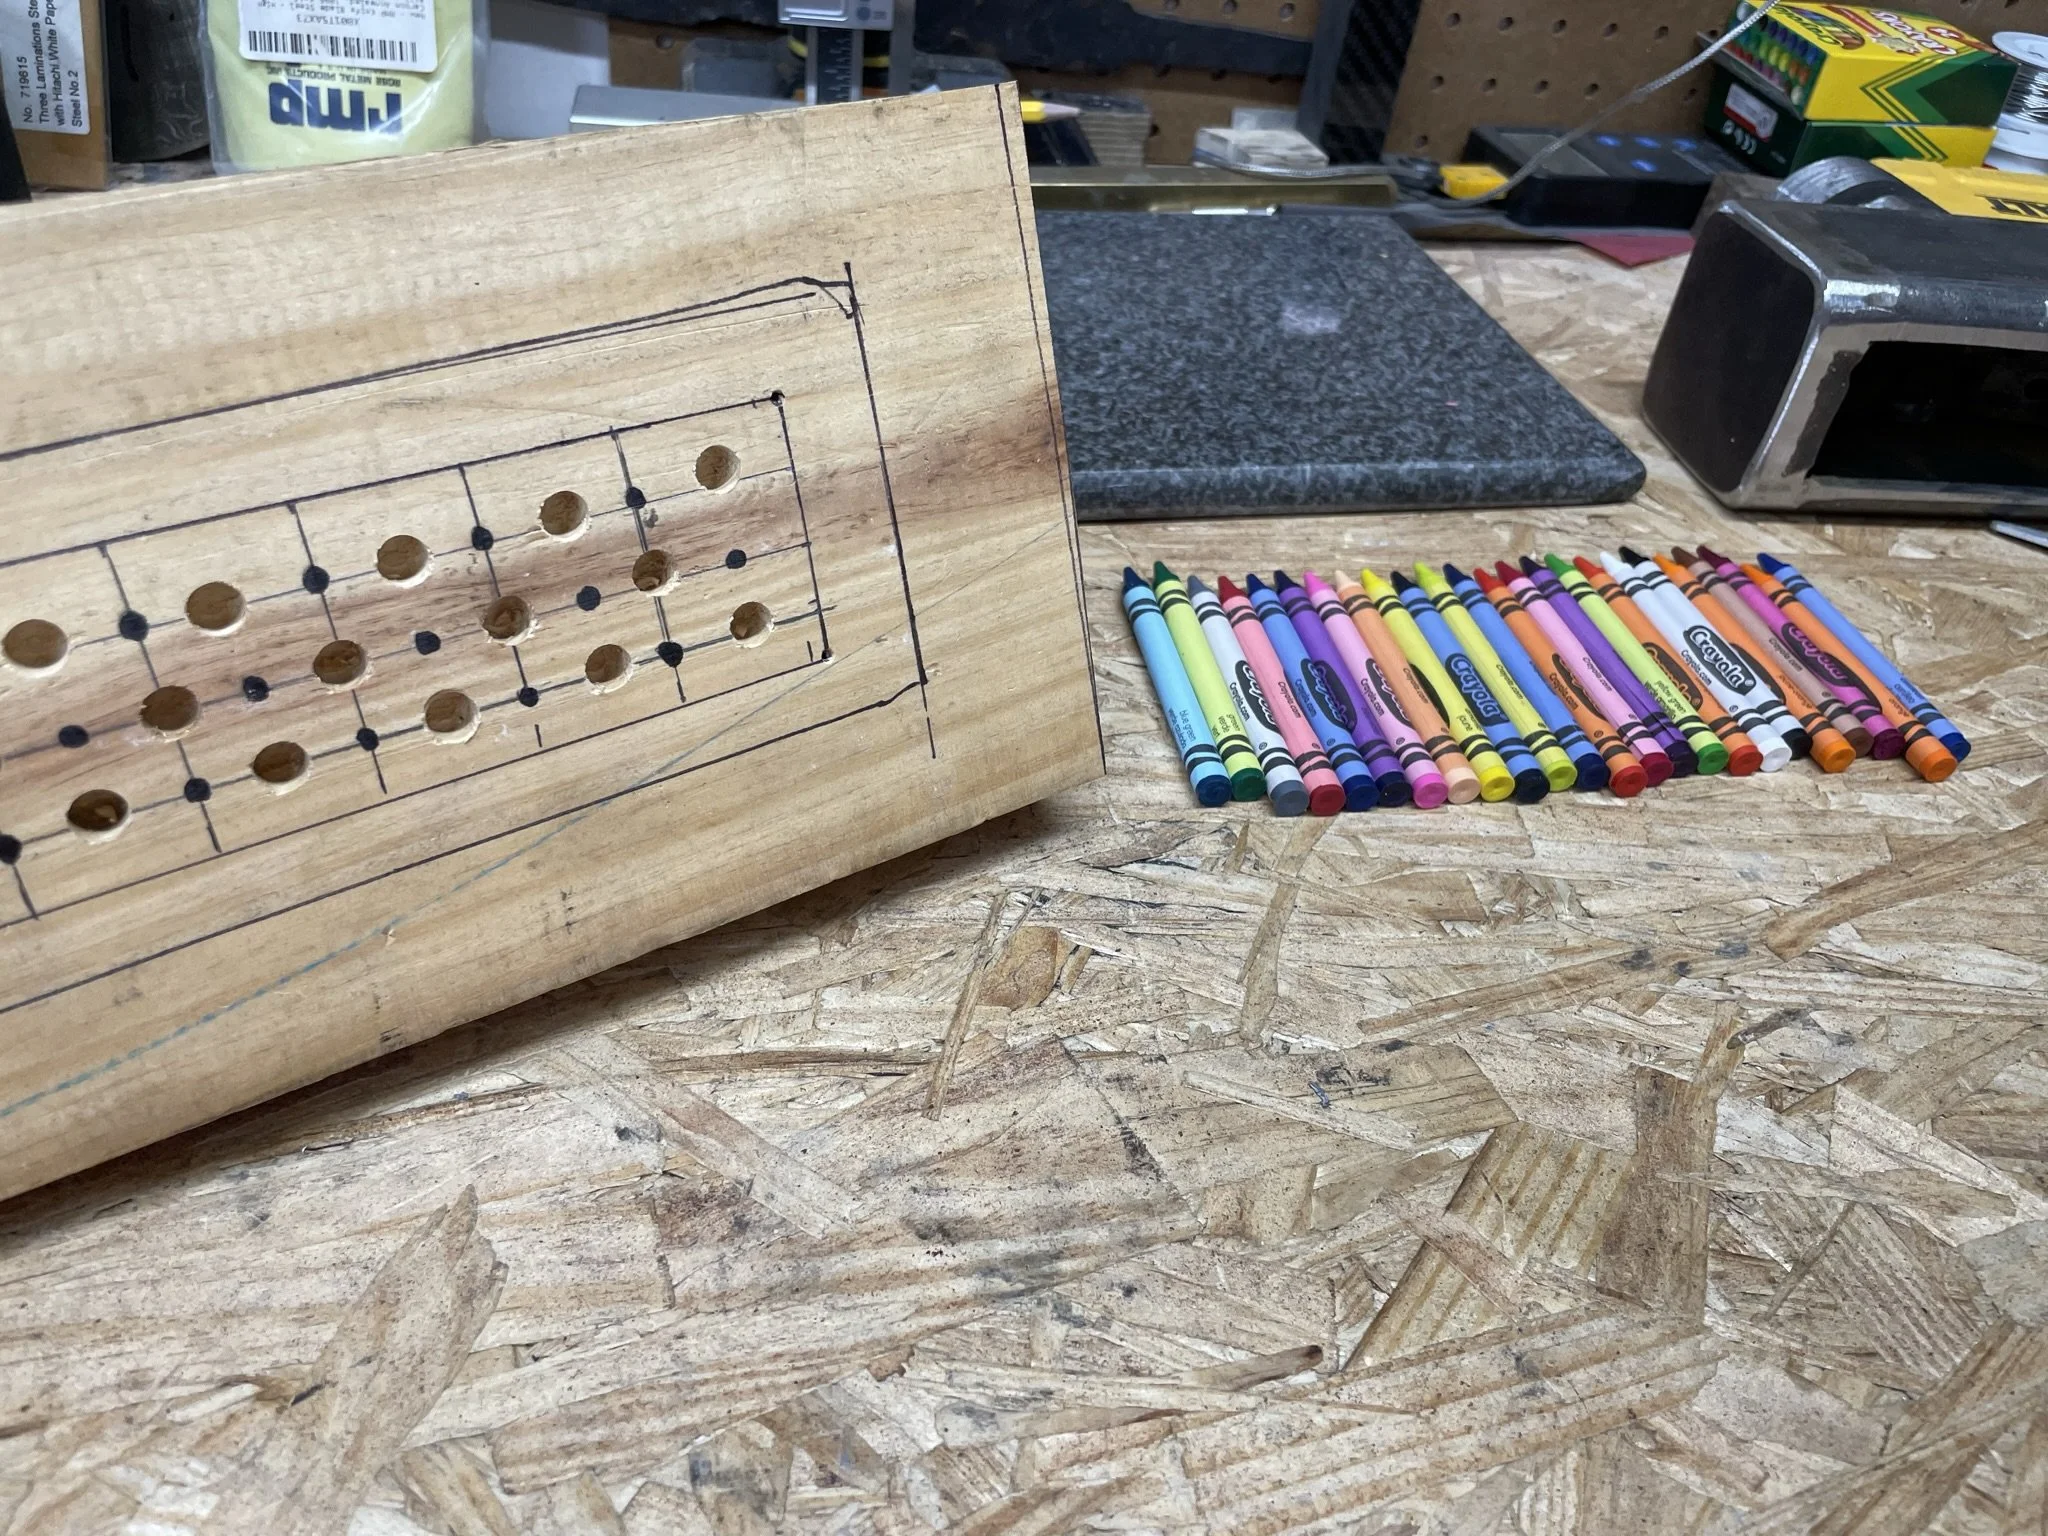
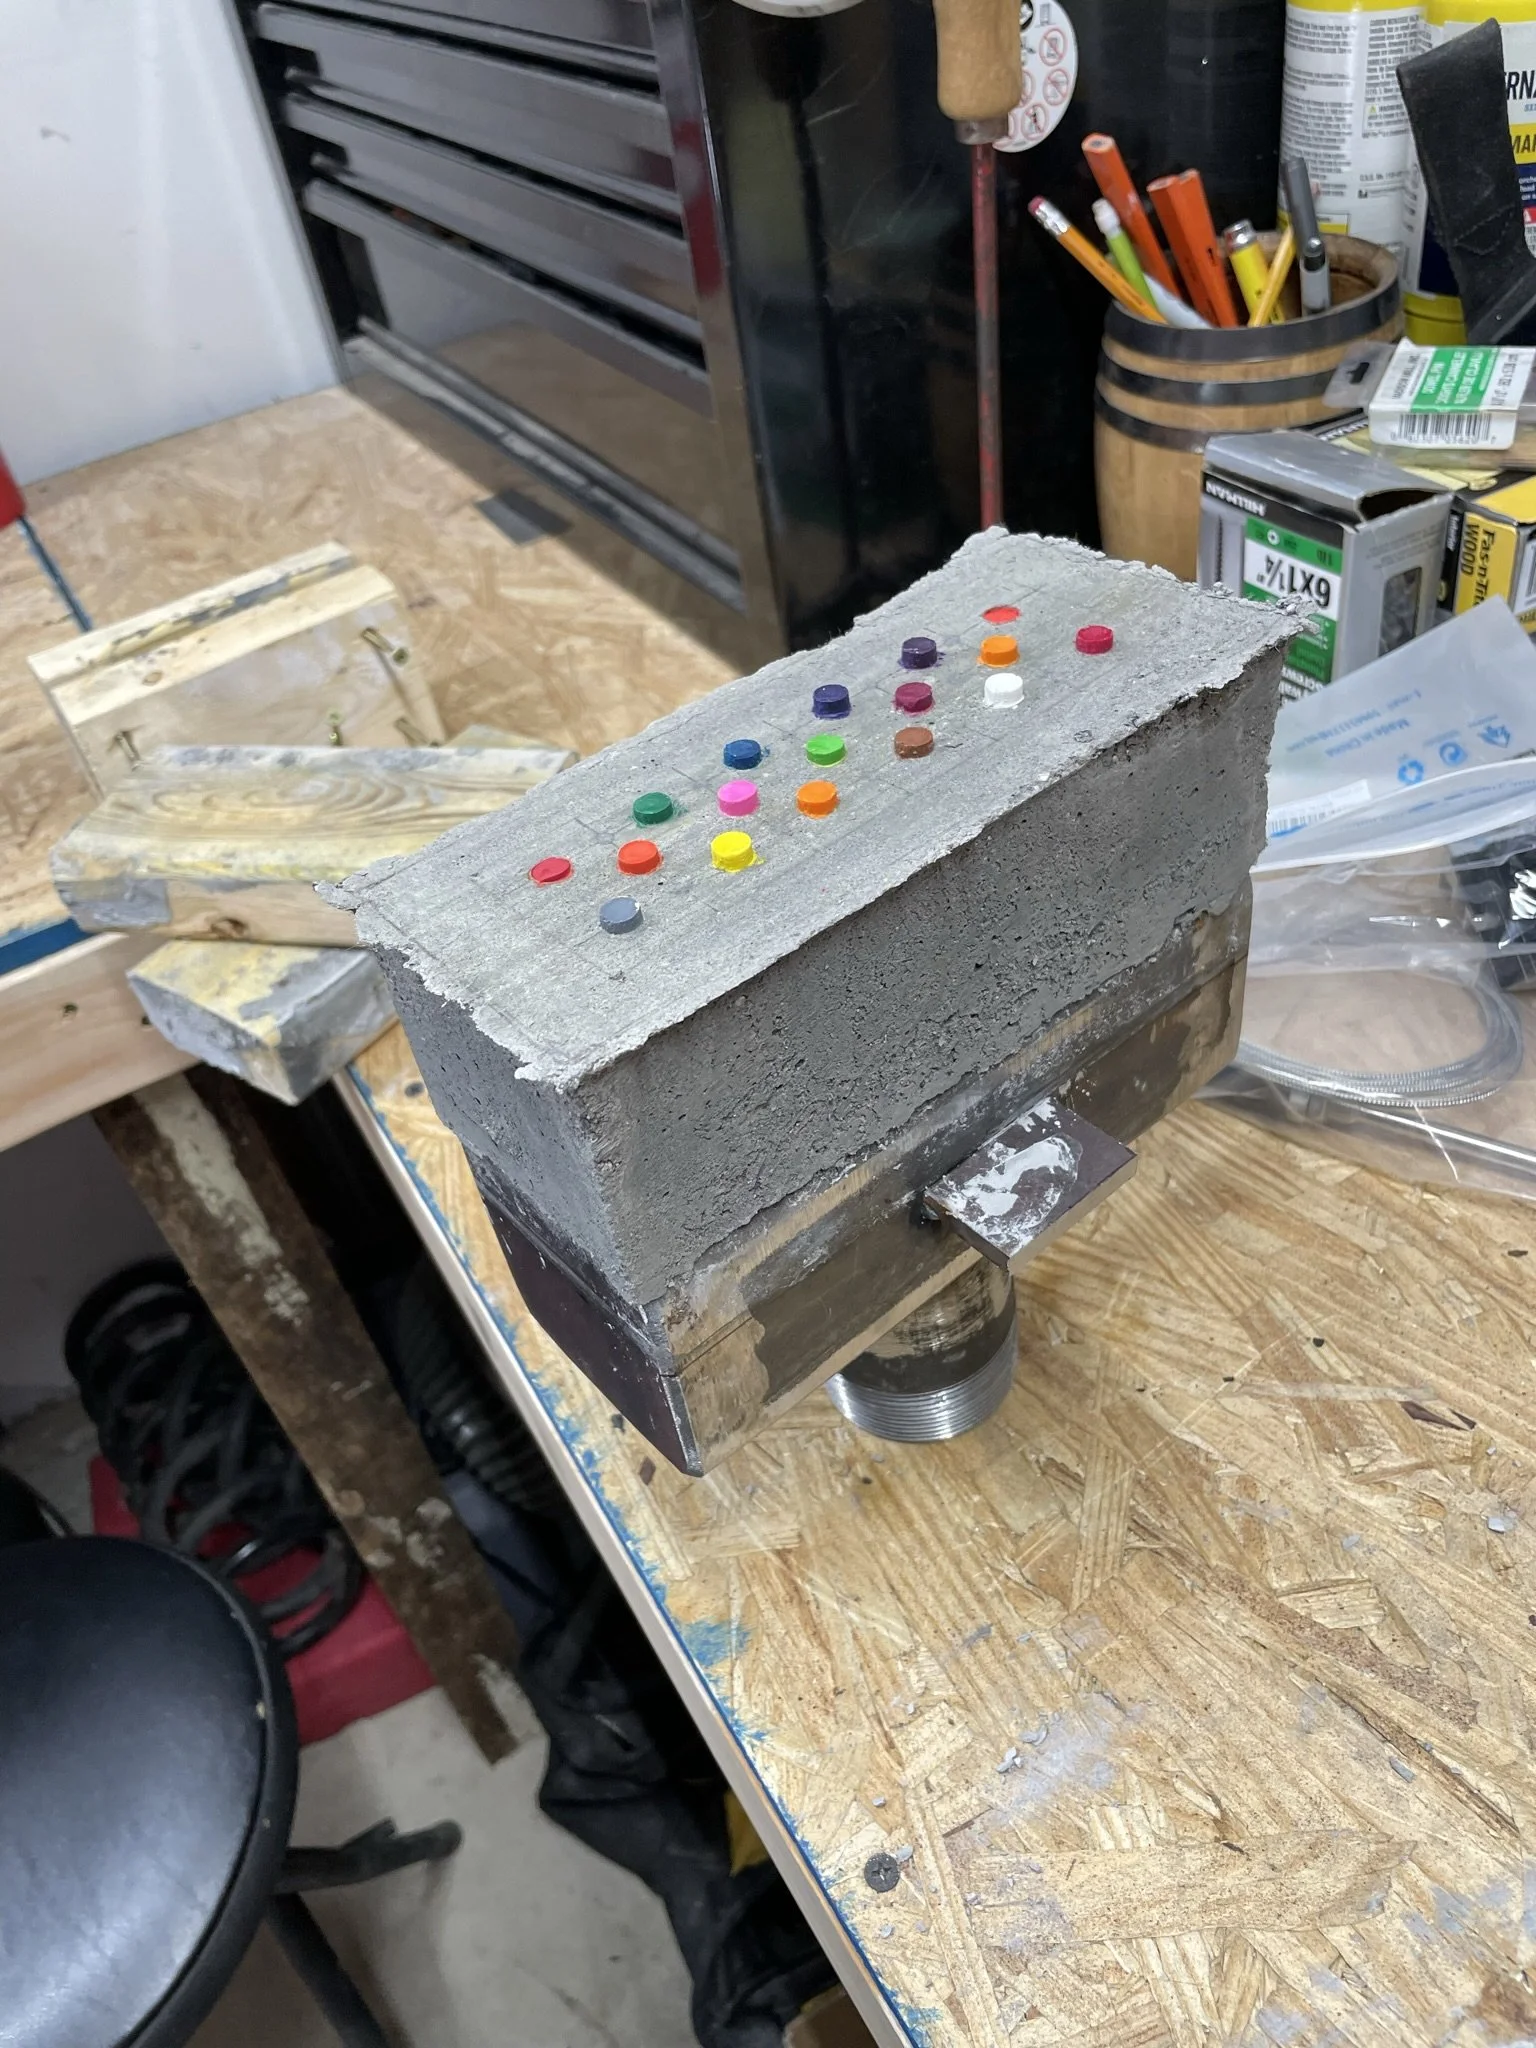
Layout for the crayons I decided to use to create the holes in the cement portion of the burner.
-
Name brand Marine Corps snacks.
-
Ready for fitment.
-
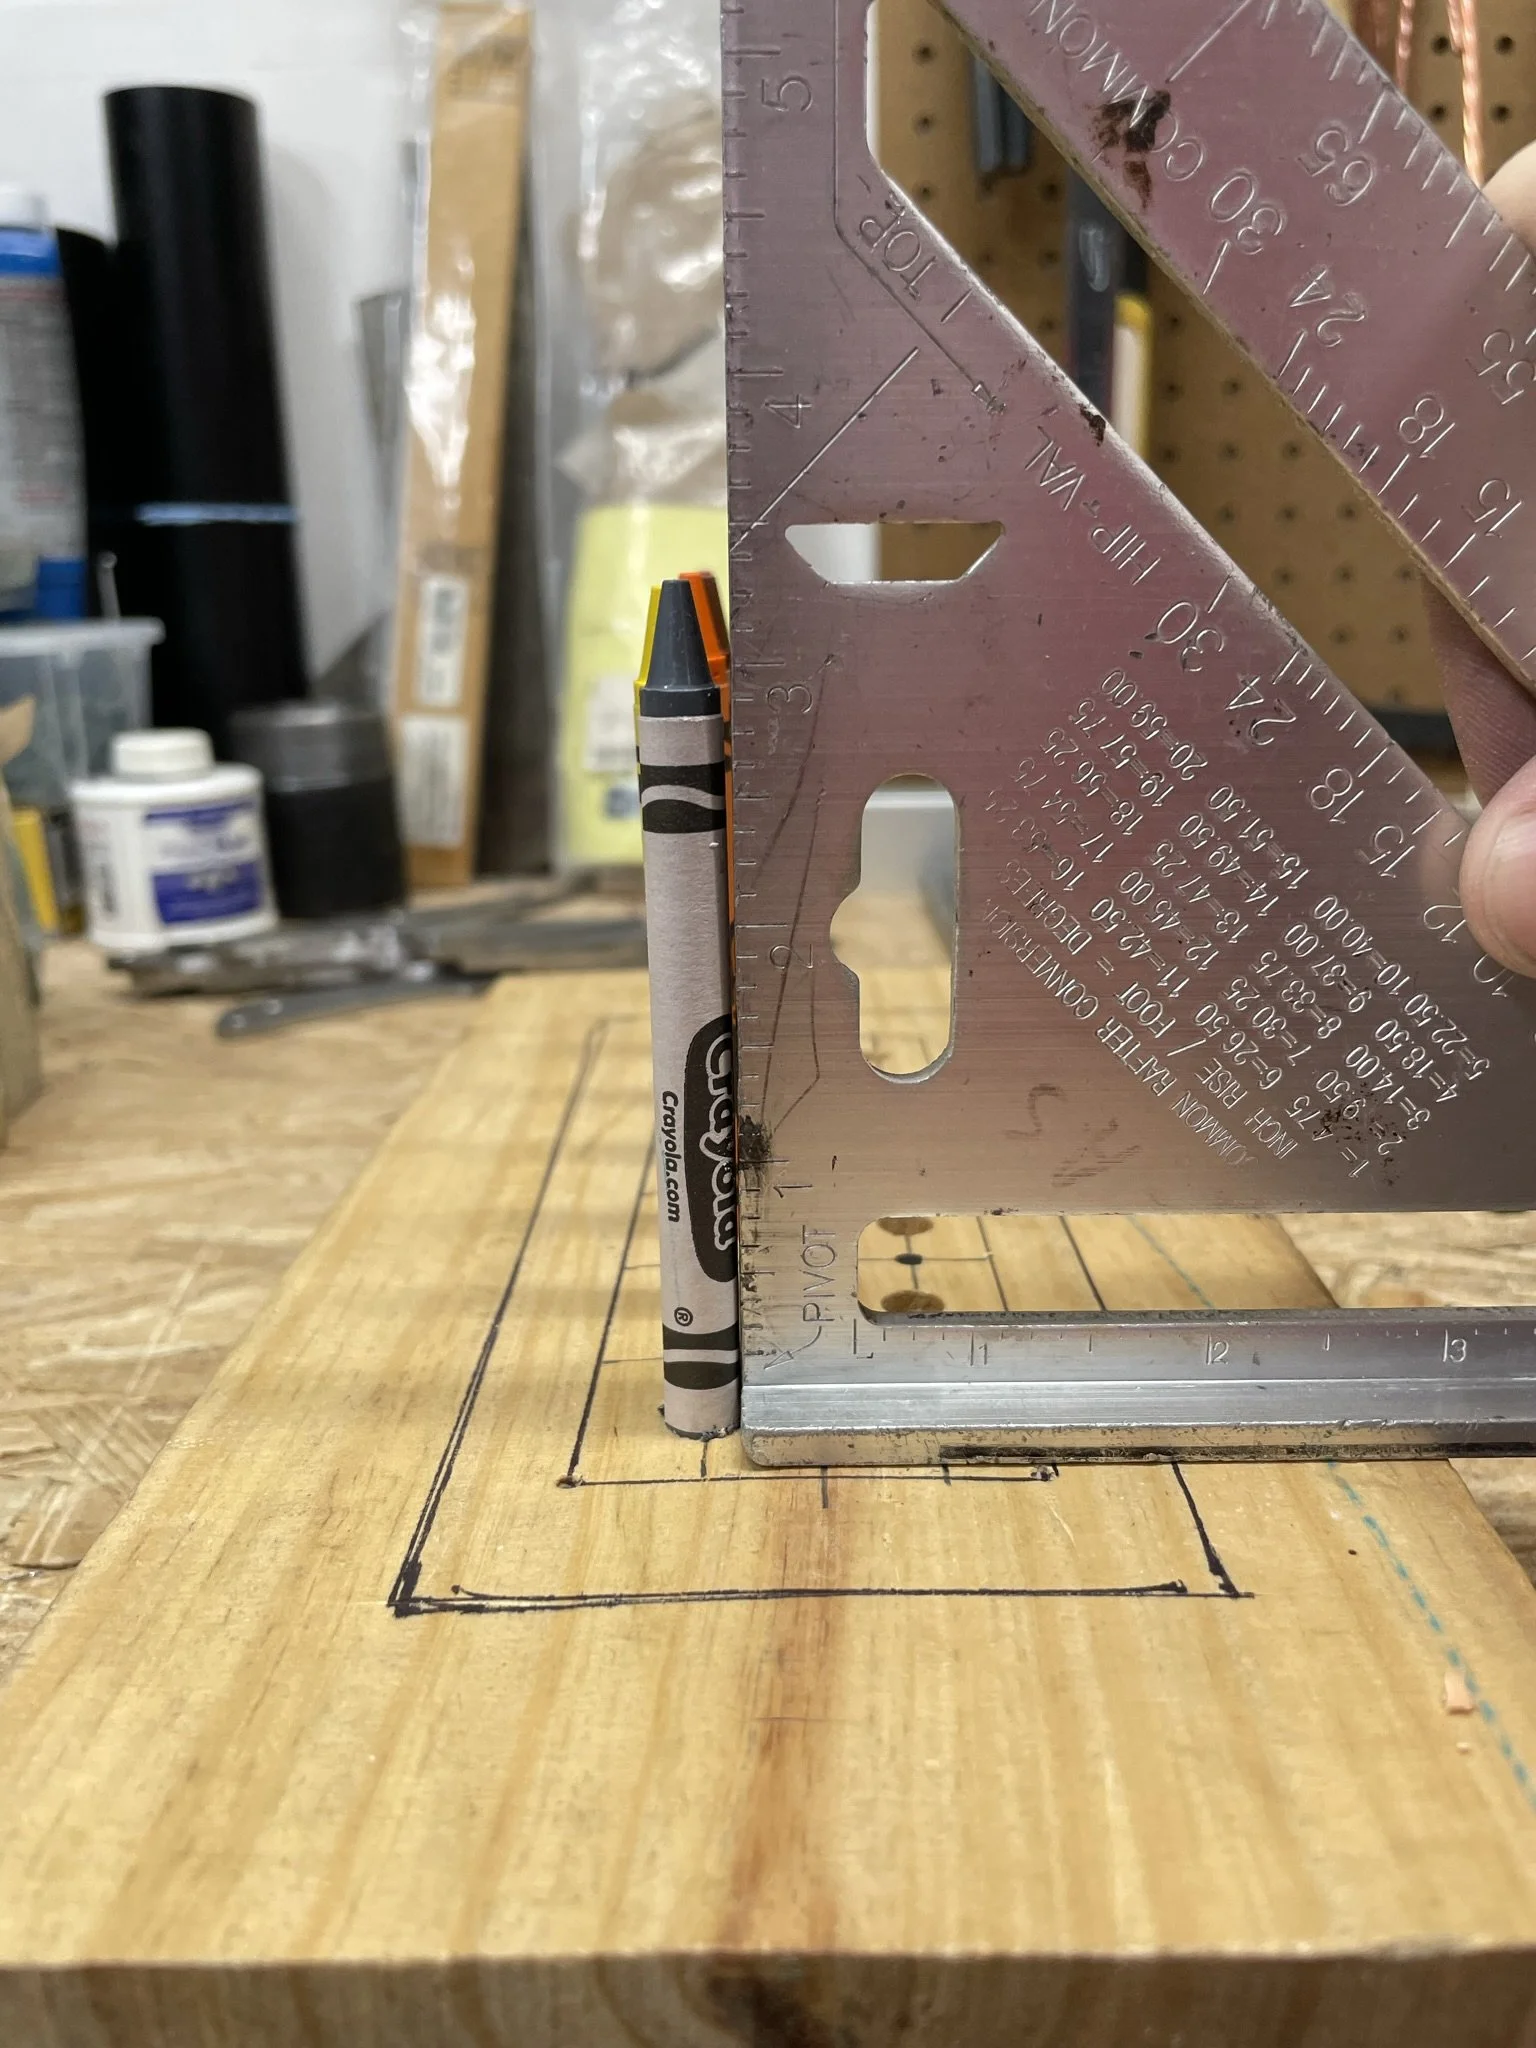
Wanted to make sure the end results were straight.
-
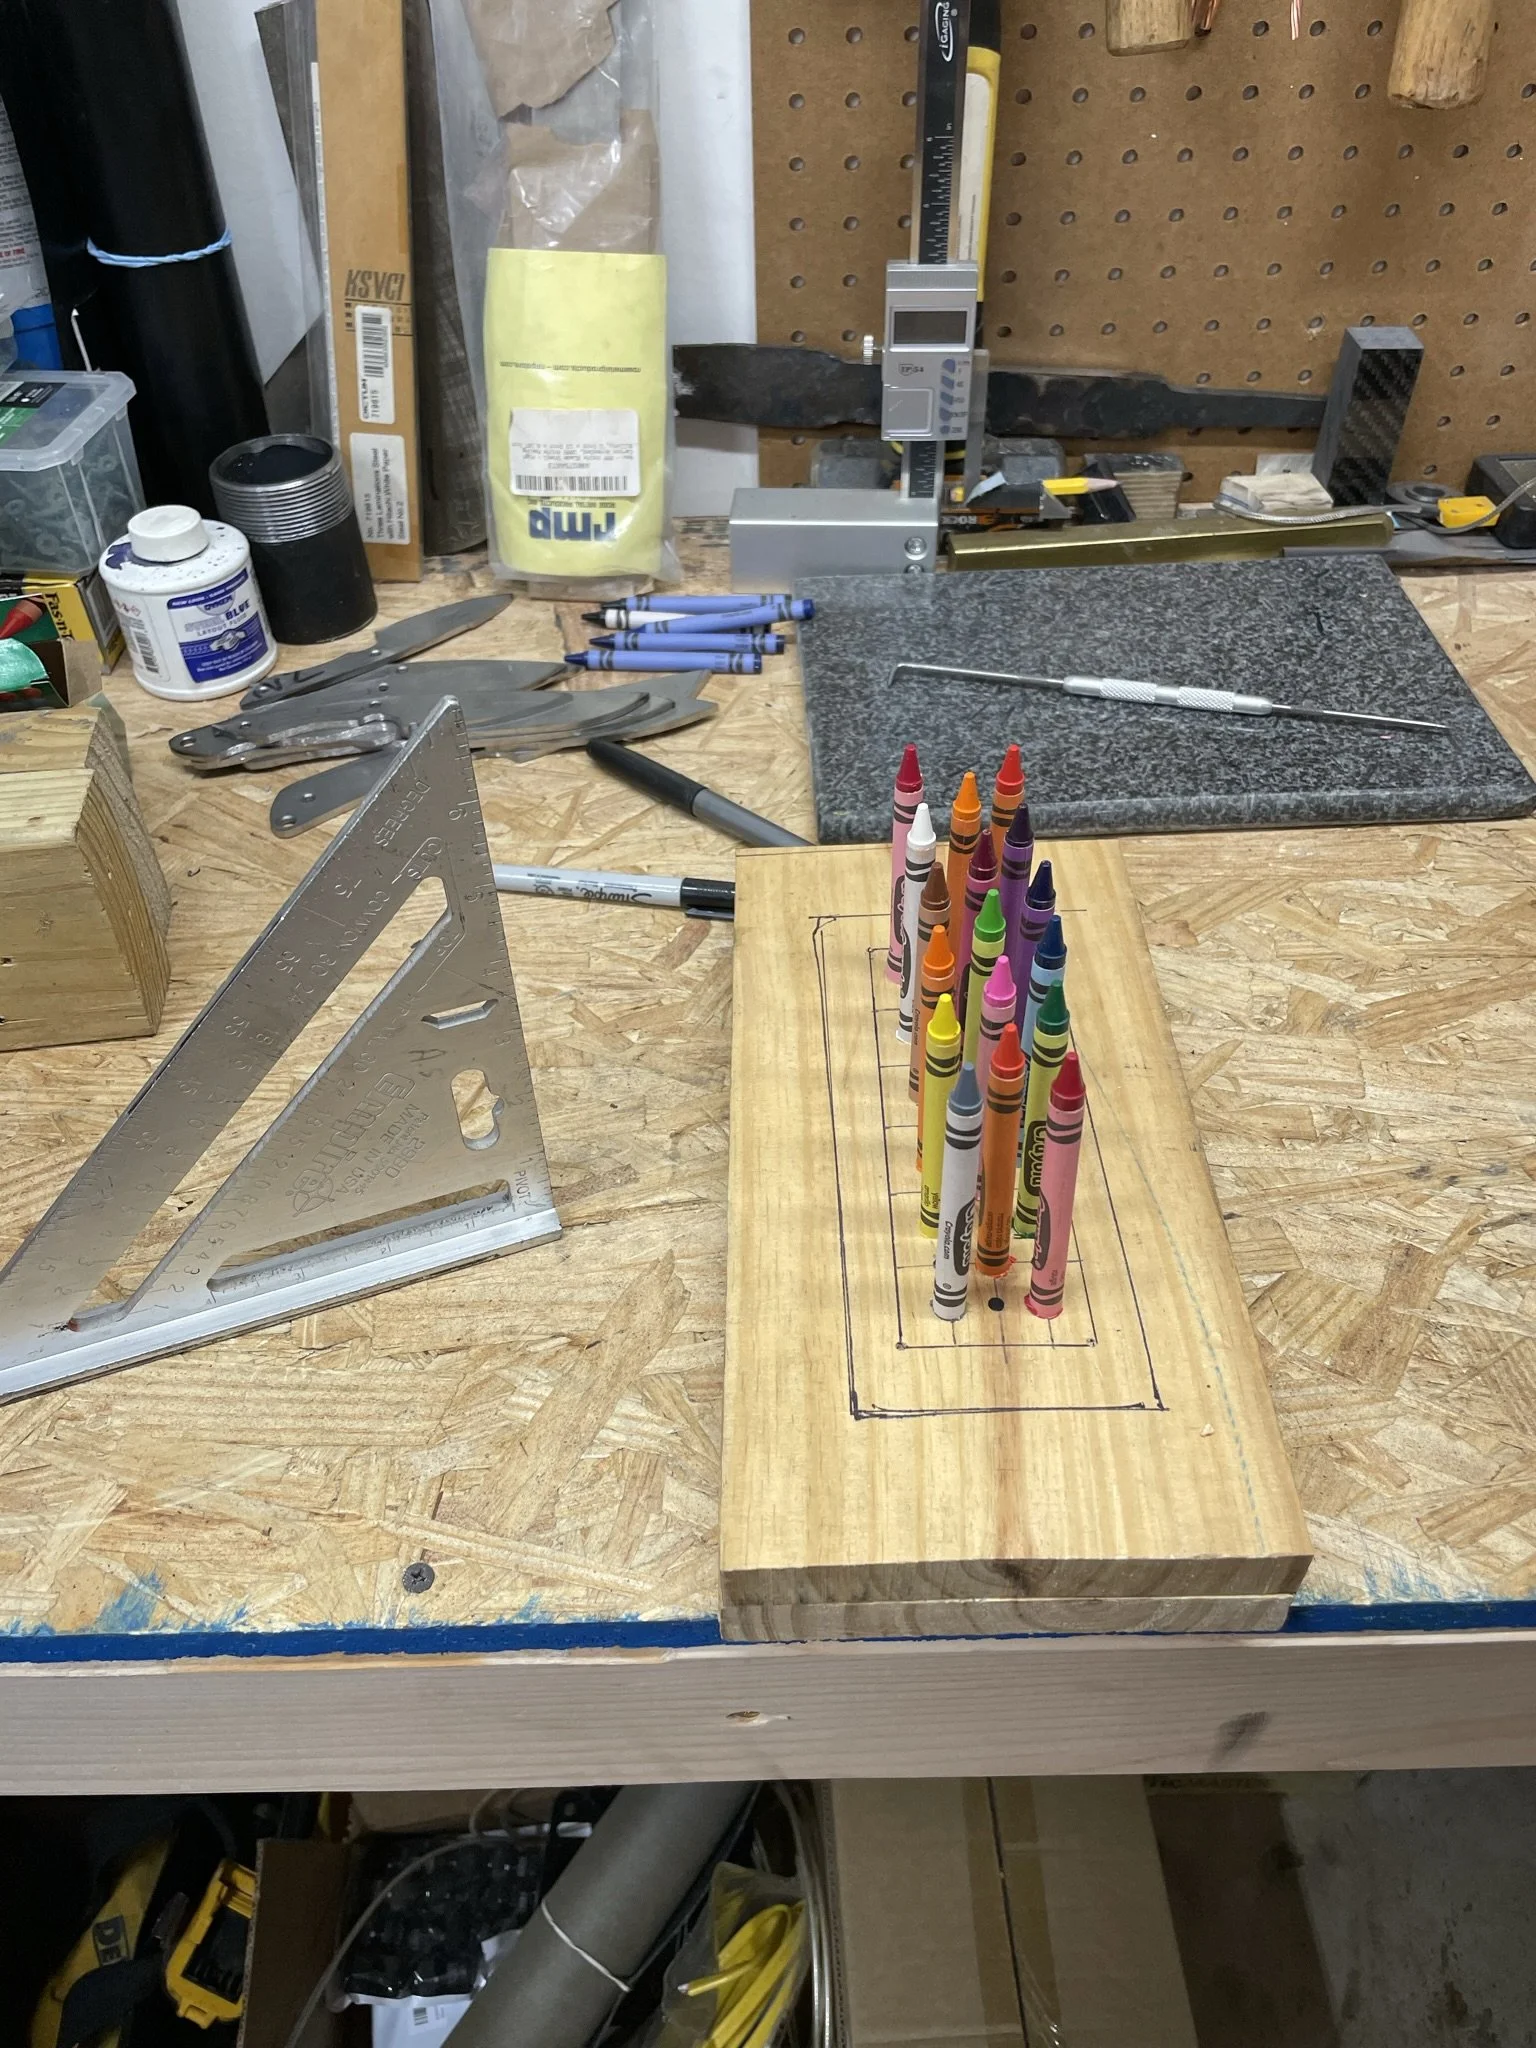
All lined up.
-
![]()
Mold all ready for the body and casting.
-
![]()
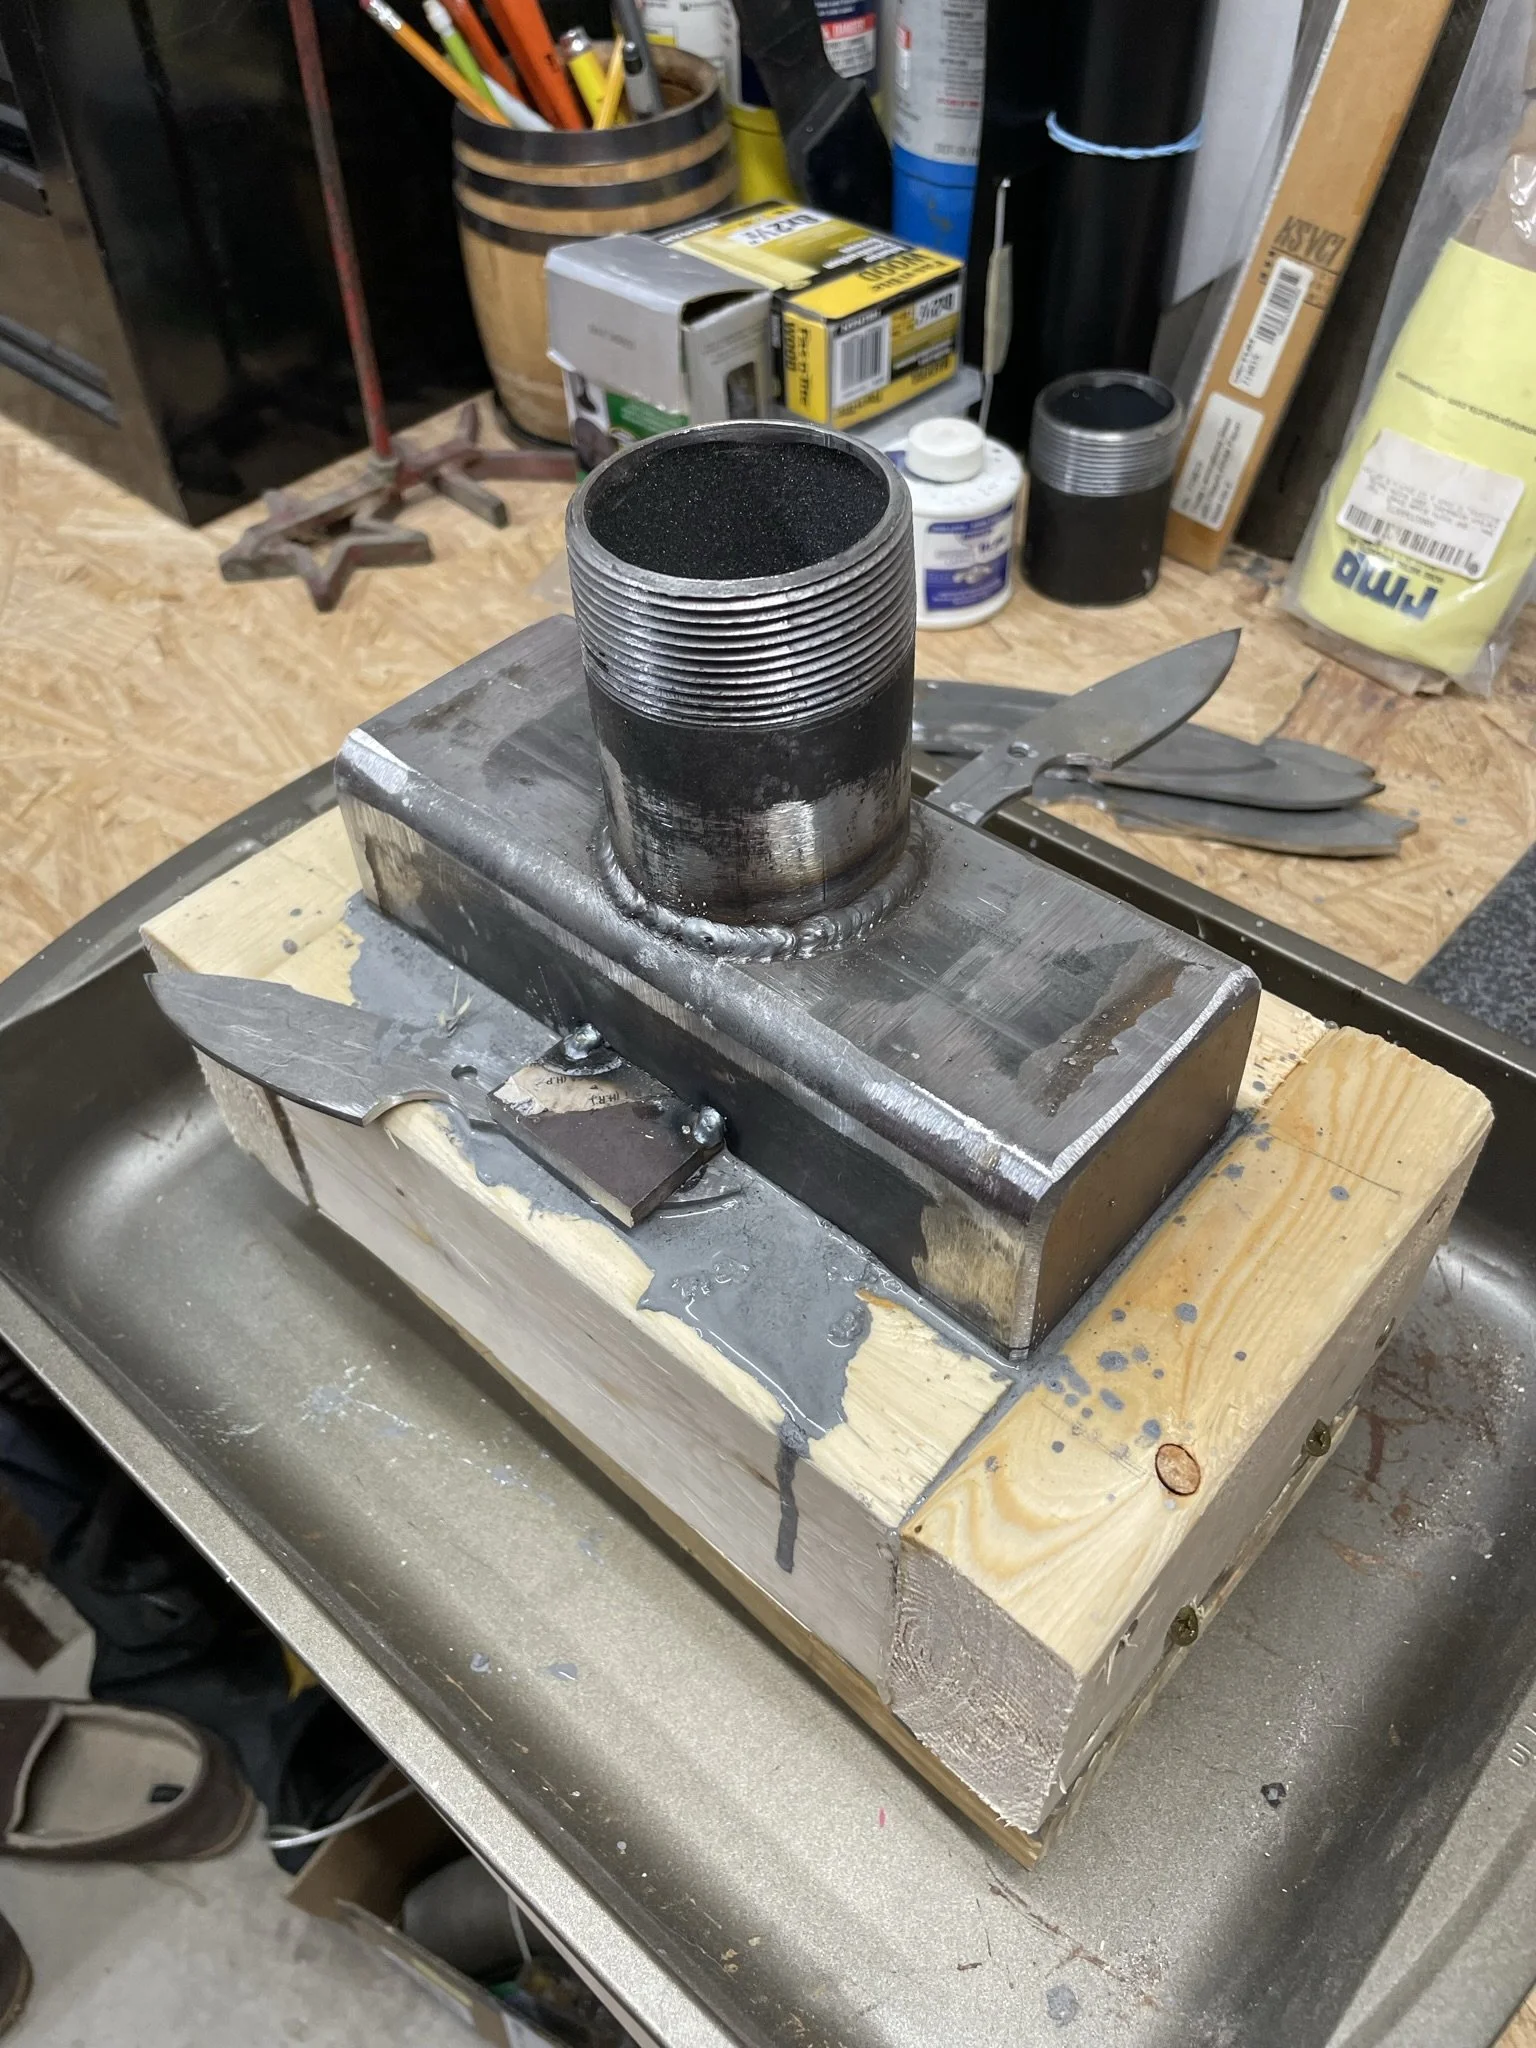
Adding tabs to the burner body to have stable depth.
-
Casting my first ribbon burner in refractory cement Yes, that is a knife used as a spacer.
-
Post casting.
-
![]()
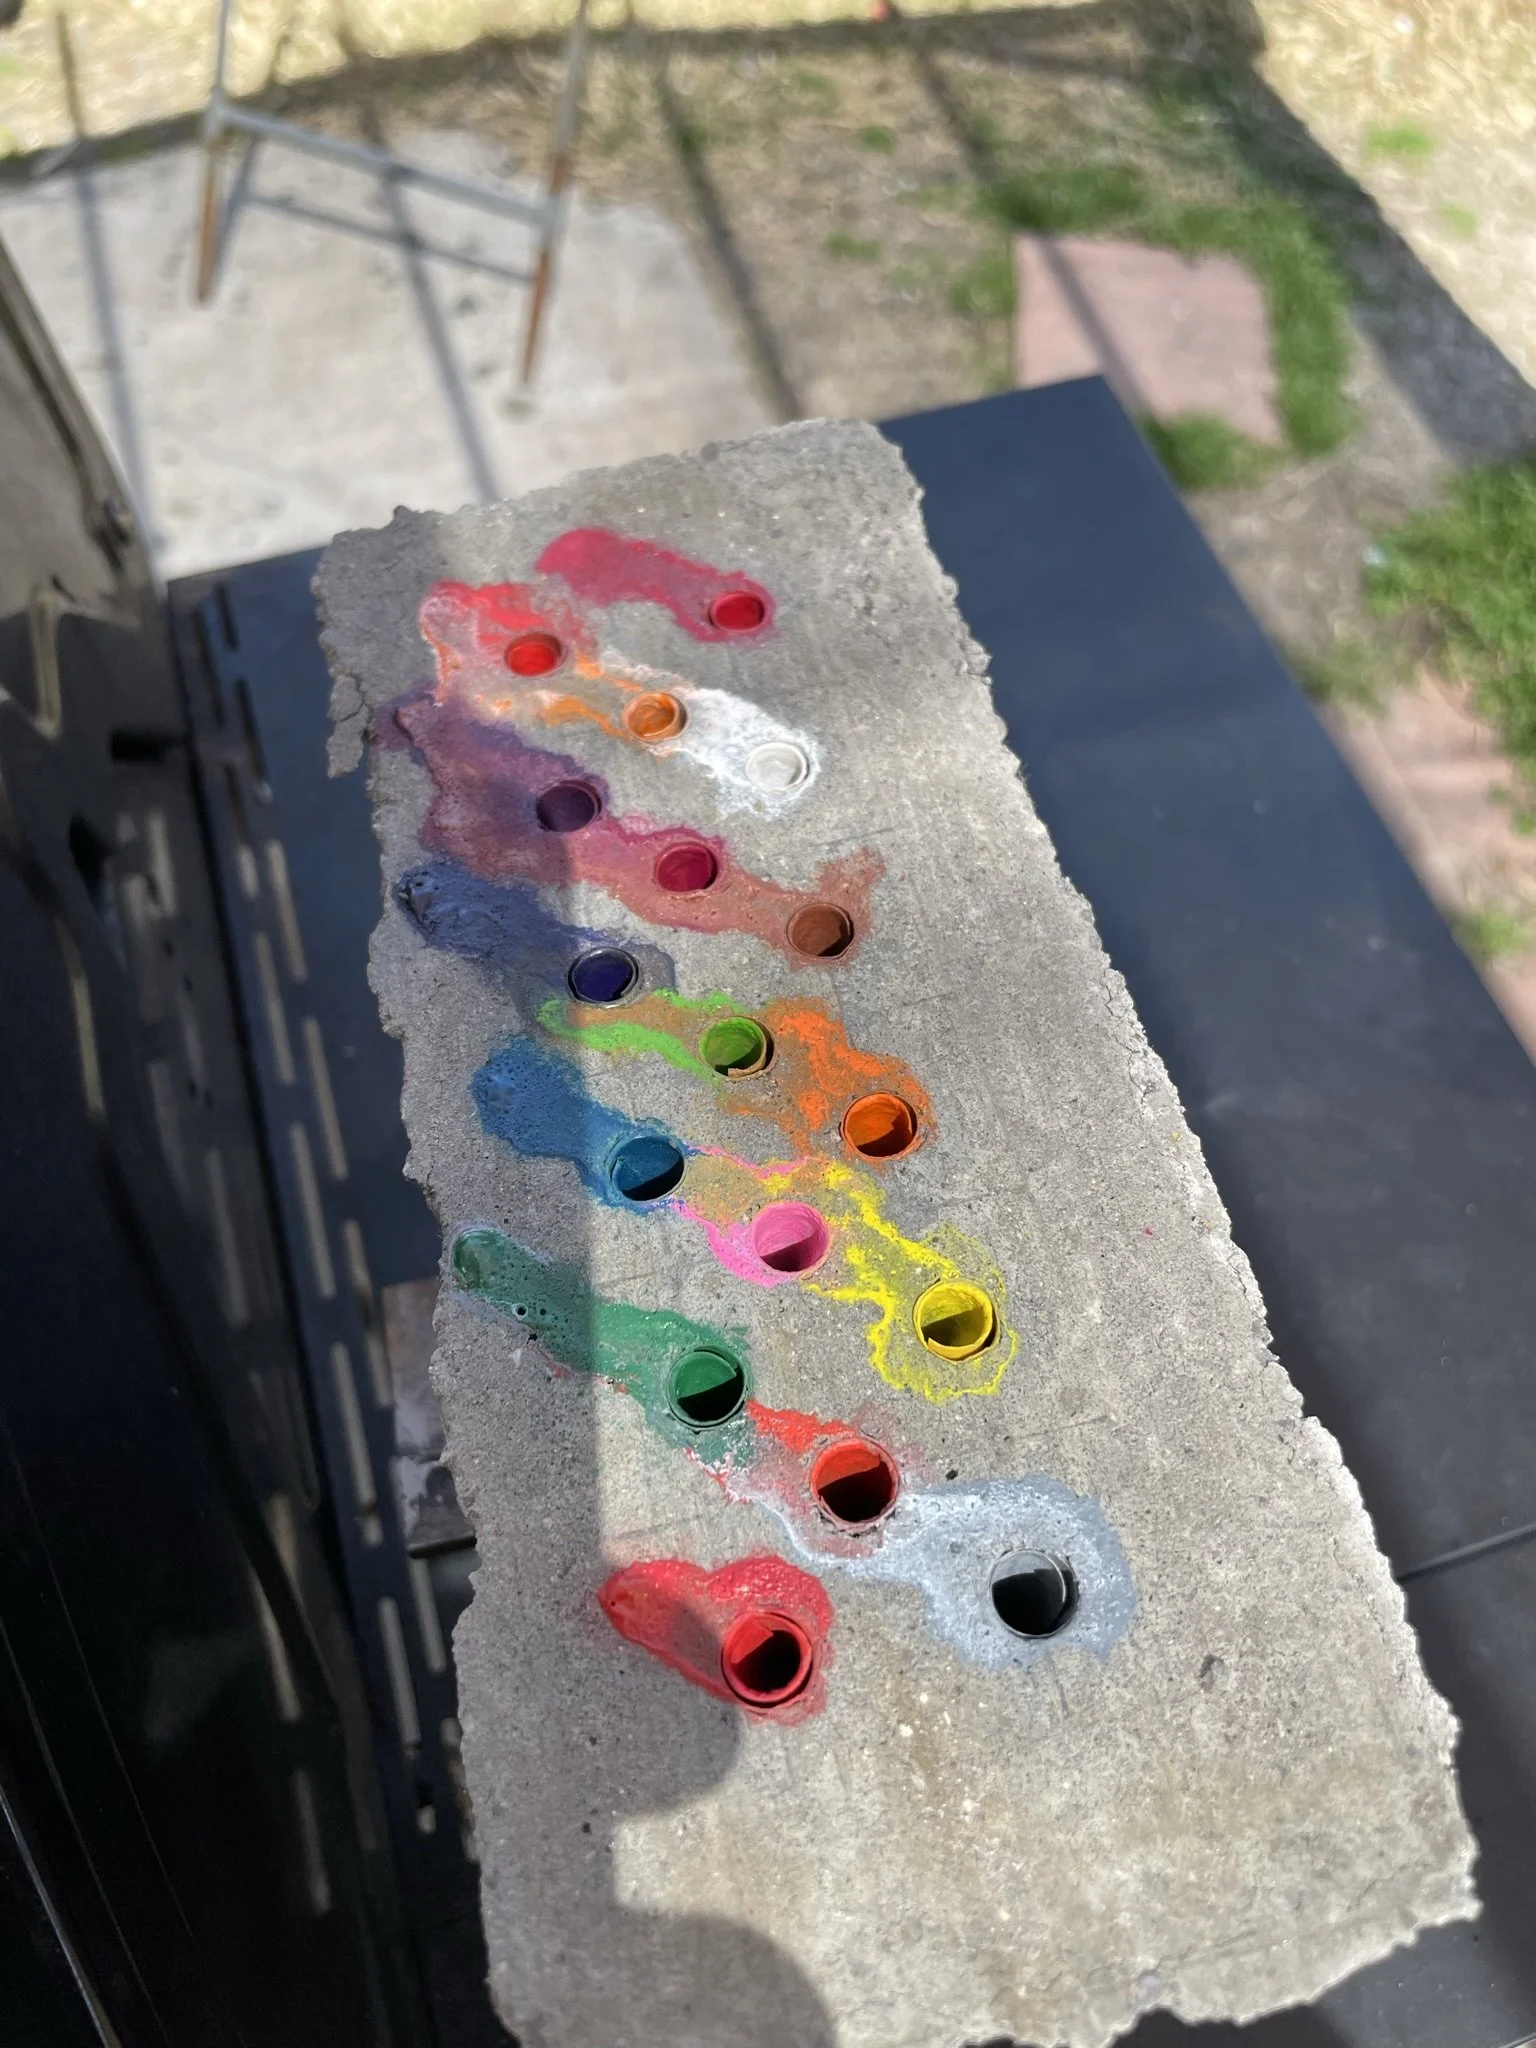
Ready to burn out the crayons.....on the family grill.
-
Clown tears.
-
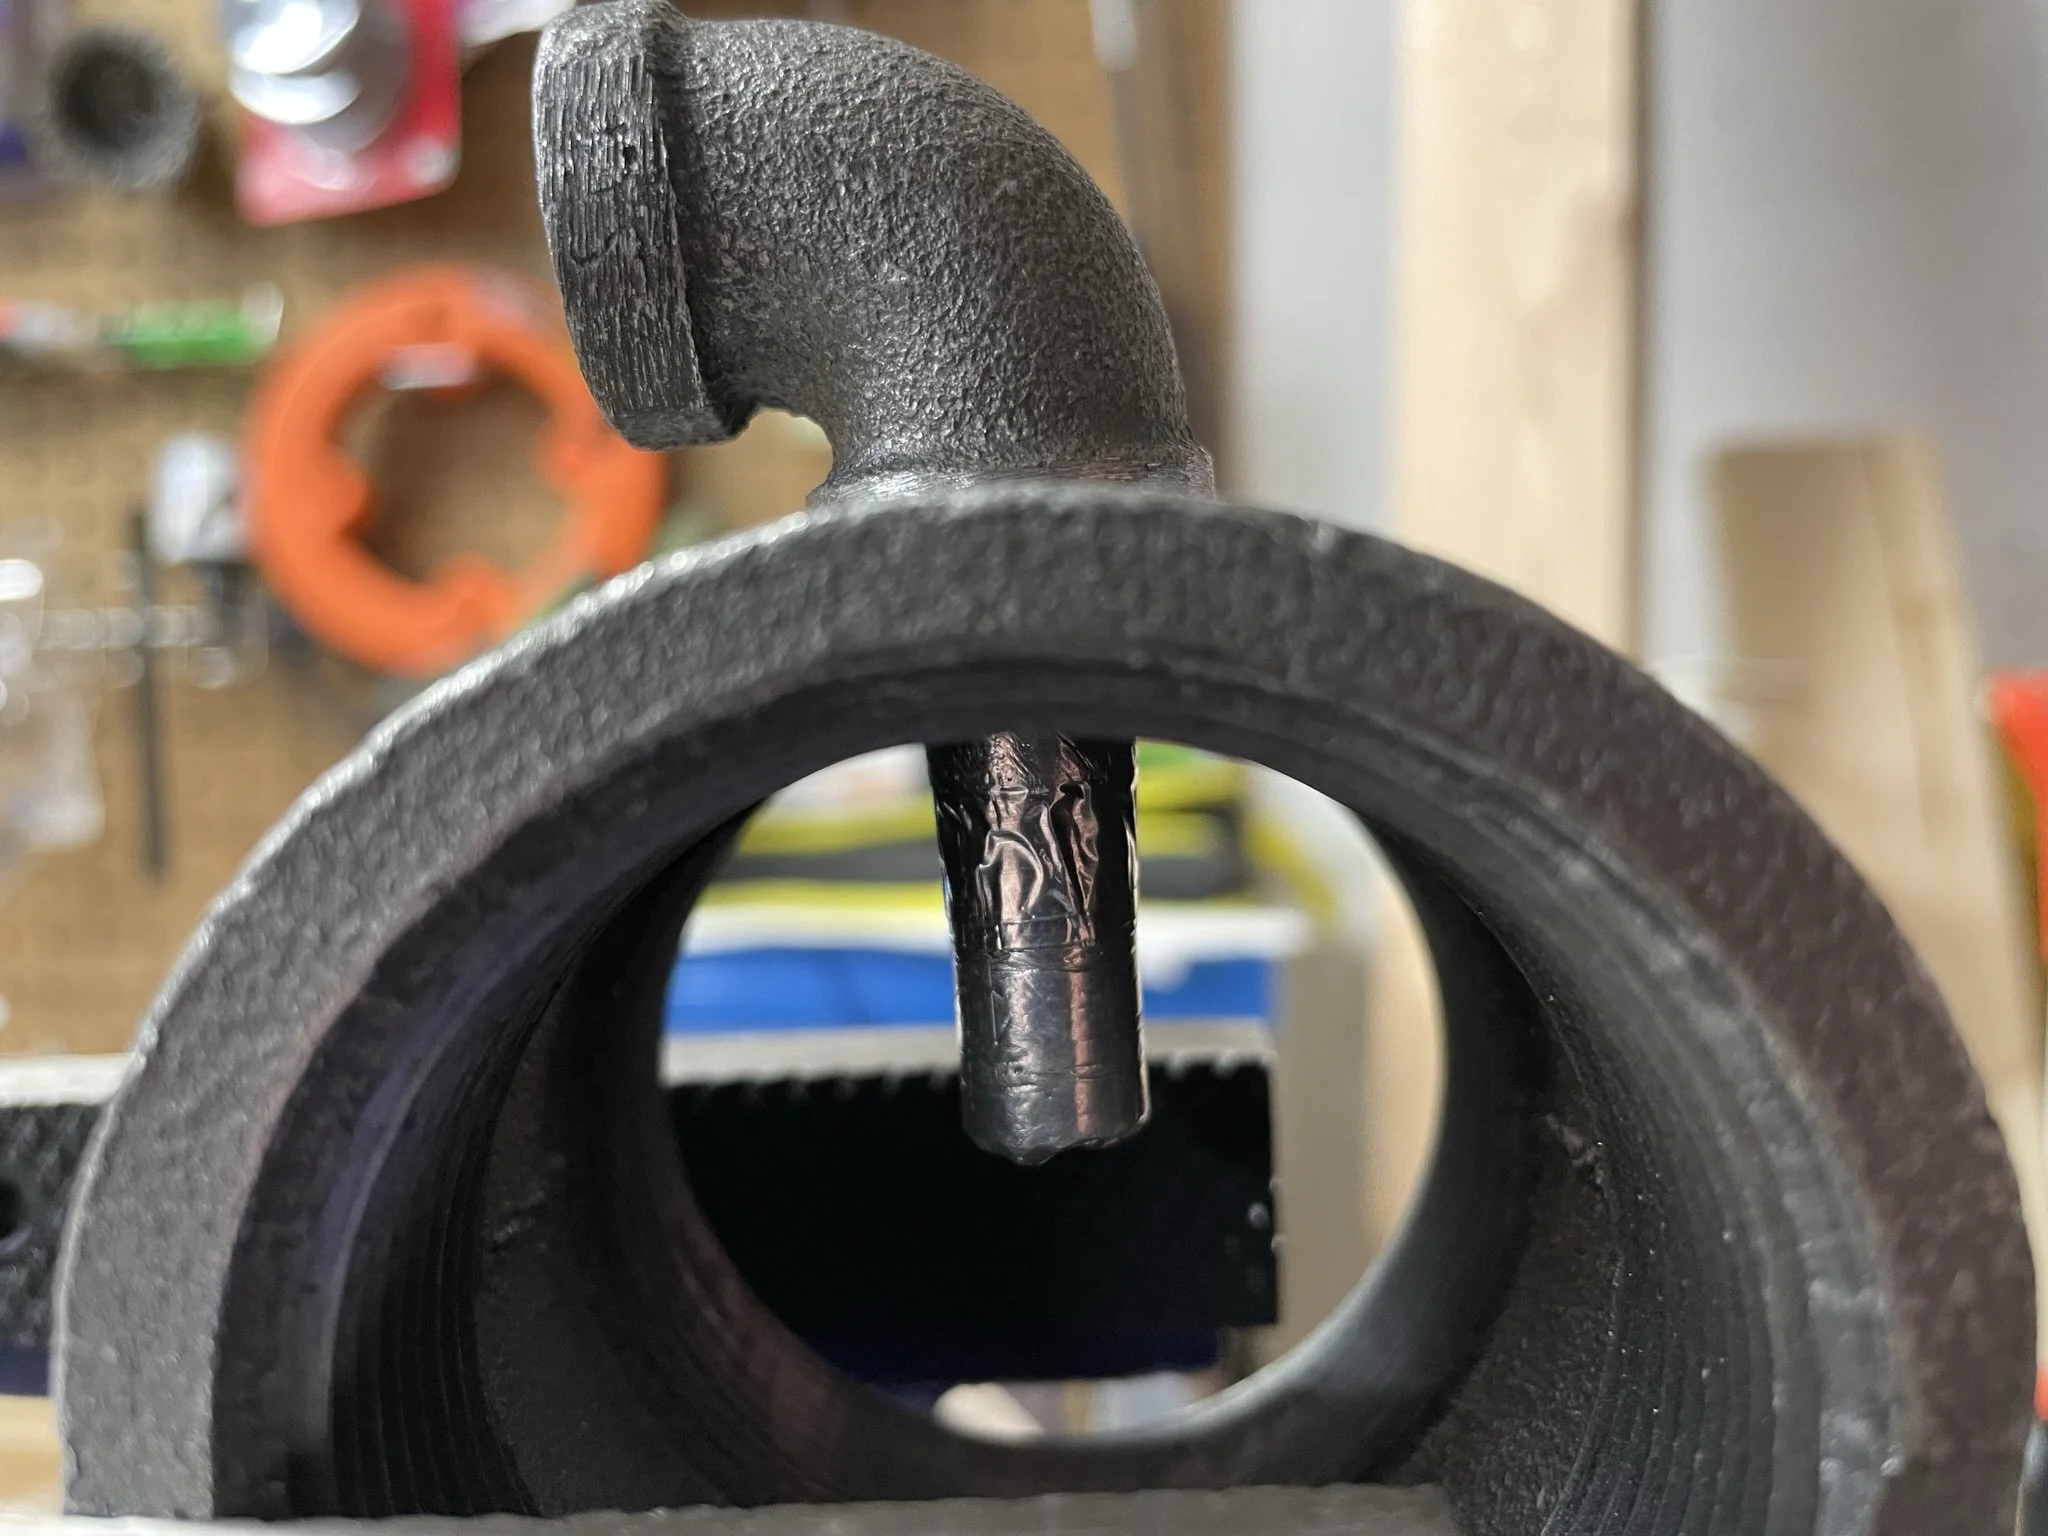
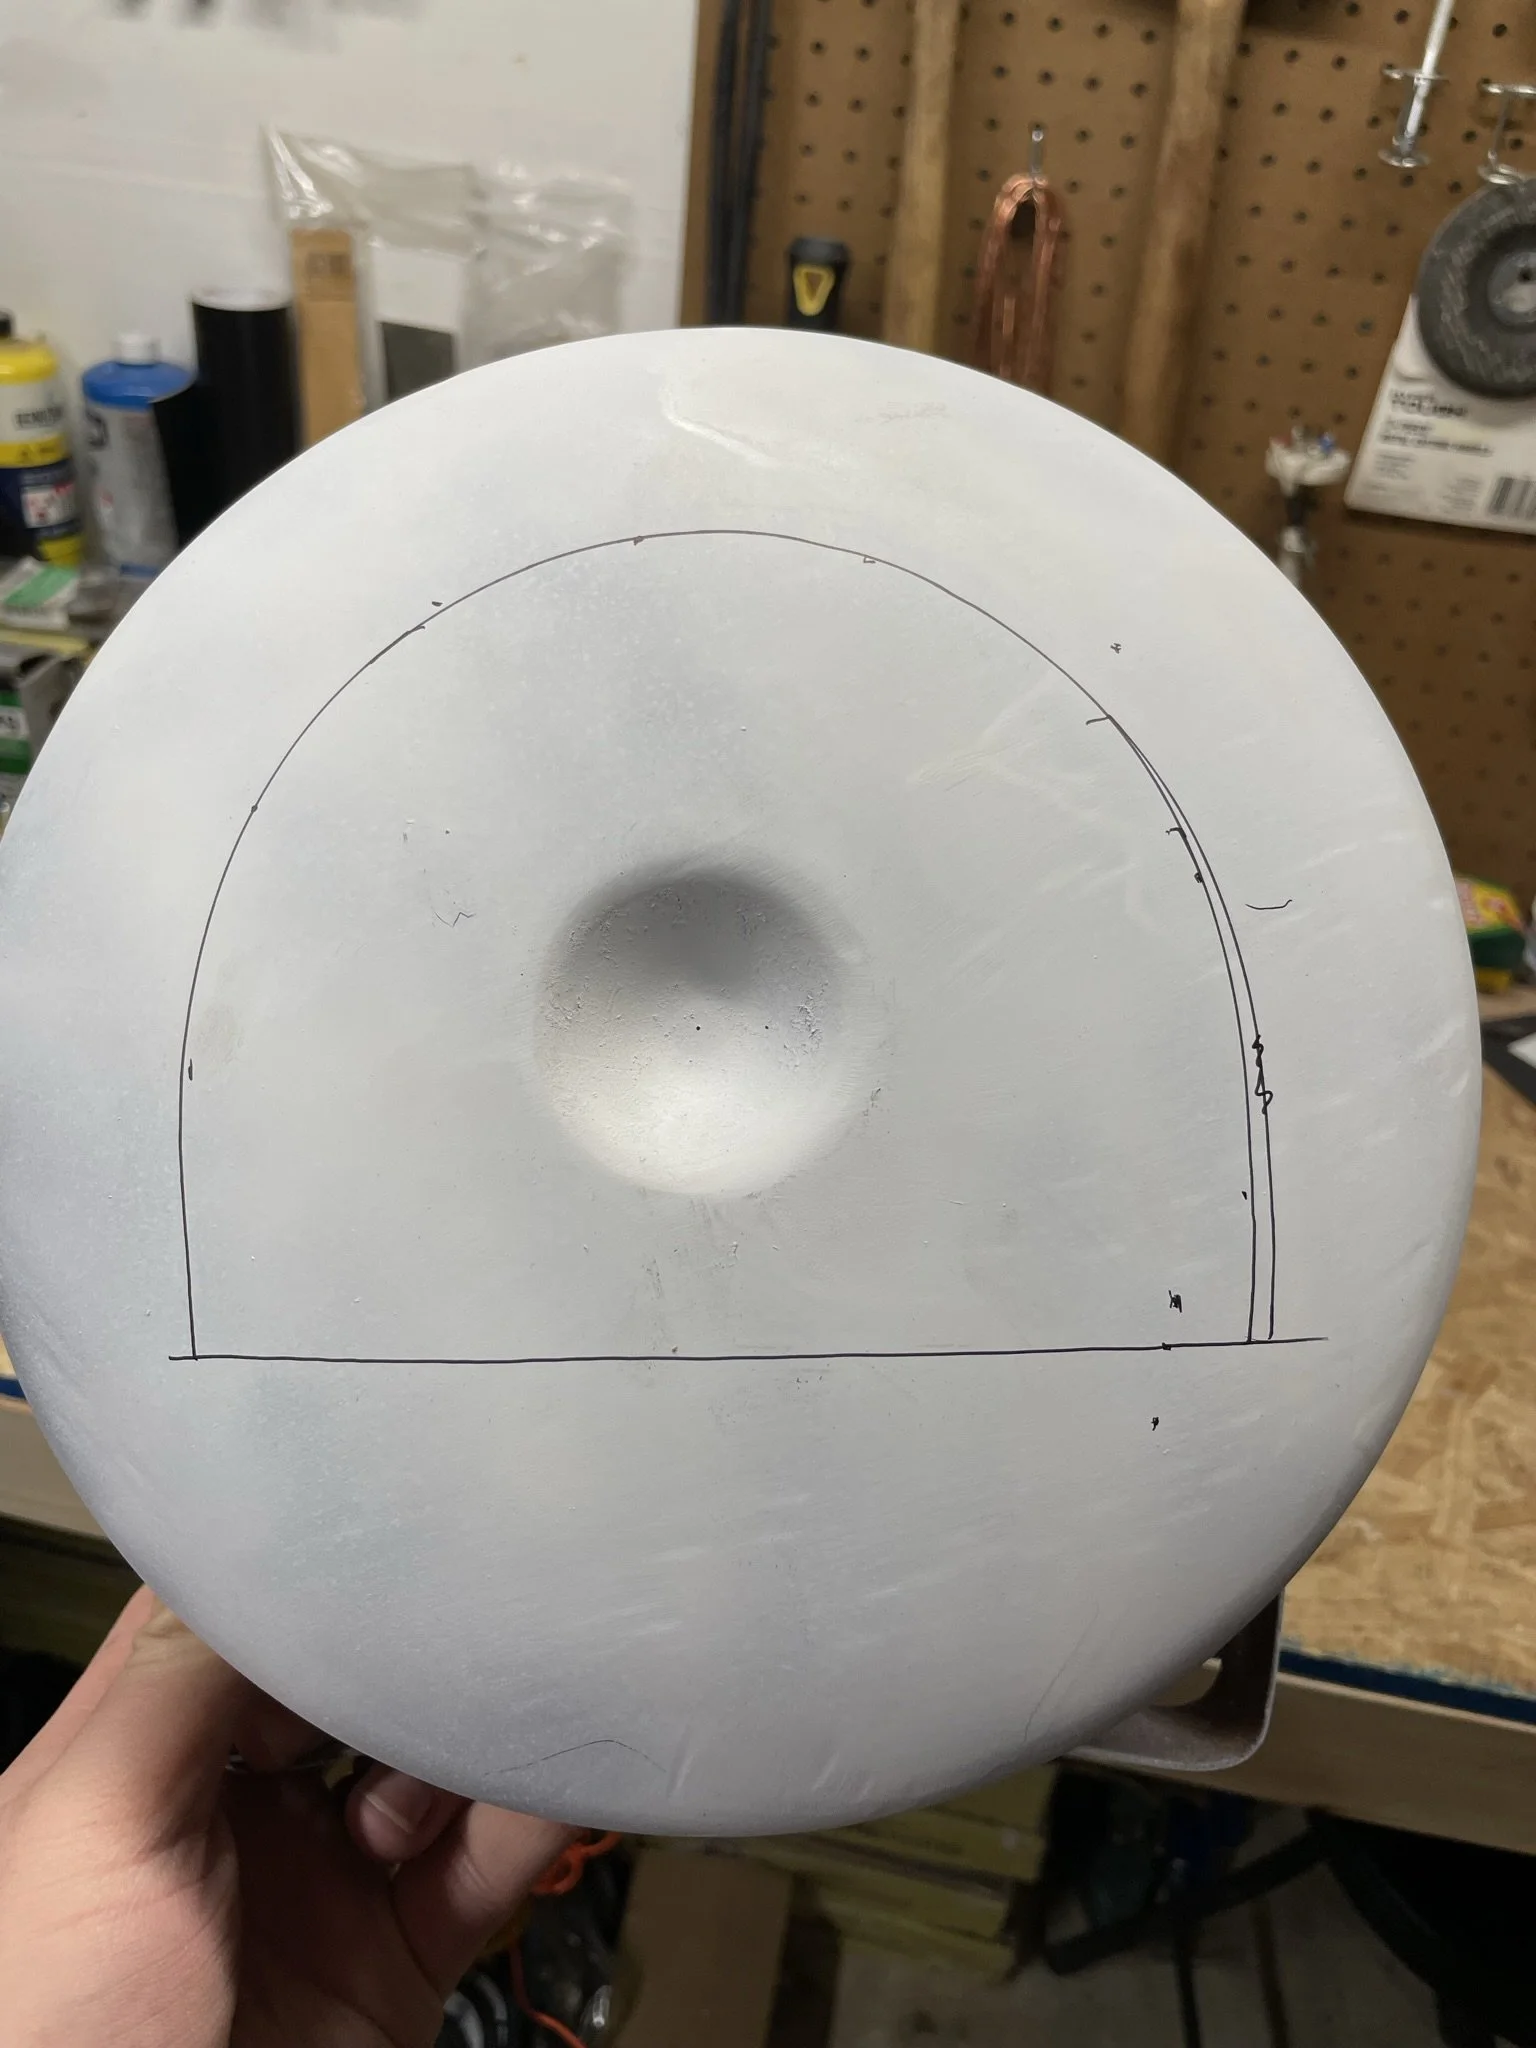
Setting up the gas port.
-
Upgraded from a freon tank to a portable air tank.
-
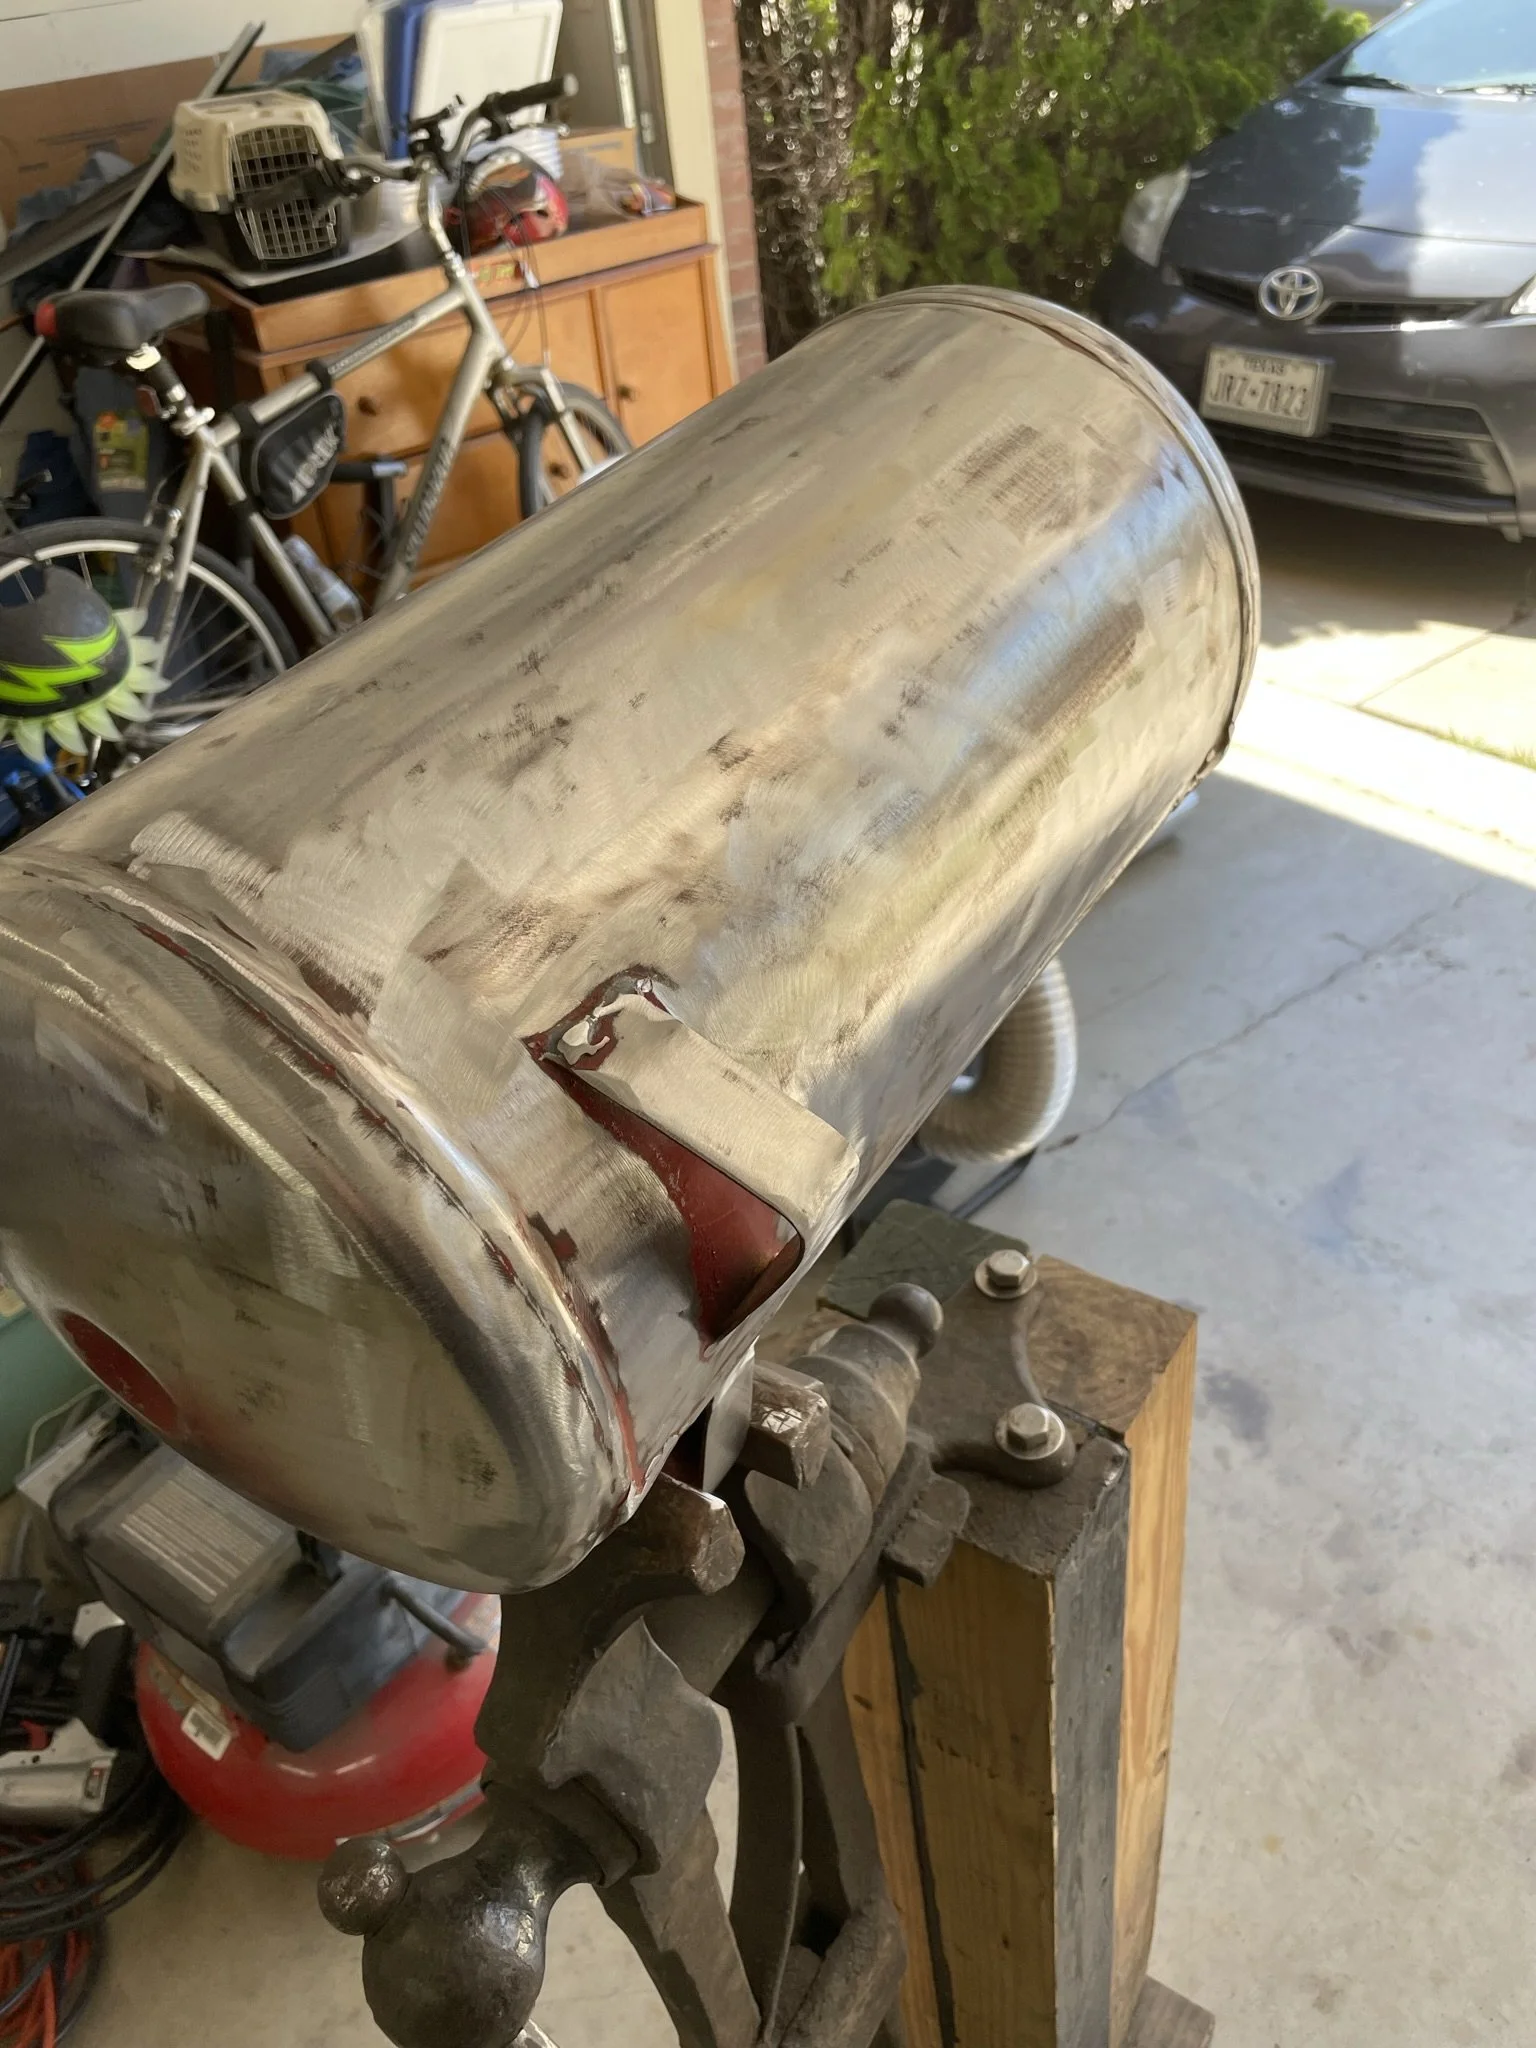
Primed and laid out.
-
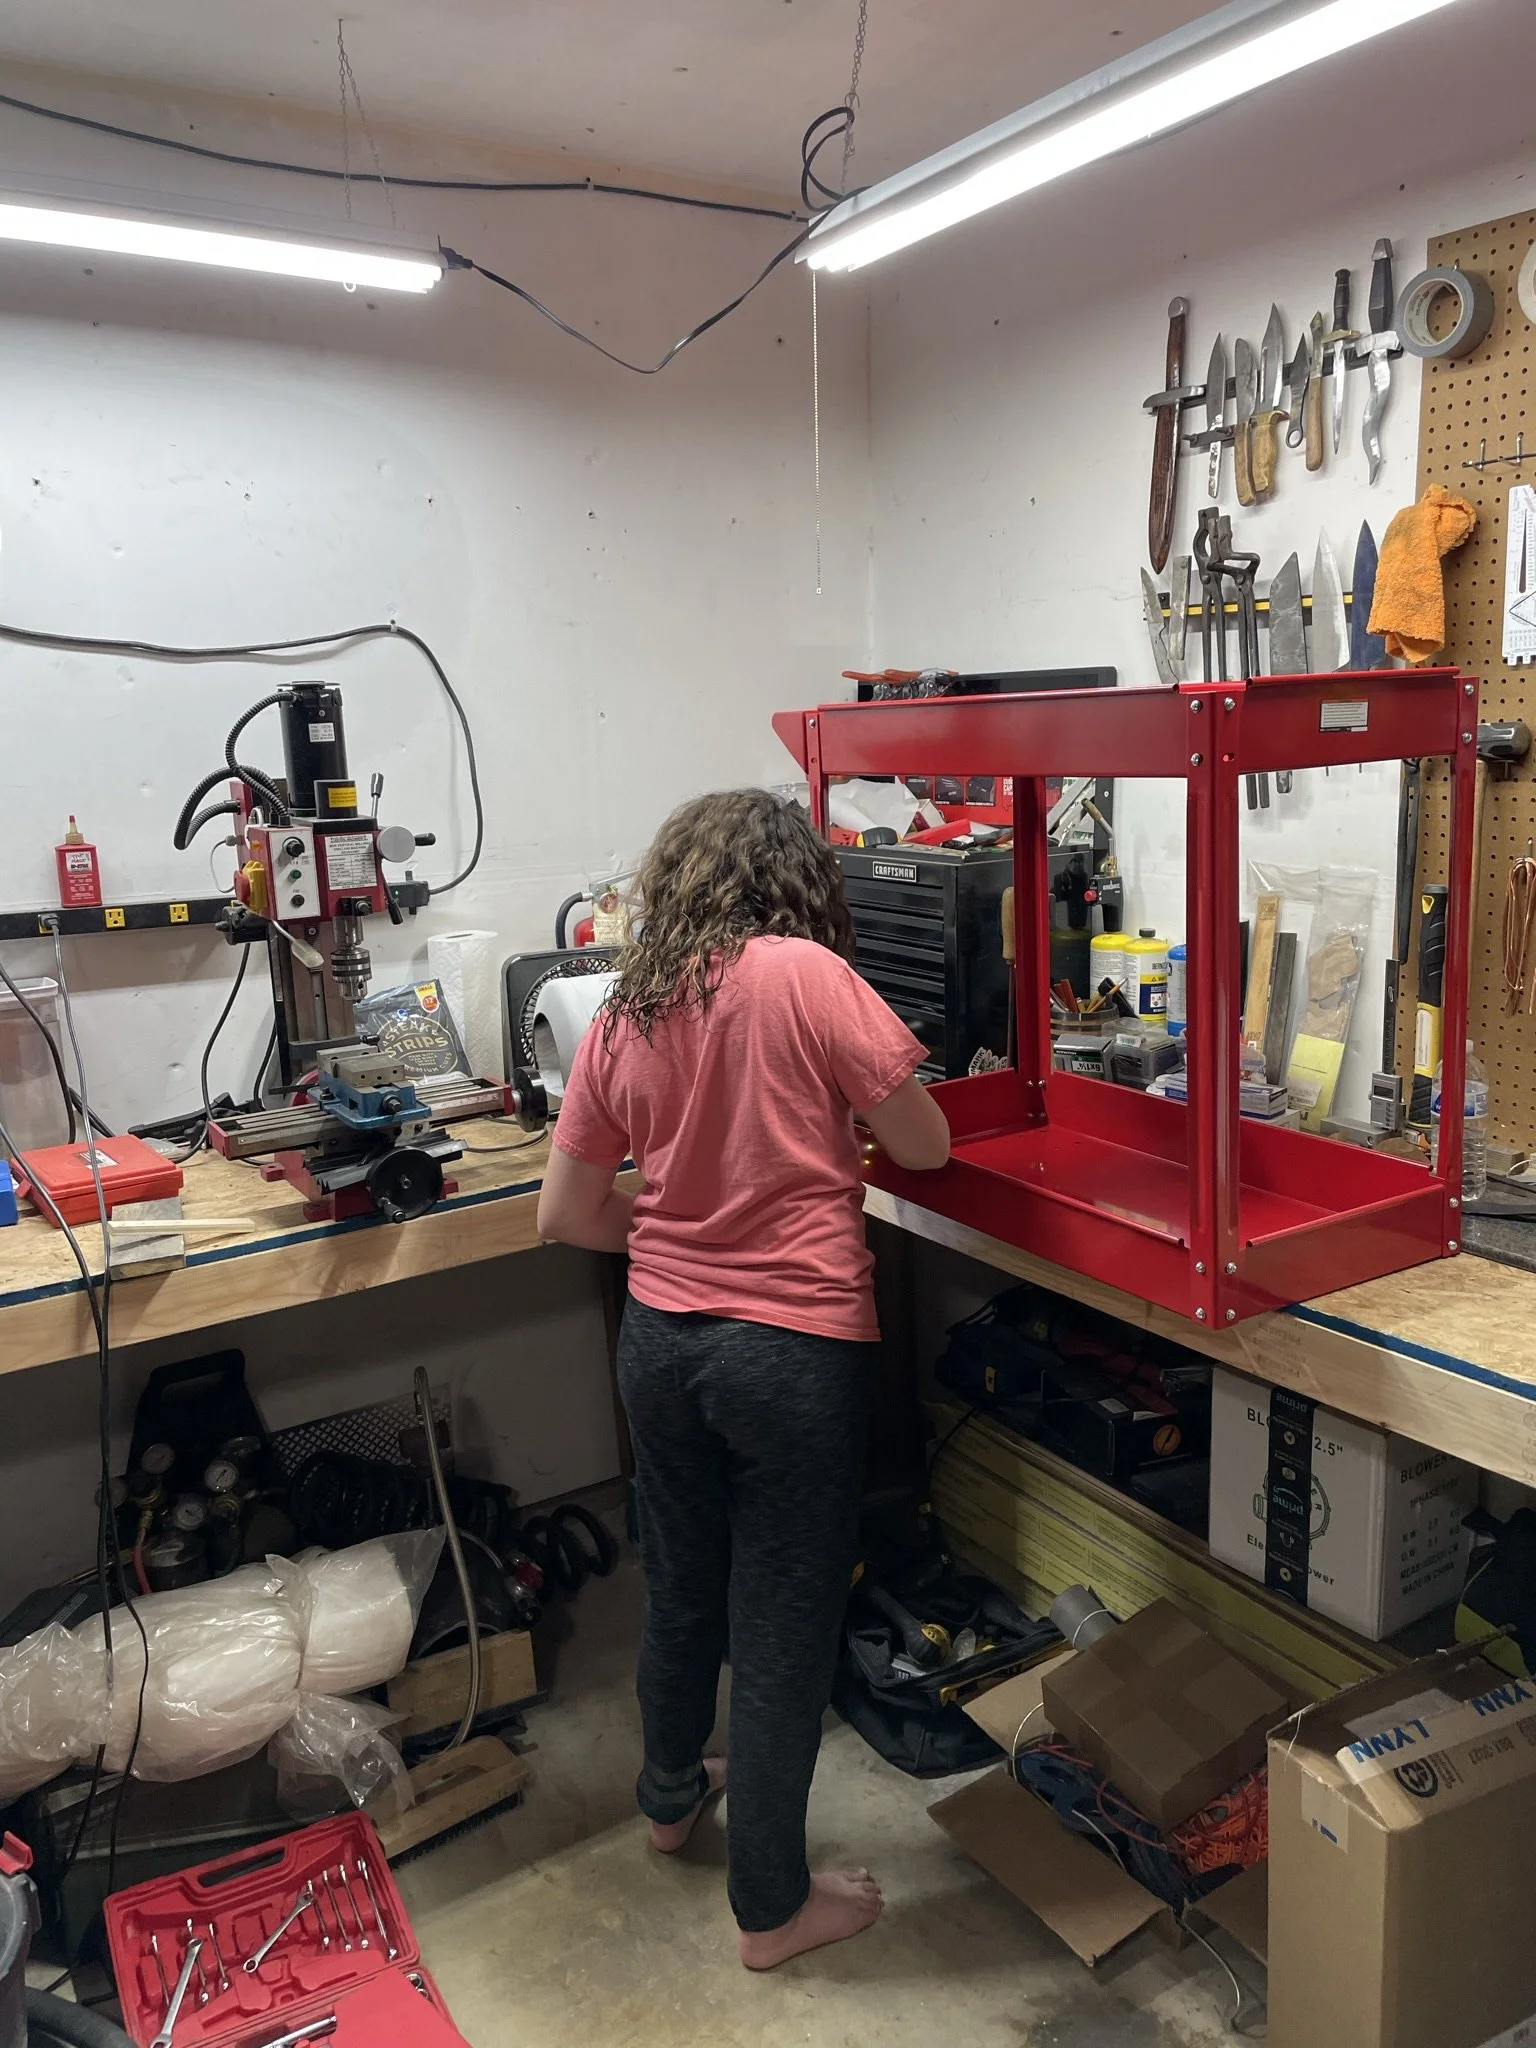
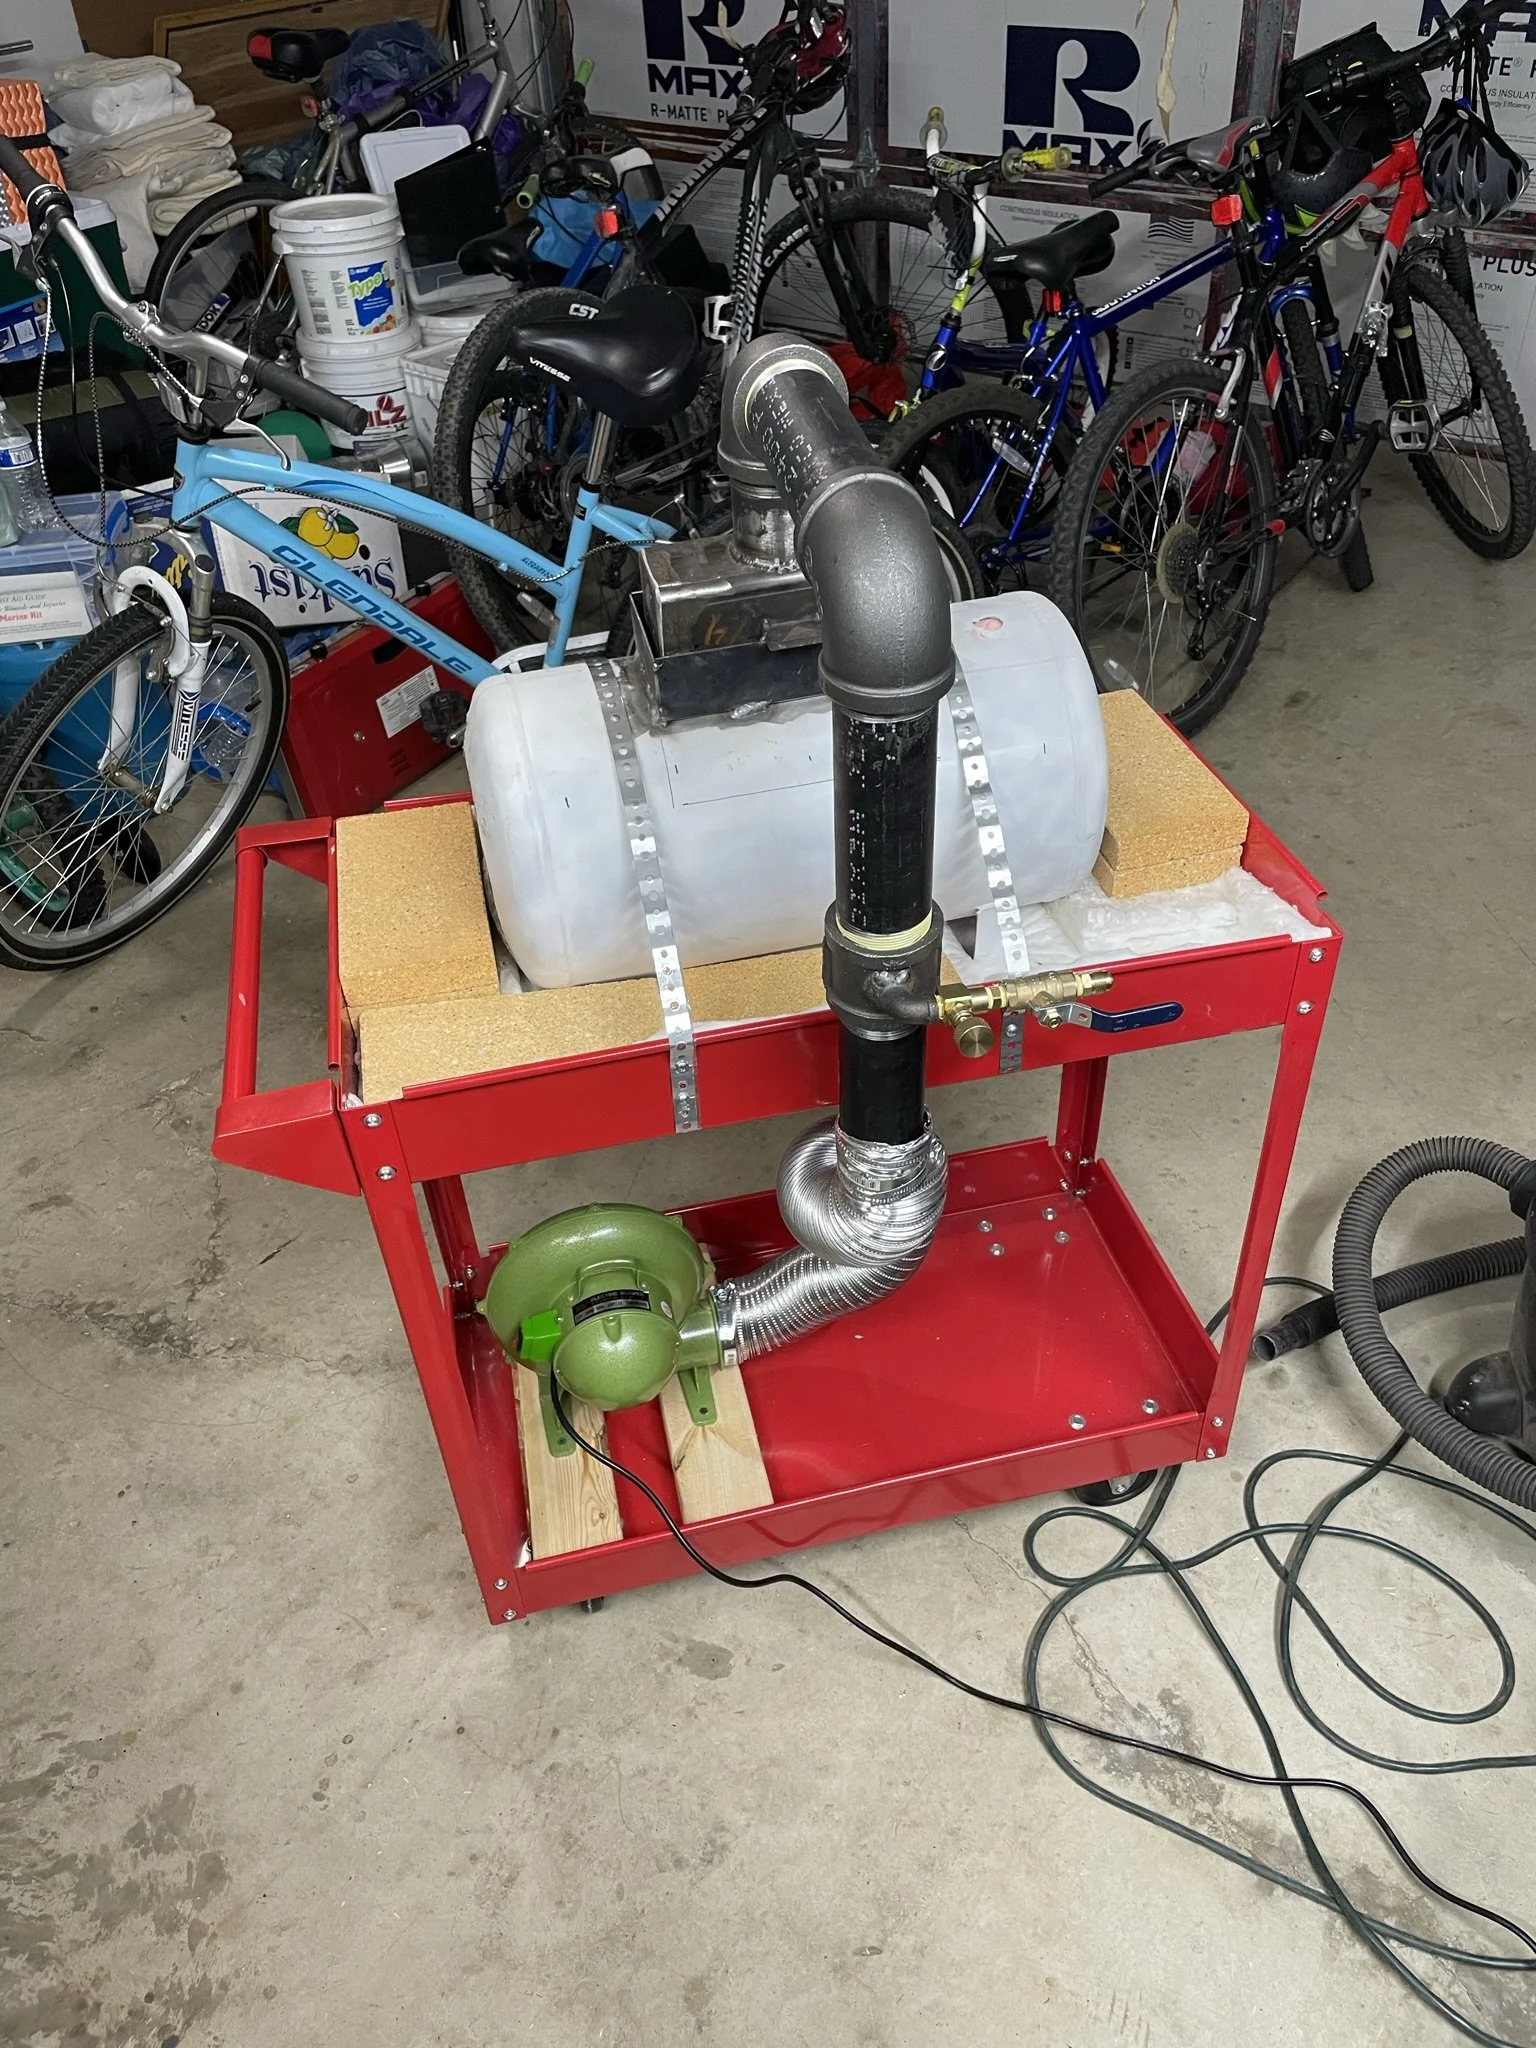
My daughter helping put together the cart for the forge. In February of this year, I was given permission to move my shop indoors and take over part of the garage.
-
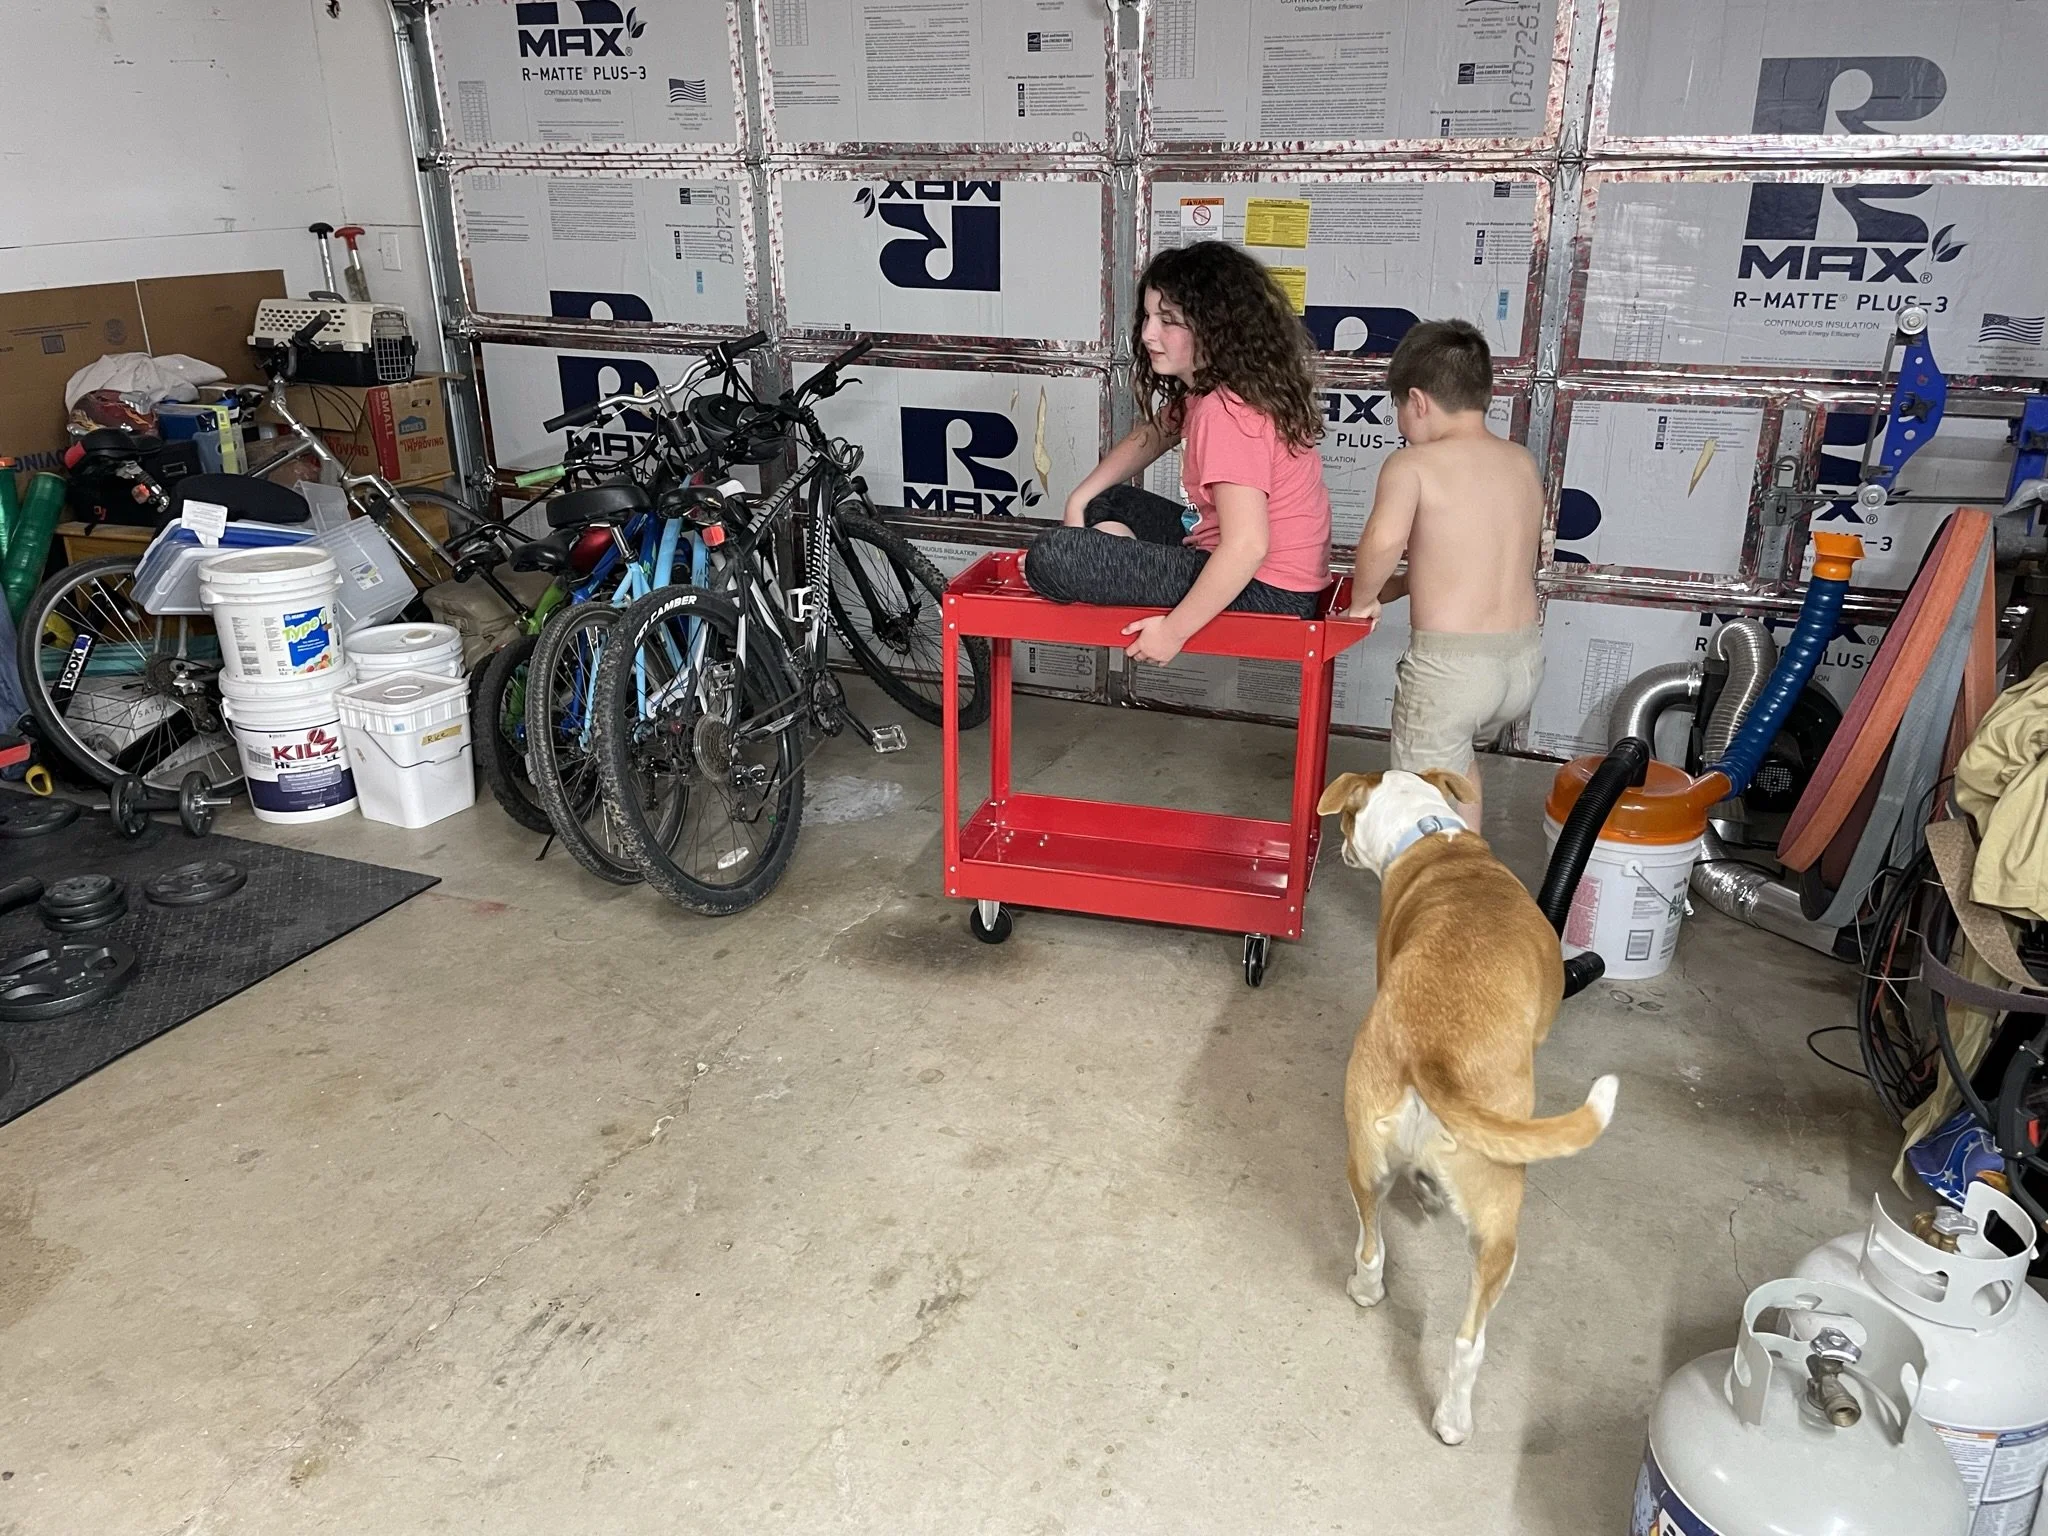
Kids and dog helping as they do.
-
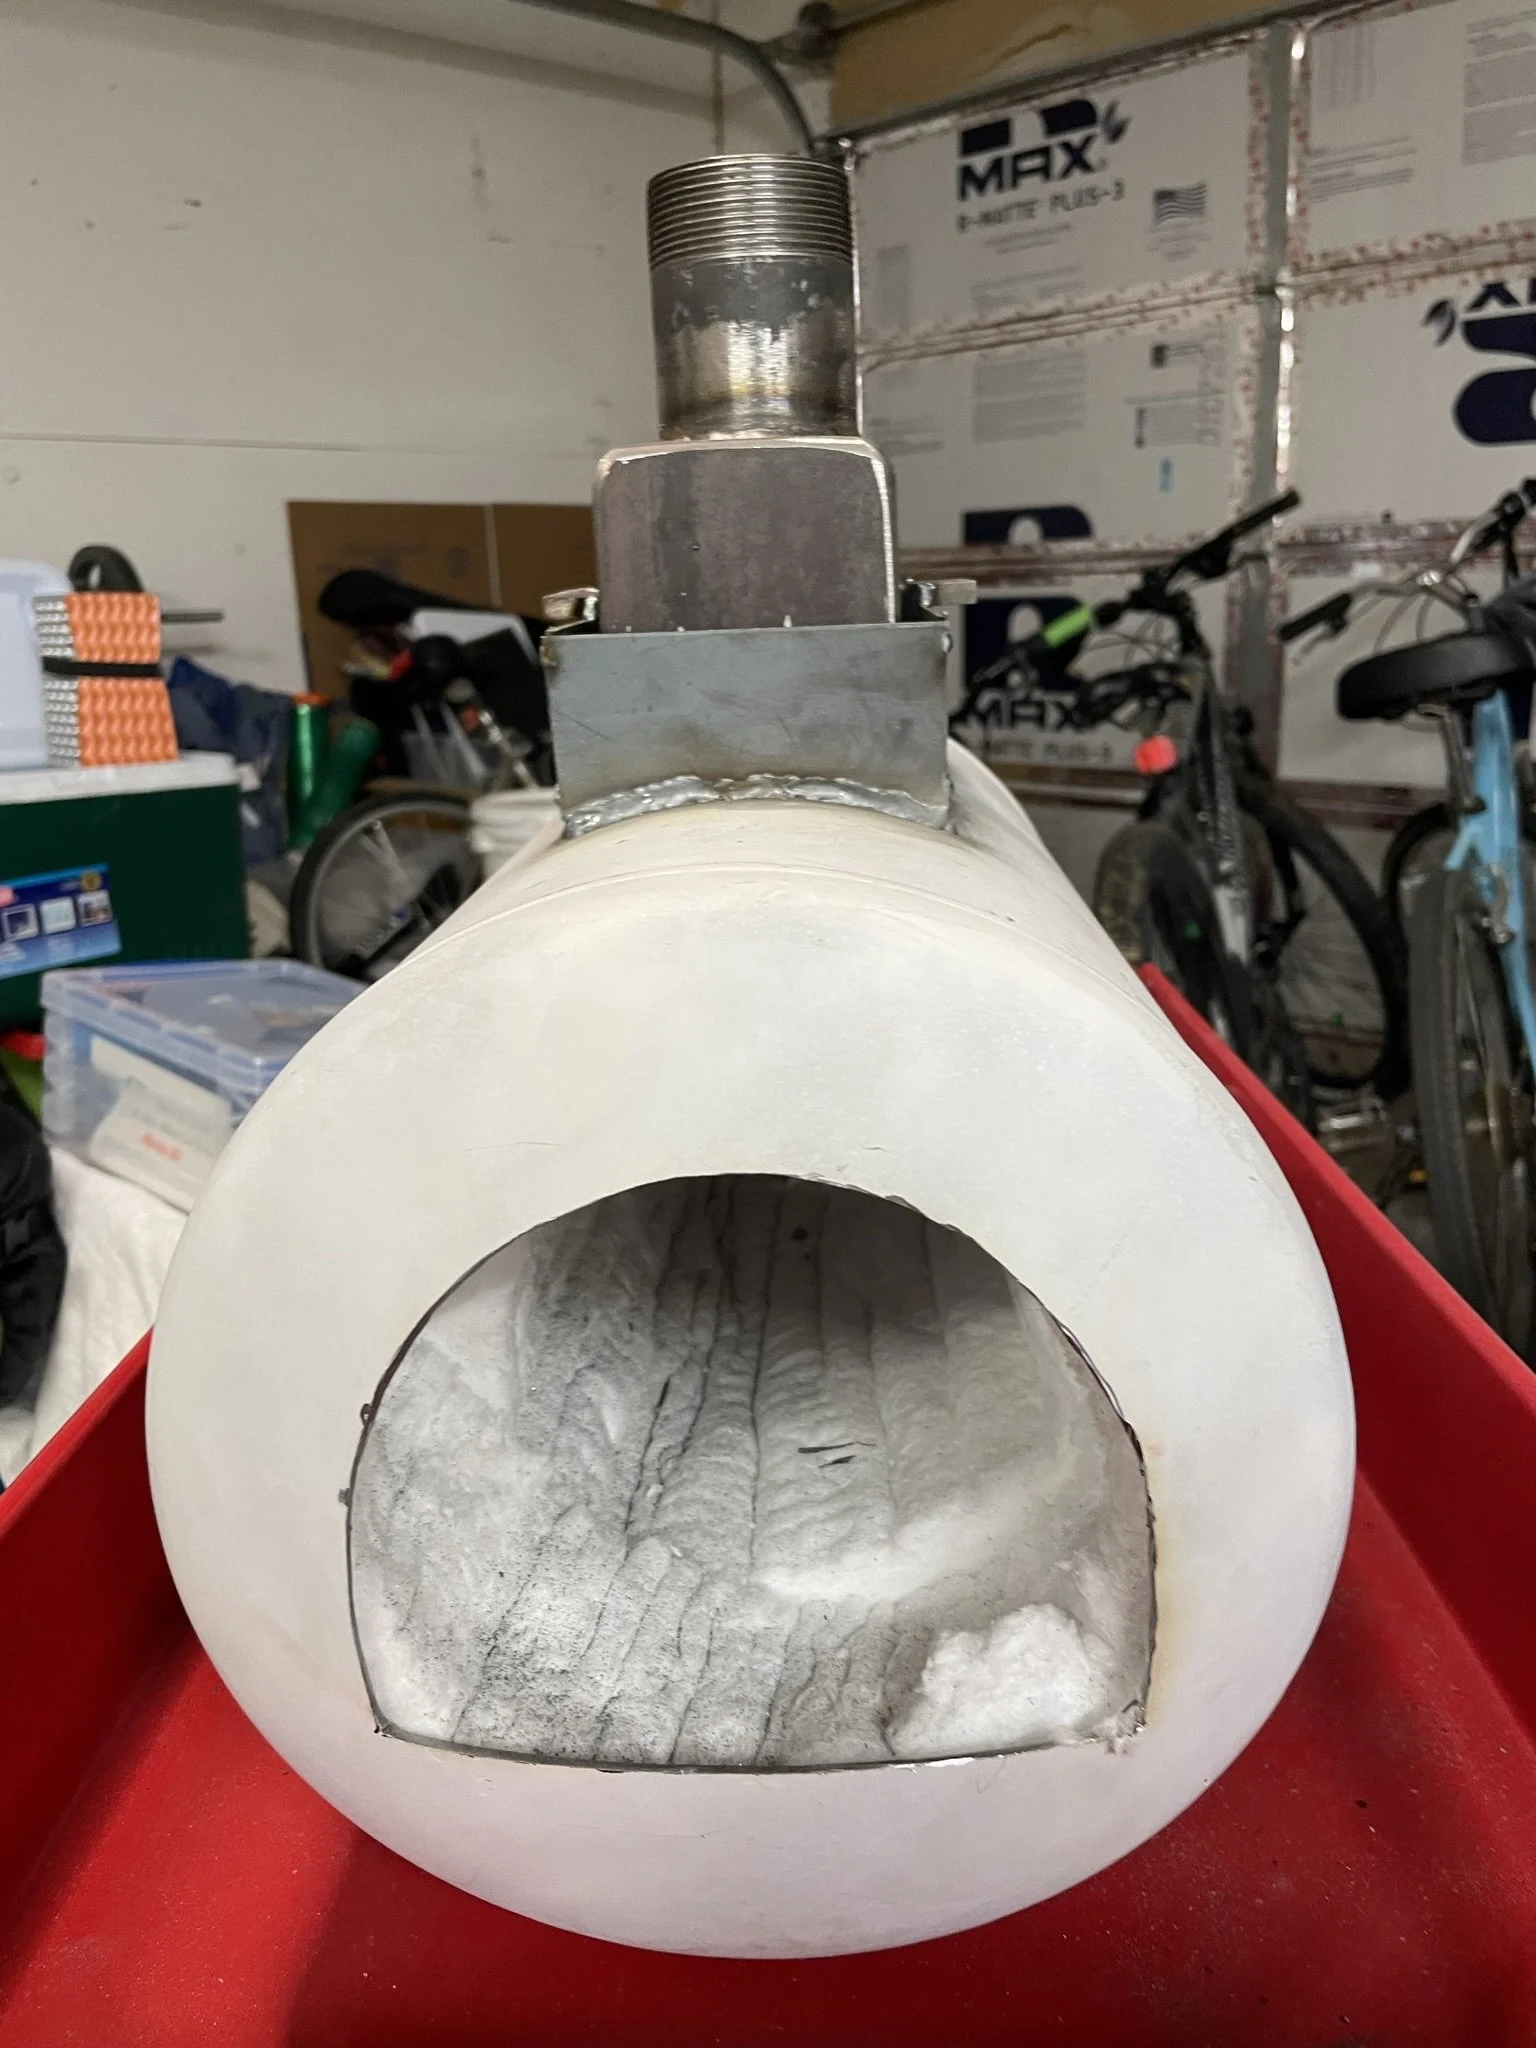
2" Kao wool lining.
-
Stabilized kao wool drying outside.
-
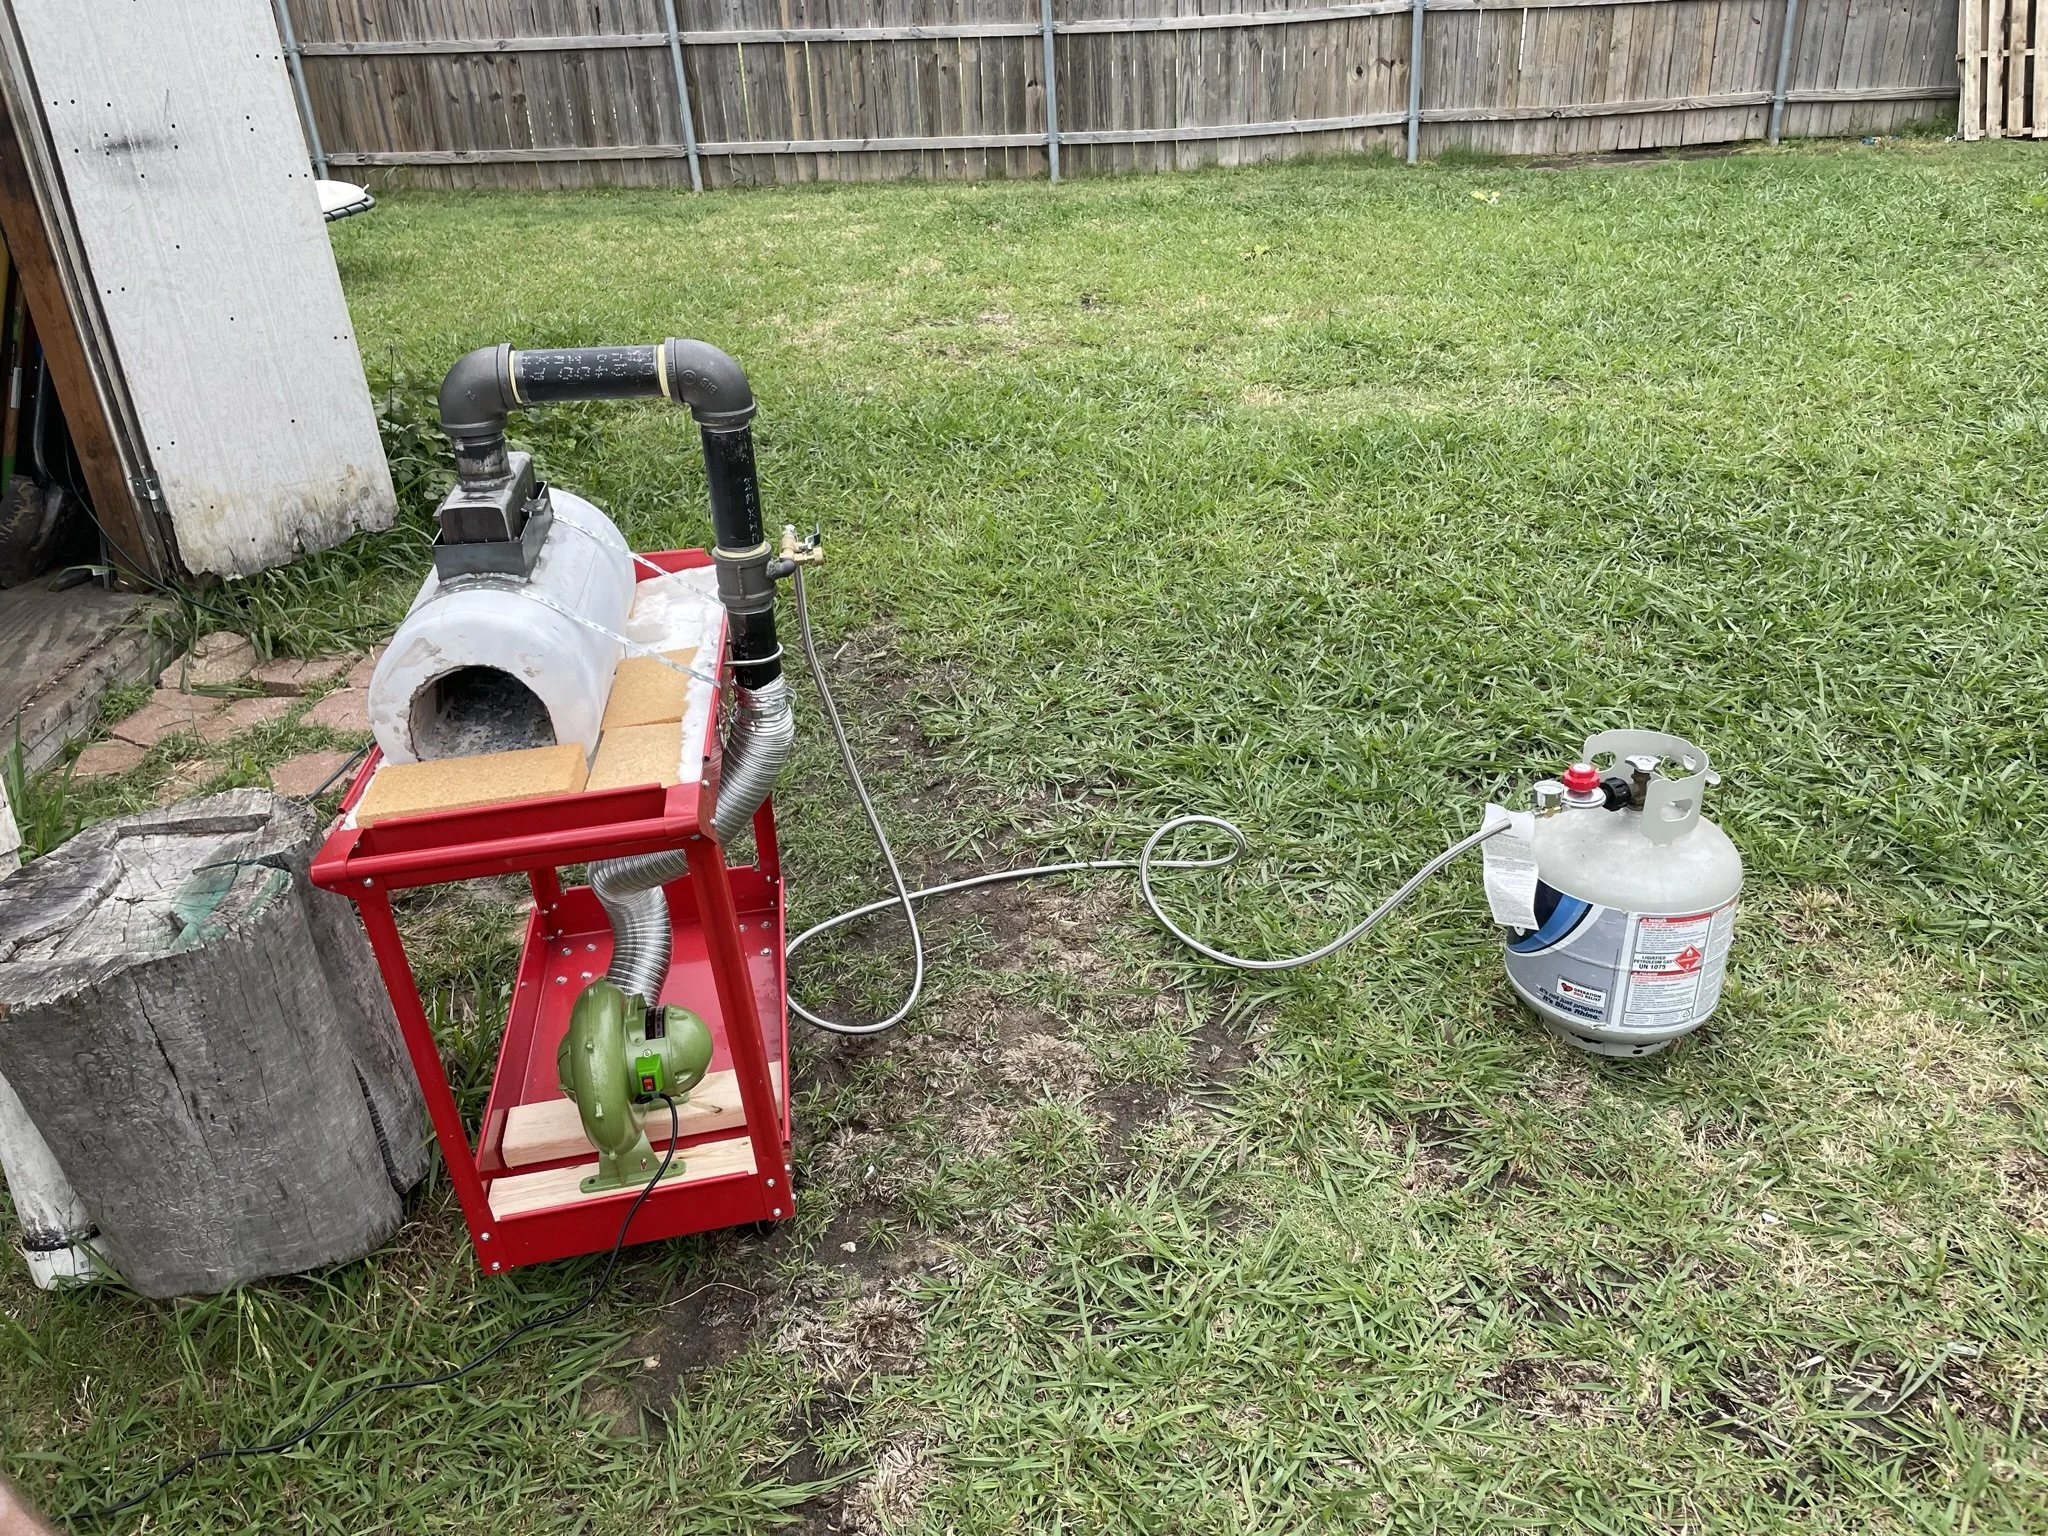
The new setup all put together.
-
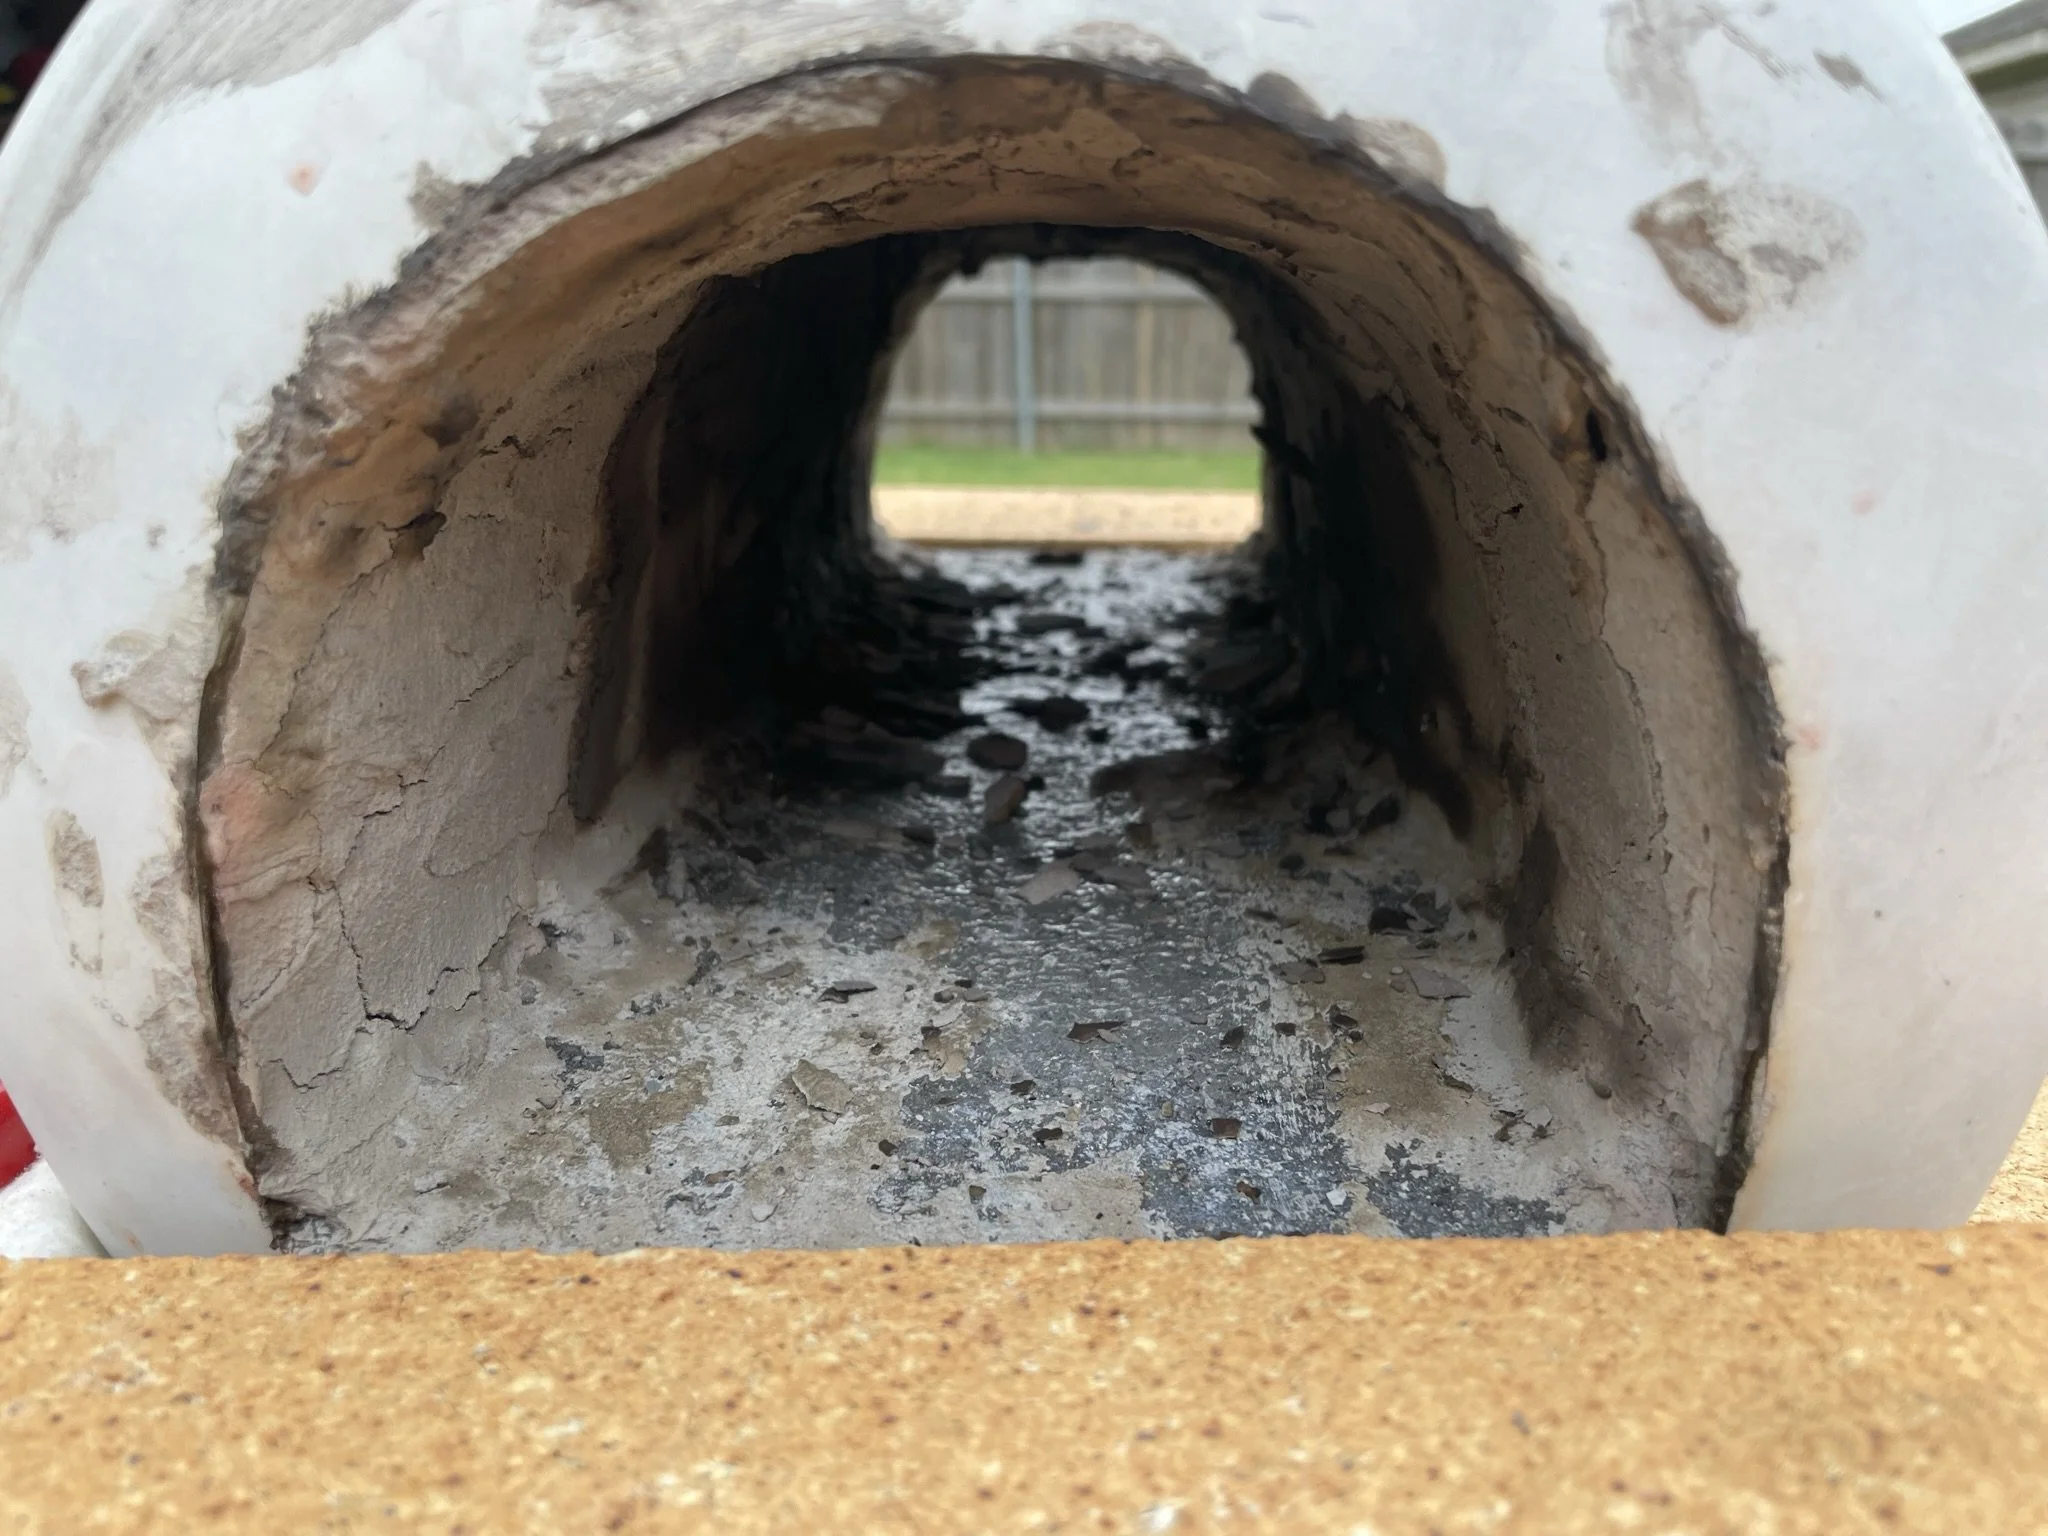
Kao wool all coated and a layer of refractory cement on the bottom.
-
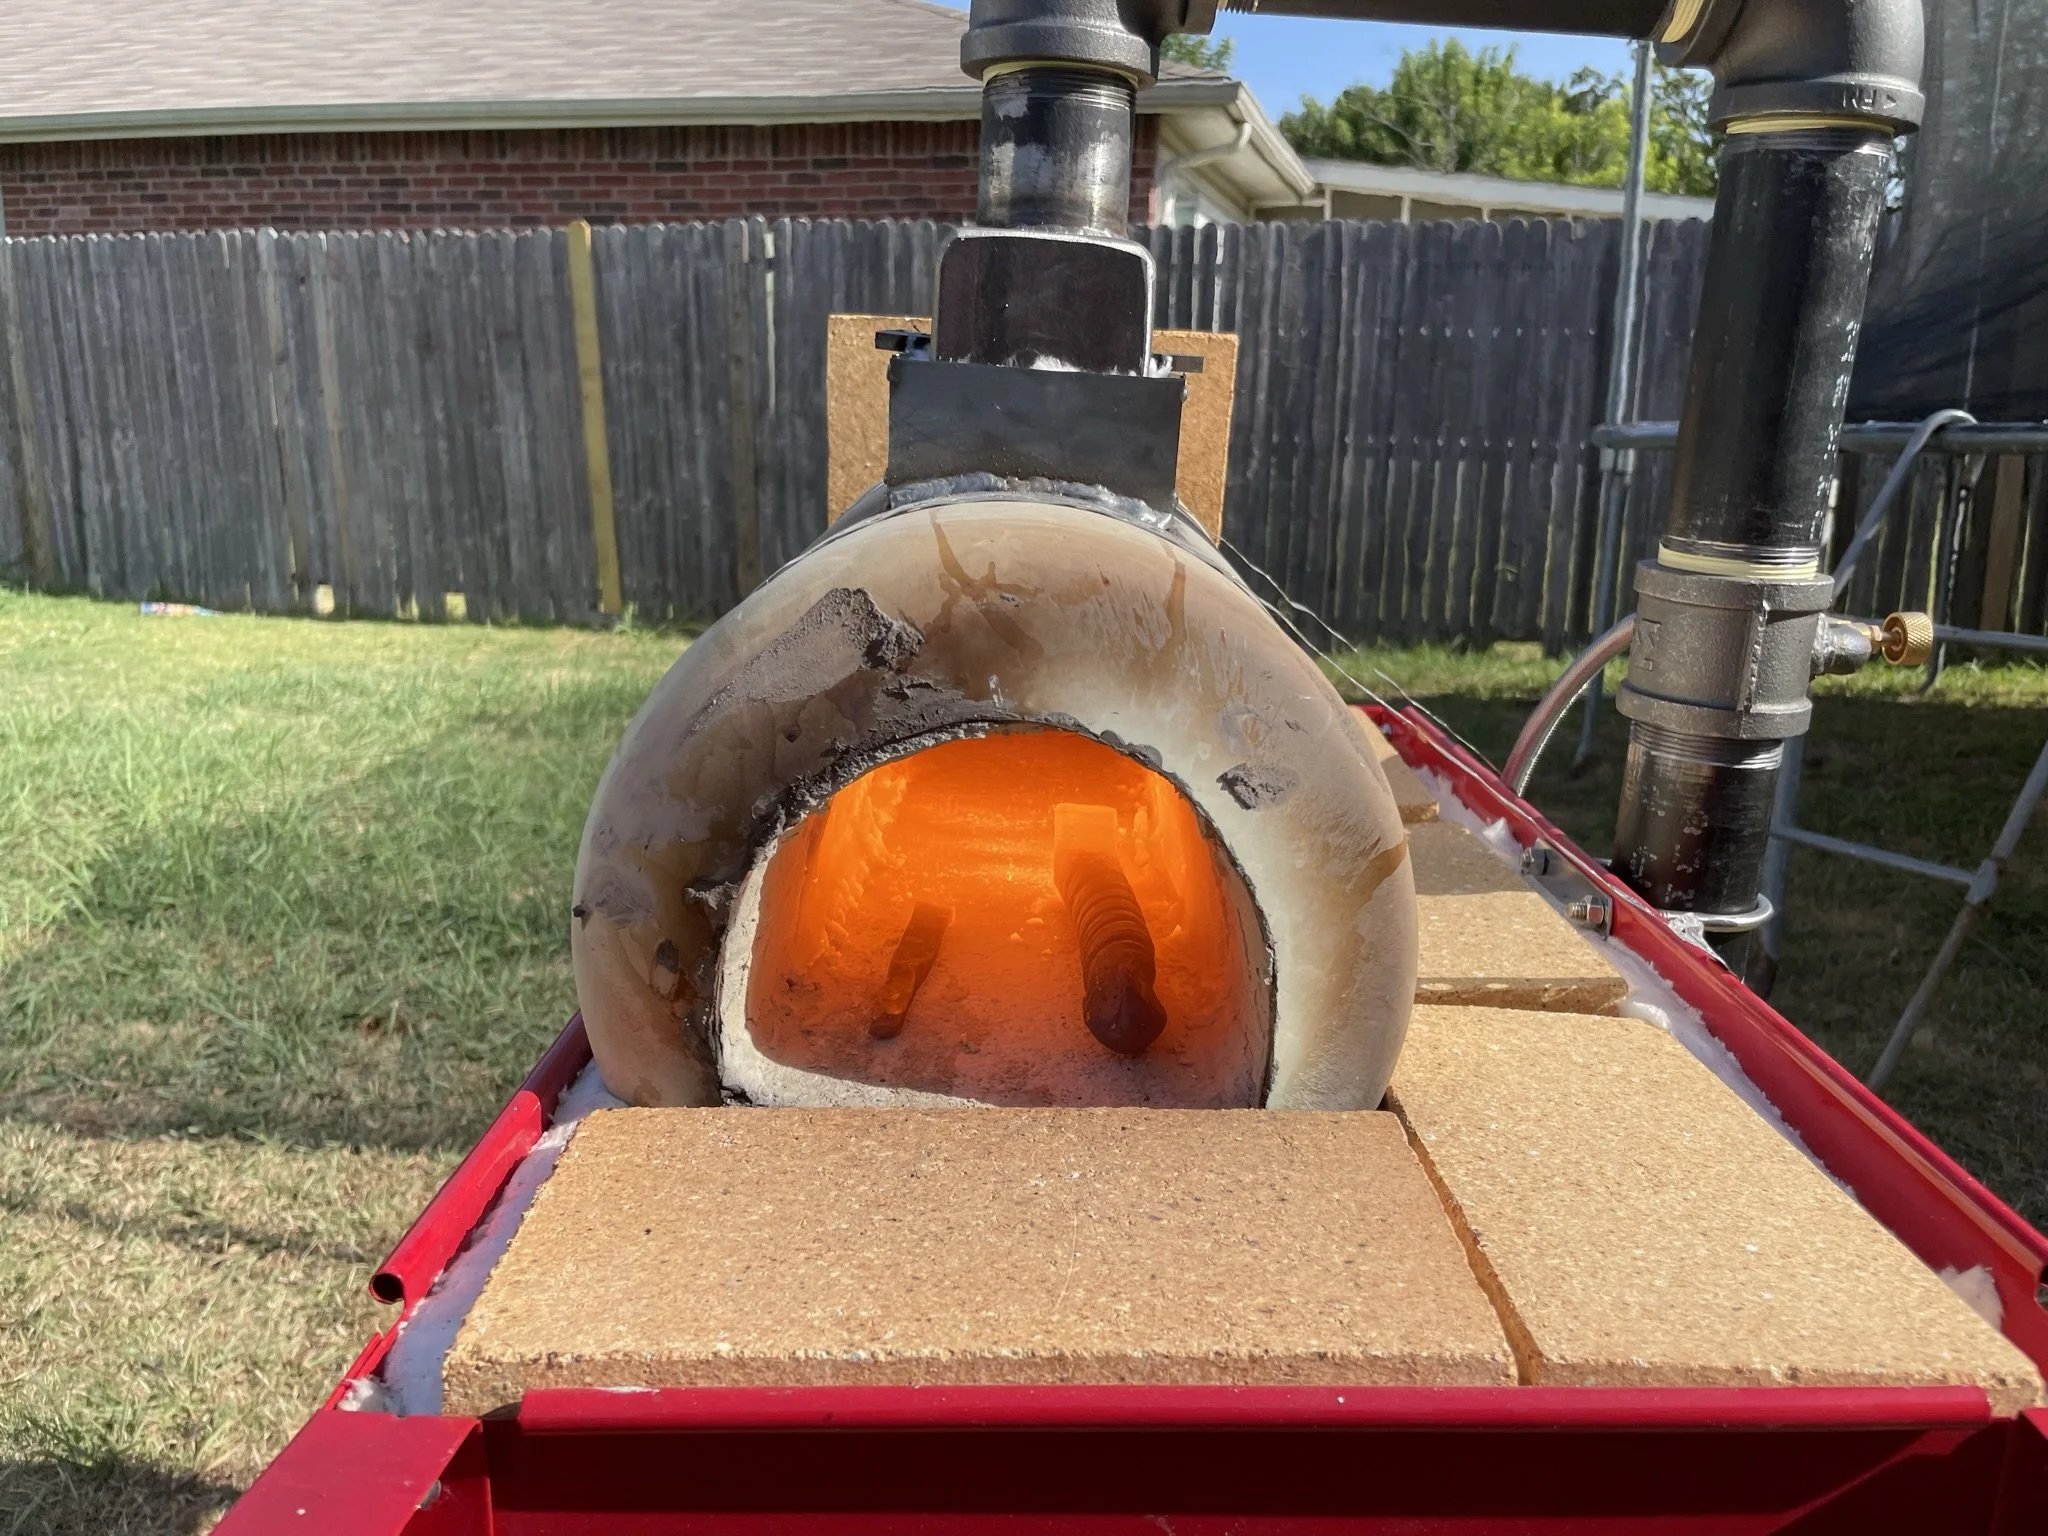
Ready to light.
-
Still forging outdoors, but the new forge was a treat.
-
Final glamour shot.
Kevin T. - Gut Hook Hunter
-
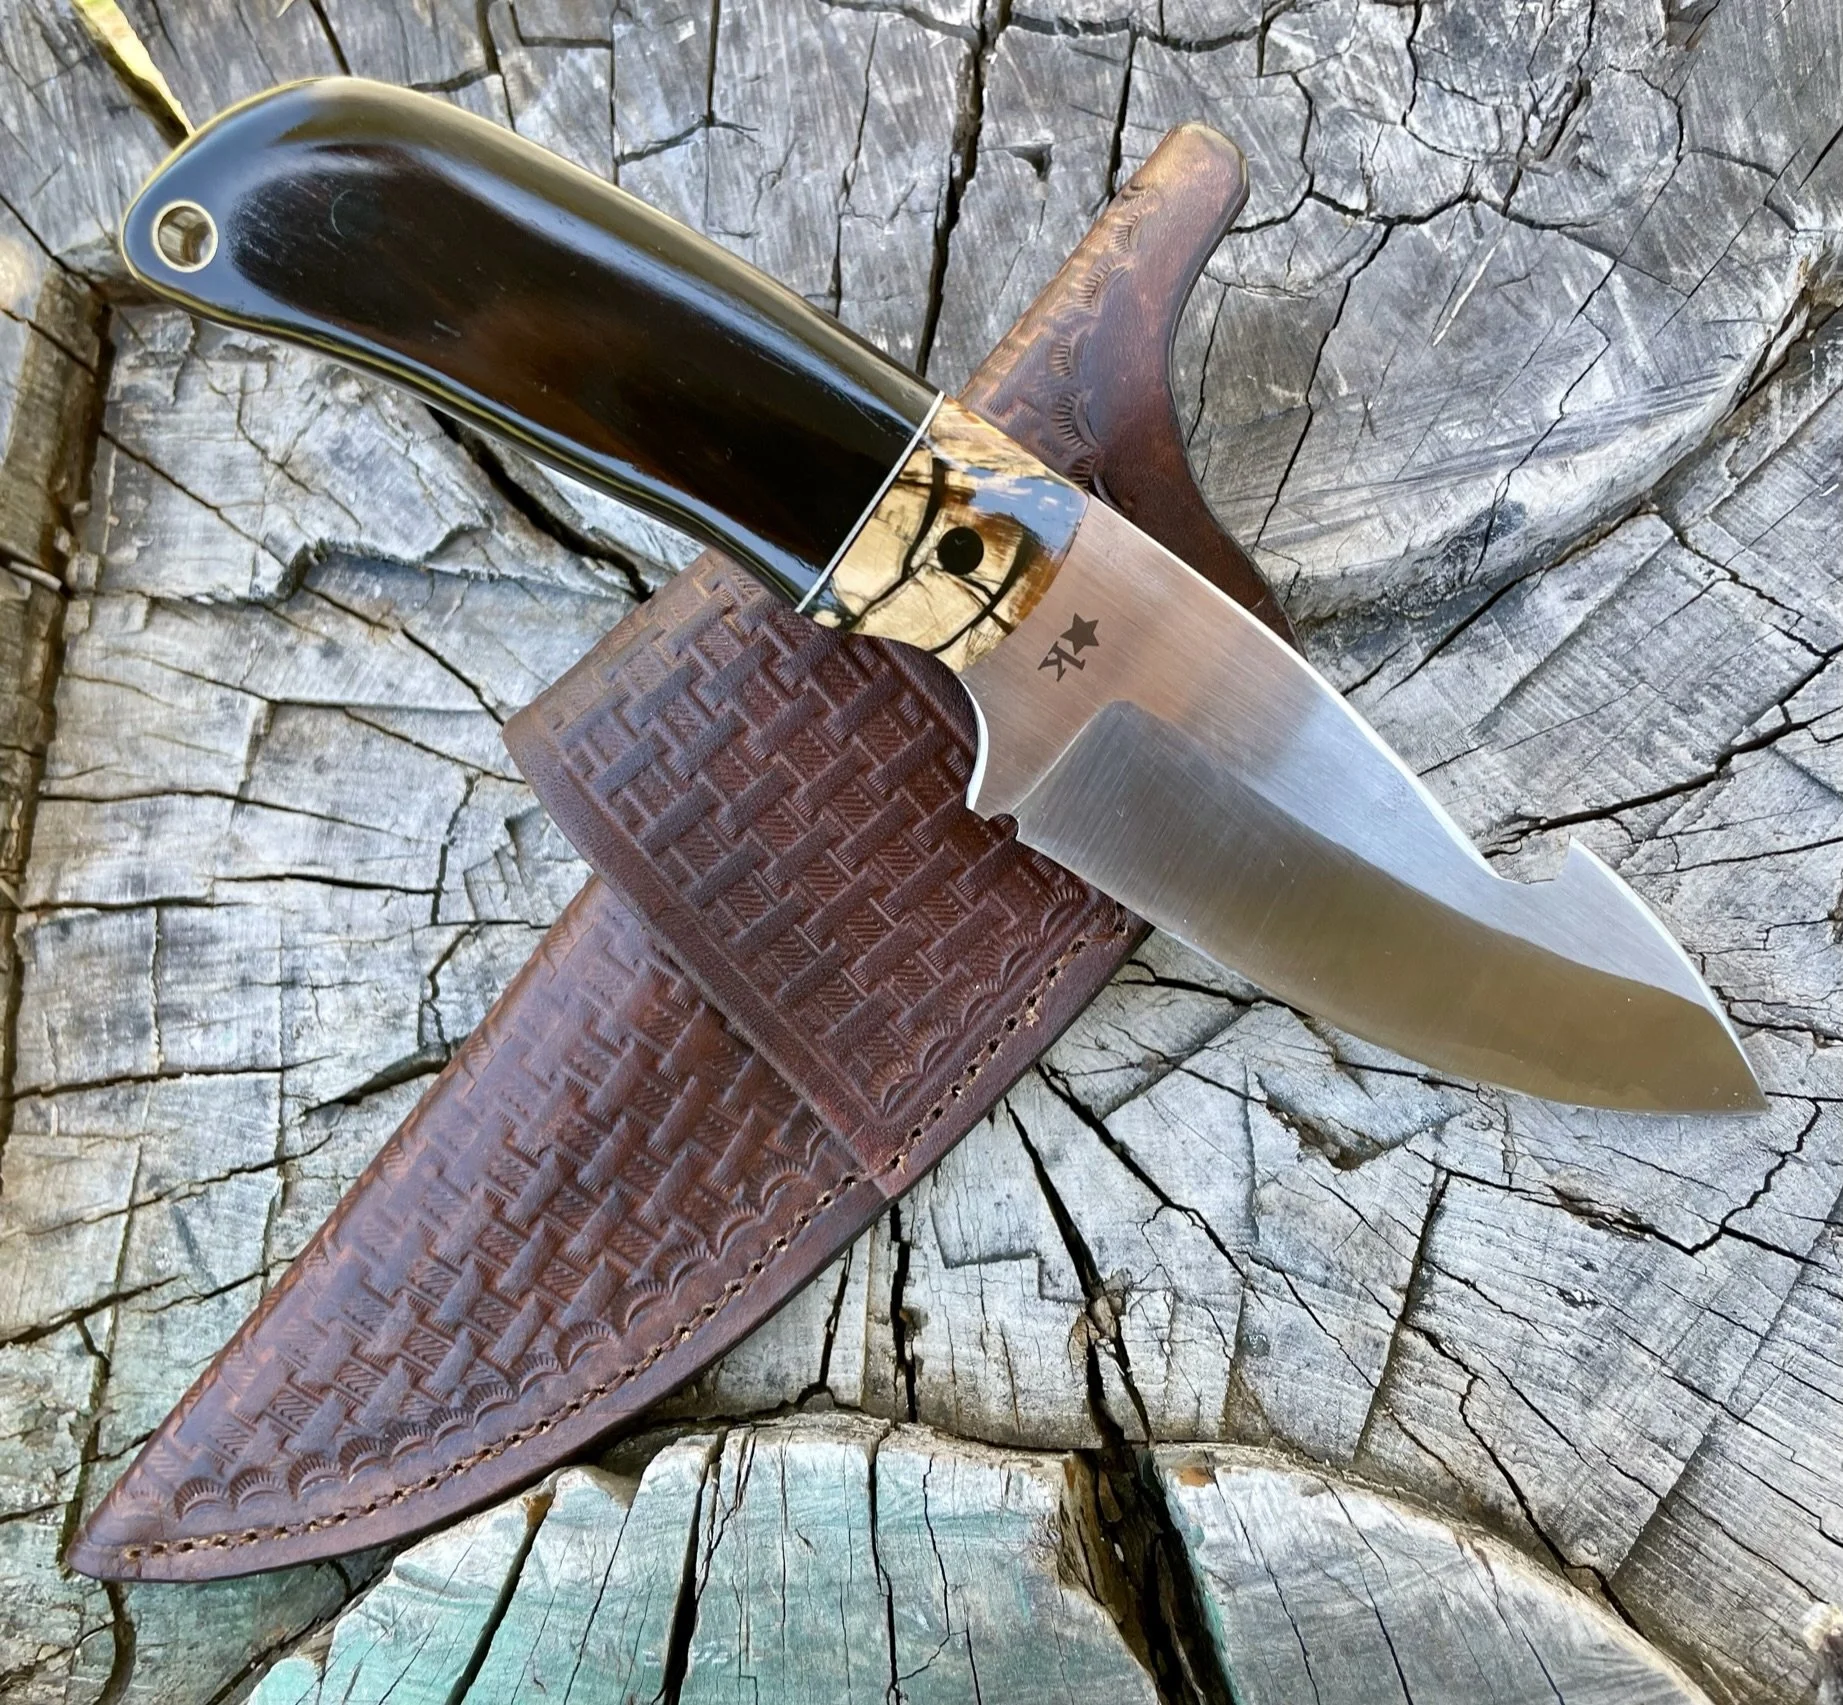
Final blade - keep scrolling to see the journey.
-
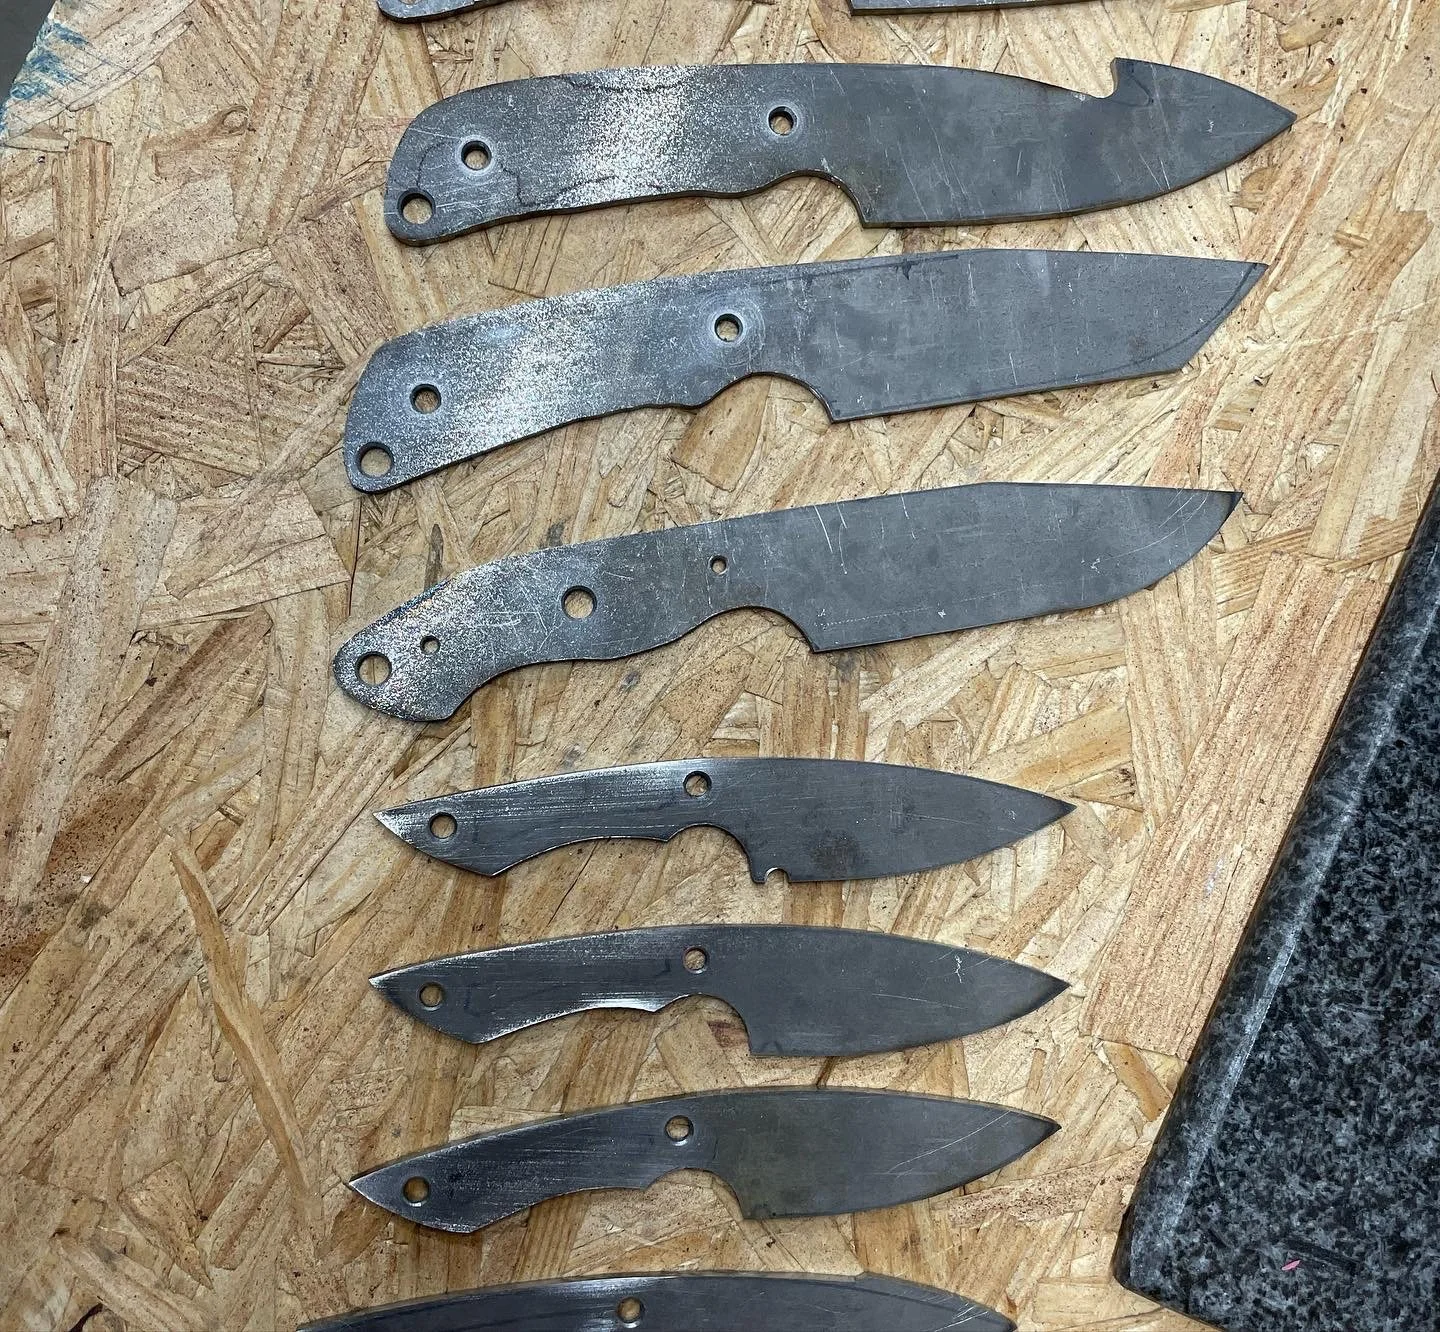
I decided that I wanted to have some "portfolio" knives to show people examples of what I could make. I used one of these for this blade.
-
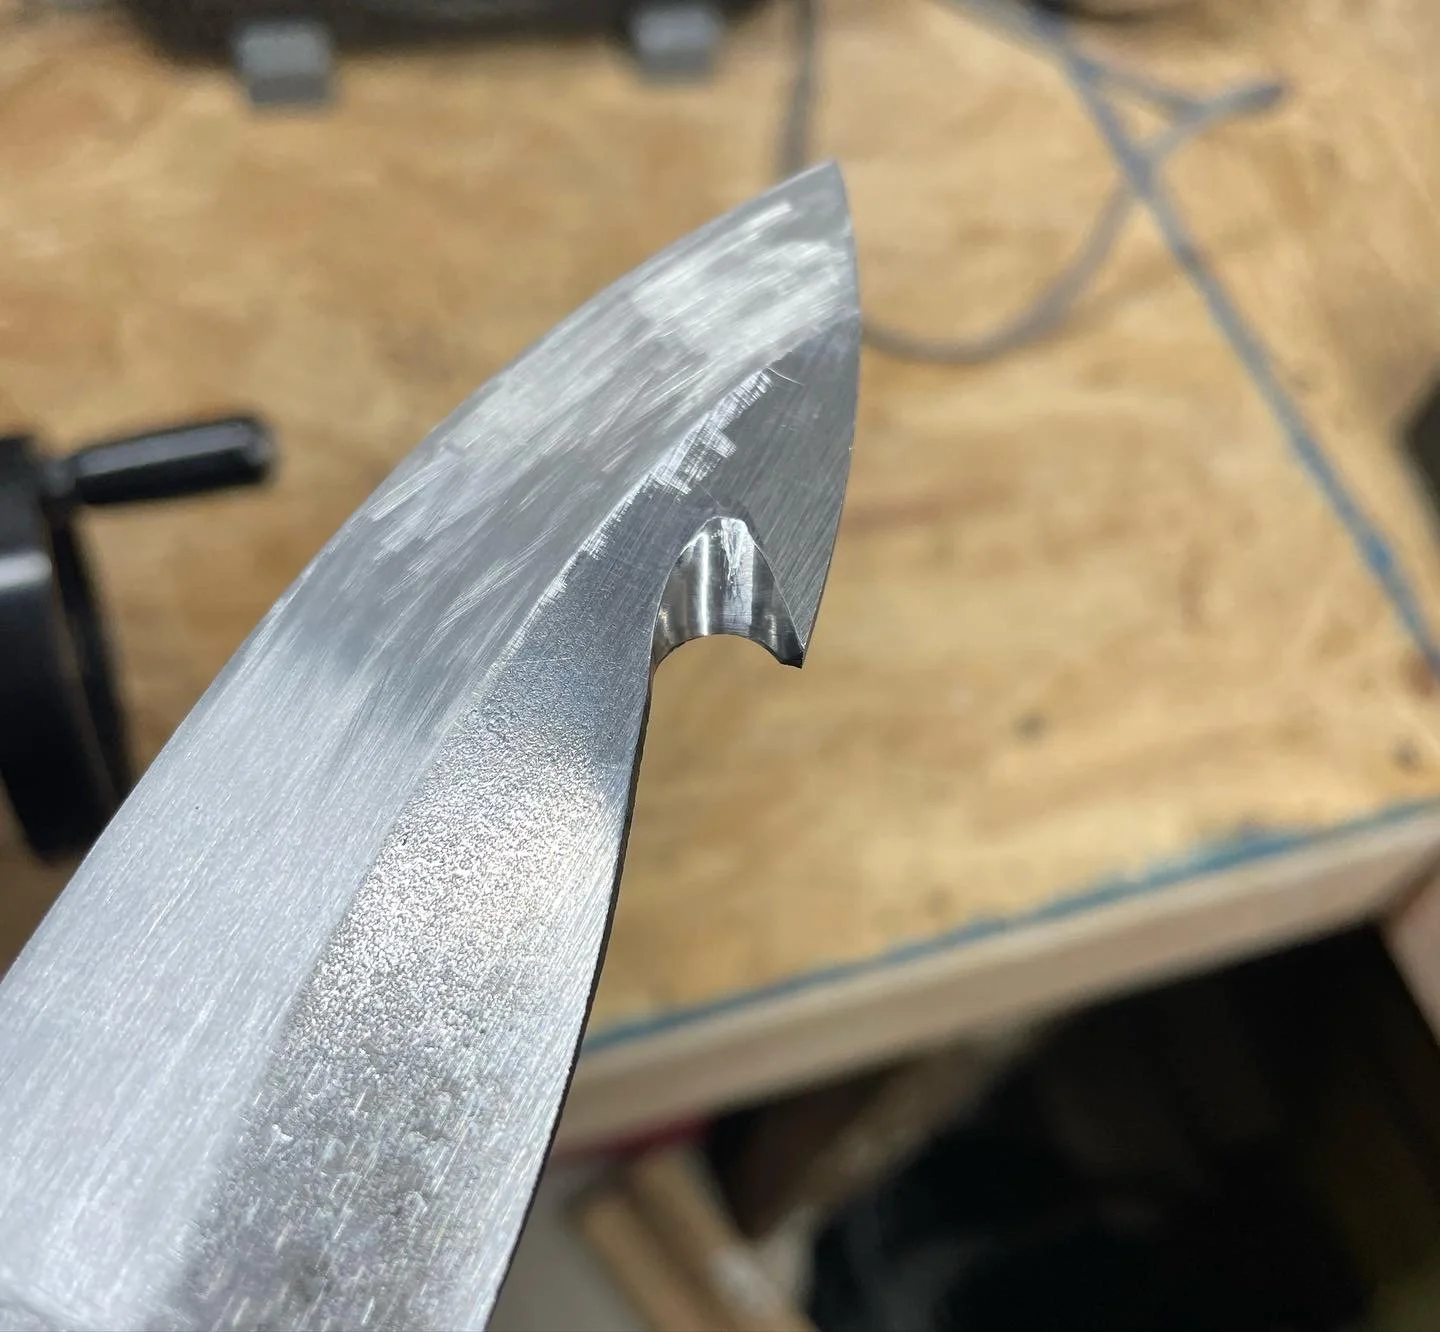
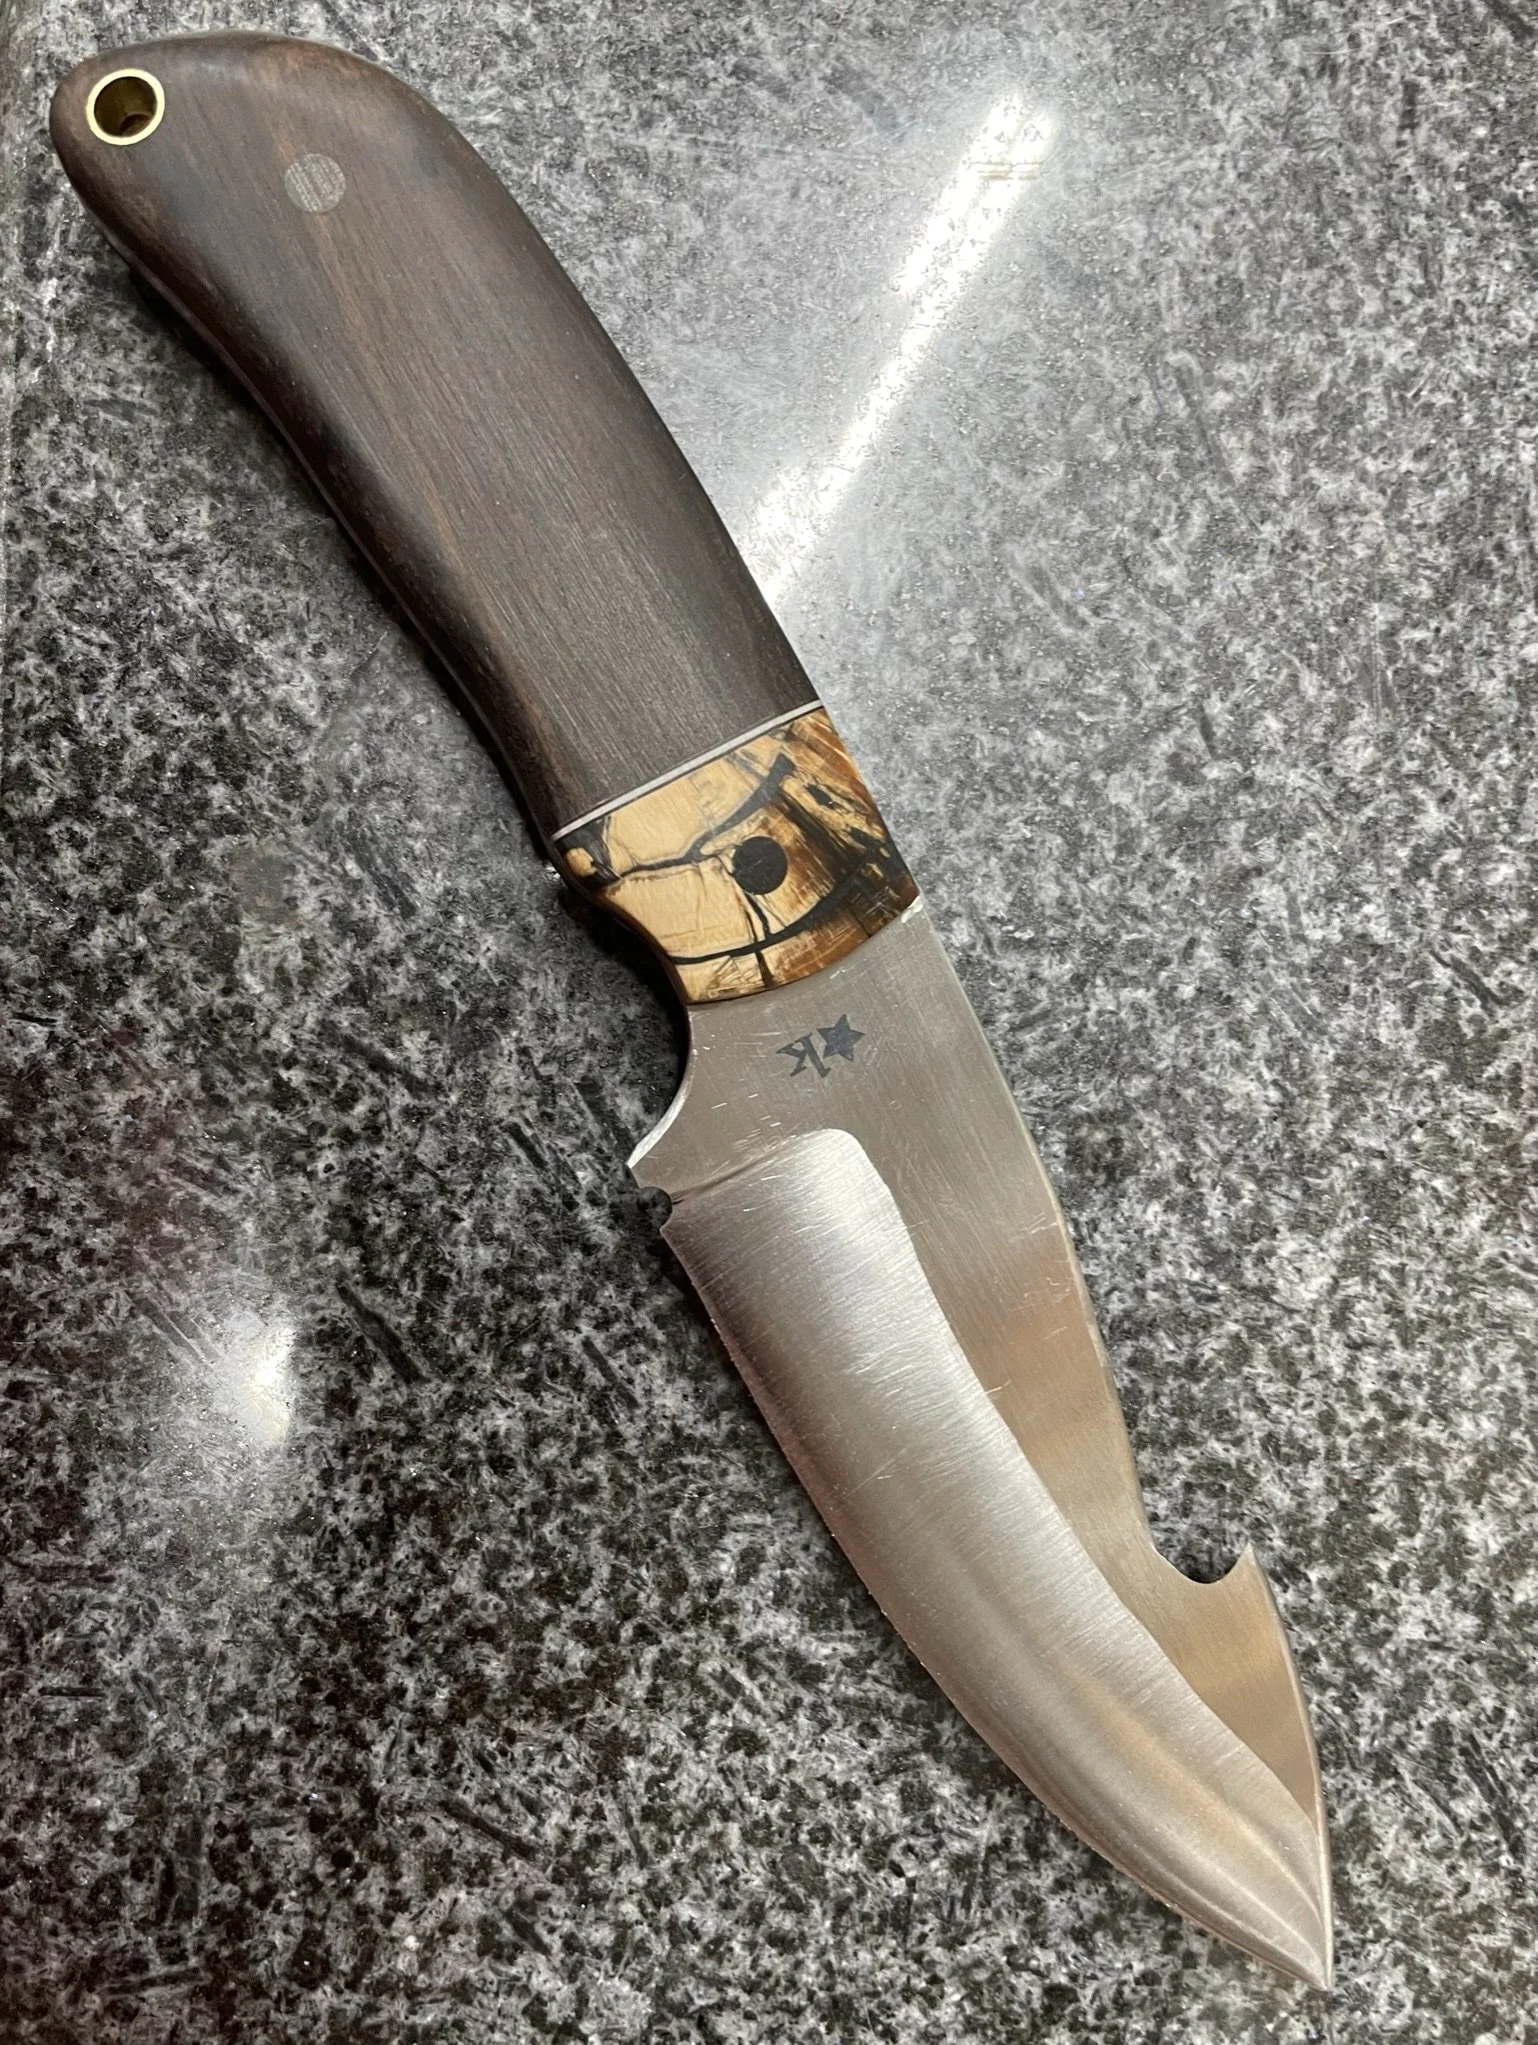
Bevels and my first gut hook.
-
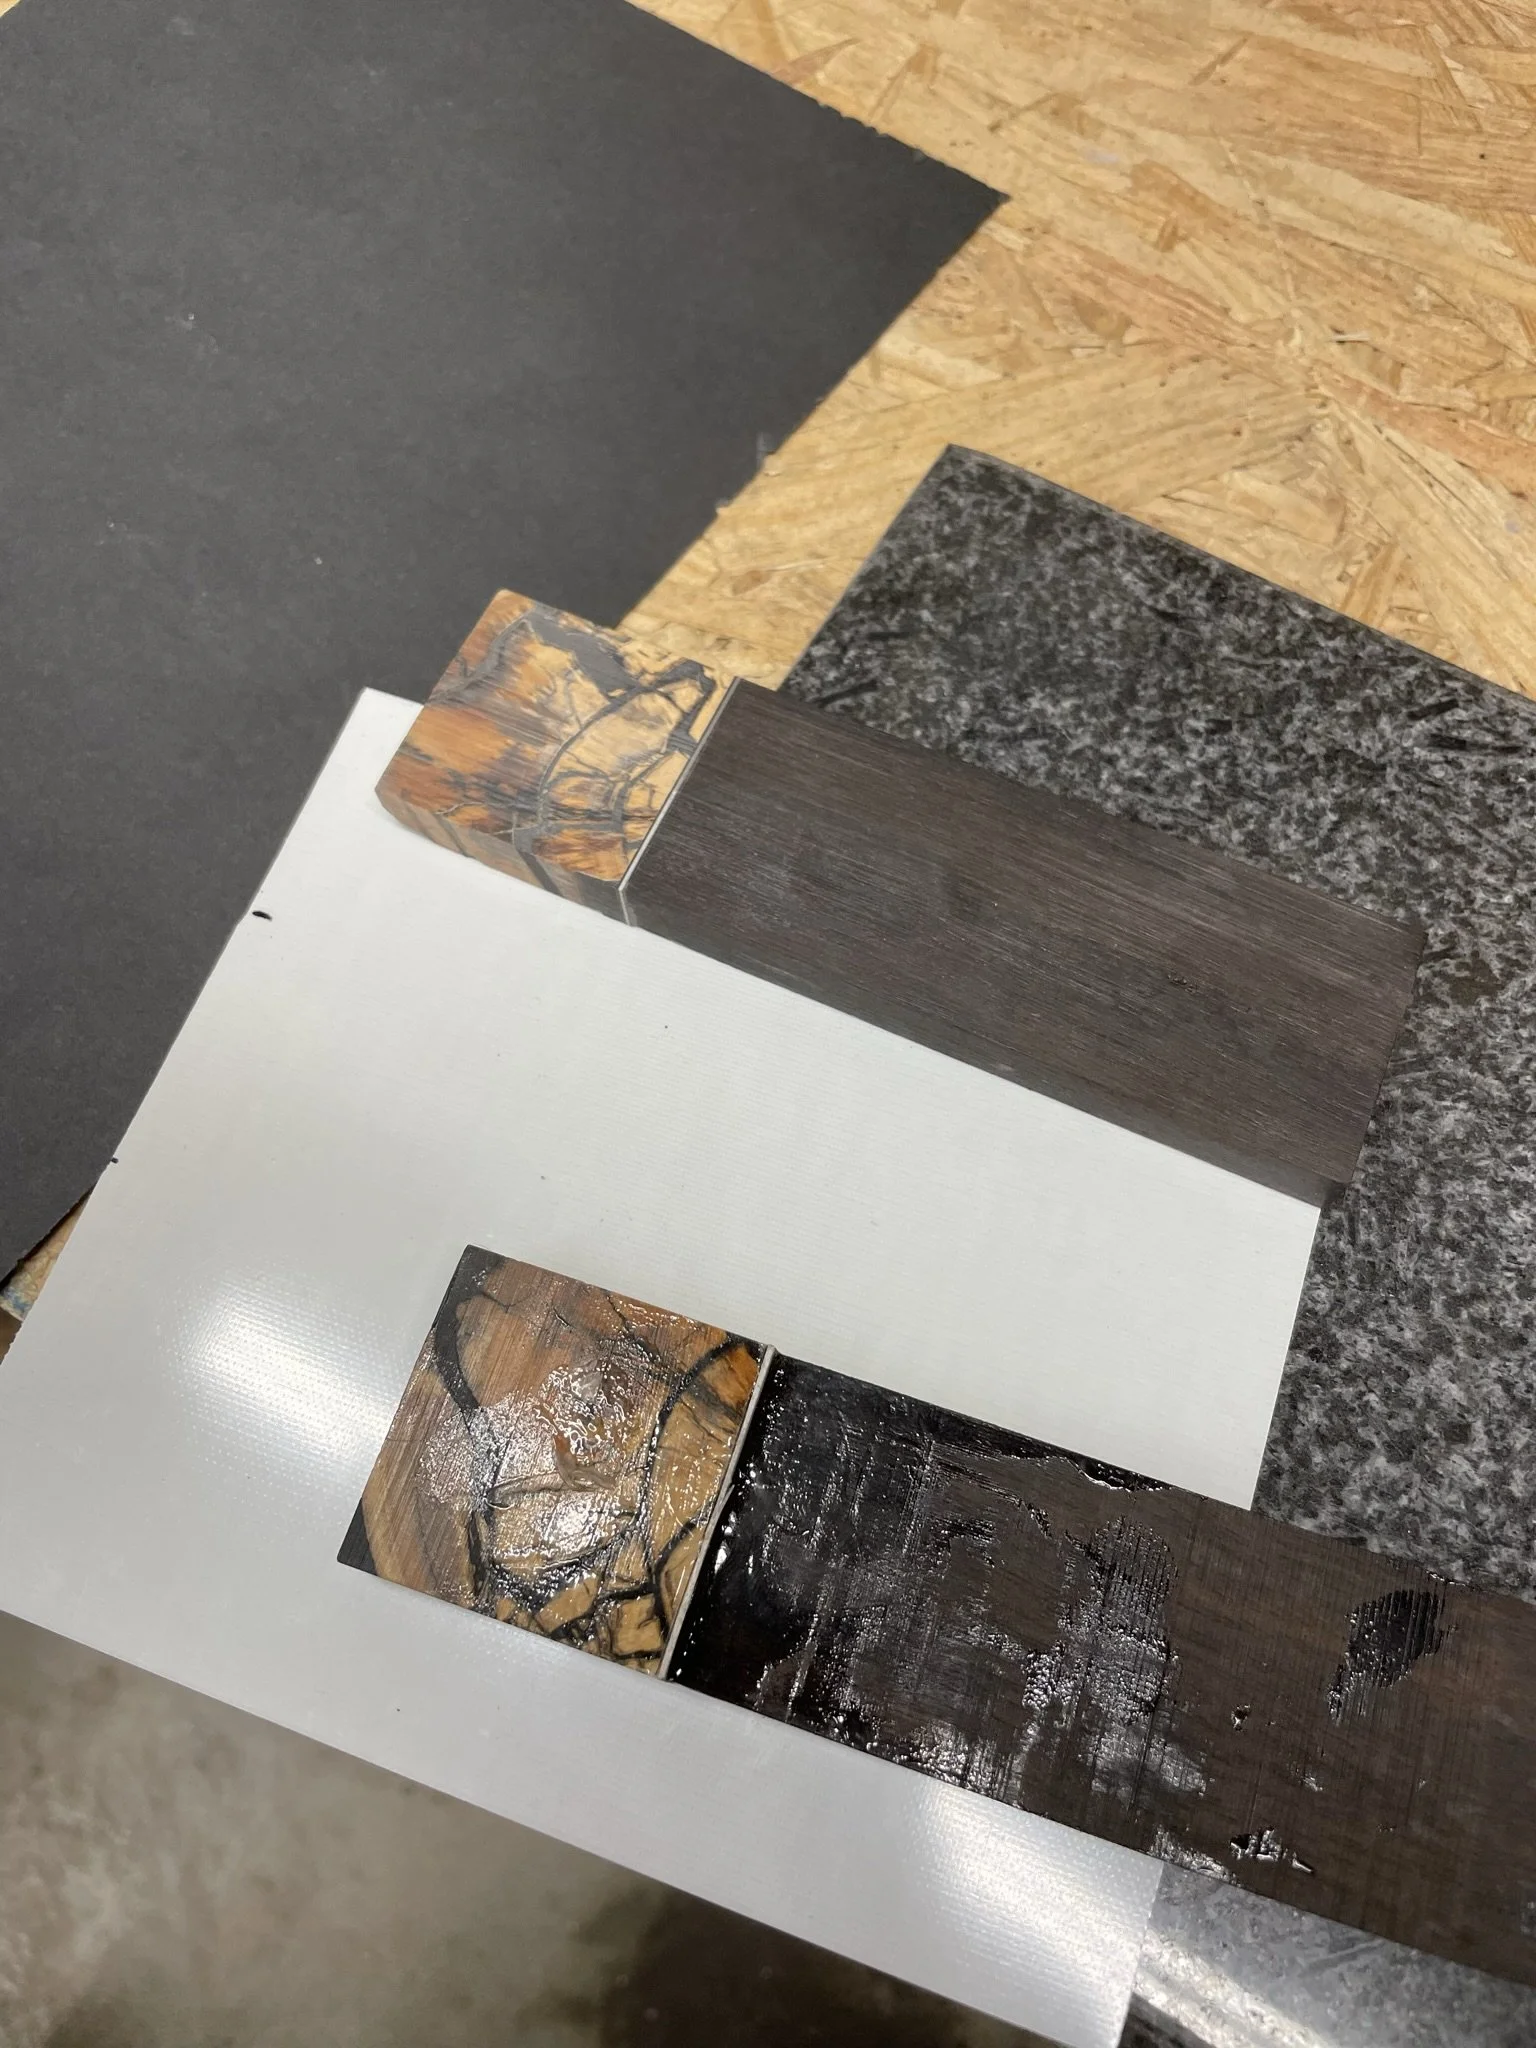
Segmented scales using ebony, G-10 and stabilized mammoth ivory.
-
Blade and handles ready for glue up.
-
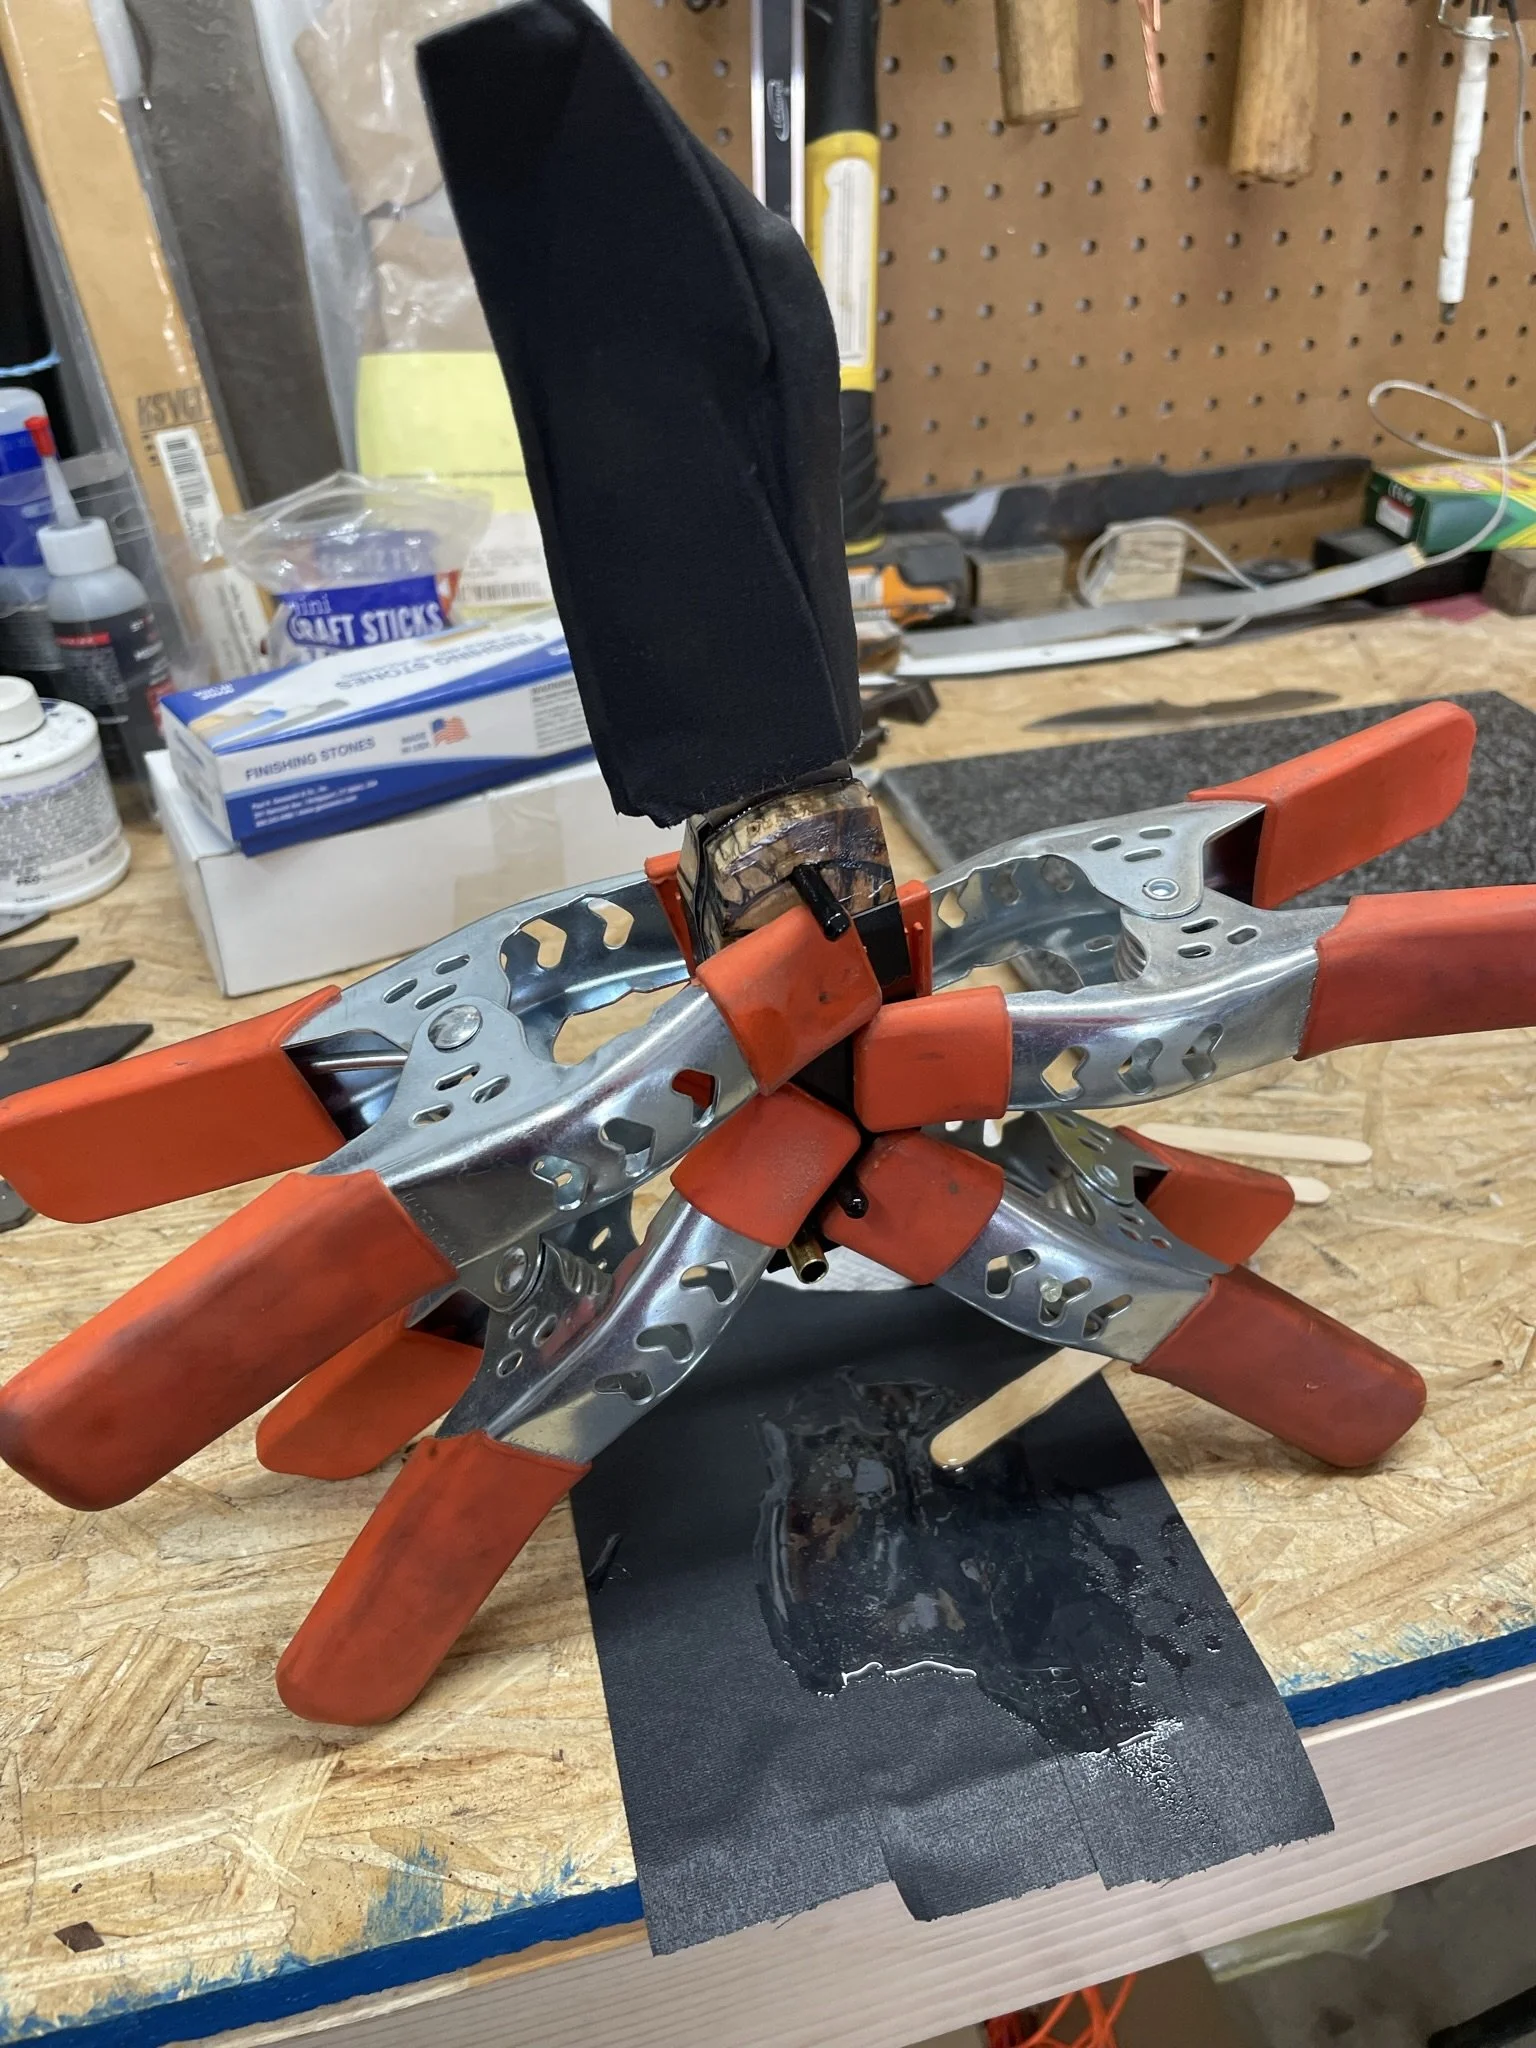
Classic glue up techniques.
-
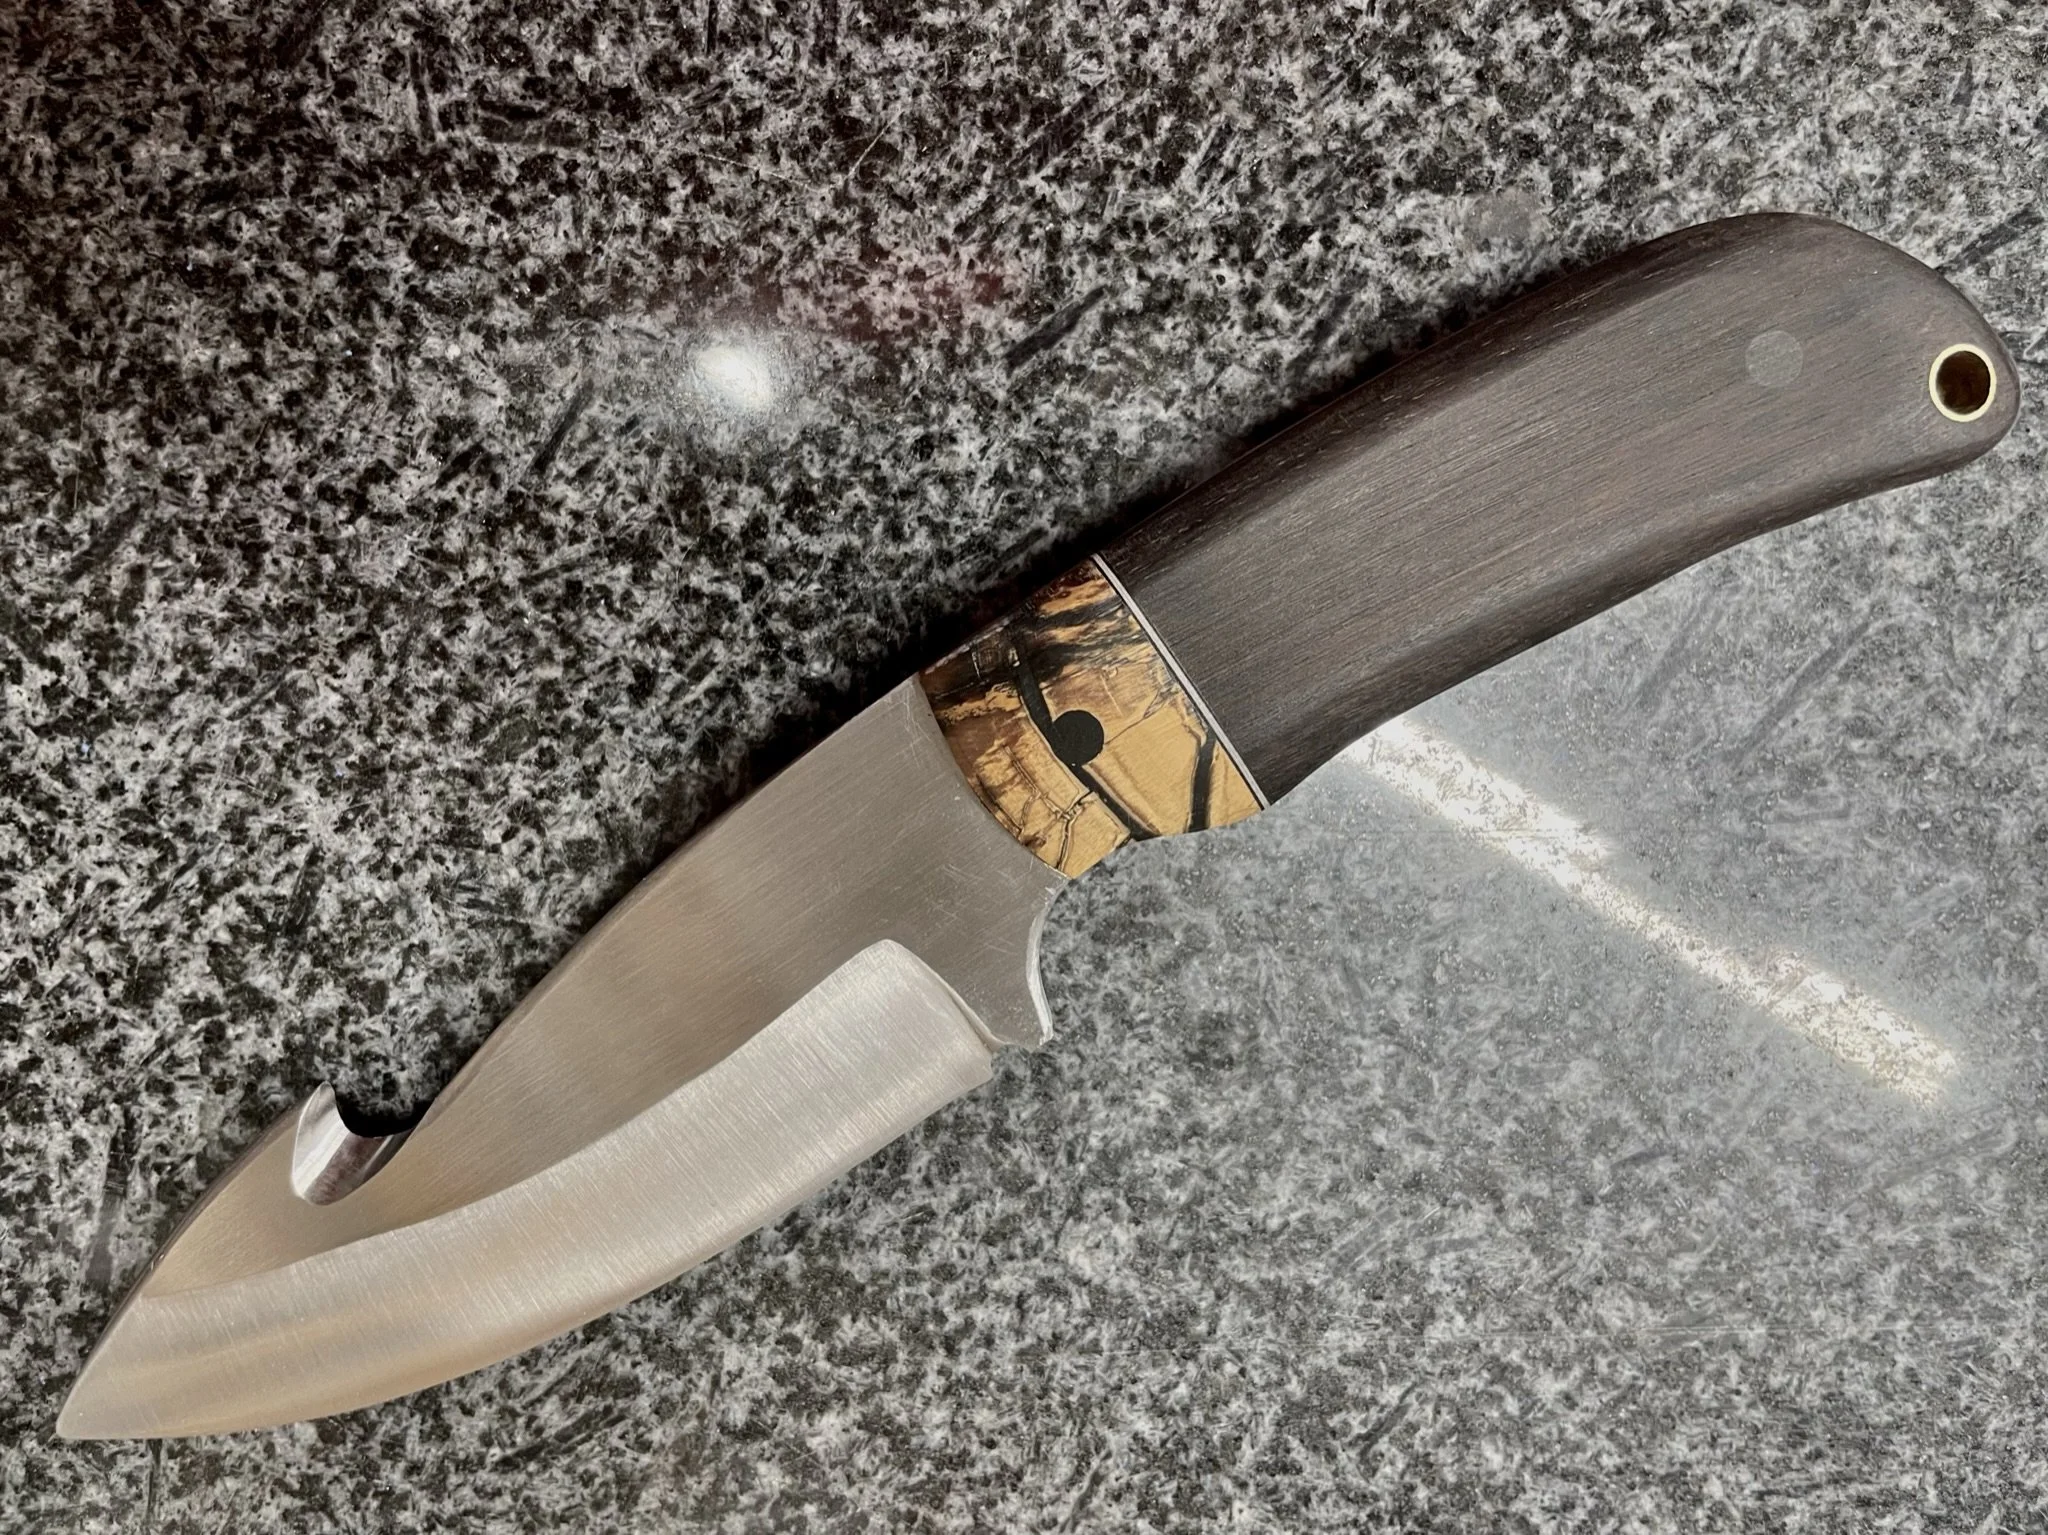
Finished knife.
-
Another angle of the finished knife.
-
Shoulder view.
-
Bolster view. Love using vulcanized paper to help the liners pop. This is a trick I learned from Austin M.
-
![]()
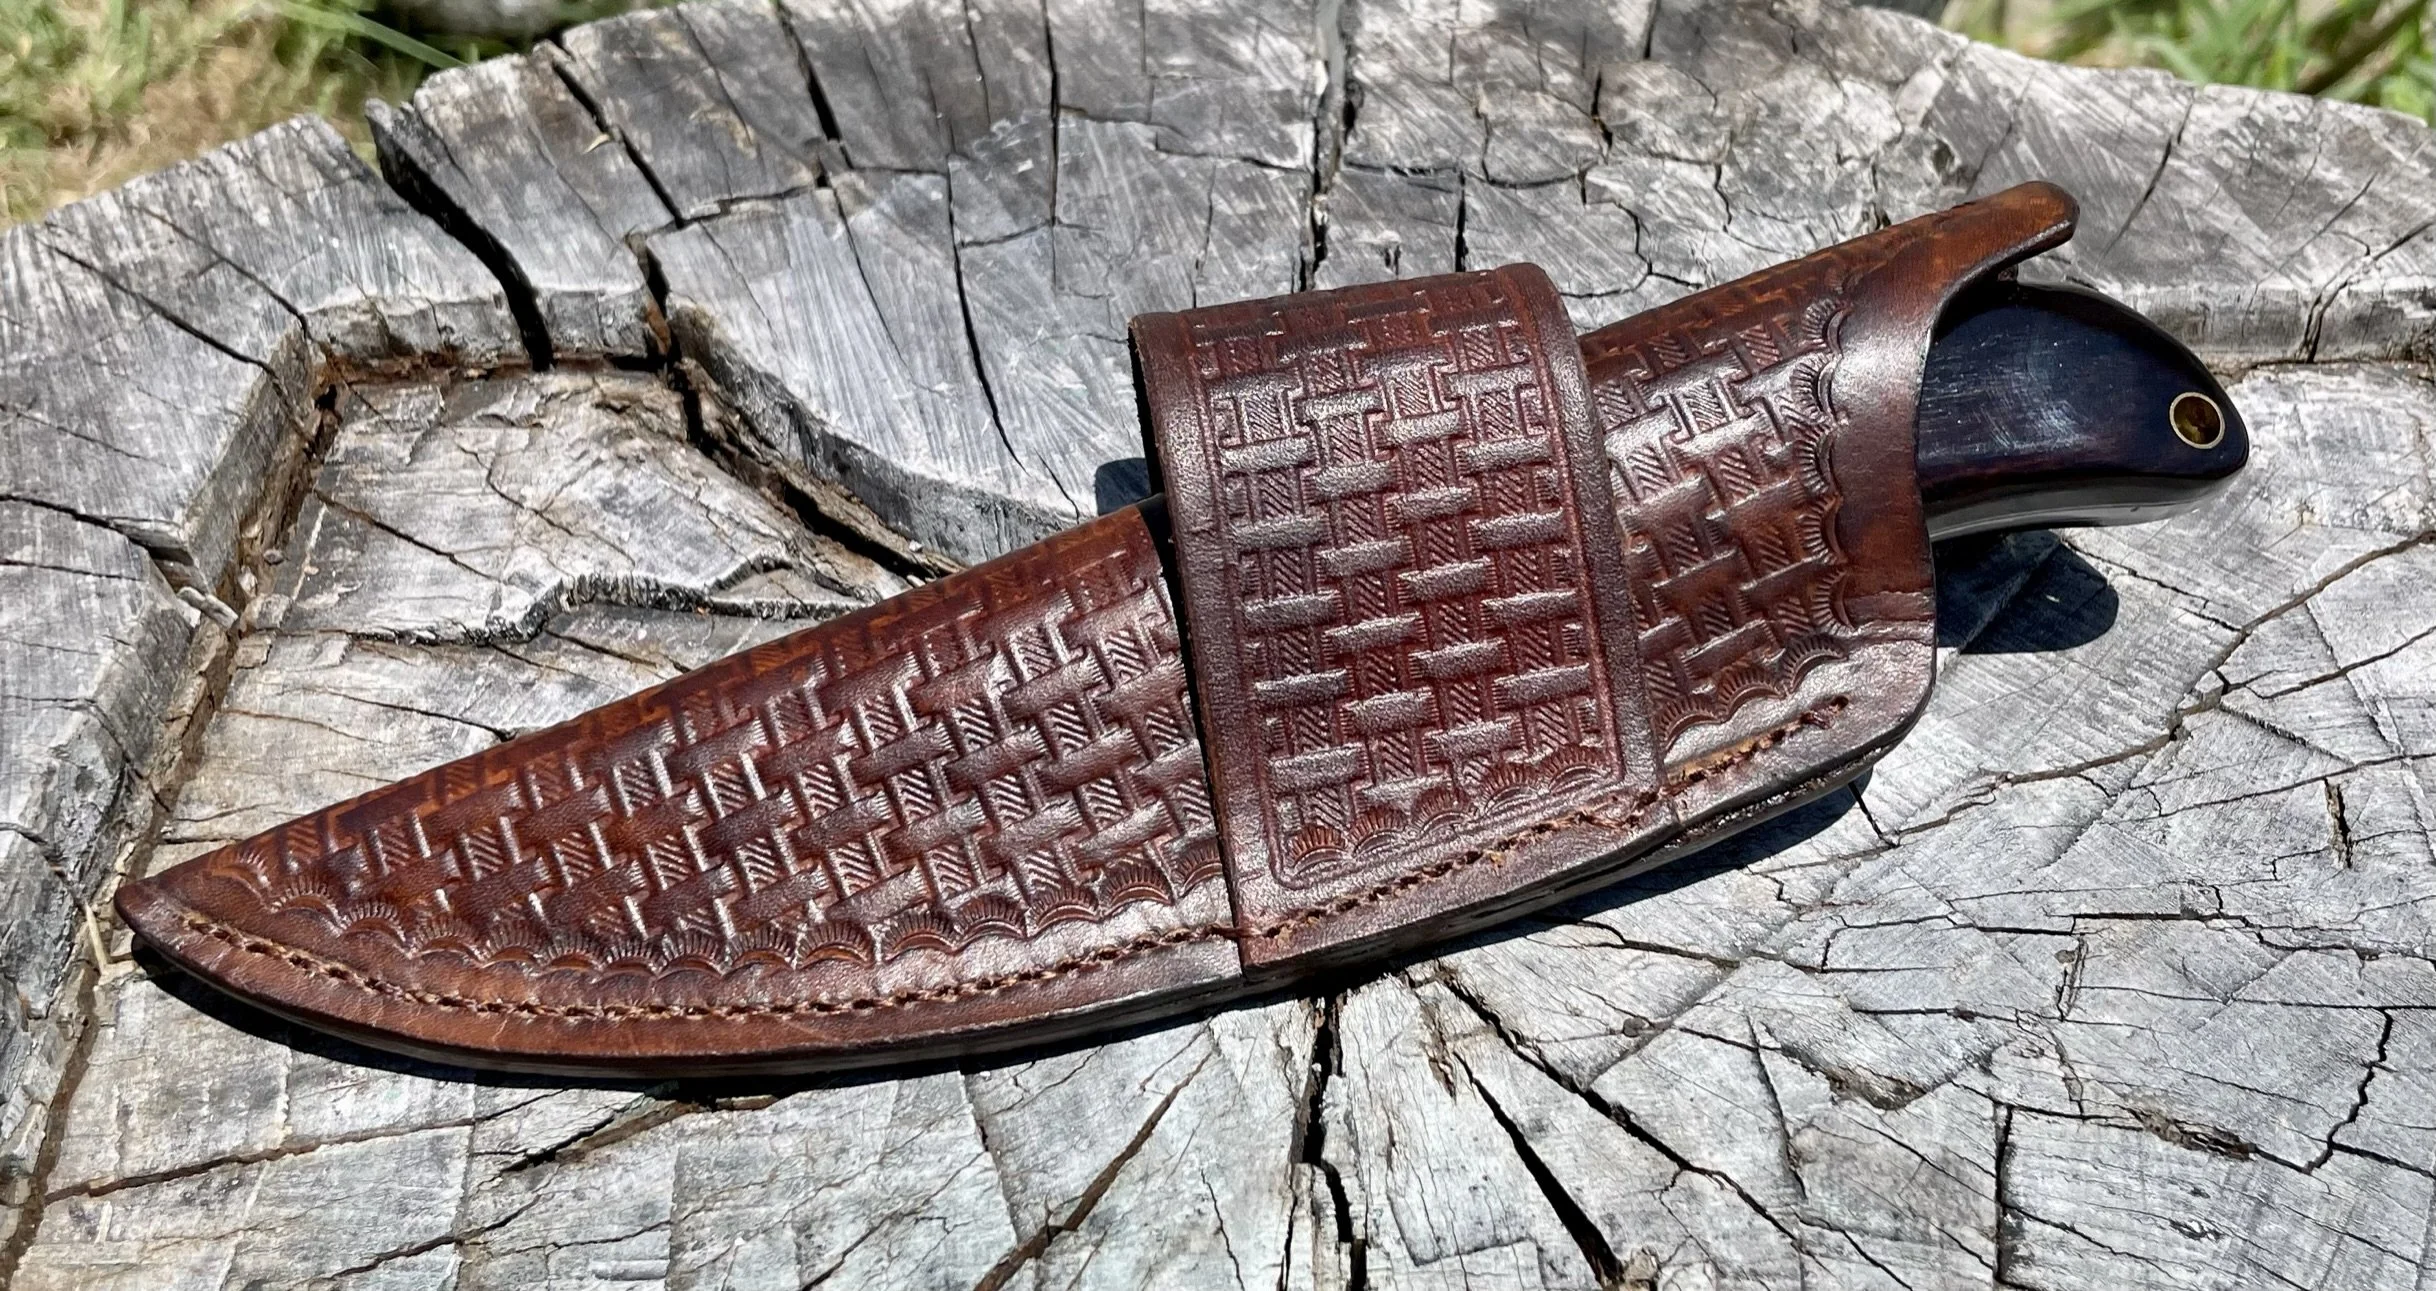
Starting to make fancier sheaths.
-
Finished stamping.
-
Dyed sheath.
-
Finished knife in sheath.
-
![]()
Glamour shot #1.
-
Glamour Shot #2.
Mariano A. - Suit Knife
-
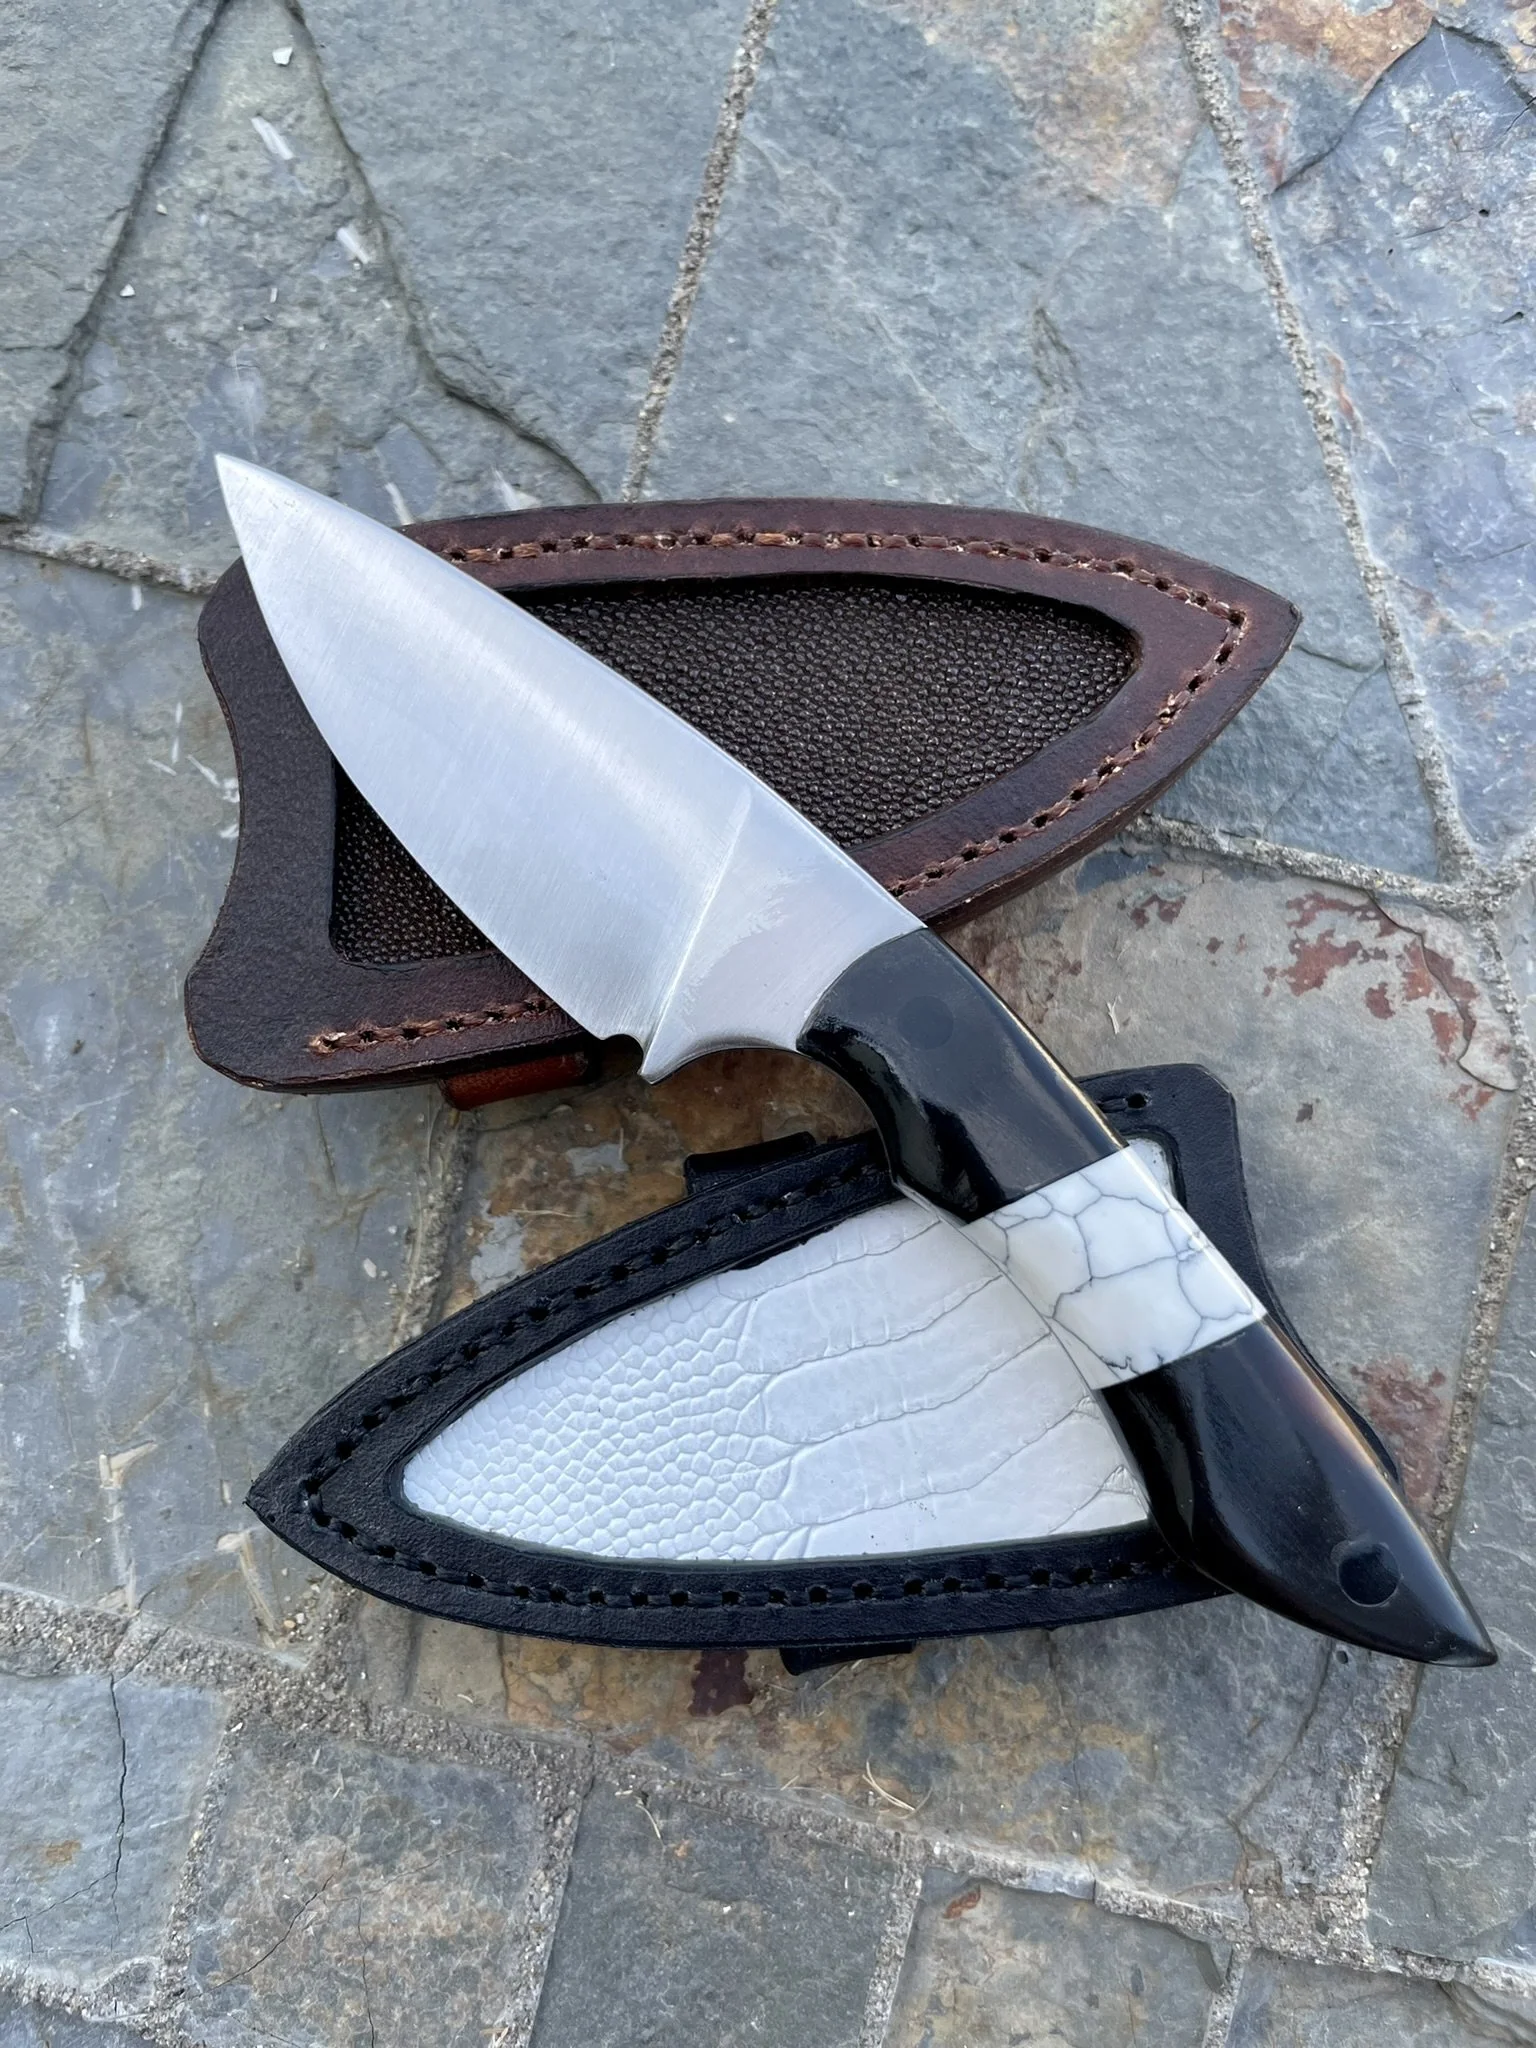
Final blade - keep scrolling to see the journey.
-
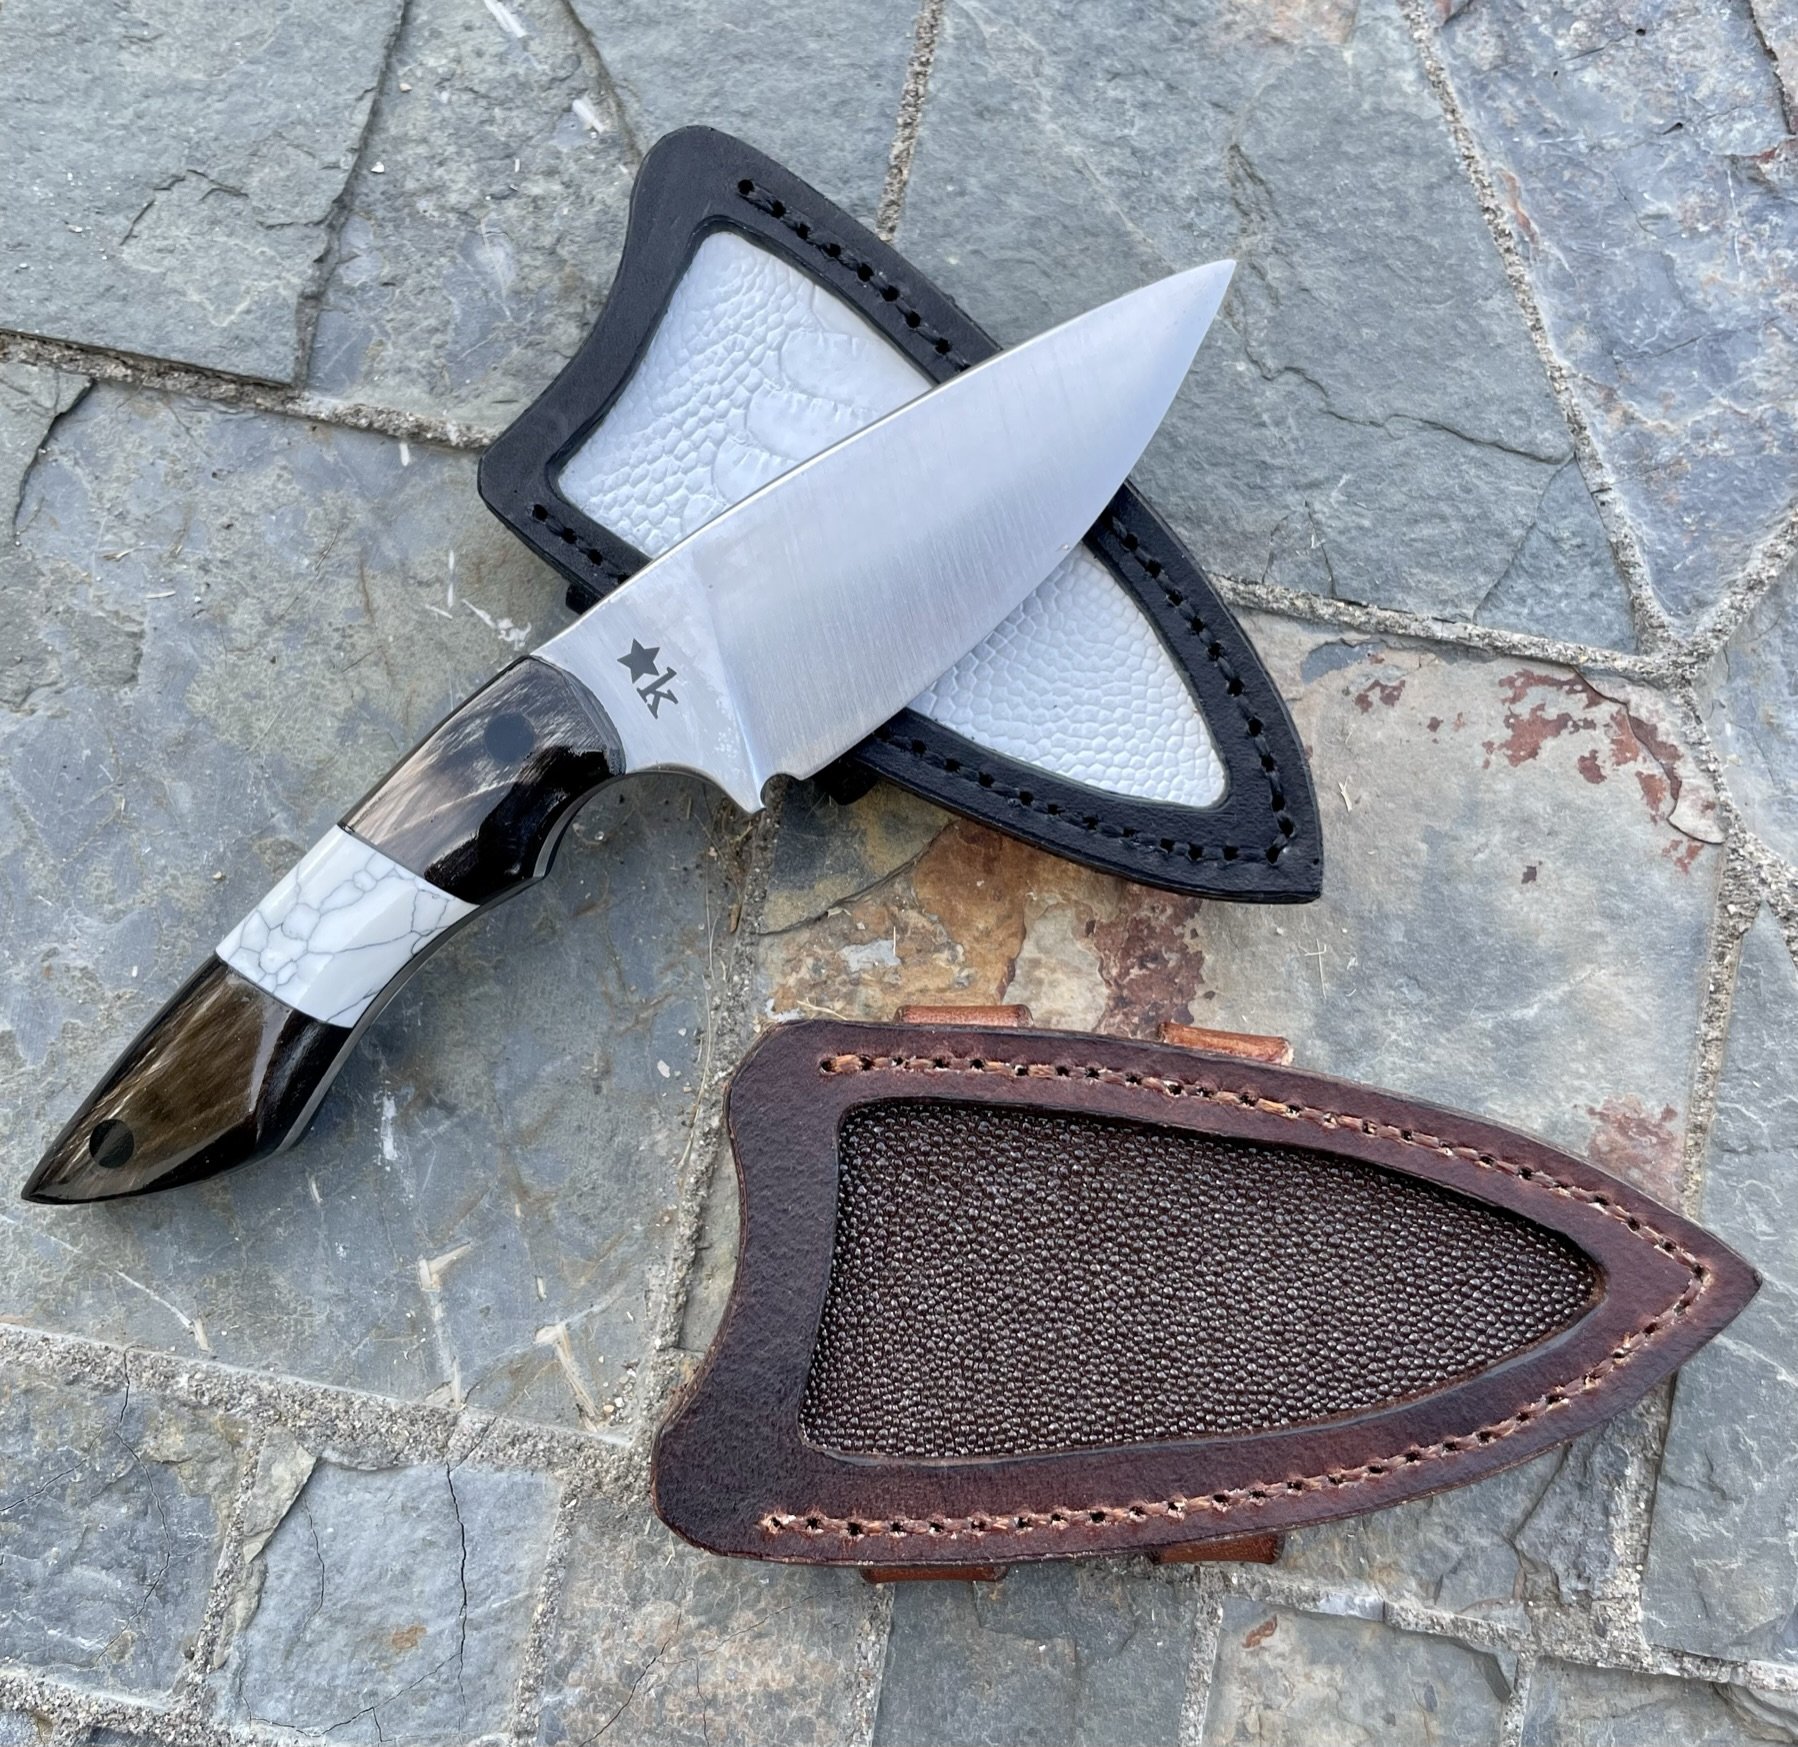
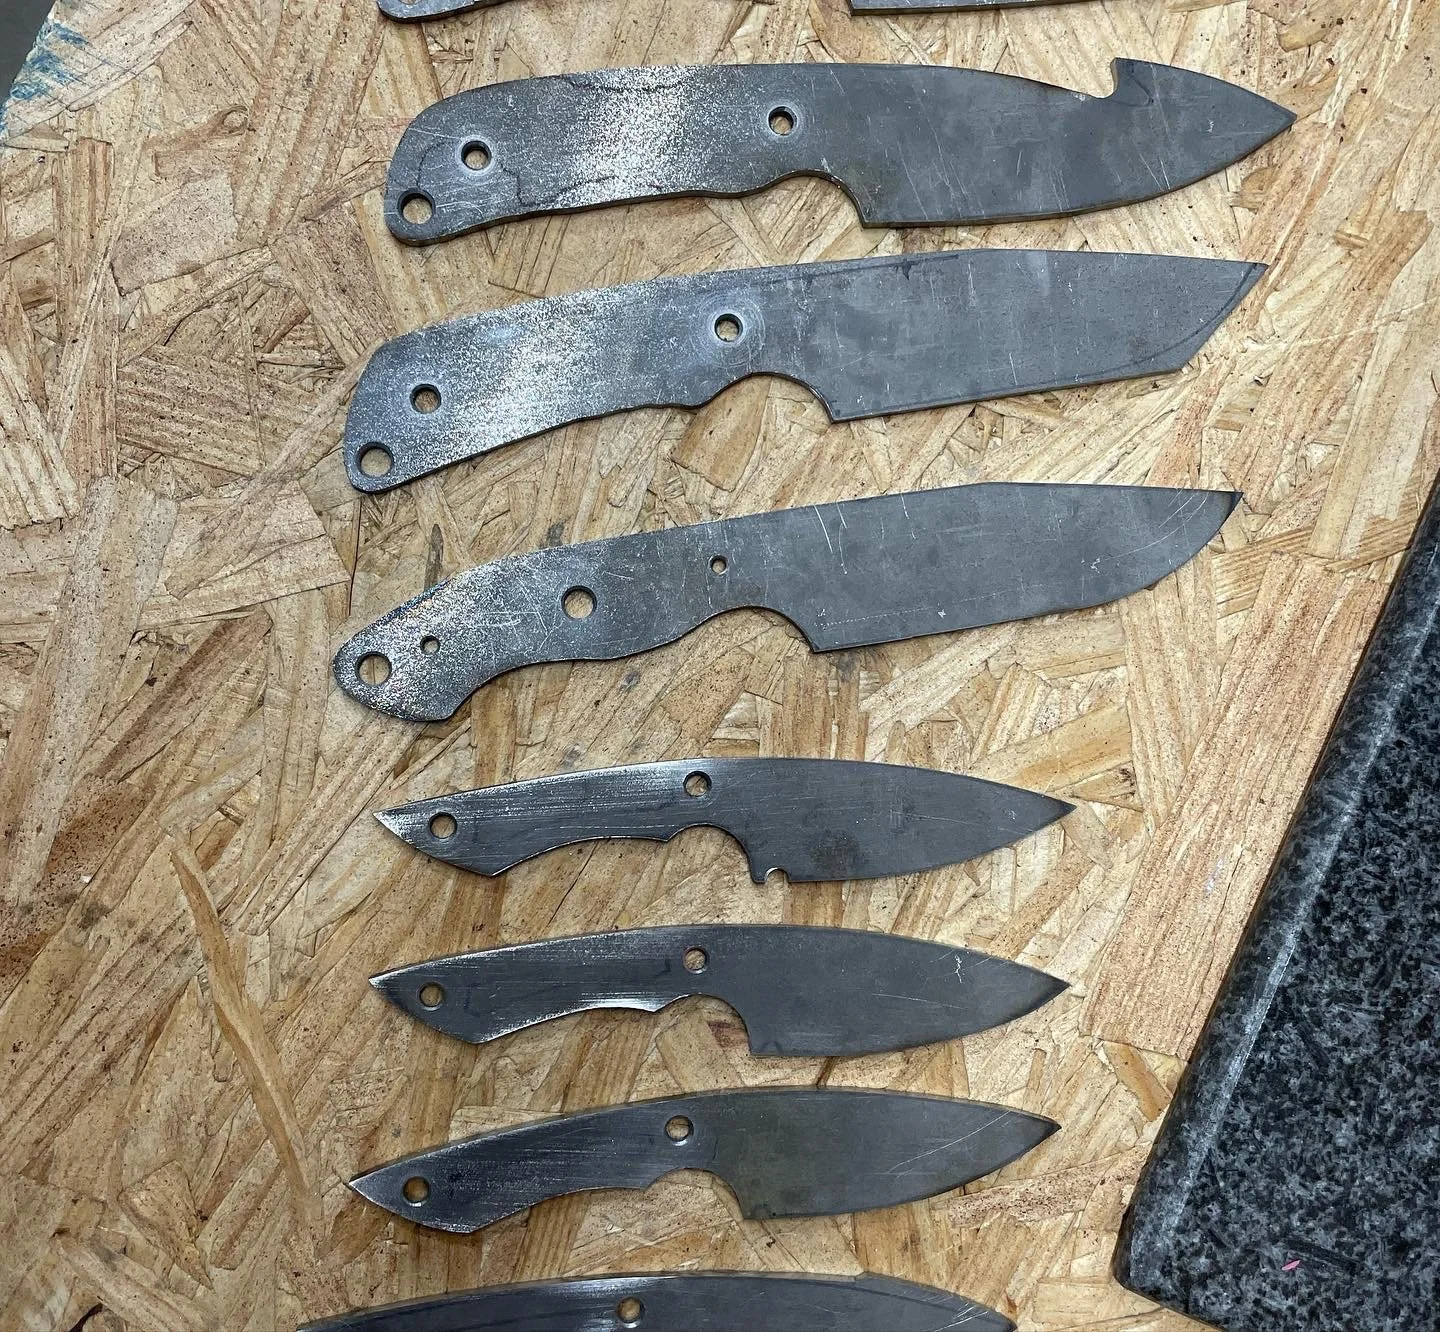
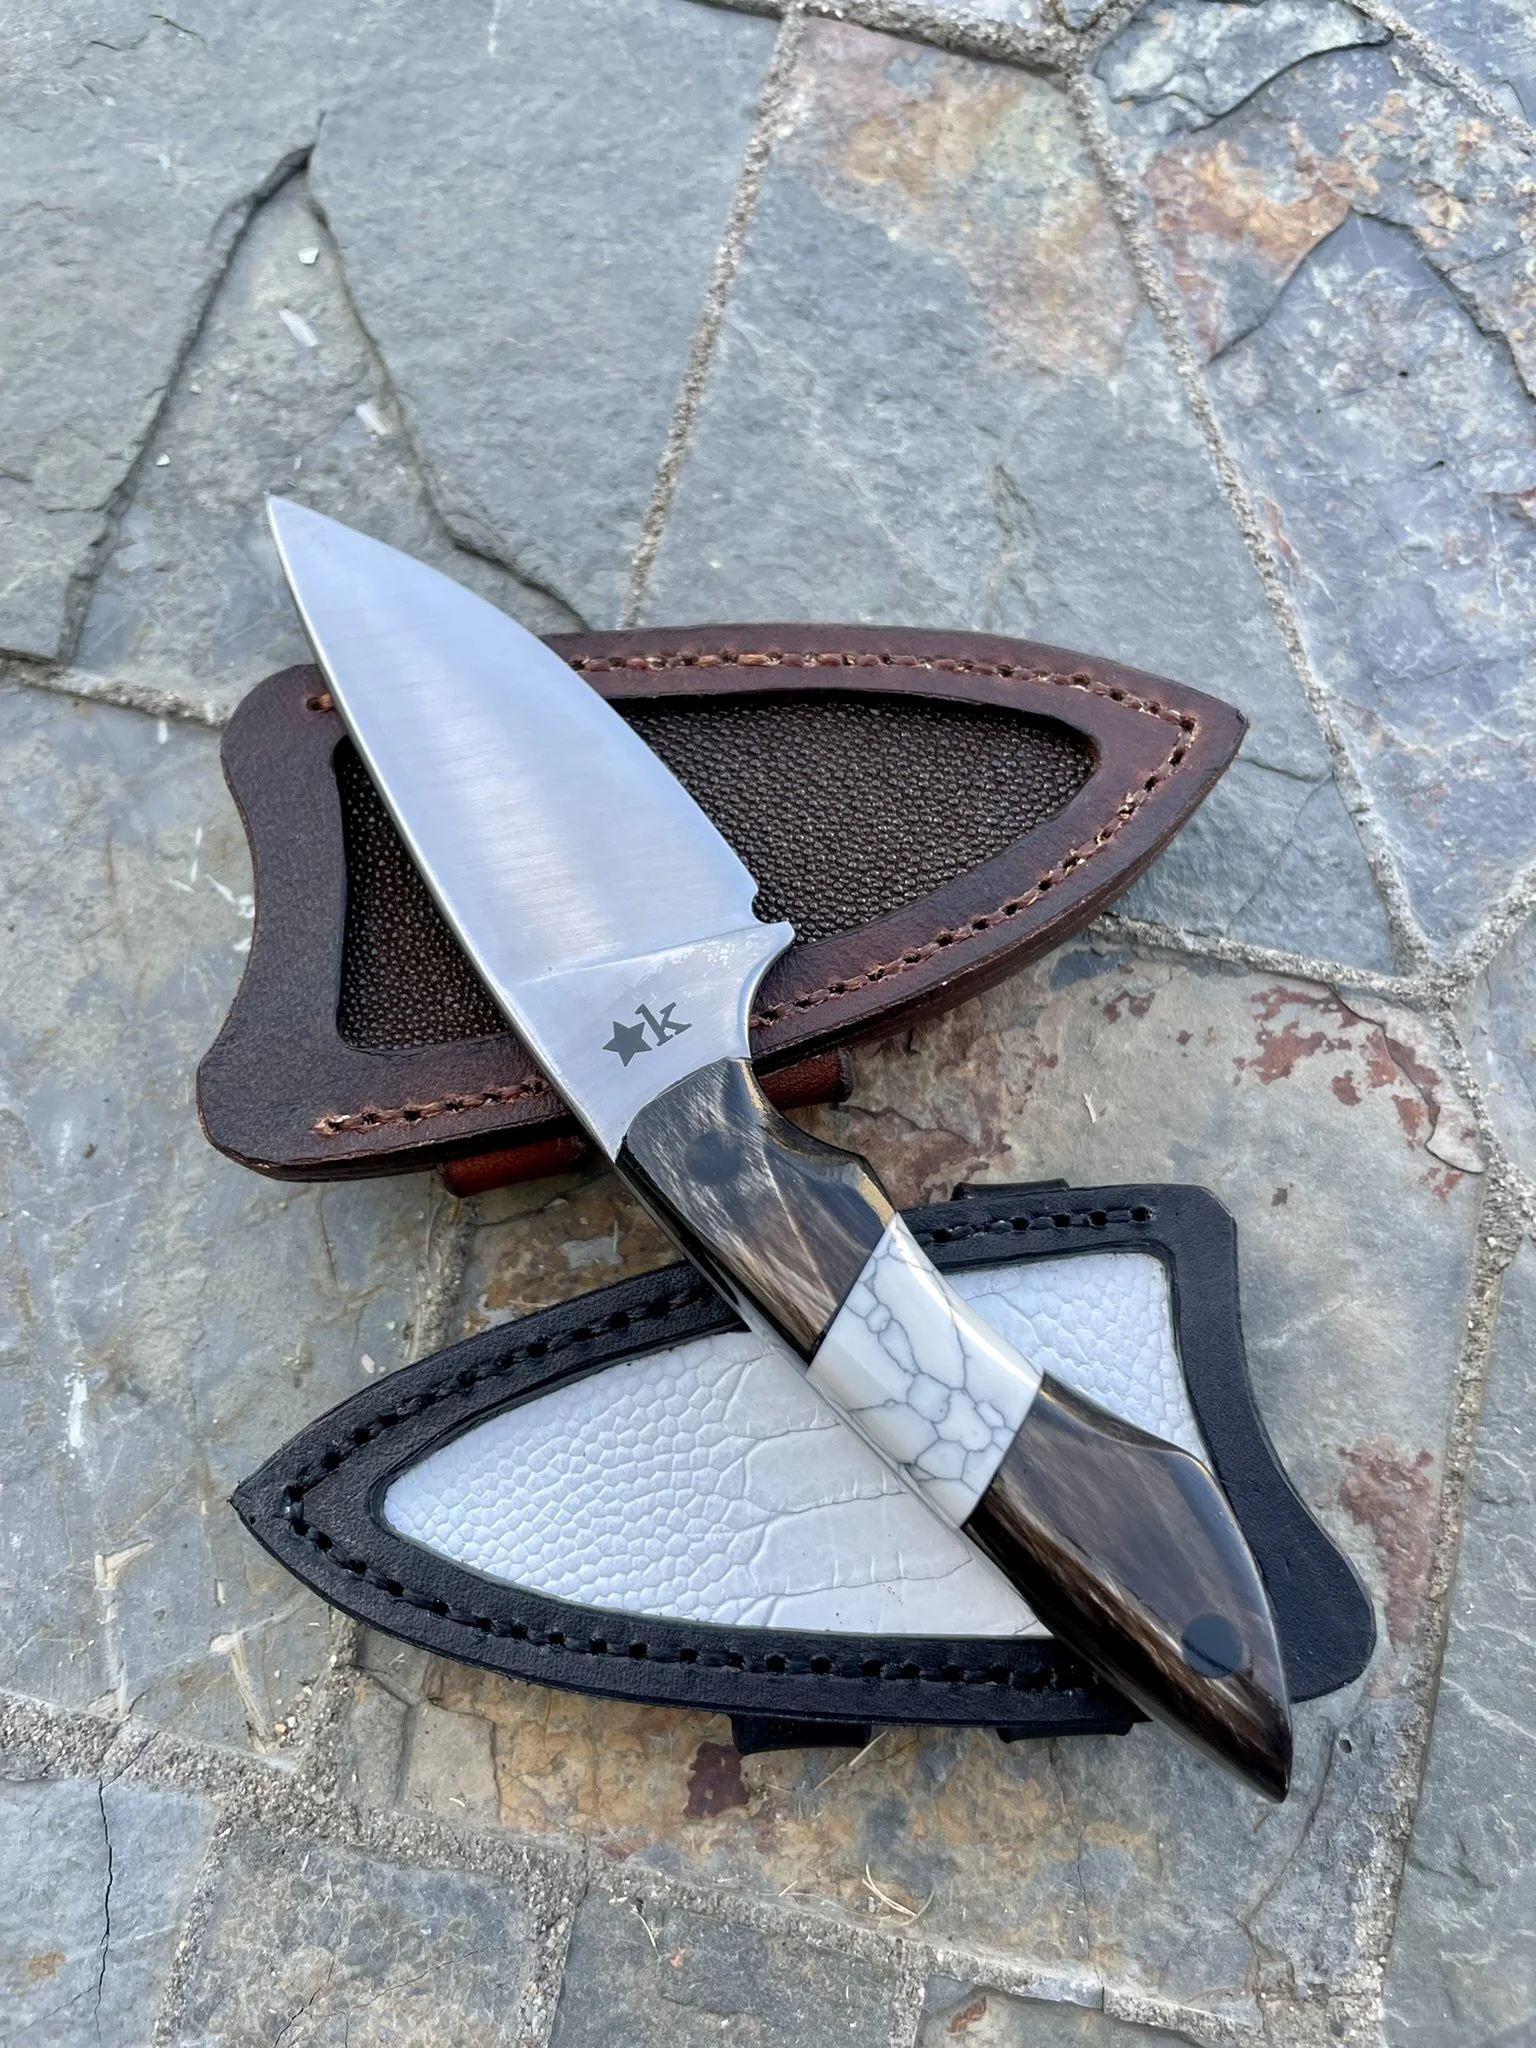
Another one from this batch. A friend said they wanted to own one of my knives and I decided to make a more formal suit knife.
-
![]()
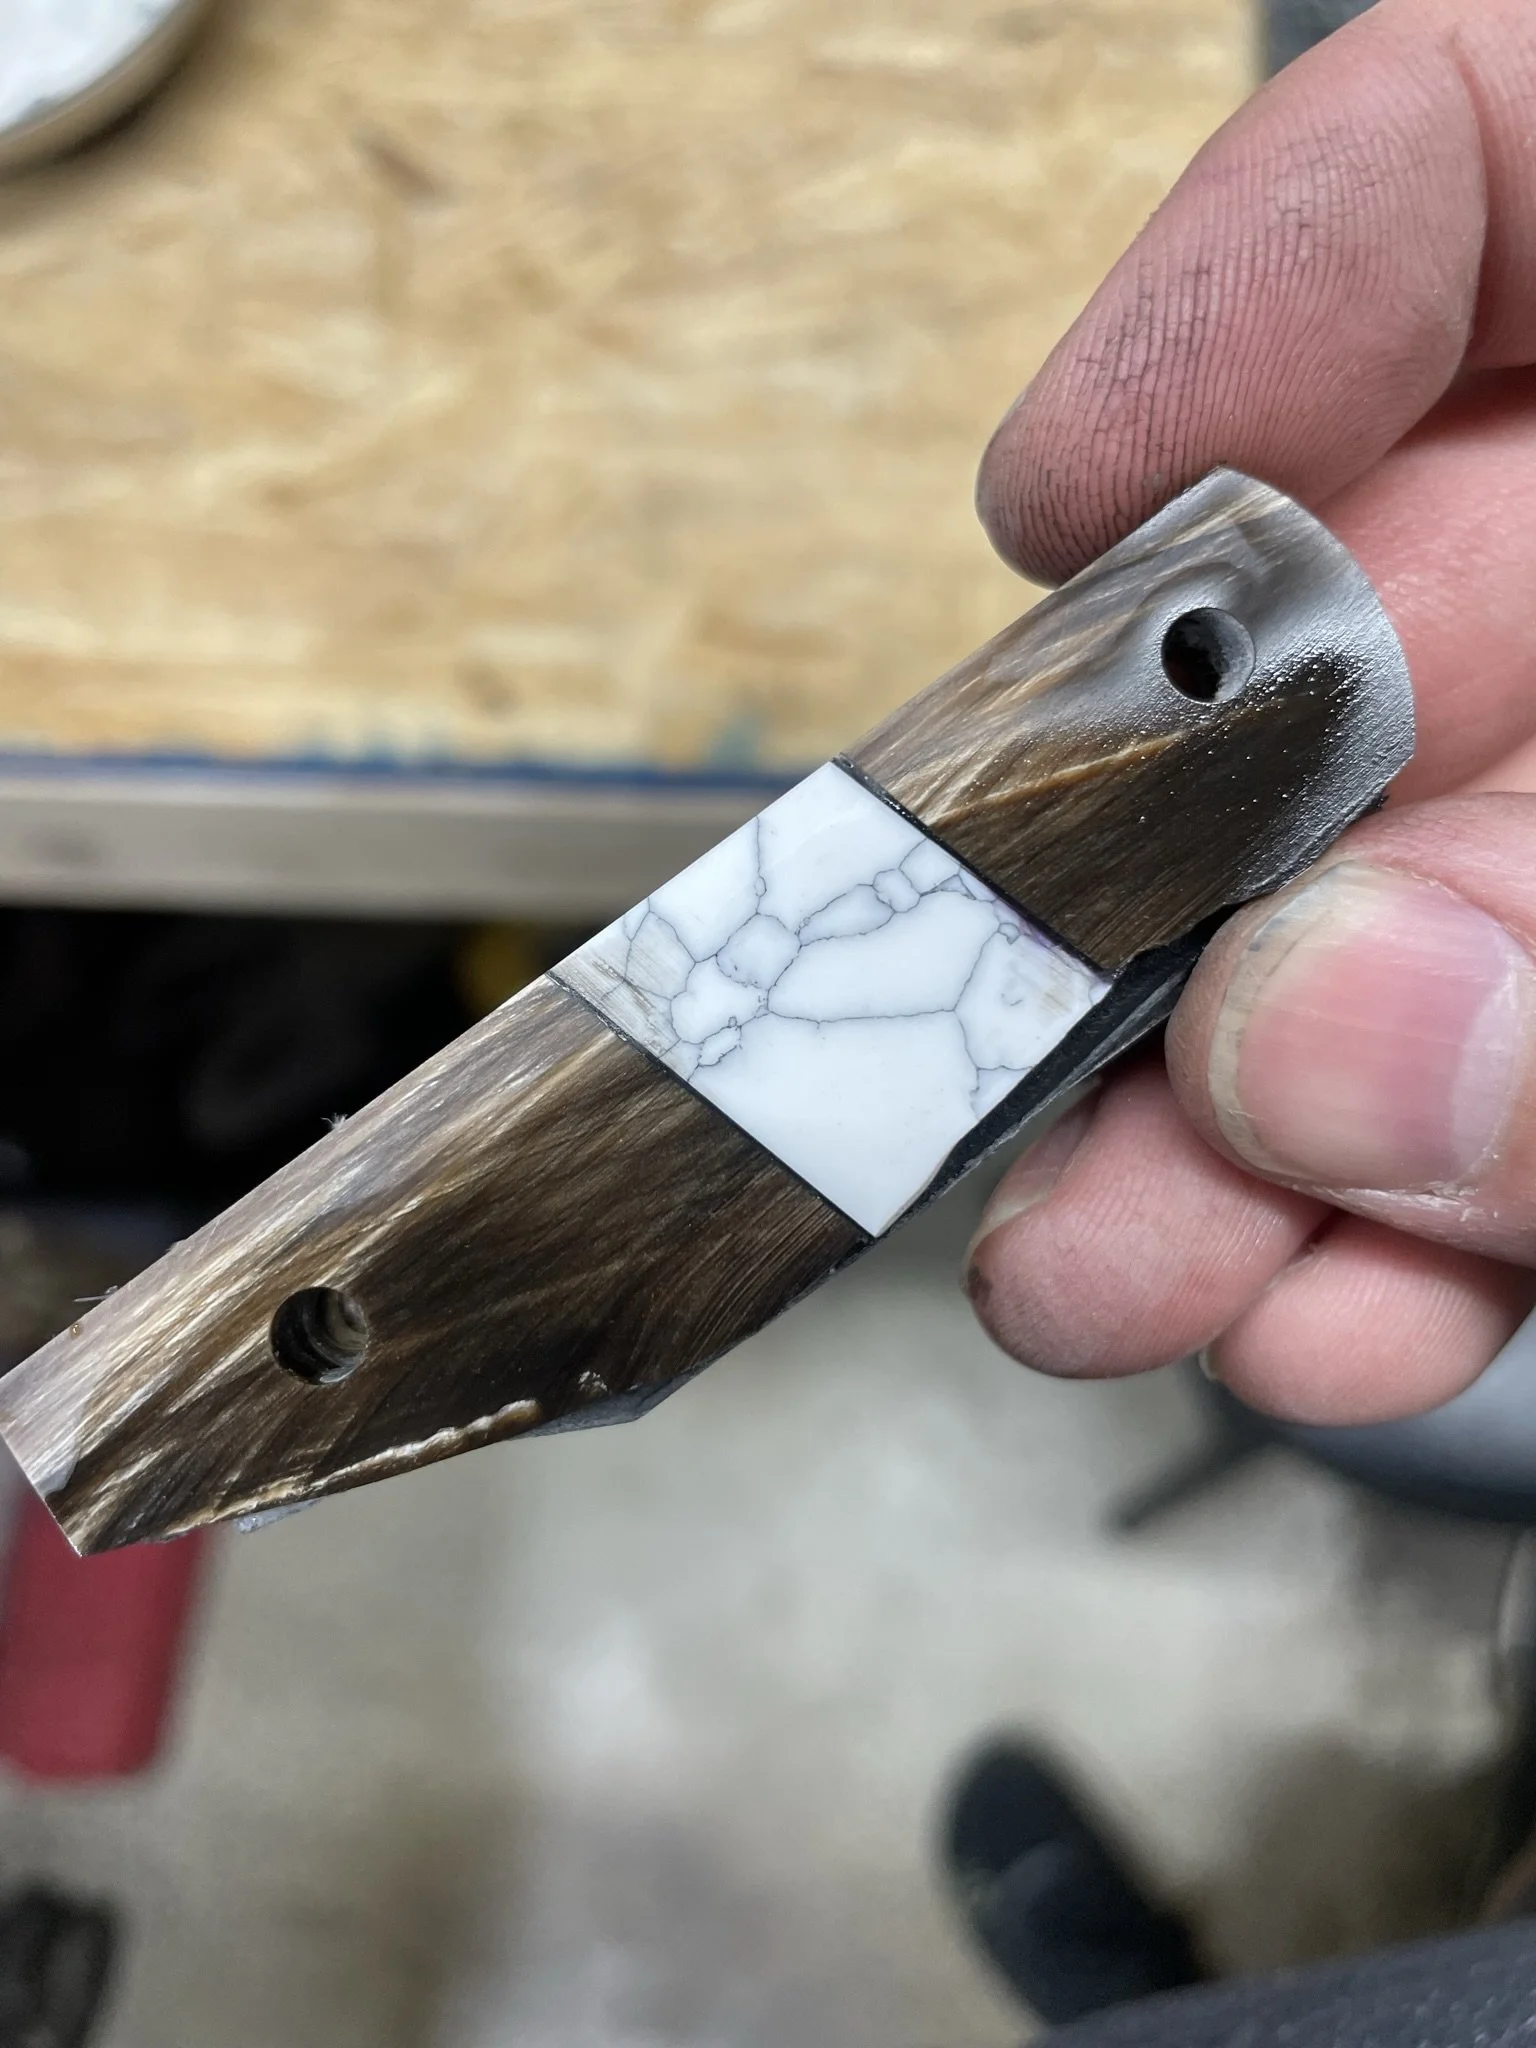
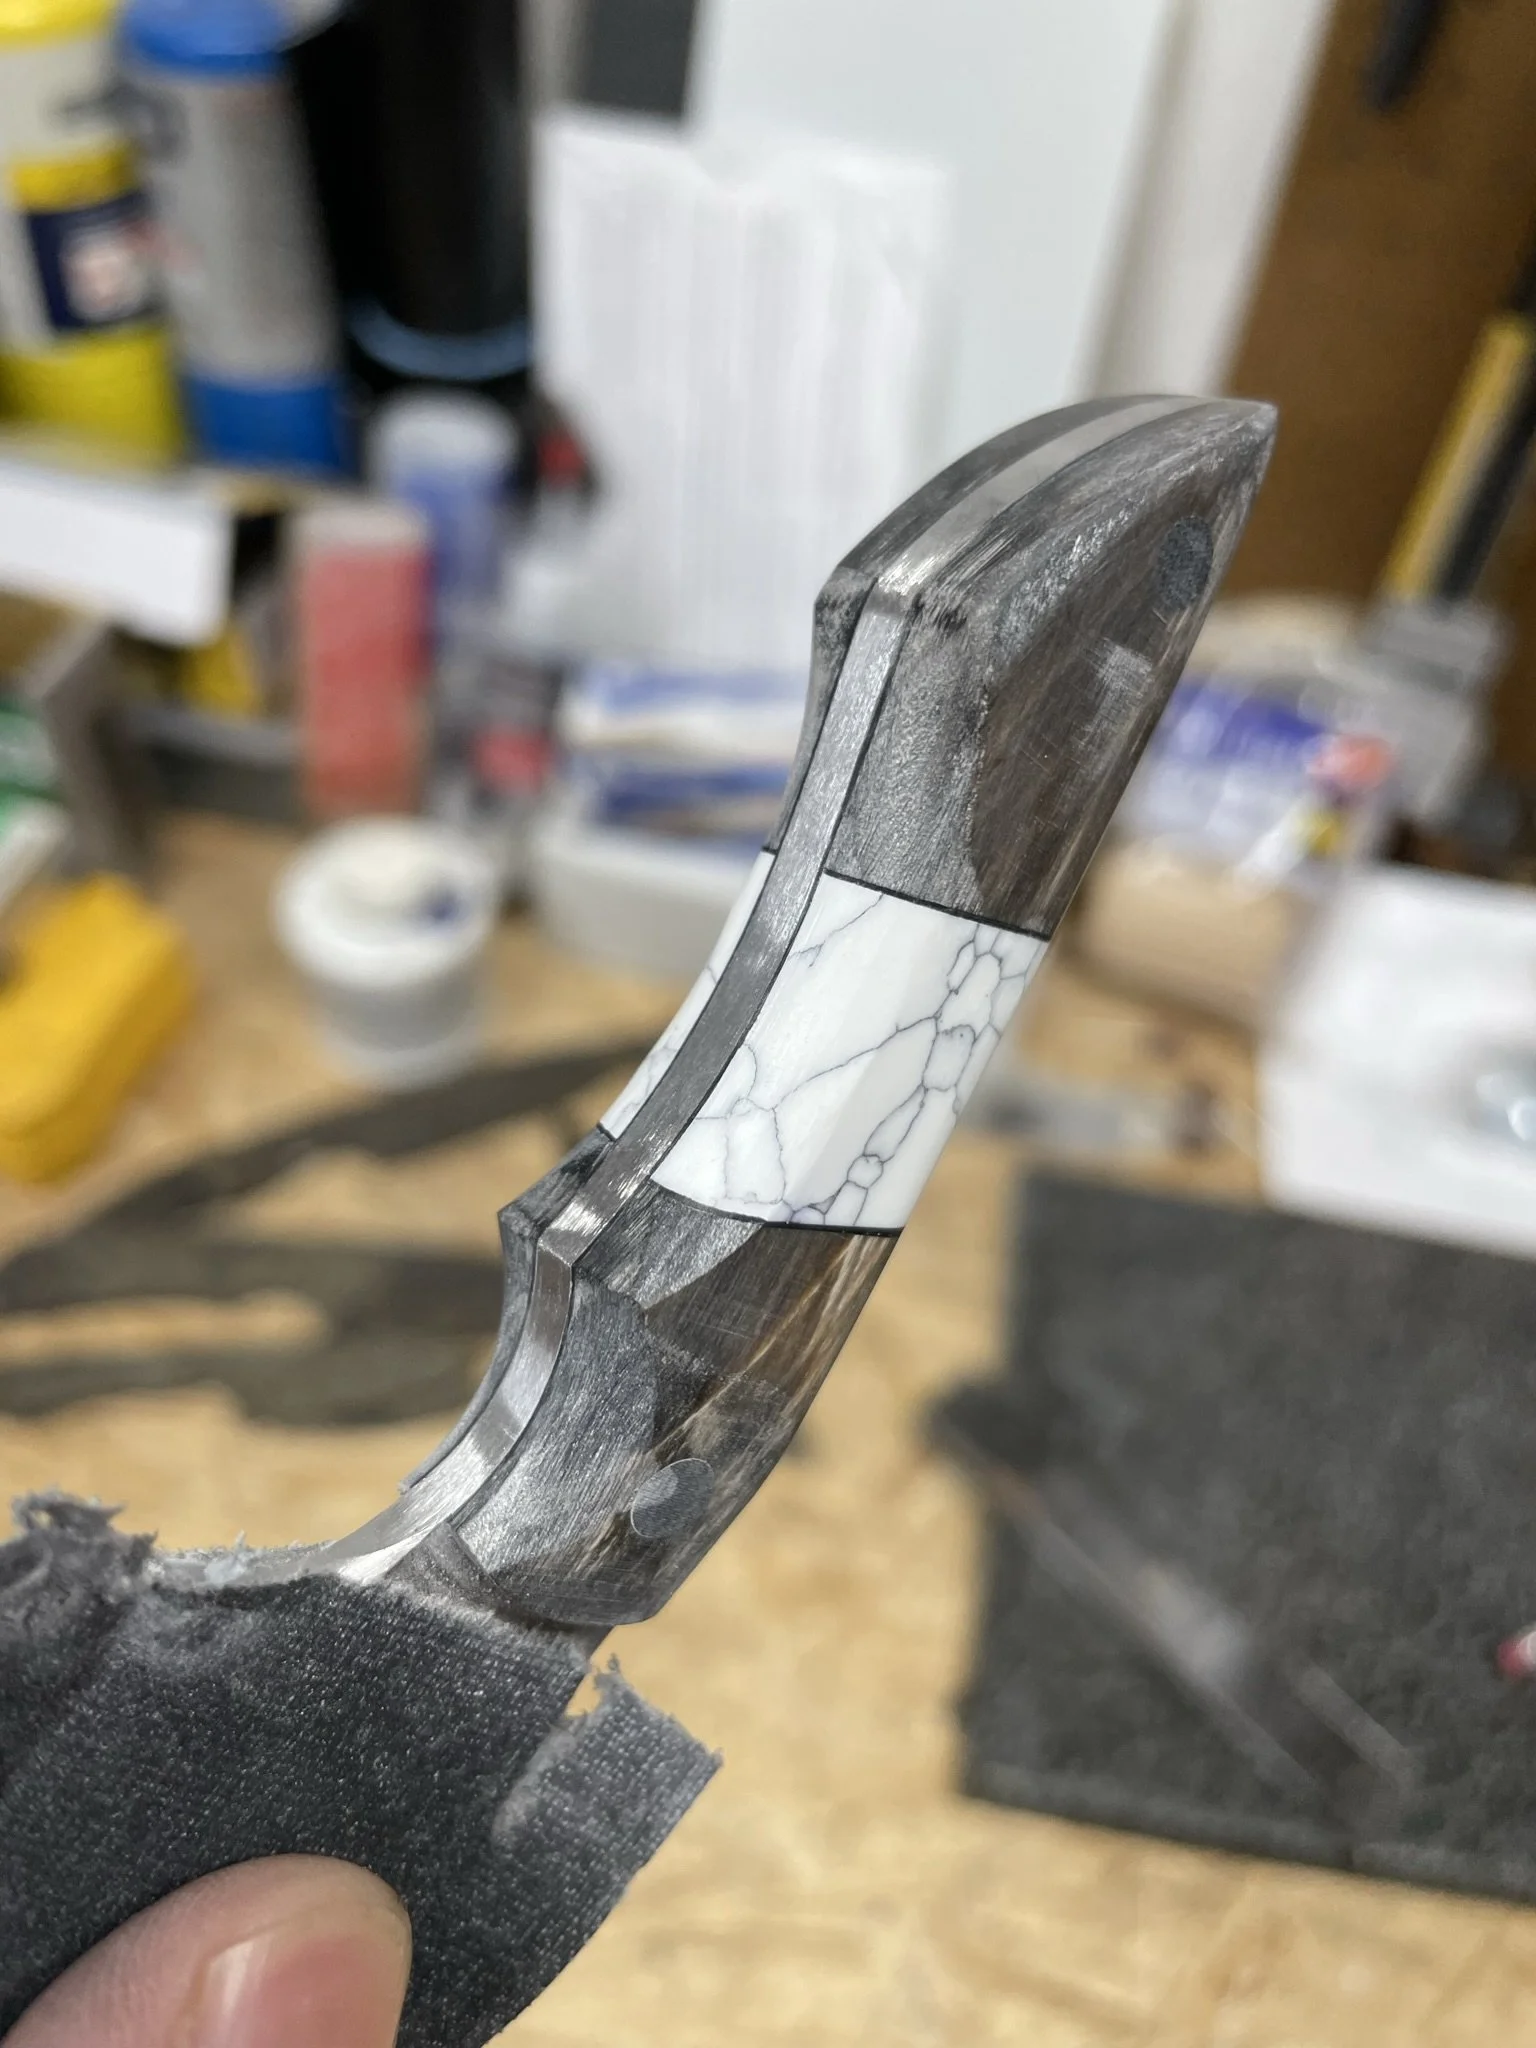
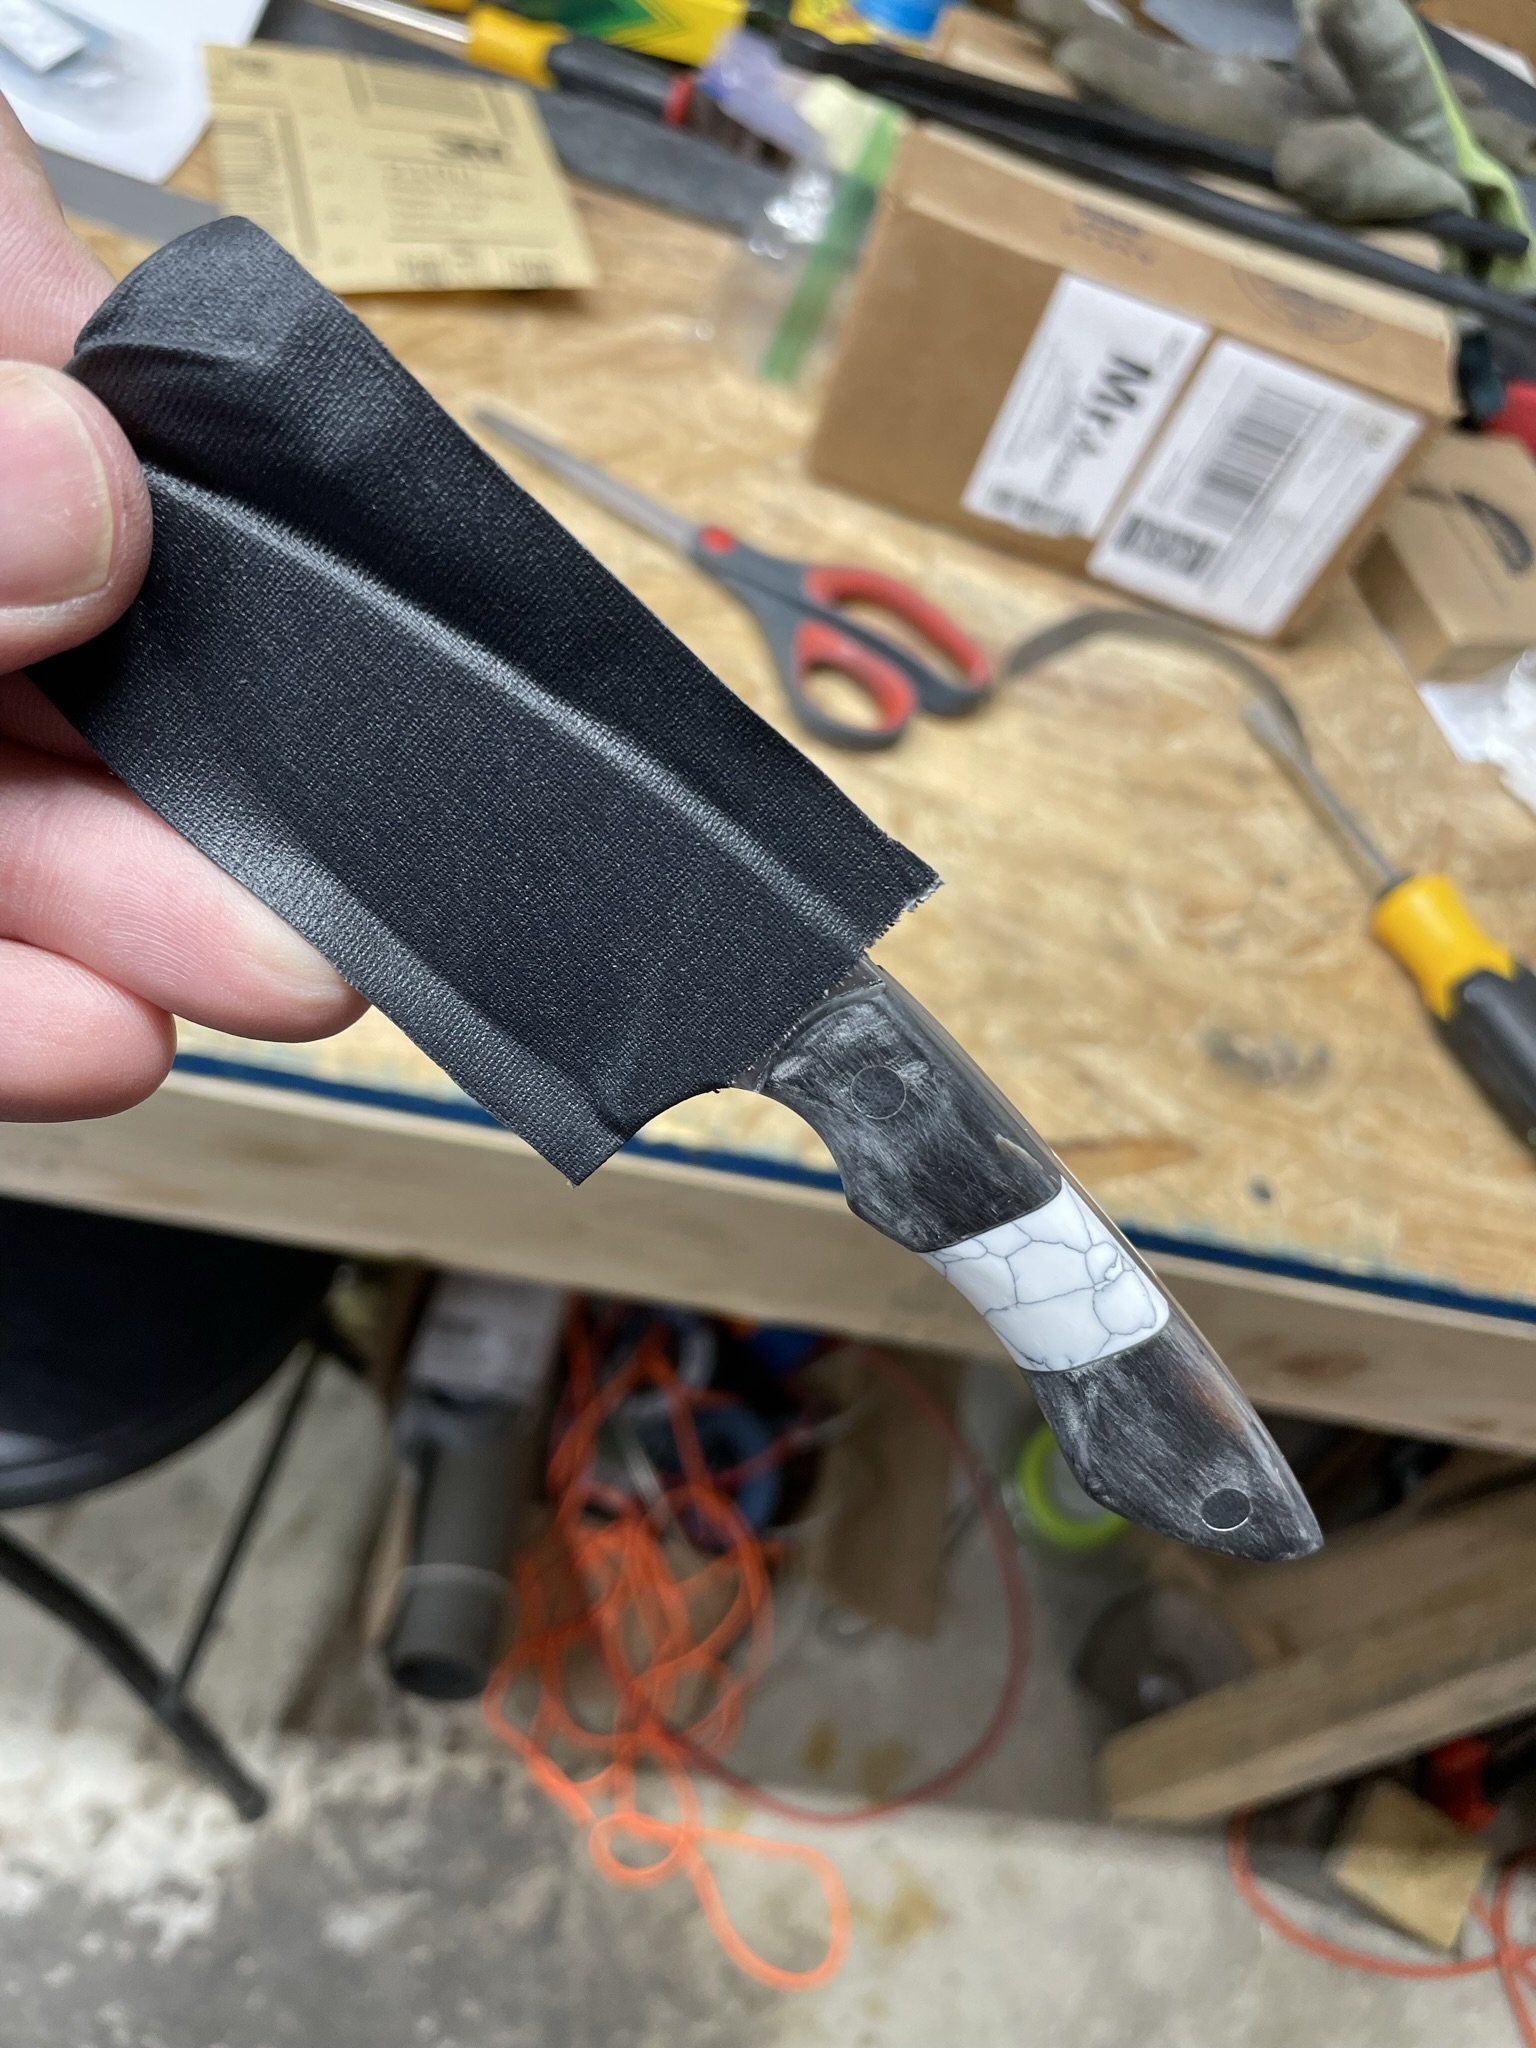
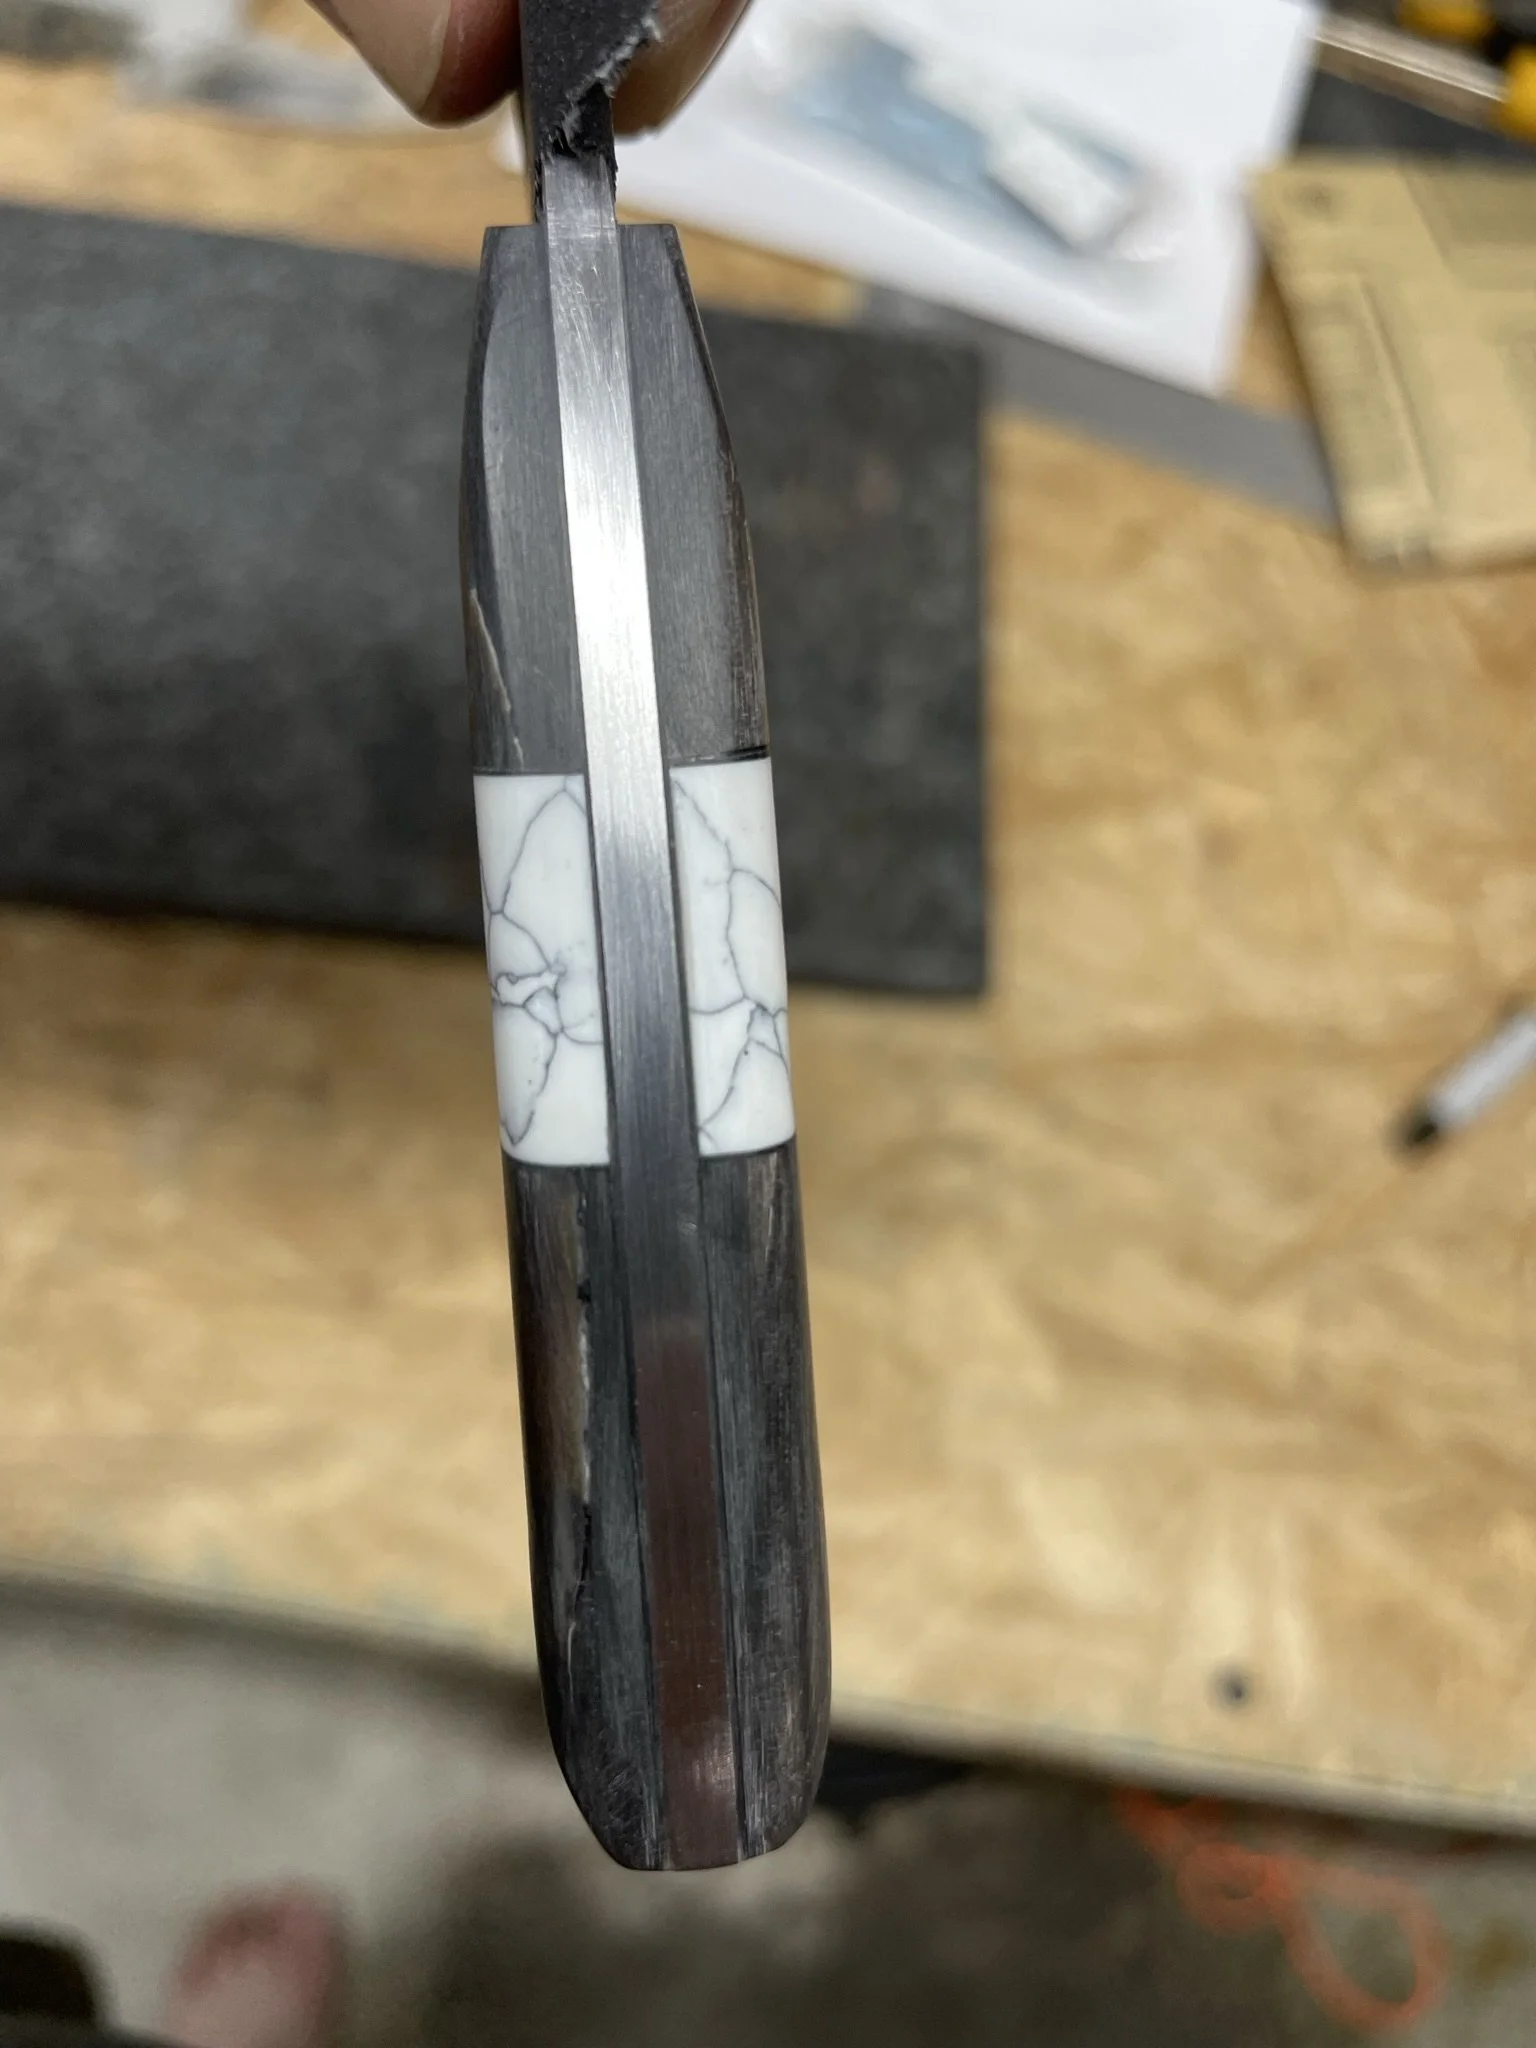
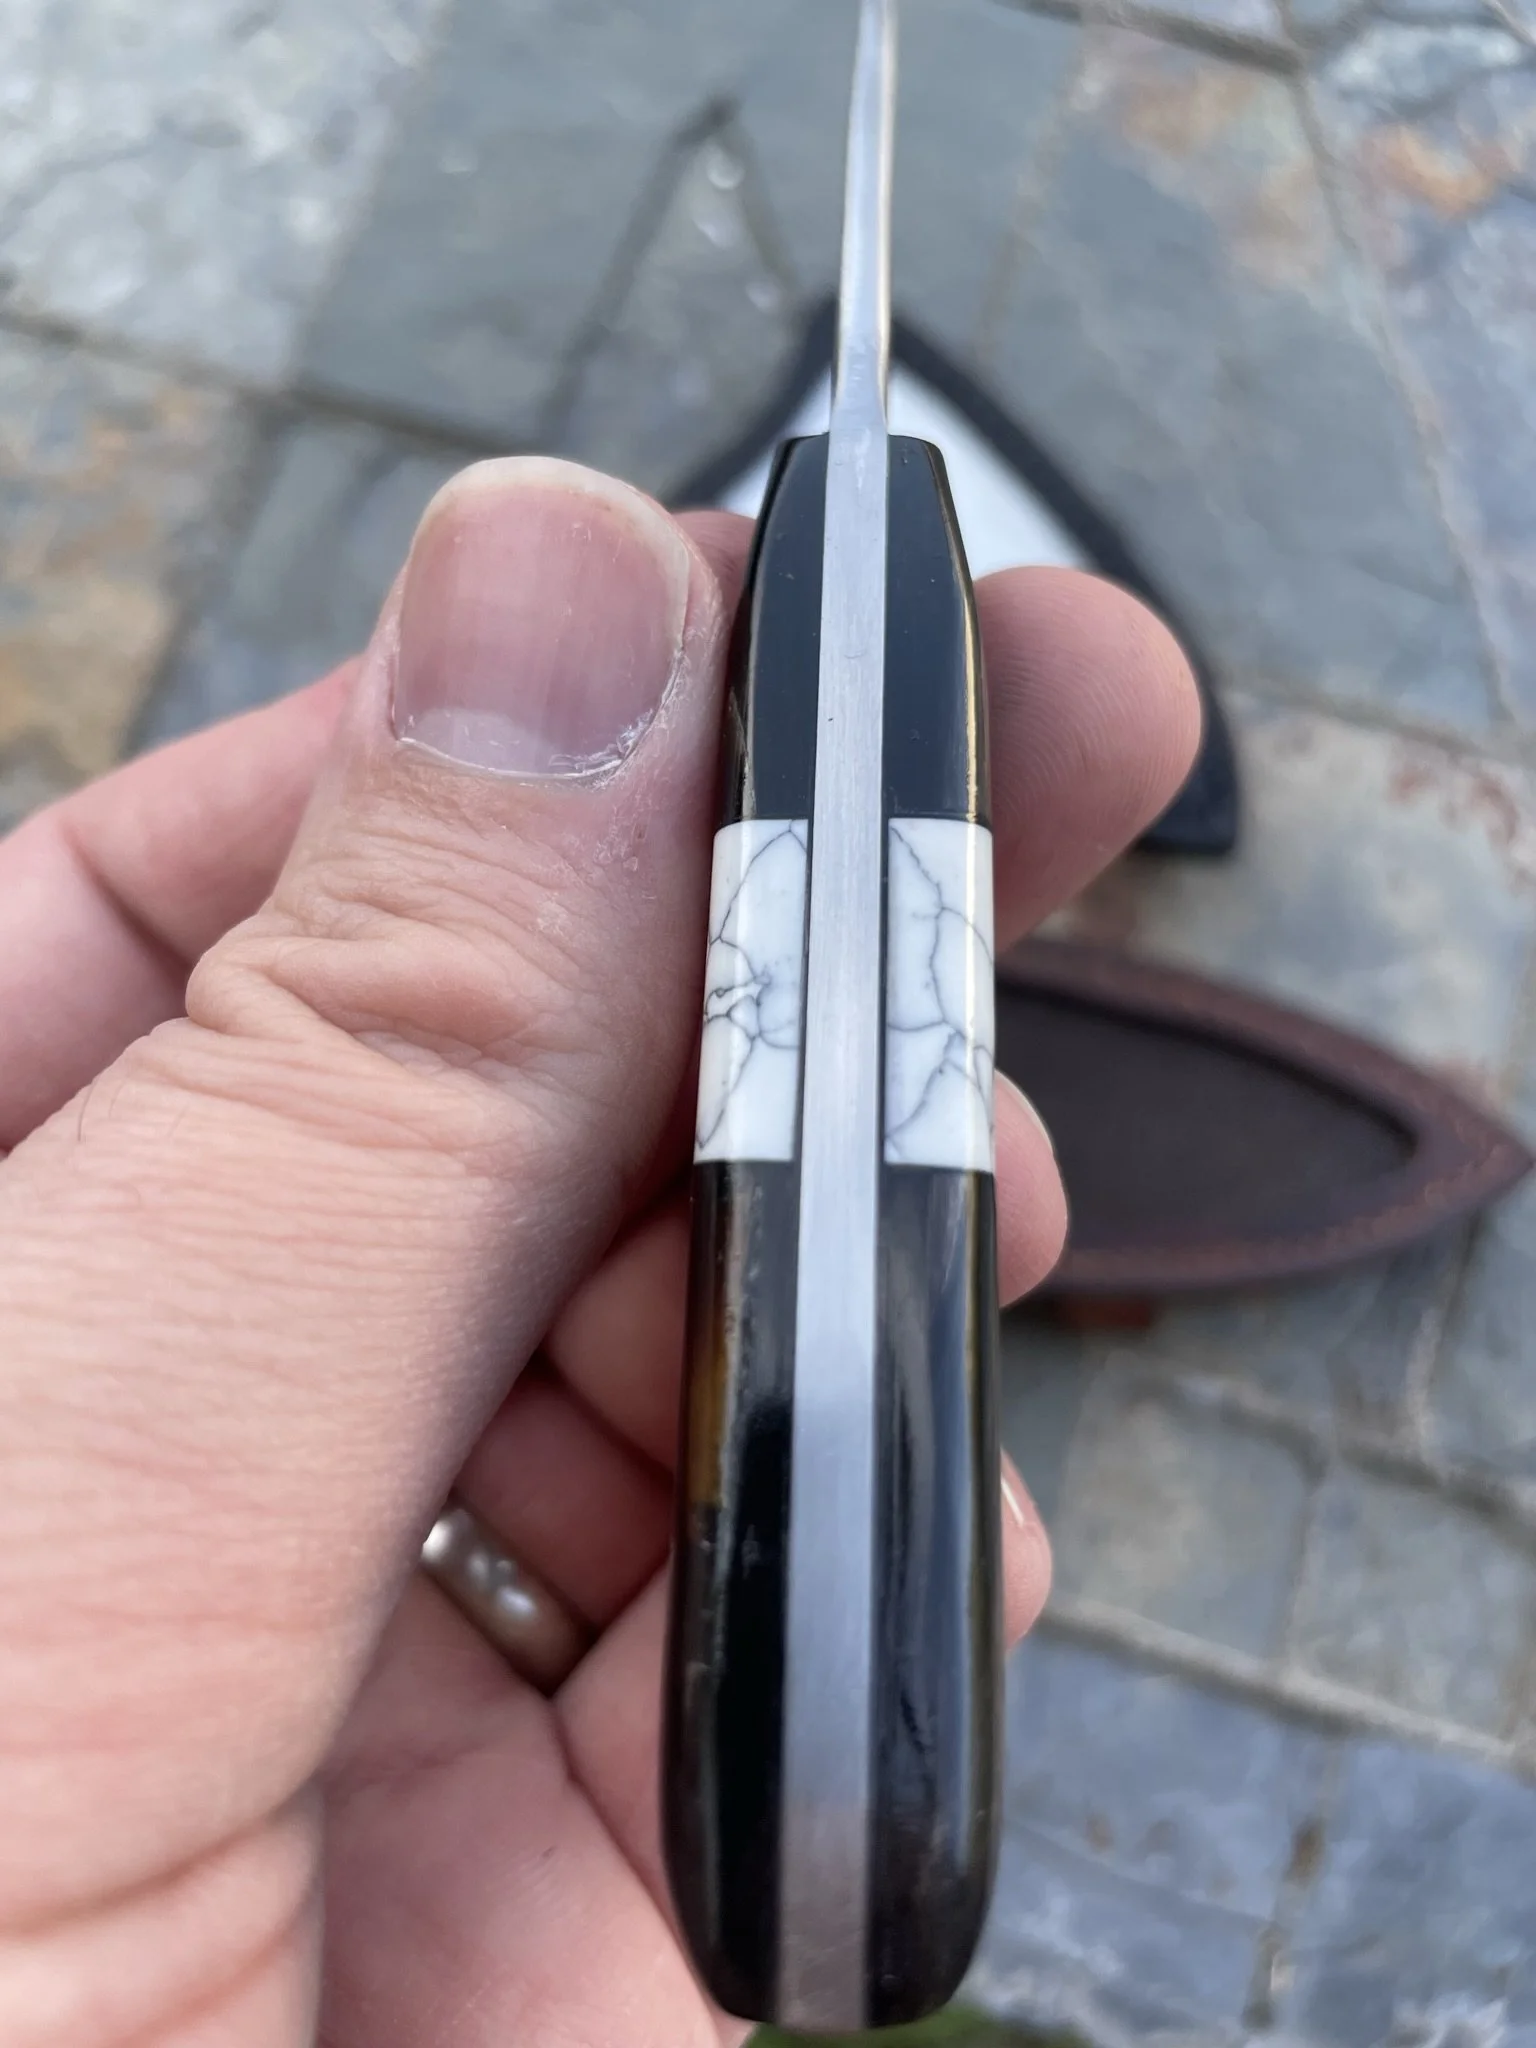
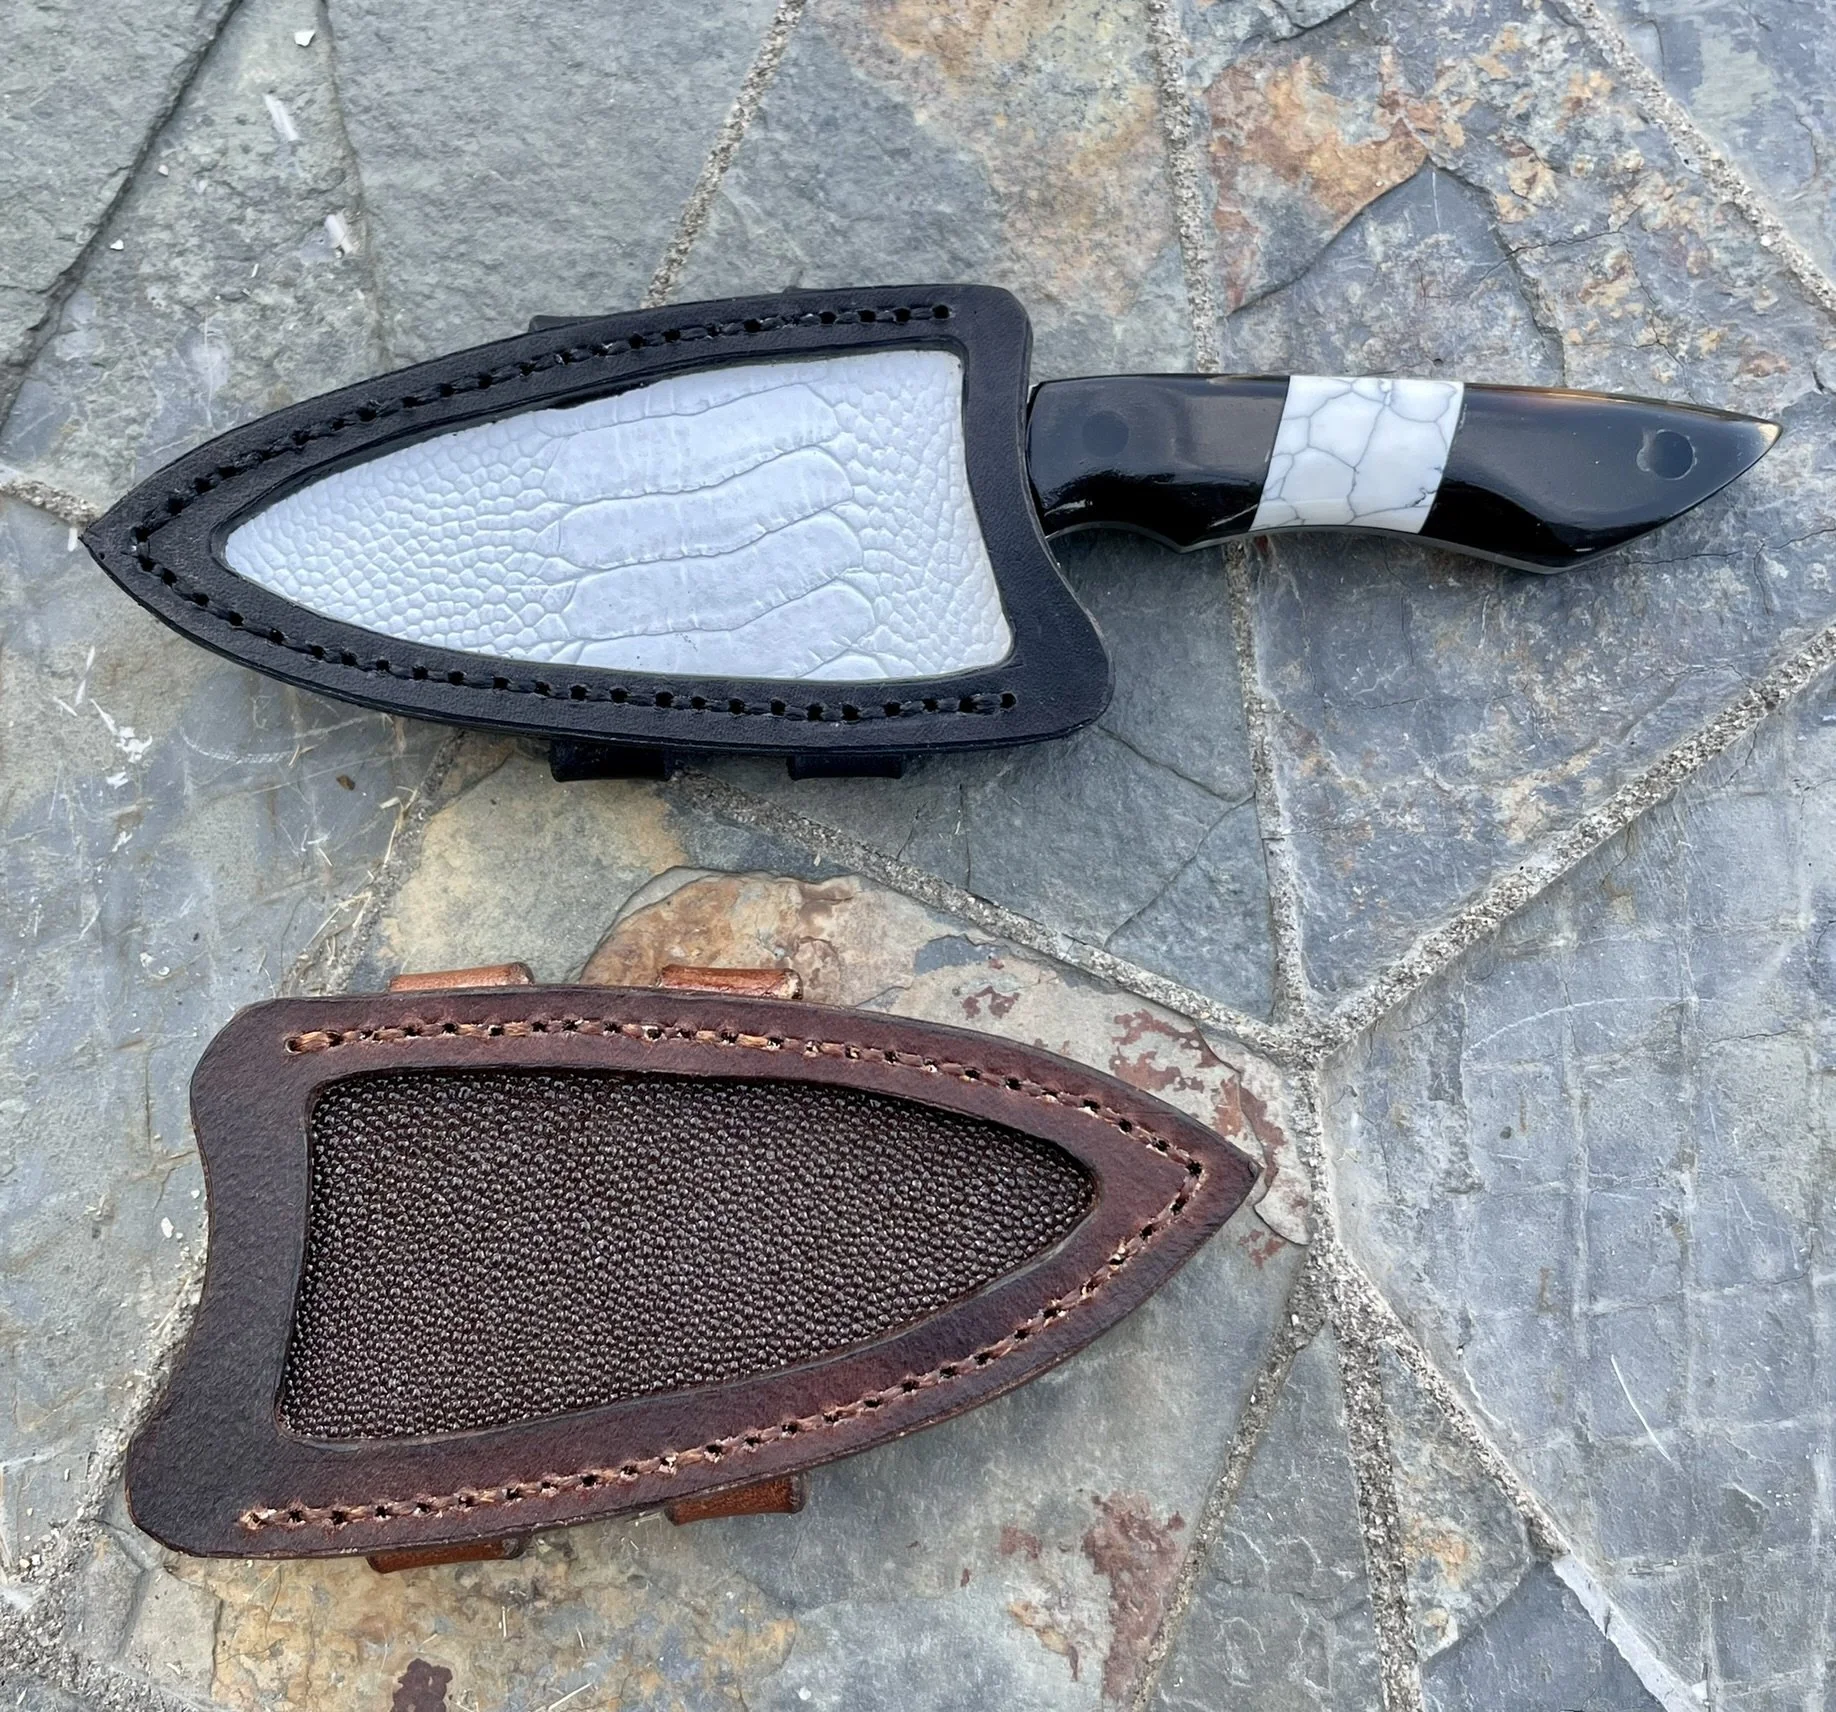
Decided to use water buffalo horn and true stone to make a segmented handle for it.
-
Scale done and rough profiled.
-
Hand sanding. Took me long enough to realized, but it makes such a difference in final quality.
-
Maker's mark added.
-
Glue up!
-
Handle scales attached.
-
Again this is where my new appreciation for contouring handles made a huge difference. Still early stages, but I became a thing.
-
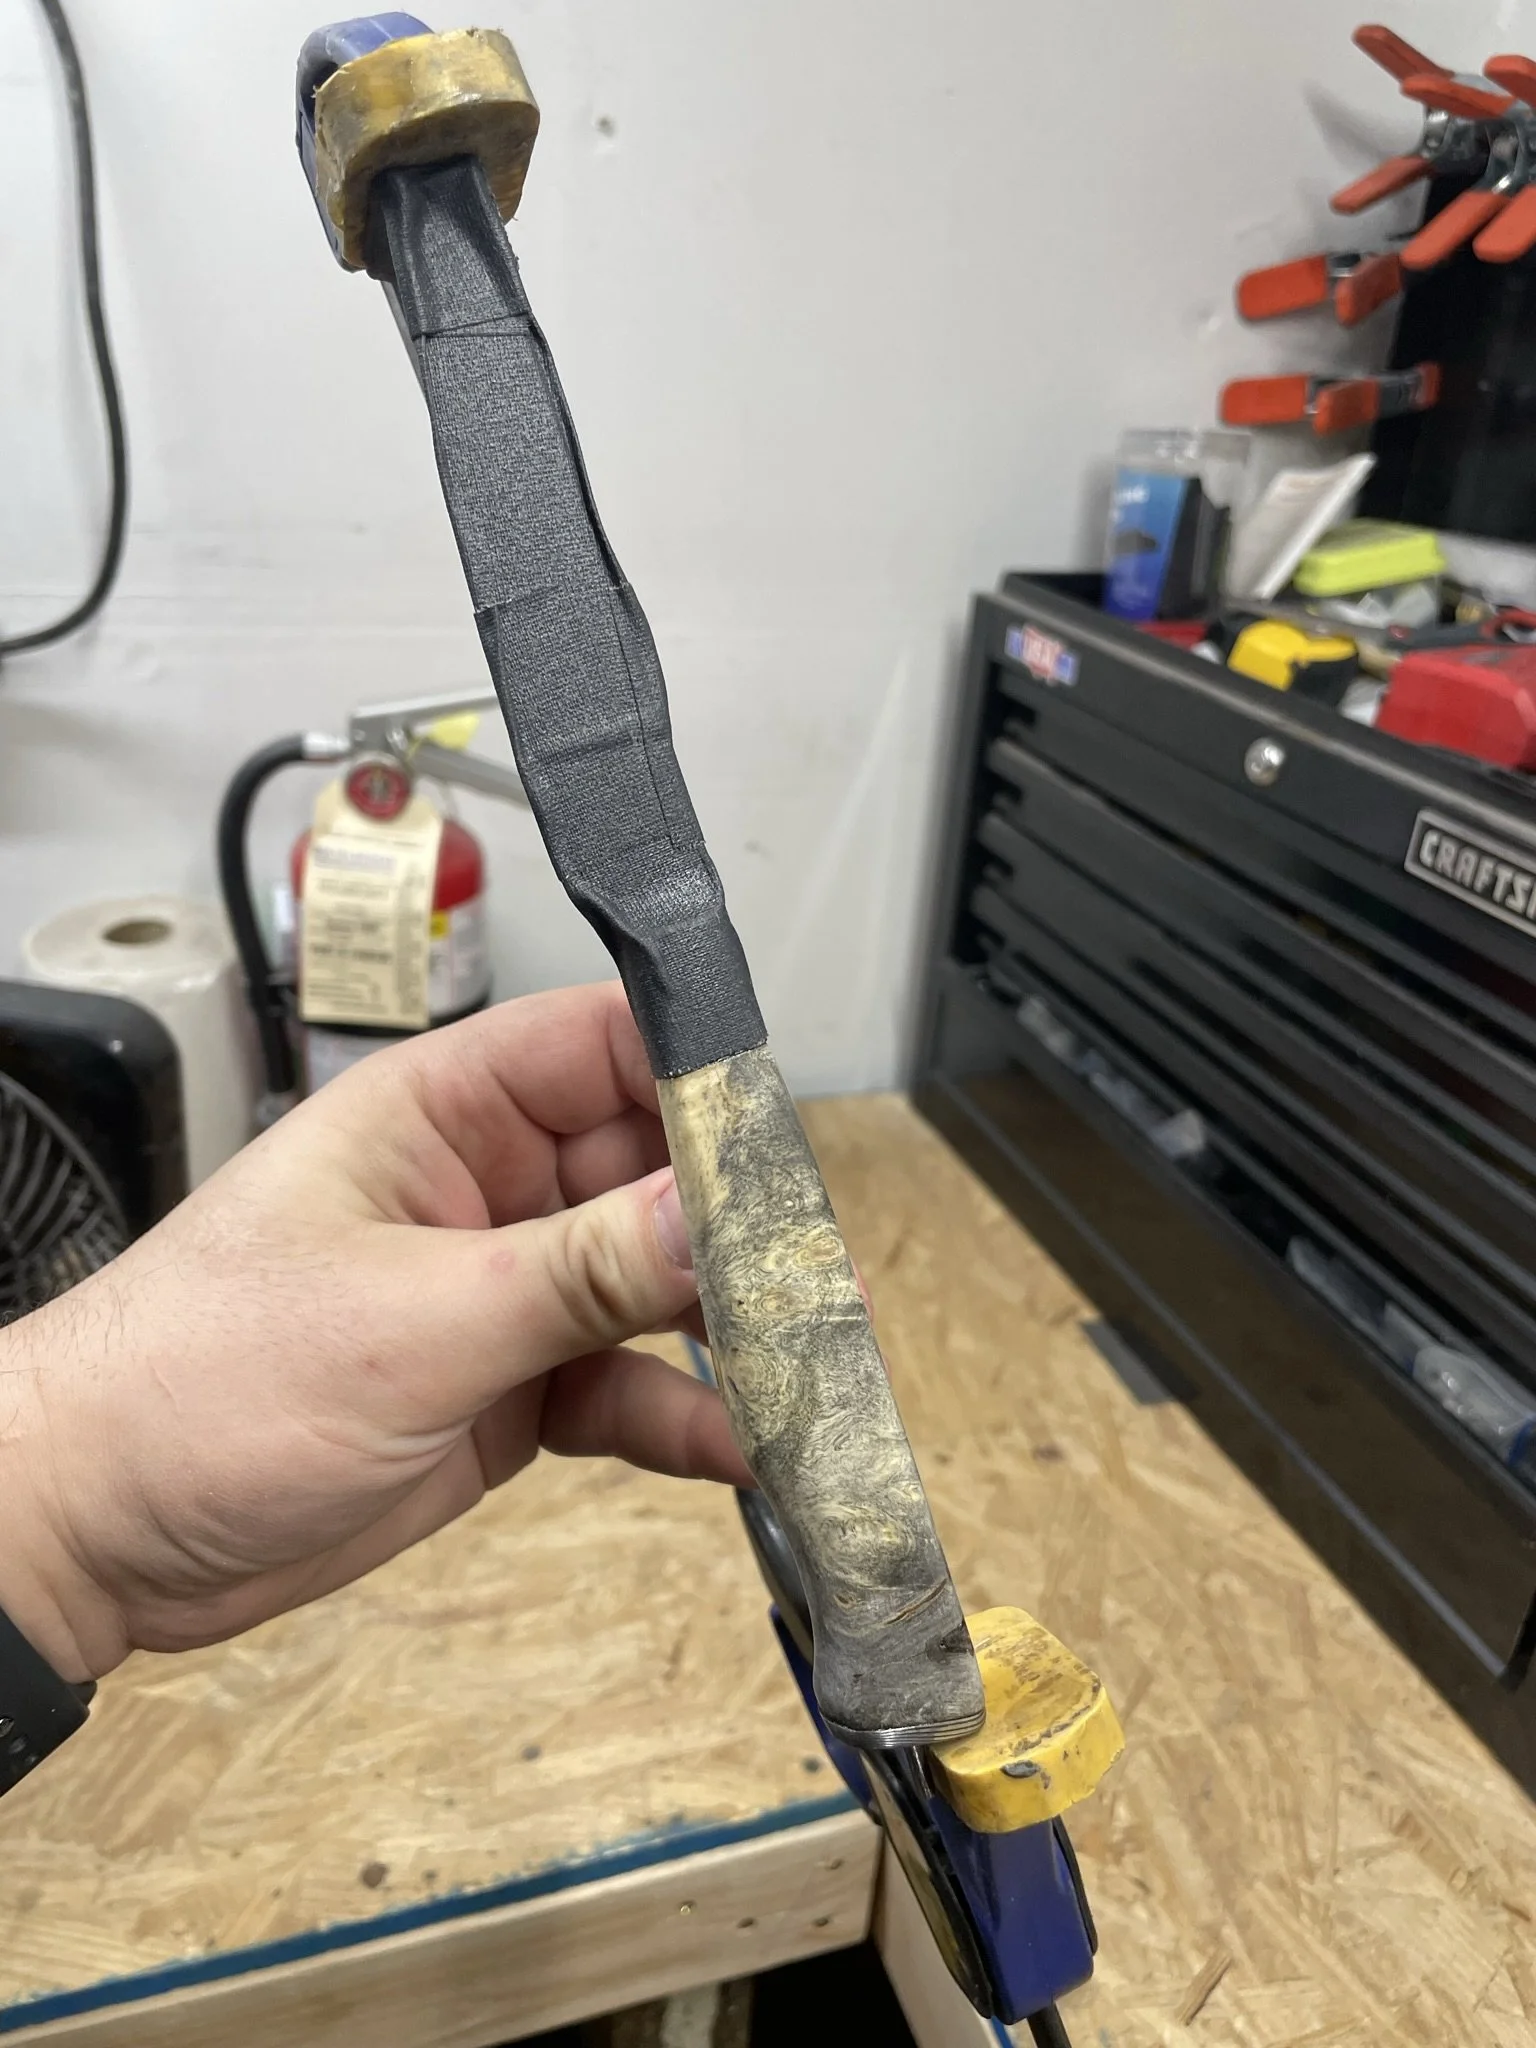
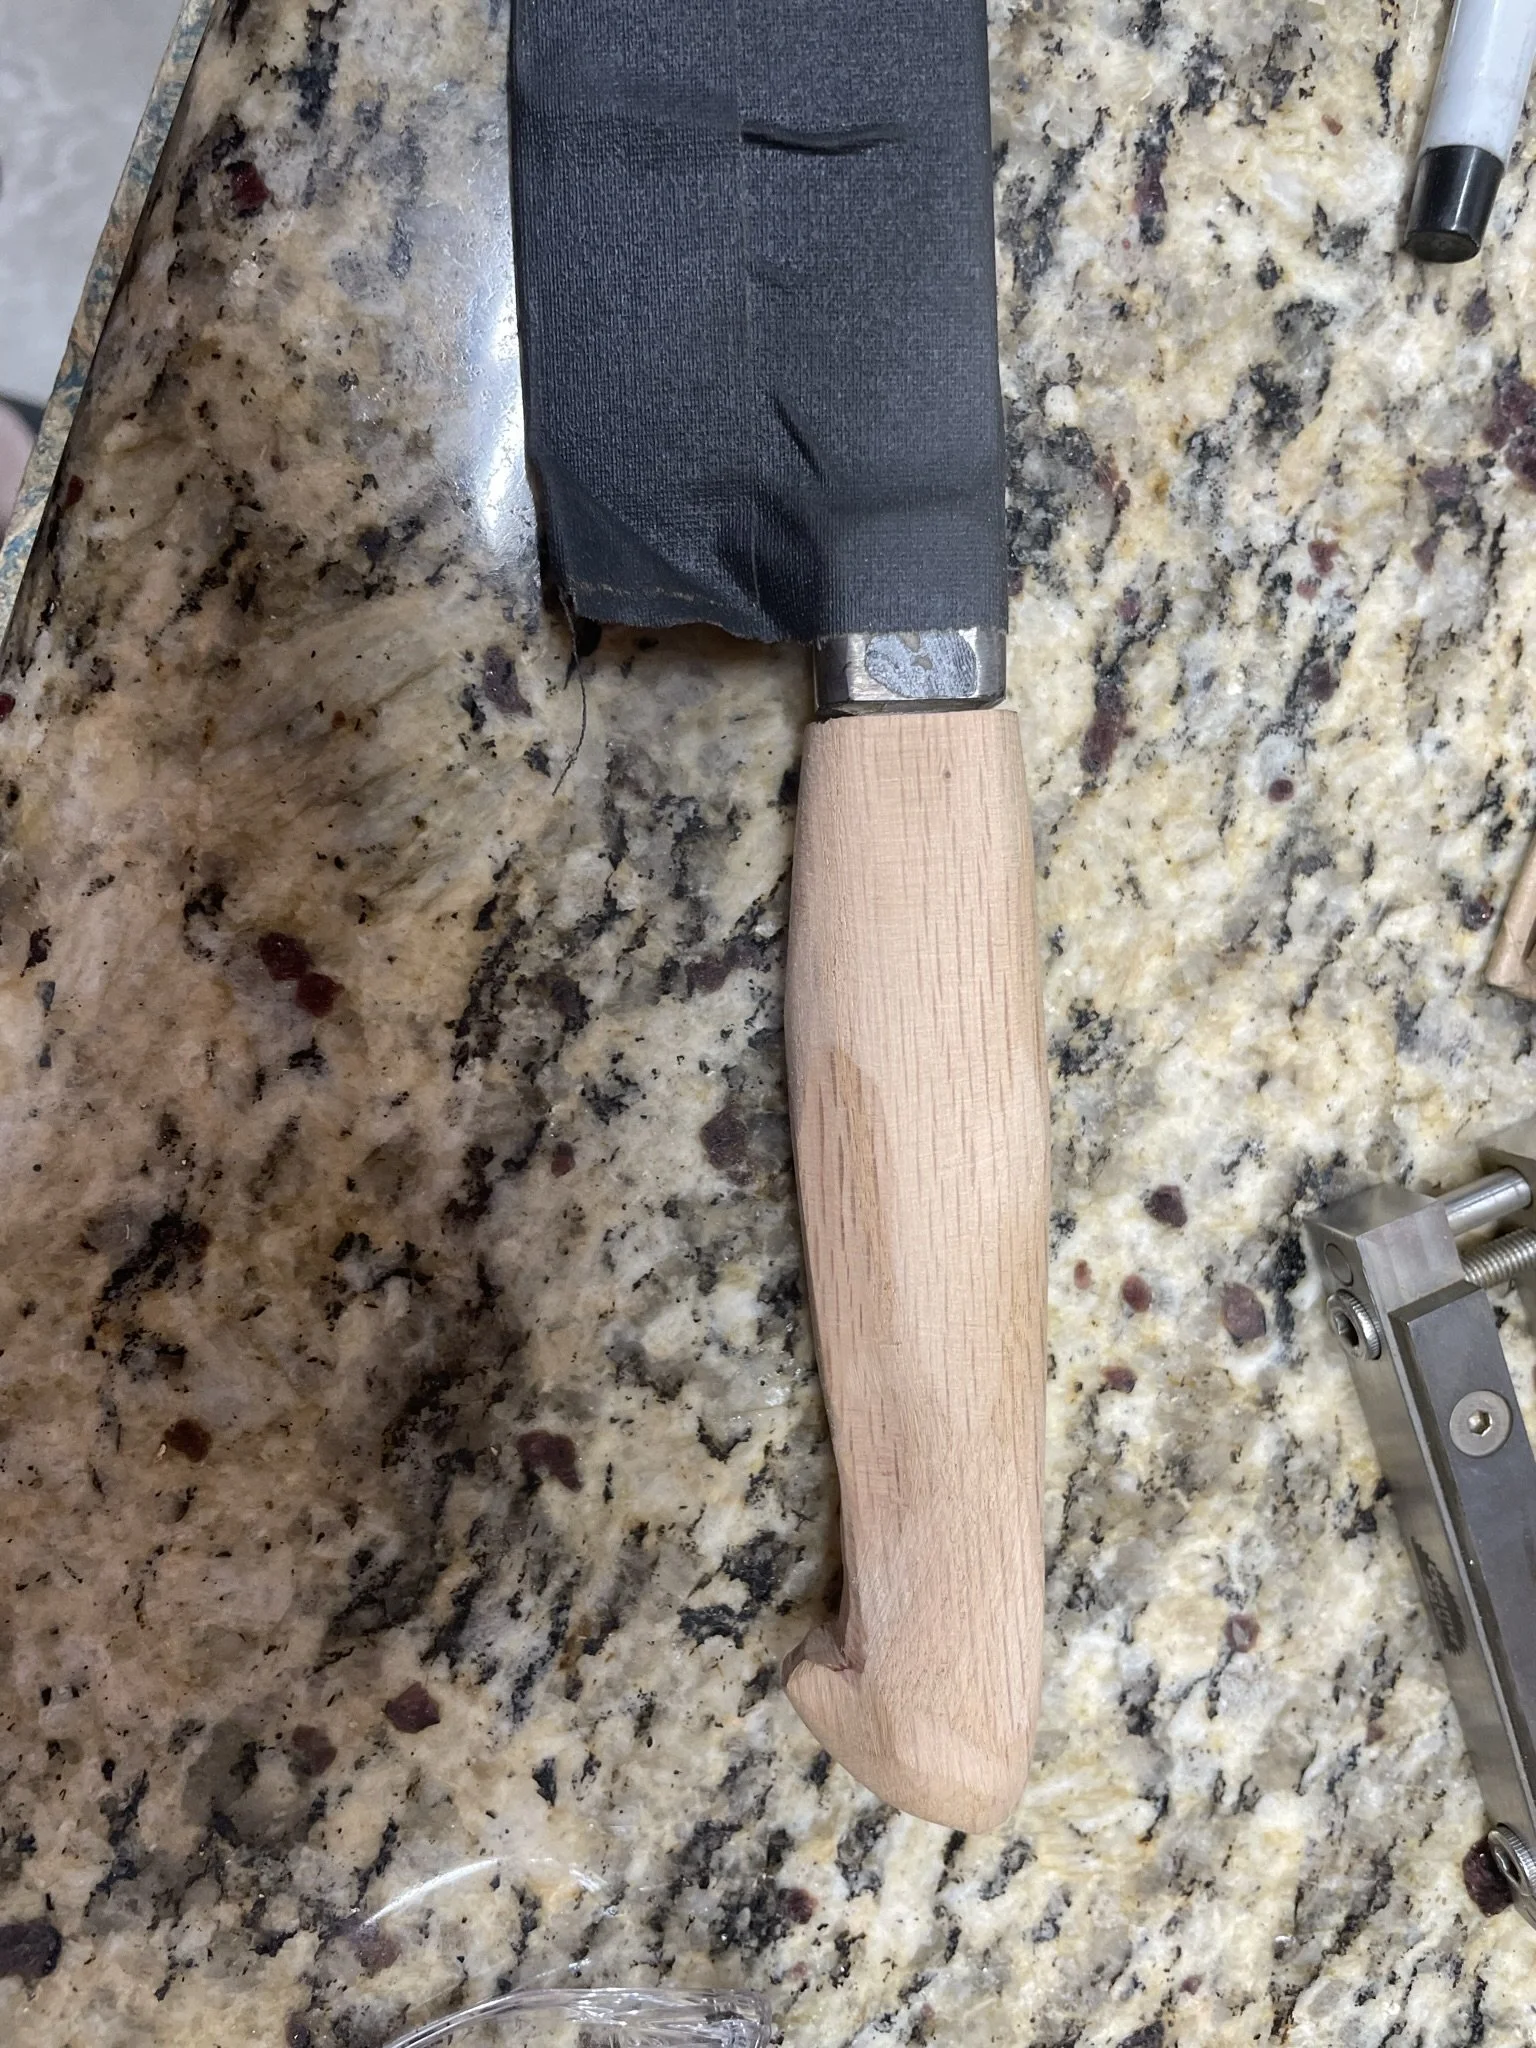
Love using gaffers tape to protect blades as I work on them - strong as duck tape, but no residue.
-
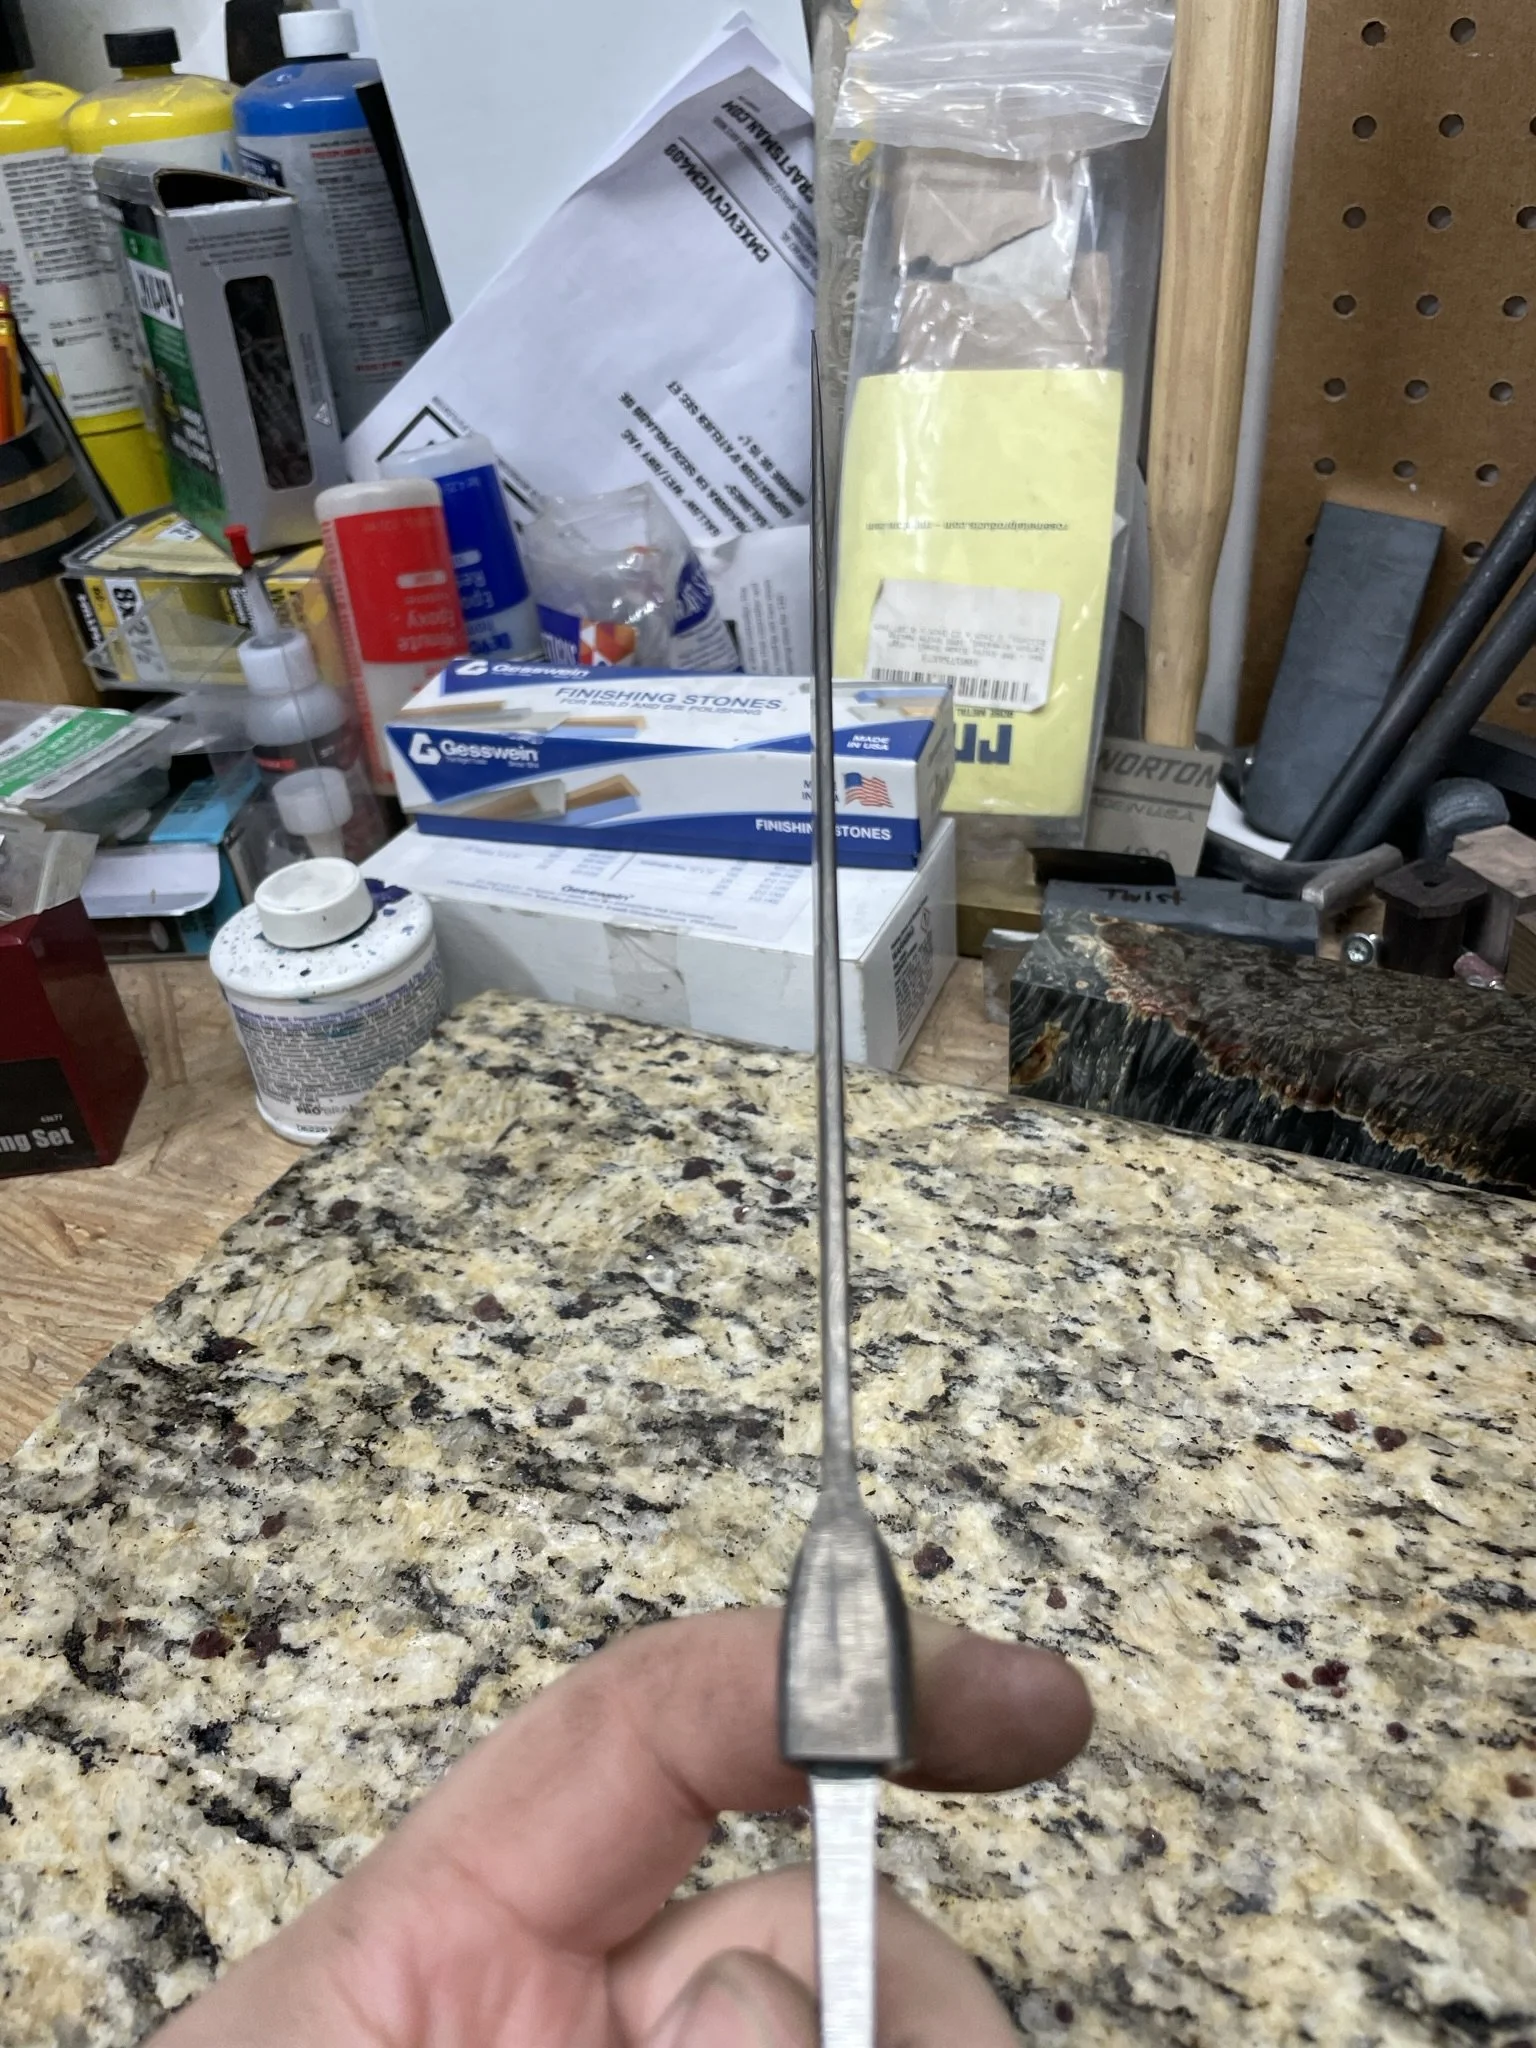
Spine view.
-
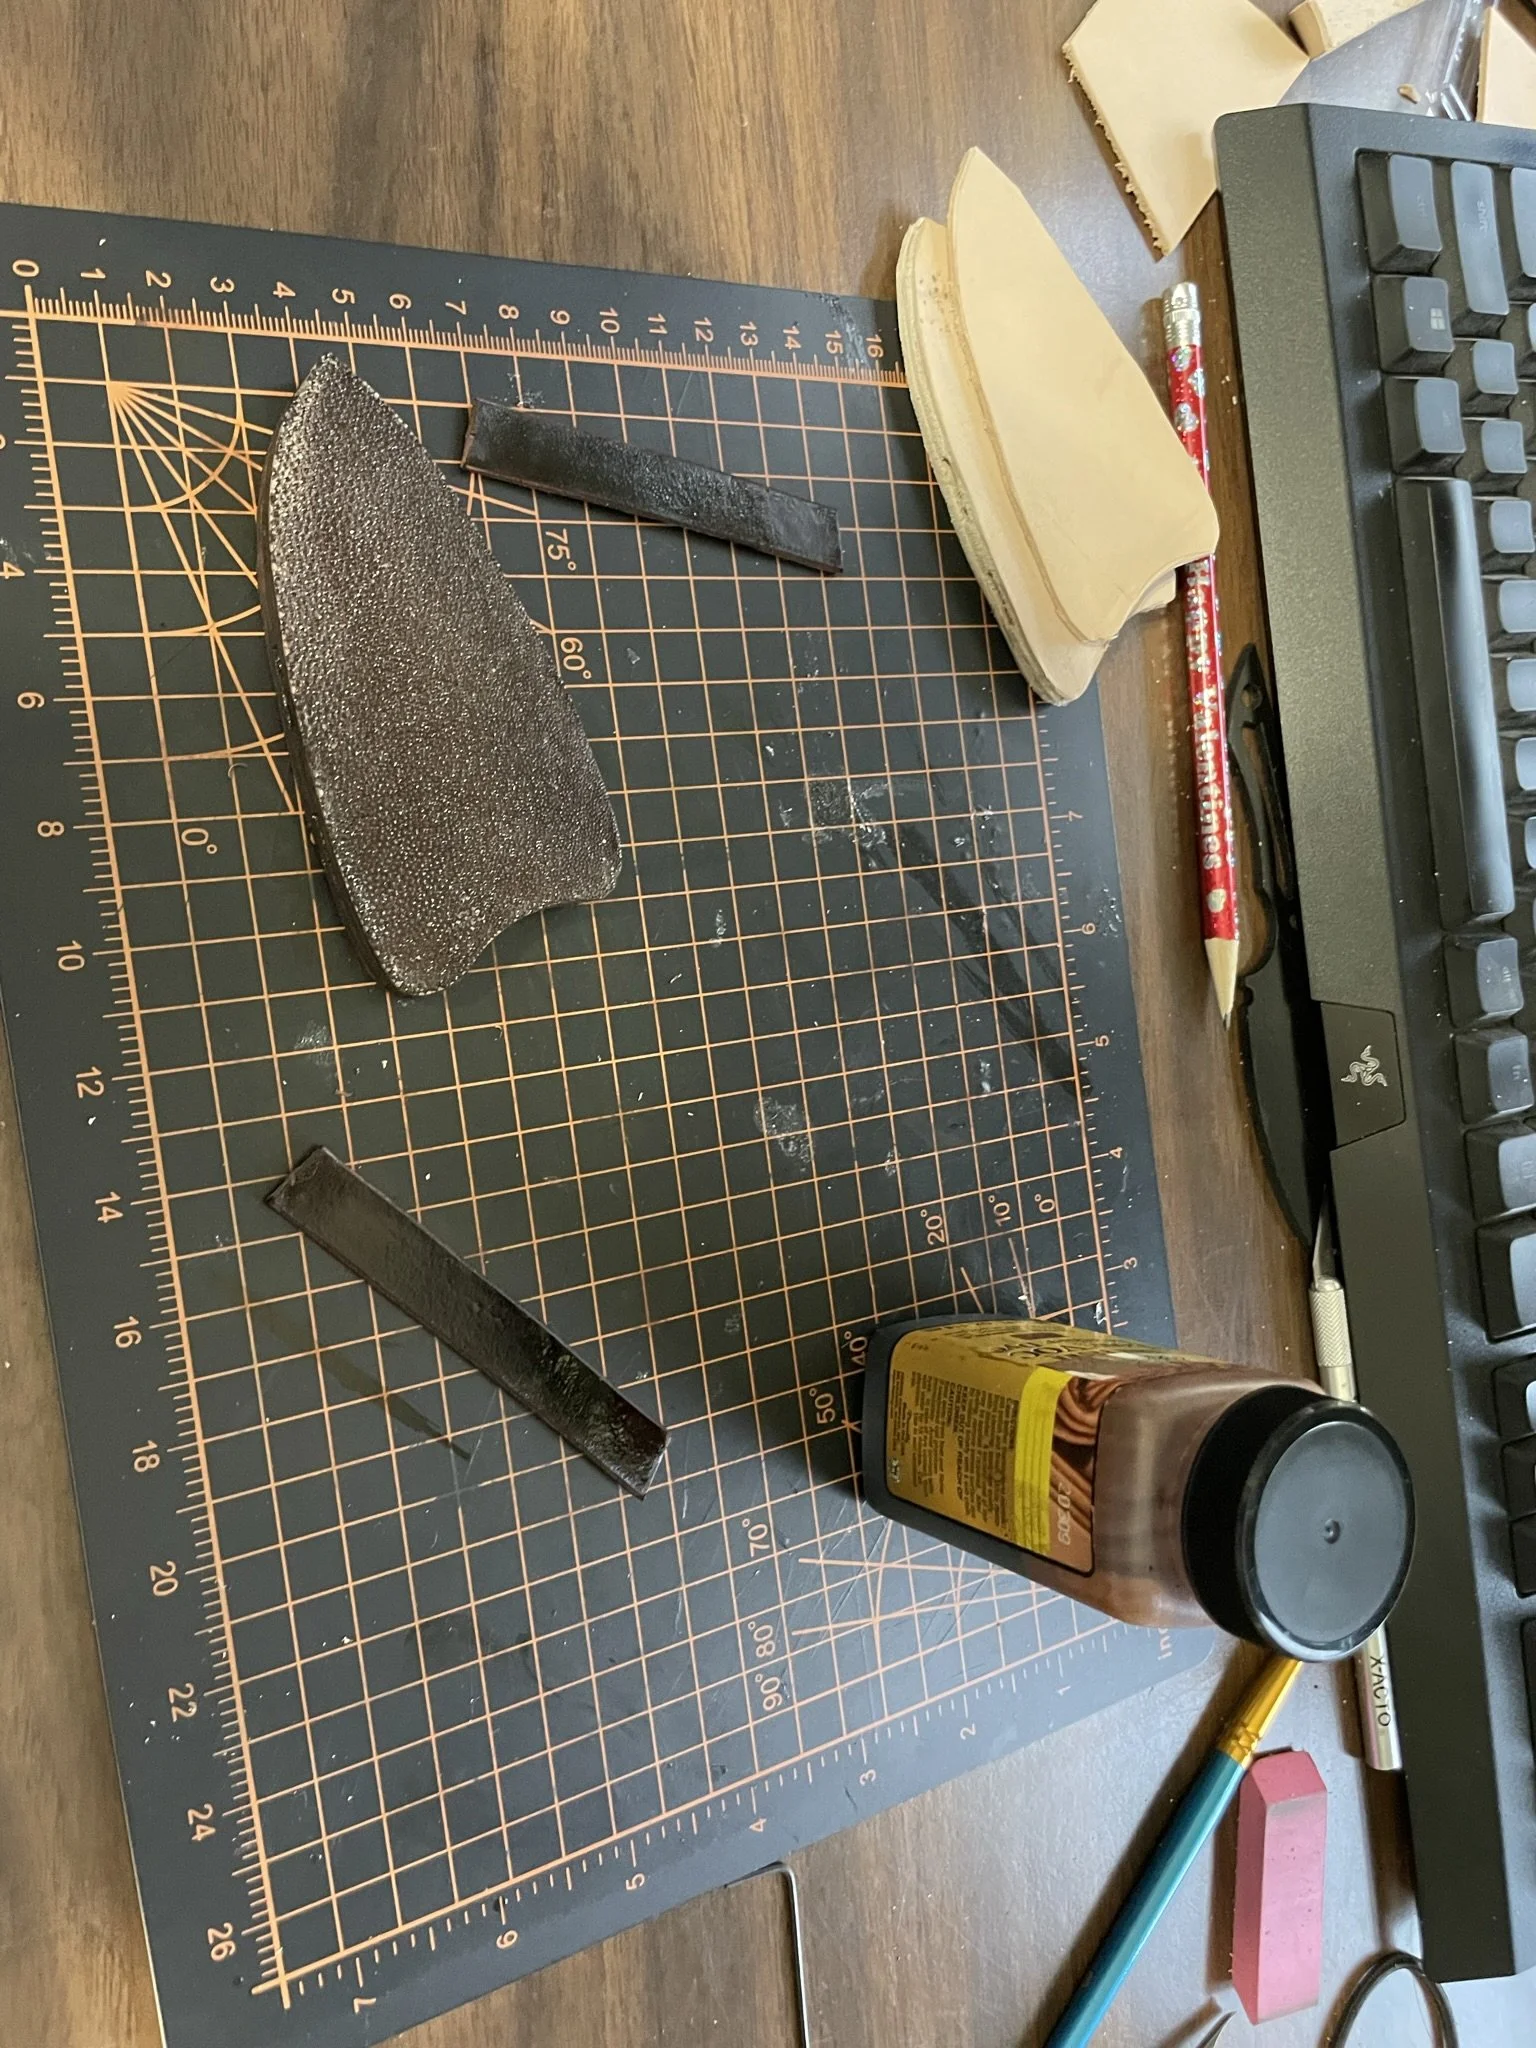
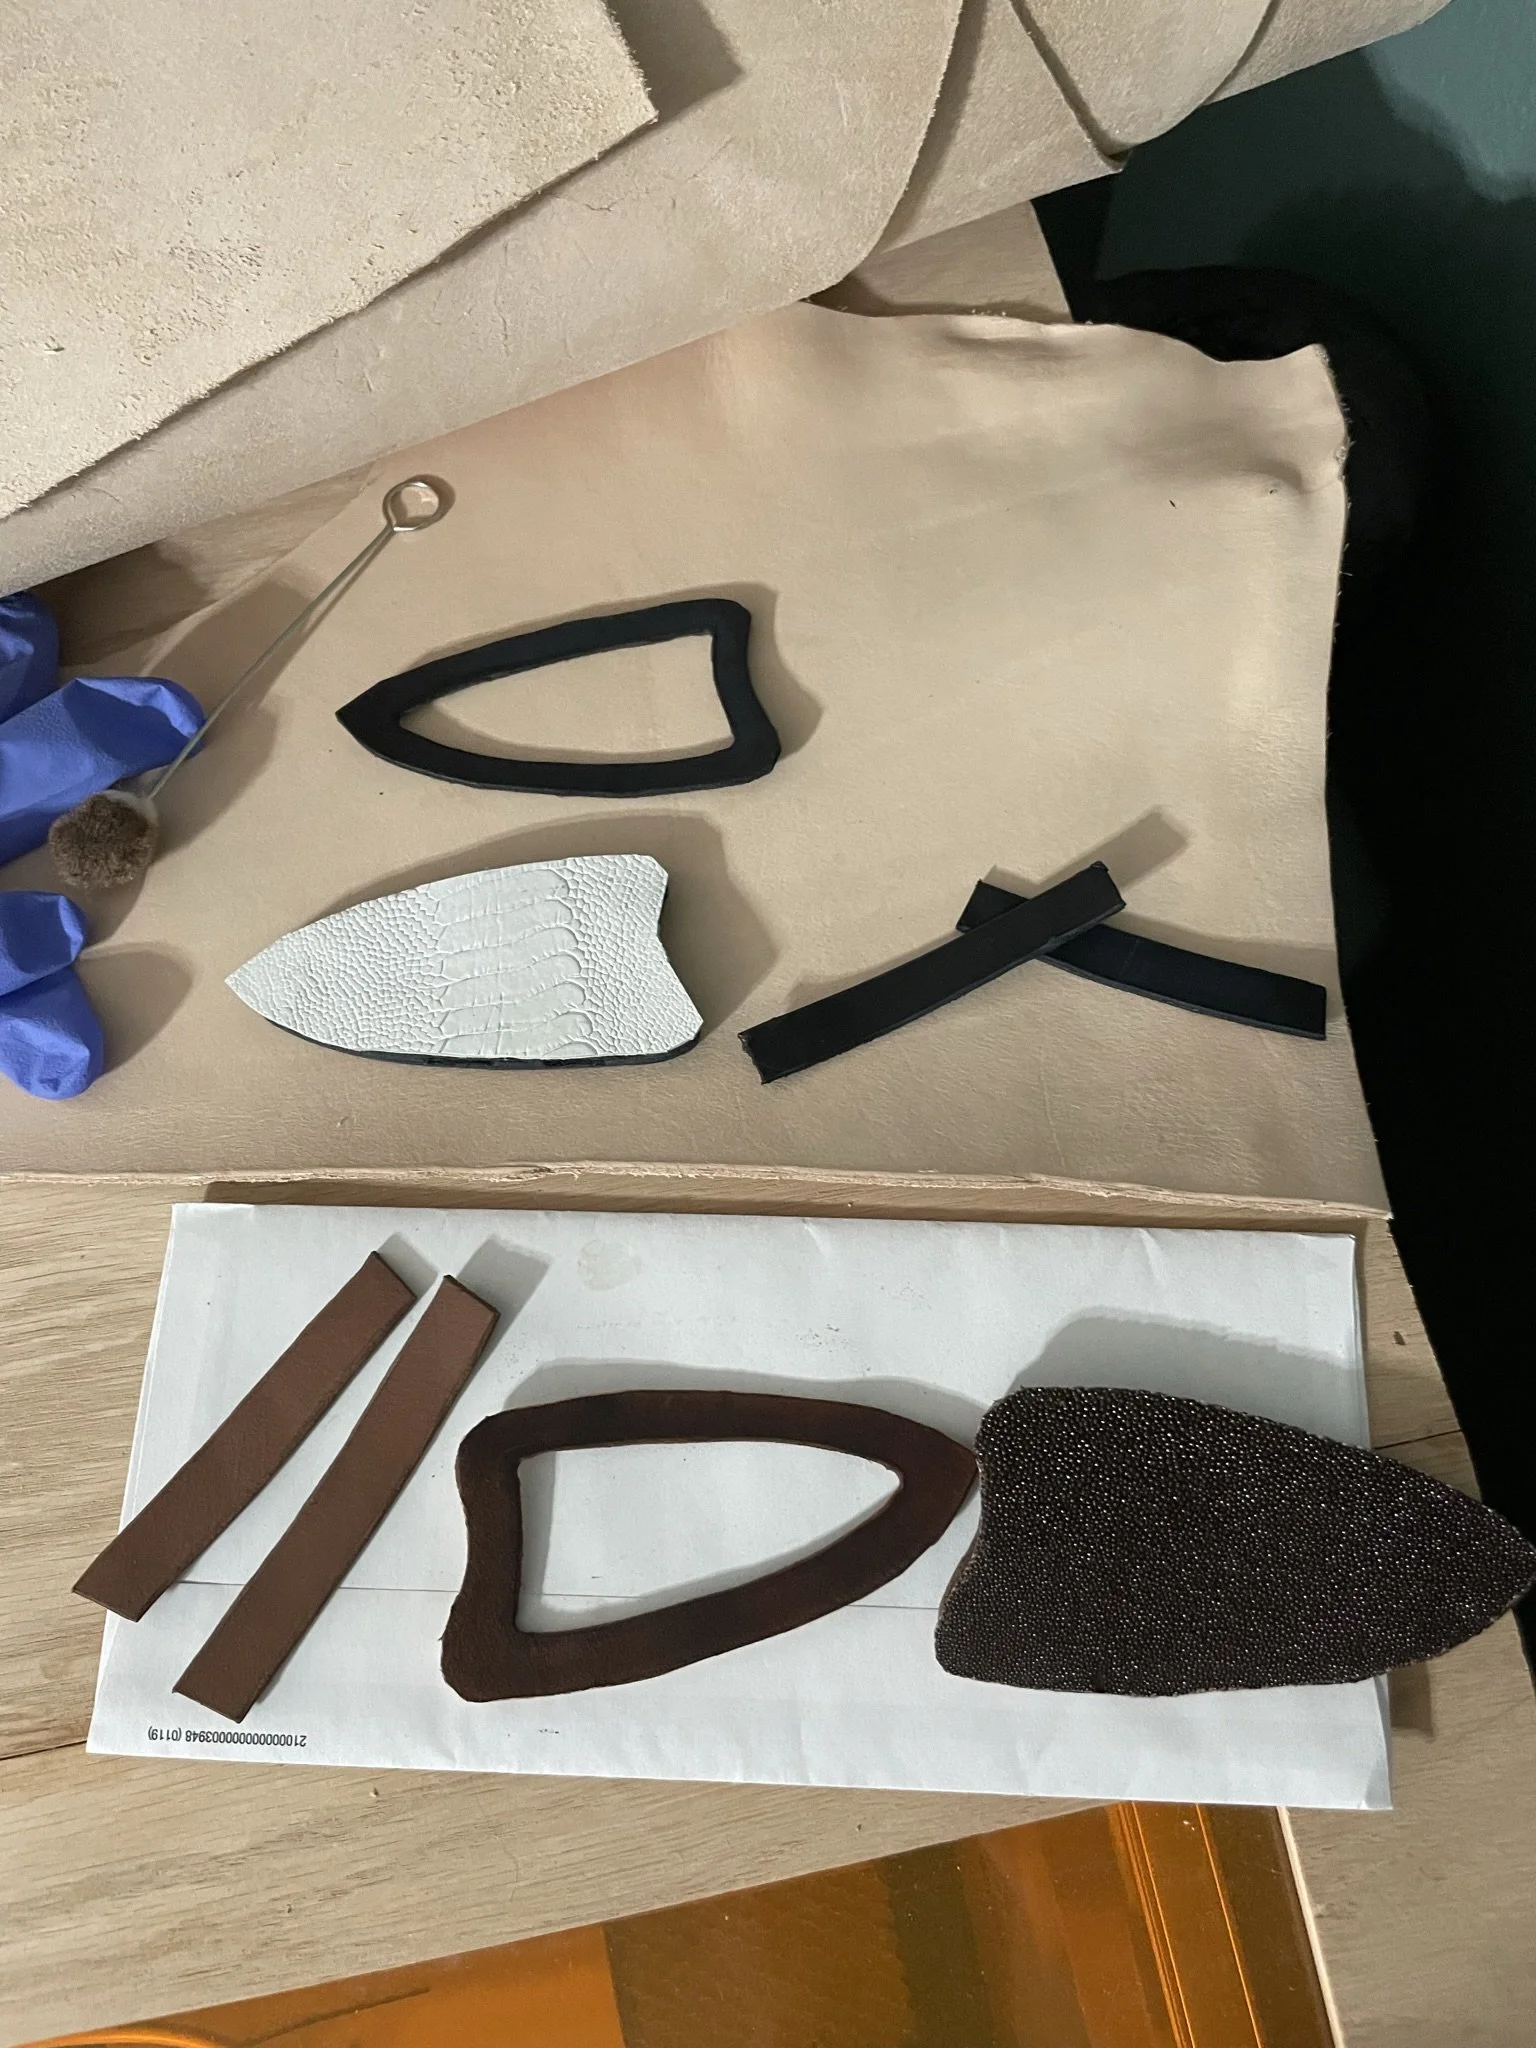
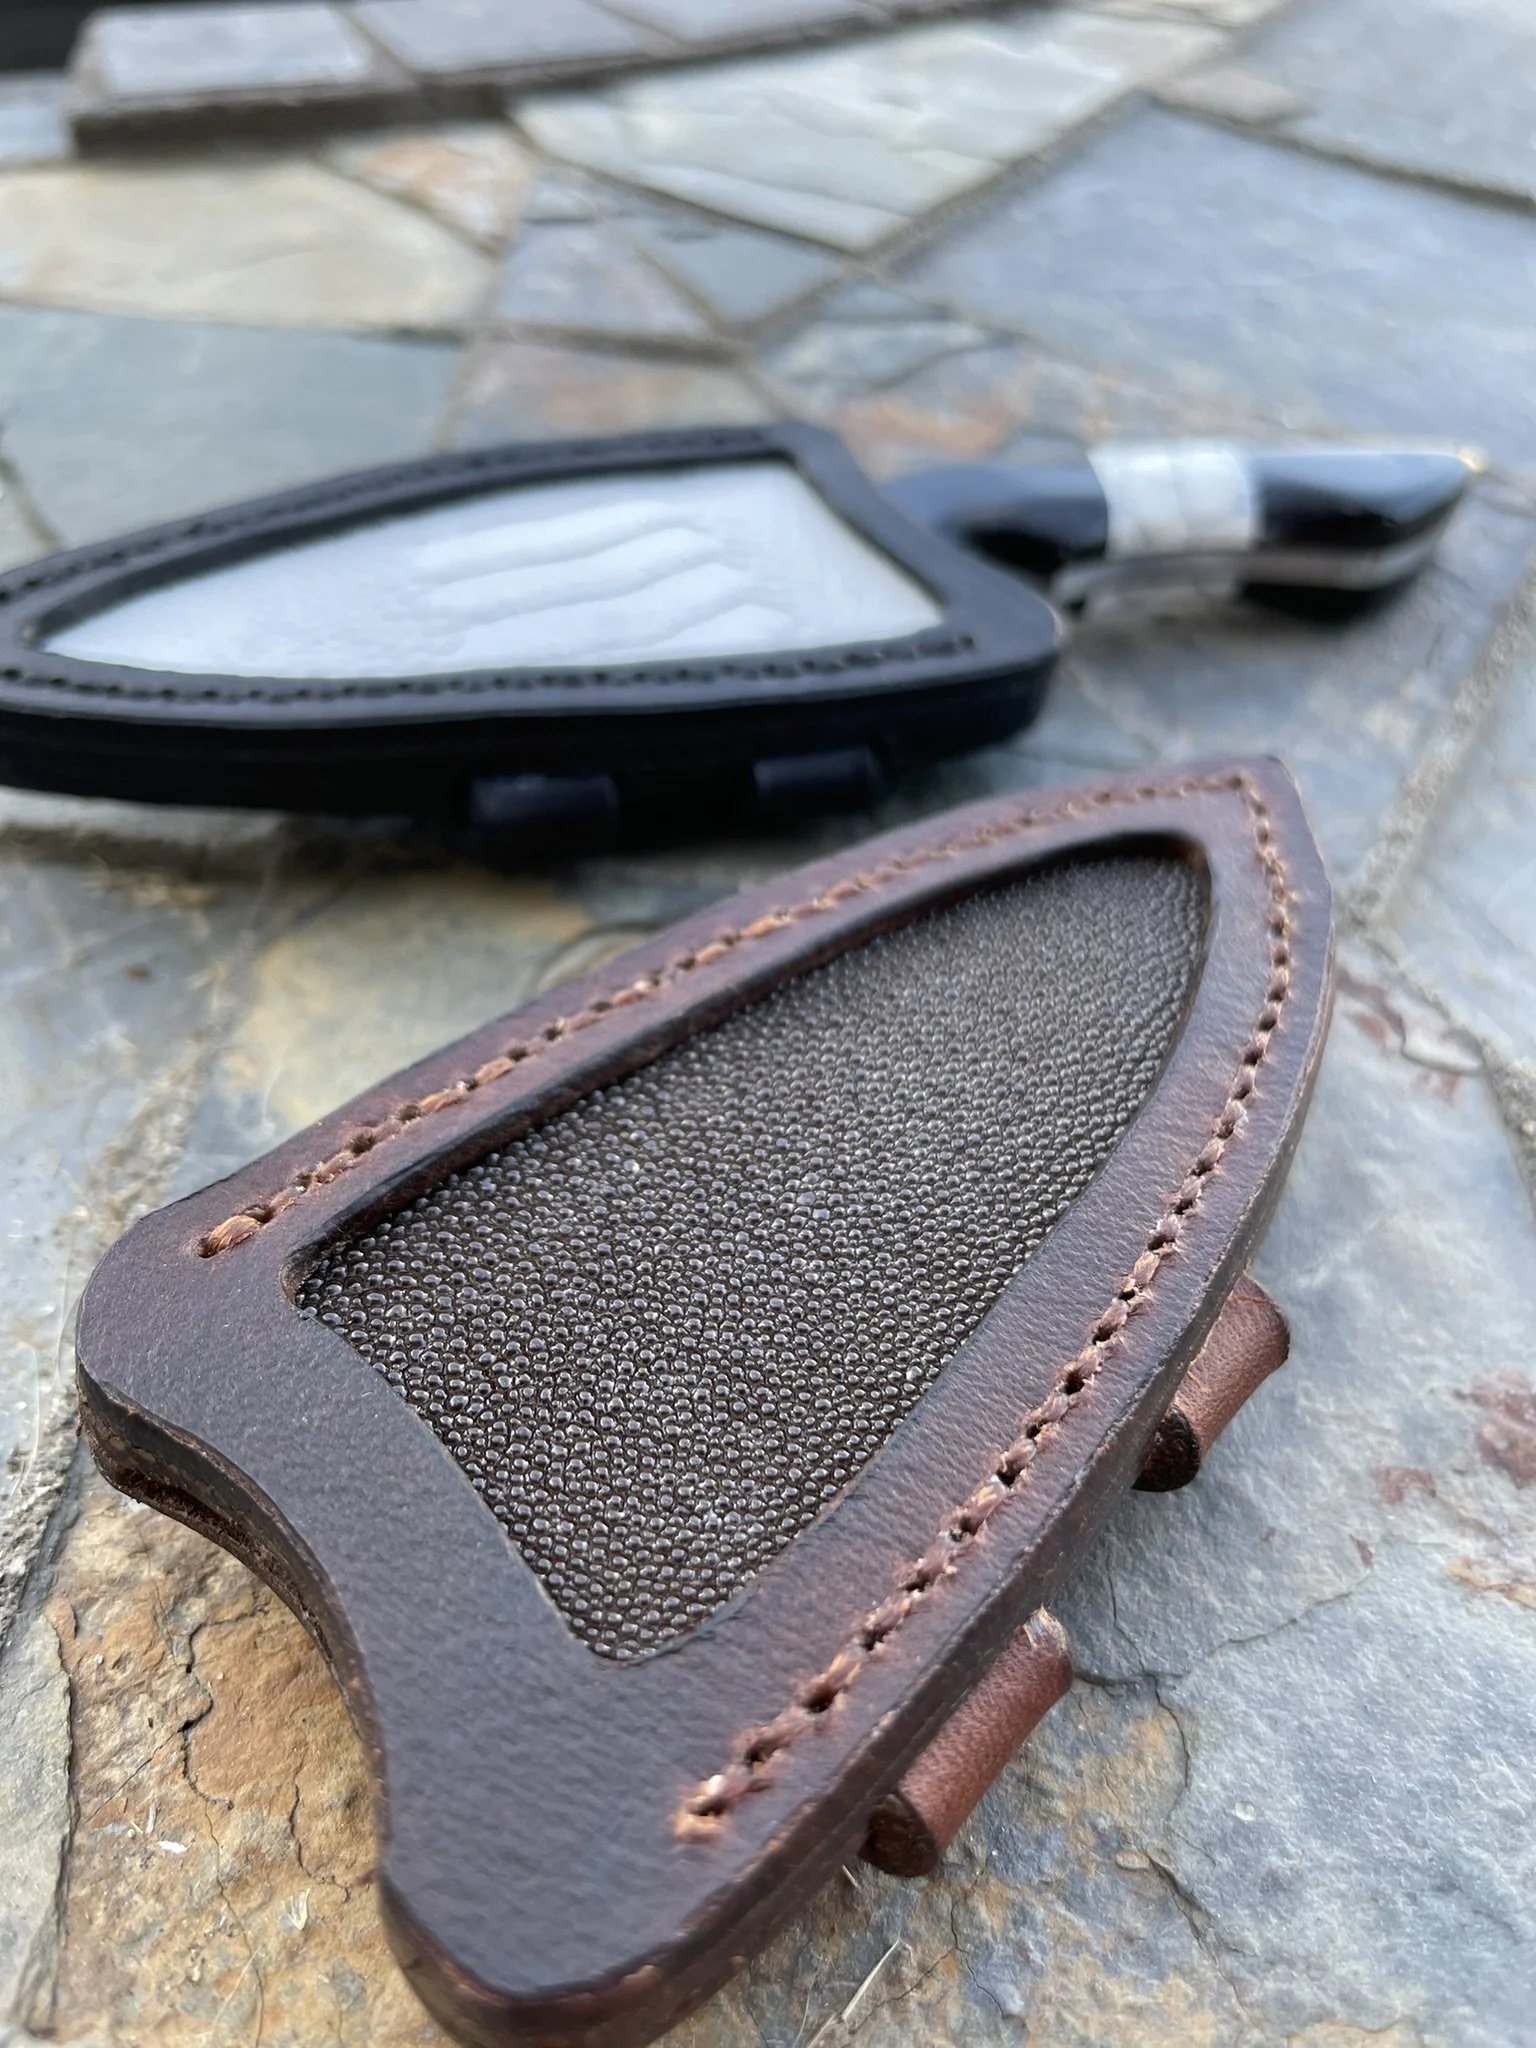
Getting fancy with the sheaths. Decided to make two (I don't know why) one with a stingray skin inlay and one with ostrich leather.
-
Rough sheath shape.
-
In assembly.
-
This photo was the inspiration for the style of the sheath I made.
-
Glamour shot #1.
-
Glamour shot #2.
-
Glamour shot #3.
-
Glamour shot #4.
-
Glamour shot #5.
-
Cool perspective shot.
Twist Damascus paring knife.
-
Final blade - keep scrolling to see the journey.
-
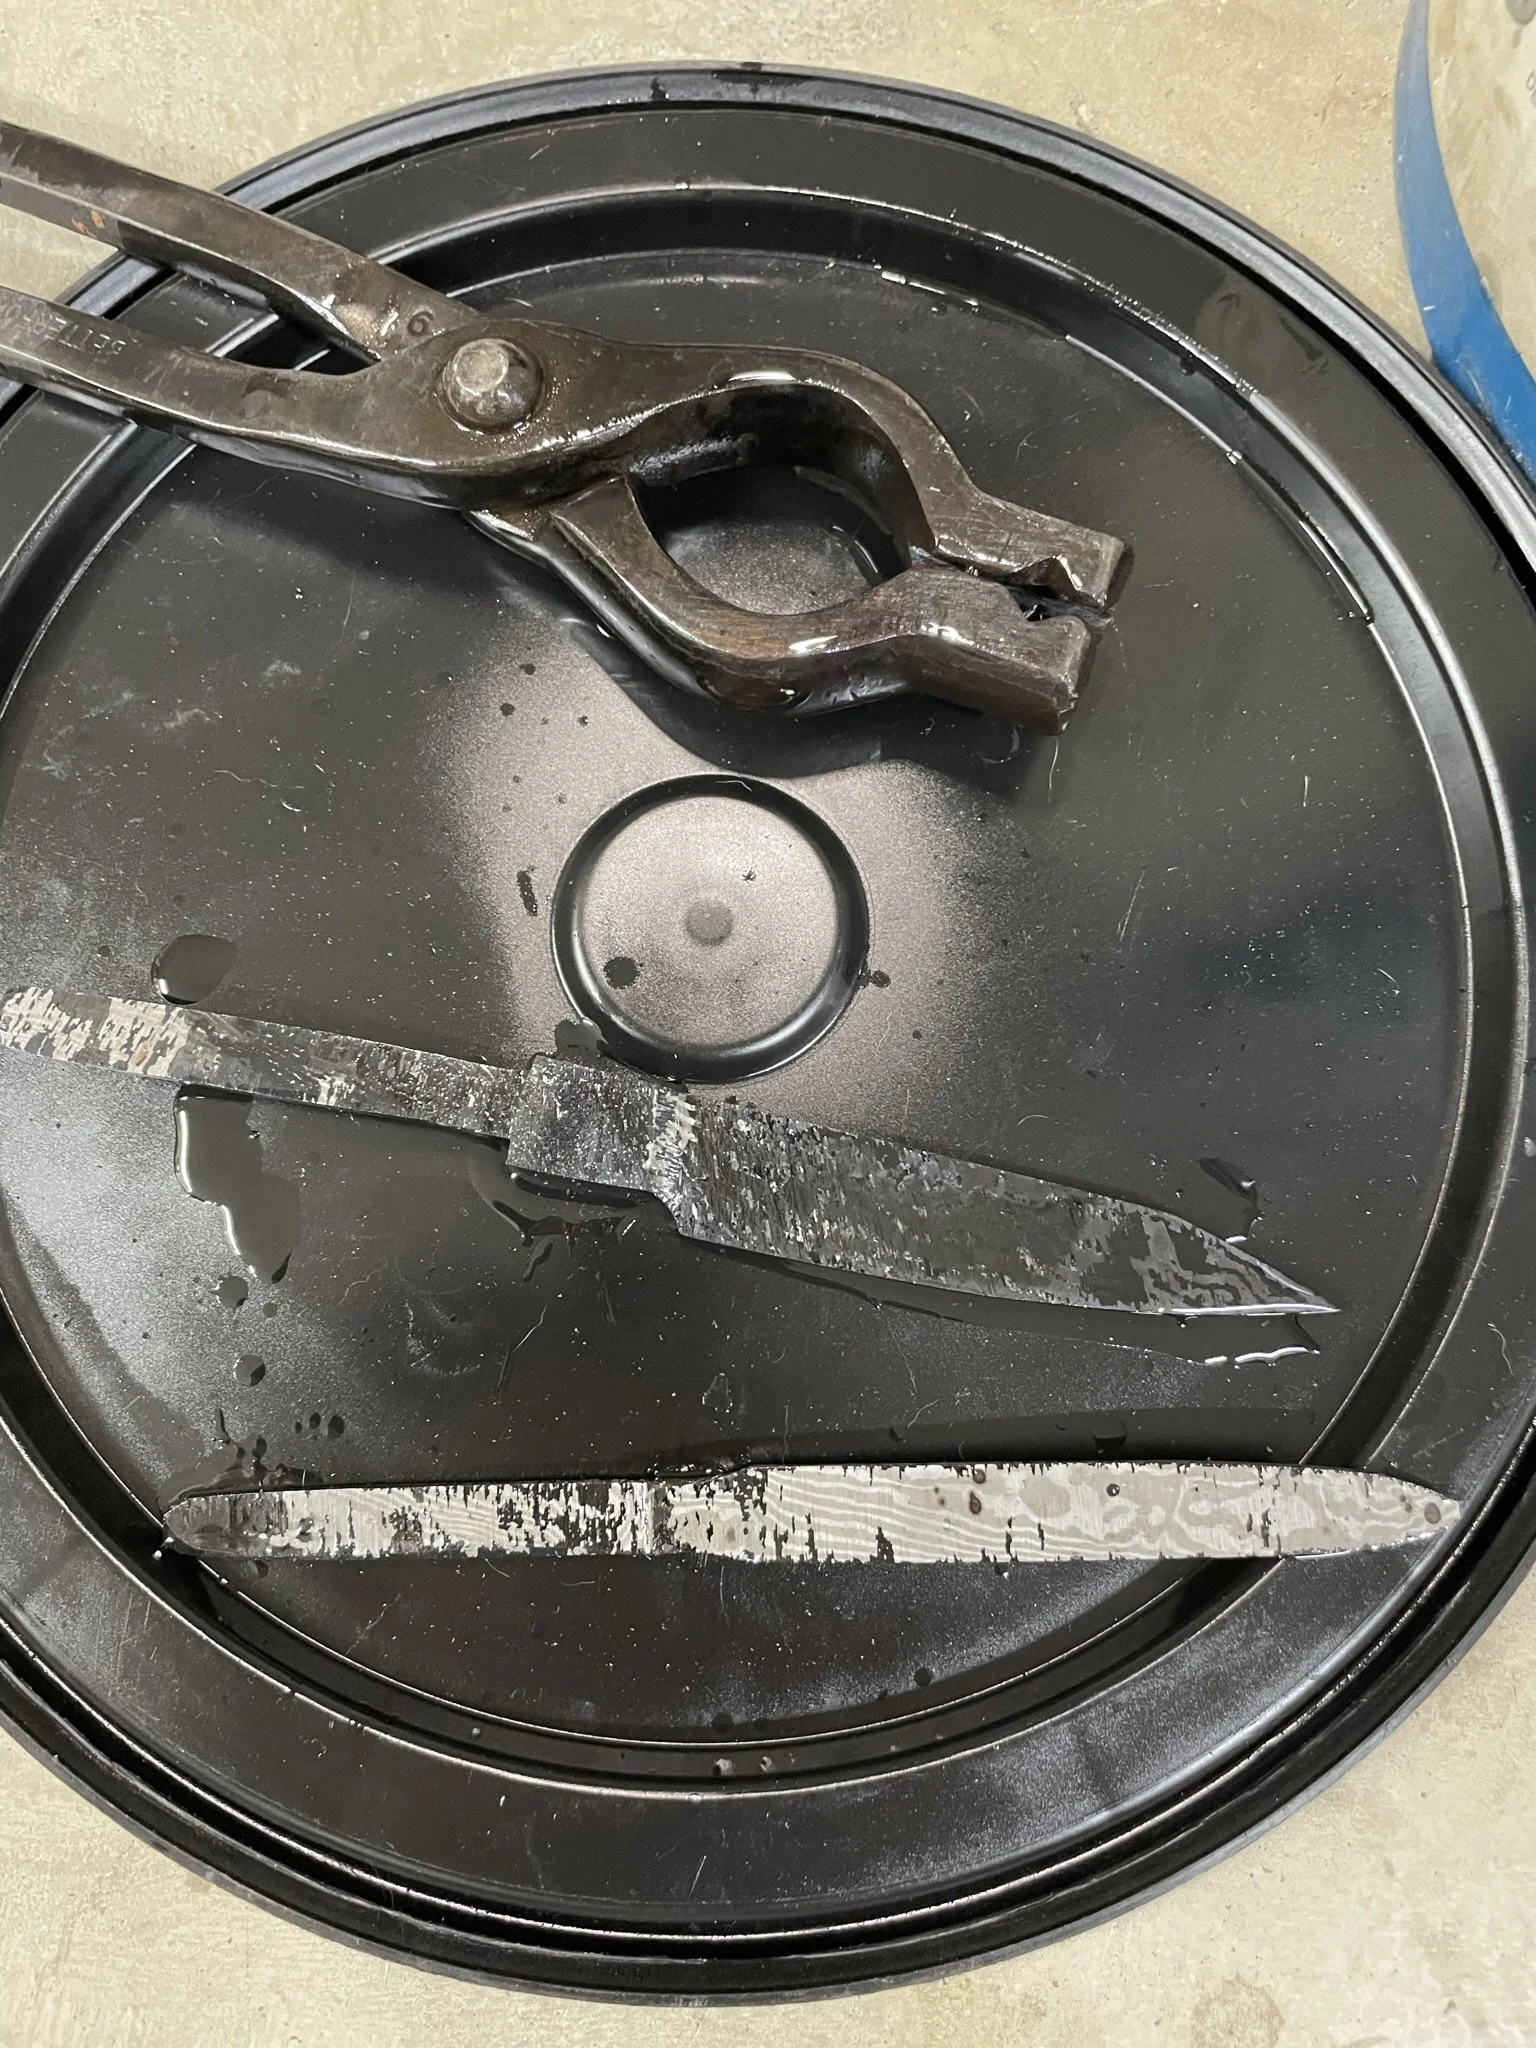
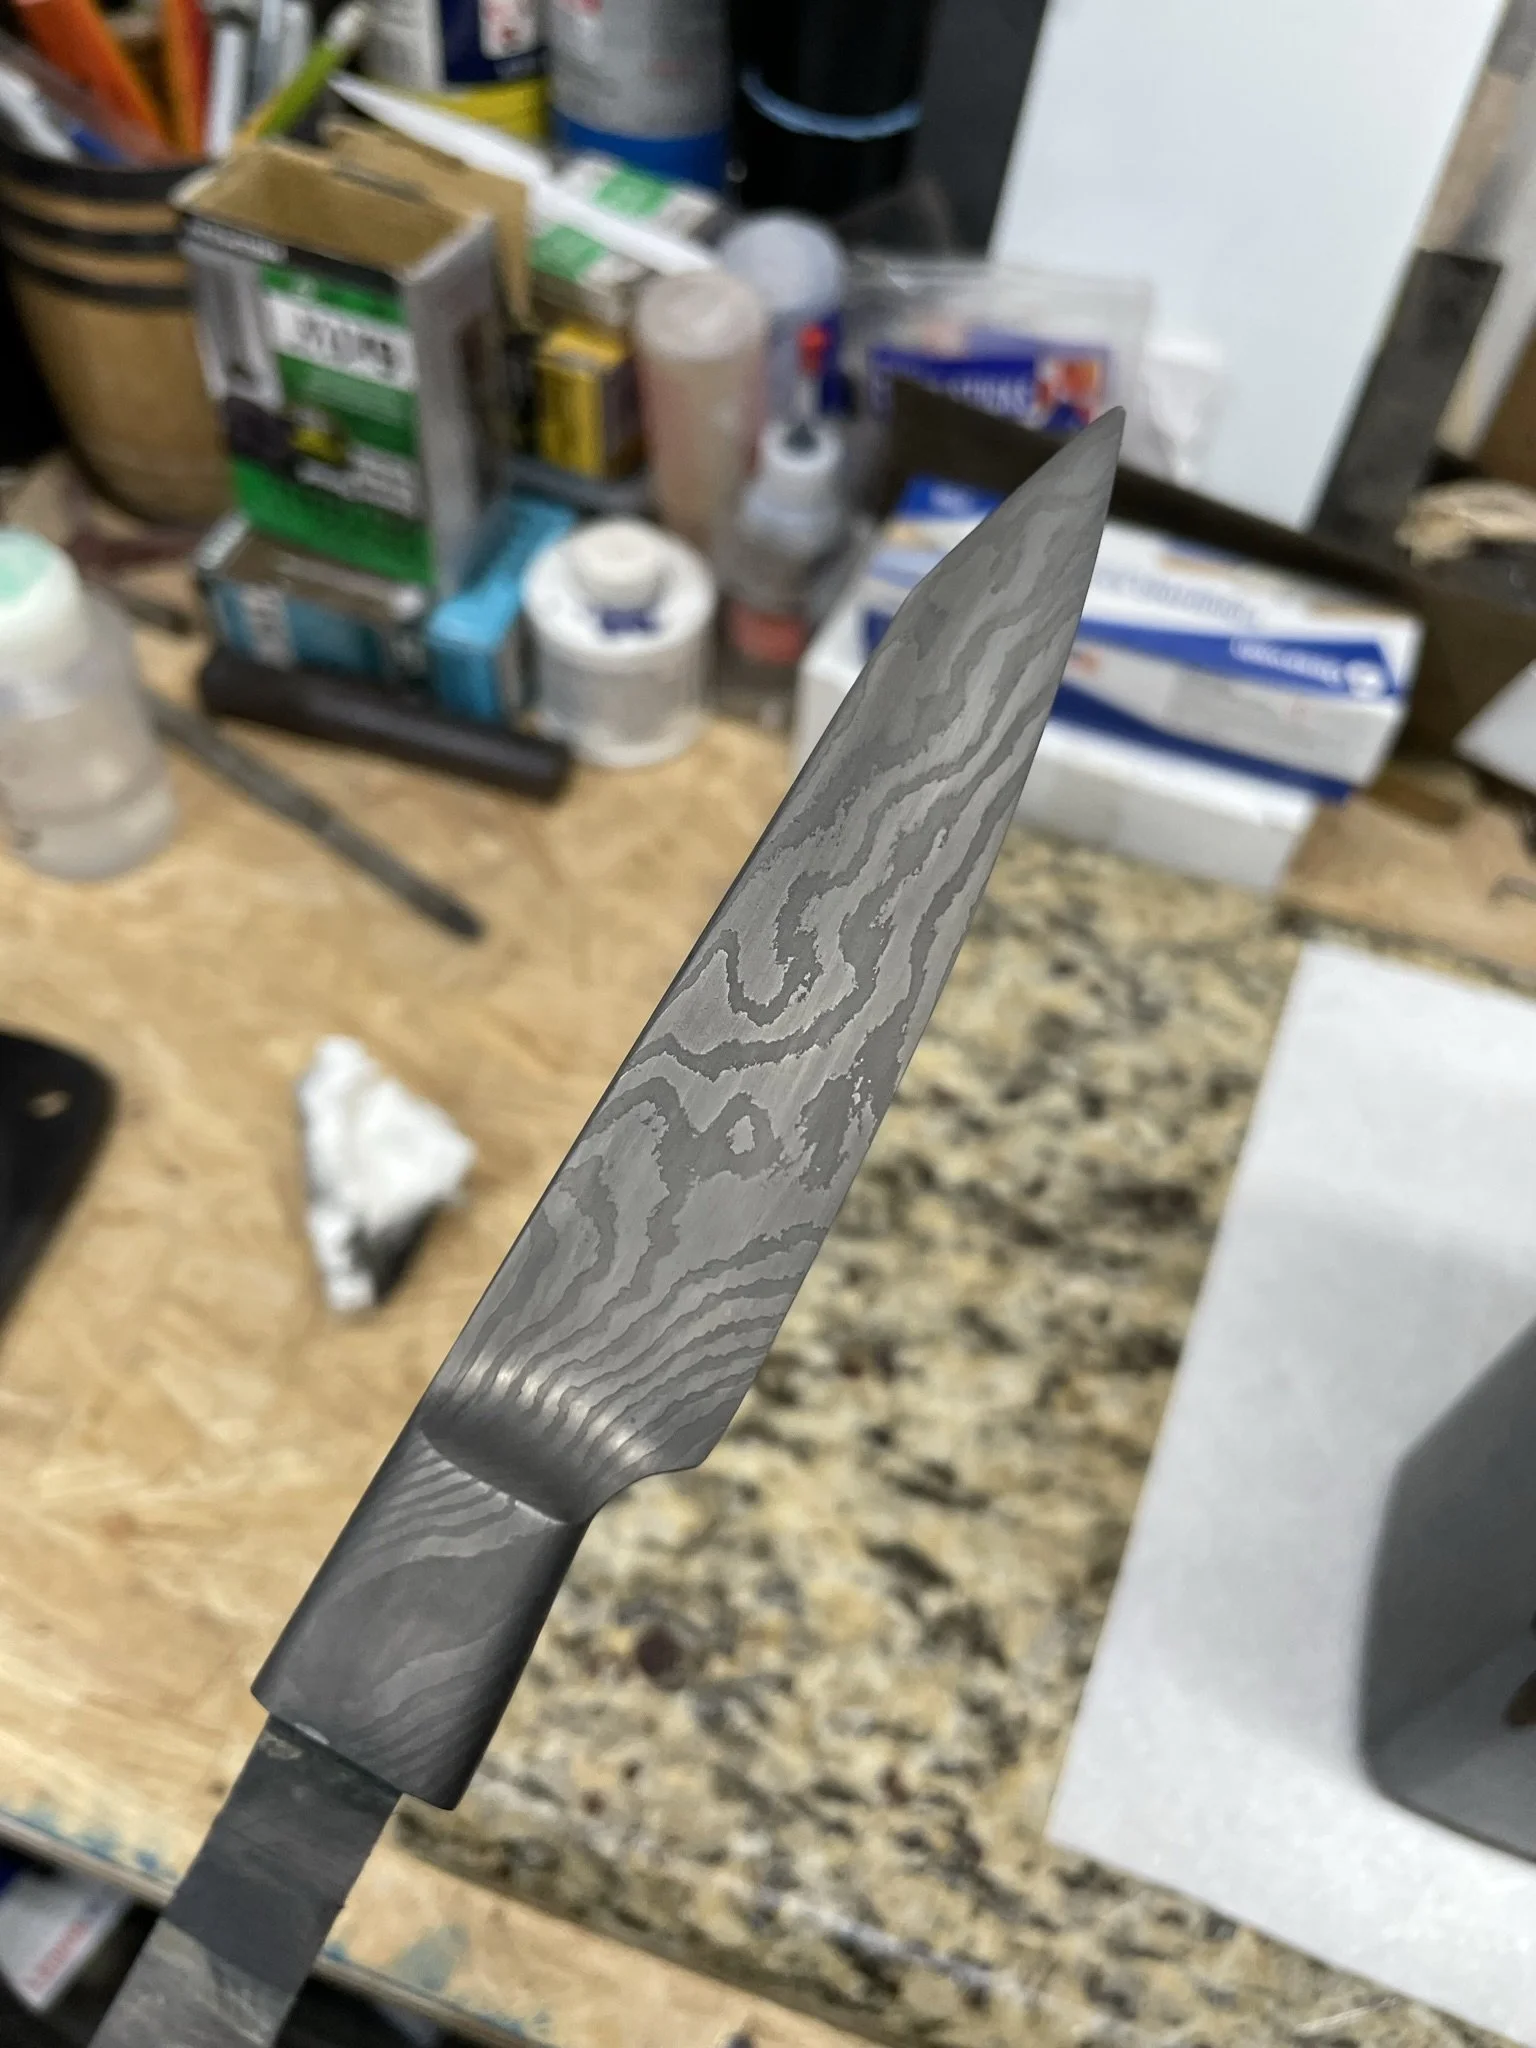
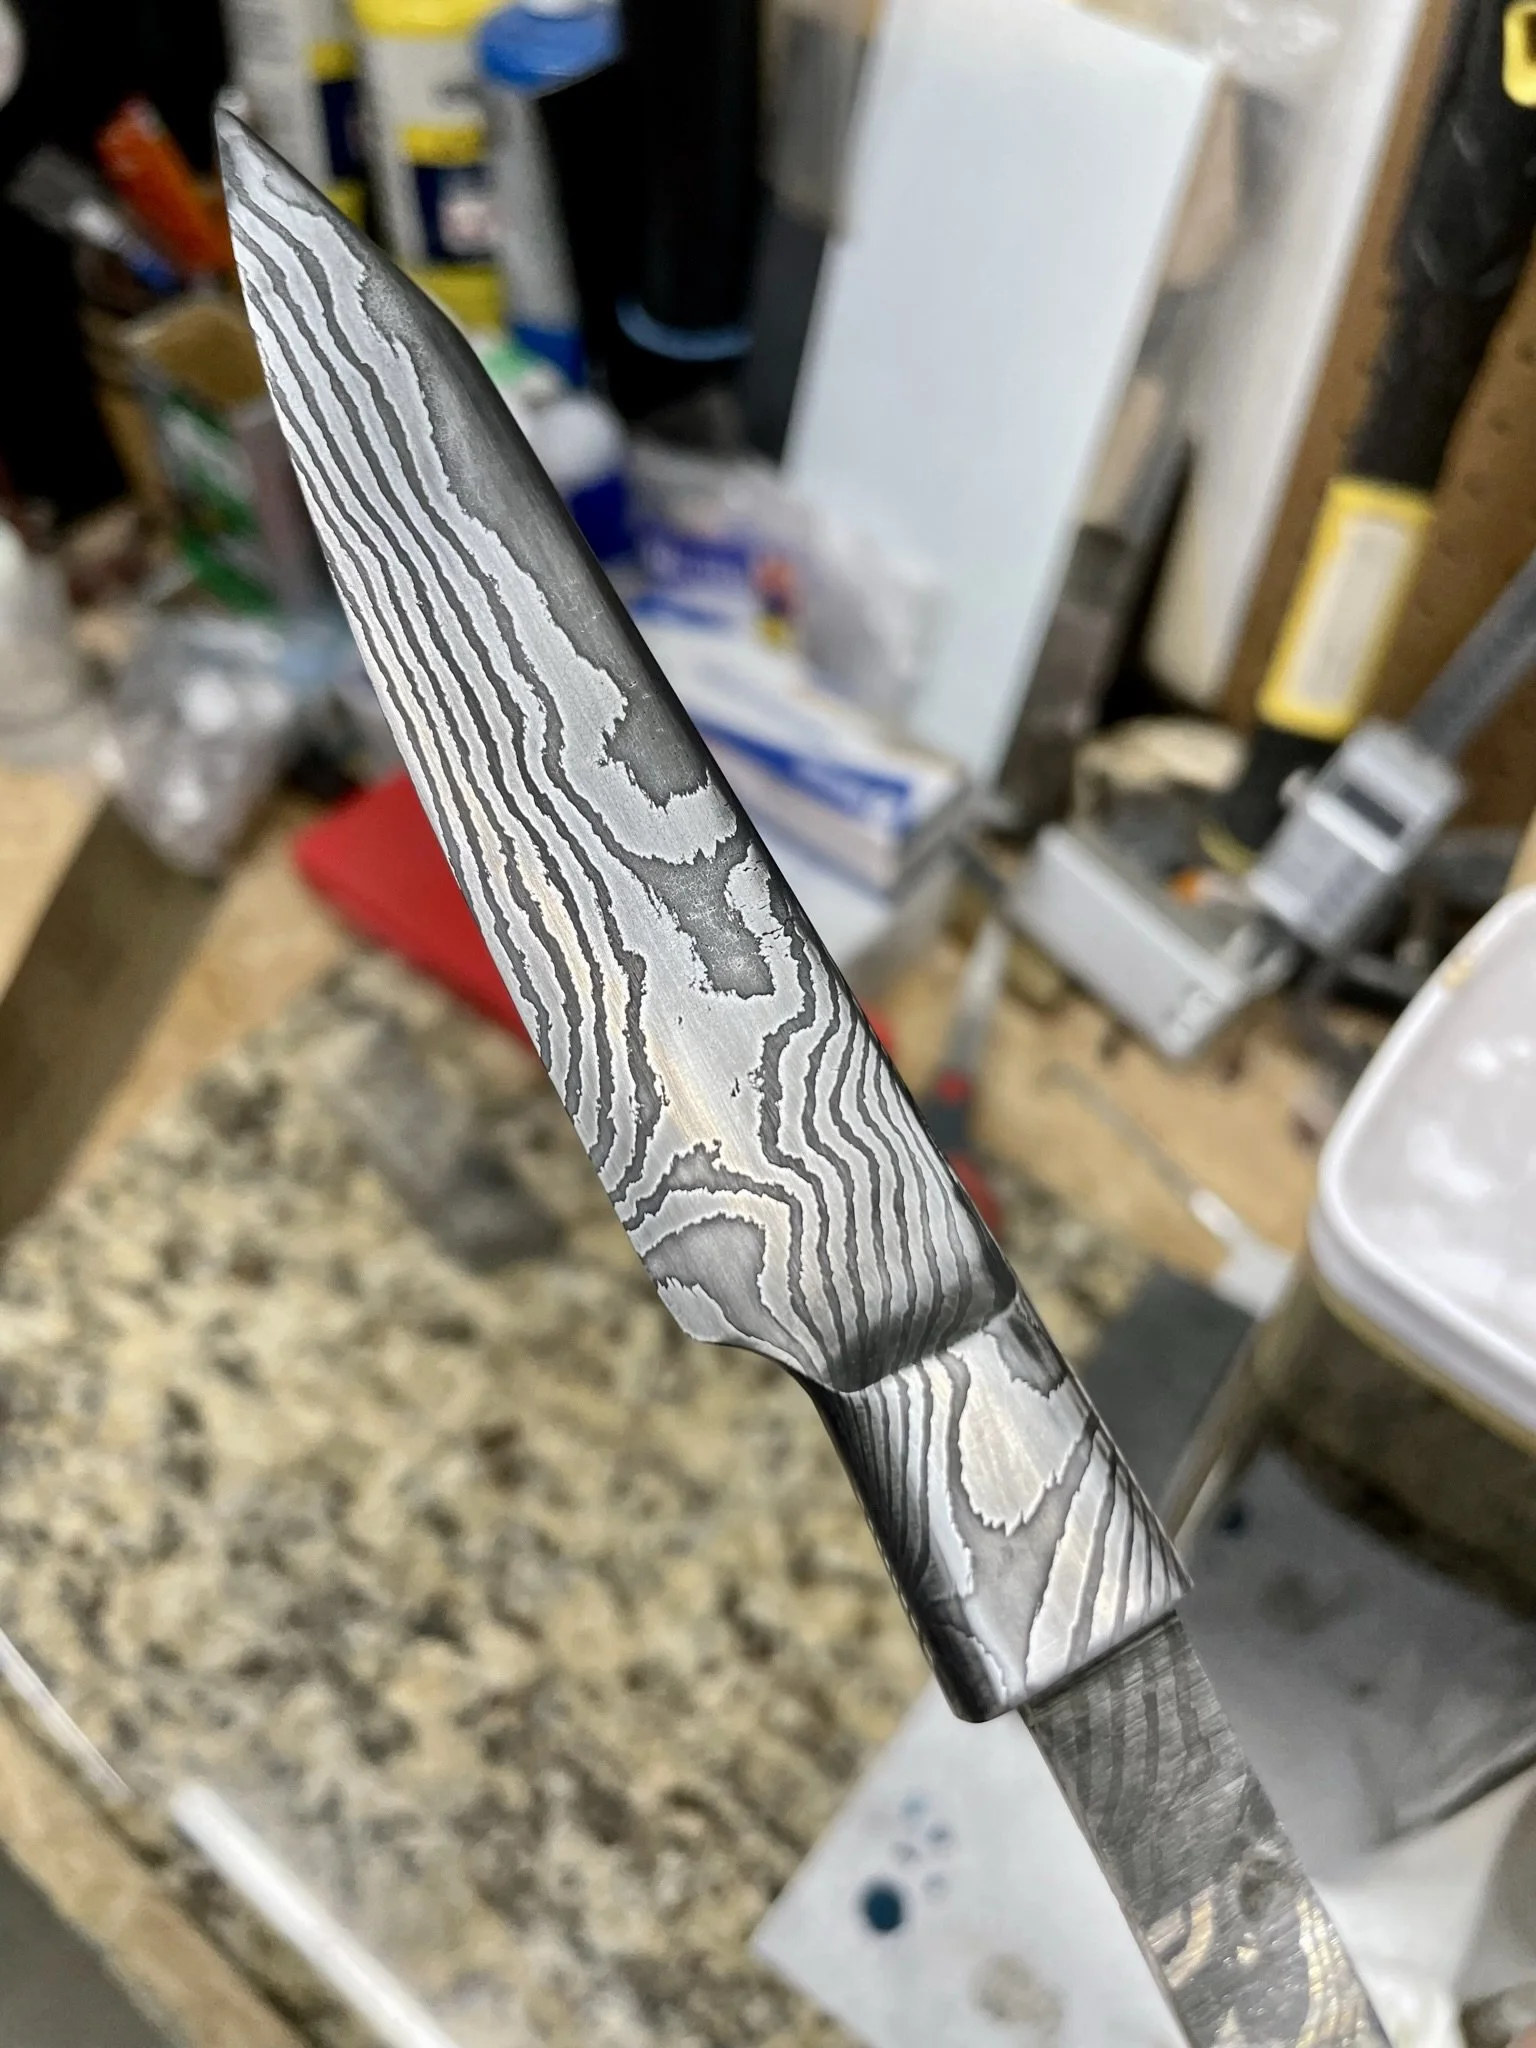
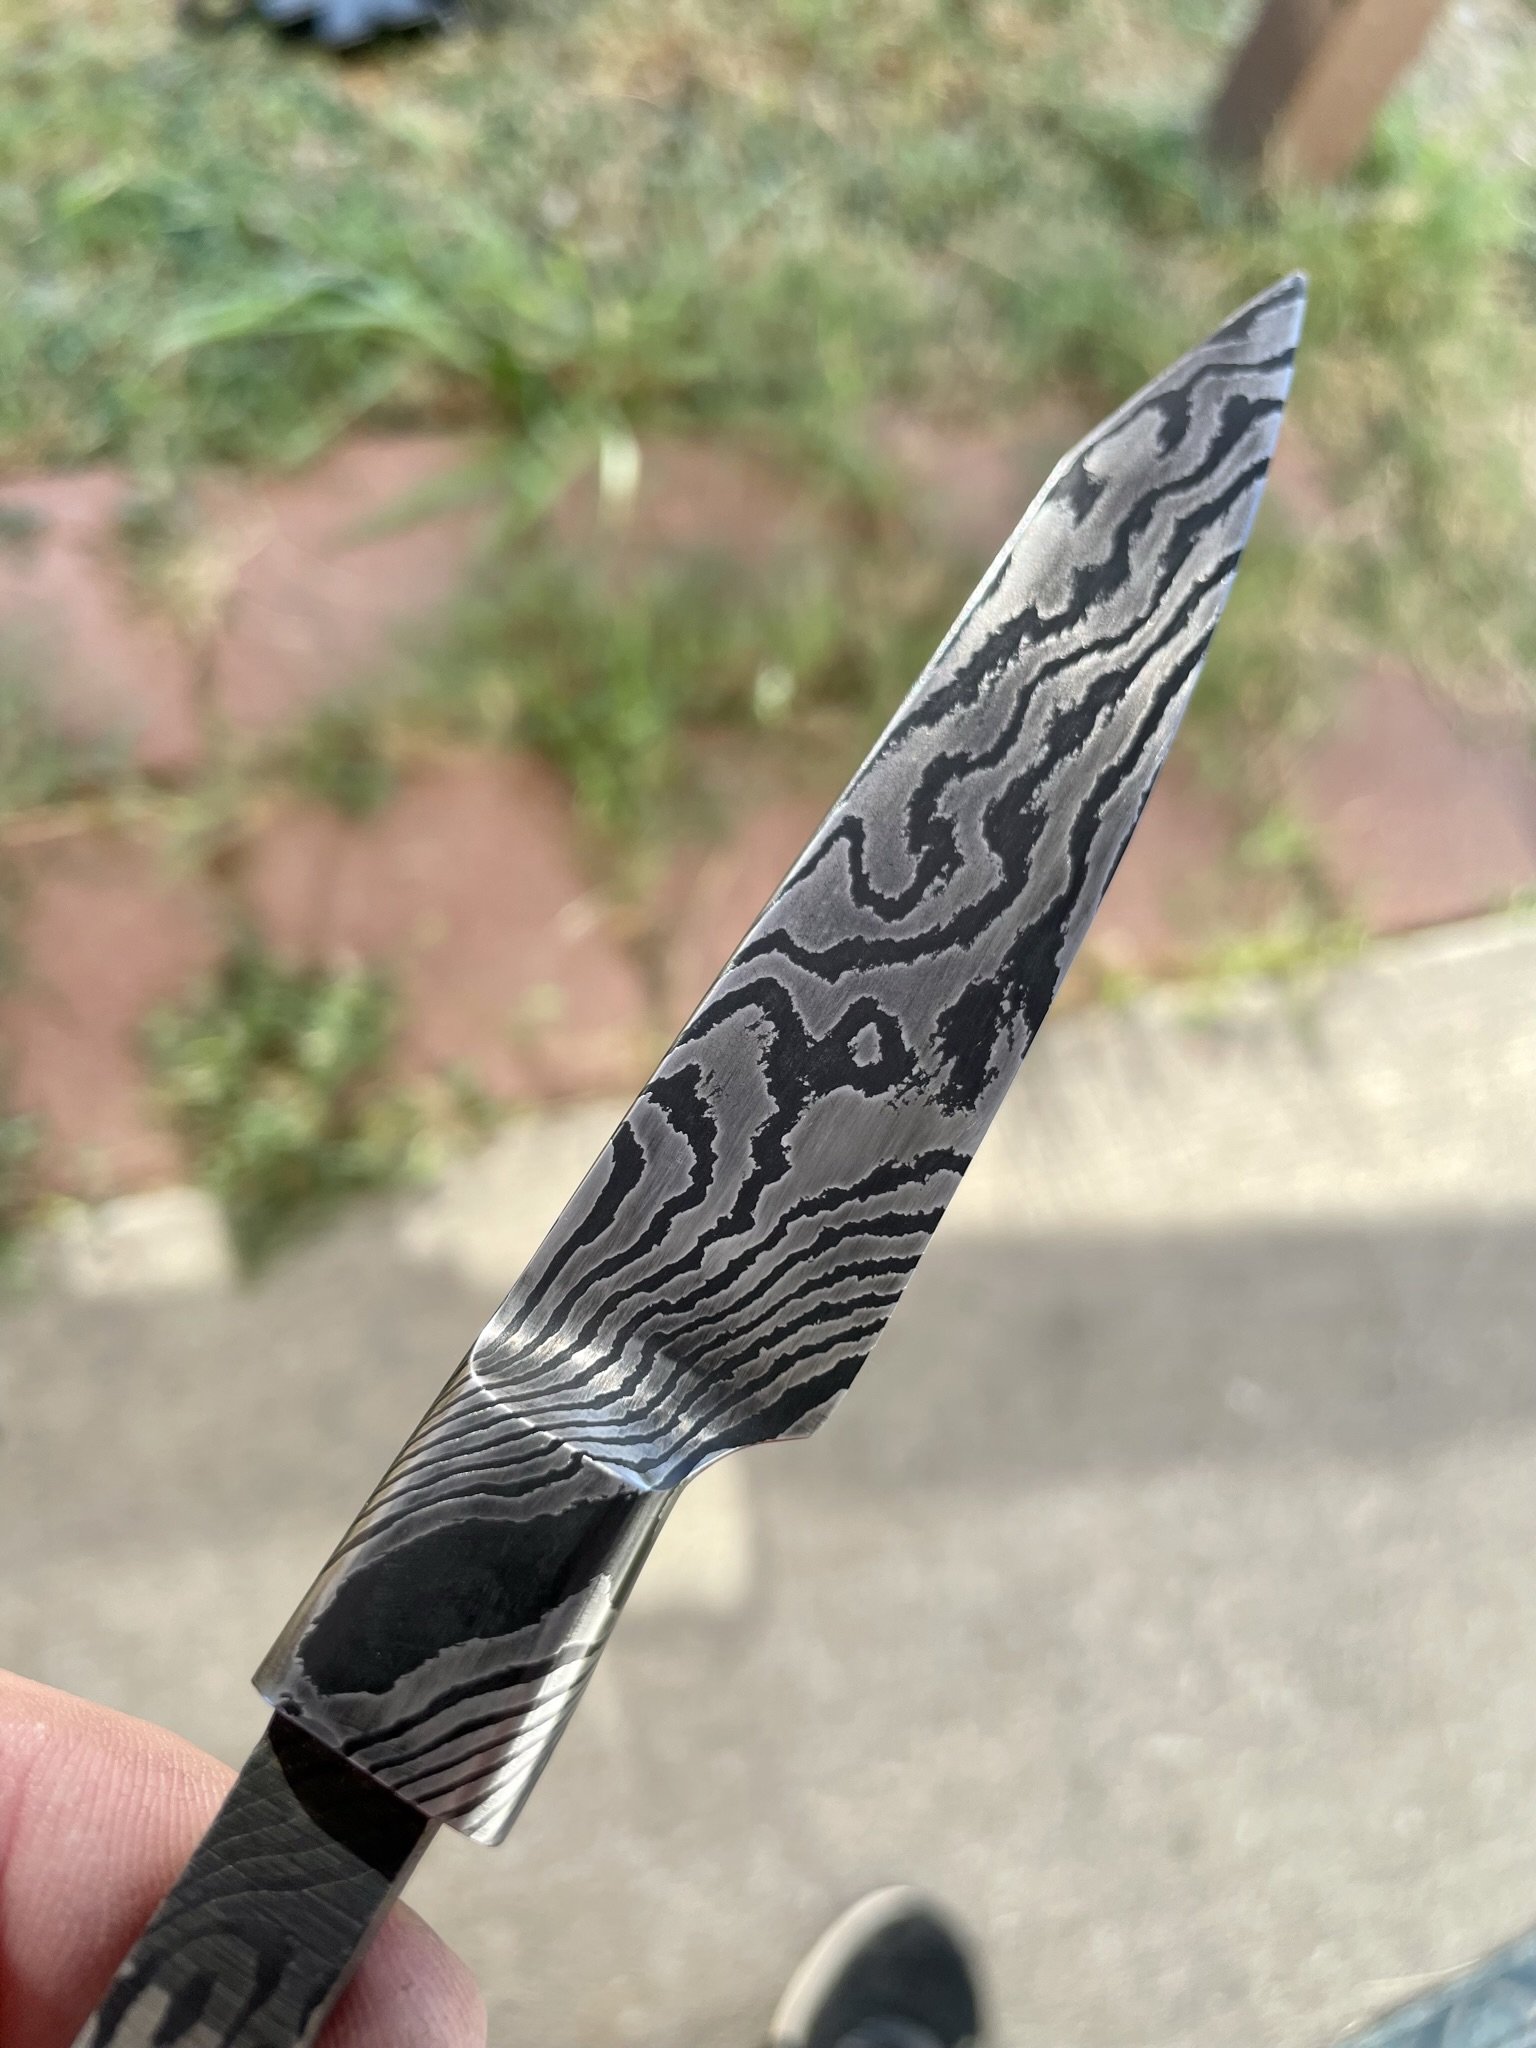
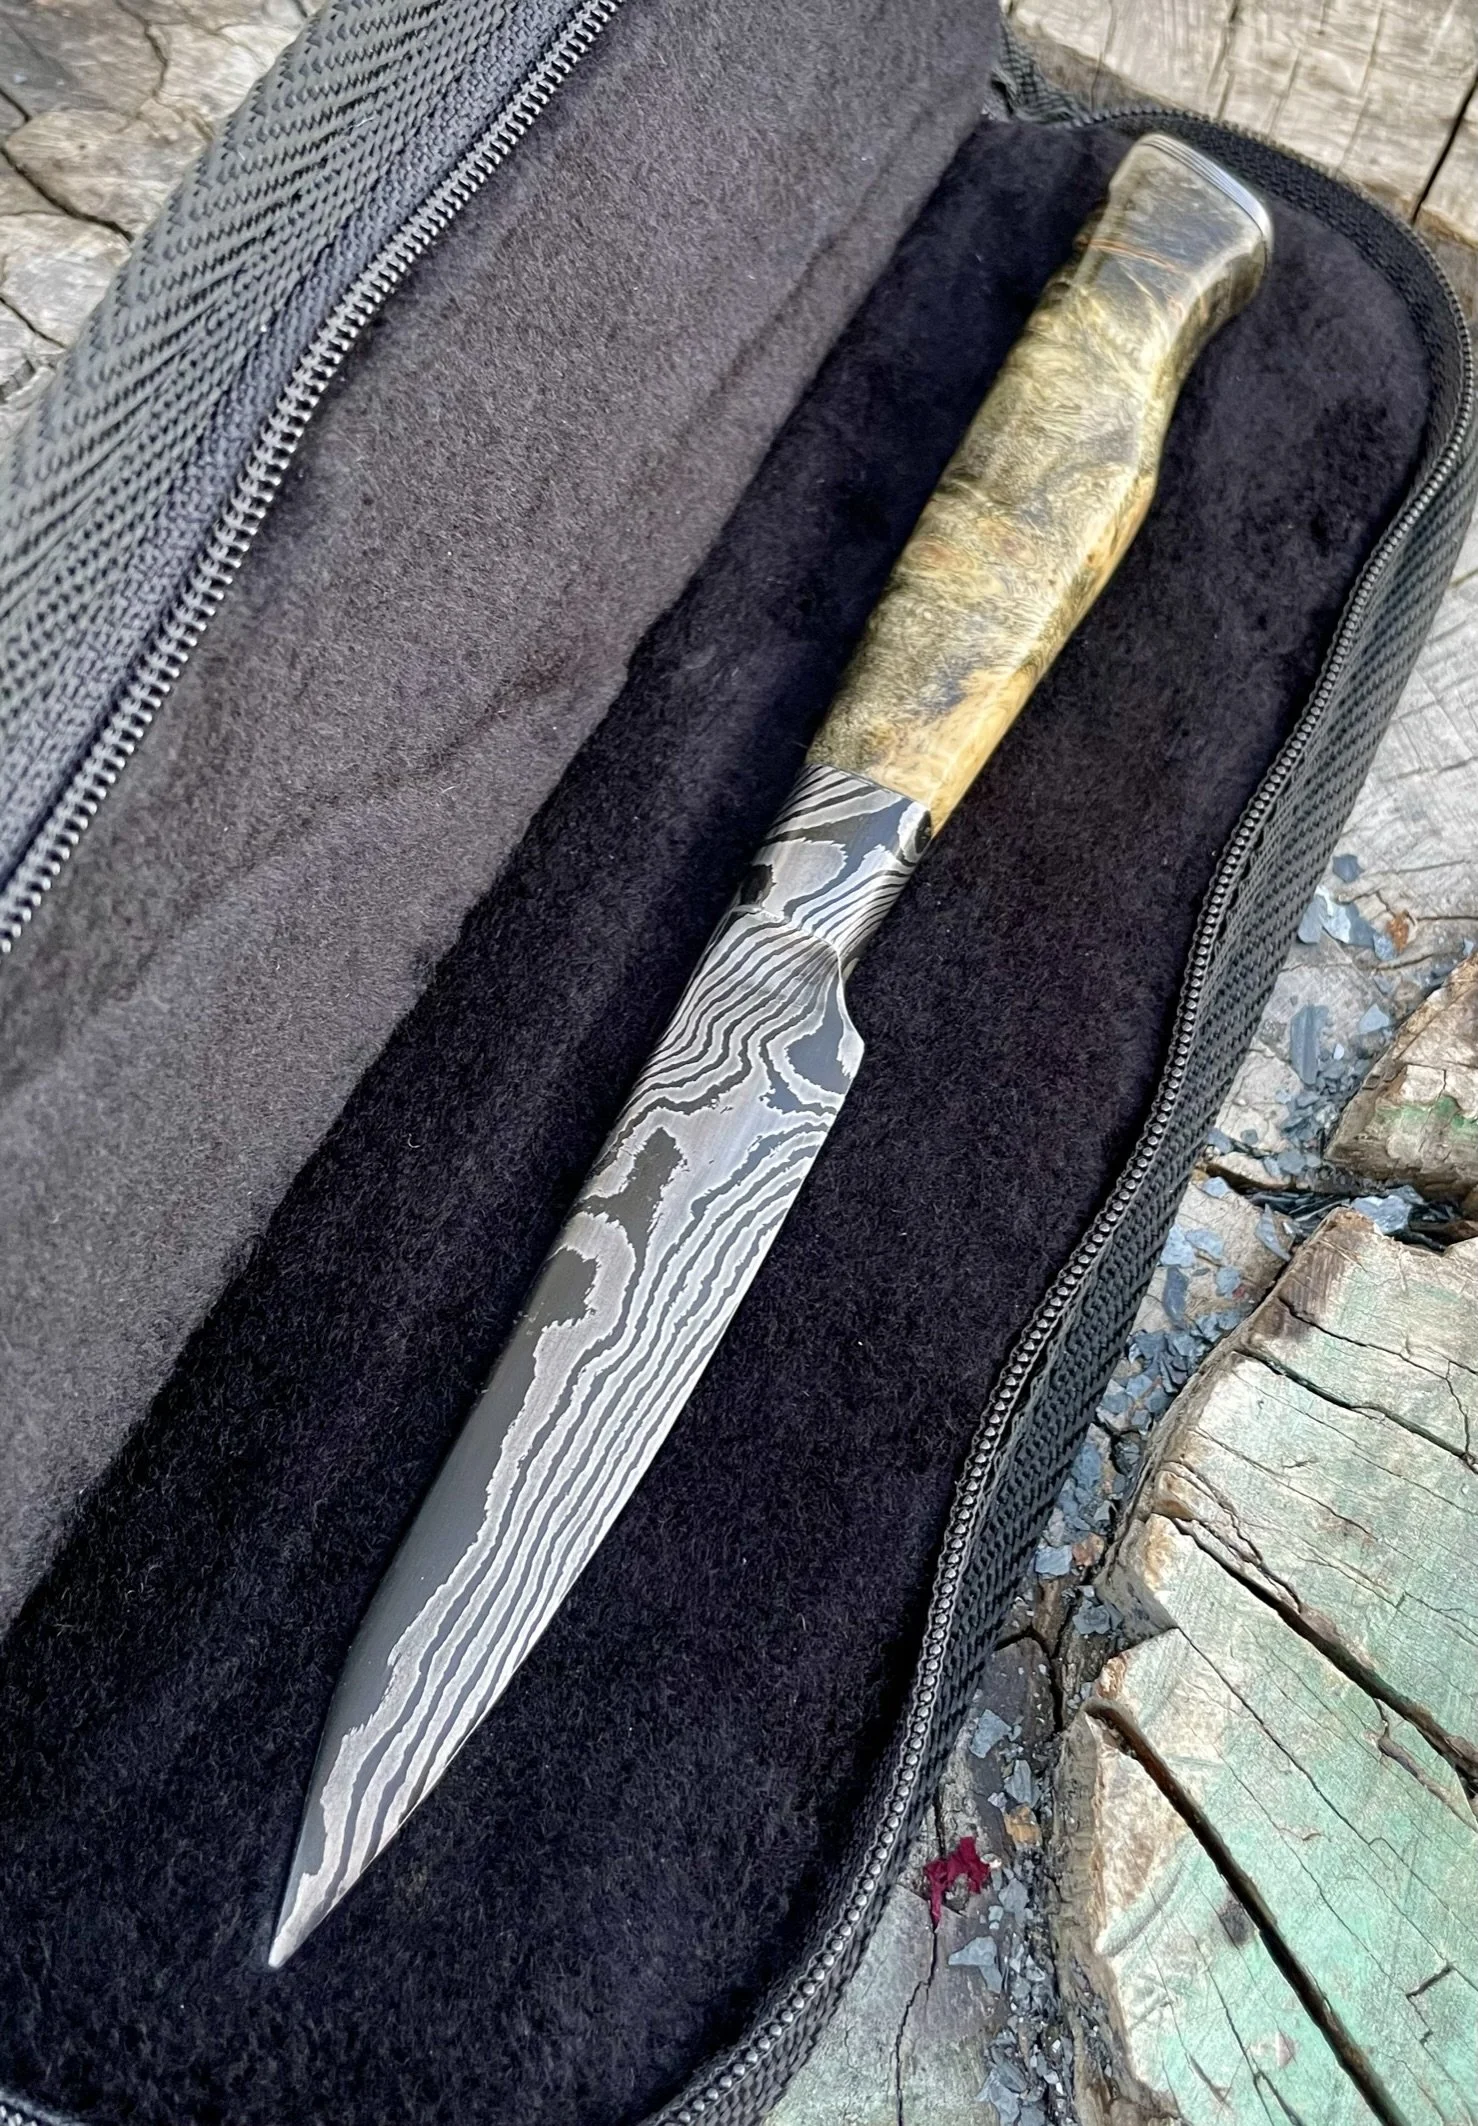
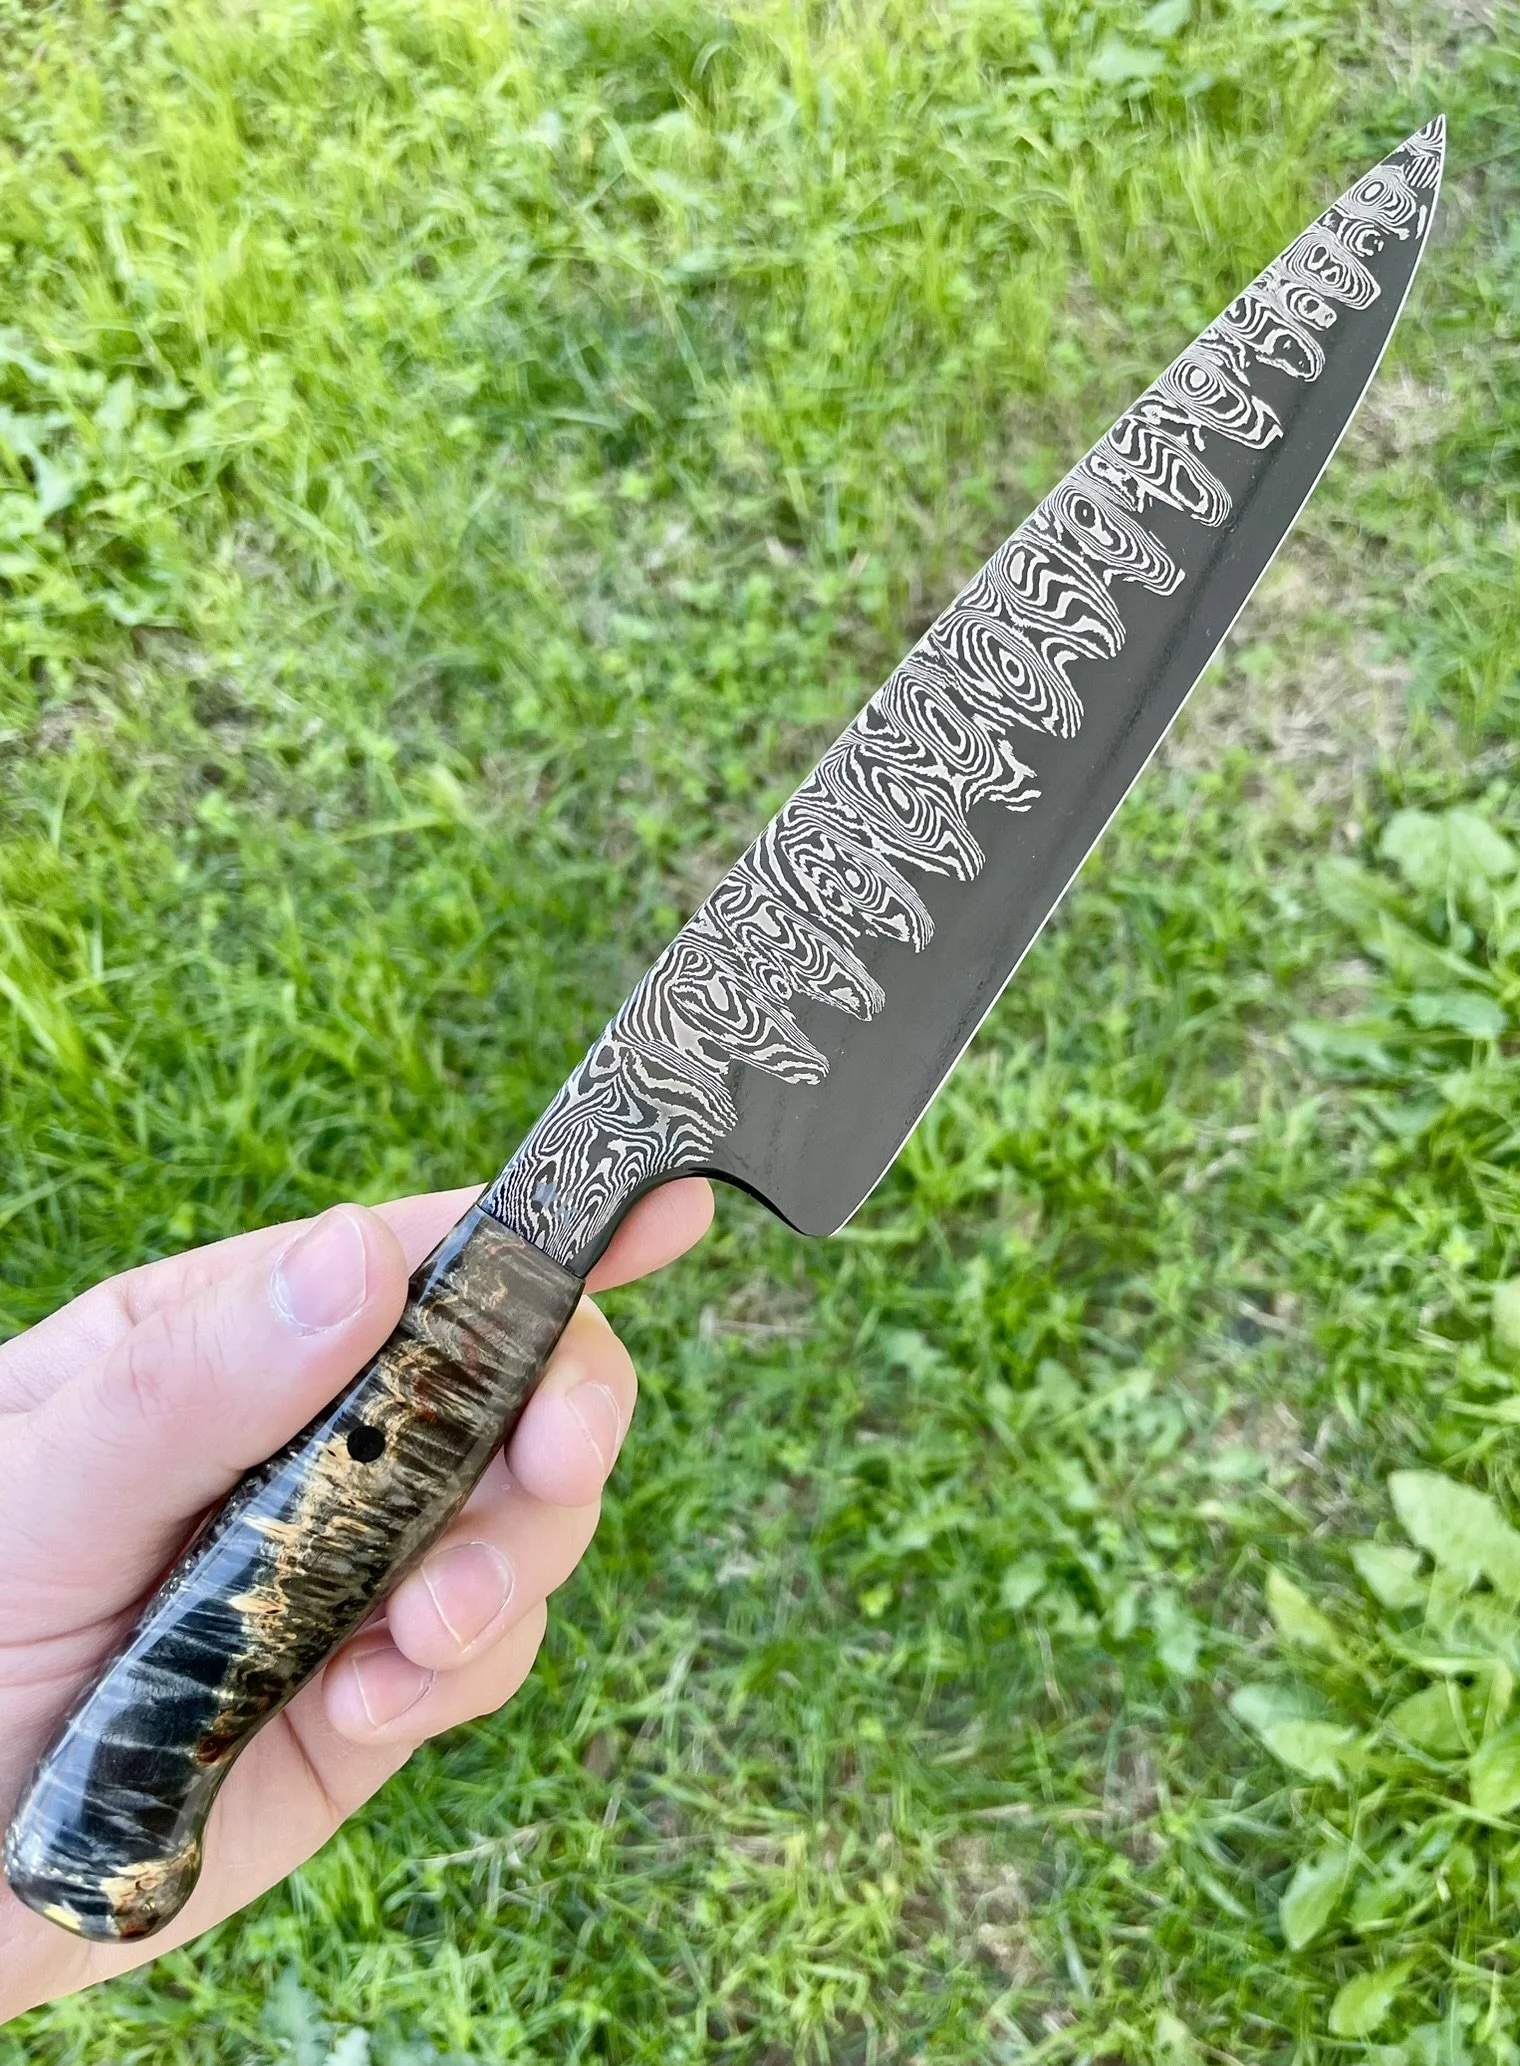
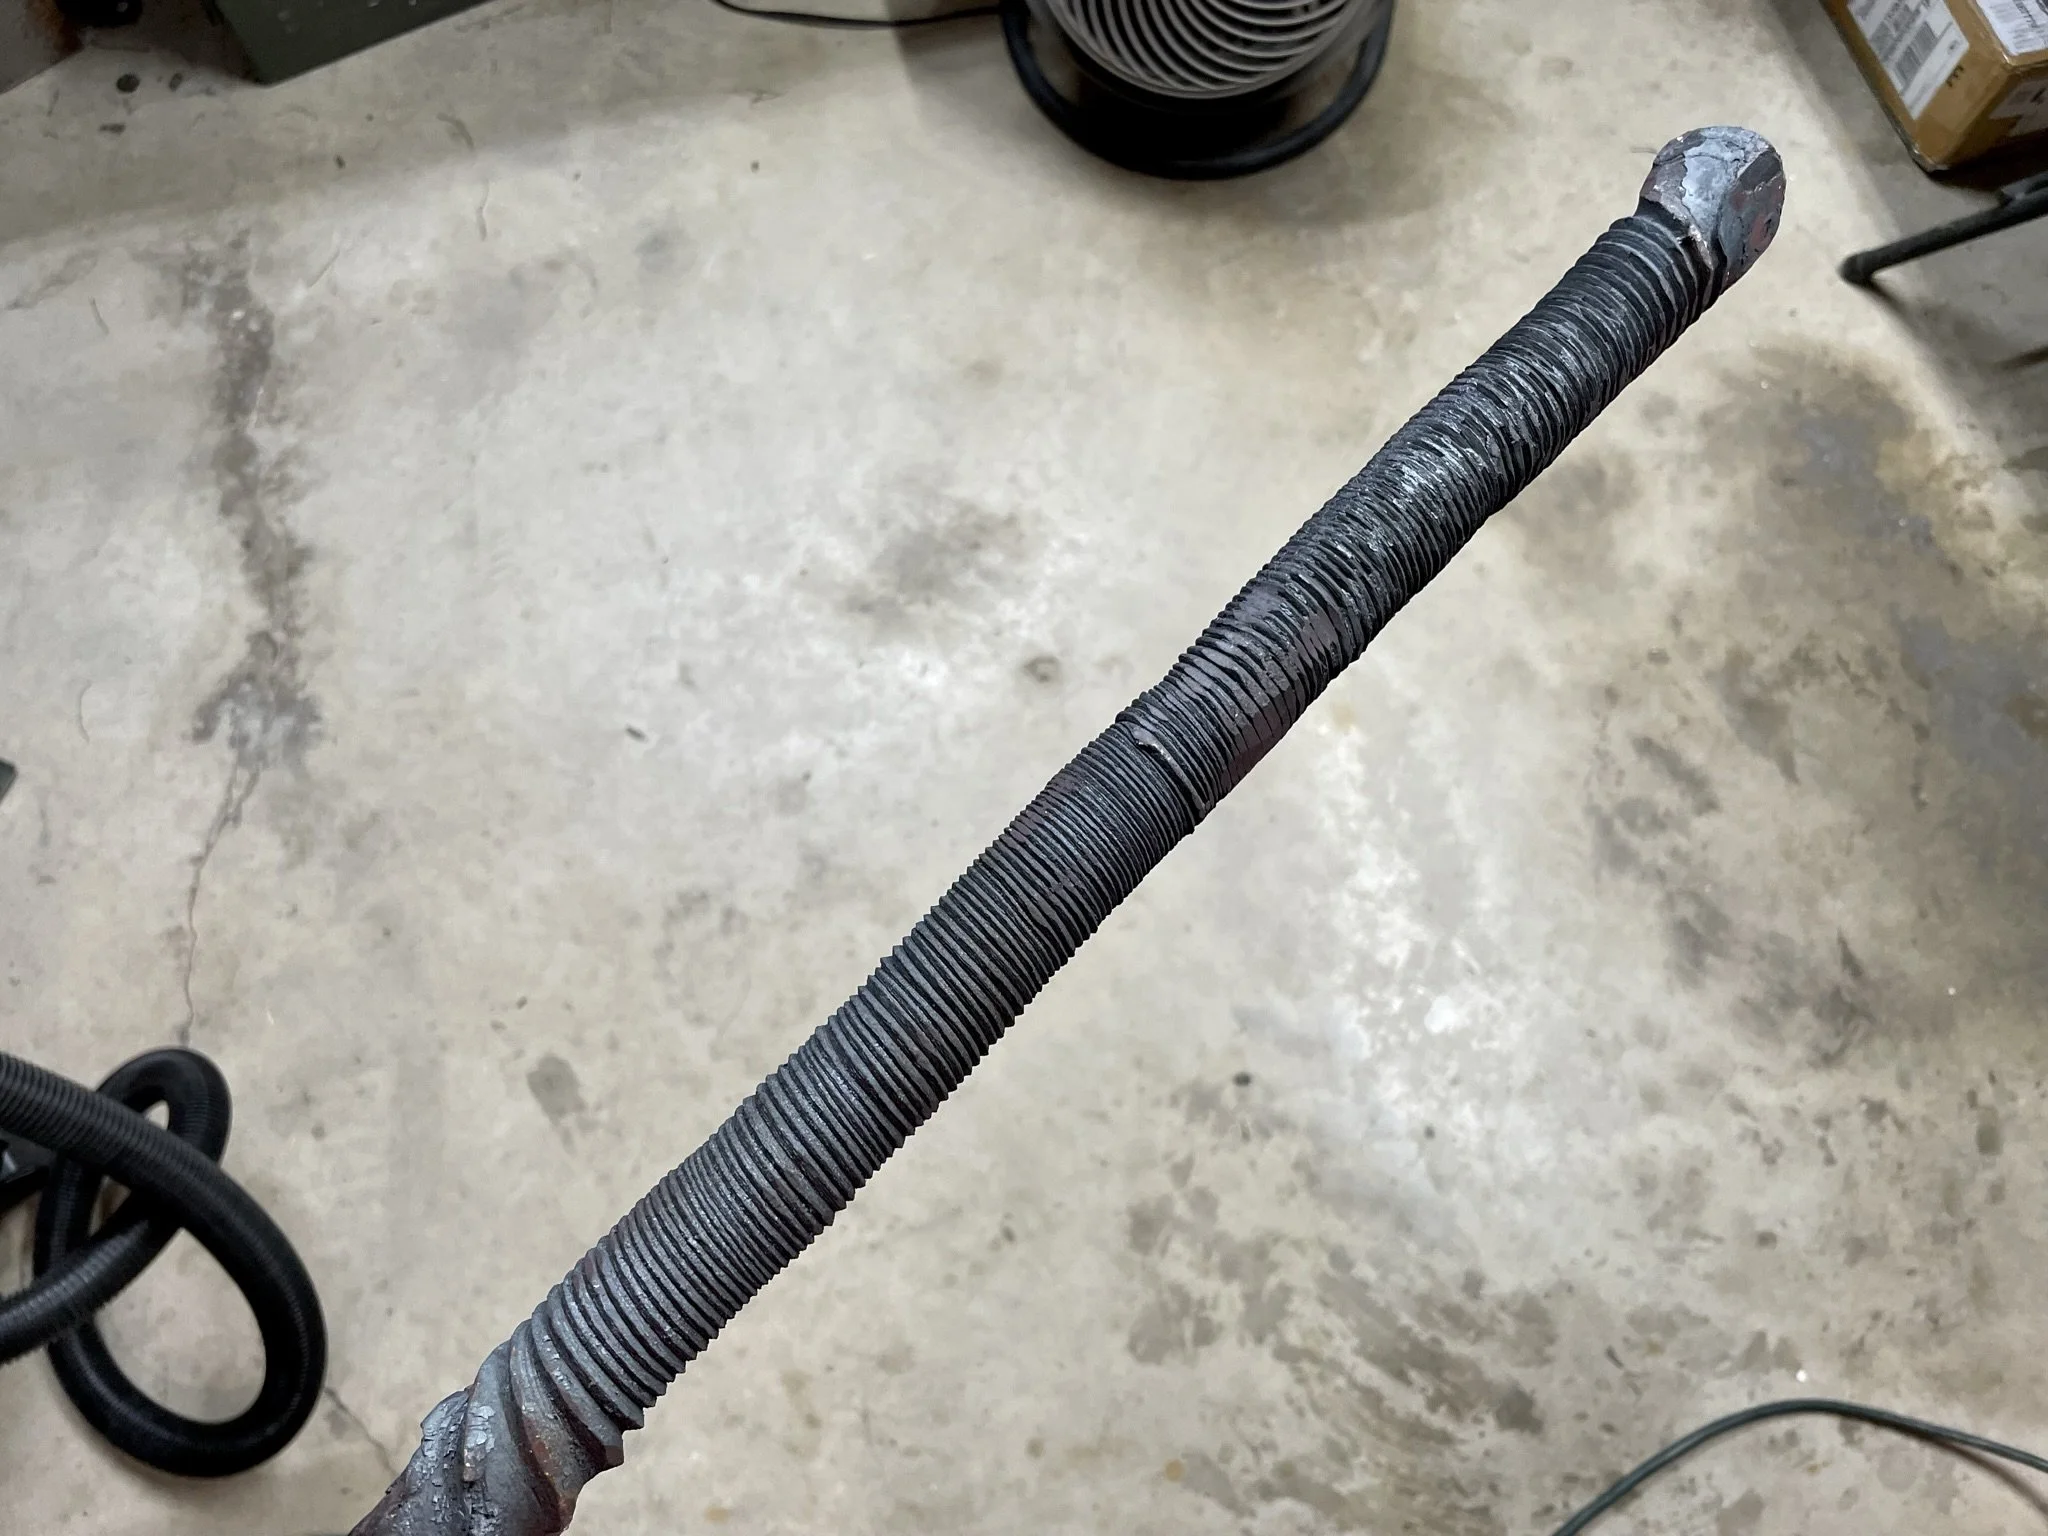
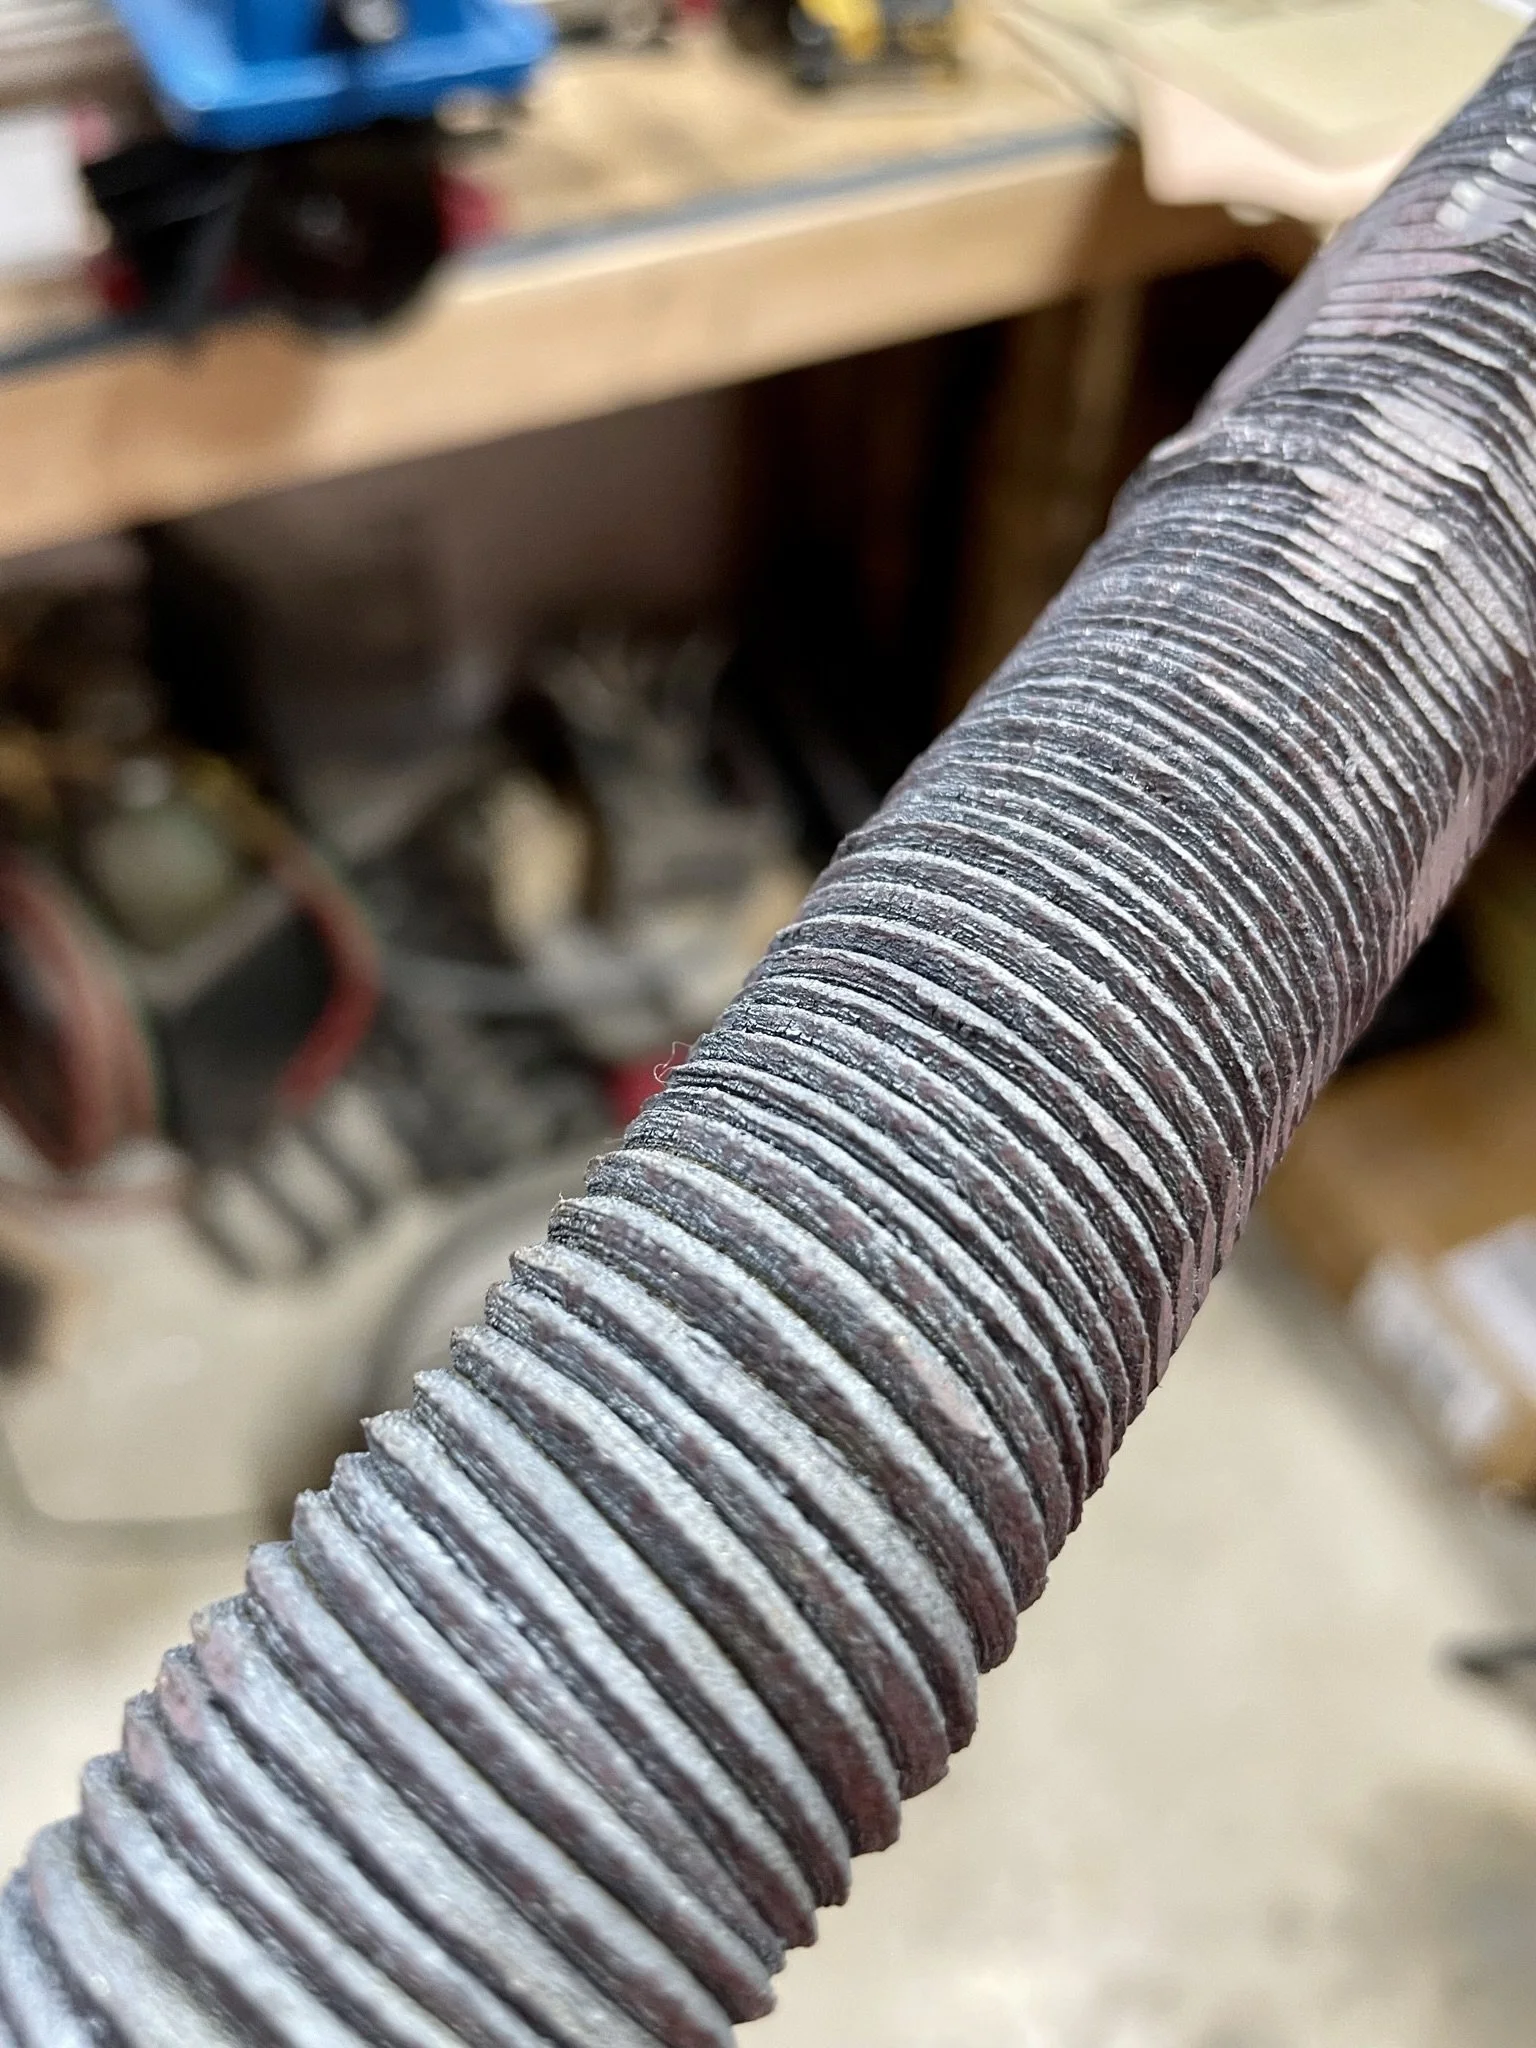
At this point I decided that it was time to make a knife for my dear mom, who has always been supporting and my biggest fan. I decided that I wanted to make her a paring knife out of custom made twist damascus from 1084/15n20.
-
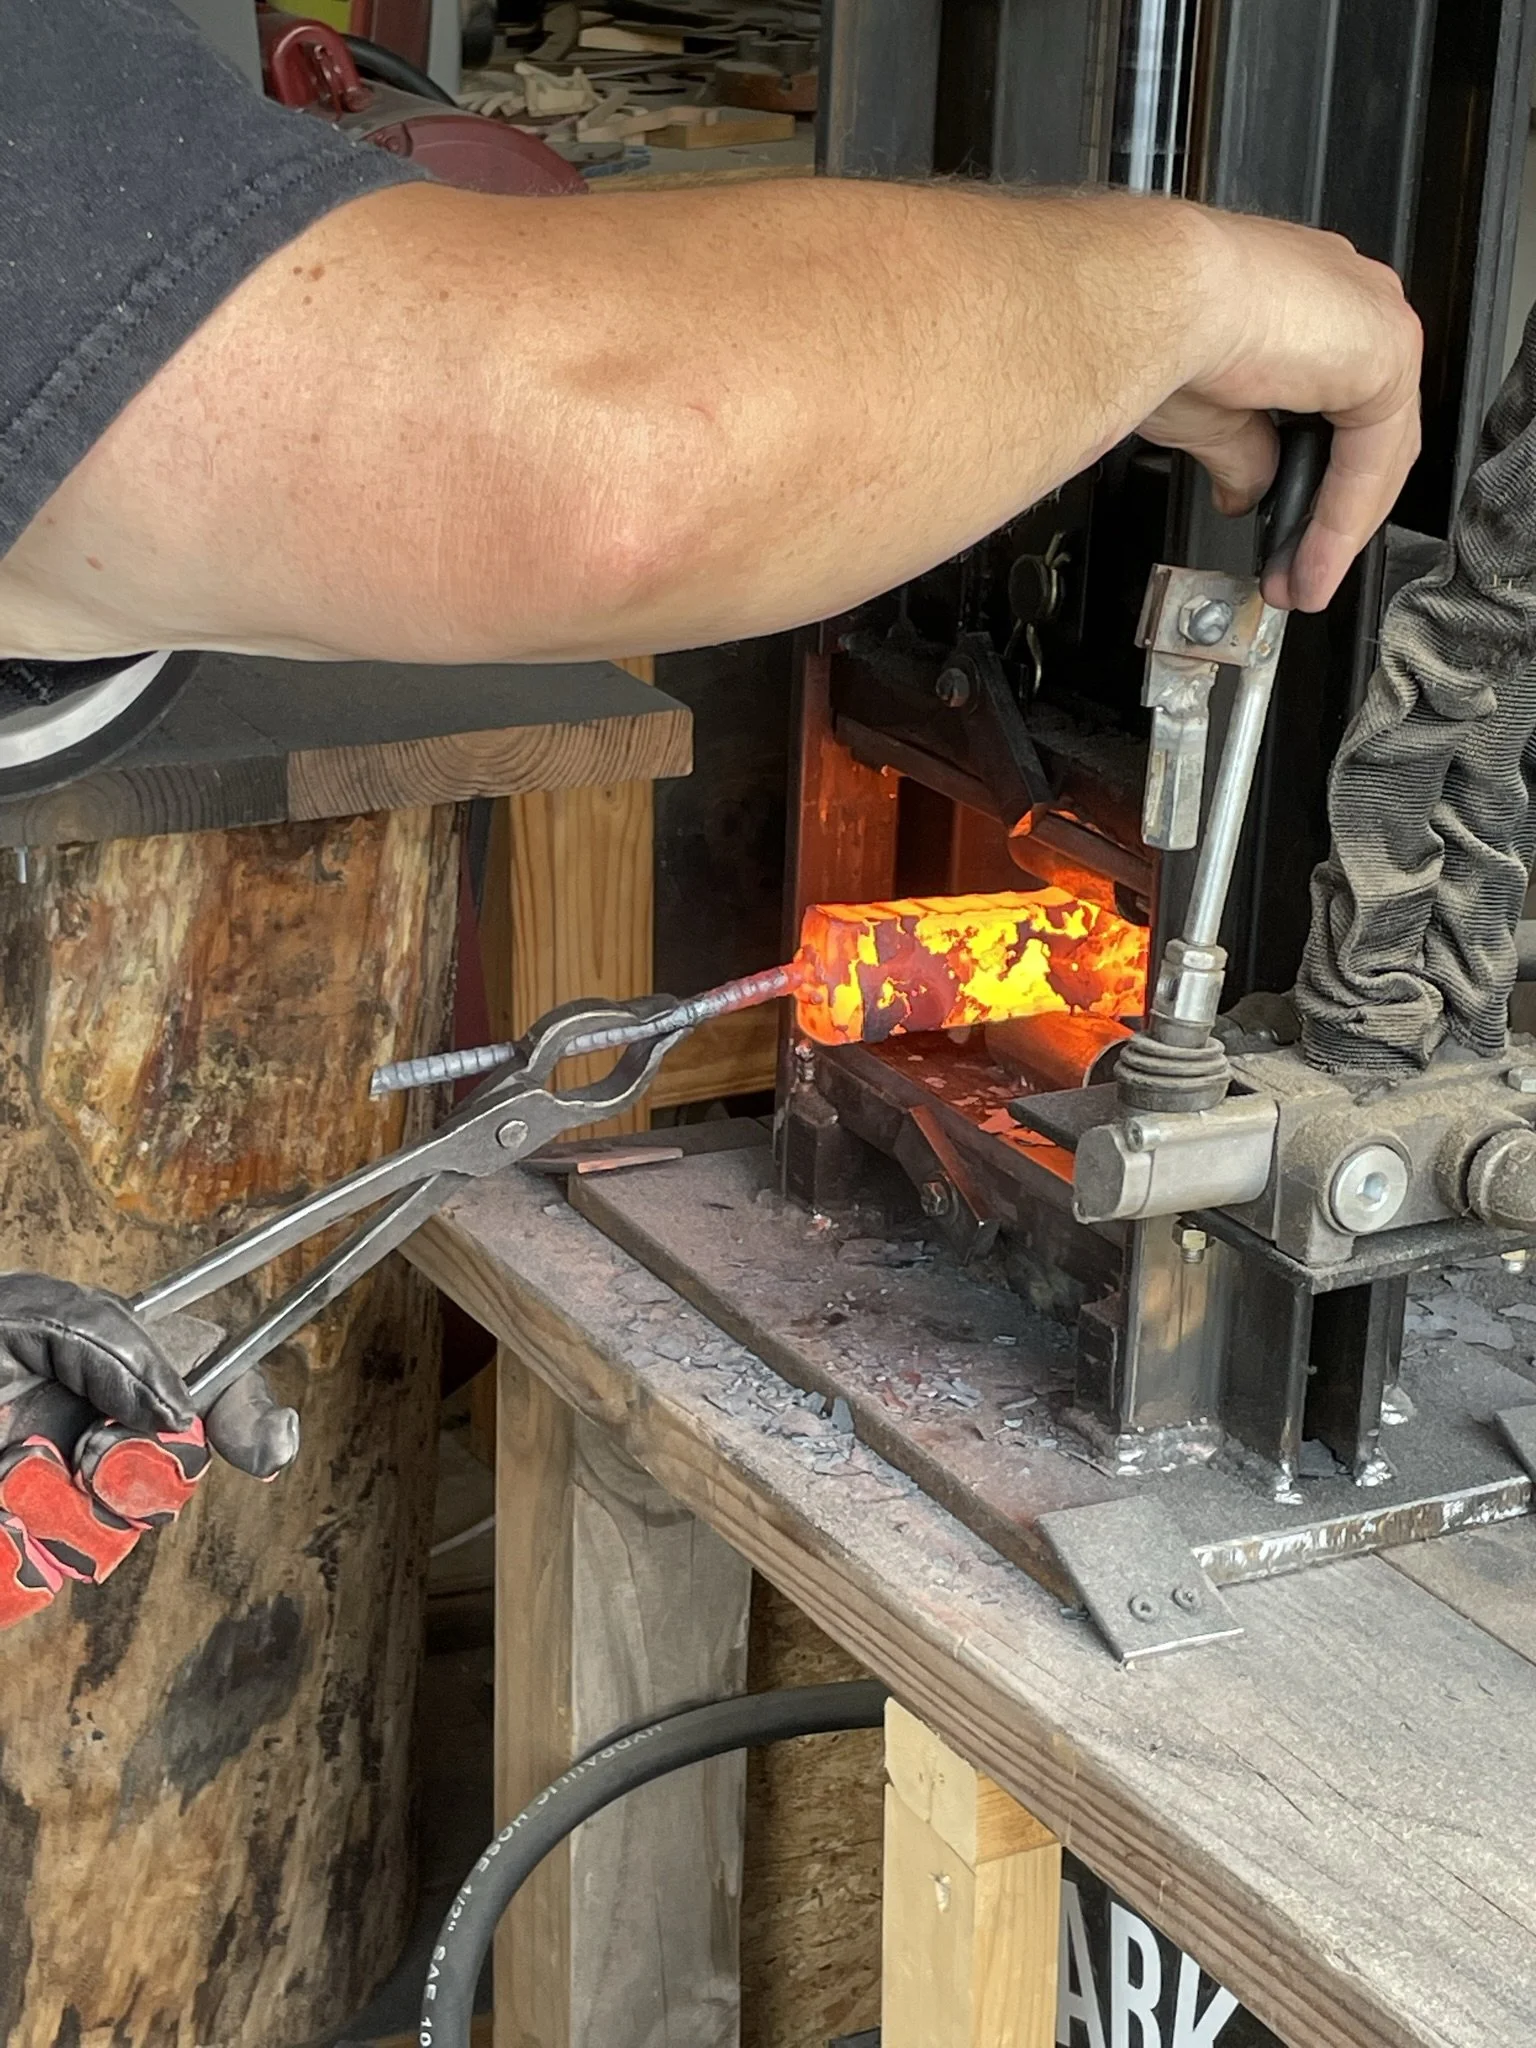
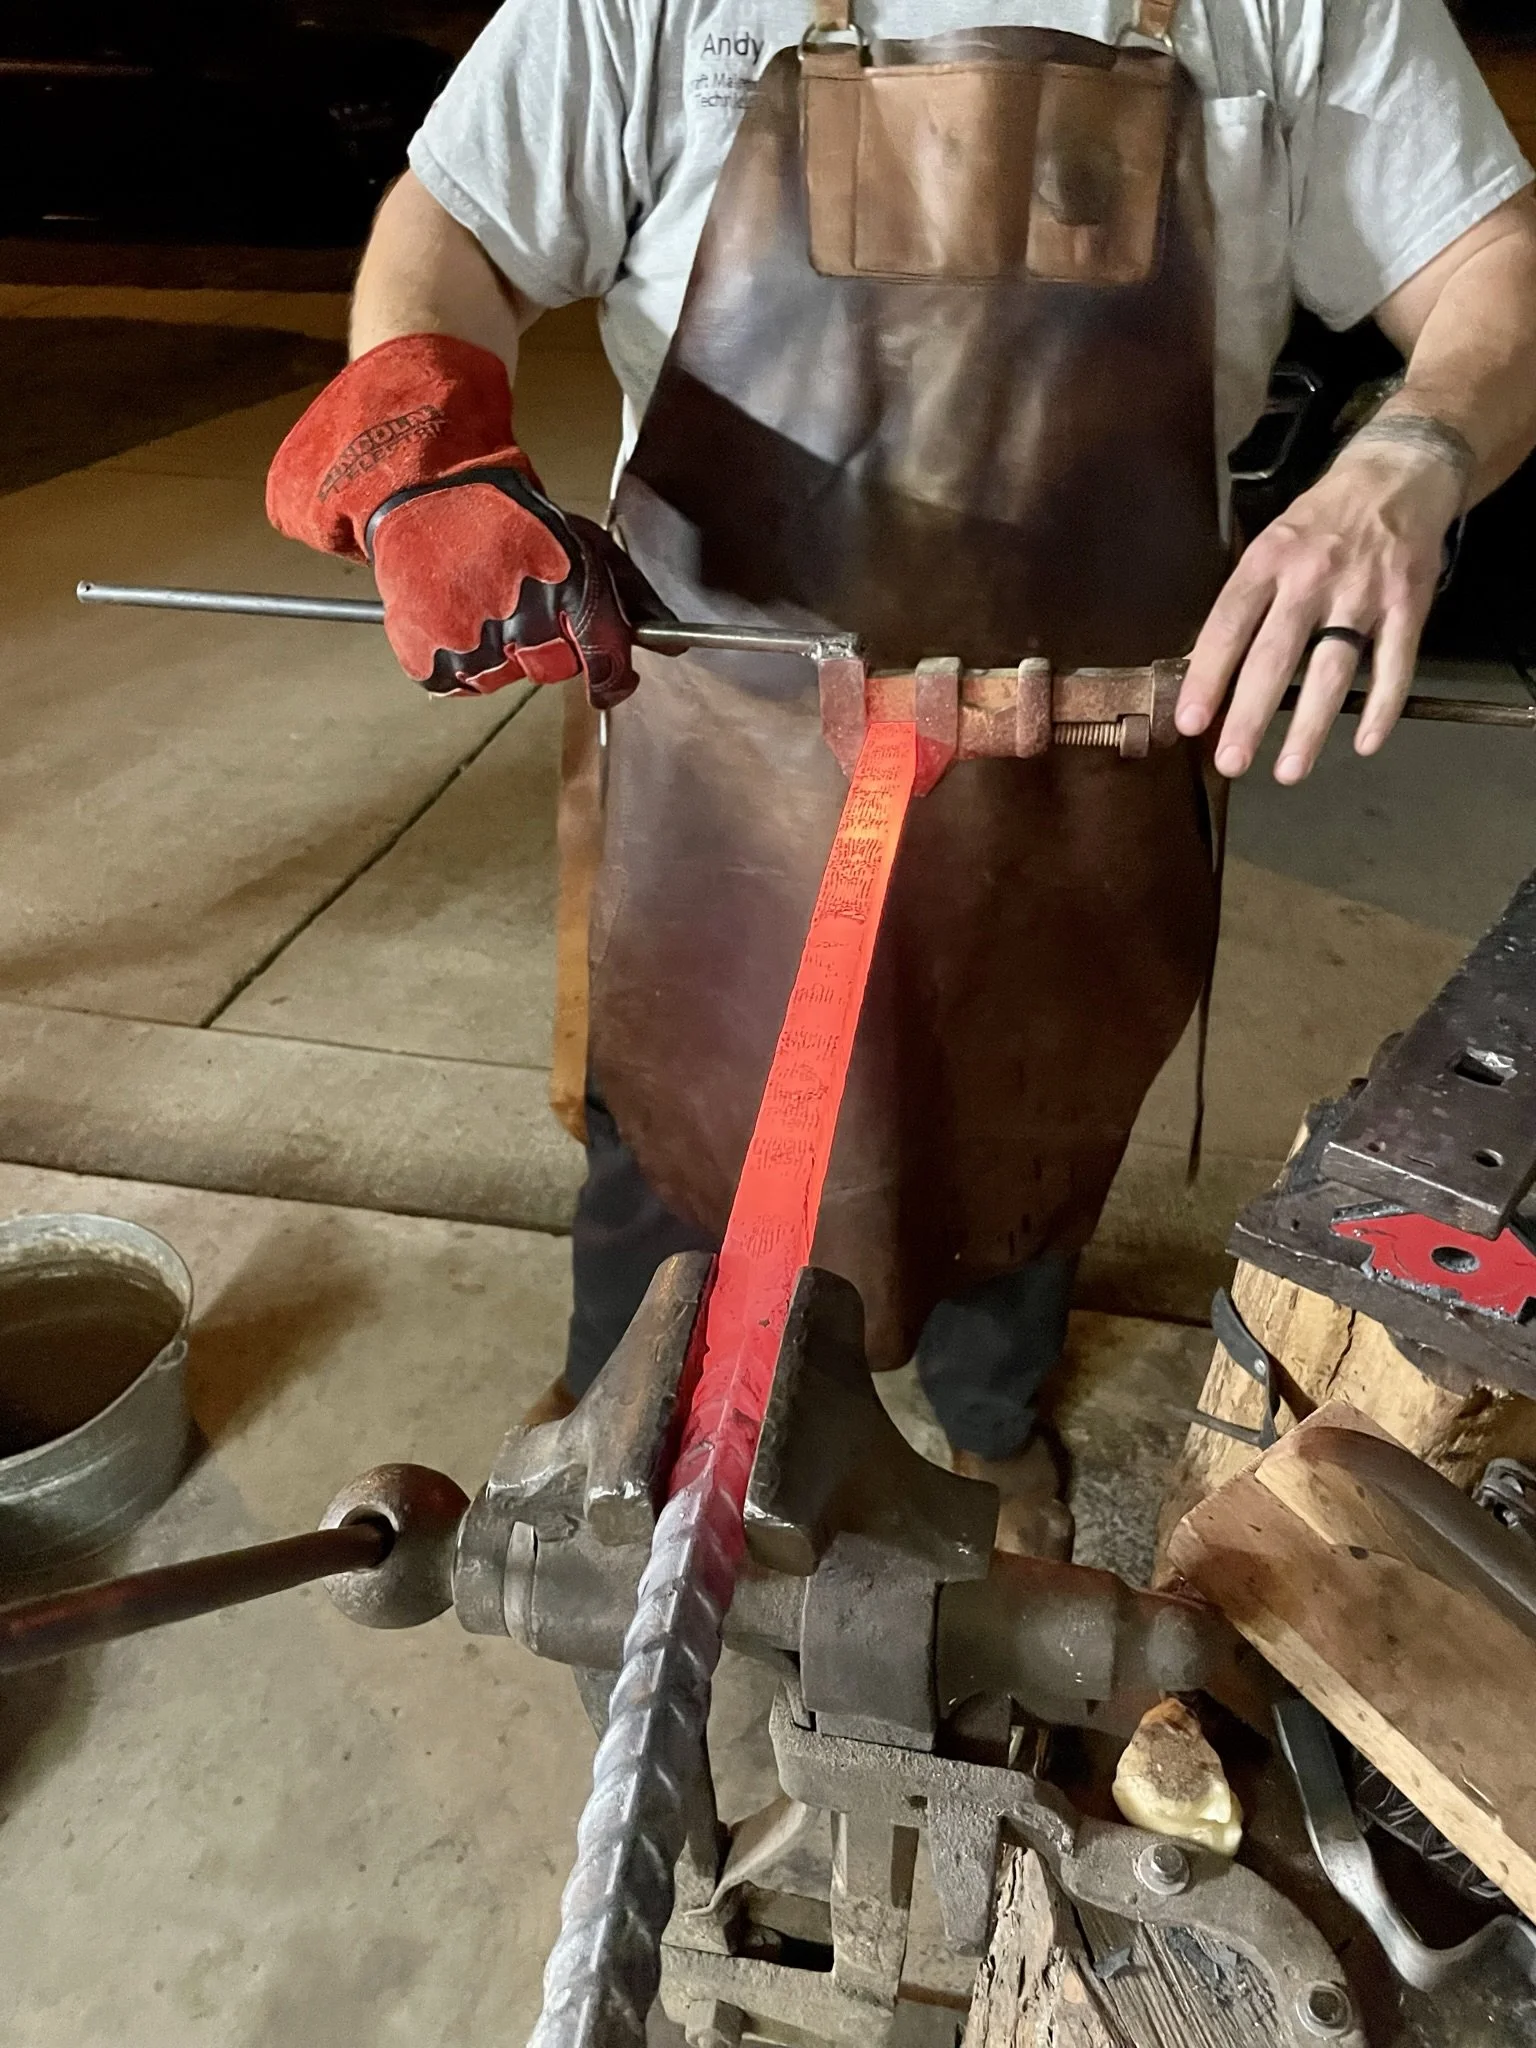
I met another friend and fellow bladesmith Andy L. and we made up this billet of twist damascus at his shop since he had a forge press.
-
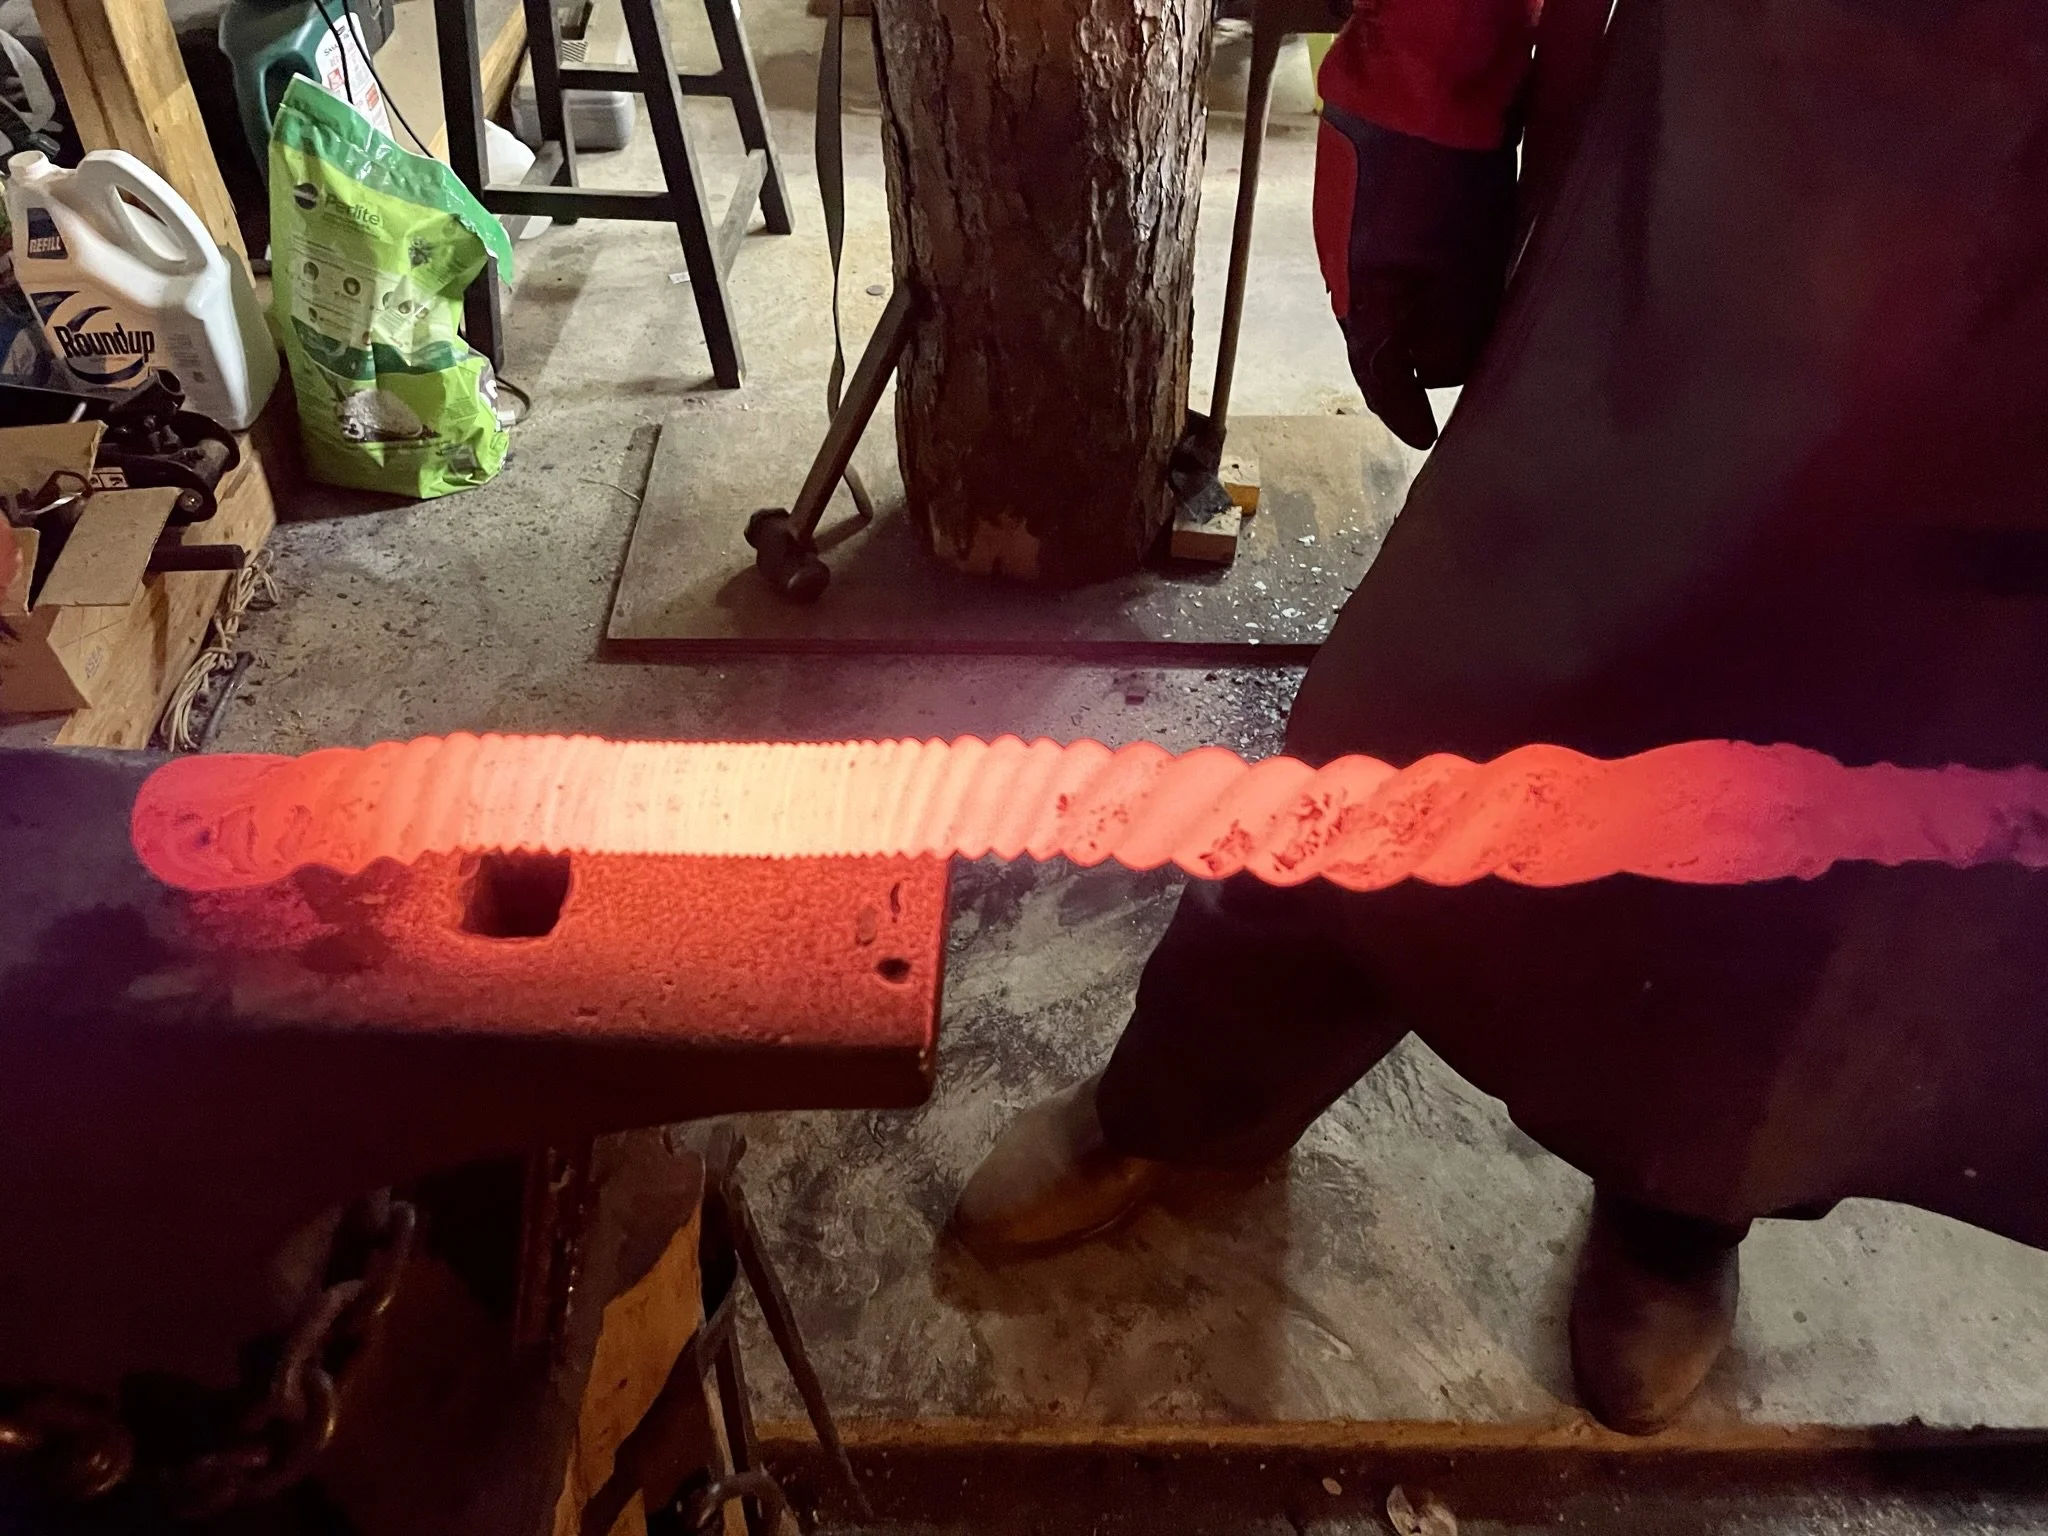
Final bar of twist damascus.
-
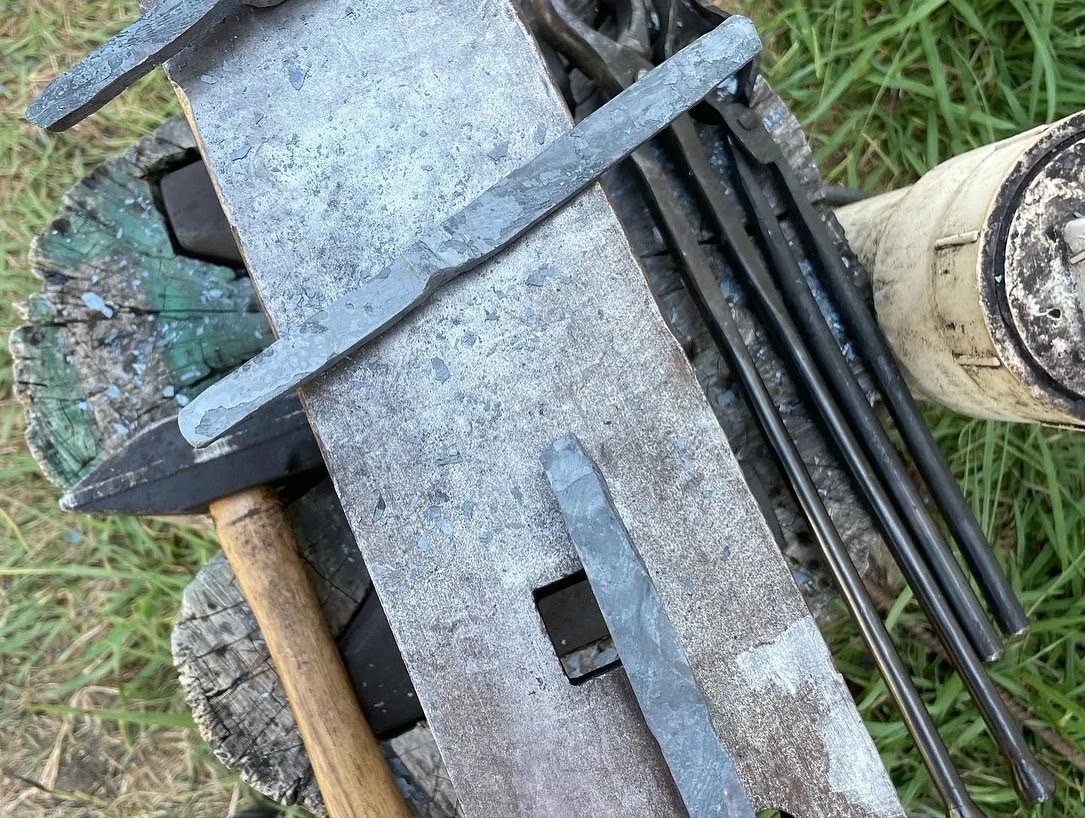
Rough forging the blade shape.
-
Rough integral shape.
-
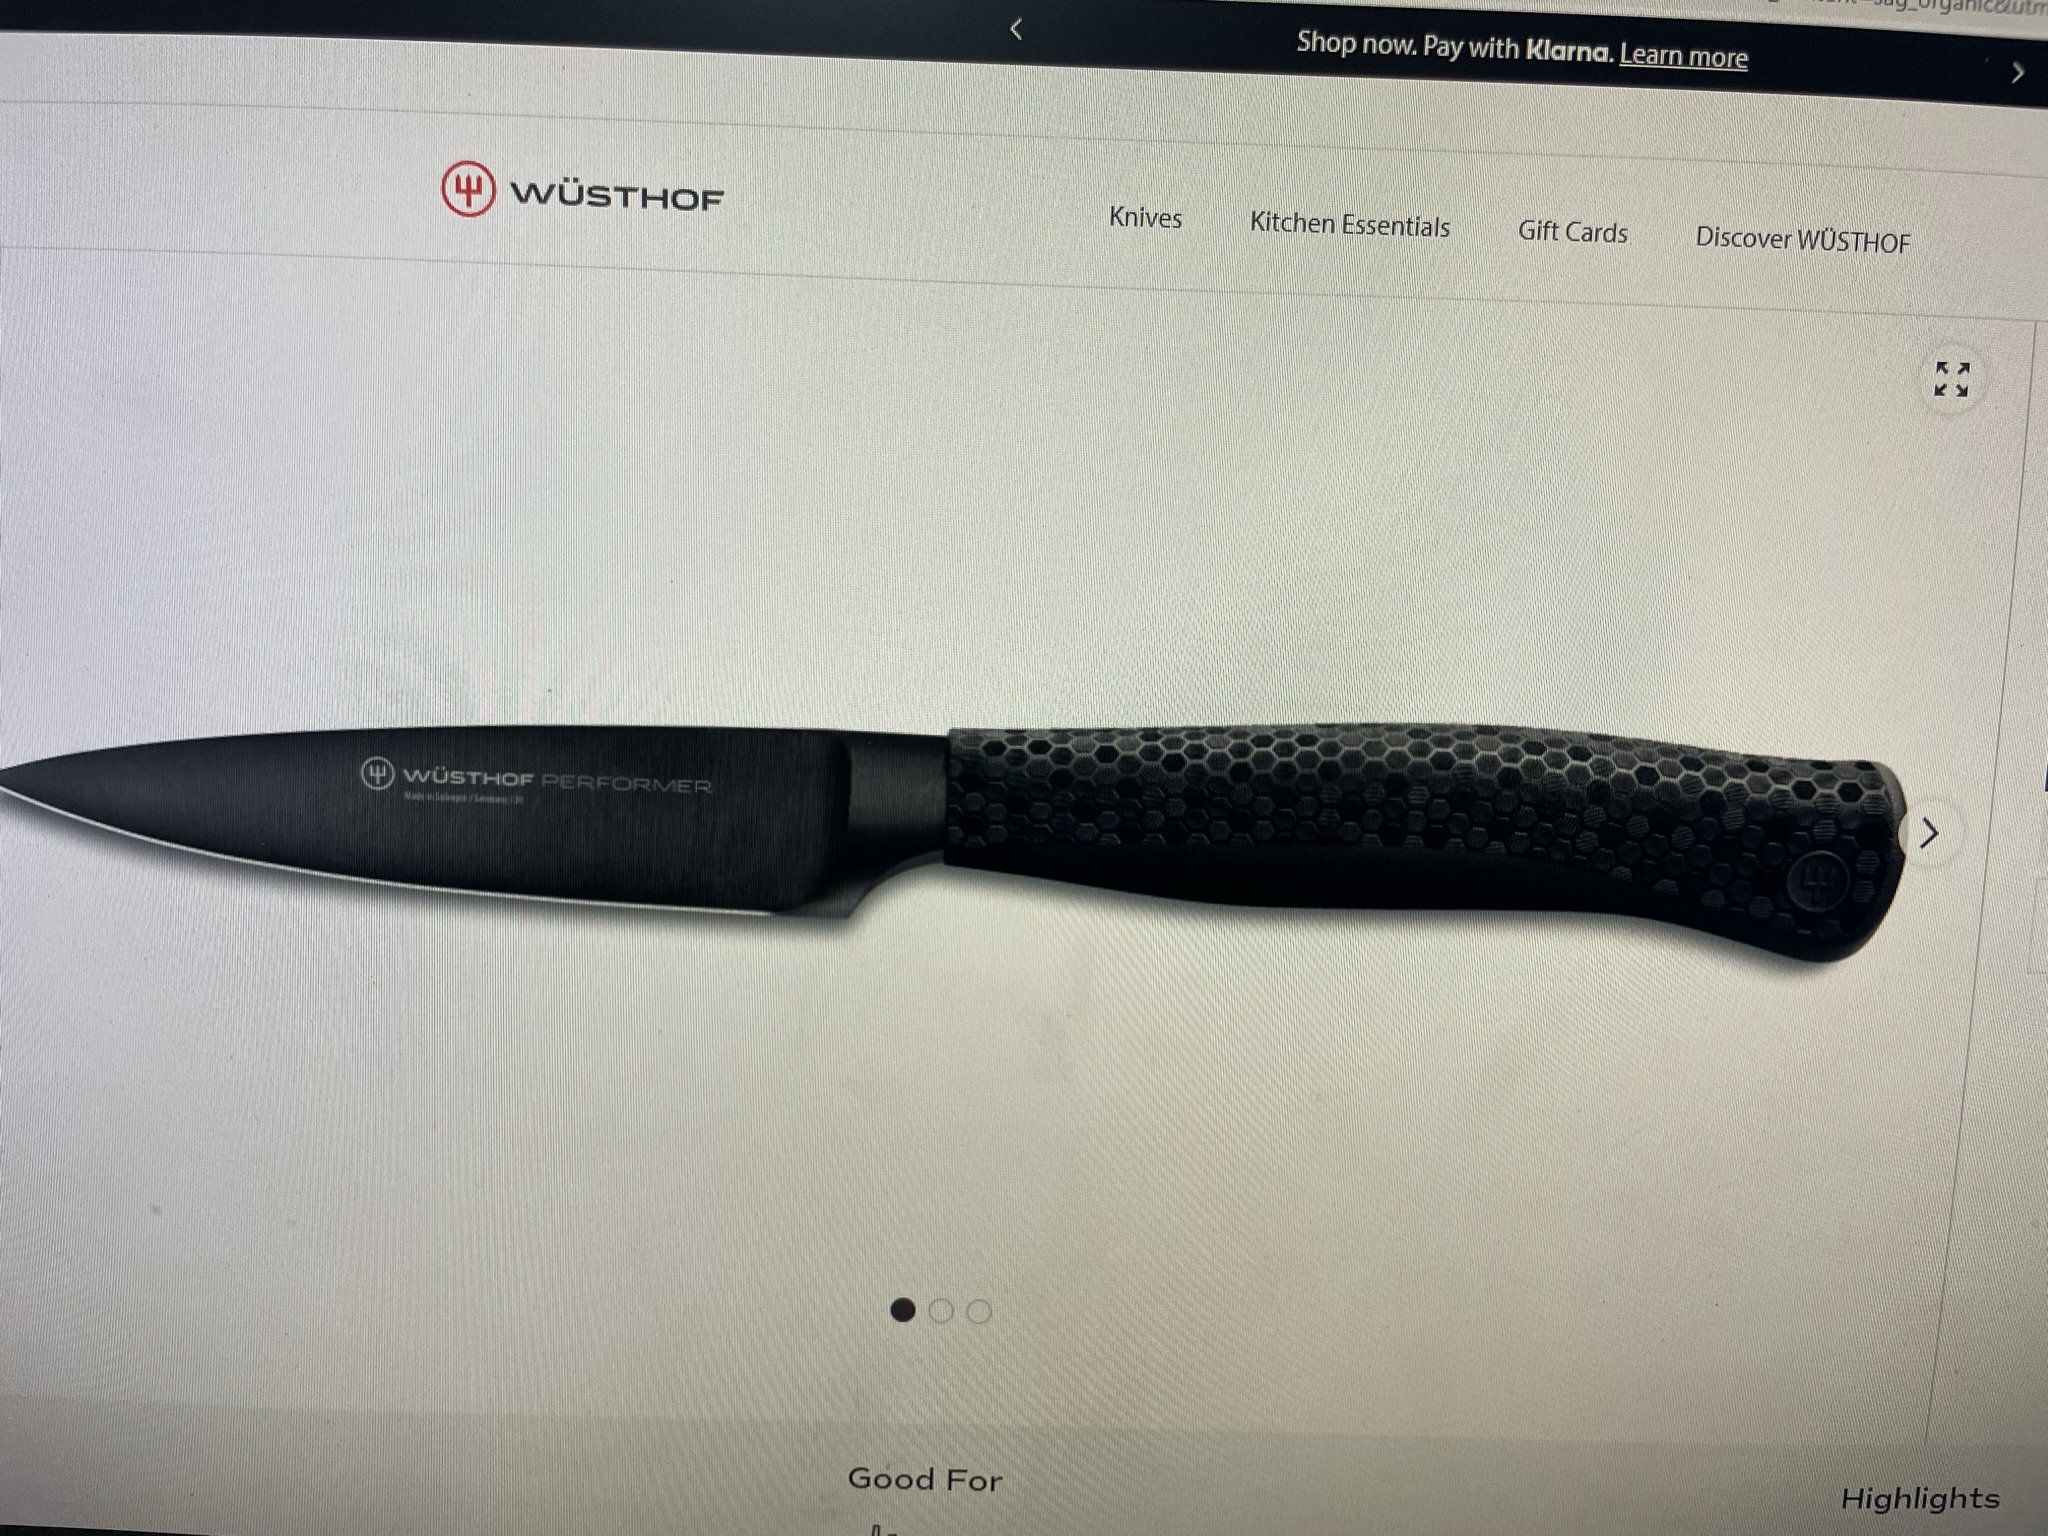
This image was the inspiration for the shape of what I was going for.
-
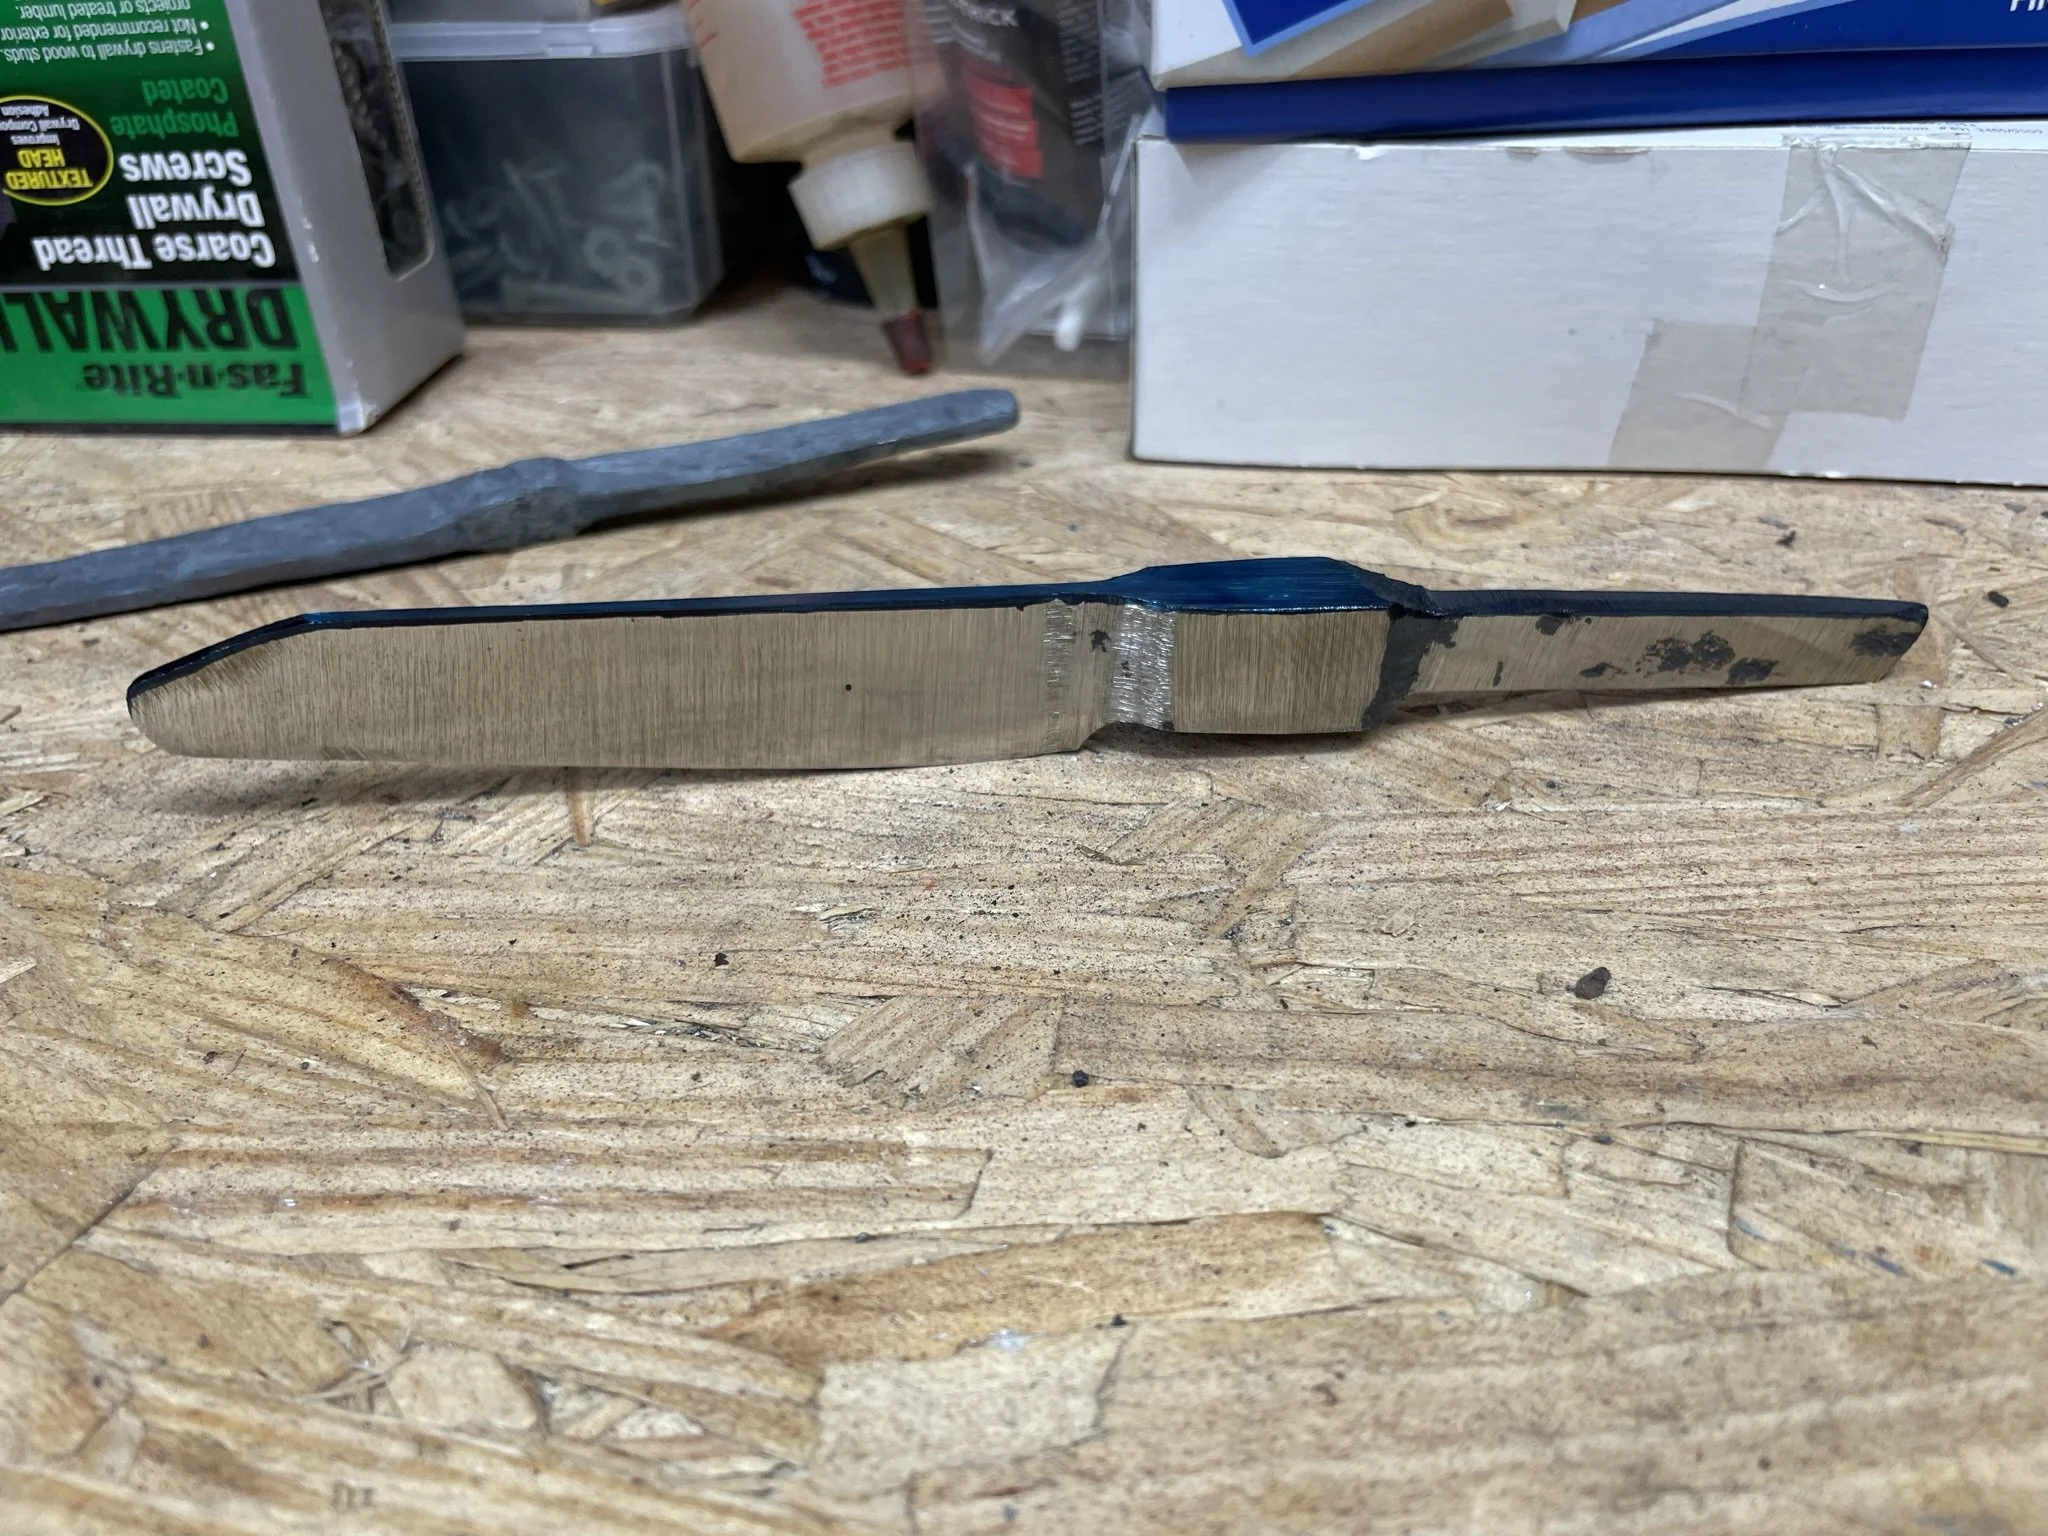
Rough shape from the side.
-
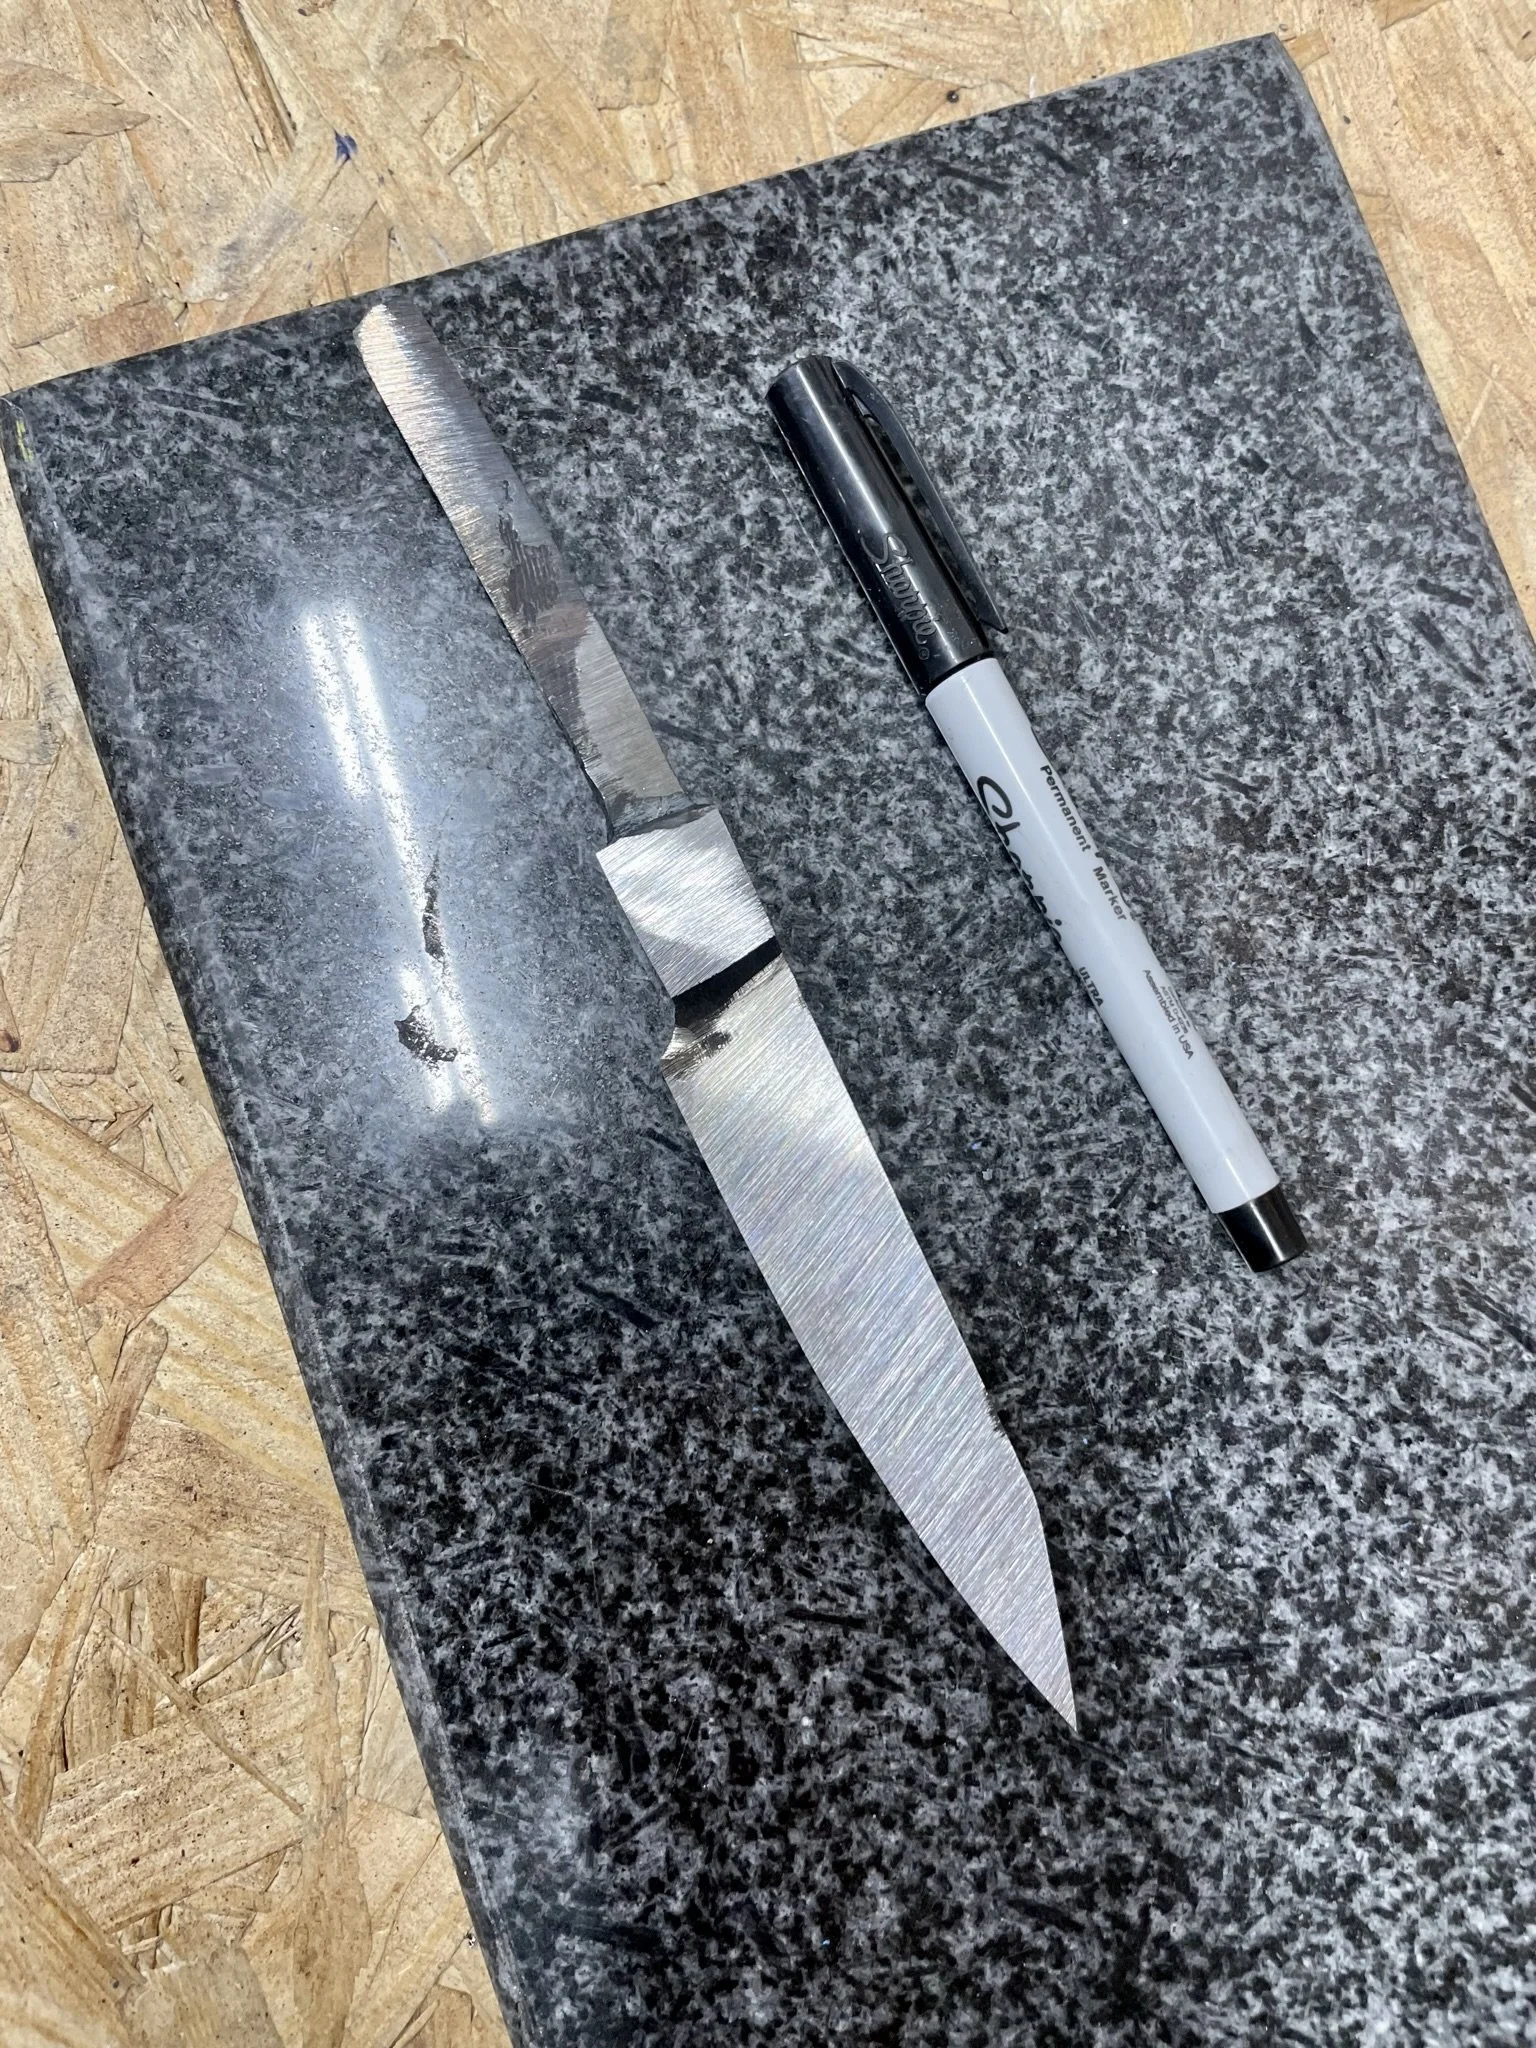
Size and refining the shape.
-
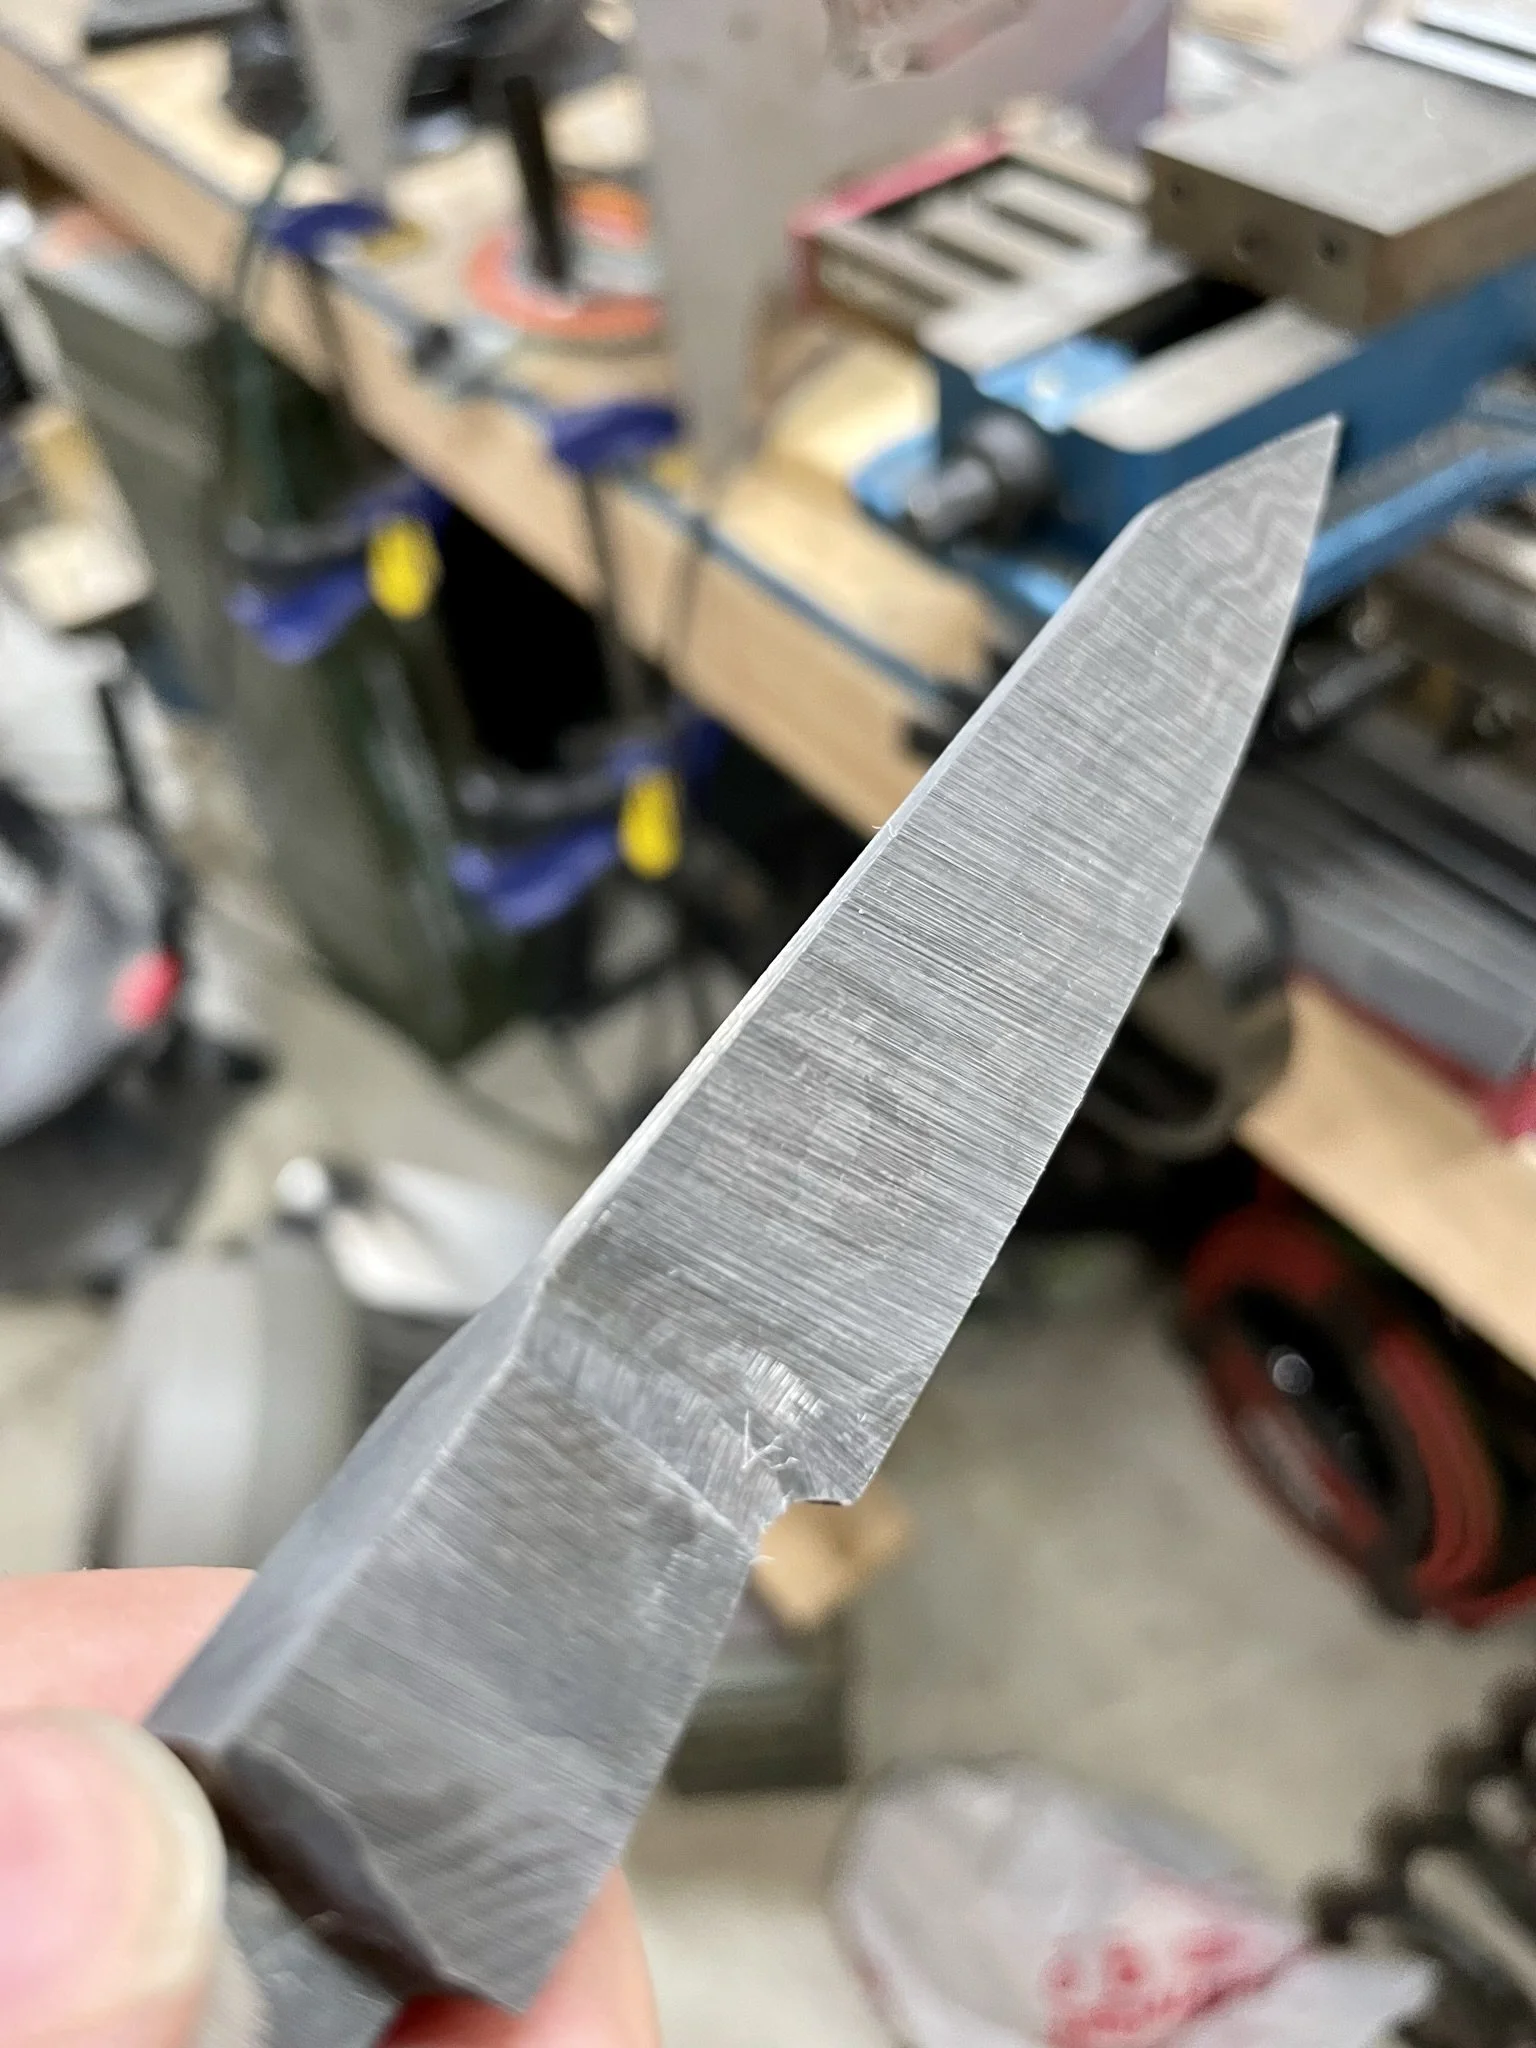
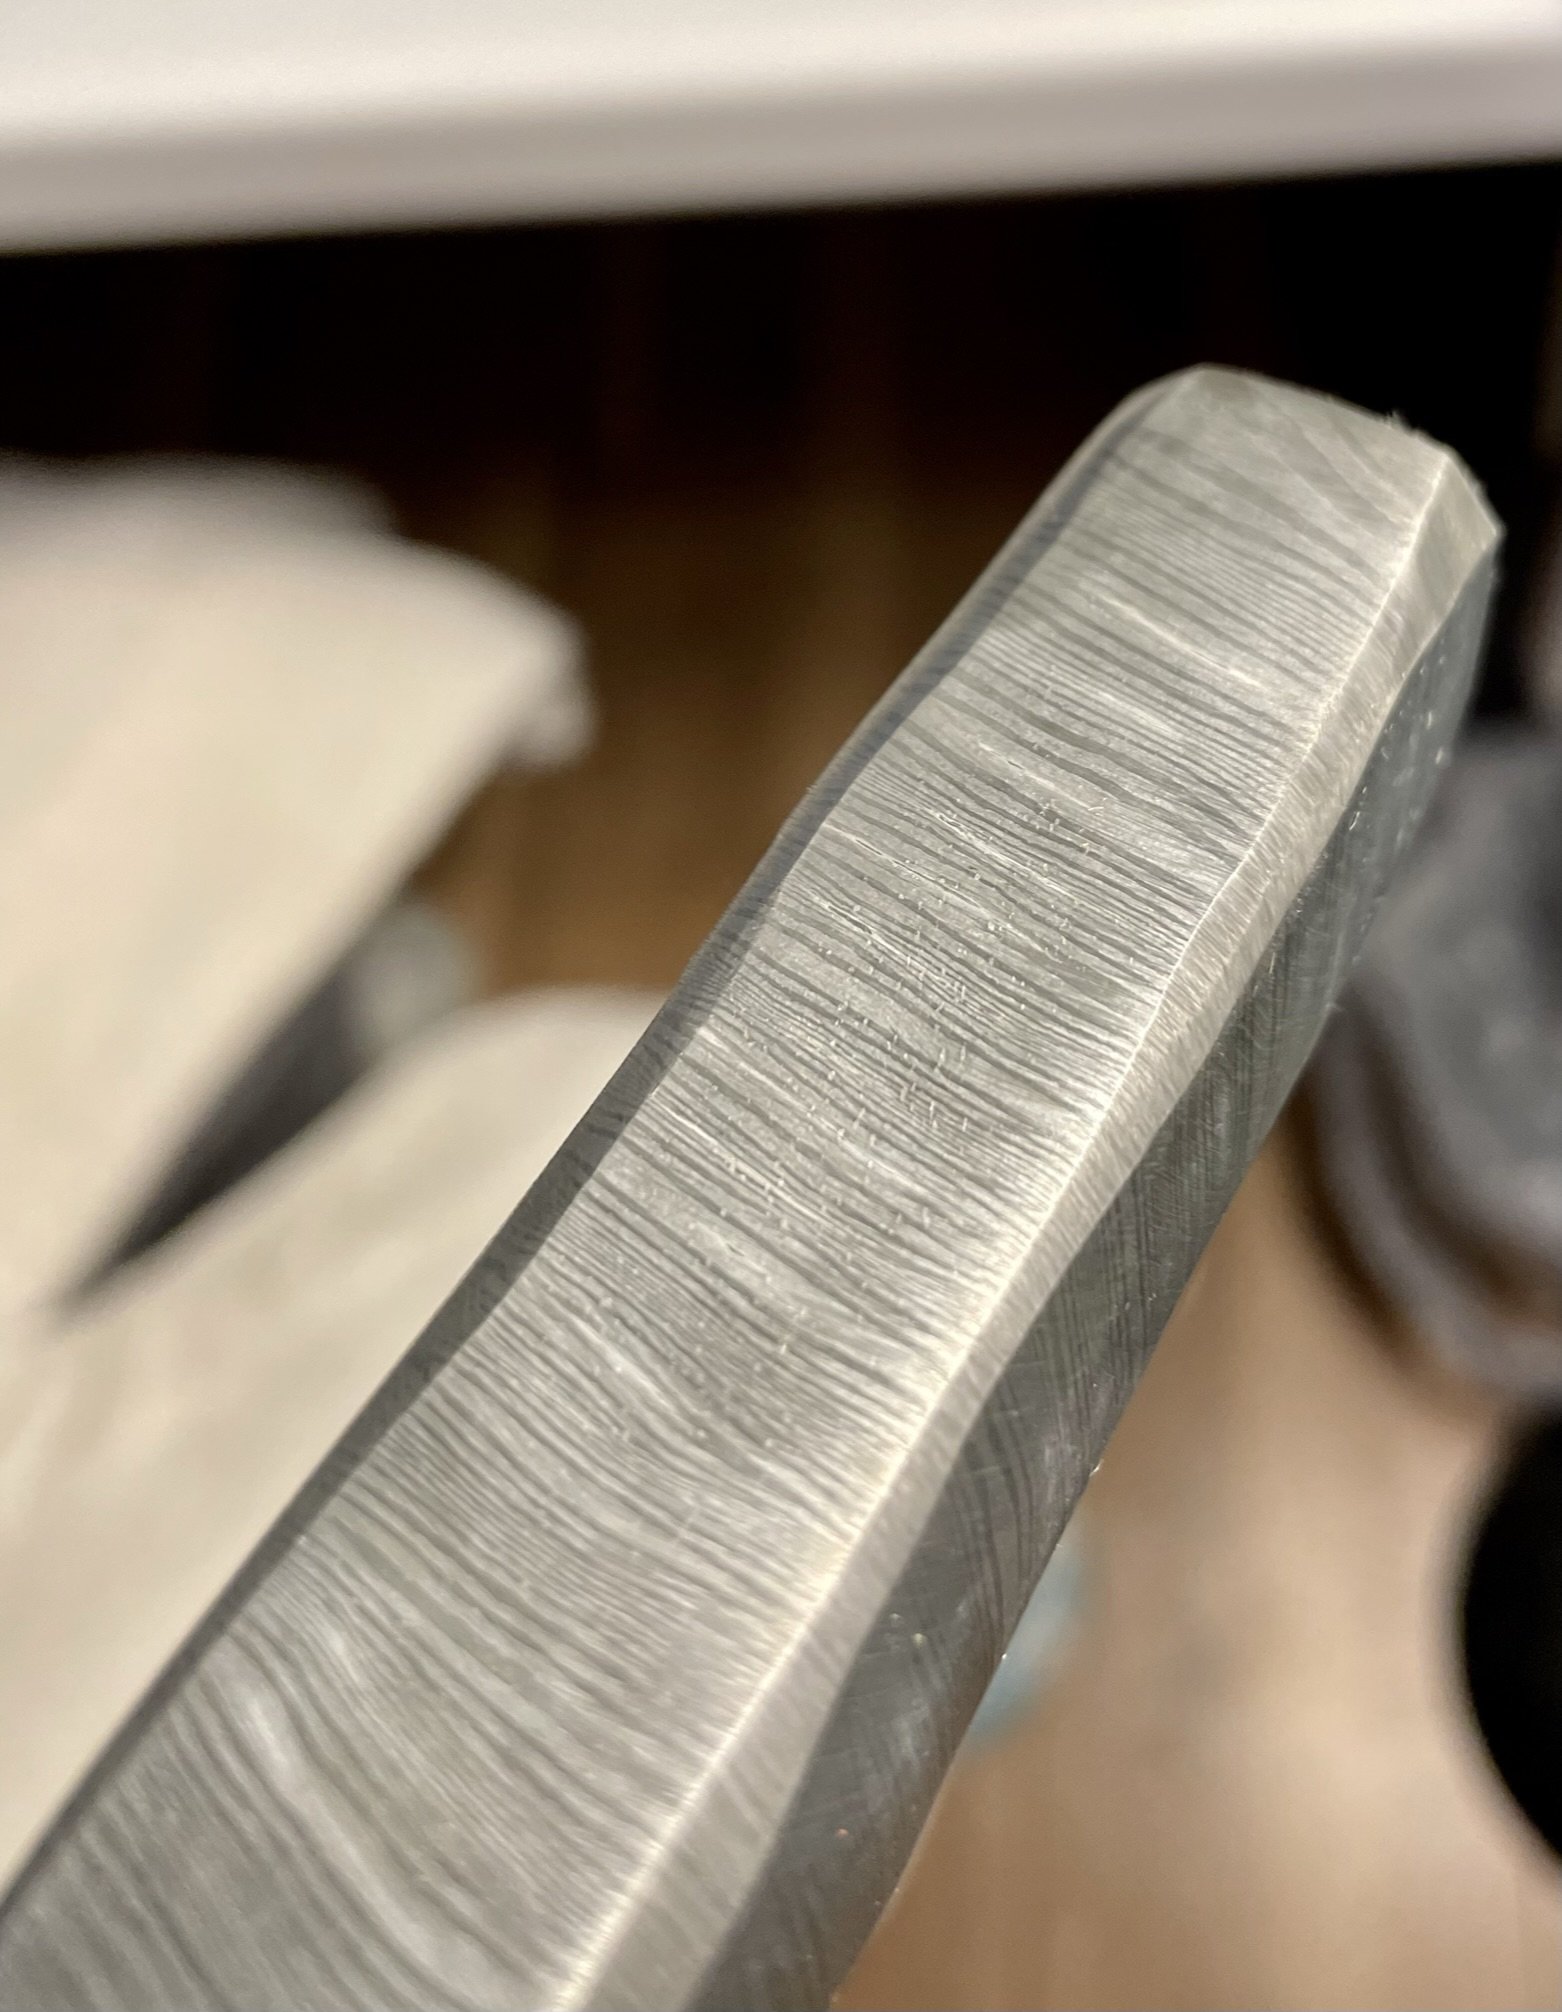
Test etch to see the pattern.
-
Post heat treatment.
-
Refined shape, now it's starting to look better.
-
Looking better and slicy.
-
I decided to add a damascus but cap out of the same bar of twist damascus.
-
Rough fit up.
-
Hand sanding underway. Good profile view.
-
Following some advice I got from Austin M. with damascus you want to sand up to a high grit (normally 2000) to get a great finished etch.
-
Ready for etching.
-
Post etch, but only a step in the process.
-
Mid-etch - oxide layer cleaned off with a light 2000 grit sanding.
-
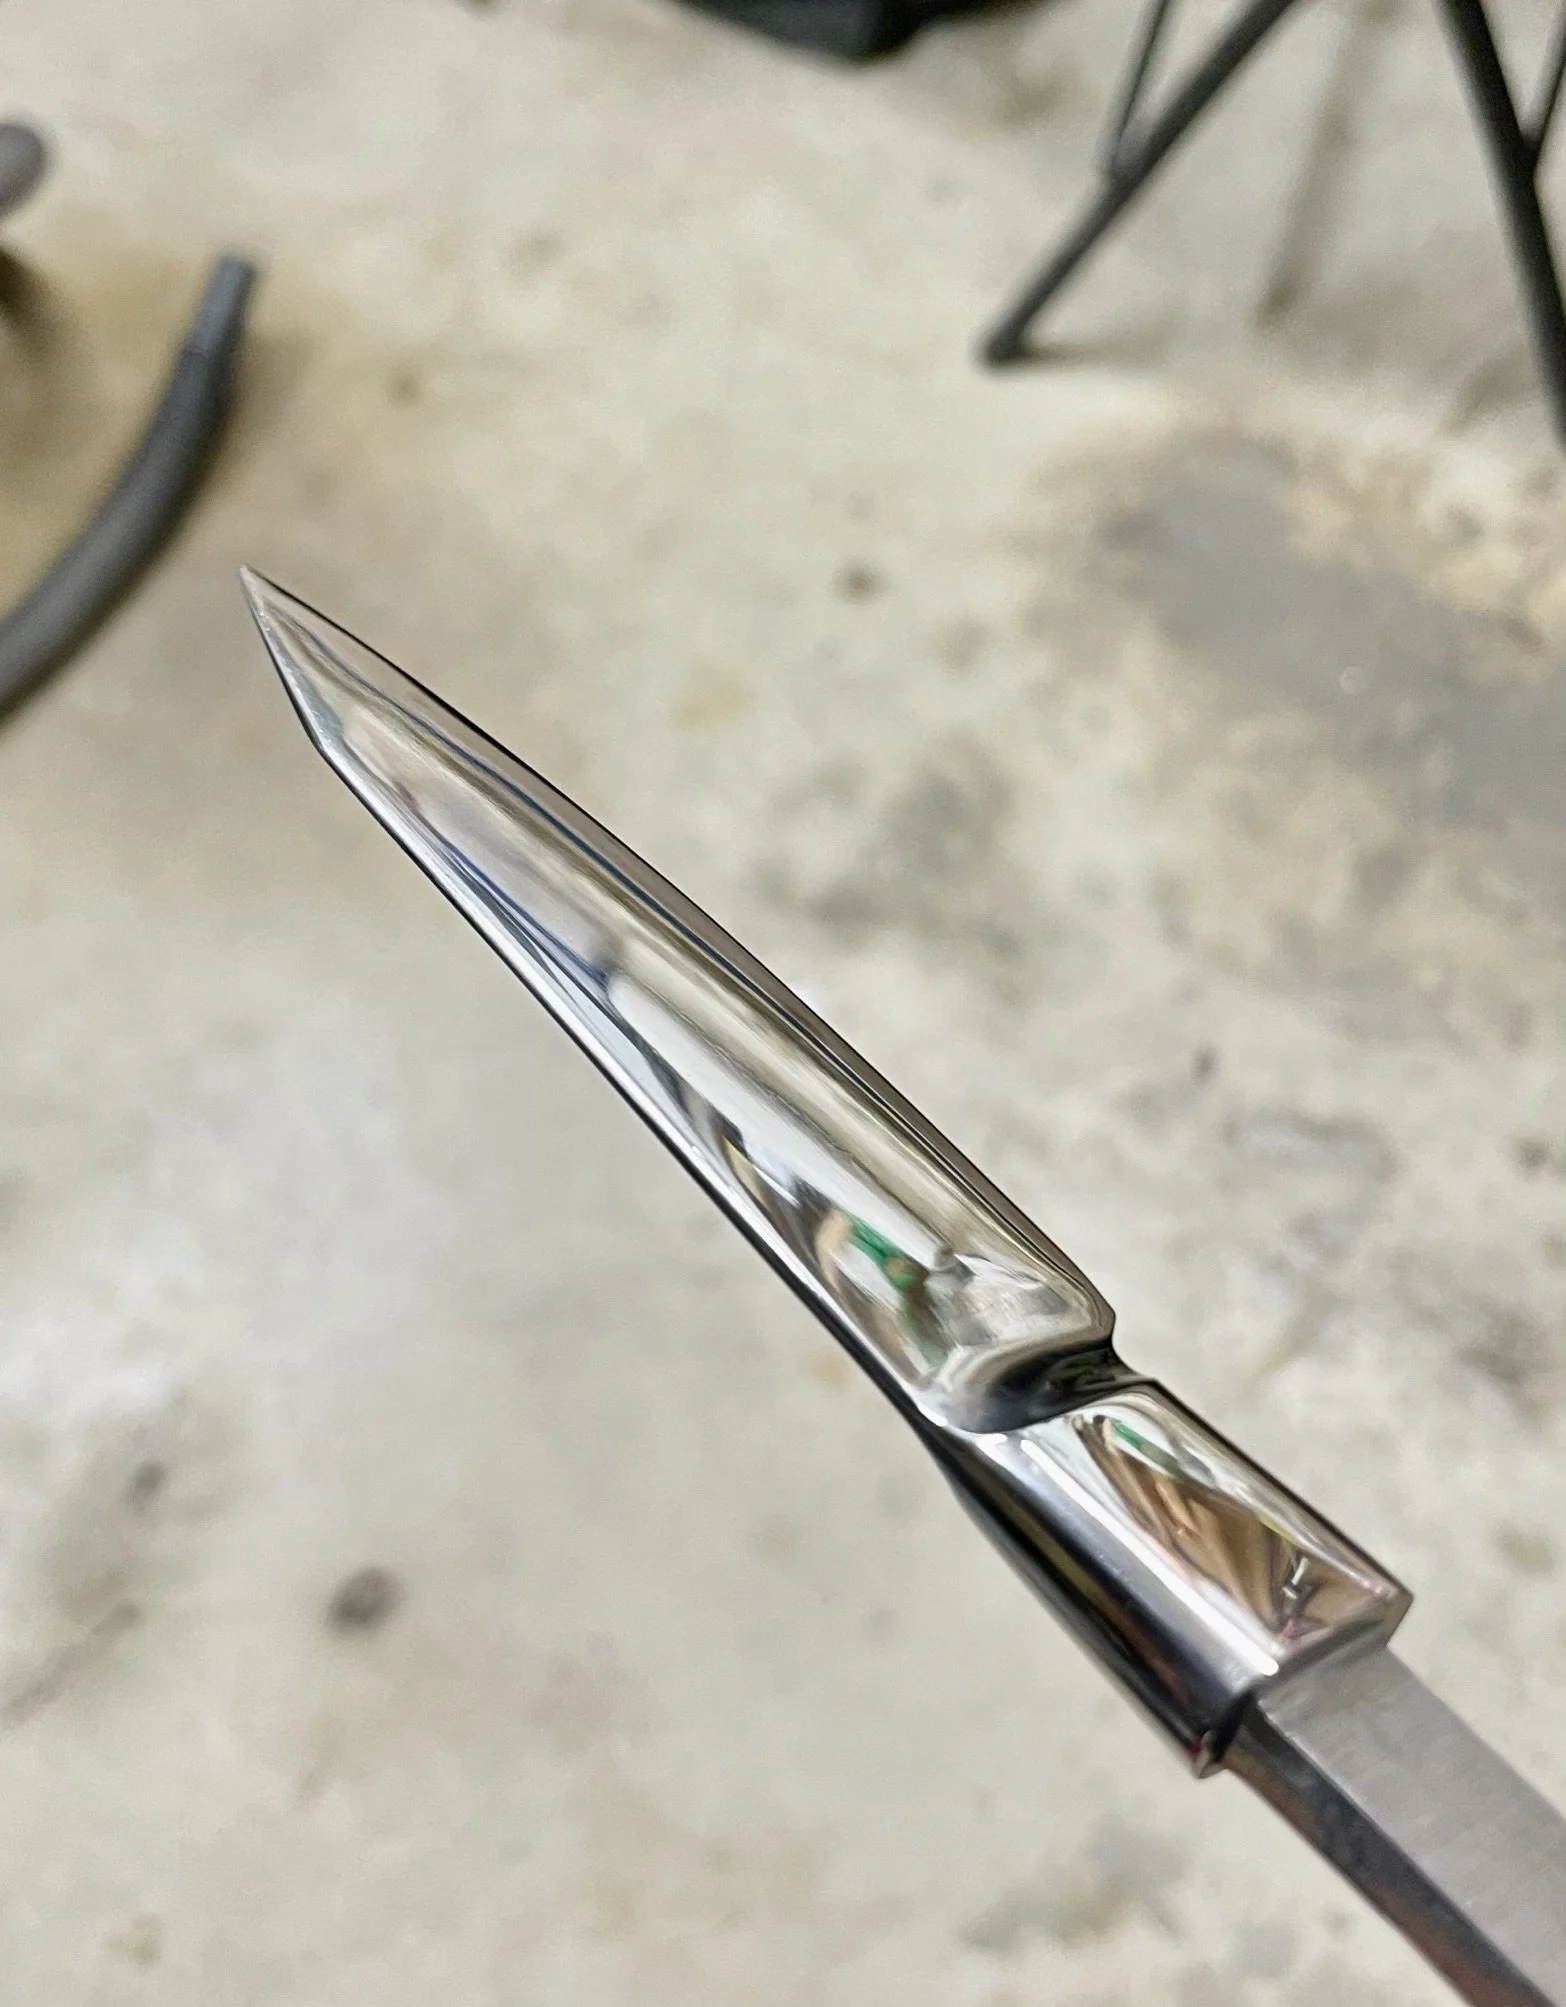
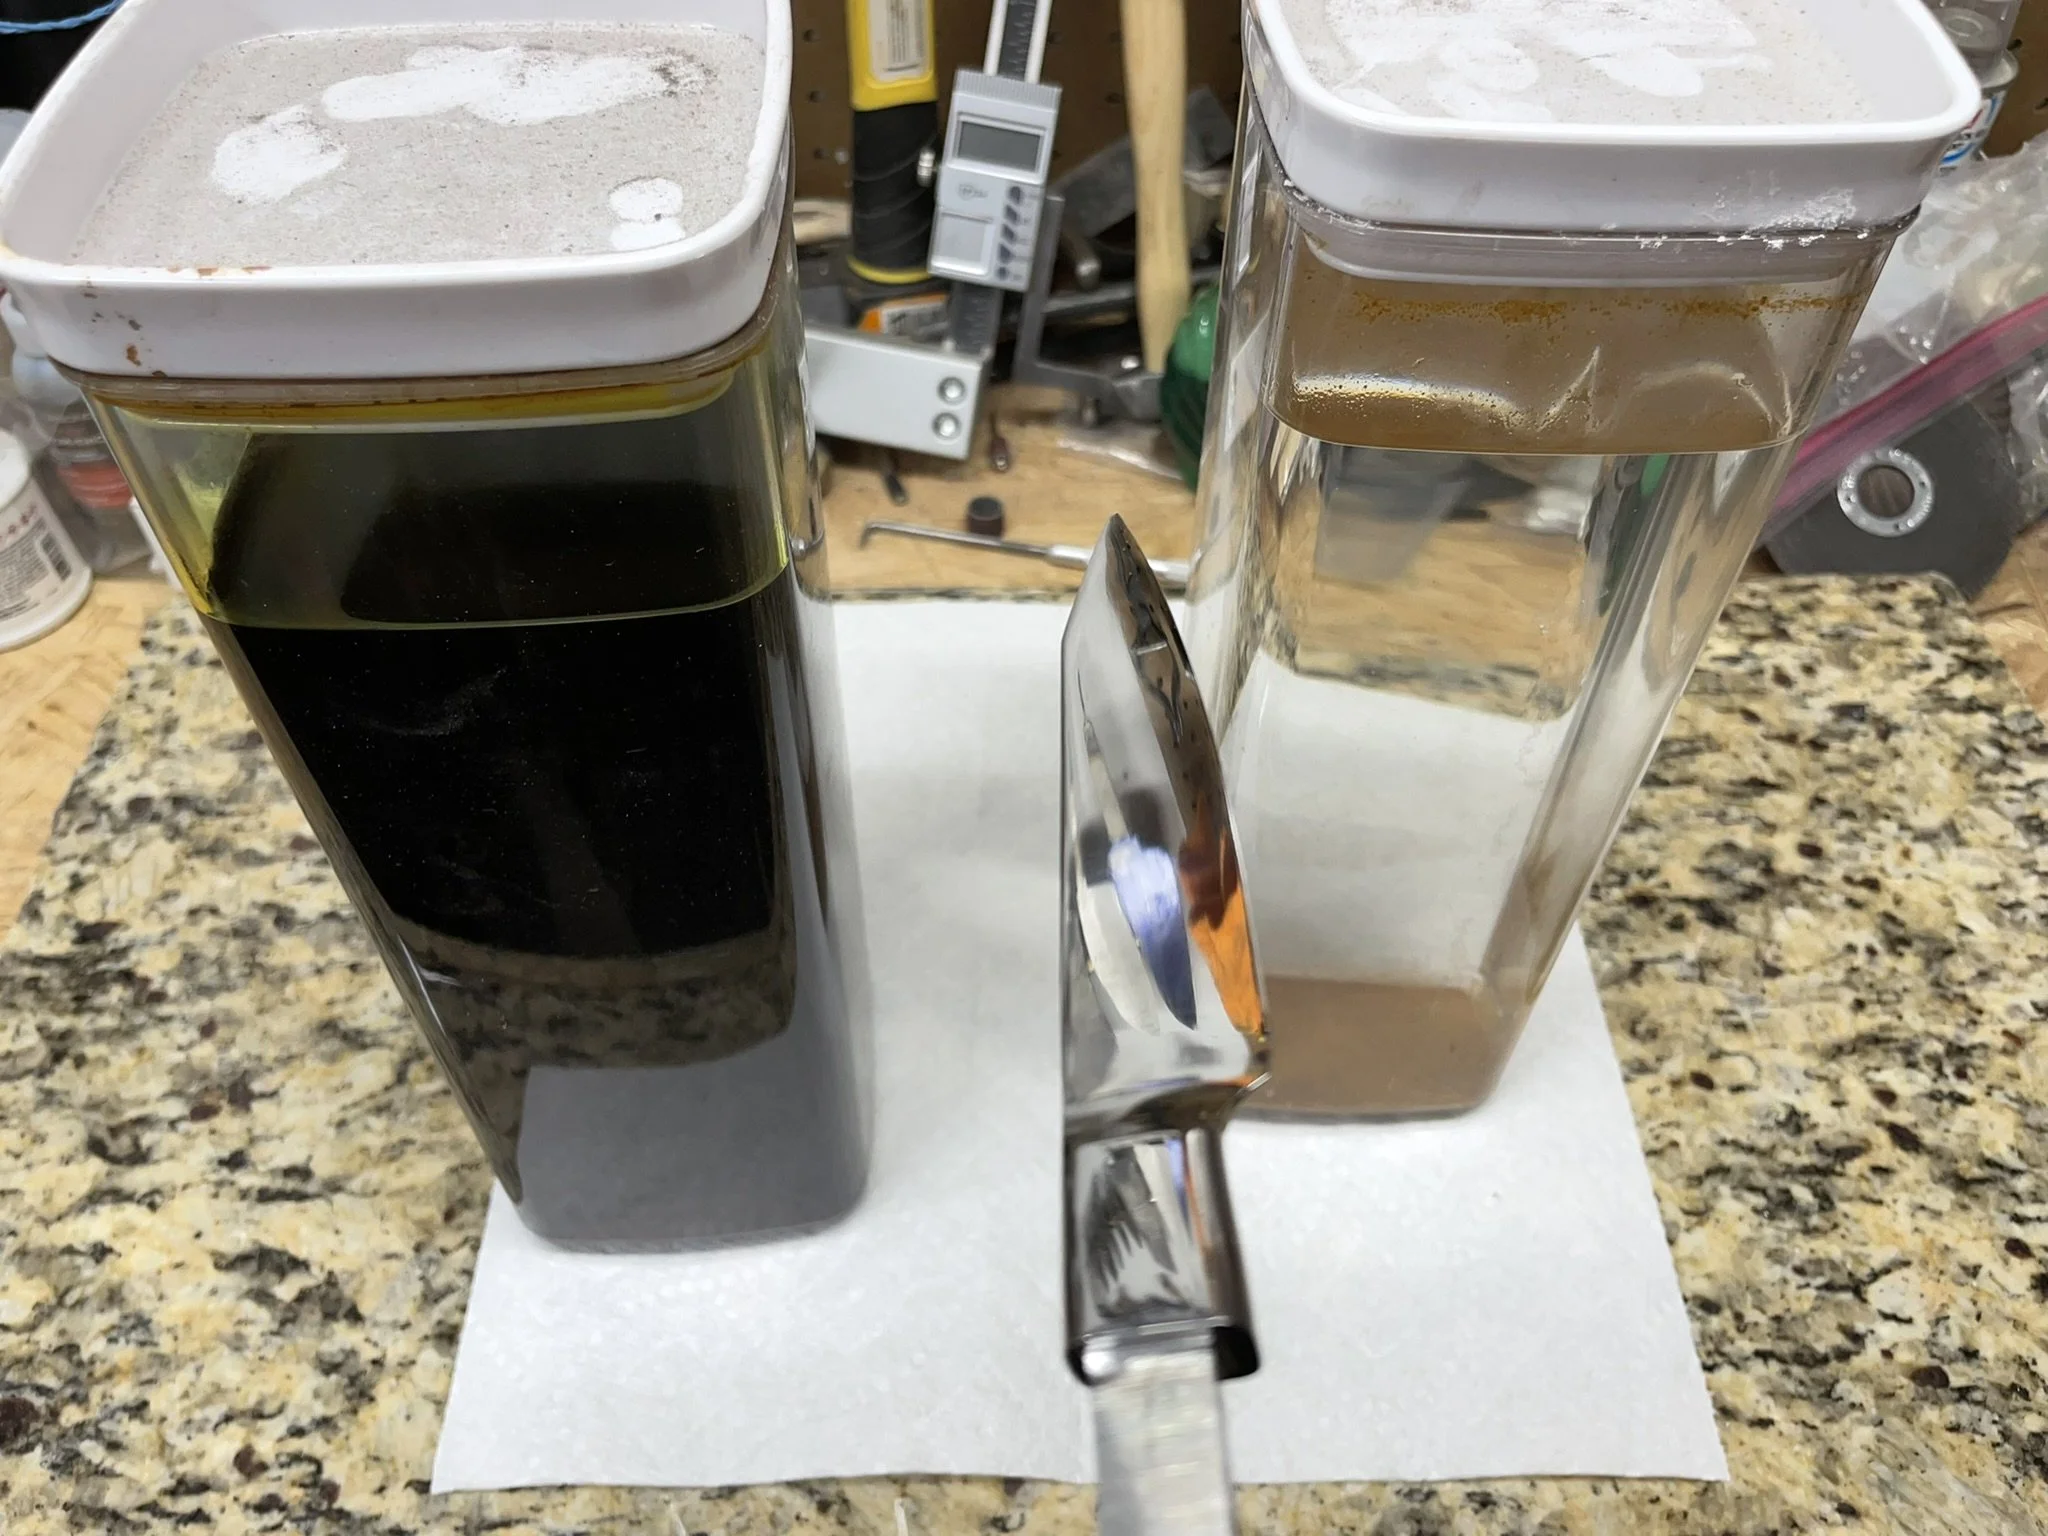
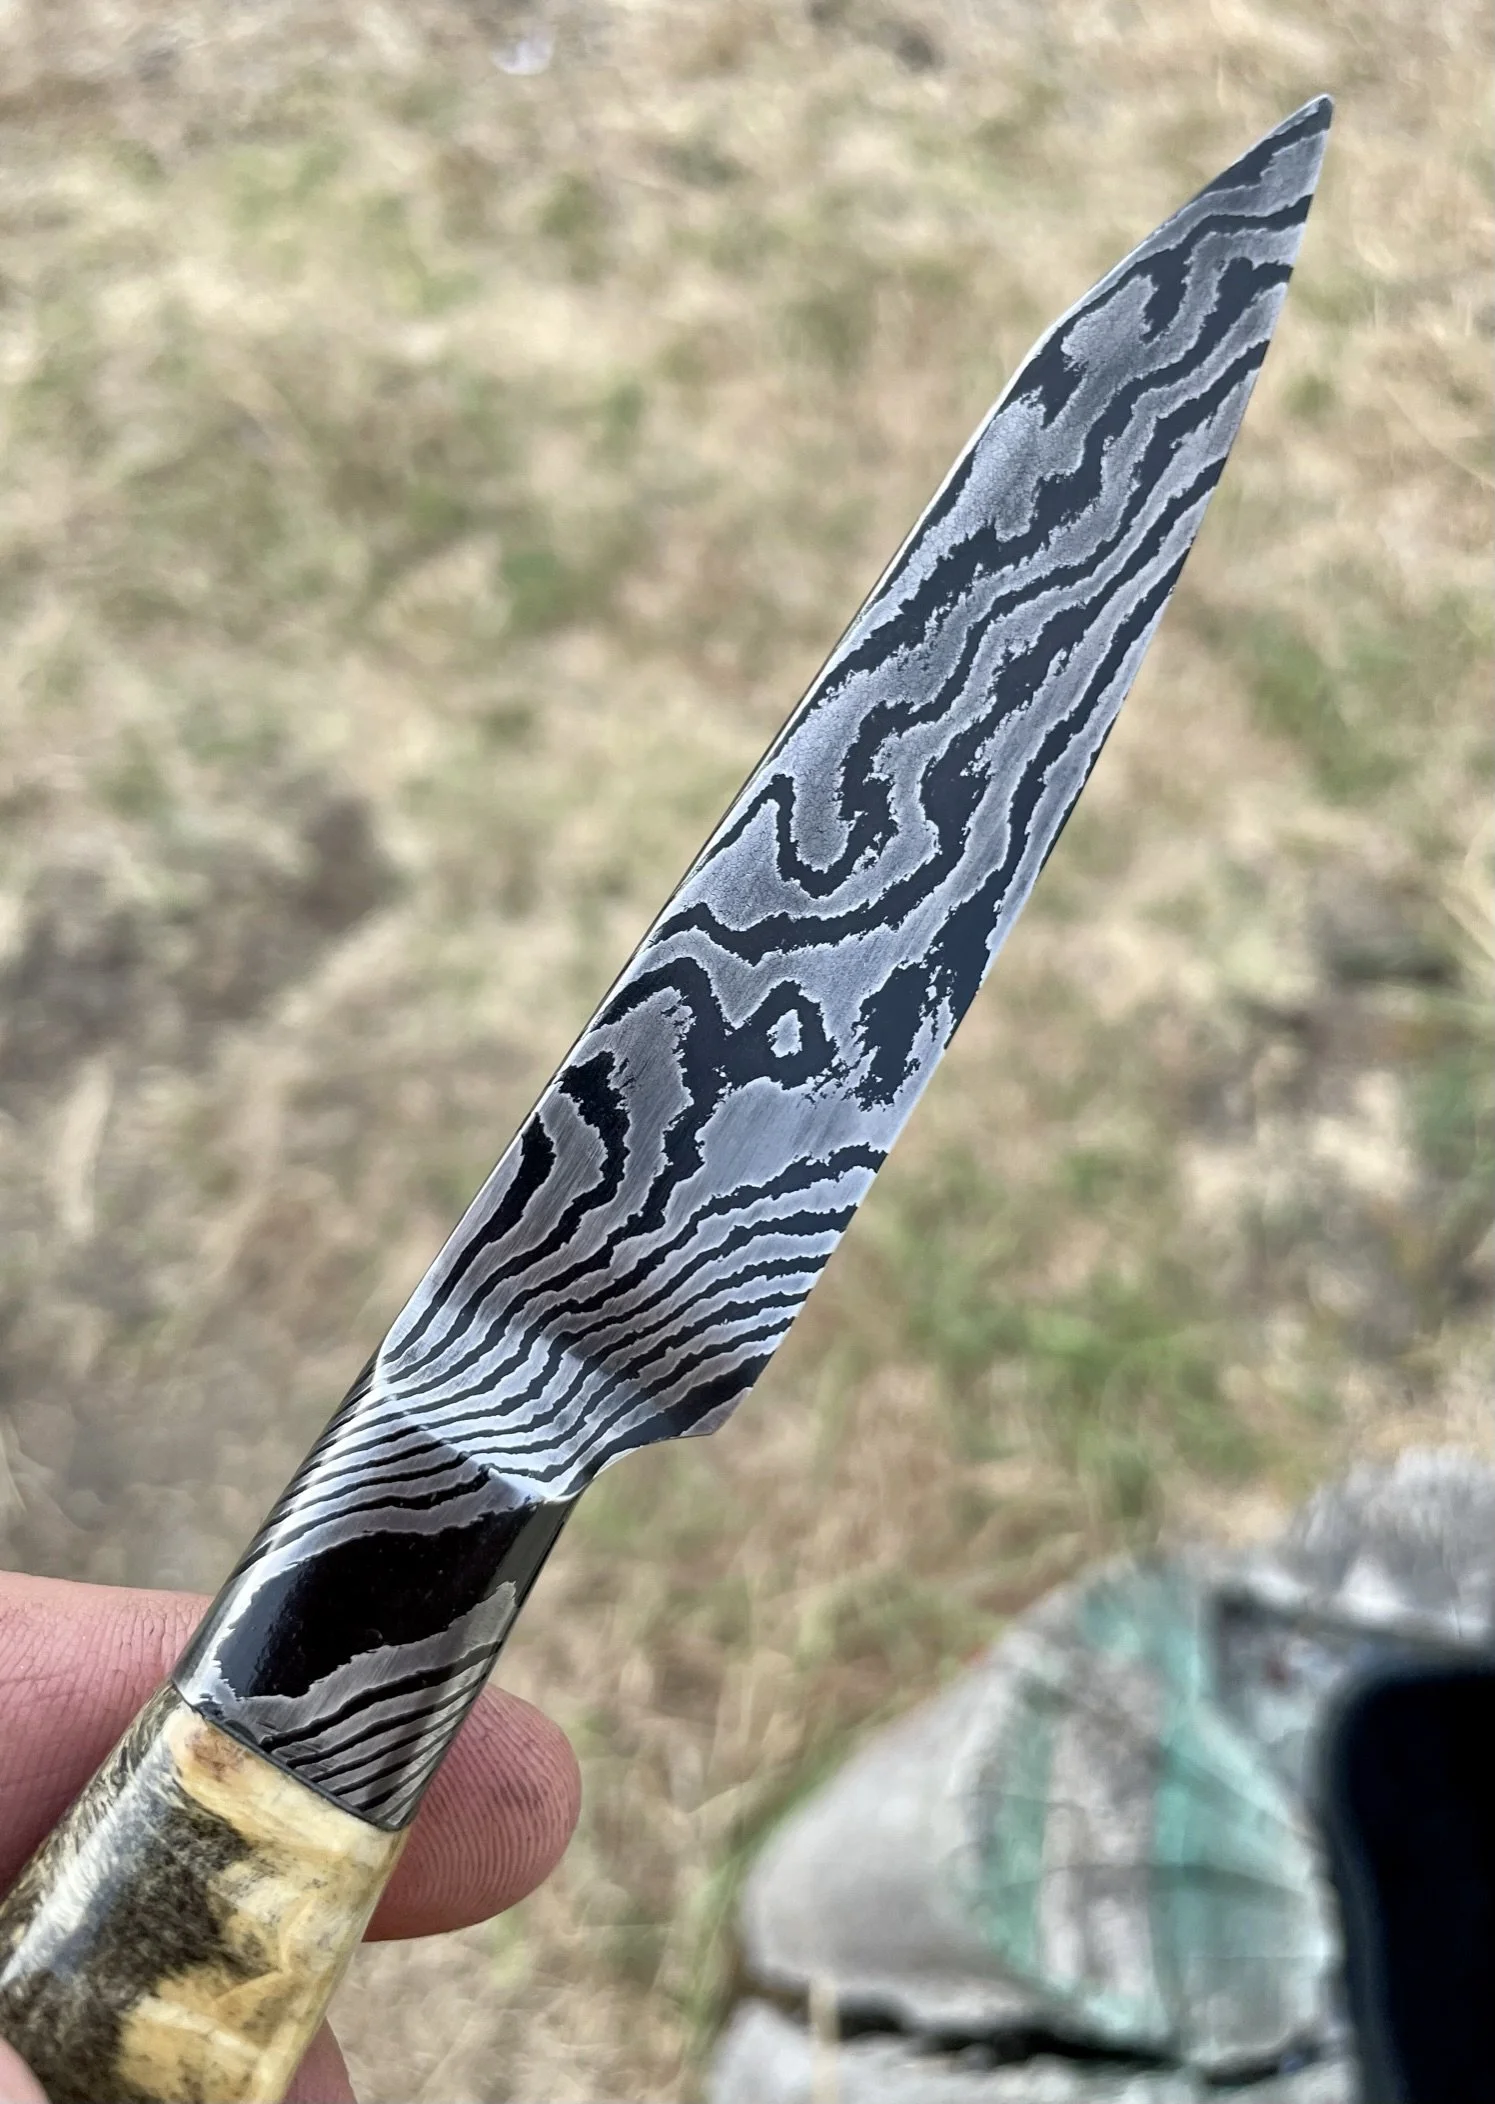
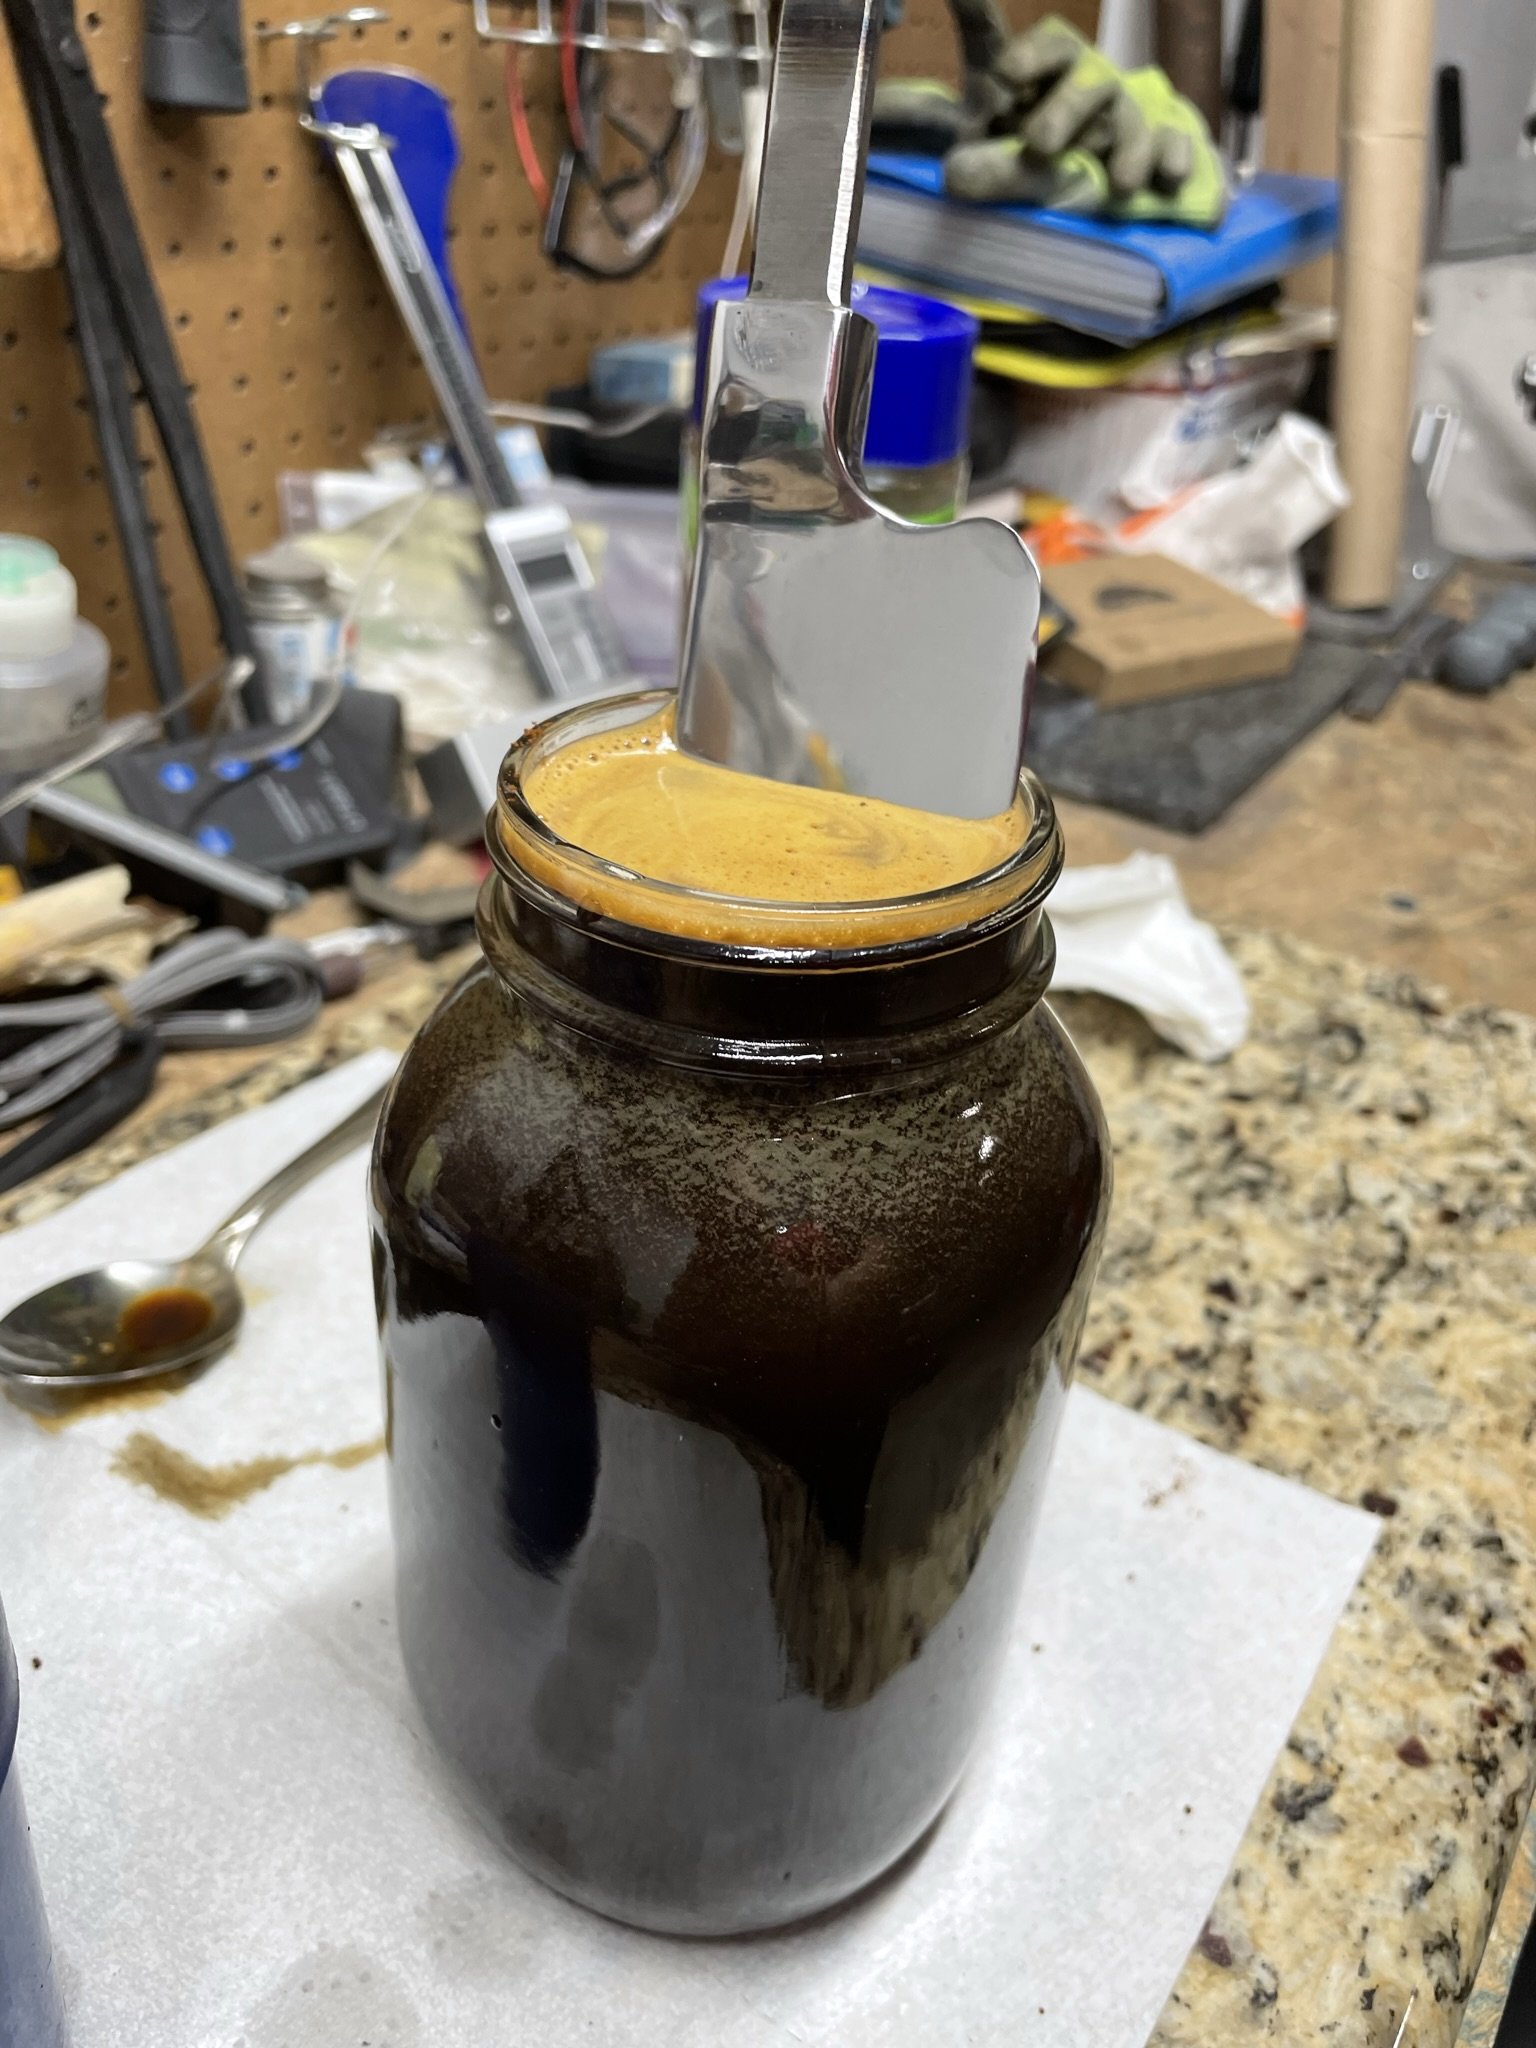
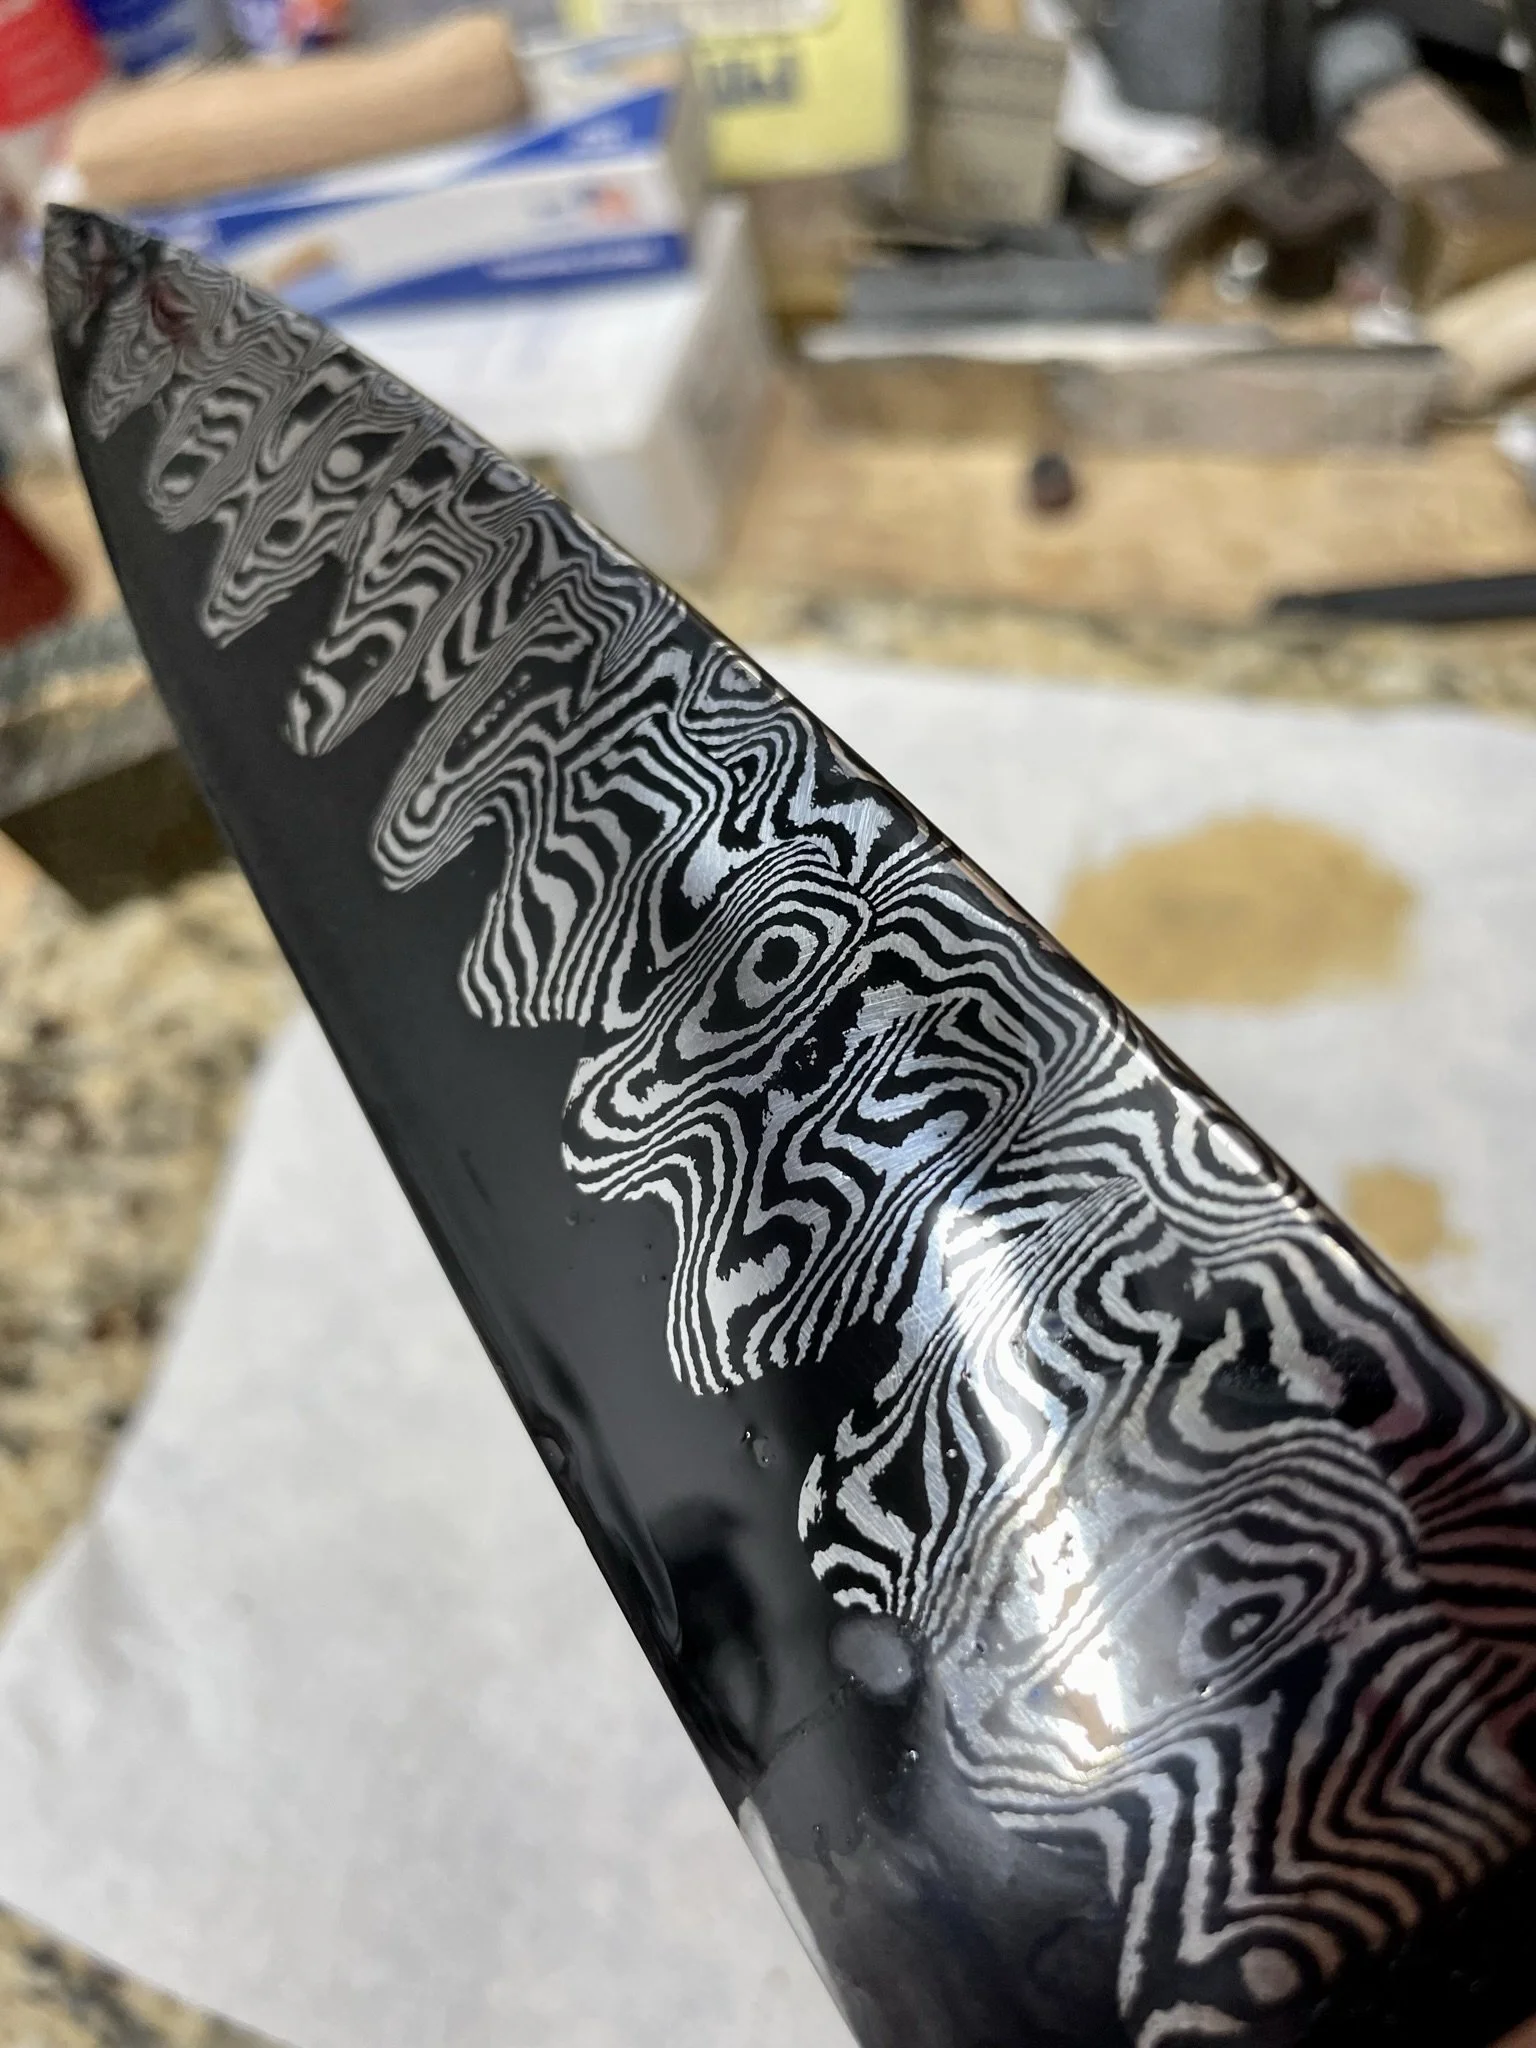
Post etch and coffee etch. Love those deep blacks.
-
With damascus you glue up post etch, and that always makes it a little more challenging.
-
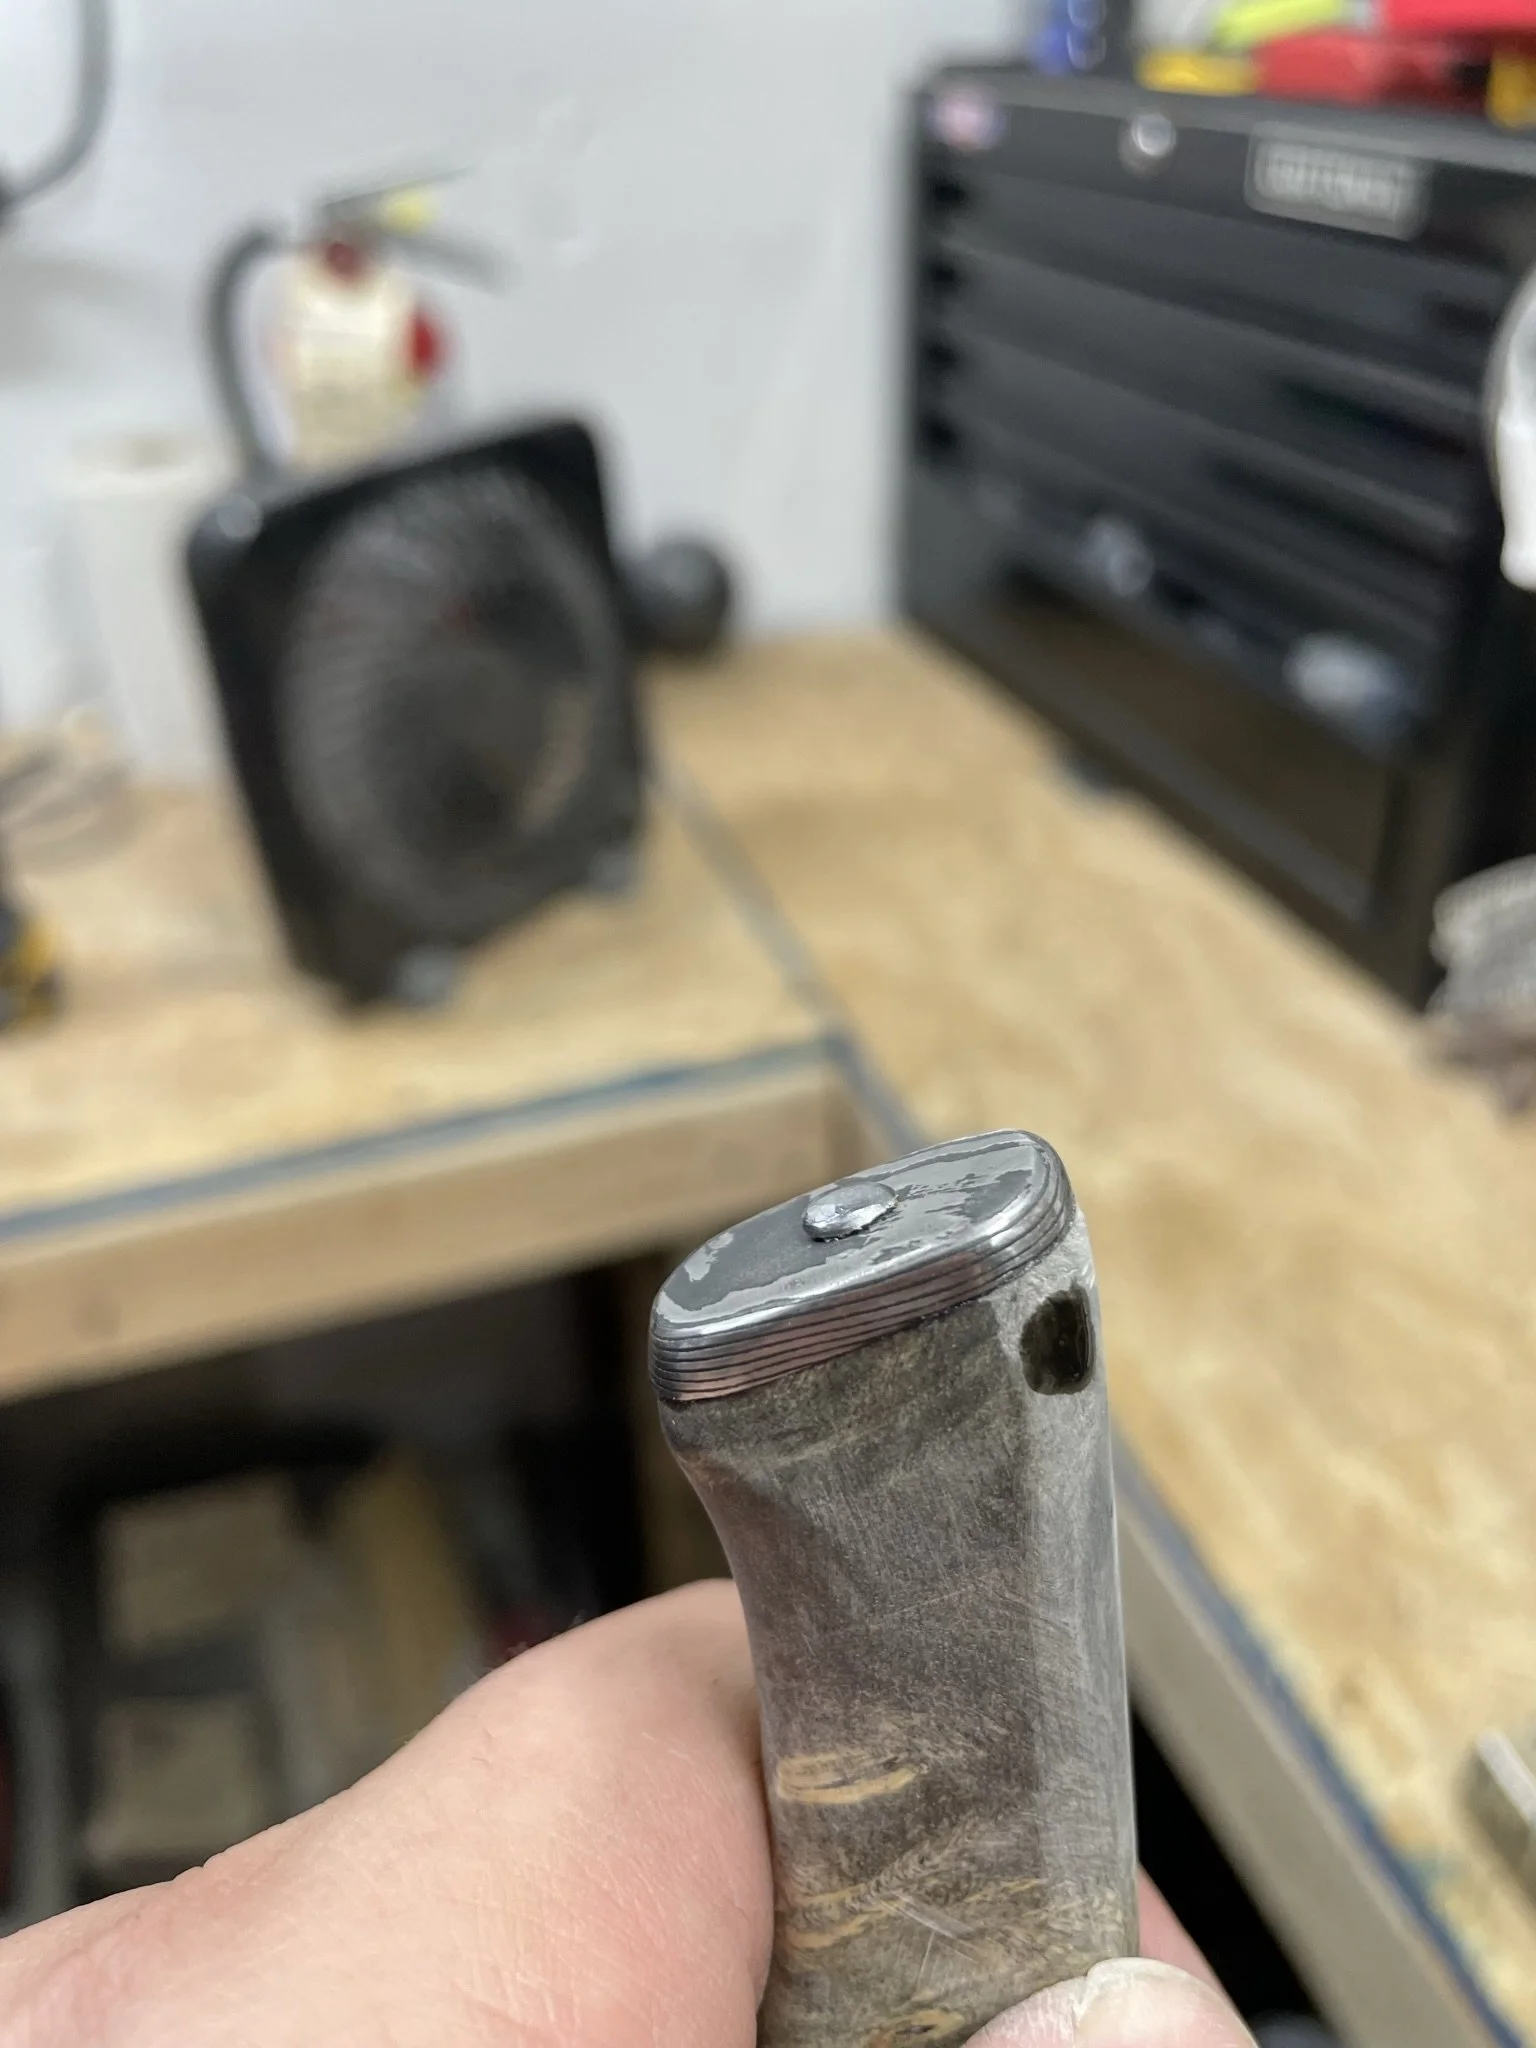
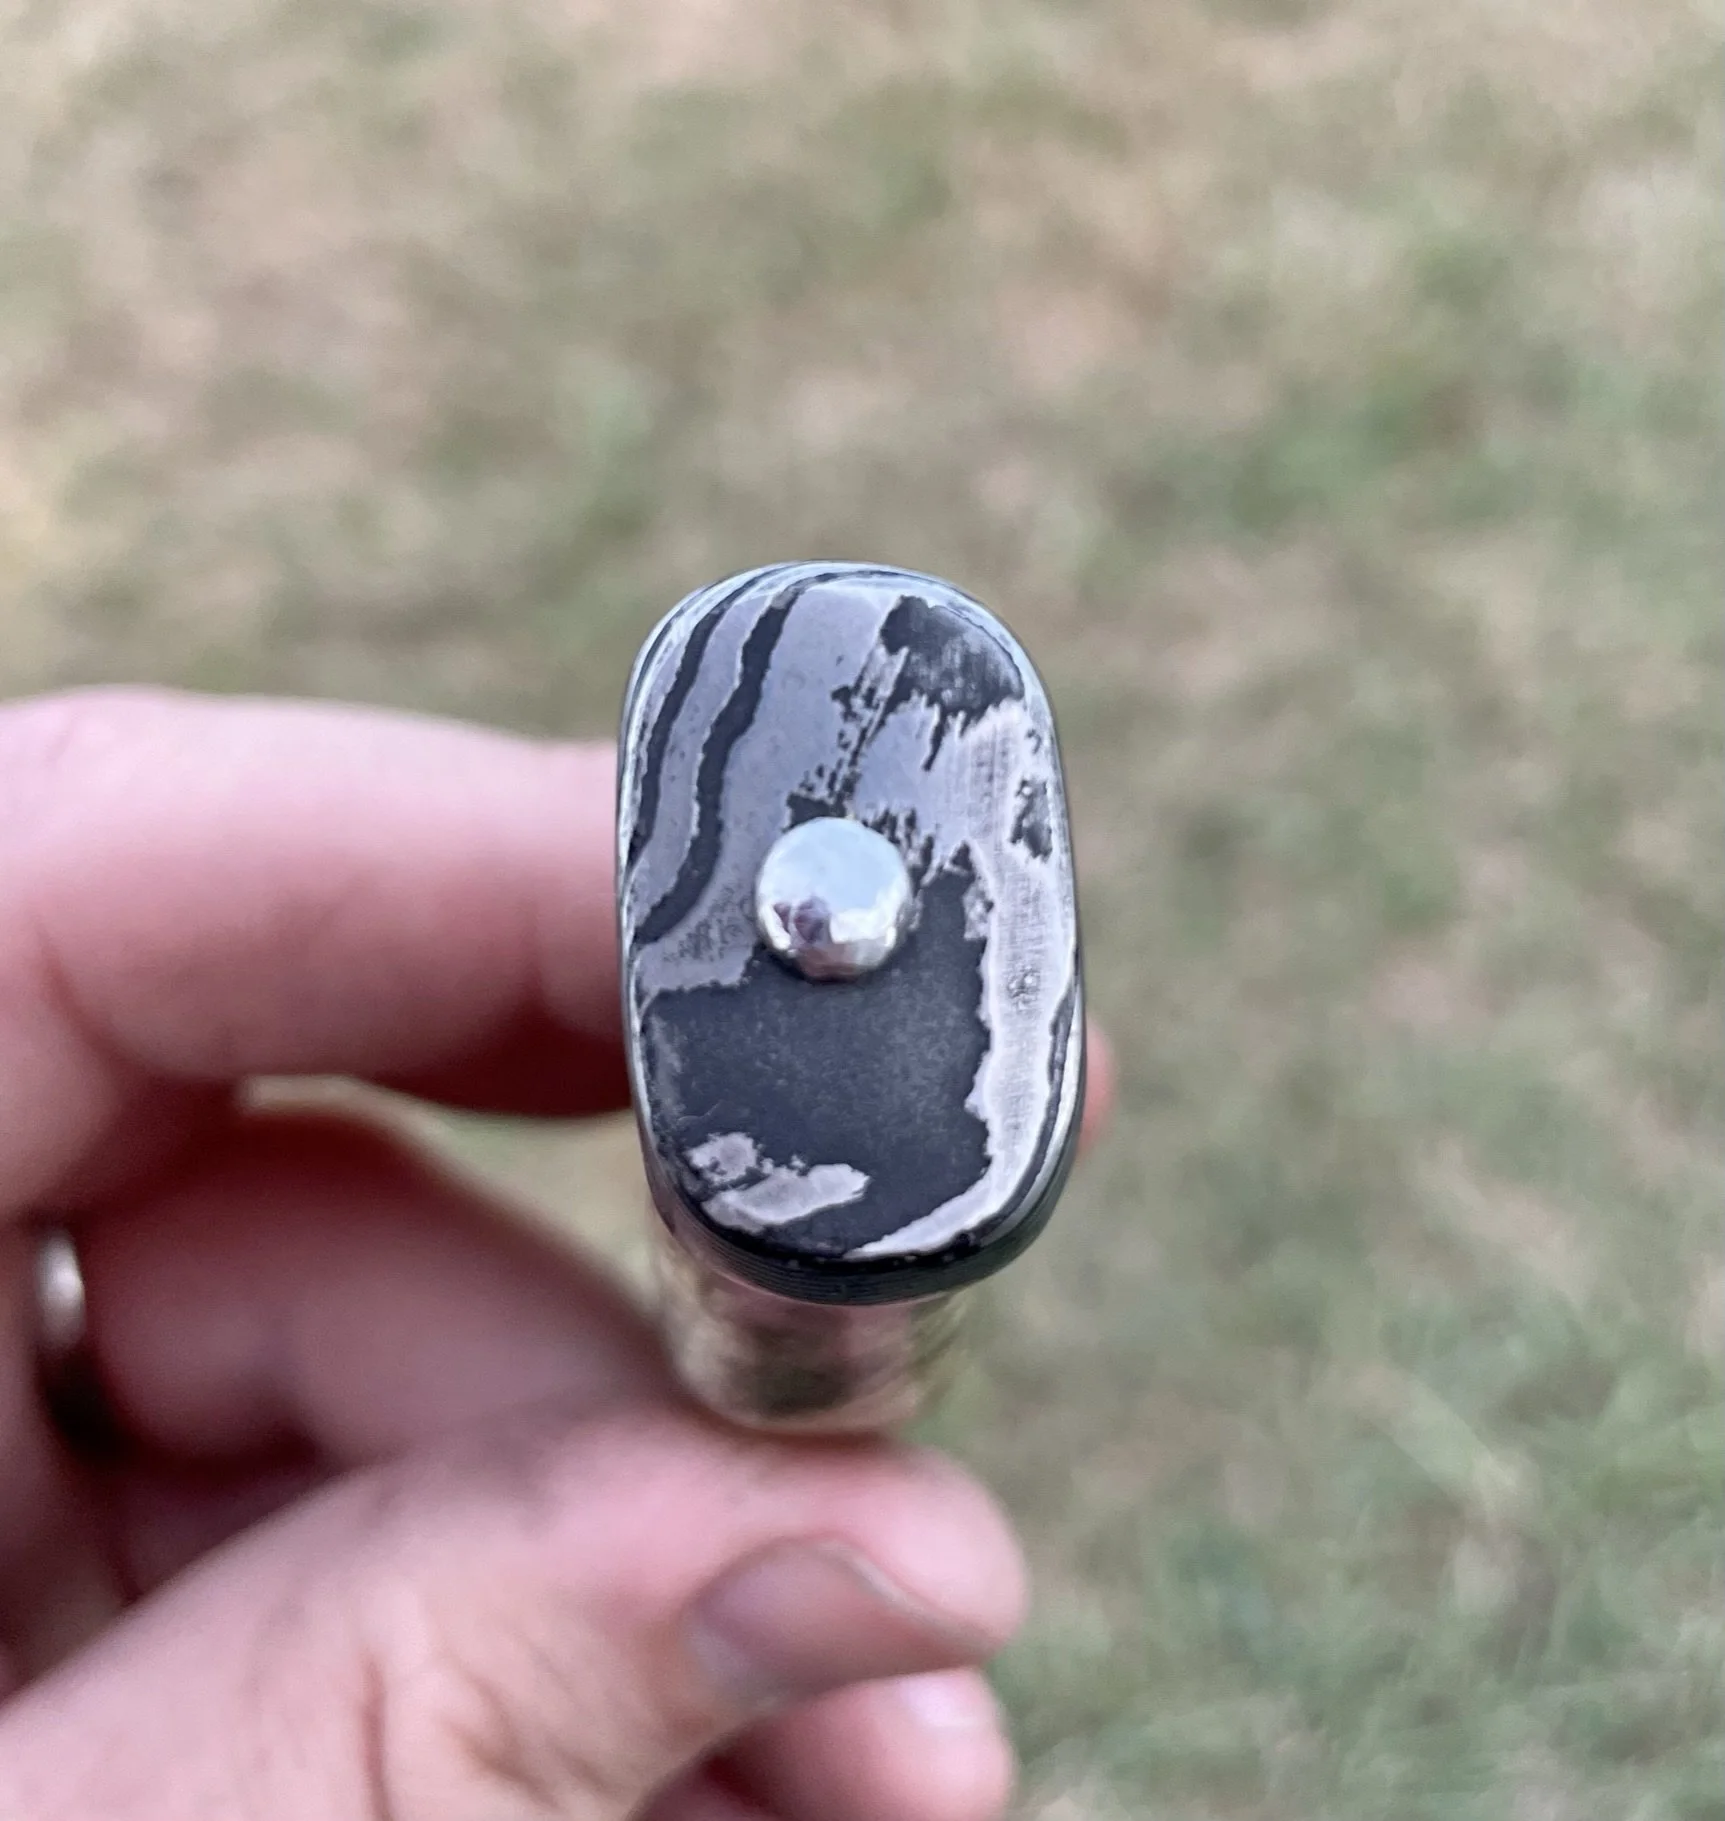
I peened the butt cap on, all while making sure I didn't ding up the butt cap.
-
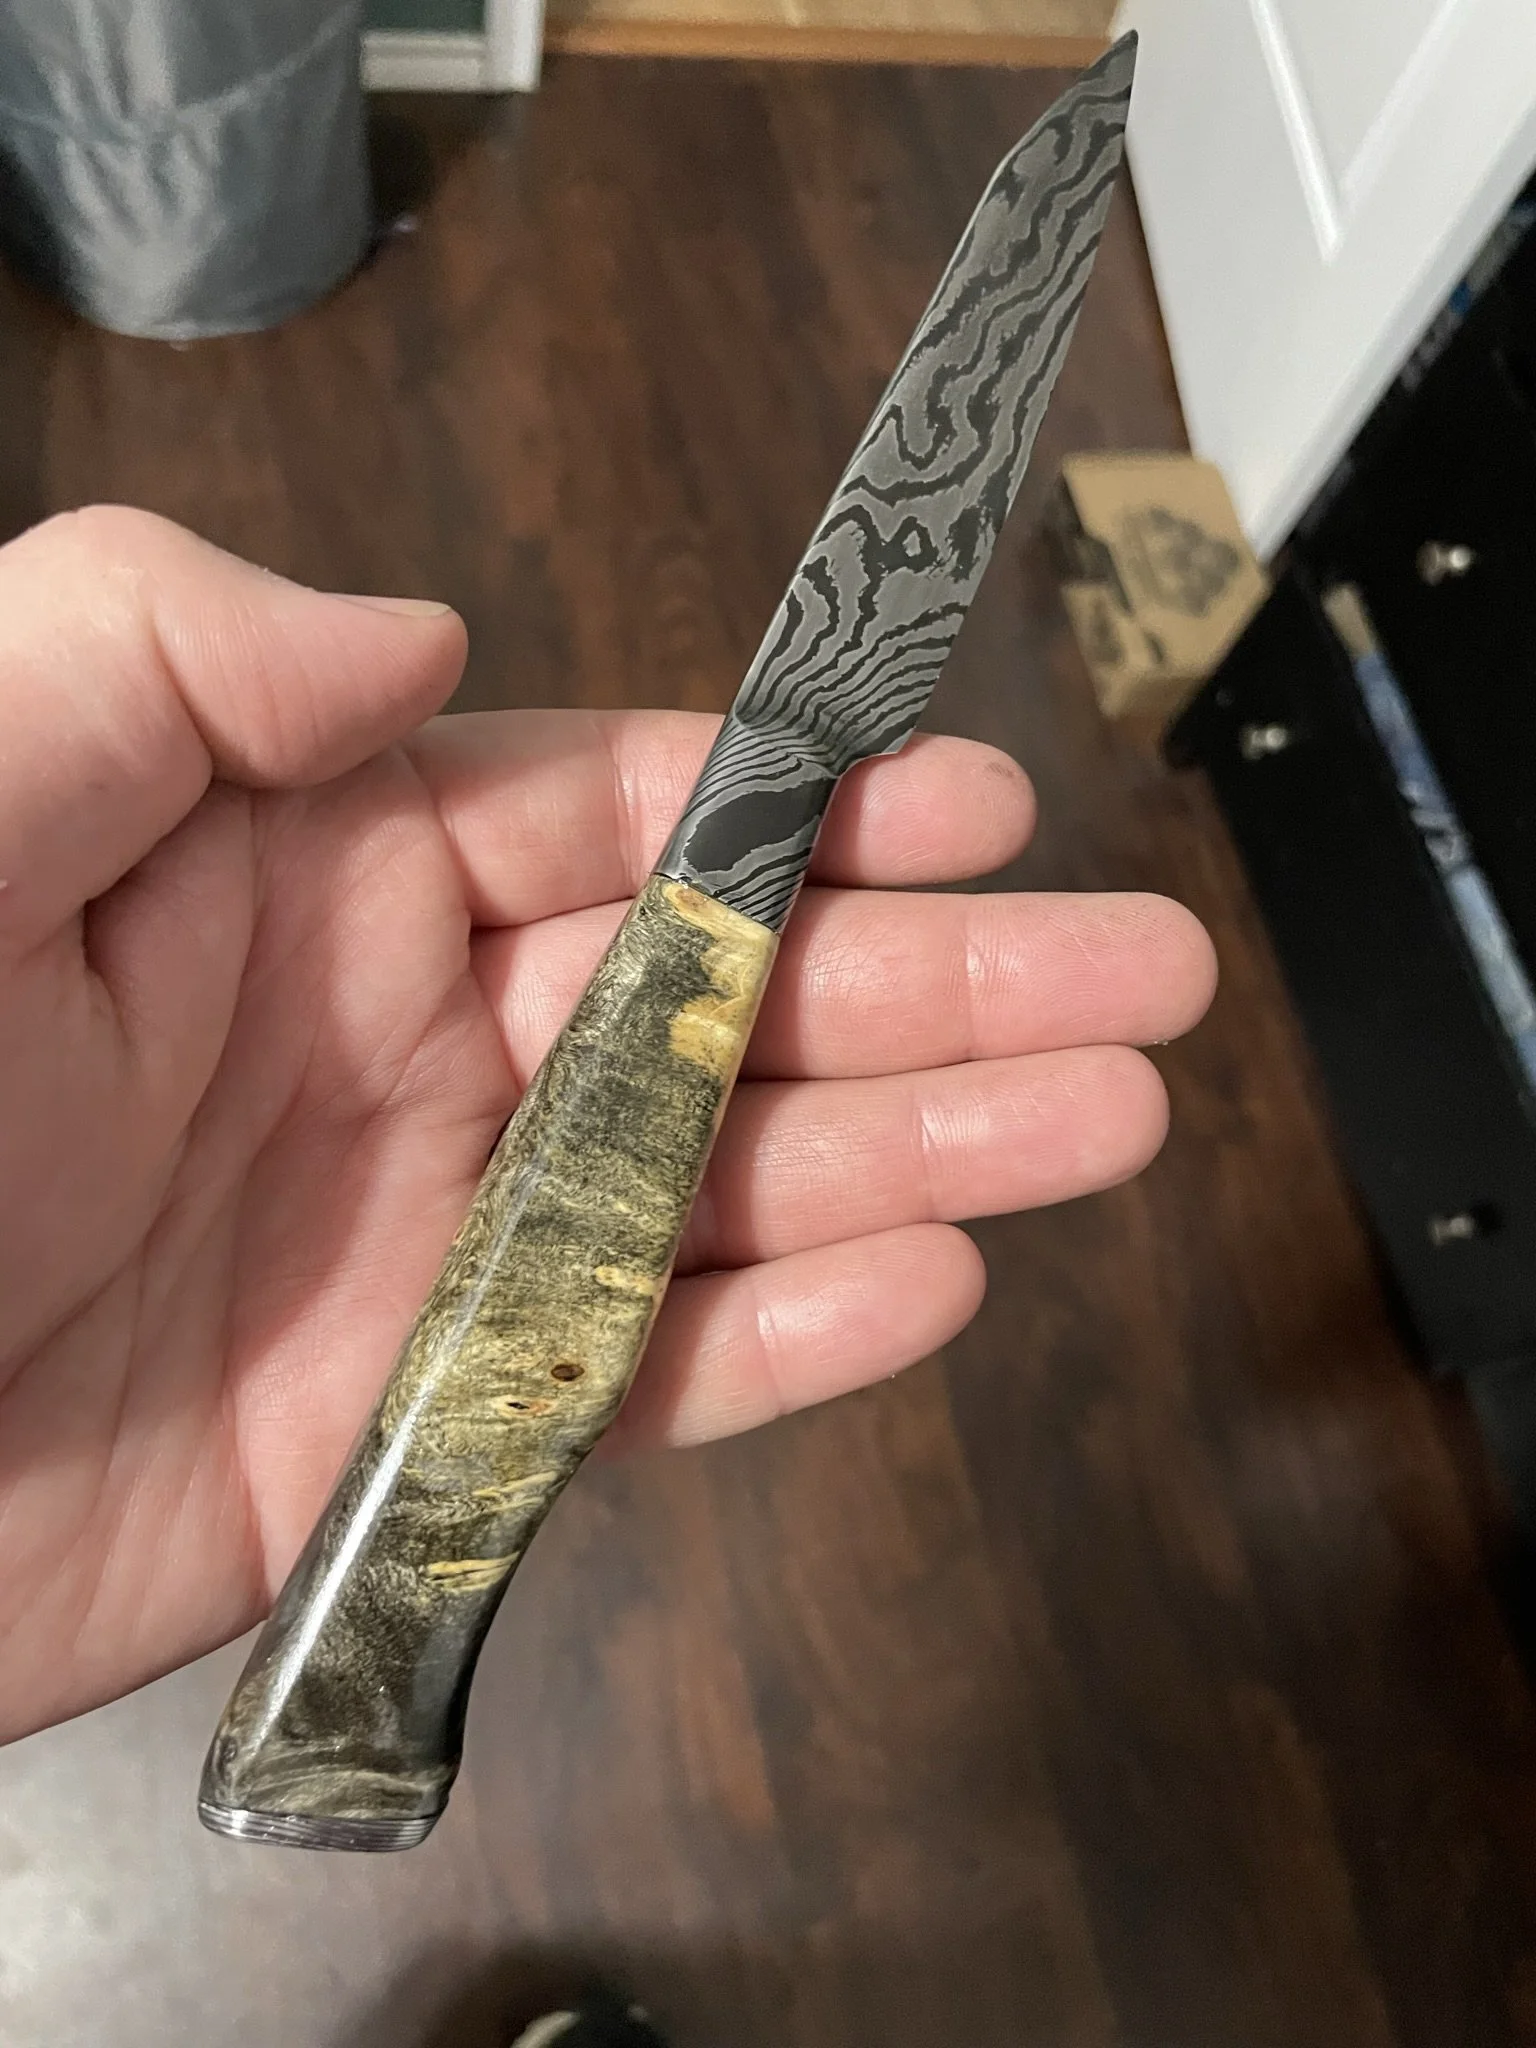
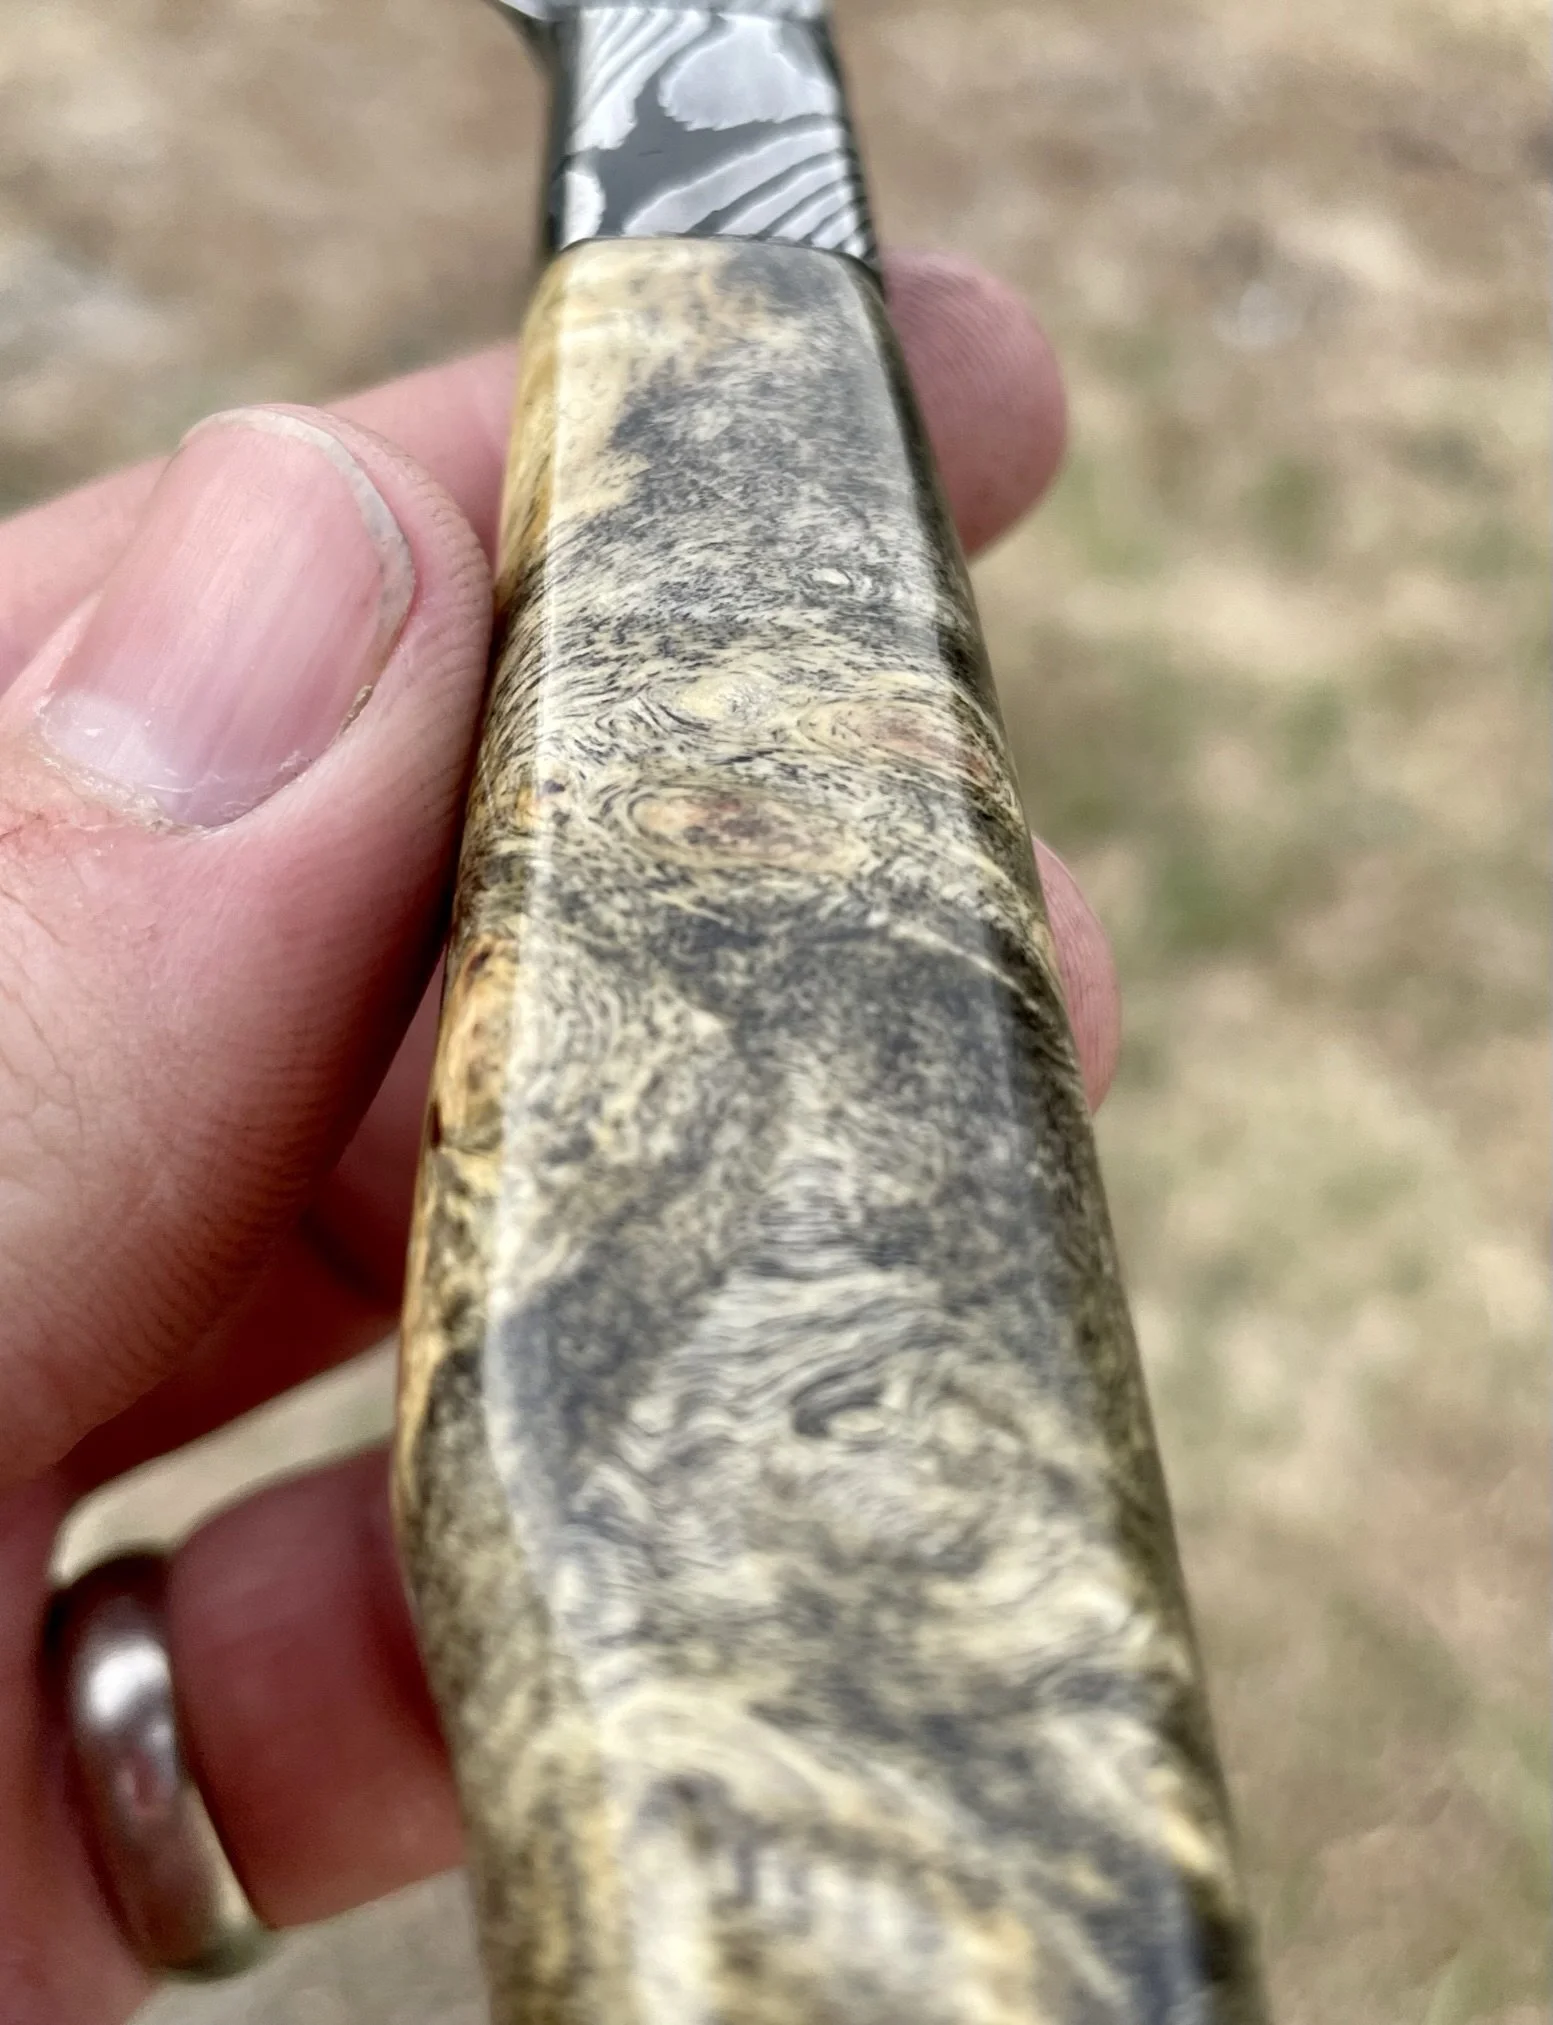
Finished knife. Contoured a little and a Tru-oil finish to bring out this buckeye burl handle.
-
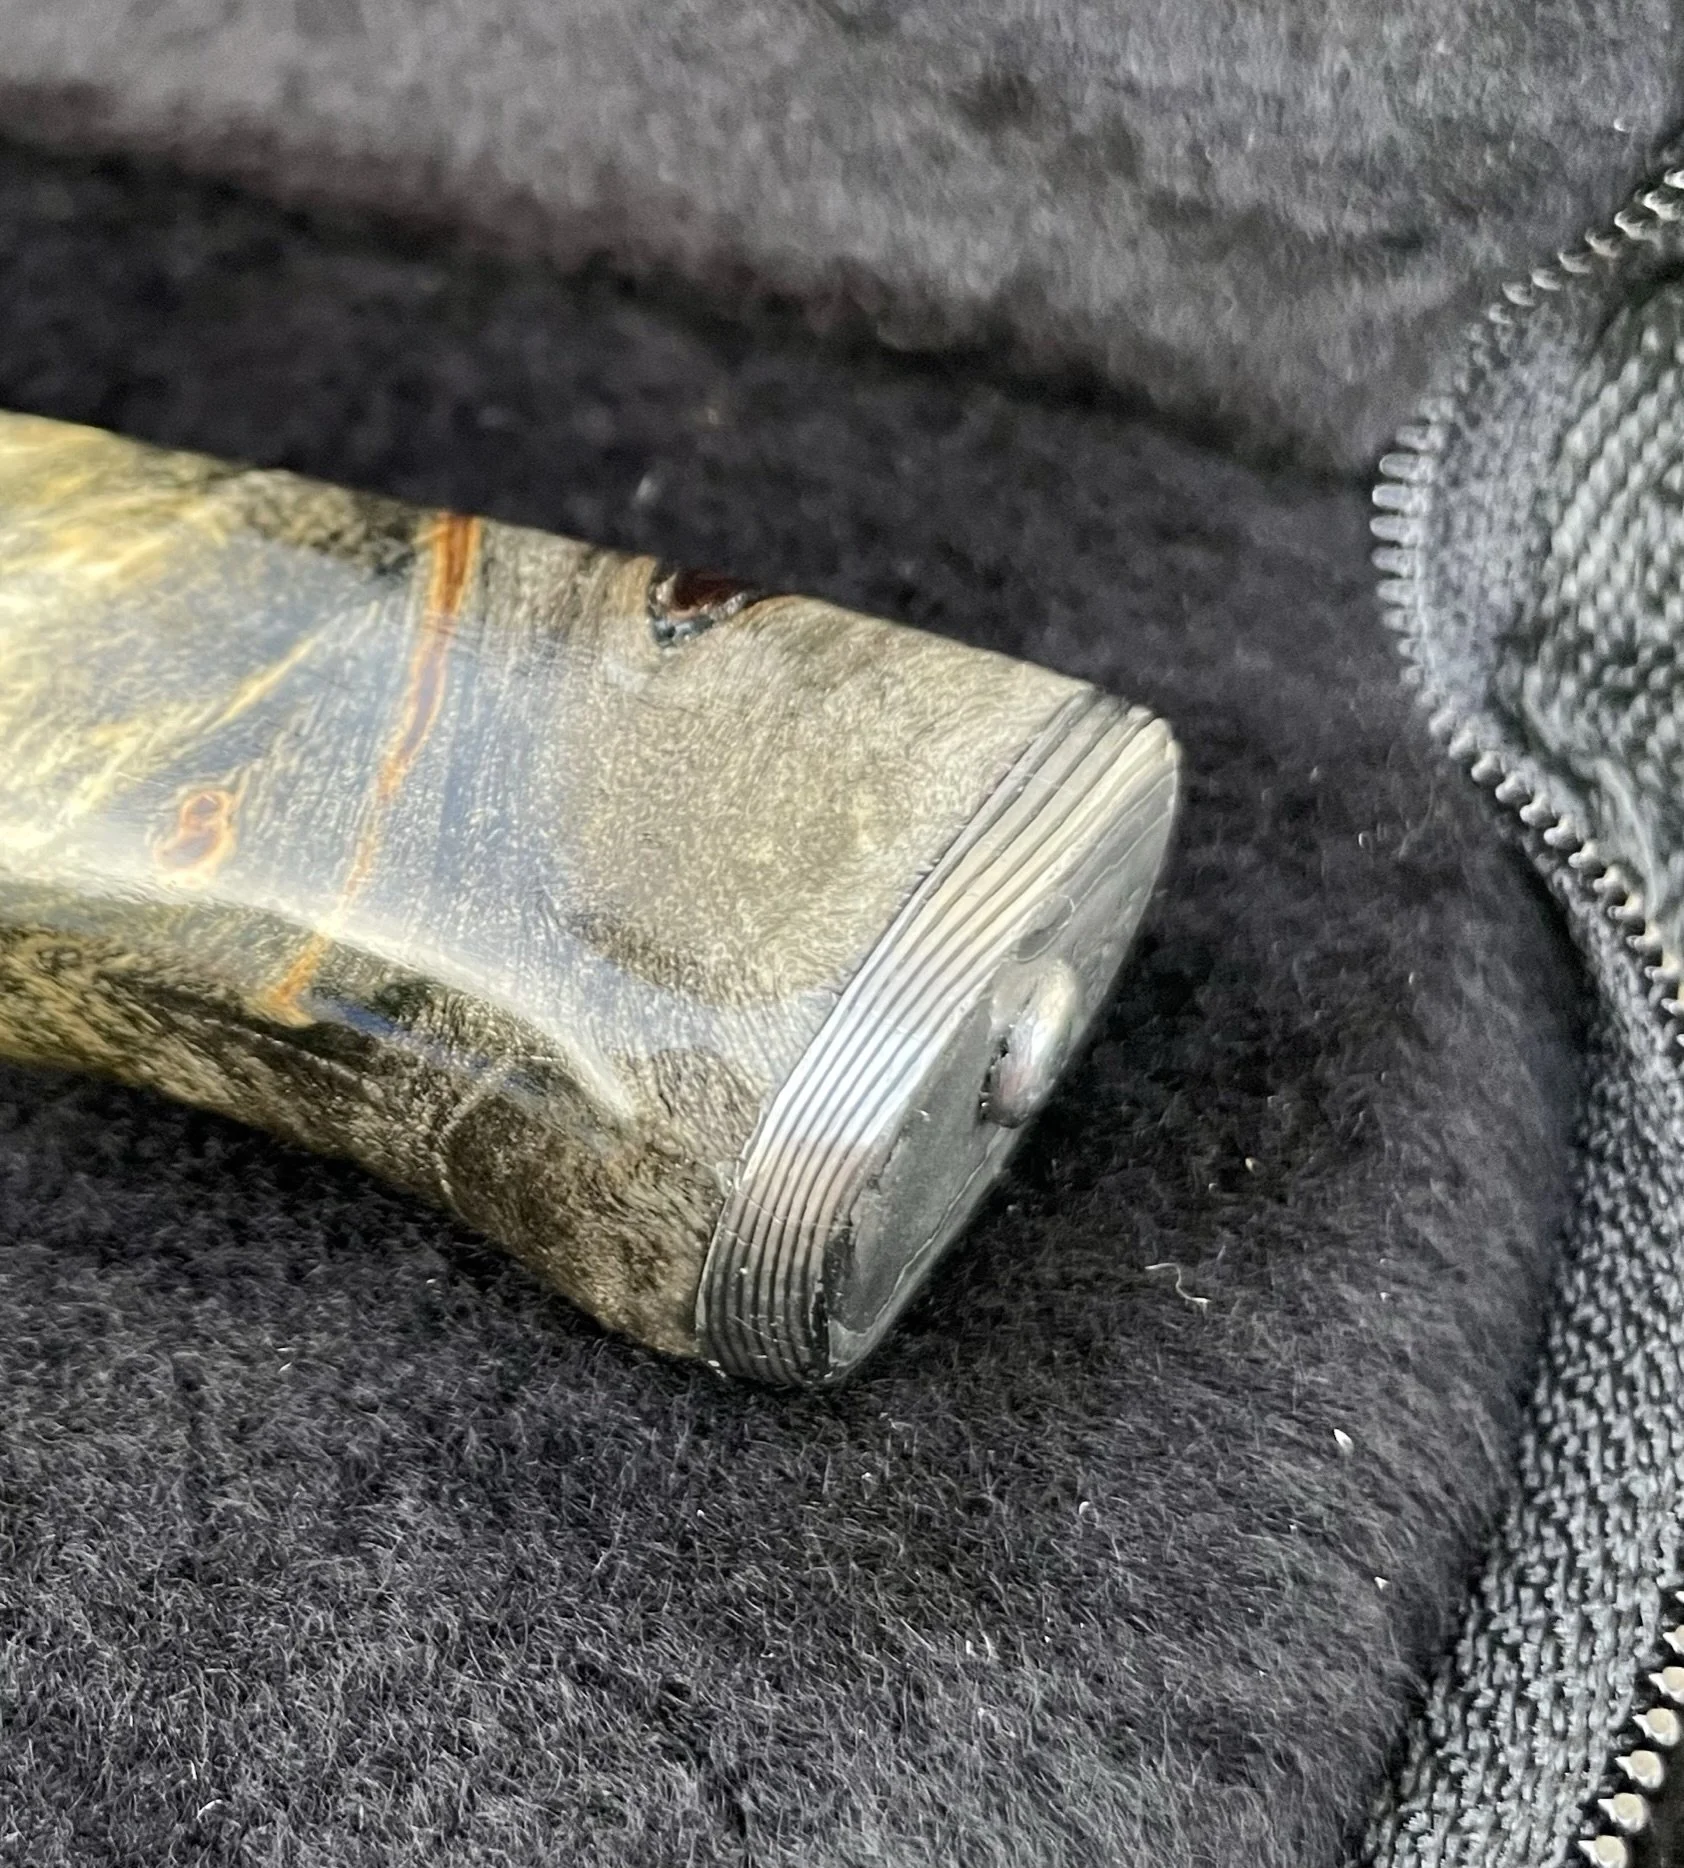
Final butt cap.
-
Butt cap glamour shot.
-
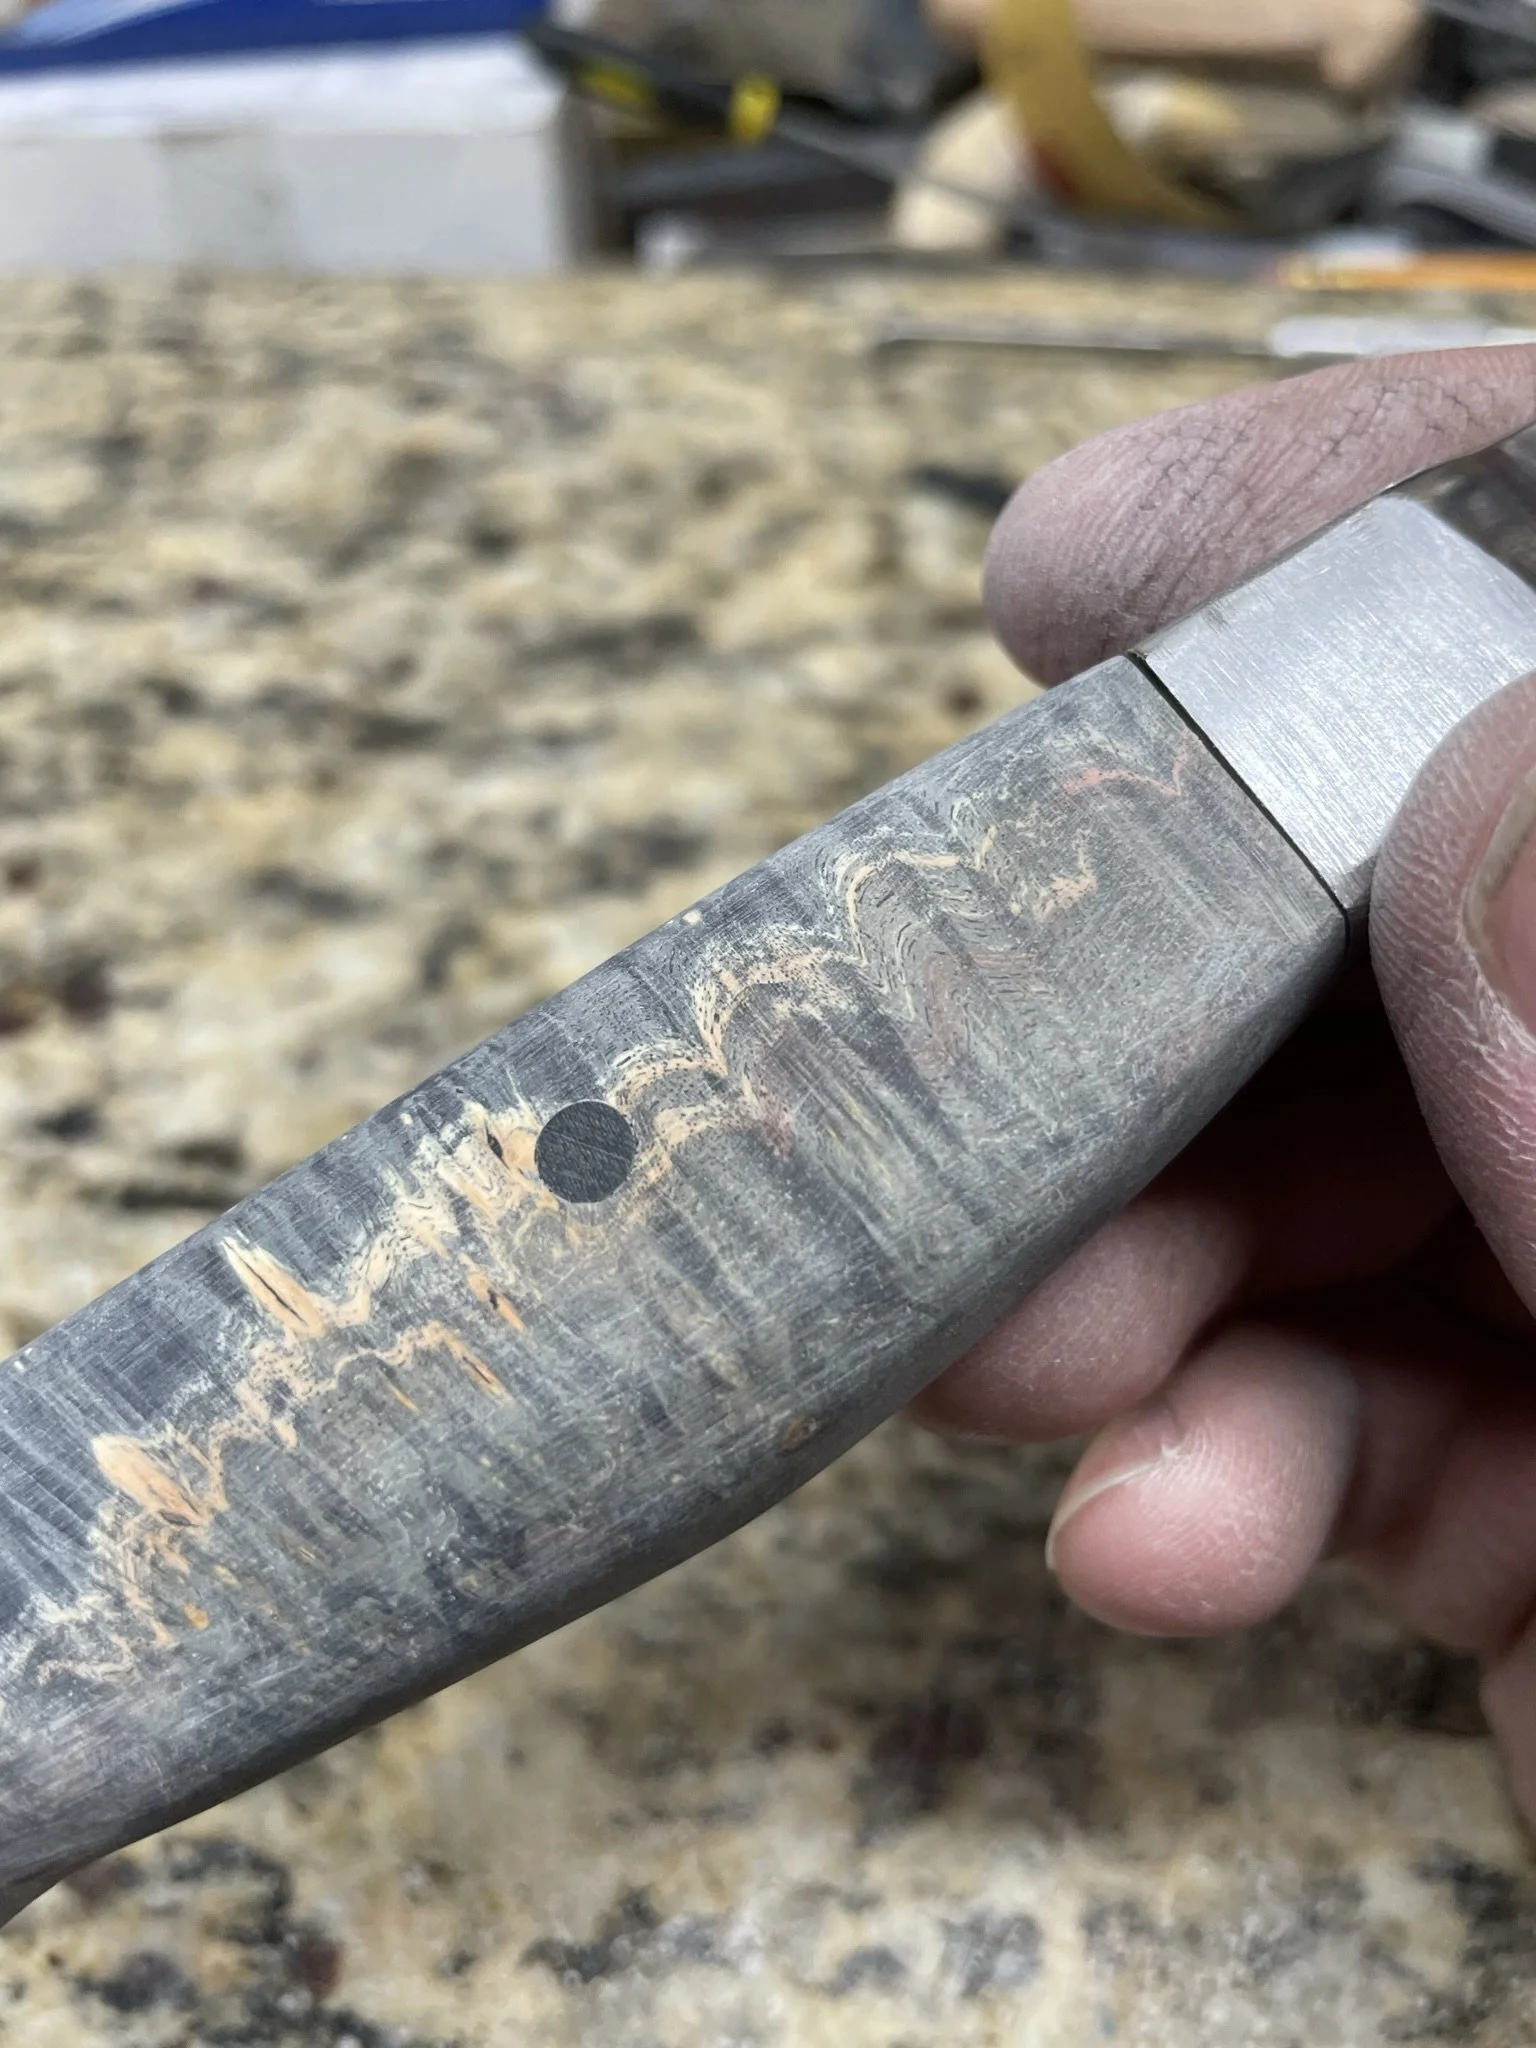
Again, I love the natural beauty of these woods.
-
Blade glamour shot.
-
Glamour shot #1.
-
Glamour shot #2.
Tom S. - Patriotic Tanto EDC
-
Final blade - keep scrolling to see the journey.
-
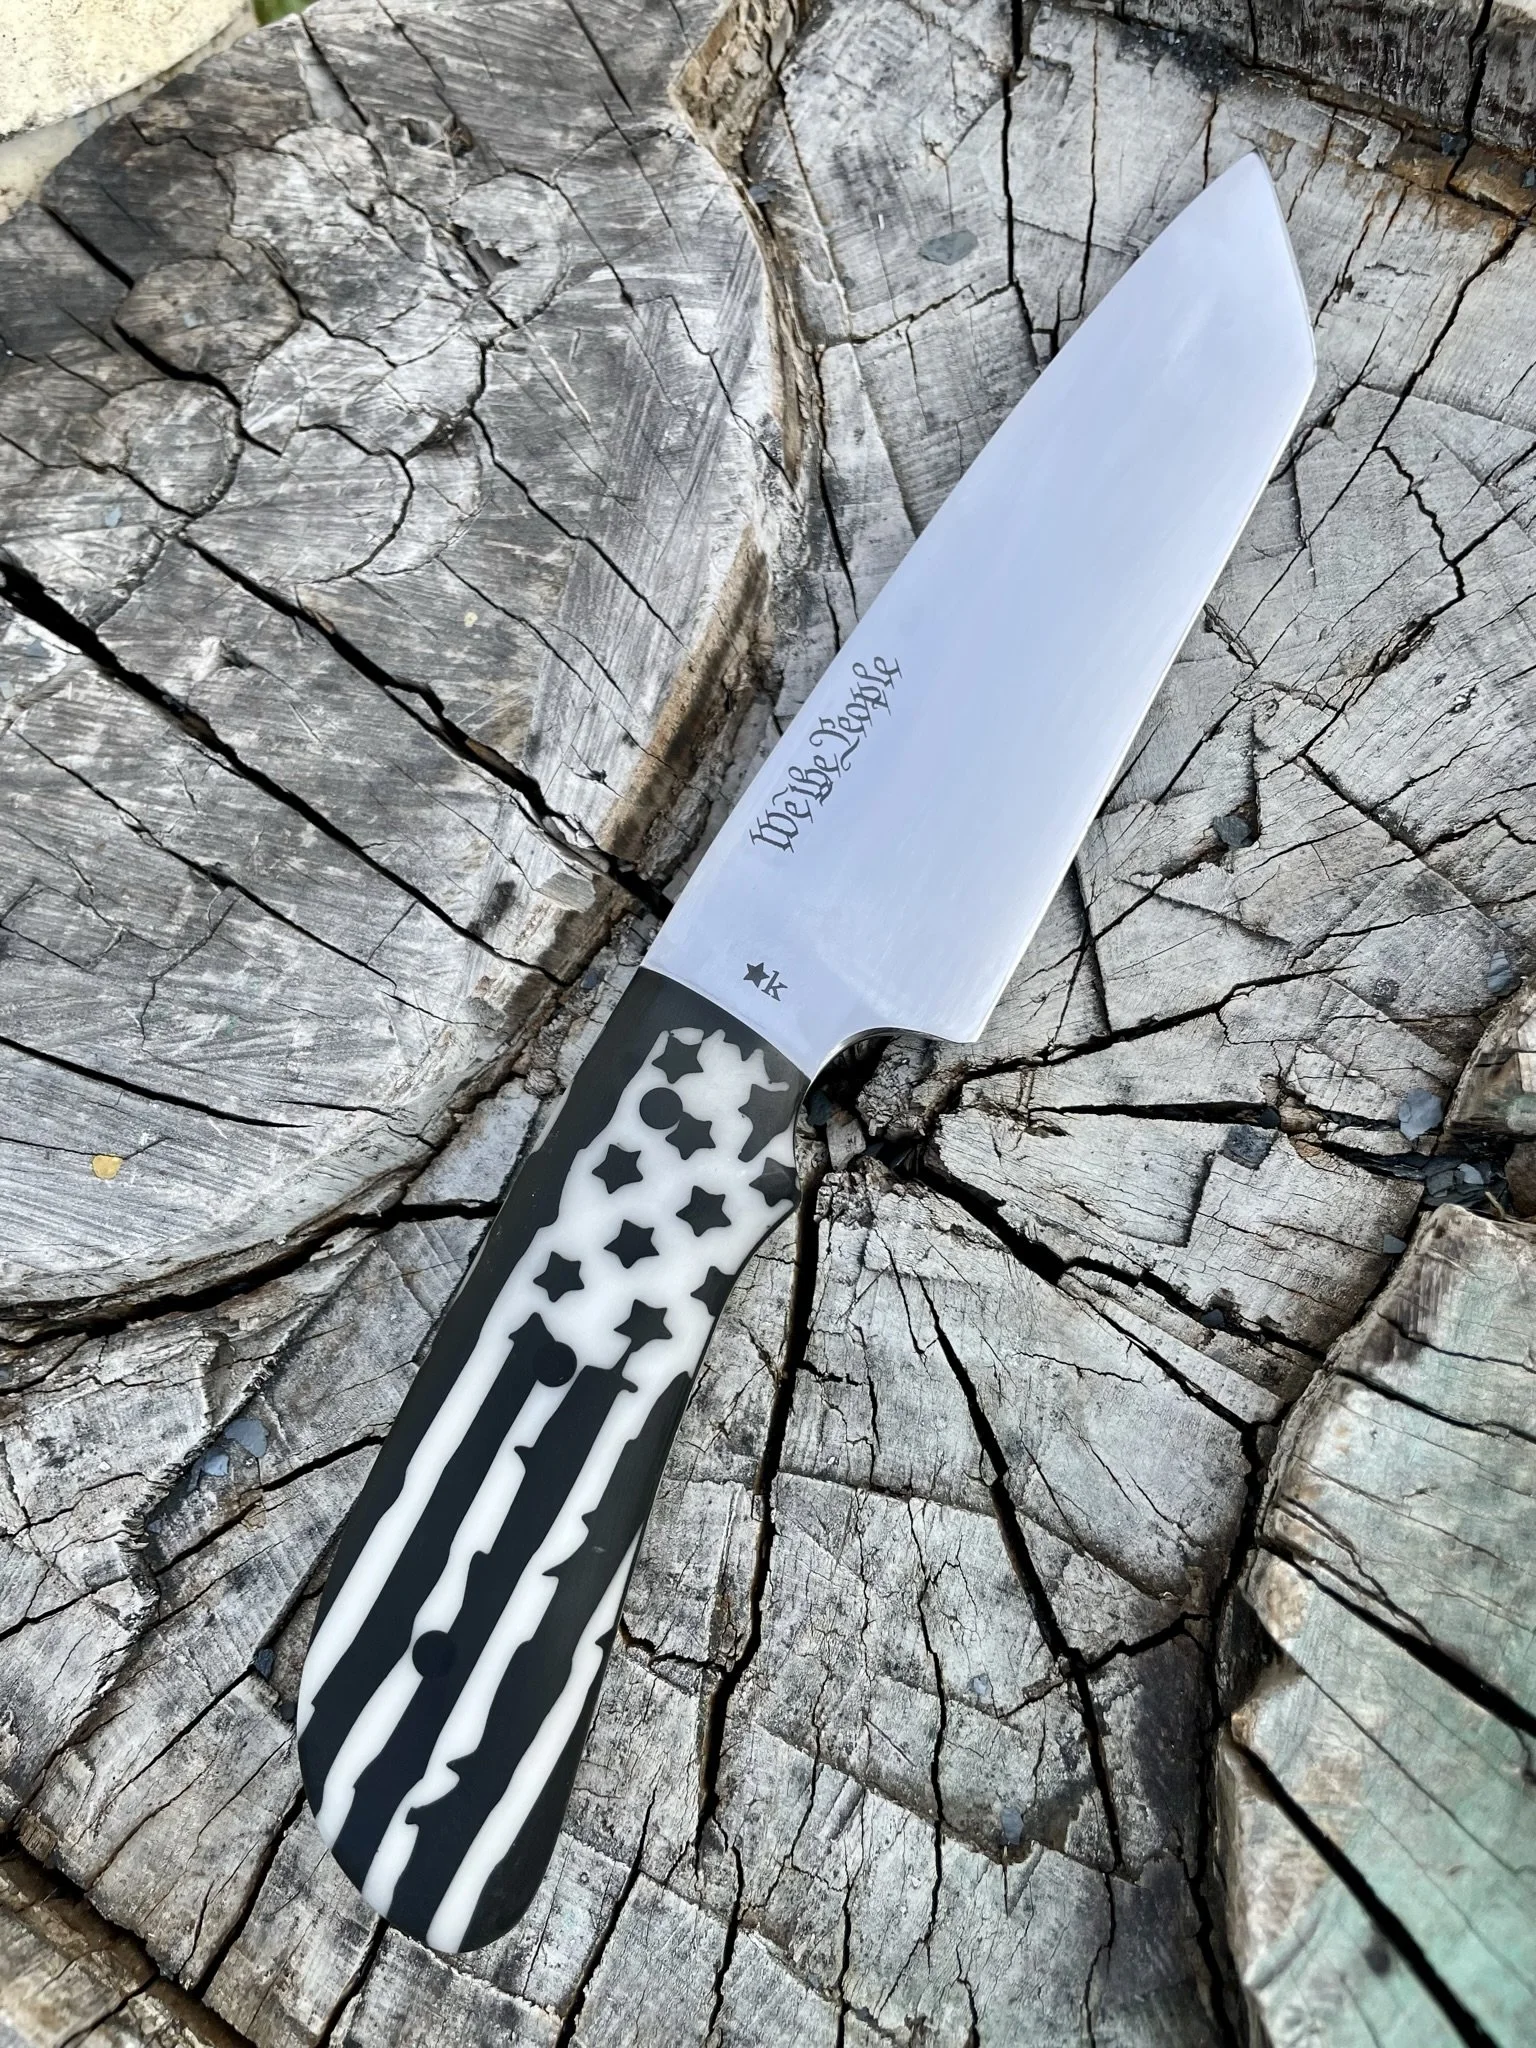
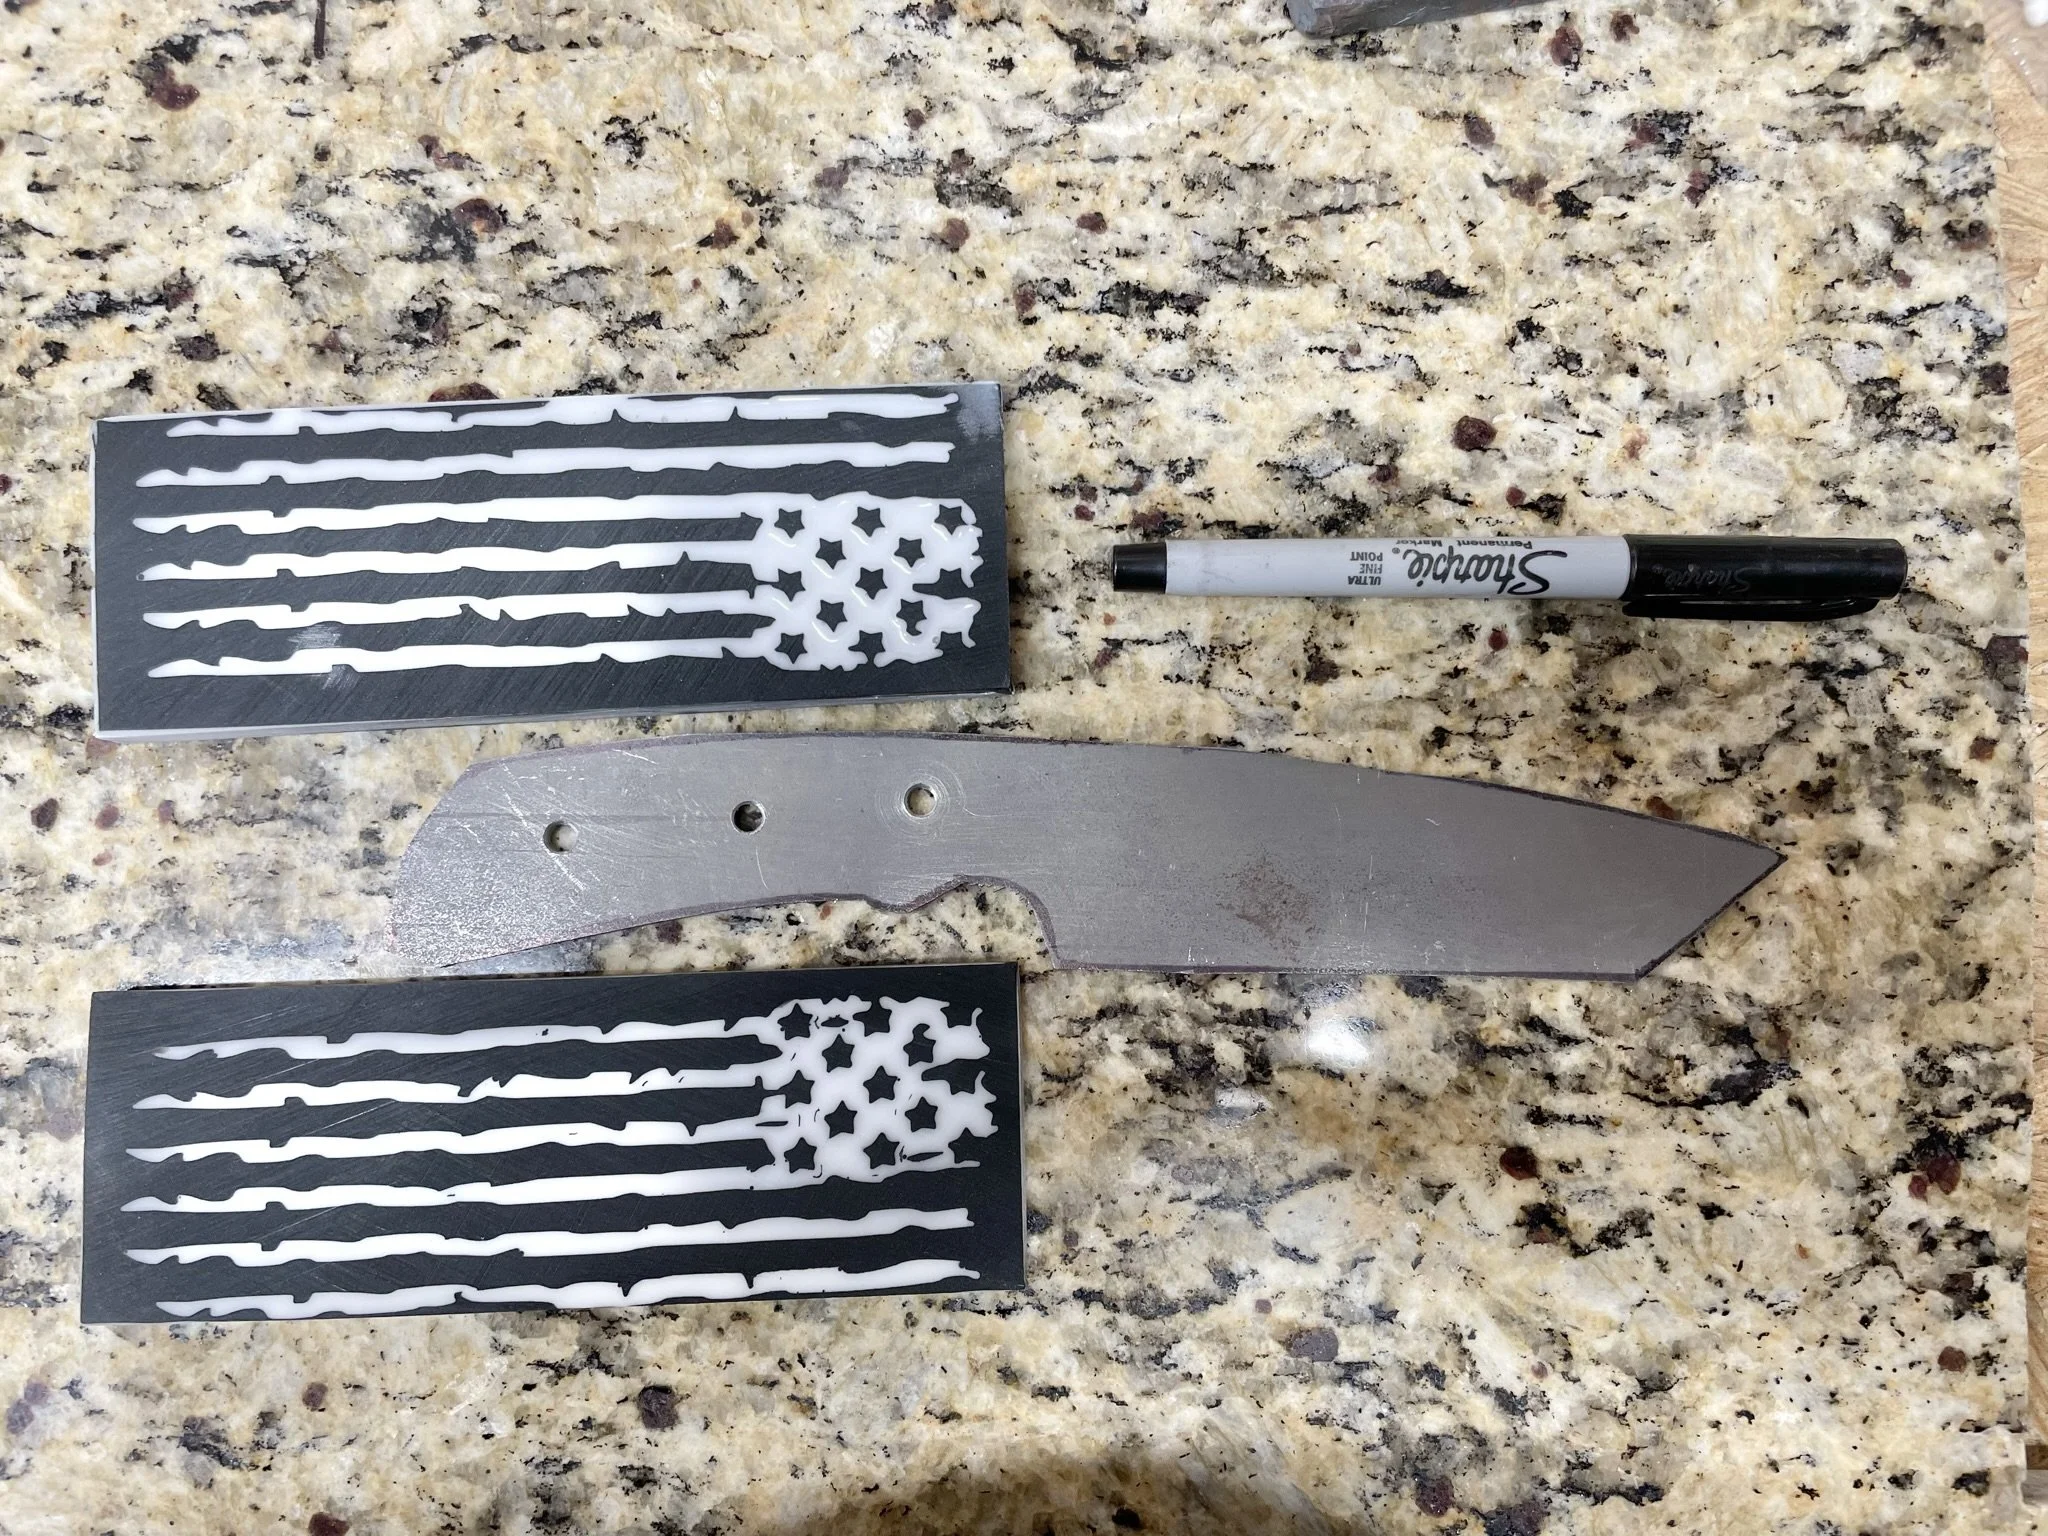
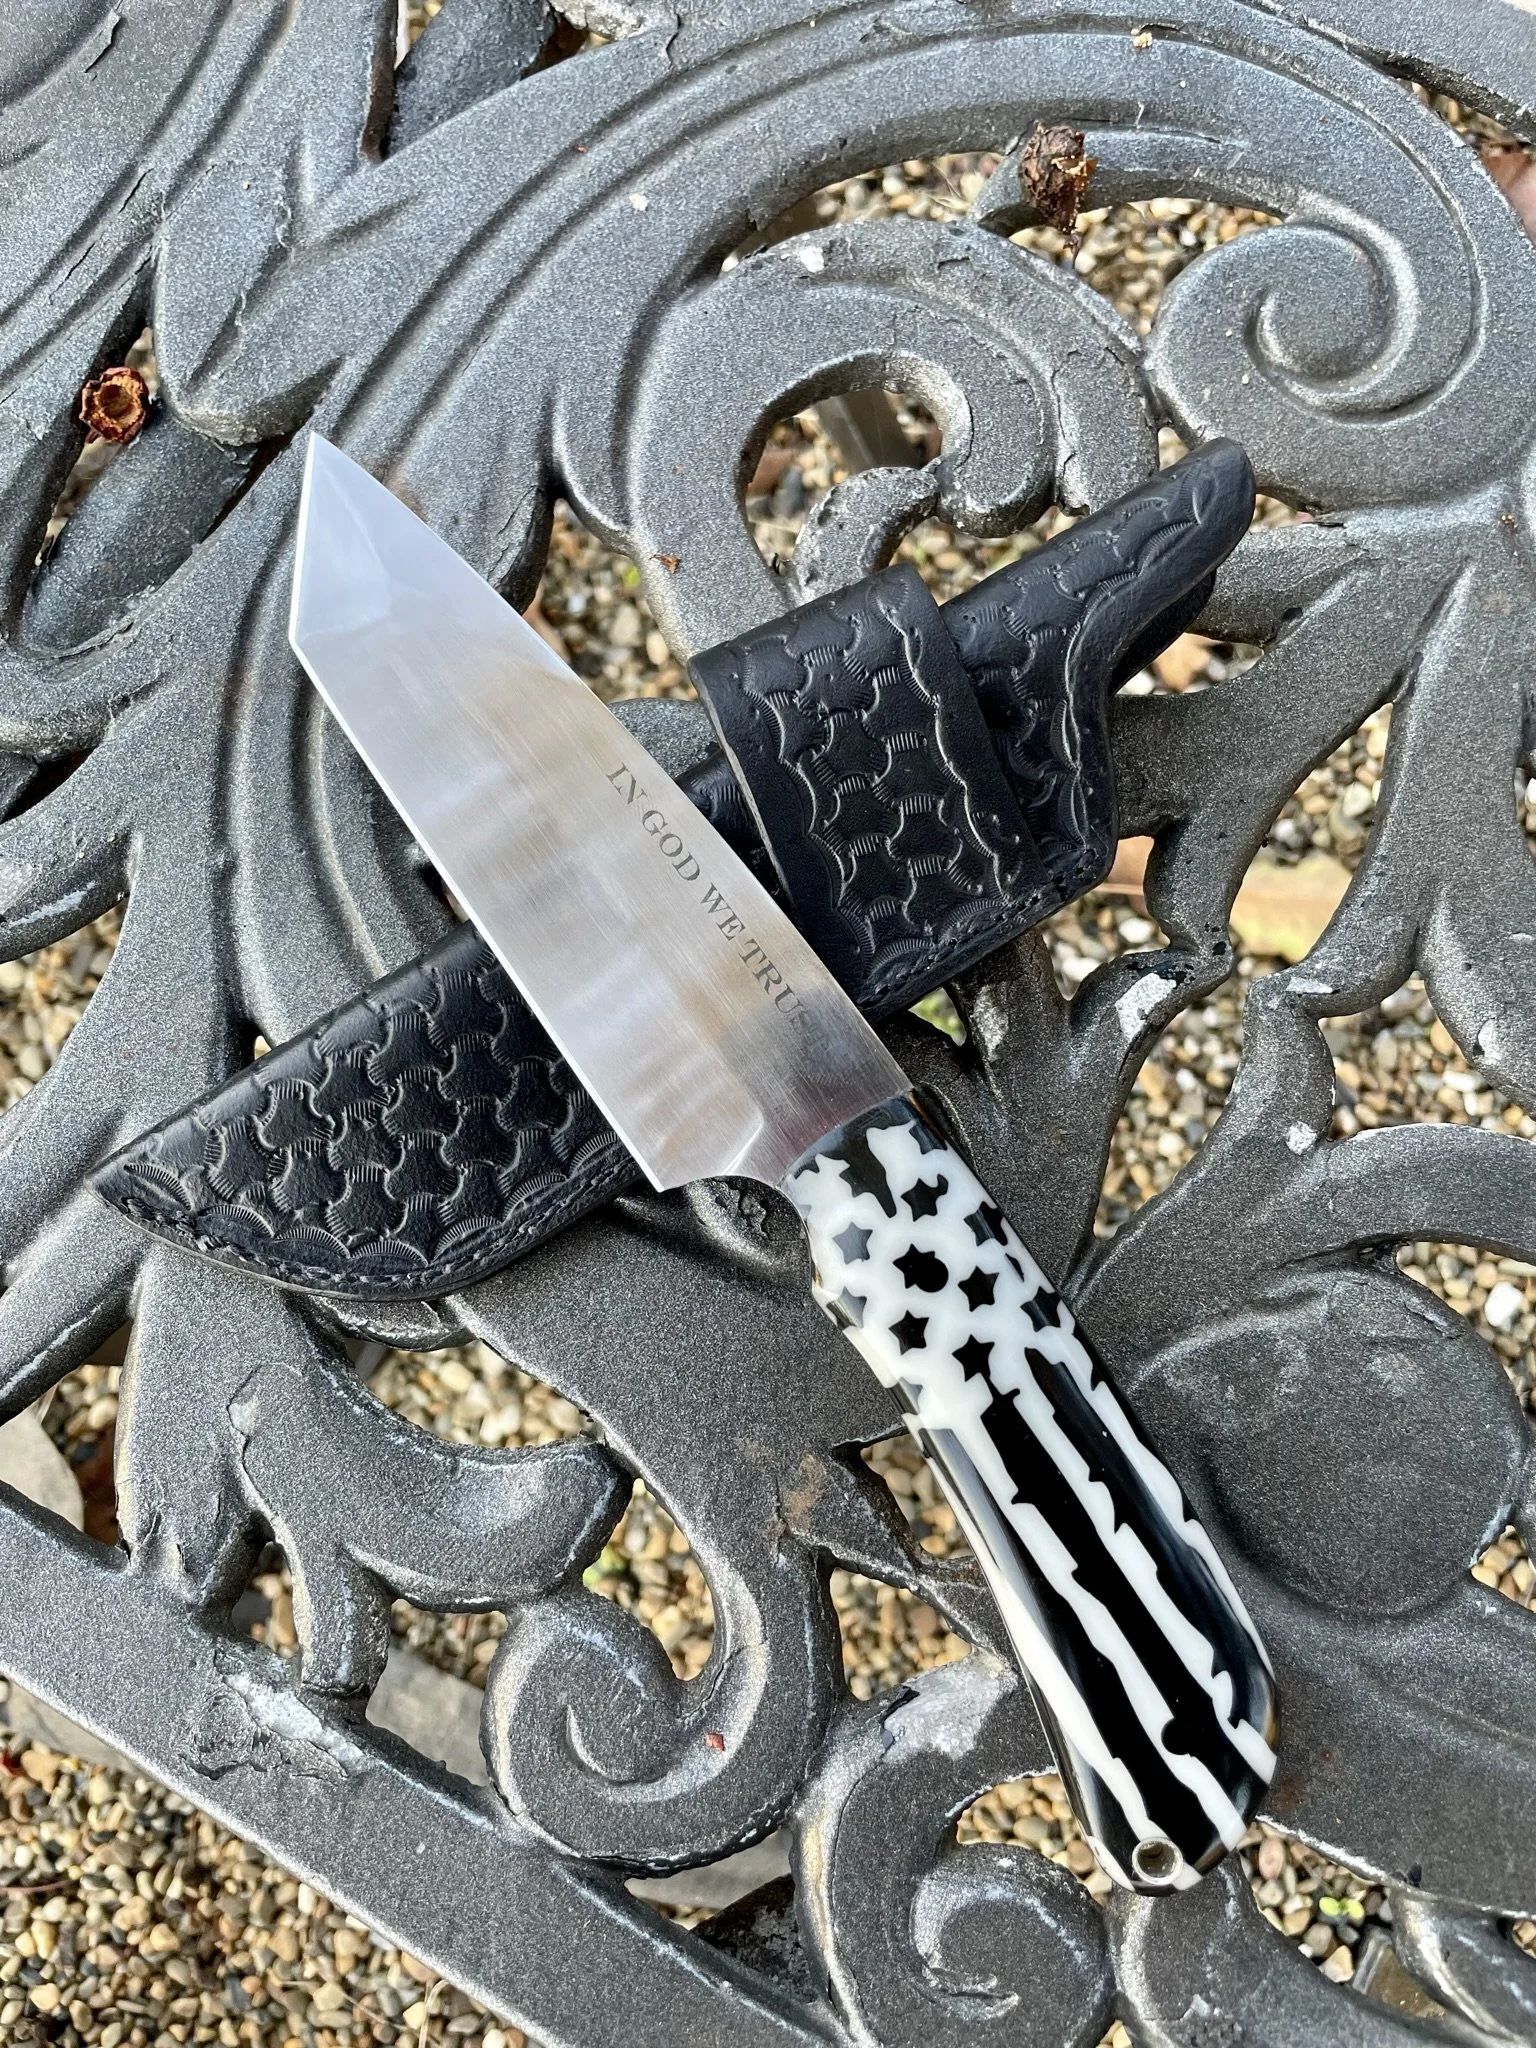
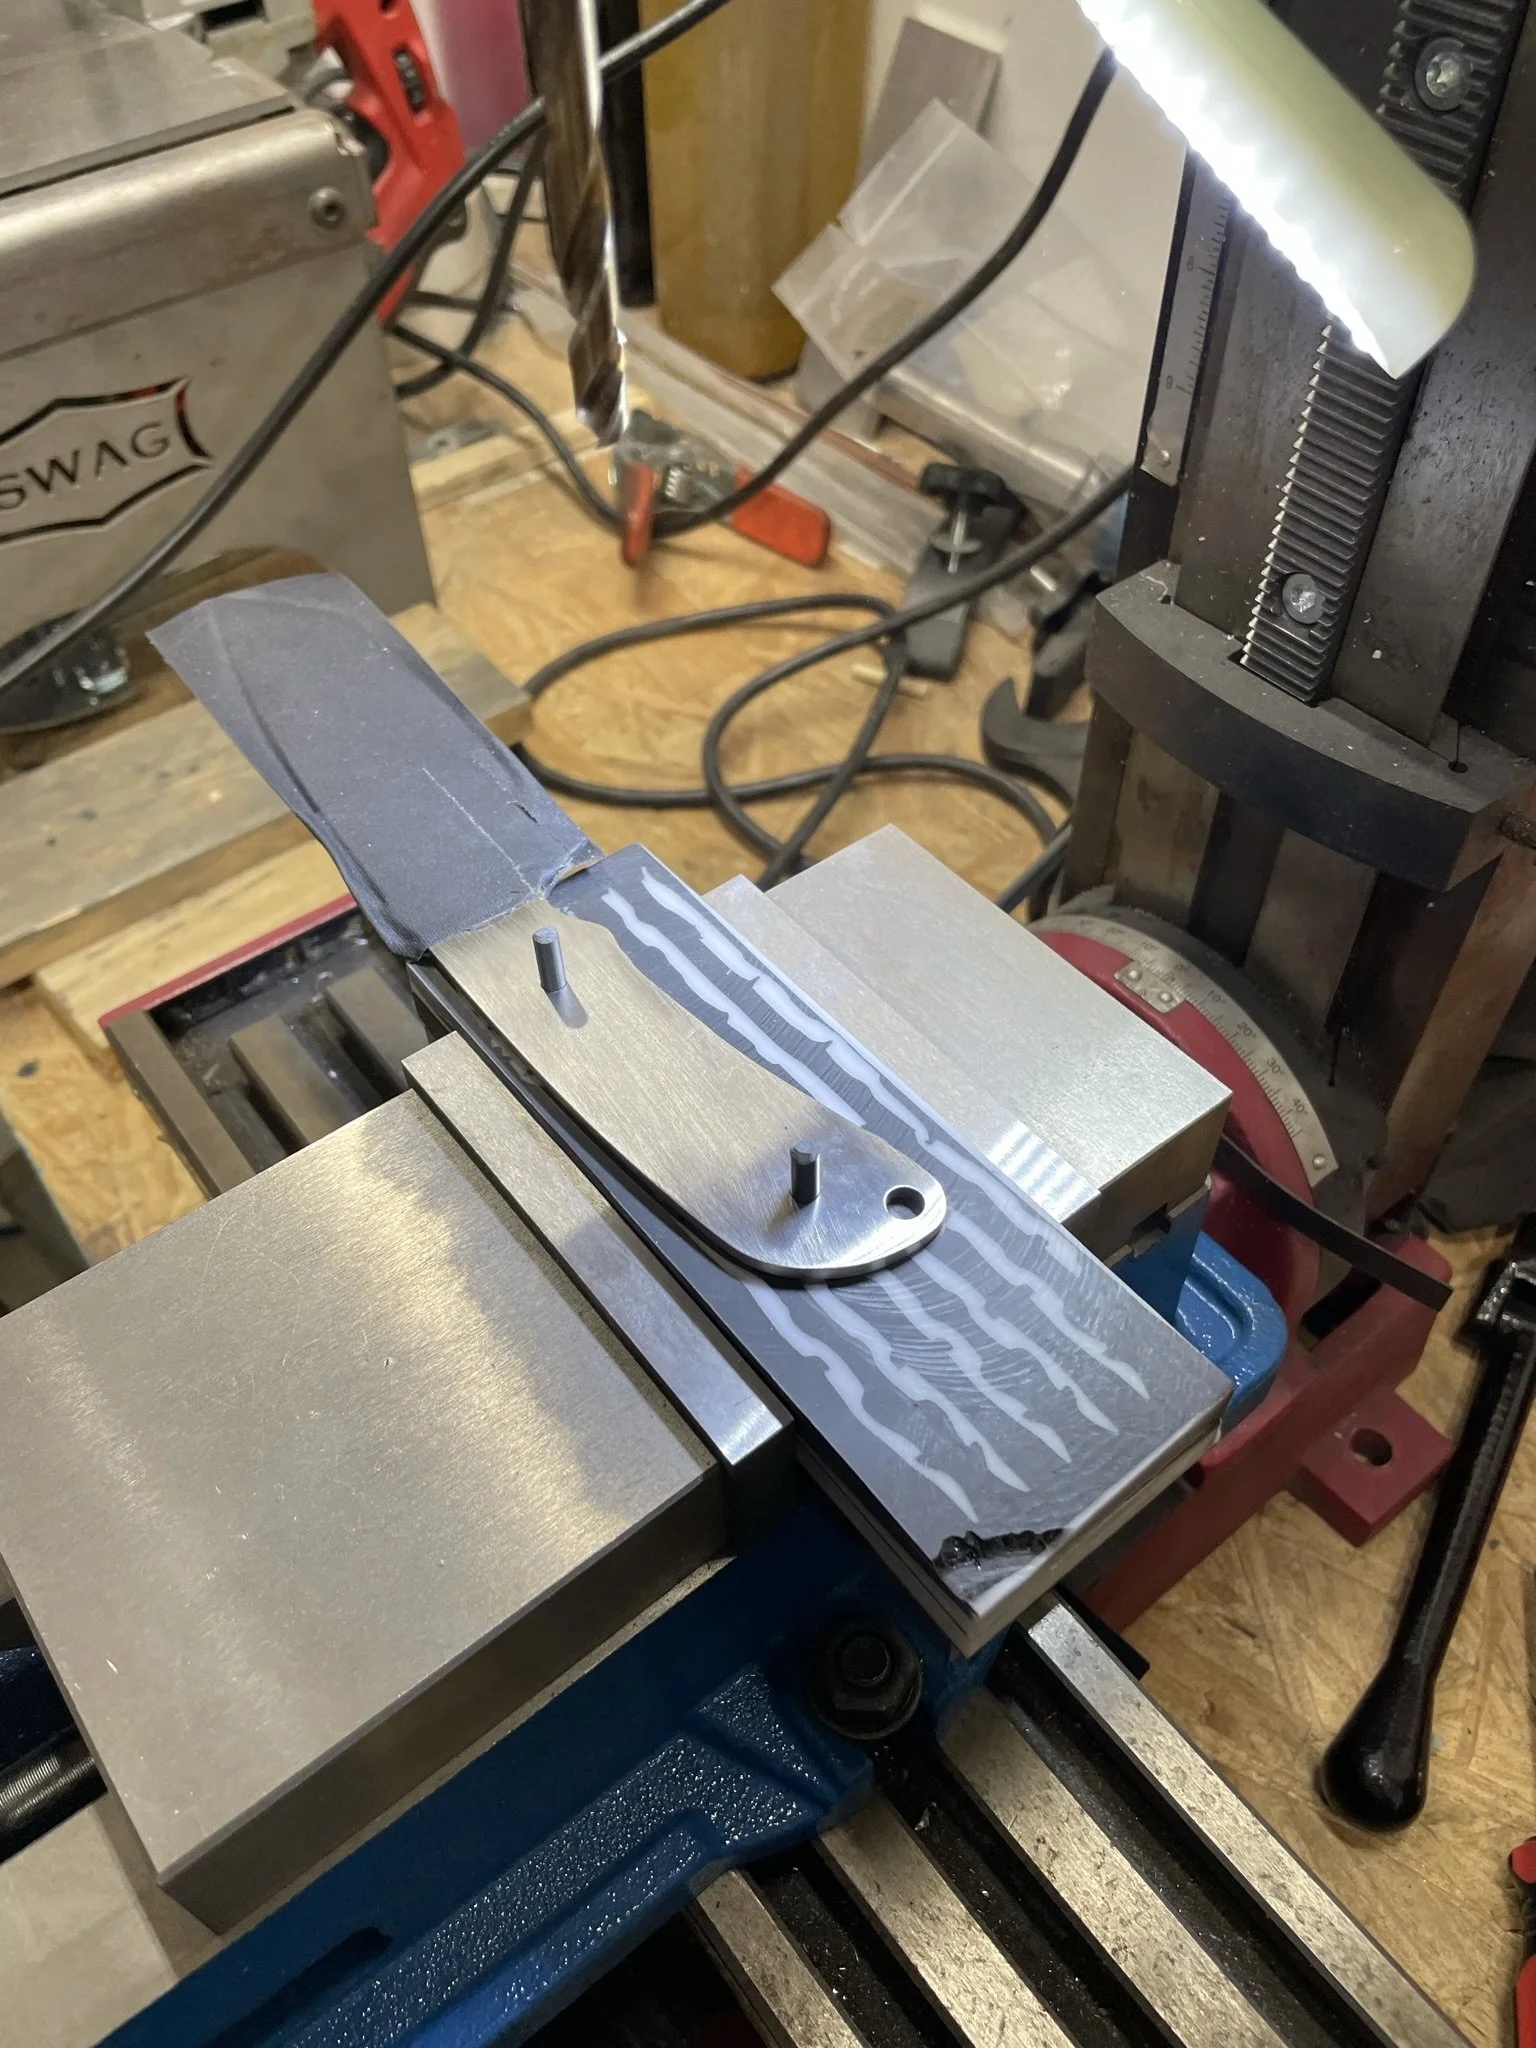
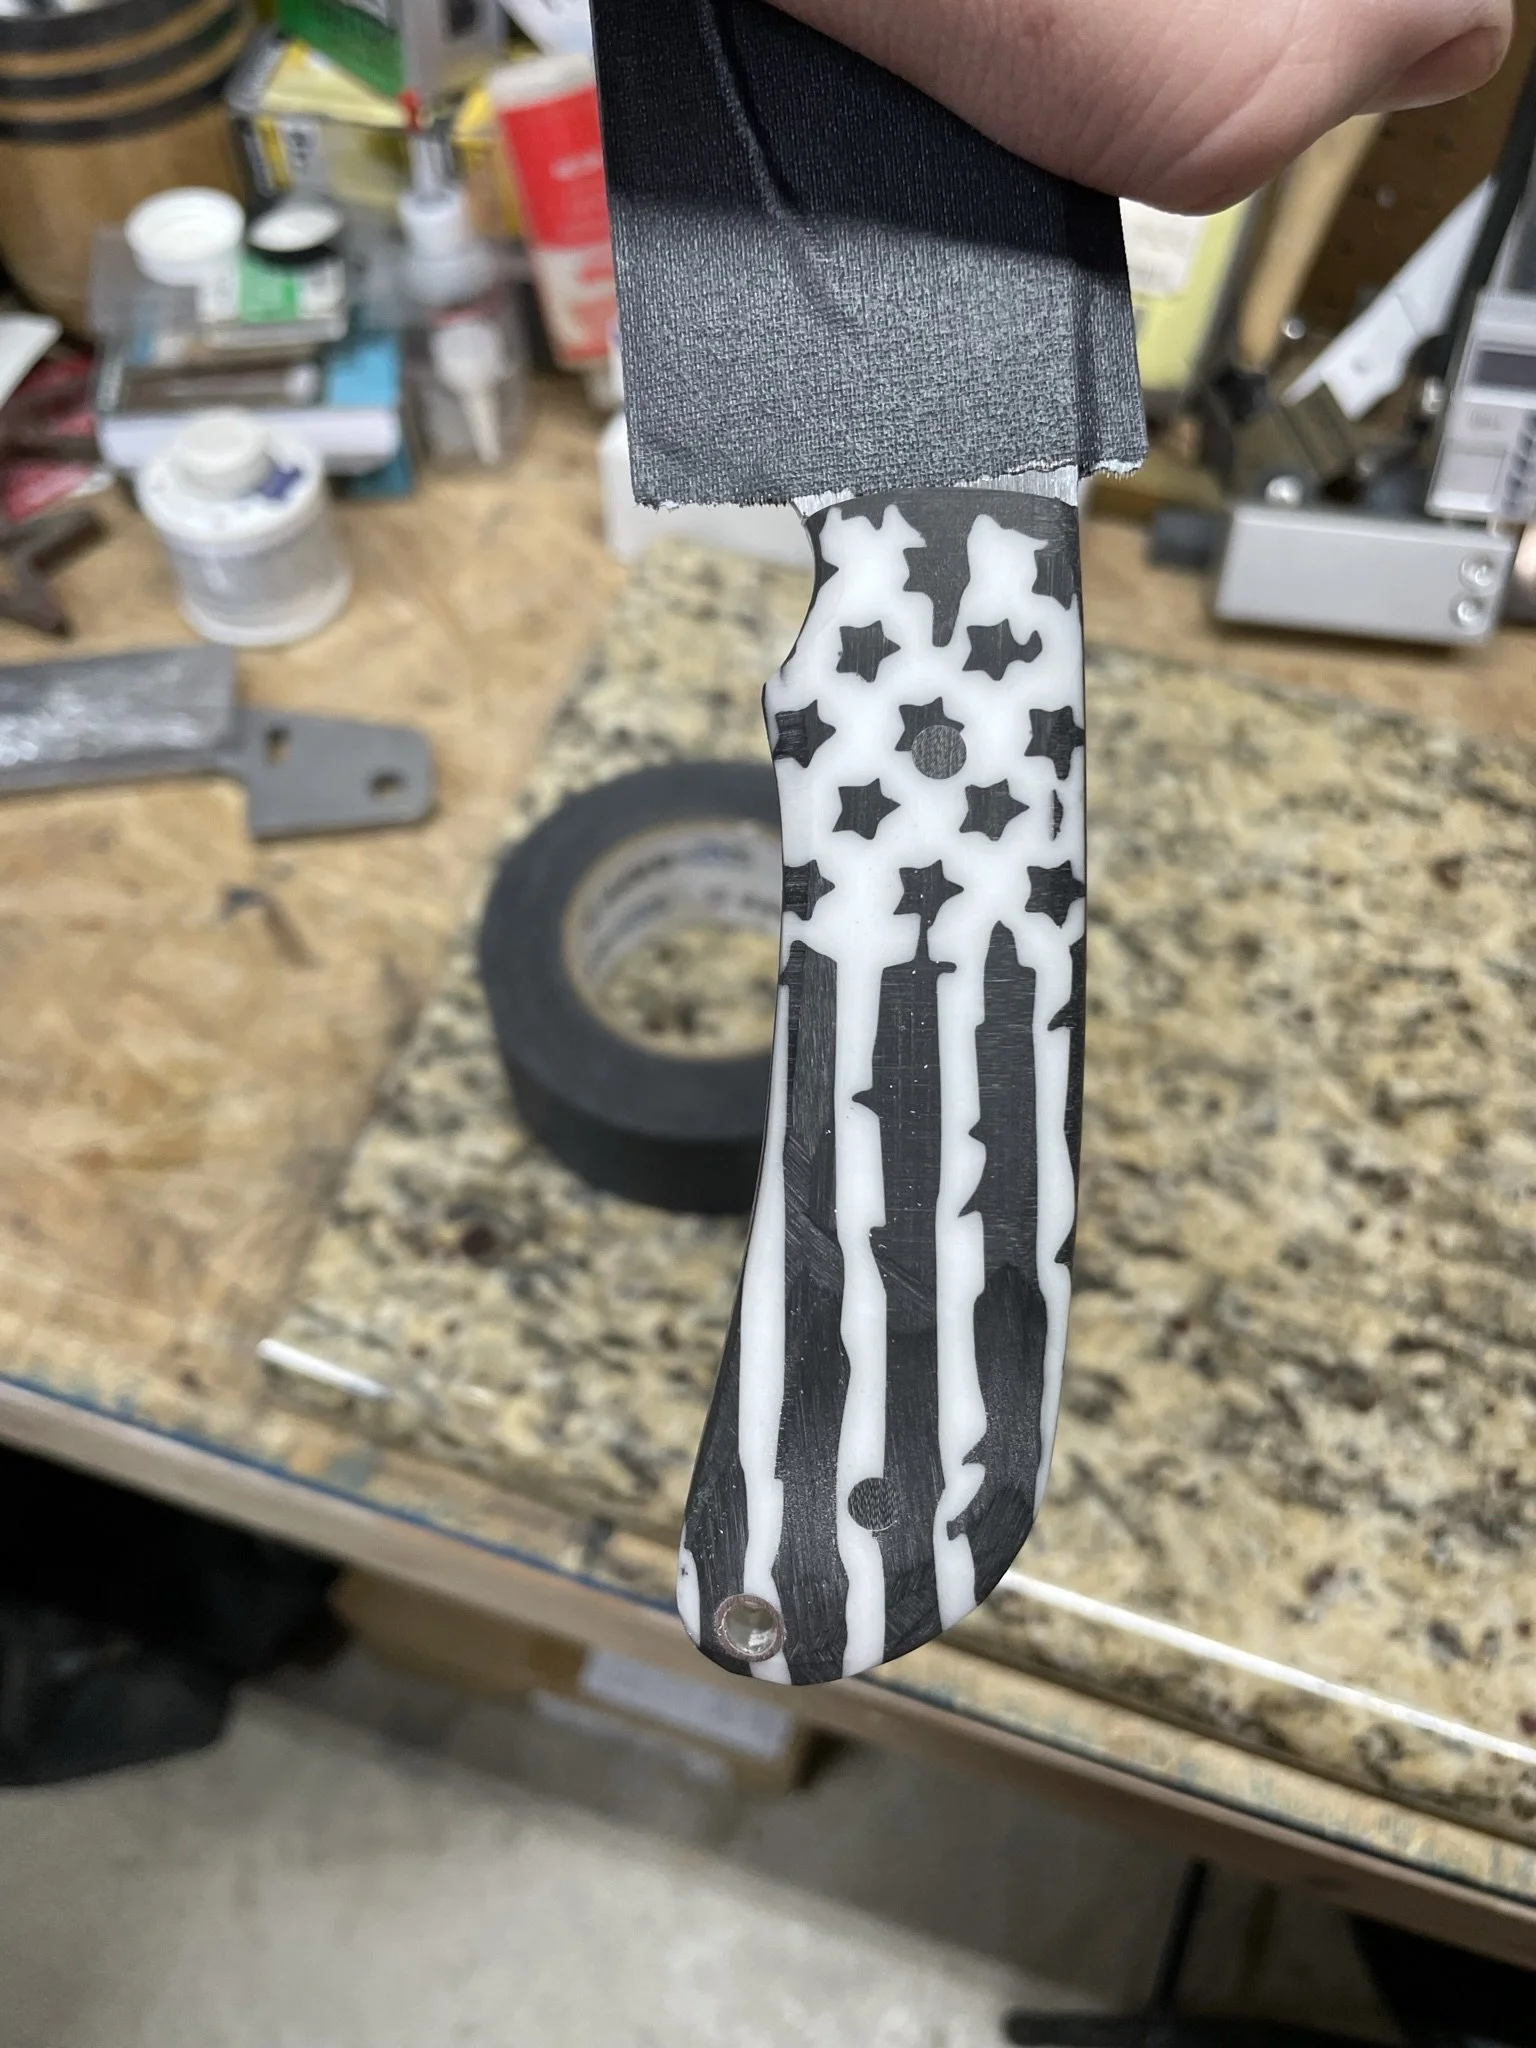
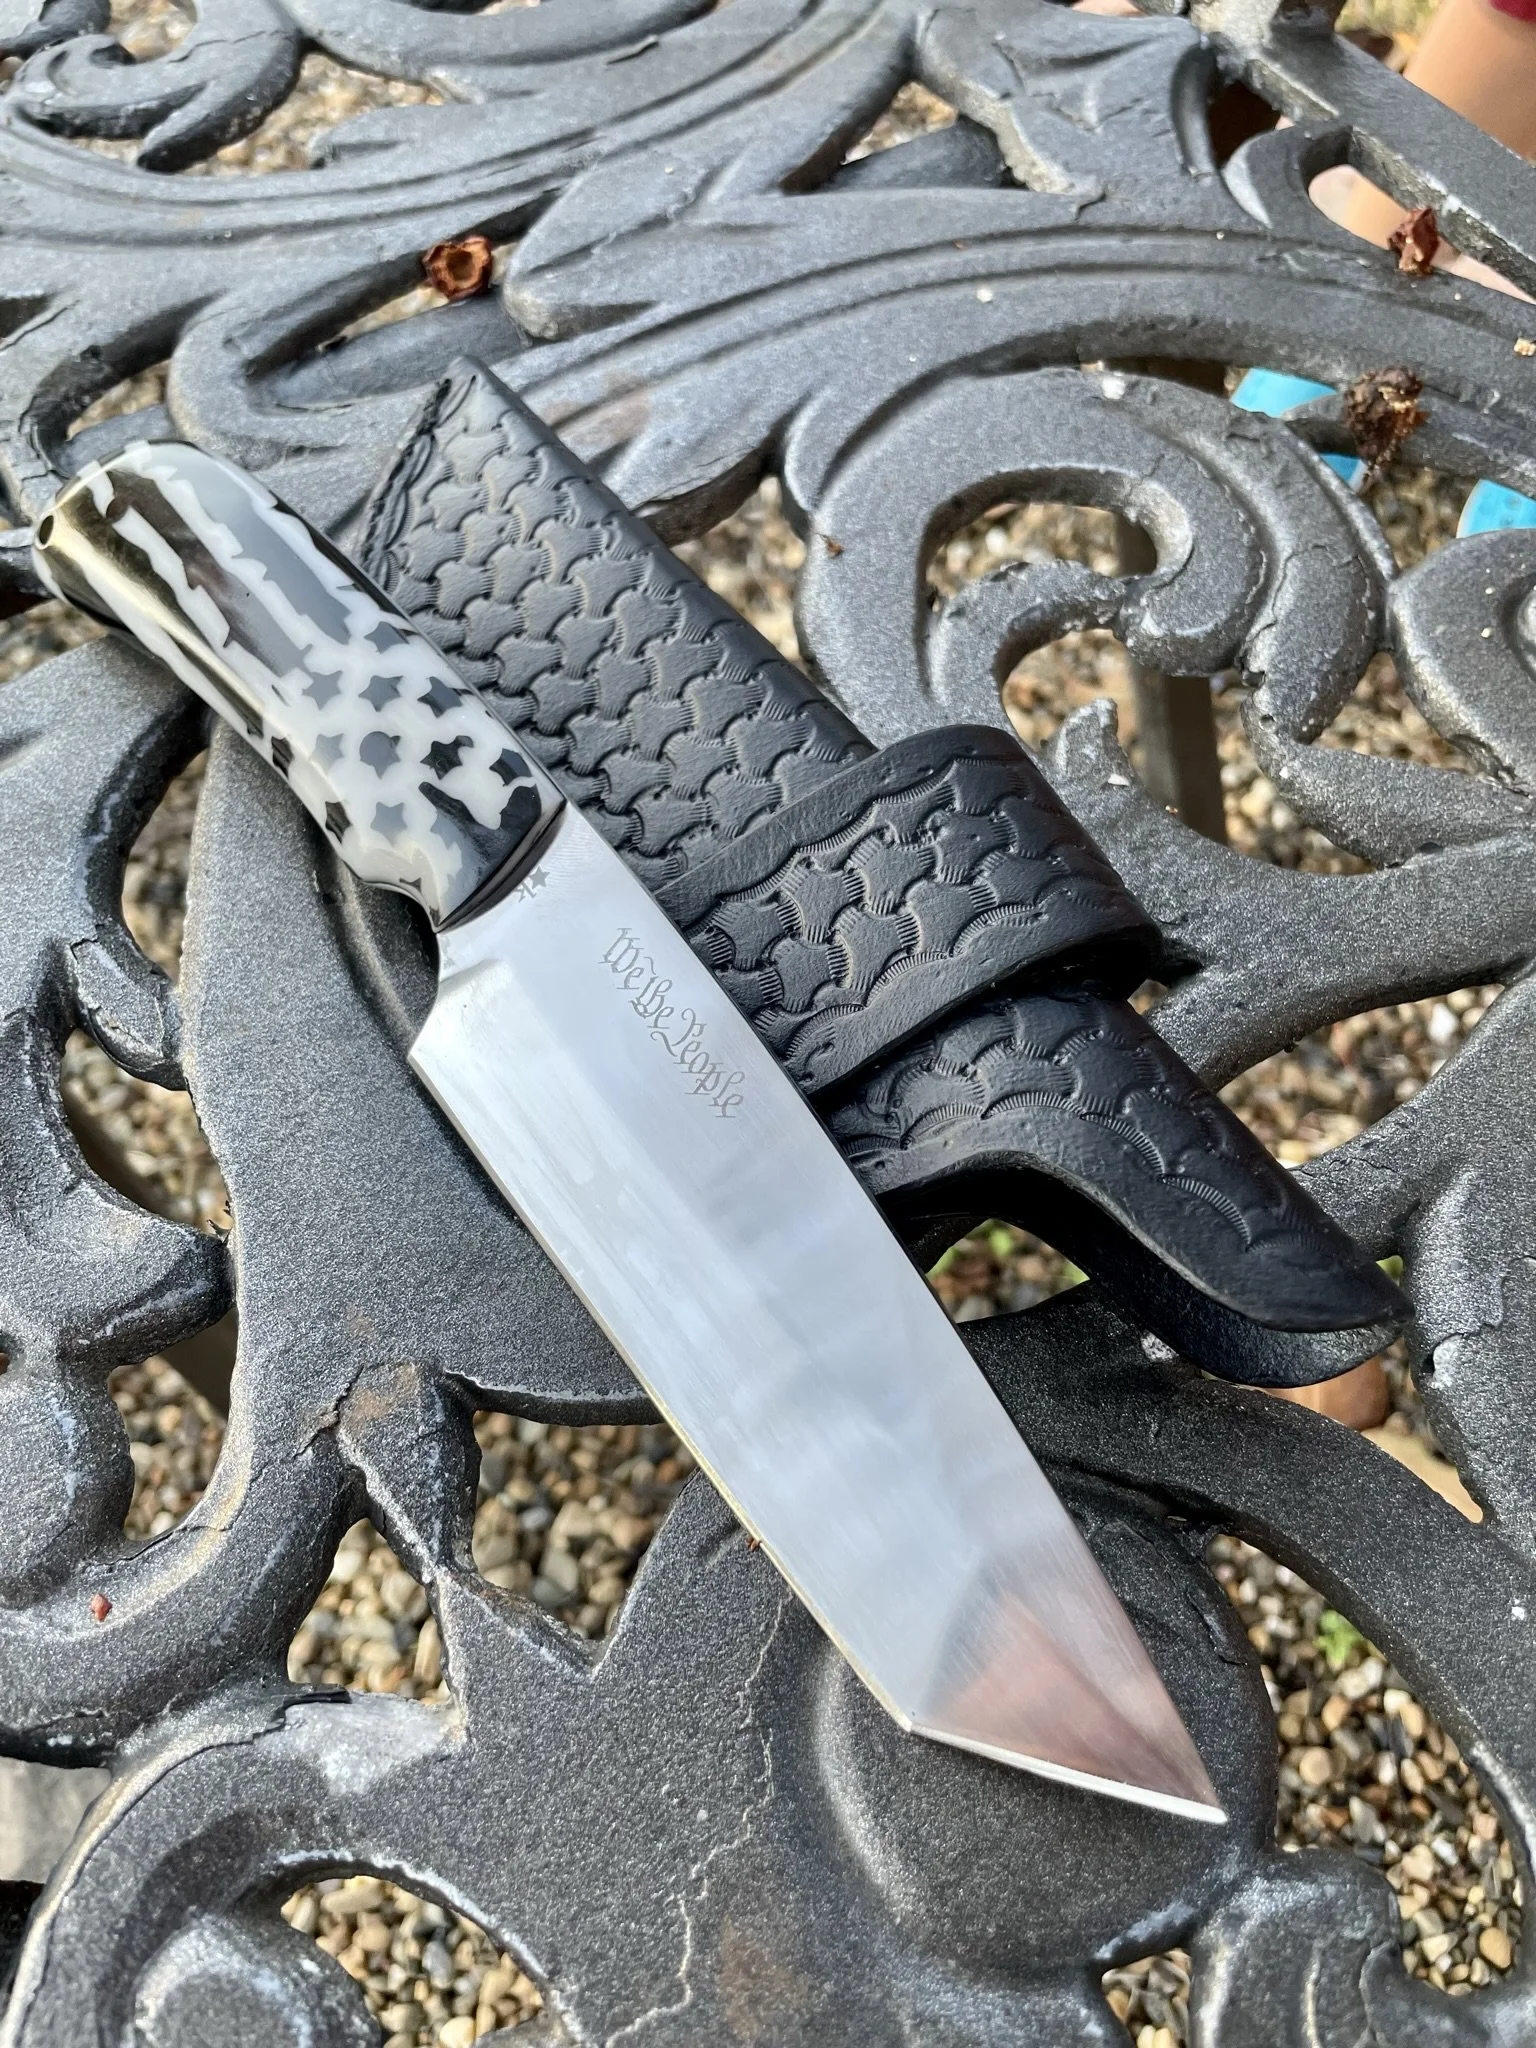
With this blade a found a set of awesome handle scales from Emily's Casting Crafts, and asked for a set with reversed colors. I wanted to make a cool Patriotic Tanto, and one of my friends said they wanted it!
-
Here are the scales custom made for me, and the profiled blade.
-
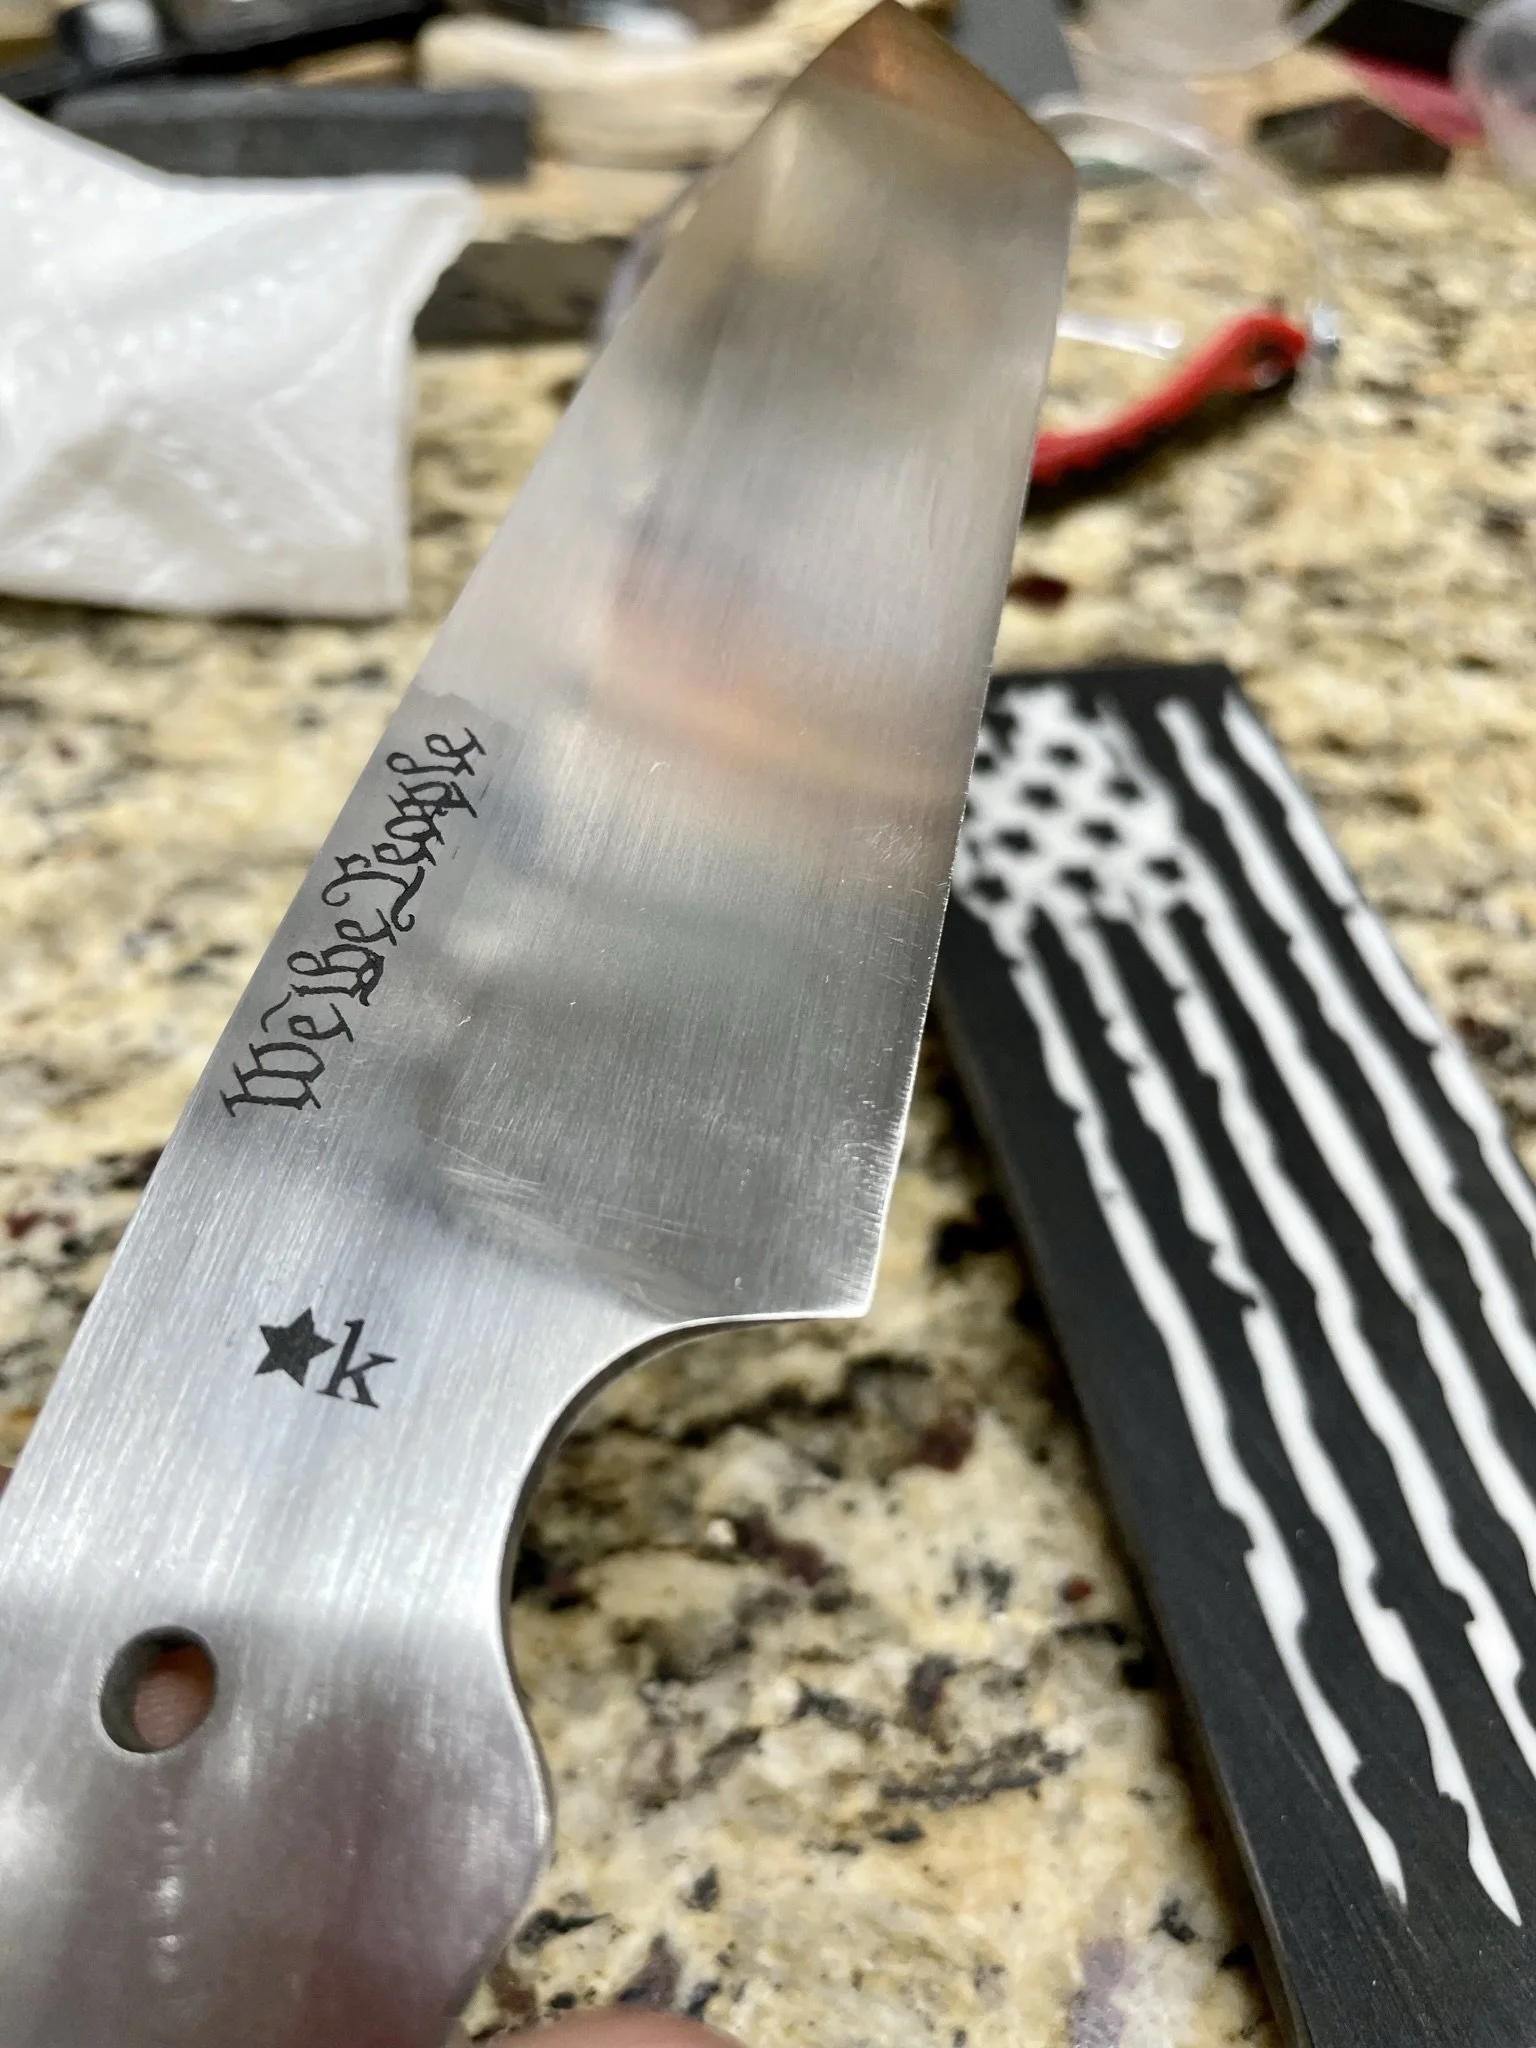
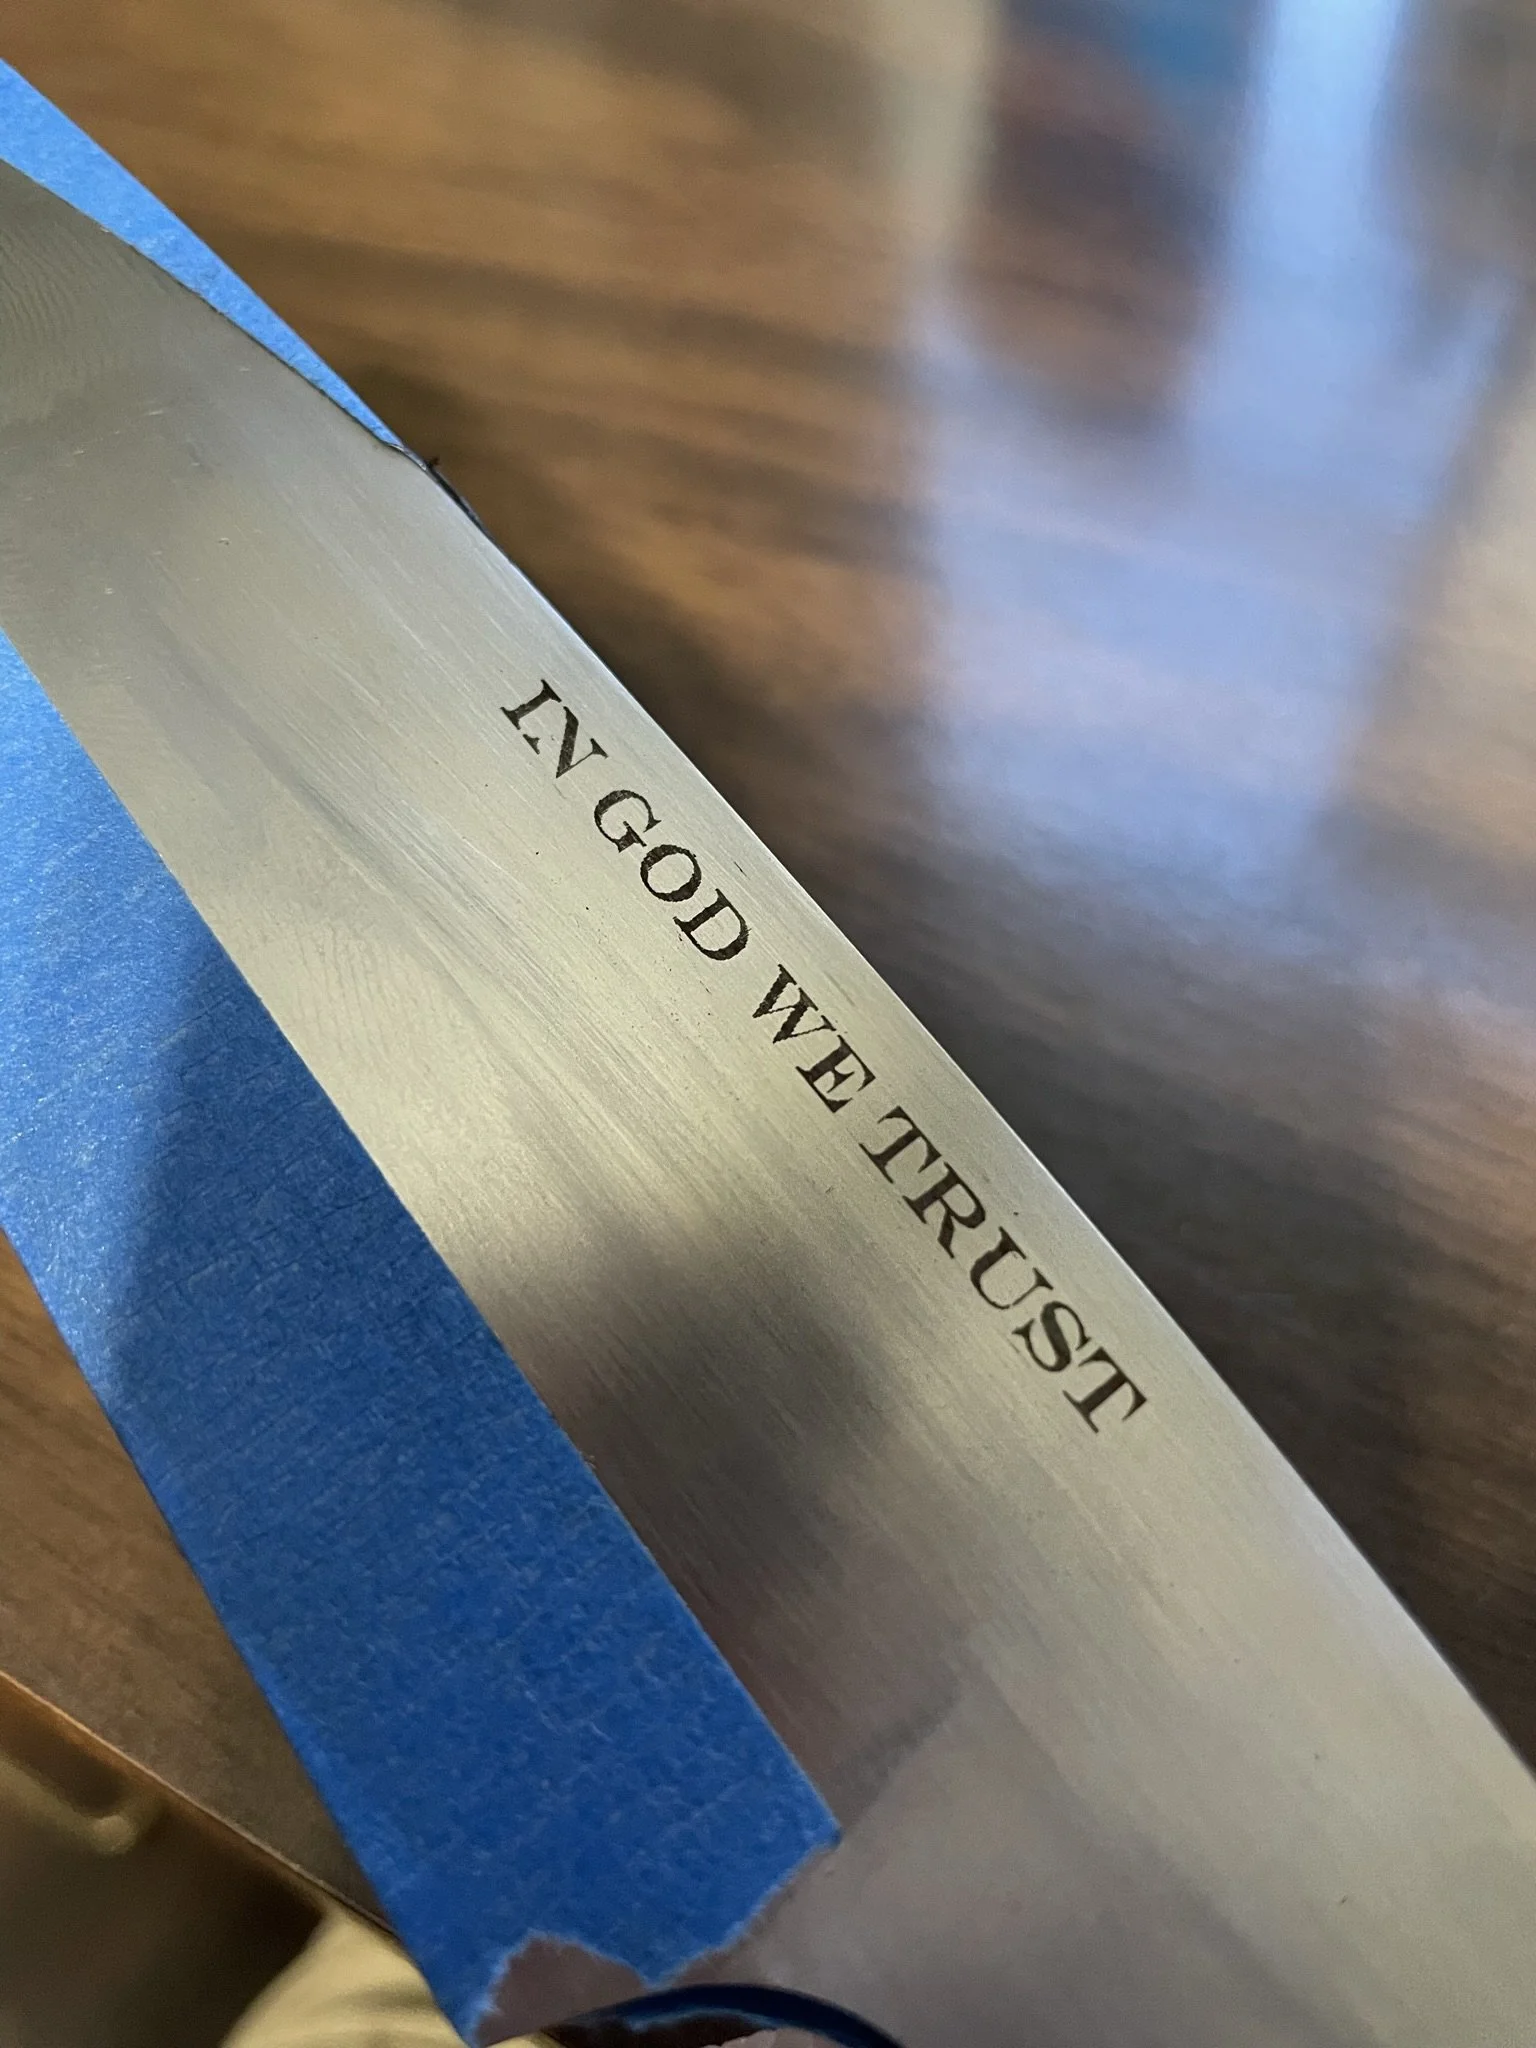
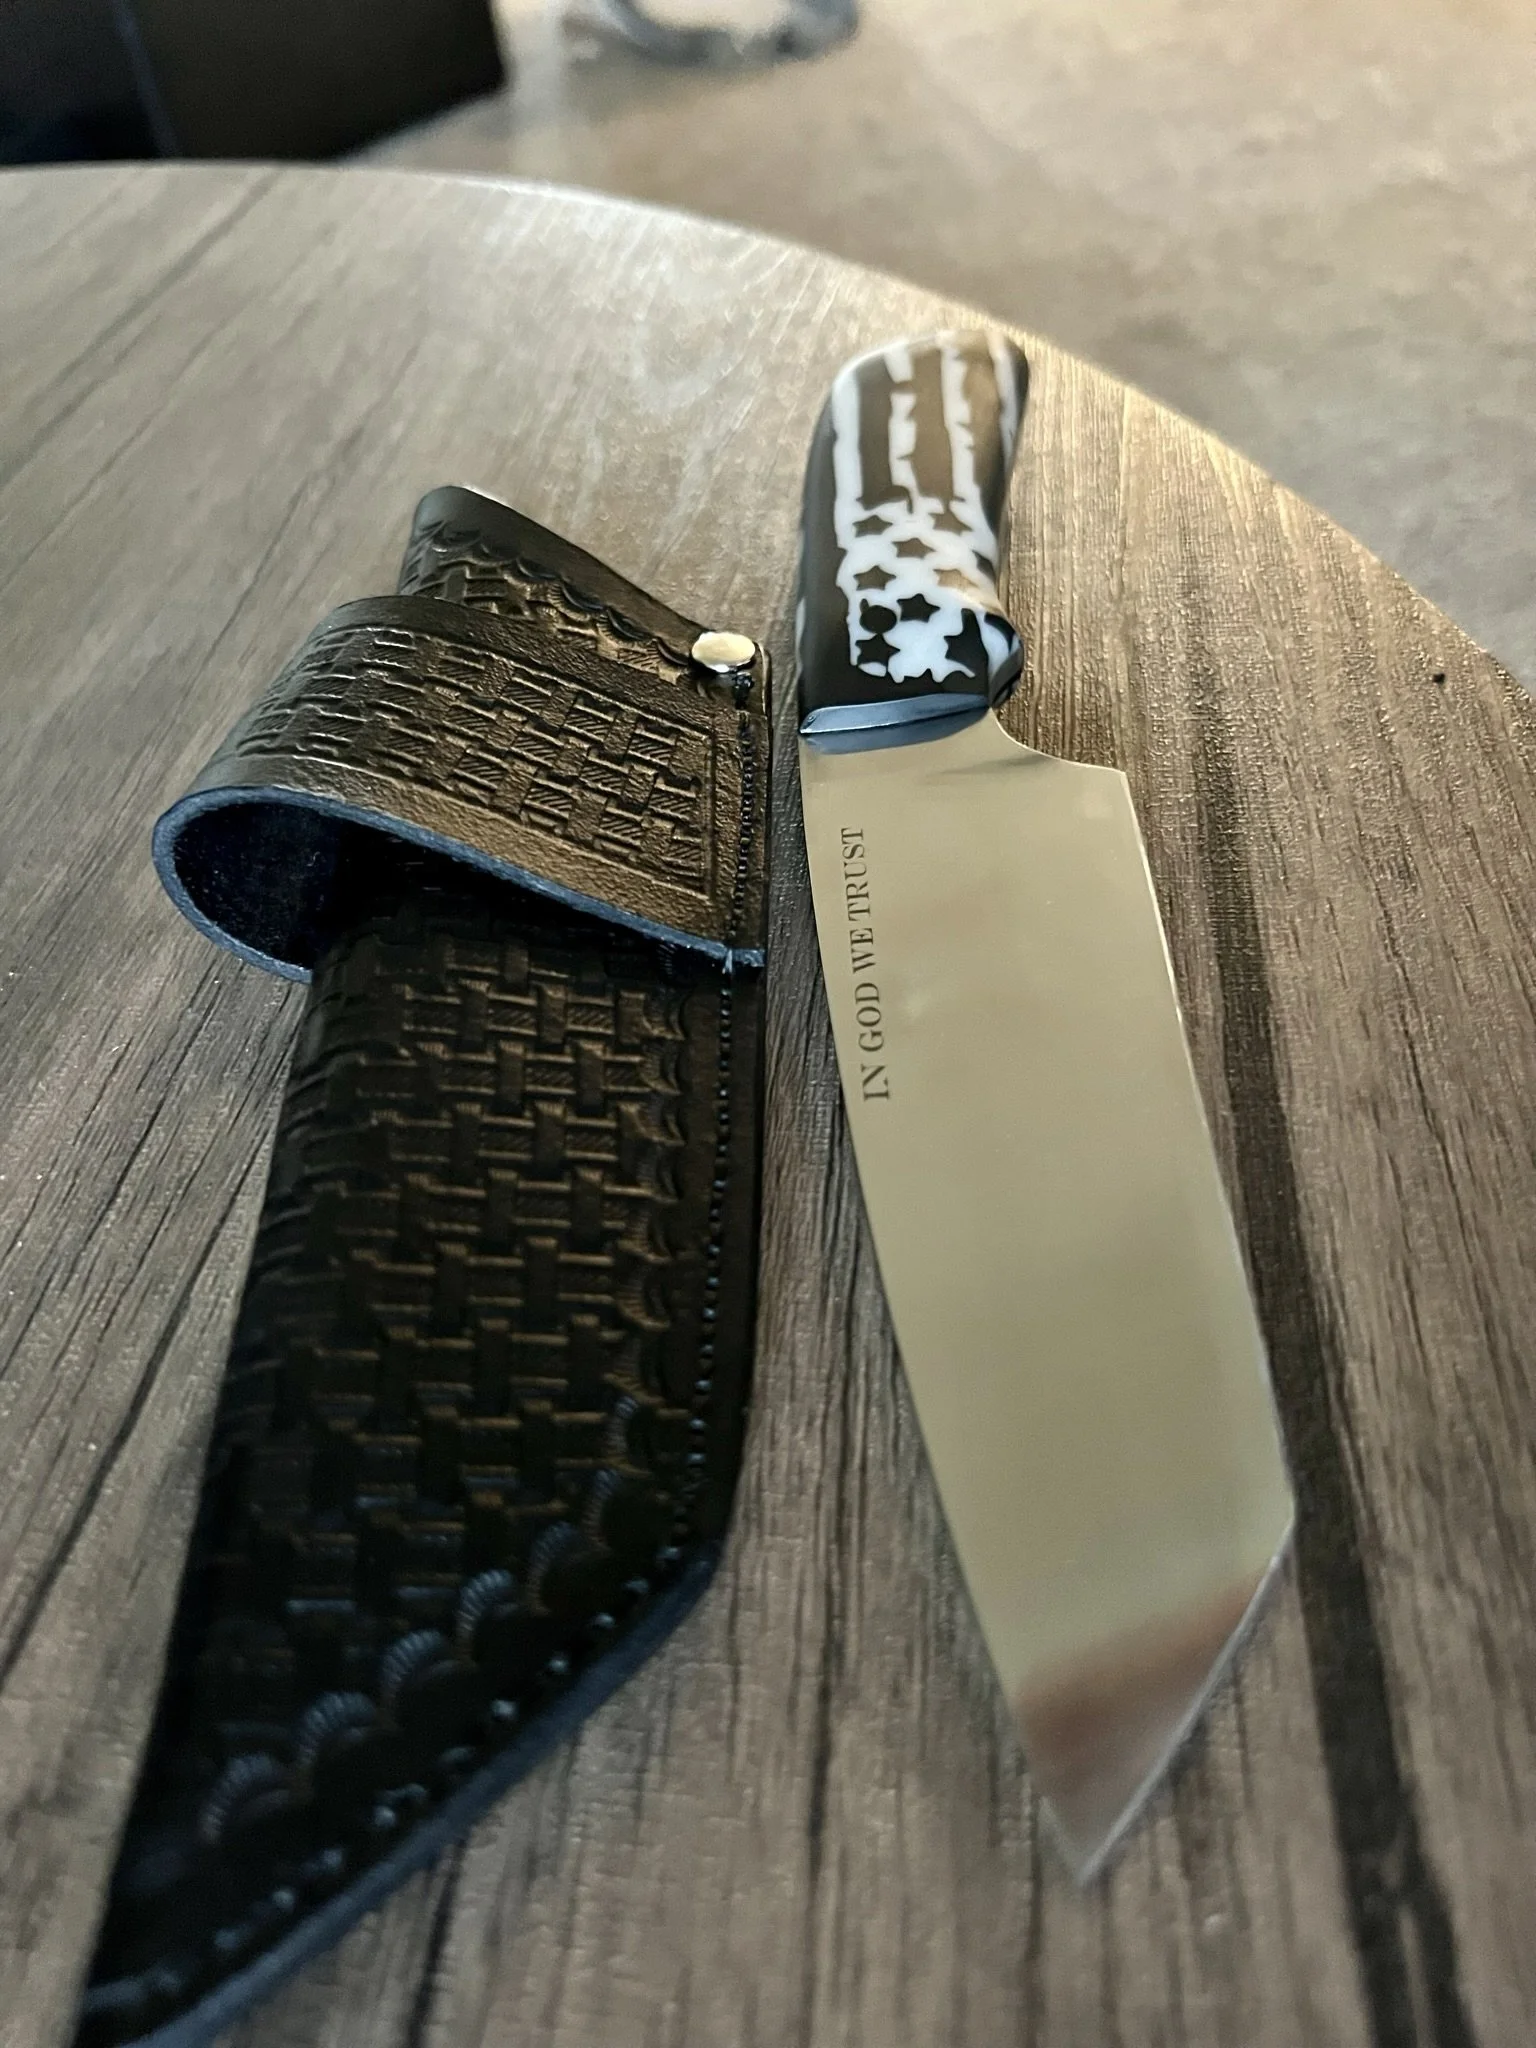
I wanted to make it extra patriotic so I decided to engrave "We The People" from the constitution, and "In God We Trust" for the dollar bill on each side of the blade.
-
"In God We Trust"
-
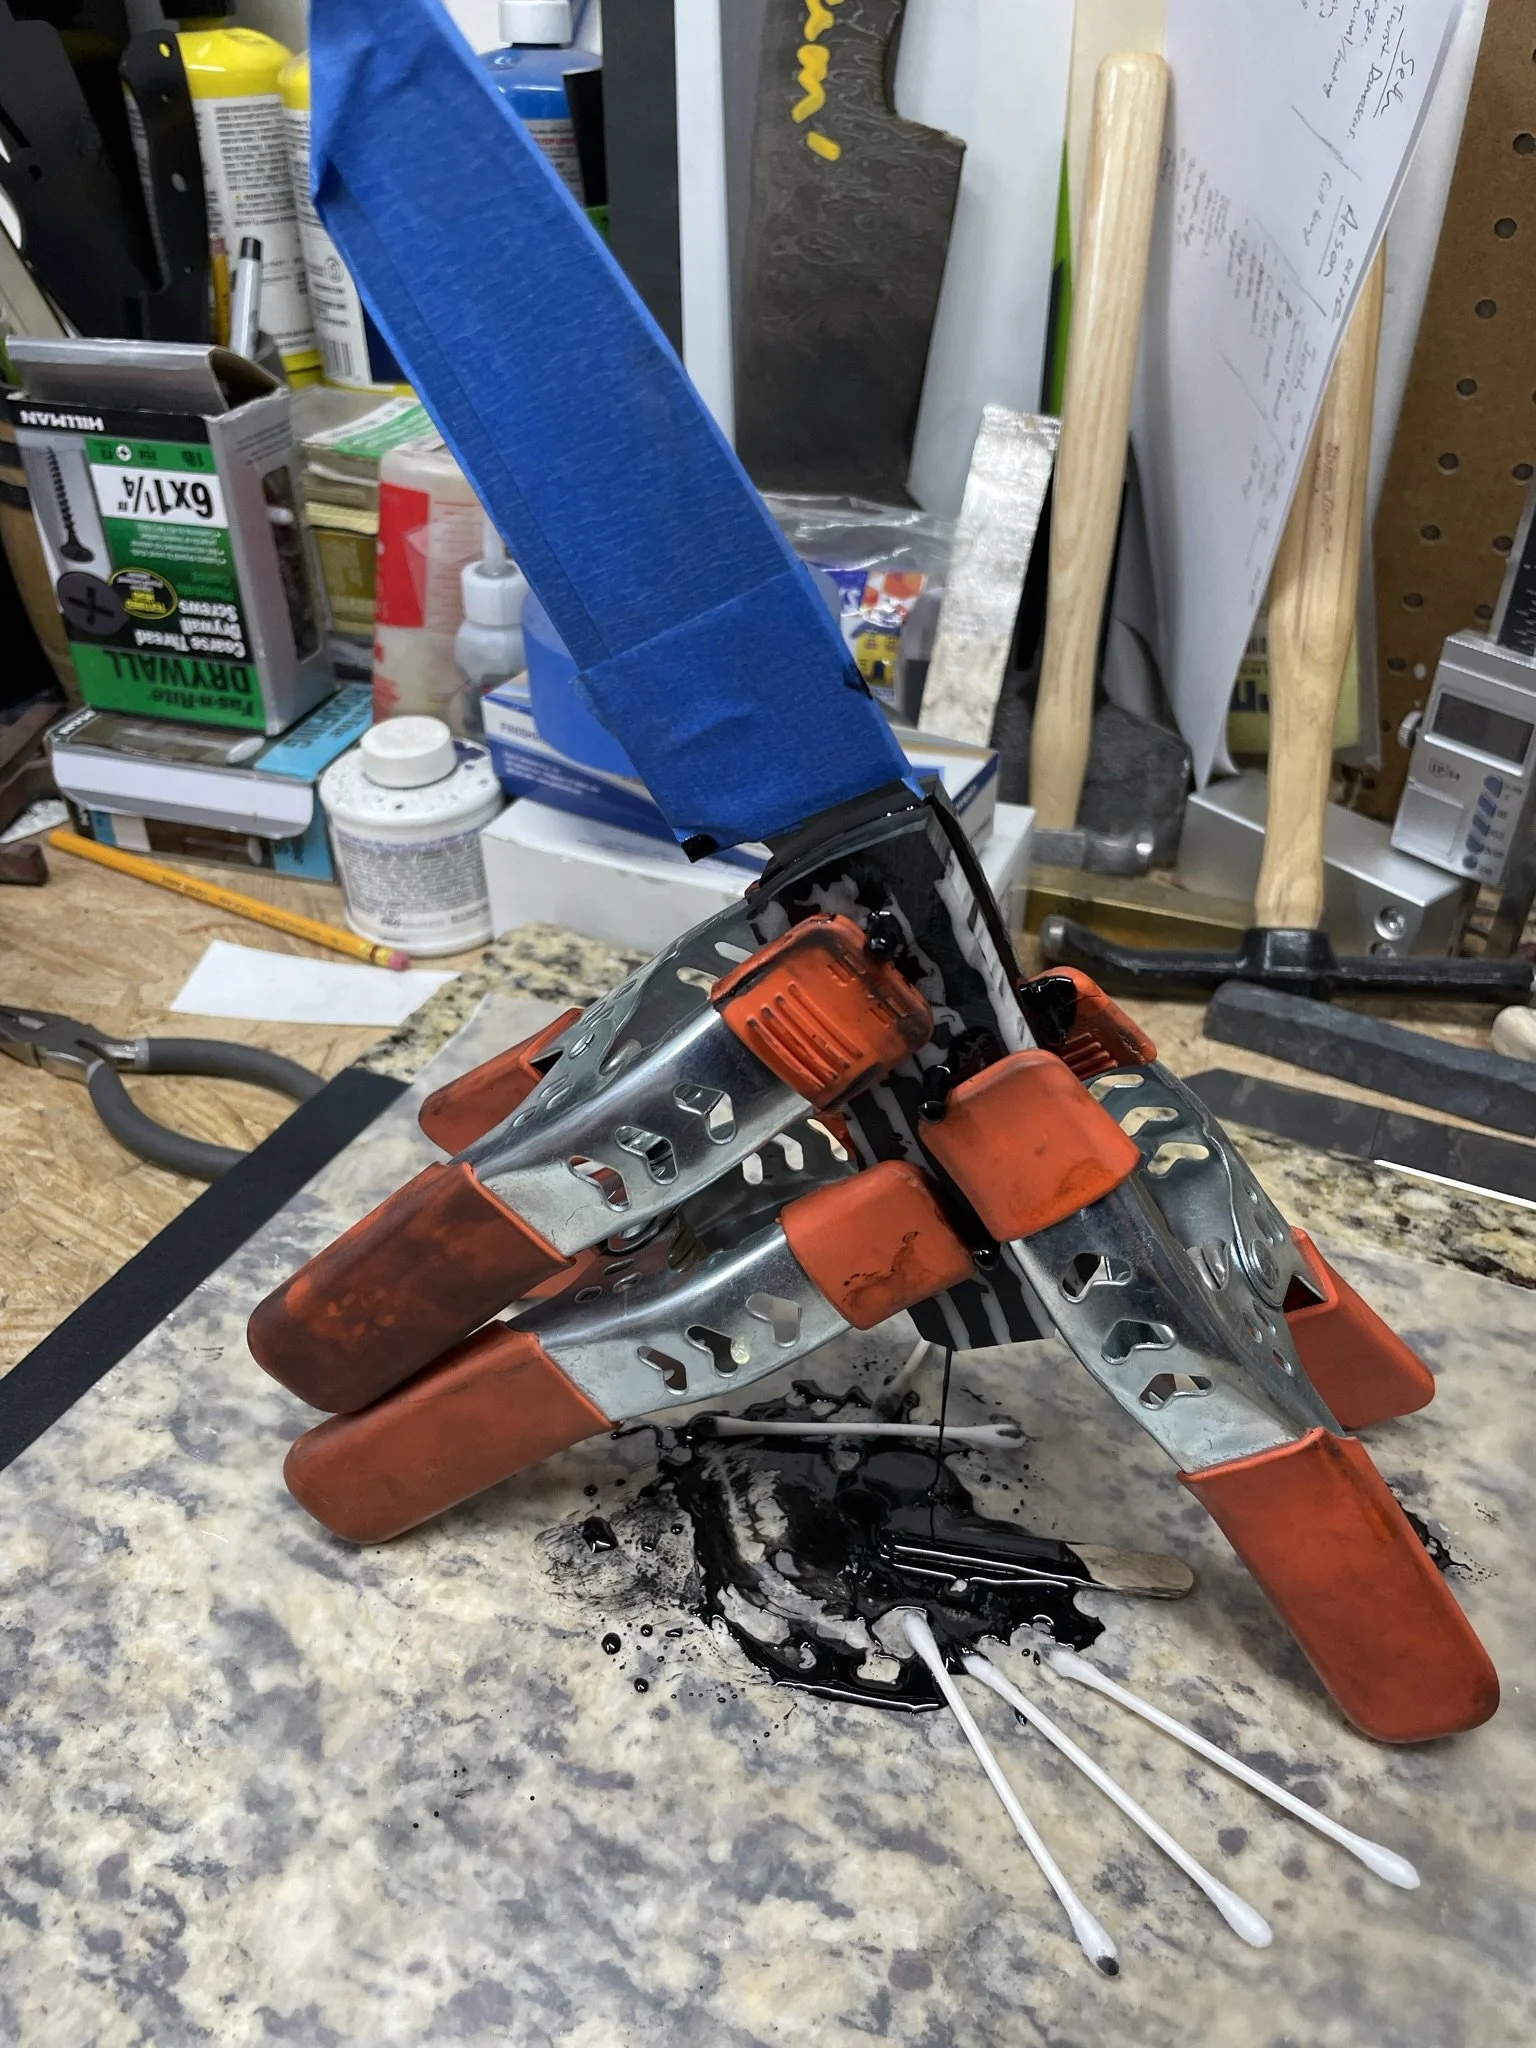
Glue up.
-
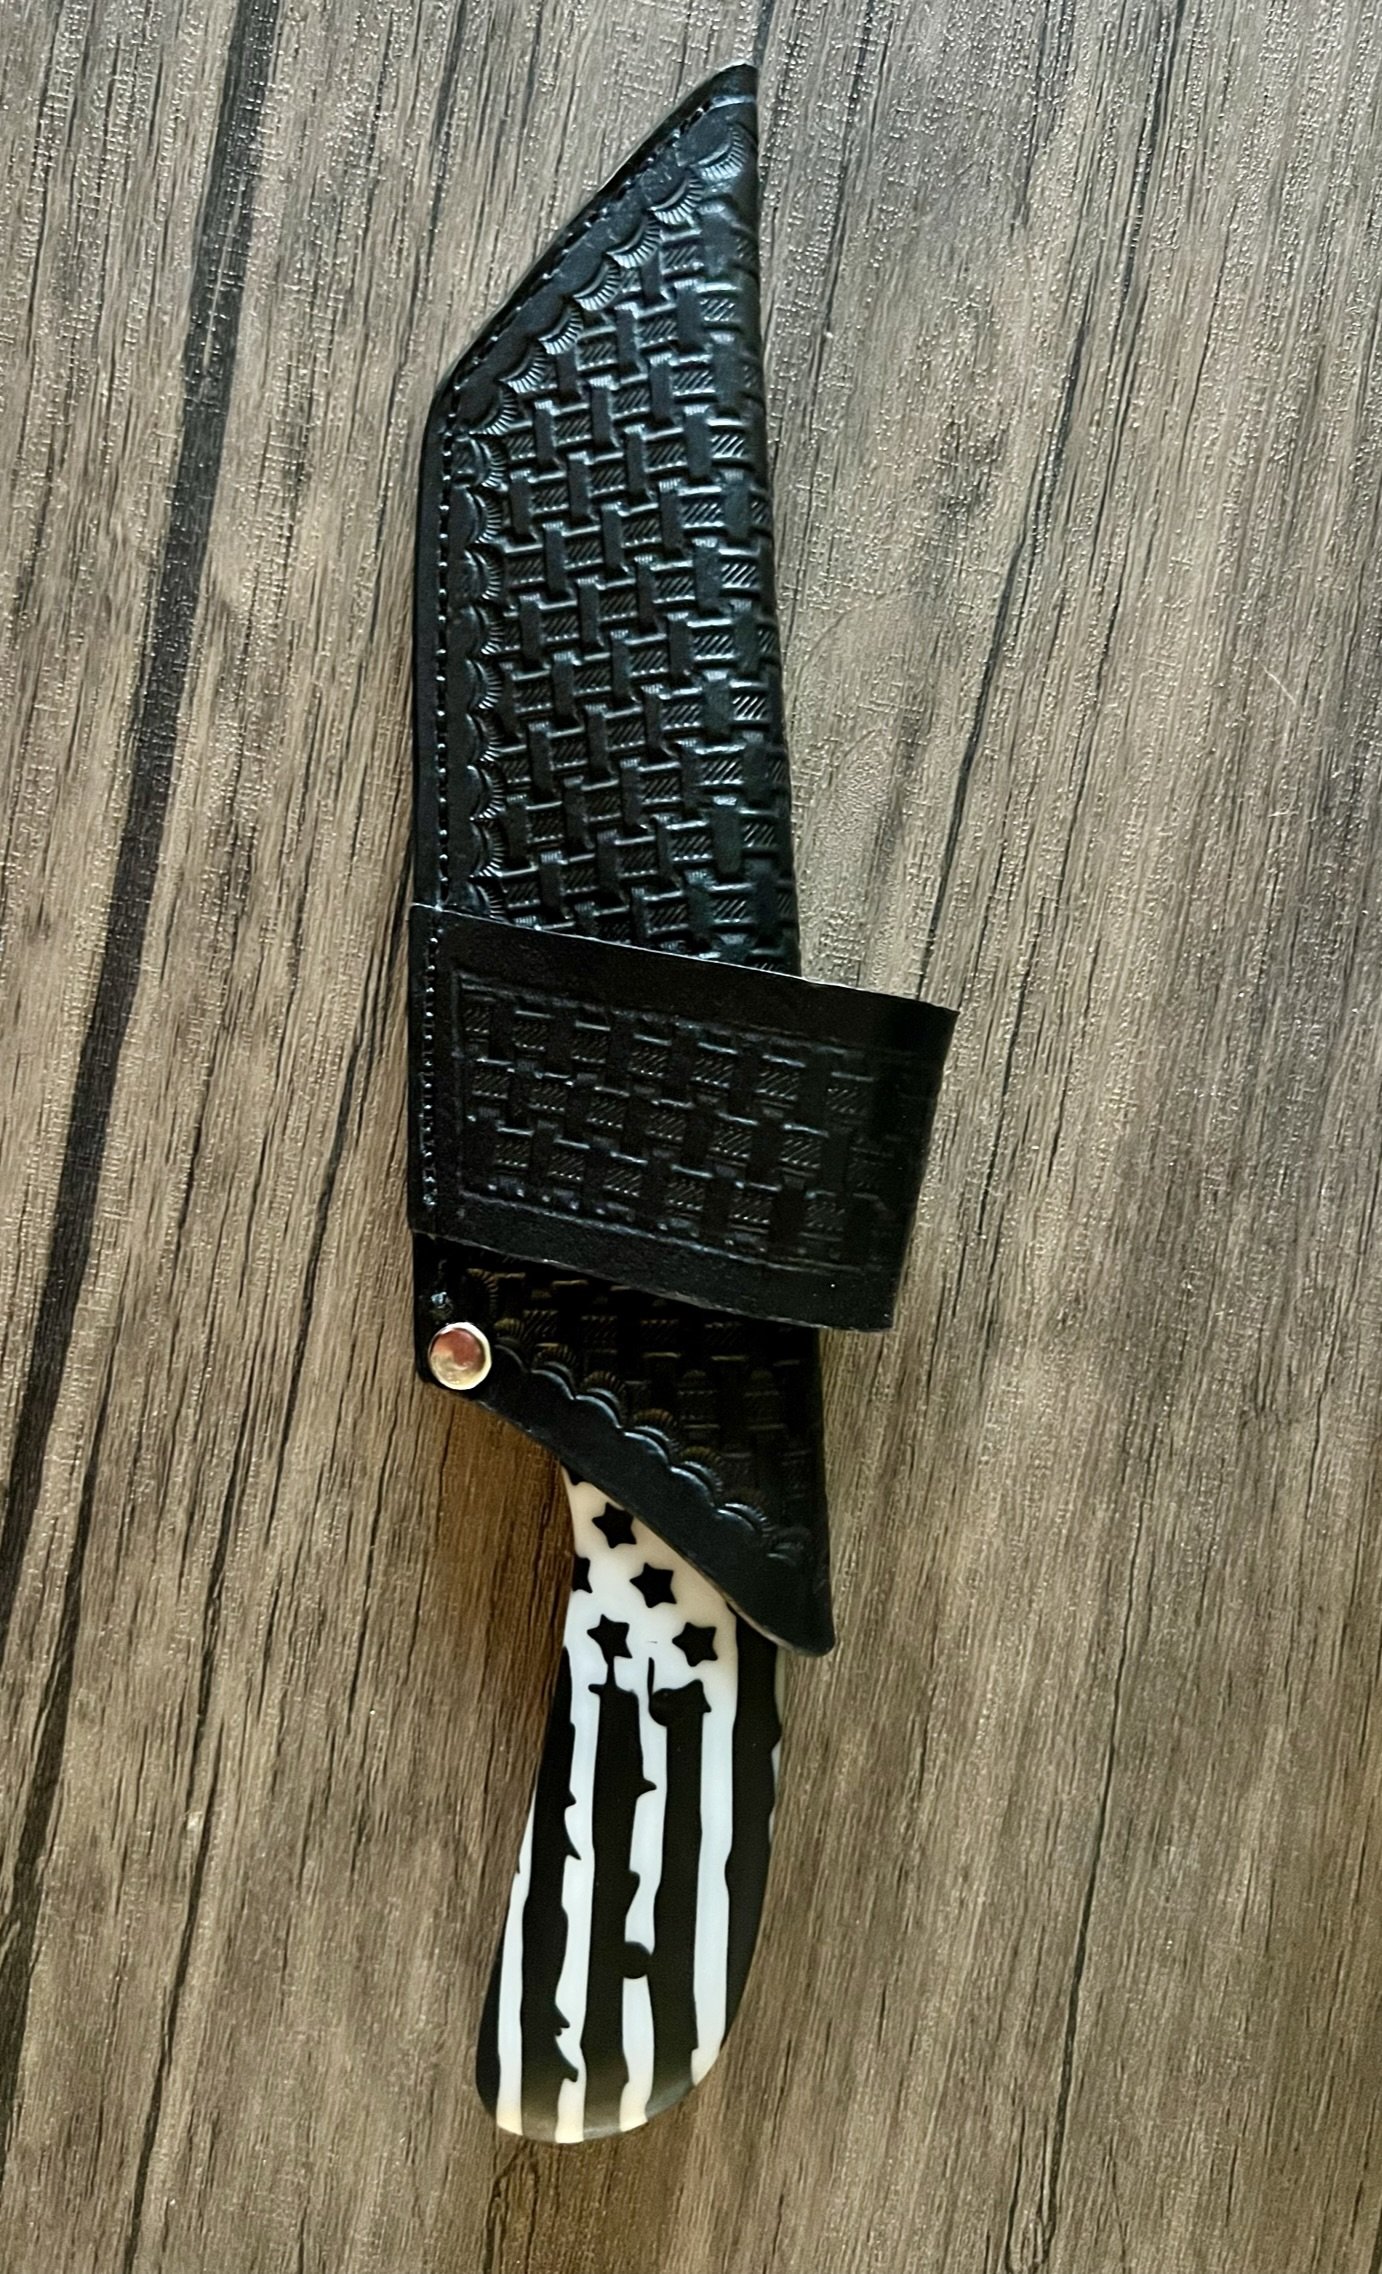
Finished knife and sheath.
-
Finished knife in it's sheath.
-
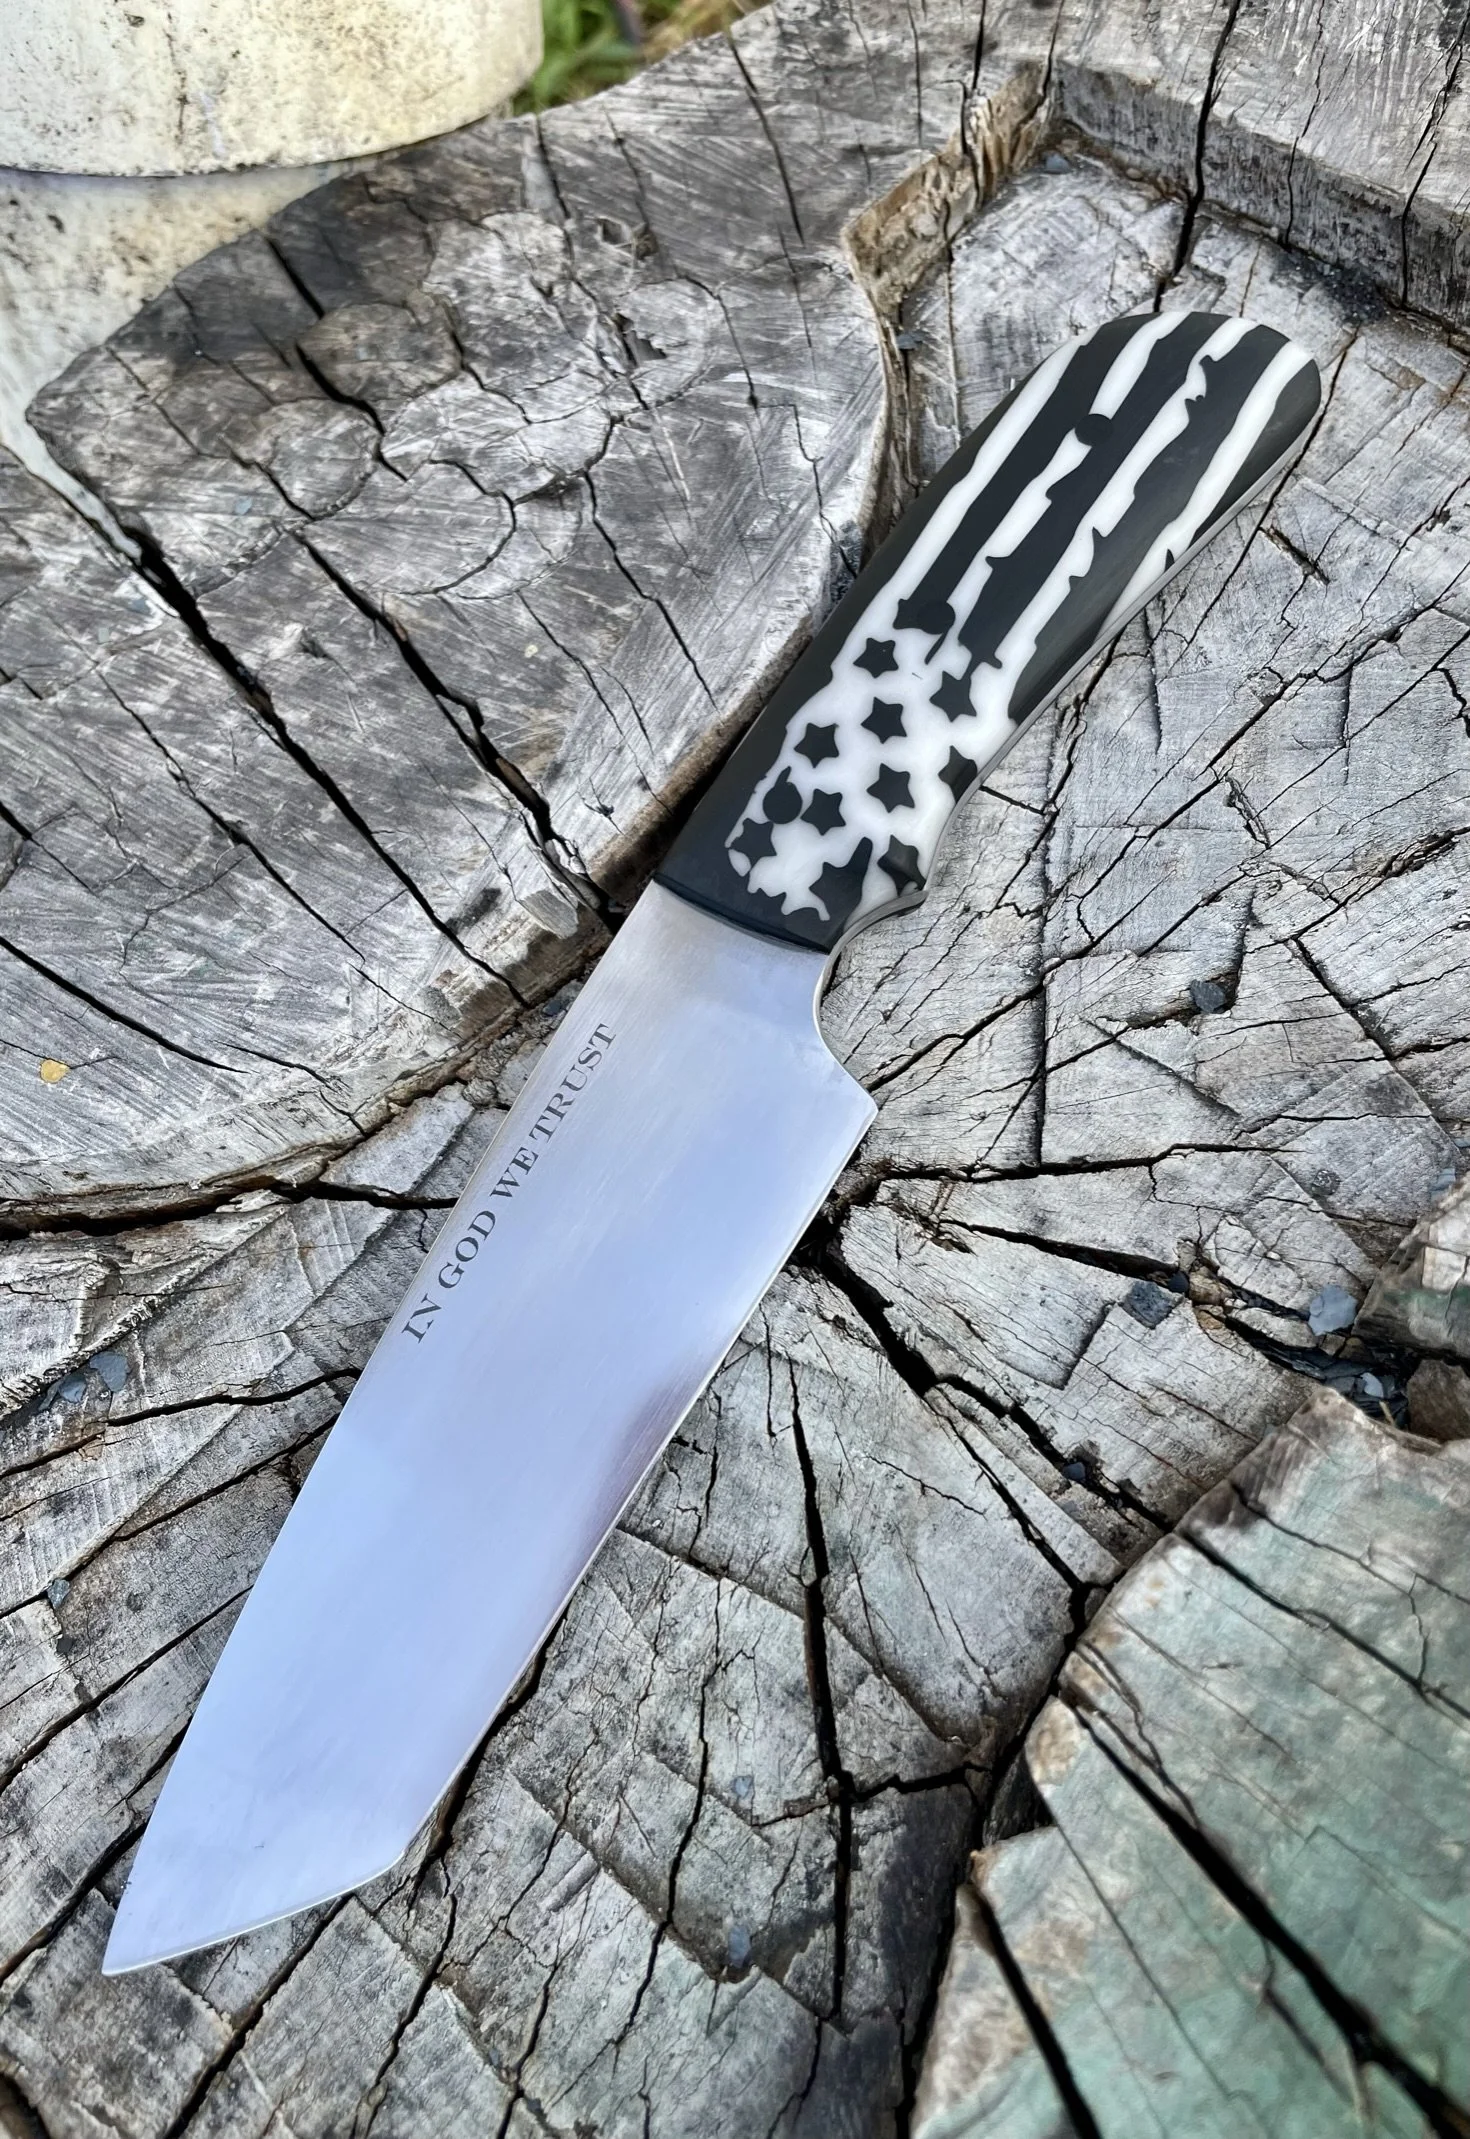
Glamour shot #1.
-
Glamour shot #2.
Lee B. - Twist Damascus Letter Opener
-
Final blade - keep scrolling to see the journey.
-
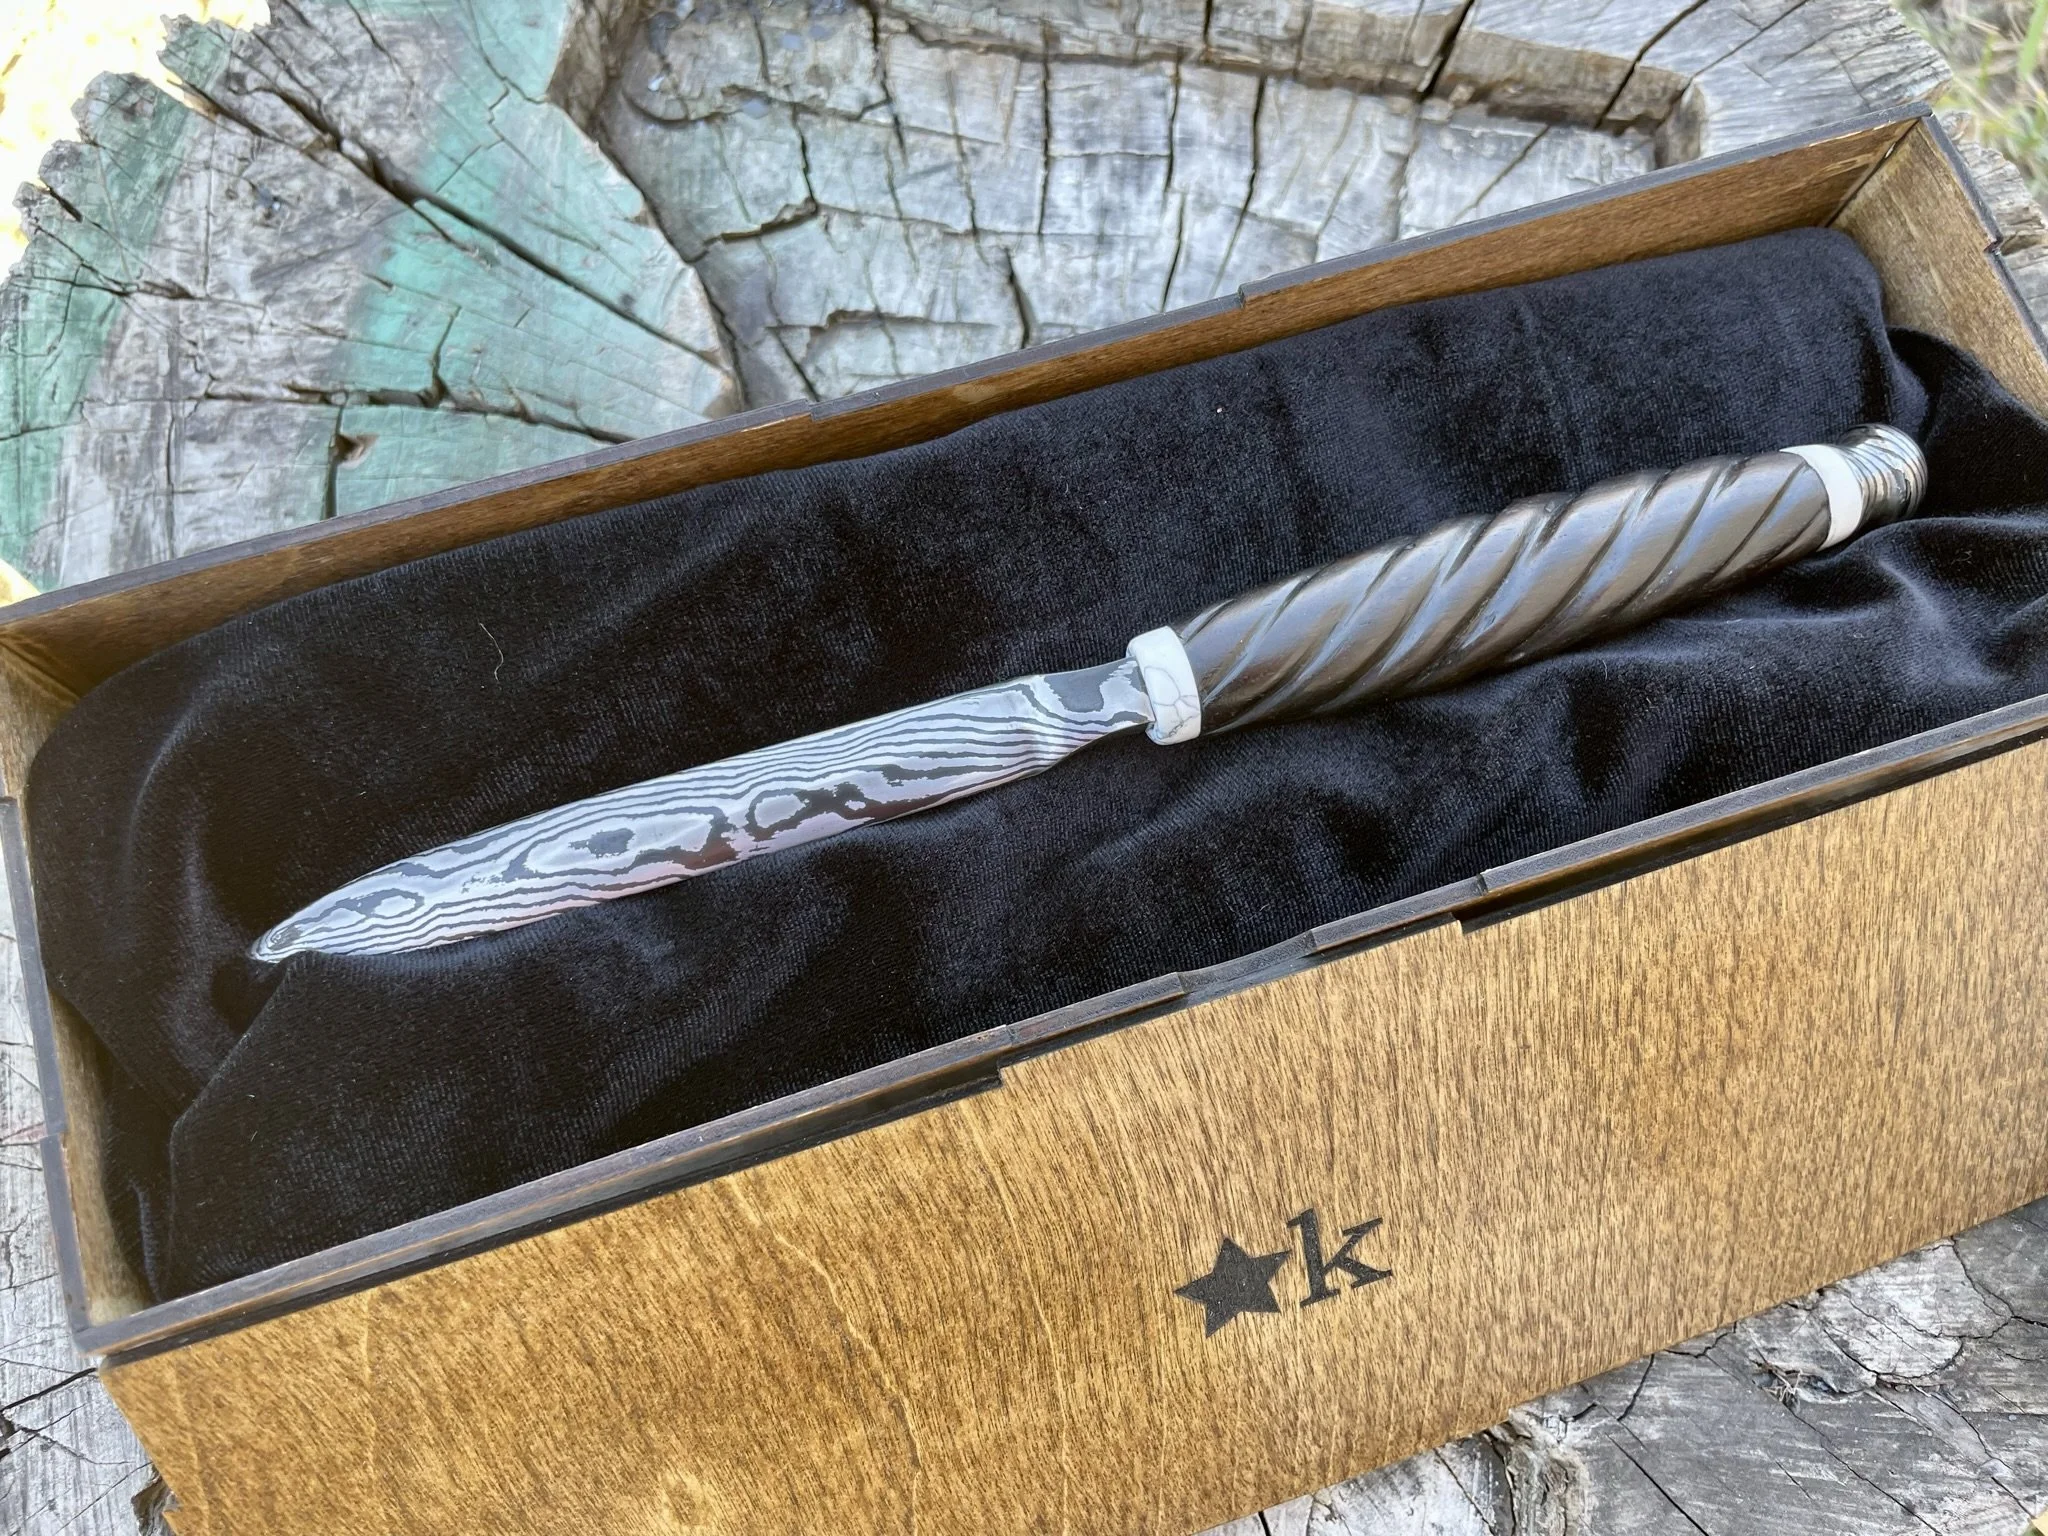
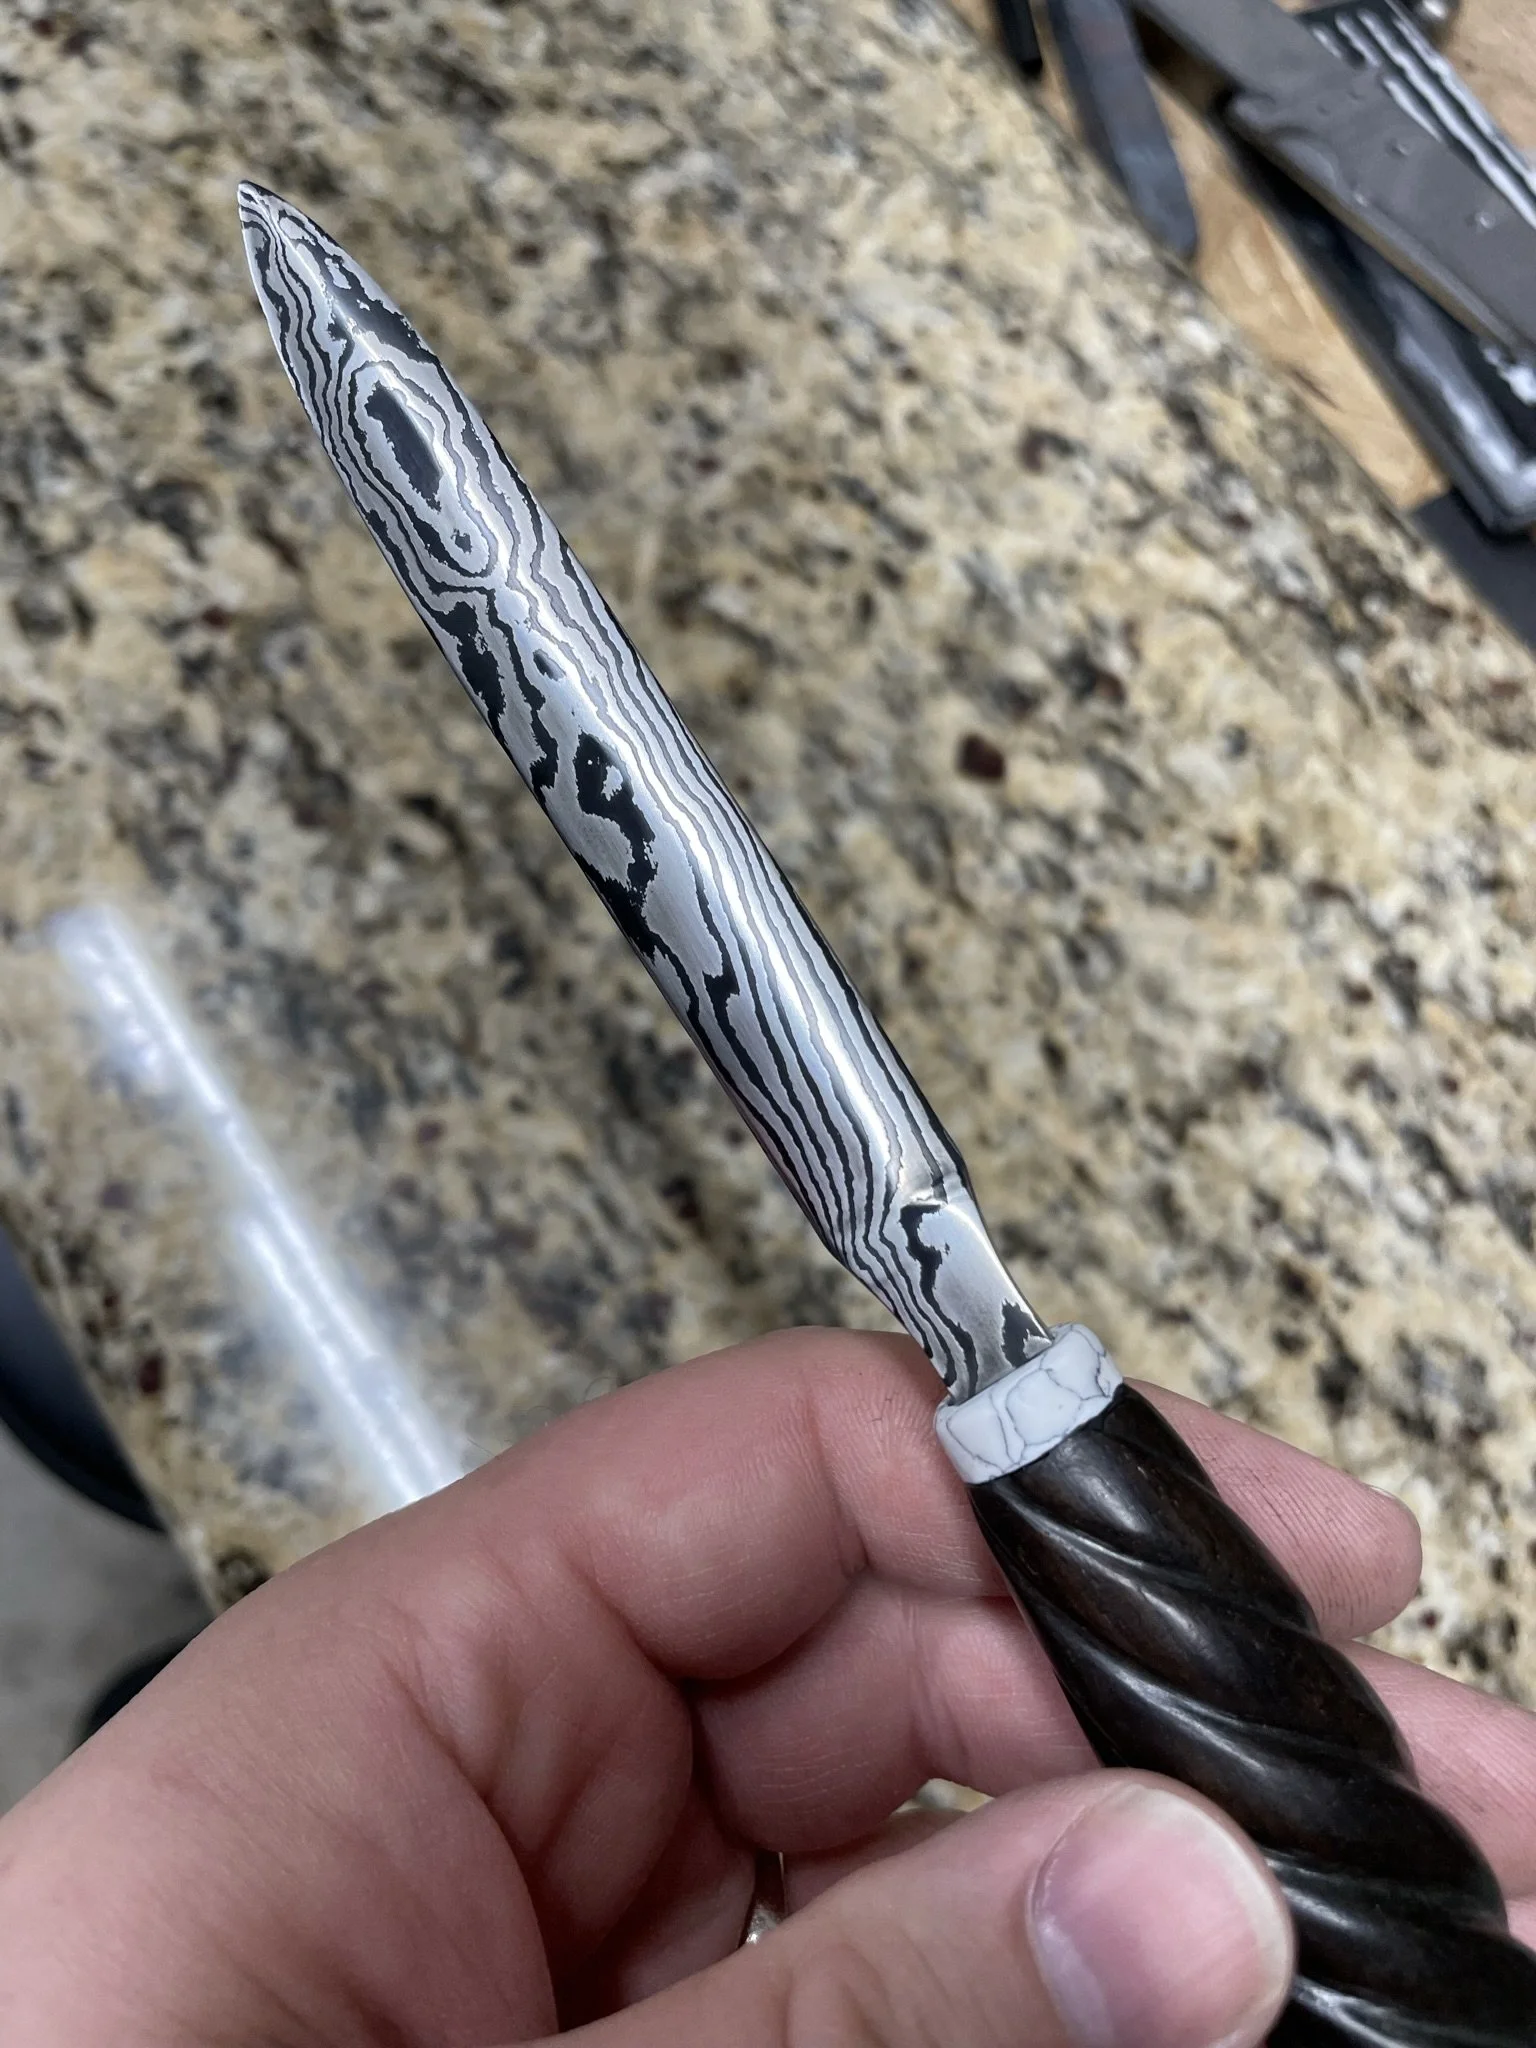
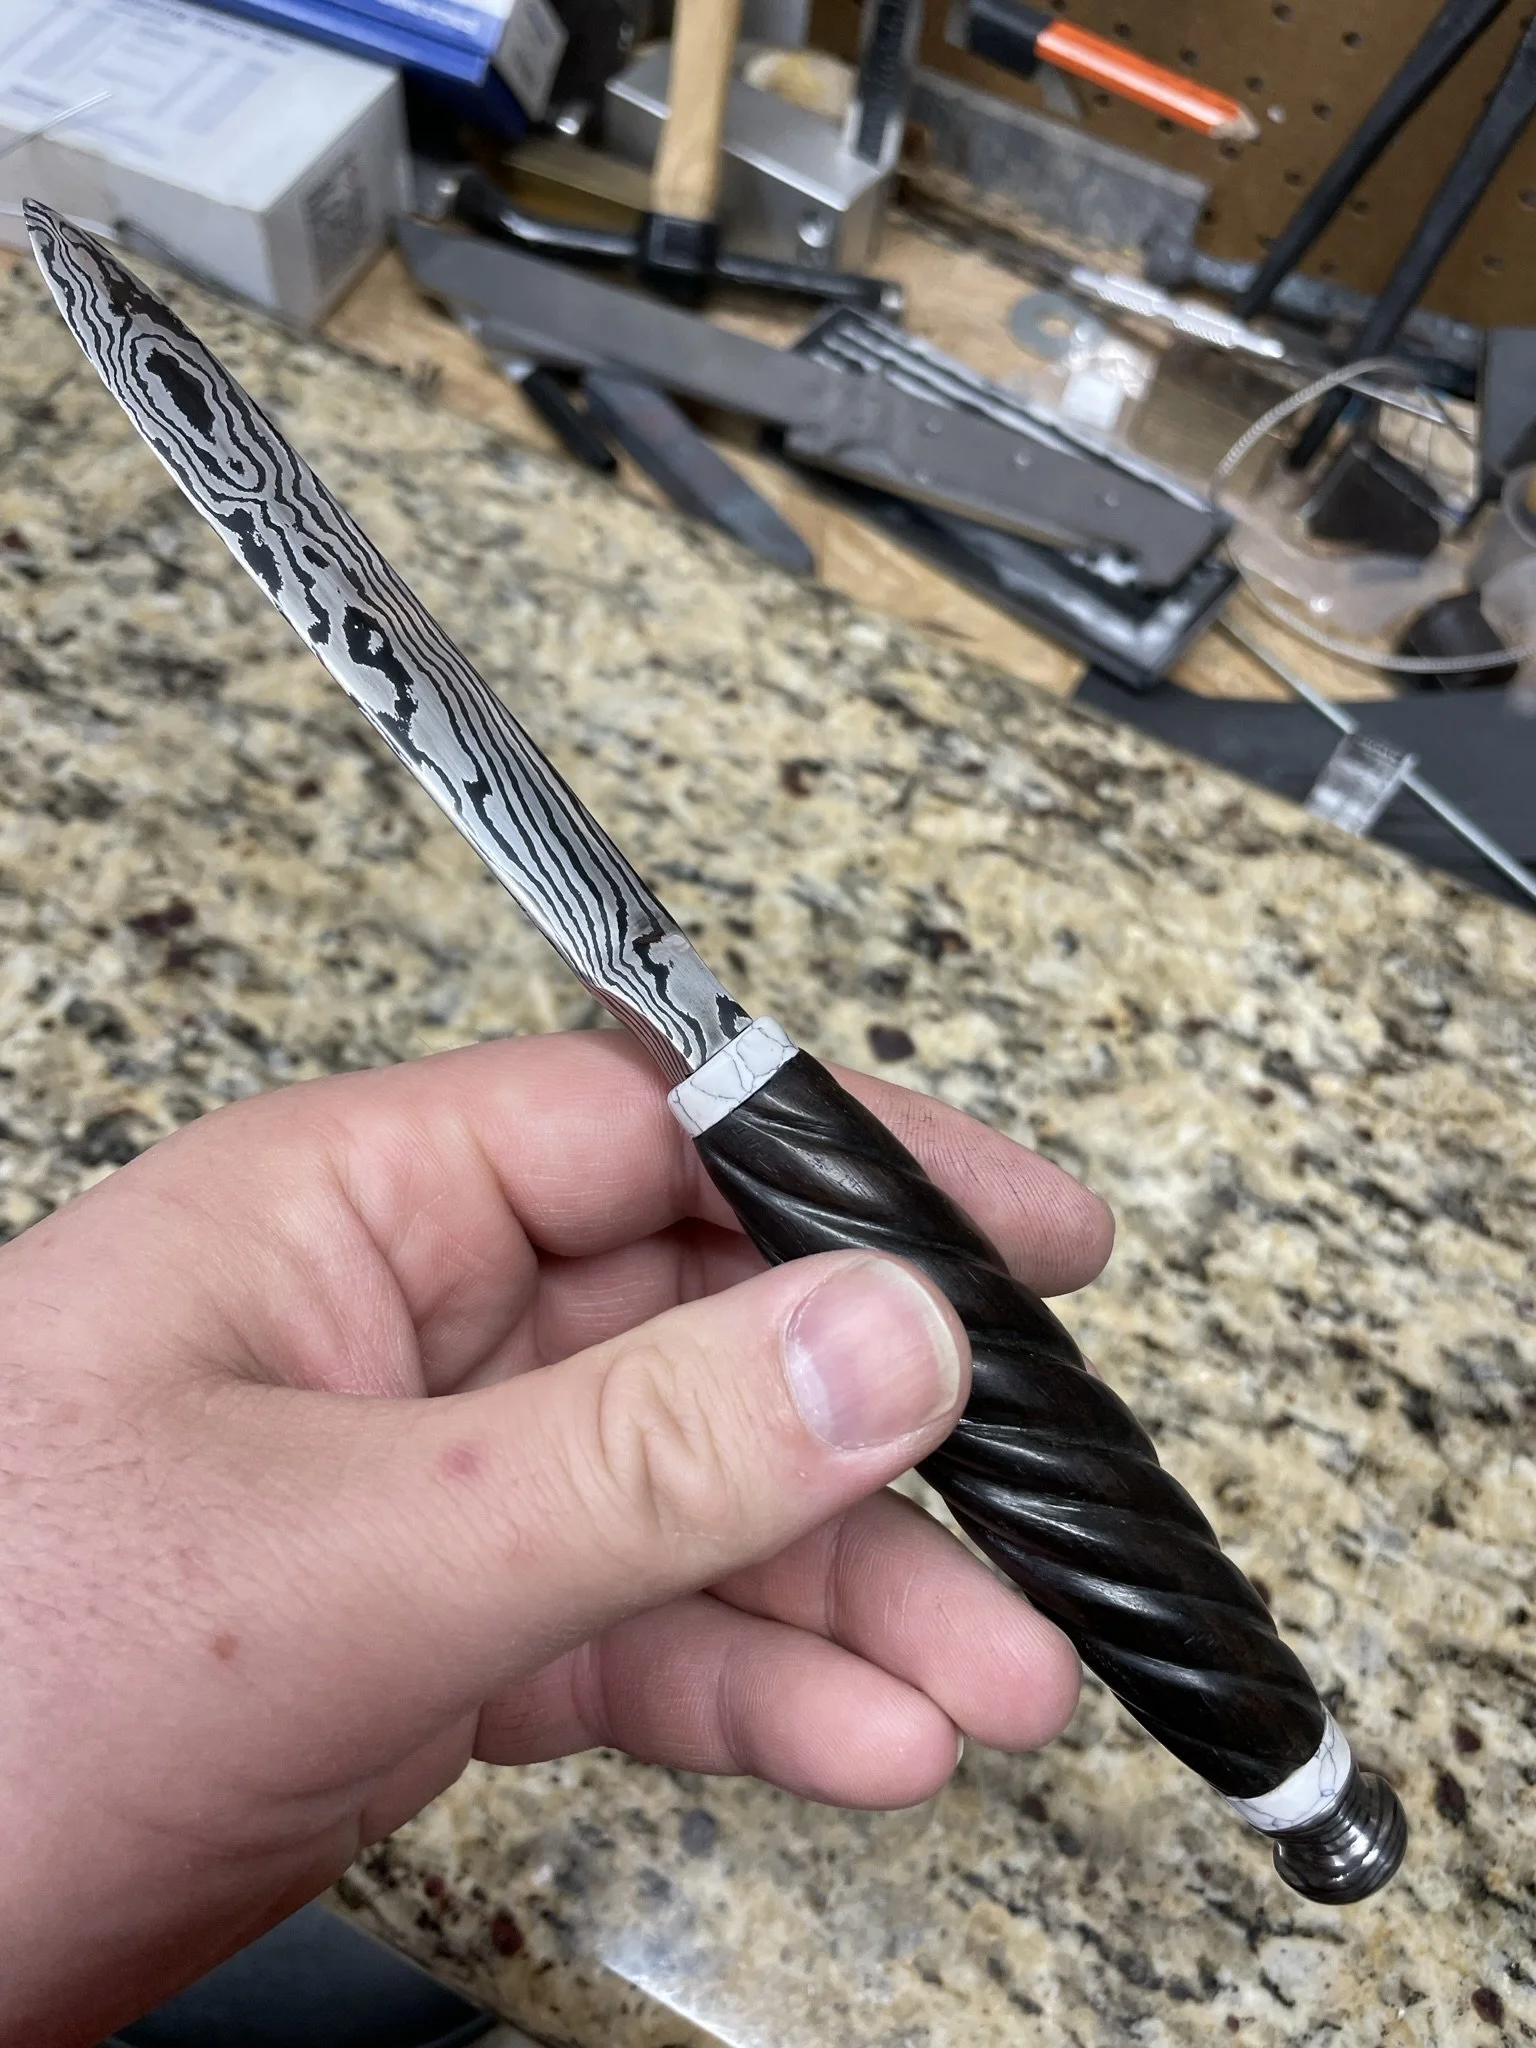
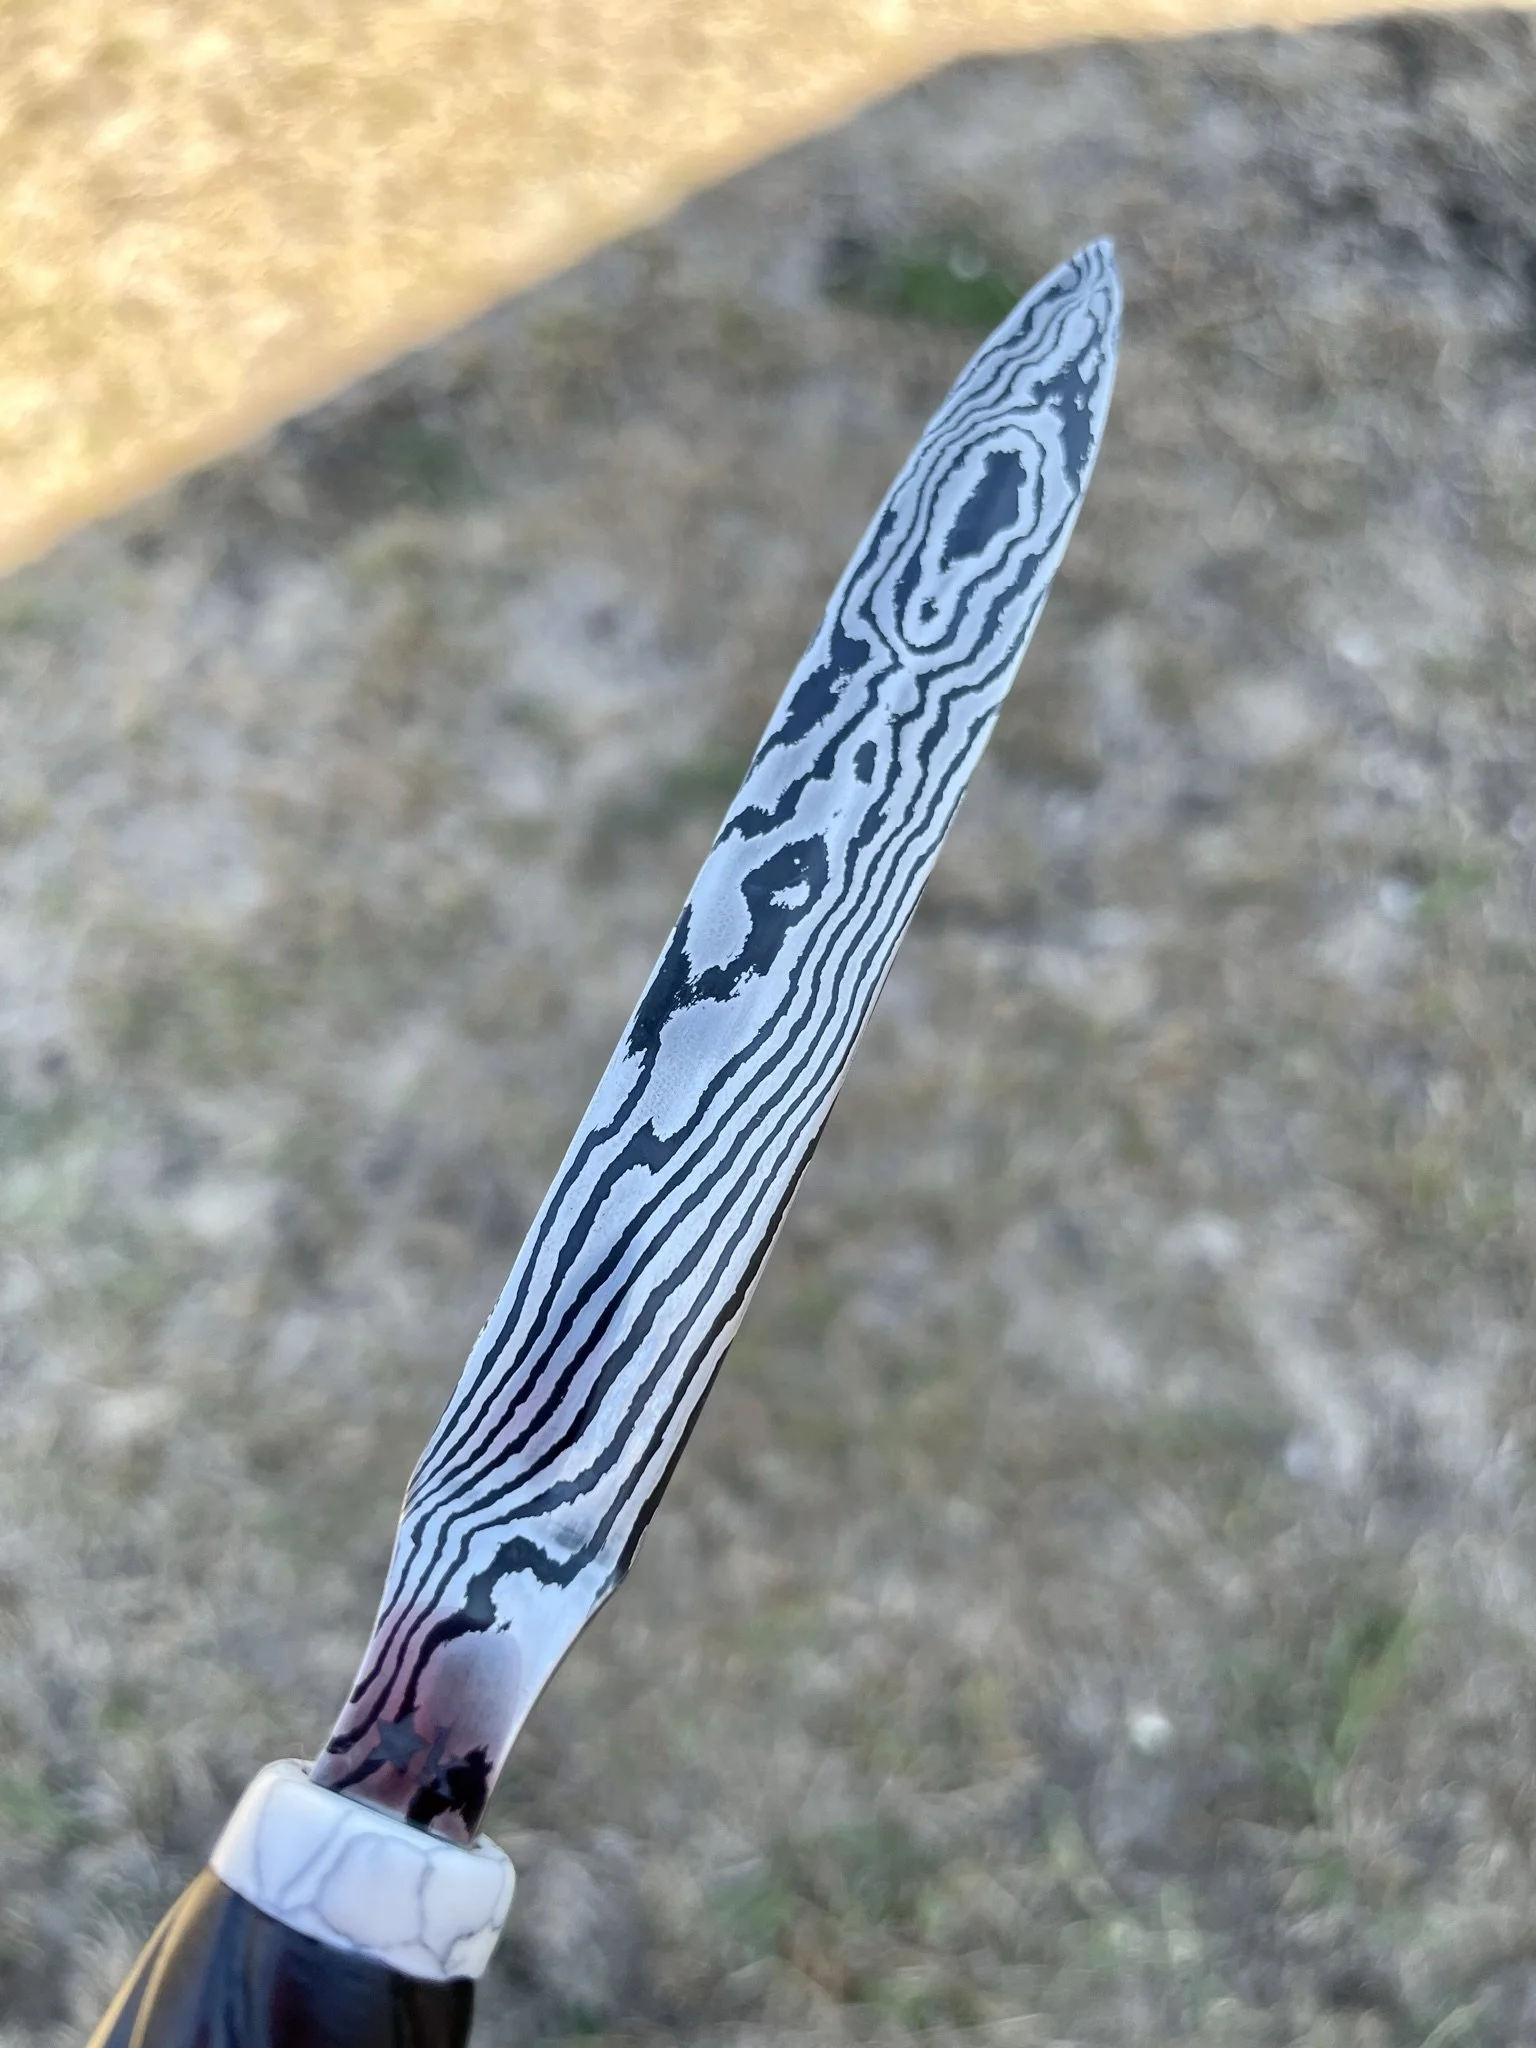
From the same bar of twist damascus that I made the paring knife from, I made a letter opener for a client contact who was the first boss I worked with after leaving my previous day job company to a new one. He was very kind, collaborative and welcoming and made my transition to a new job very easy.
-
I rough forged the shape at the same time as the paring knife.
-
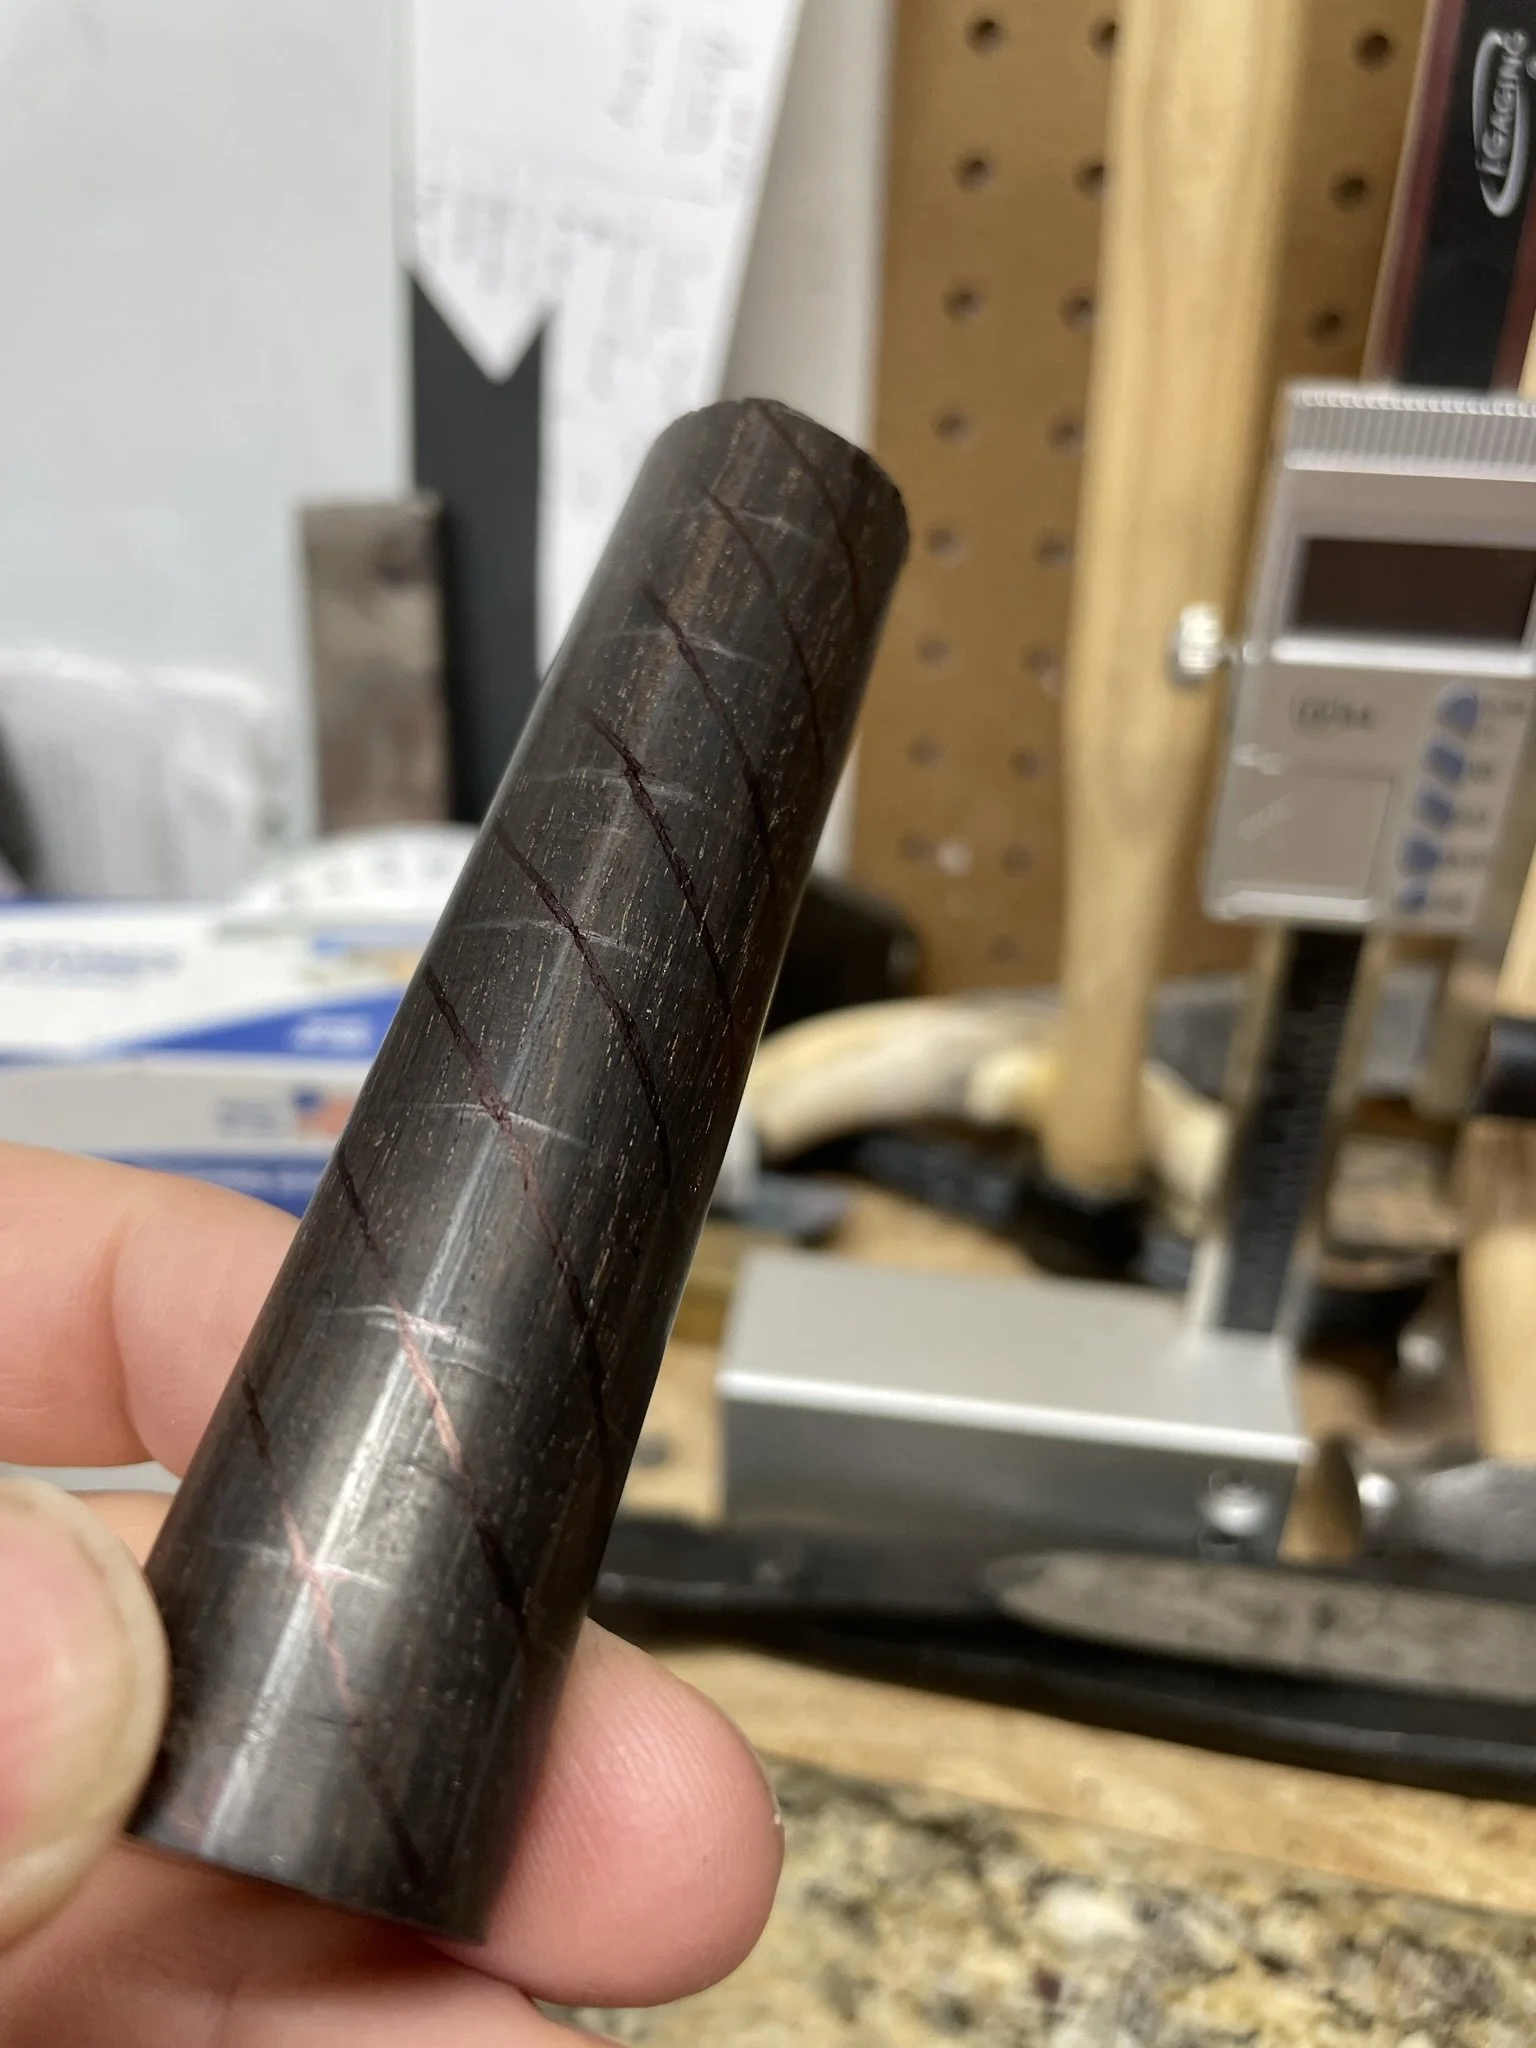
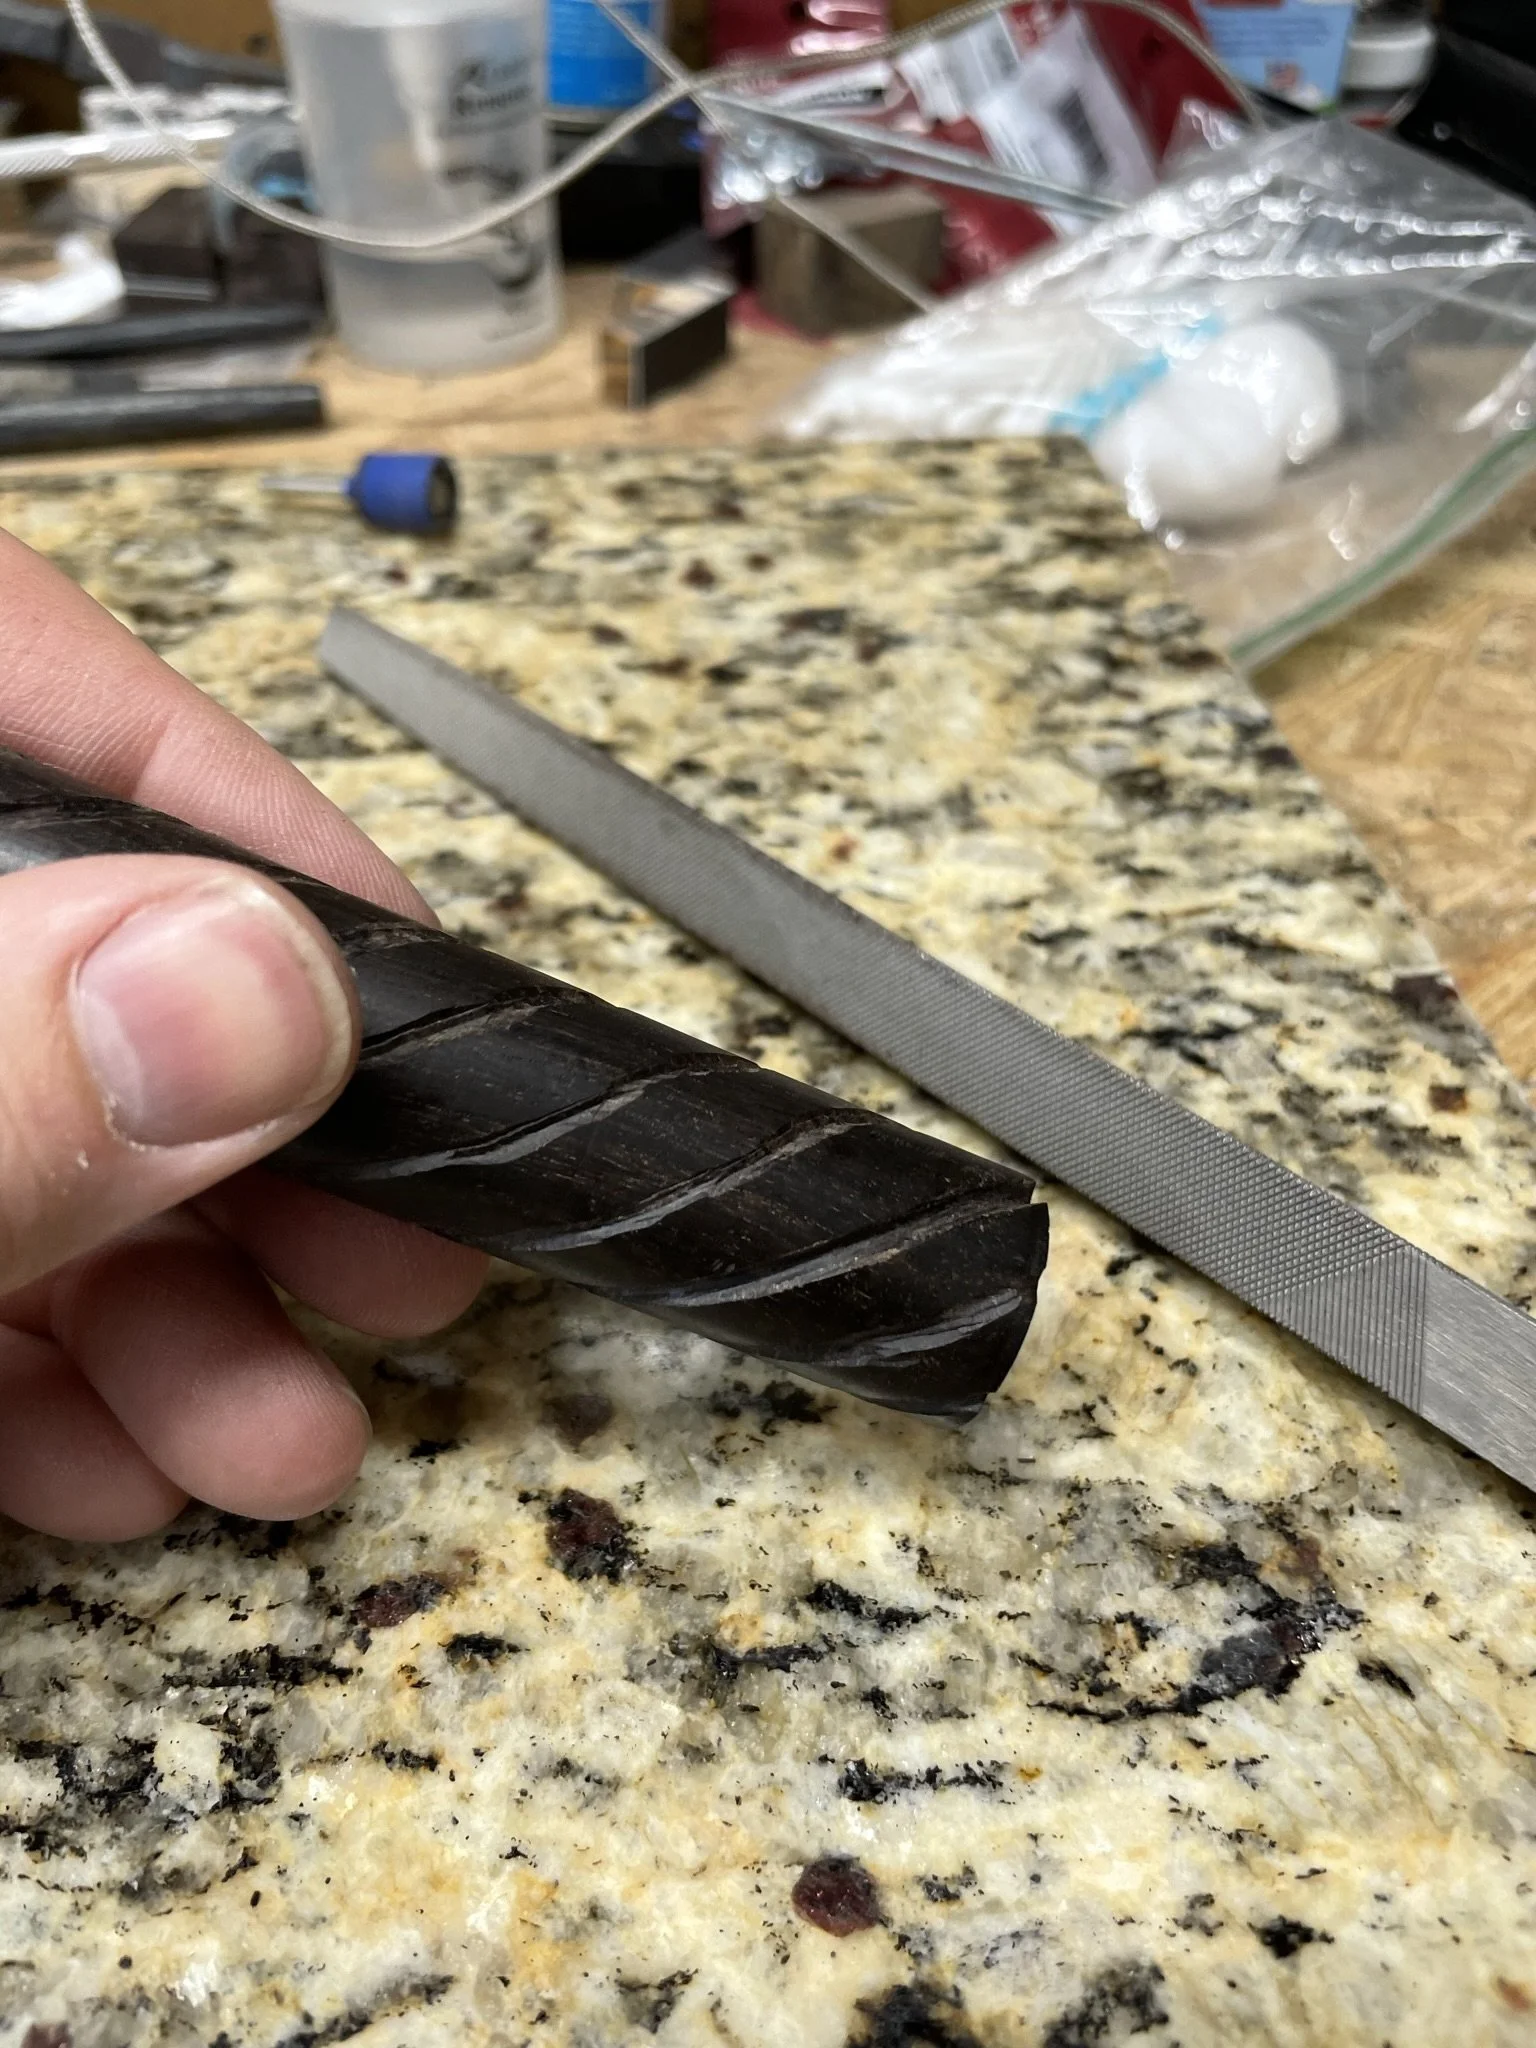
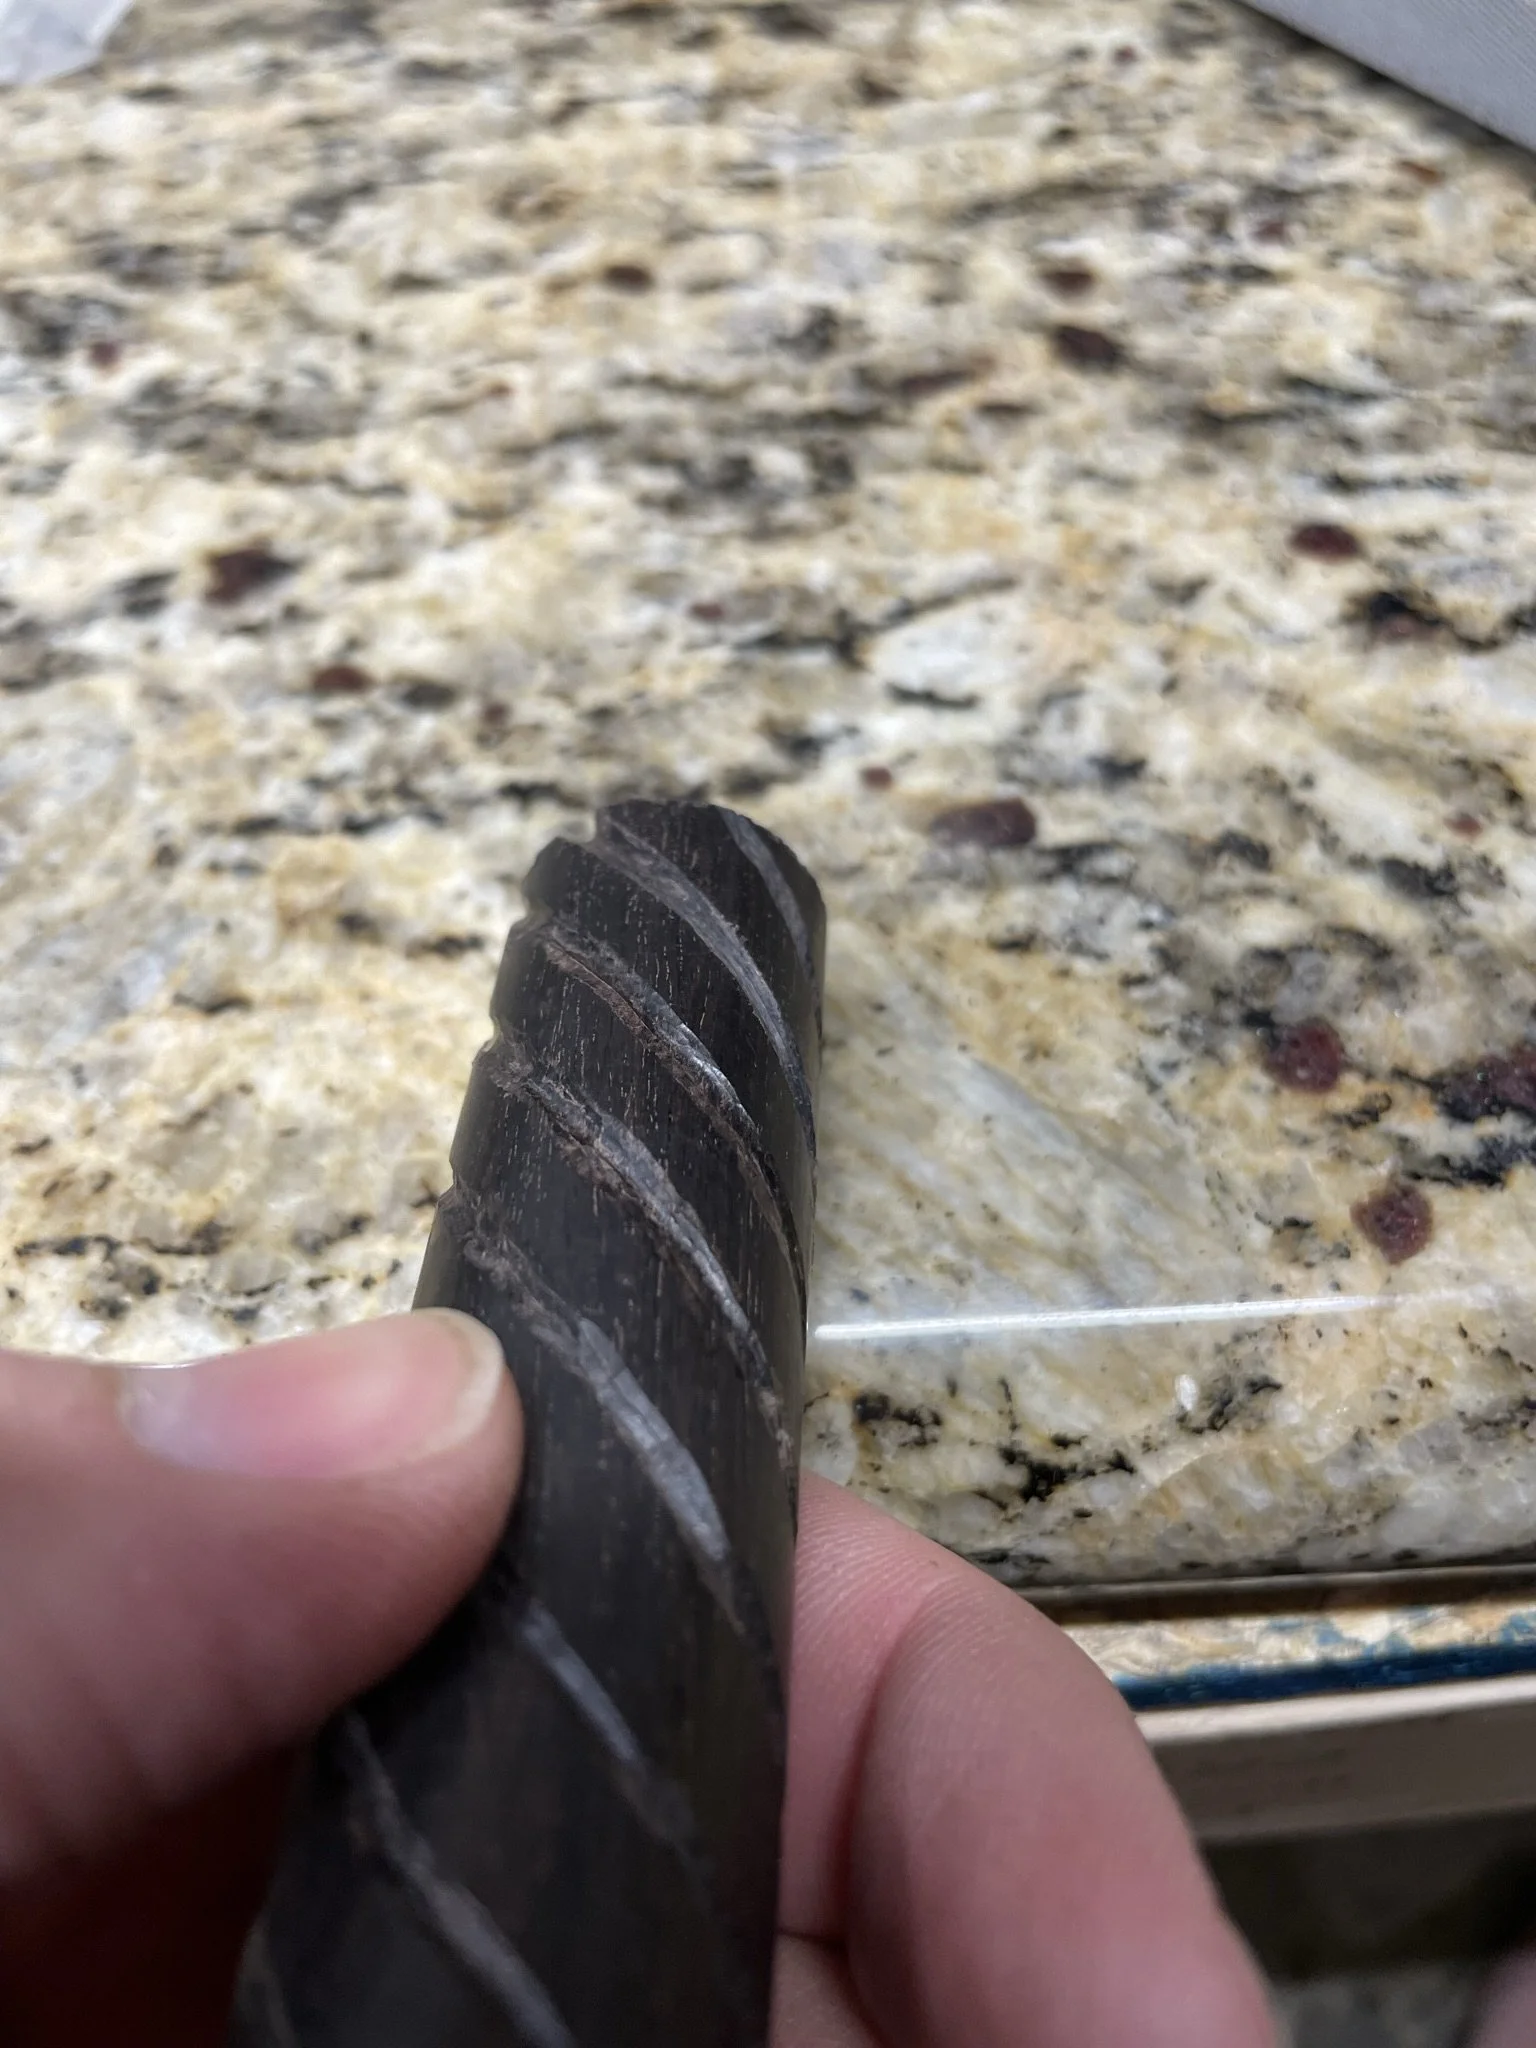
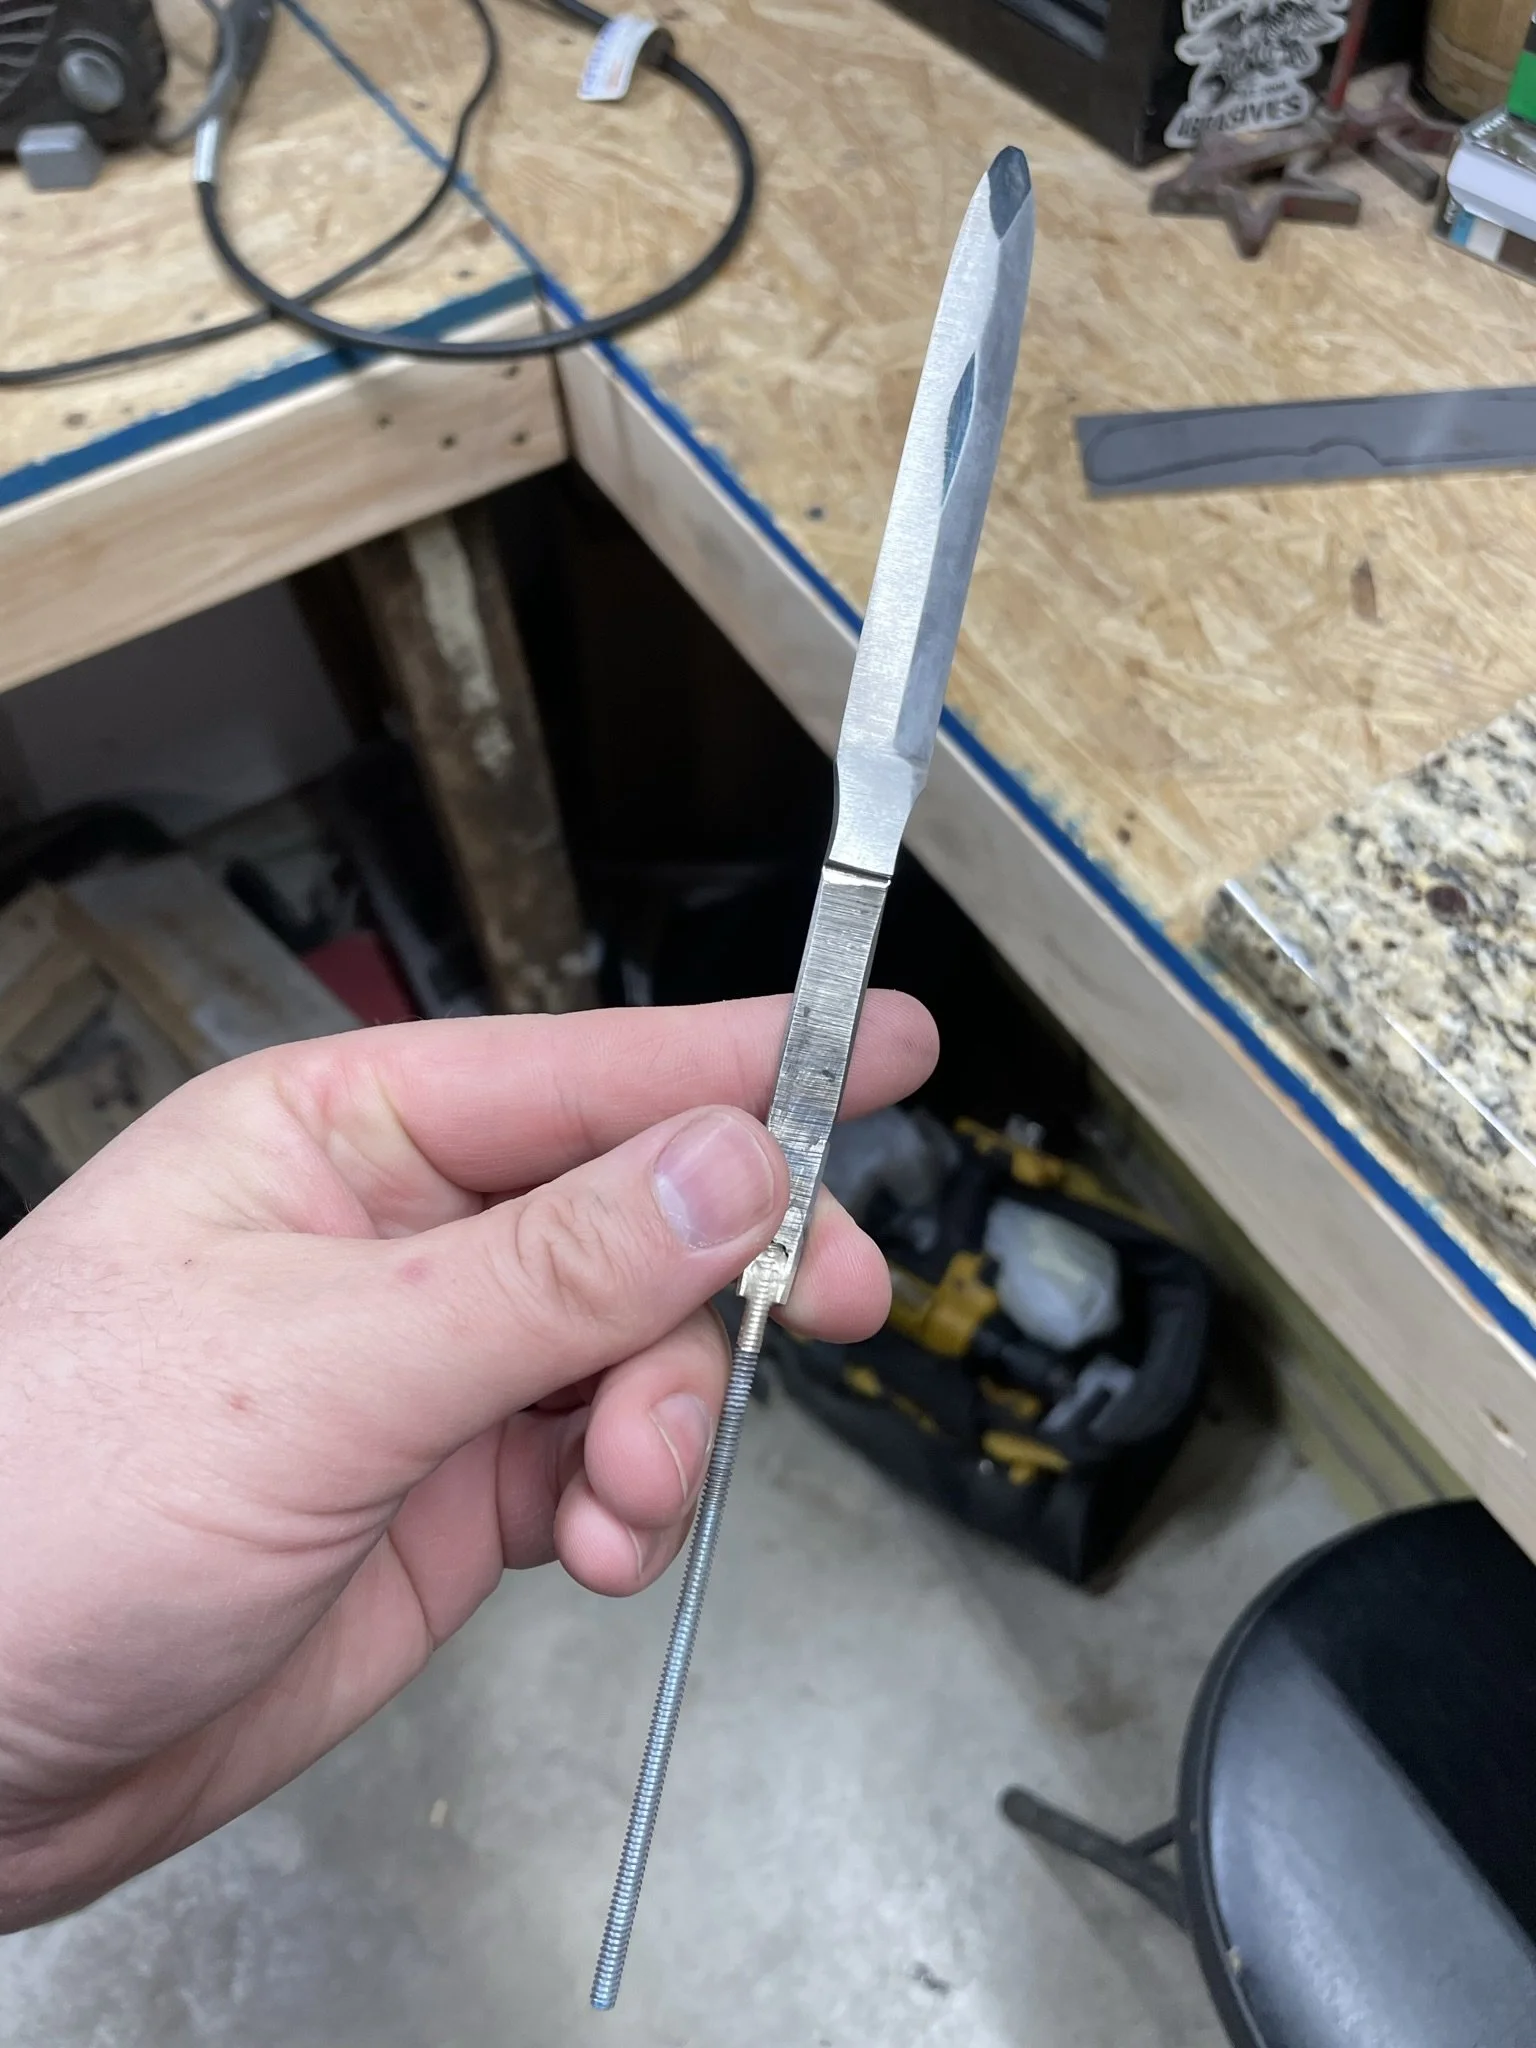
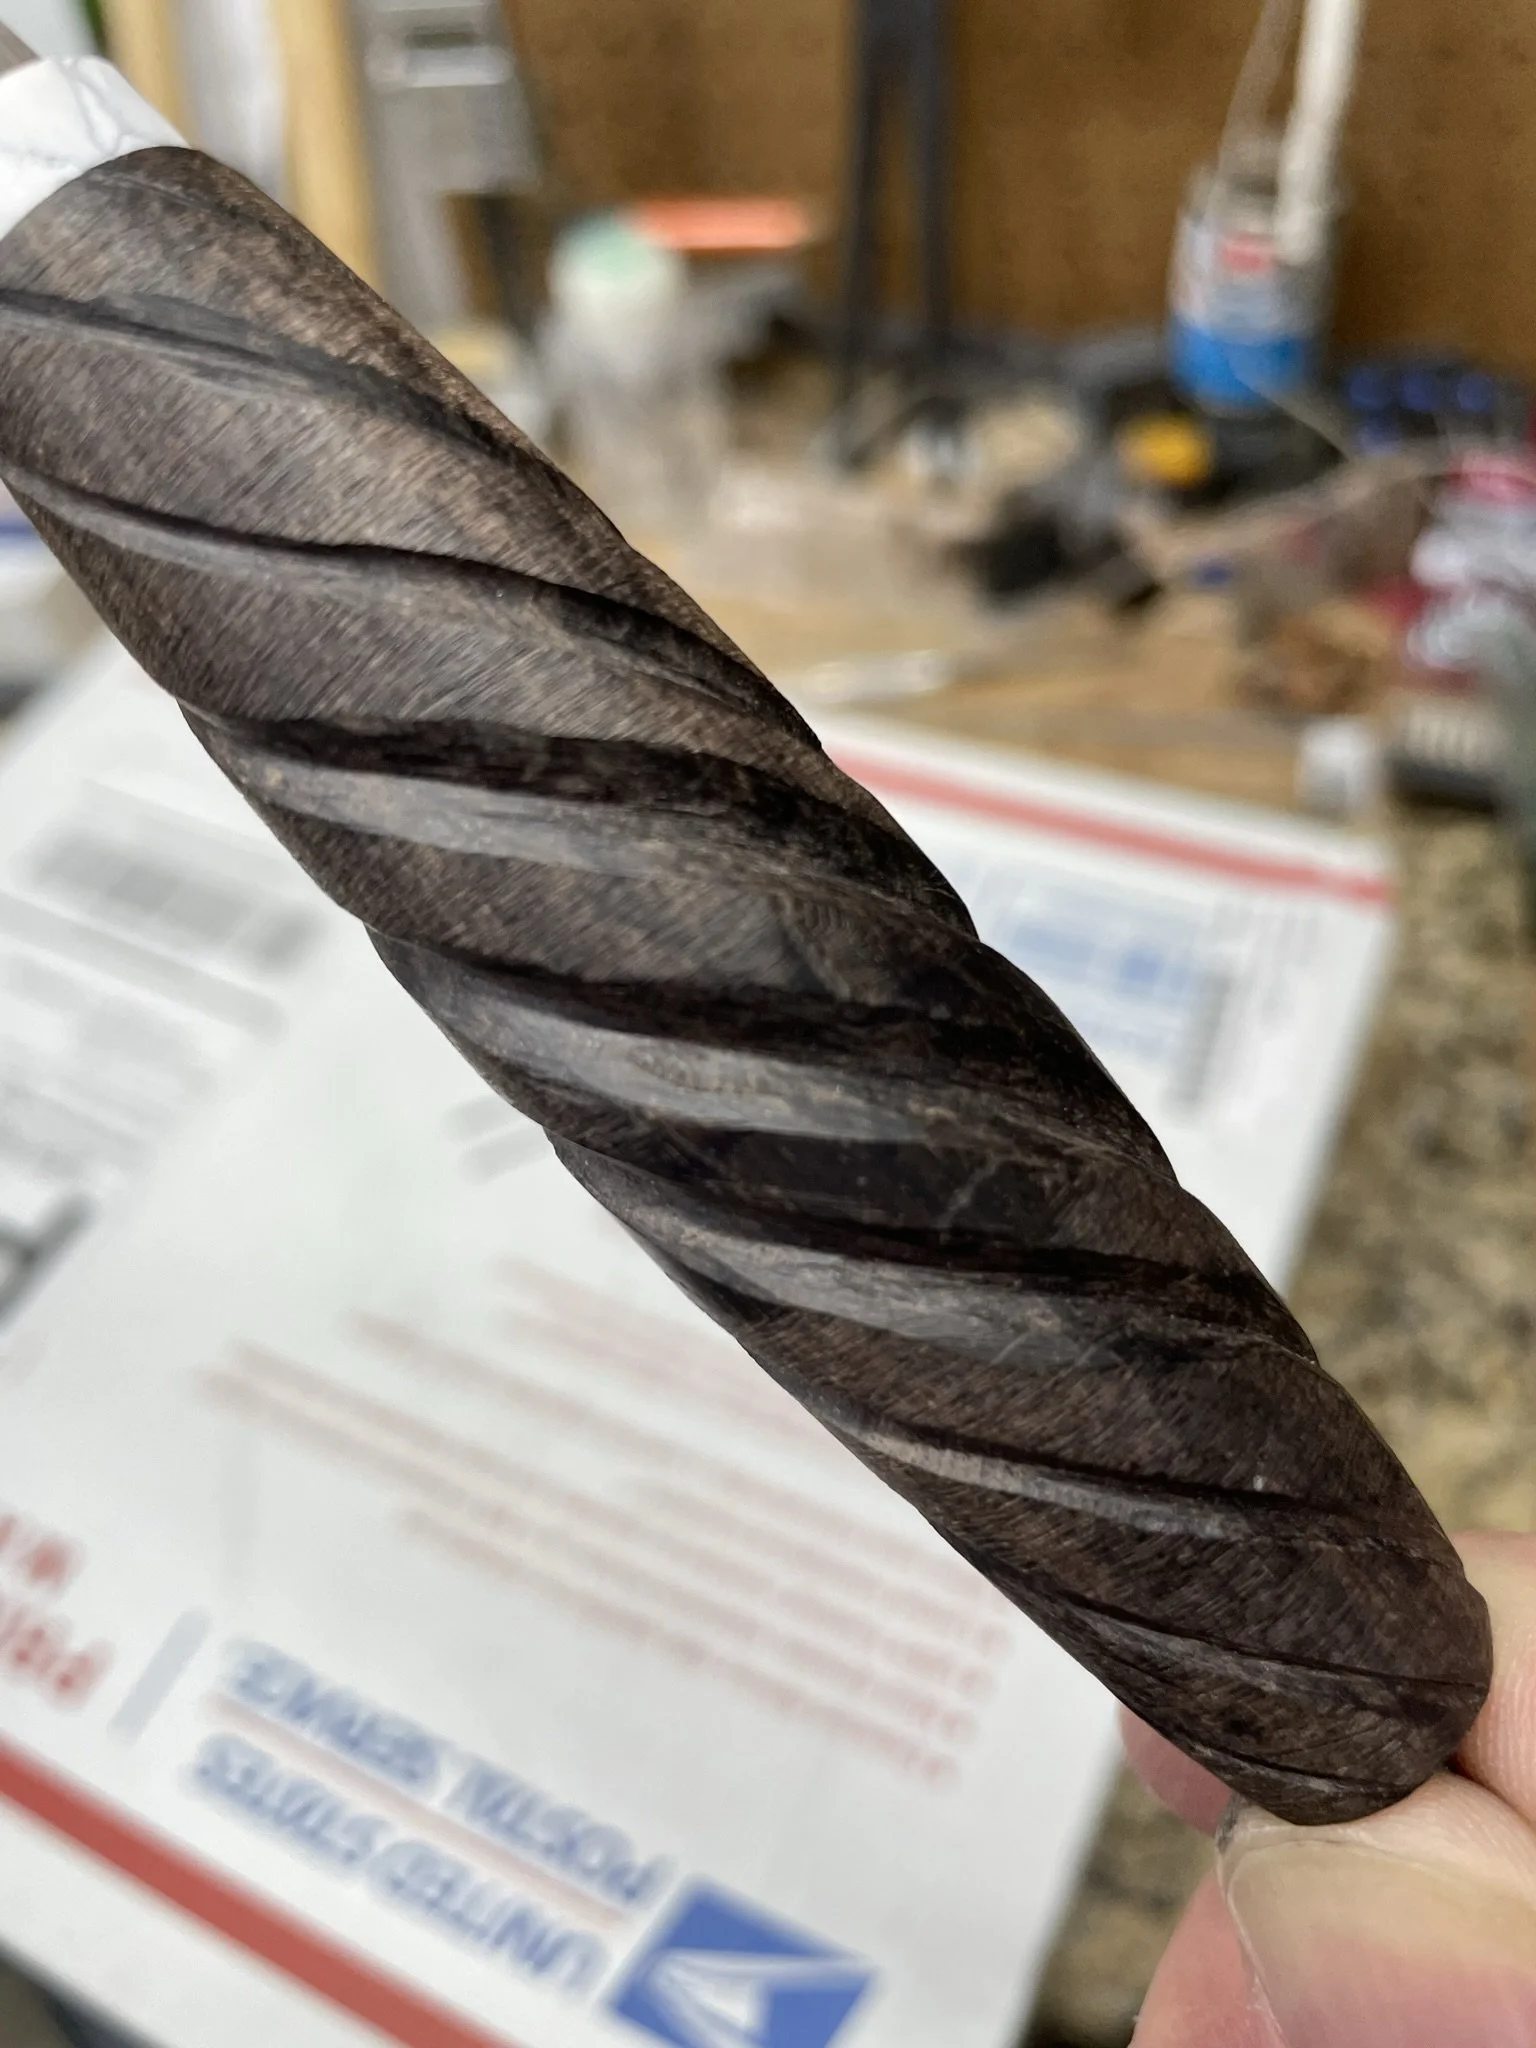
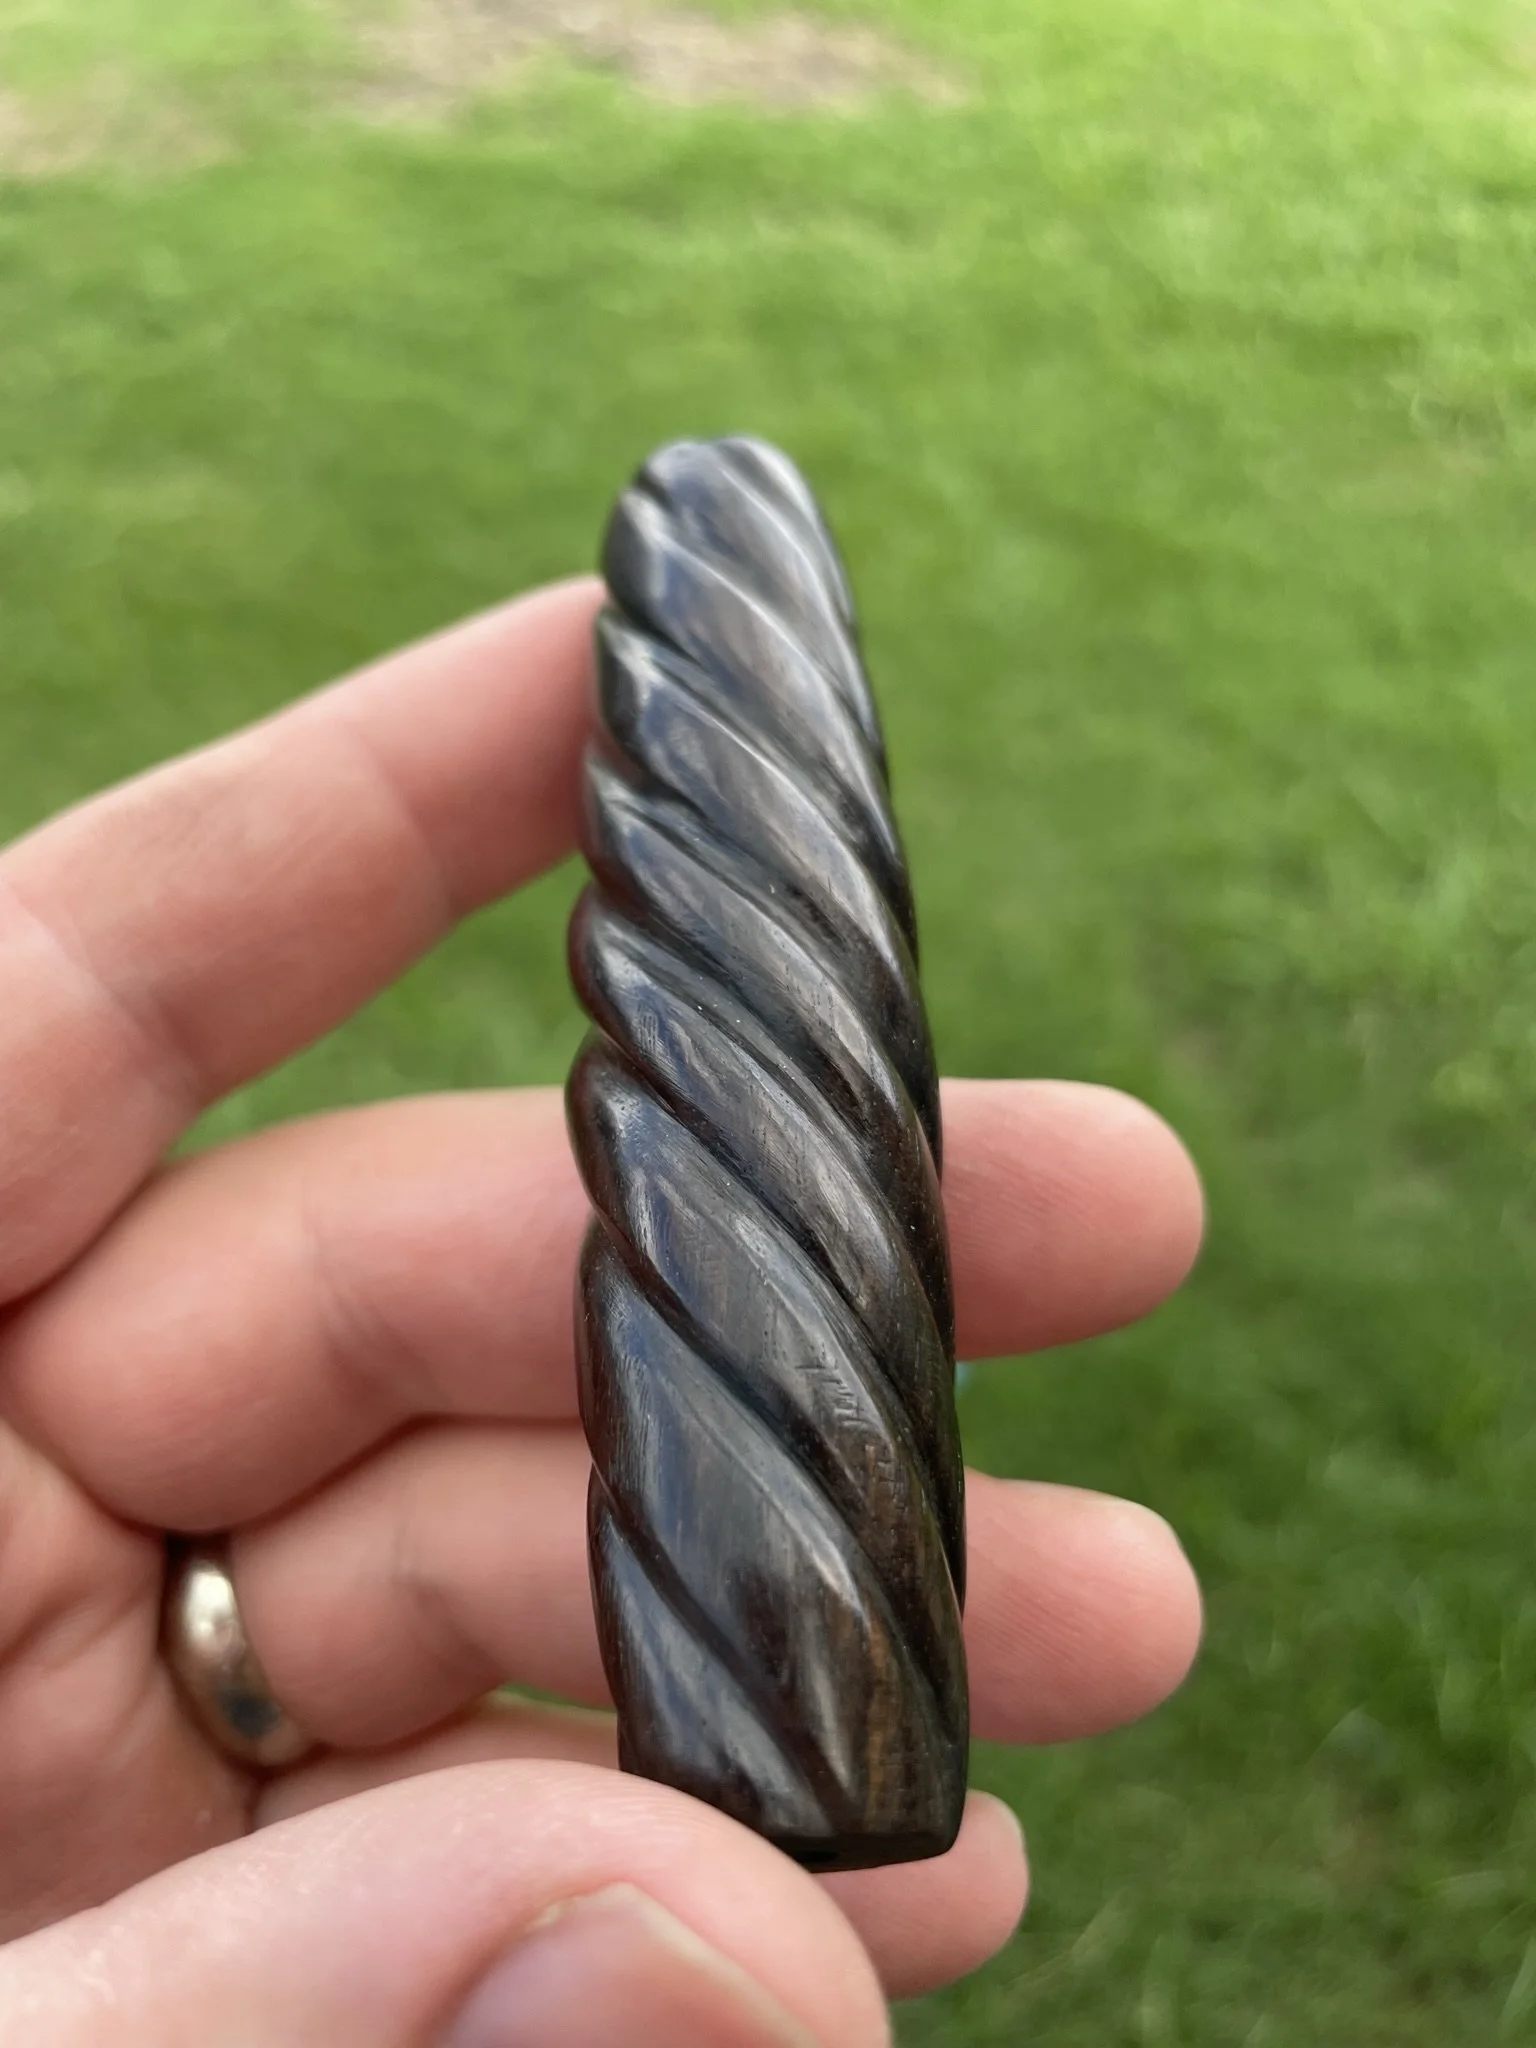
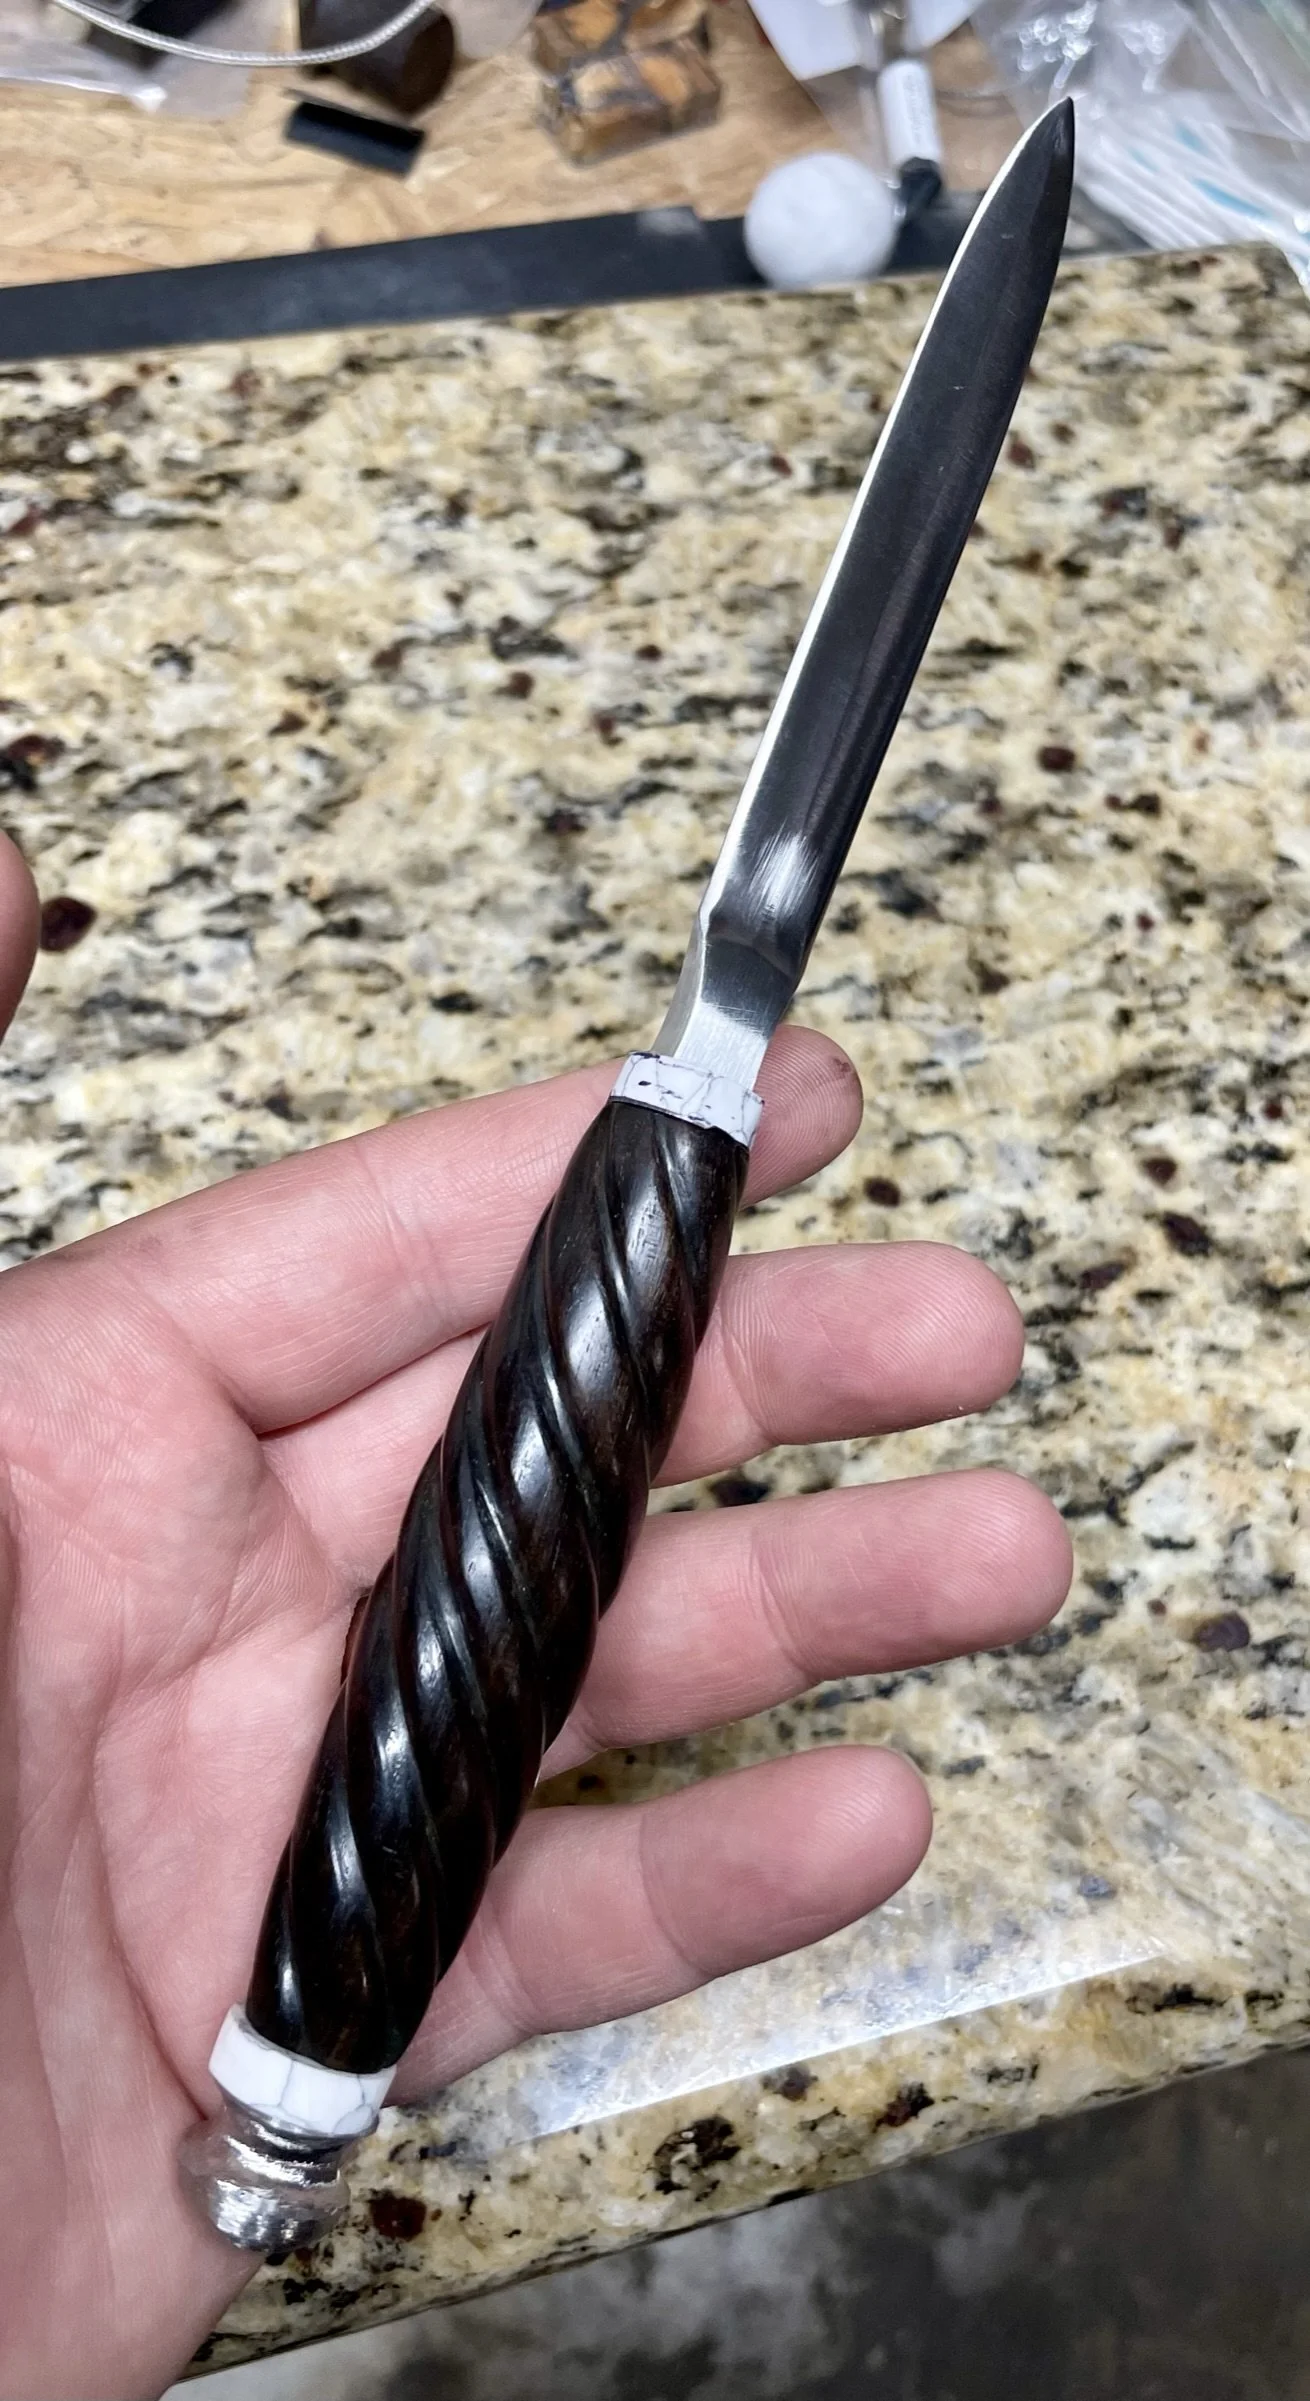
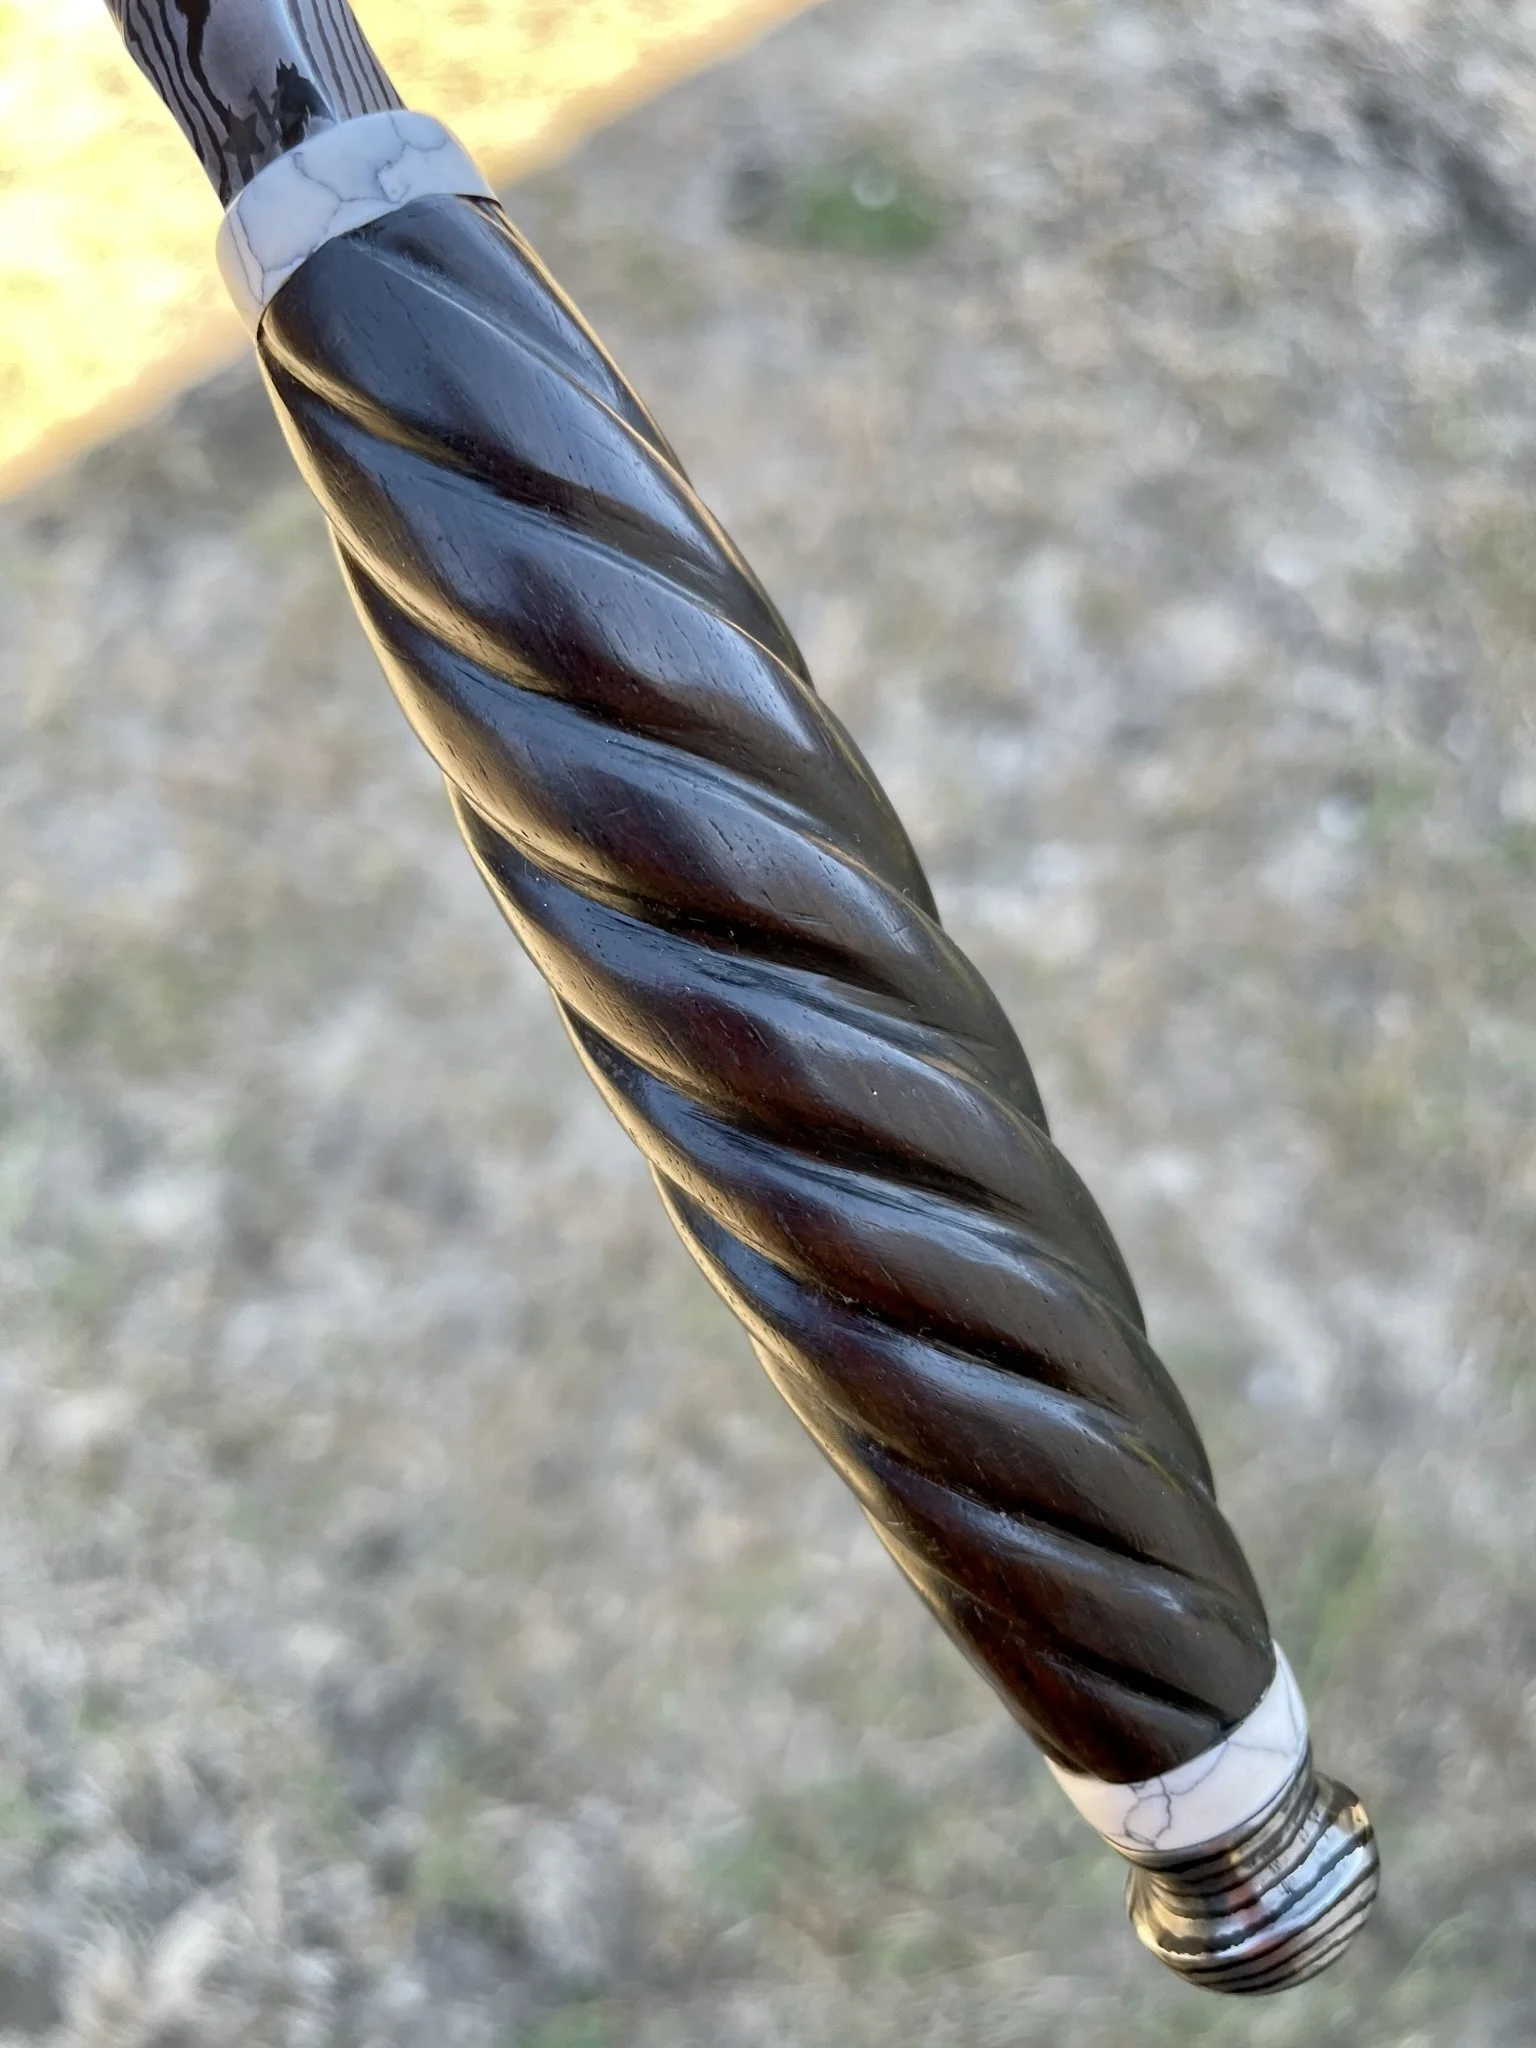
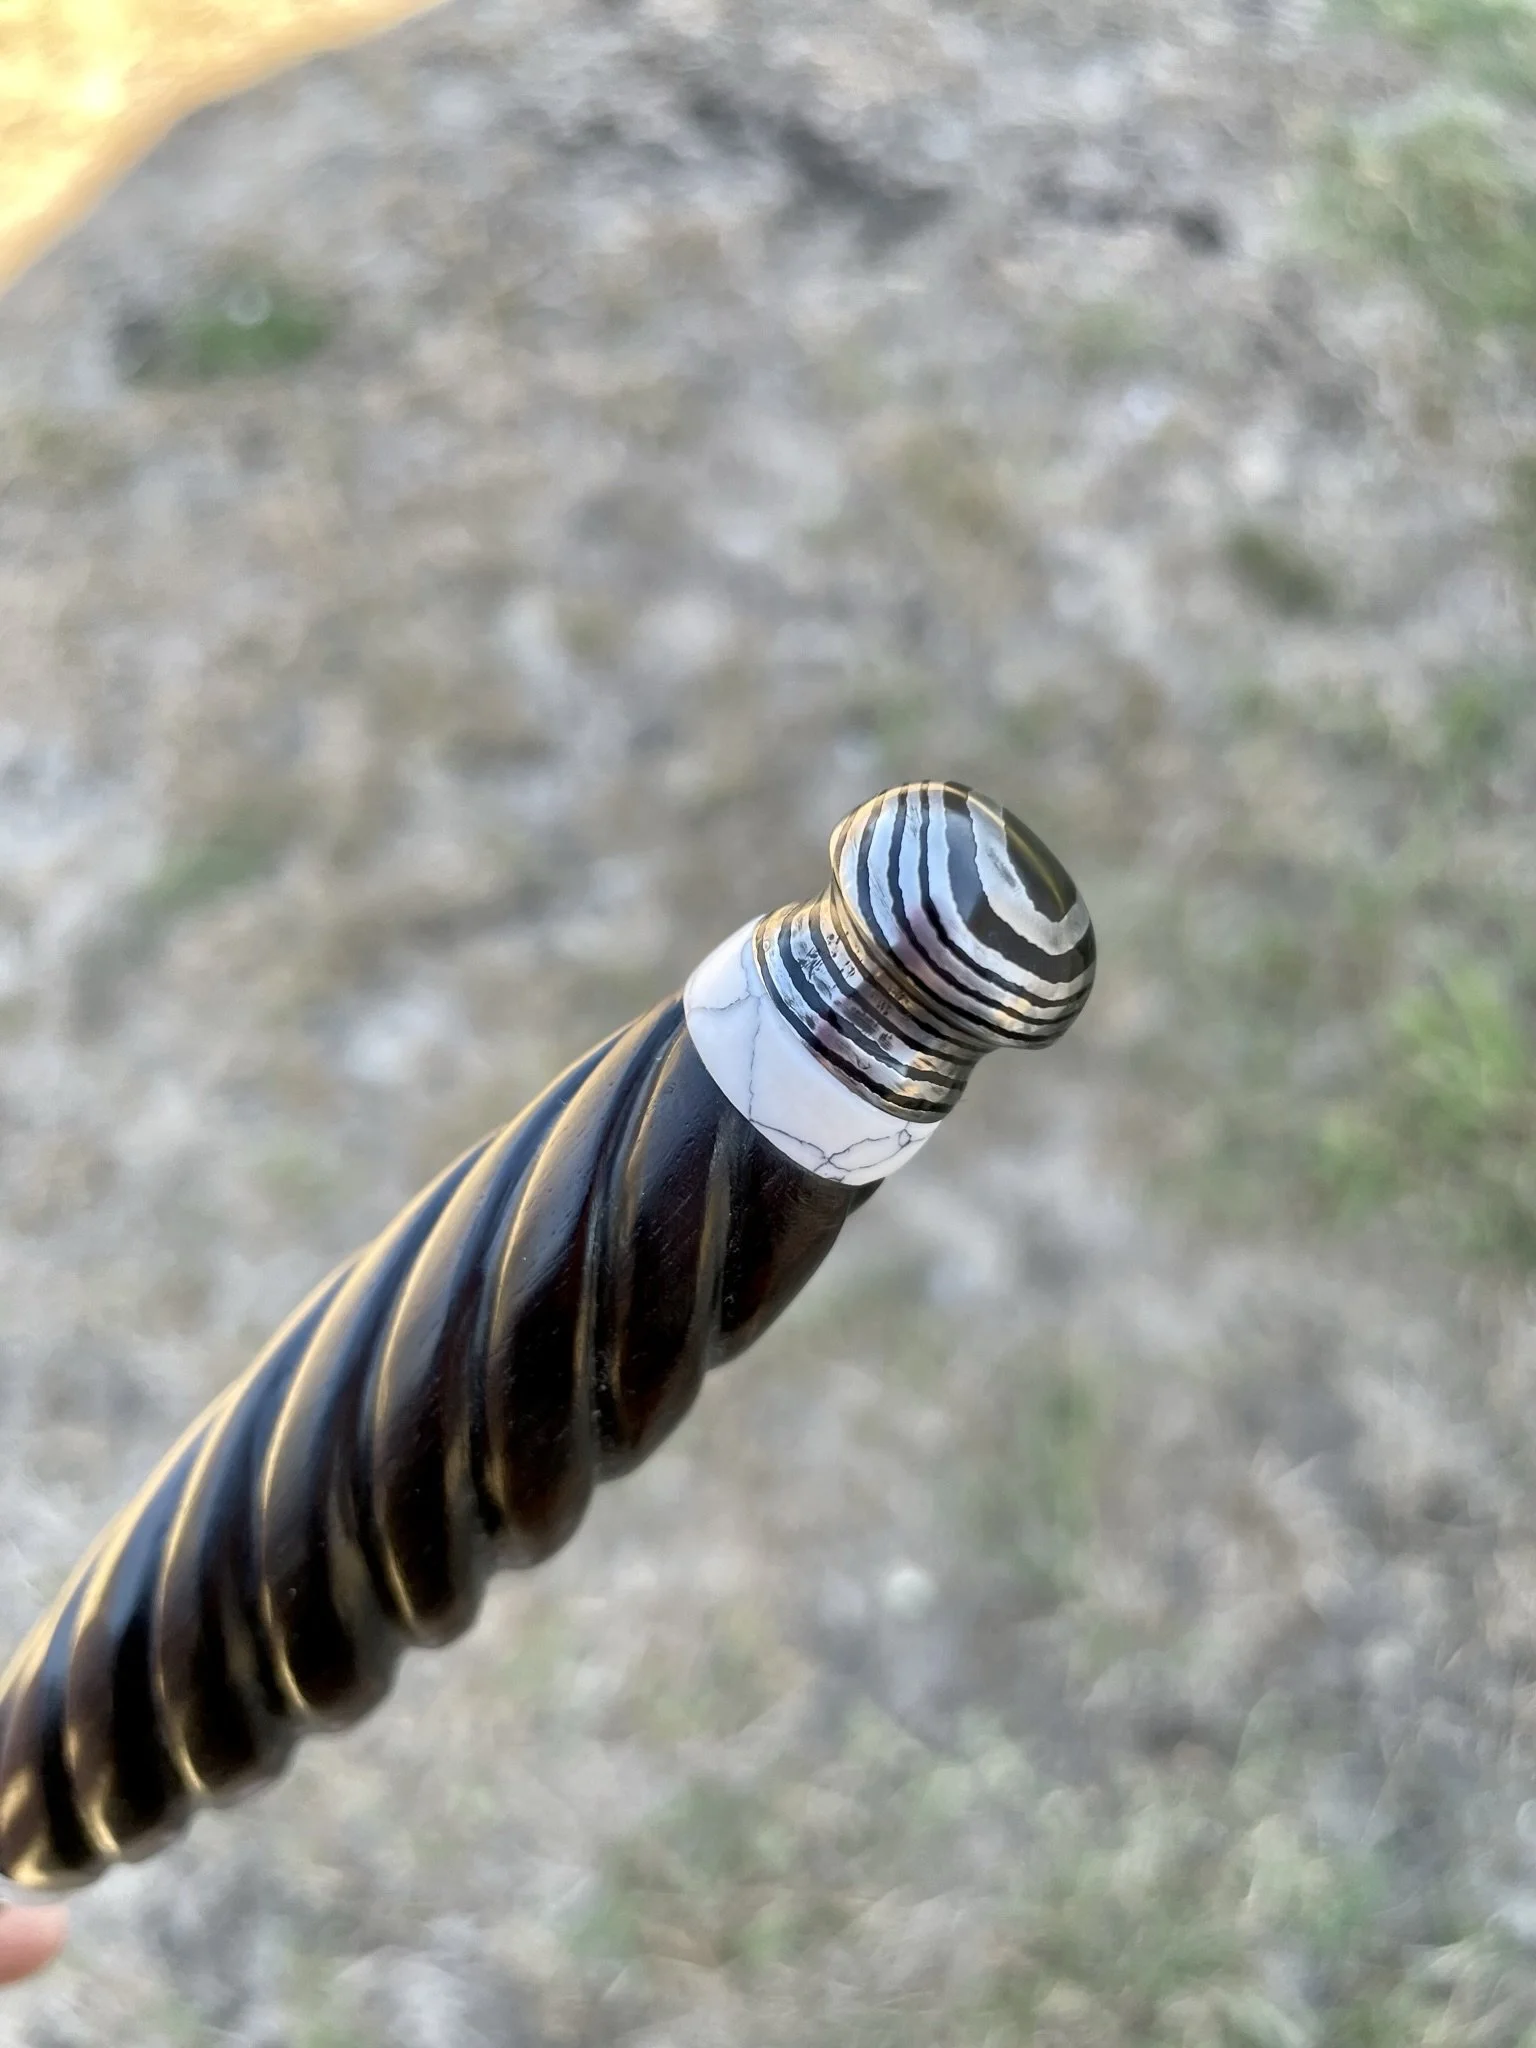
I decided to make it special by doing a fluted handle out of African blackwood. I had another friend turn it down round for me and hand carved the flutes.
-
Widening the flutes with a file and trying my best to keep them straight.
-
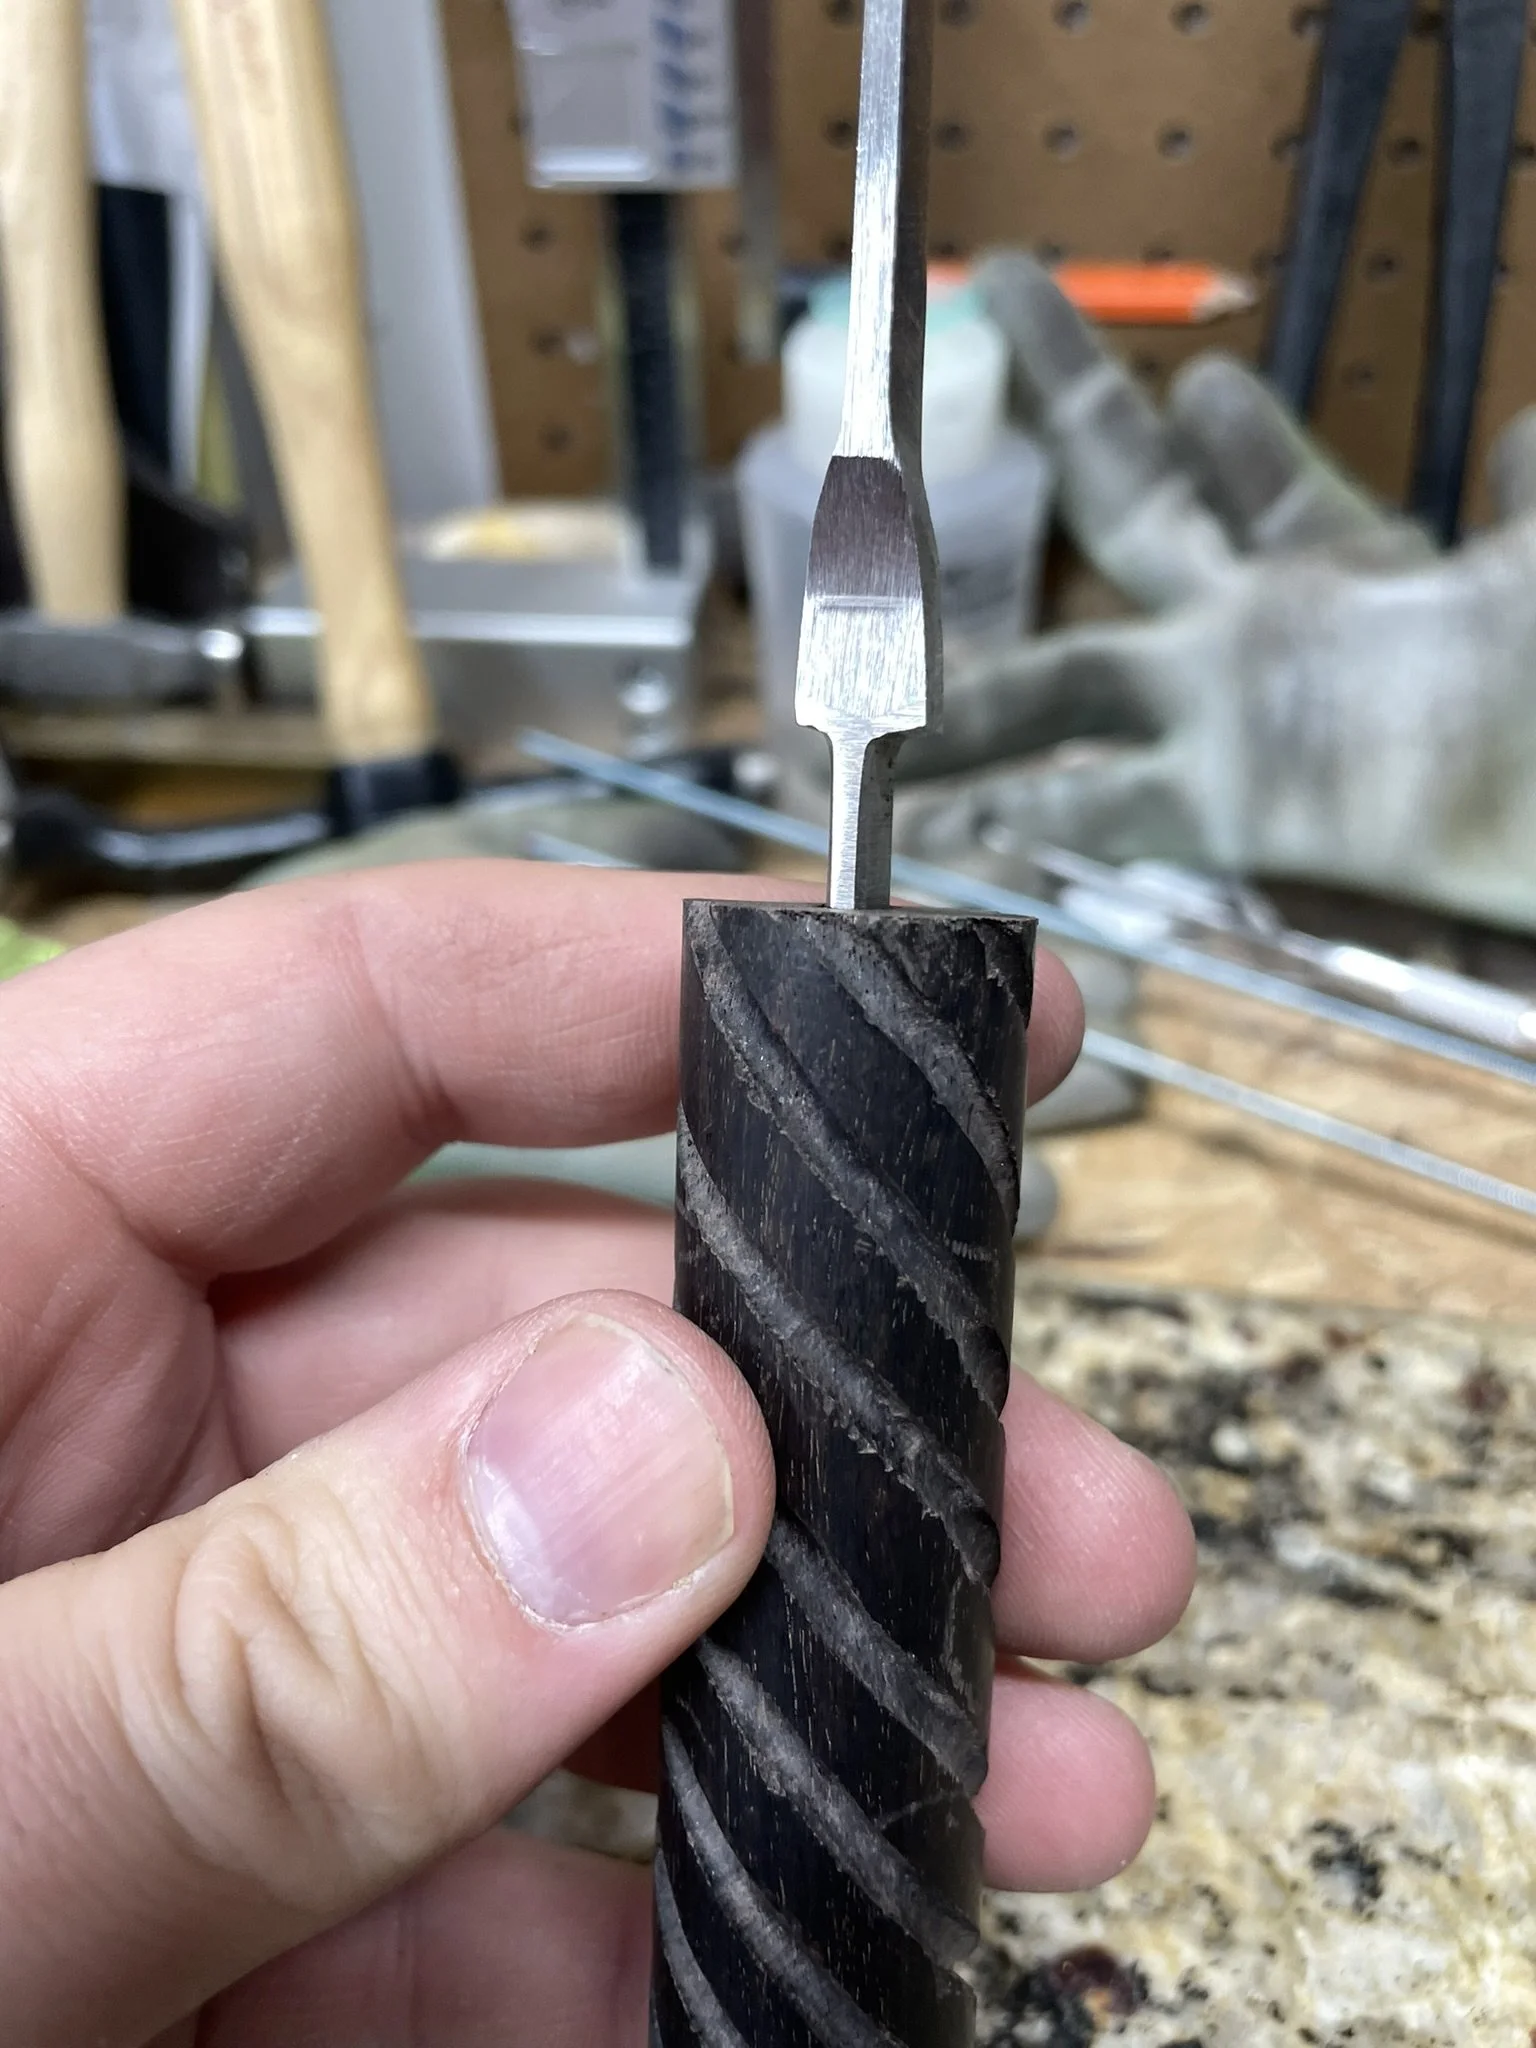
Looking decent, but lots of work still ahead.
-
Test fit up.
-
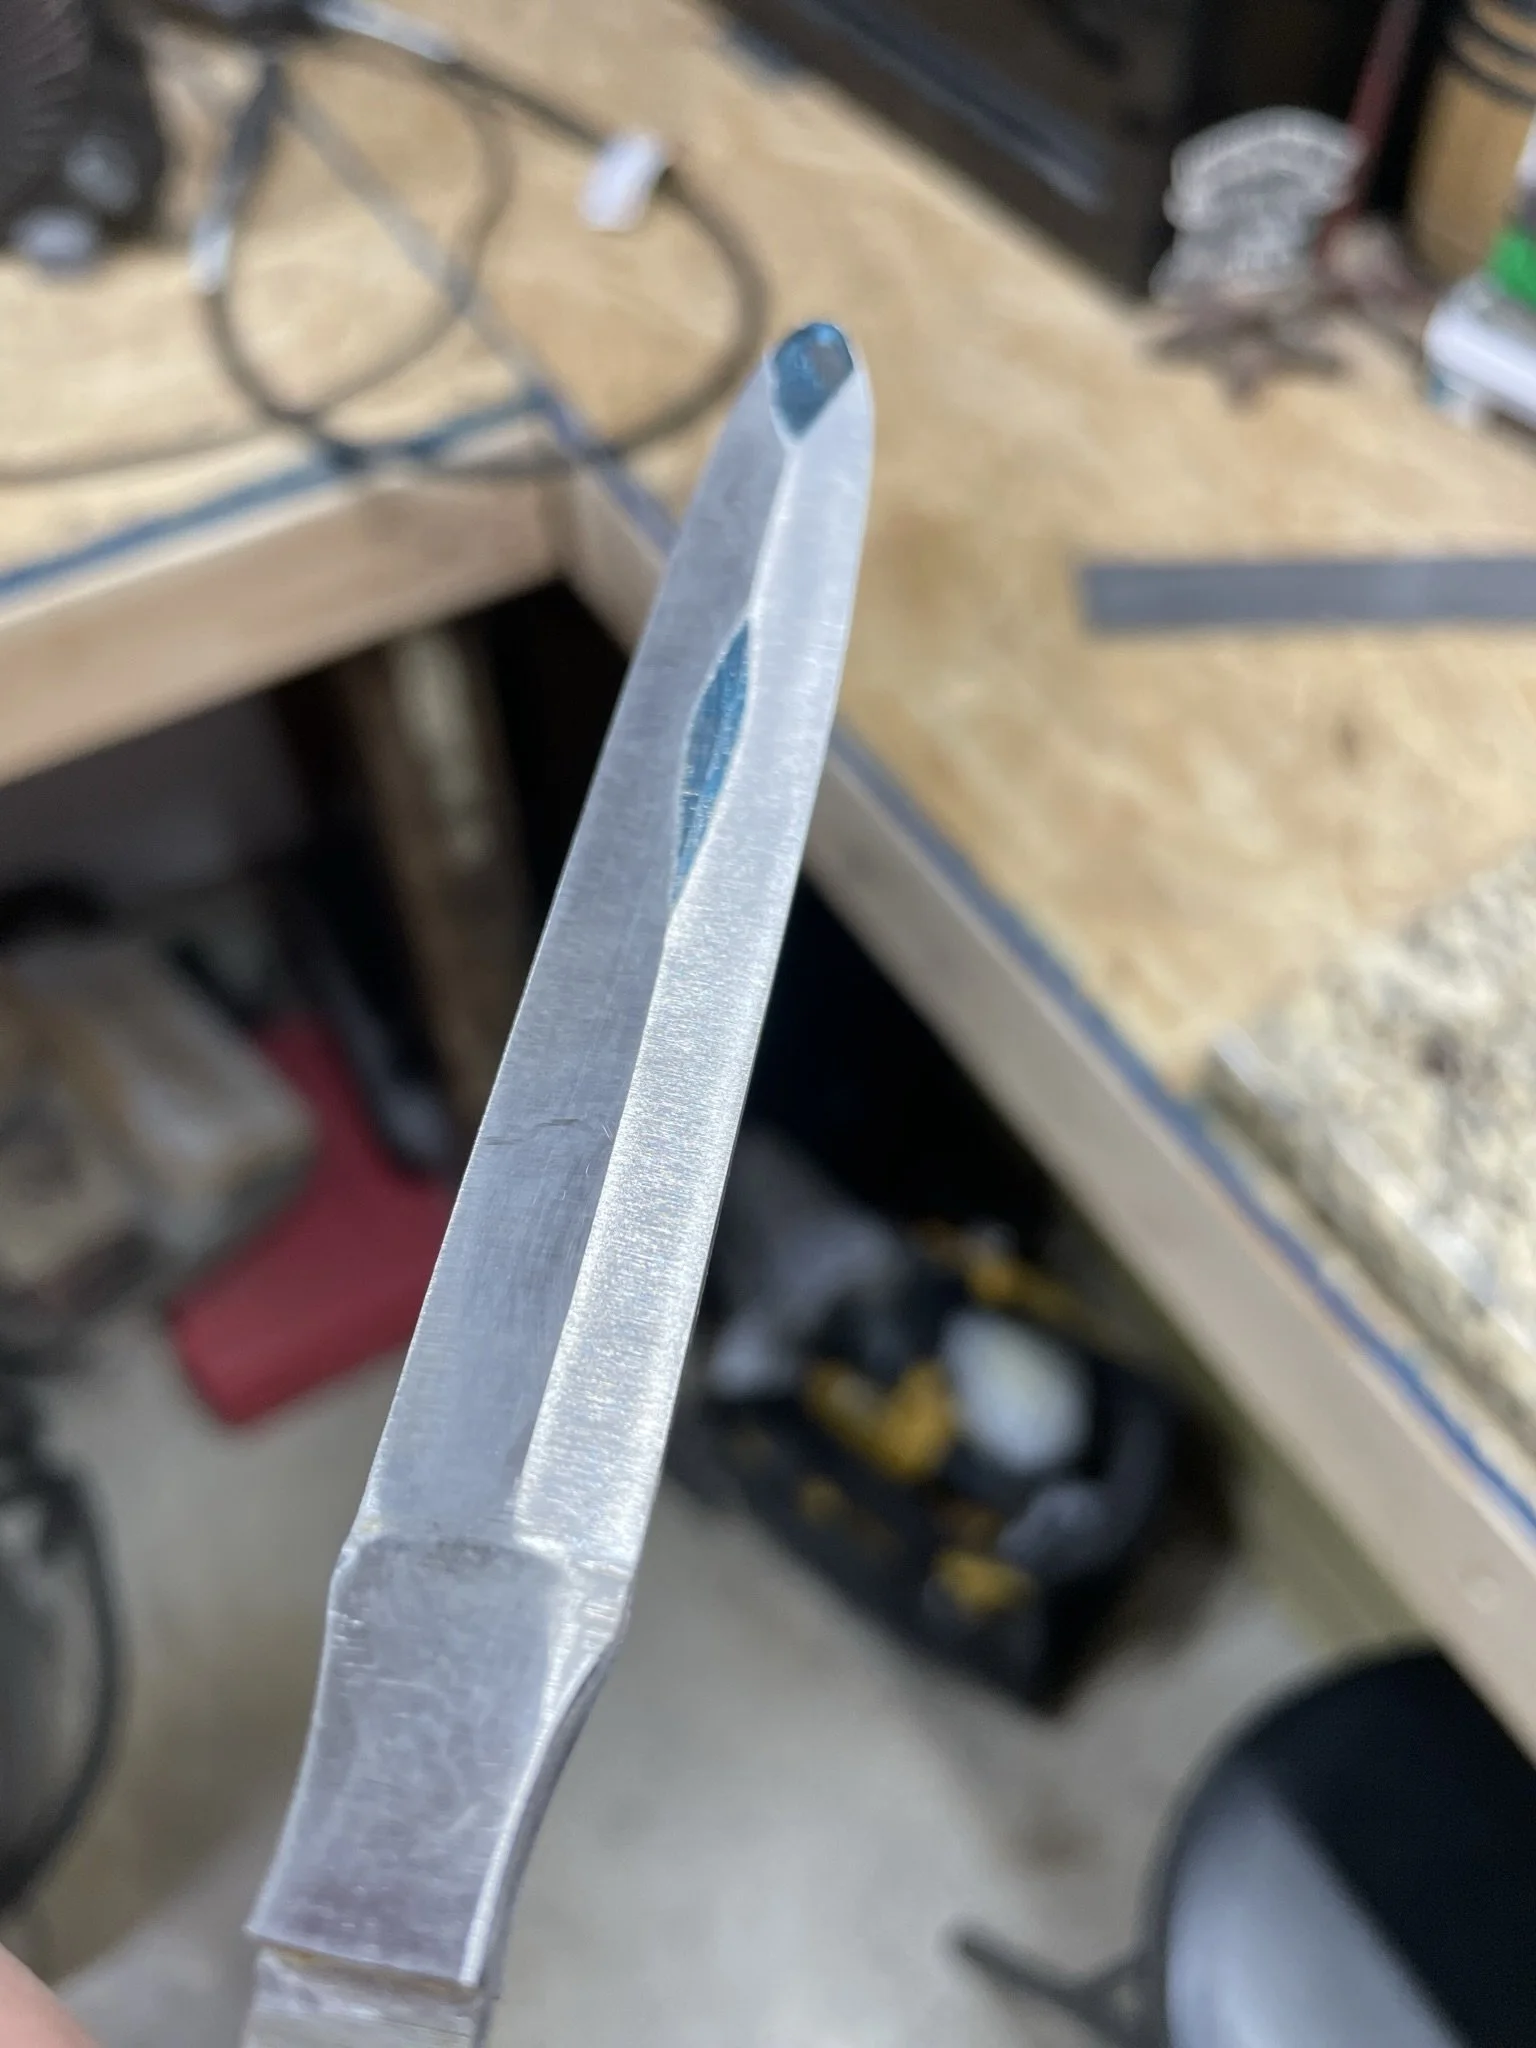
Rough grind on the blade. It had to be super shallow since it was a letter opener.
-
Overall size and shape.
-
Flutes looking better and decided to add a true-stone spacer.
-
Overall view after hand sanding.
-
Something special about African blackwood is that it's an oily hardwood. This glossy coat is just from buffing - no finish.
-
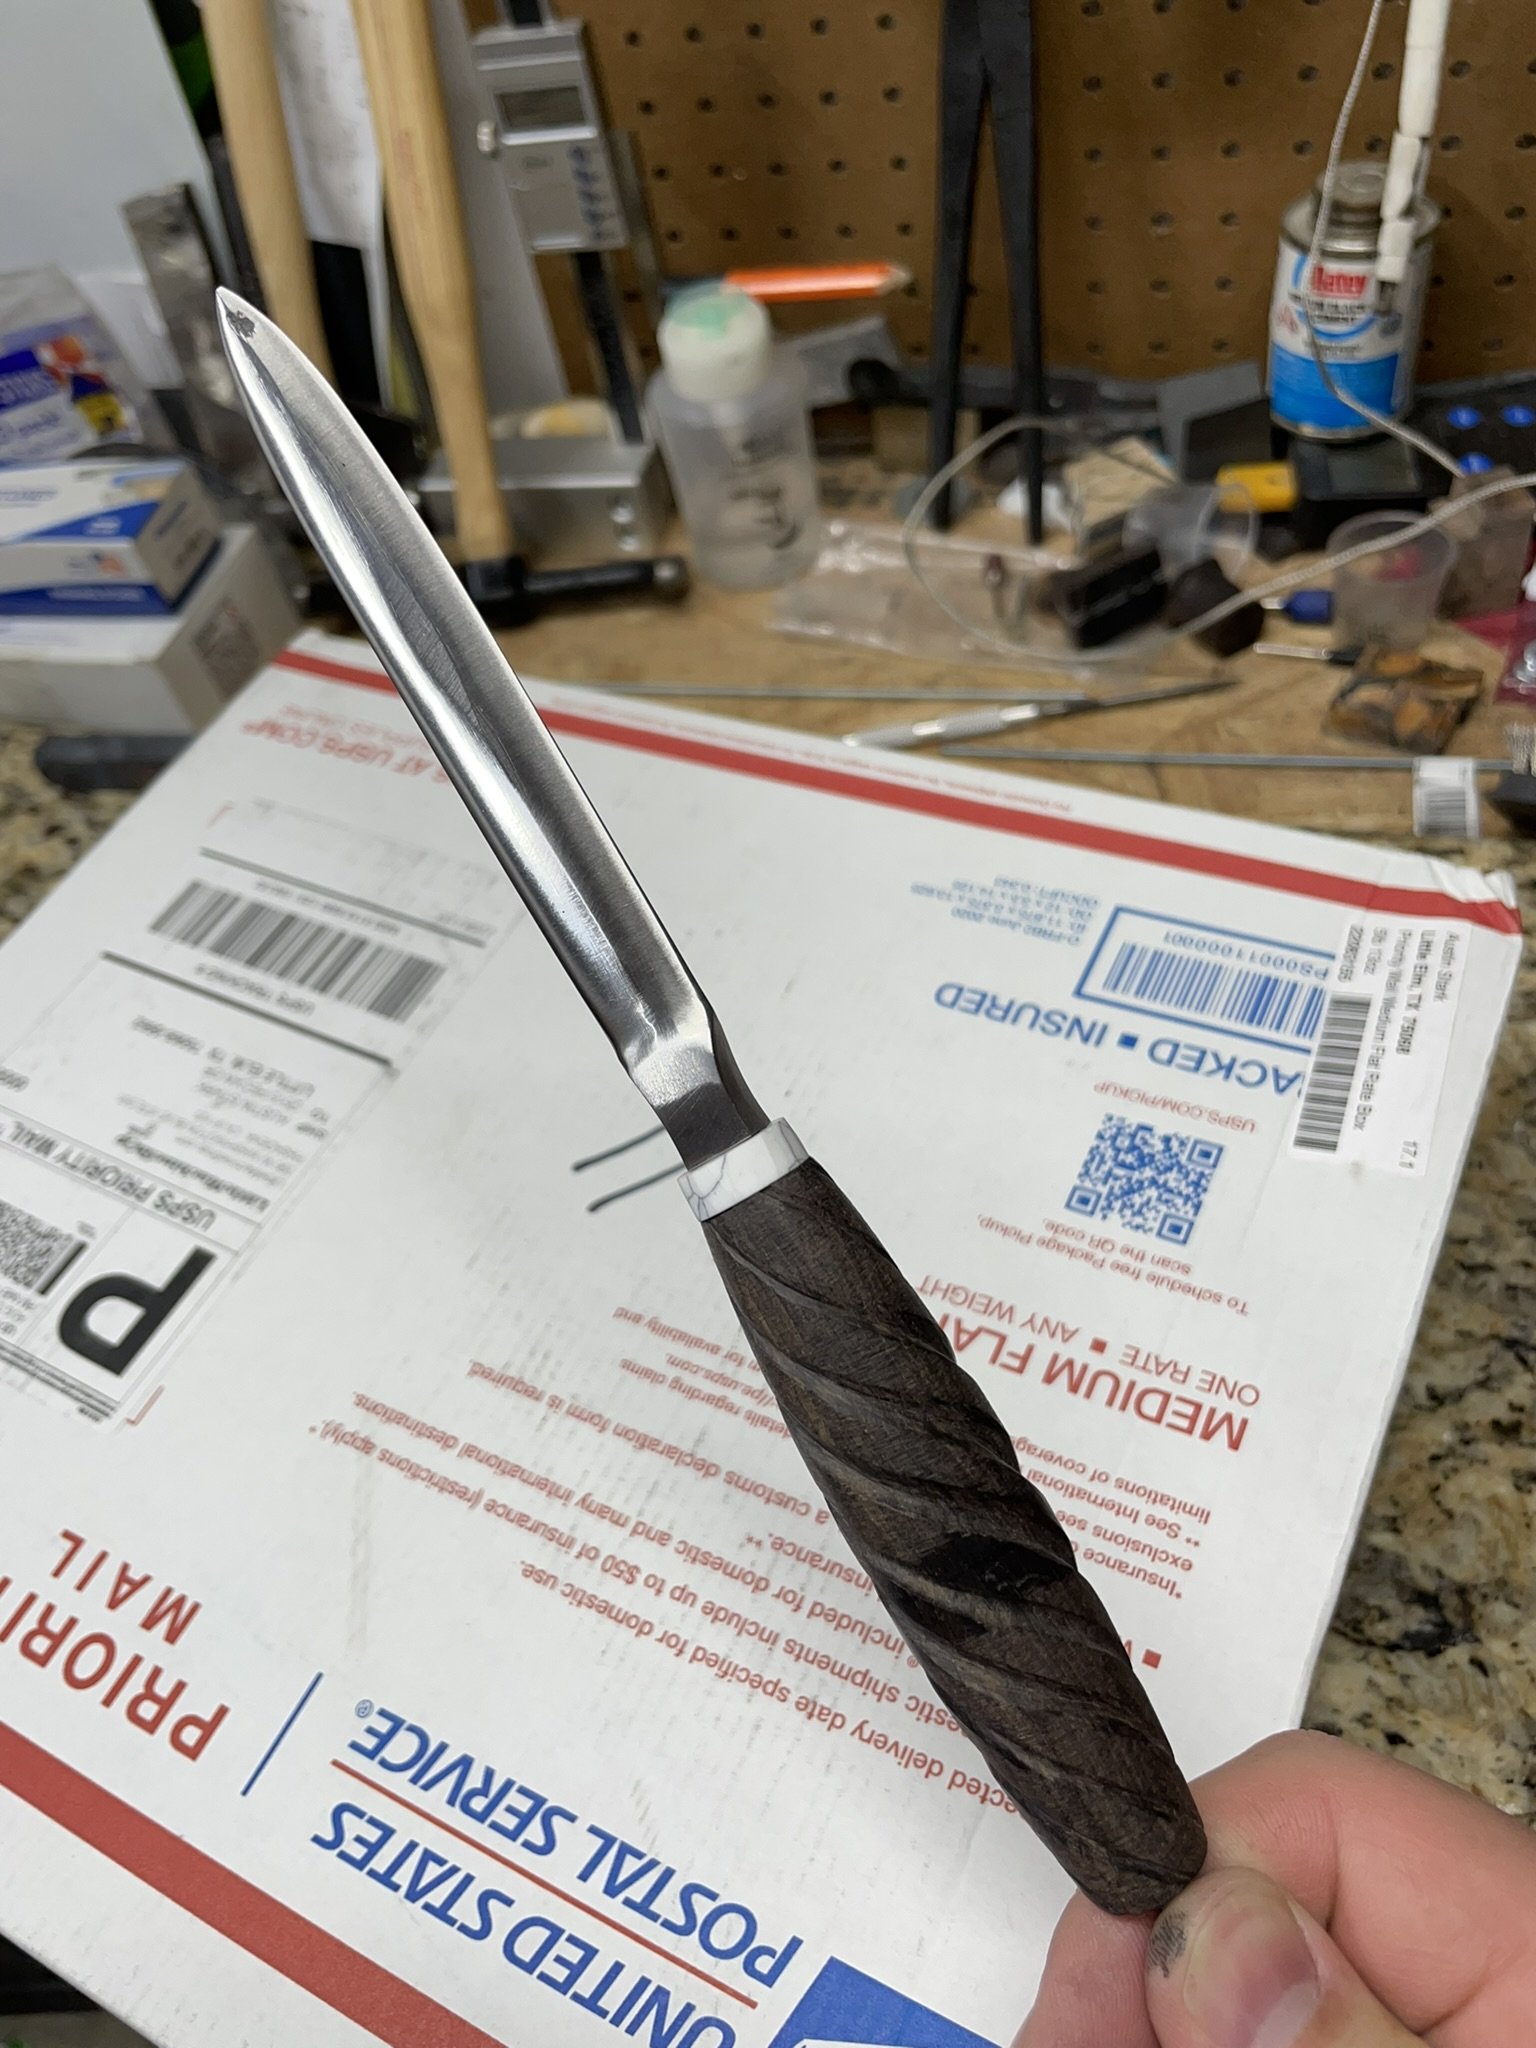
Assembled and pretty.
-
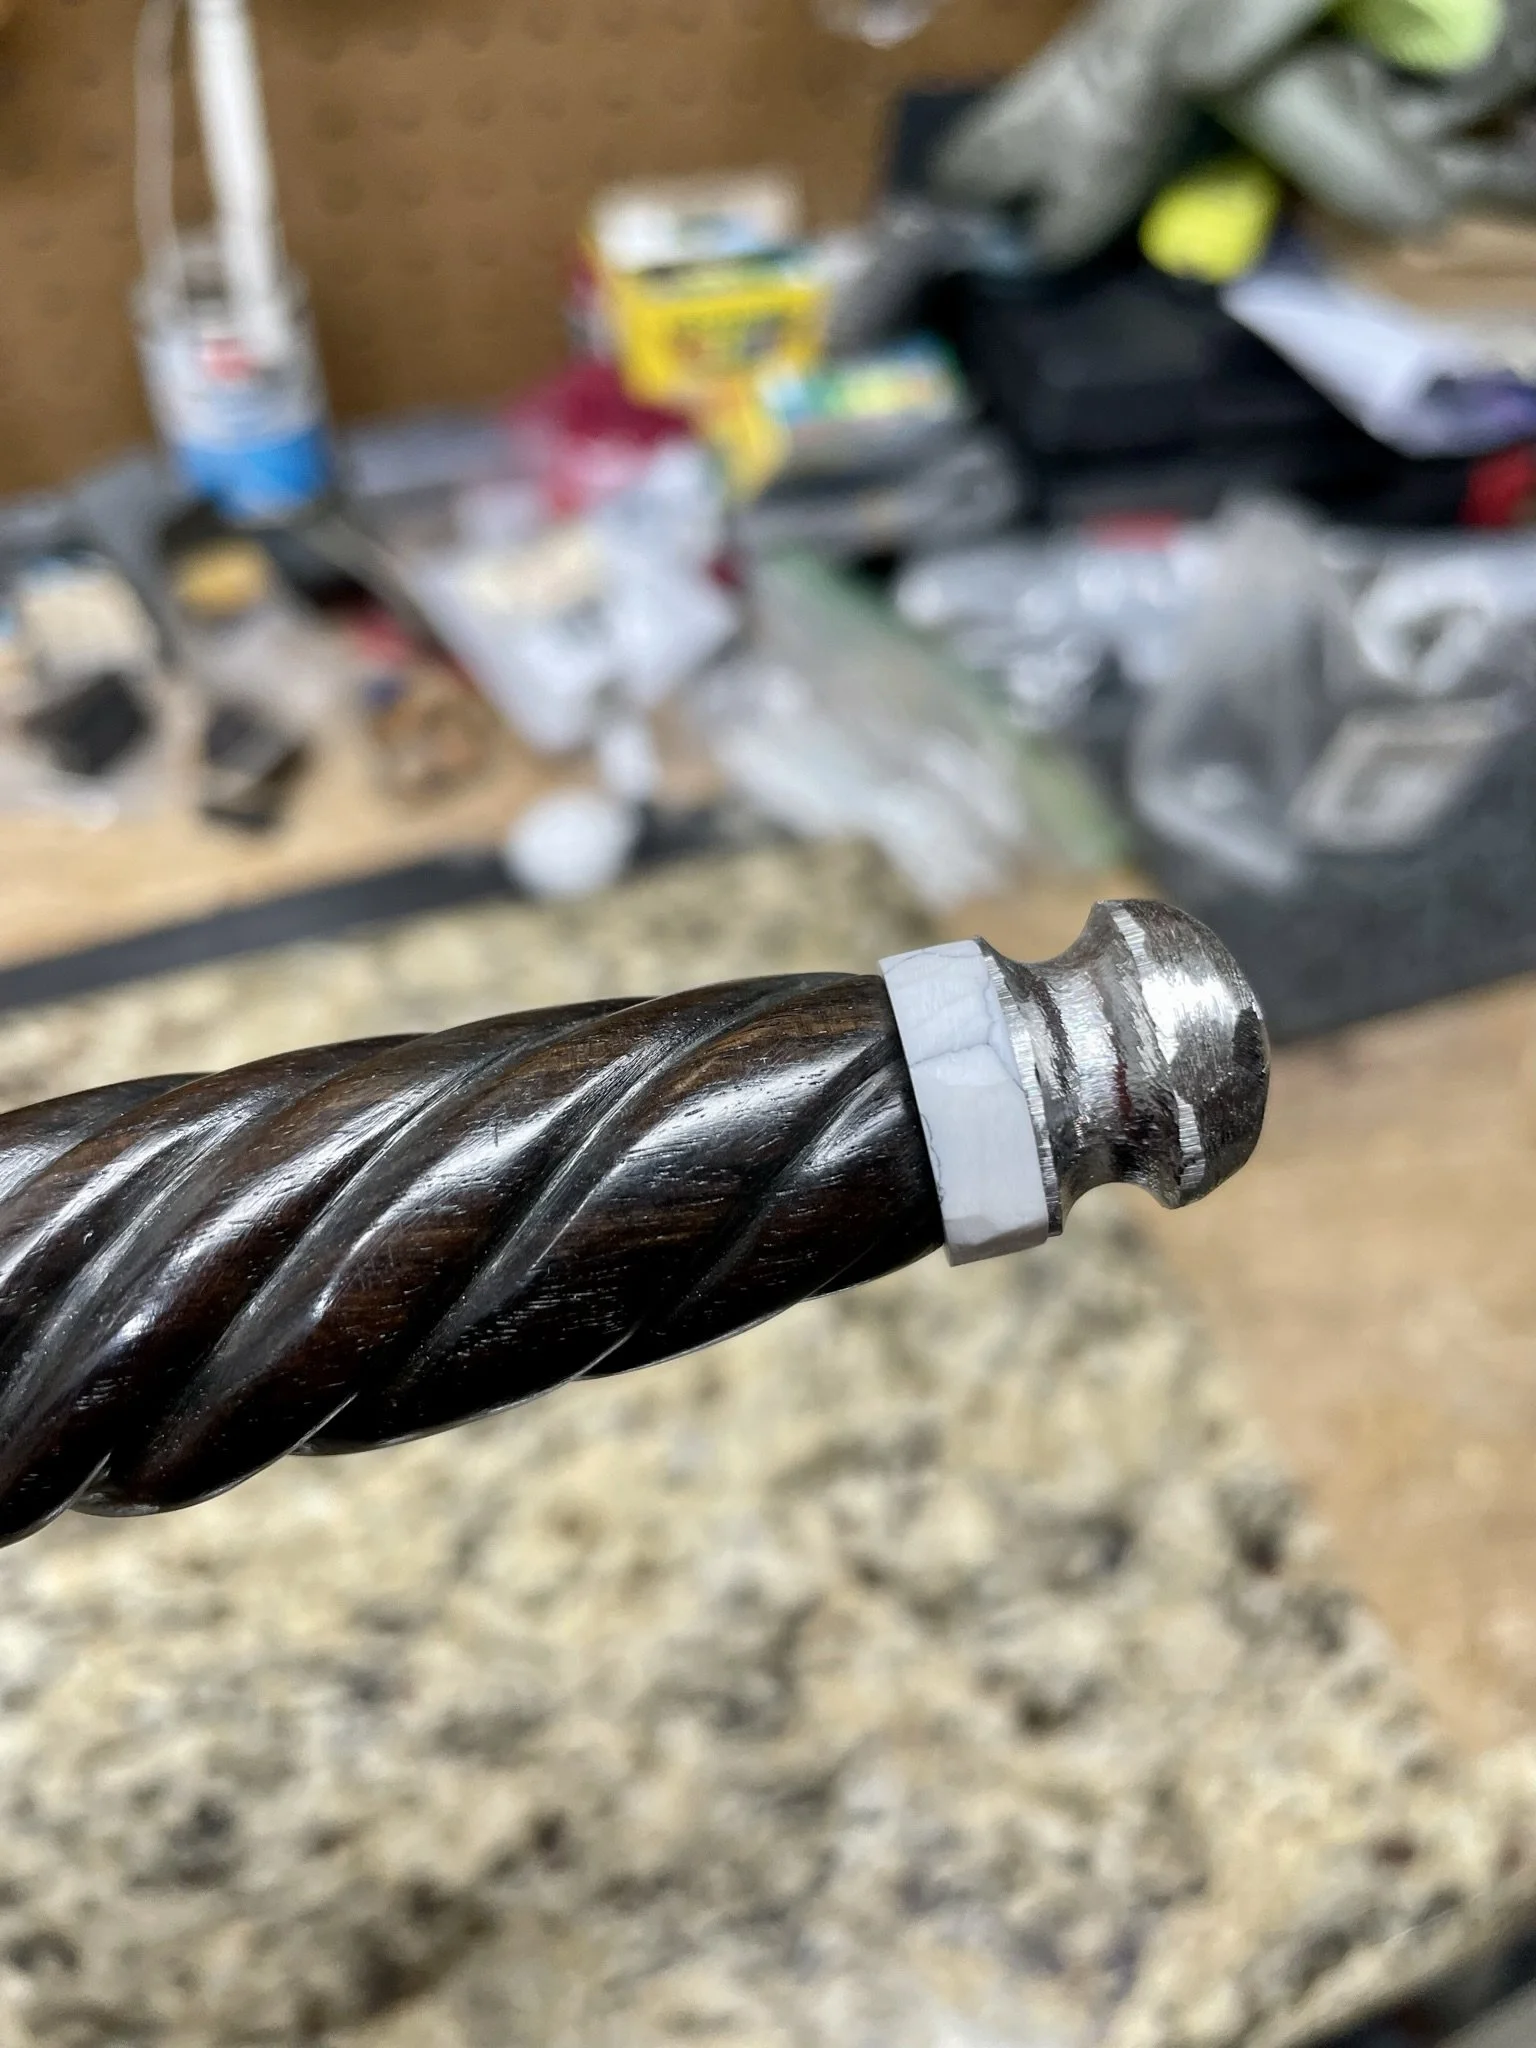
Assembled rough pommel.
-
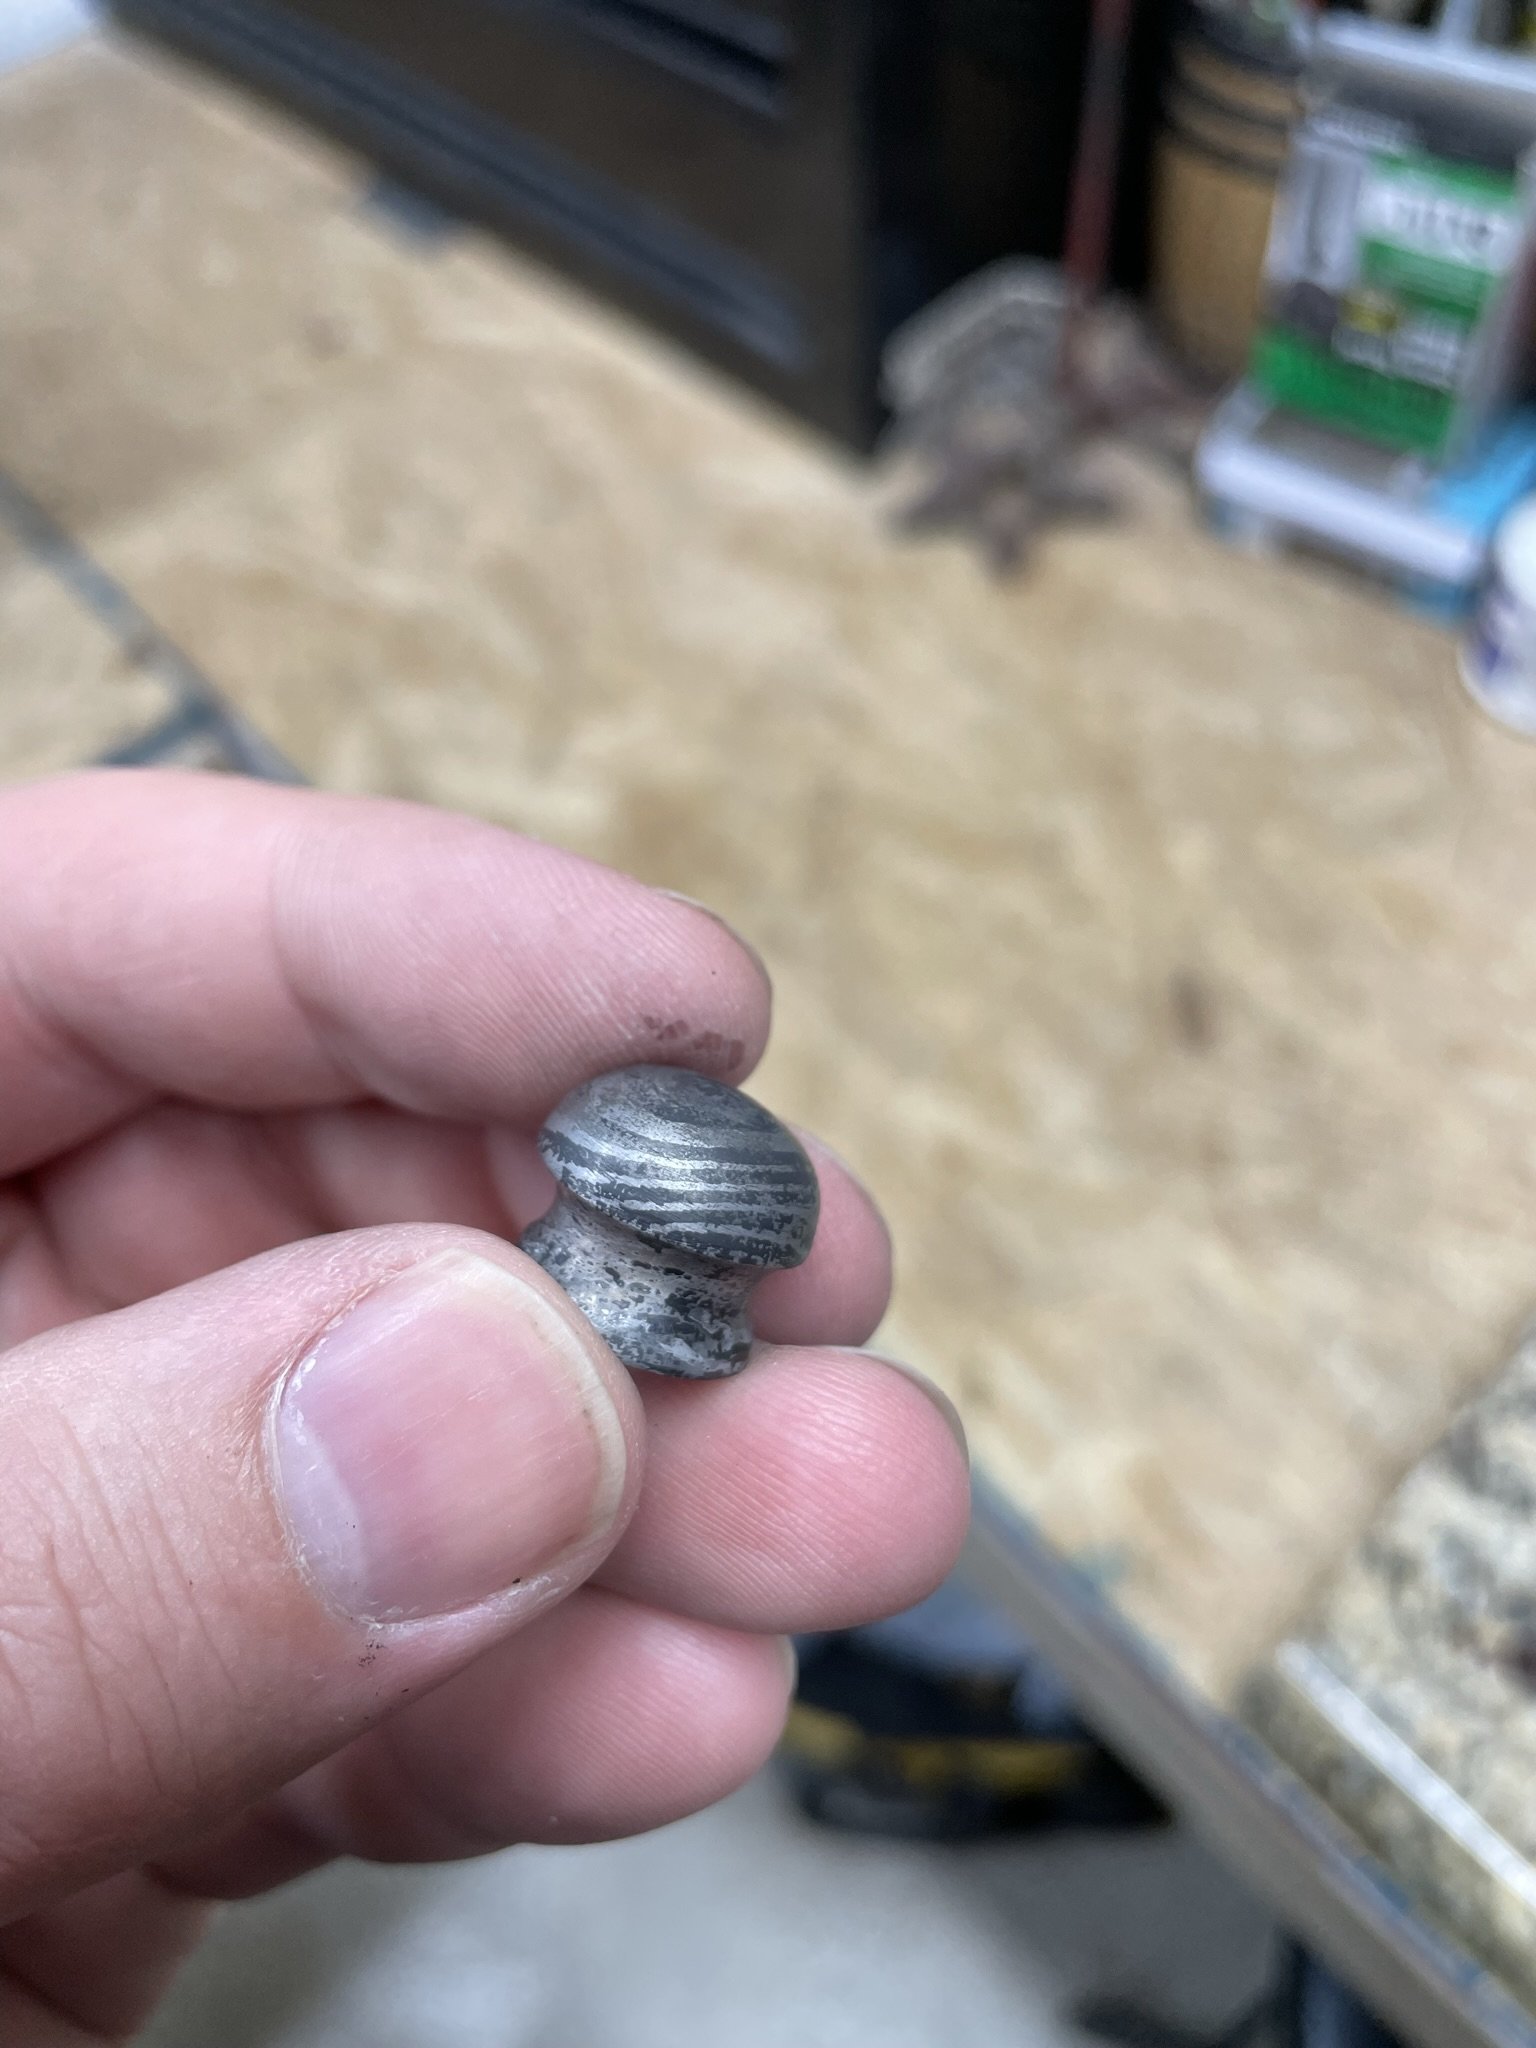
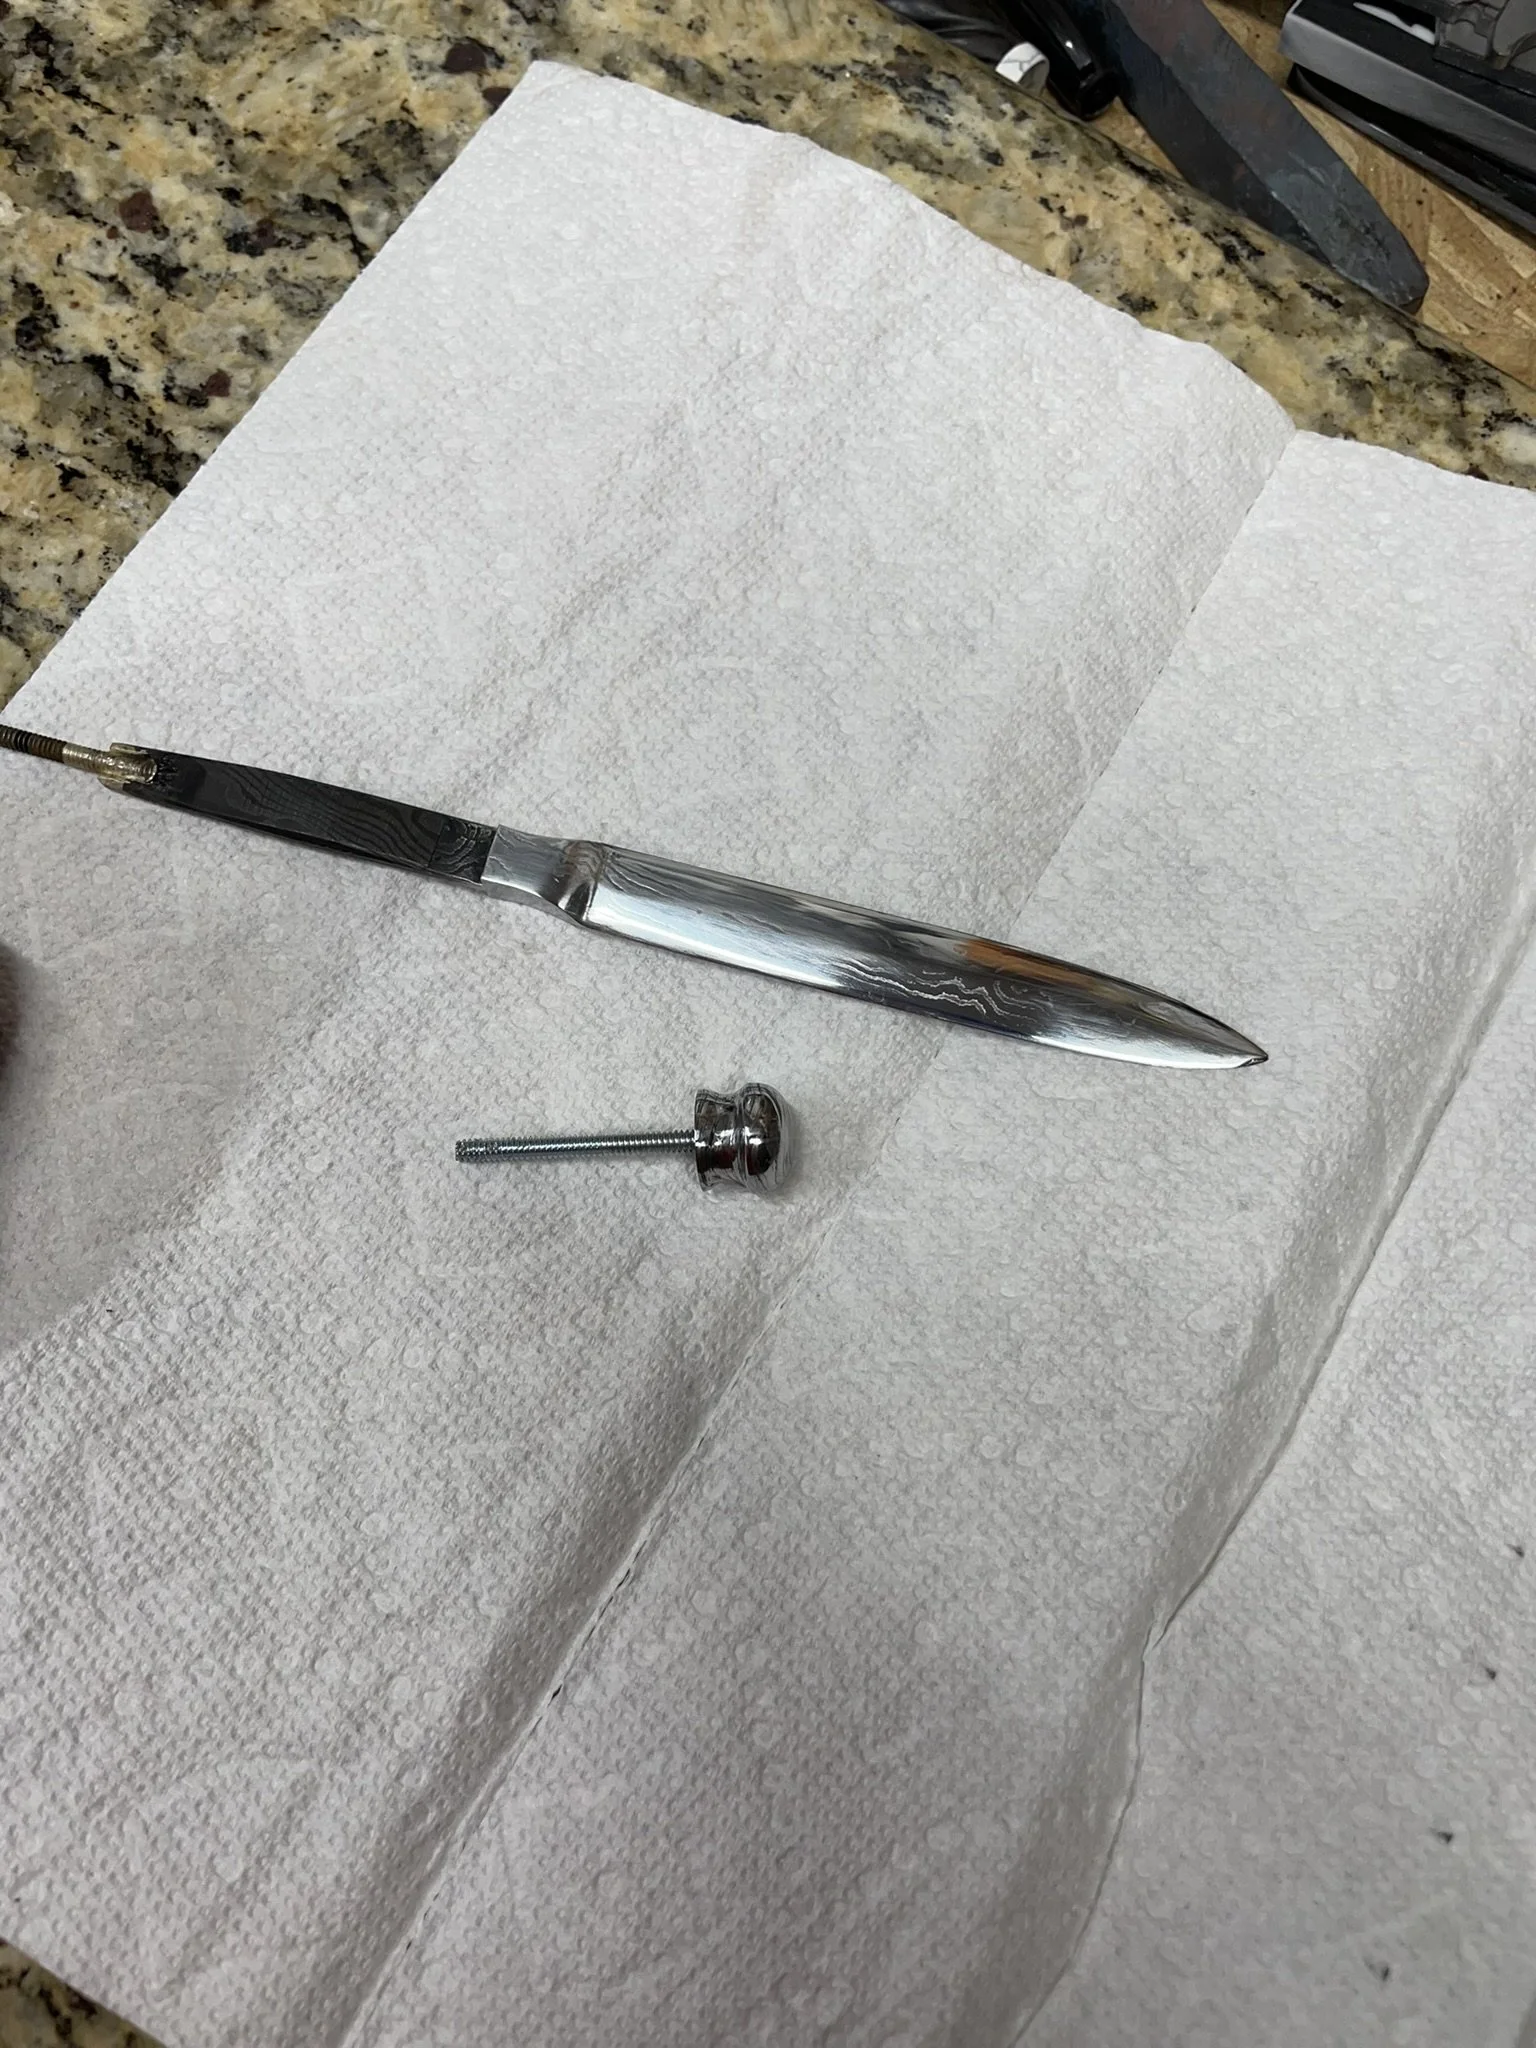
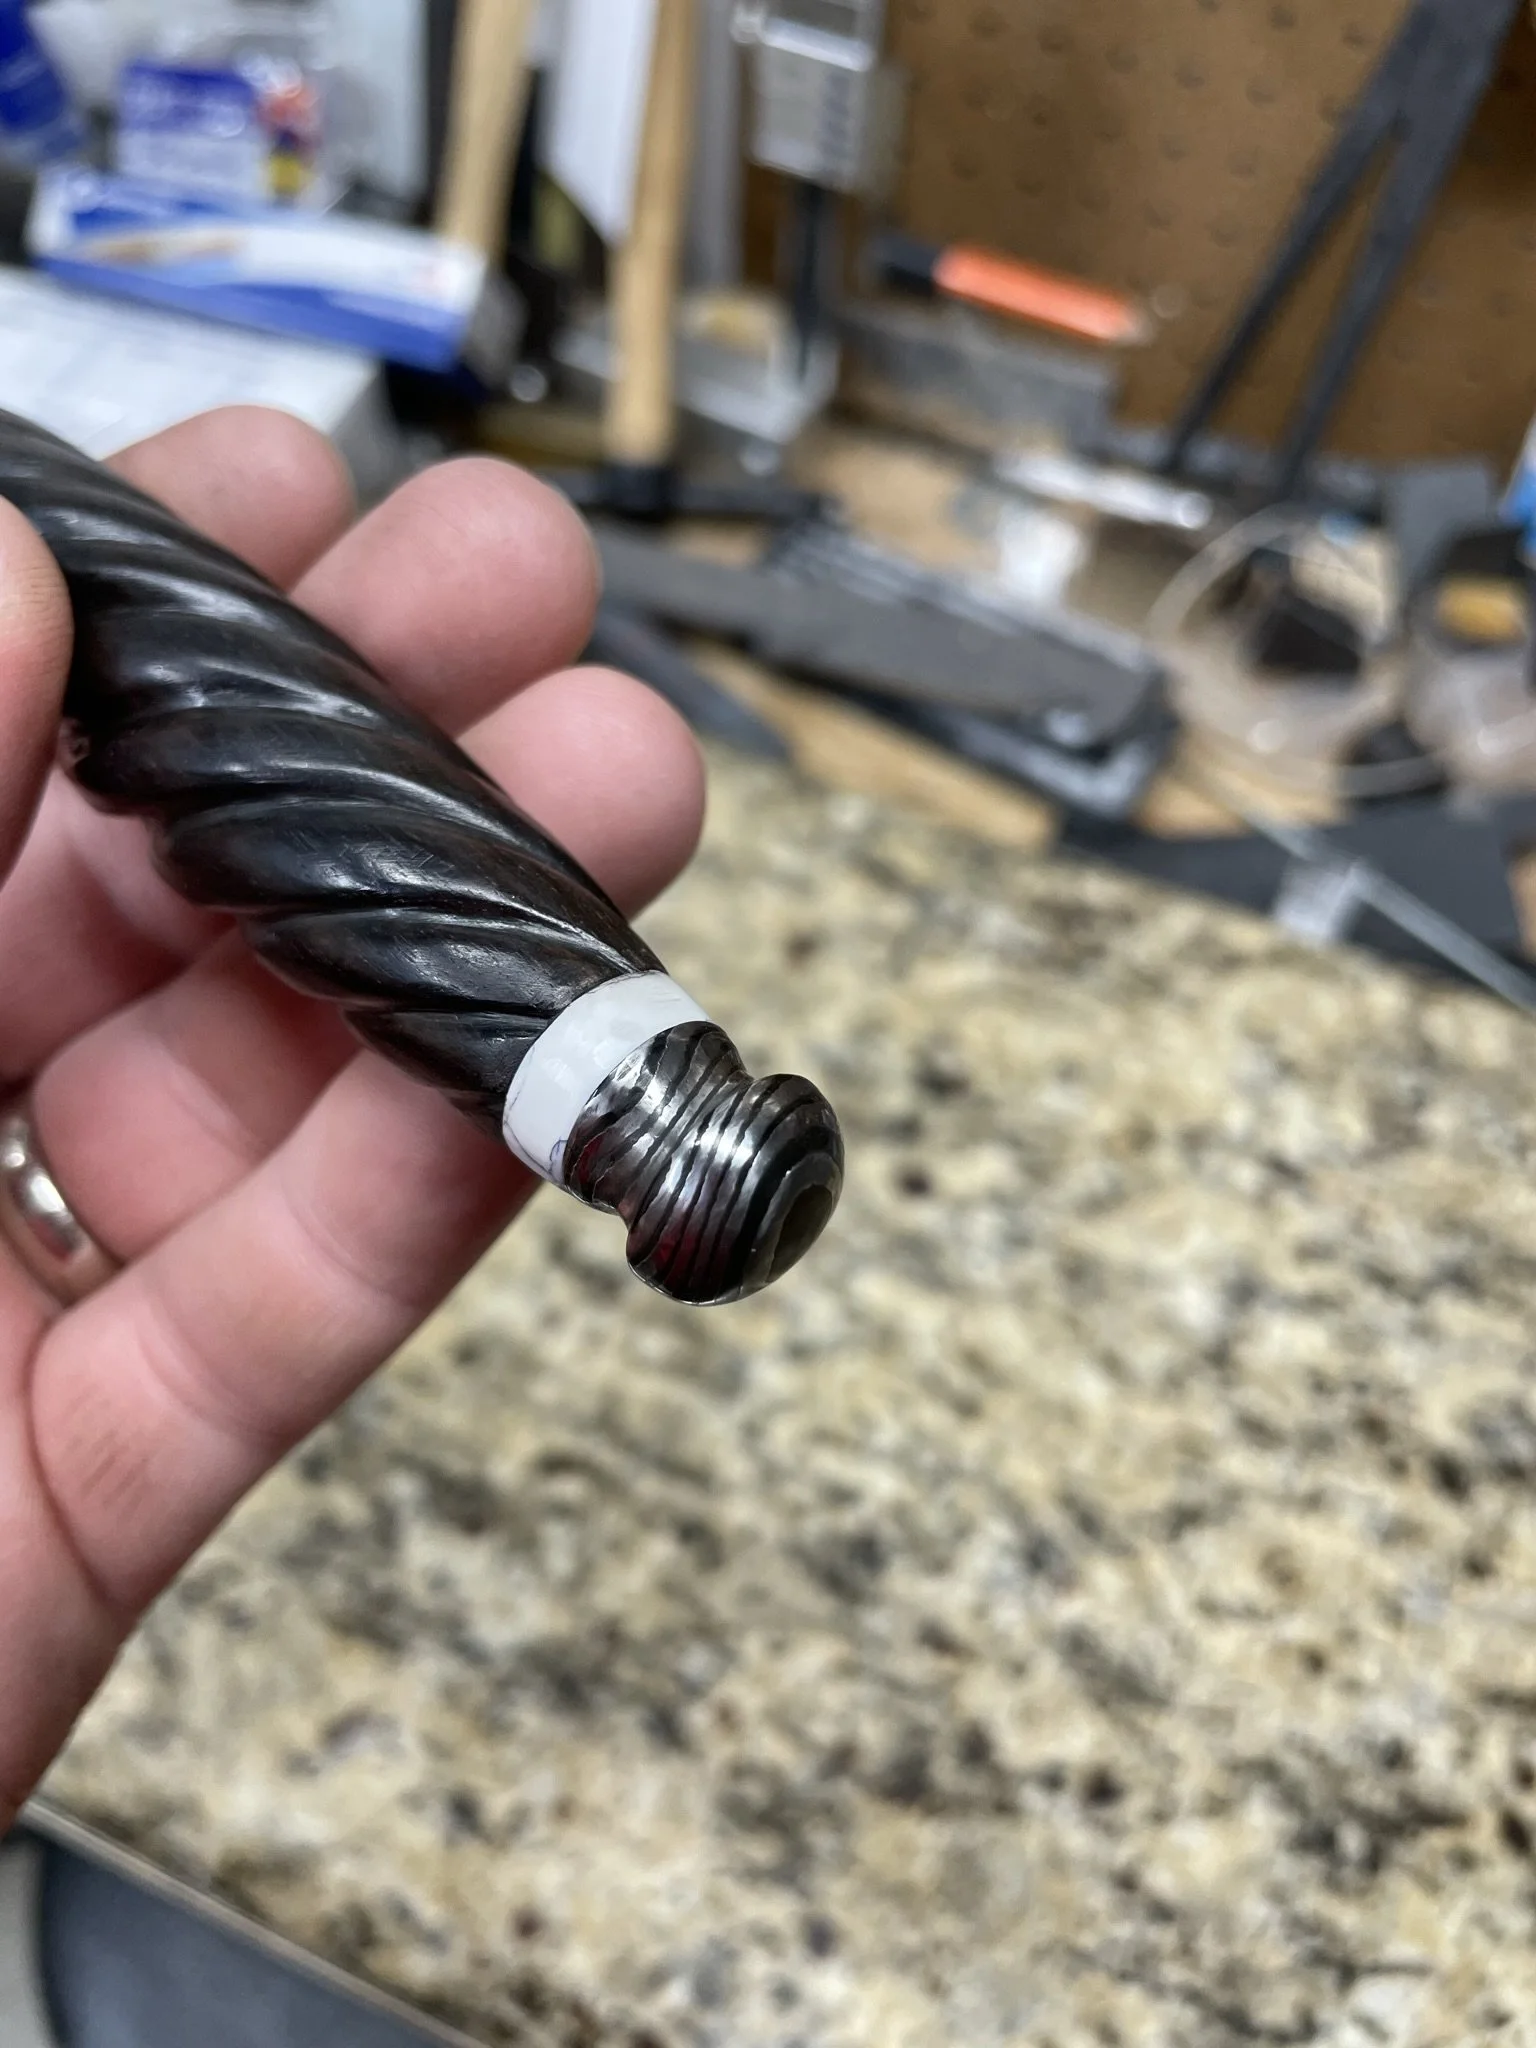
Heat treated pommel. Interesting thing about damascus - if you don't heat treat it, it will only end up gray after etch. You need to heat treat it to get those deep blacks.
-
Blade and pommel sanded and ready for etch.
-
Post etch and coffee etch.
-
Final letter opener.
-
Final pommel.
-
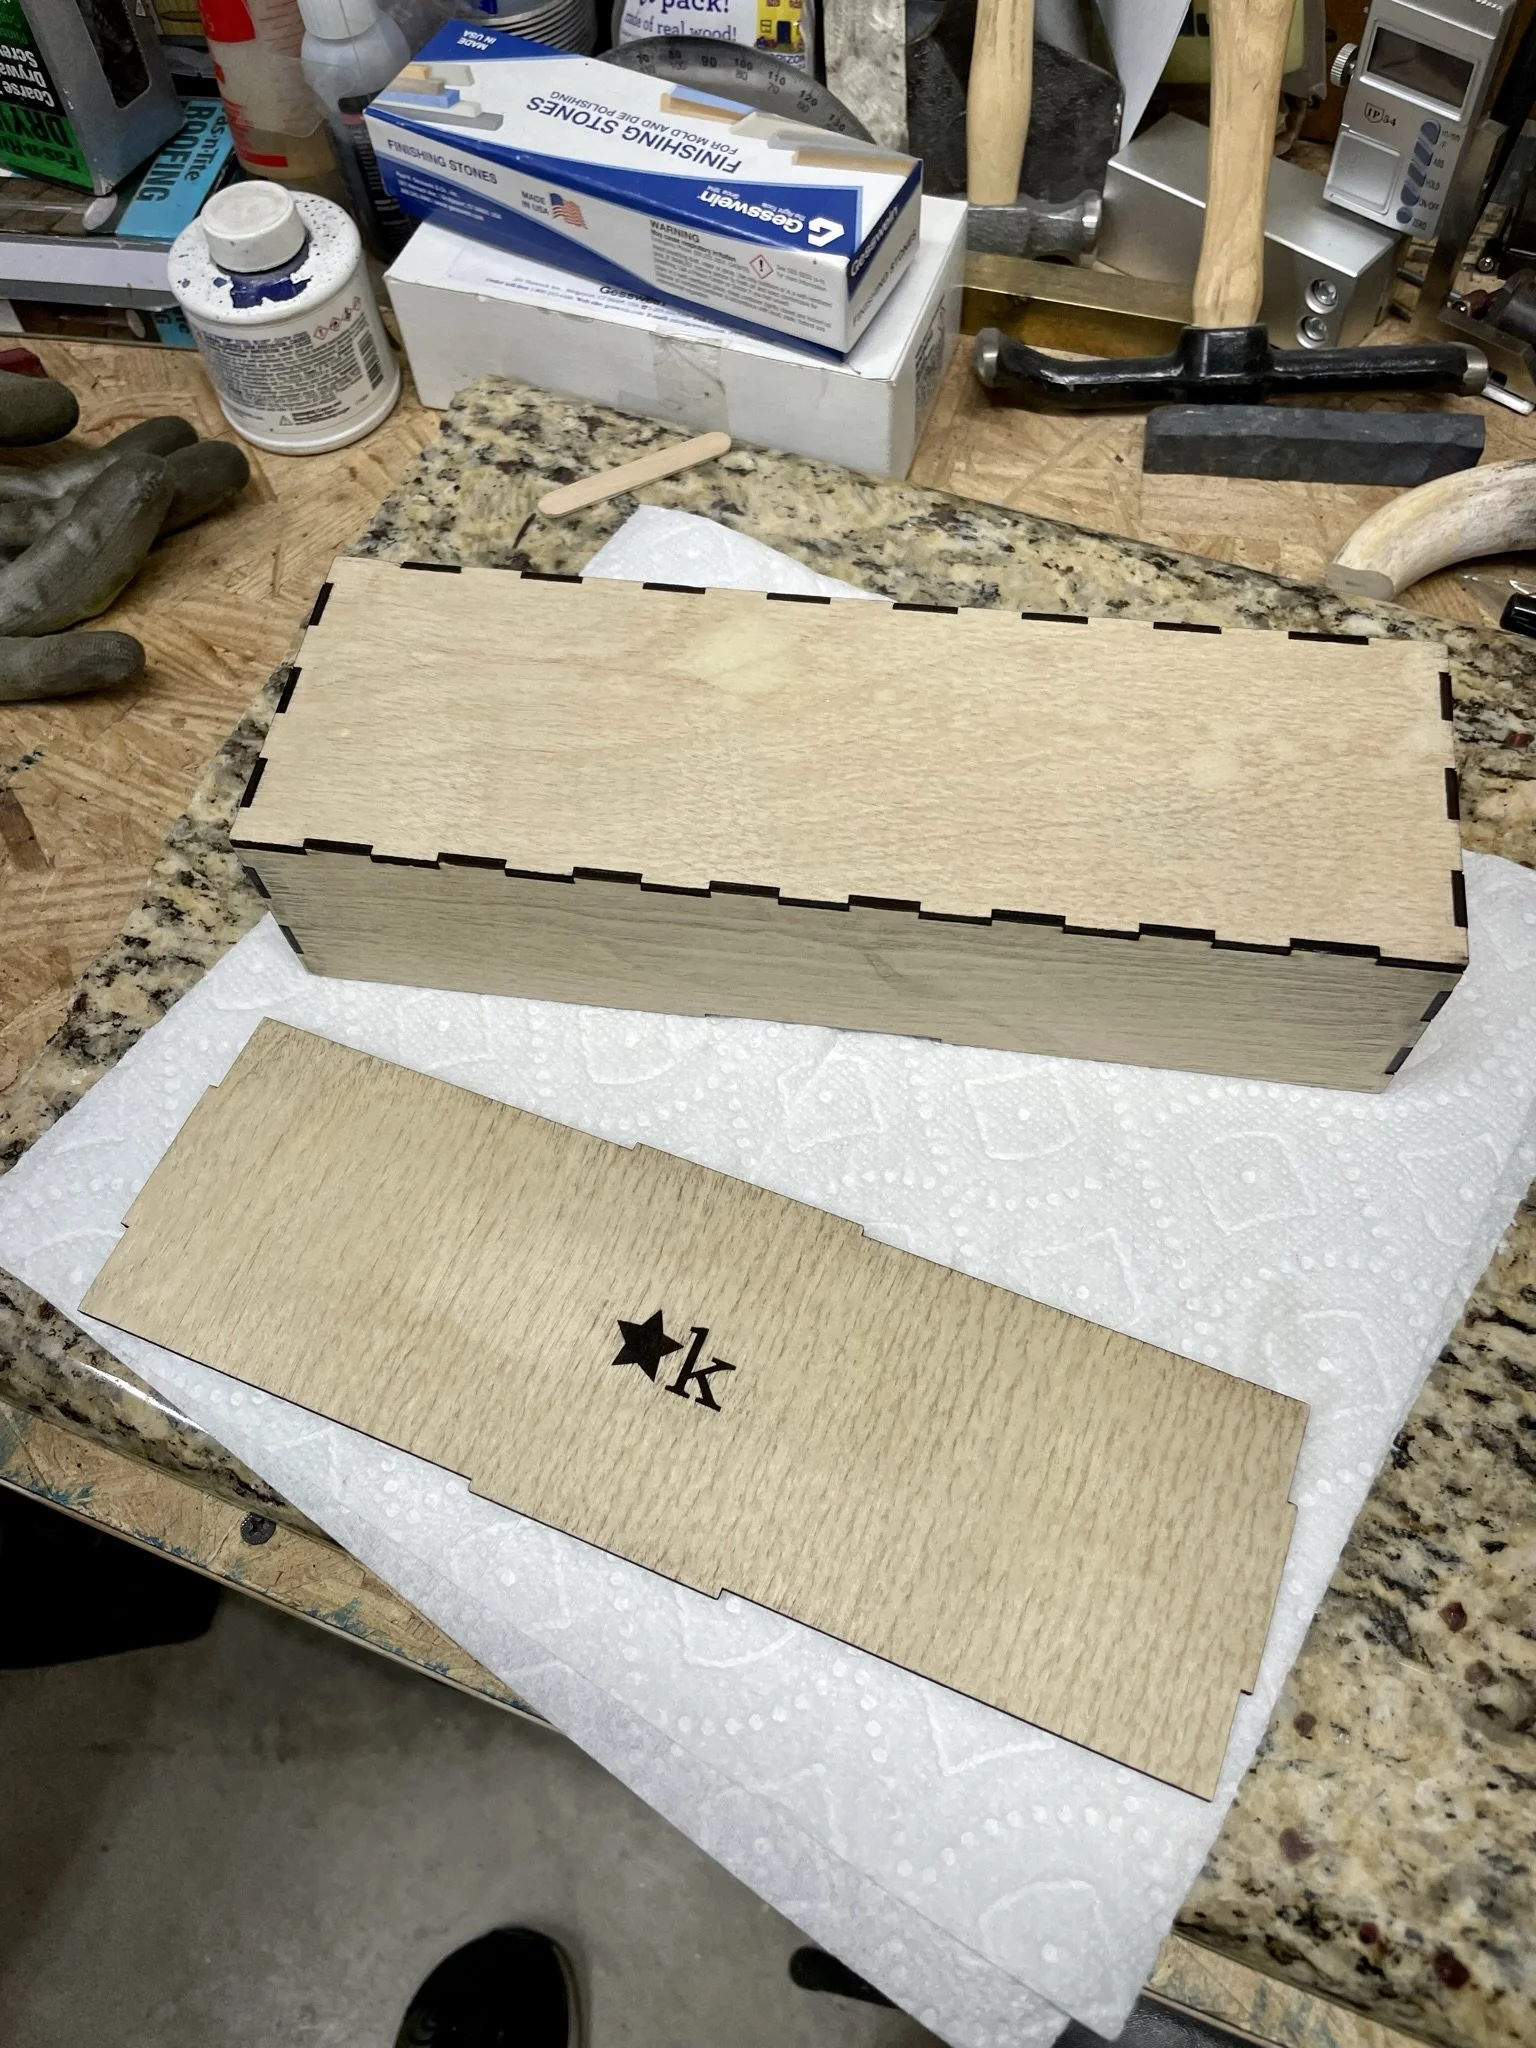
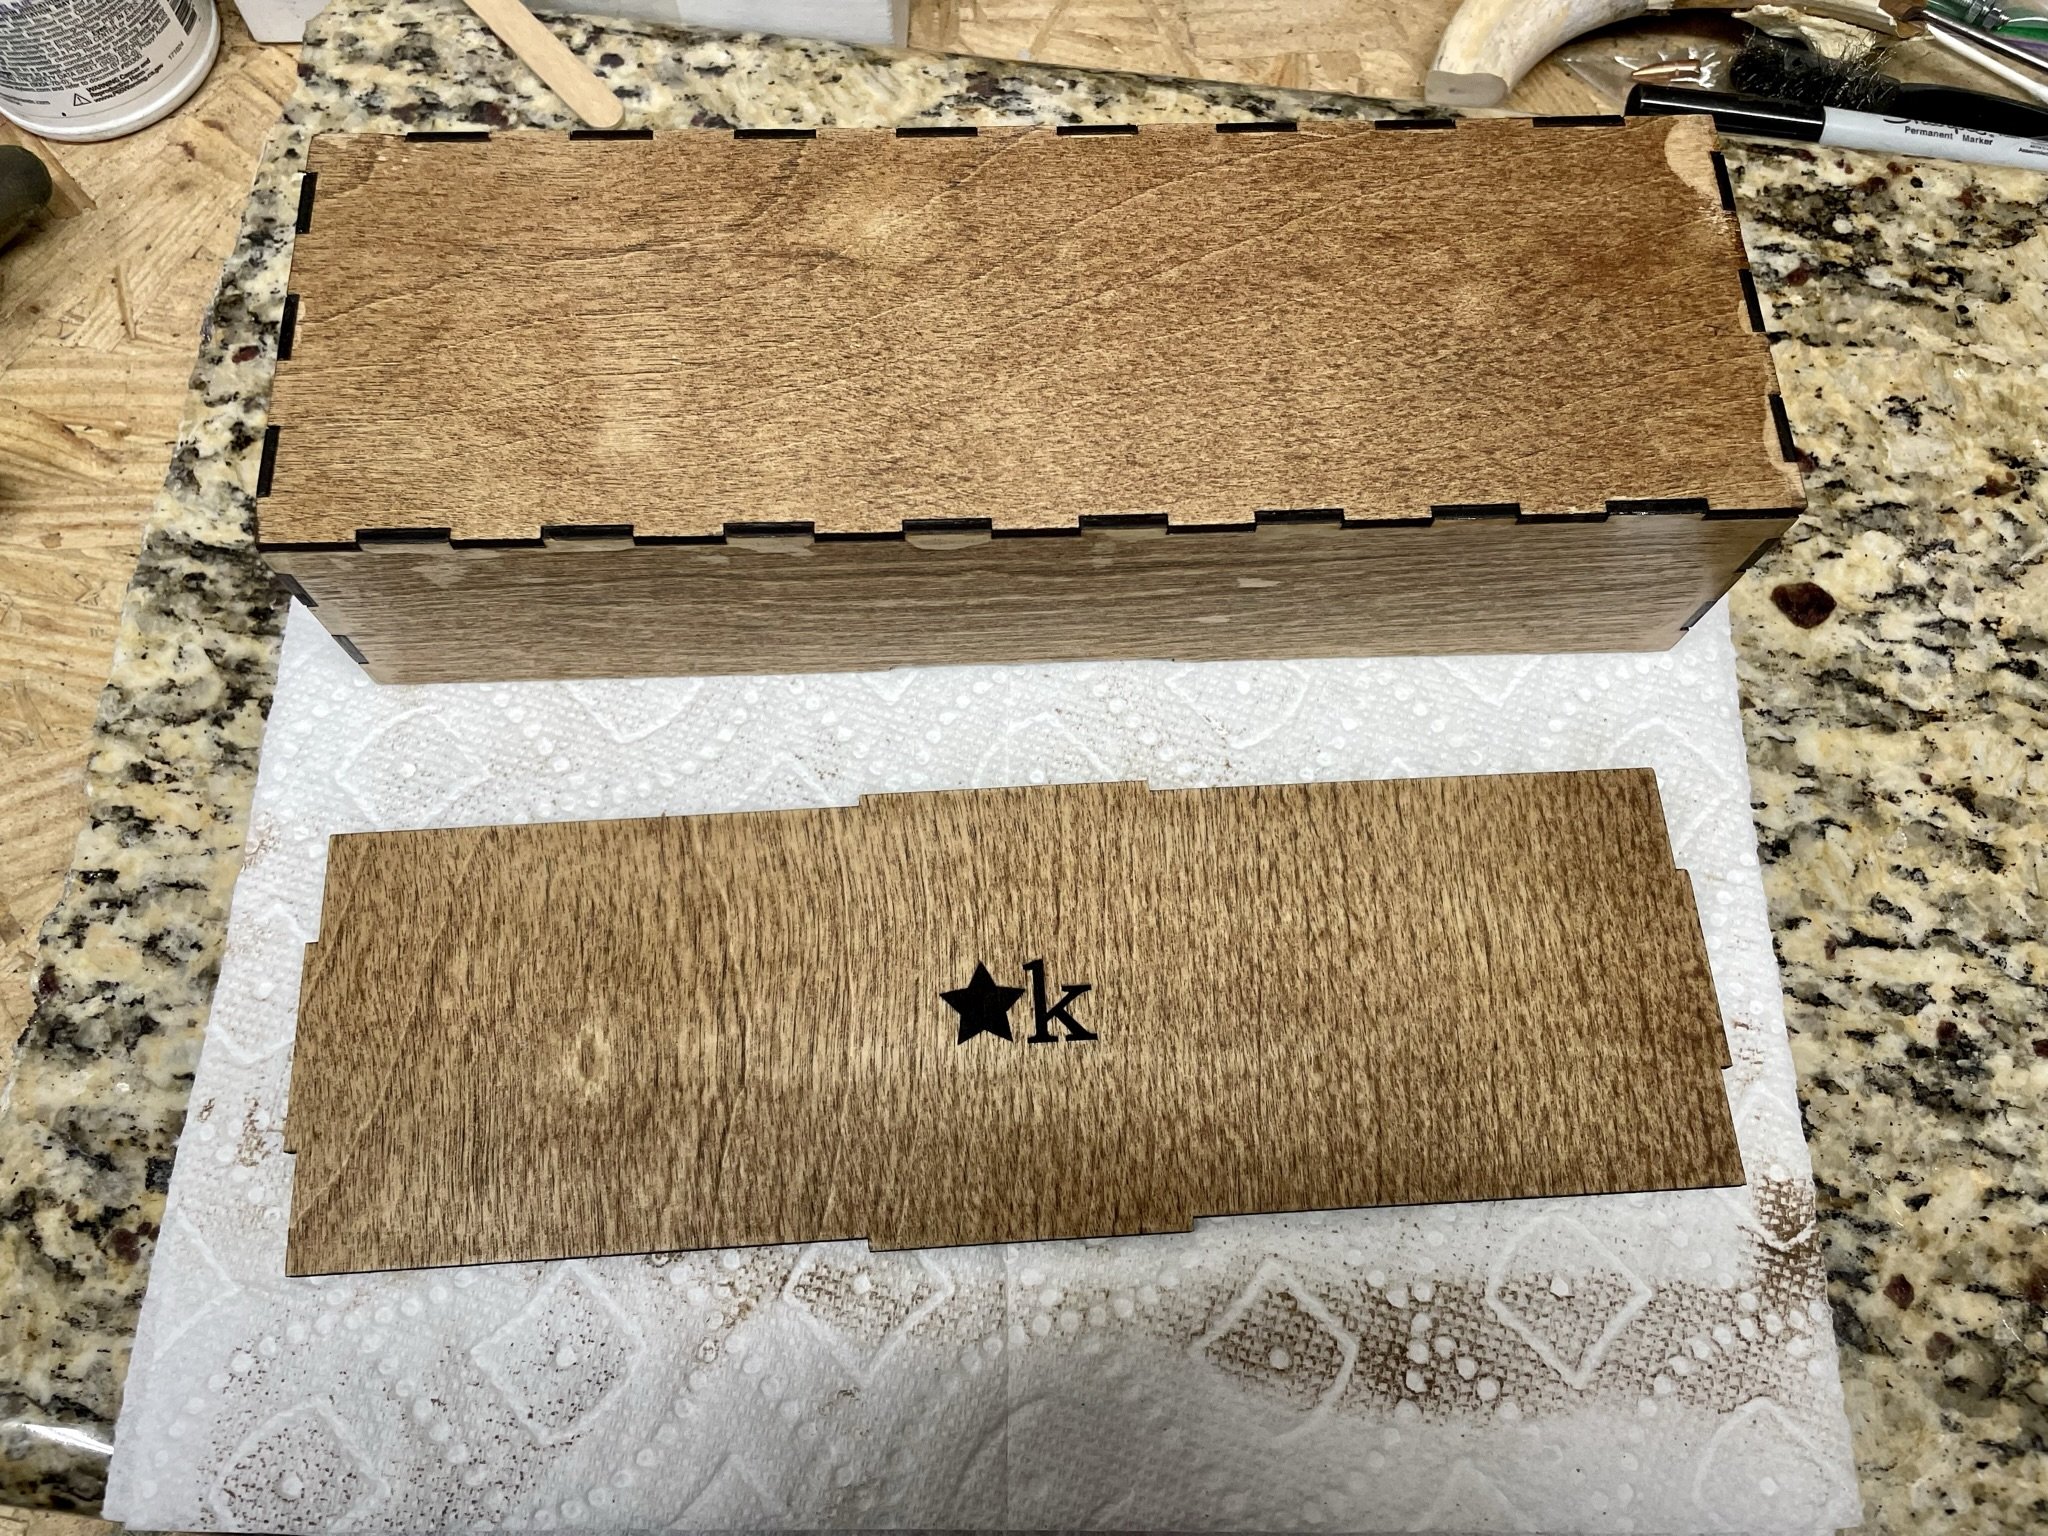
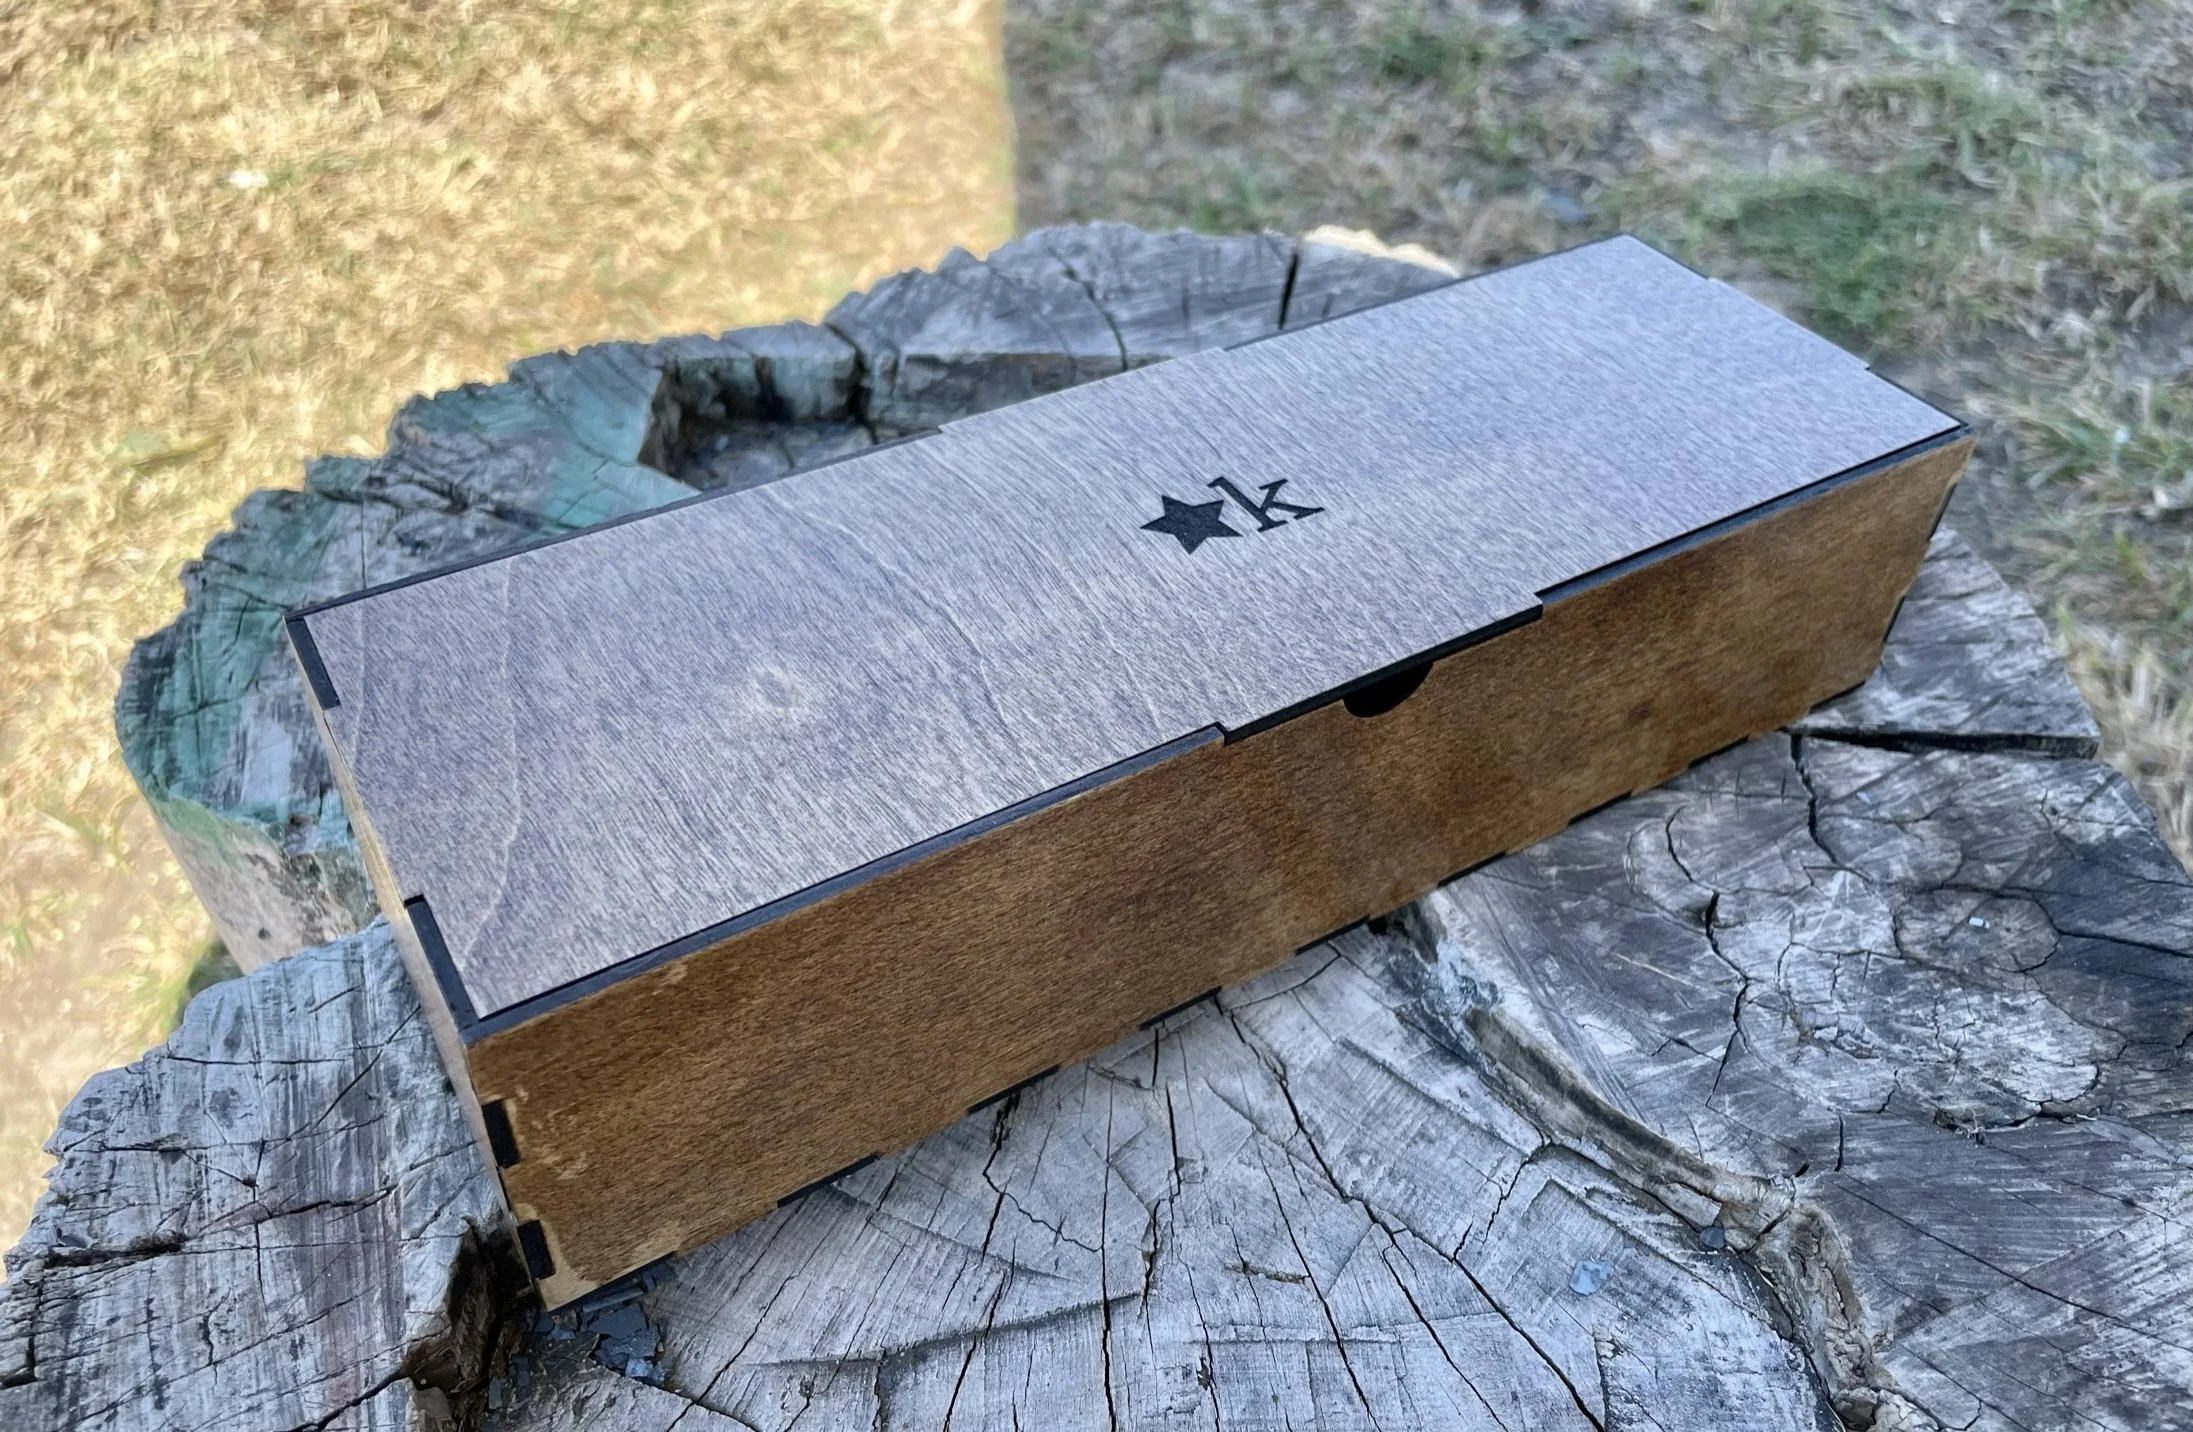
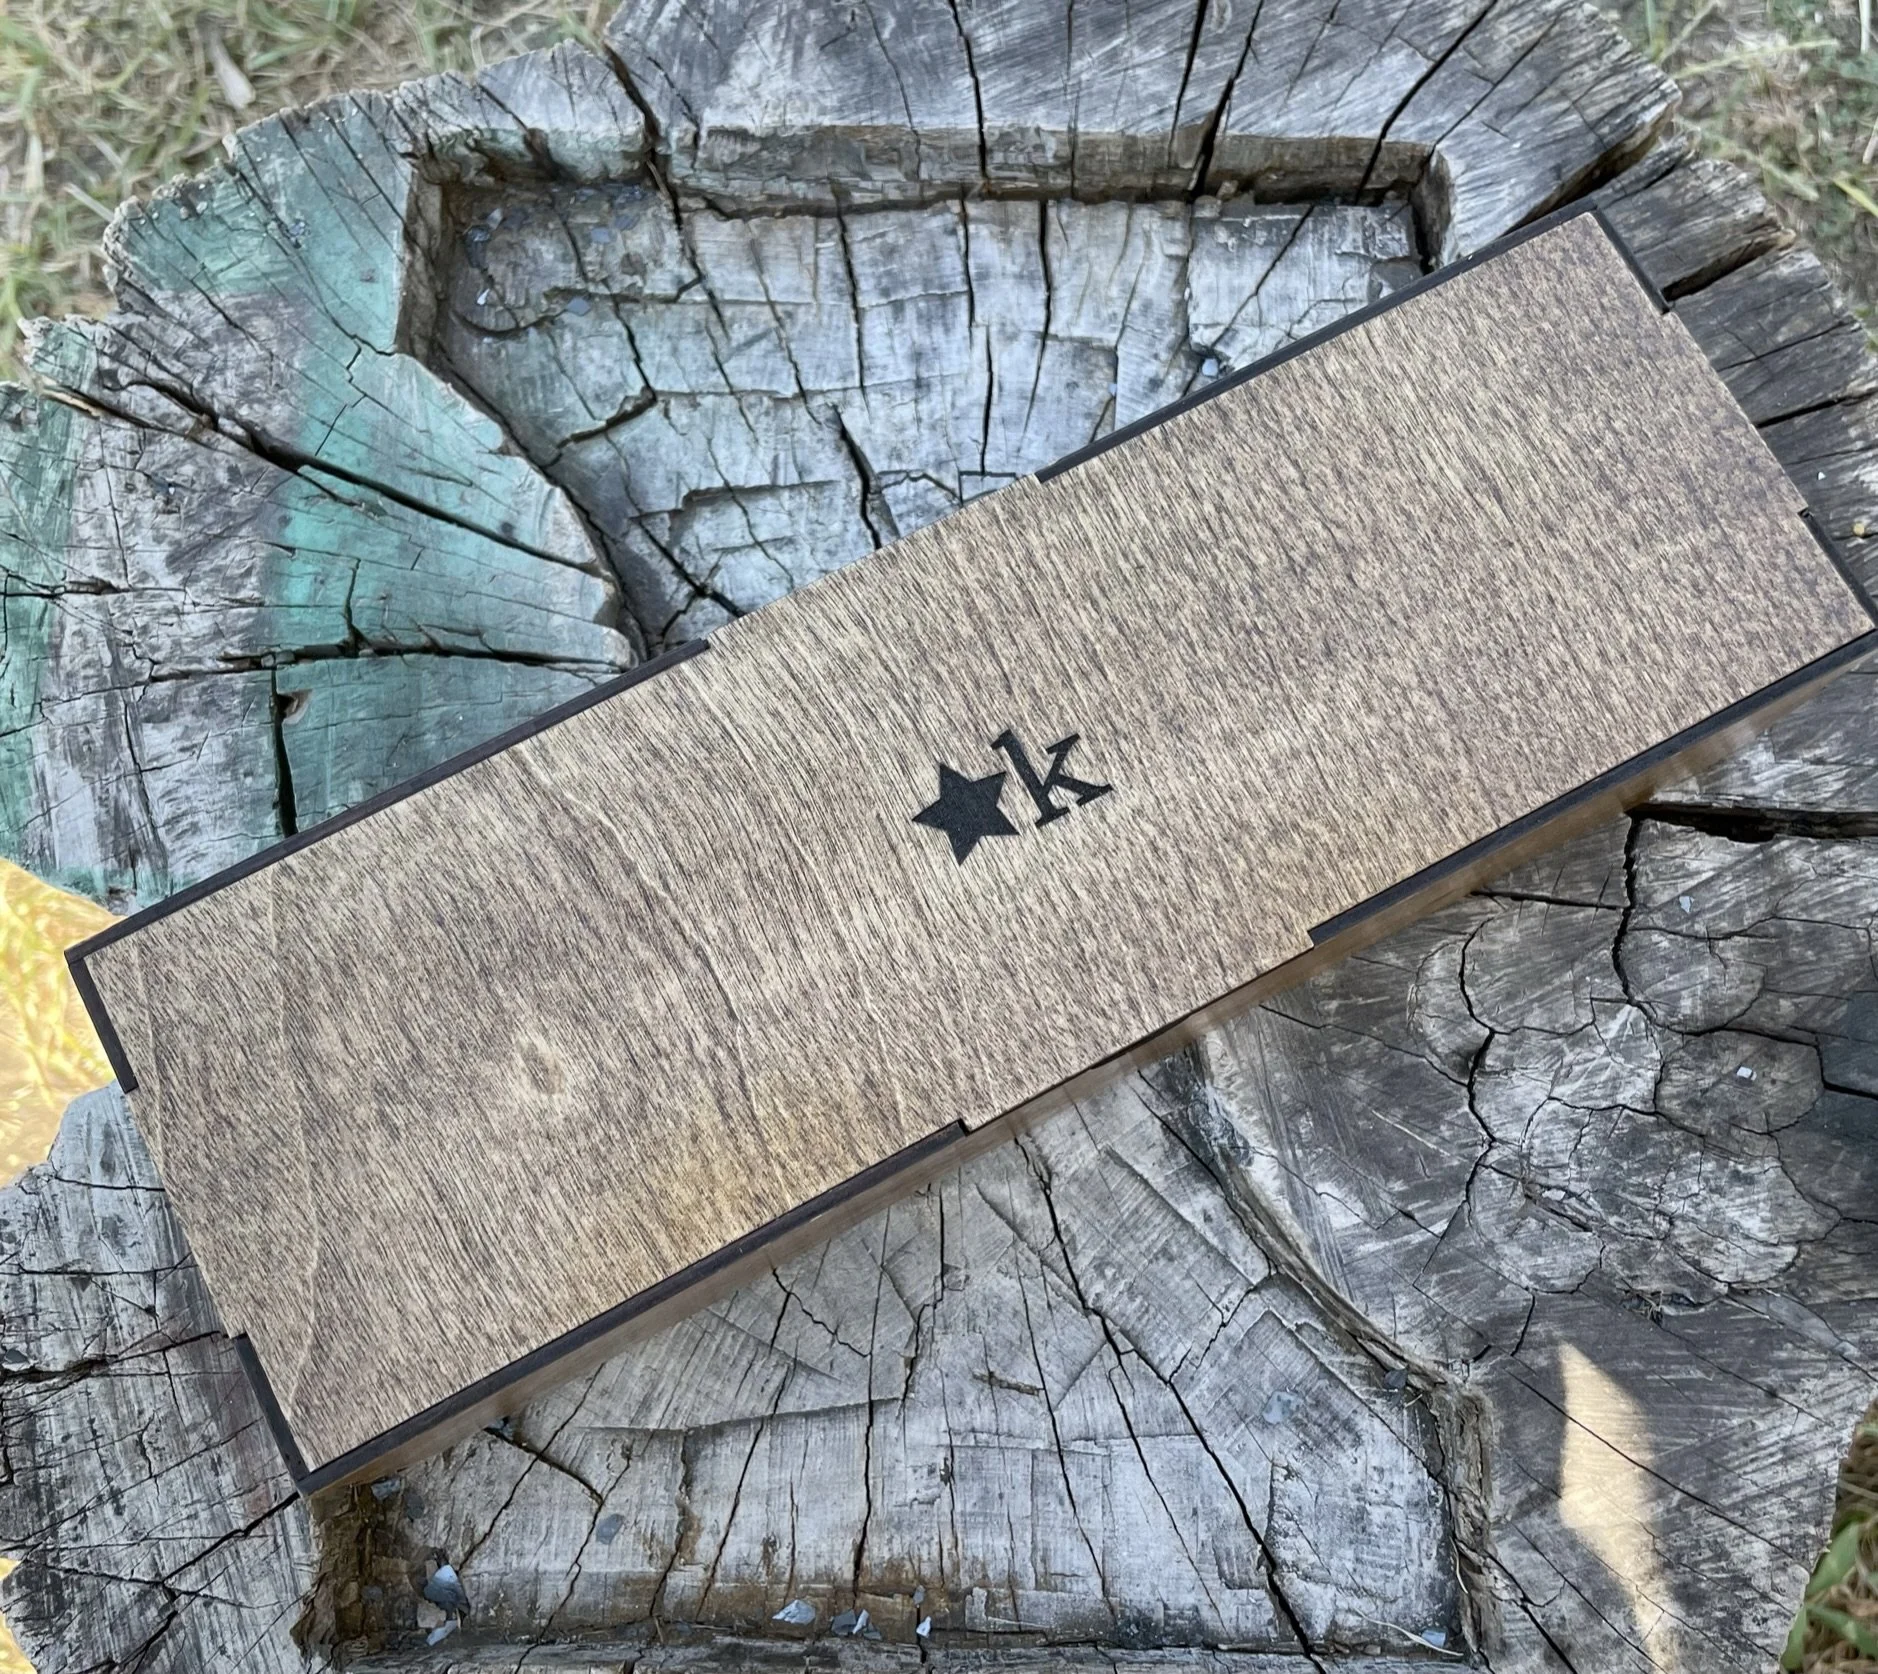
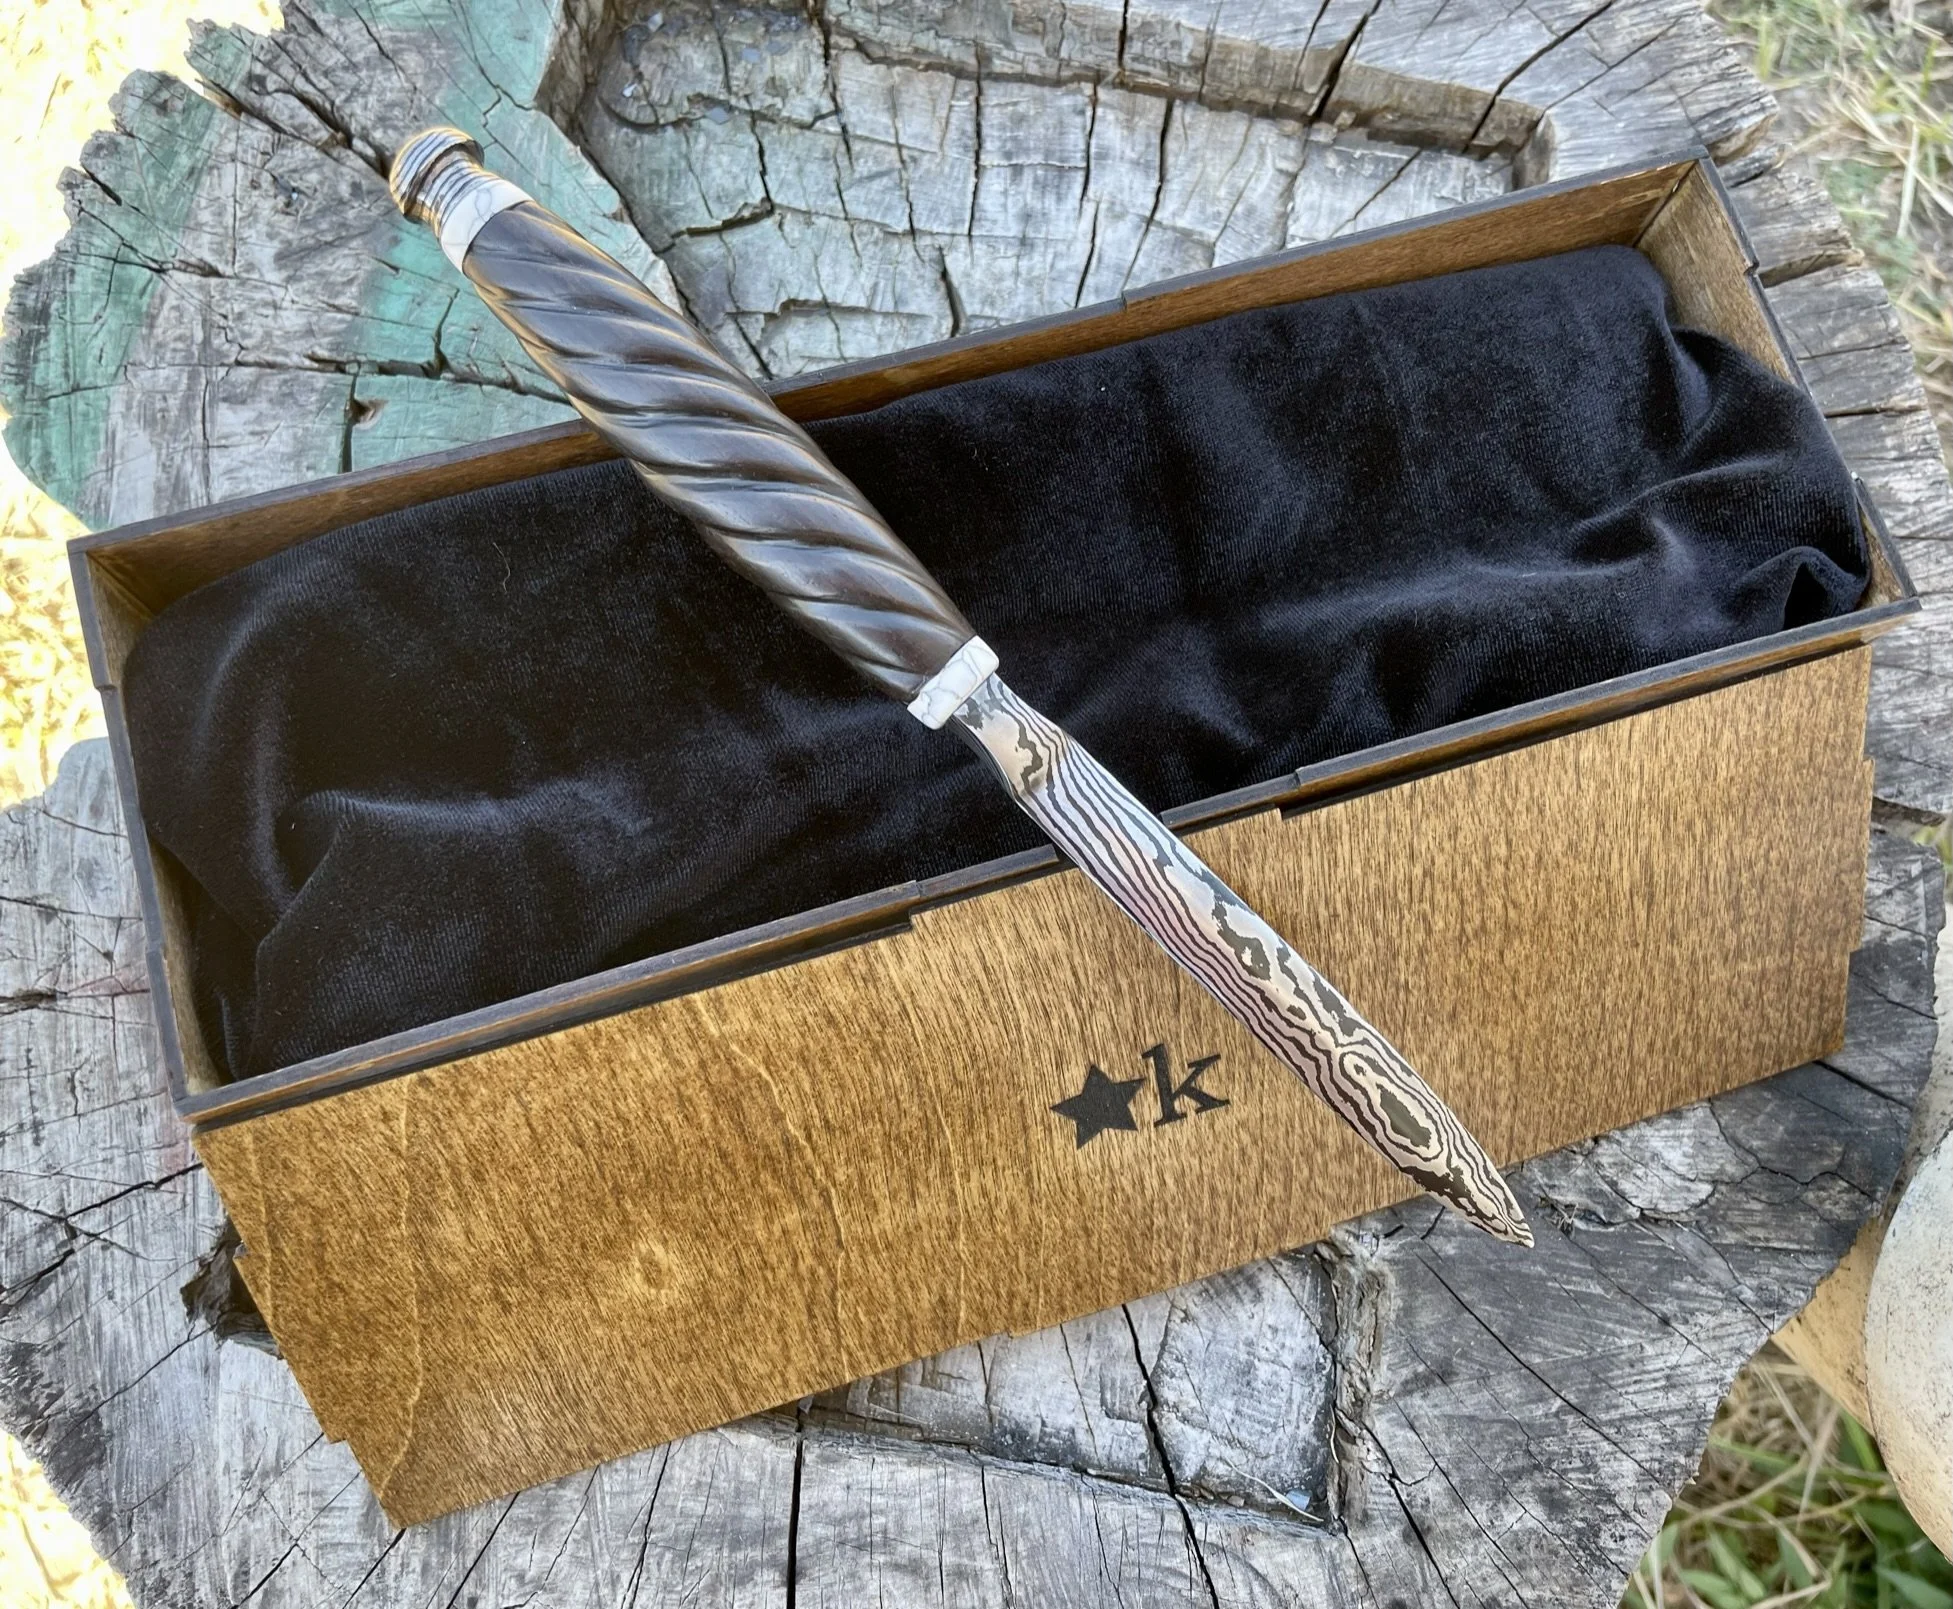
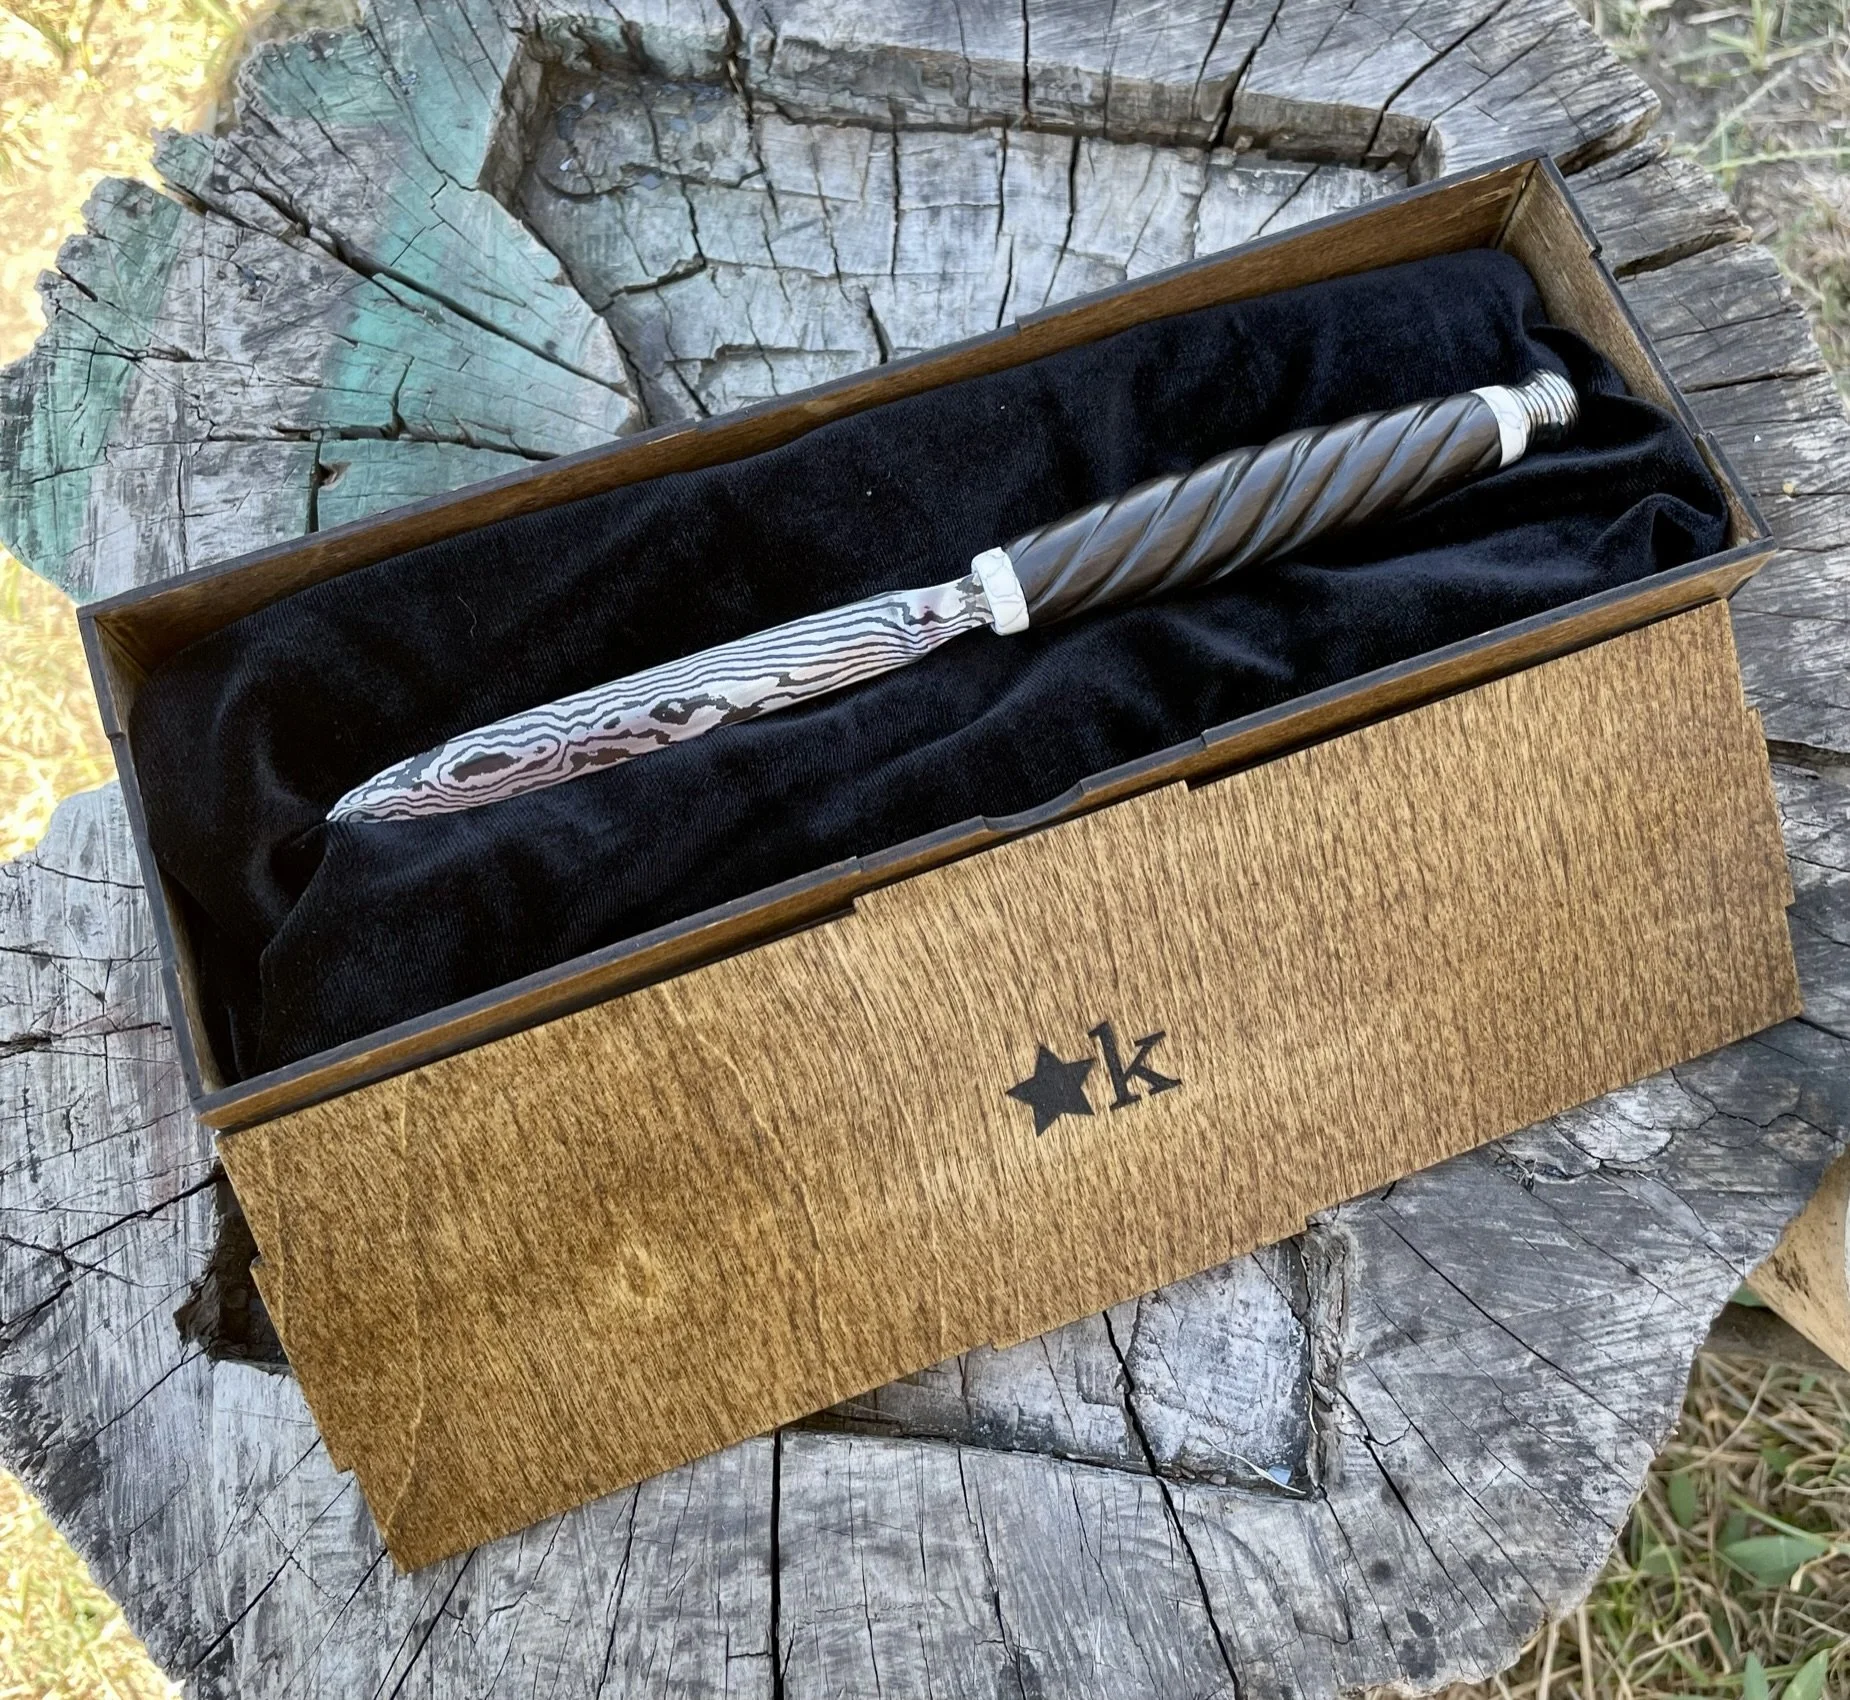
With this one I wanted to see about making a custom box as I felt a padded case or a sheath wouldn't quite fit.
-
Final box cut out on my cheap laser, and finished with box store wood finish.
-
Box glamour shot #1.
-
Box glamour shot #2.
-
Glamour shot #1.
-
Glamour shot #2.
-
Glamour shot #3.
-
Final glamour shot #1.
-
Final glamour shot #2.
-
Final glamour shot #3.
Josh H. - Tanto K-Bar
-
Final blade - keep scrolling to see the journey.
-
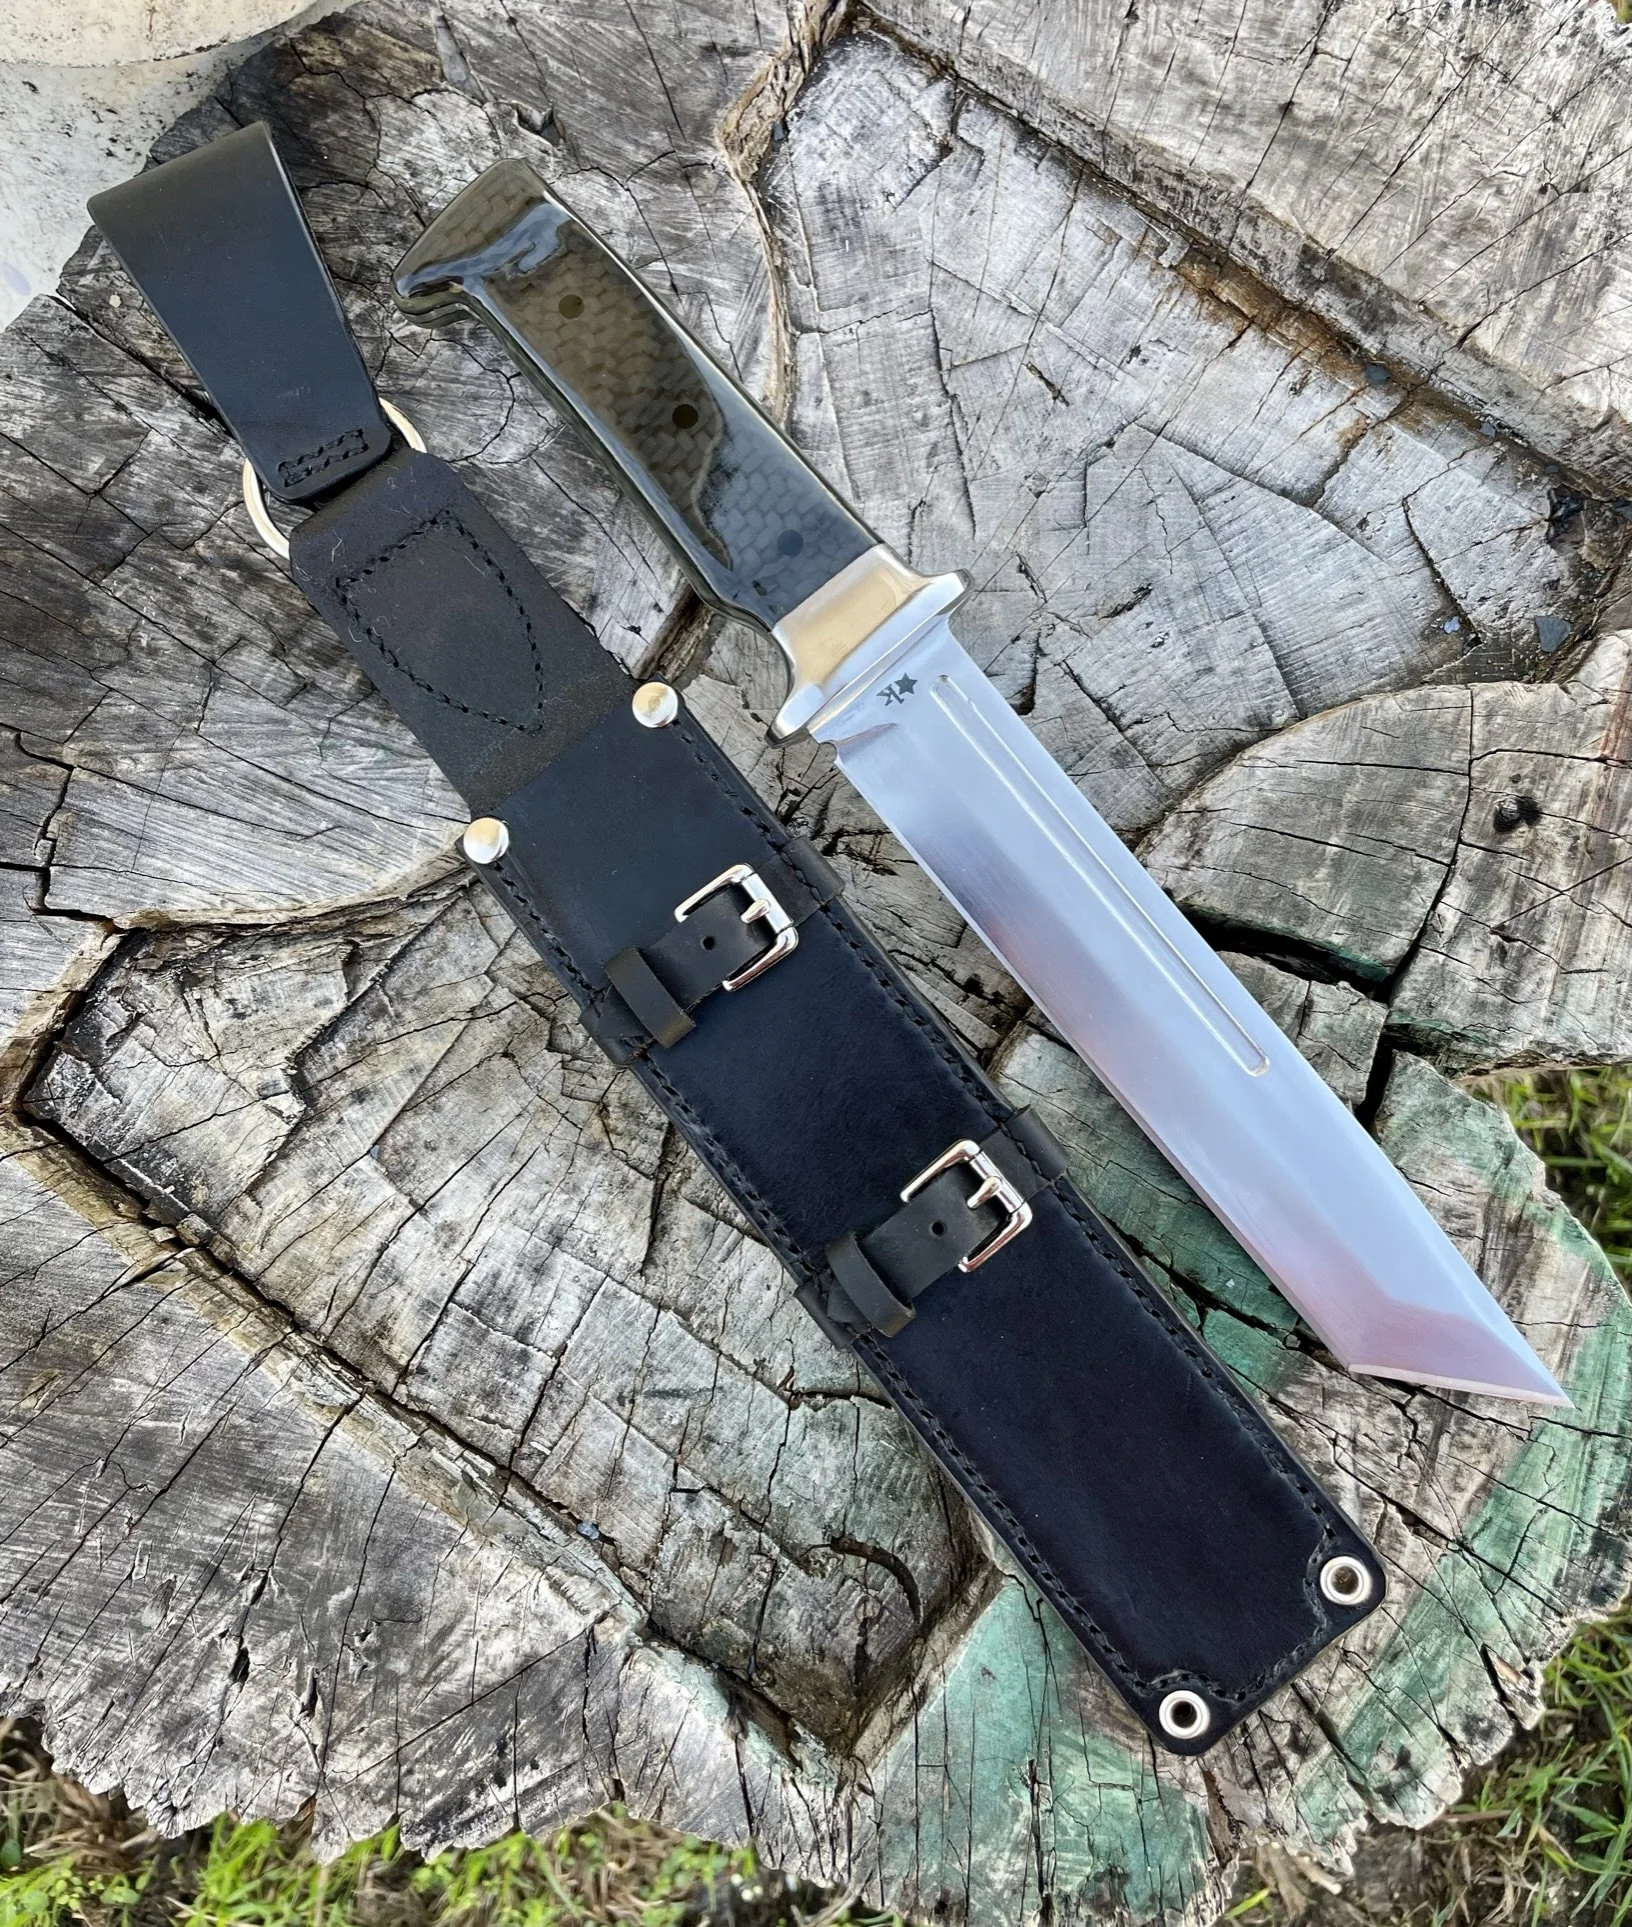
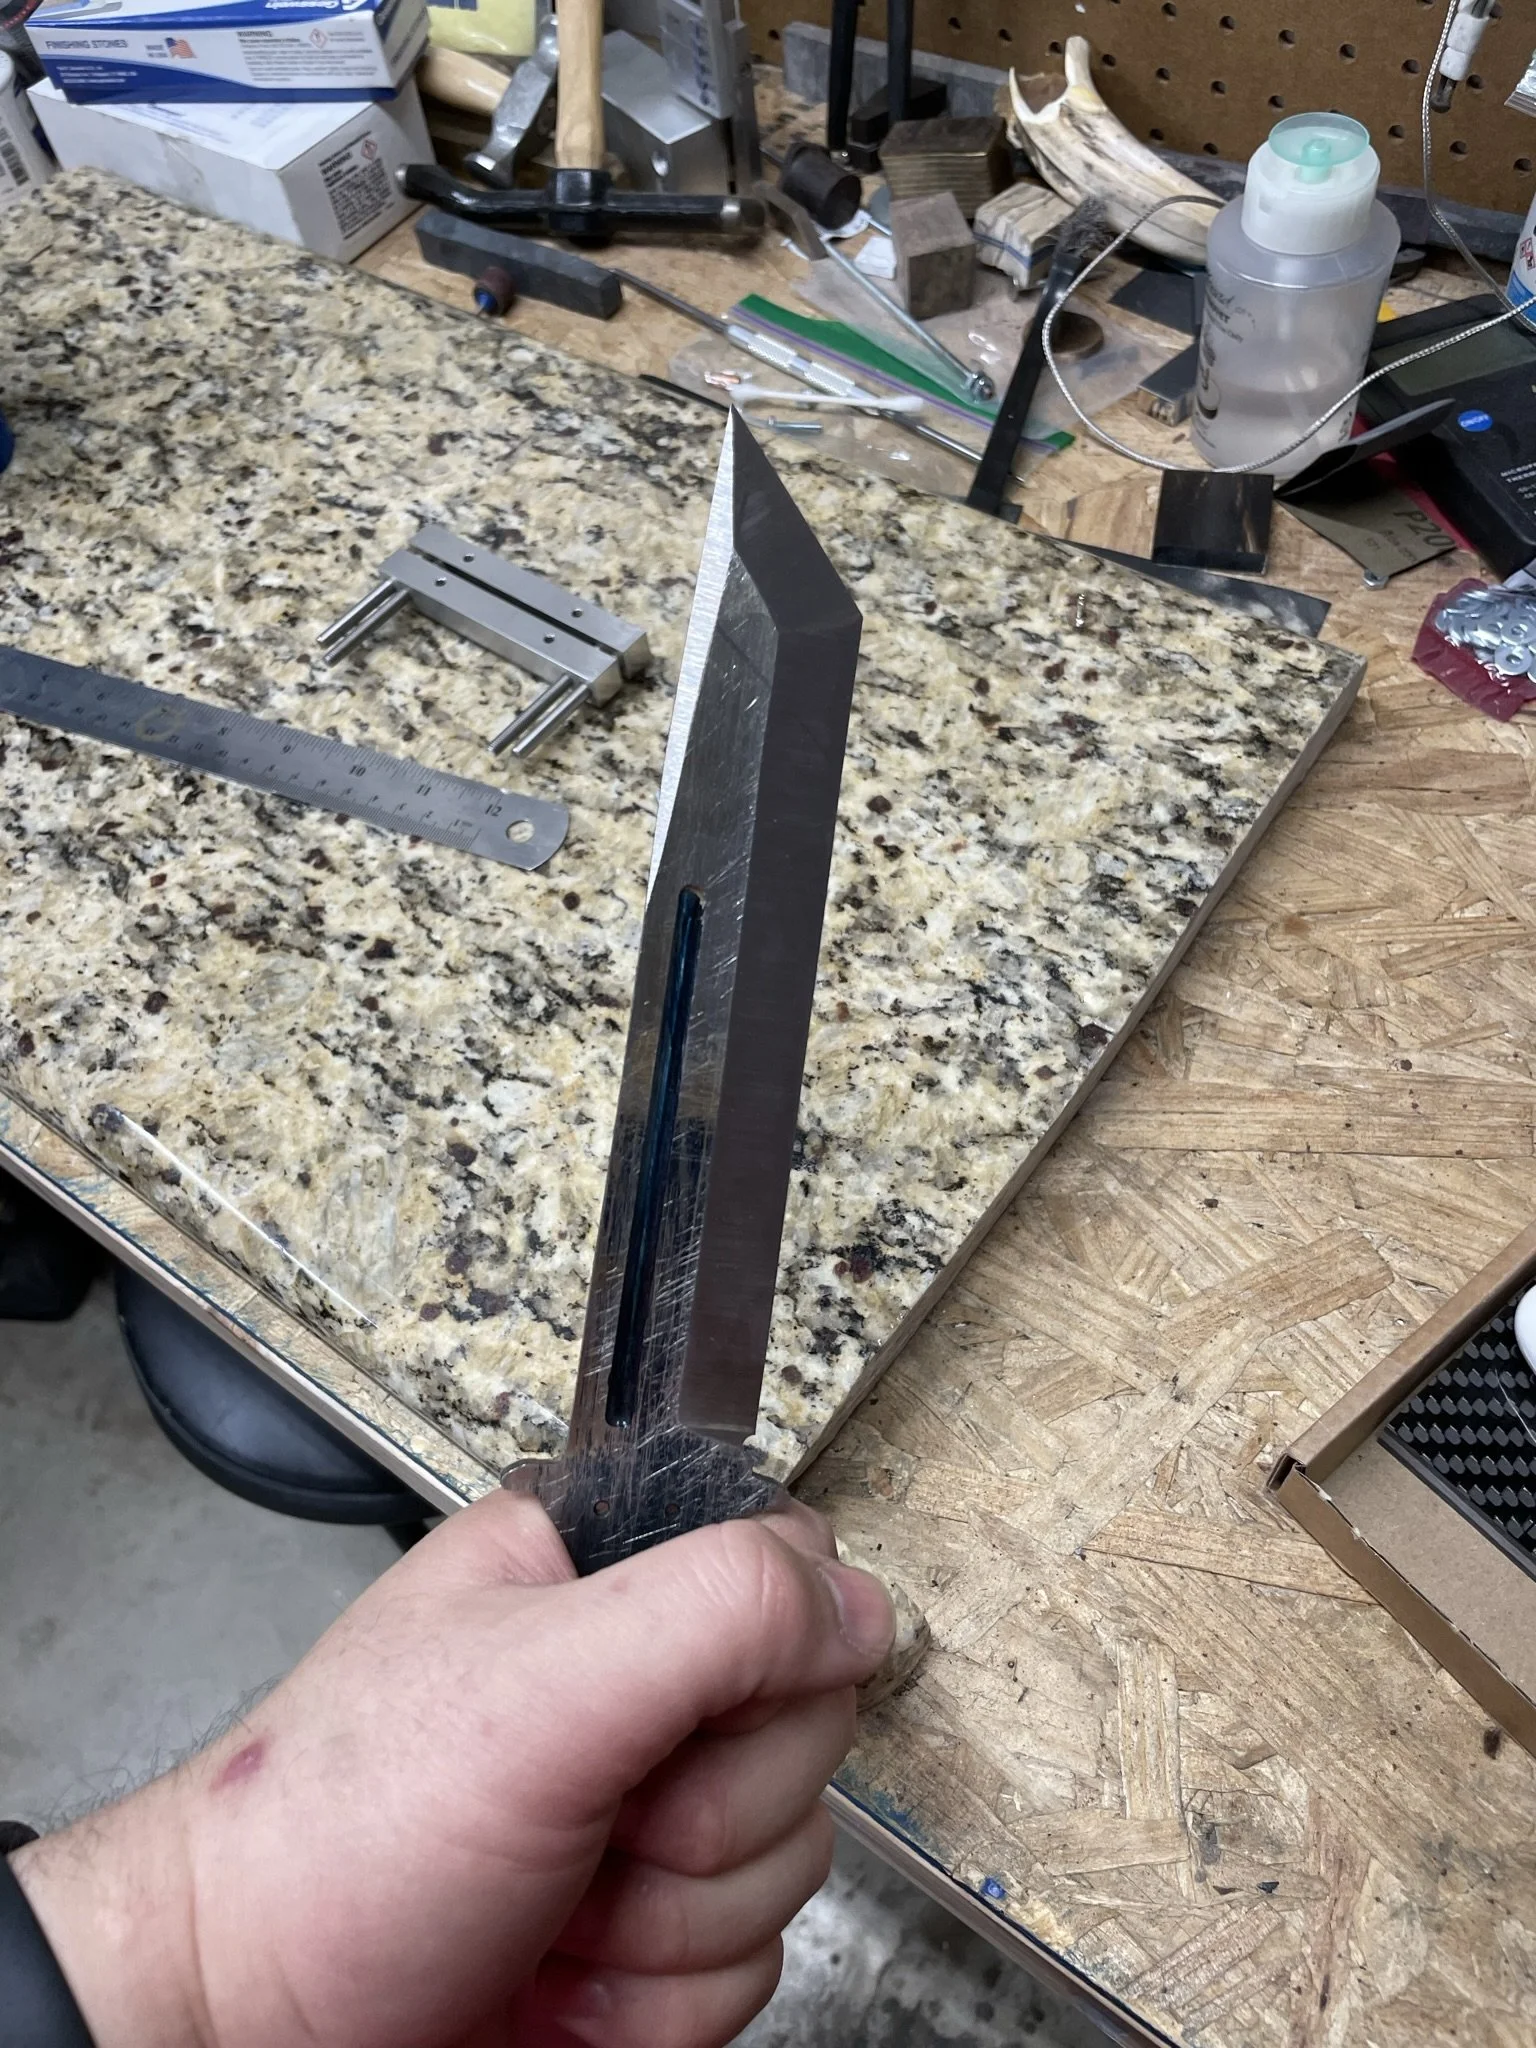
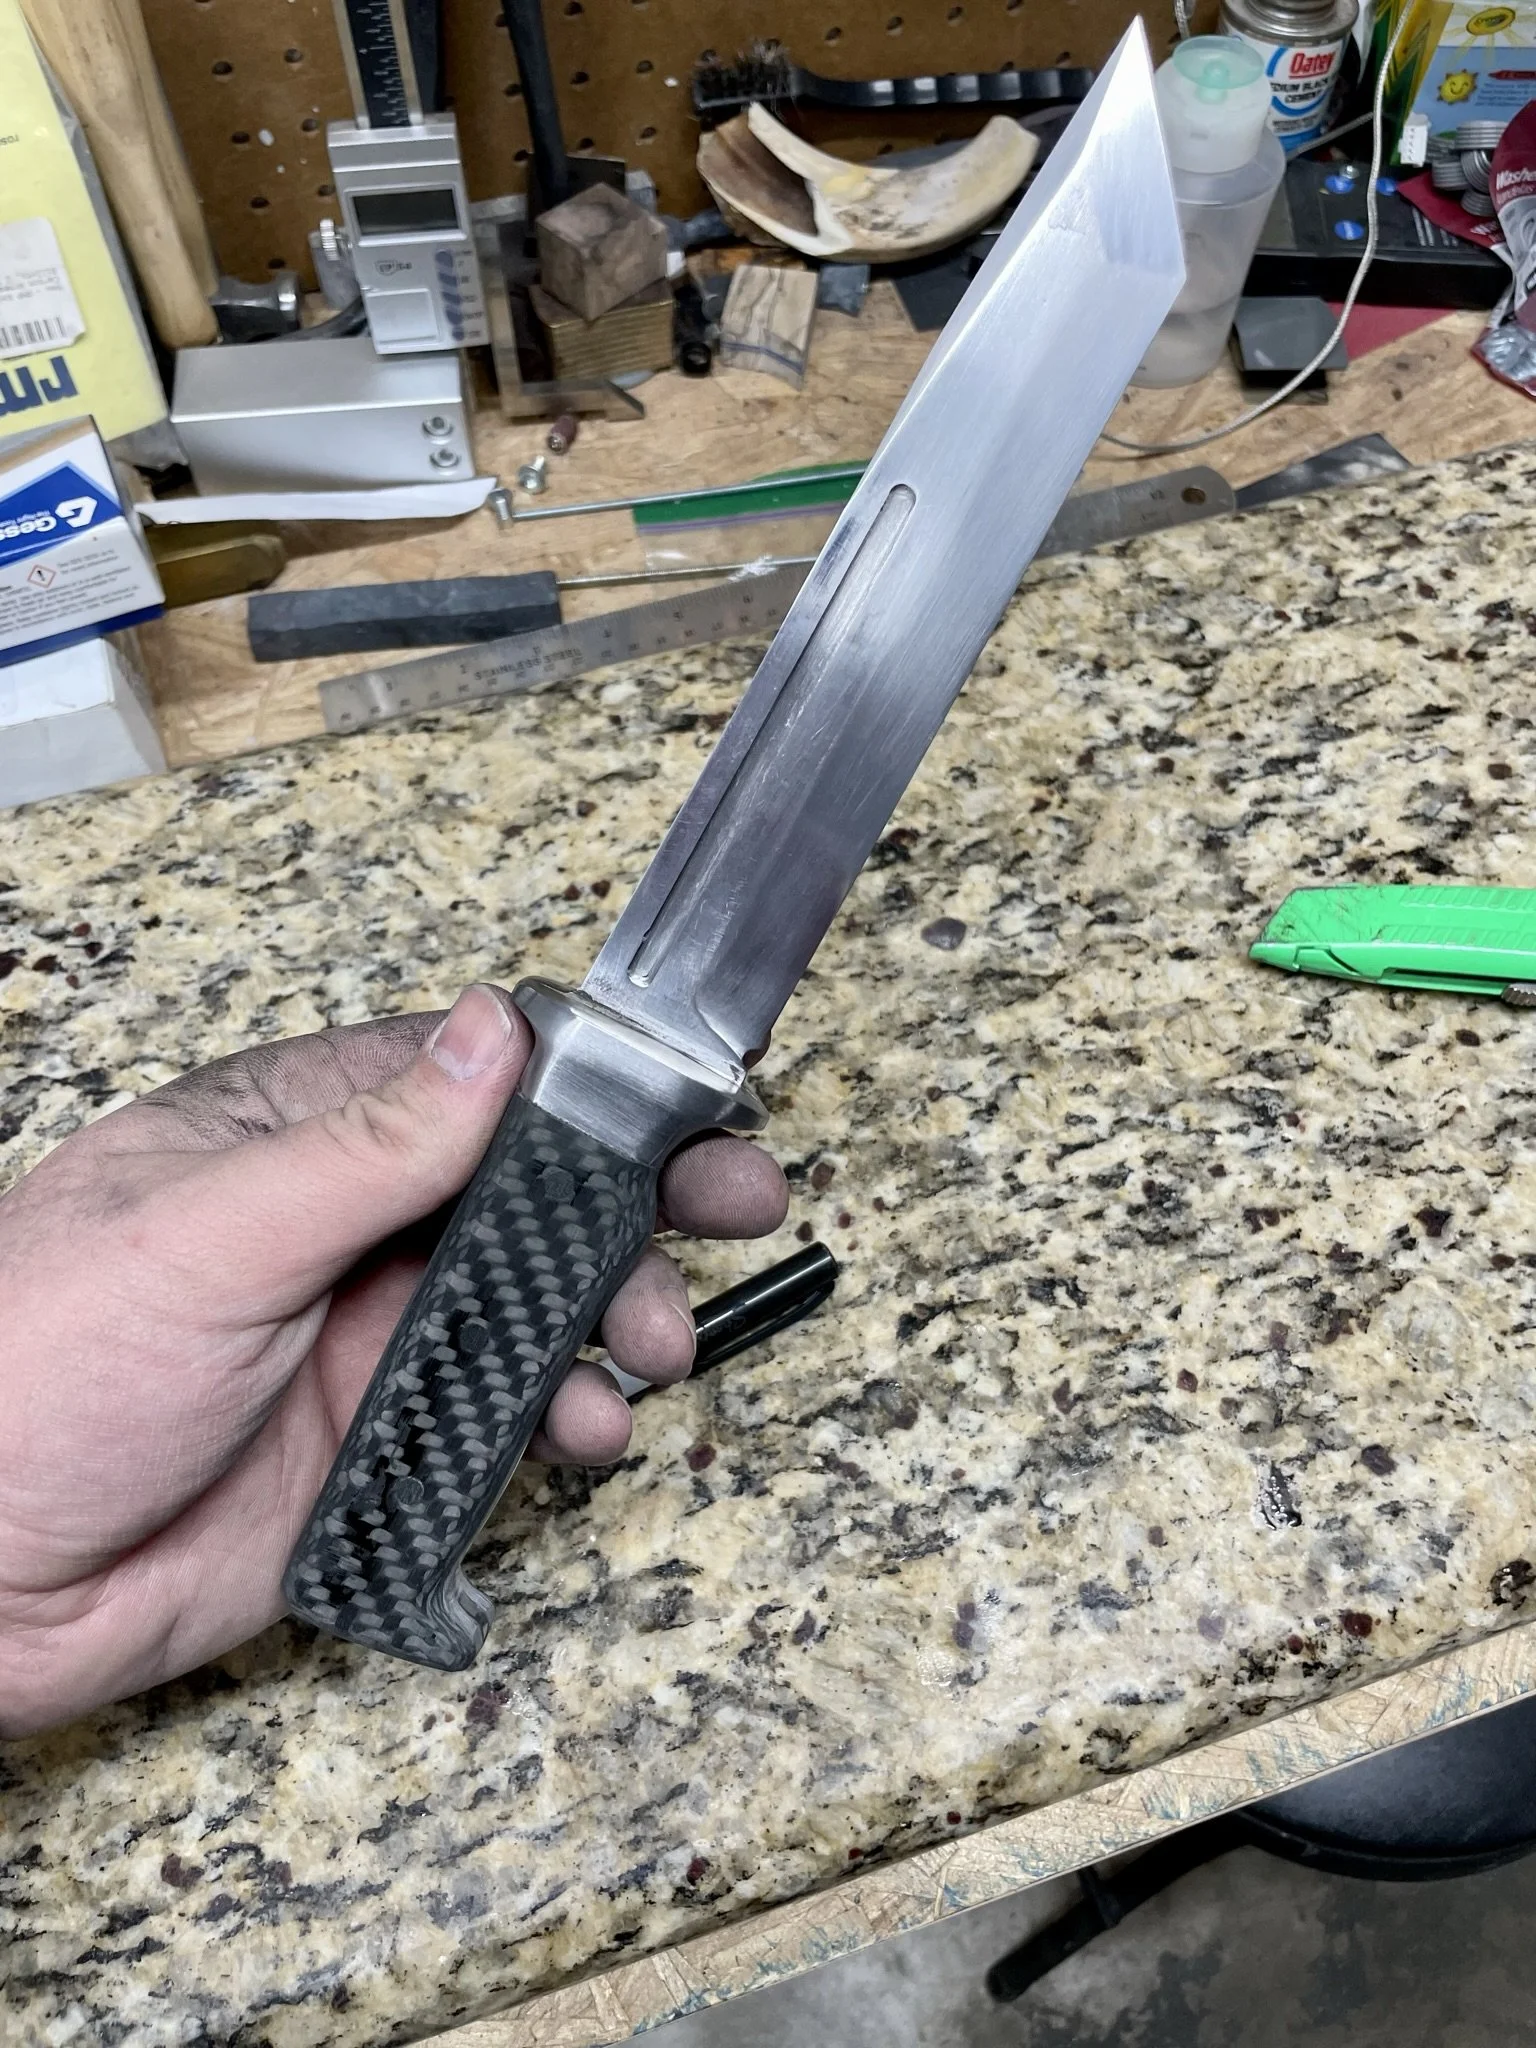
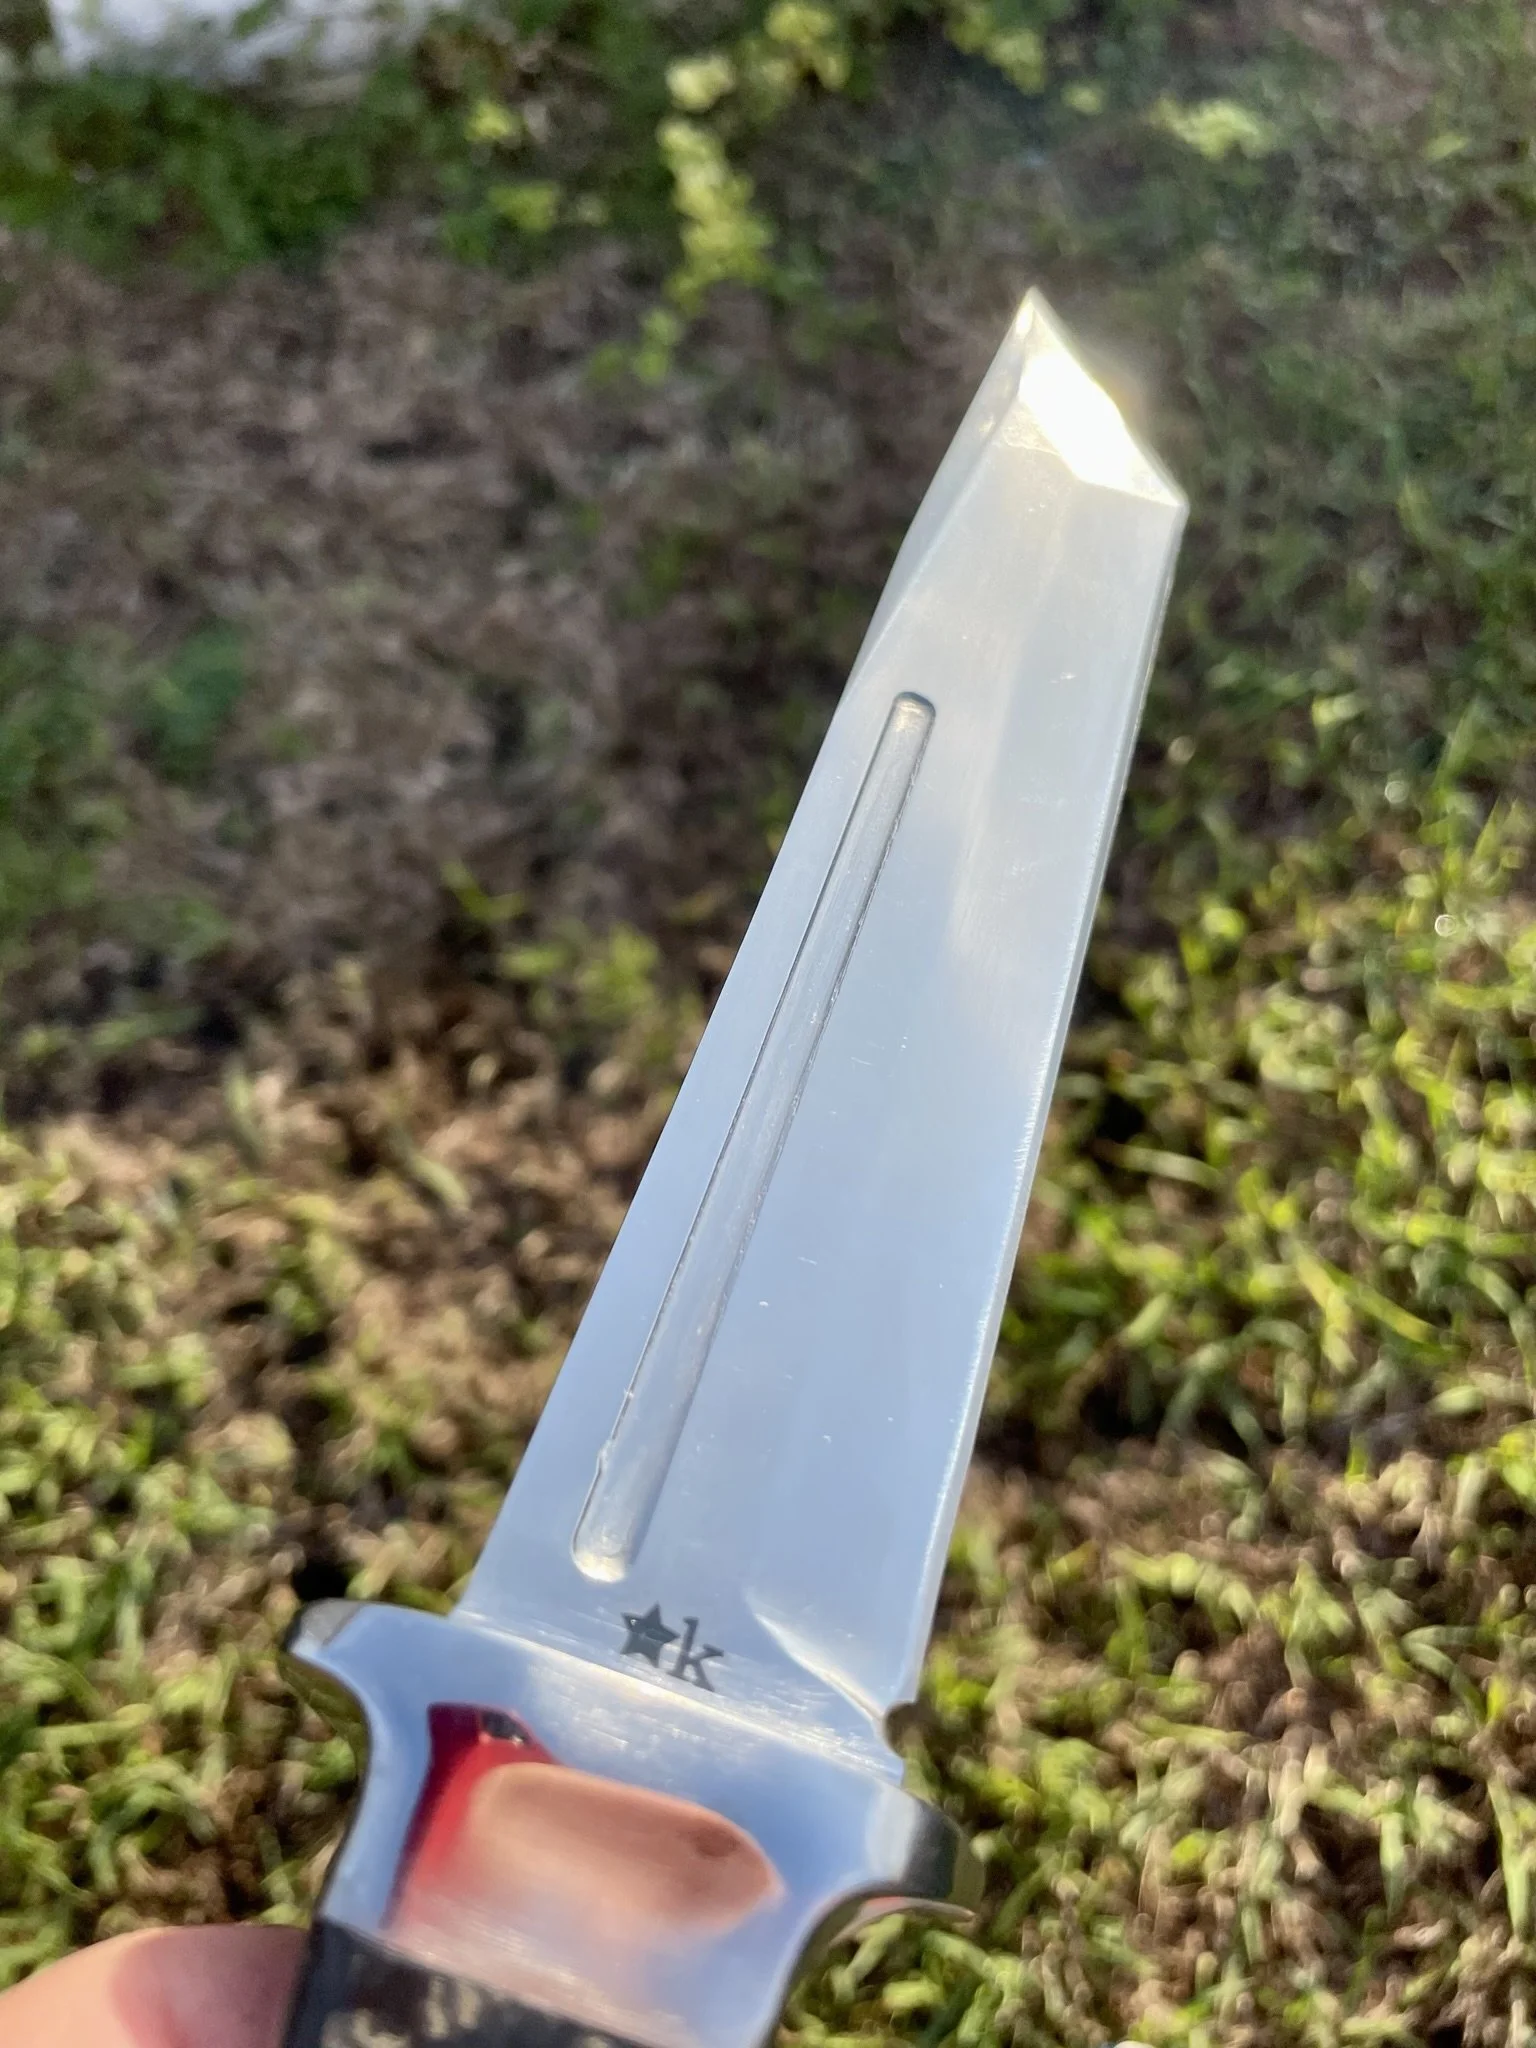
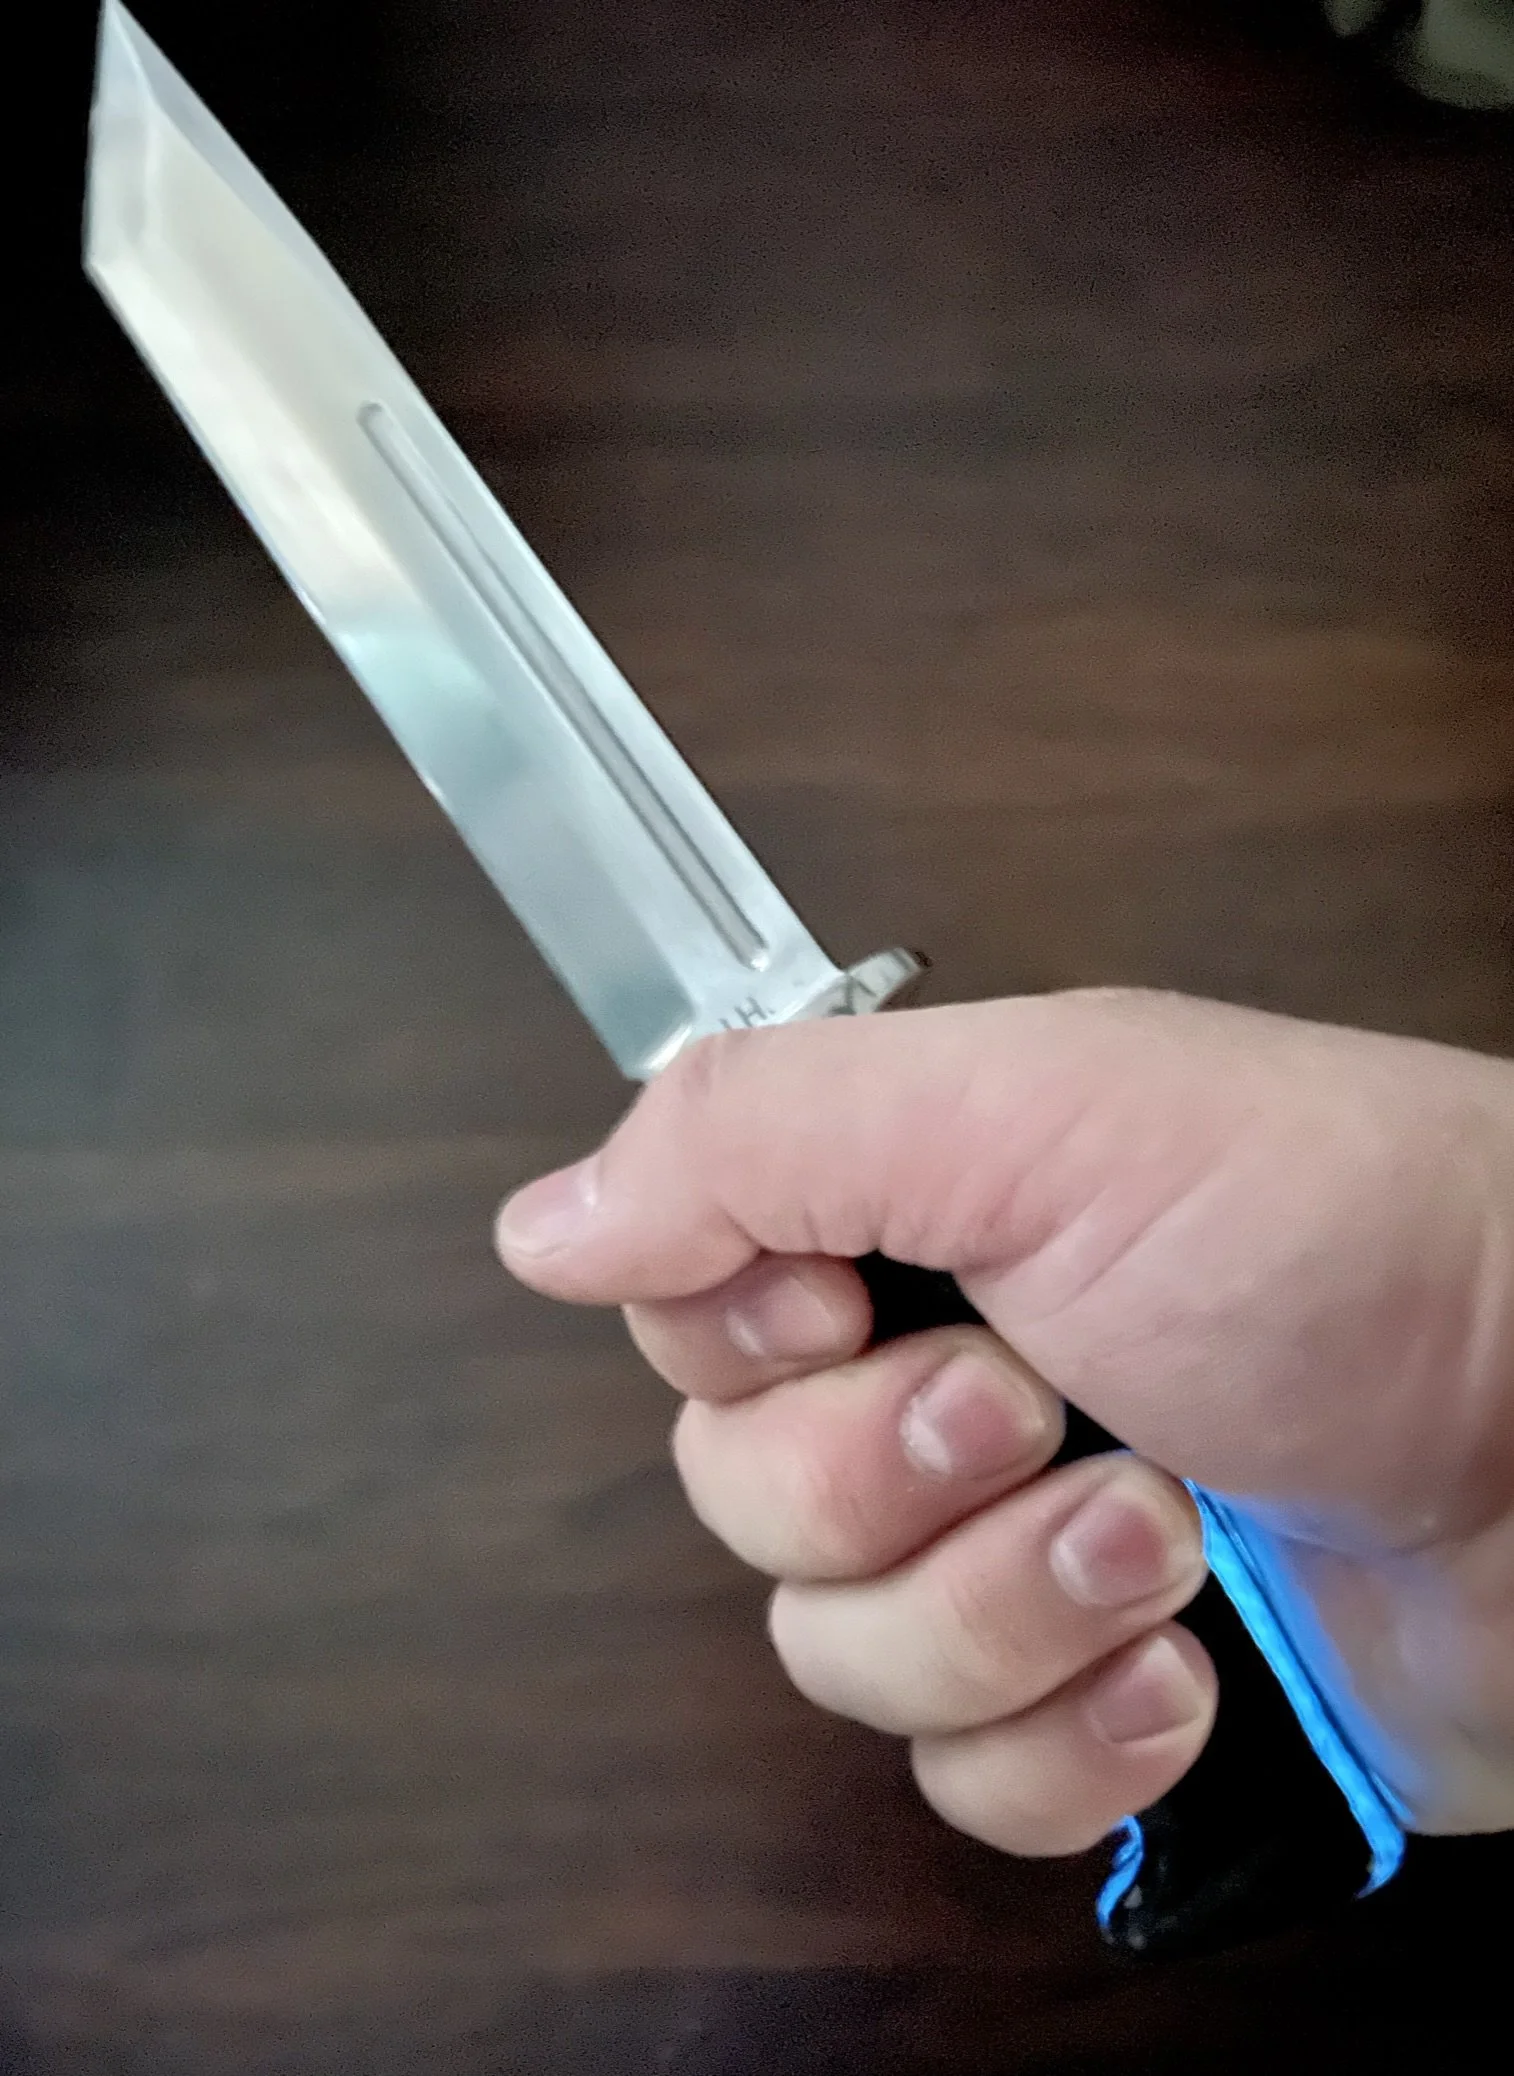
When I was making the paring knife for my mom, I showed it to a family friend and he was impressed. He told me that as a kid, his uncle had made knives for him and his siblings and he wanted the same experience for his kids. This kicked off a project to make a knife for him and each of his four kids. The first blade made was for a kid that like the military and the thought and shape of the Marine Corps K-Bar. We decided to add a tanto tip to make it a little different.
-
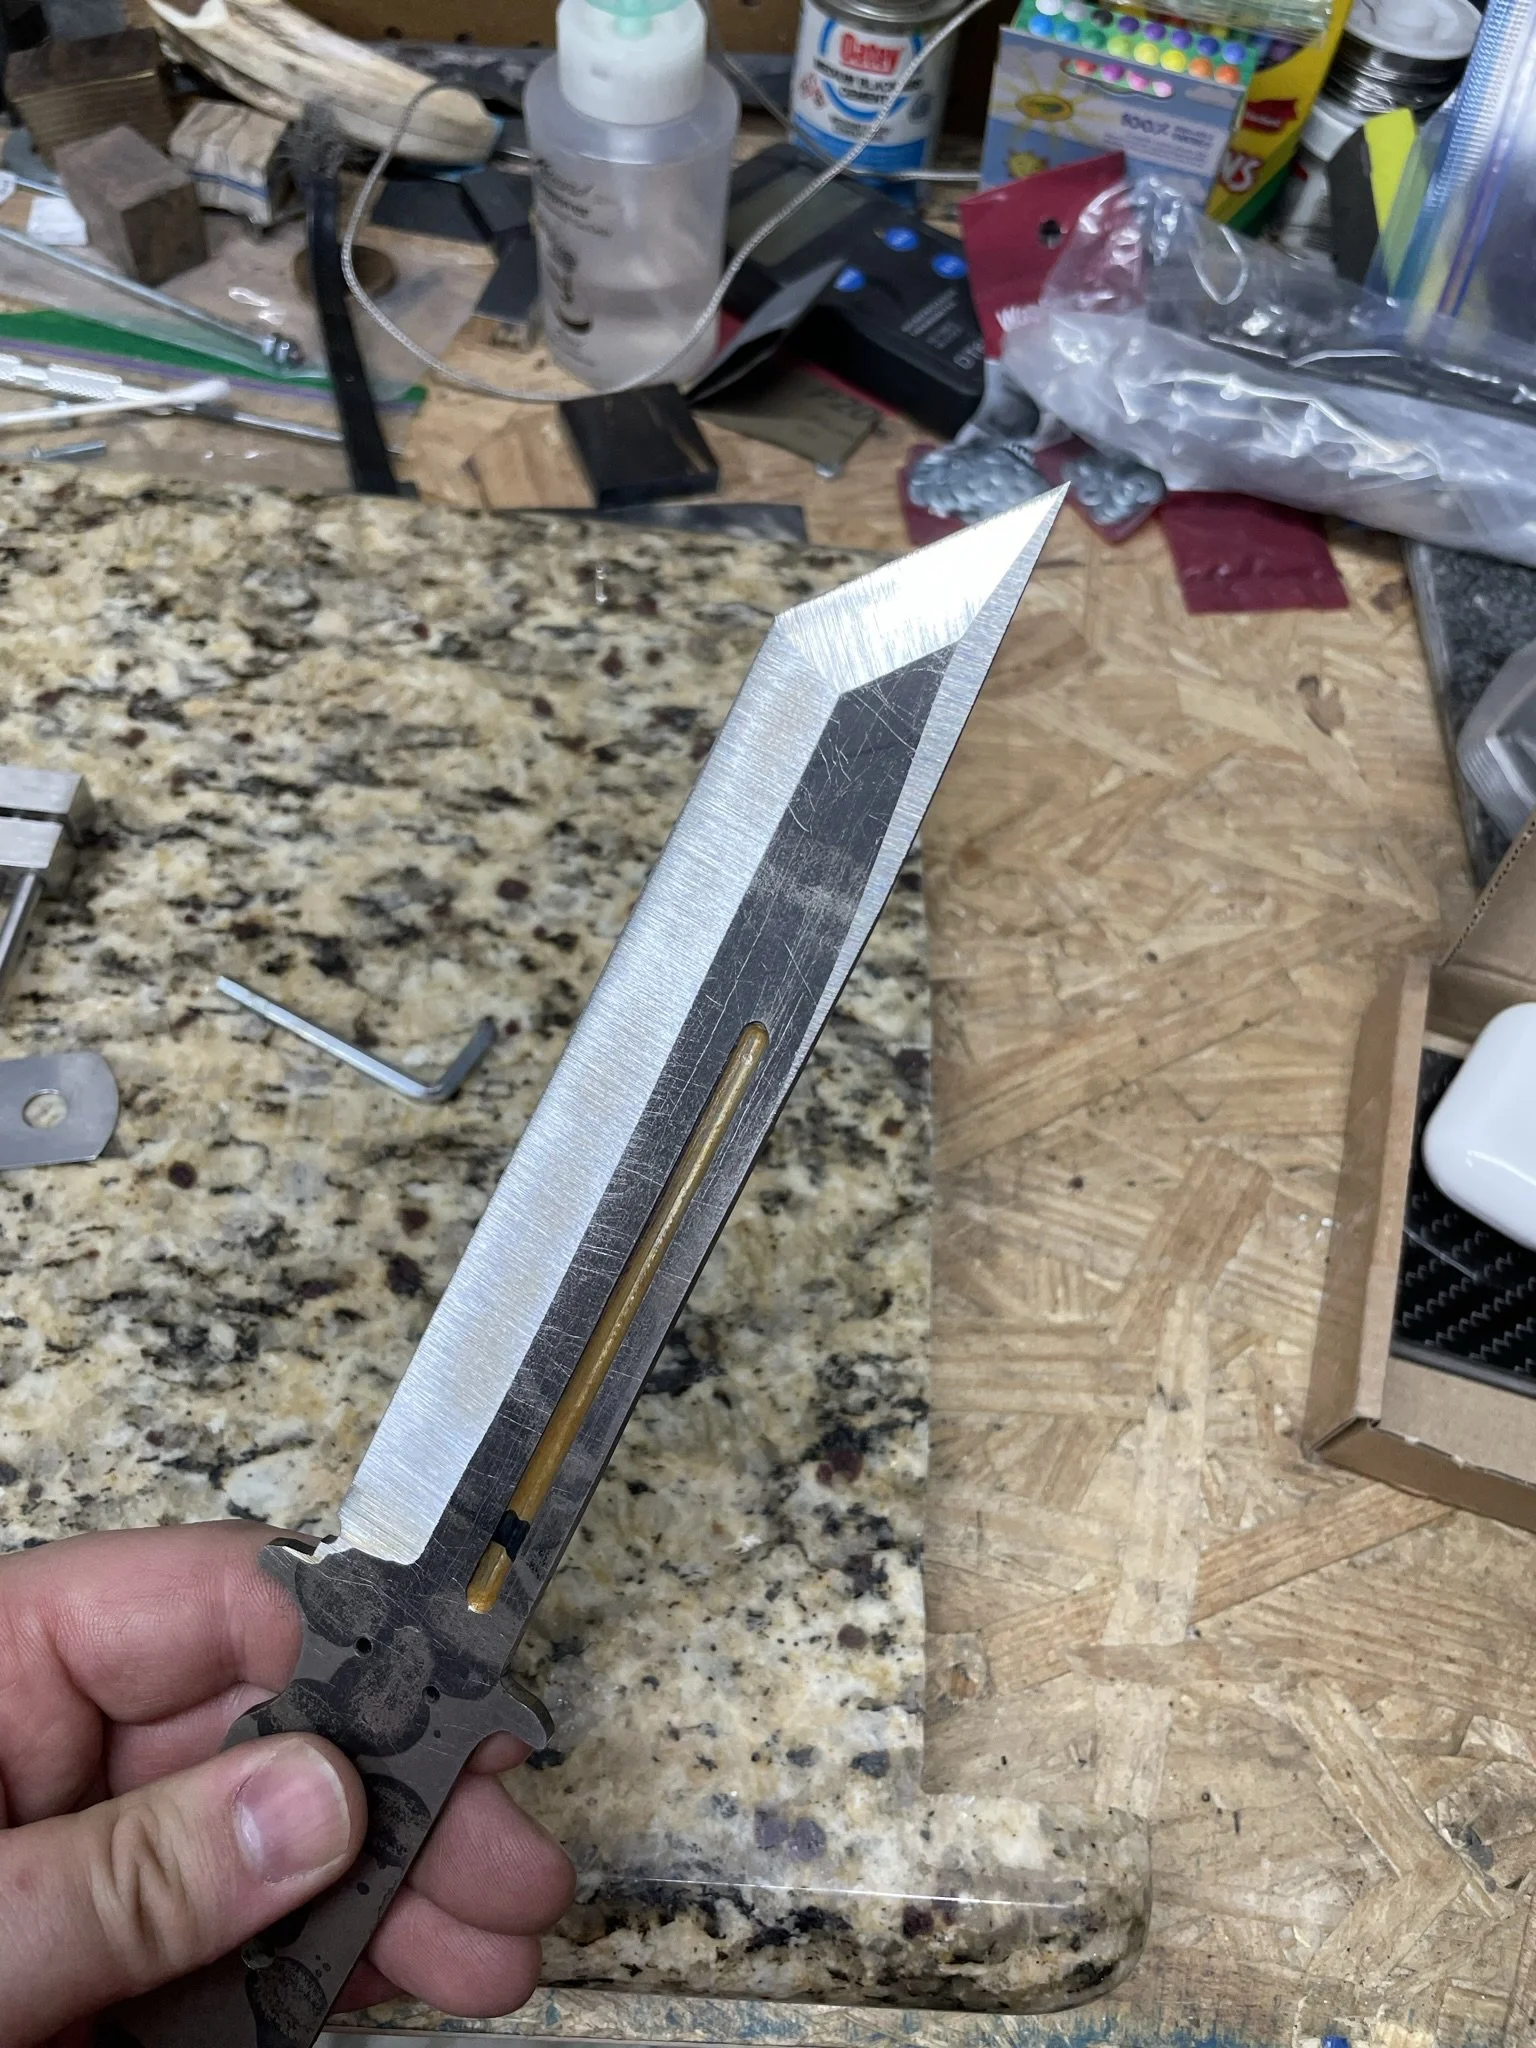
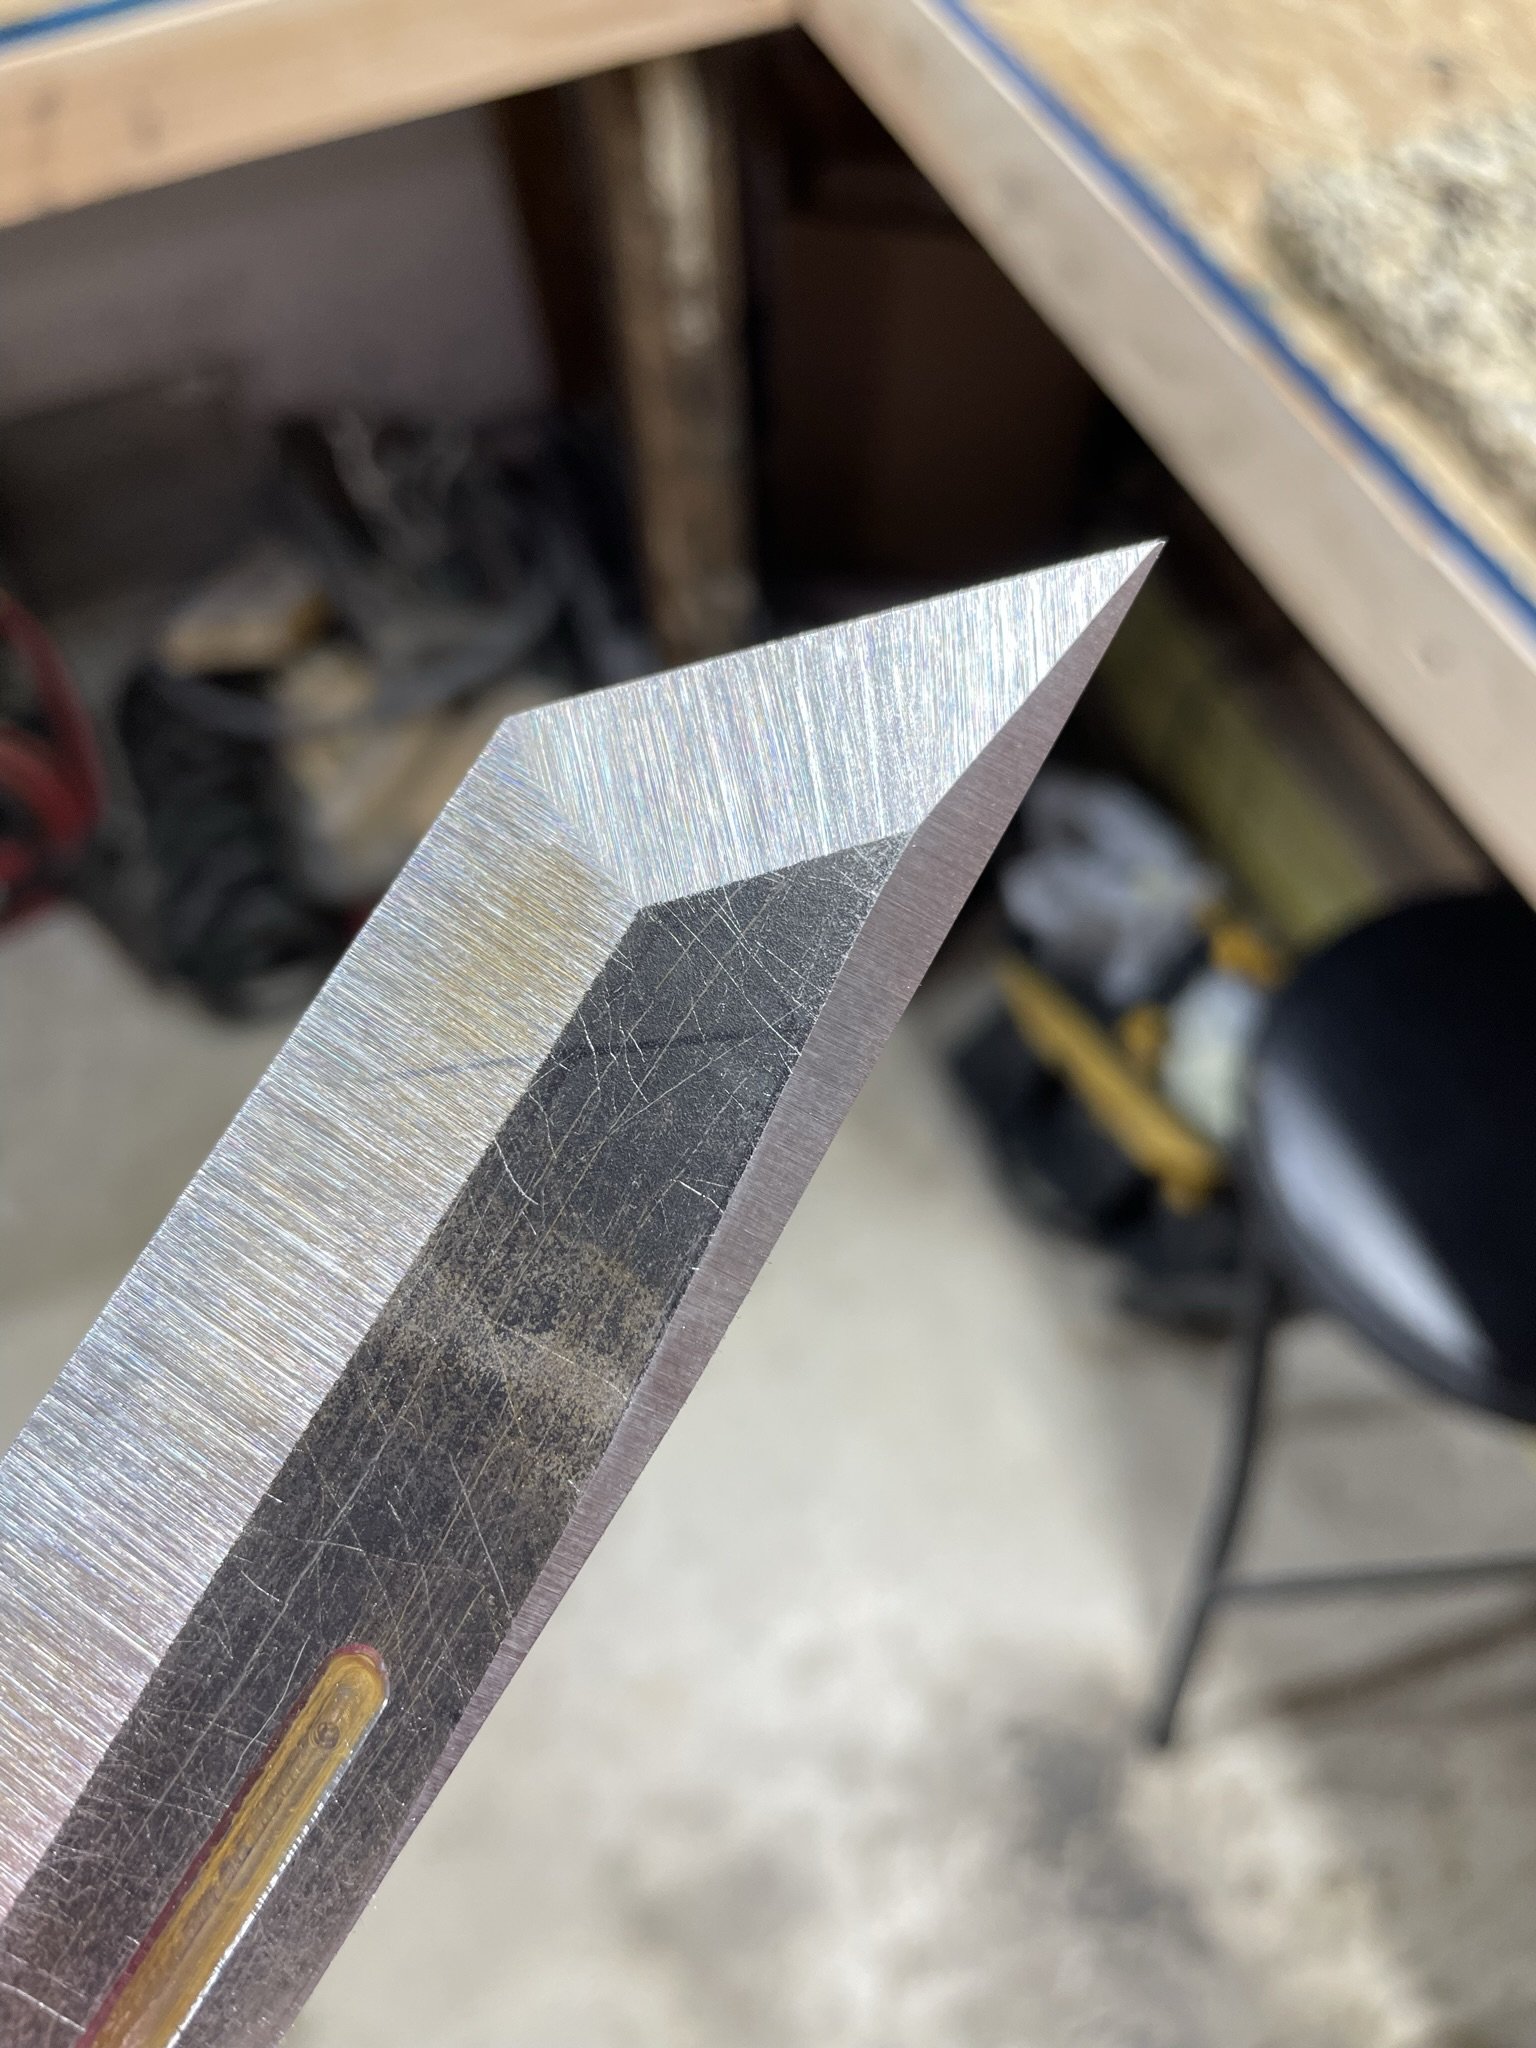
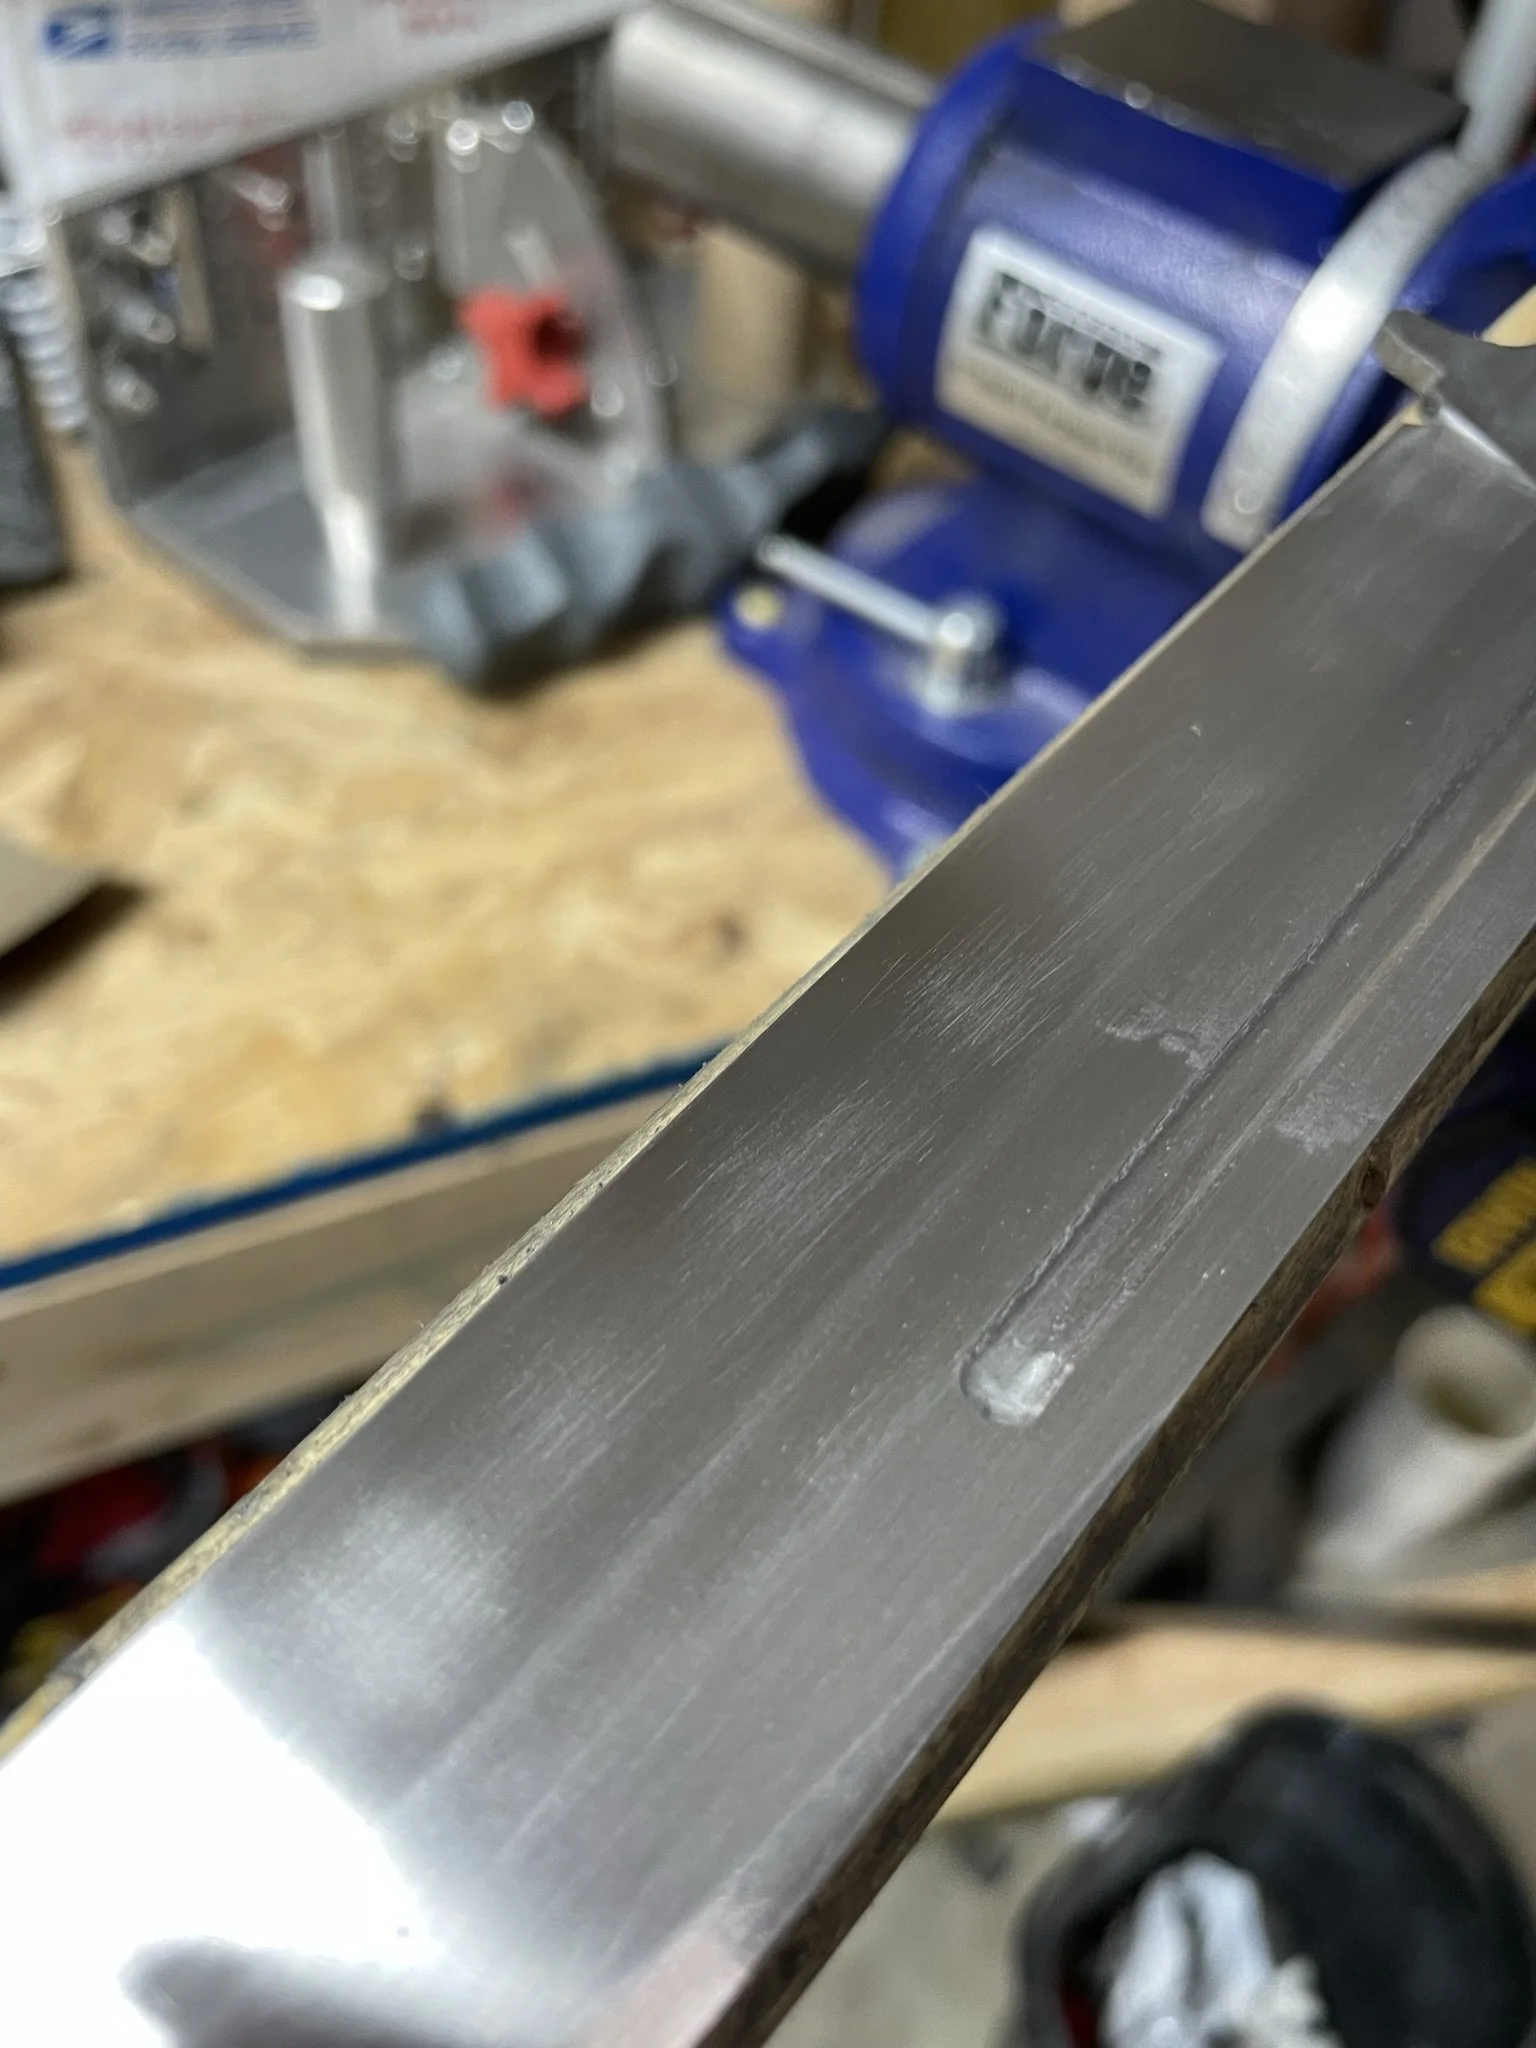
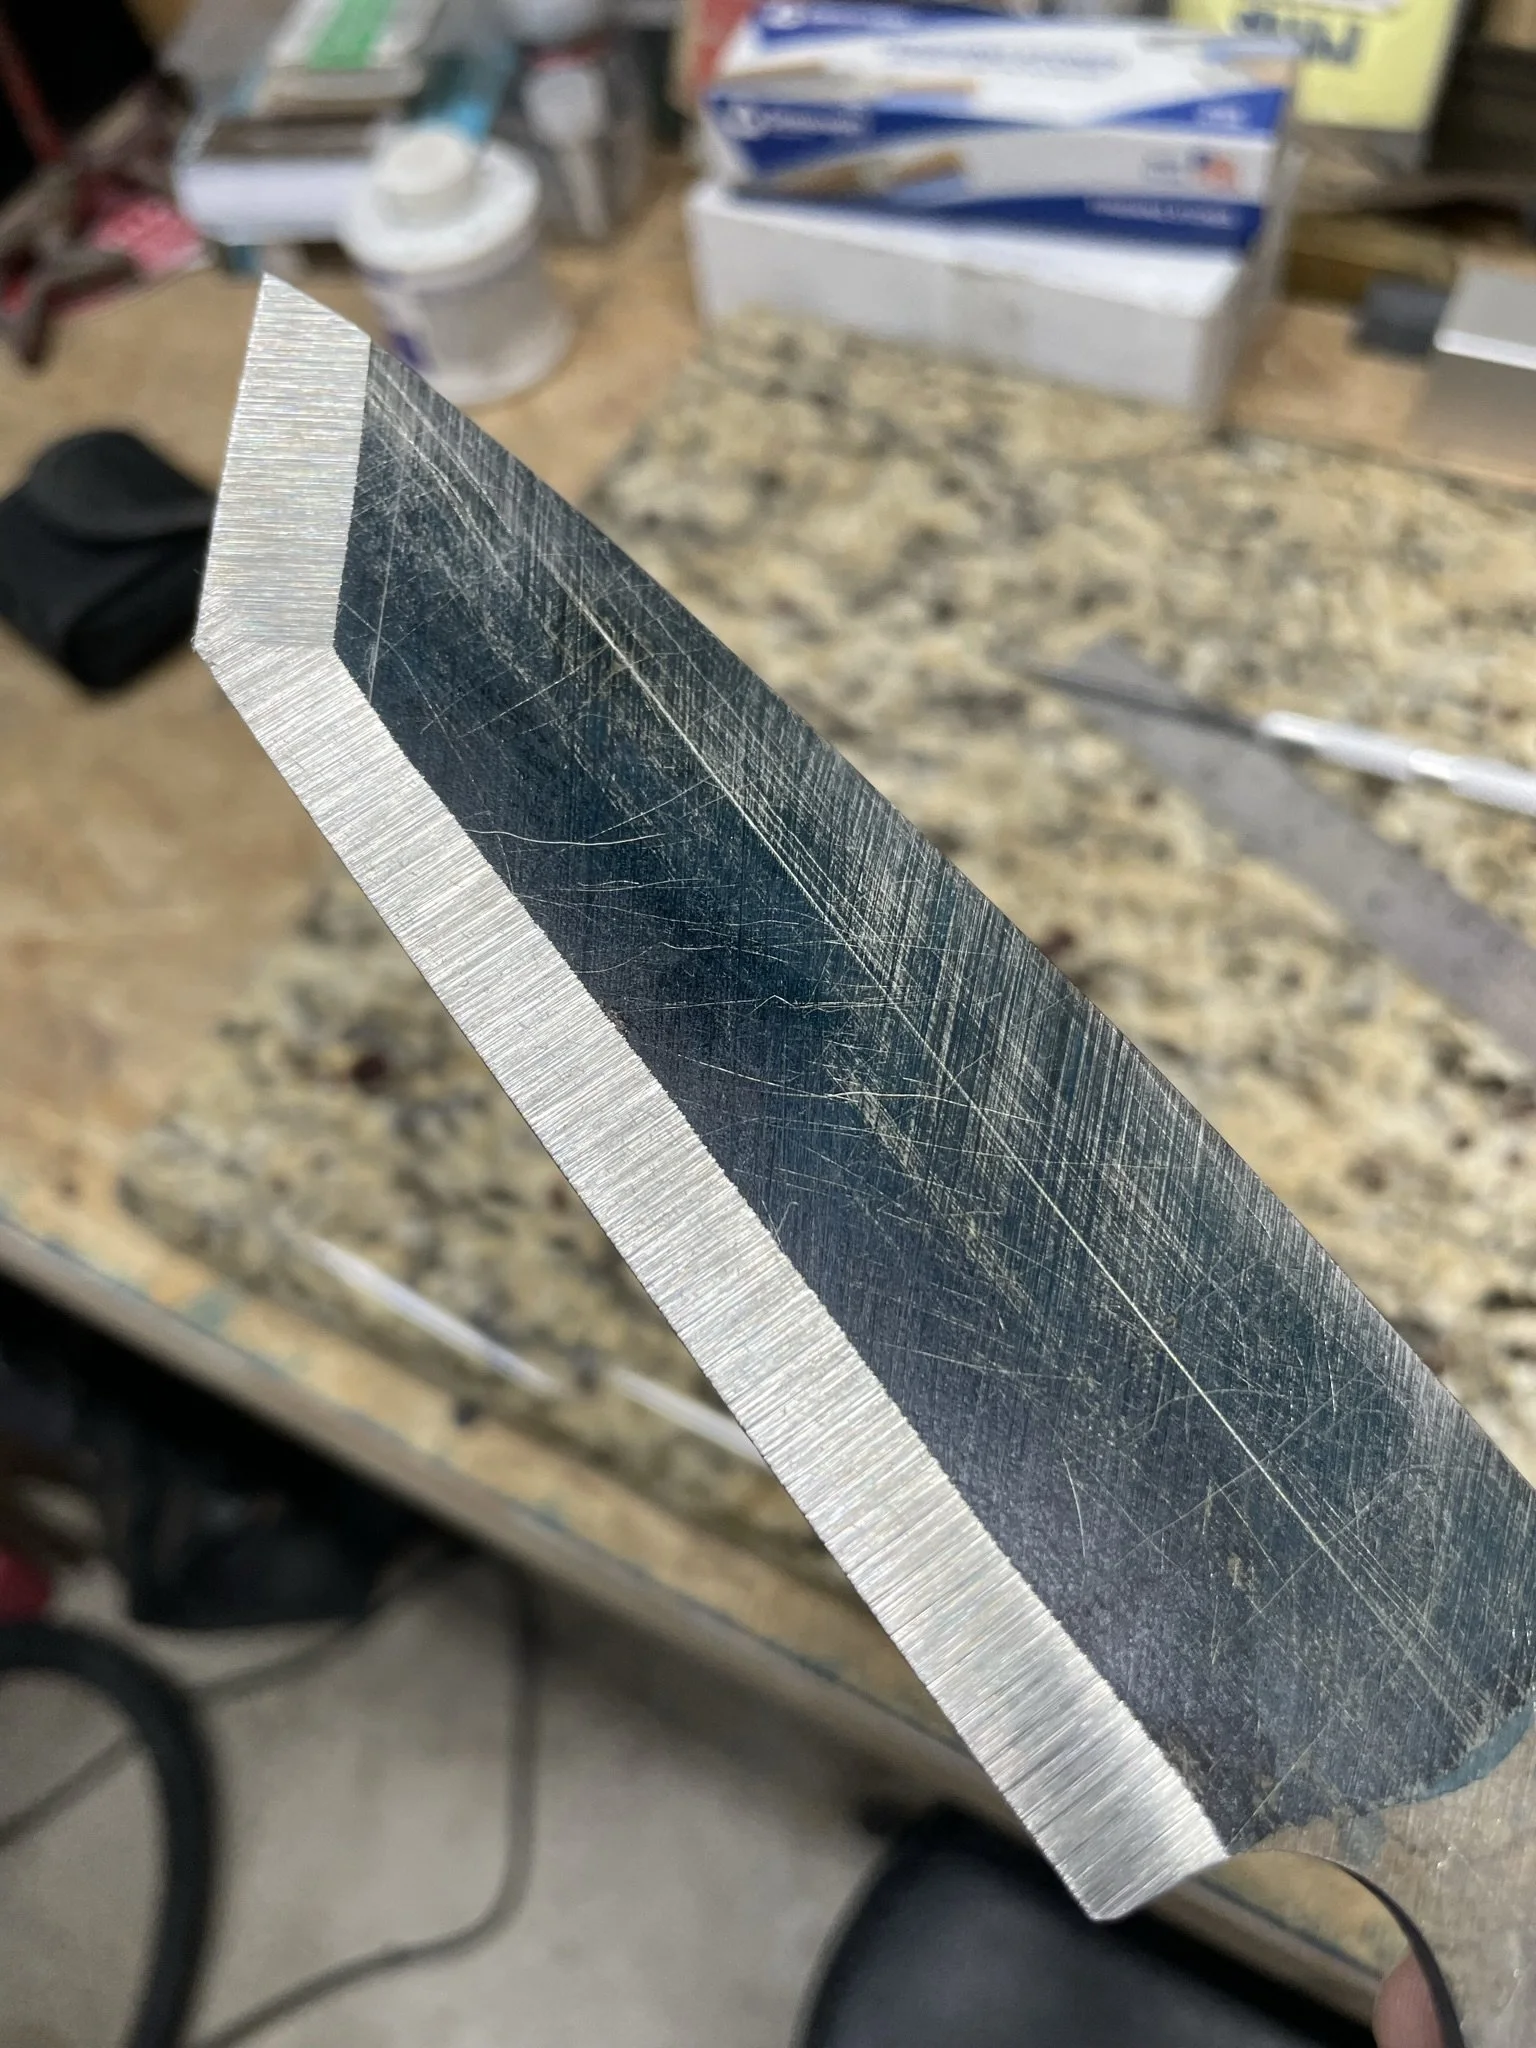
Hard to get these lines all to line up just right.
-
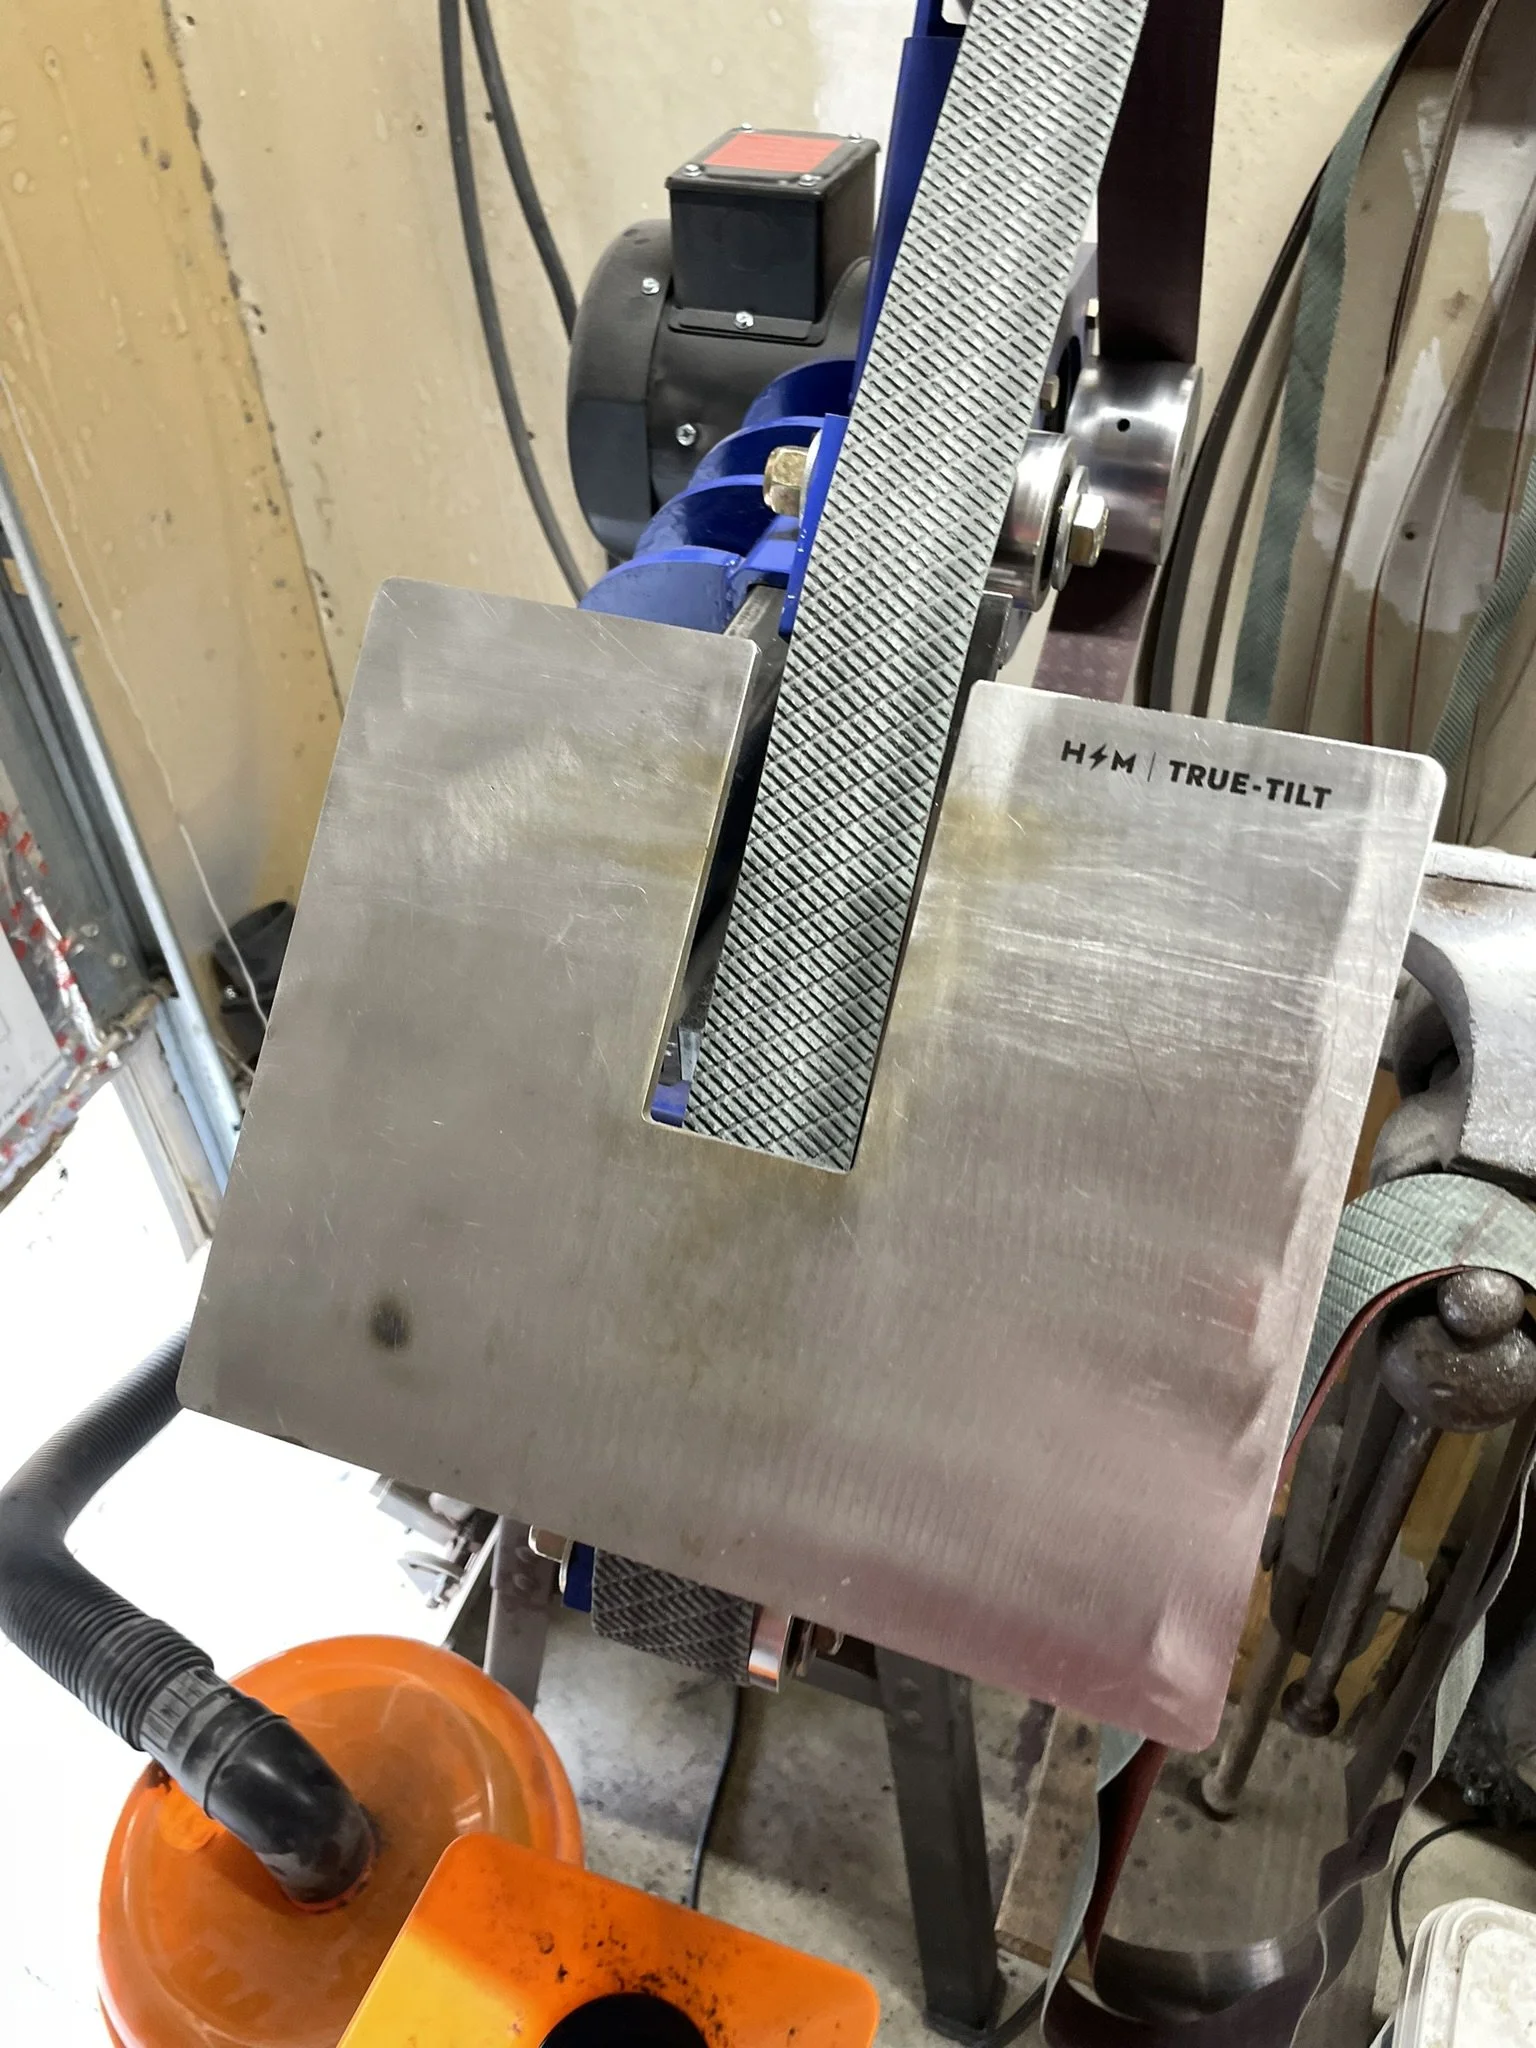
Fortunately I ordered the true-tilt table from Housemade.us to help with keeping these lines nice and crisp.
-
Blade rough ground.
-
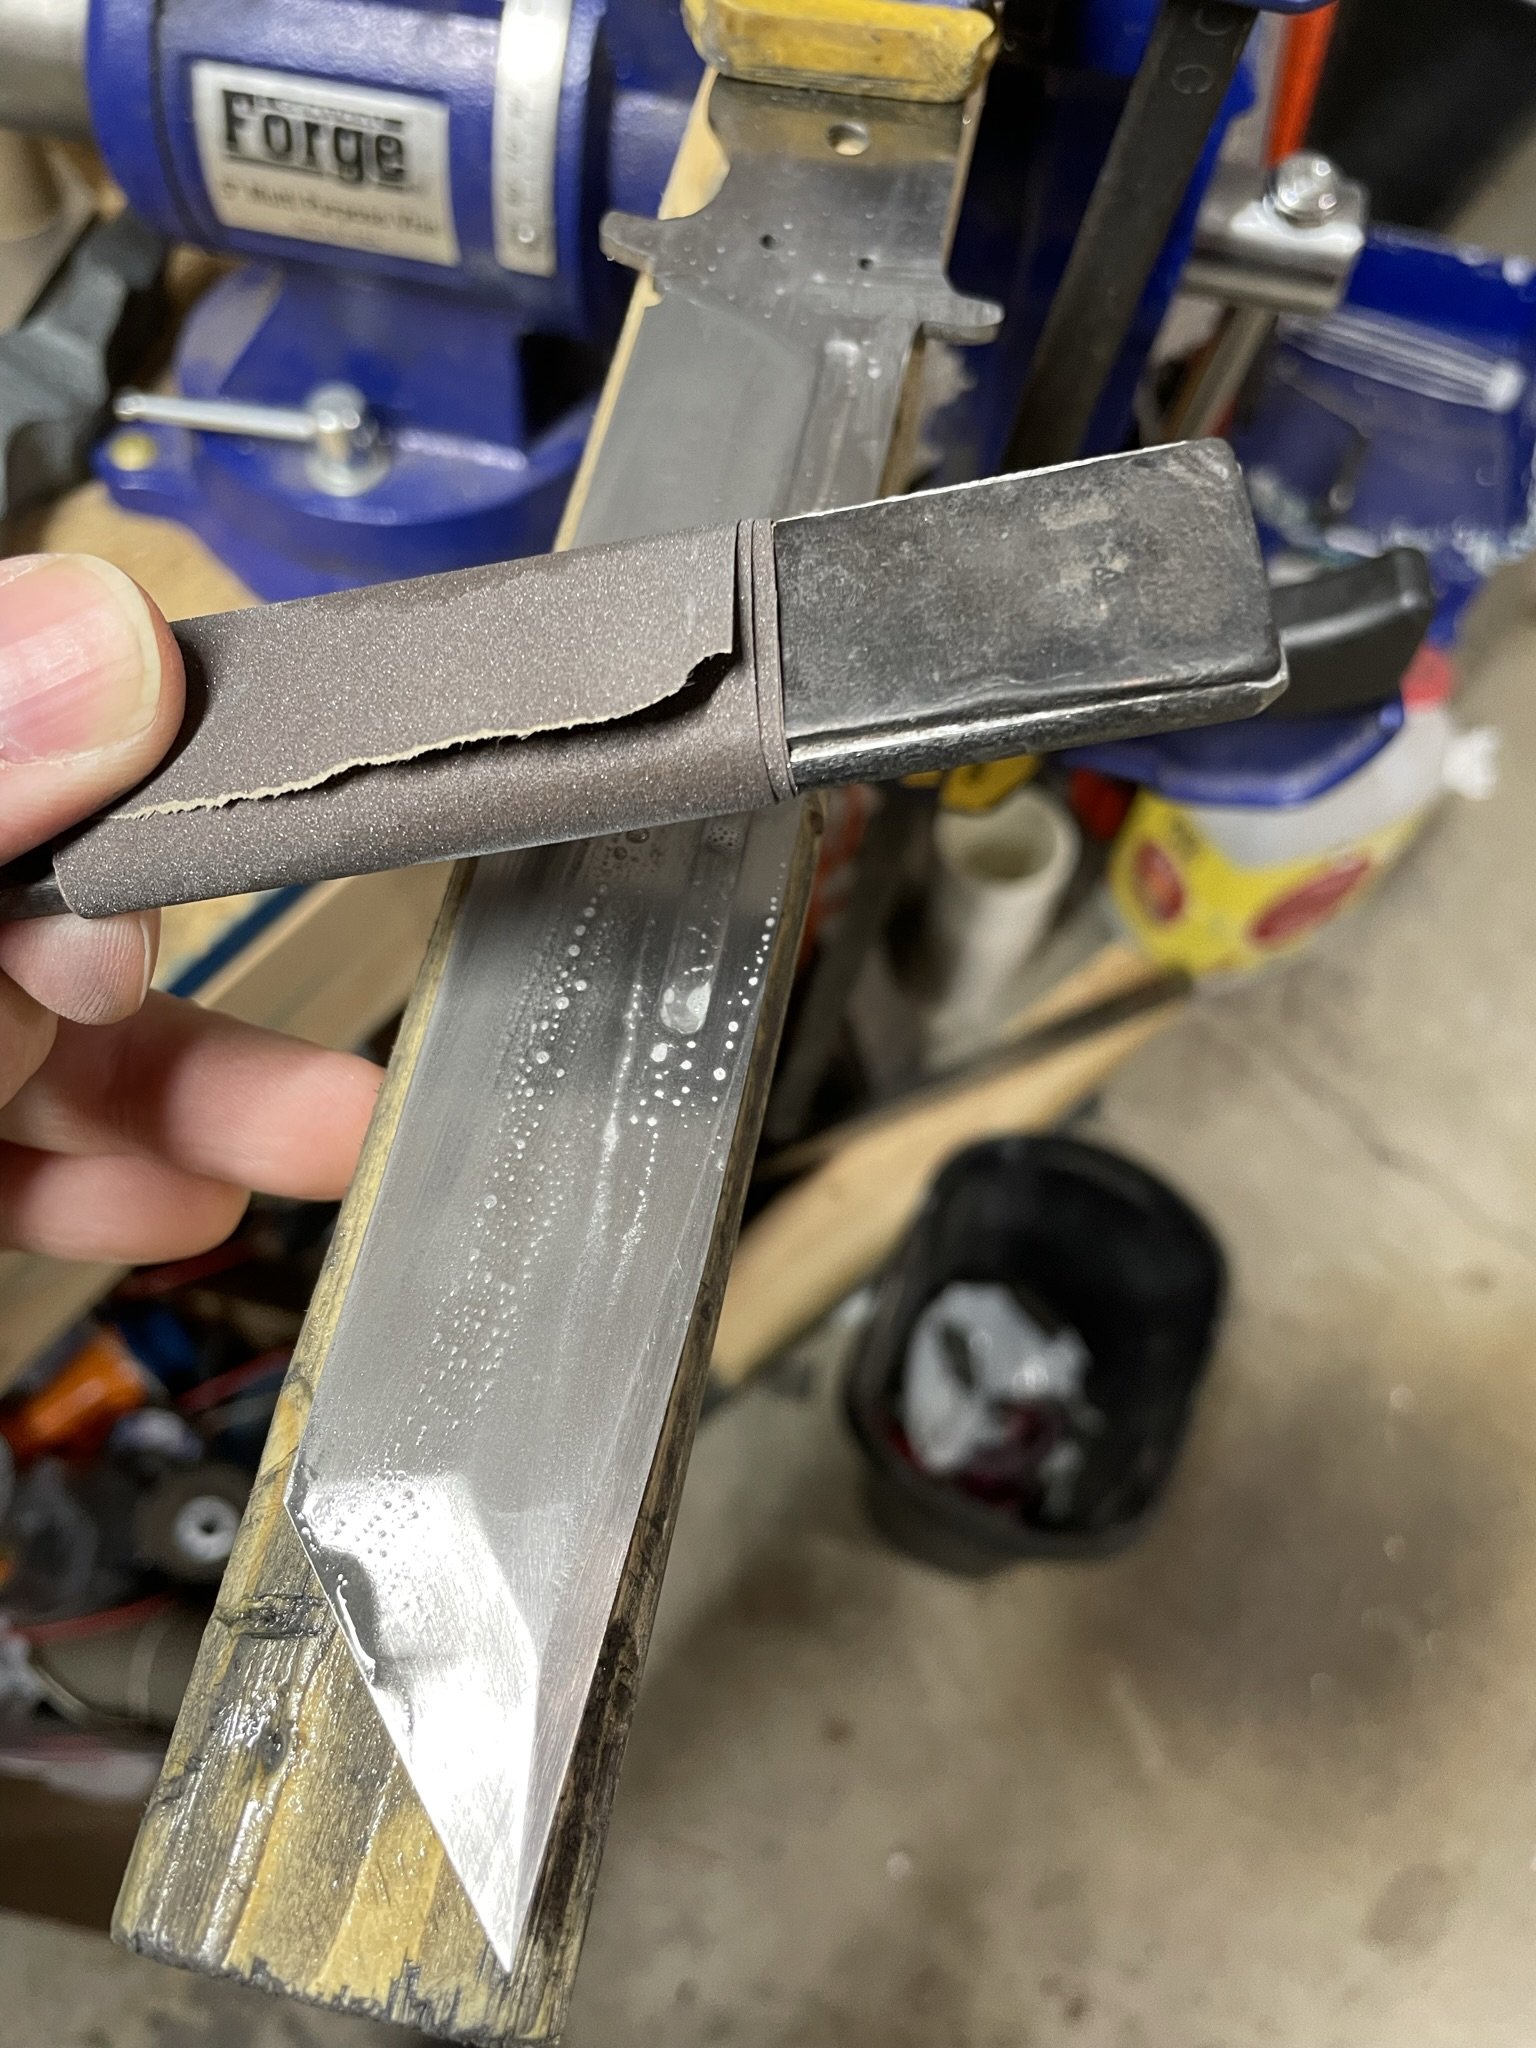
It's not damascus but hand sanding is necessary as I'm not consistent on belt finished just yet.
-
oooo, shiny.
-
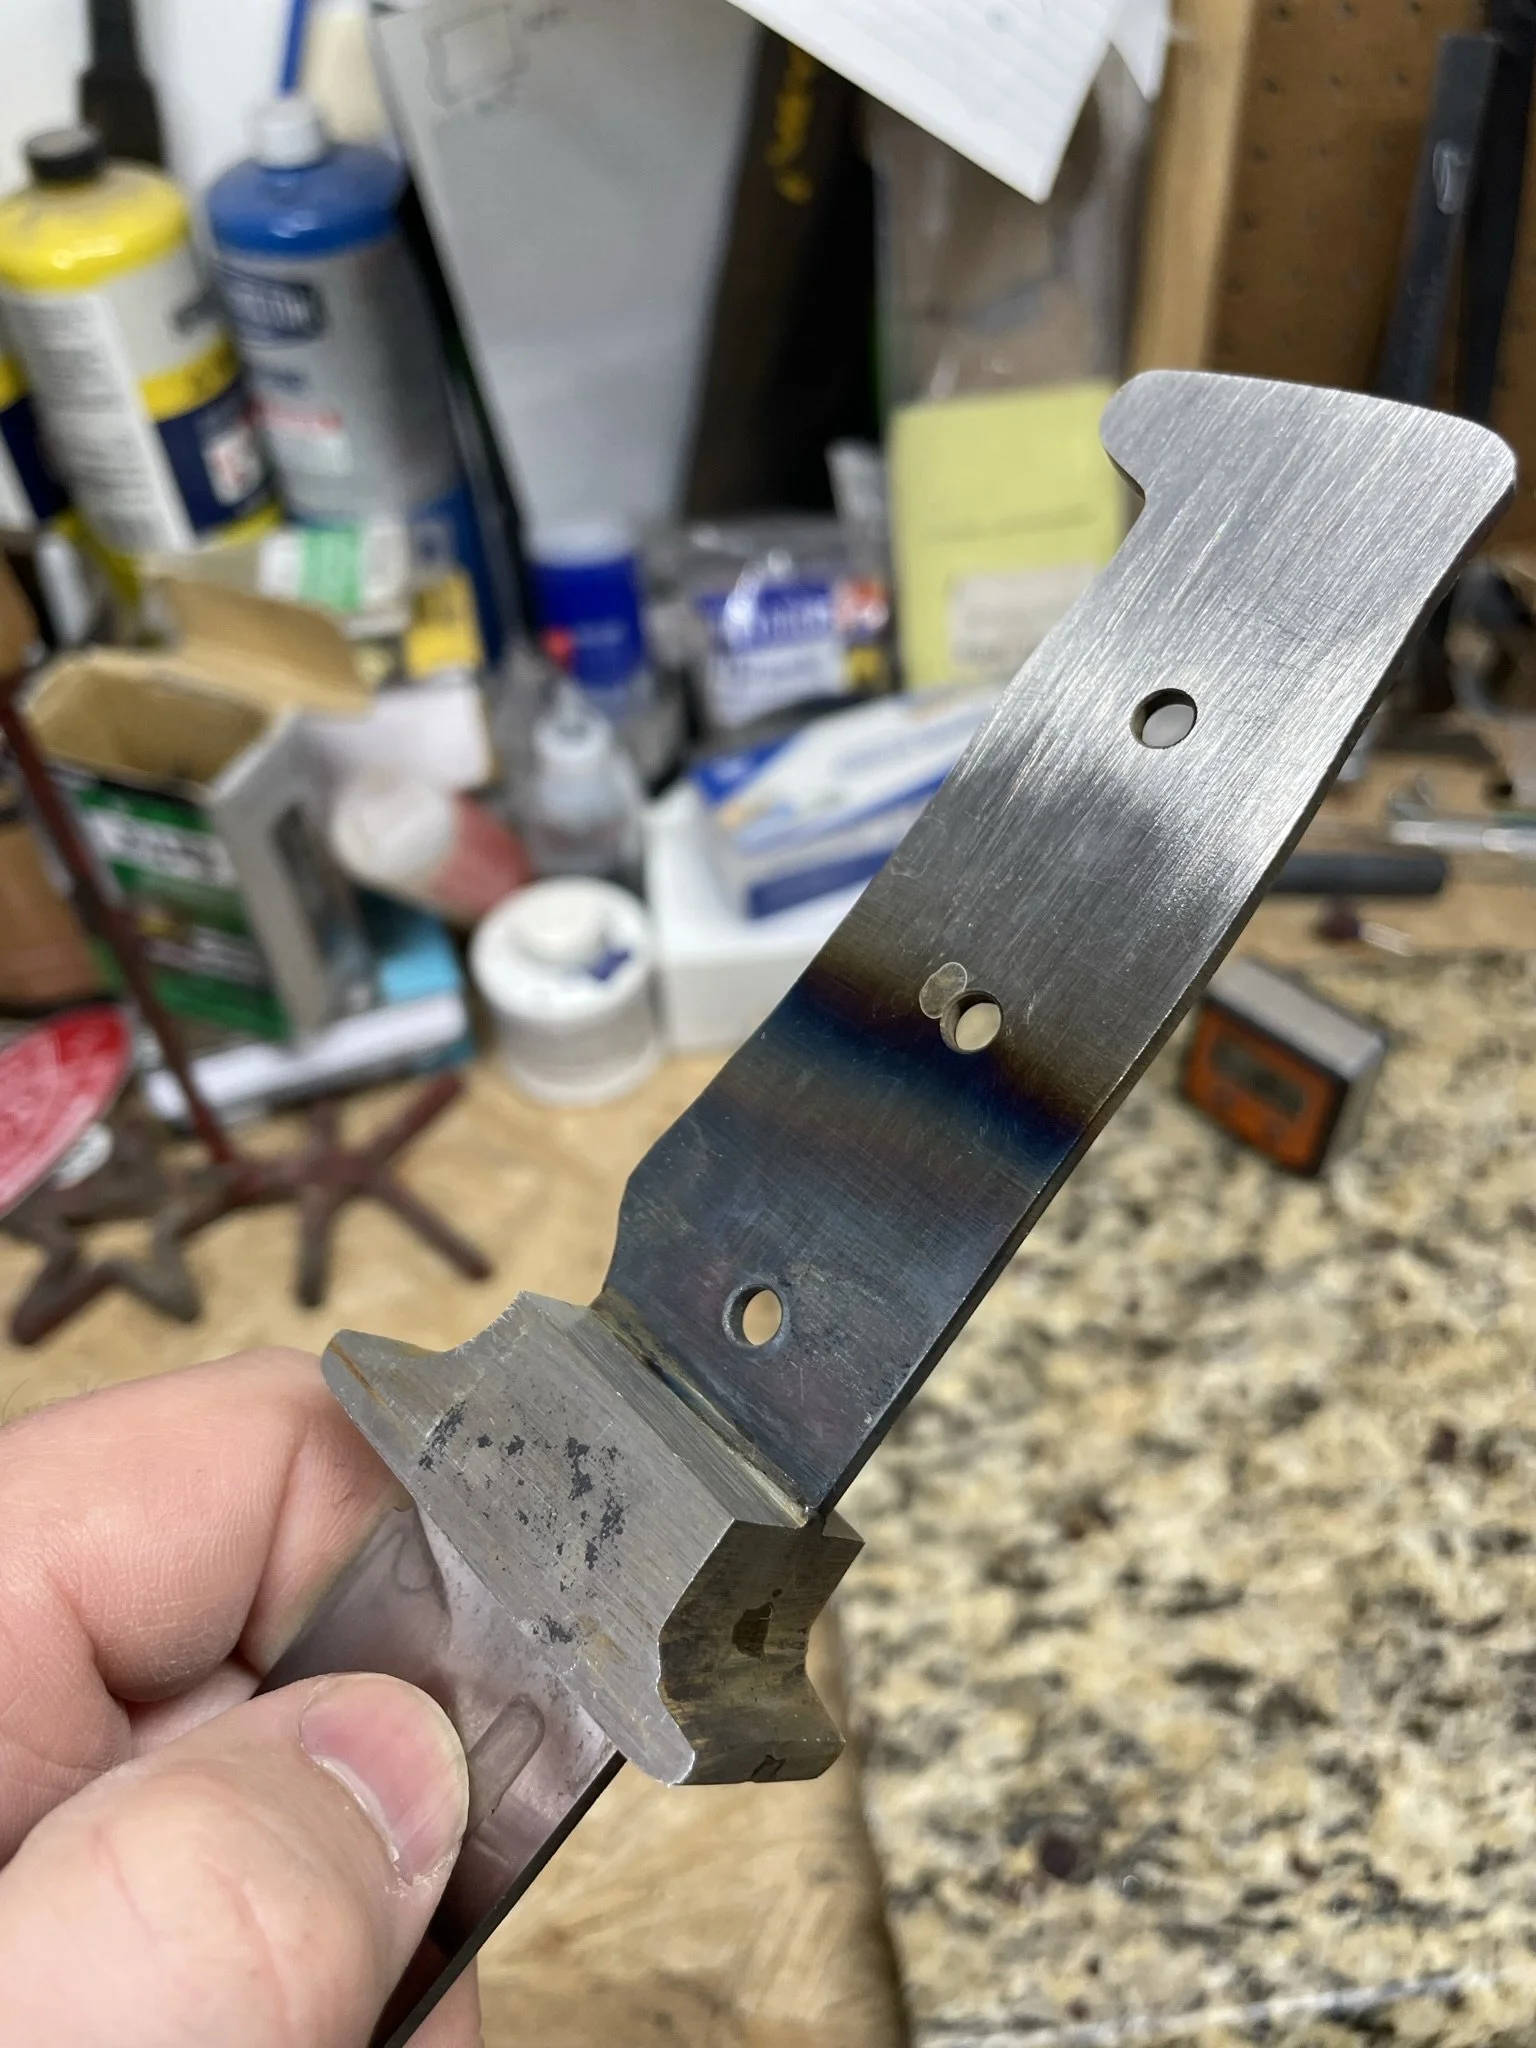
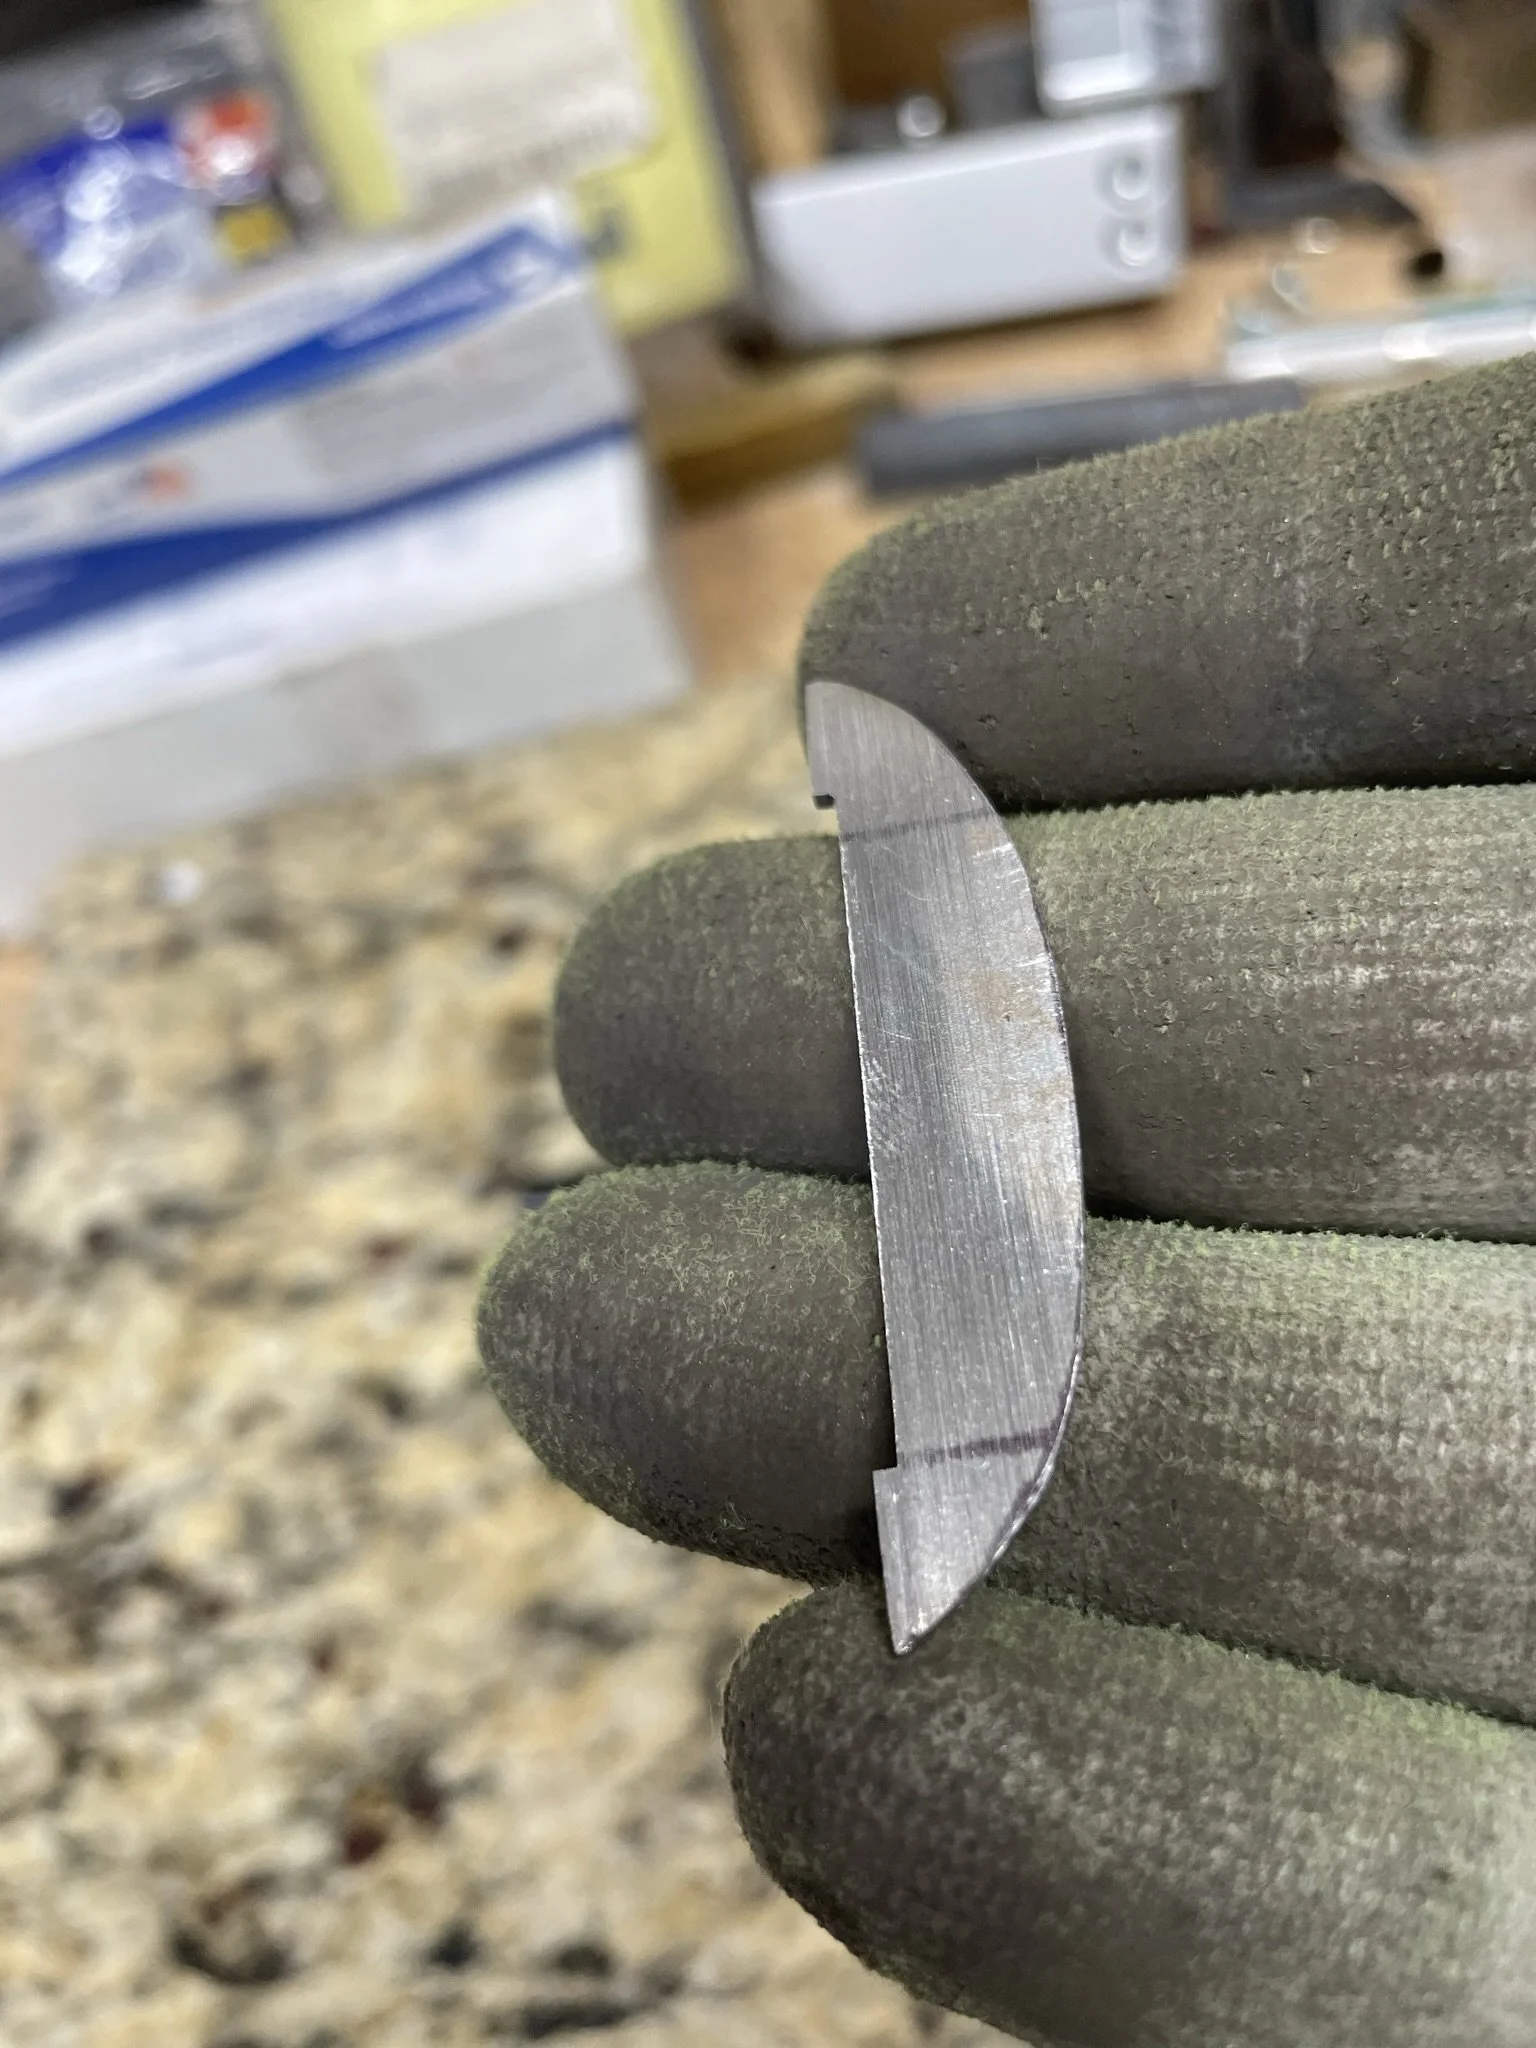
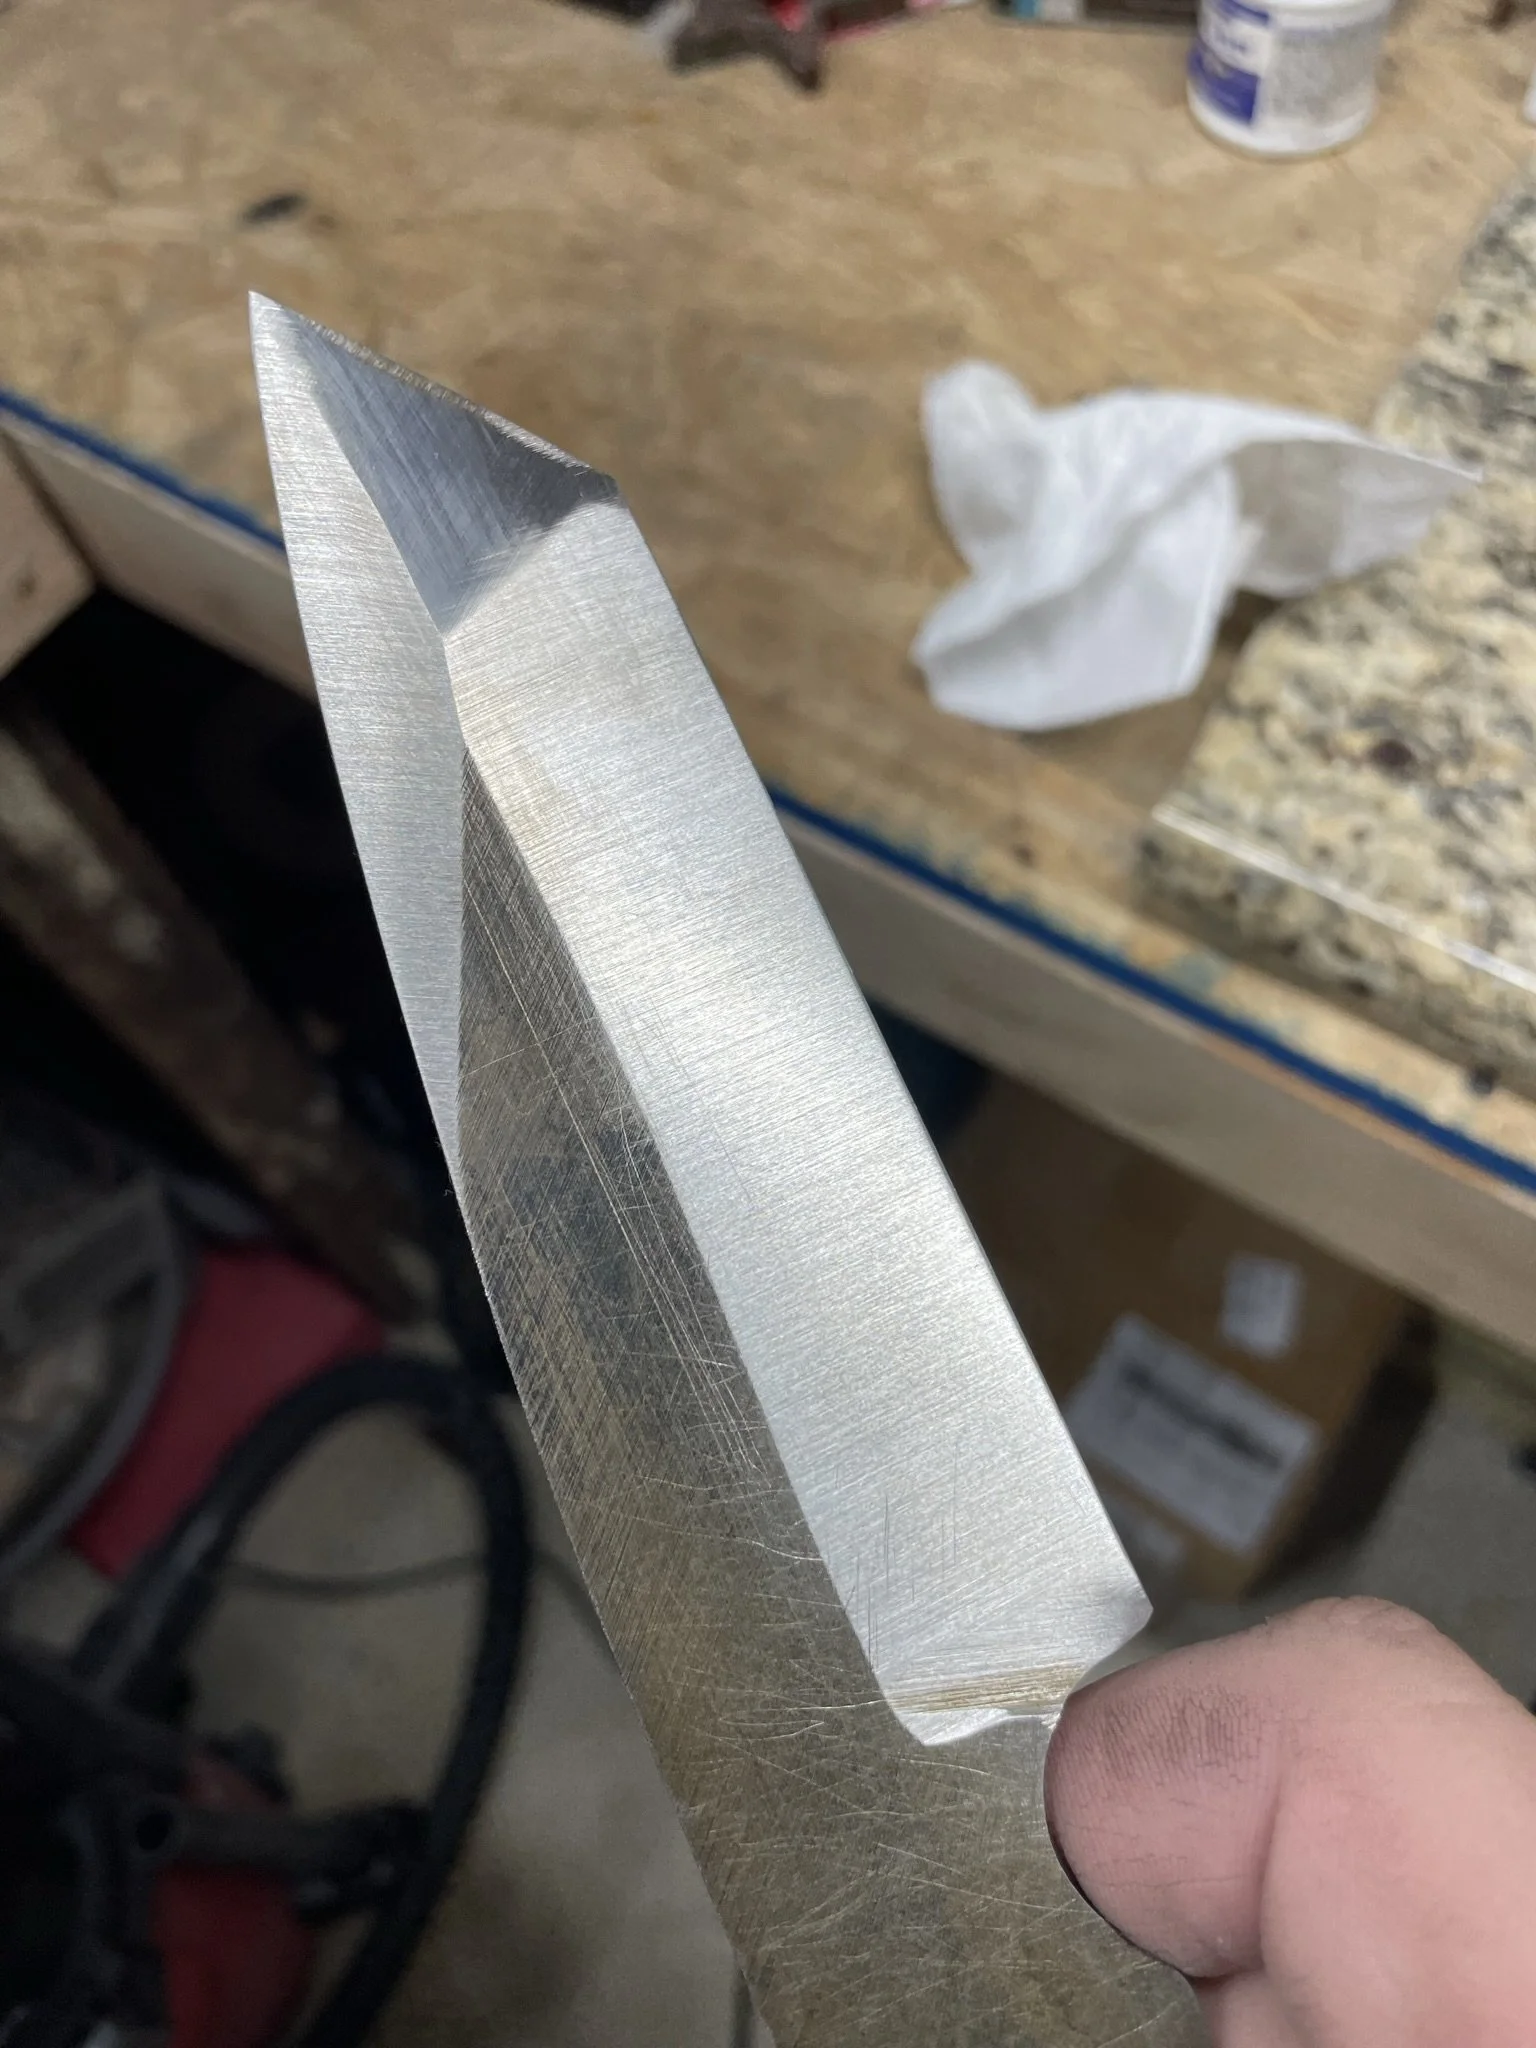
I wanted a full tang knife, but also a guard. I decided to peen/weld two pieces of mild steel to either side of the blade.
-
In order to help make the guard symmetrical I created this half template.
-
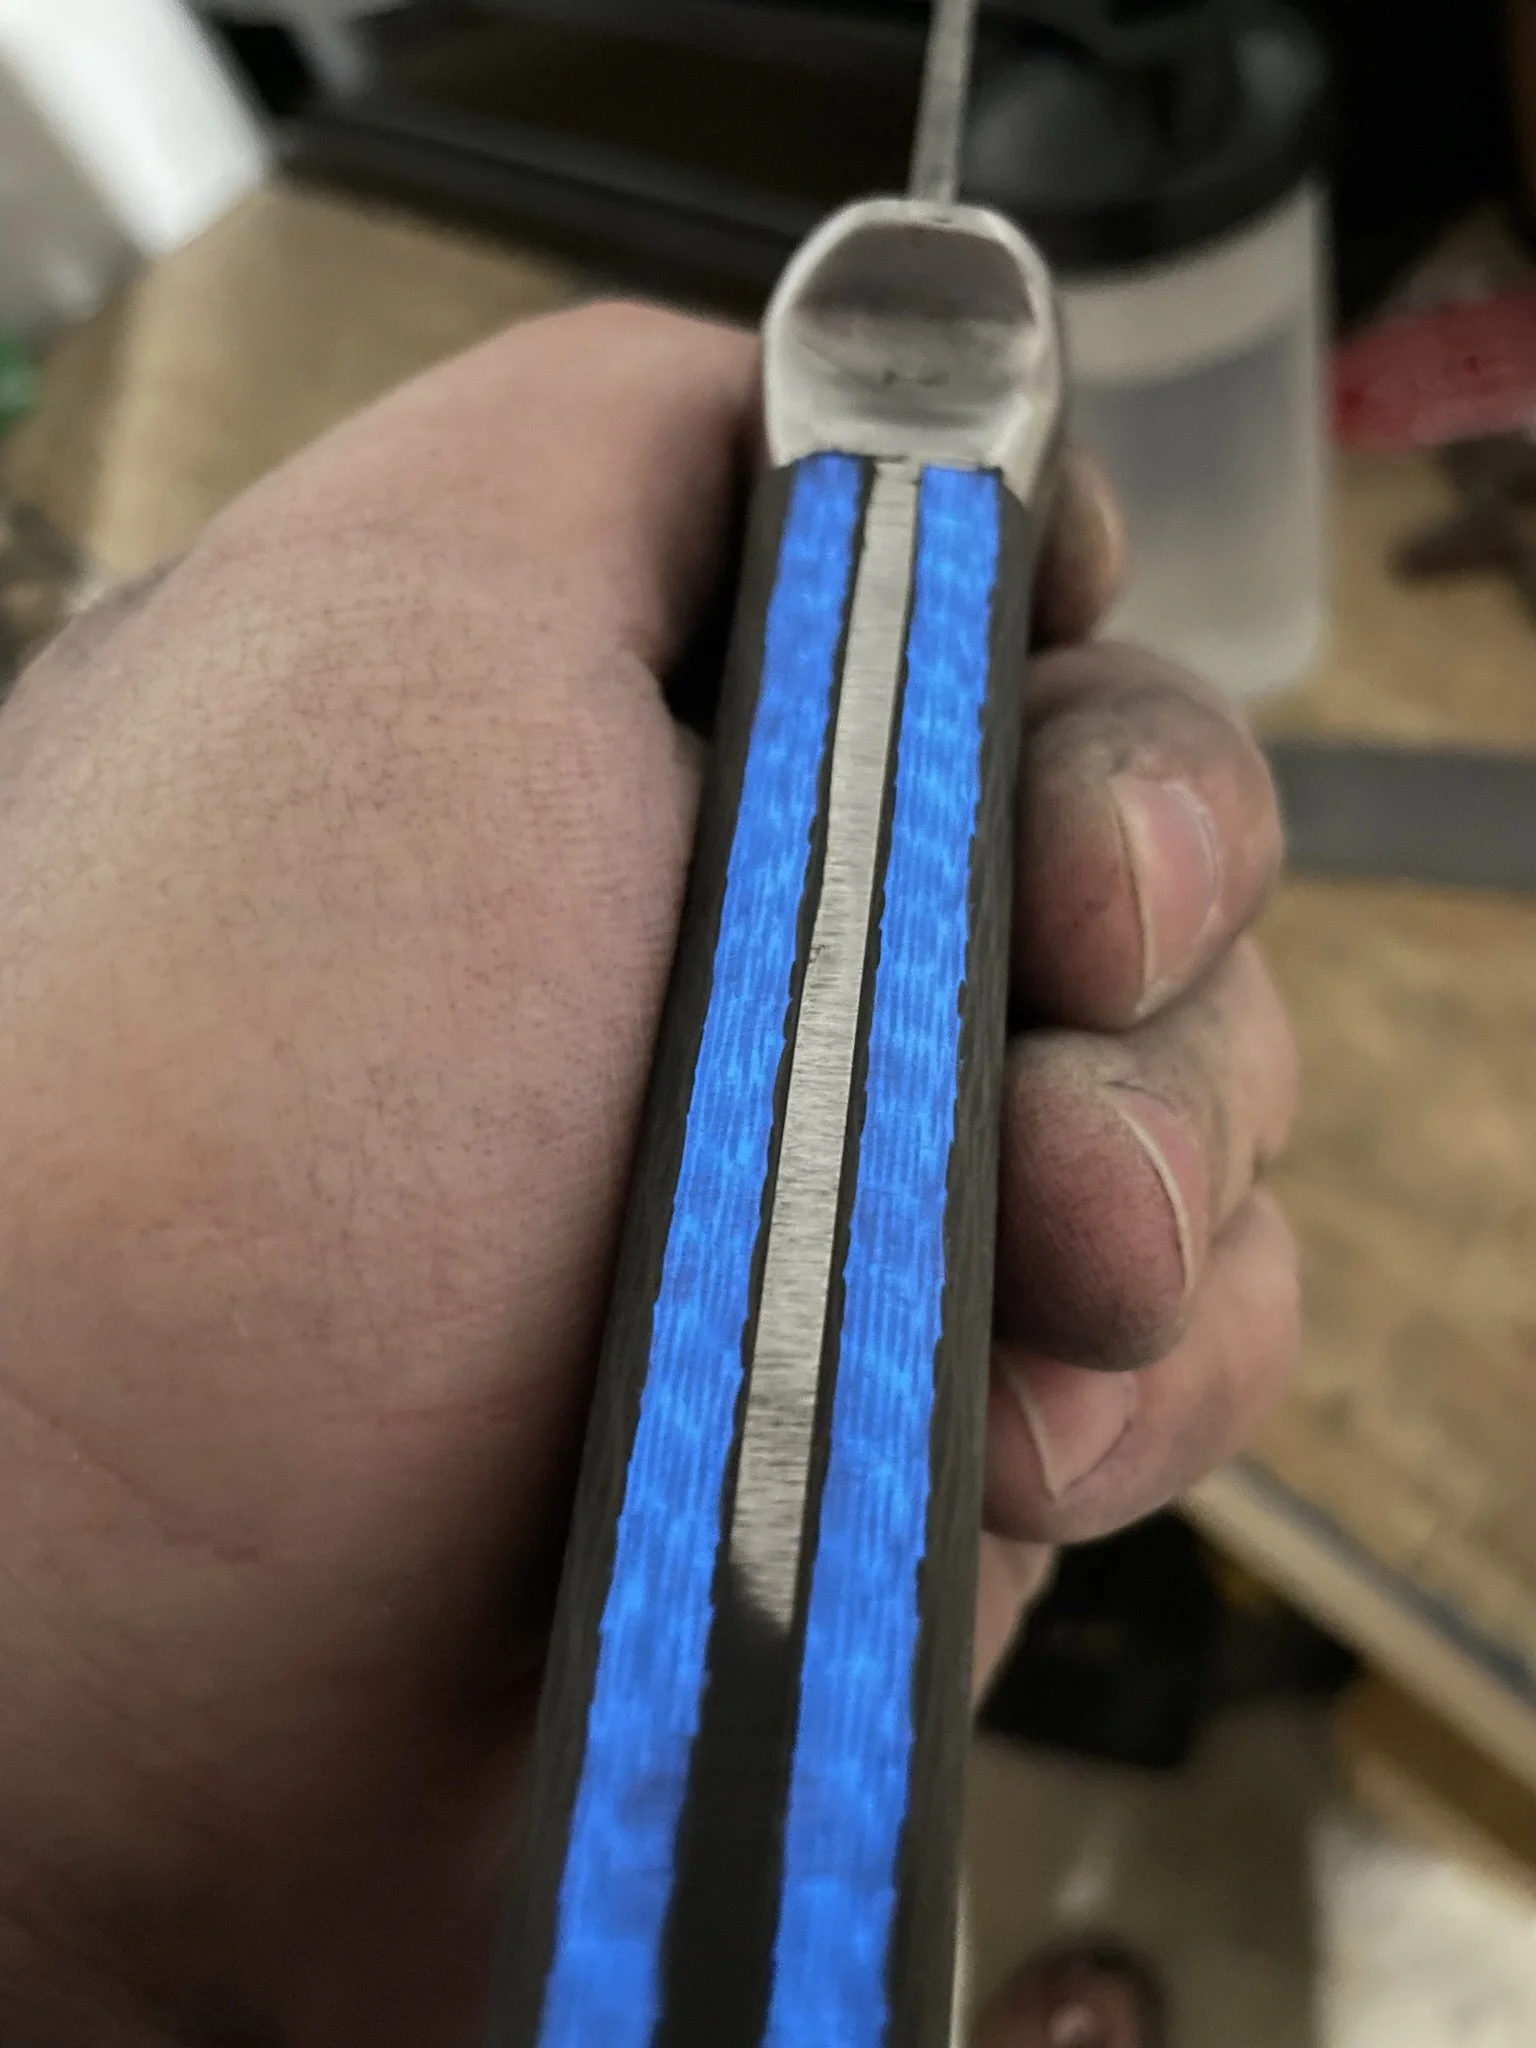
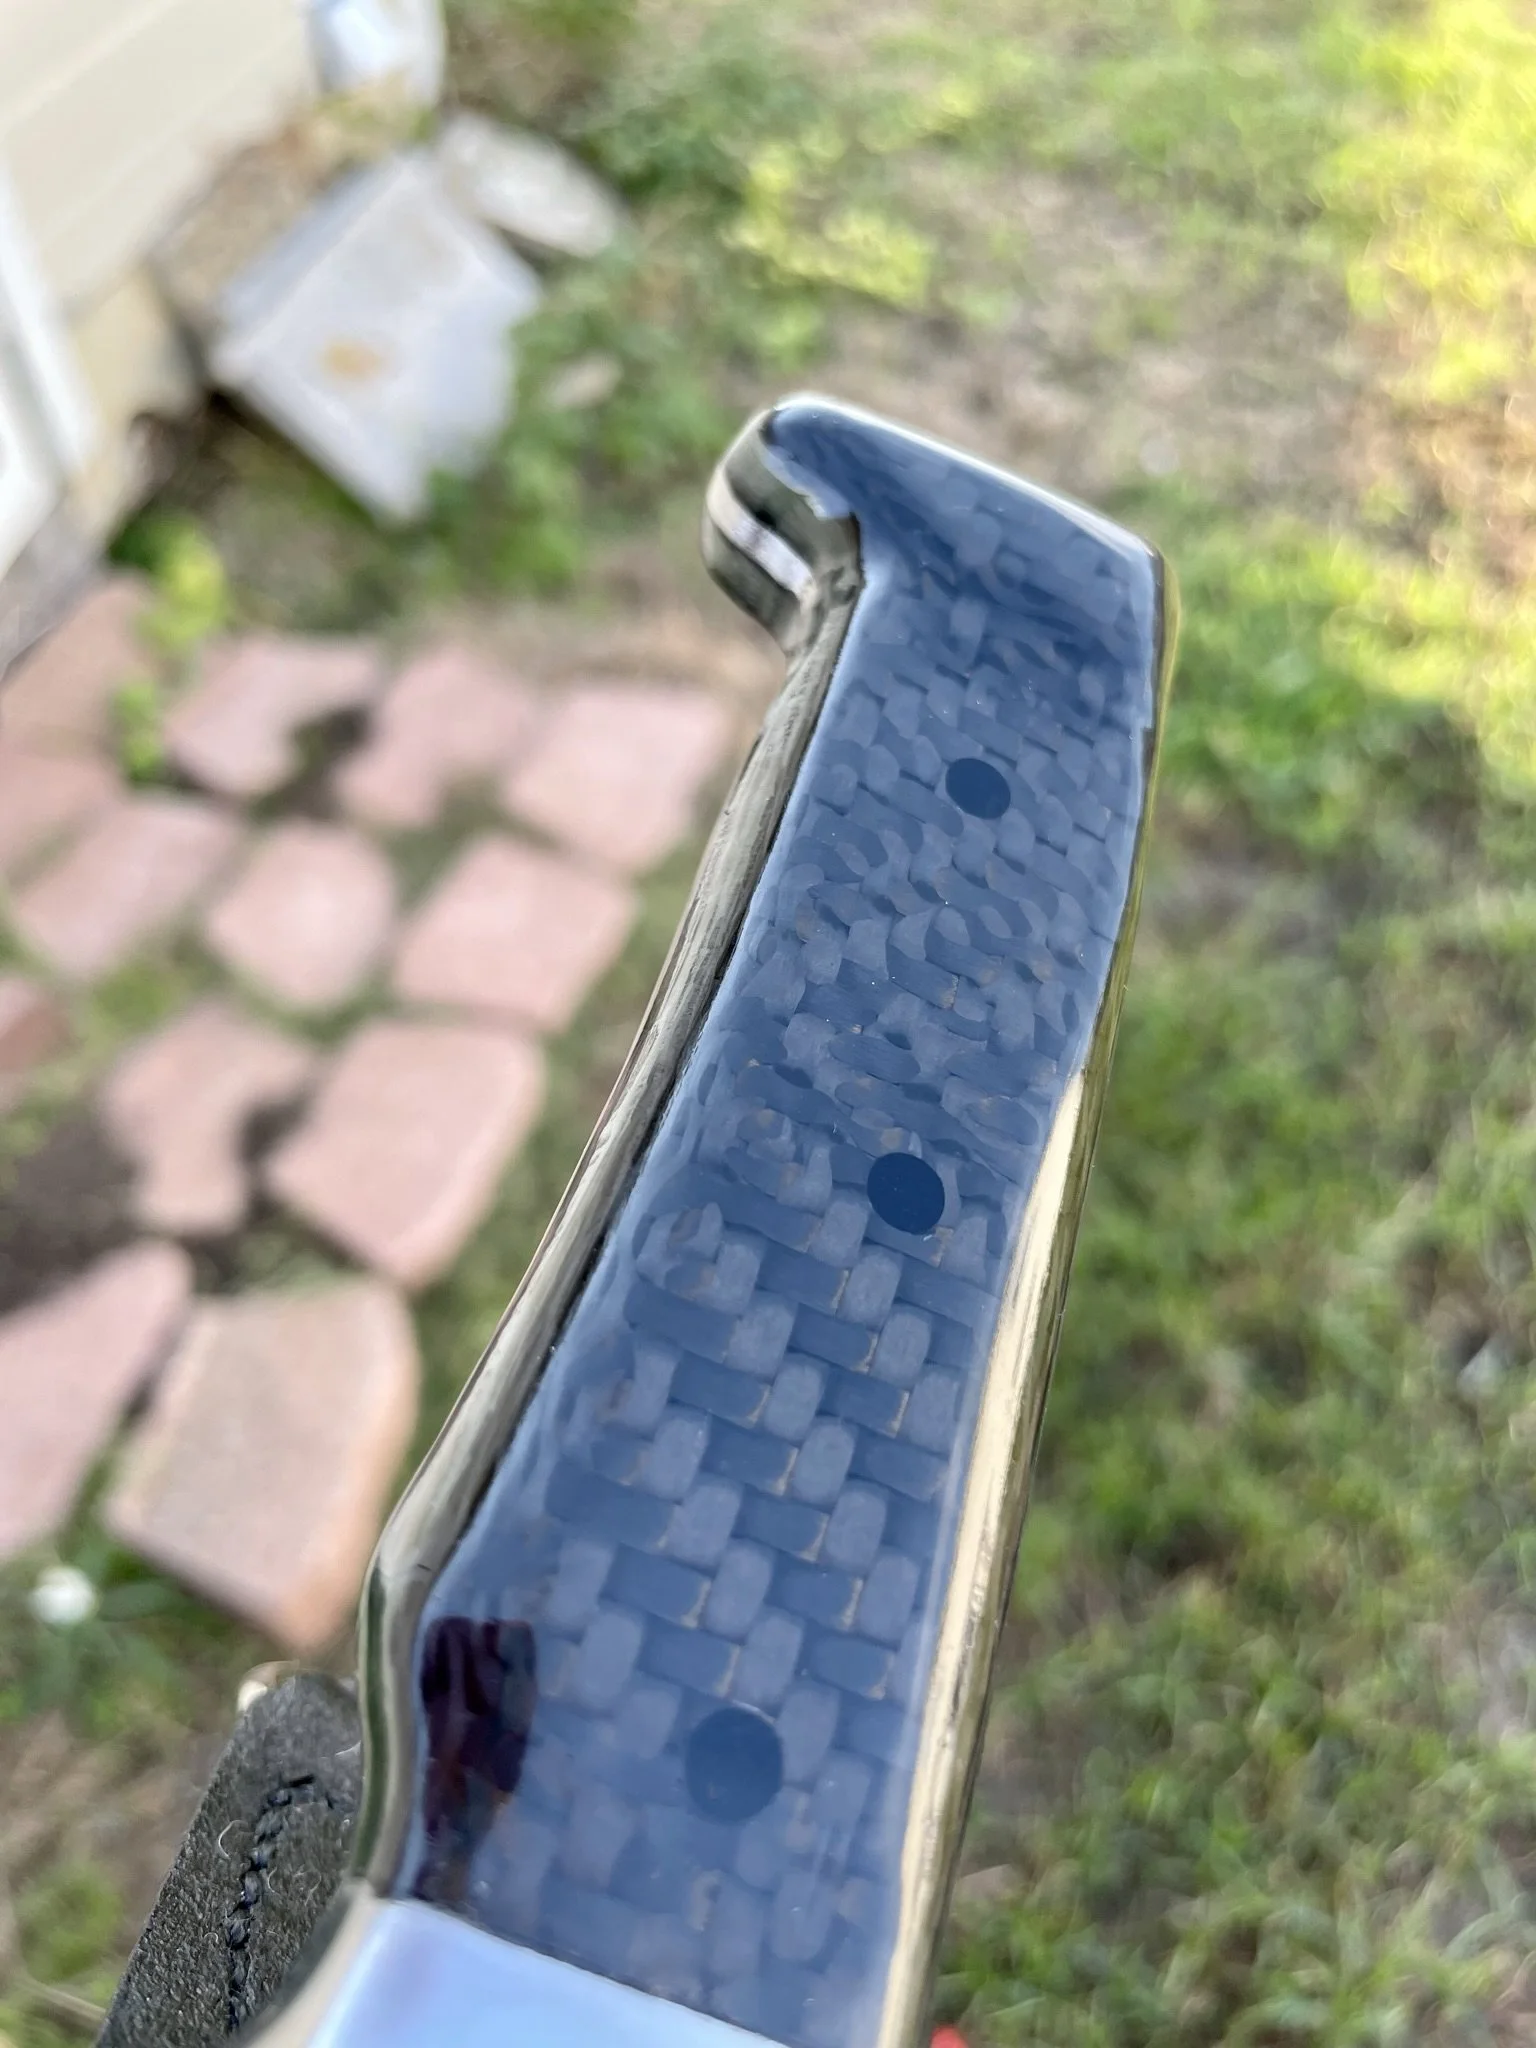
Decided on some special carbon fiber. As this was for a young teen I decided to add a little flare to it.
-
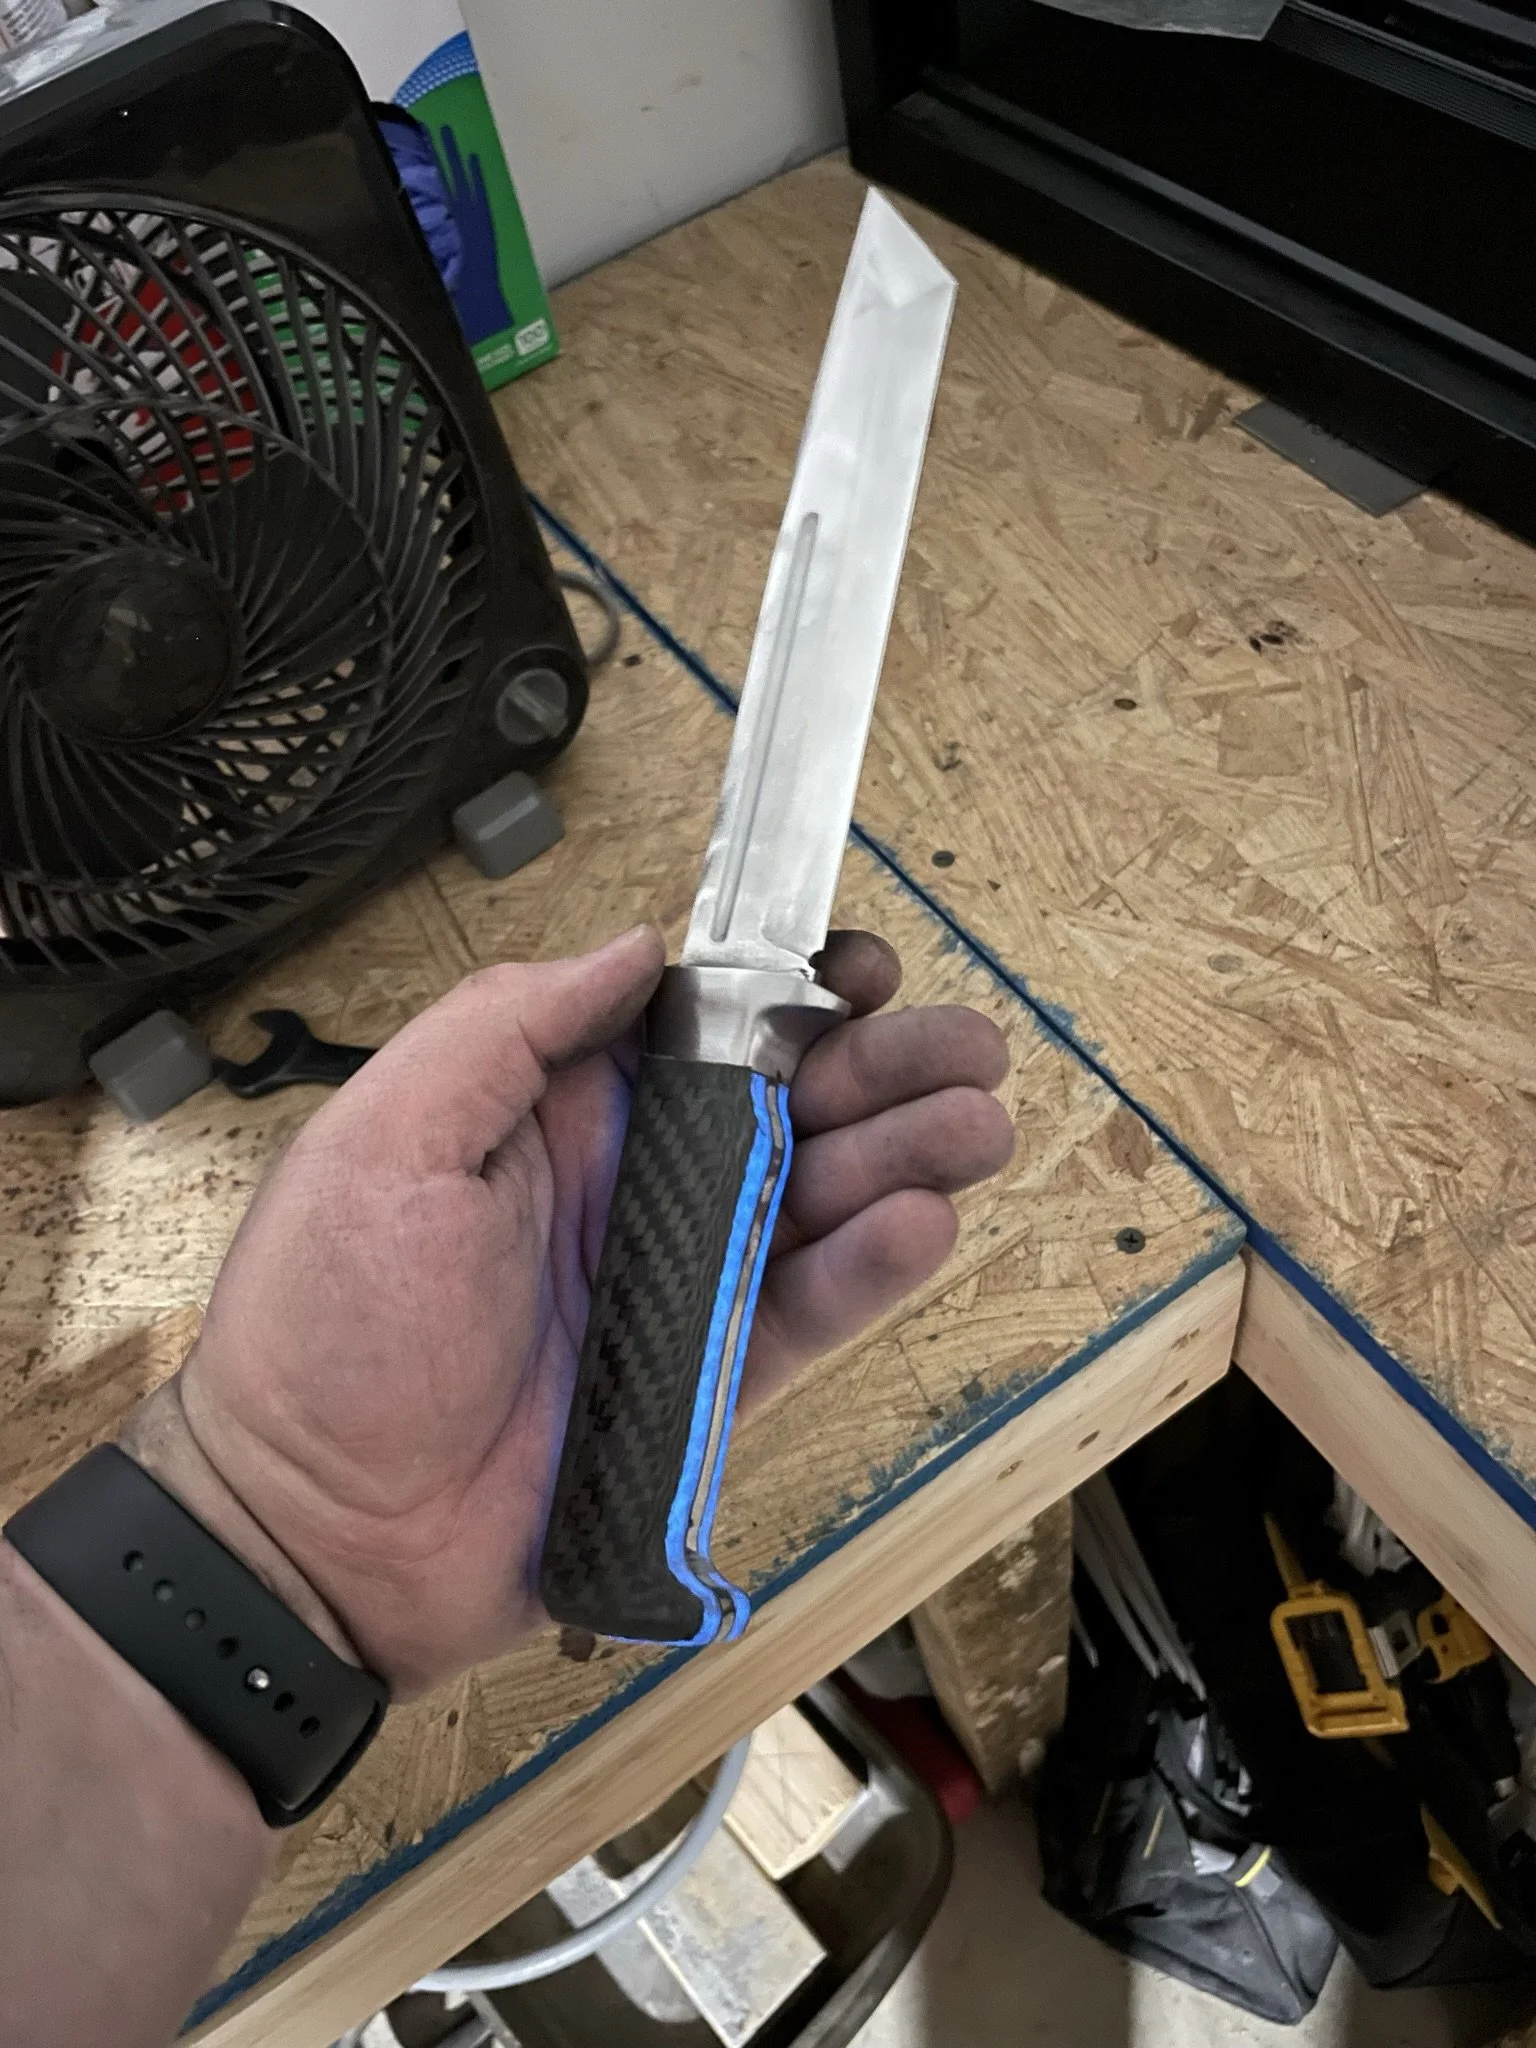
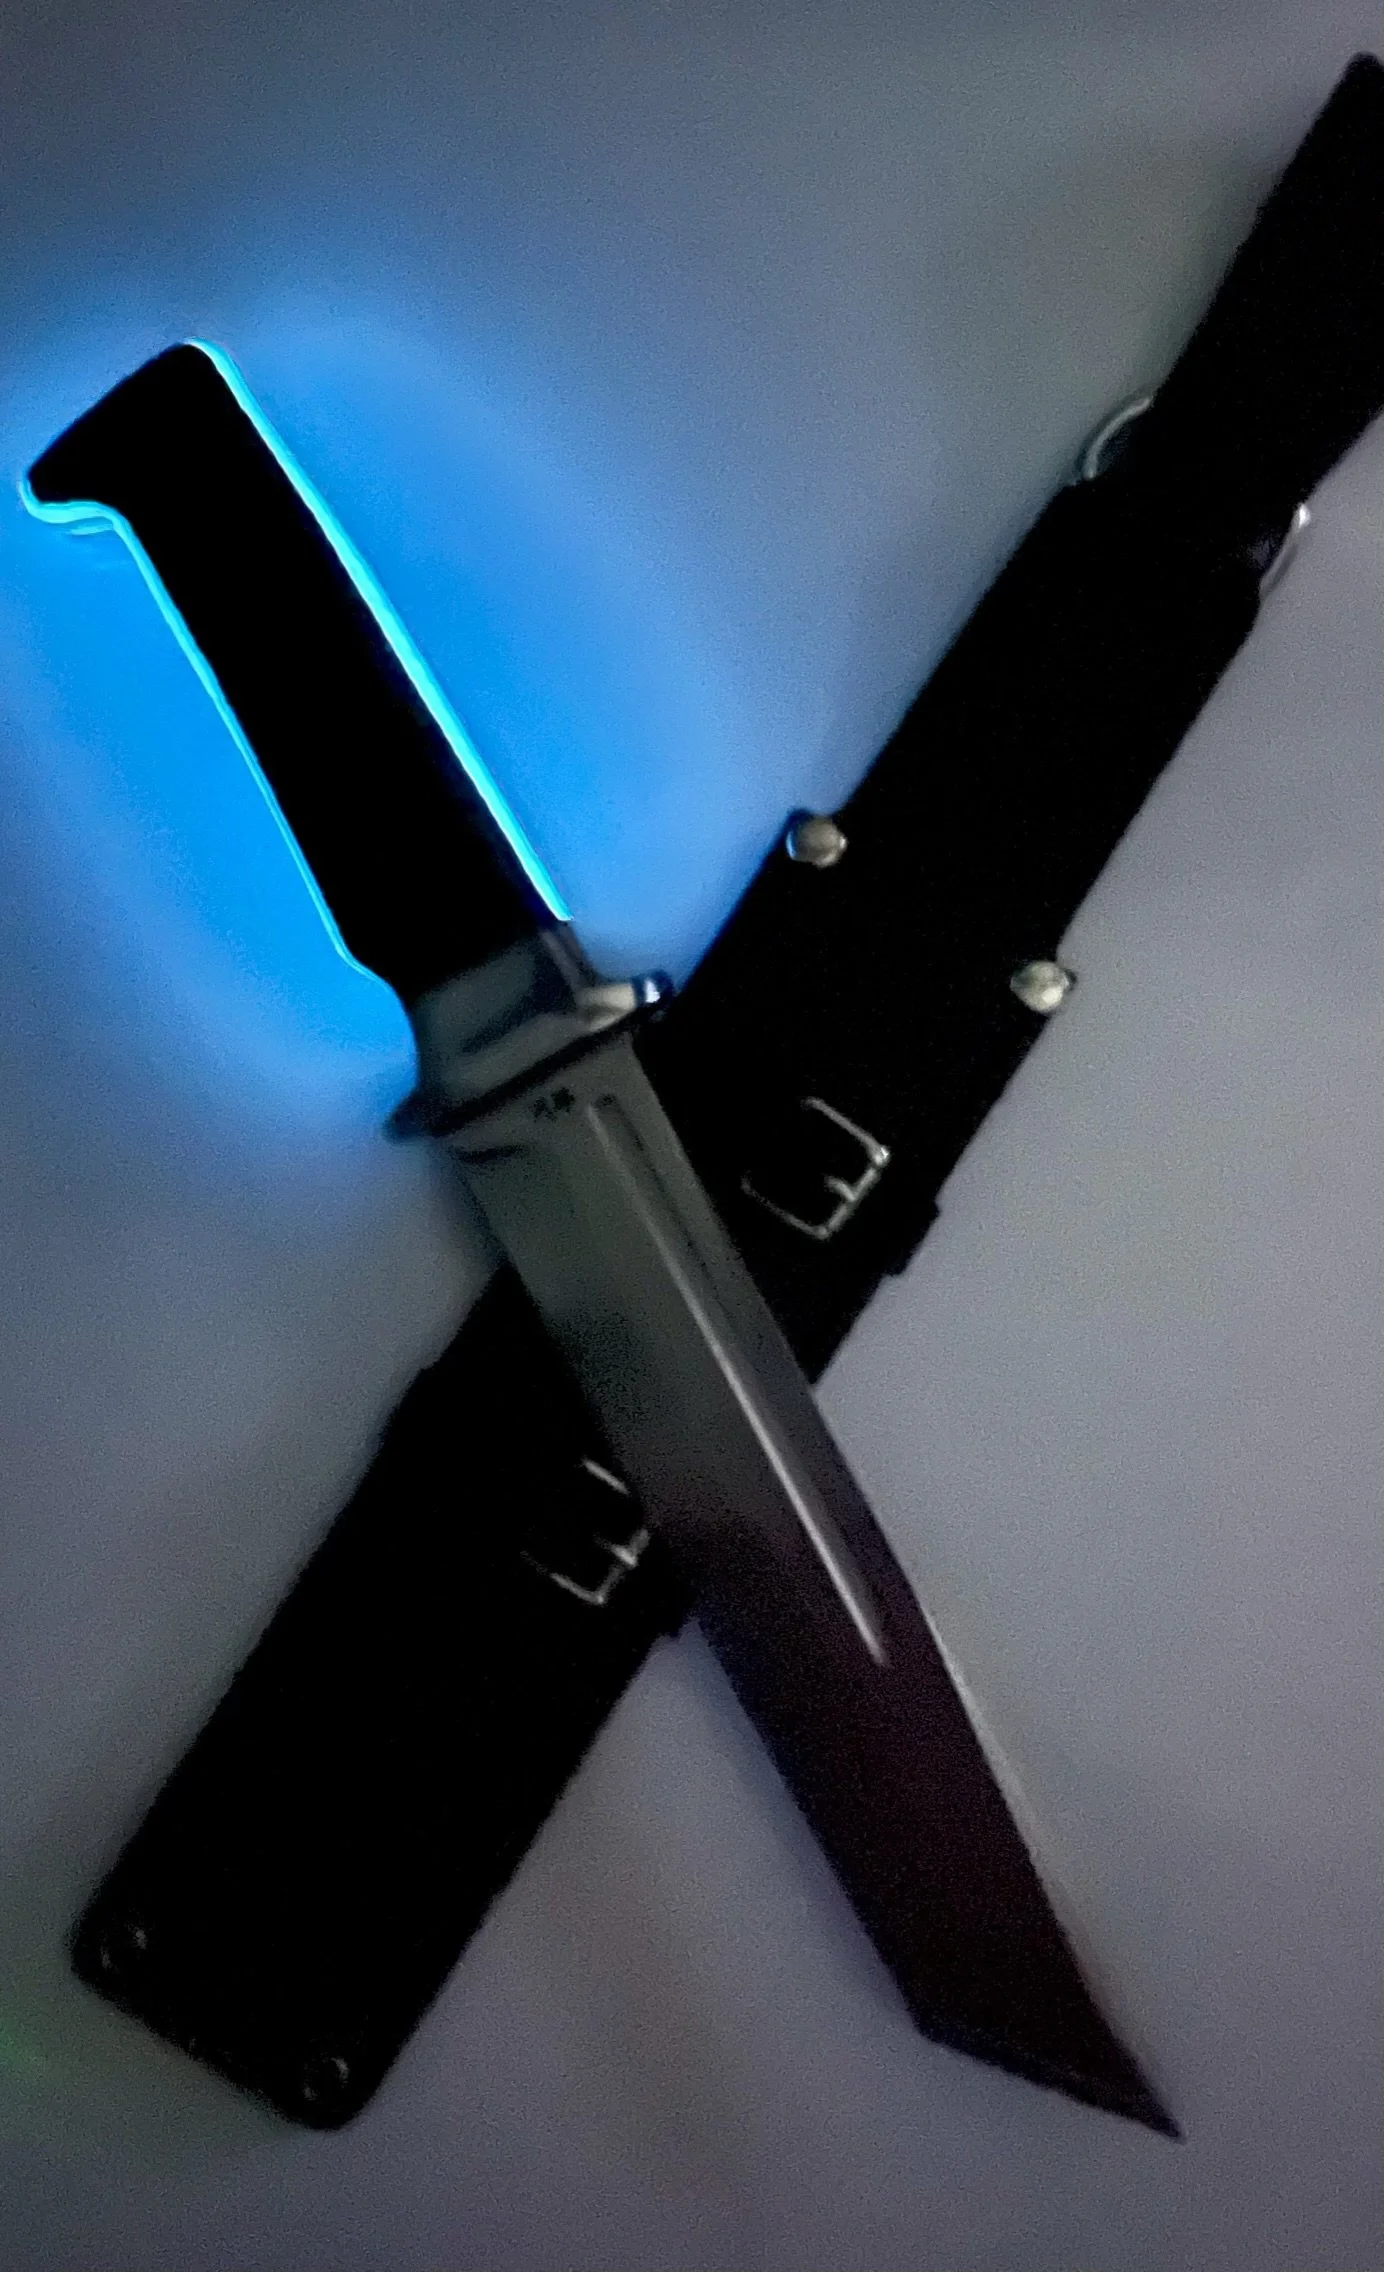
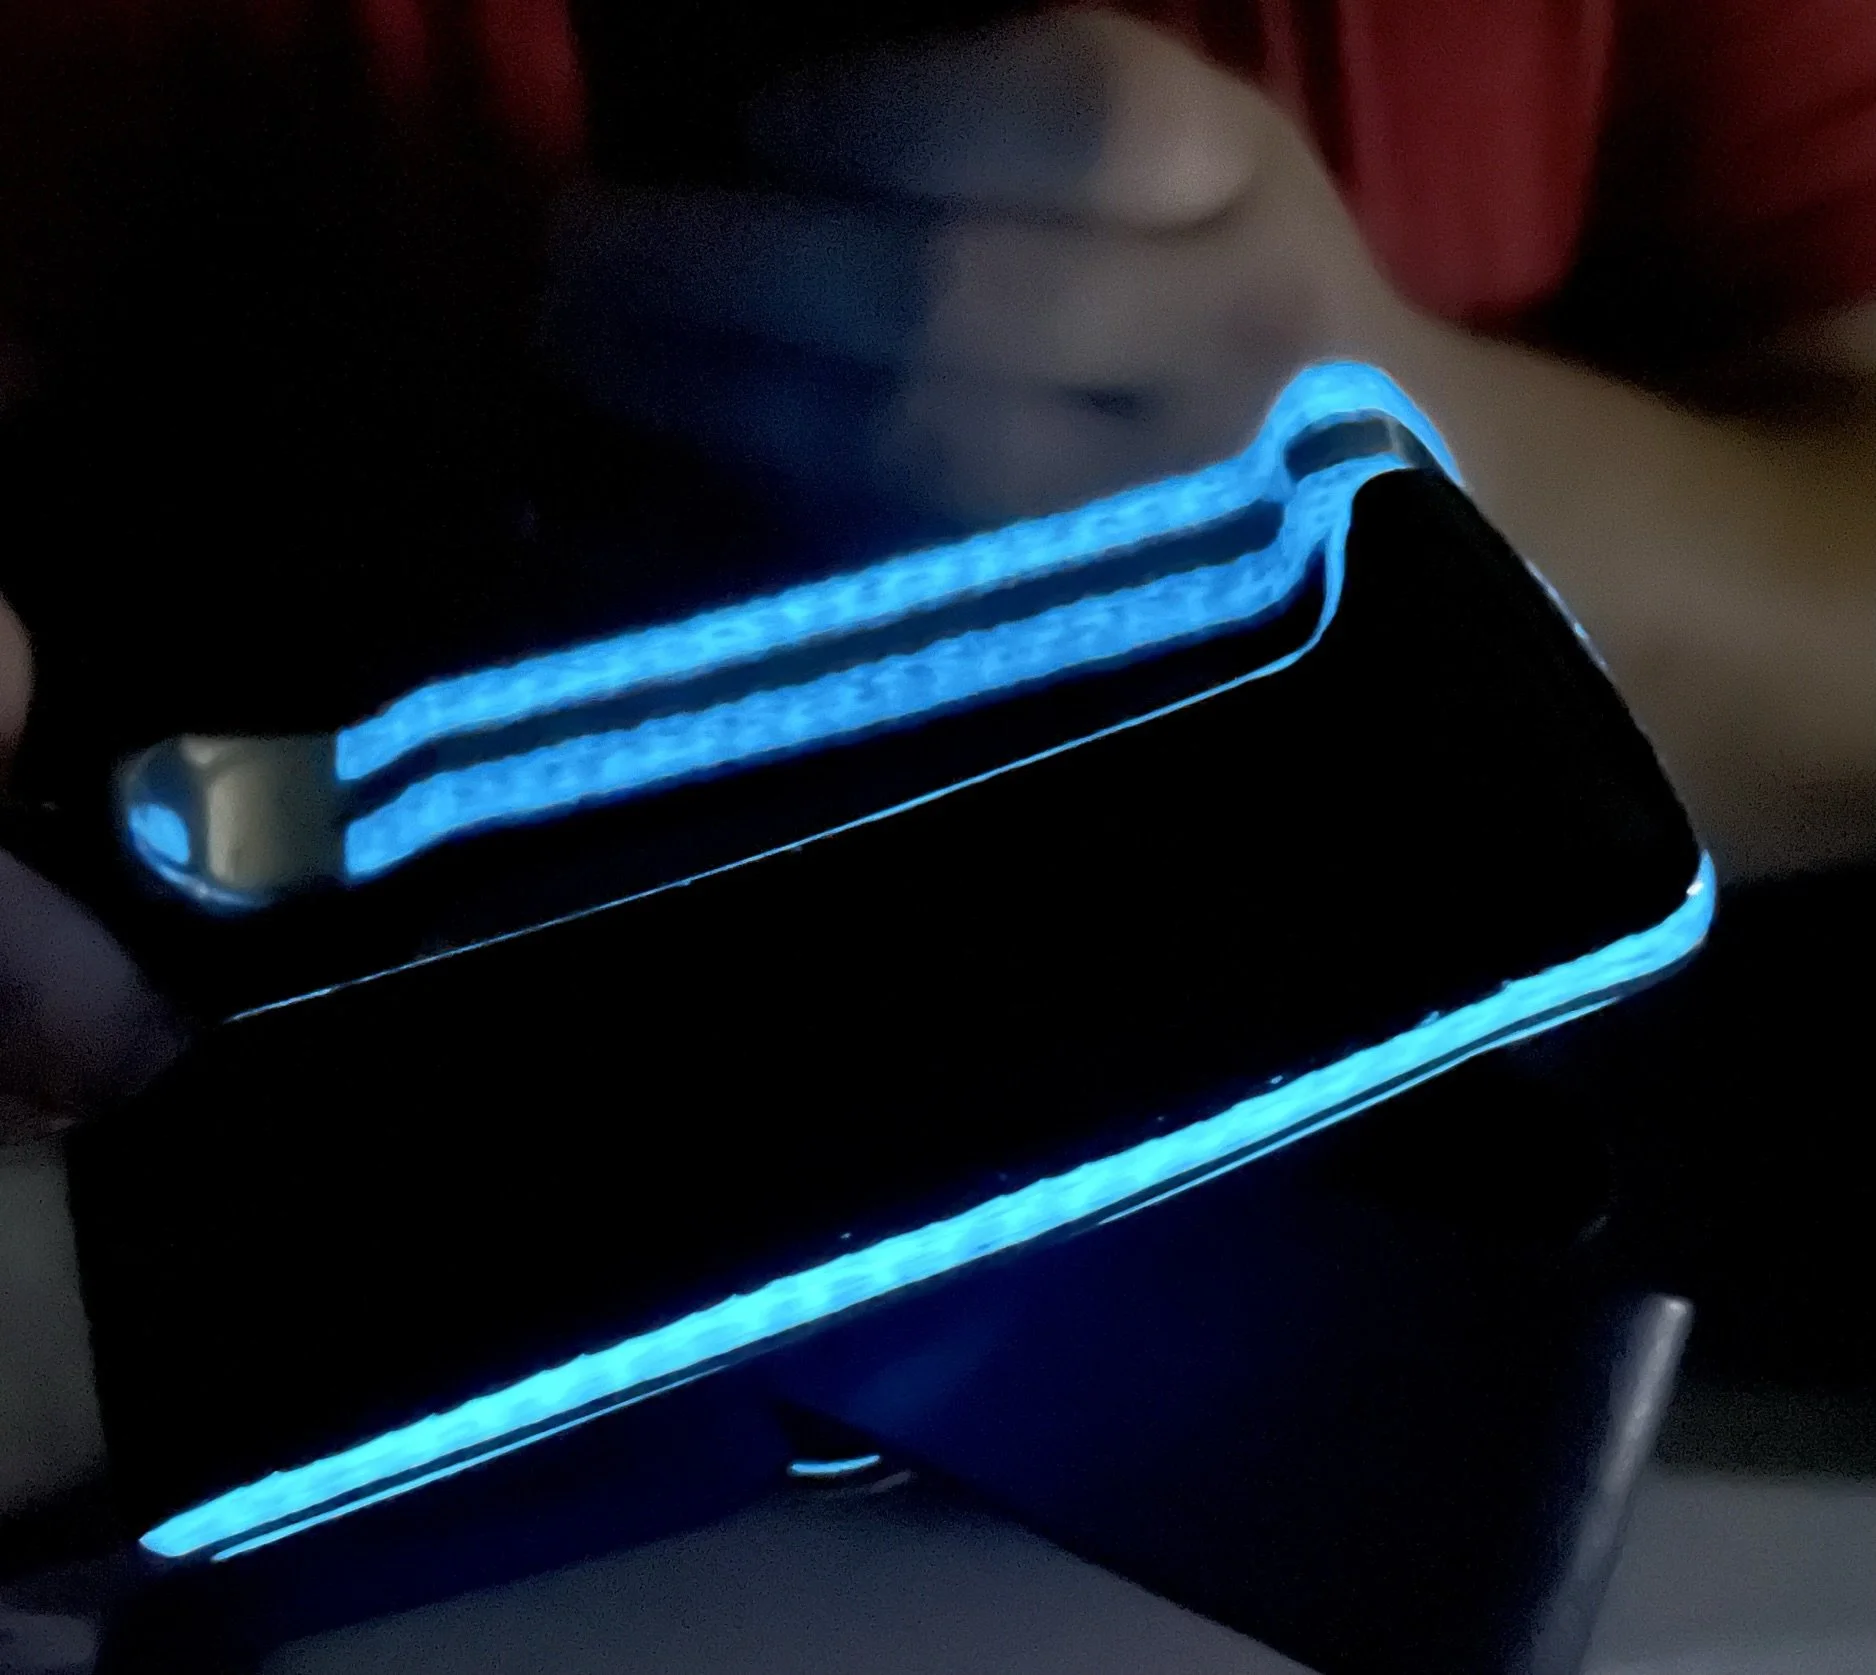
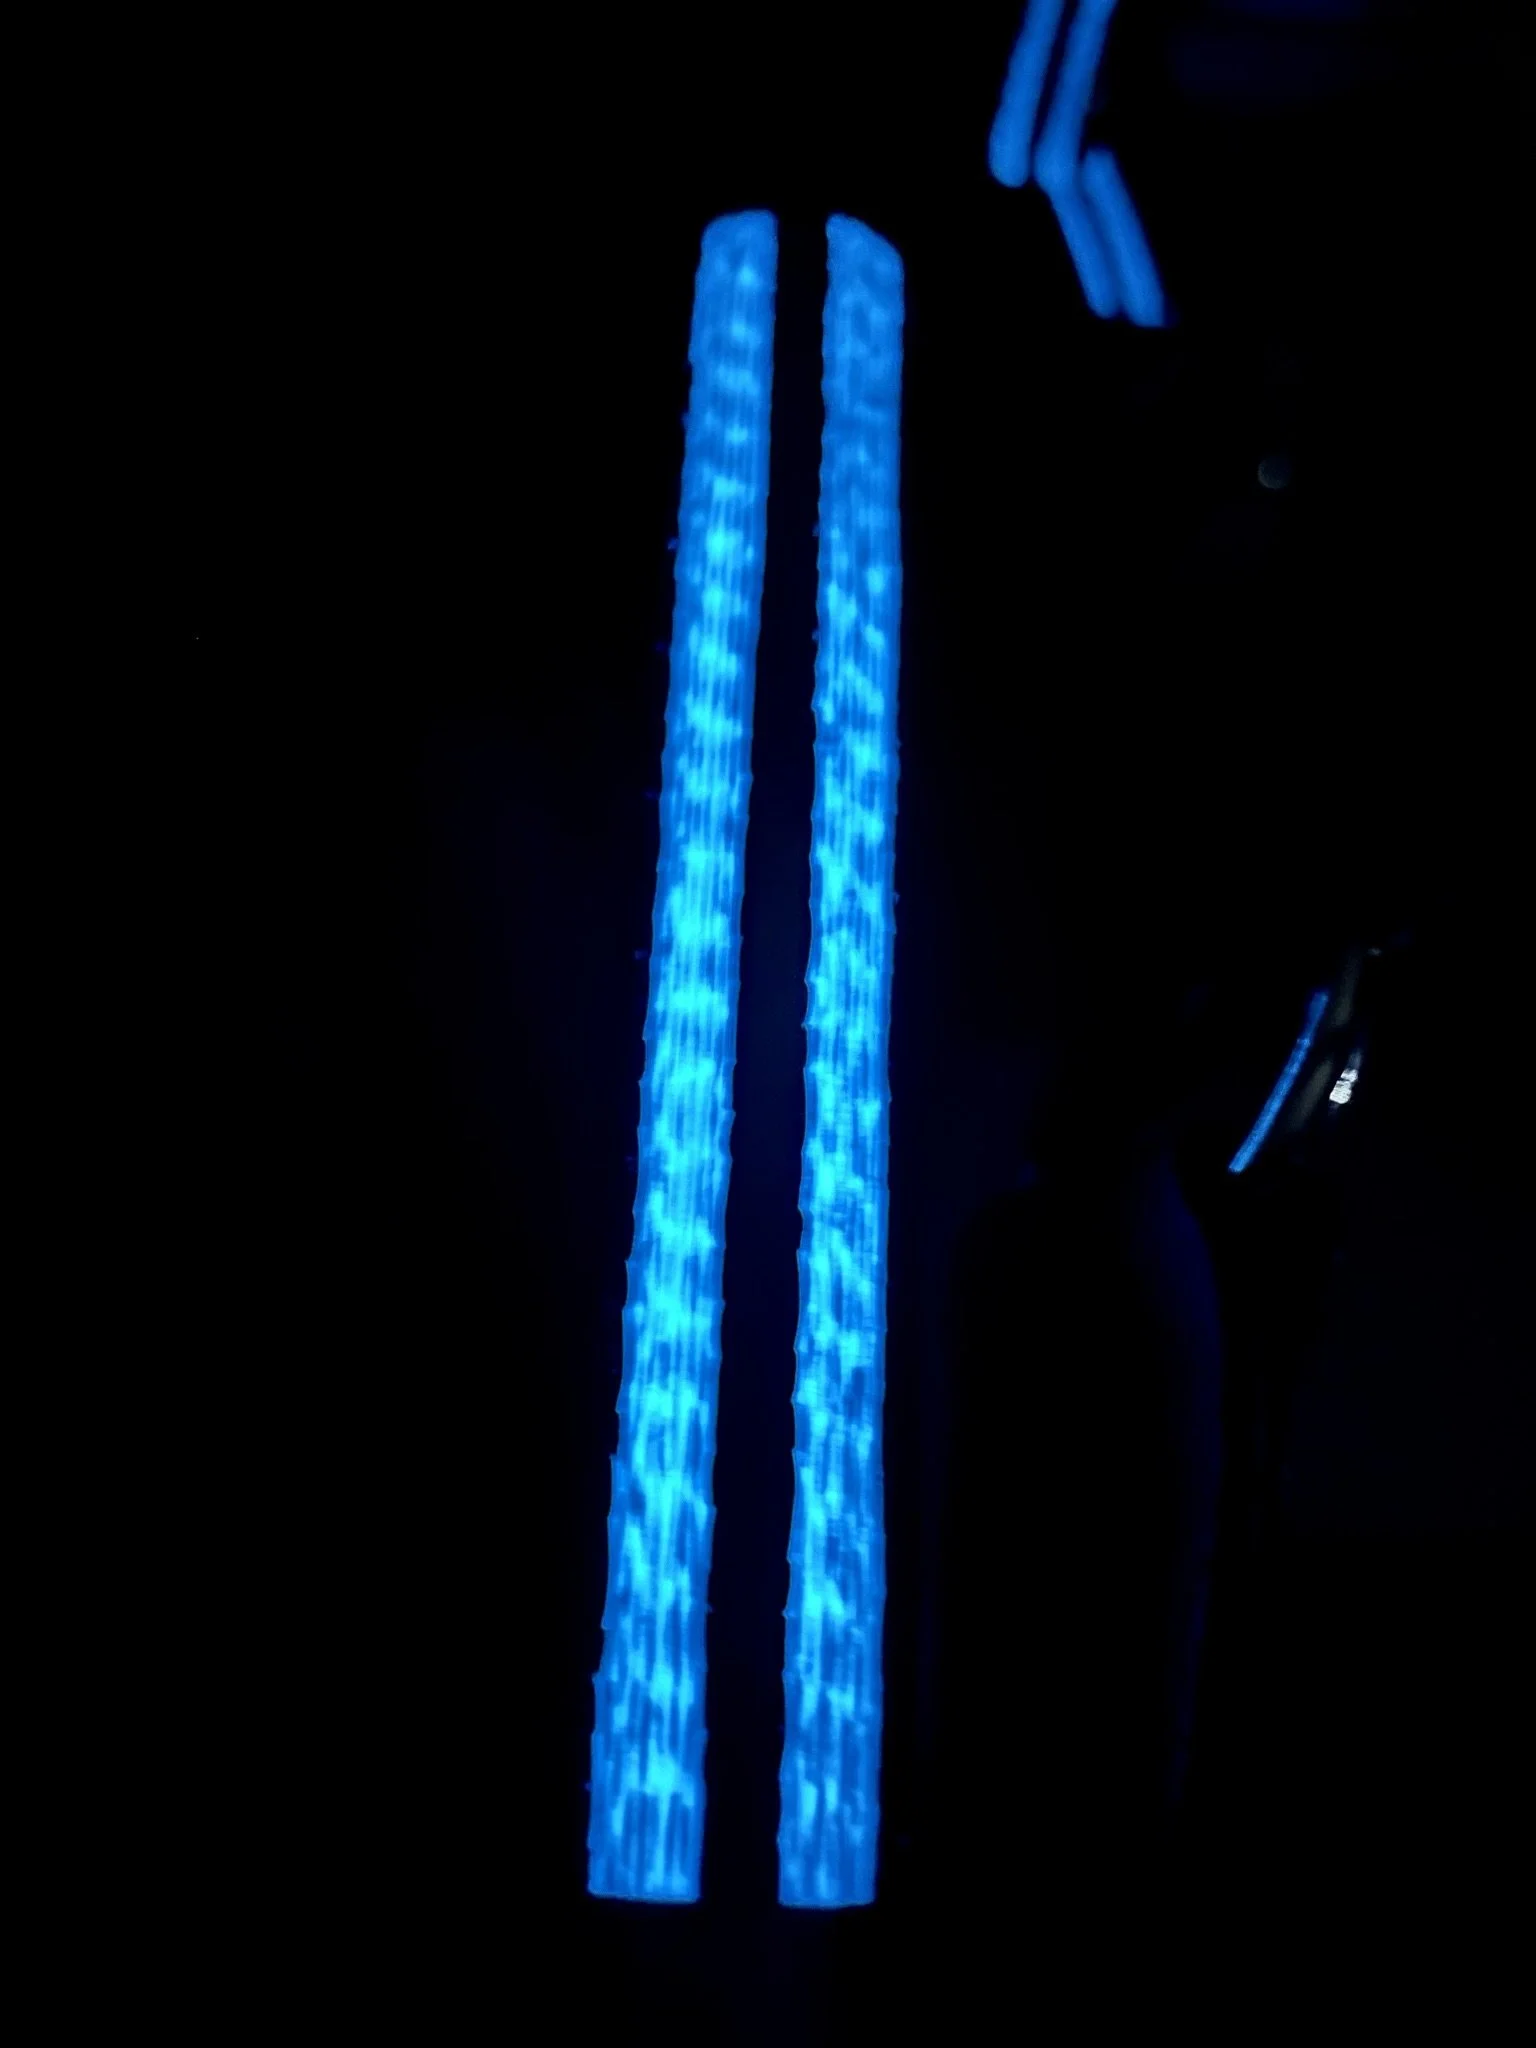
Nothing says cool like glow in the dark carbon fiber from Carbon Waves.
-
I mean, even for adults this is kinda cool.
-
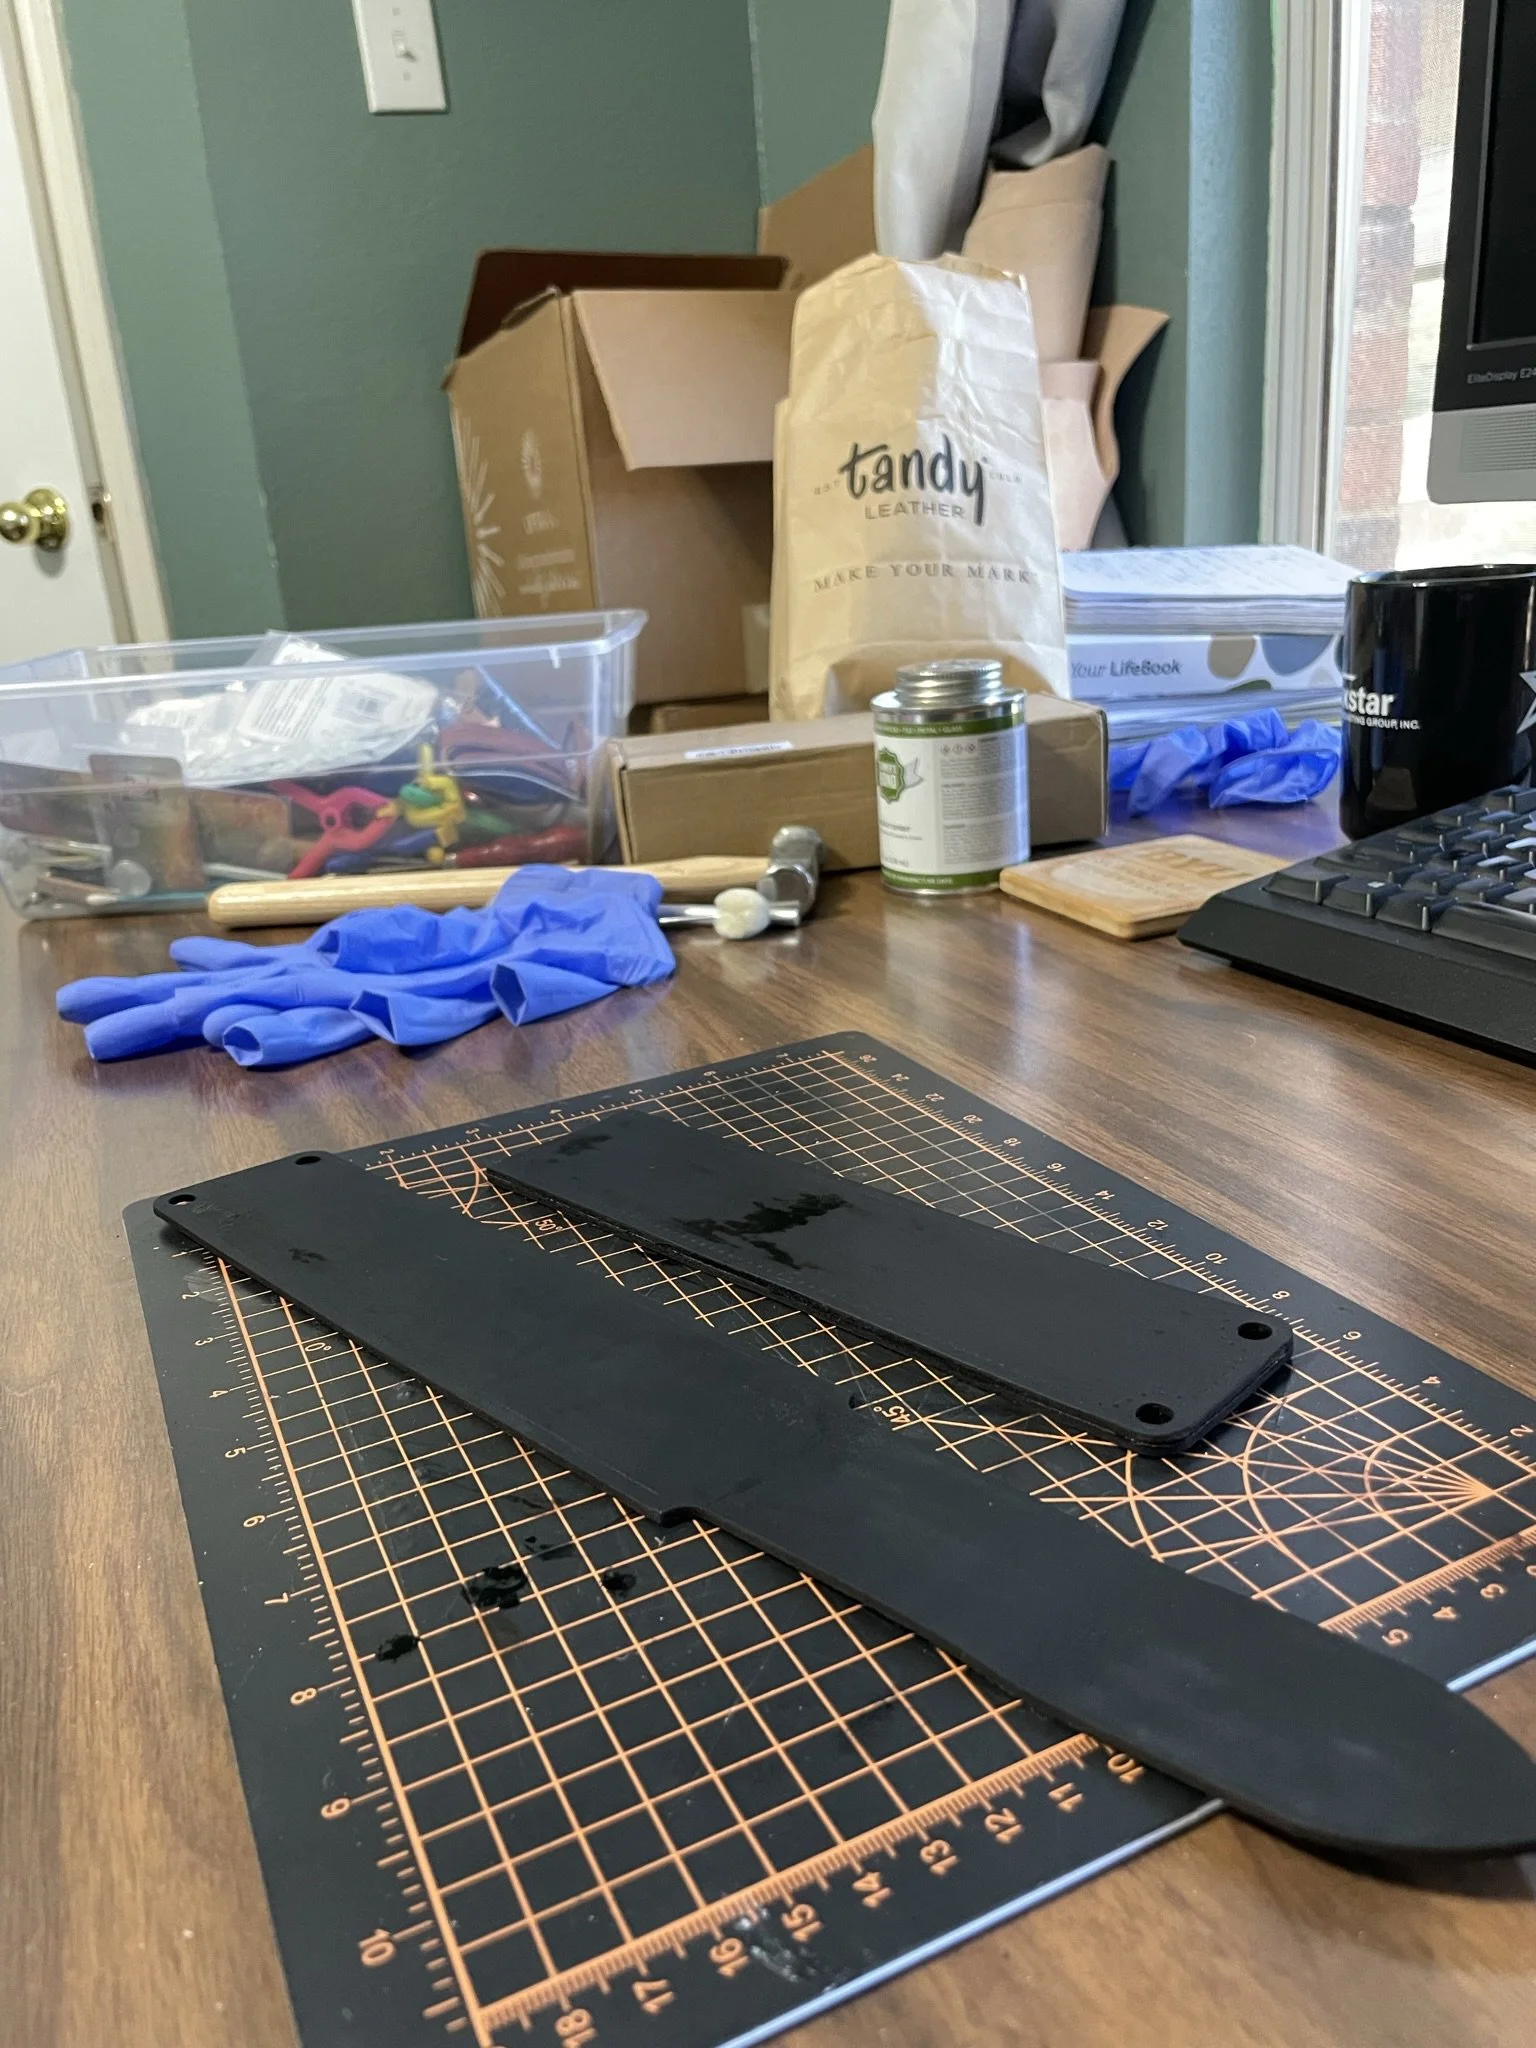
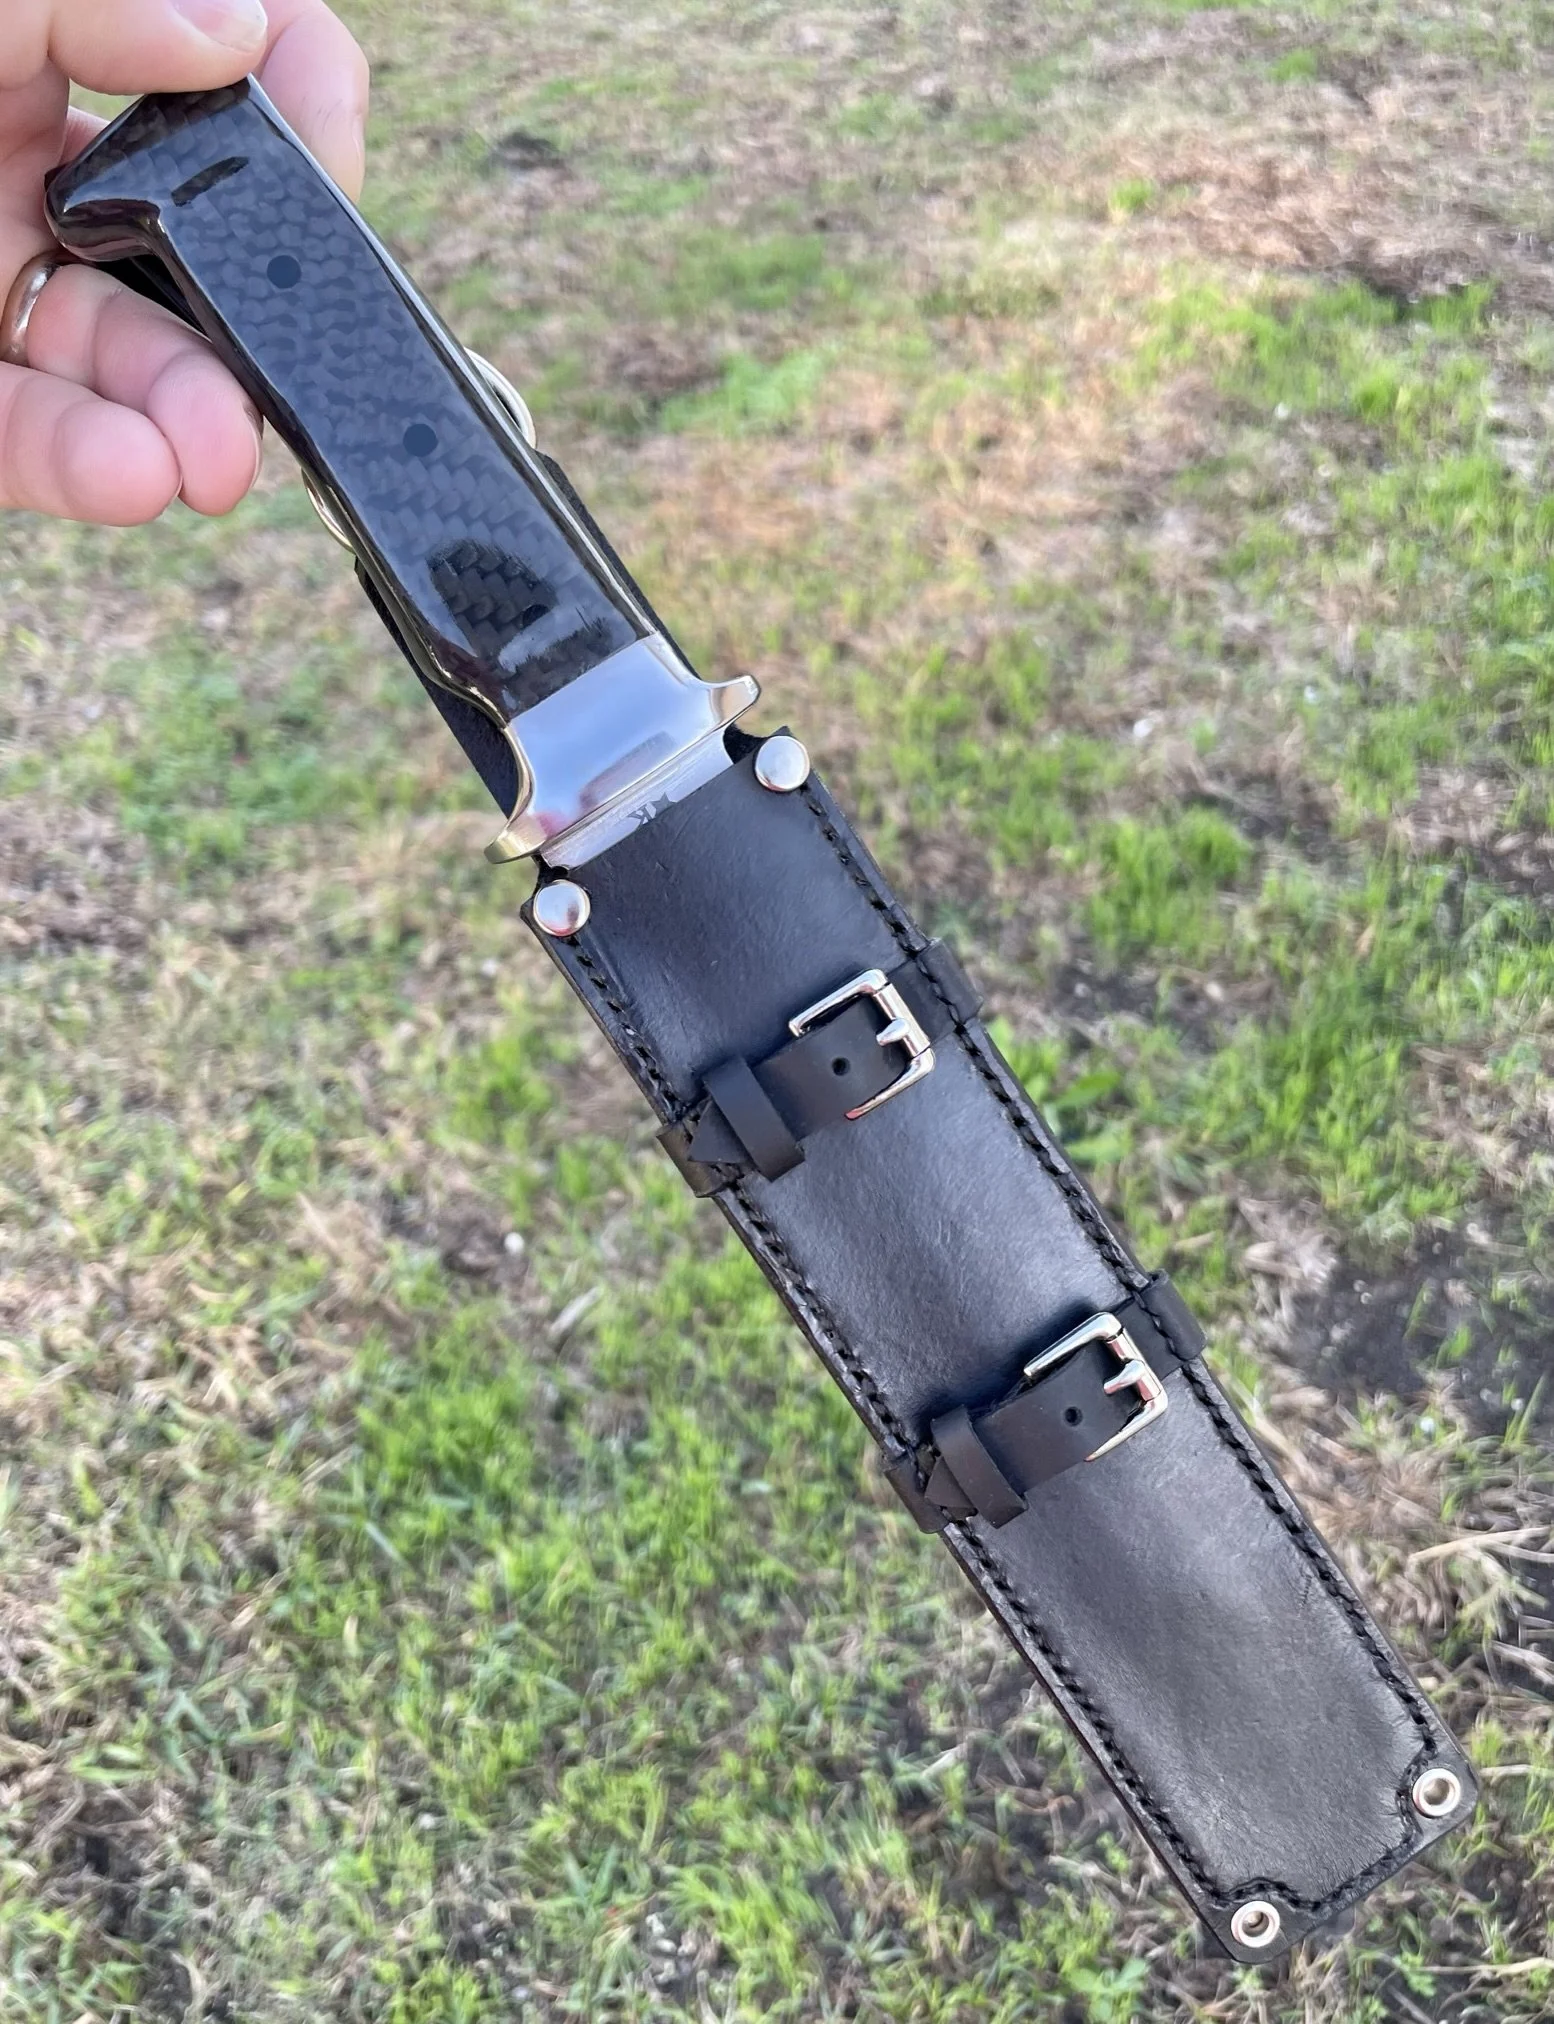
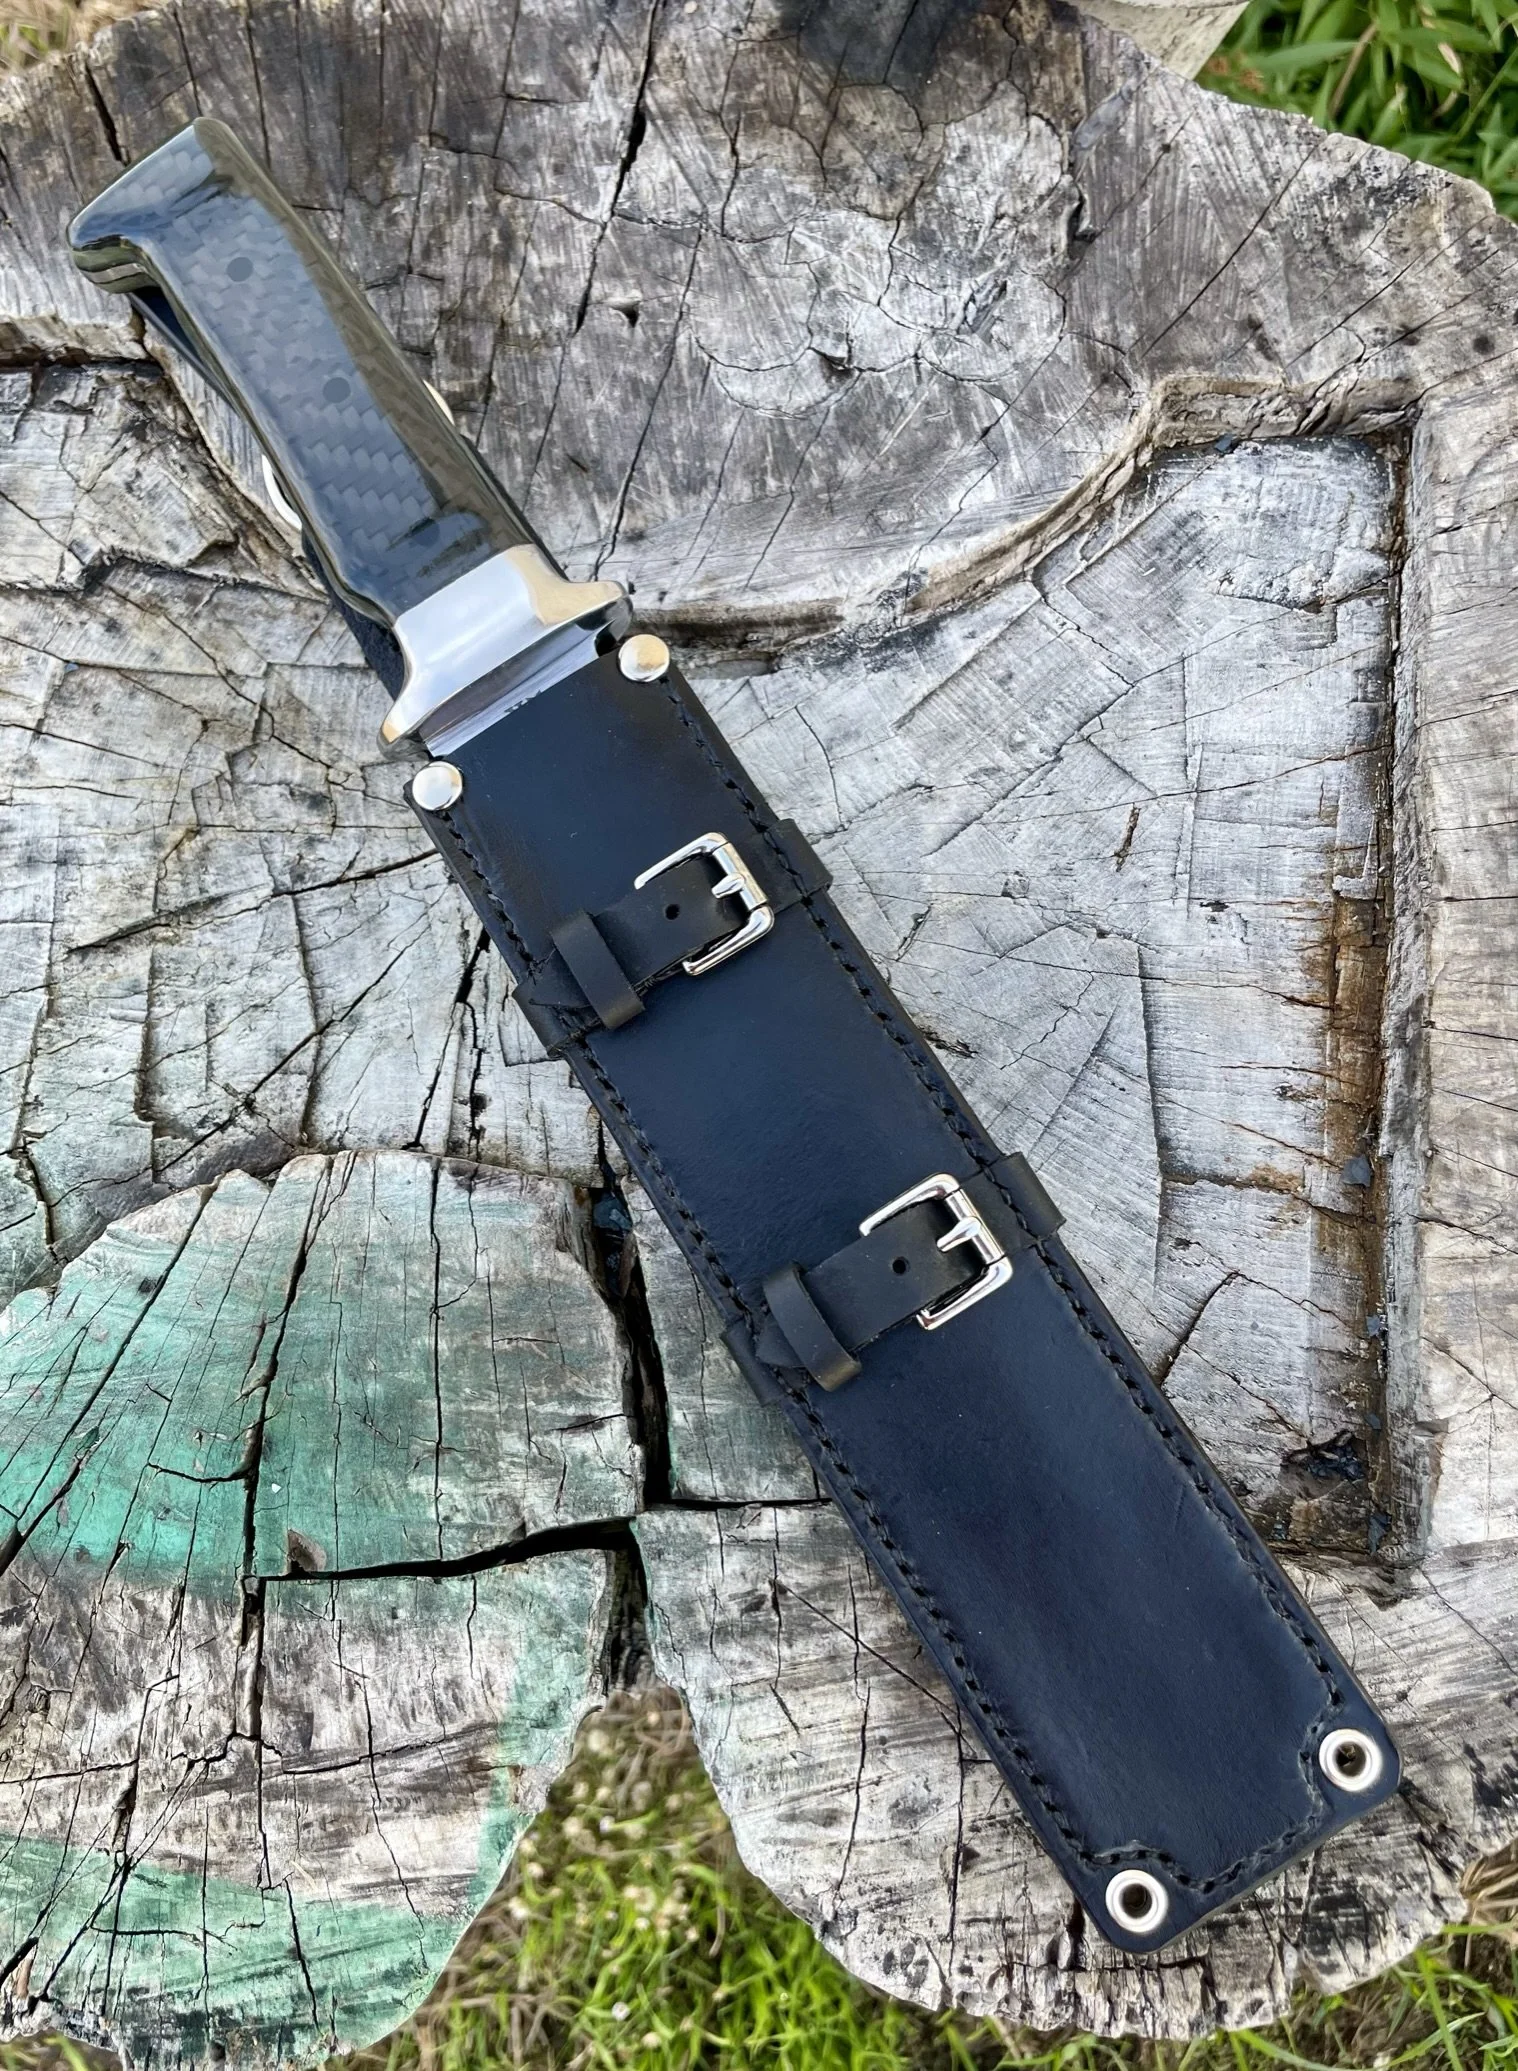
Still in the custom sheath phase - had to do something special for this one.
-
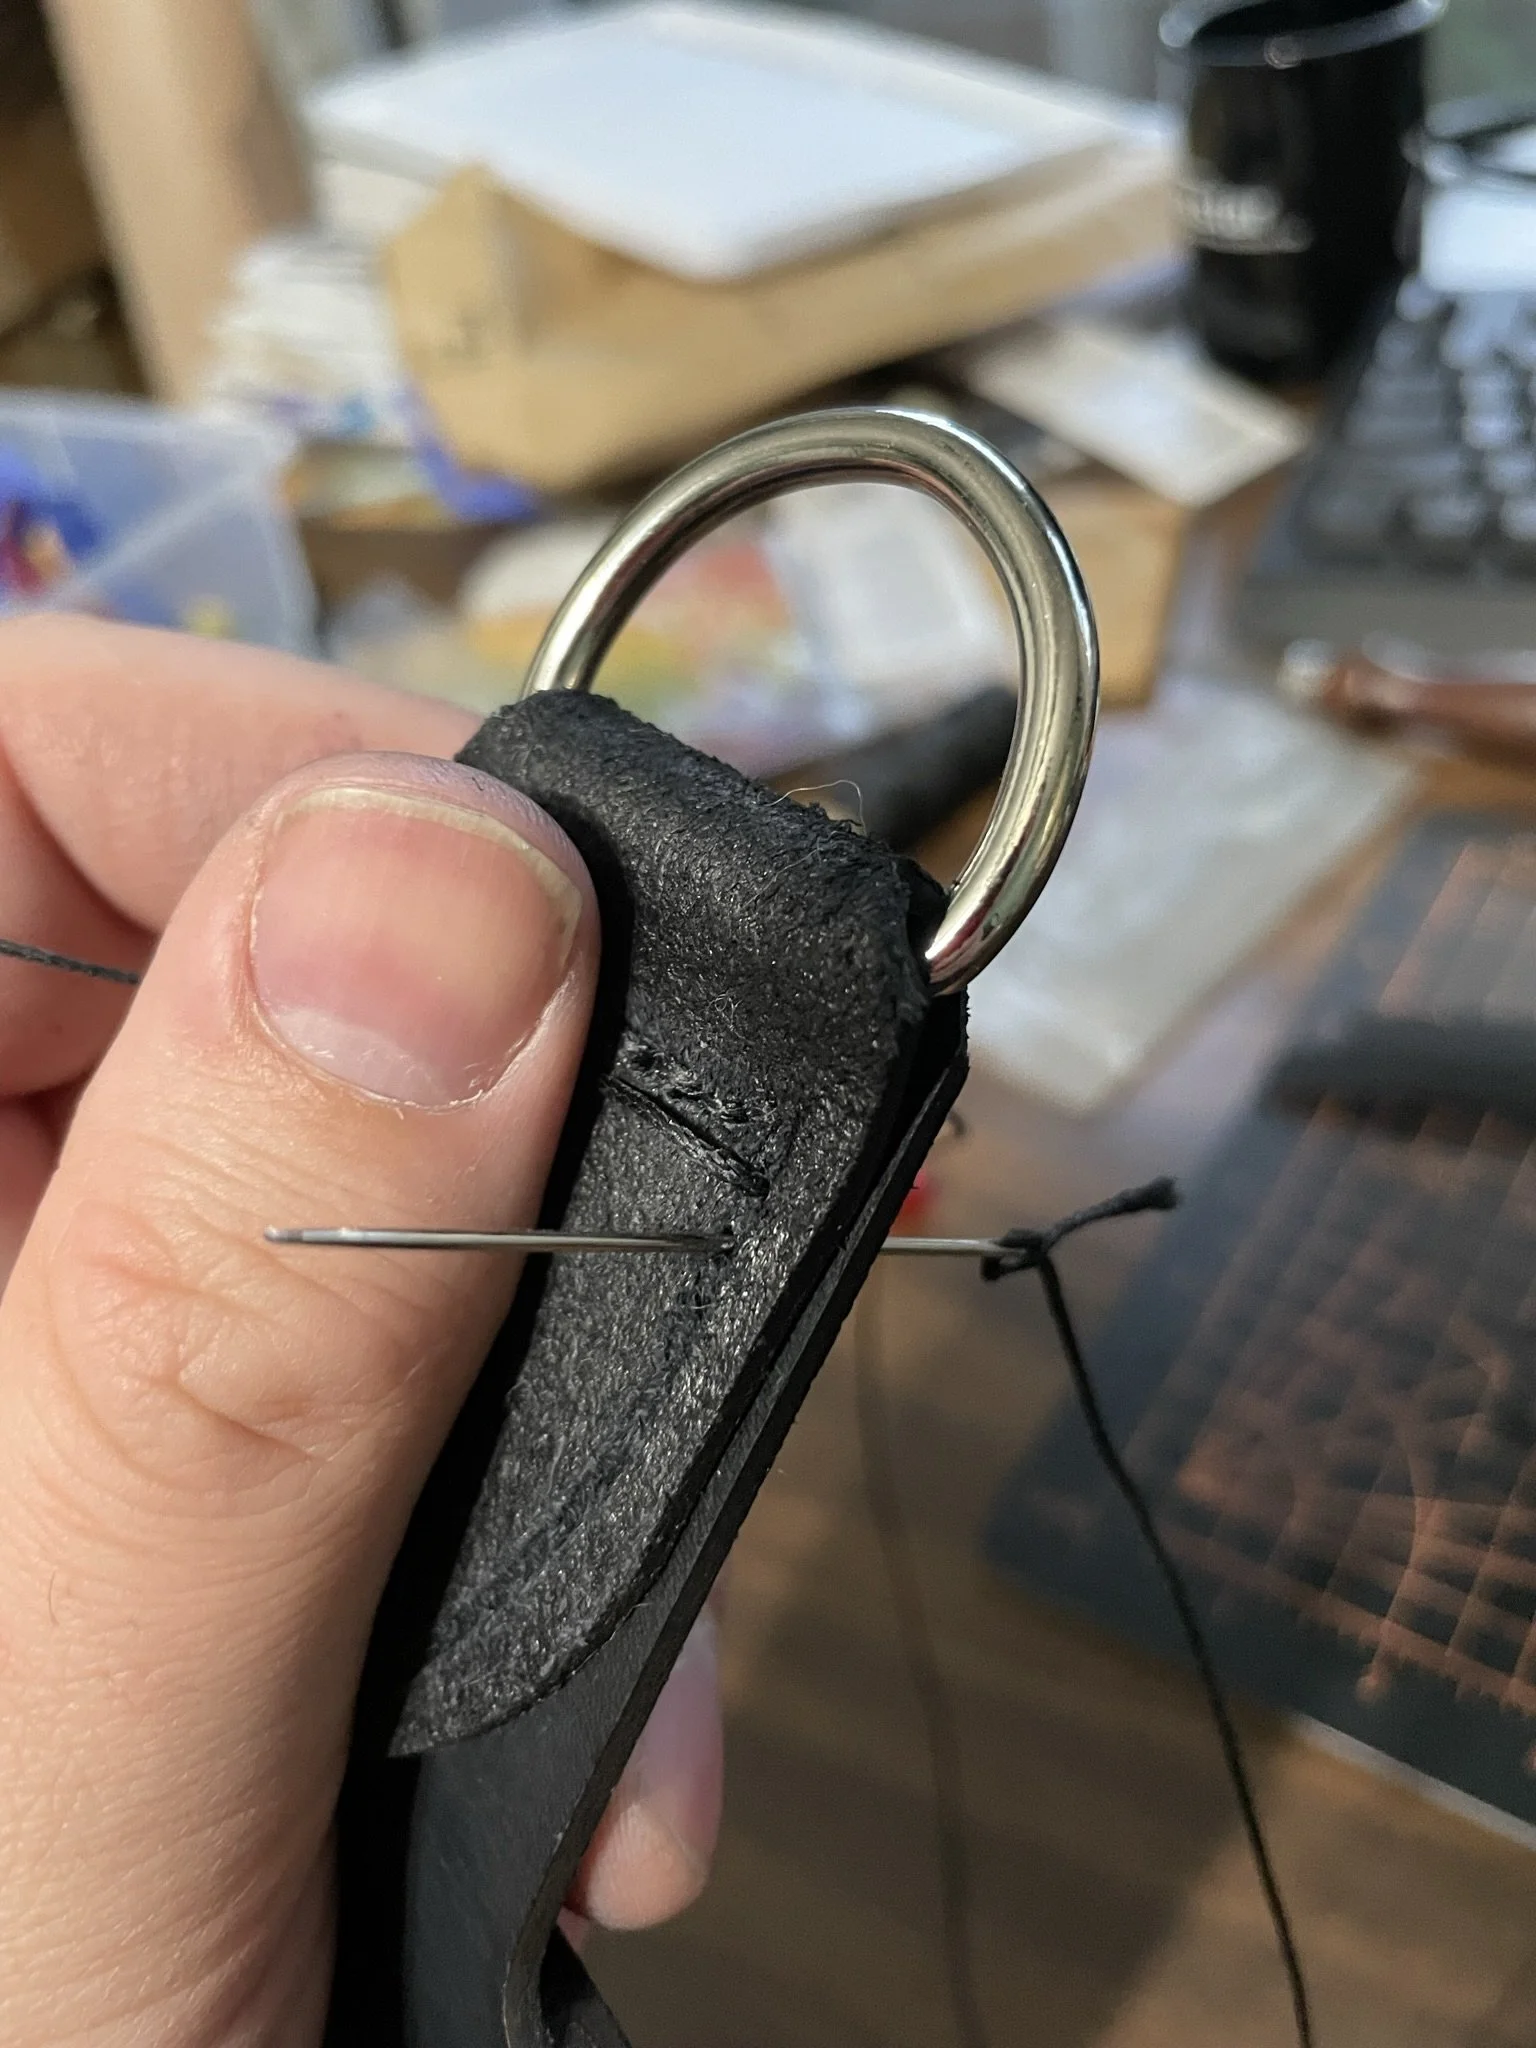
Sewing a D-ring onto the sheath for more flexible movement when worn.
-
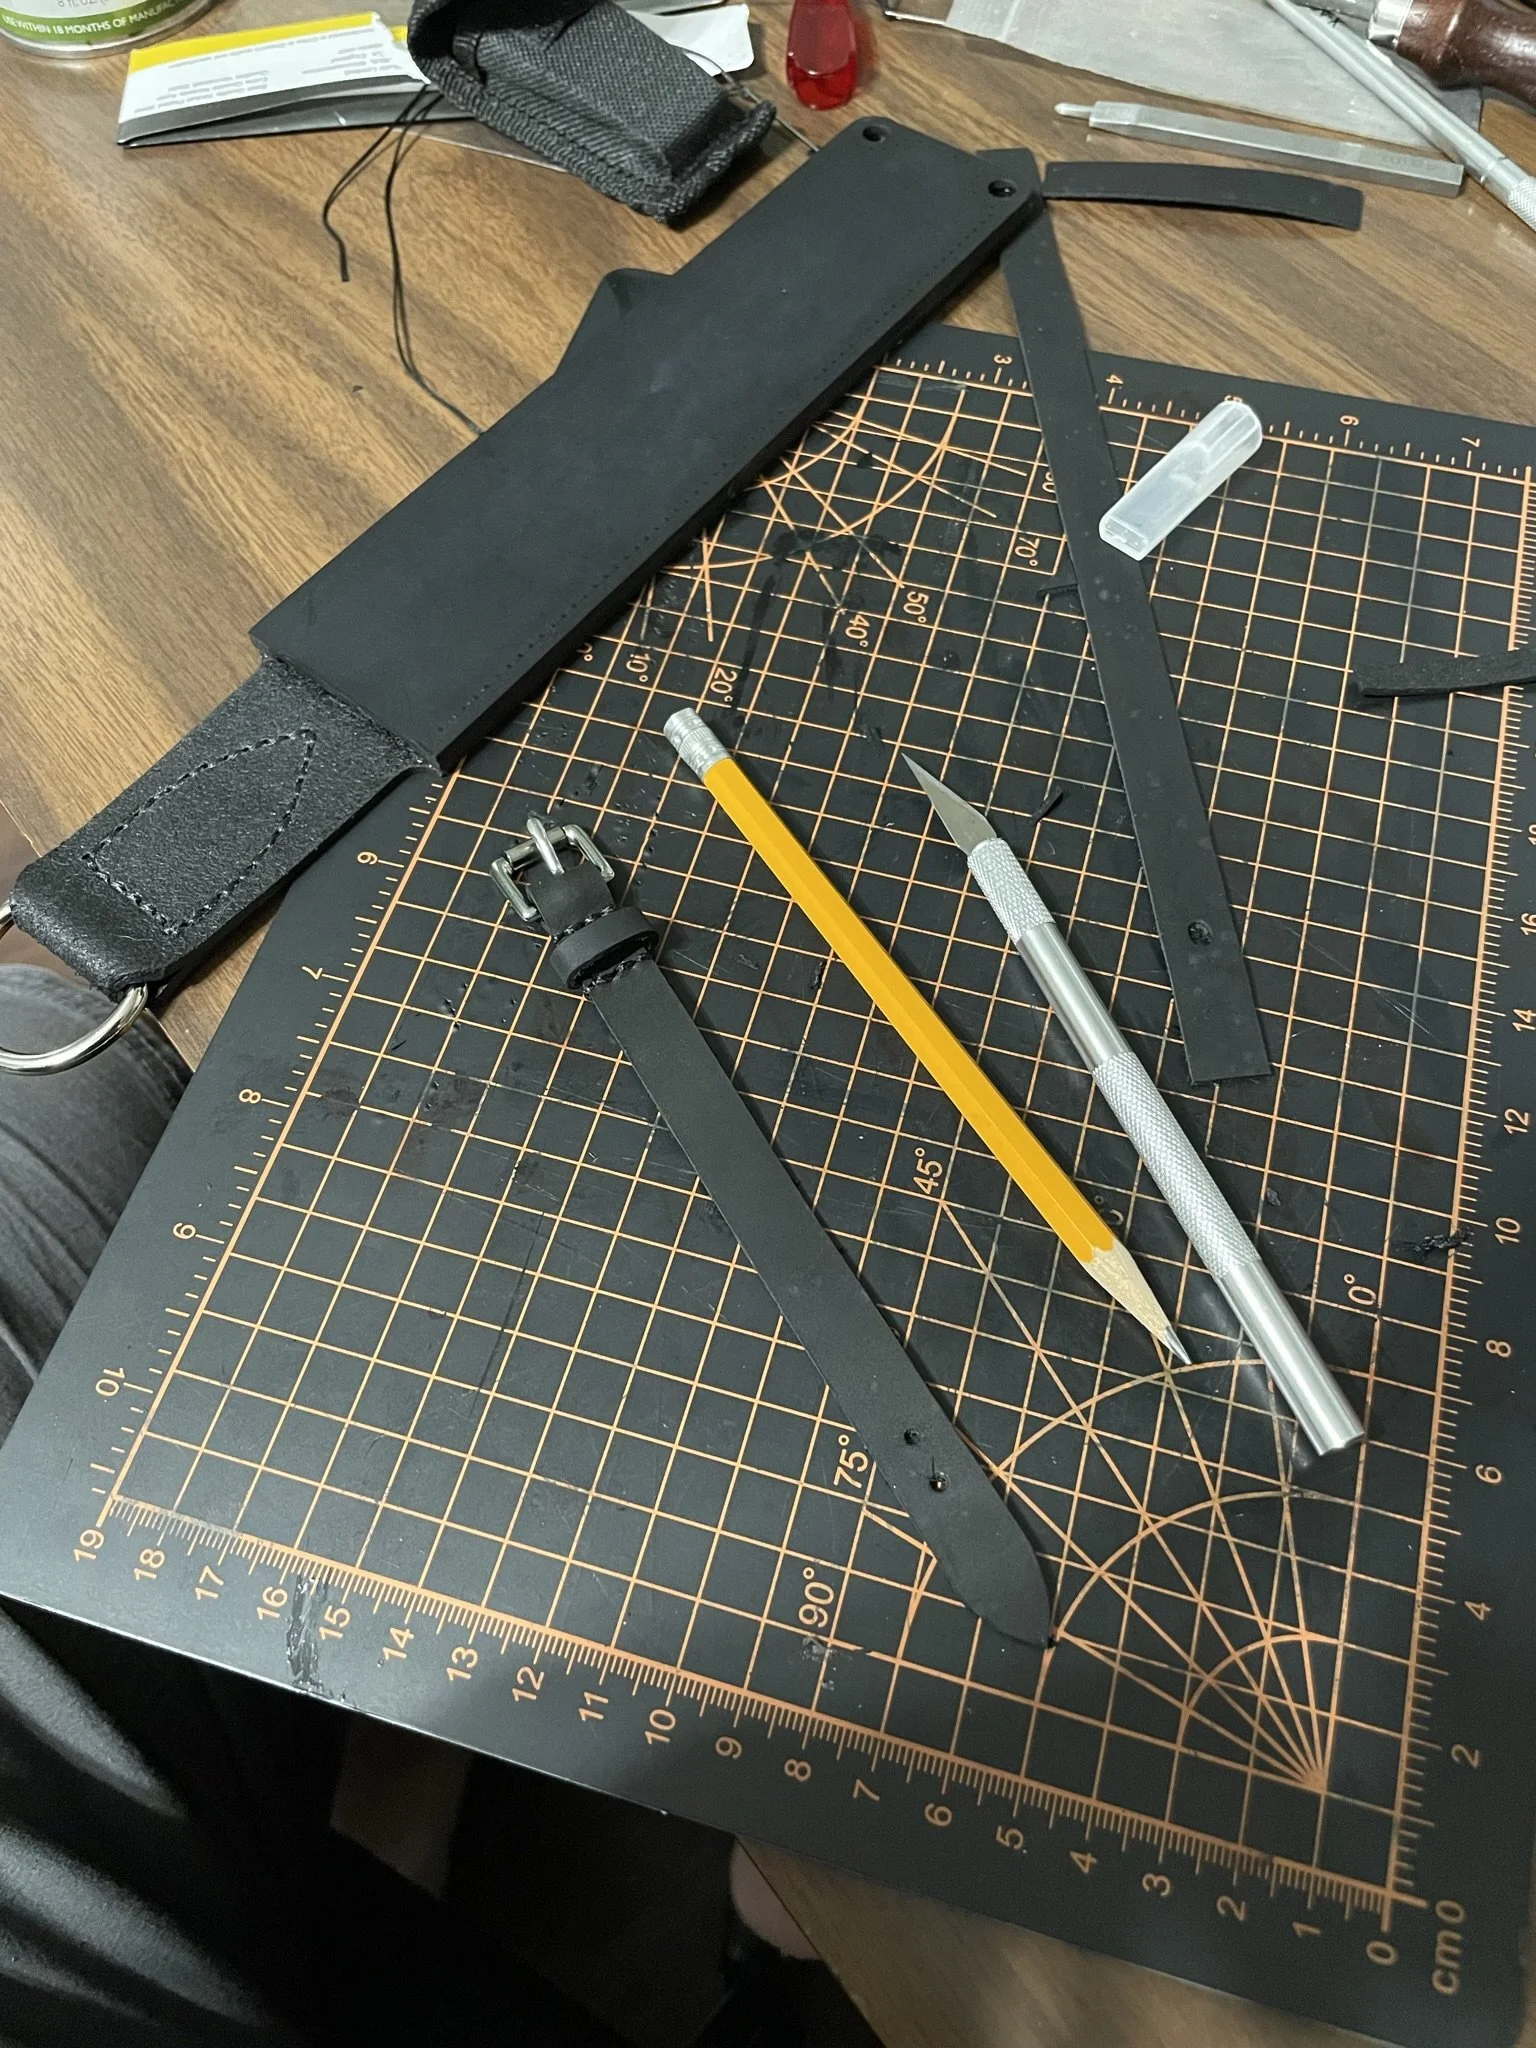
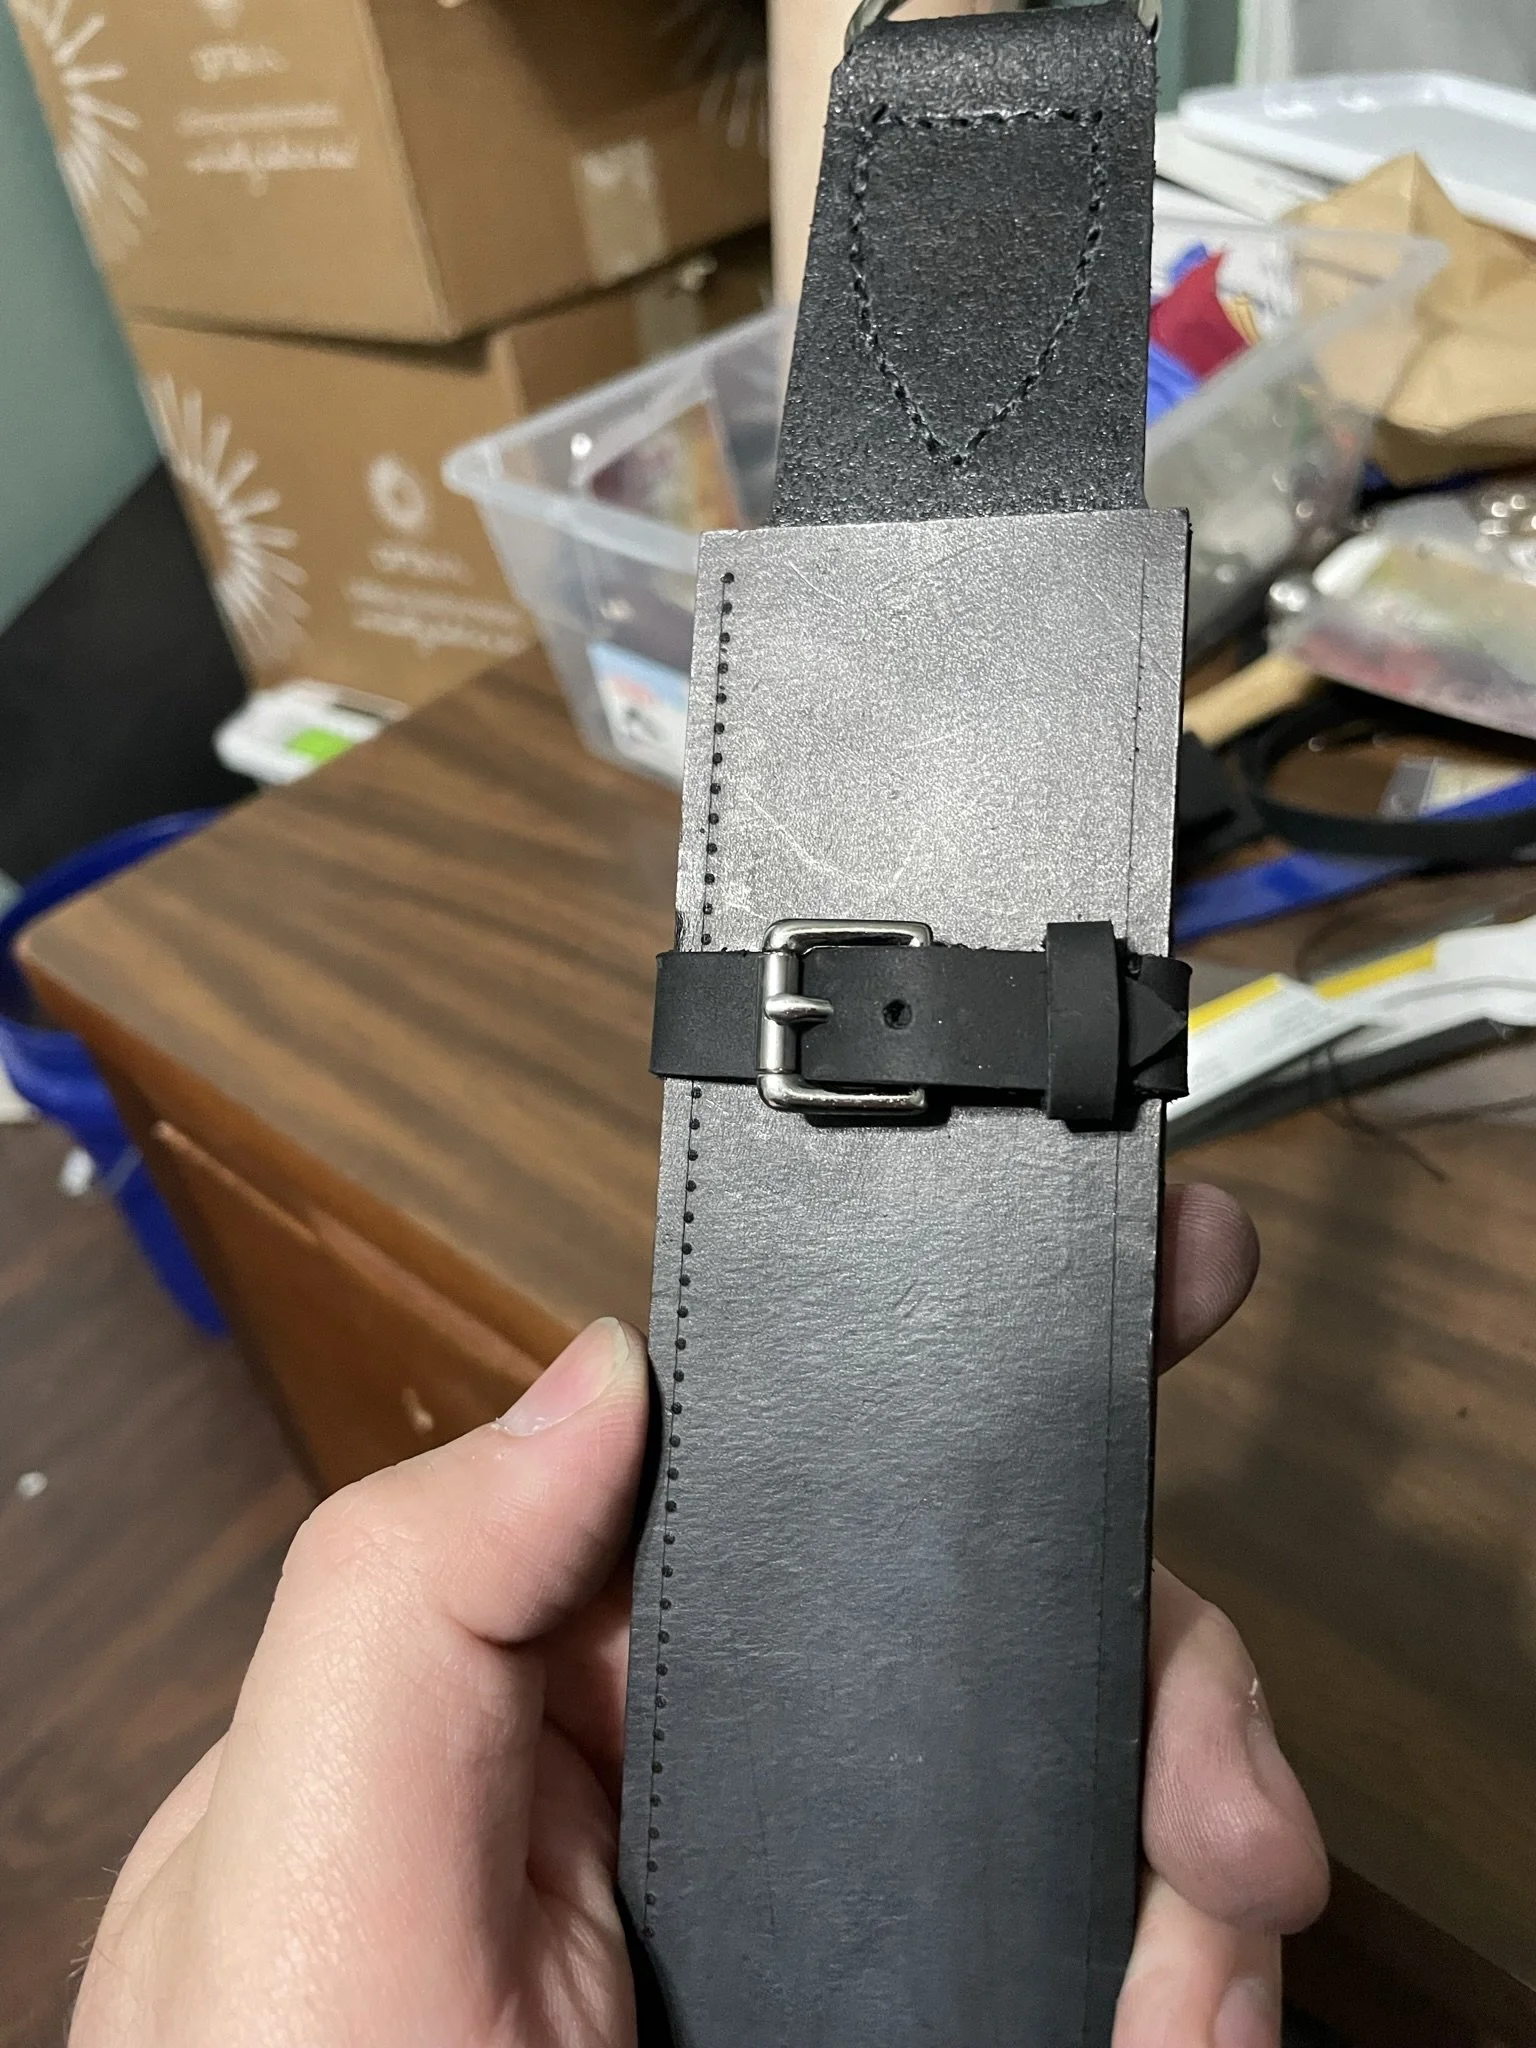
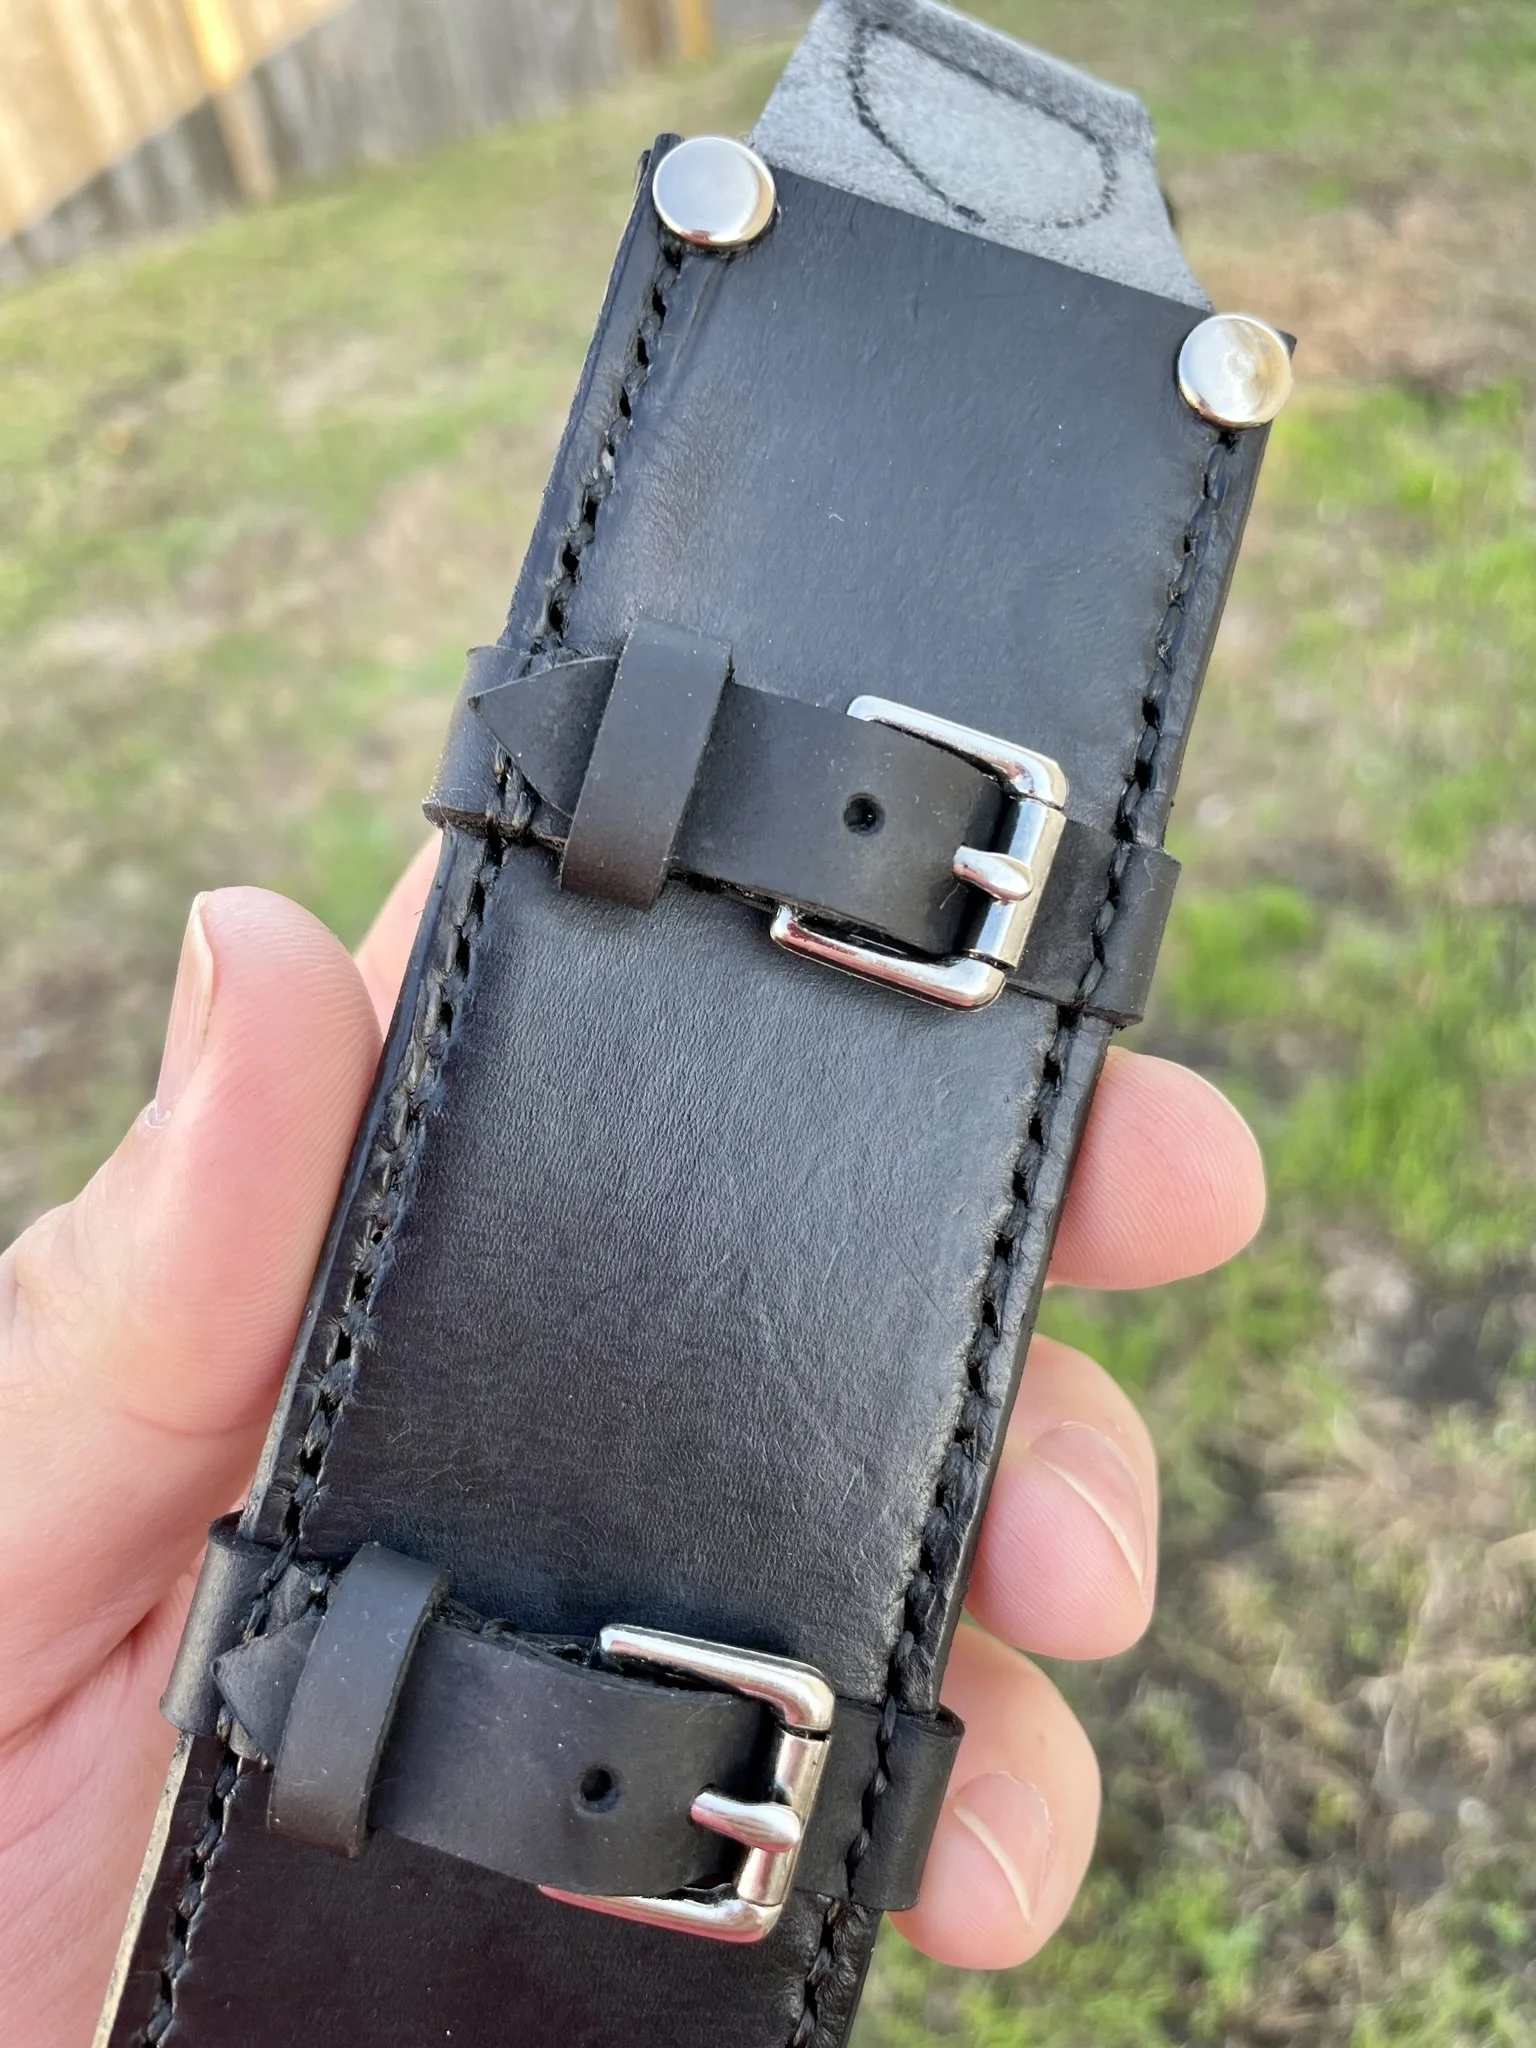
Couldn't just have a plain straight sheath so made little belt accents to break up the main body.
-
Functional little belts, and did what I wanted them to.
-
Glamour shot #1.
-
Glamour shot #2.
-
Sheath glamour shot.
-
Blade in sheath glamor shot.
-
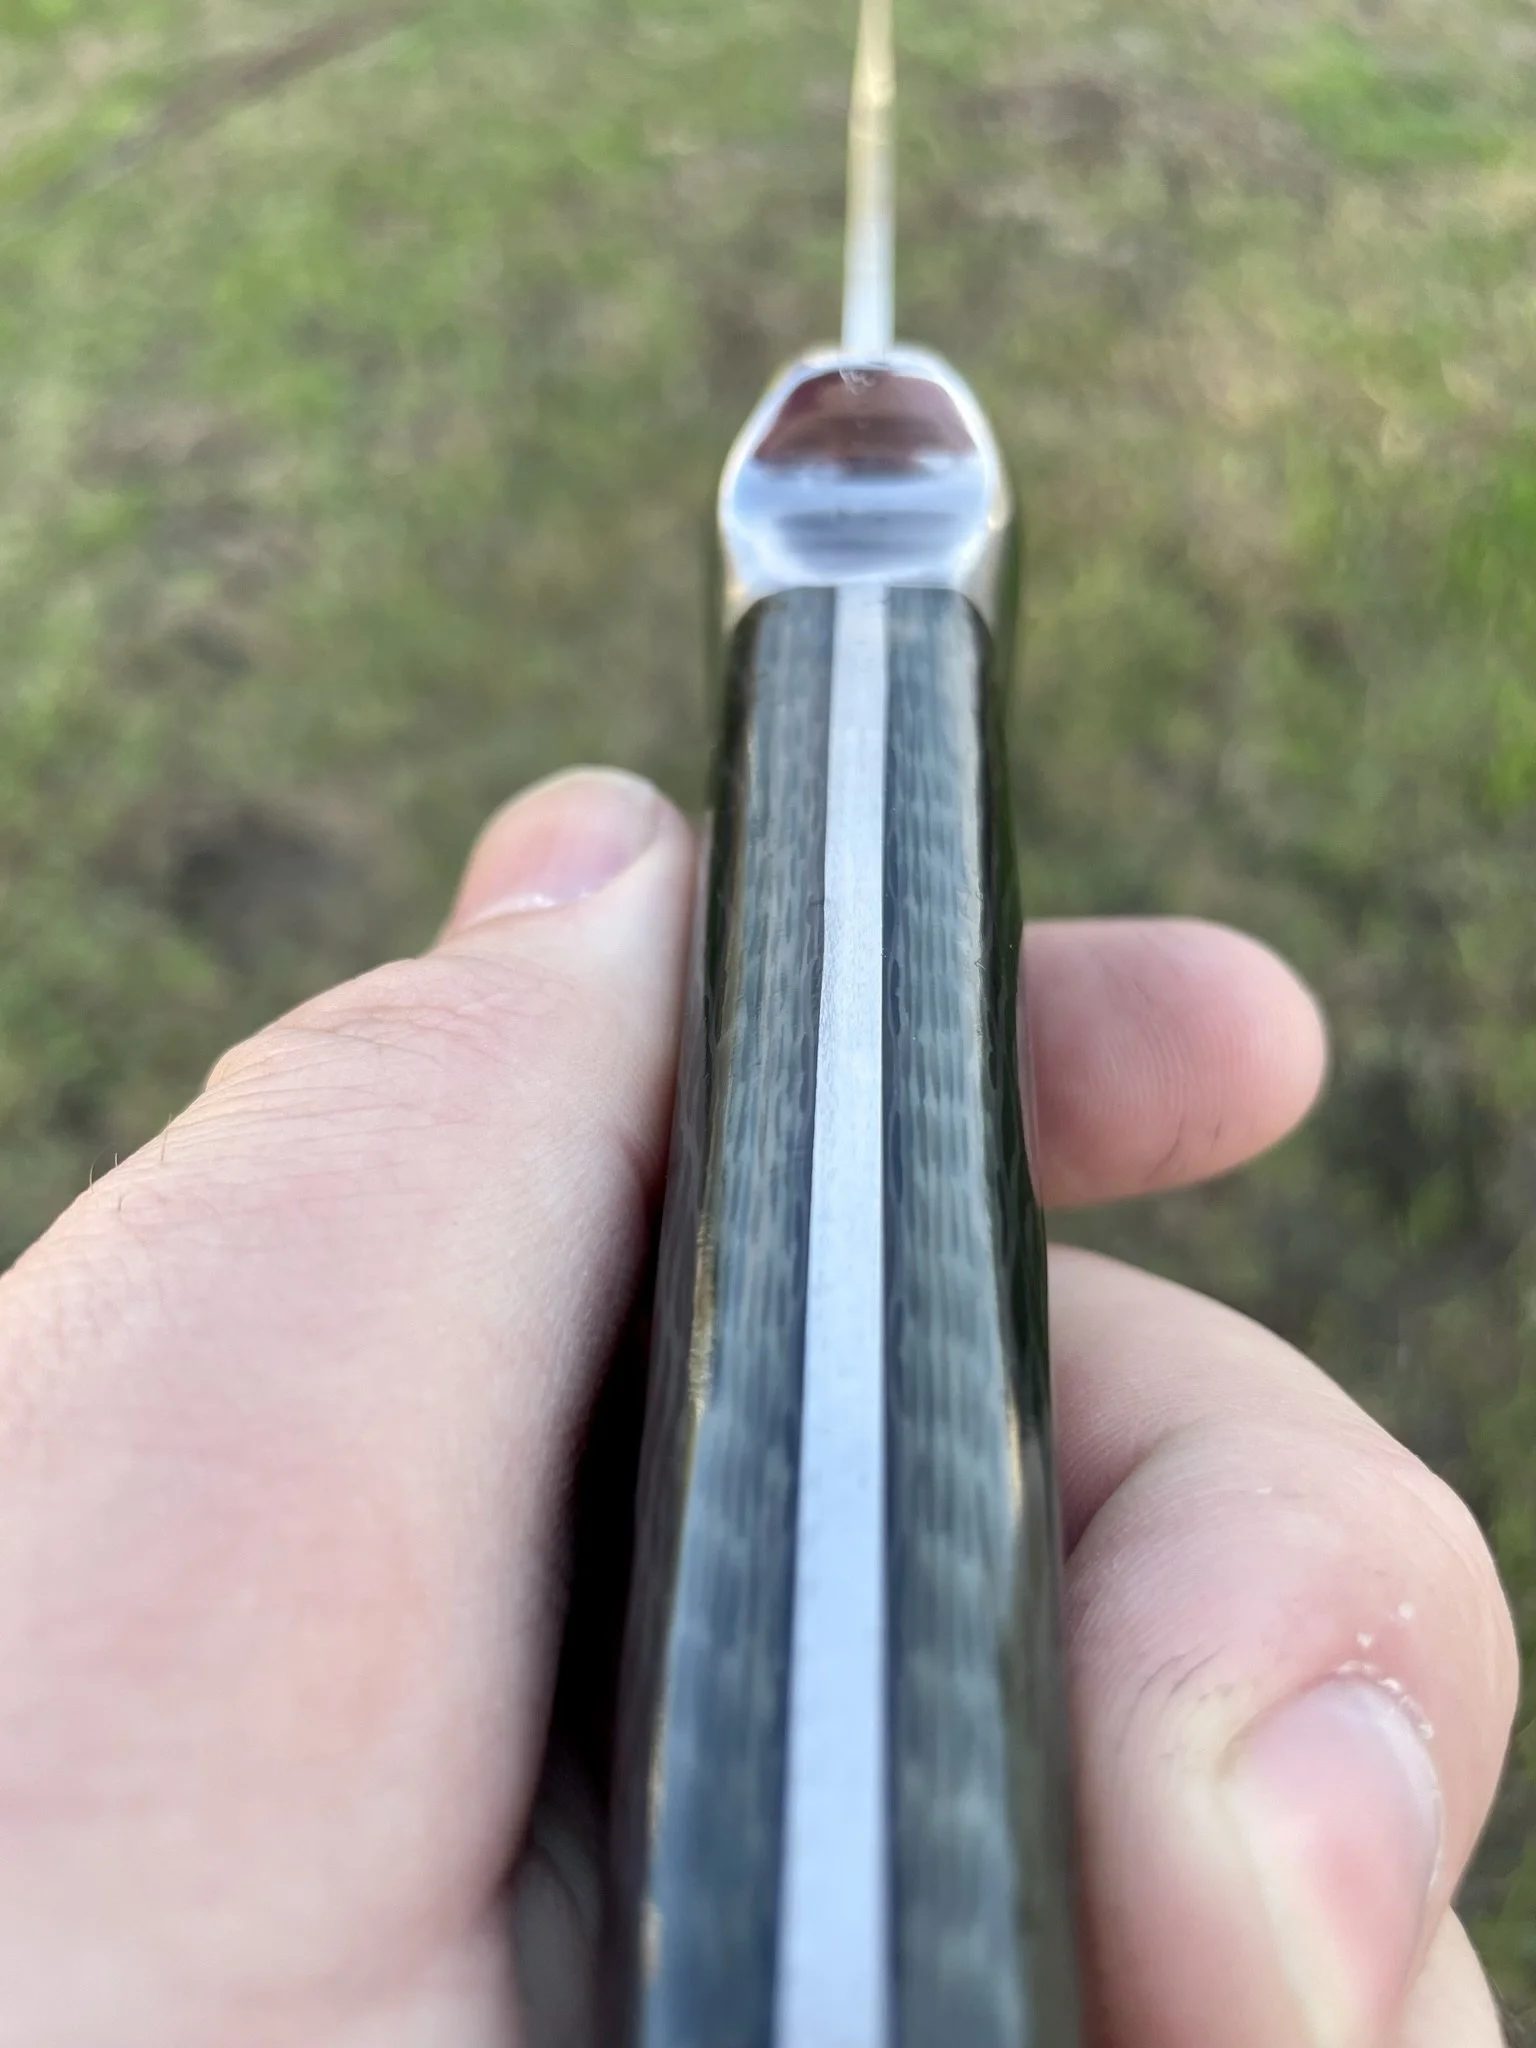
Handle glamour shot.
-
Glowing indoors.
-
Handle glowing indoors.
-
Another cool handle view.
-
Glowing in hand.
-
Final glamour shot #1.
-
Final glamour shot #2.
Bryce D. - Patriotic Tanto EDC (the second)
-
Final blade - keep scrolling to see the journey.
-
I don't normally make similar knives, but when another friend saw the knife I made for Tom S. he said he wanted one just like it. Fortunately I had ordered two sets of those custom scales and could easily make another.
-
More tanto grinds.
-
Drilling pin holes.
-
Slightly different handle contouring, but pretty much the same.
-
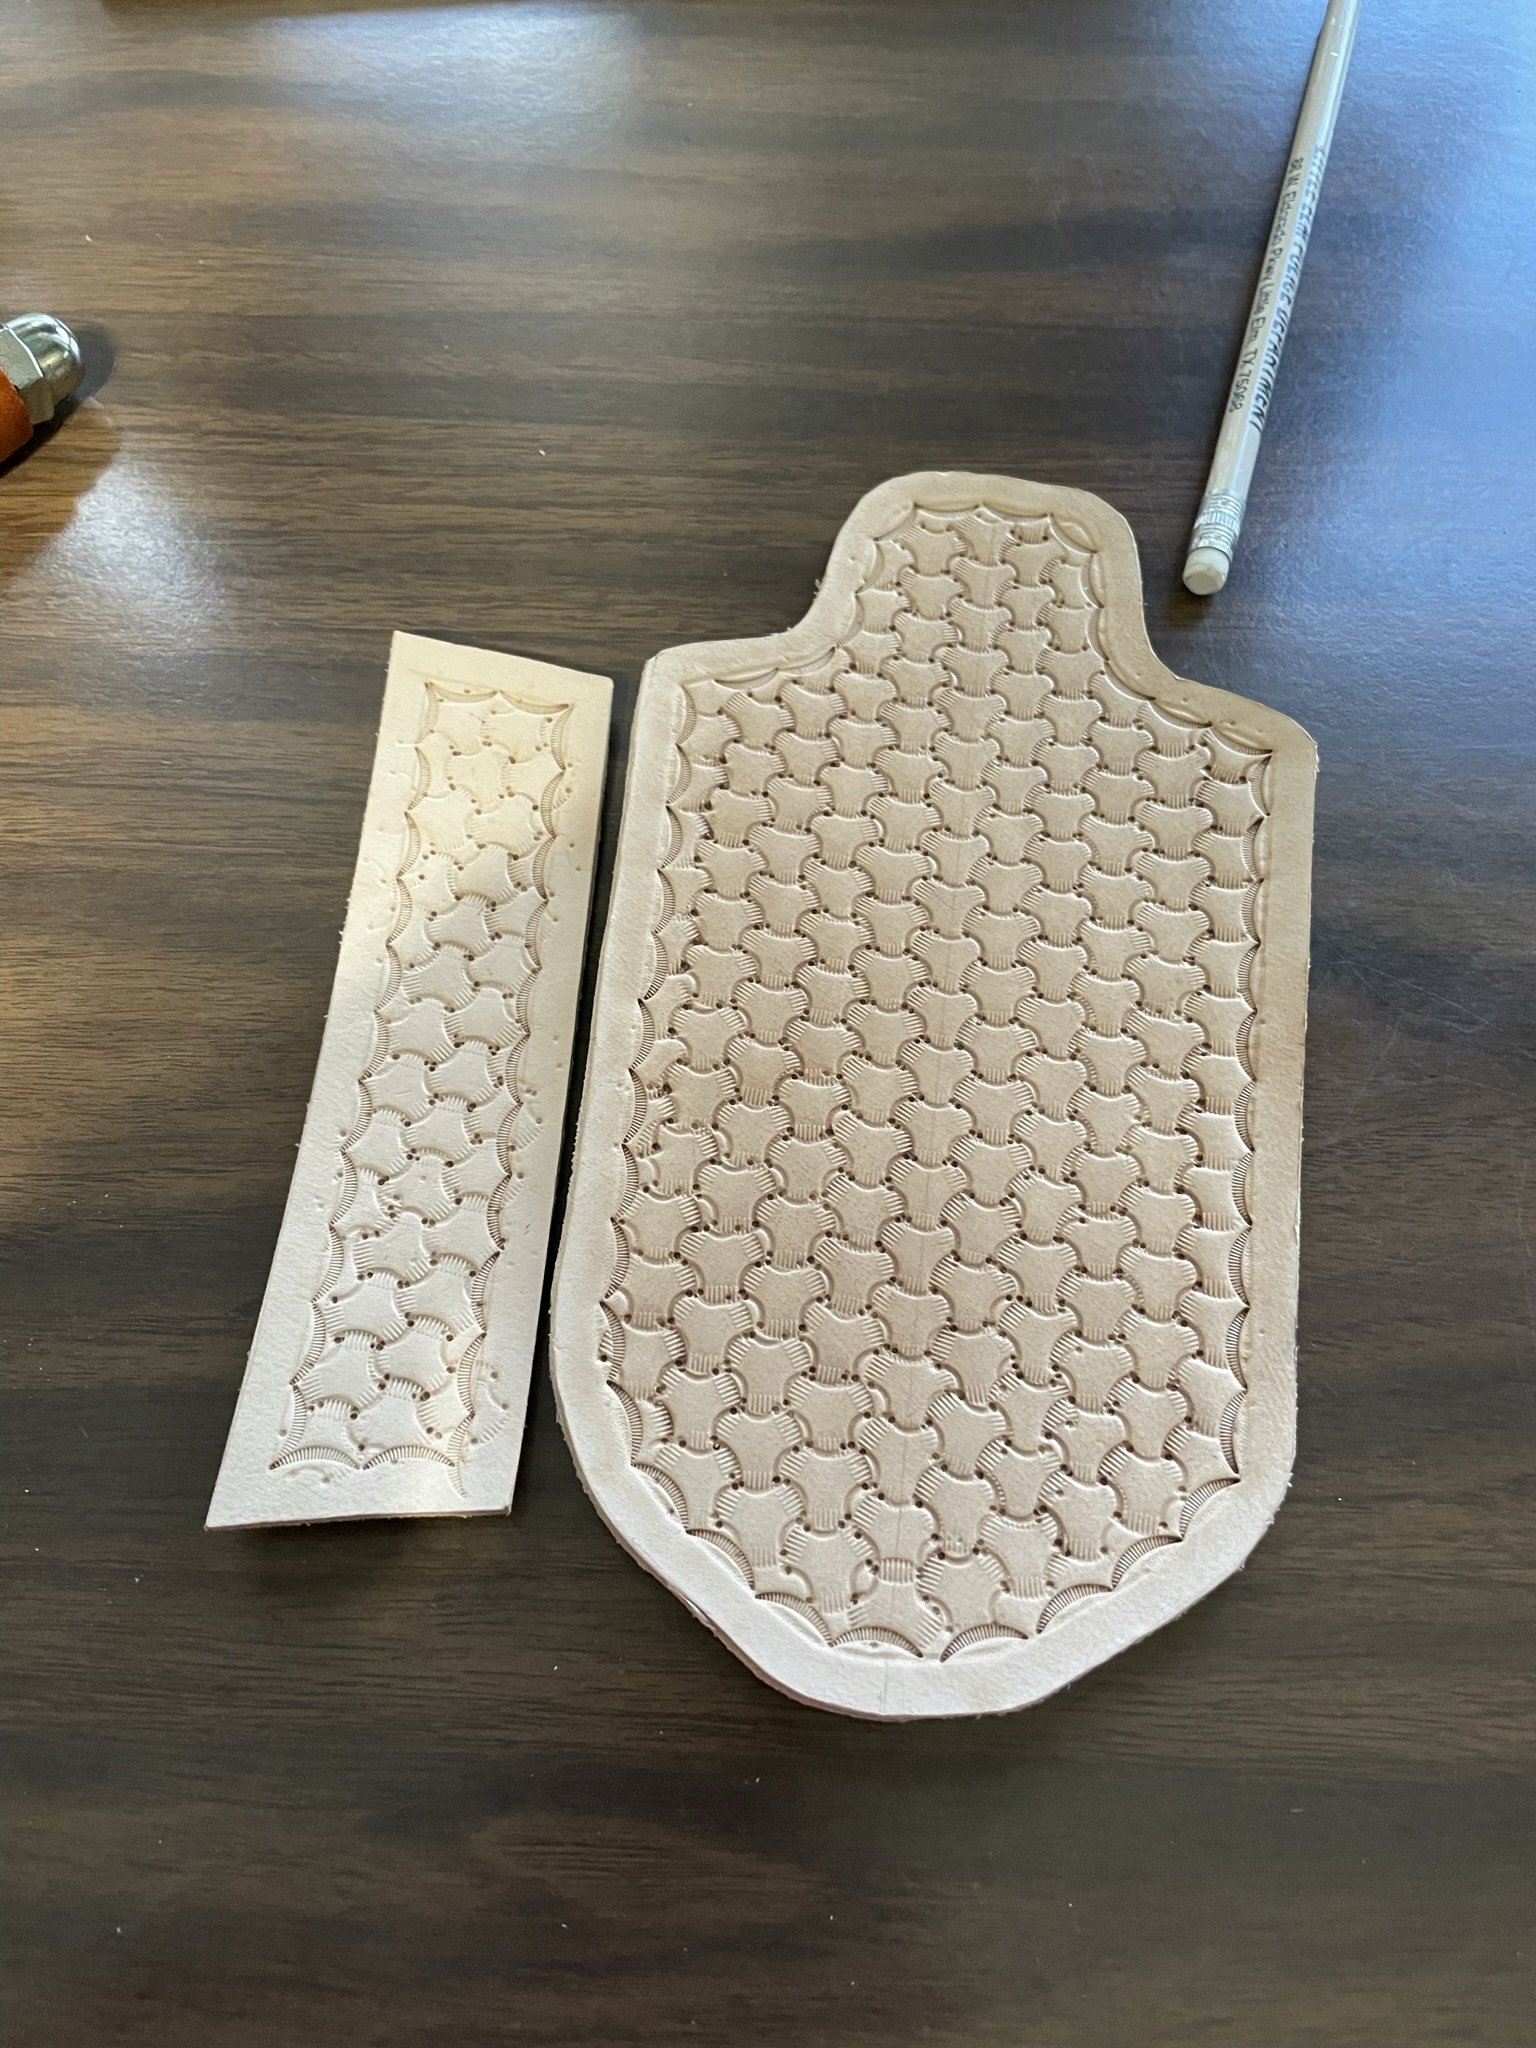
I changed the pattern on the sheath.
-
Glamour shot #1.
-
Glamour shot #2.
Brad G. - Year 4 Capstone Knife
-
Final blade - keep scrolling to see the journey.
-
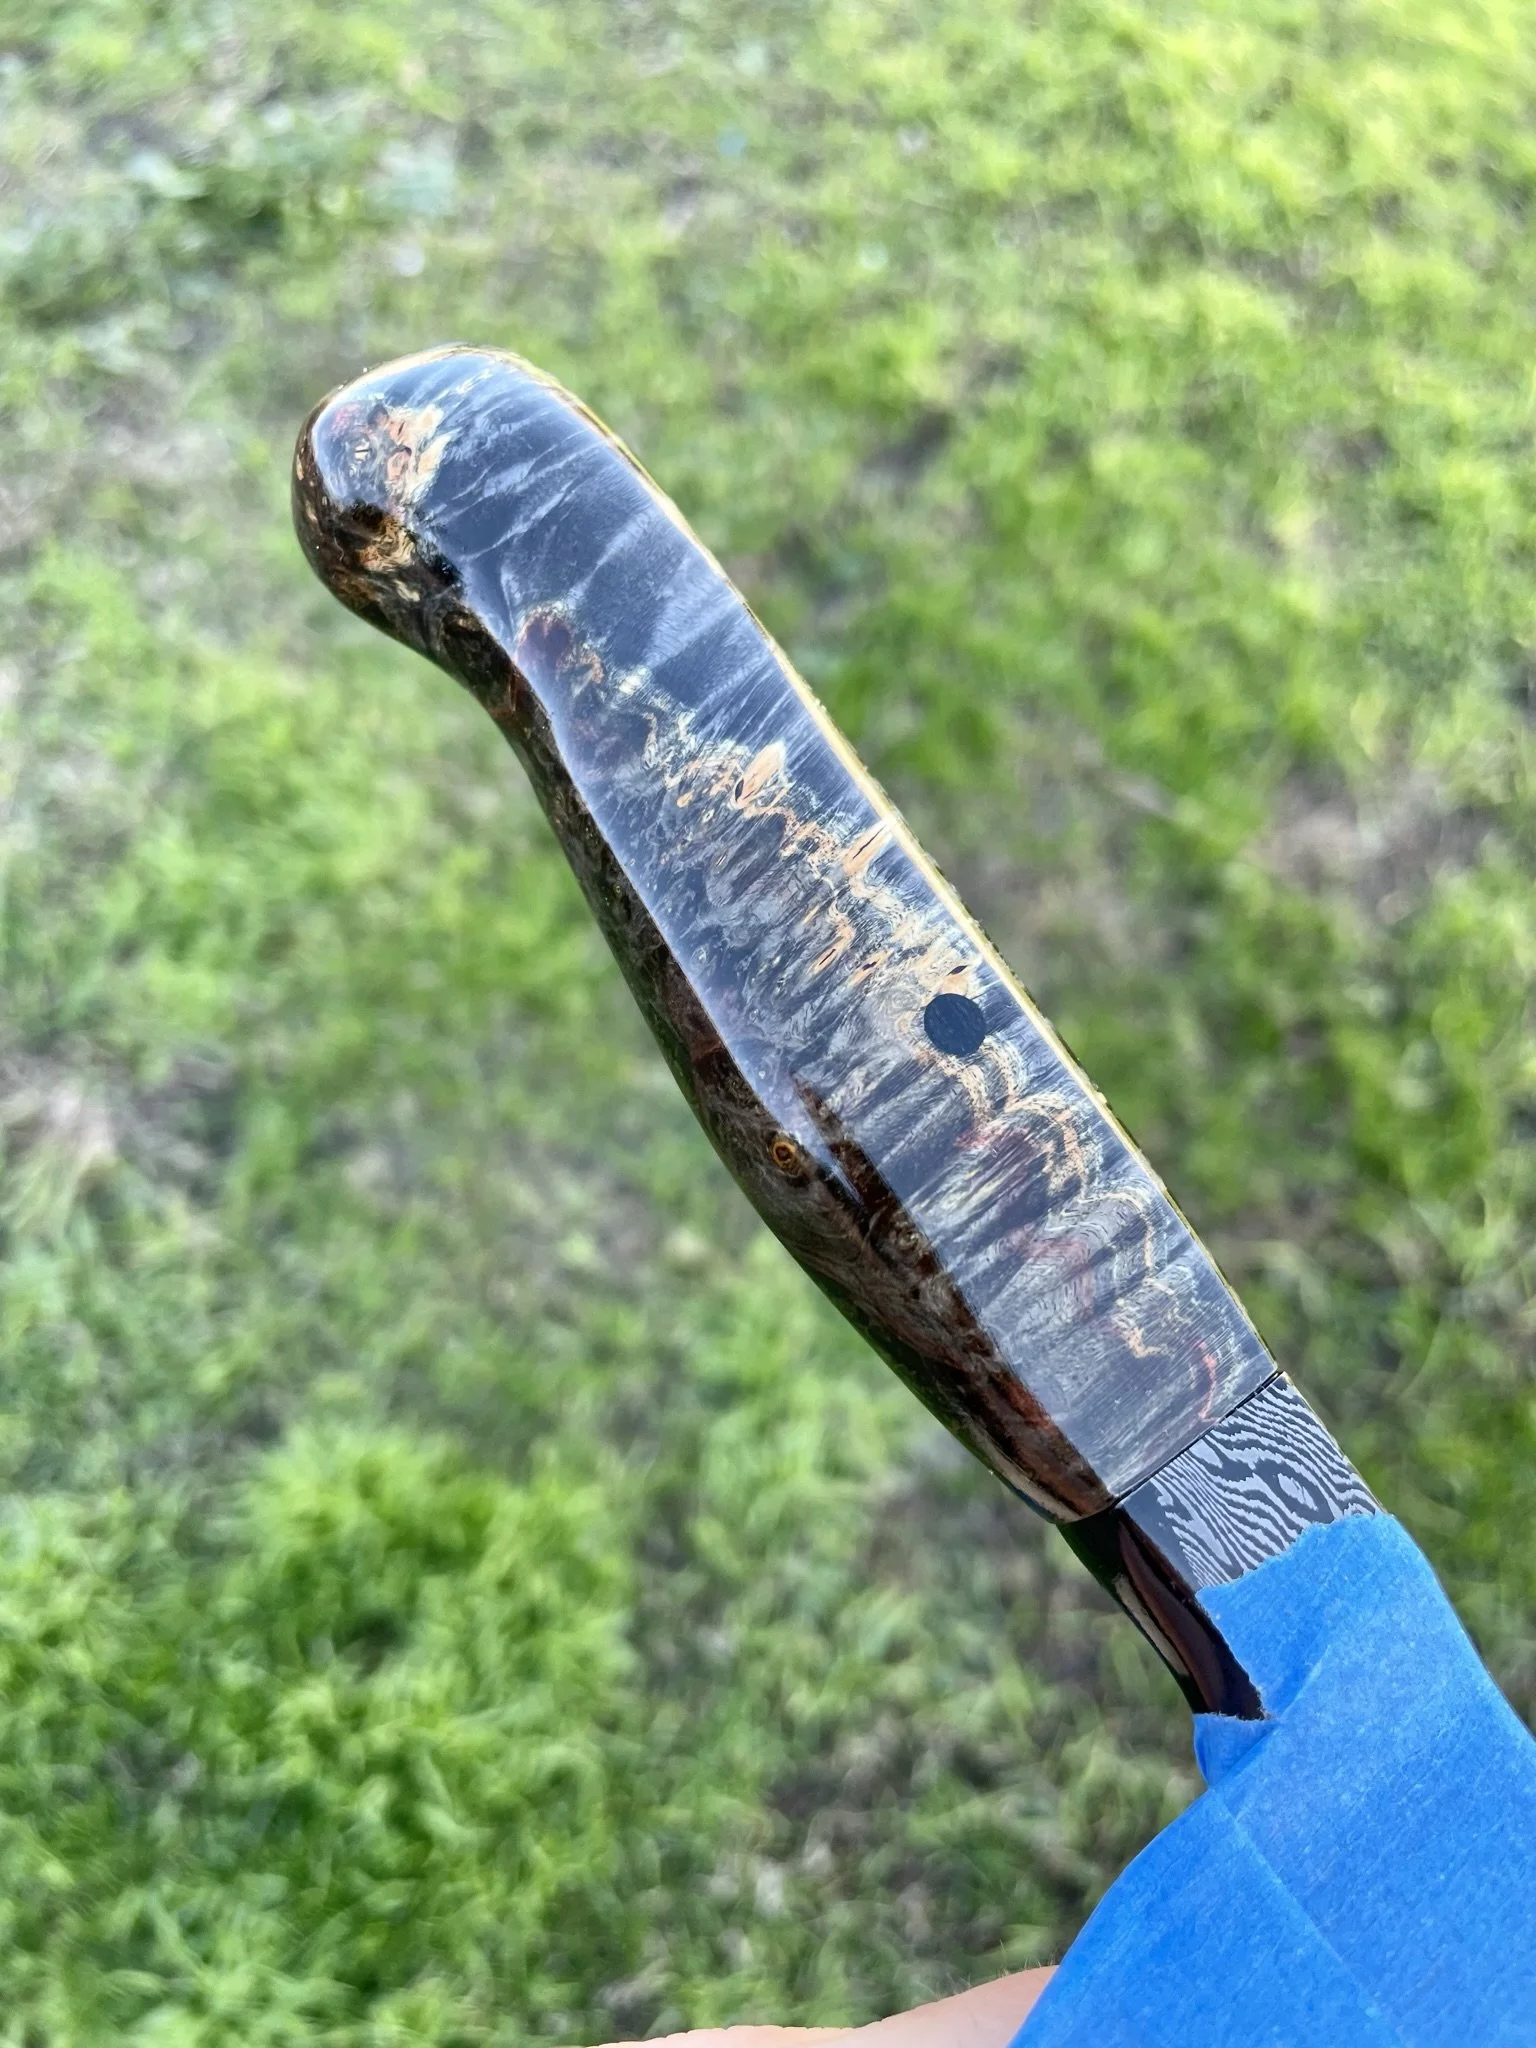
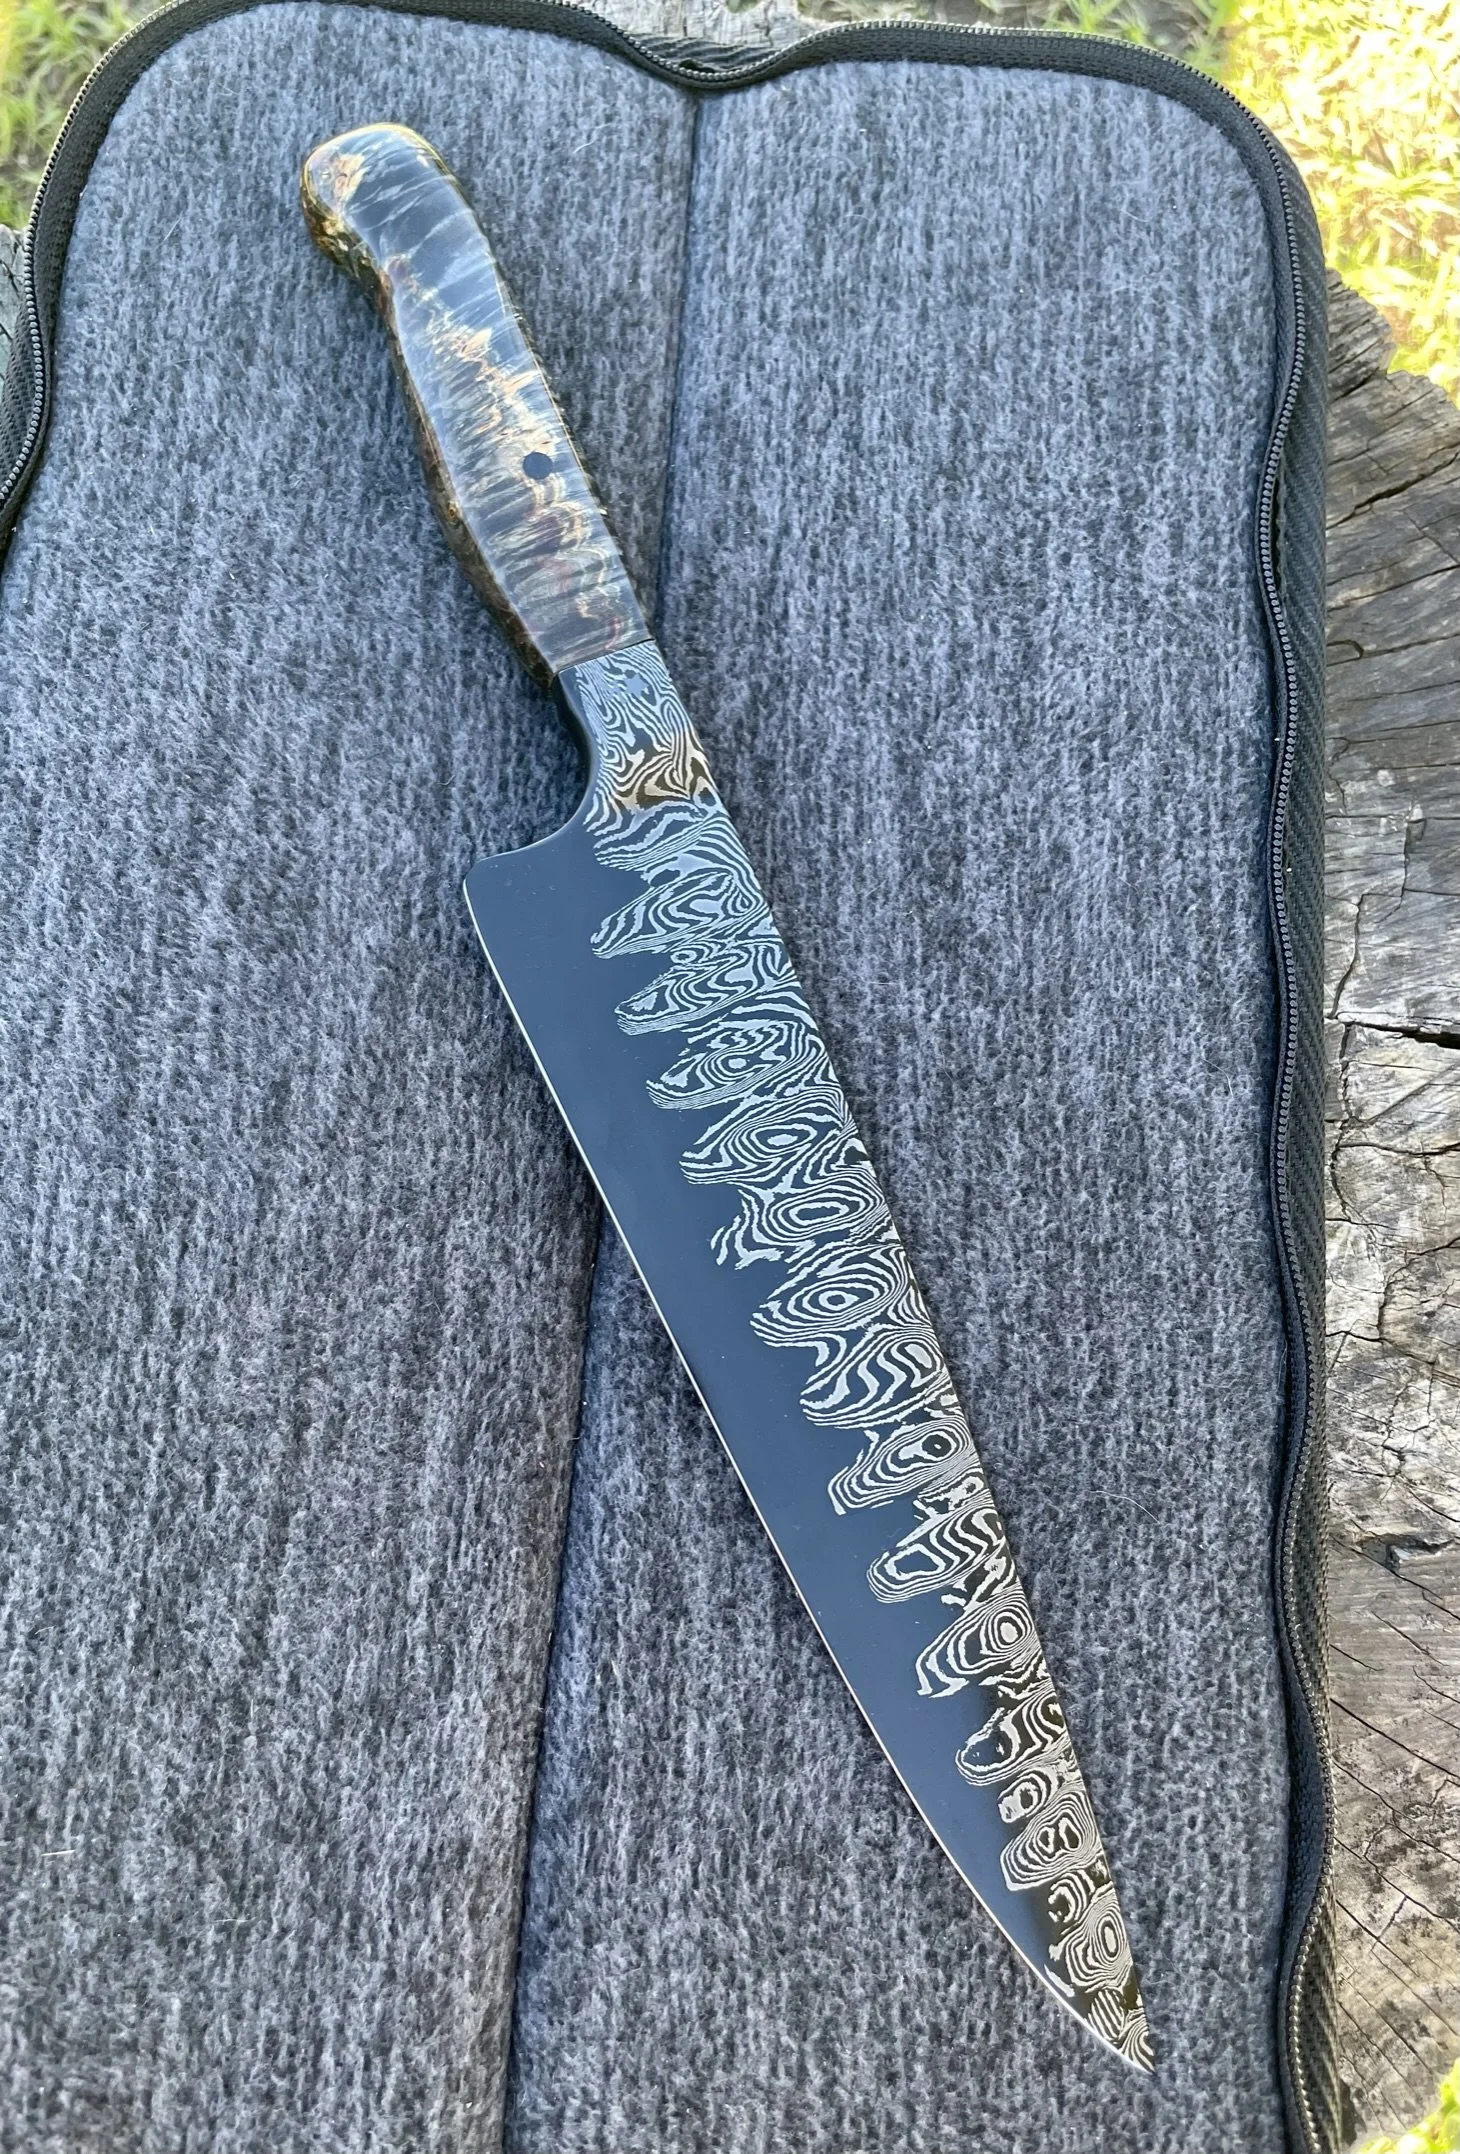
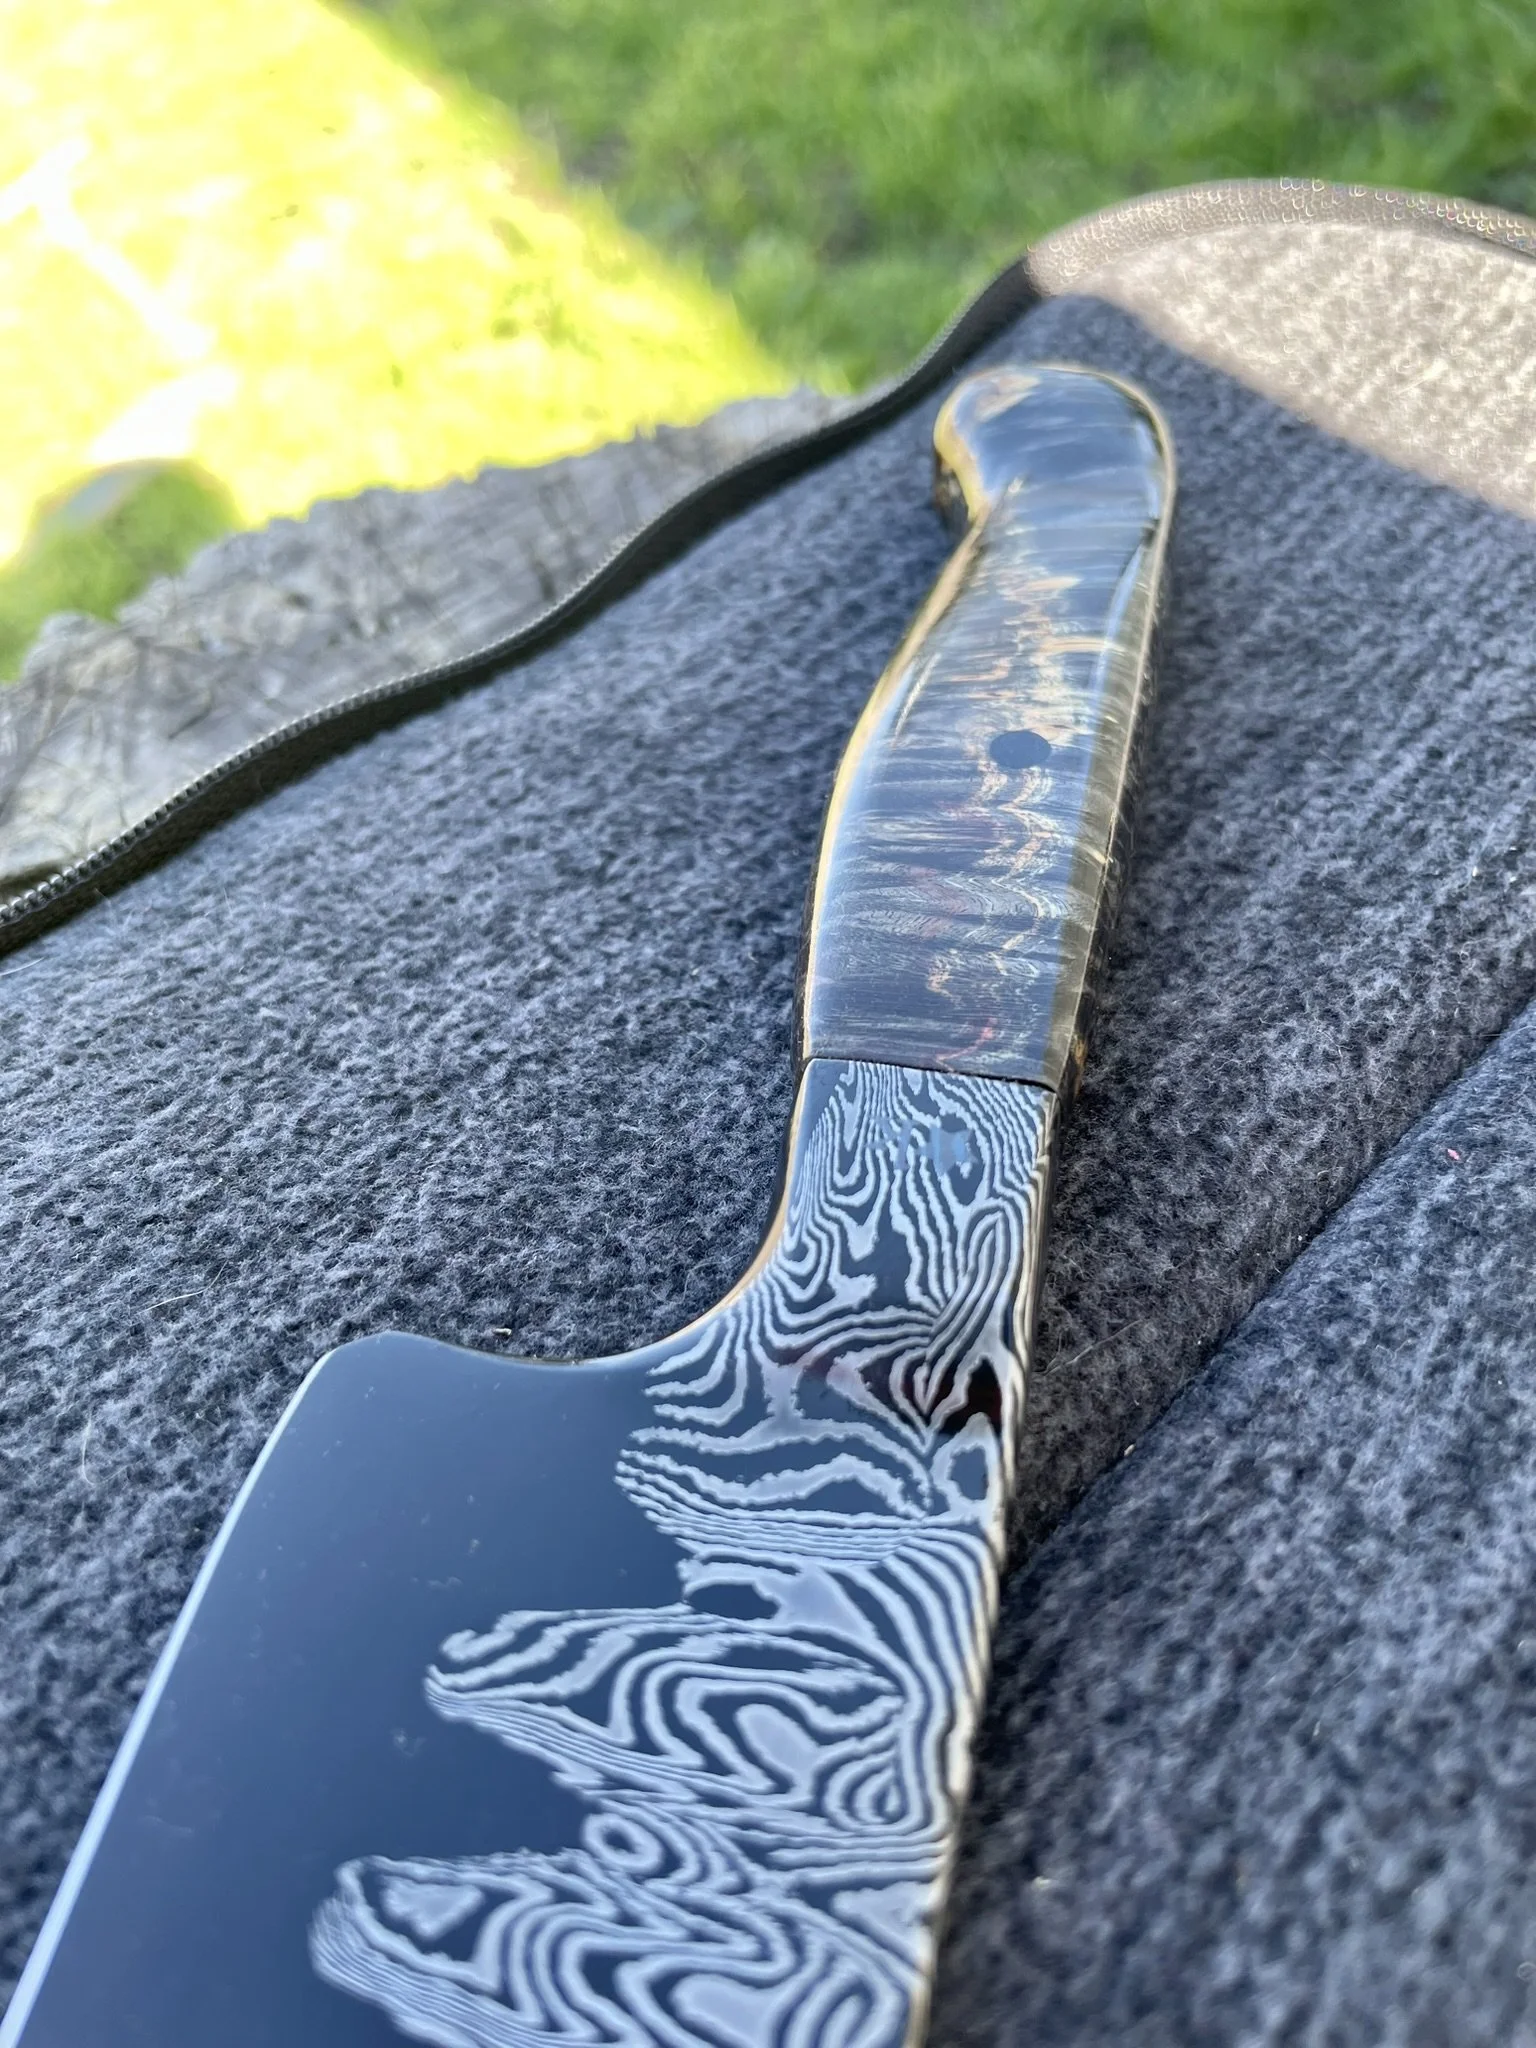
This knife was very special to me - my Sister-in-law reached out to me and asked if I would make a knife for my oldest brother. I couldn't make just anything, but wanted something special at the edges of my limits. He likes to cook, and so we decided on a damascus chef's knife. I took it further.
-
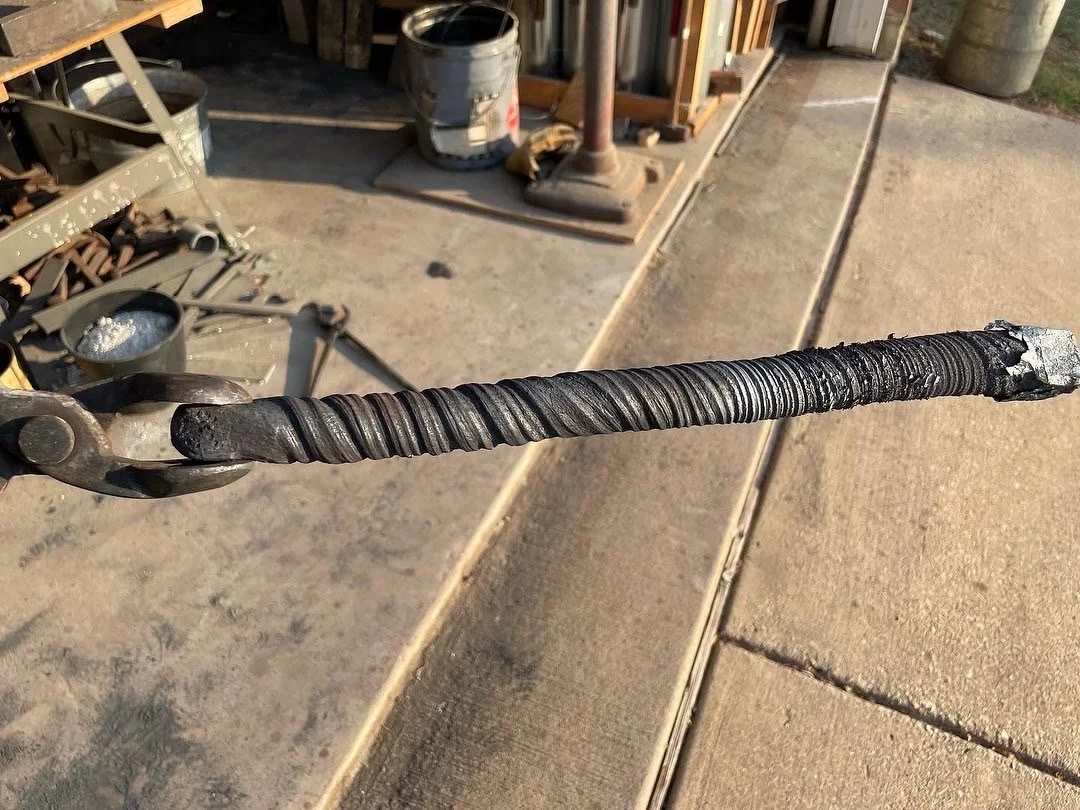
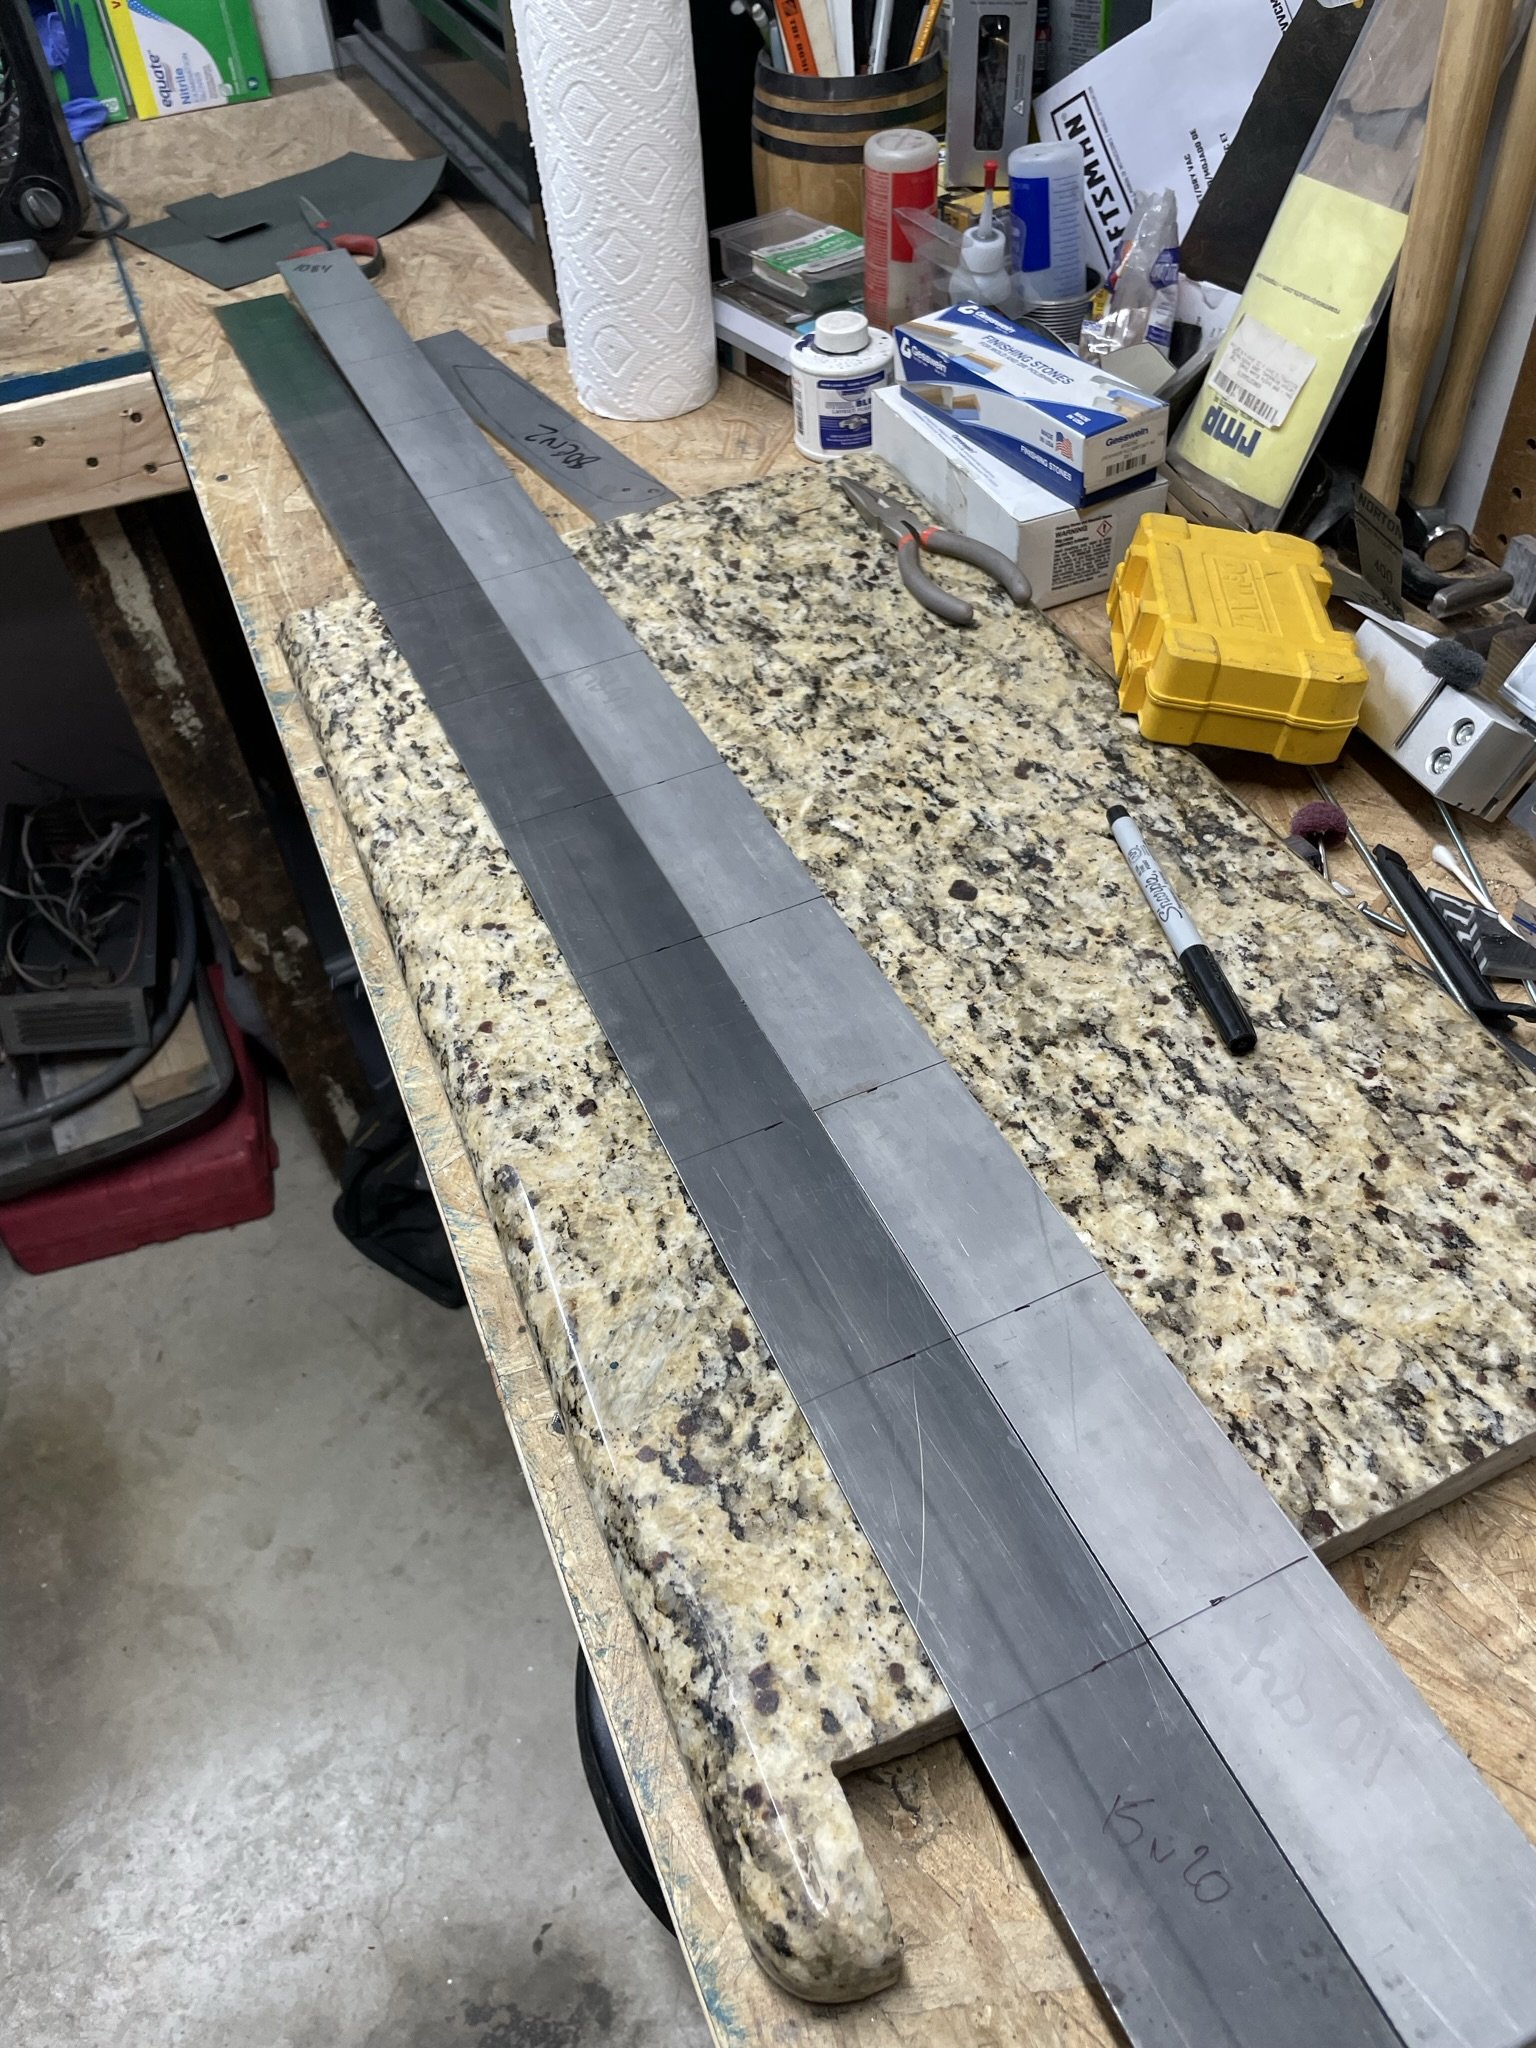
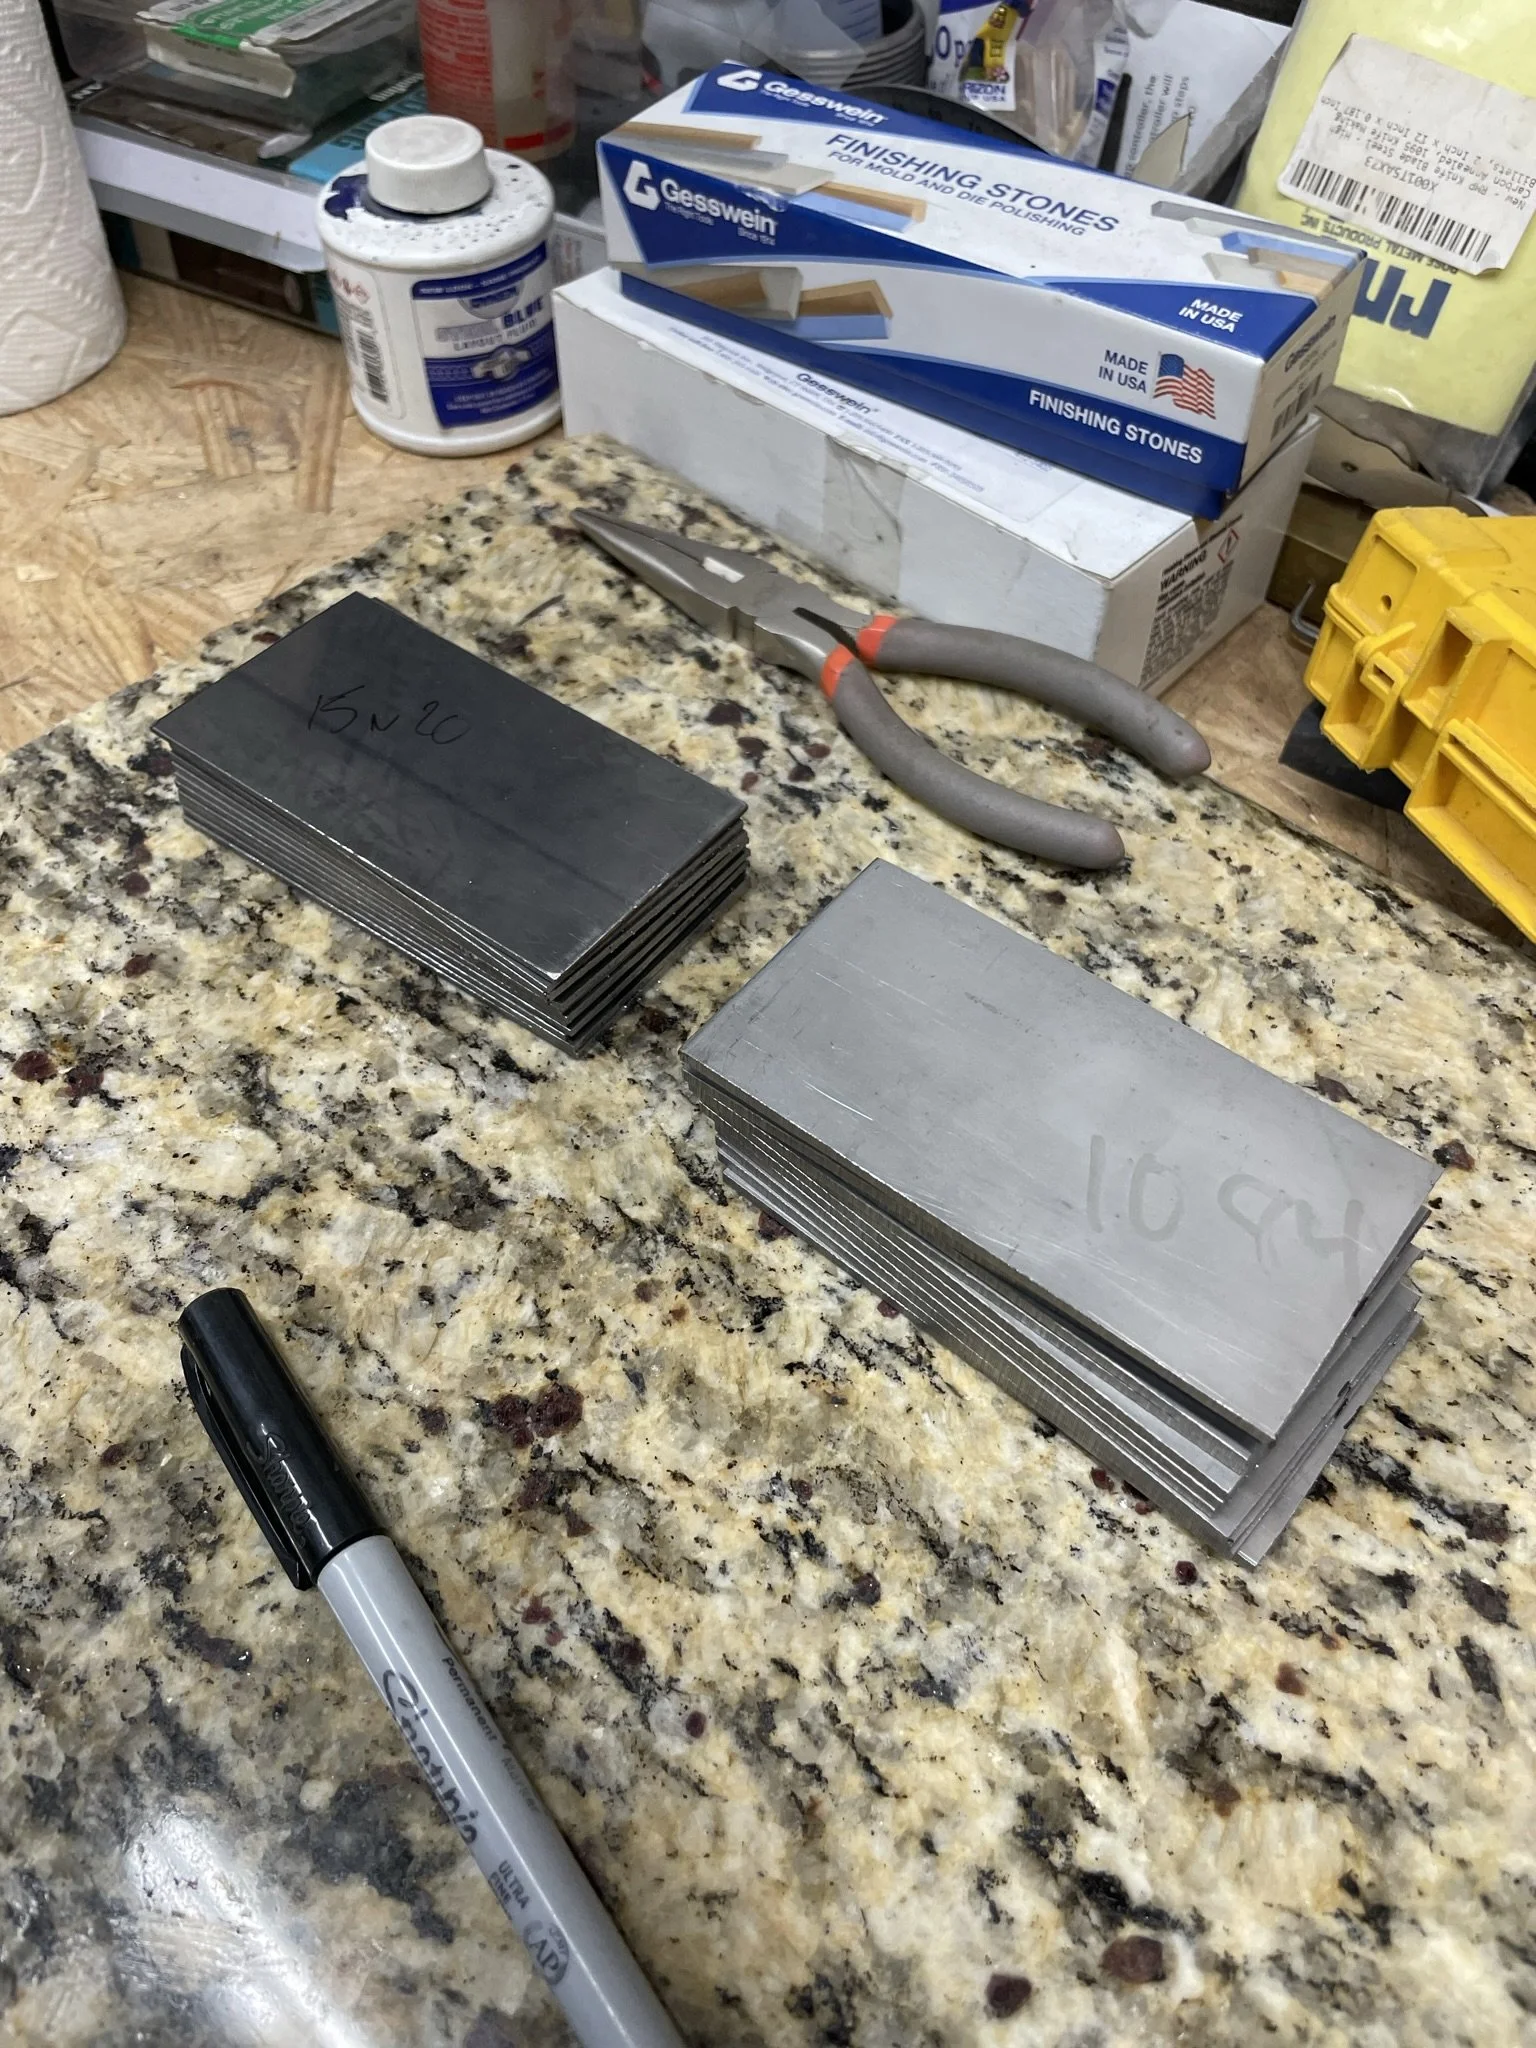
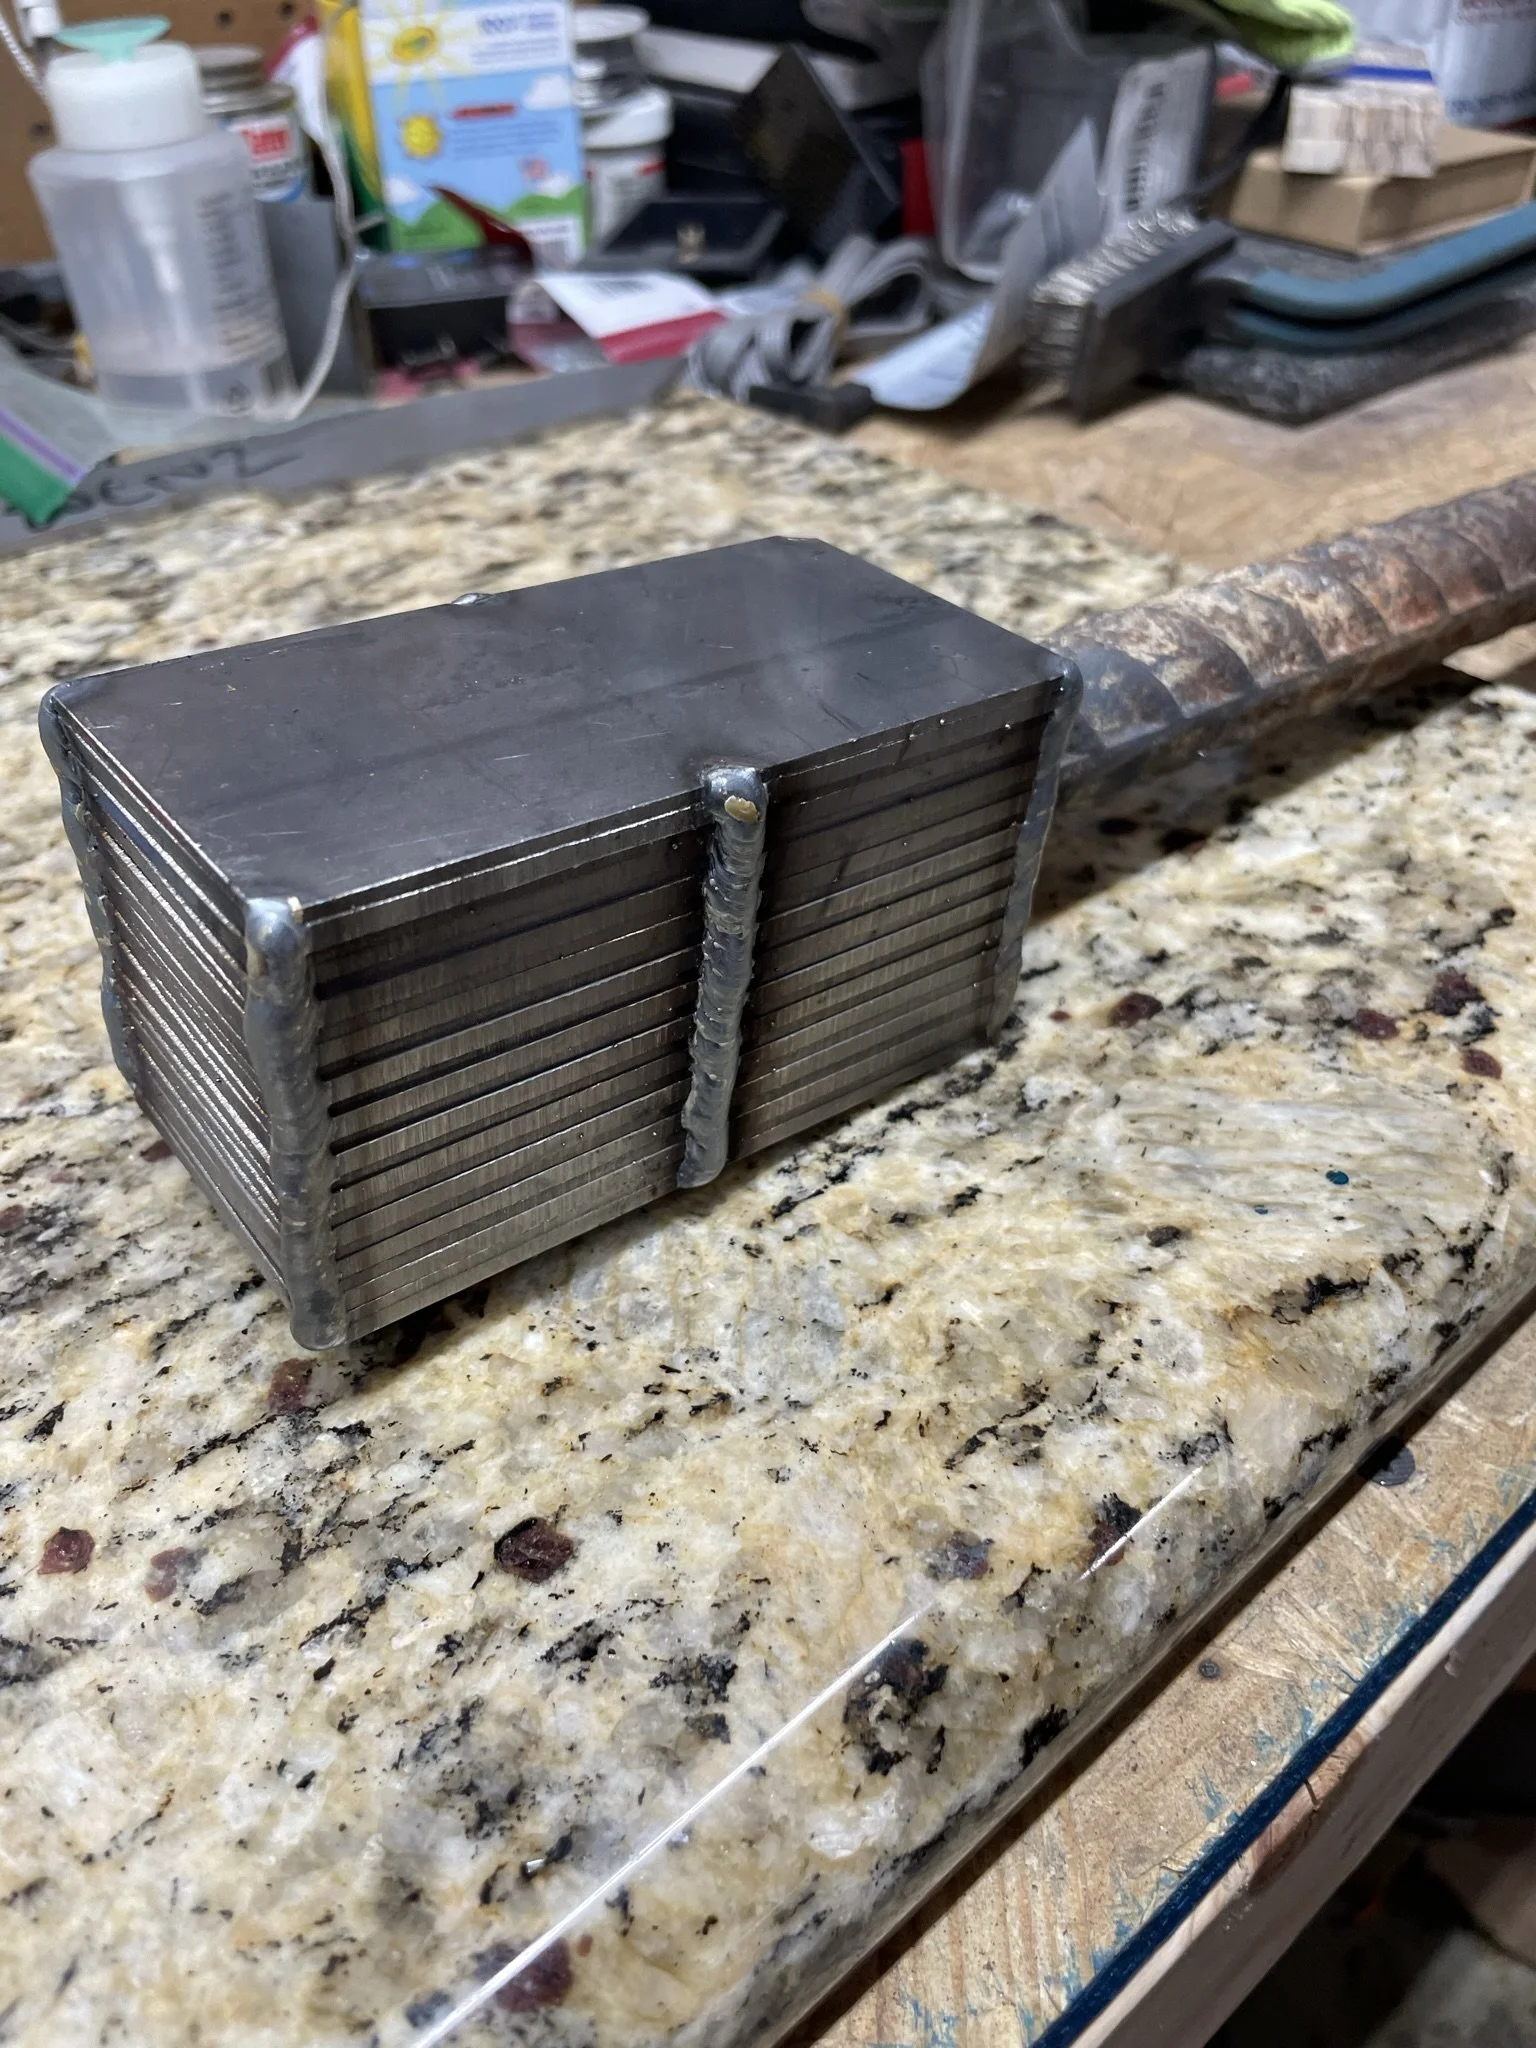
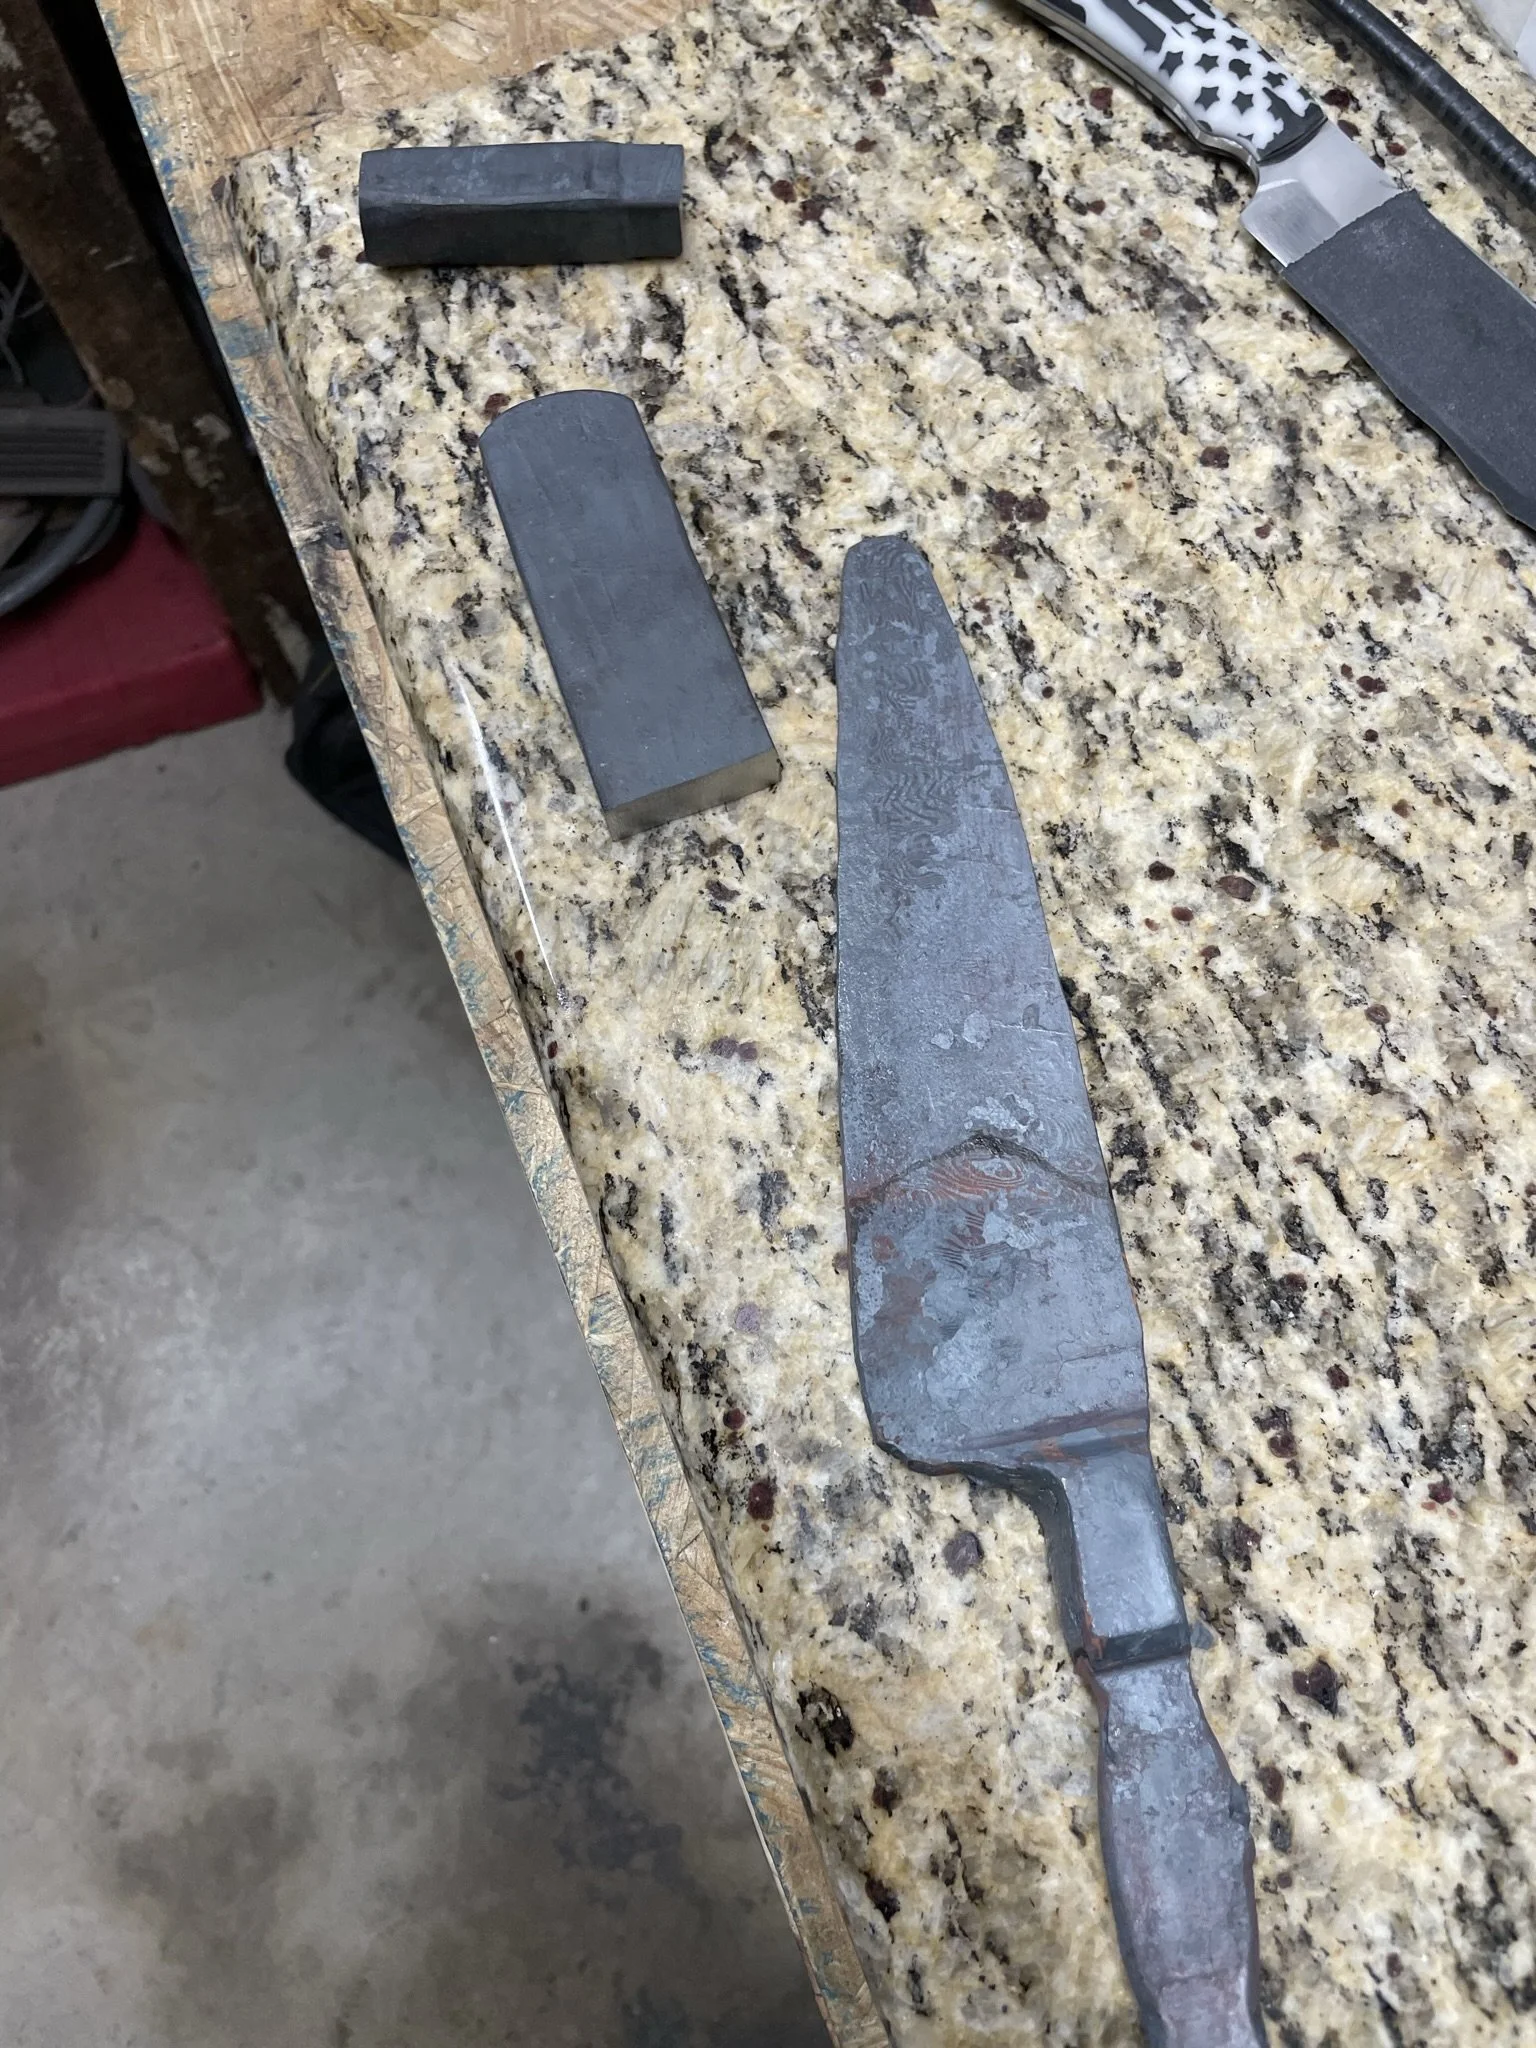
Cutting up stacks of 1084 and 15n20 to make custom twist damascus. I decided to do a san mai damascus blade and so needed more twist damascus for the core.
-
The ready billet.
-
I went back to Andy L.'s house as it worked the first time.
-
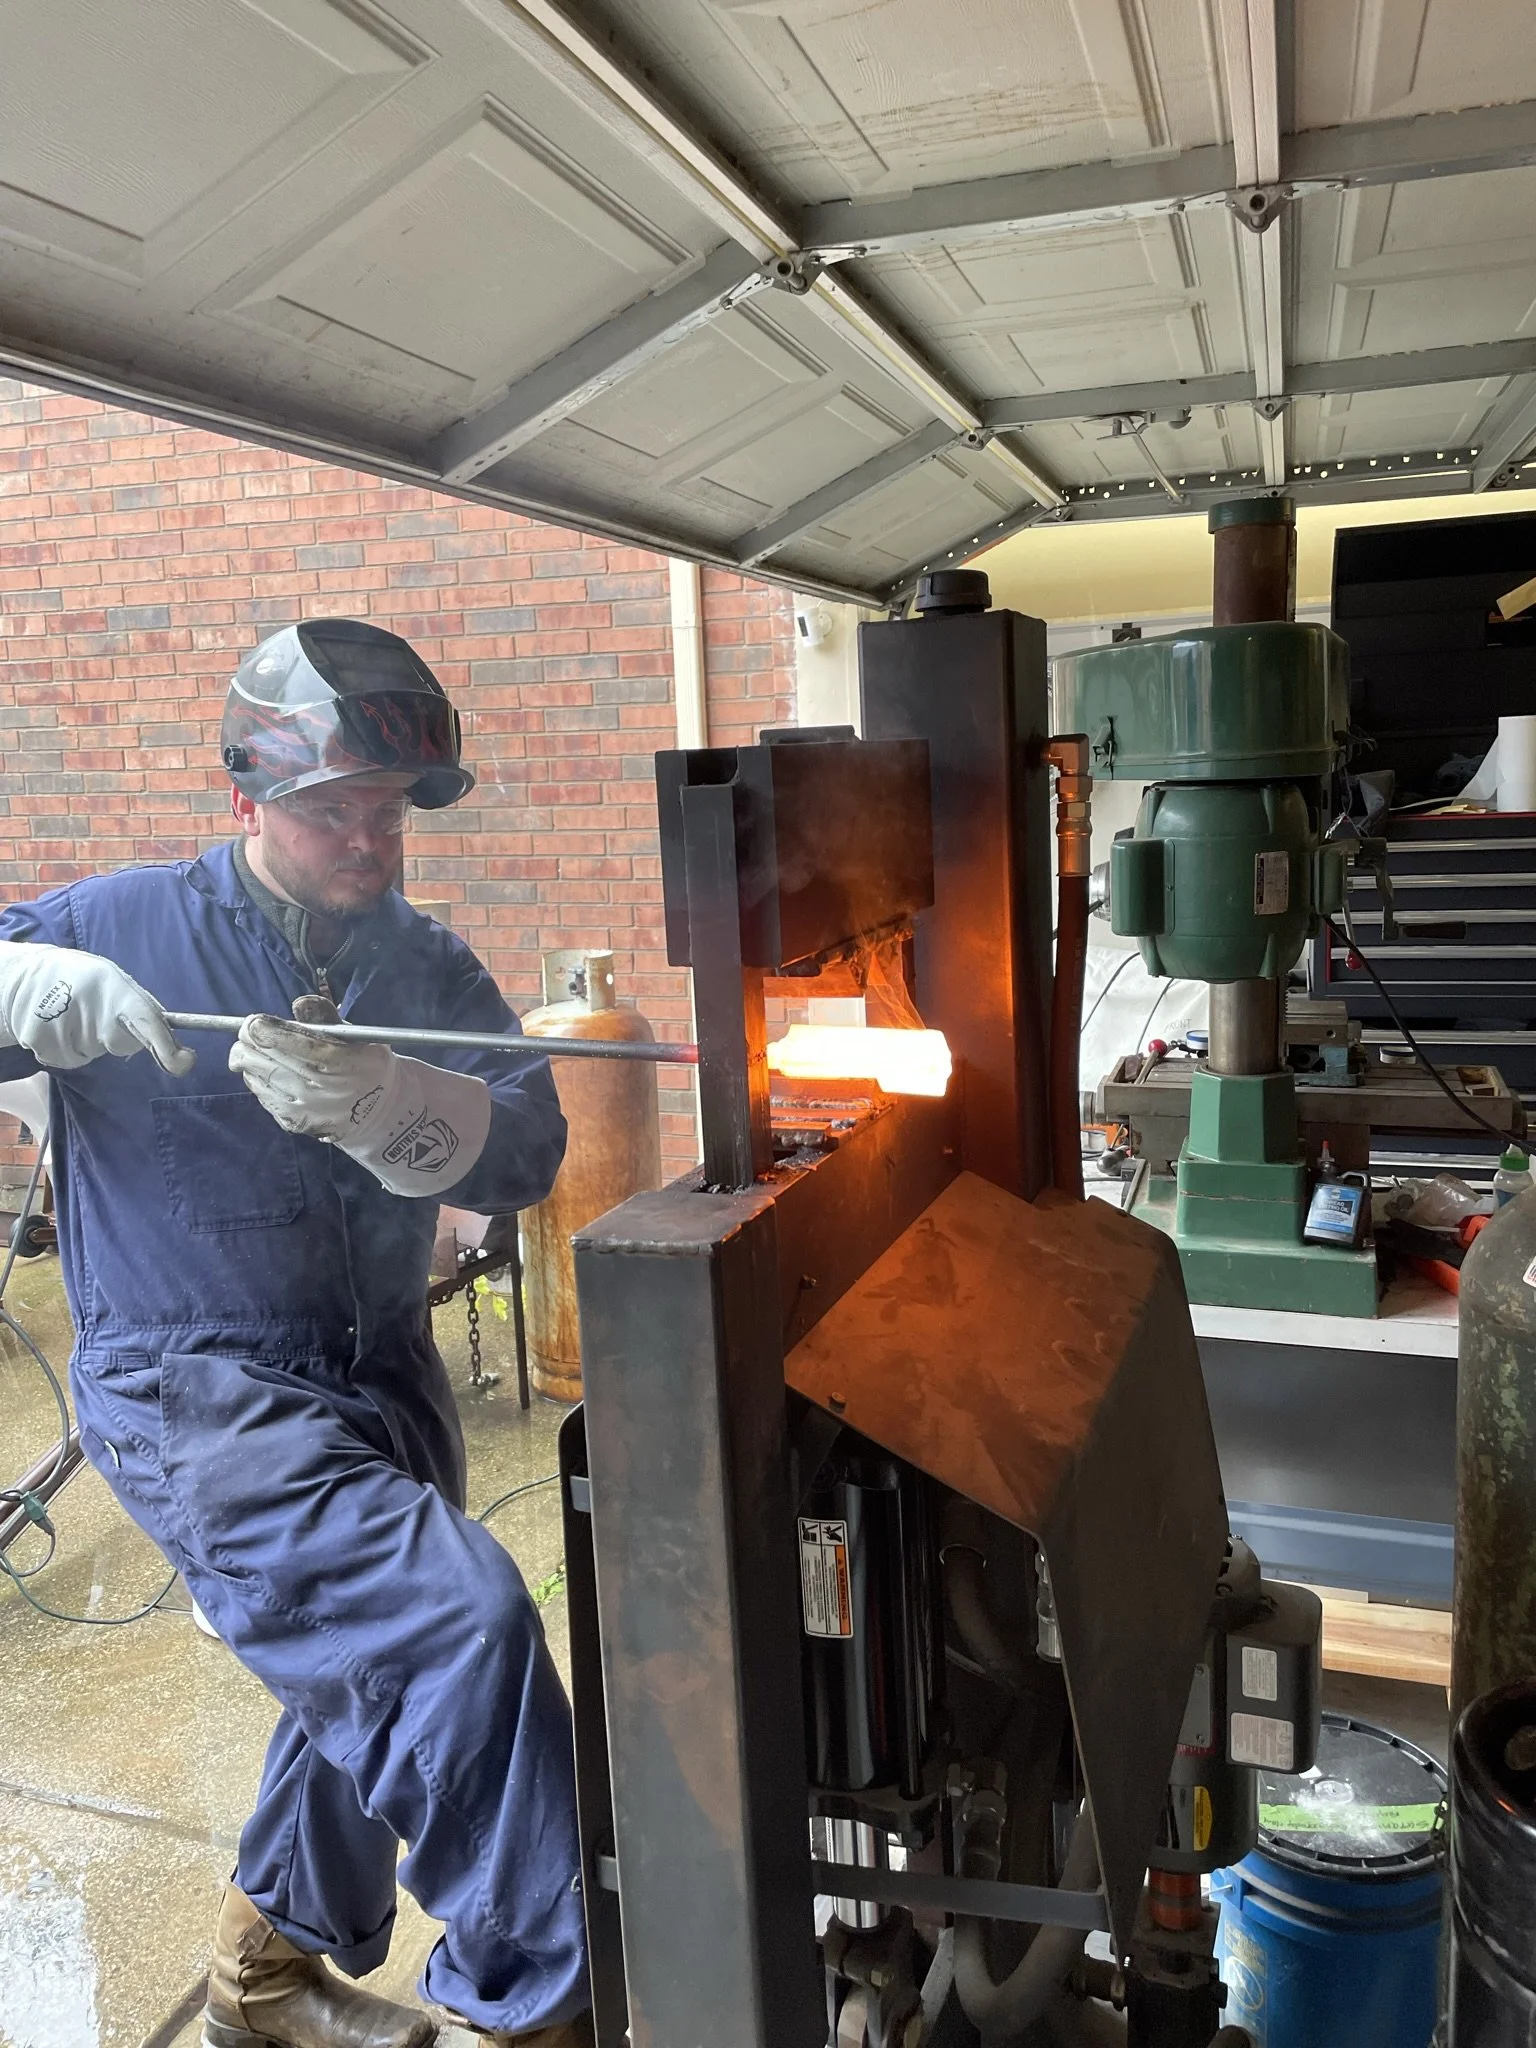
I guess instead of blood, sweat and tears, it's really blood, sweat and burns.
-
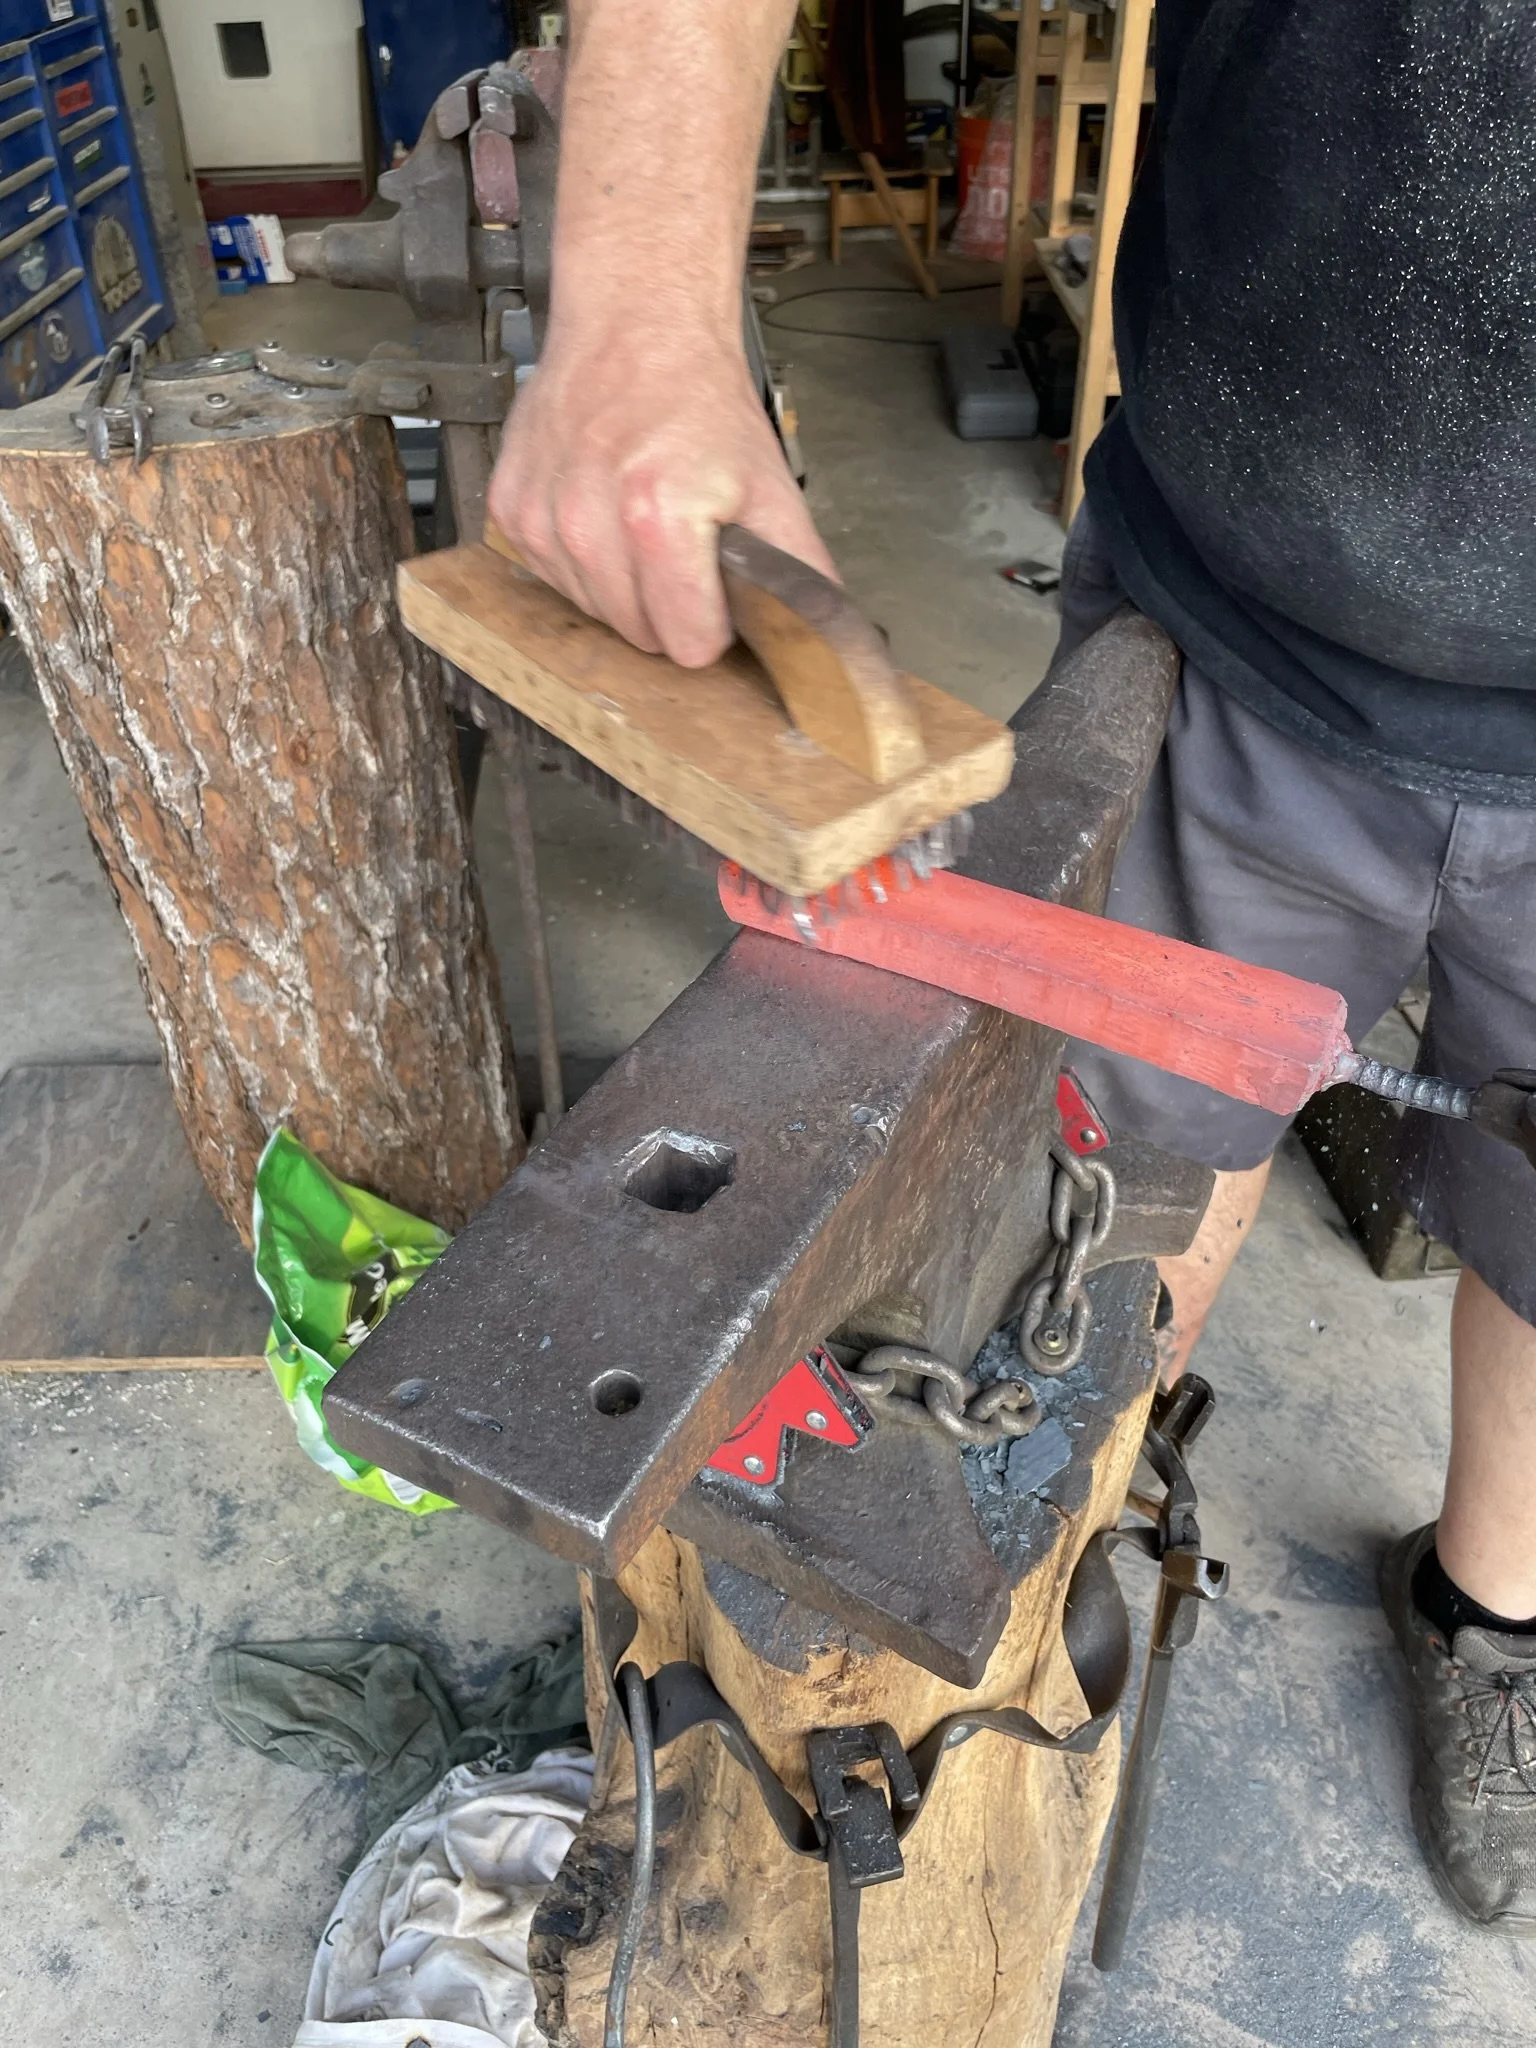
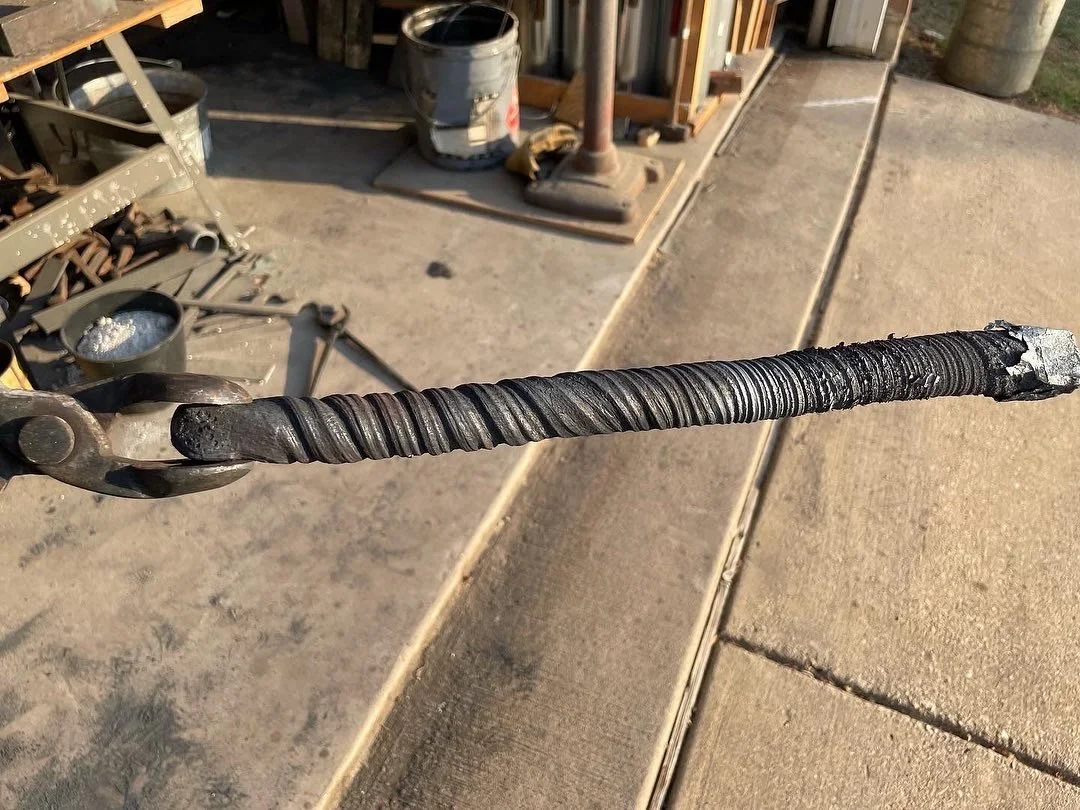
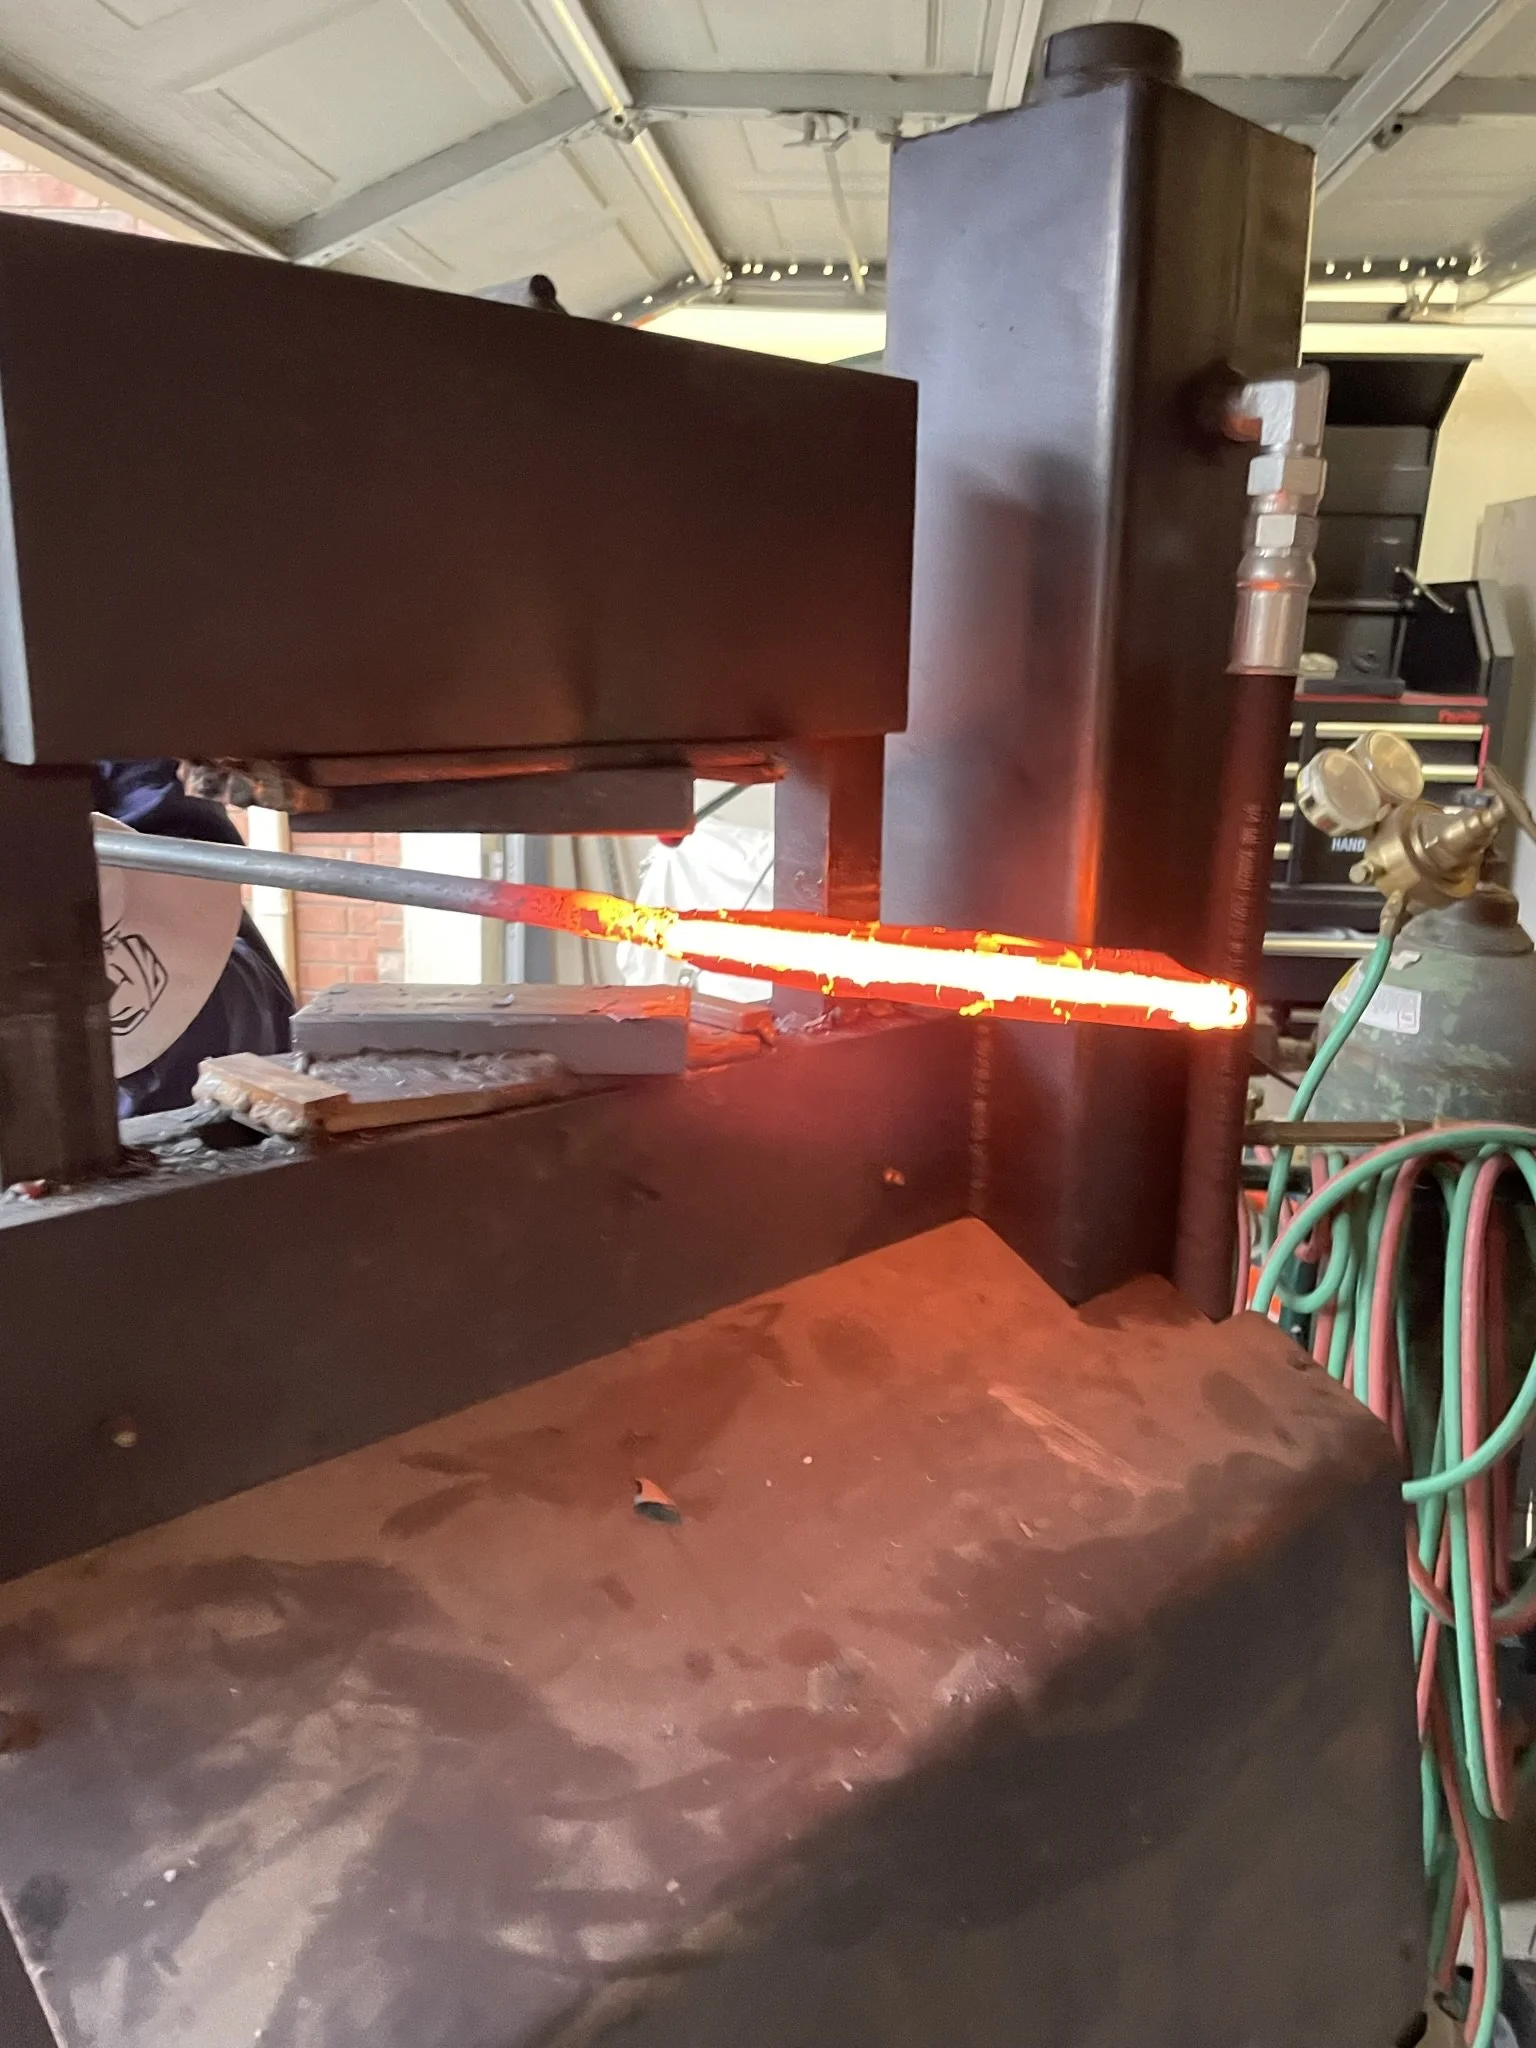
Hand twisting damascus is always a romantic (between you and the metal) and personal experience. Nothing like straining to your physical limits with 2000 degree metal feet from your face and arms.
-
The finished bar. I say finished but it's so much work work to come.
-
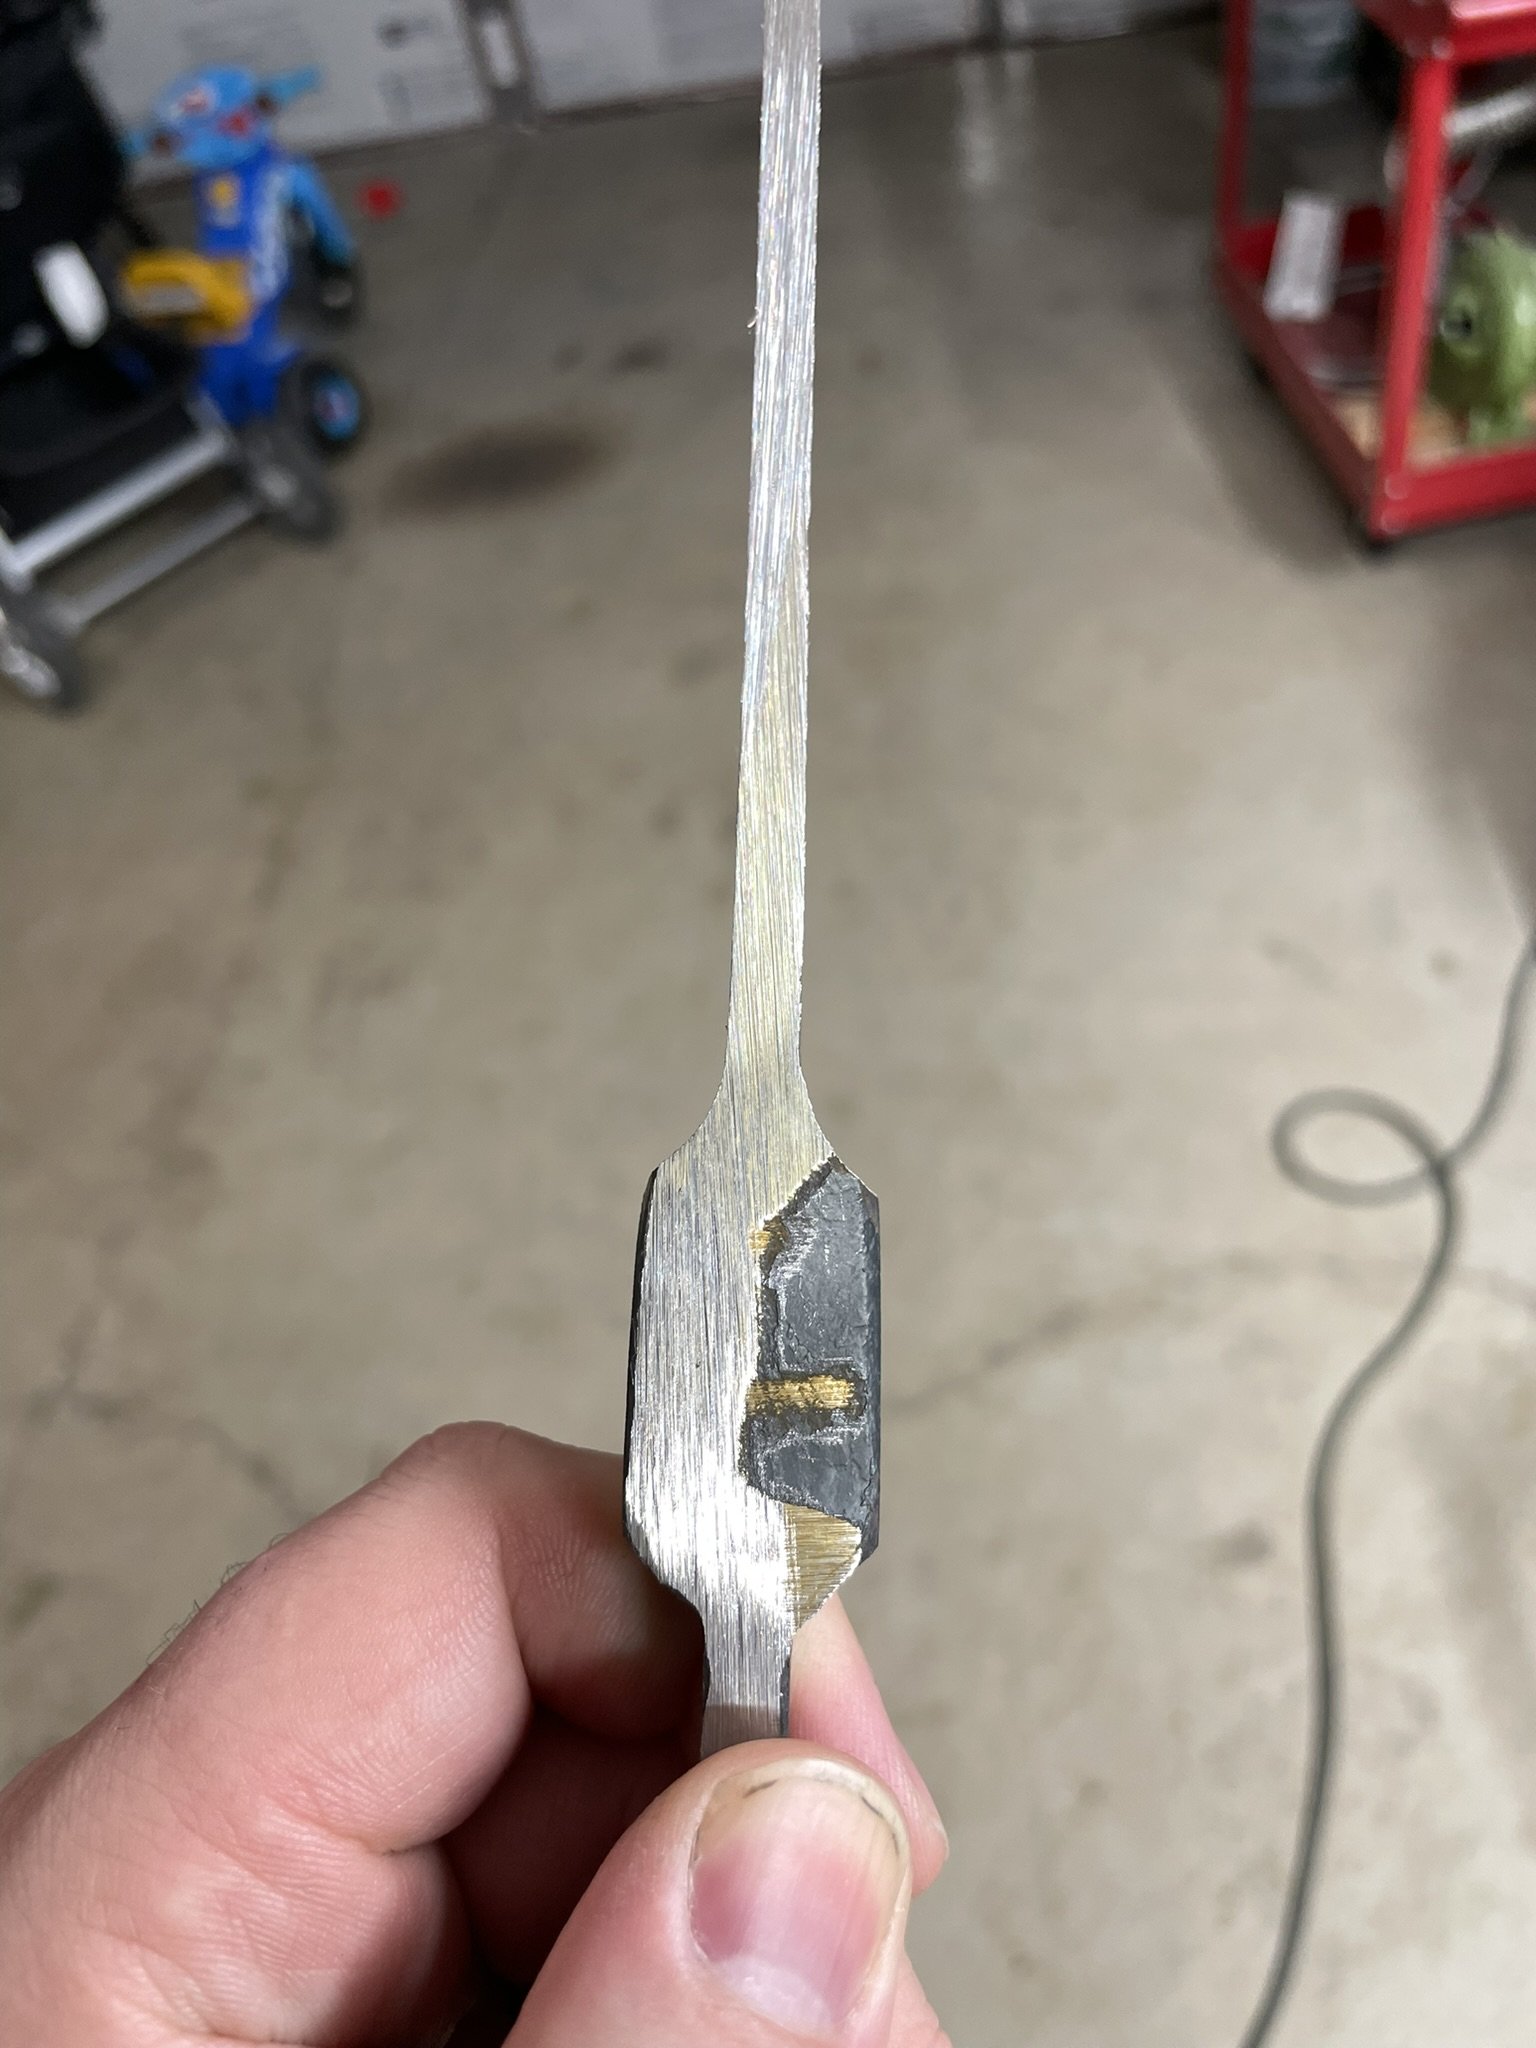
These are the challenge - gotta keep these all from becoming cold shuts.
-
Twist bar ground and test etched.
-
![]()
It's crazy how much smaller the billets are after clean up. I'm typically around 55-60% the original amount by weight. This is one of the reasons damascus is expensive.
-
I was too worried about messing up such an important knife, so I took it back over to Austin M.'s shop to get his help with making the san mai.
-
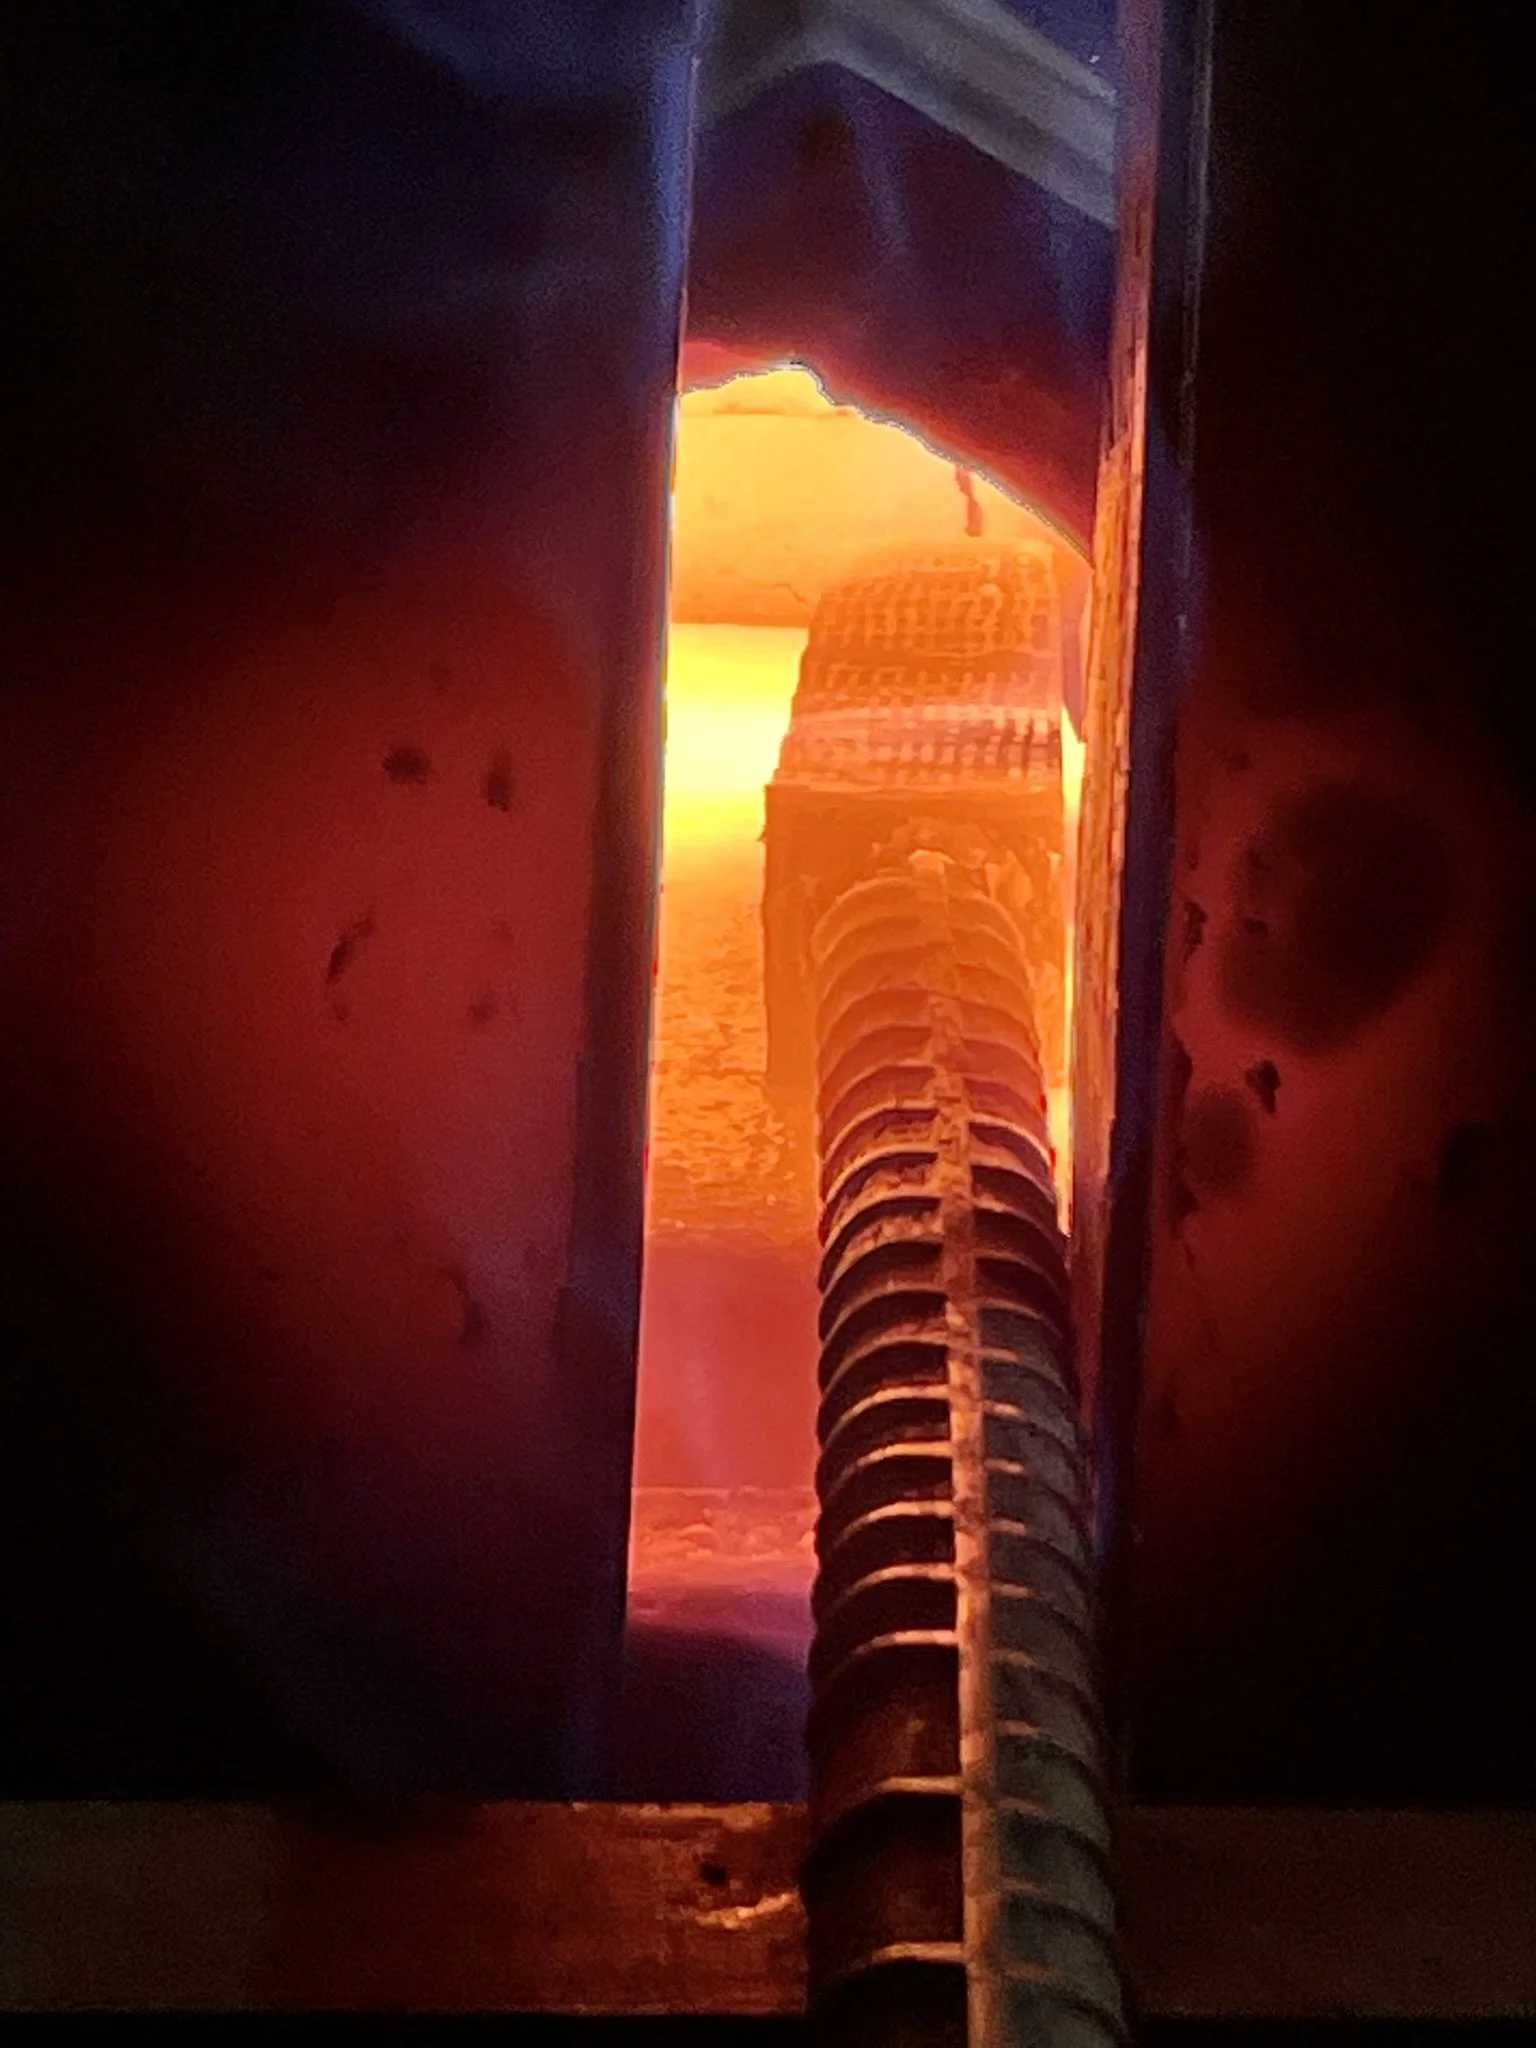
Heating the billet in Austin's forge.
-
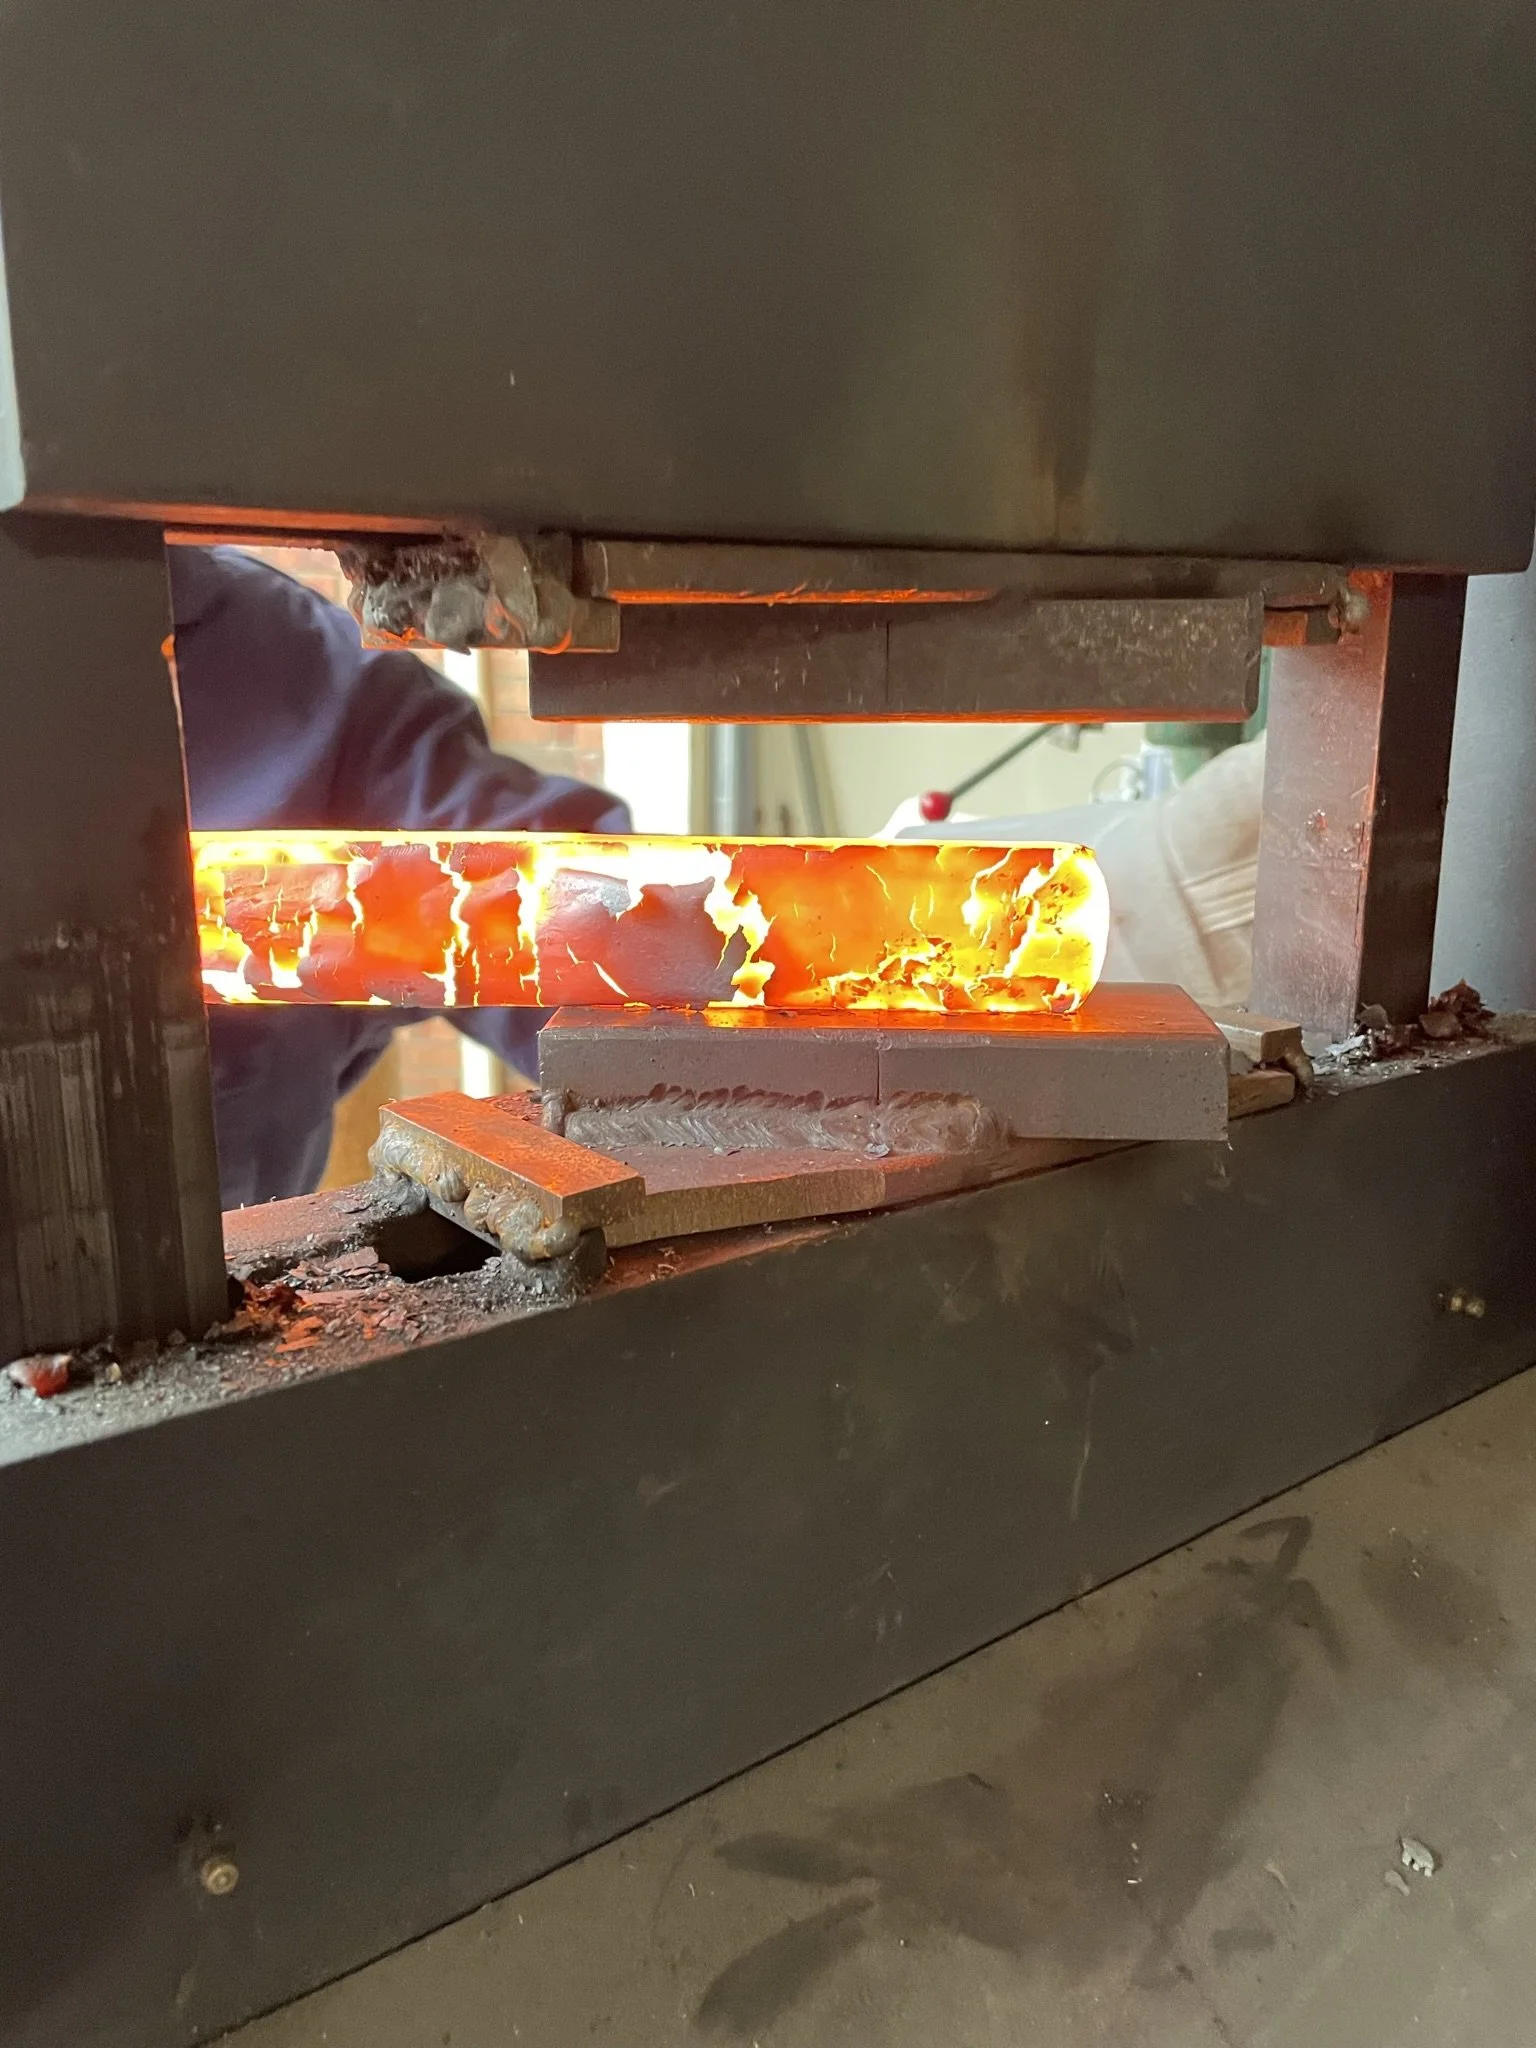
Austin pressing the billet as I wasn't comfortble yet on a press and didn't want to screw it up.
-
Oh look, more material loss as we clean up scale and chased cold shuts.
-
Cold shuts are stupid. So much material lost to chase a tiny little flaw.
-
Forging the blade out to a more blade like shape.
-
Squaring it up.
-
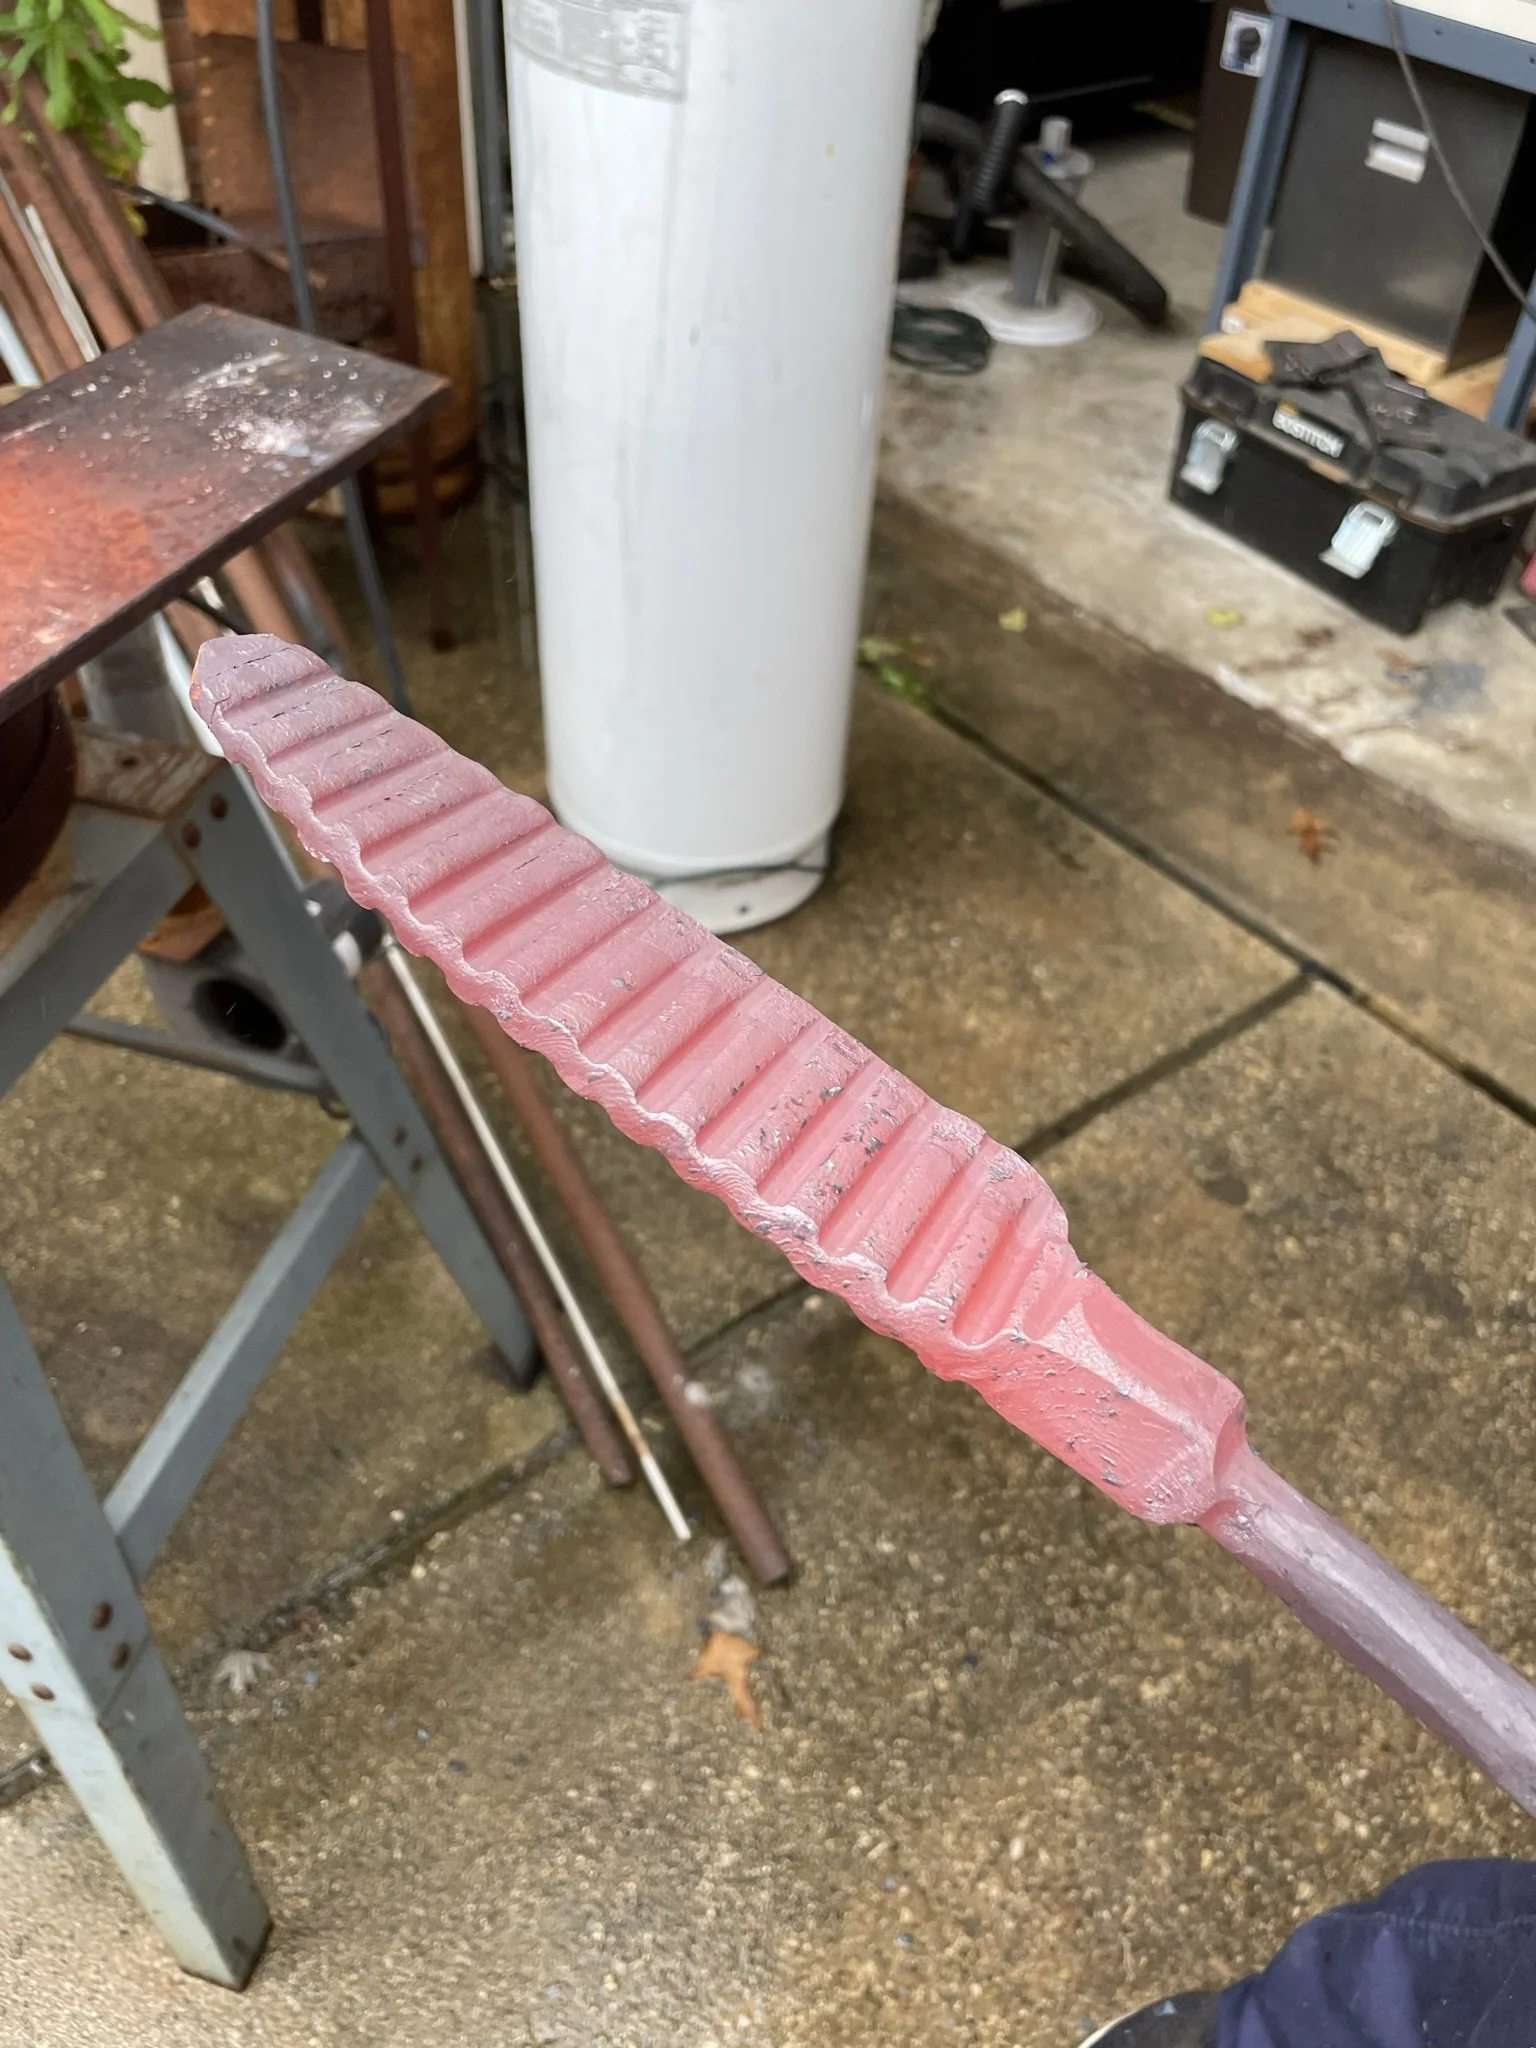
In order to add more pattern to the san mai, we decided to put it through the ladder pattern dies.
-
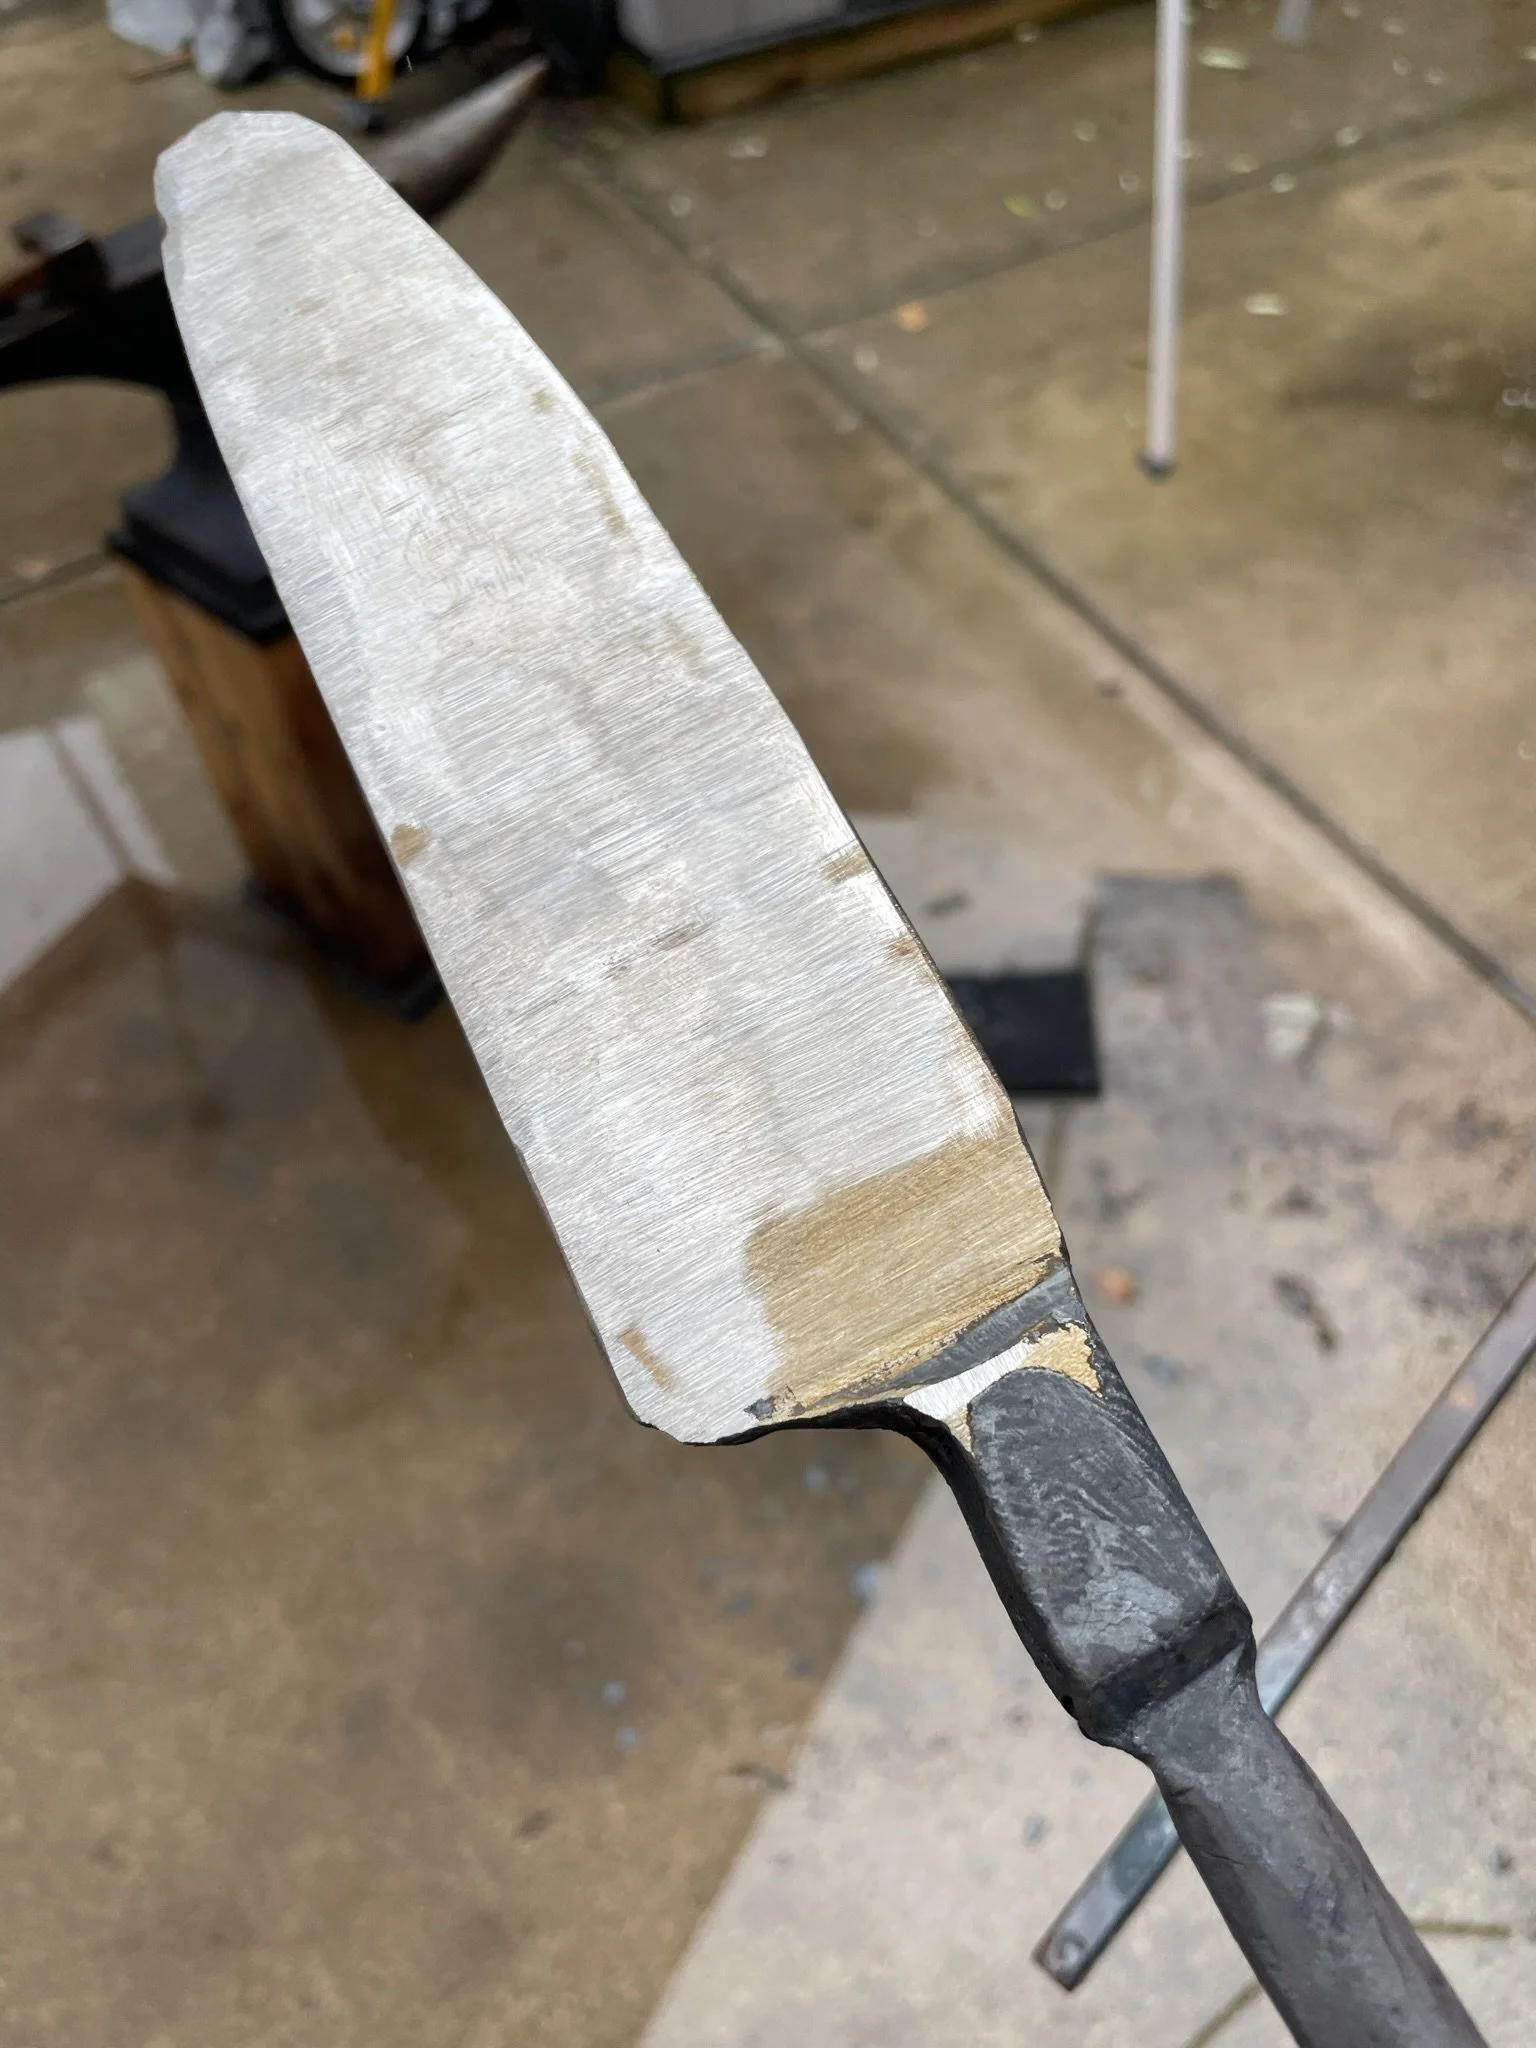
Guess what - even more grinding to reveal the ladder pattern.
-
Finally back home for shaping and finishing. I have one half of this billet saved for another special project and a little piece of the original twist bar.
-
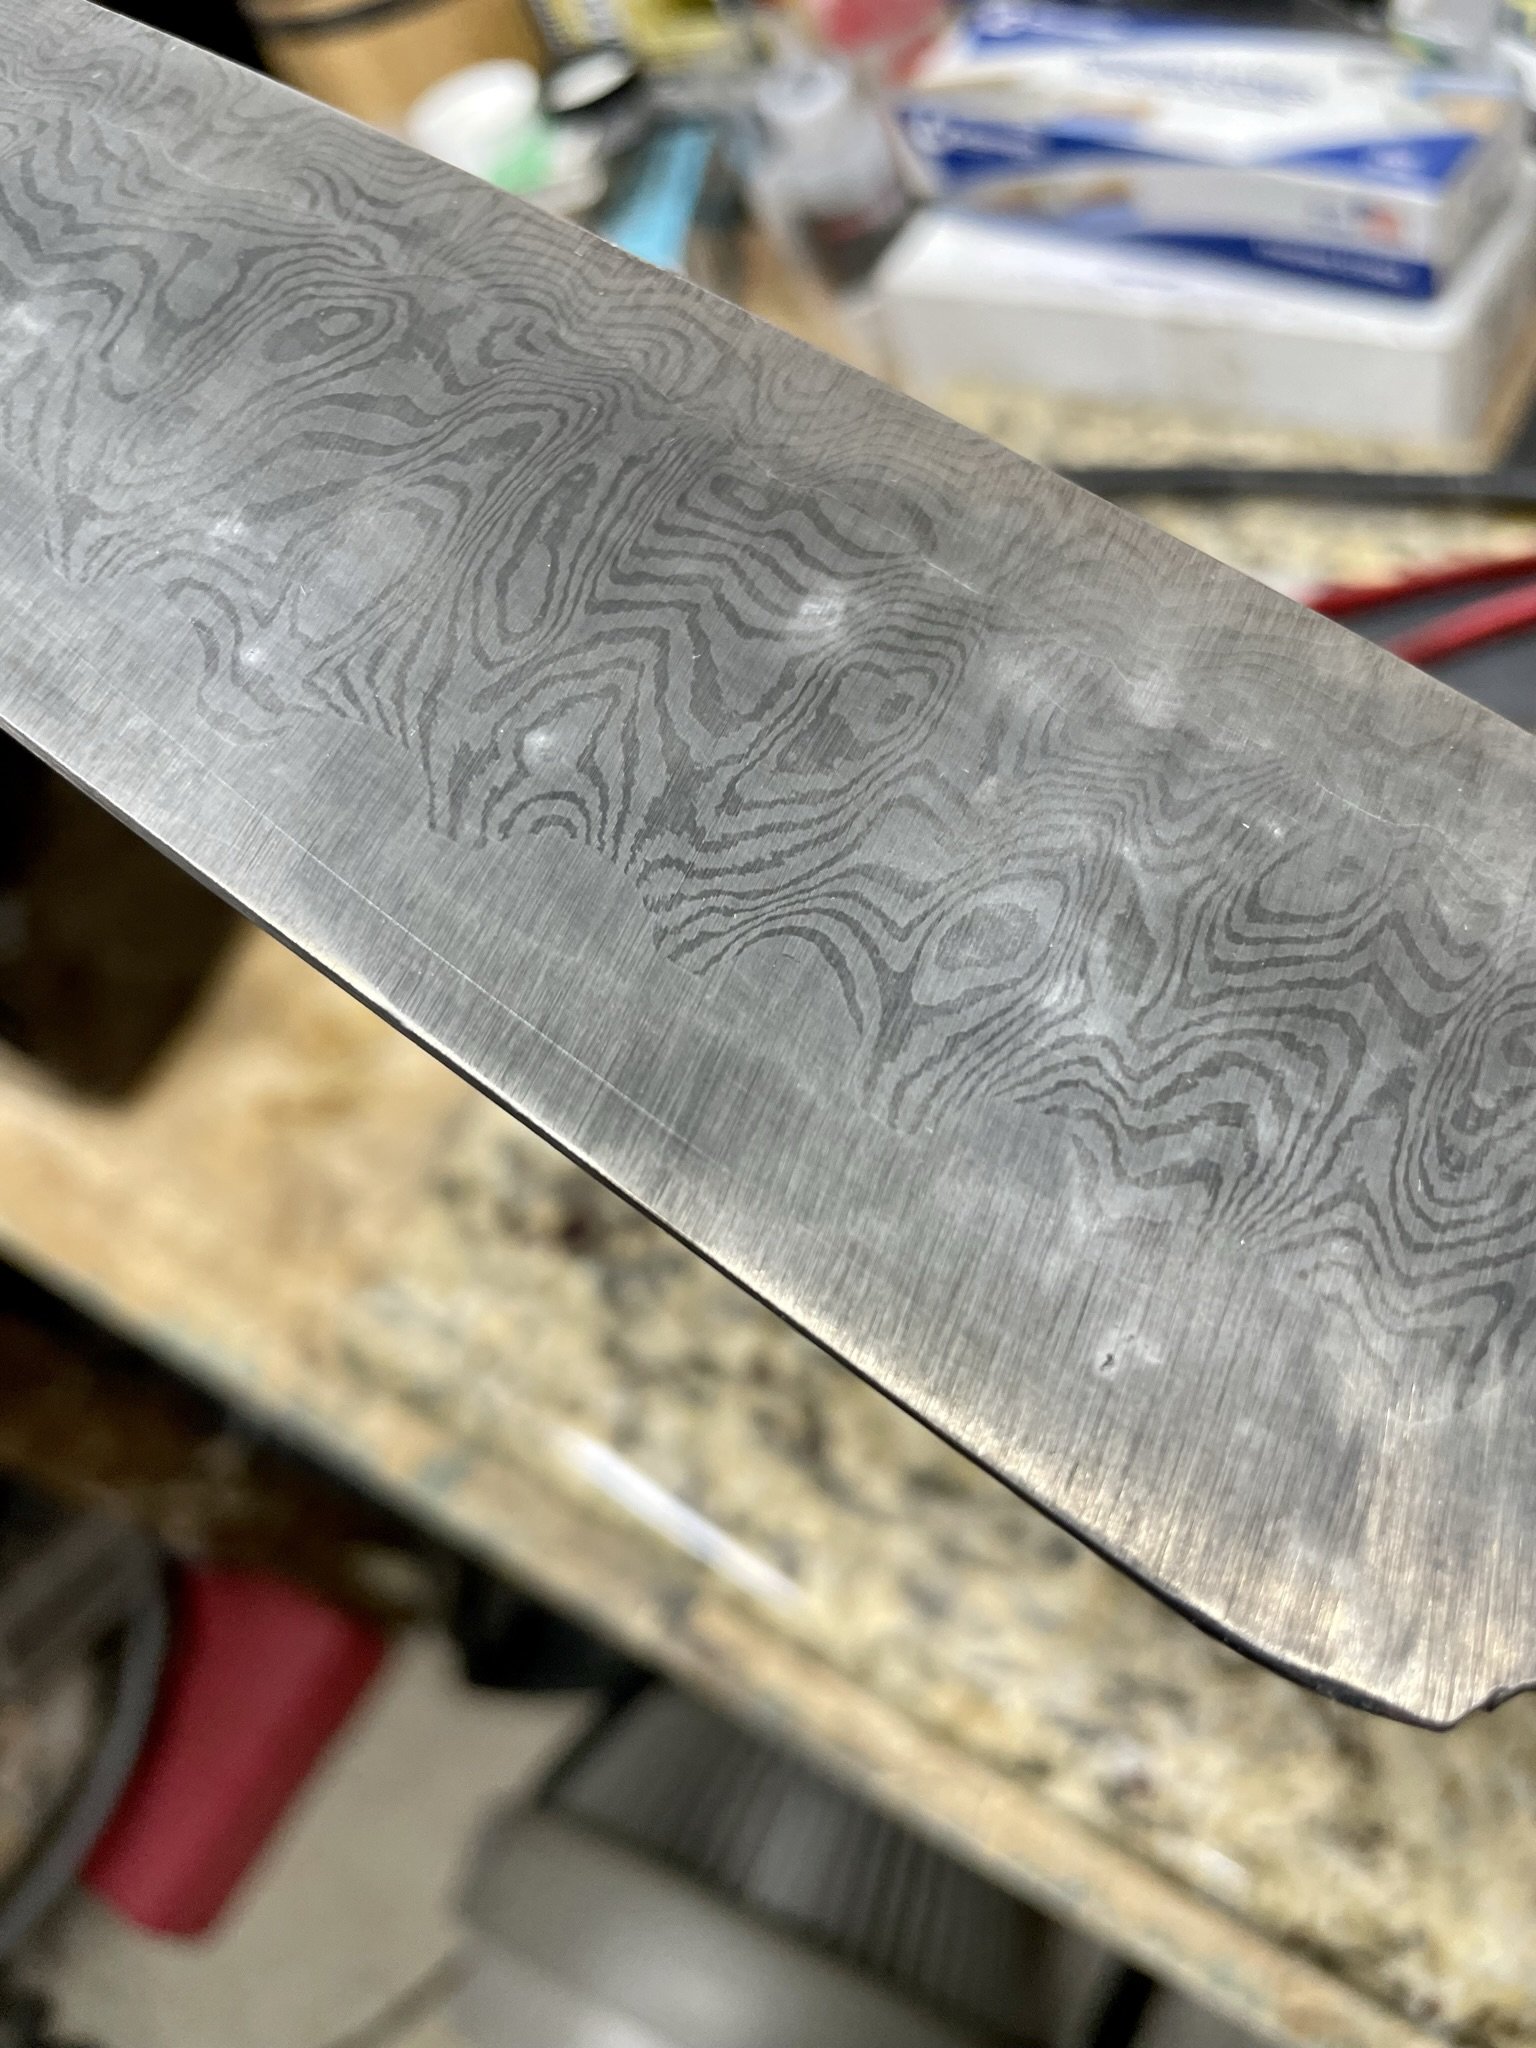
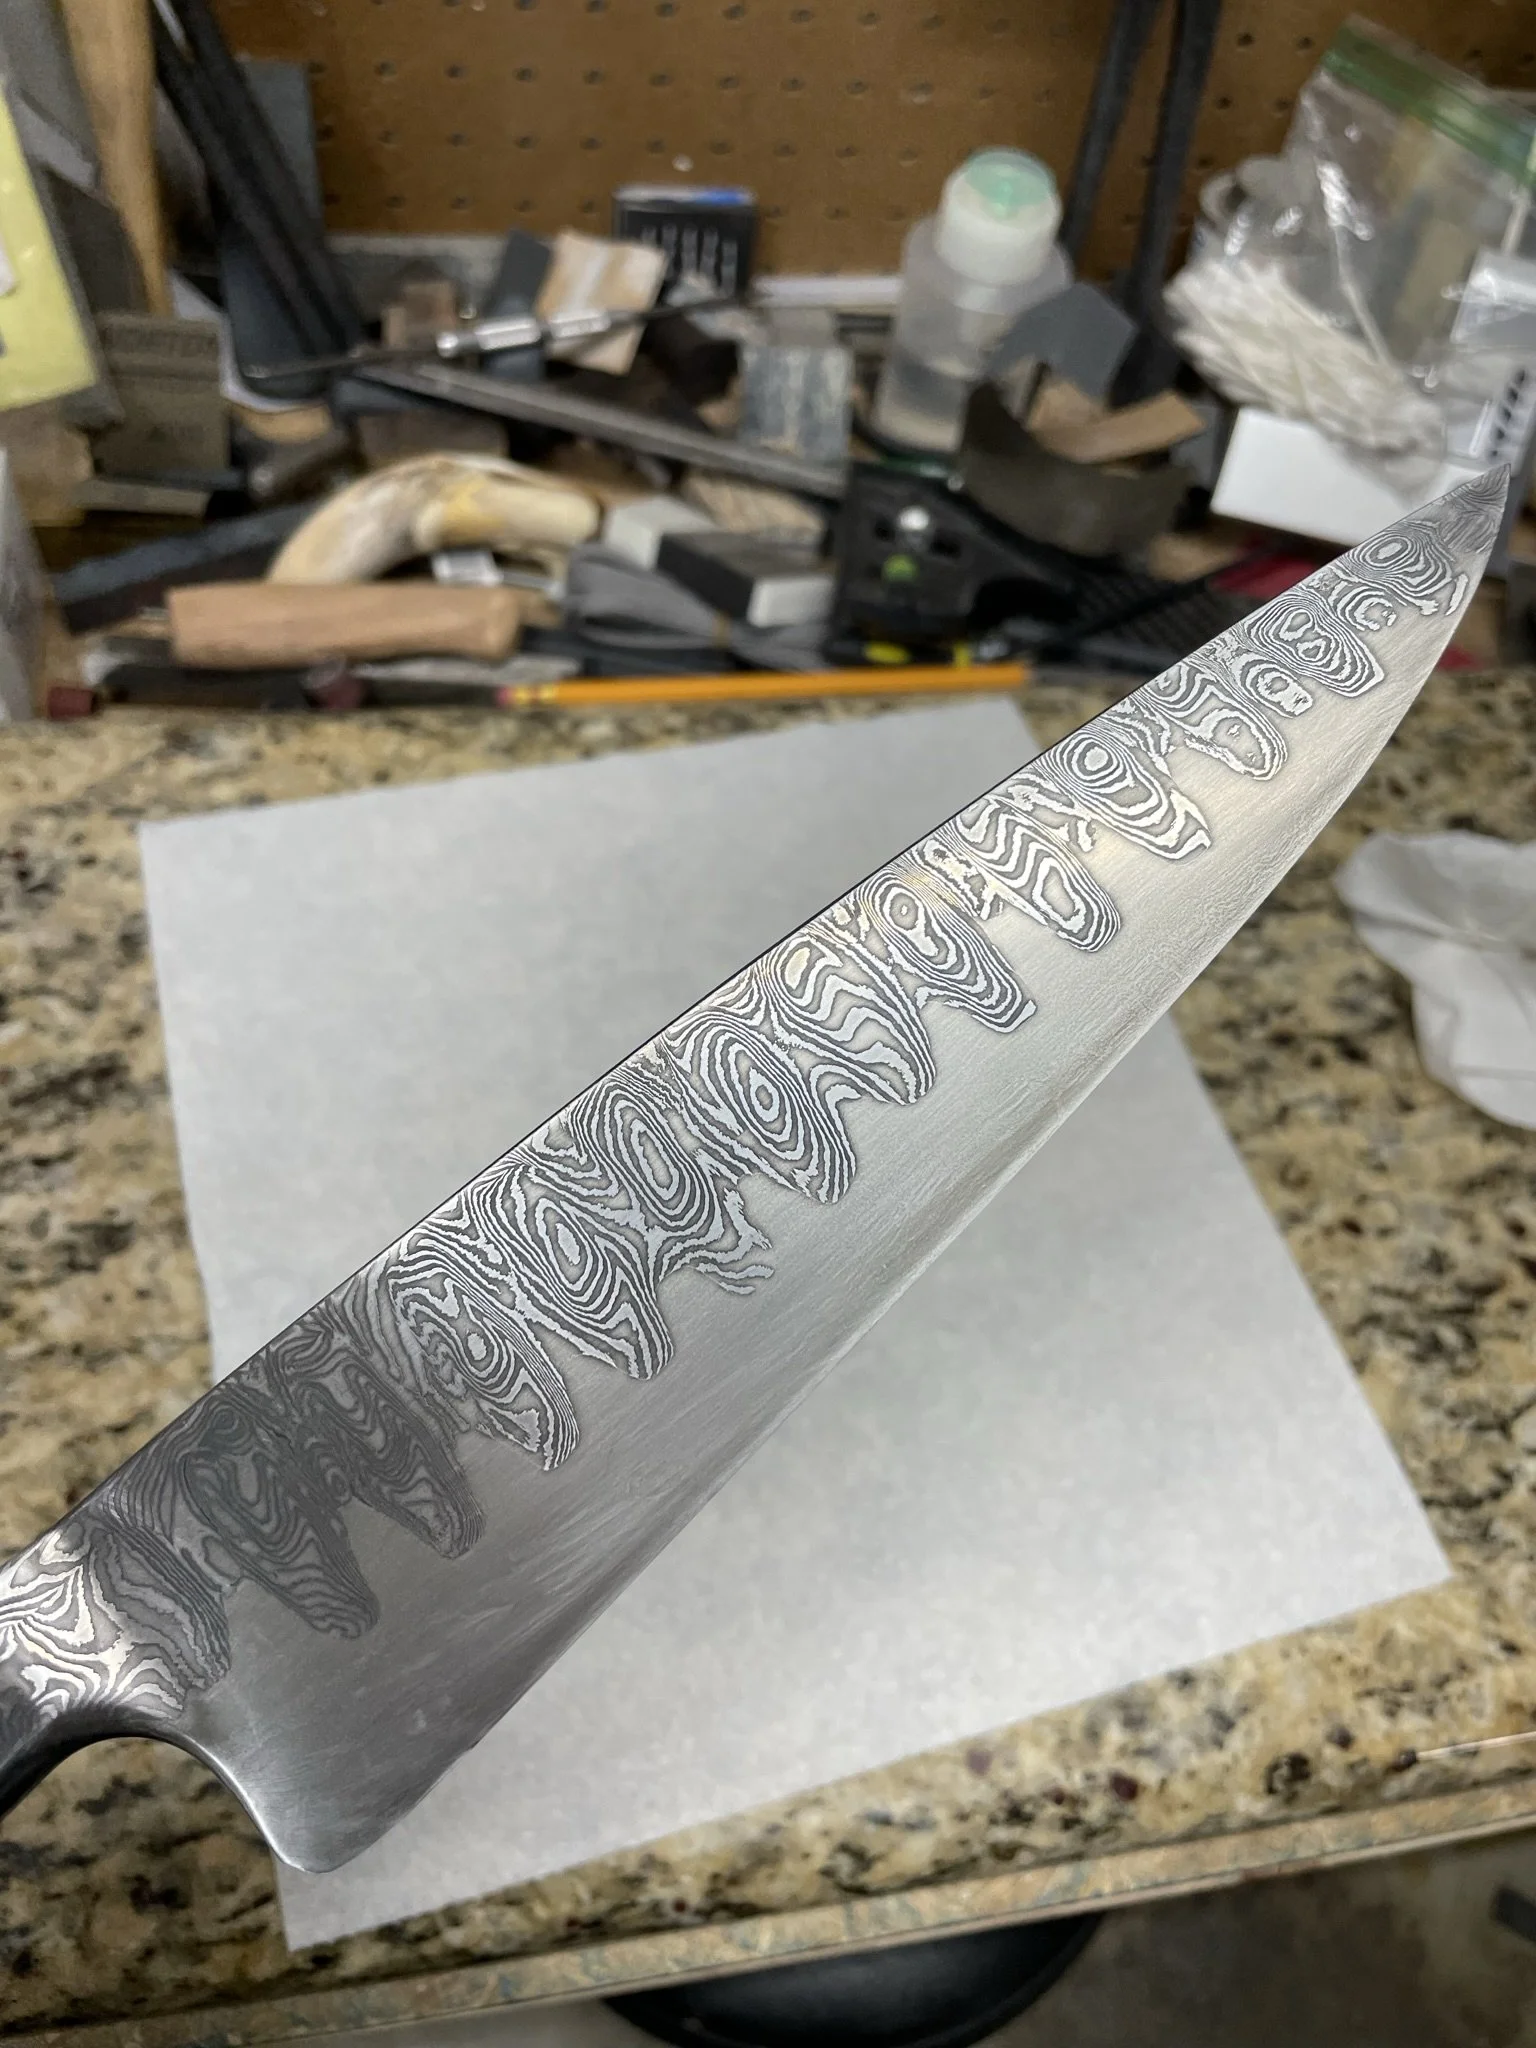
Test etch to see the pattern. Always hard not to peak.
-
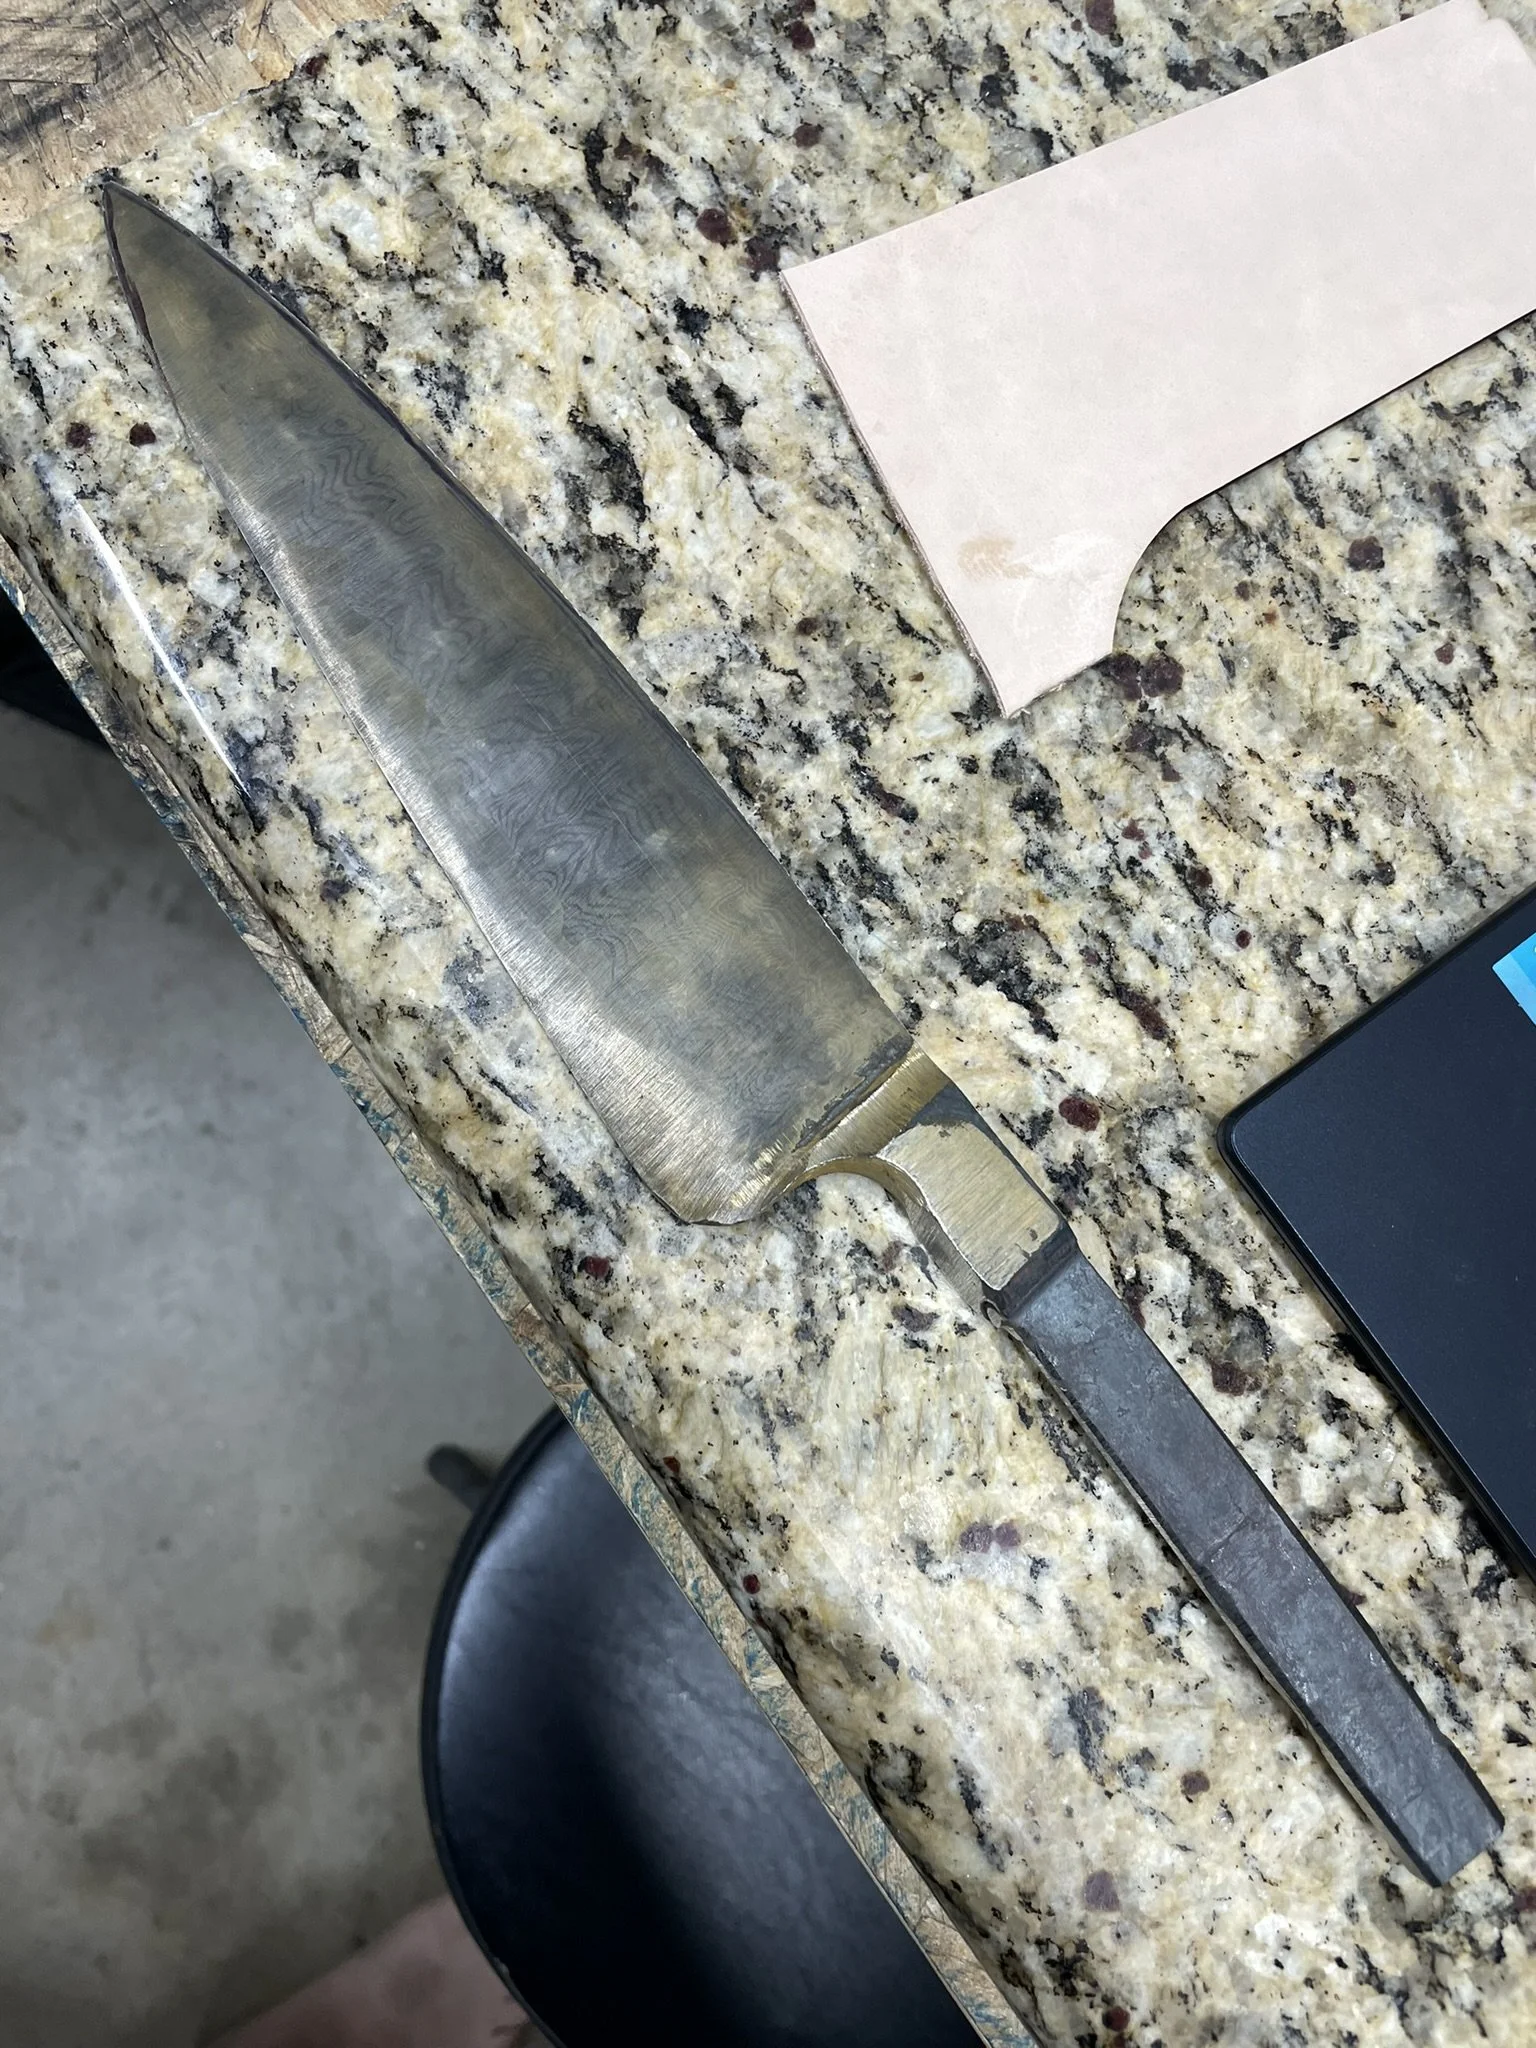
Shaping the blade. I was still finding my favorite shape, but it was better than some of my original shapes.
-
This also was challenging as I worried the integral bolster would end up too narrow.
-
Blending the blade and bolster.
-
Post heat treat.
-
Of course with Christmas fast approaching and the high vision I had for this blade it fought me - warped in the temper.
-
Warps are stupid too, but you do what you can. I was able to get it out in in subsequent tempering cycles.
-
Bolster was getting pretty narrow. I literally went to the grocery store an measure bolsters on store bought knives to see for comparison.
-
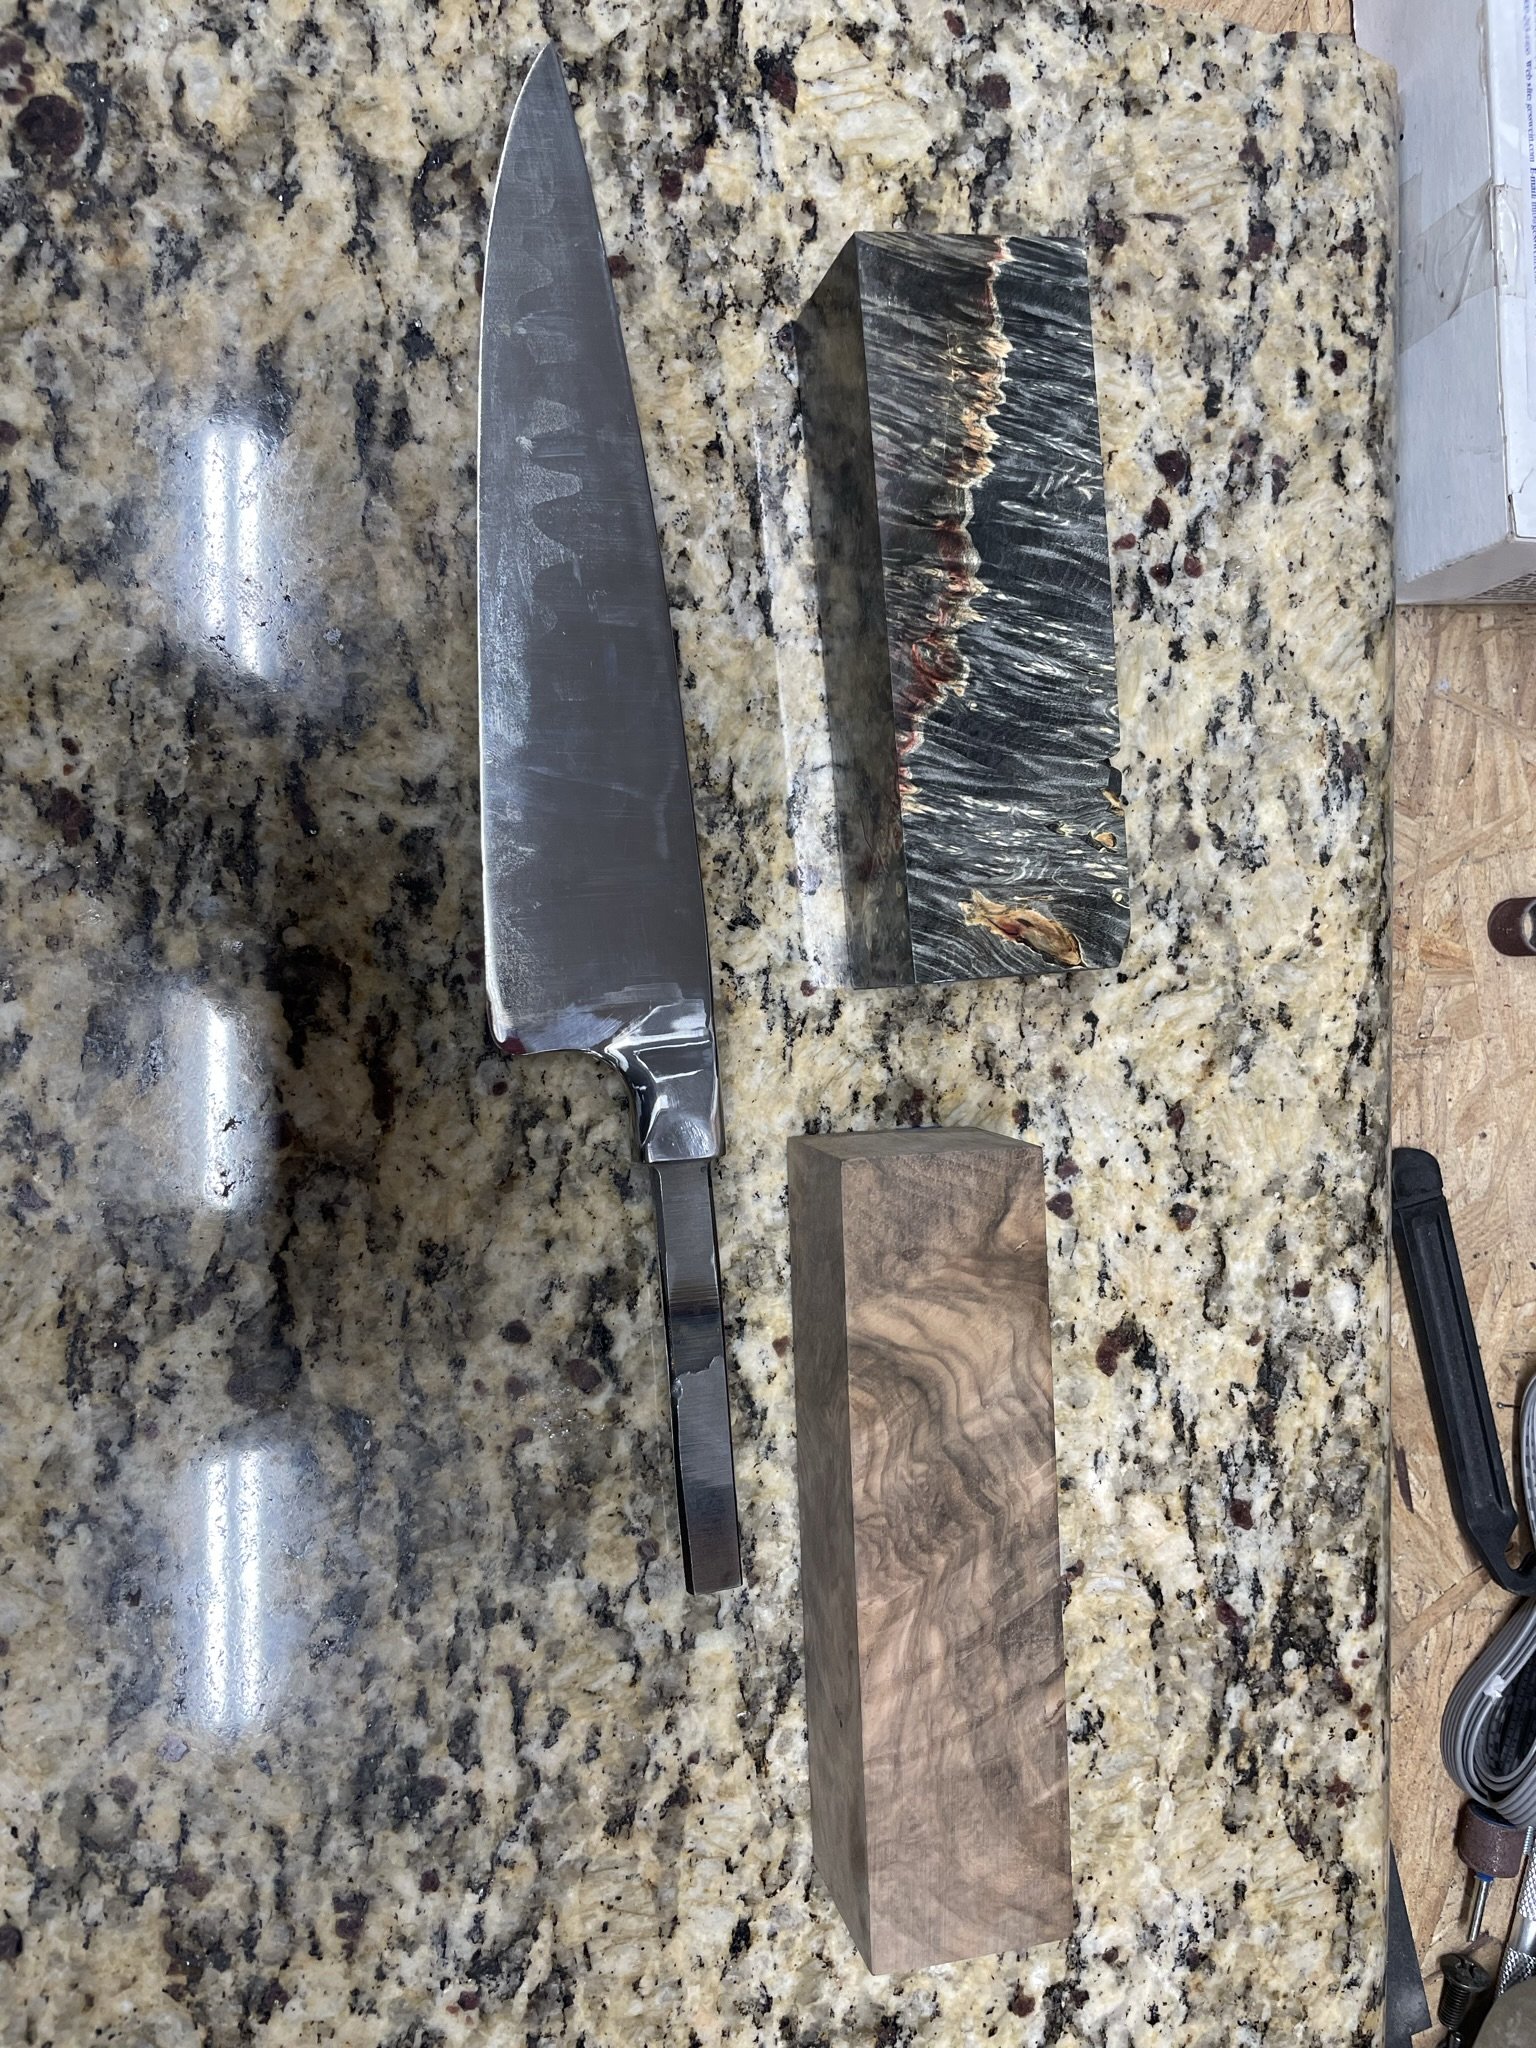
A breath of fresh air towards the end. I found this gorgeous piece of flaming box elder burl that I considered for the handle.
-
Blade more closely dialed in.
-
I didn't want to screw up the handle, so I made a test handle to play with the shape.
-
Blade with test handle. the shape was okay, but still needed some work.
-
After hand sanding up to 2000 grit, I needed to peak at how the pattern looked. I had earned it at this point.
-
The most beautiful sight!
-
I wasn't completely happy with the shape, so ended up taking it back to Austin M.'s house to refine it together. It ended up lazer slicy and a little scary - just perfect. I also hadn't landed on a final handle material, but ended up making the right decision.
-
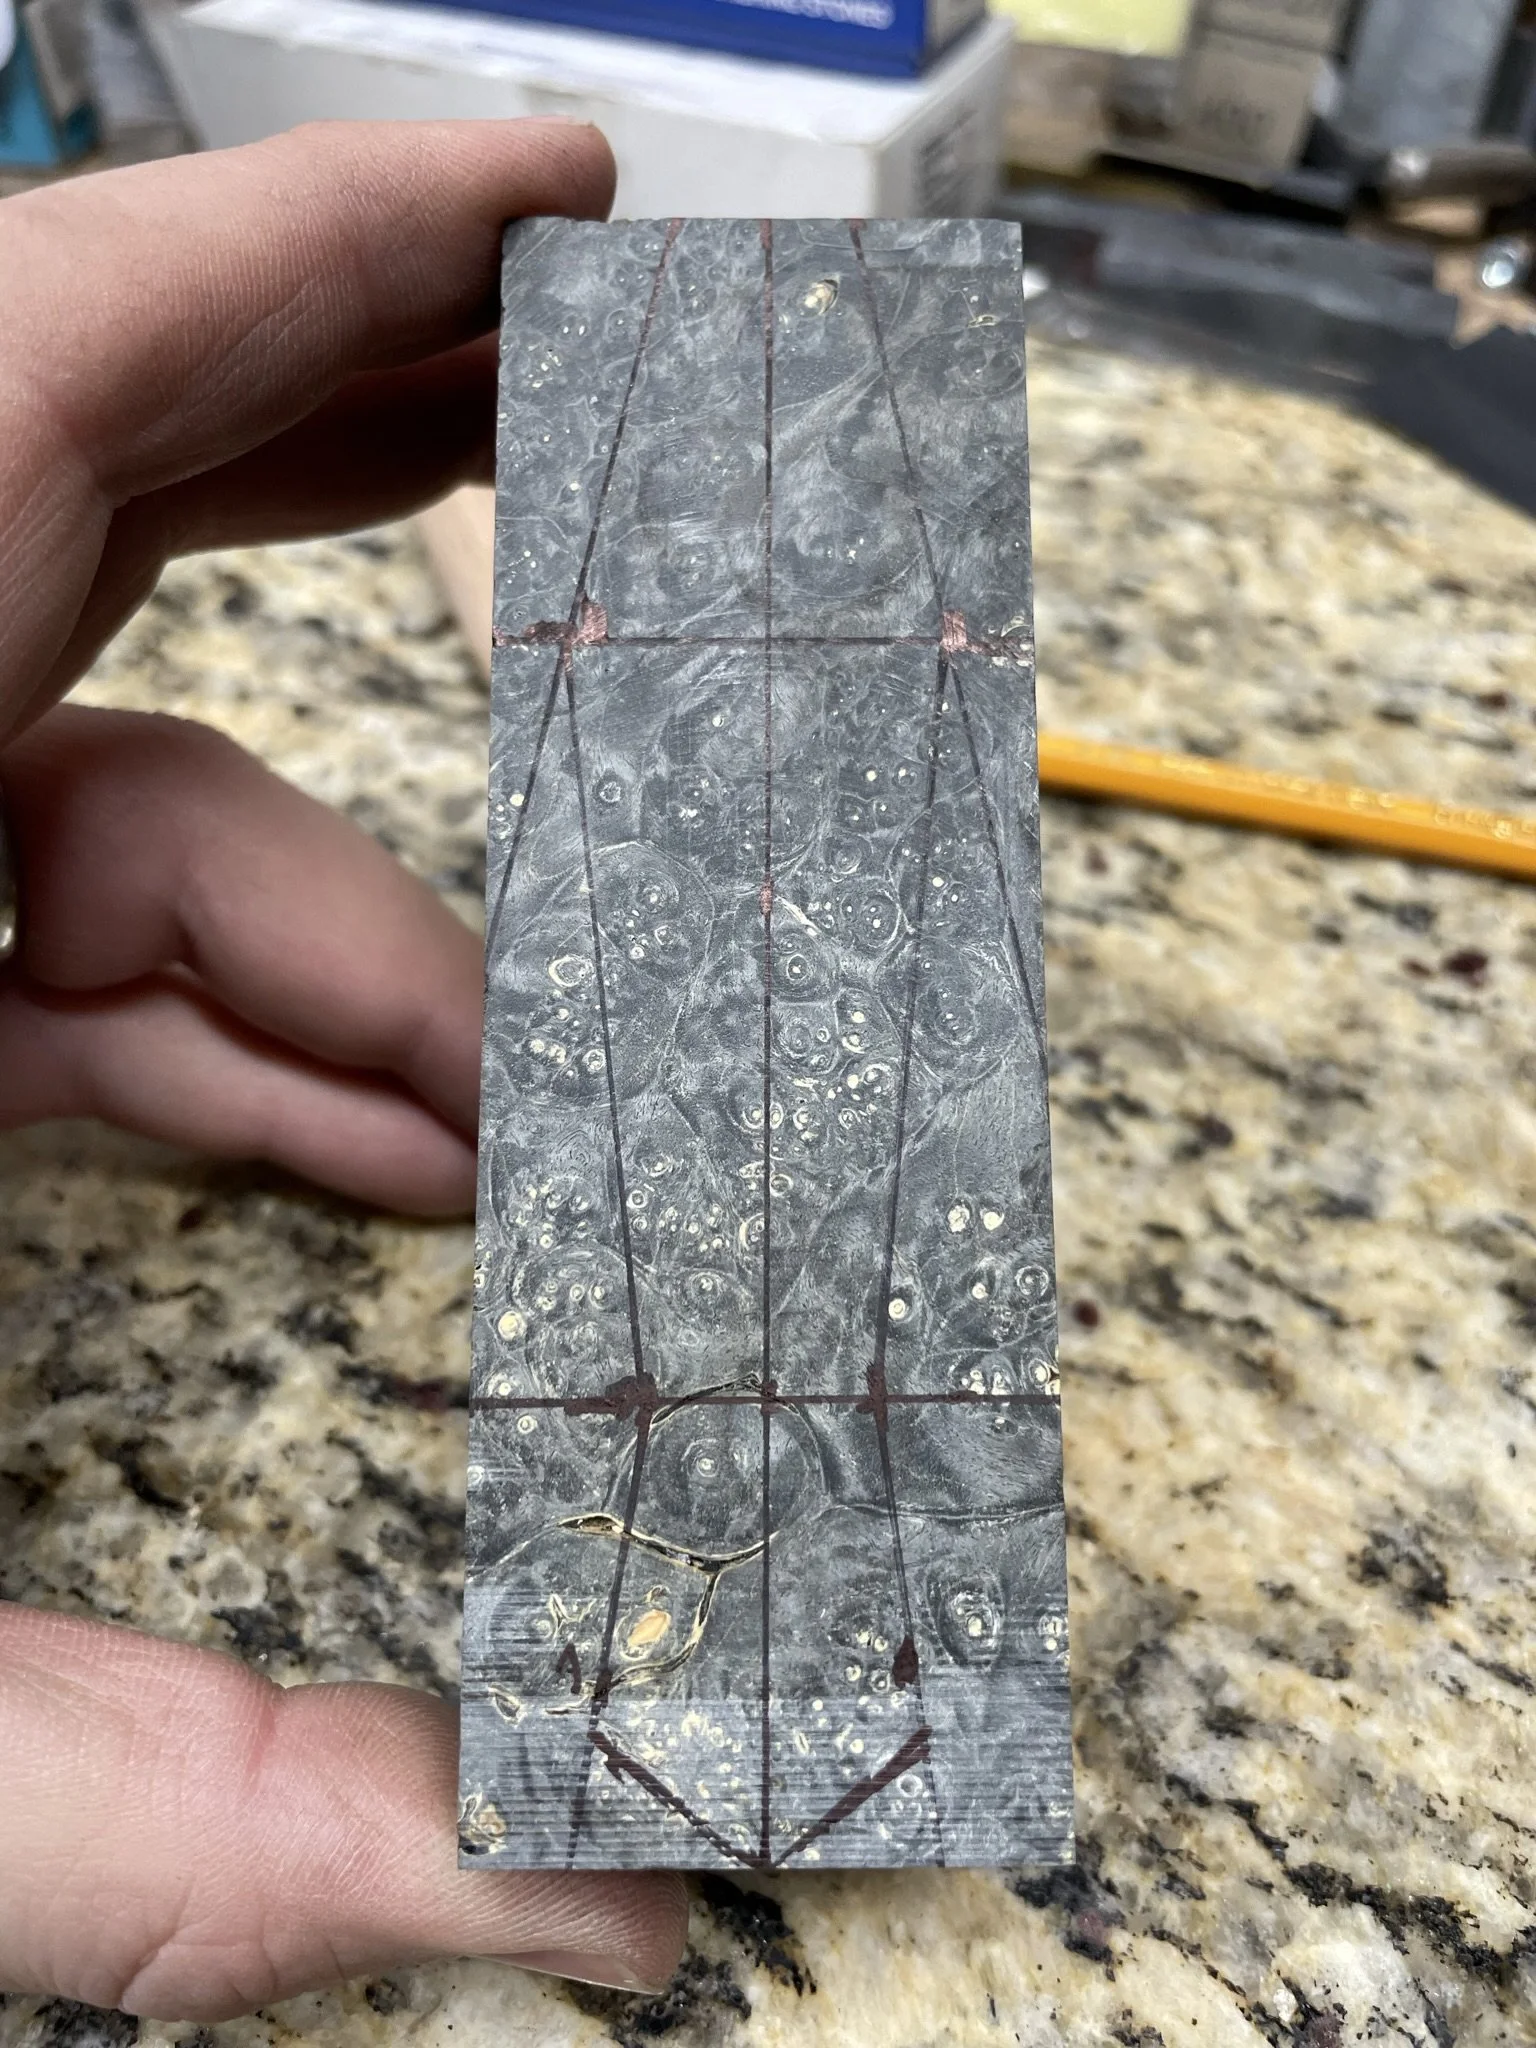
Handle layout.
-
Handle fit up.
-
Getting closer.
-
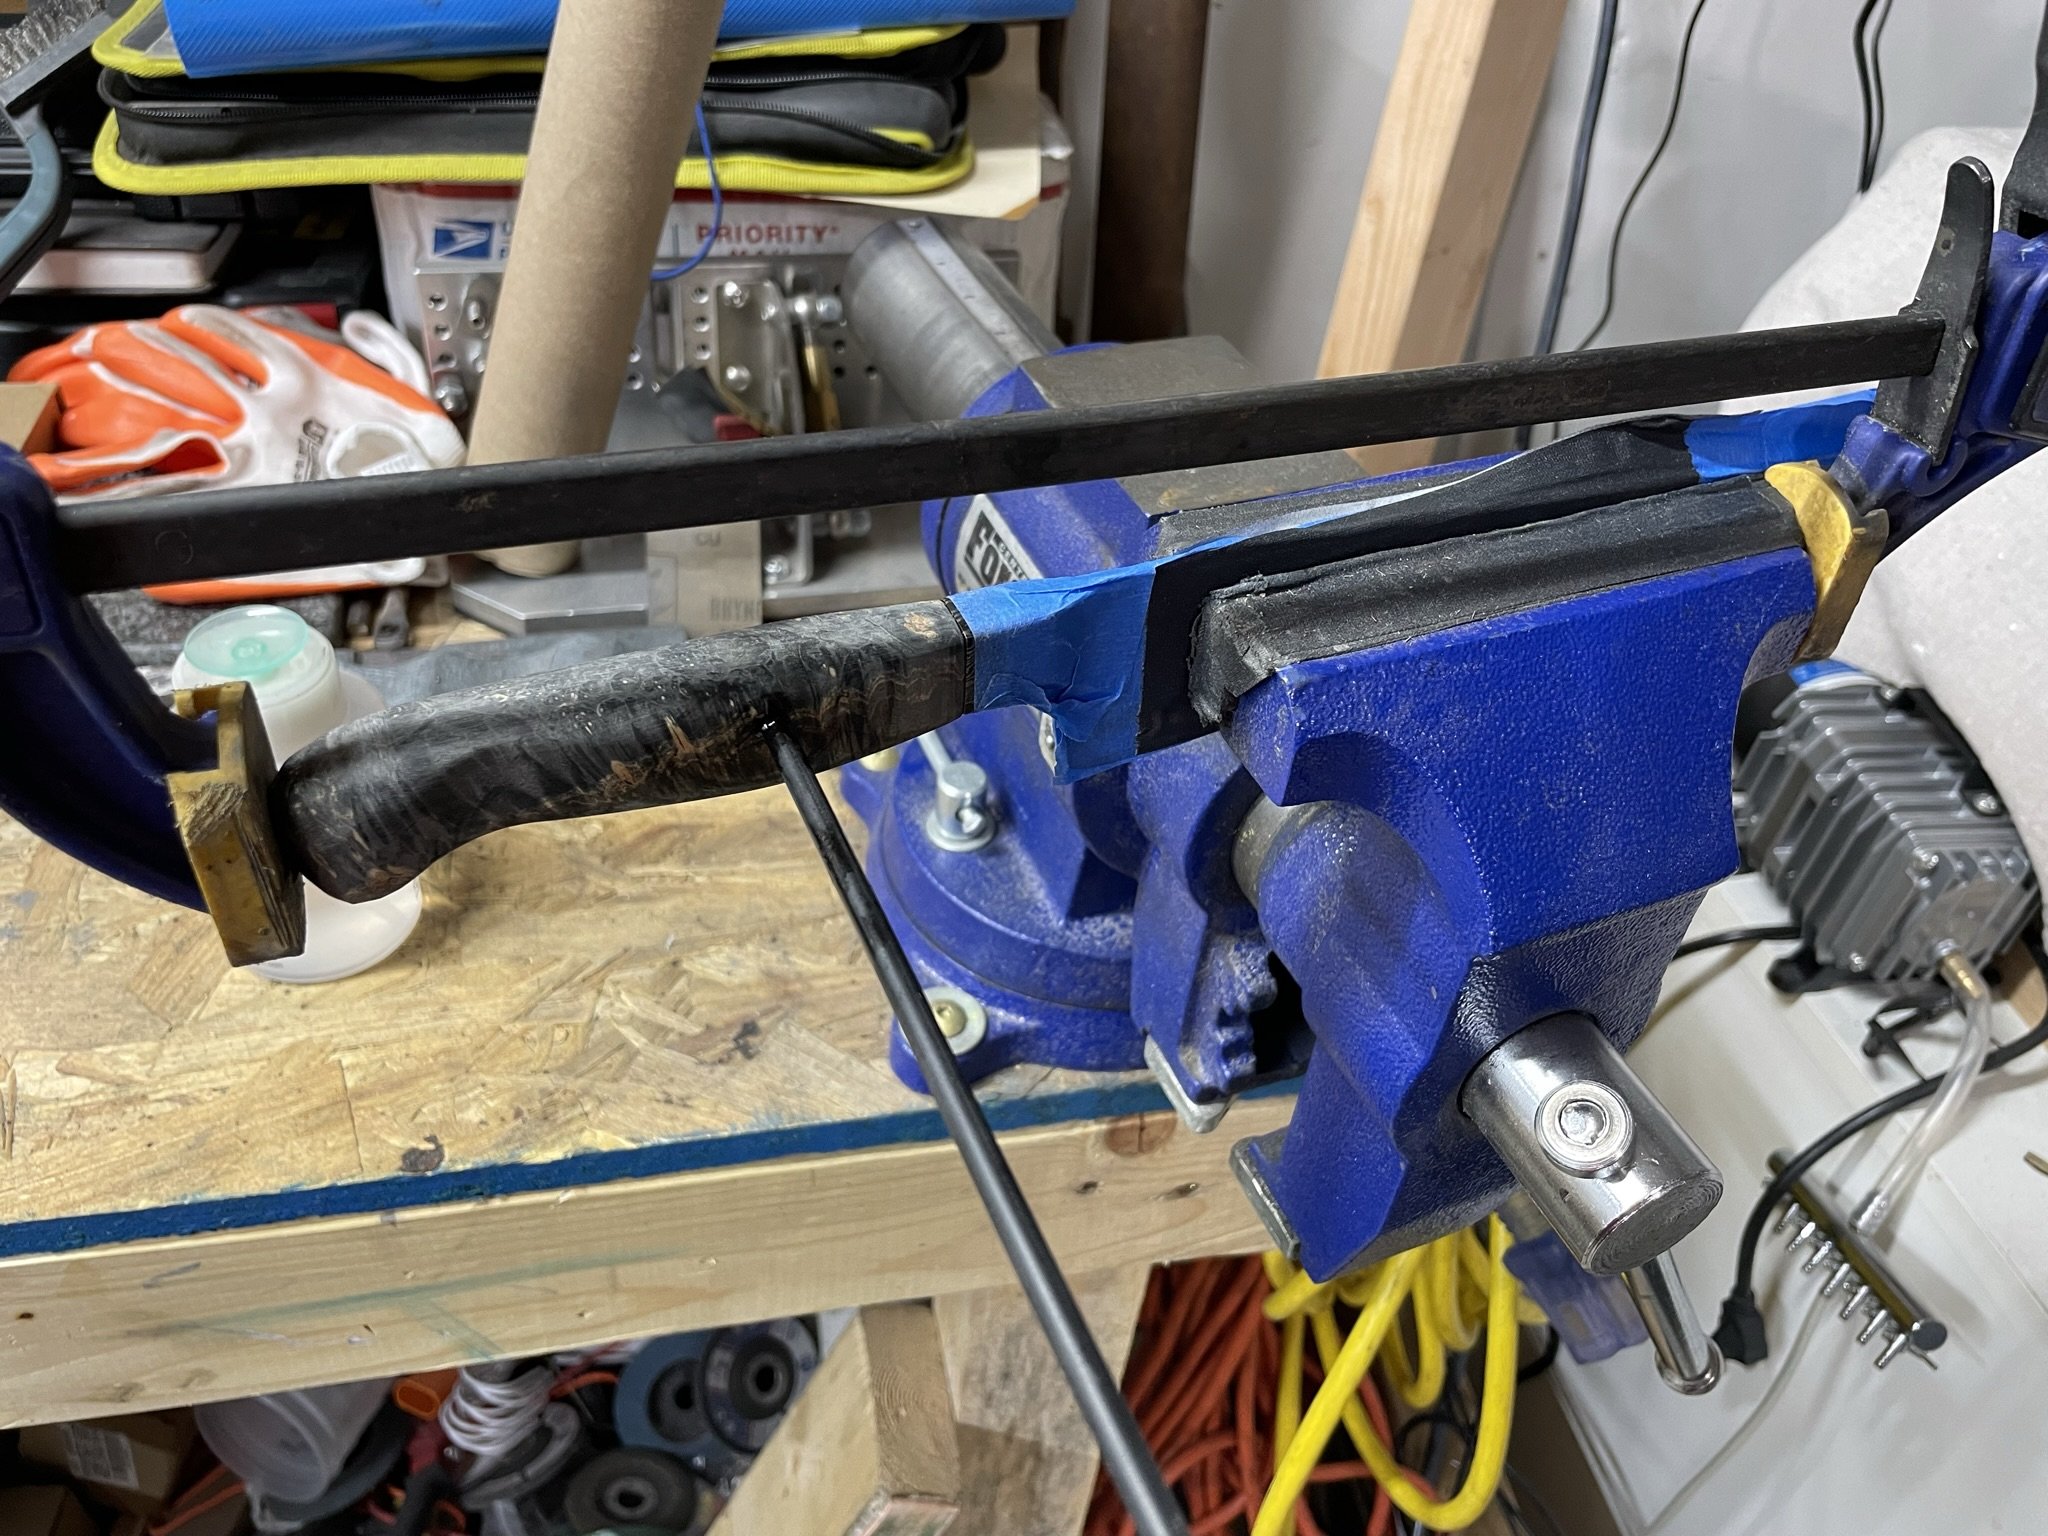
G-10 pin for the win.
-
Ready for final etch.
-
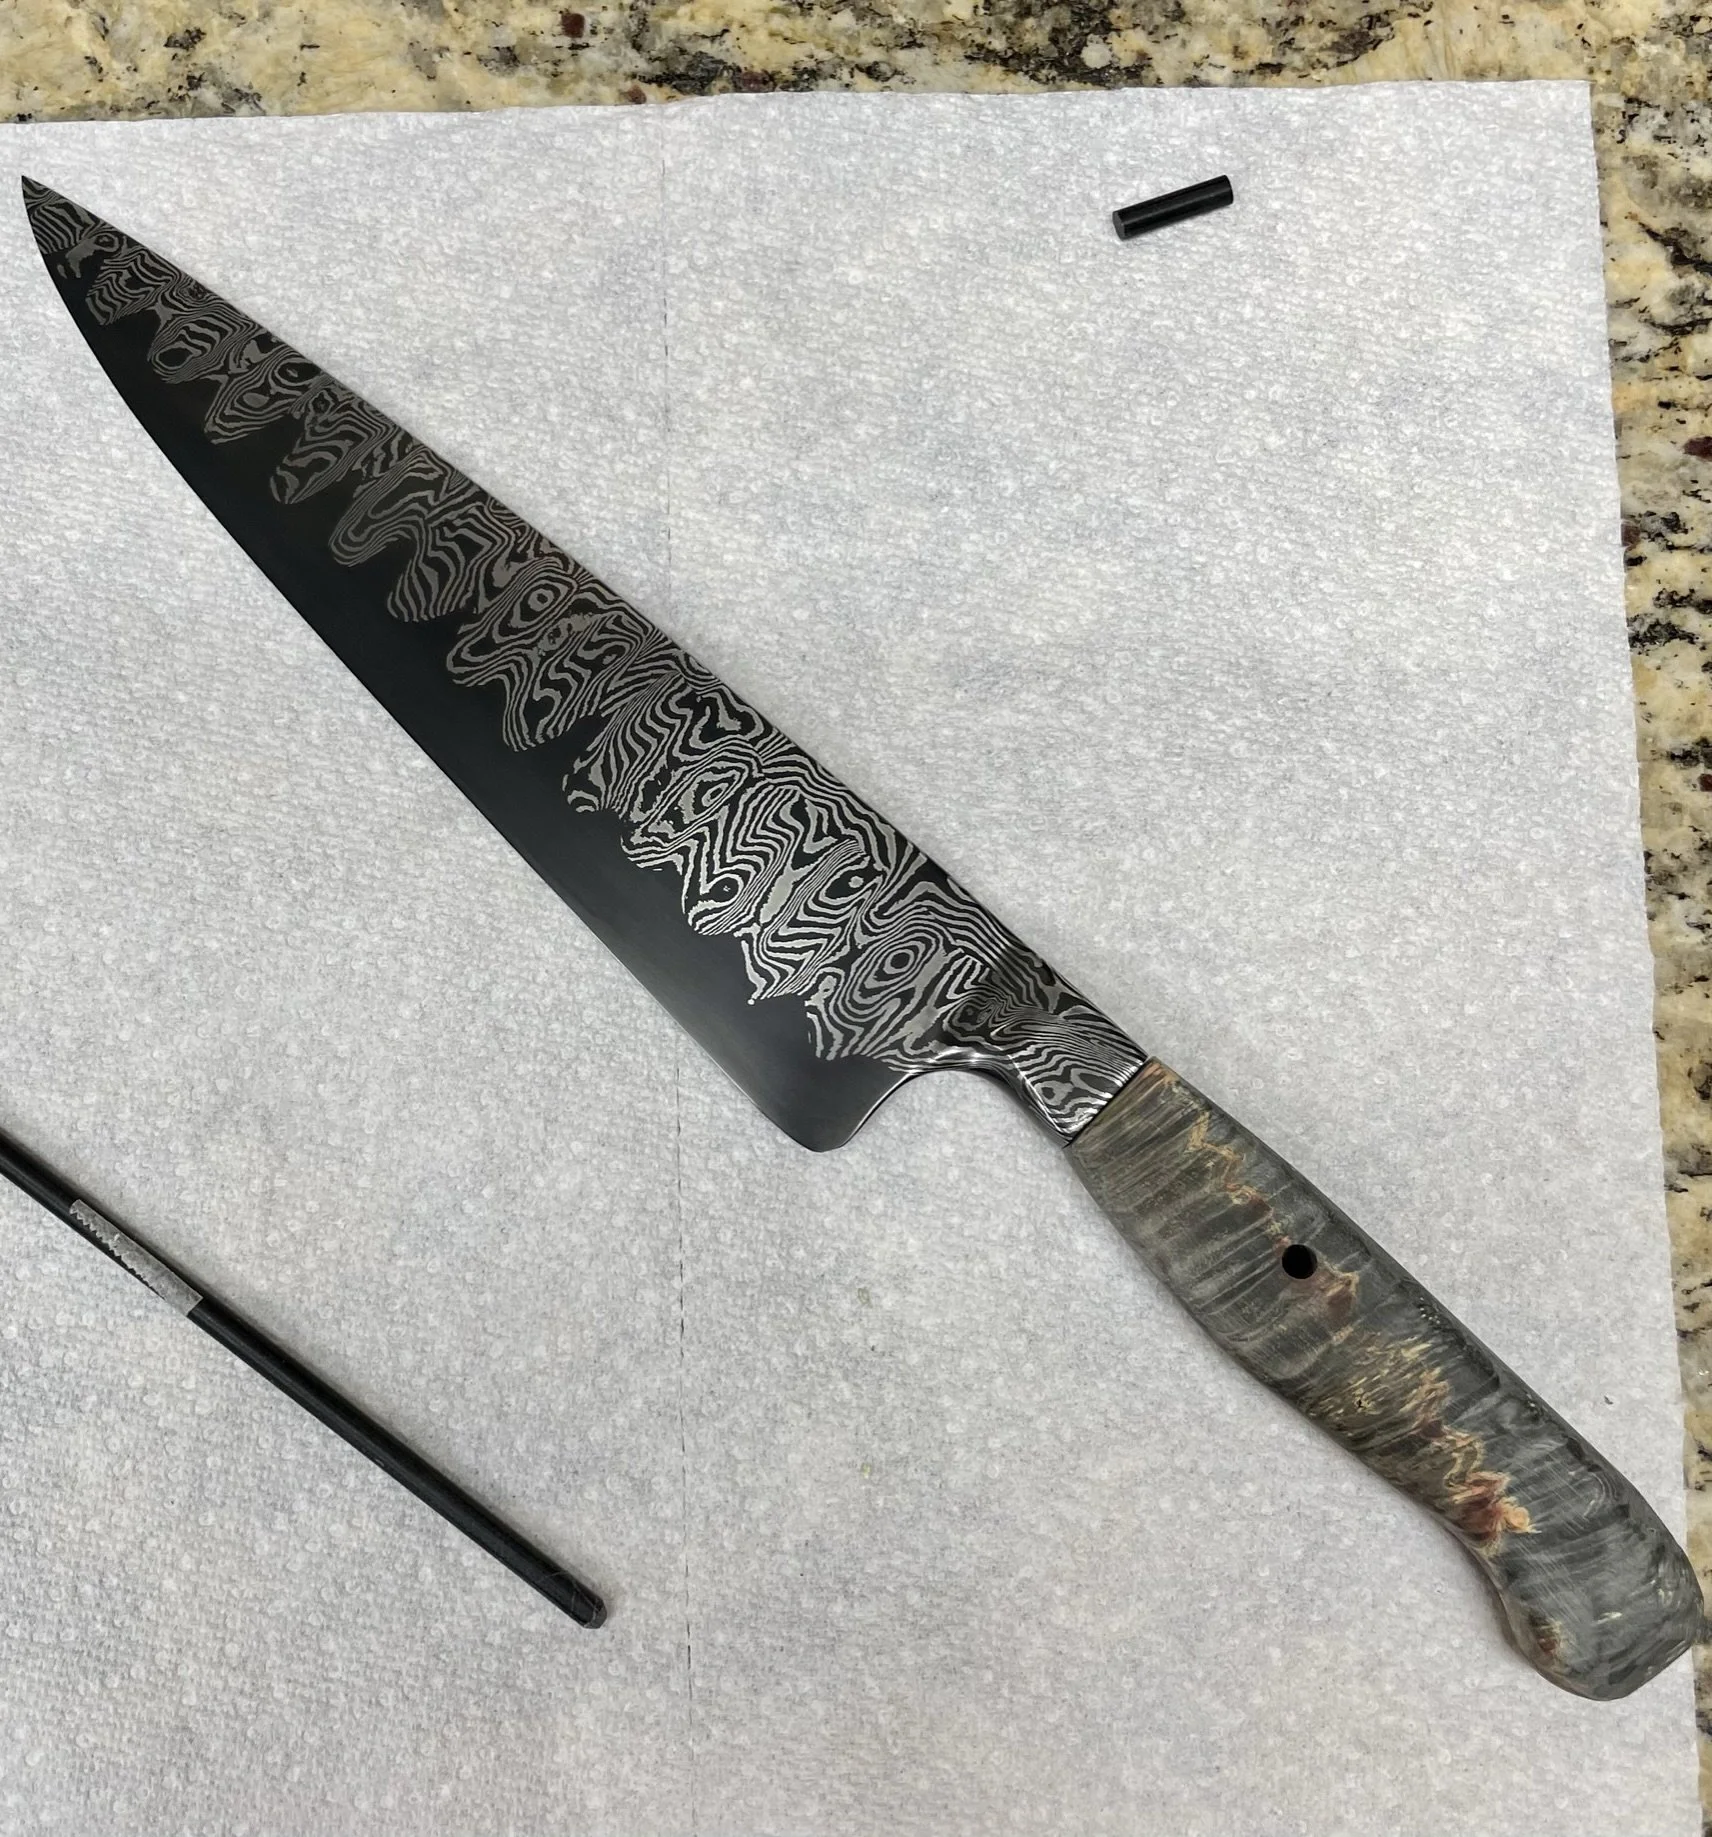
Post acid etch , pre-coffee etch.
-
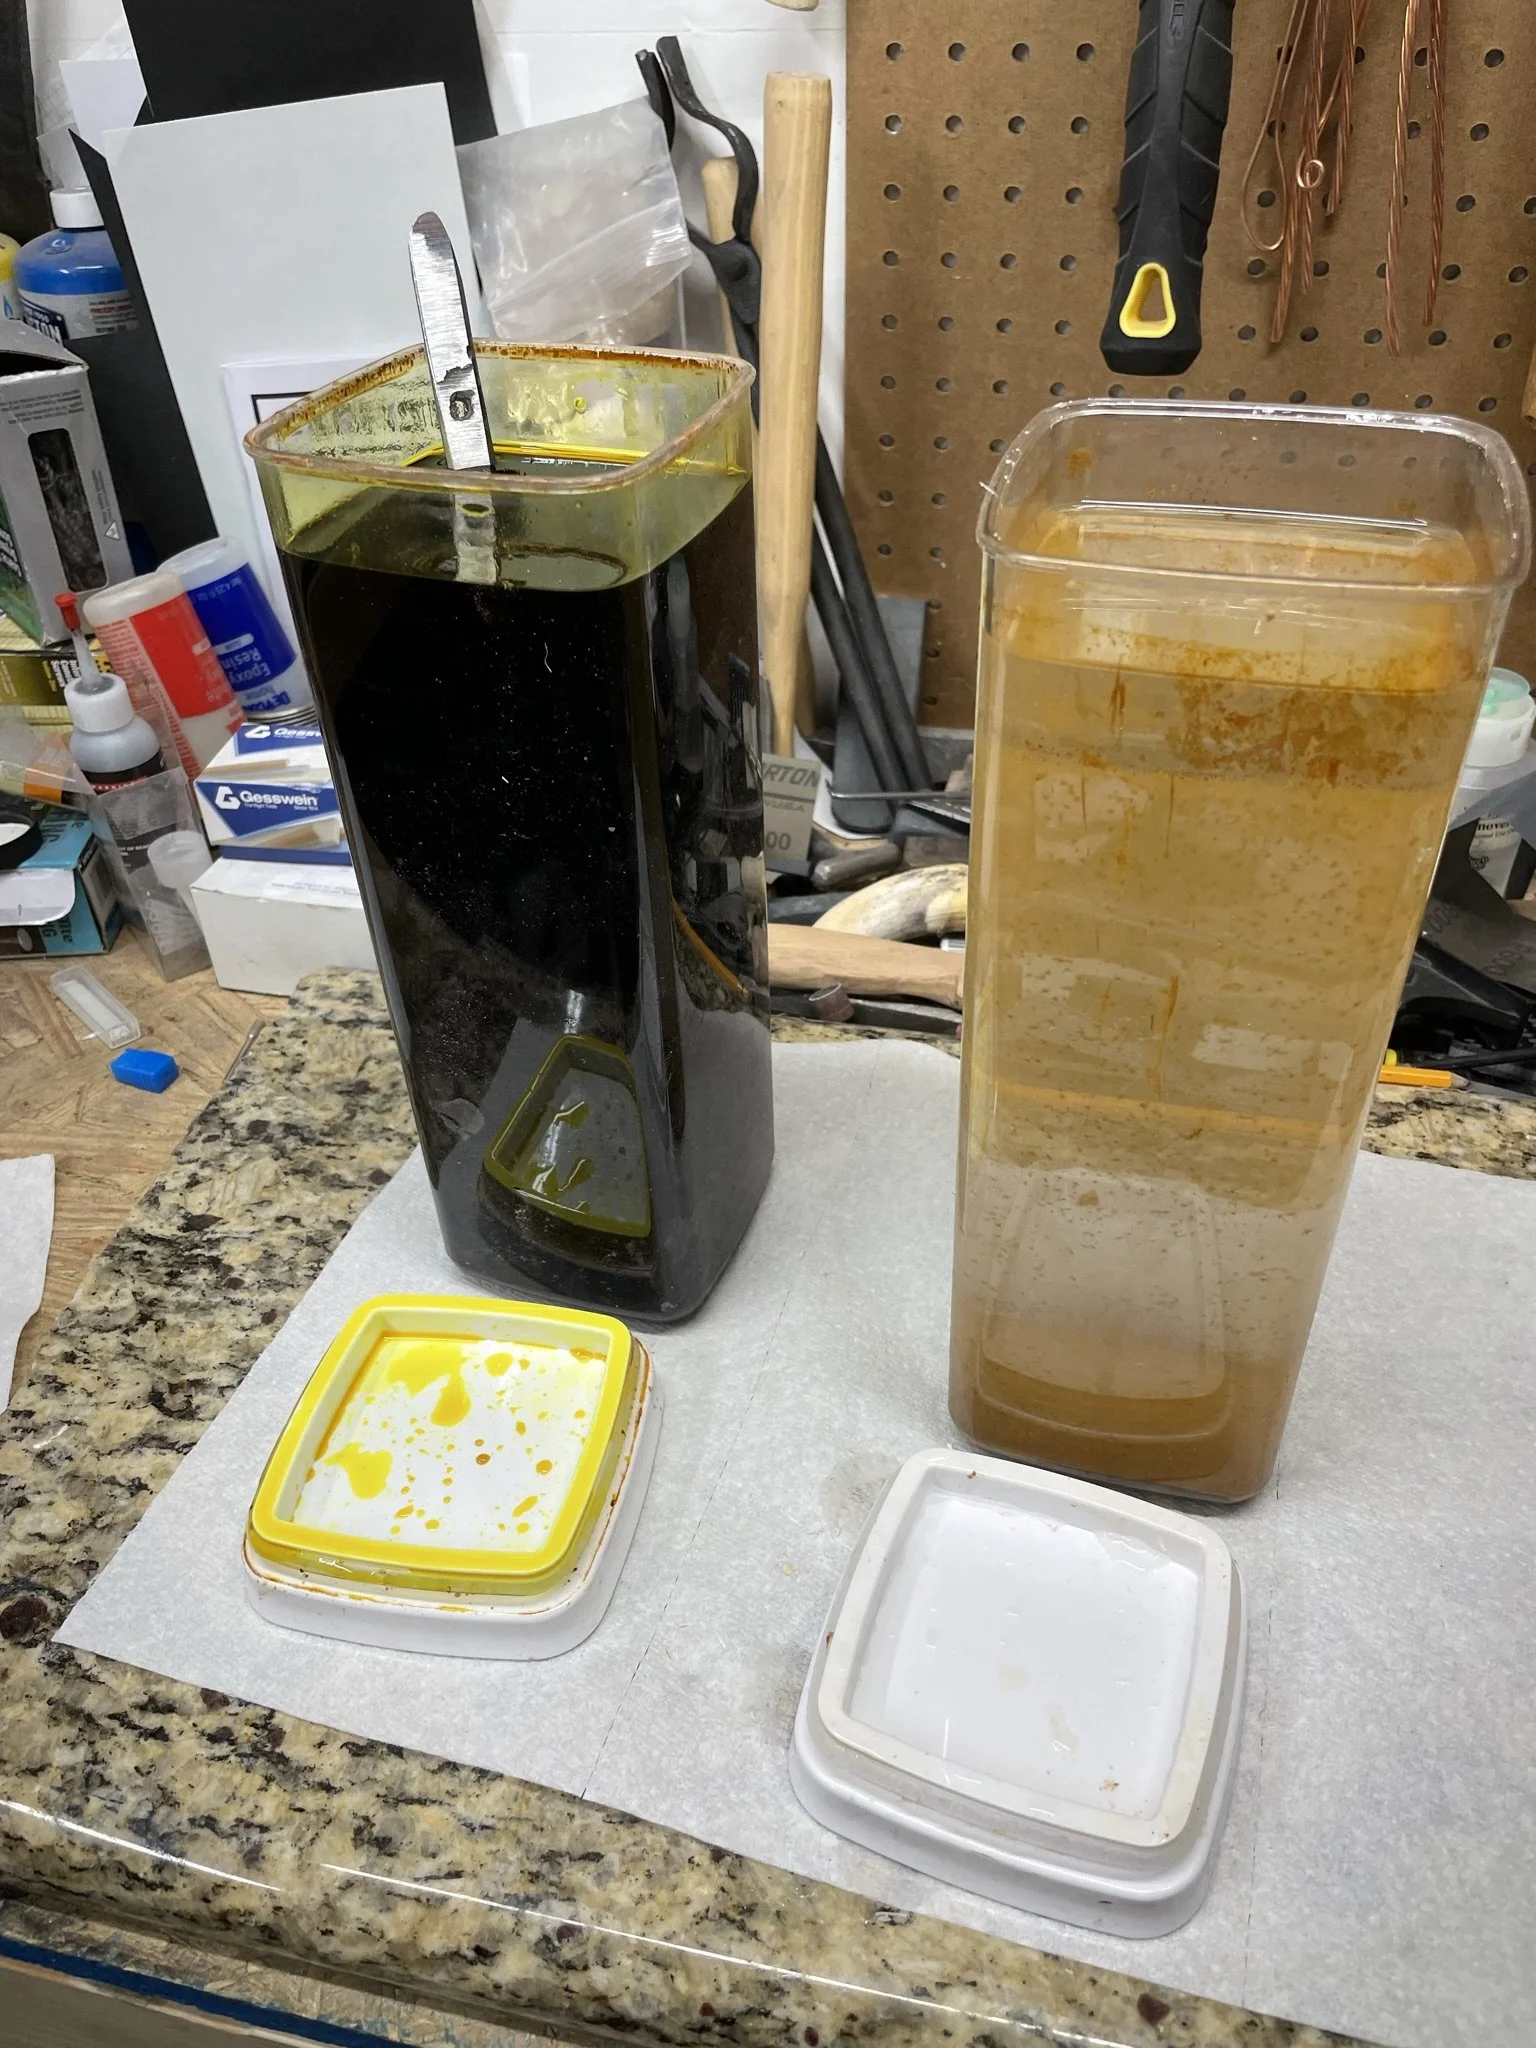
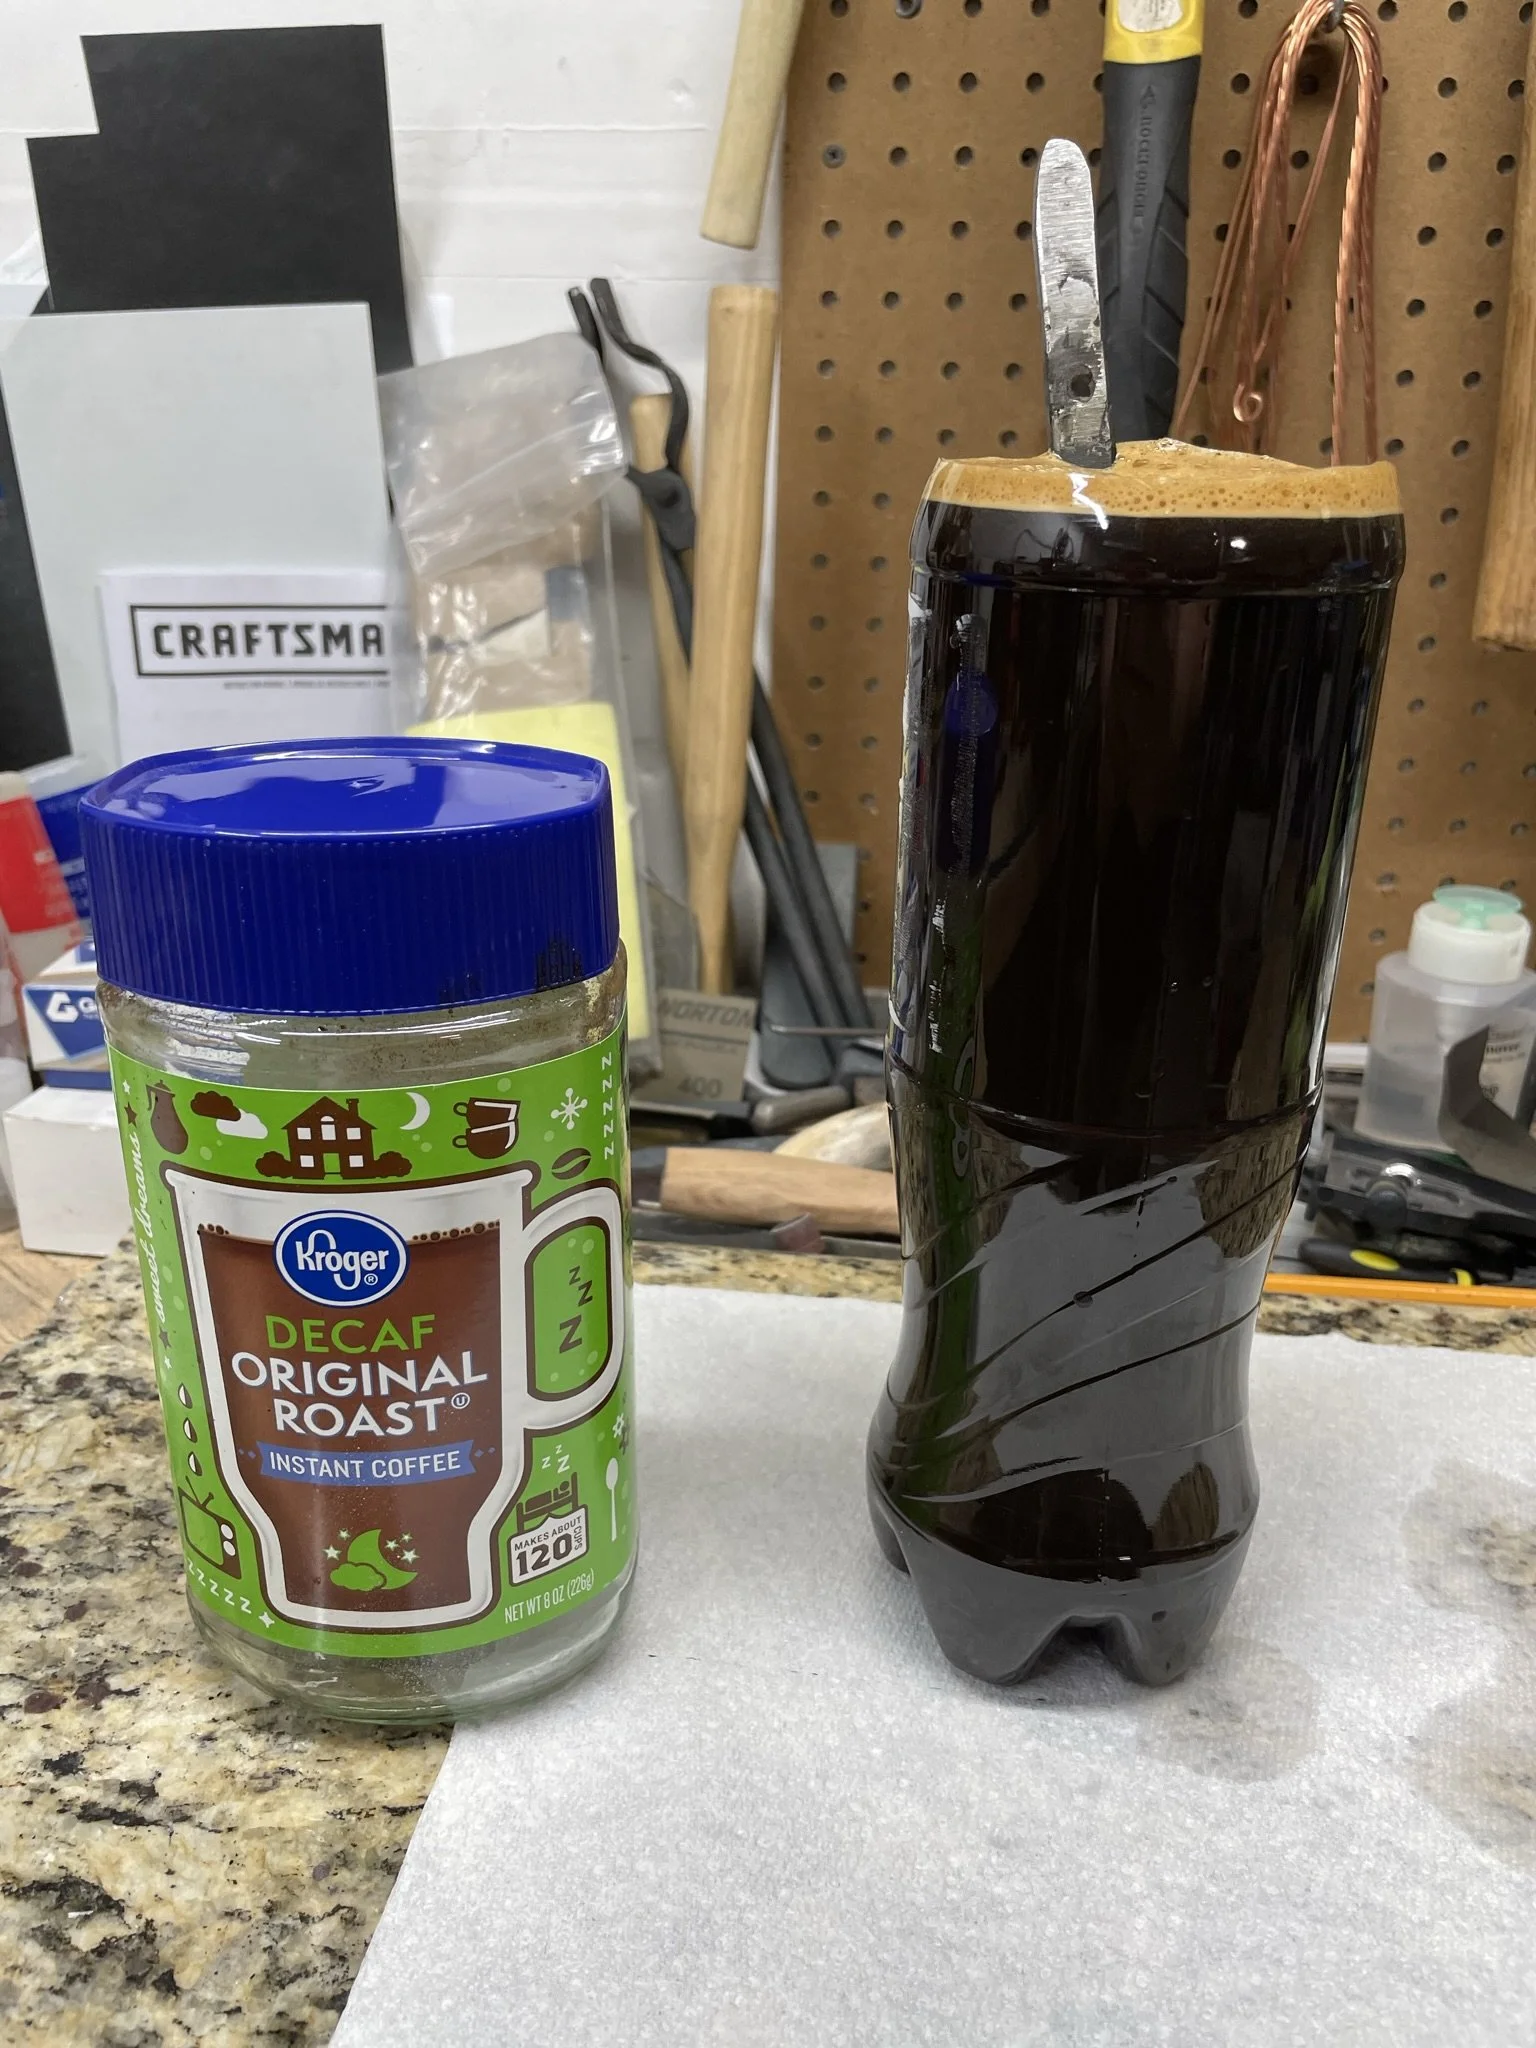
Cheap instant coffee actually has it's uses.
-
Ready for glue up.
-
Glue up at last!
-
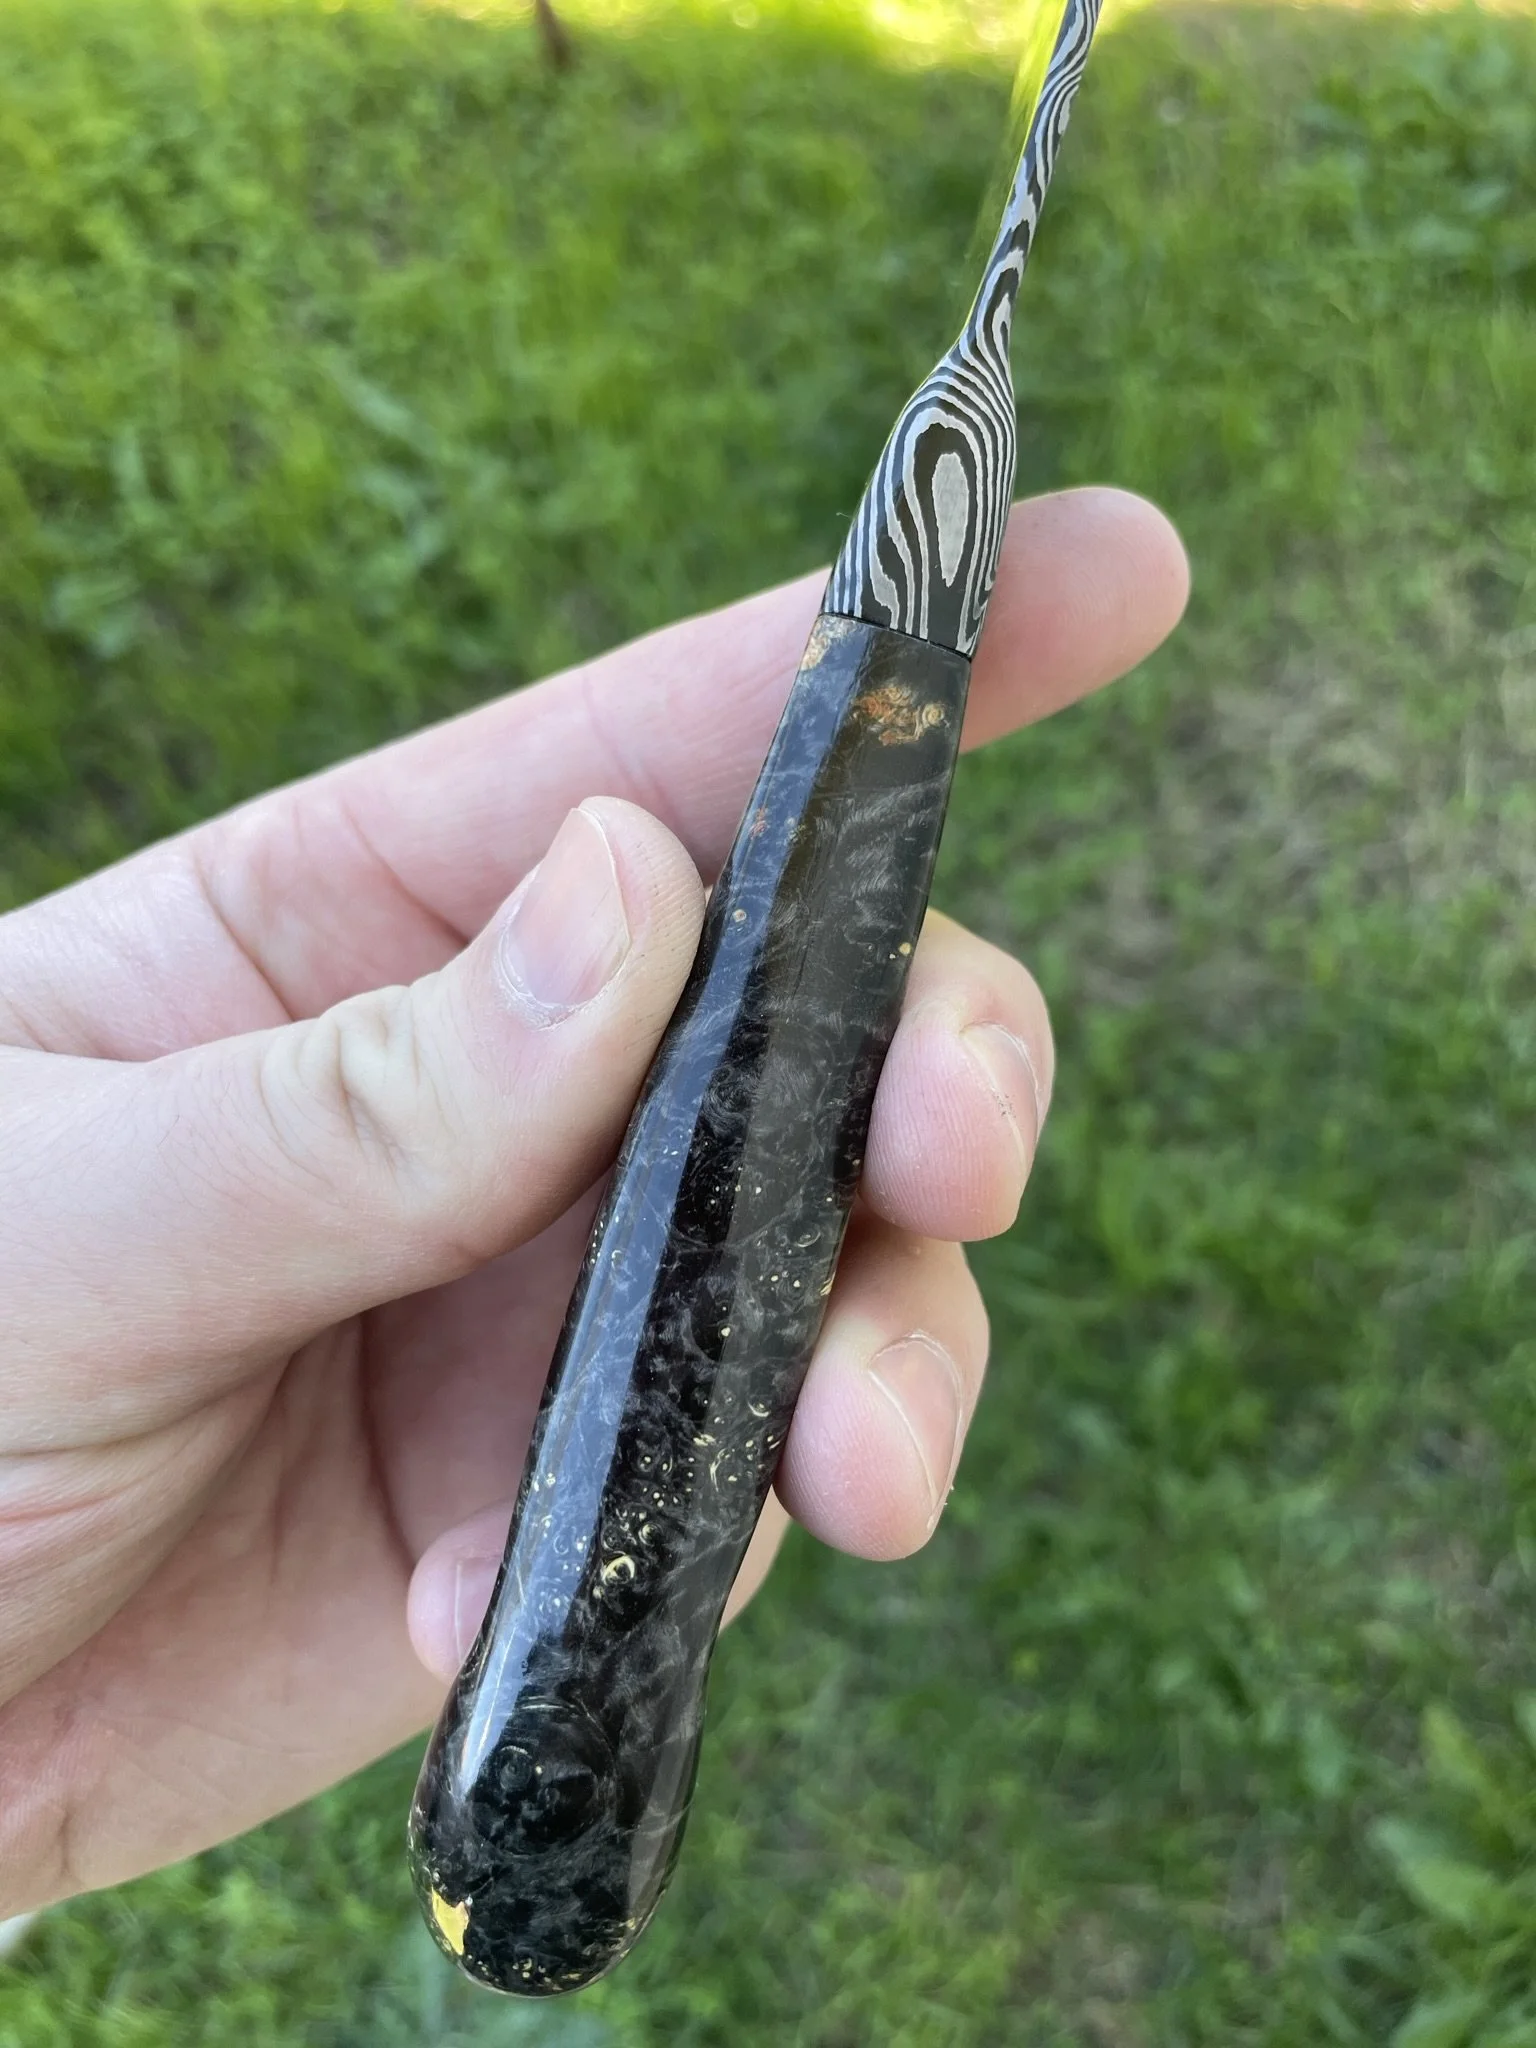
Wasn't 100% happy with the nubby end, but the handle still turned out beautifully.
-
Glamour shot #1.
-
Glamour shot #2.
-
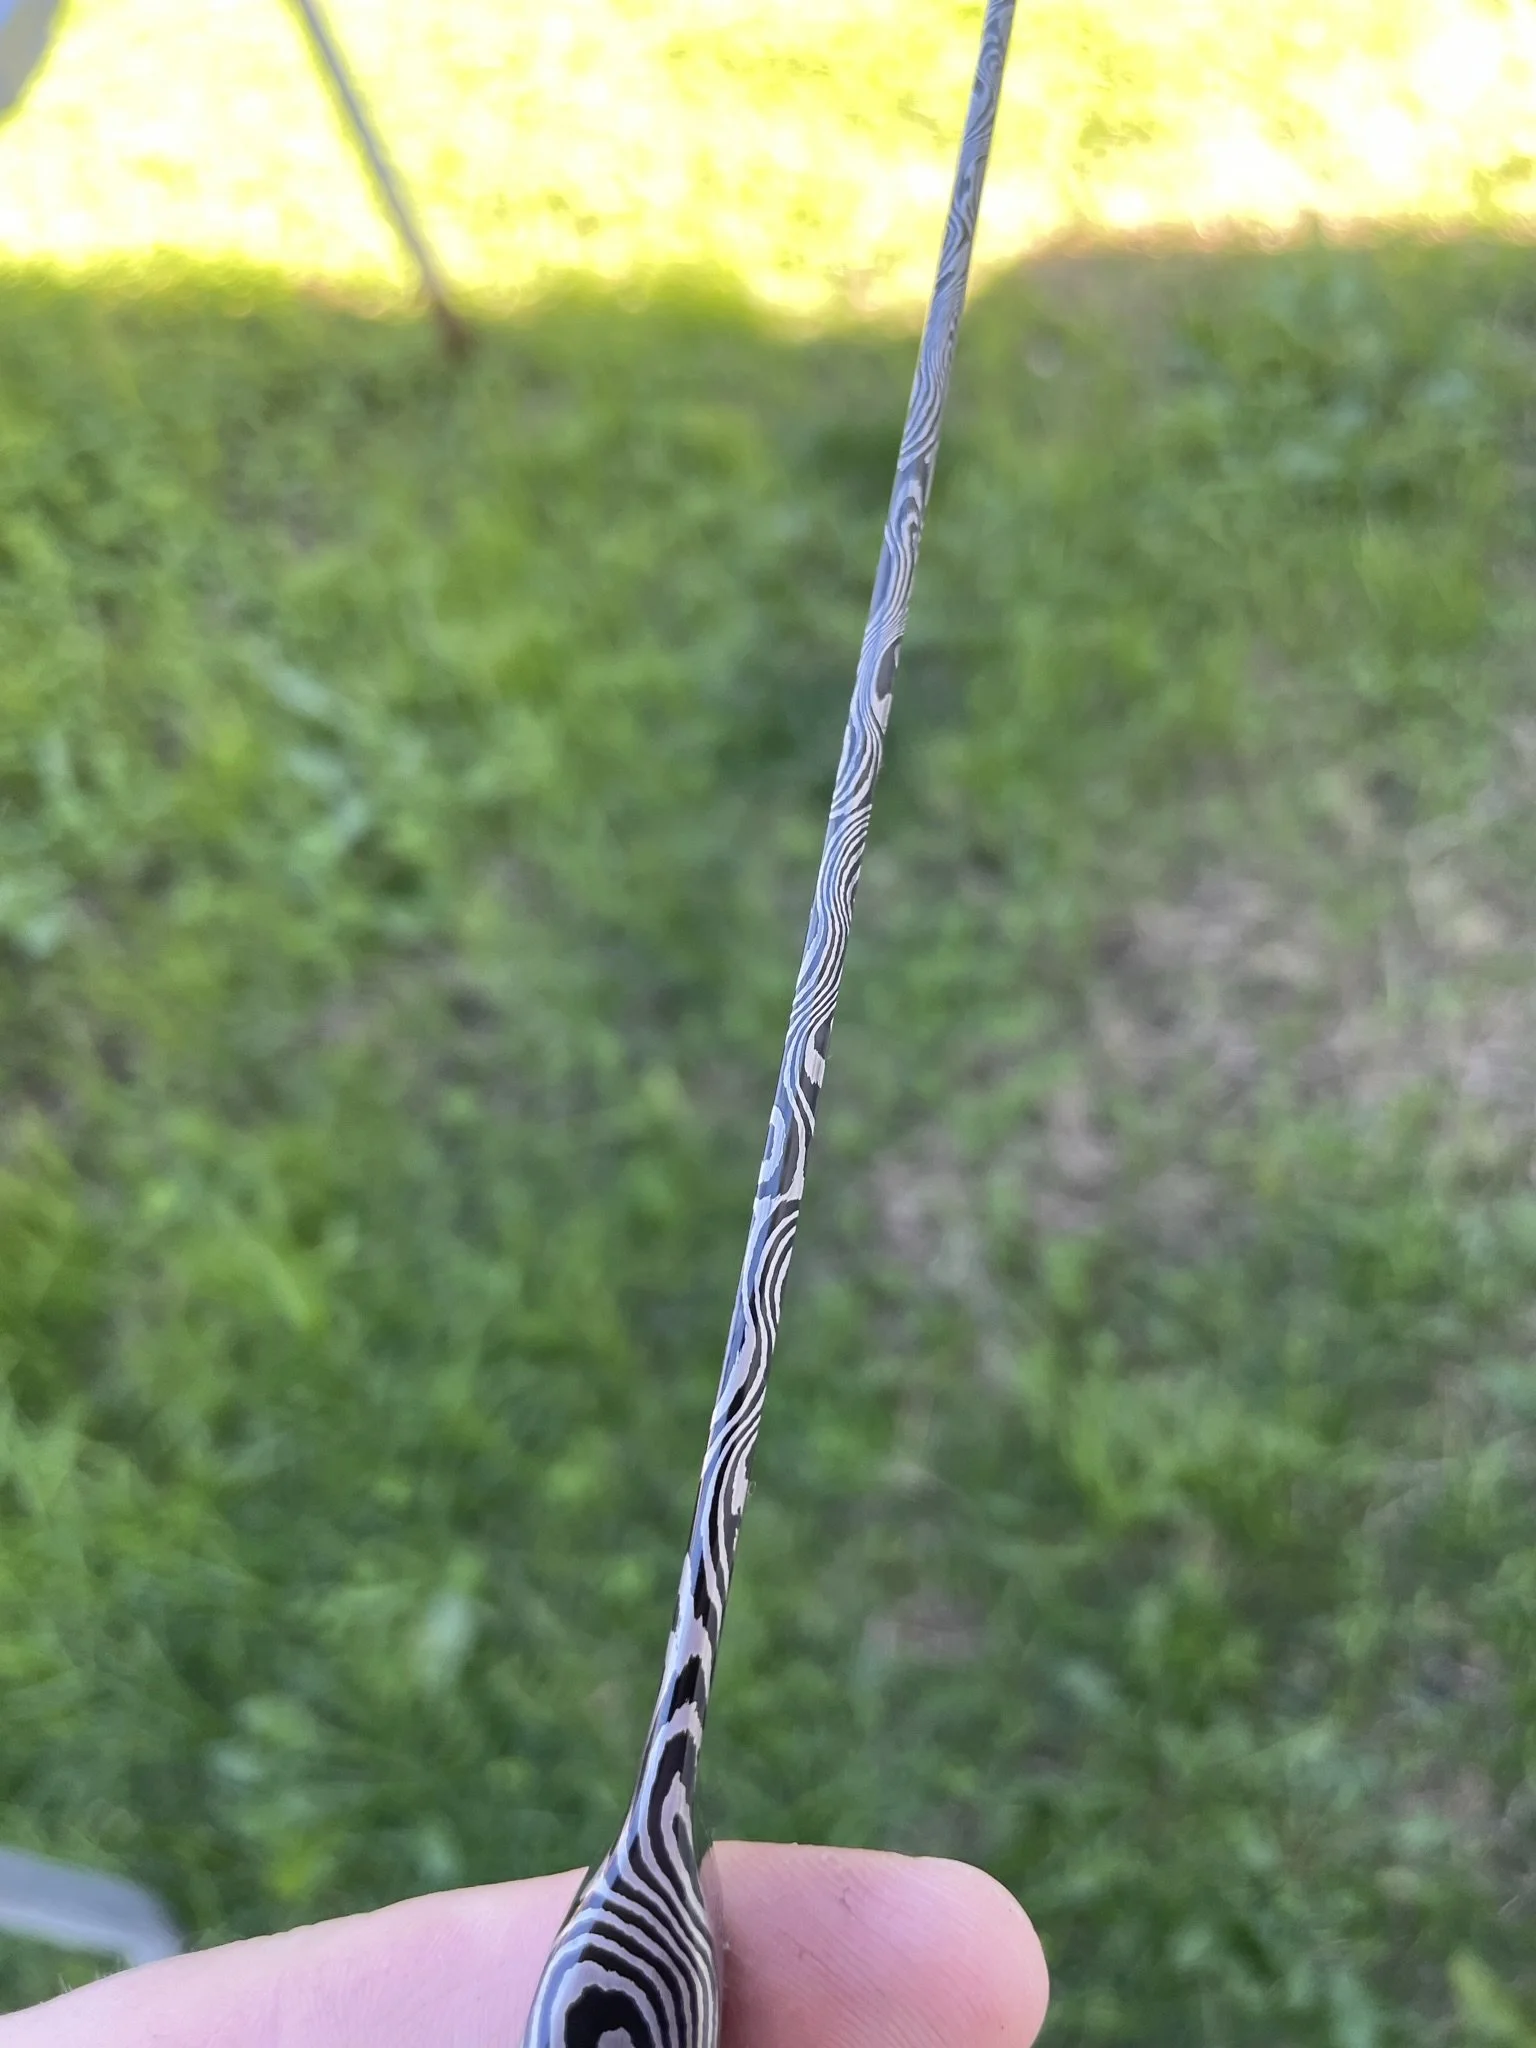
Spine shot.
-
Perspective shot.
-
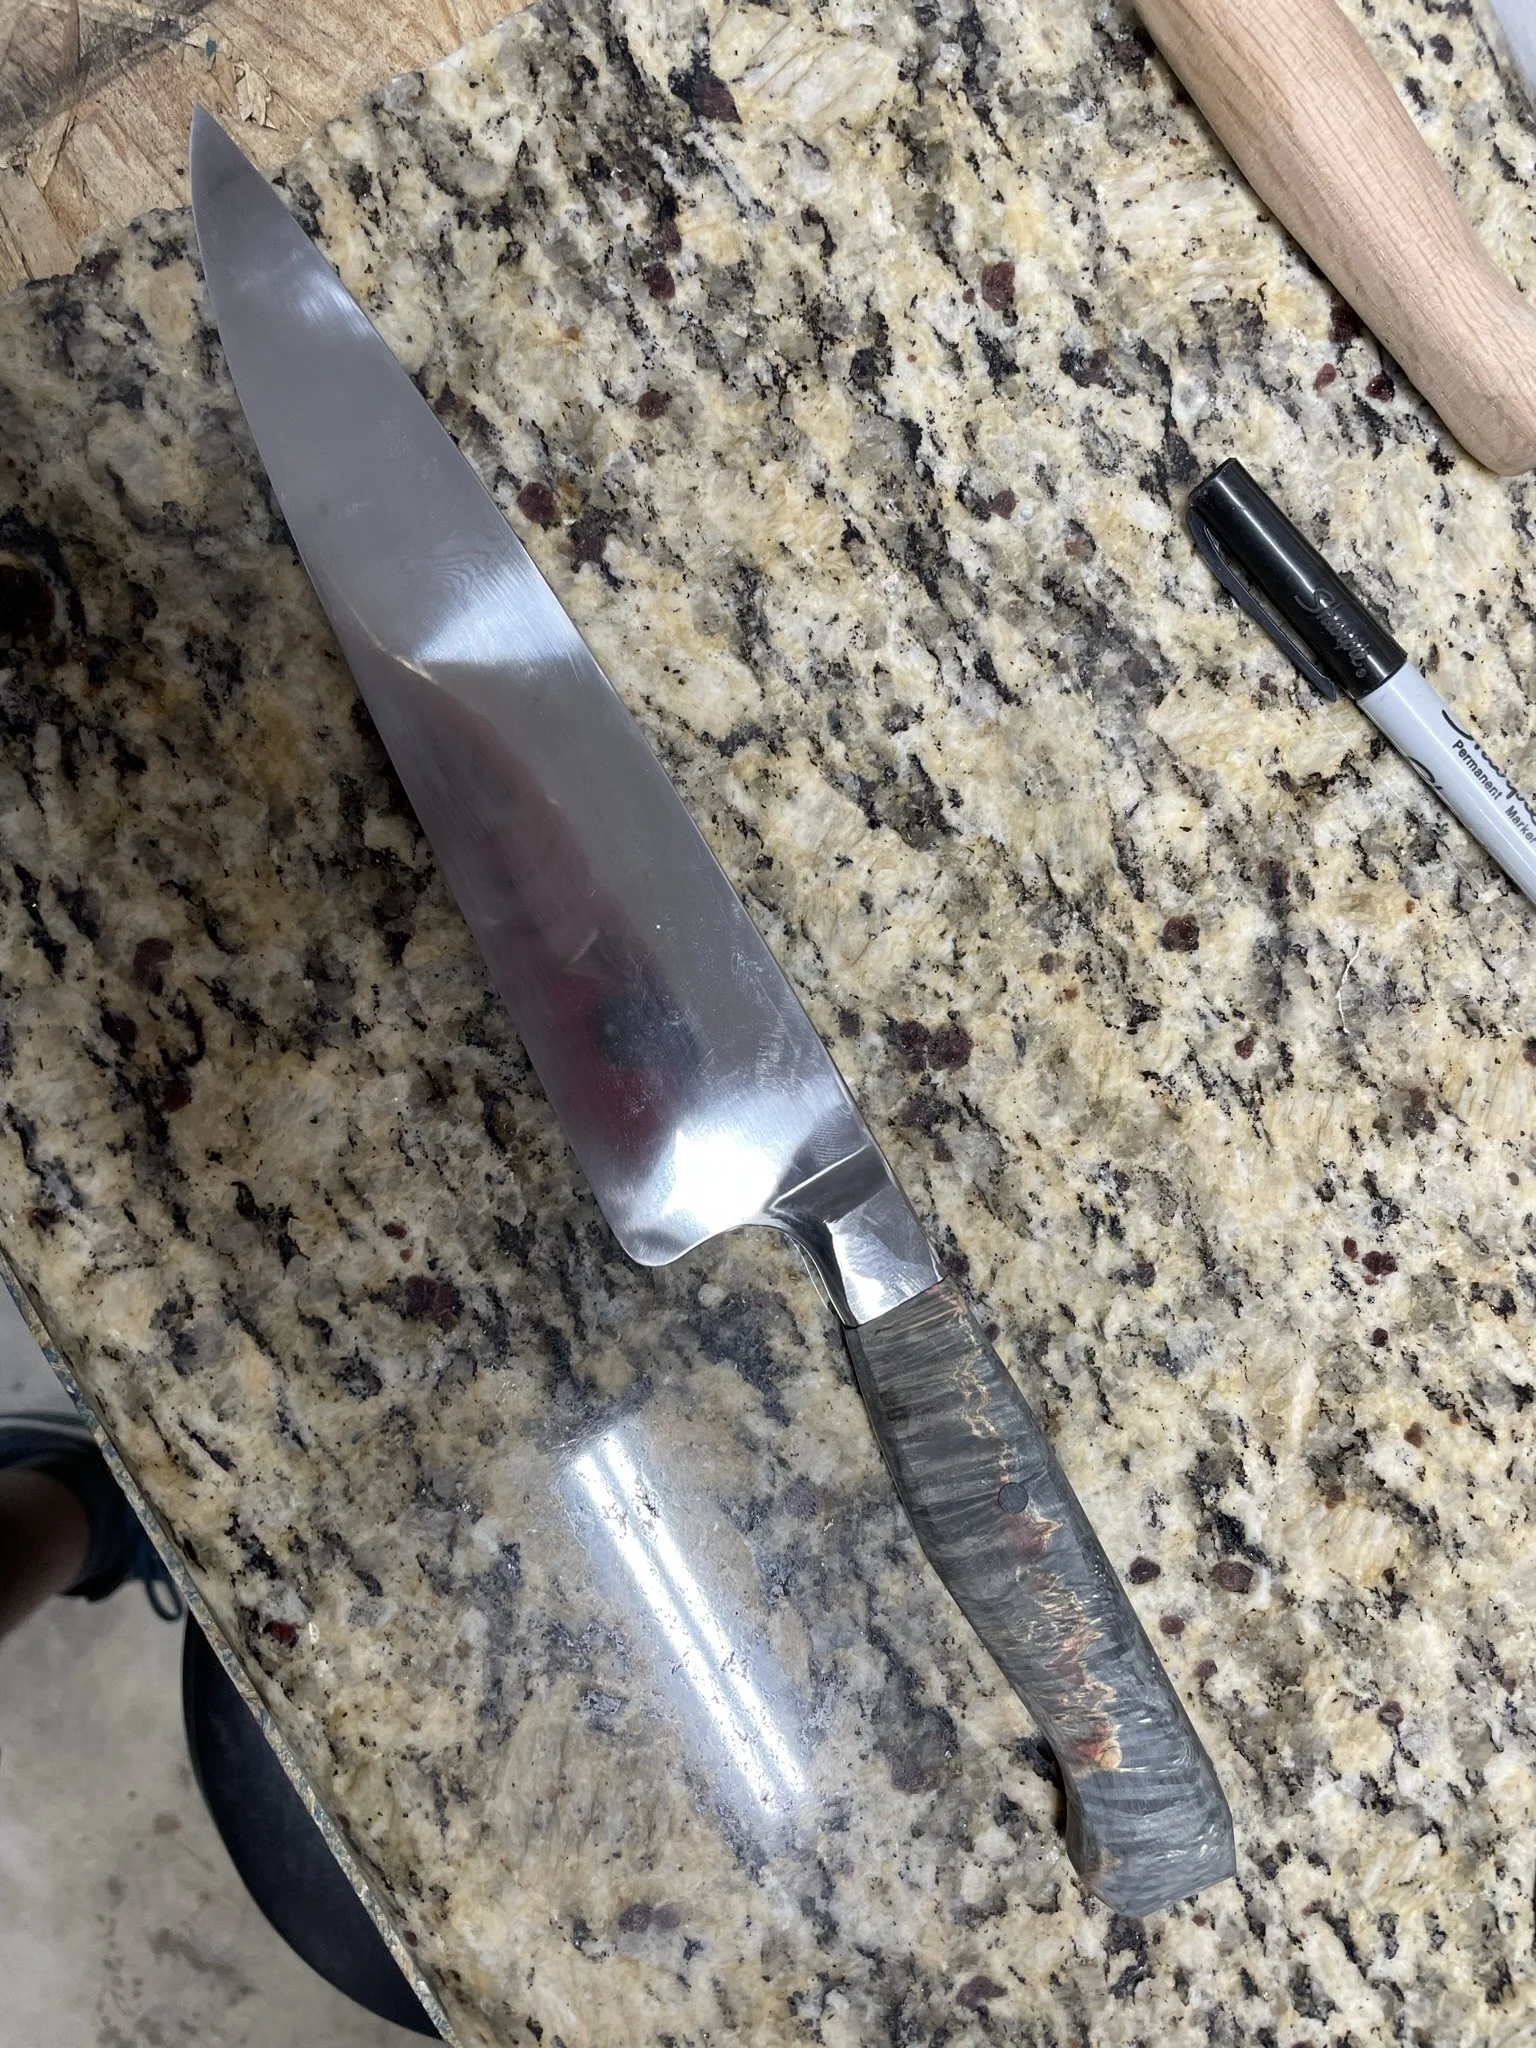
Final Glamour shot. Turned out so well.
