Year Three - Stepping Up with Help
As I moved into my third year, I made great strides in my quality and developing my own confidence and styles. A lot of this came from finding great mentors and learning as much as I could from them. Something special about the knifemaking community is the willingness to share knowledge and teach. I think it’s a feeling and attitude much needed today.
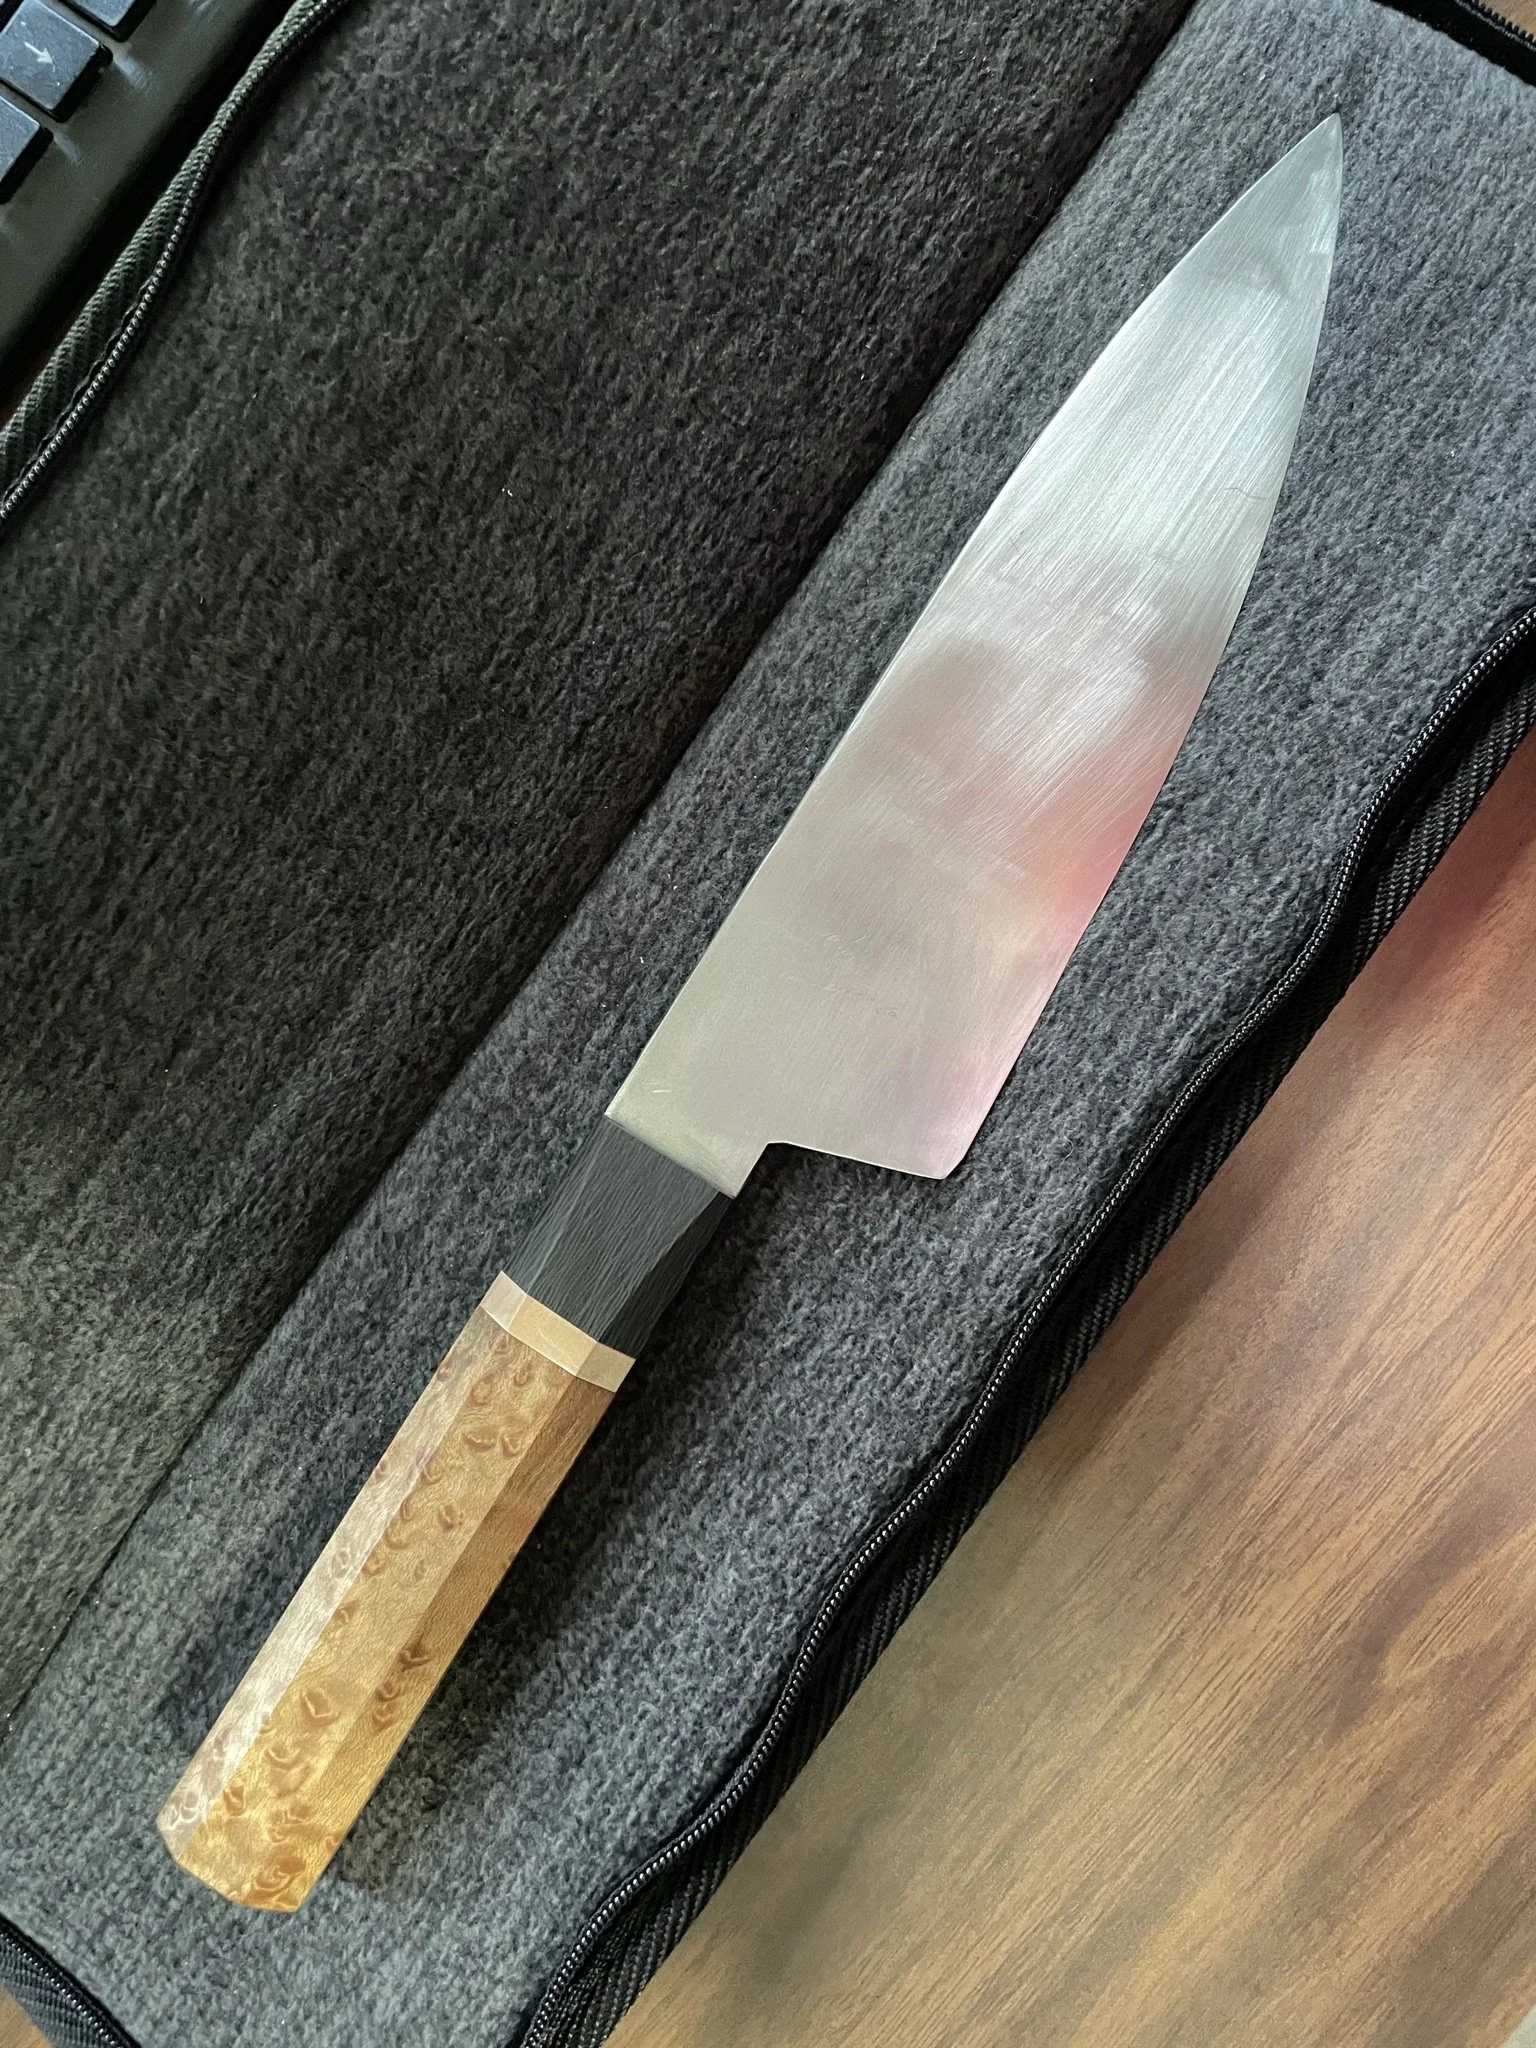
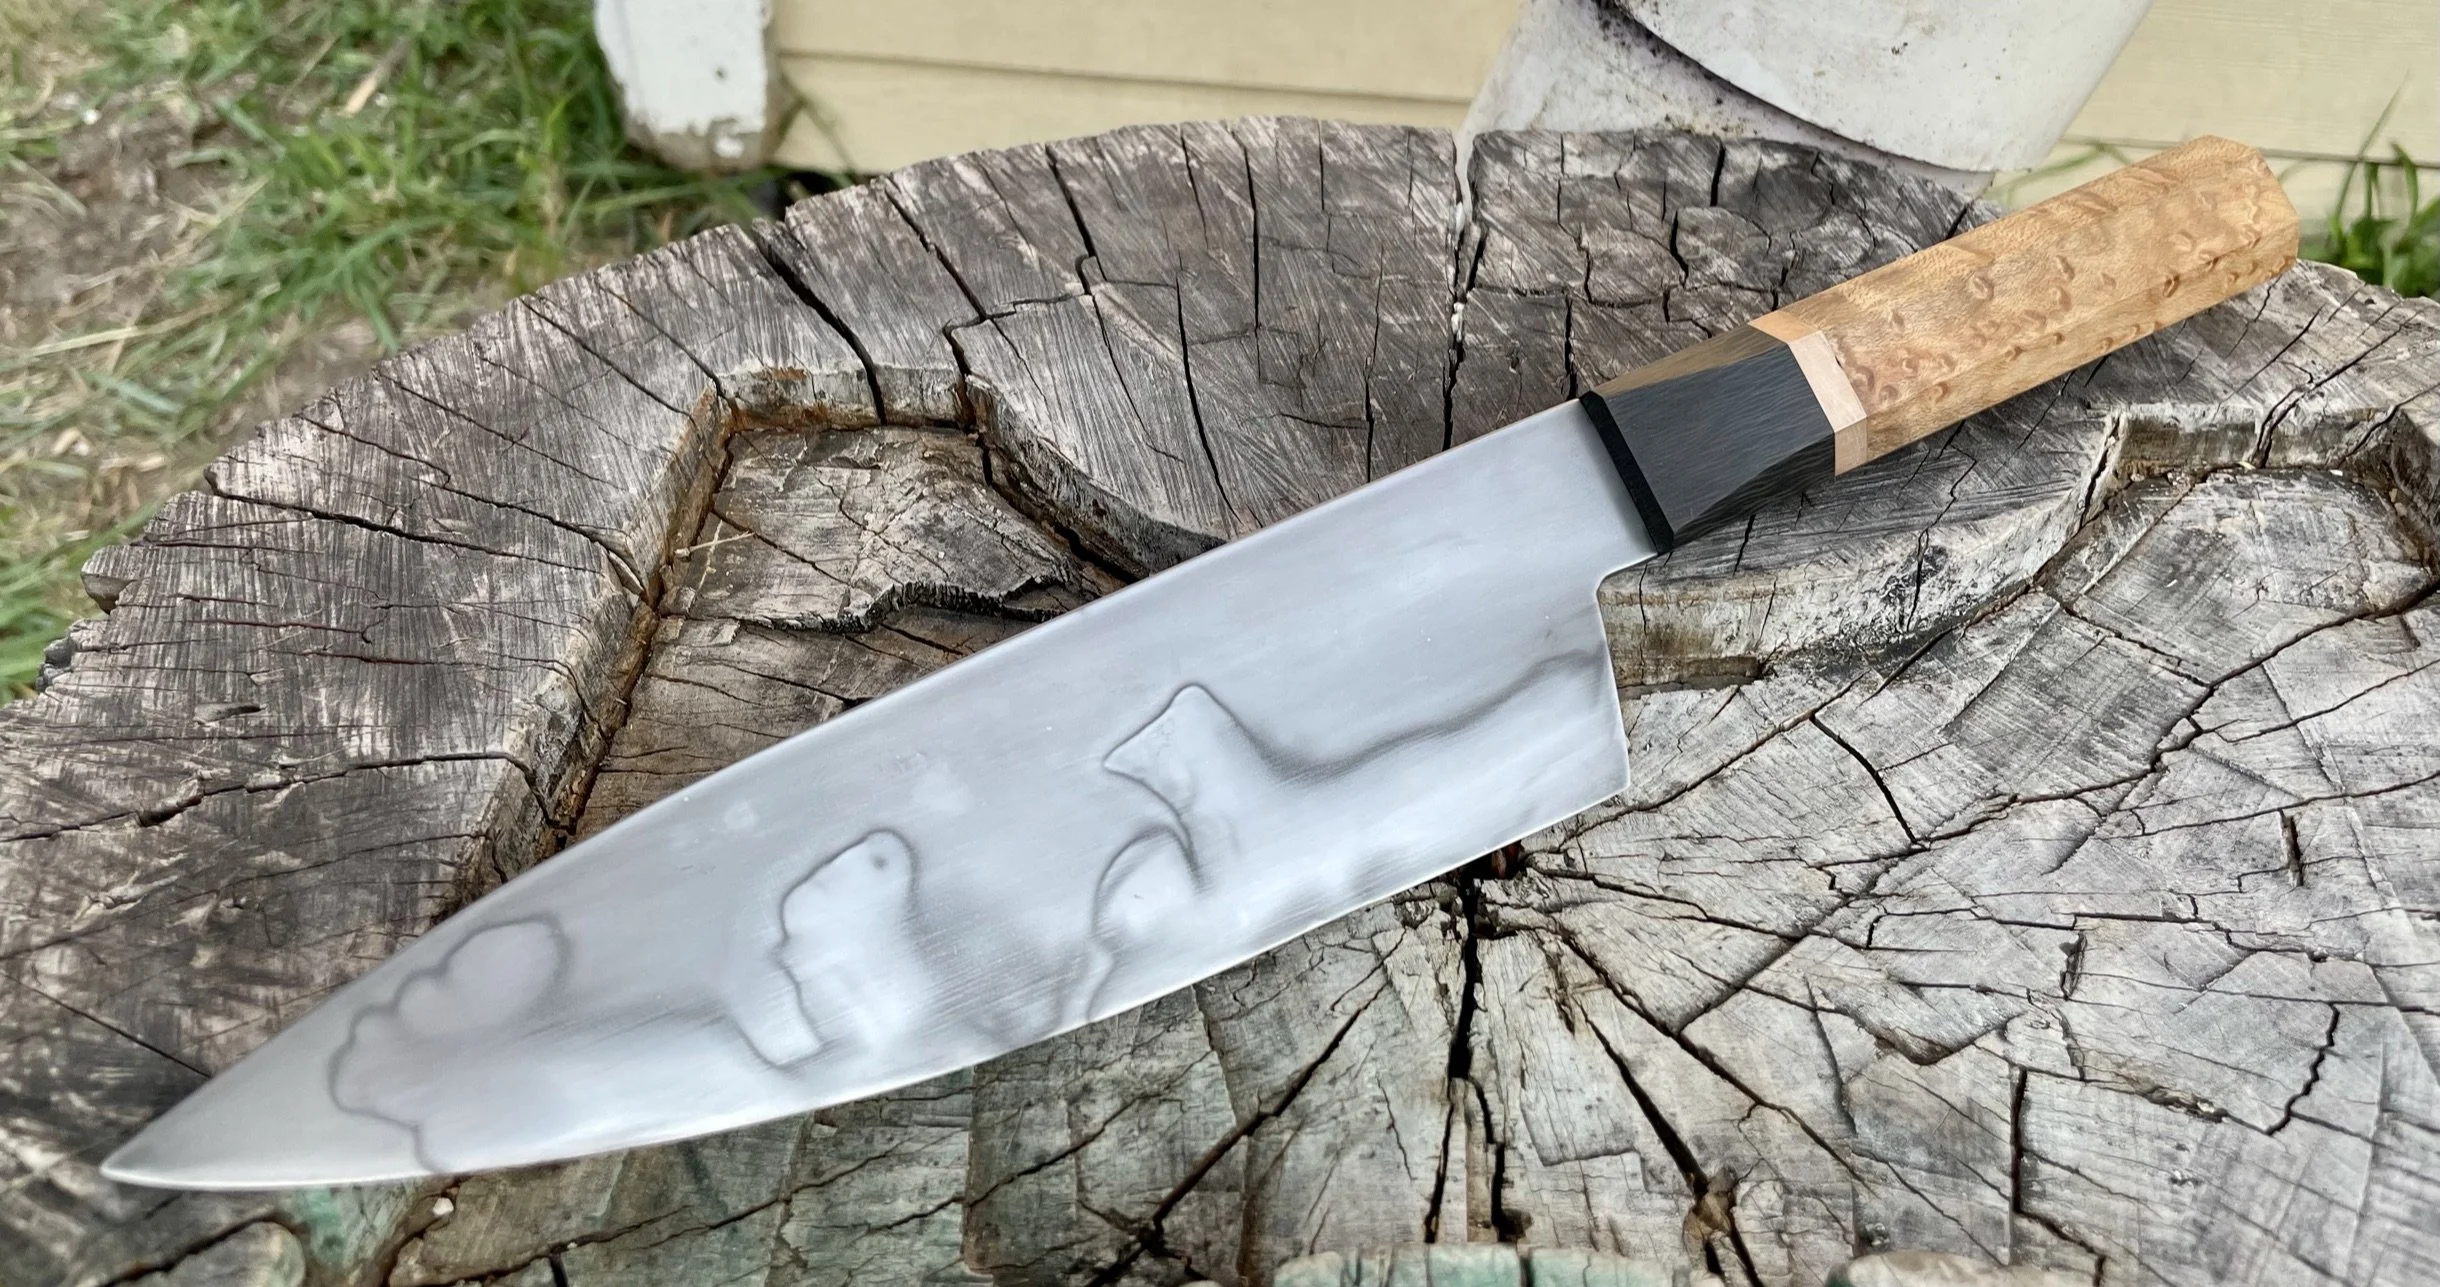
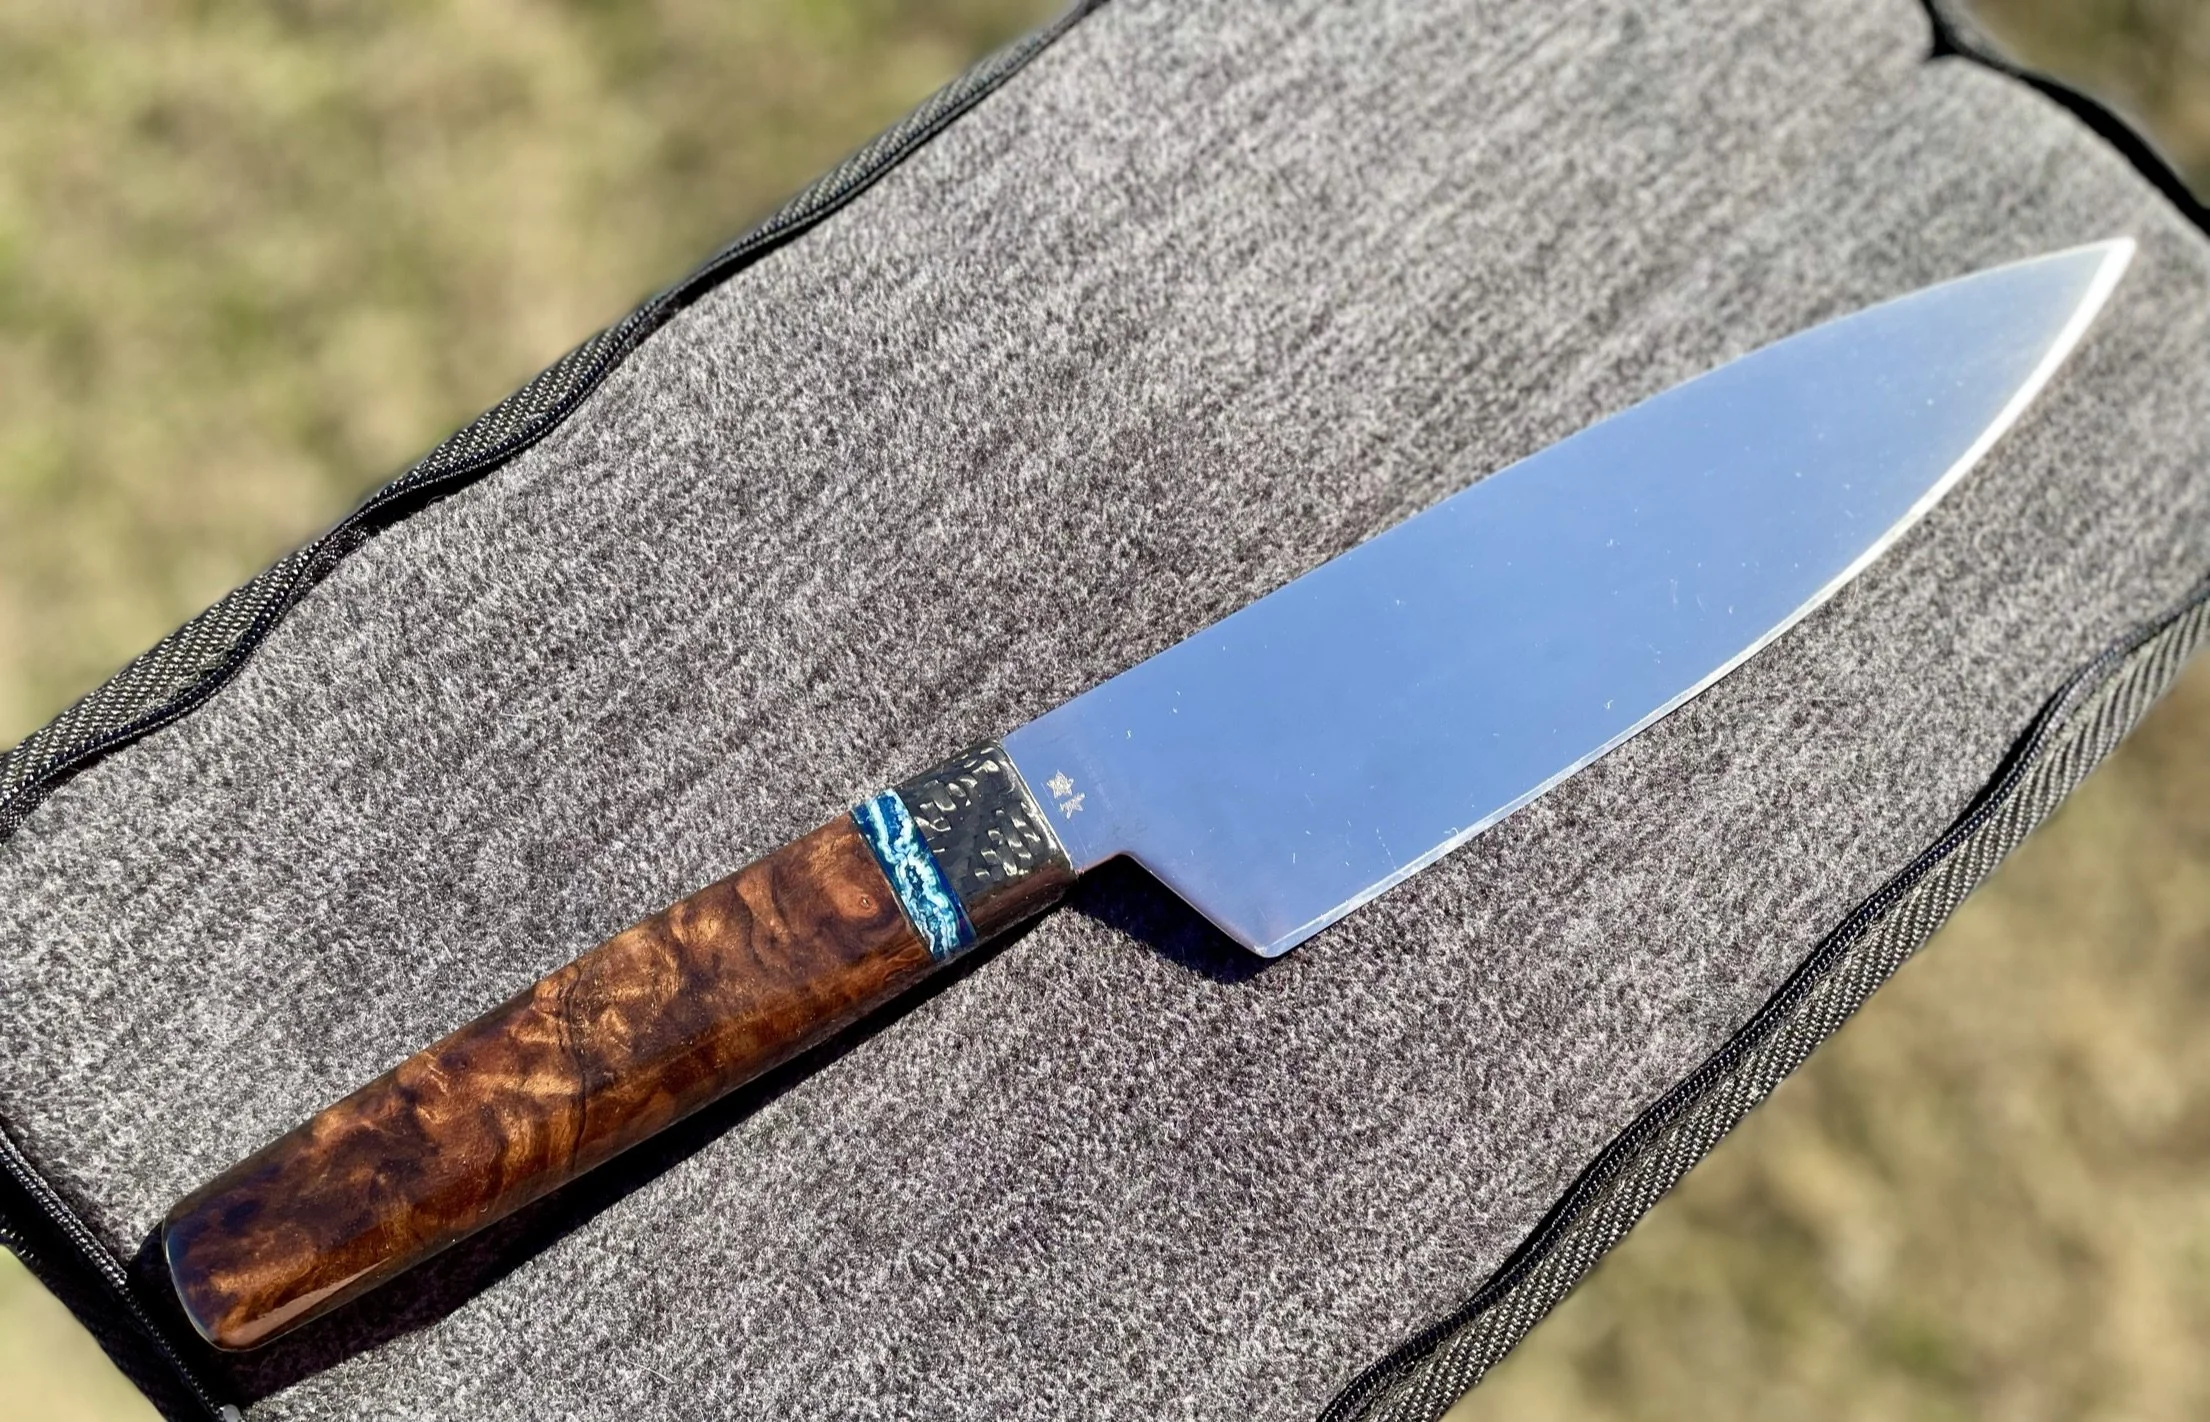
W-1 Chef’s Knife
-
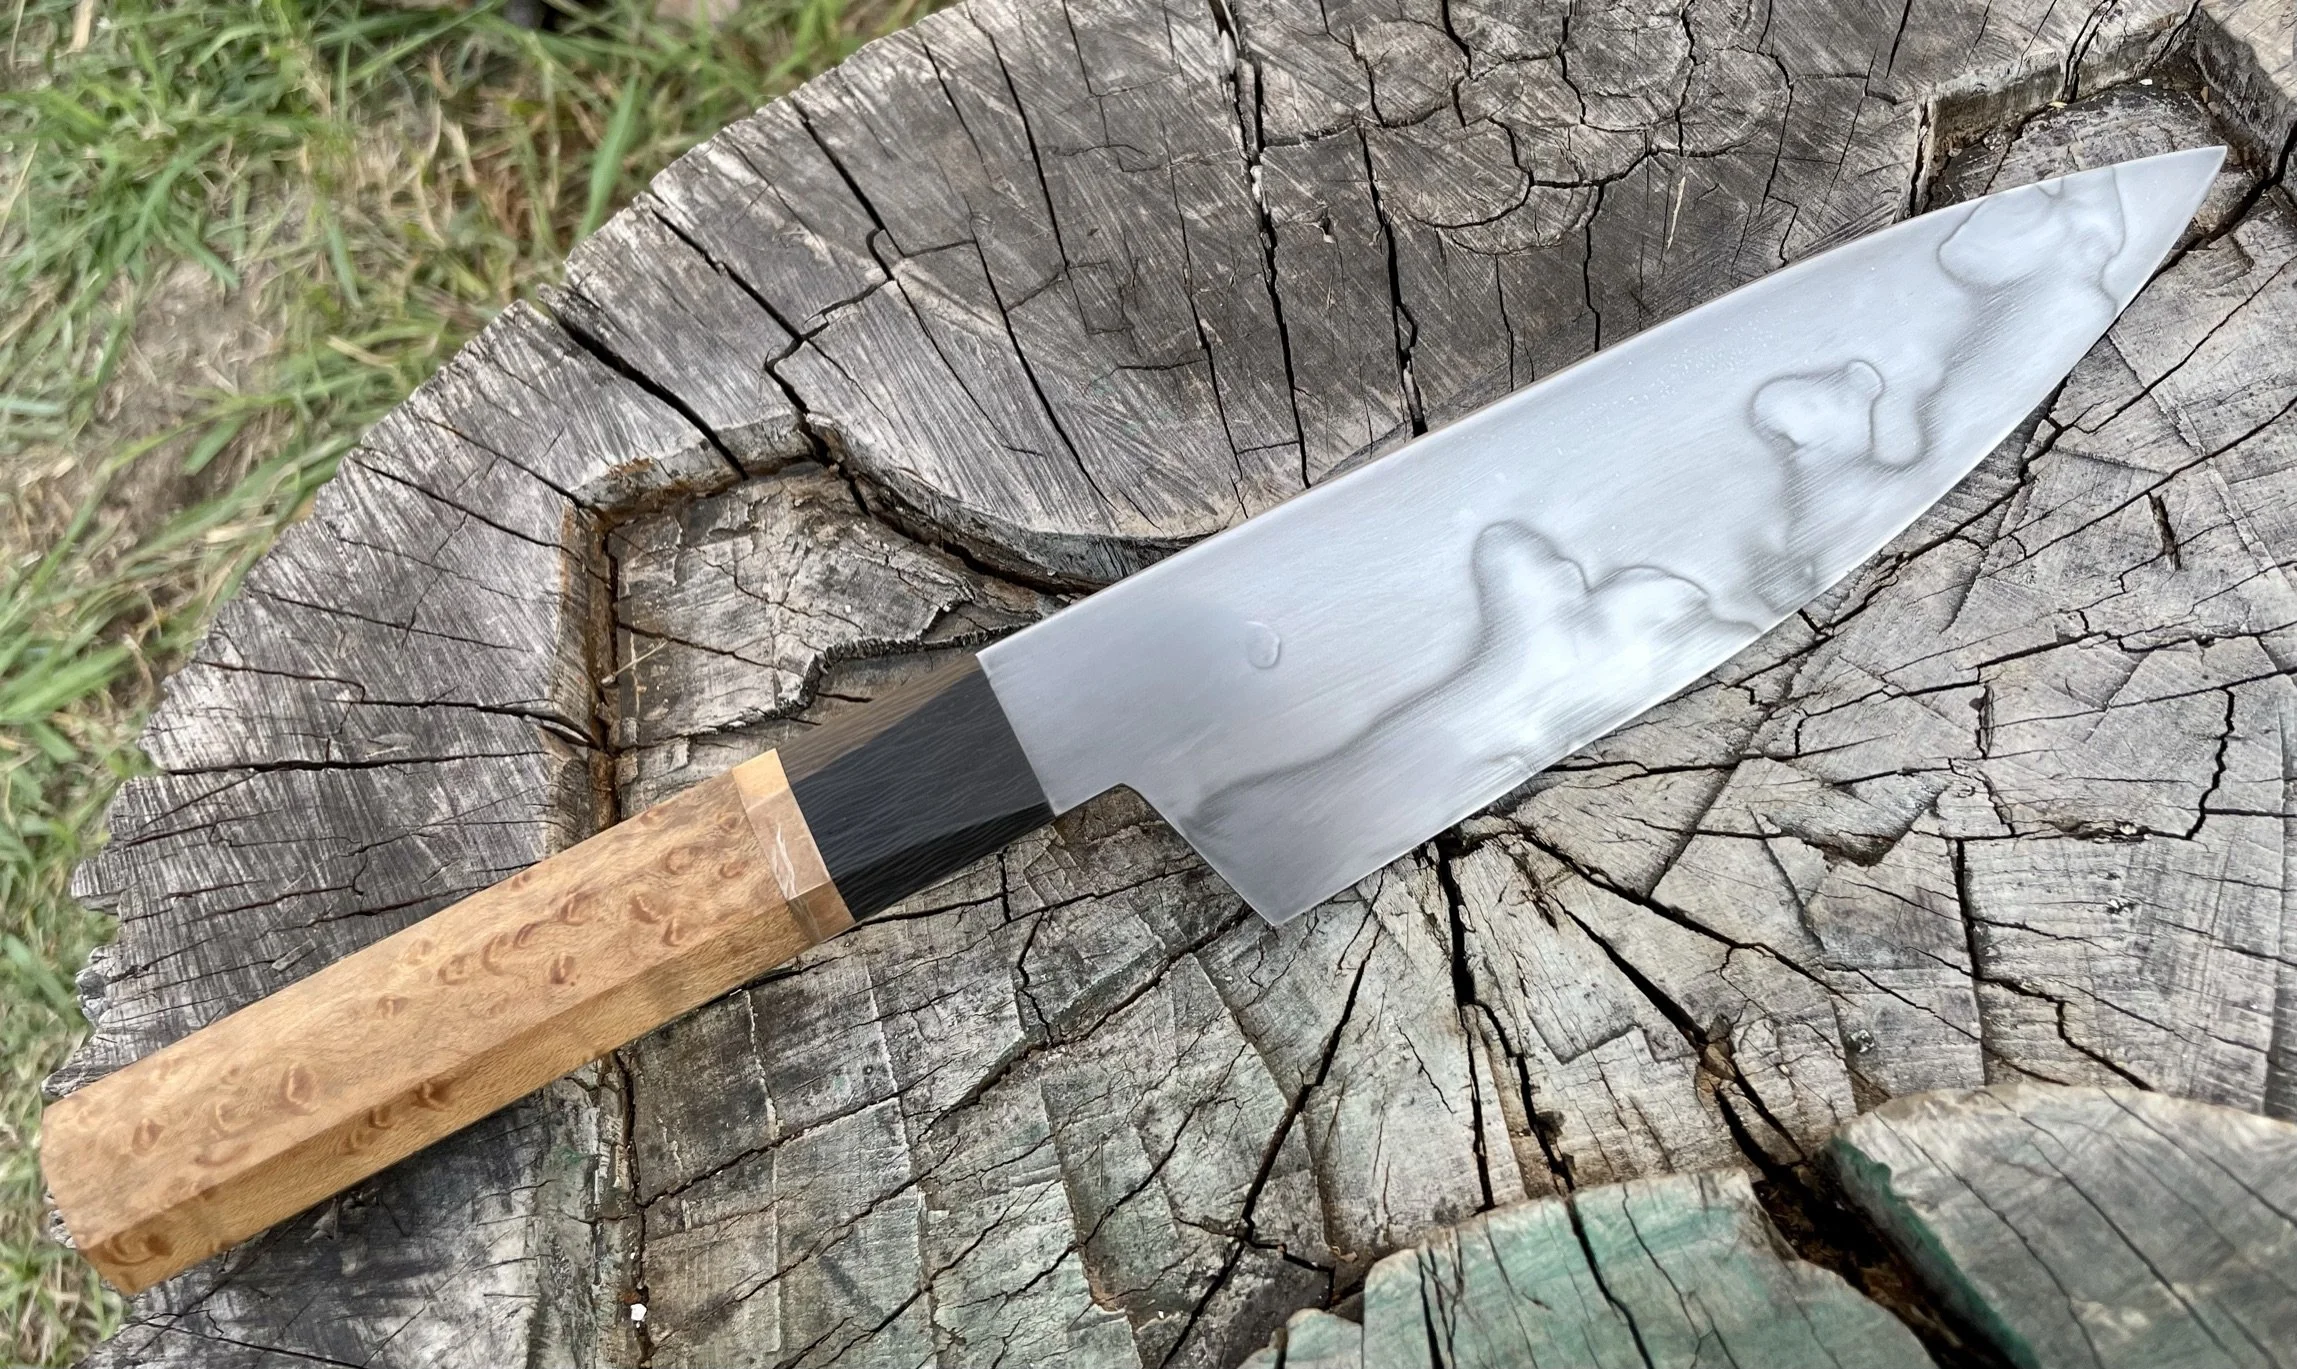
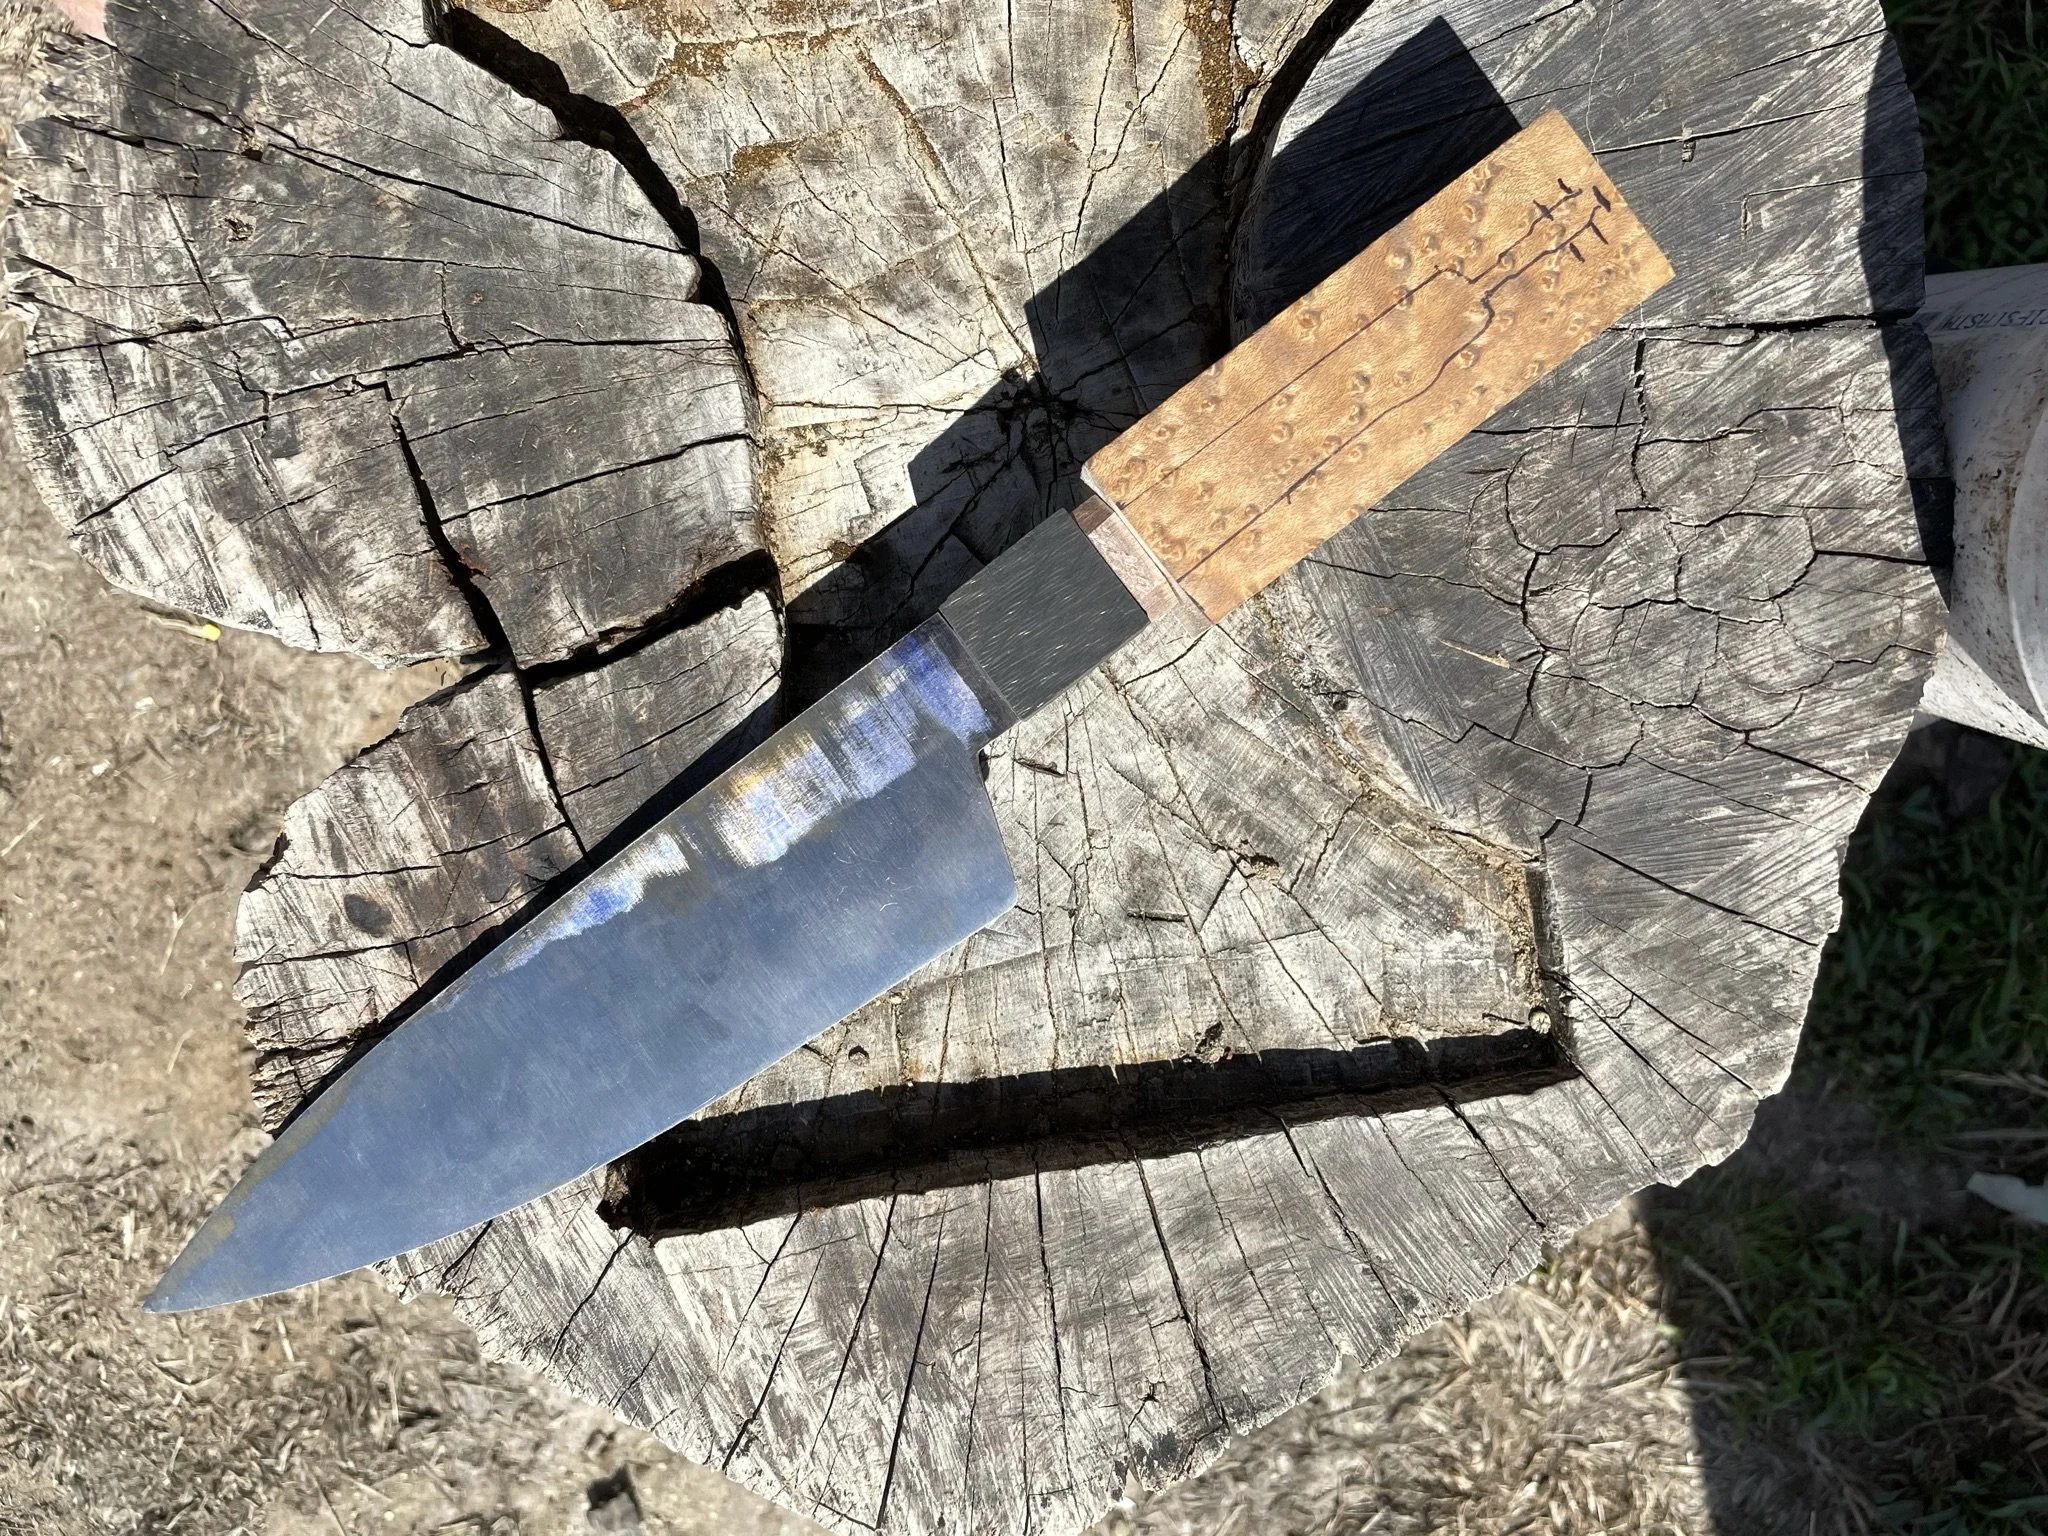
Final blade - keep scrolling to see the journey.
-
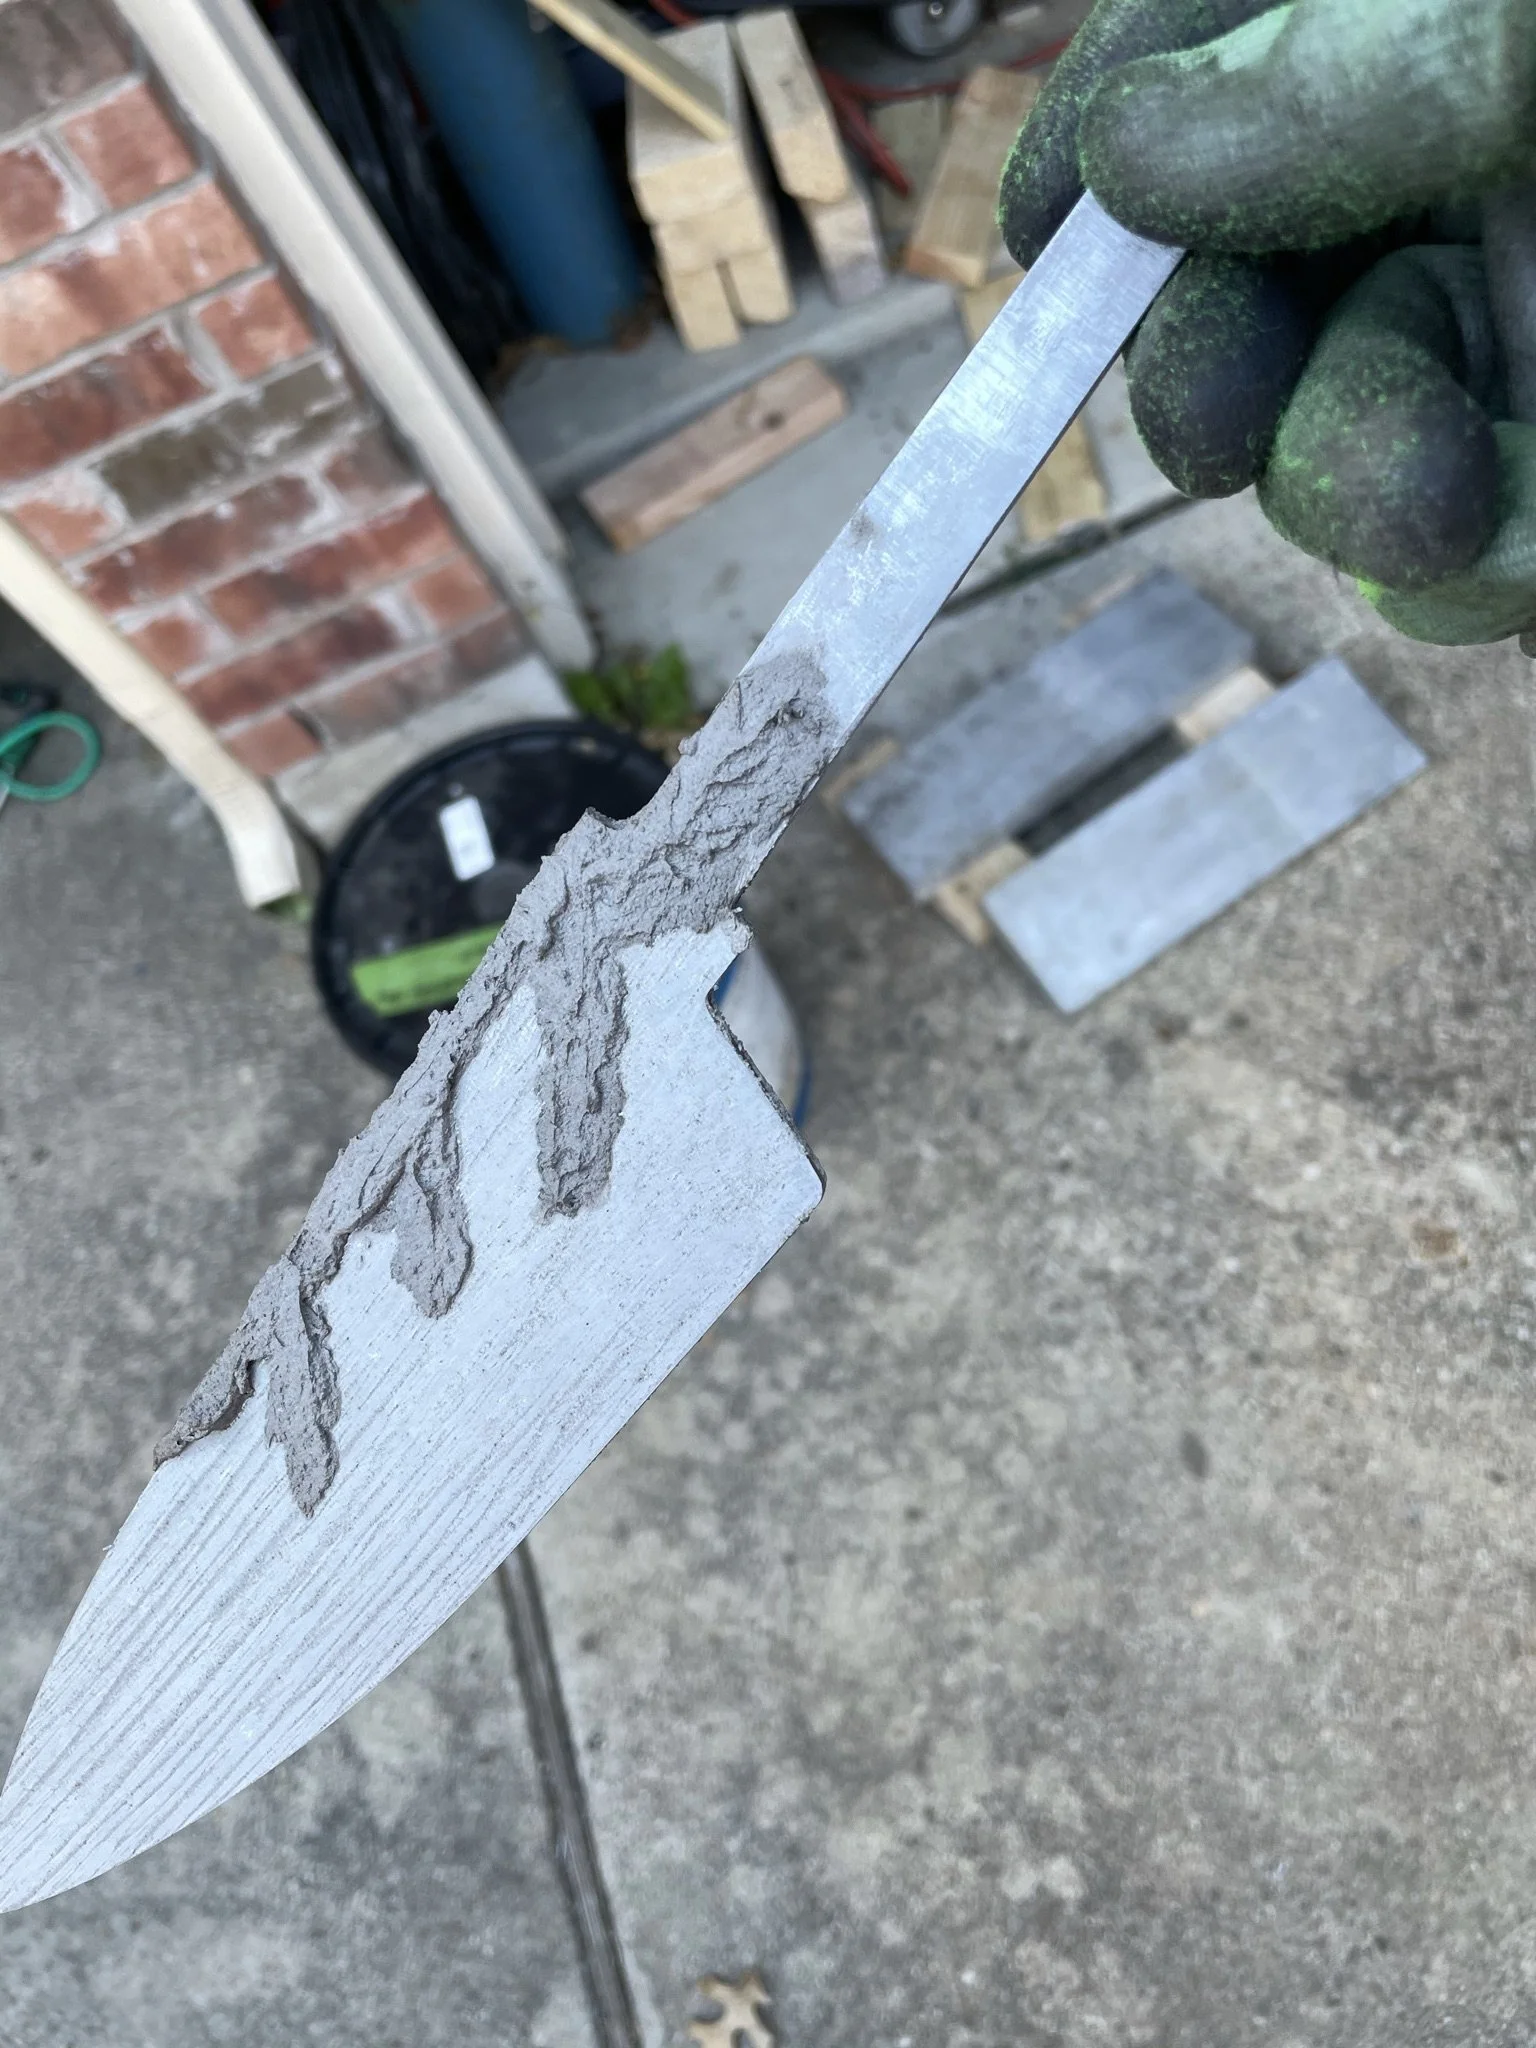
Through connections withing my blacksmithing class I was introduced to Austin M., who became a great mentor and helped me rise to the next level. I went to his shop and he let me pick his brain, and taught me tons. Here is him showing my how to do a hamon on a piece of W1.
-
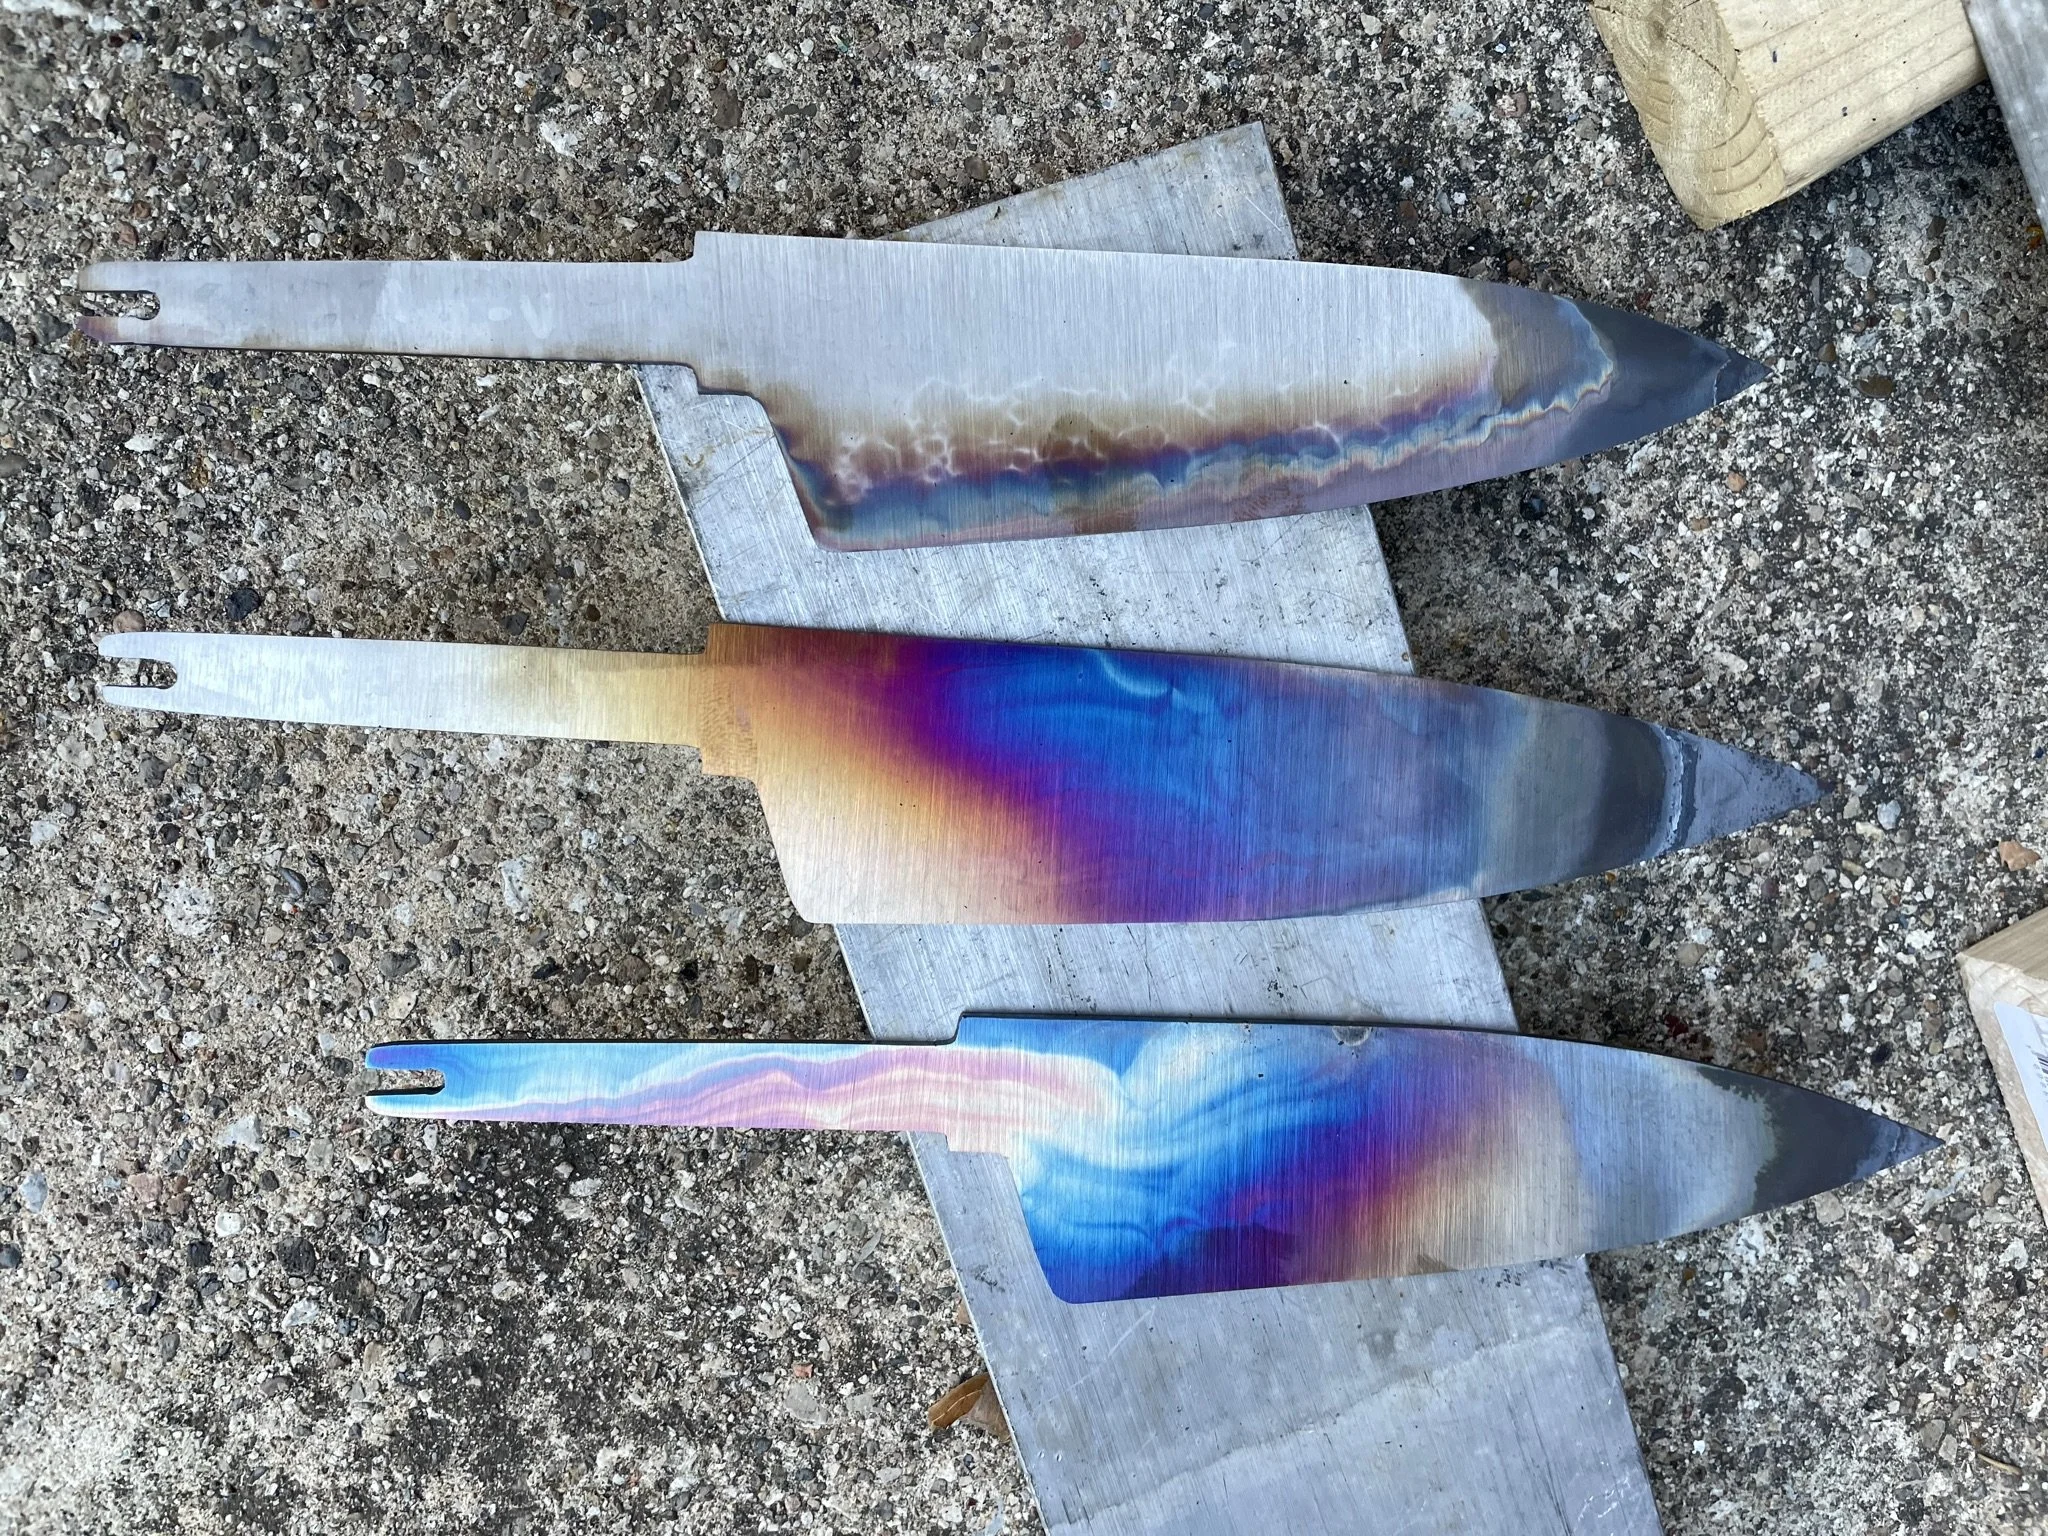
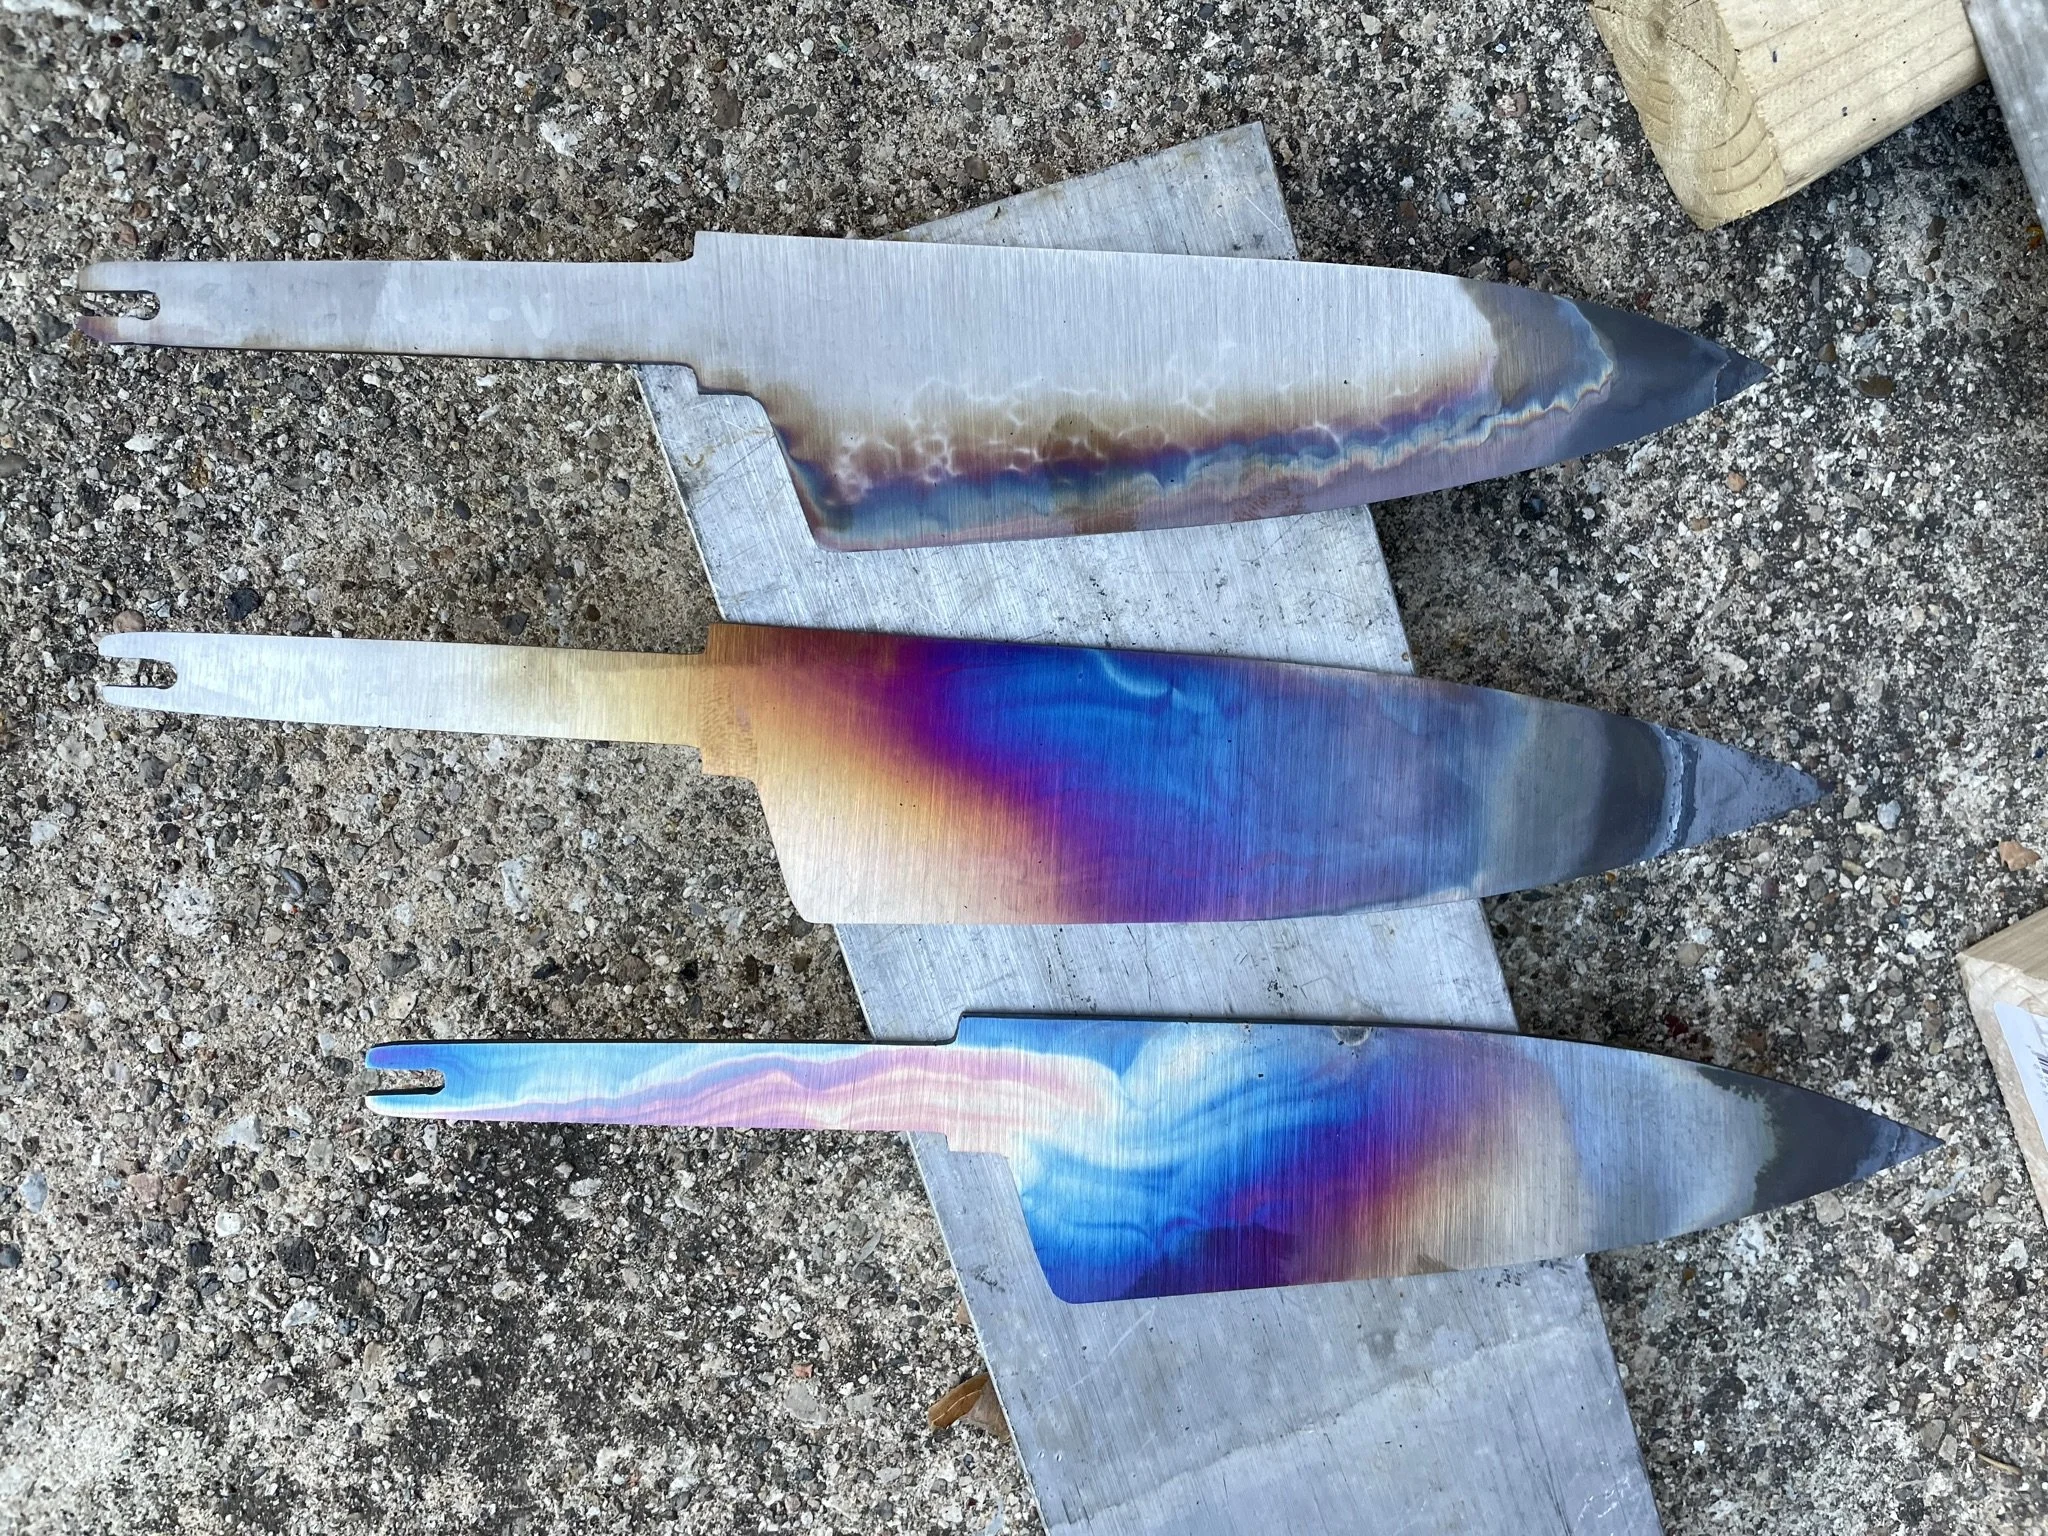
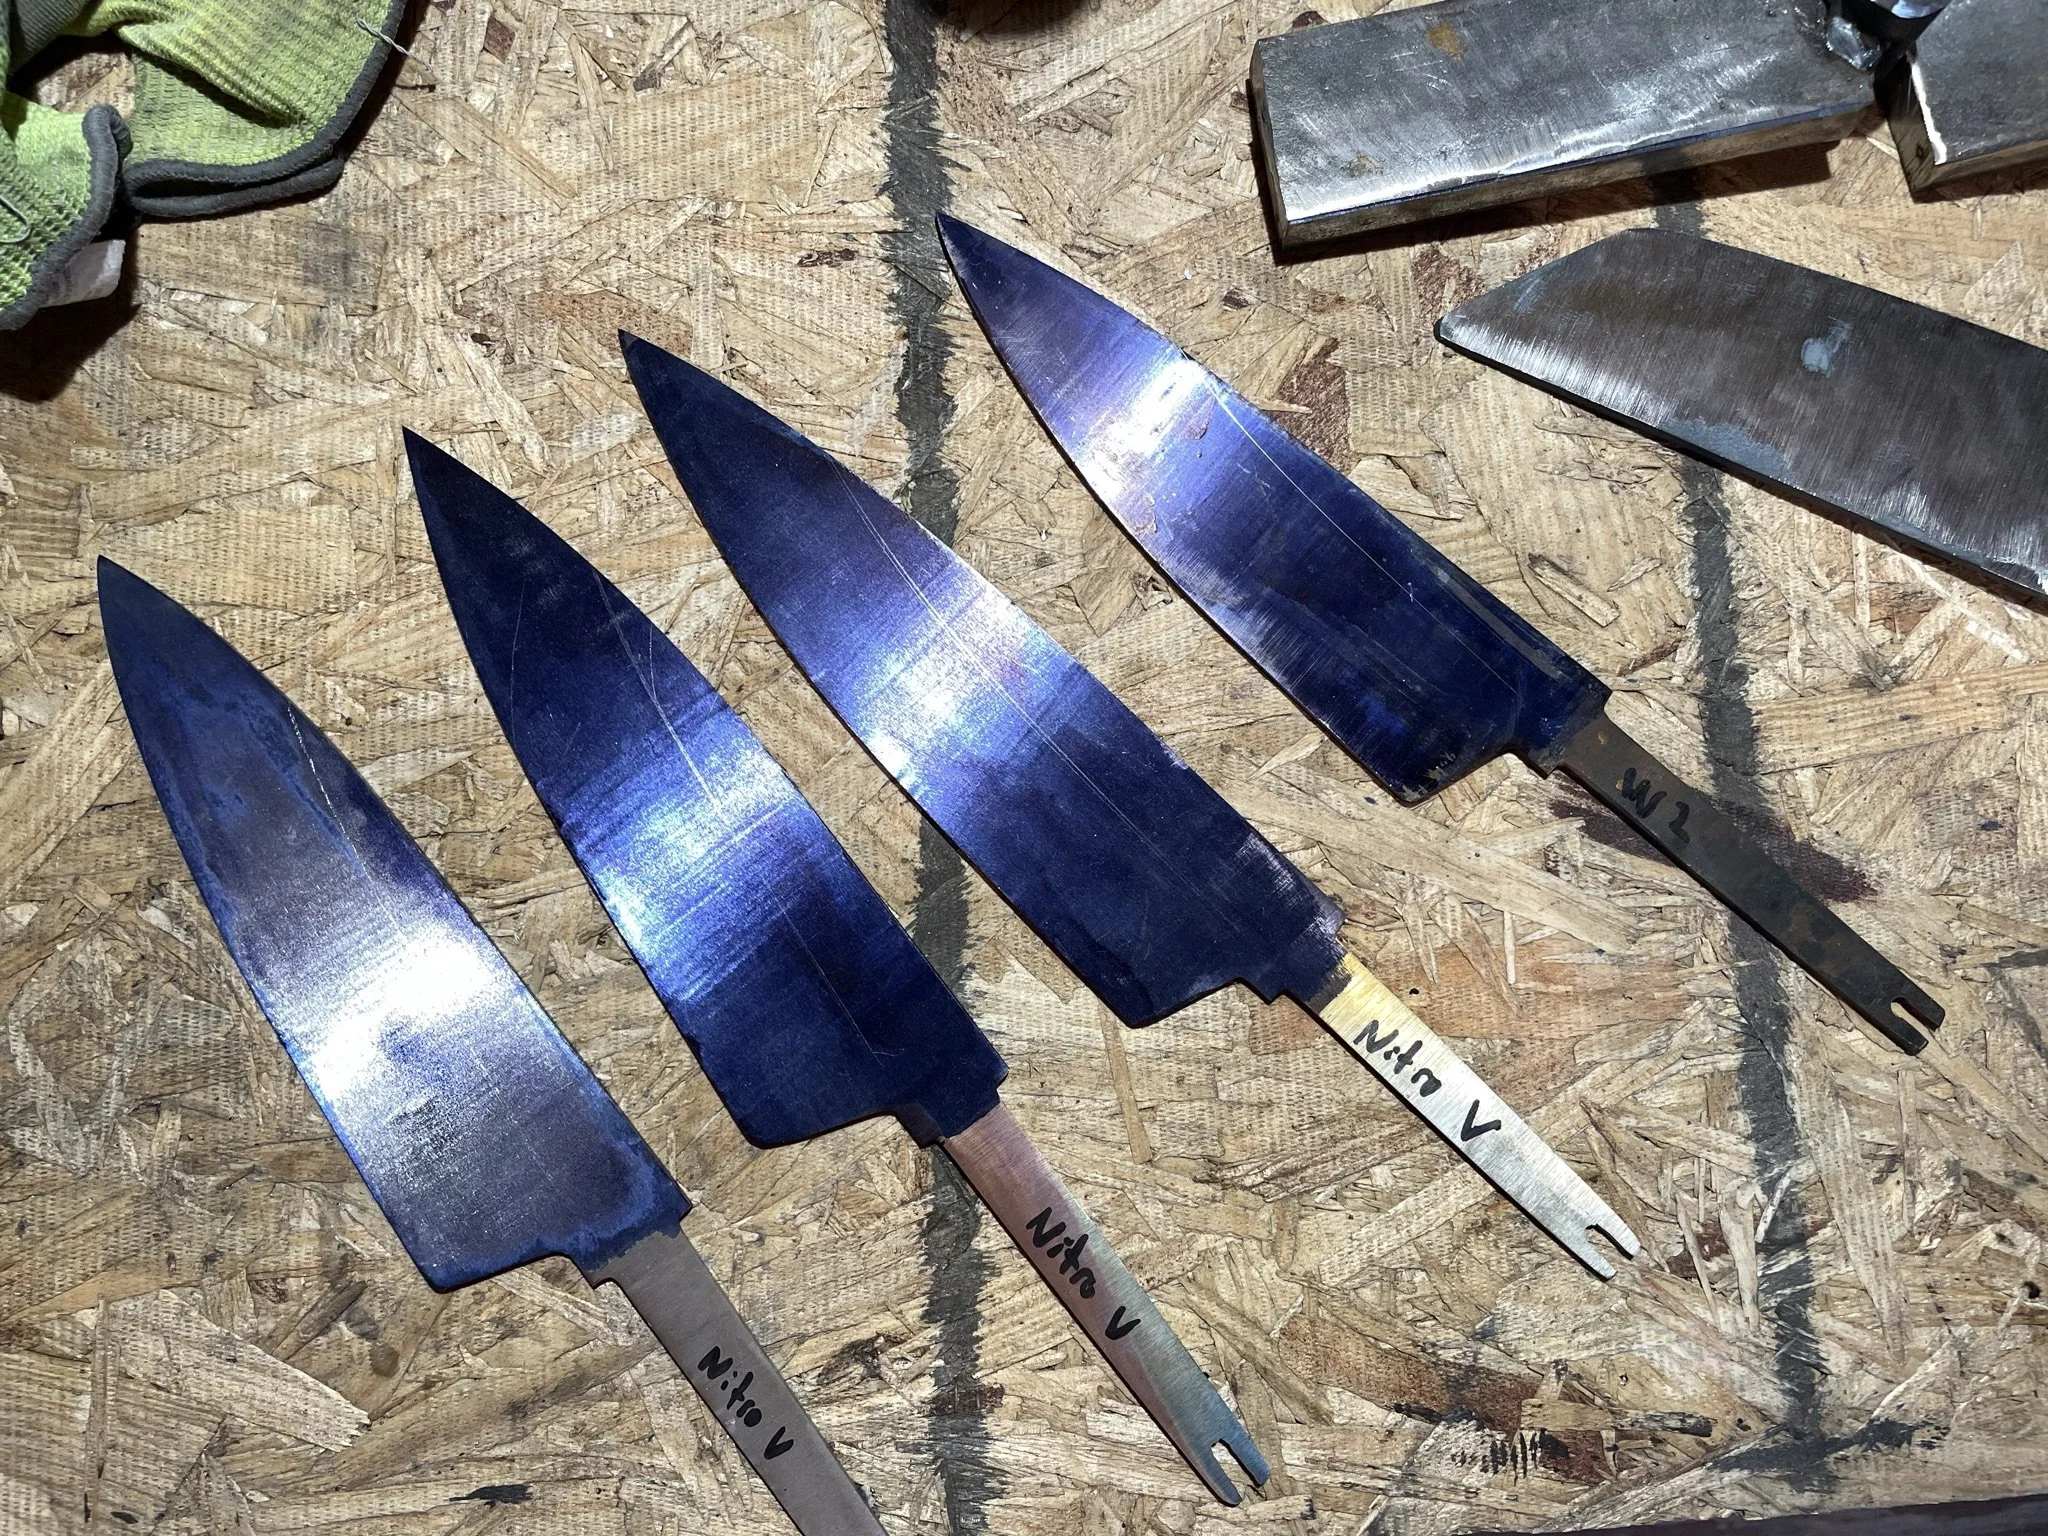
While working on the W-1 steel knife, we also heat treated 3 Nitro-V (stainless steel) blades. These colors are naturally occuring from gasses trapped in the foil packets used to heat treat. You can't out beauty nature.
-
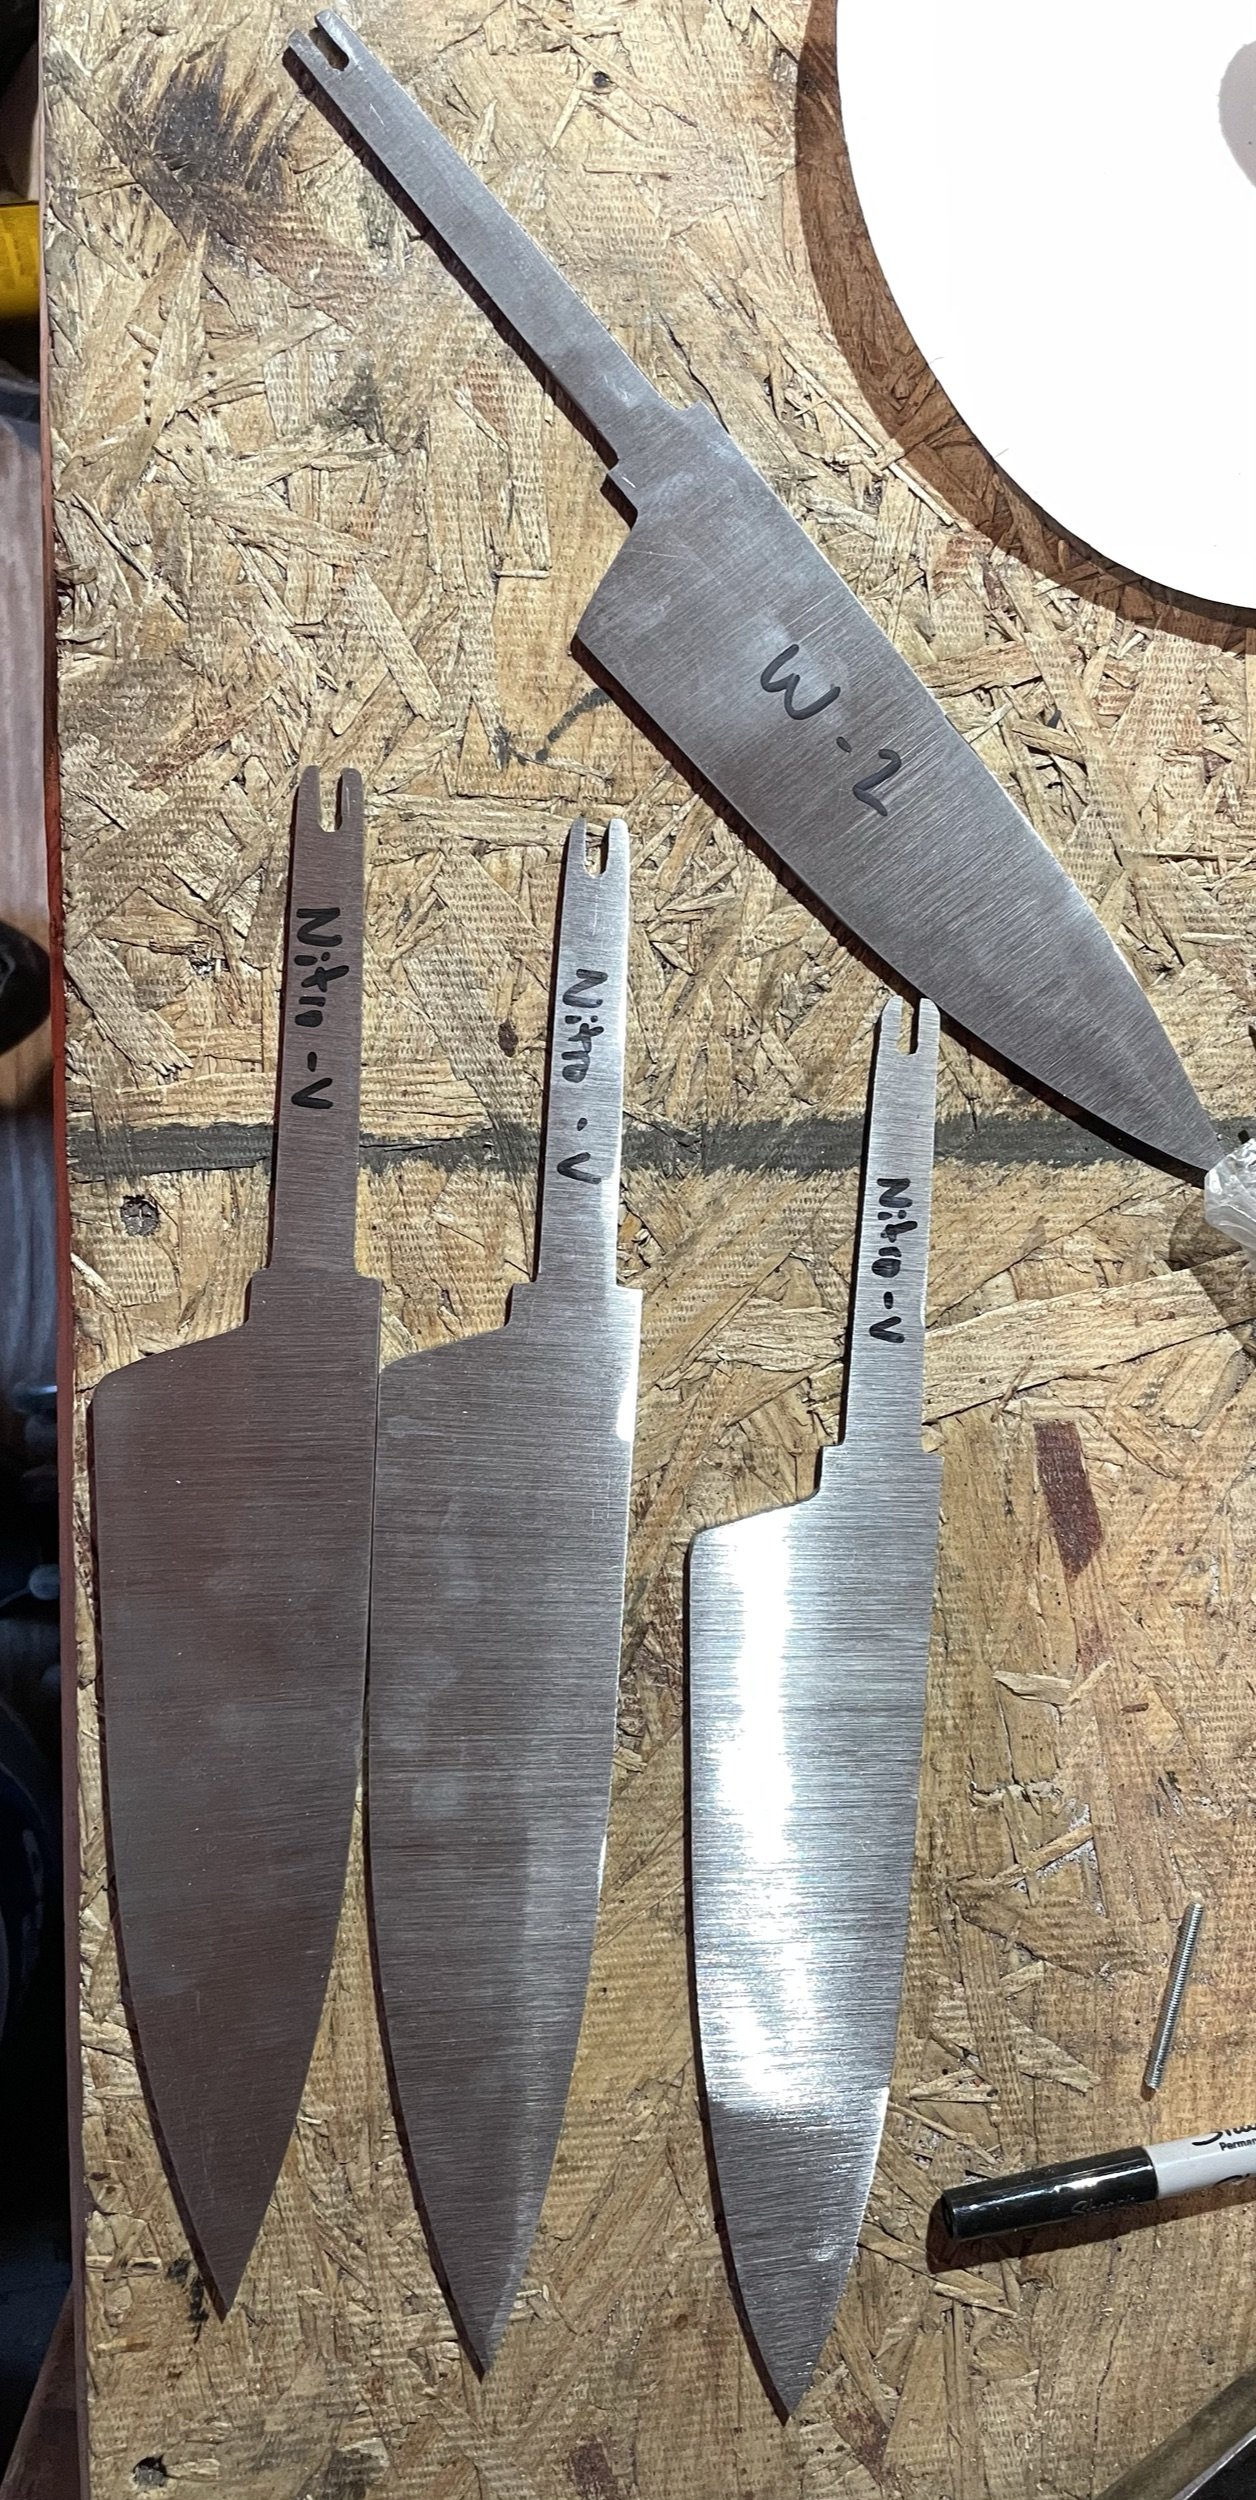
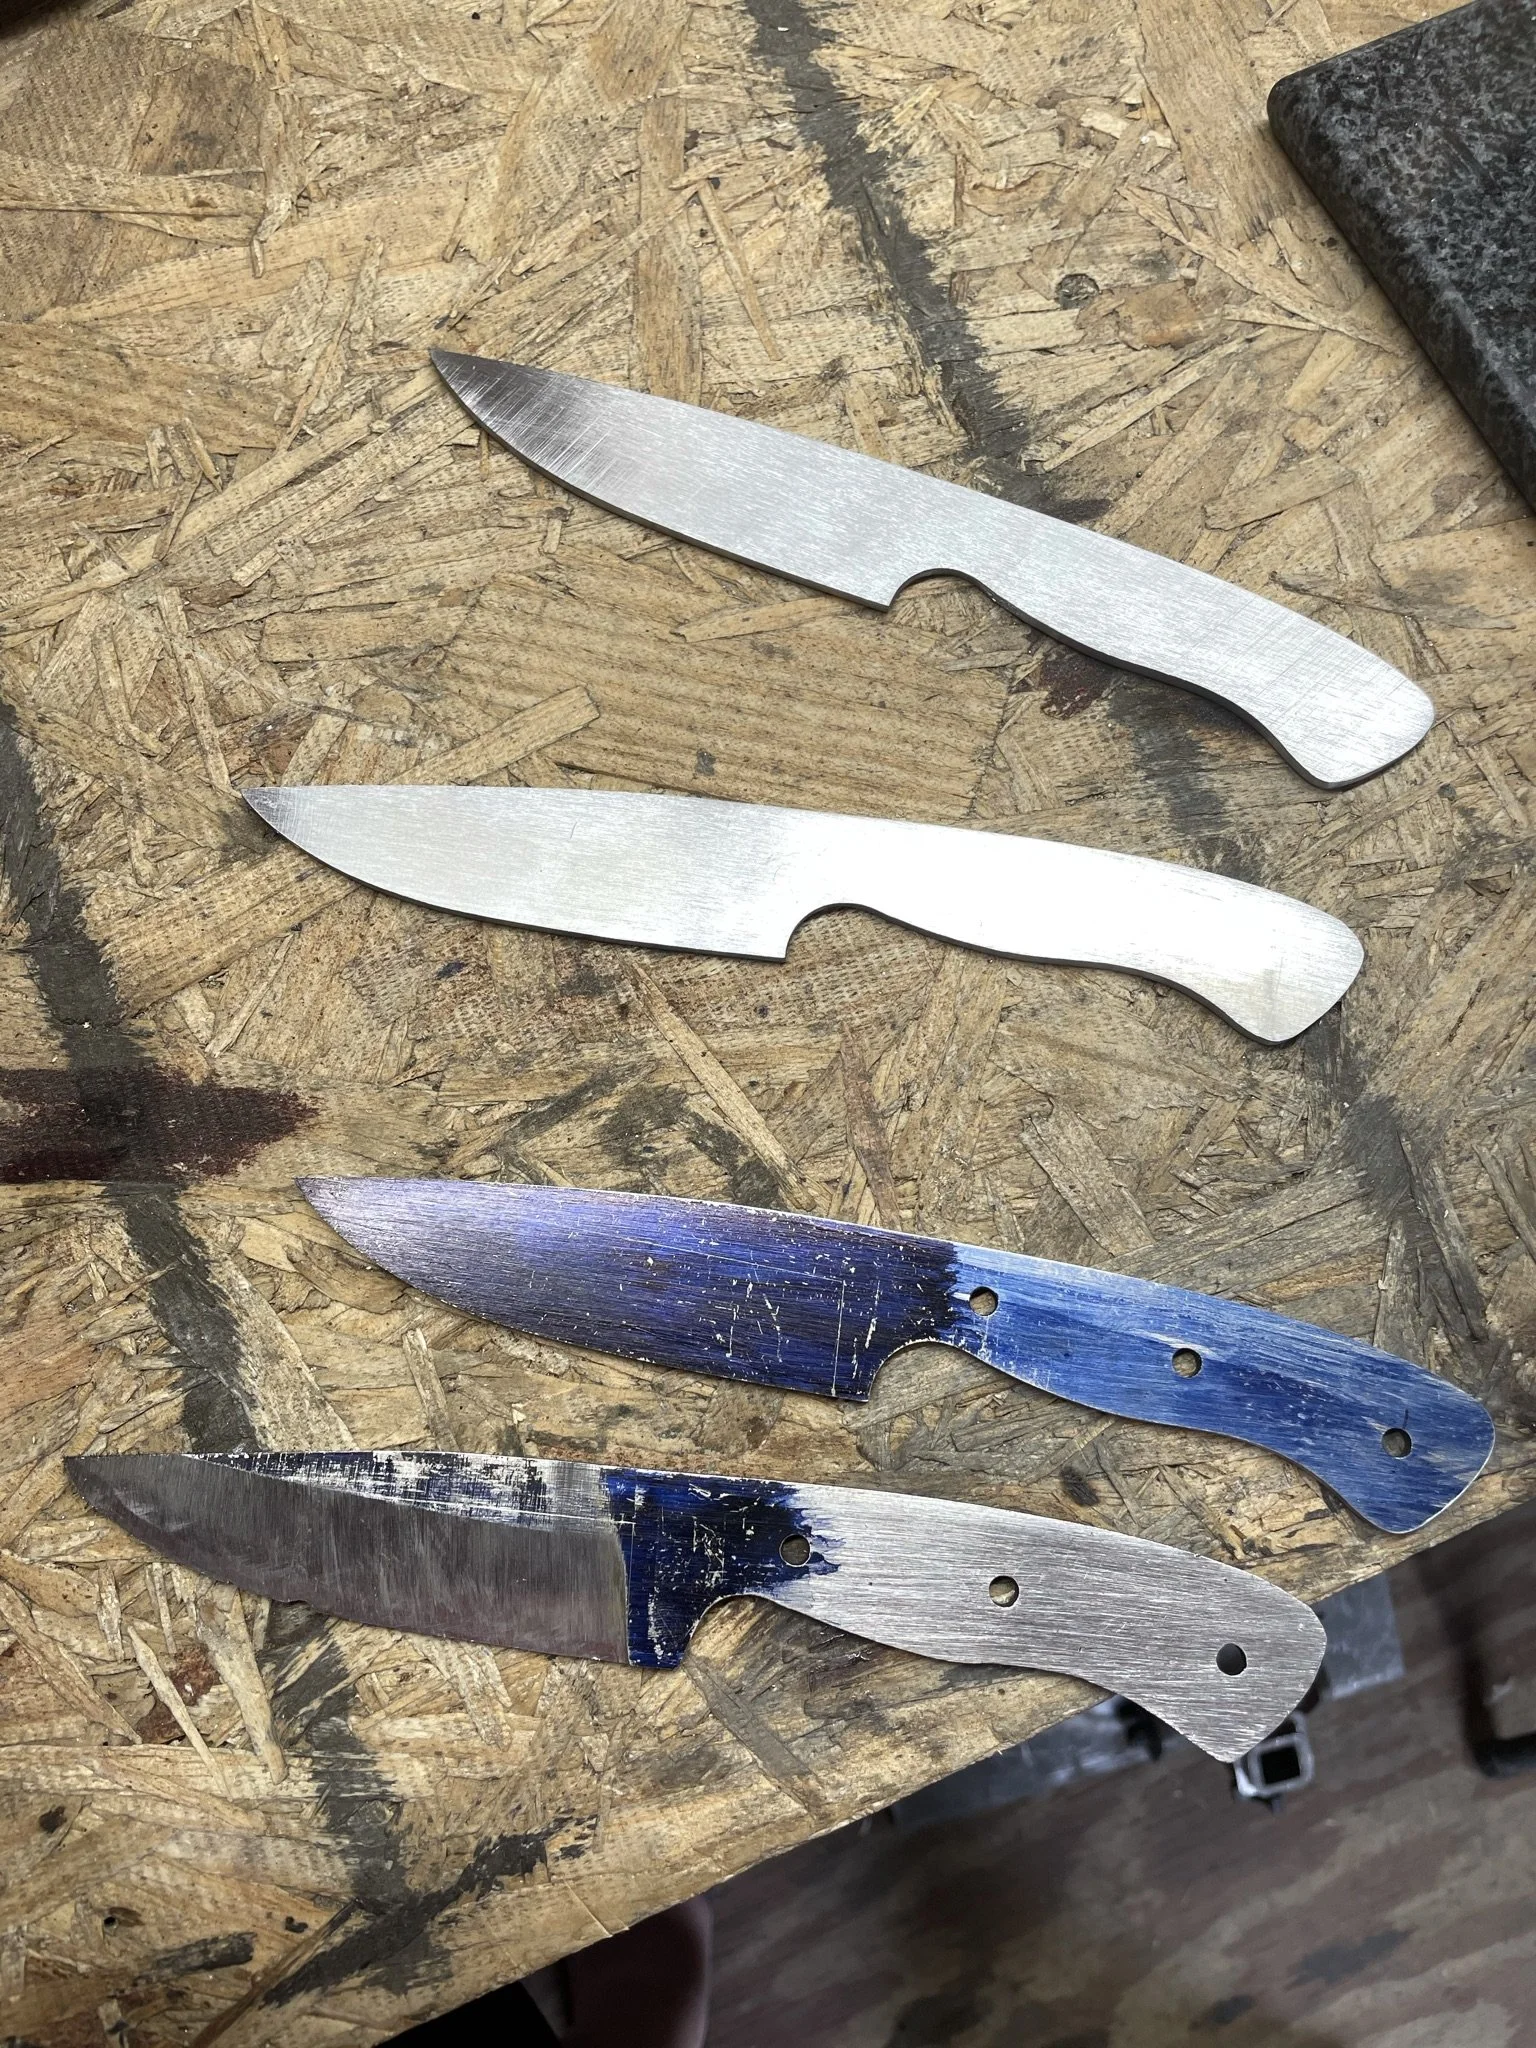
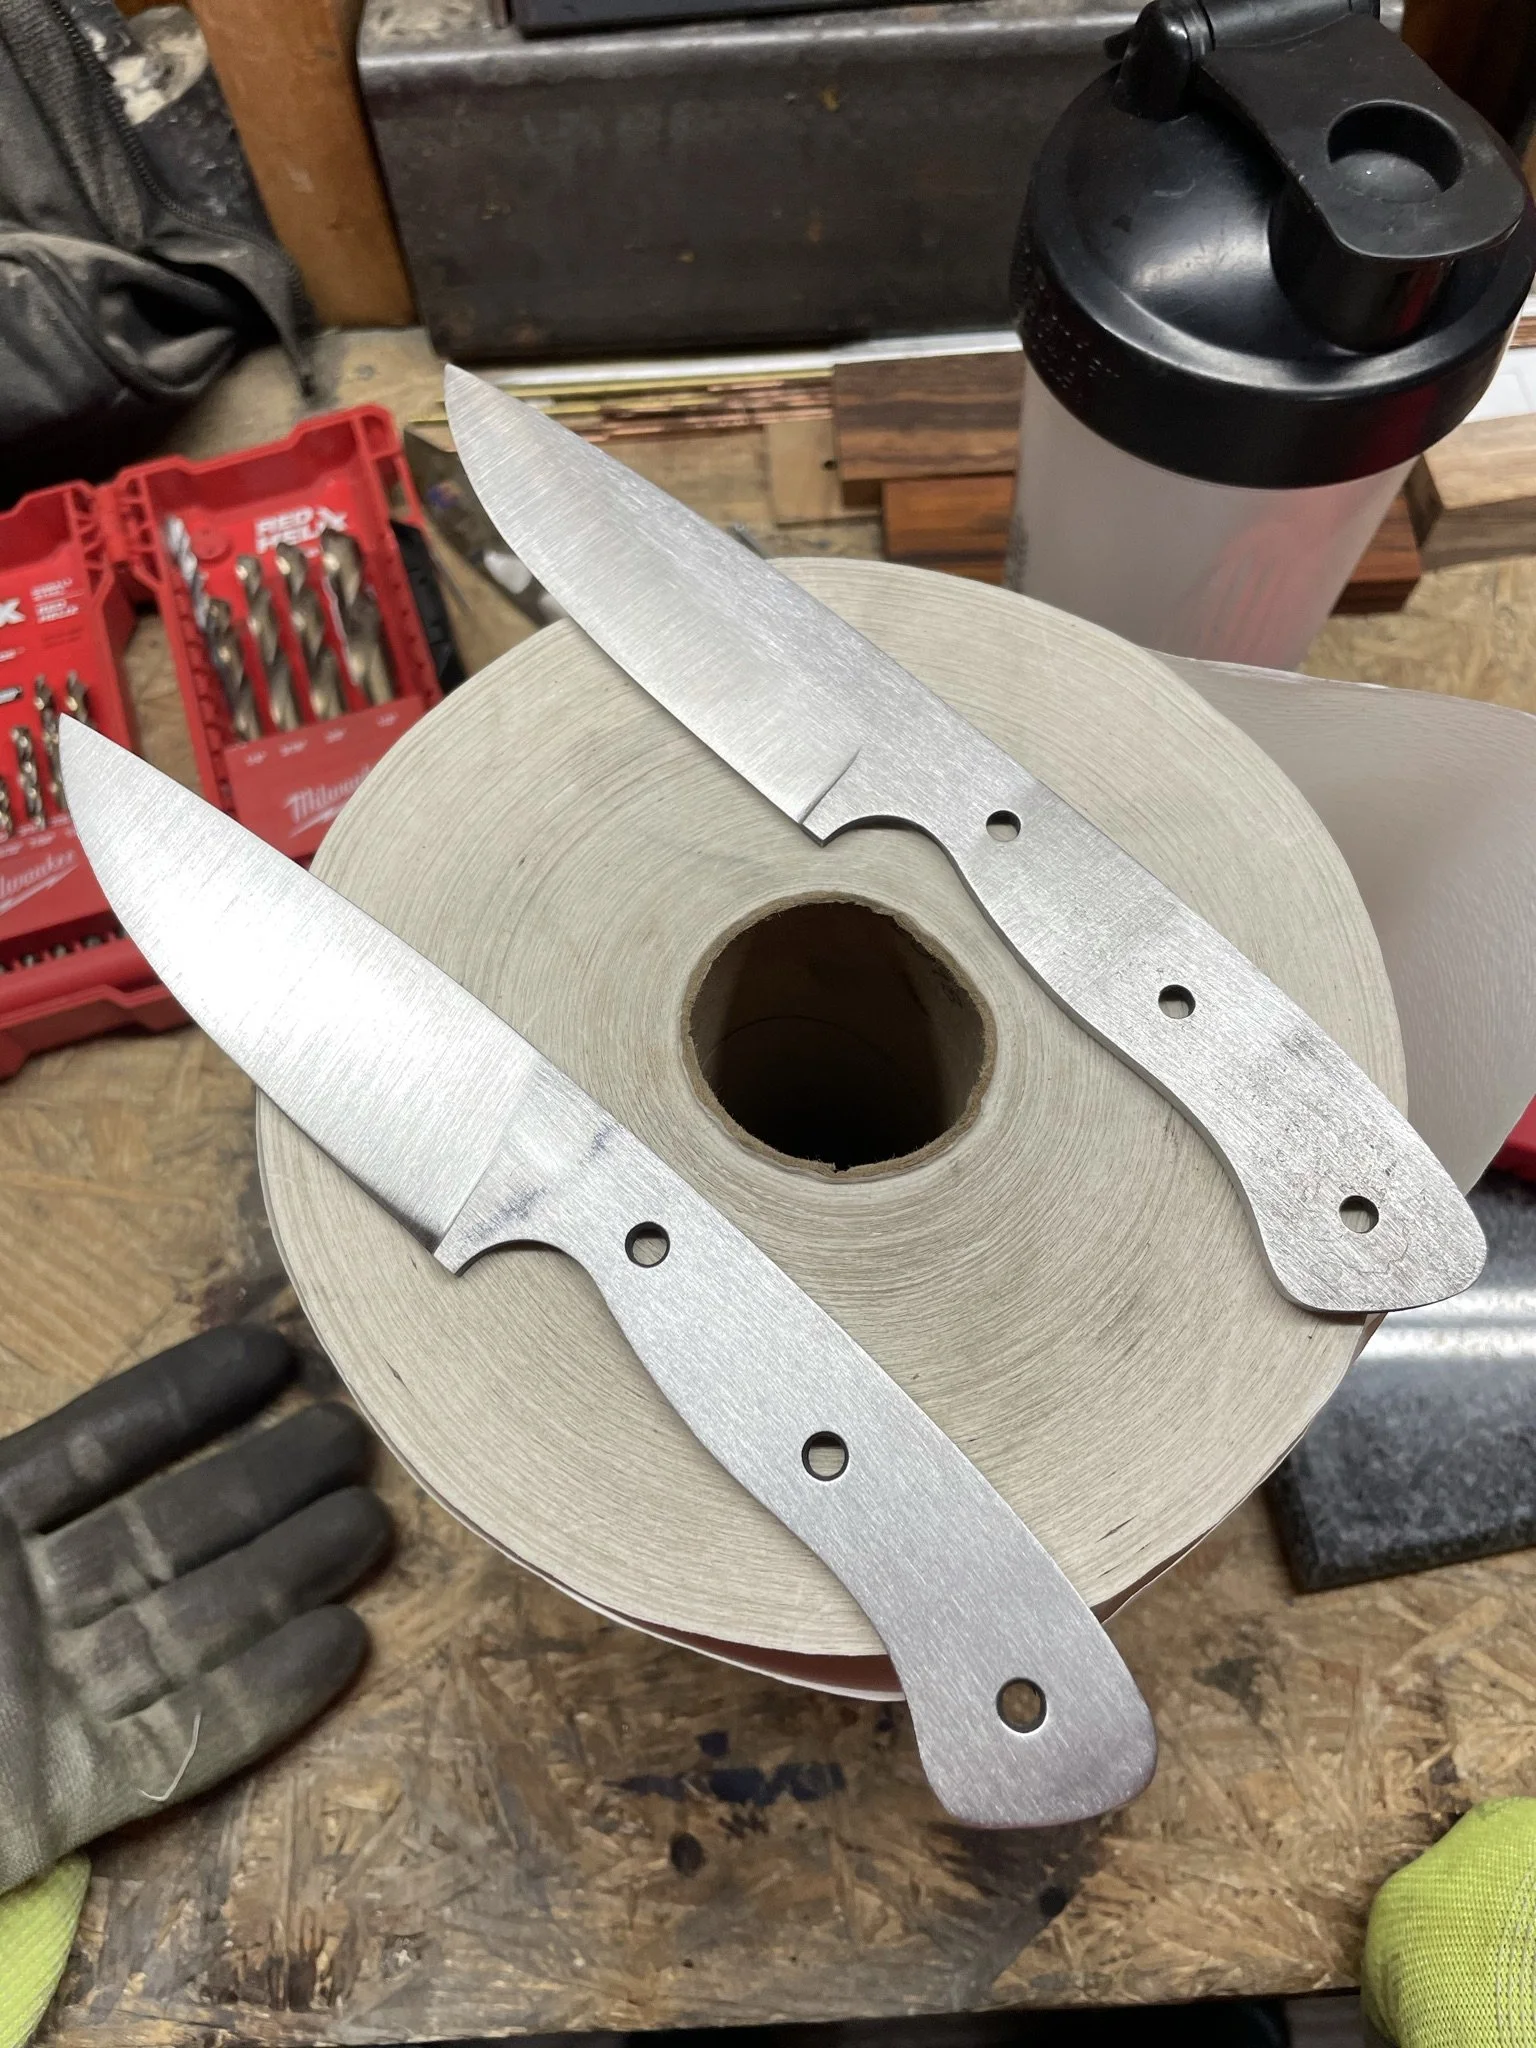
The four chef's knives back at my home shop and cleaned up. I wish I hadn't pre-shaped them as my design was still early, but no going back at this point.
-
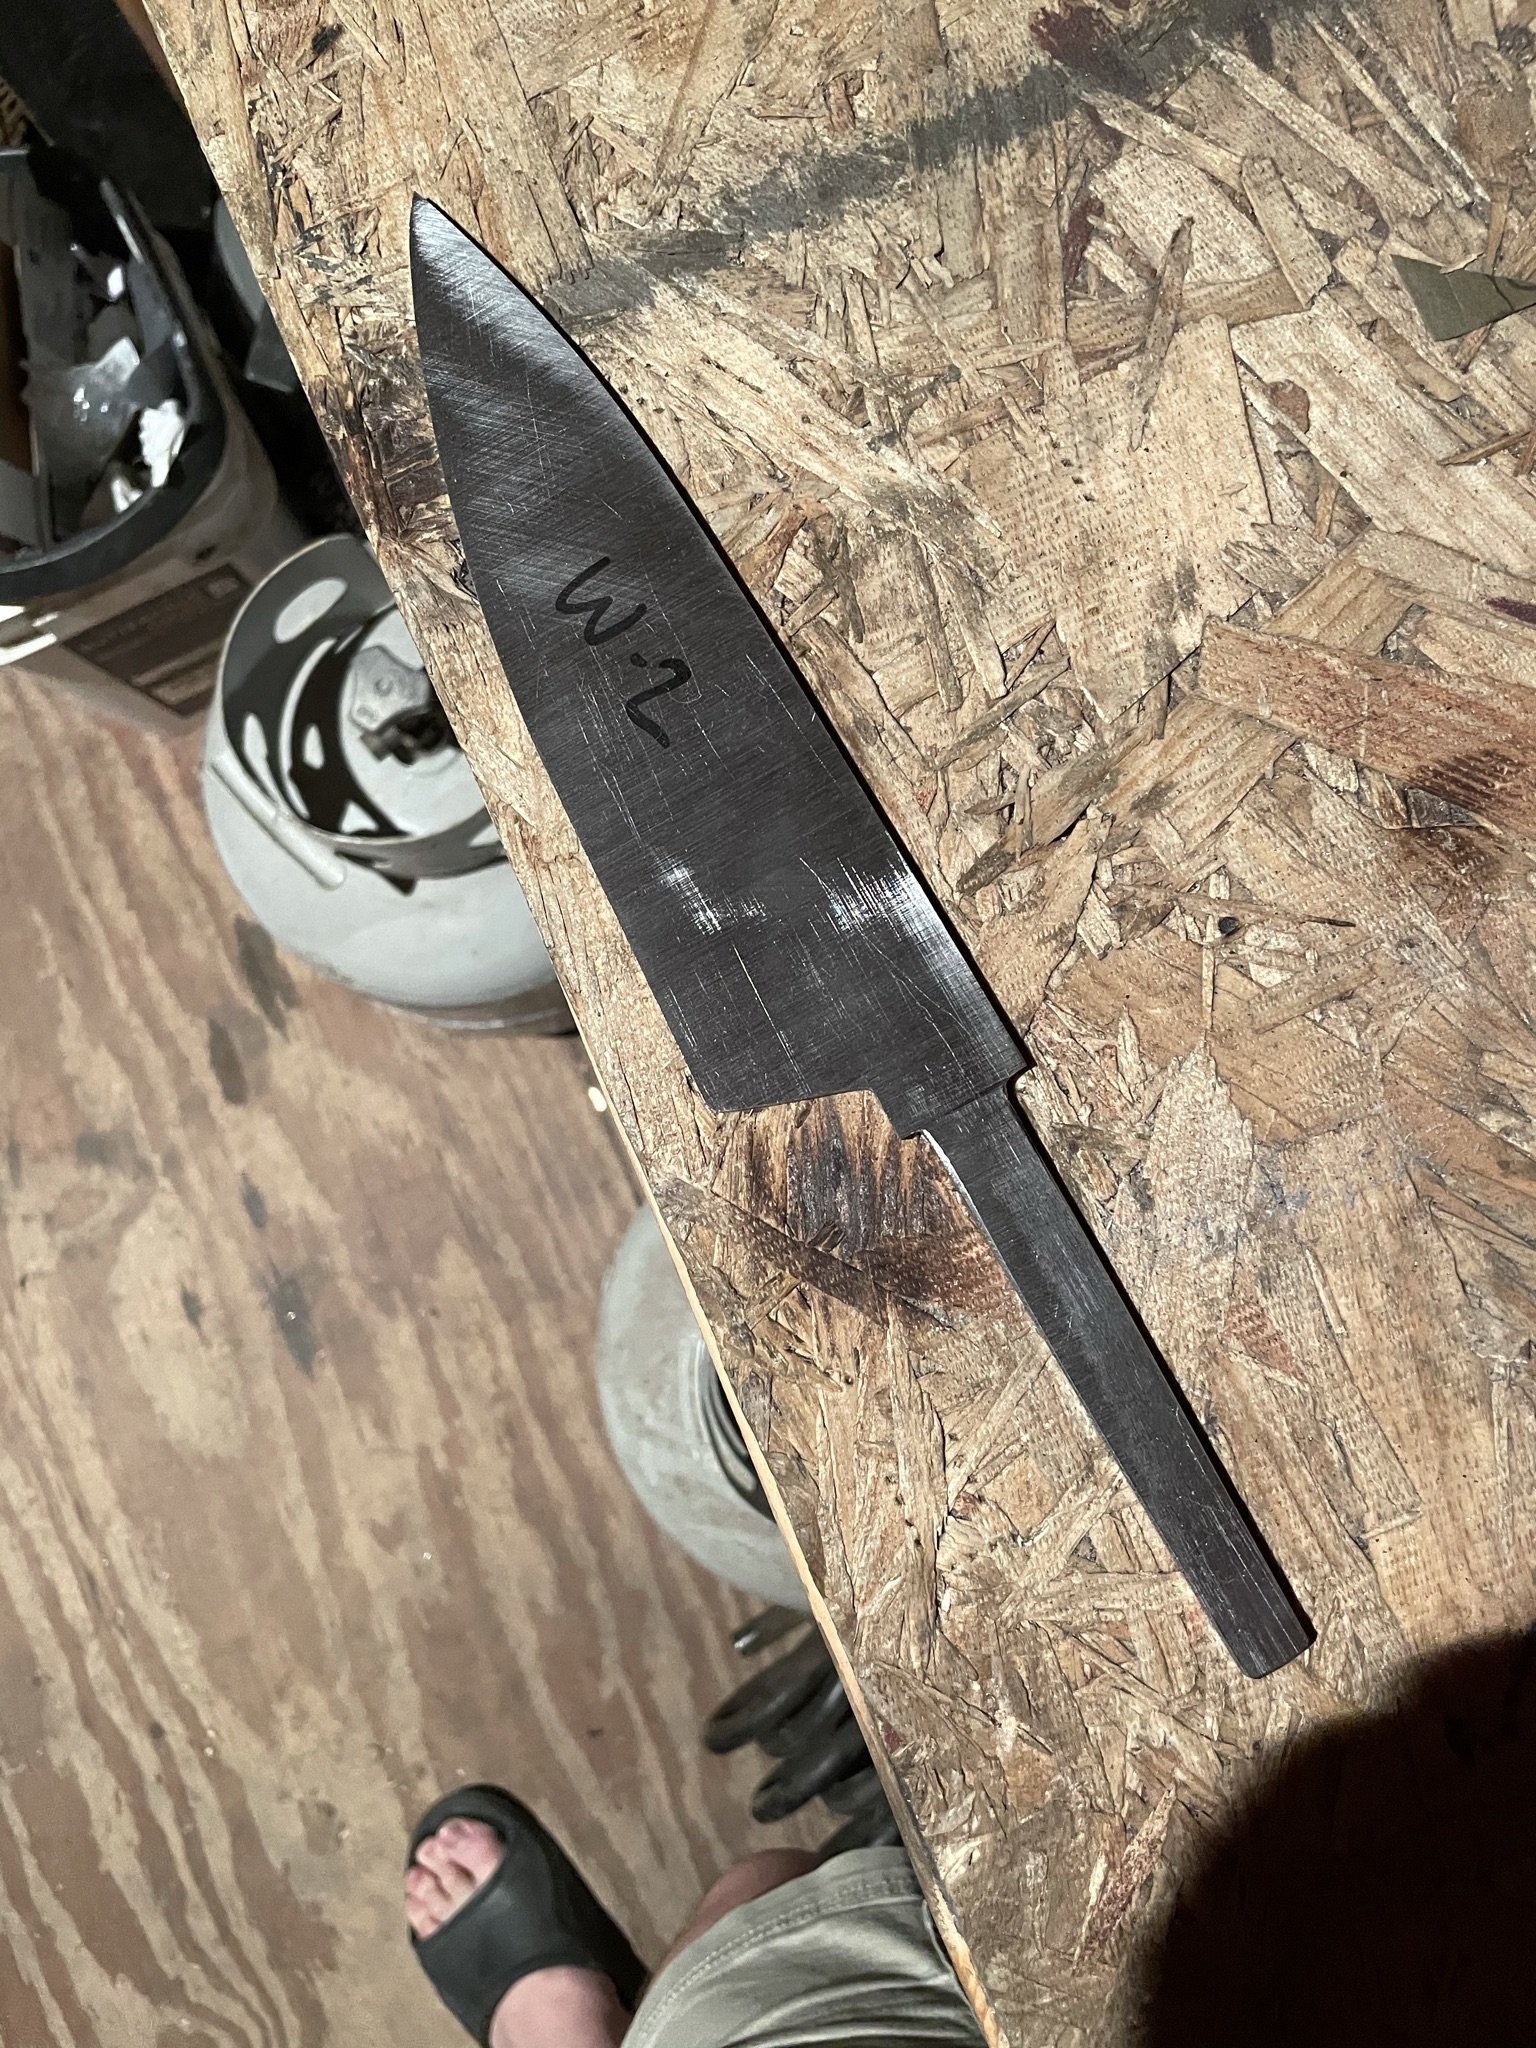
The blade to be.
-
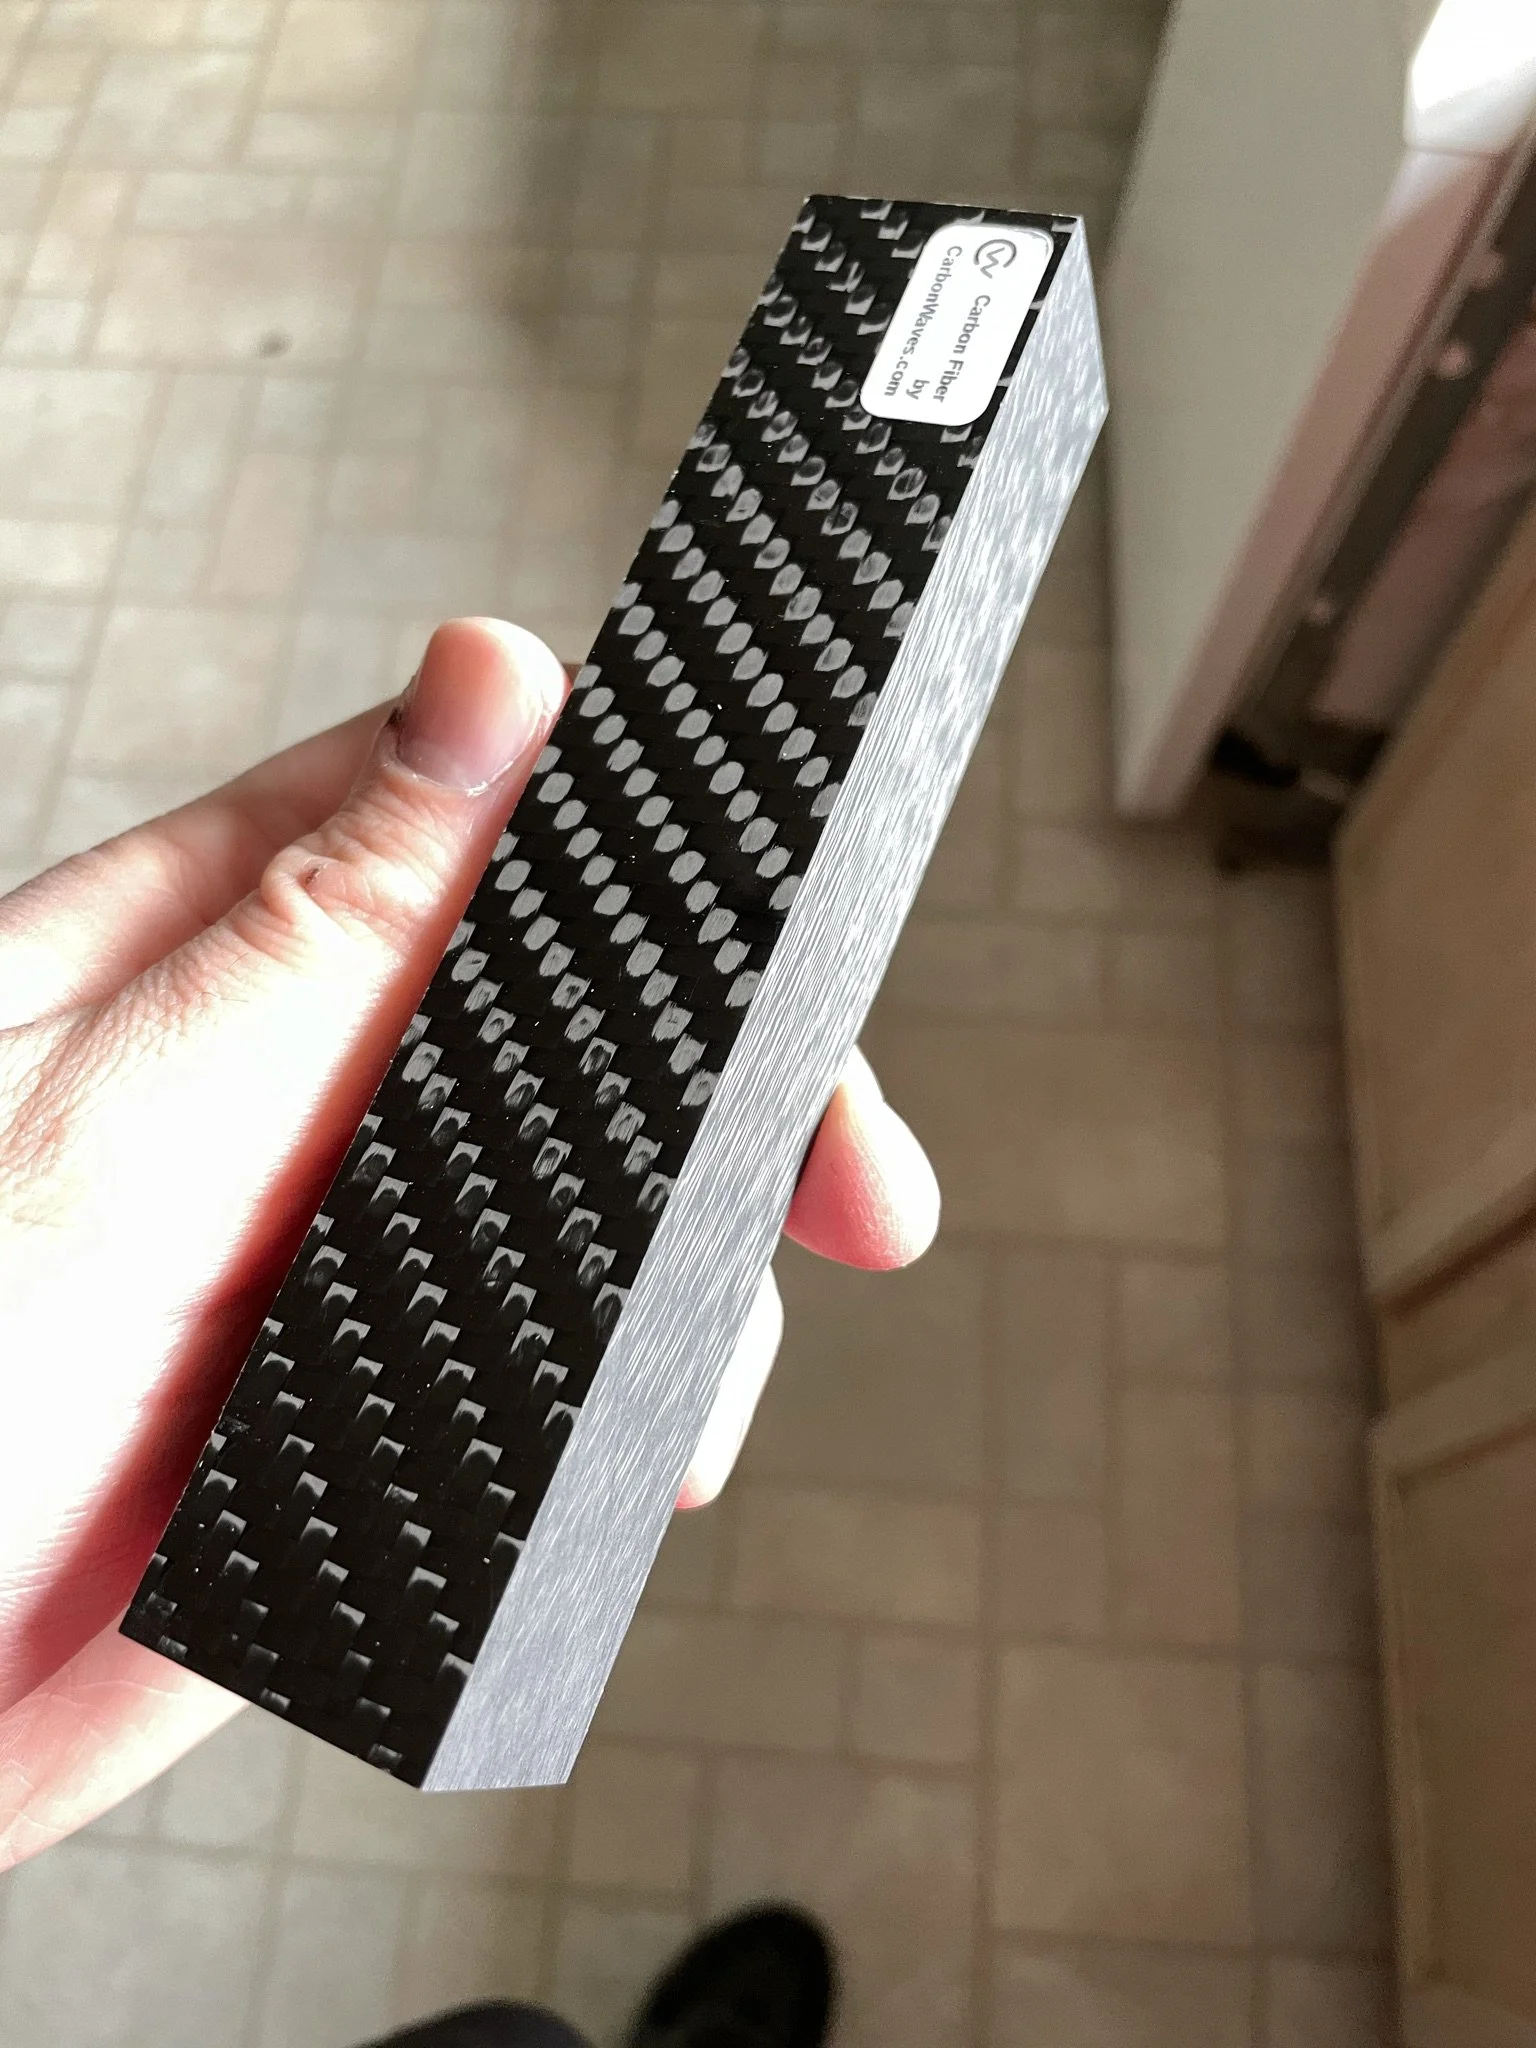
I decided that I wanted a carbon fiber bolster on this one.
-
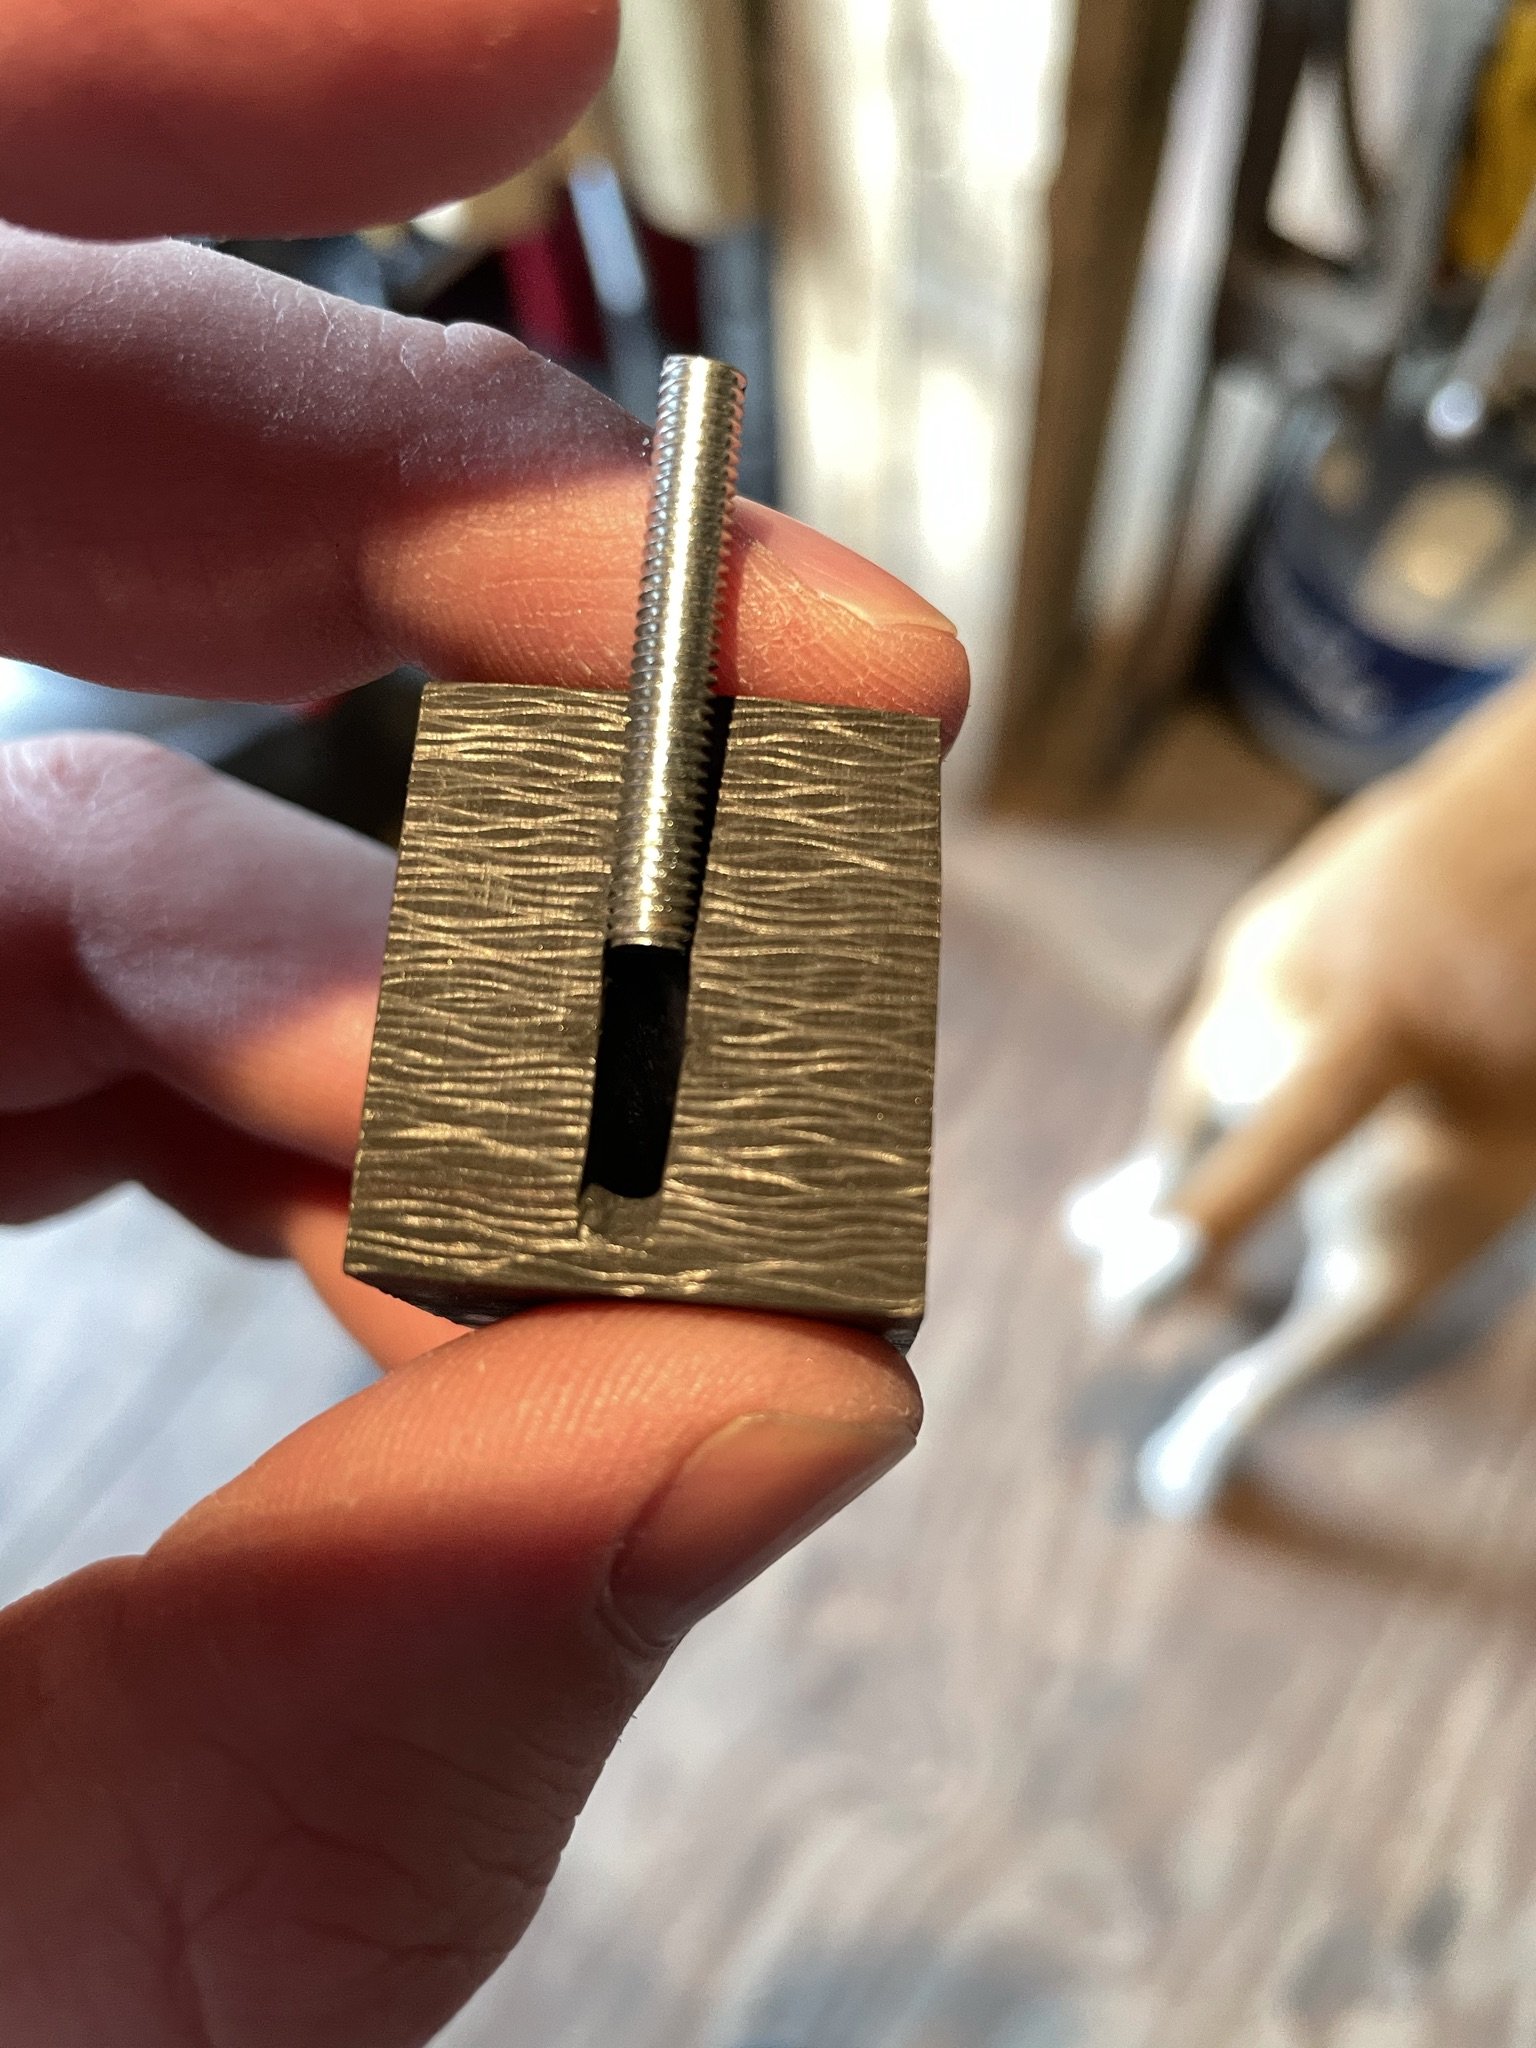
Austin helped me mill out the slot for the tang. This blade was the first time making a hidden tang knife.
-
Parts all fit up. I made "makume gane" out of a stack of quarters.
-
Using a corby bolt to mechanically secure the handle to the blade. All of my blades are glued and mechanically secured.
-
Close to finished in a Robbin's Custom Case. I now use these cases for all my blades without sheaths. Can't beat 'em.
-
Glamour shot #1 - you can really see the hamon after the etch.
-
Final glamour shot. This one is still on my wall at home as it wasn't requested and the hamon dipped low on the cutting edge so I didn't have confidence that it wouldn't affect the performance.
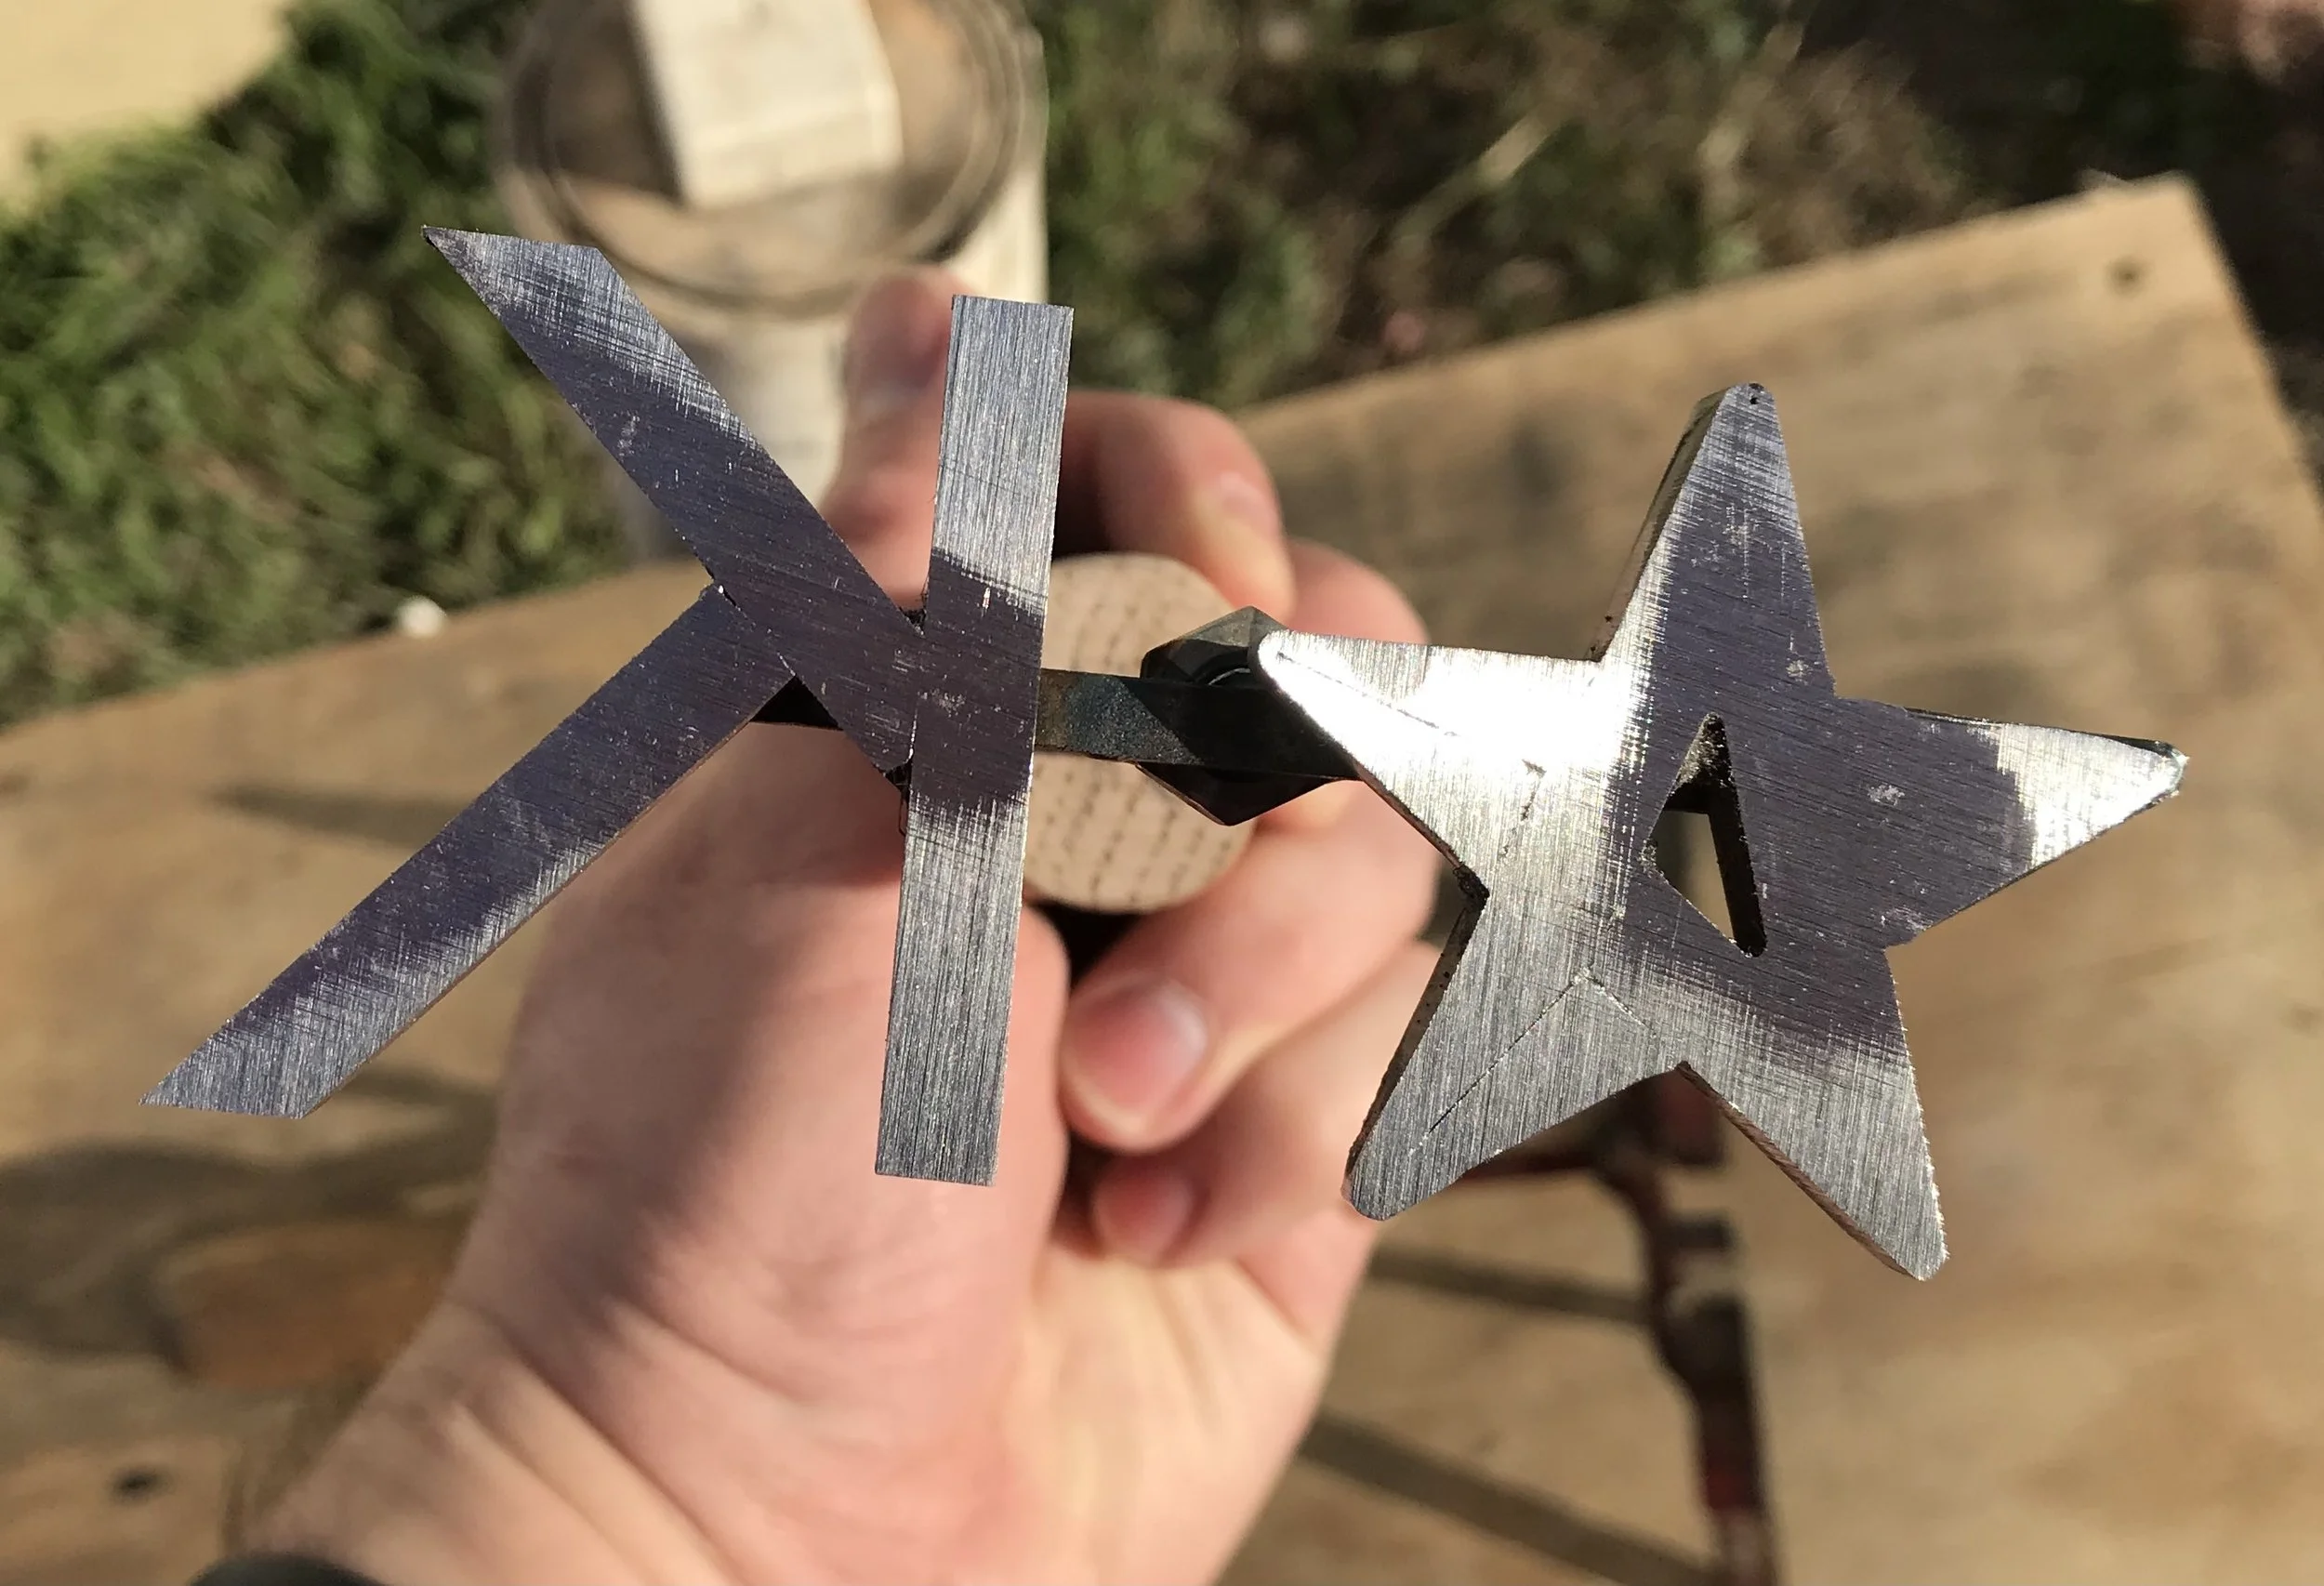
Star-K - Mini Brand
-
Final Project - keep scrolling to see the journey.
-
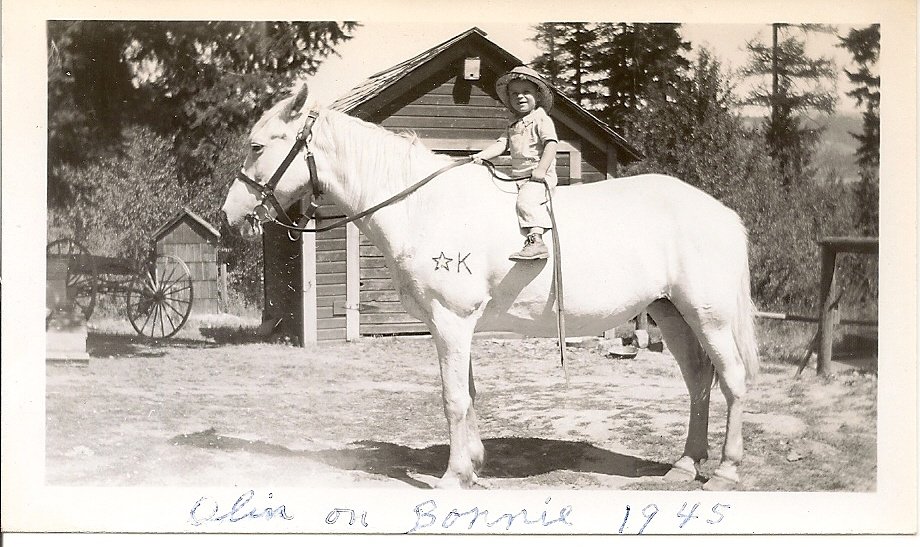
This is where my maker's mark comes from - my family (great grandparents) had a brand registered in ID with the a star and a K (Stark), as seen here in this photo of my great uncle on the family horse in 1945.
-
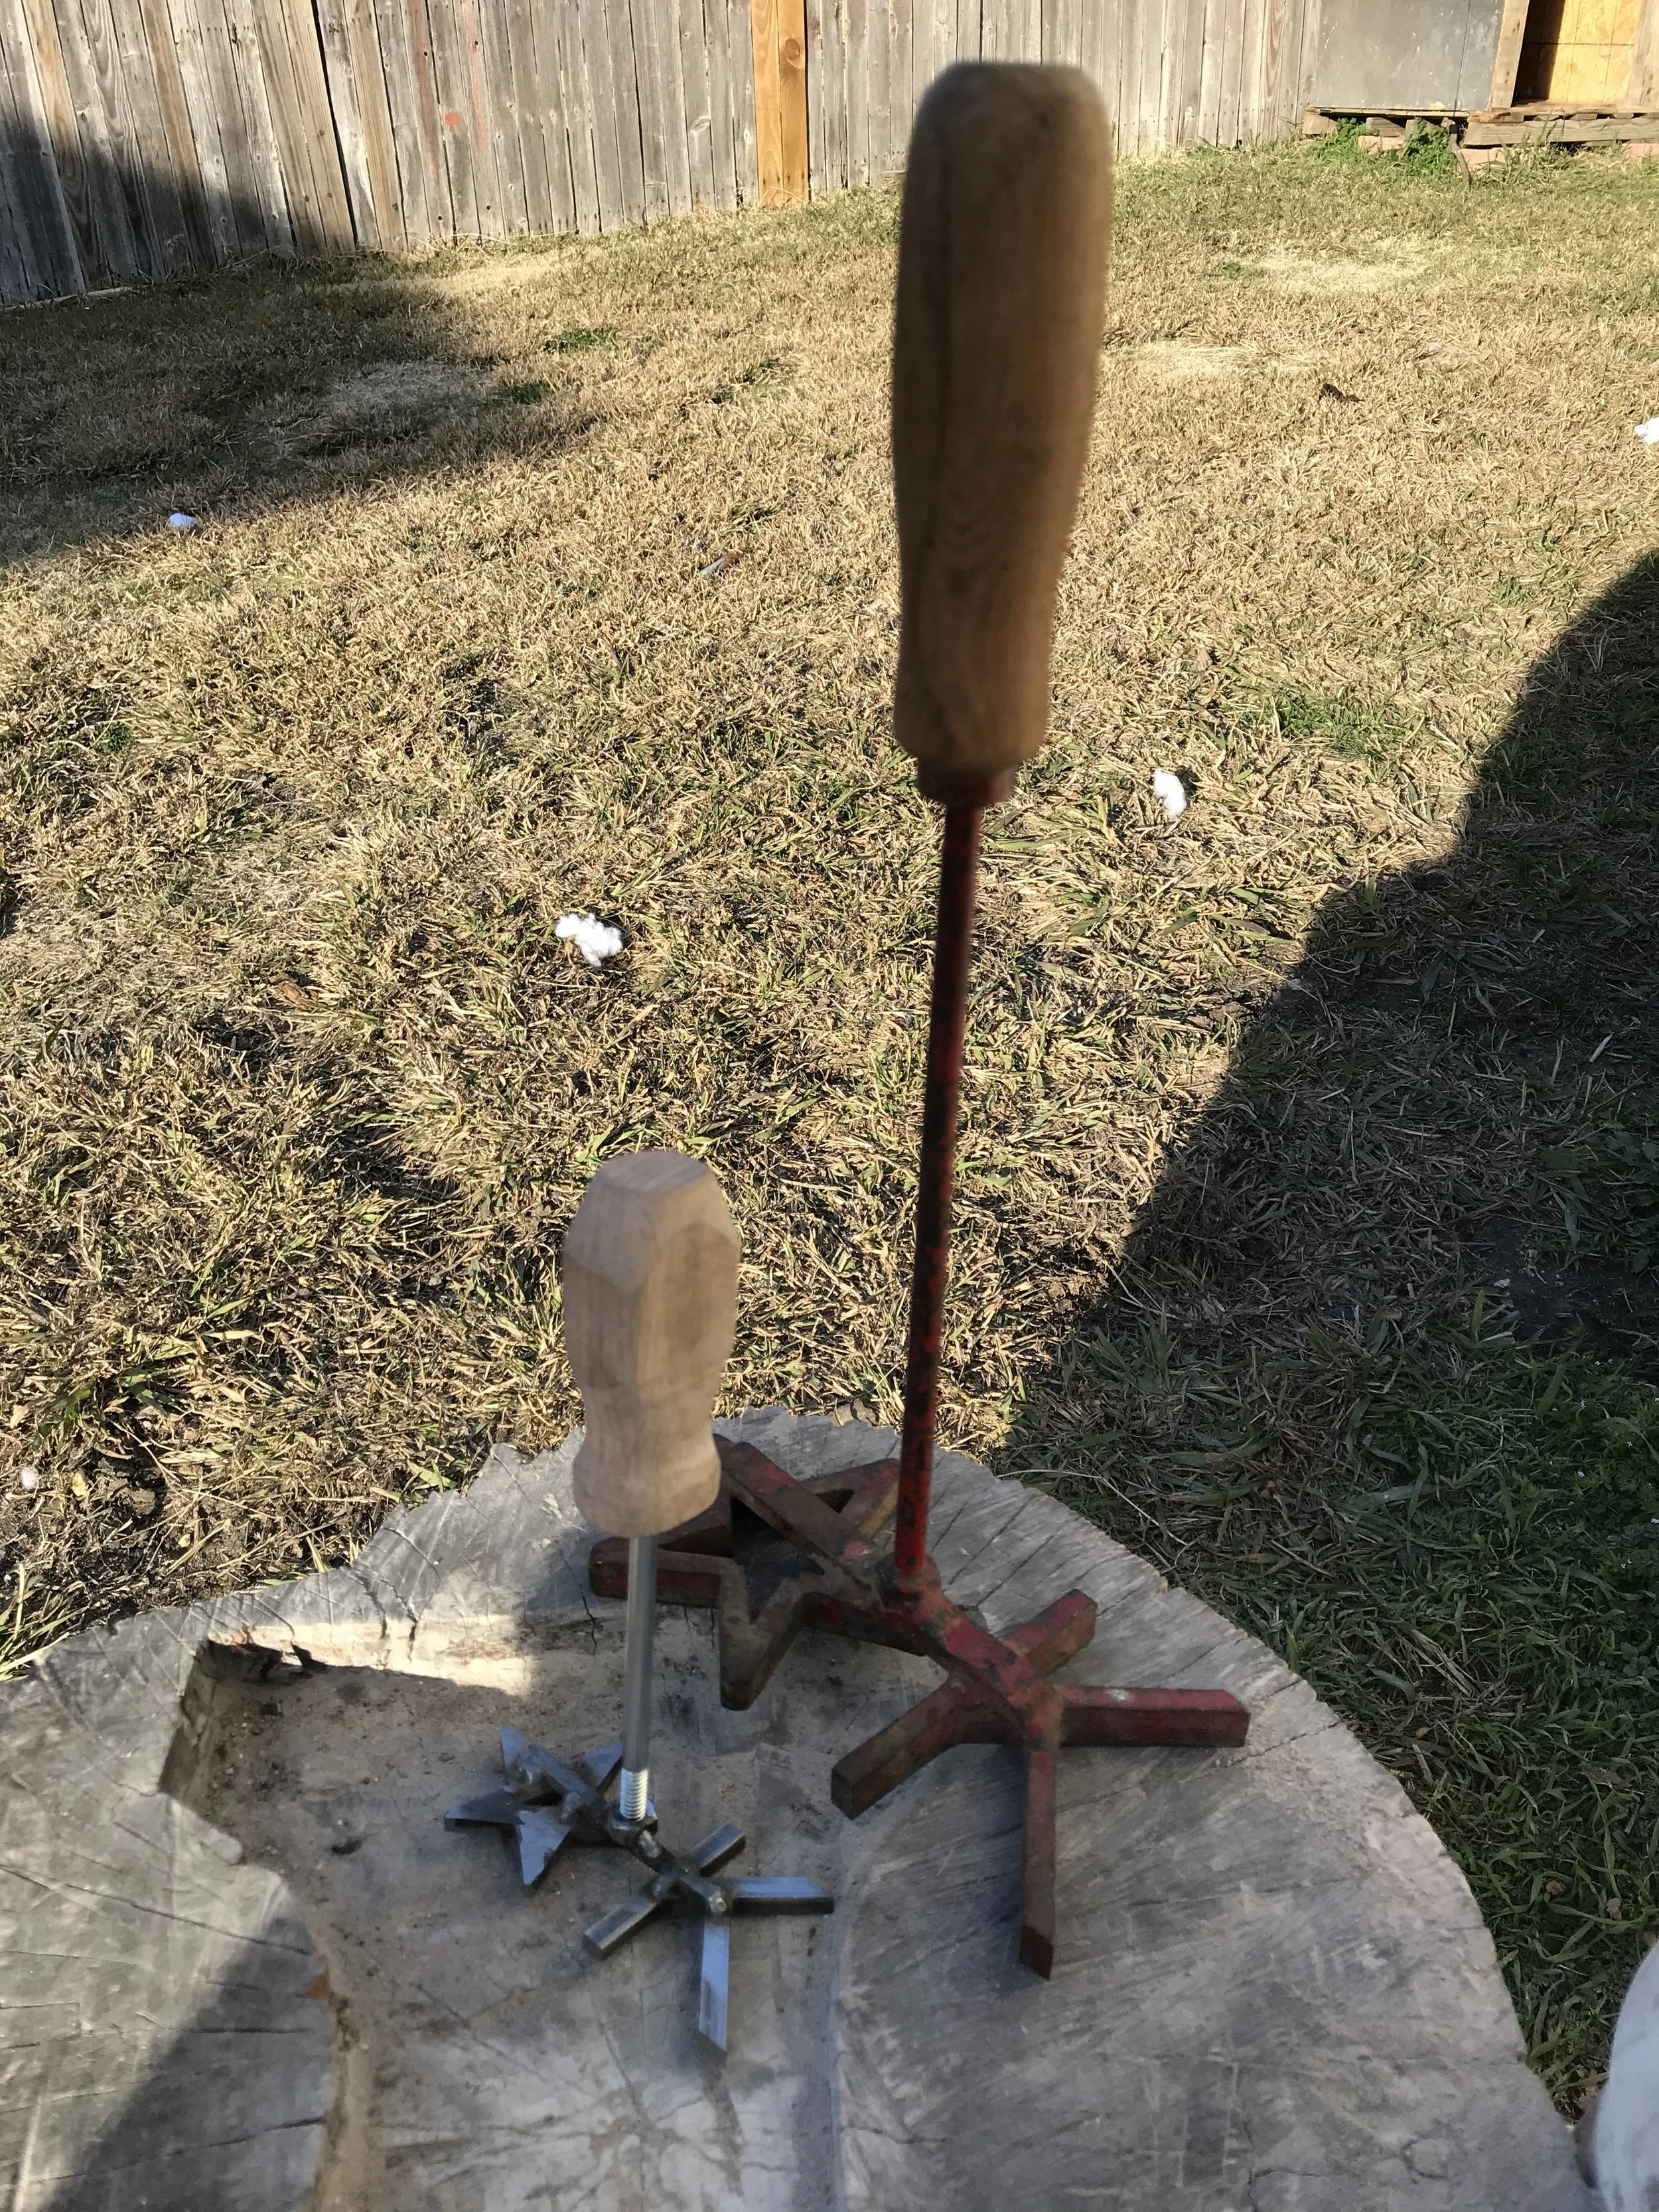
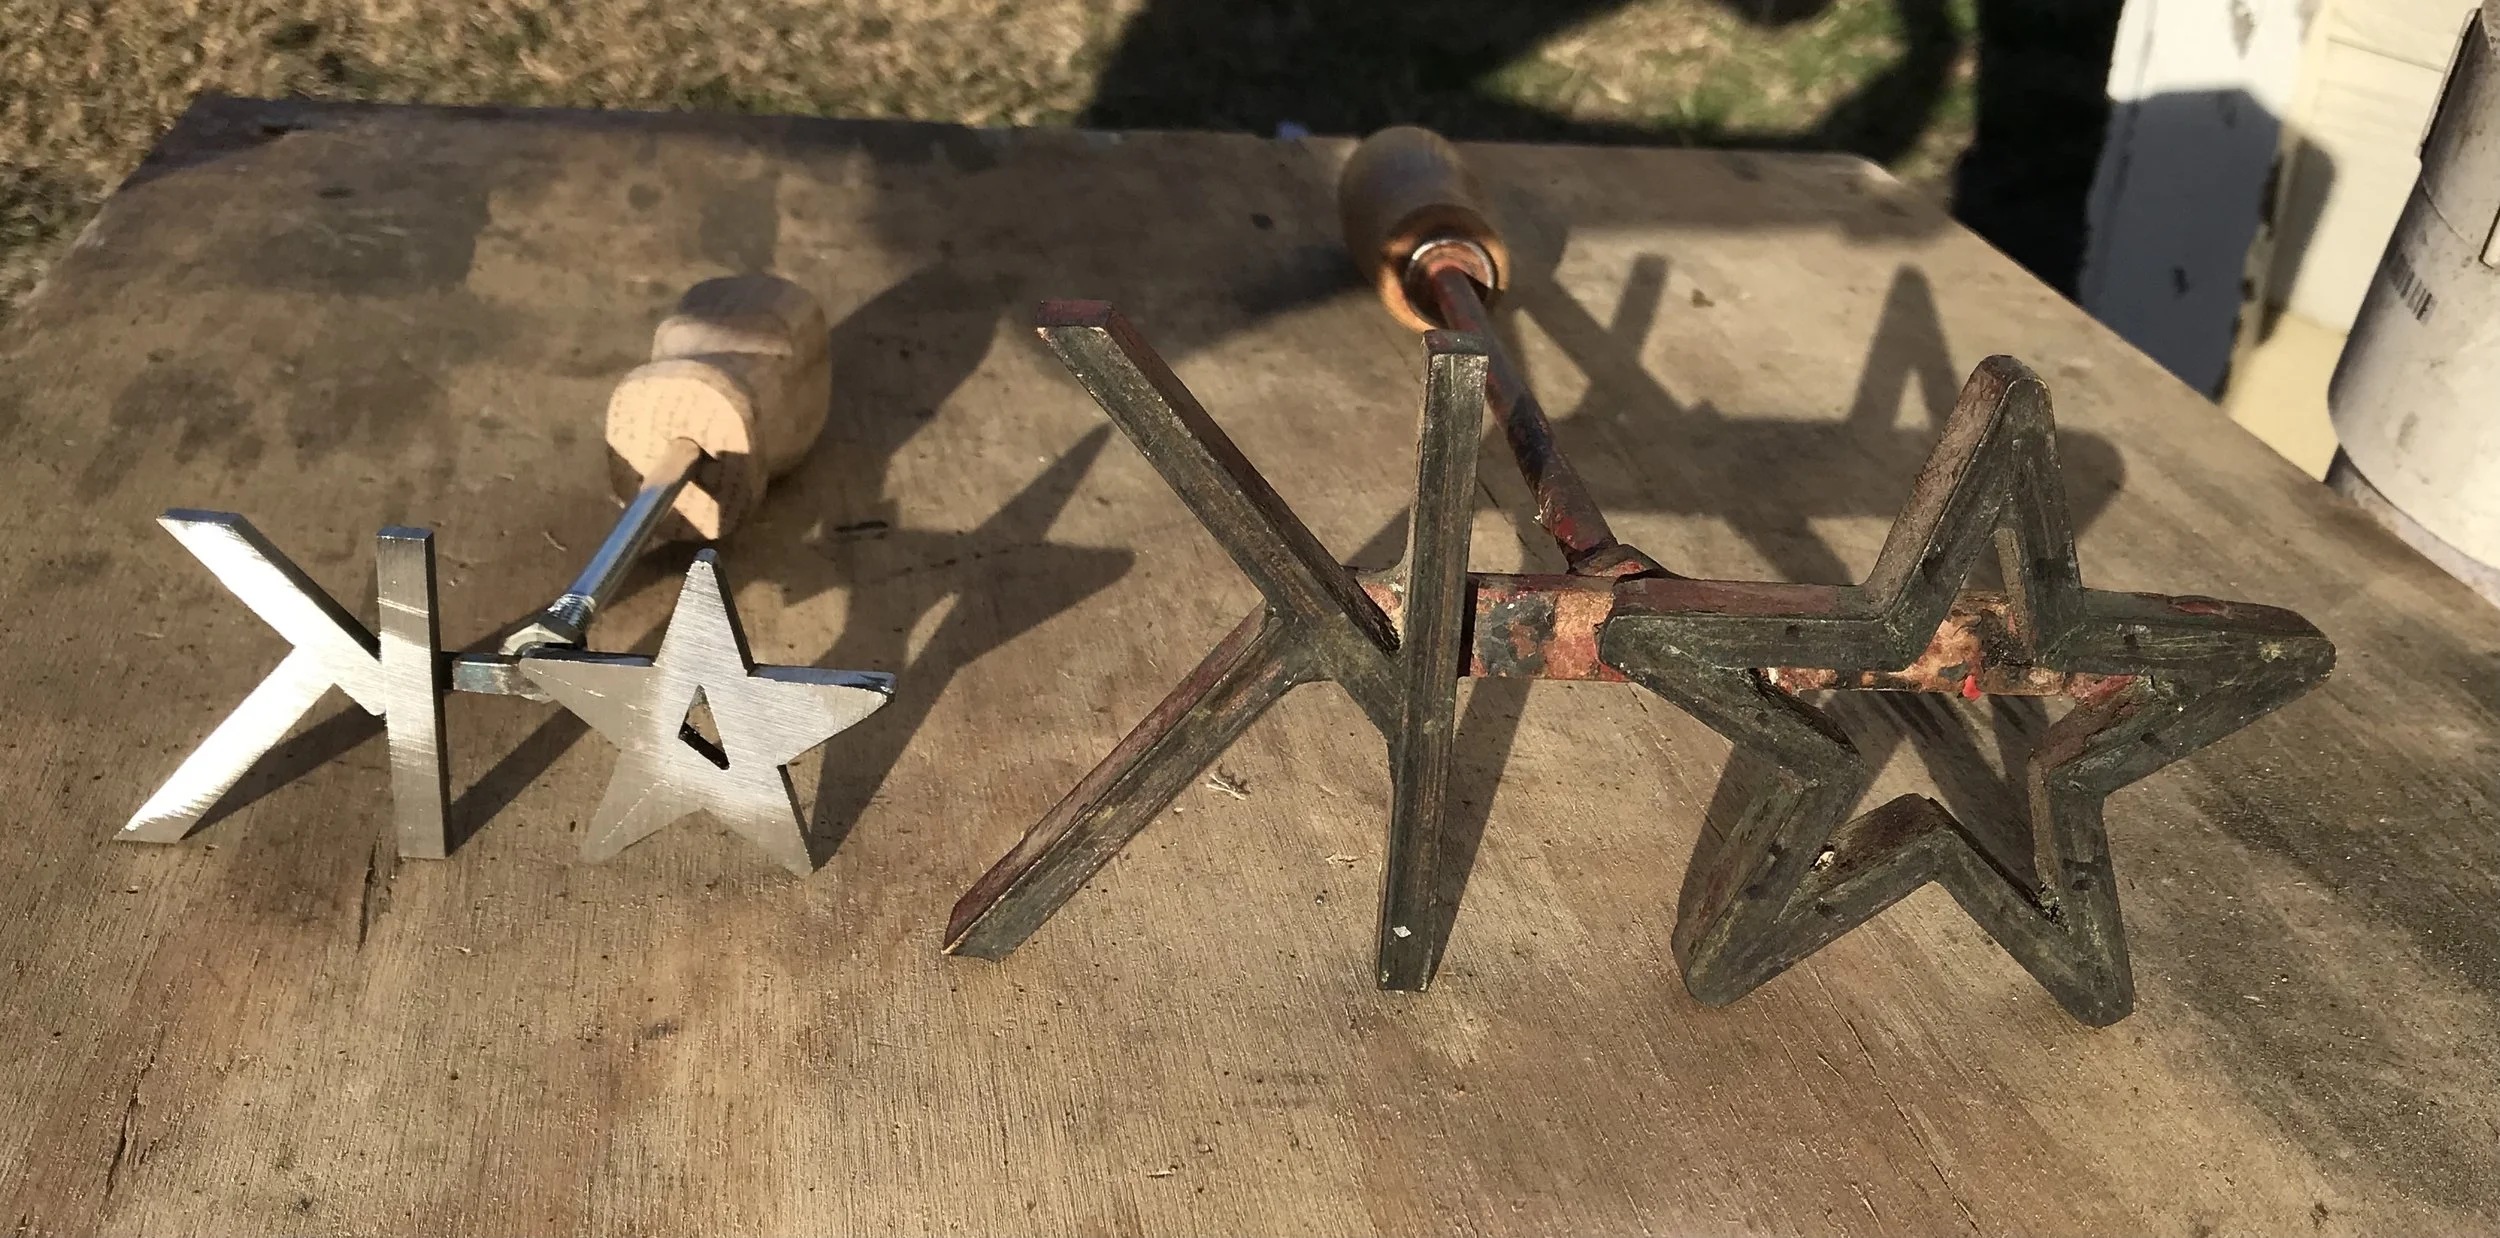
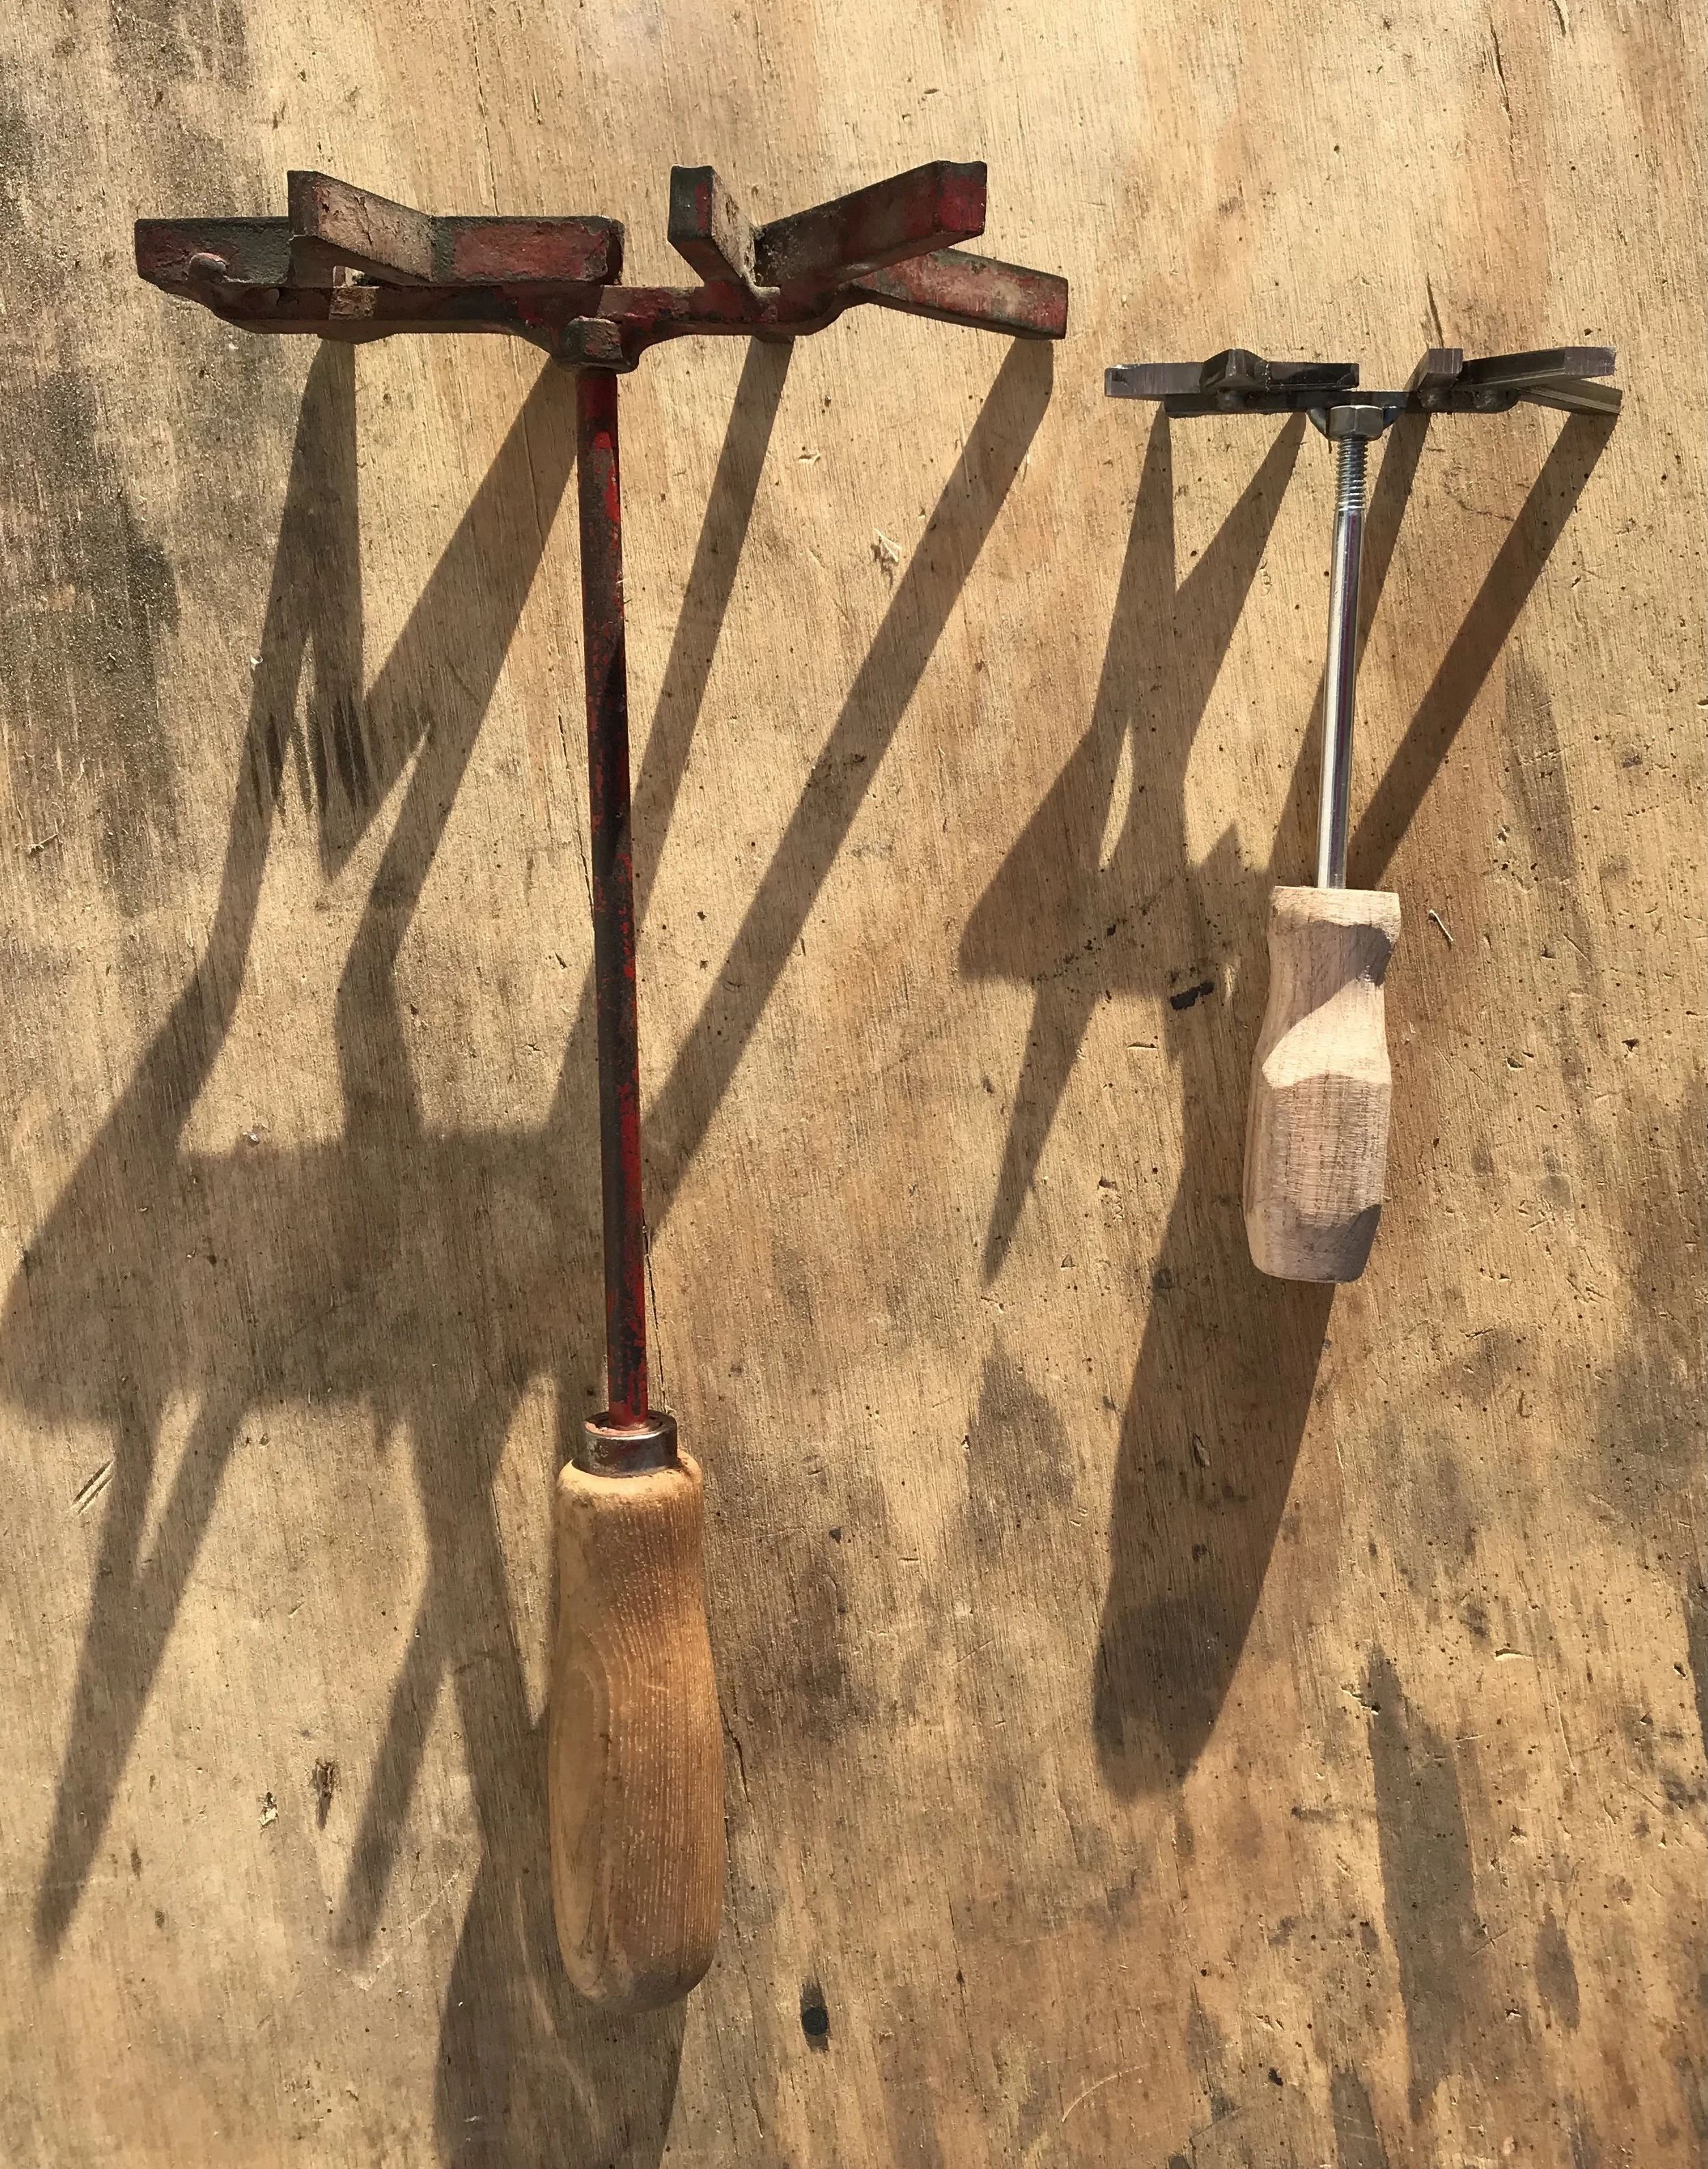
My dad brought me the orginal brand asked if we could make a smaller version for him to keep. Here's the original and the final "mini-brand".
-
Front view. We could've cleaned it up more, but my Dad didn't want to.
-
Top view.
-
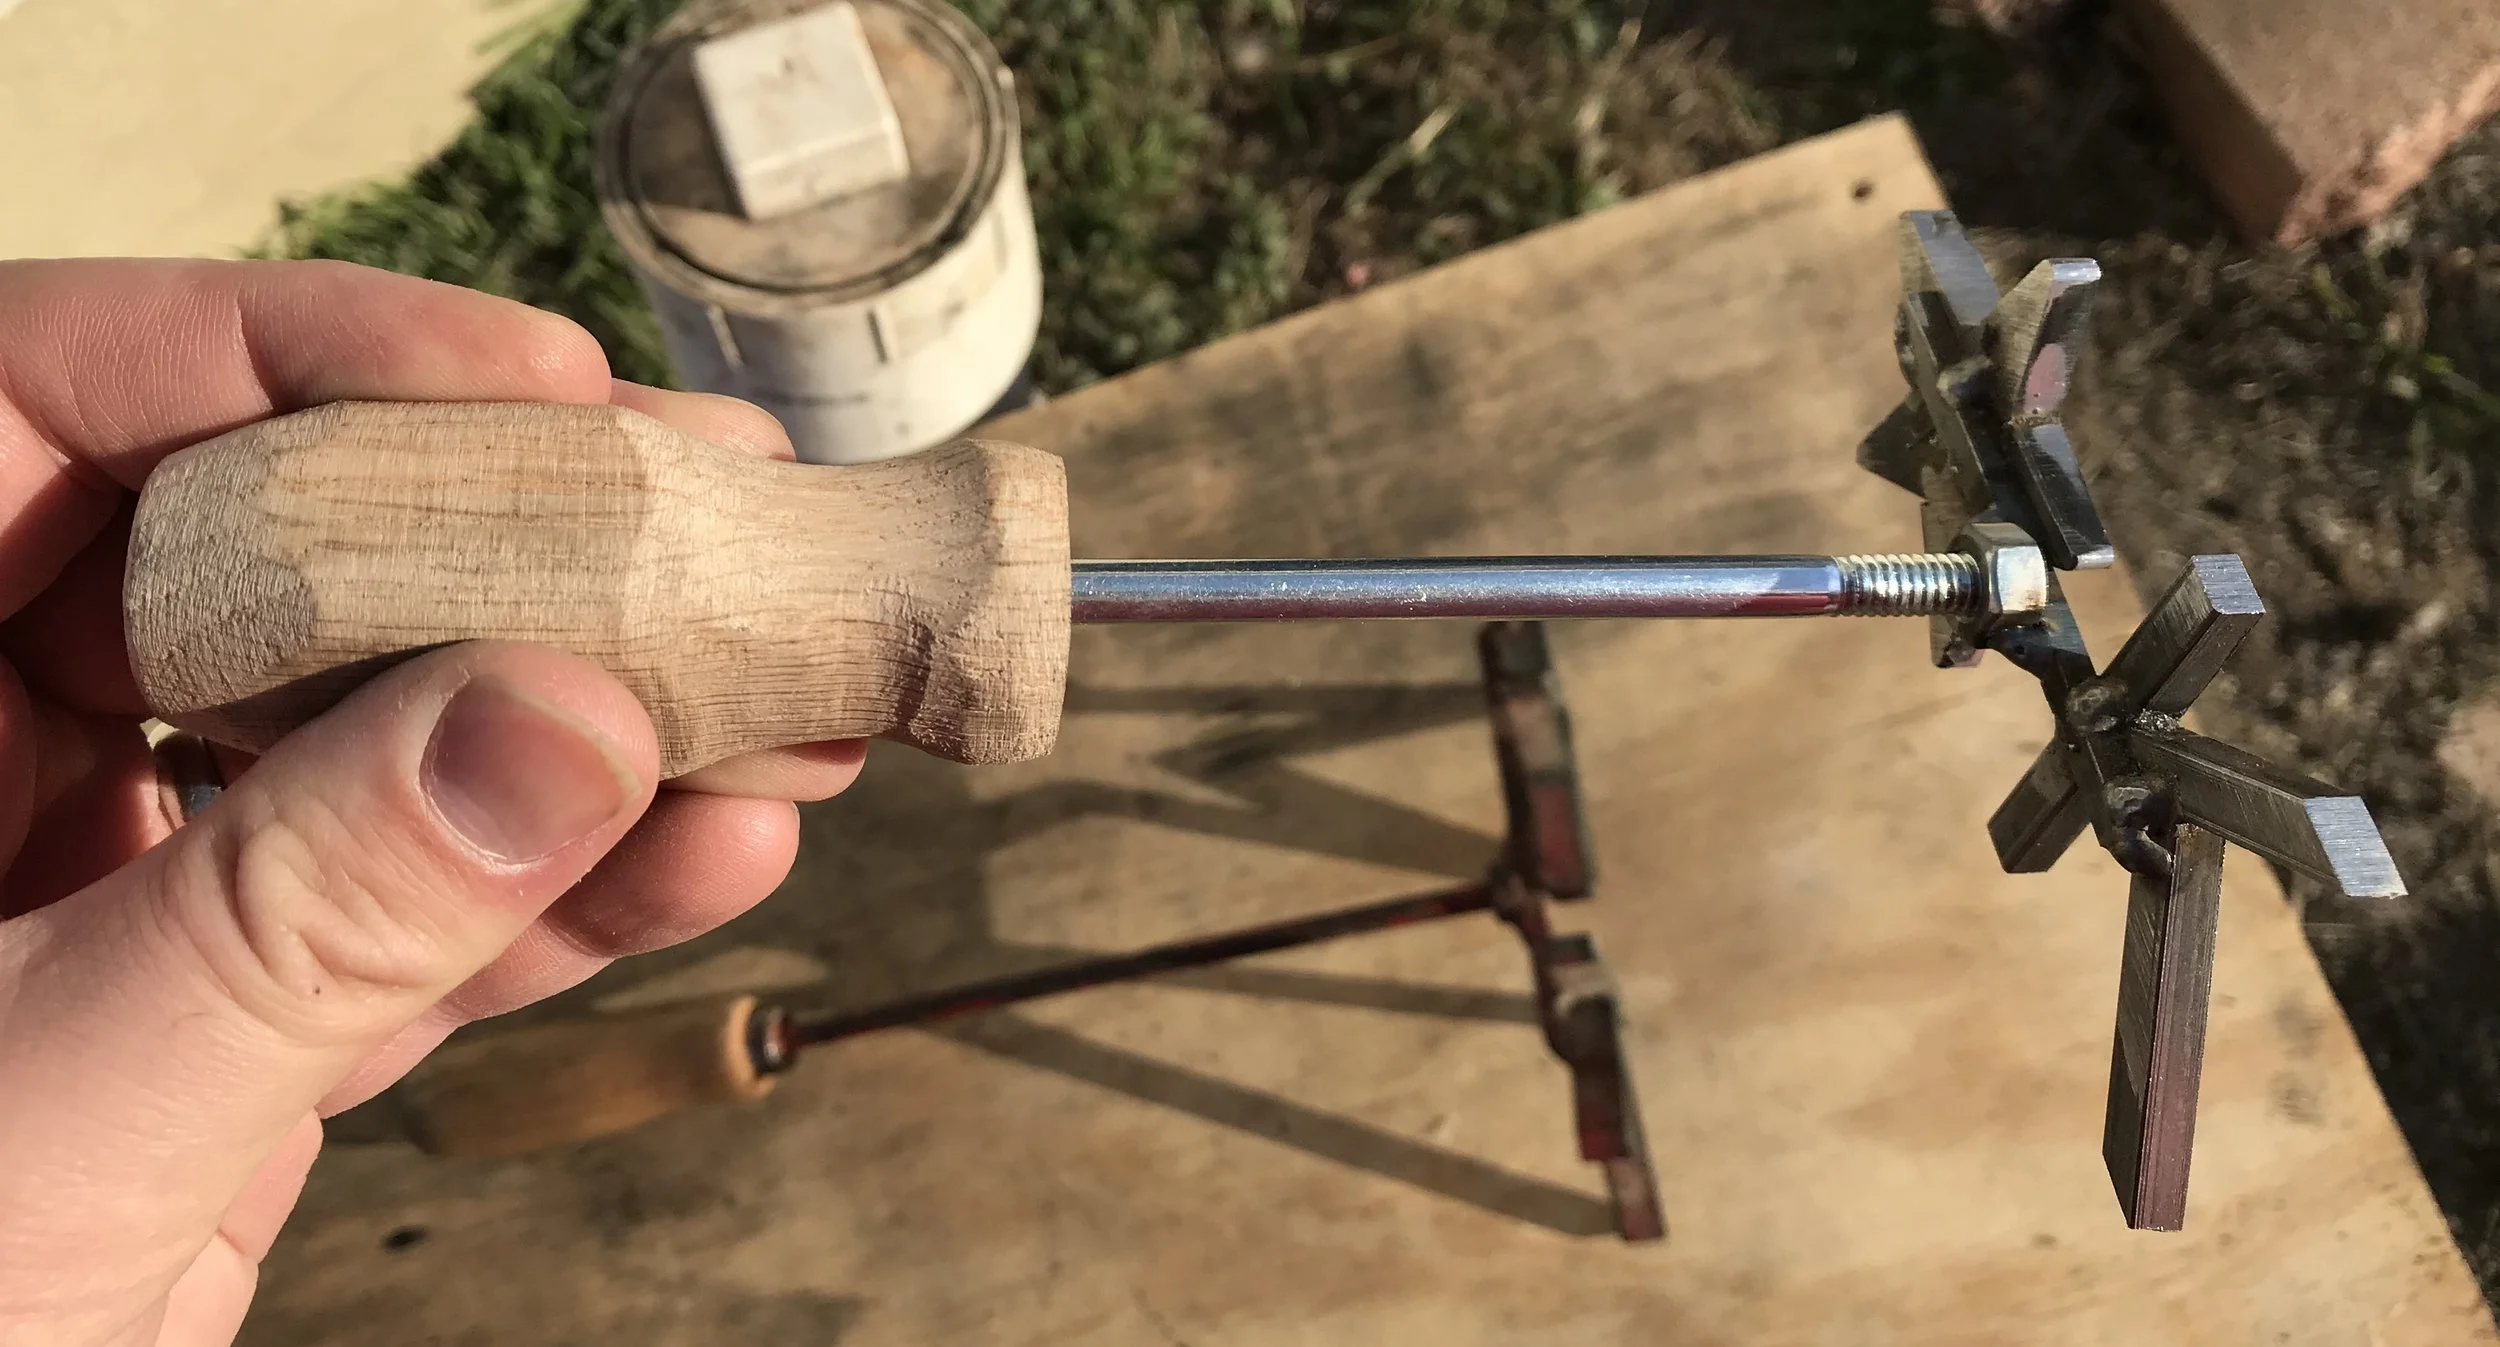
Mini-brand up close.
-
Handle was rough, but again my Dad said he'd clean up up himself.
Makume Gane
-
Final Project - keep scrolling to see the journey
-
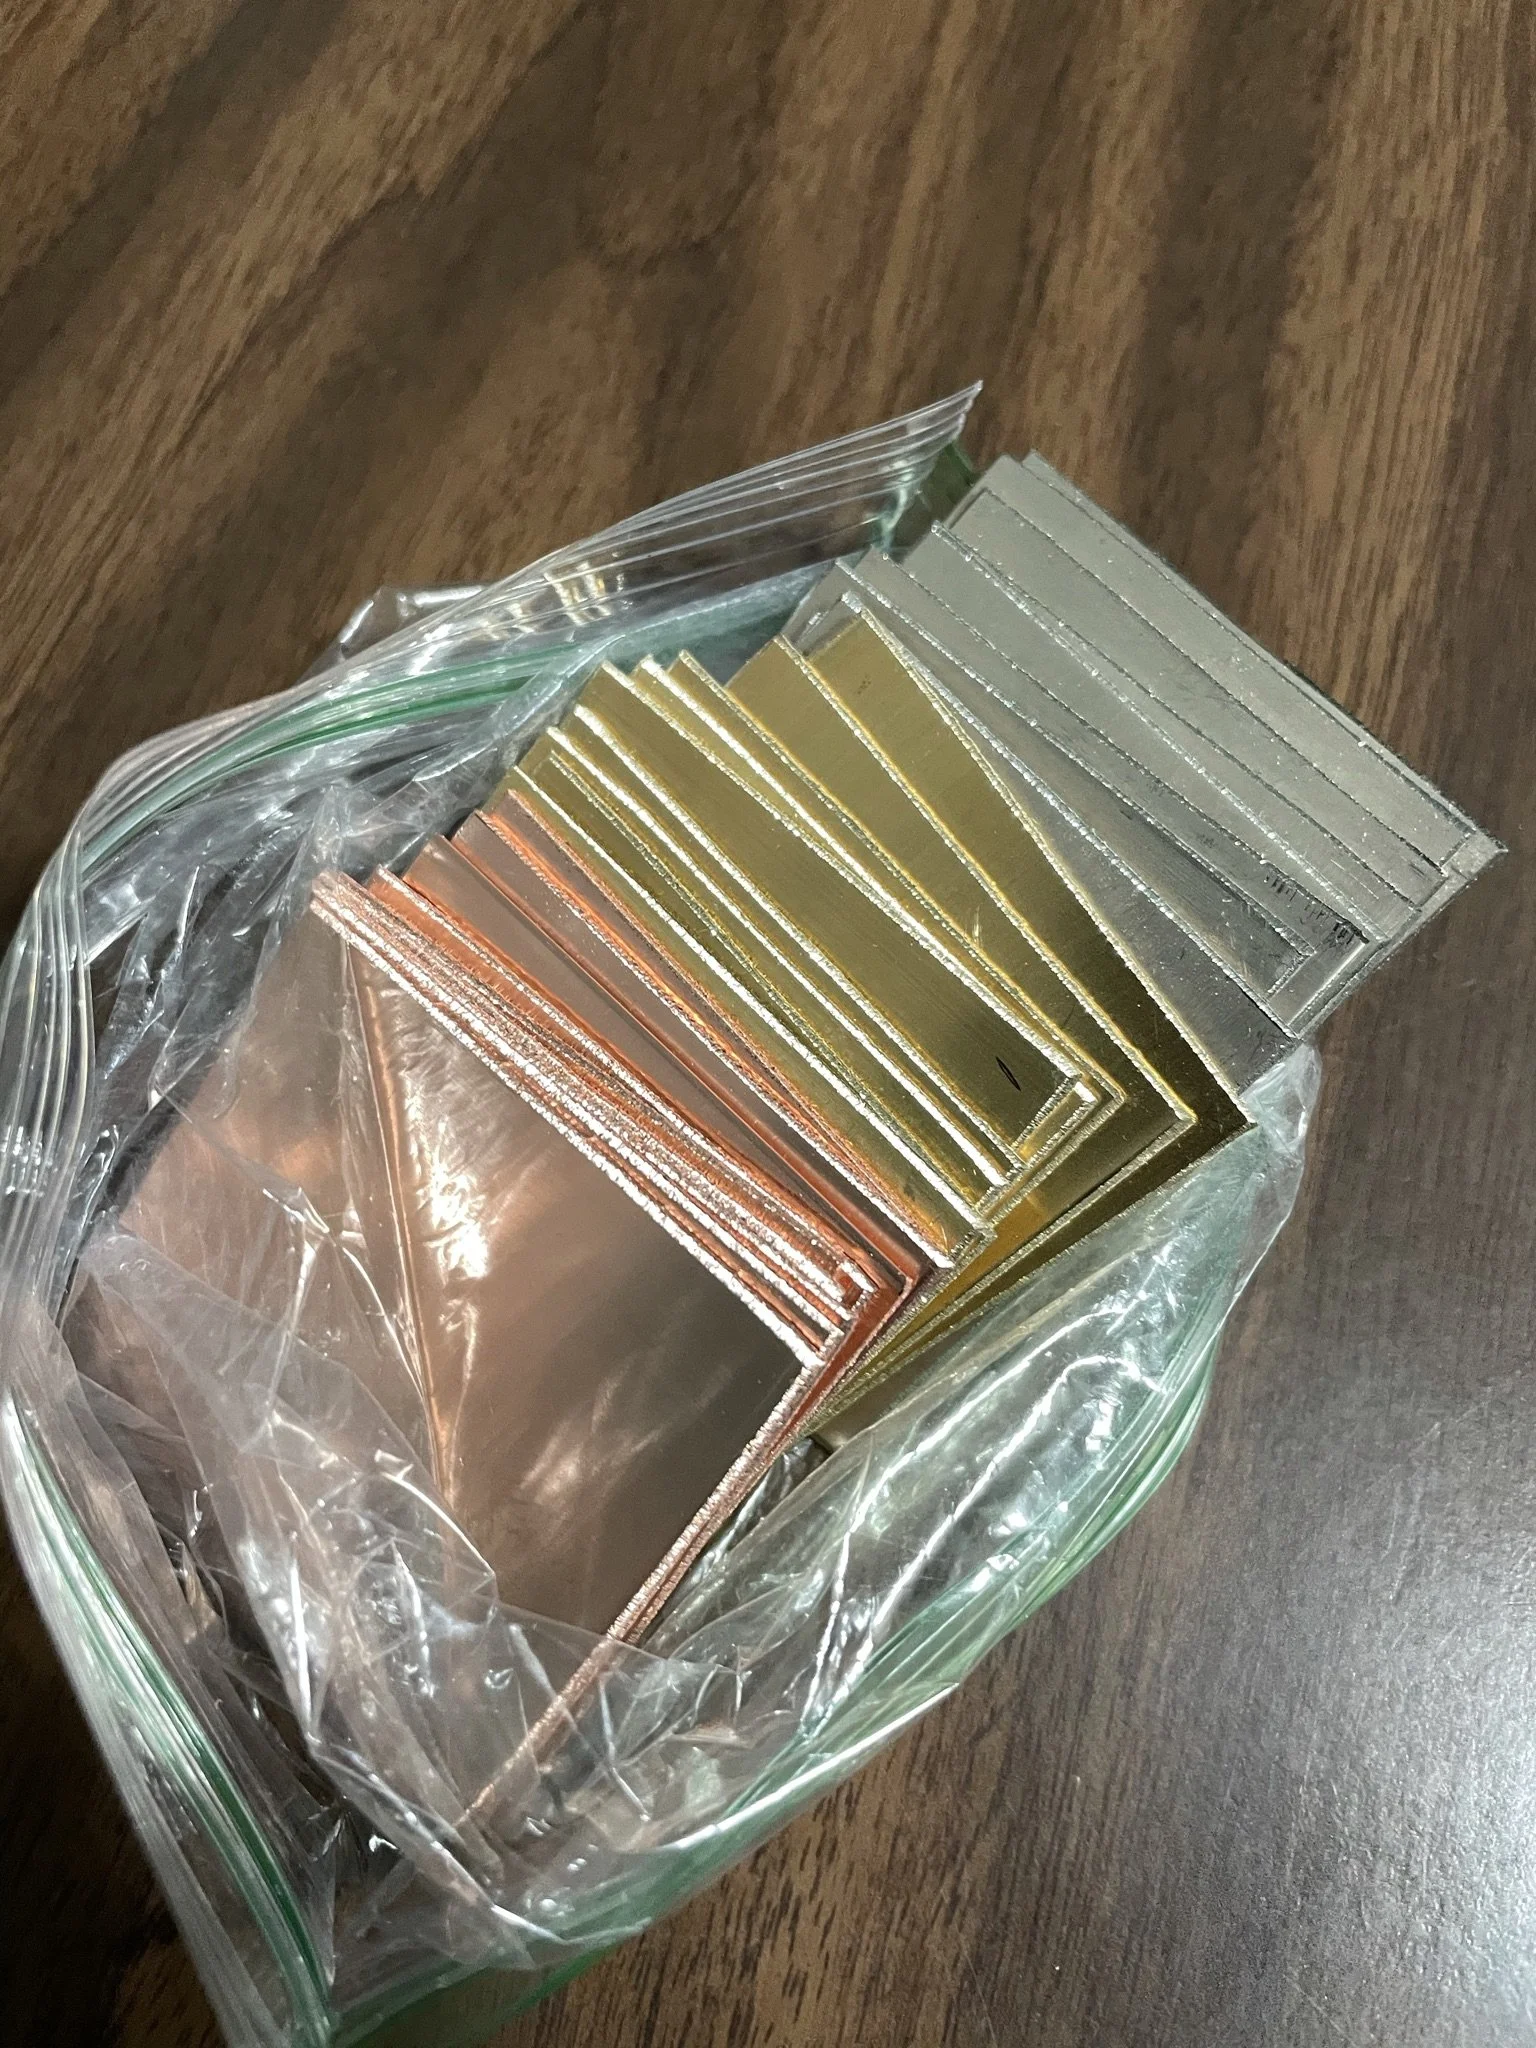
Decided that I wanted to make more makume gane, and so I went back to Austin's shop since he knew how. All sourced from Amazon, but good practice overall.
-
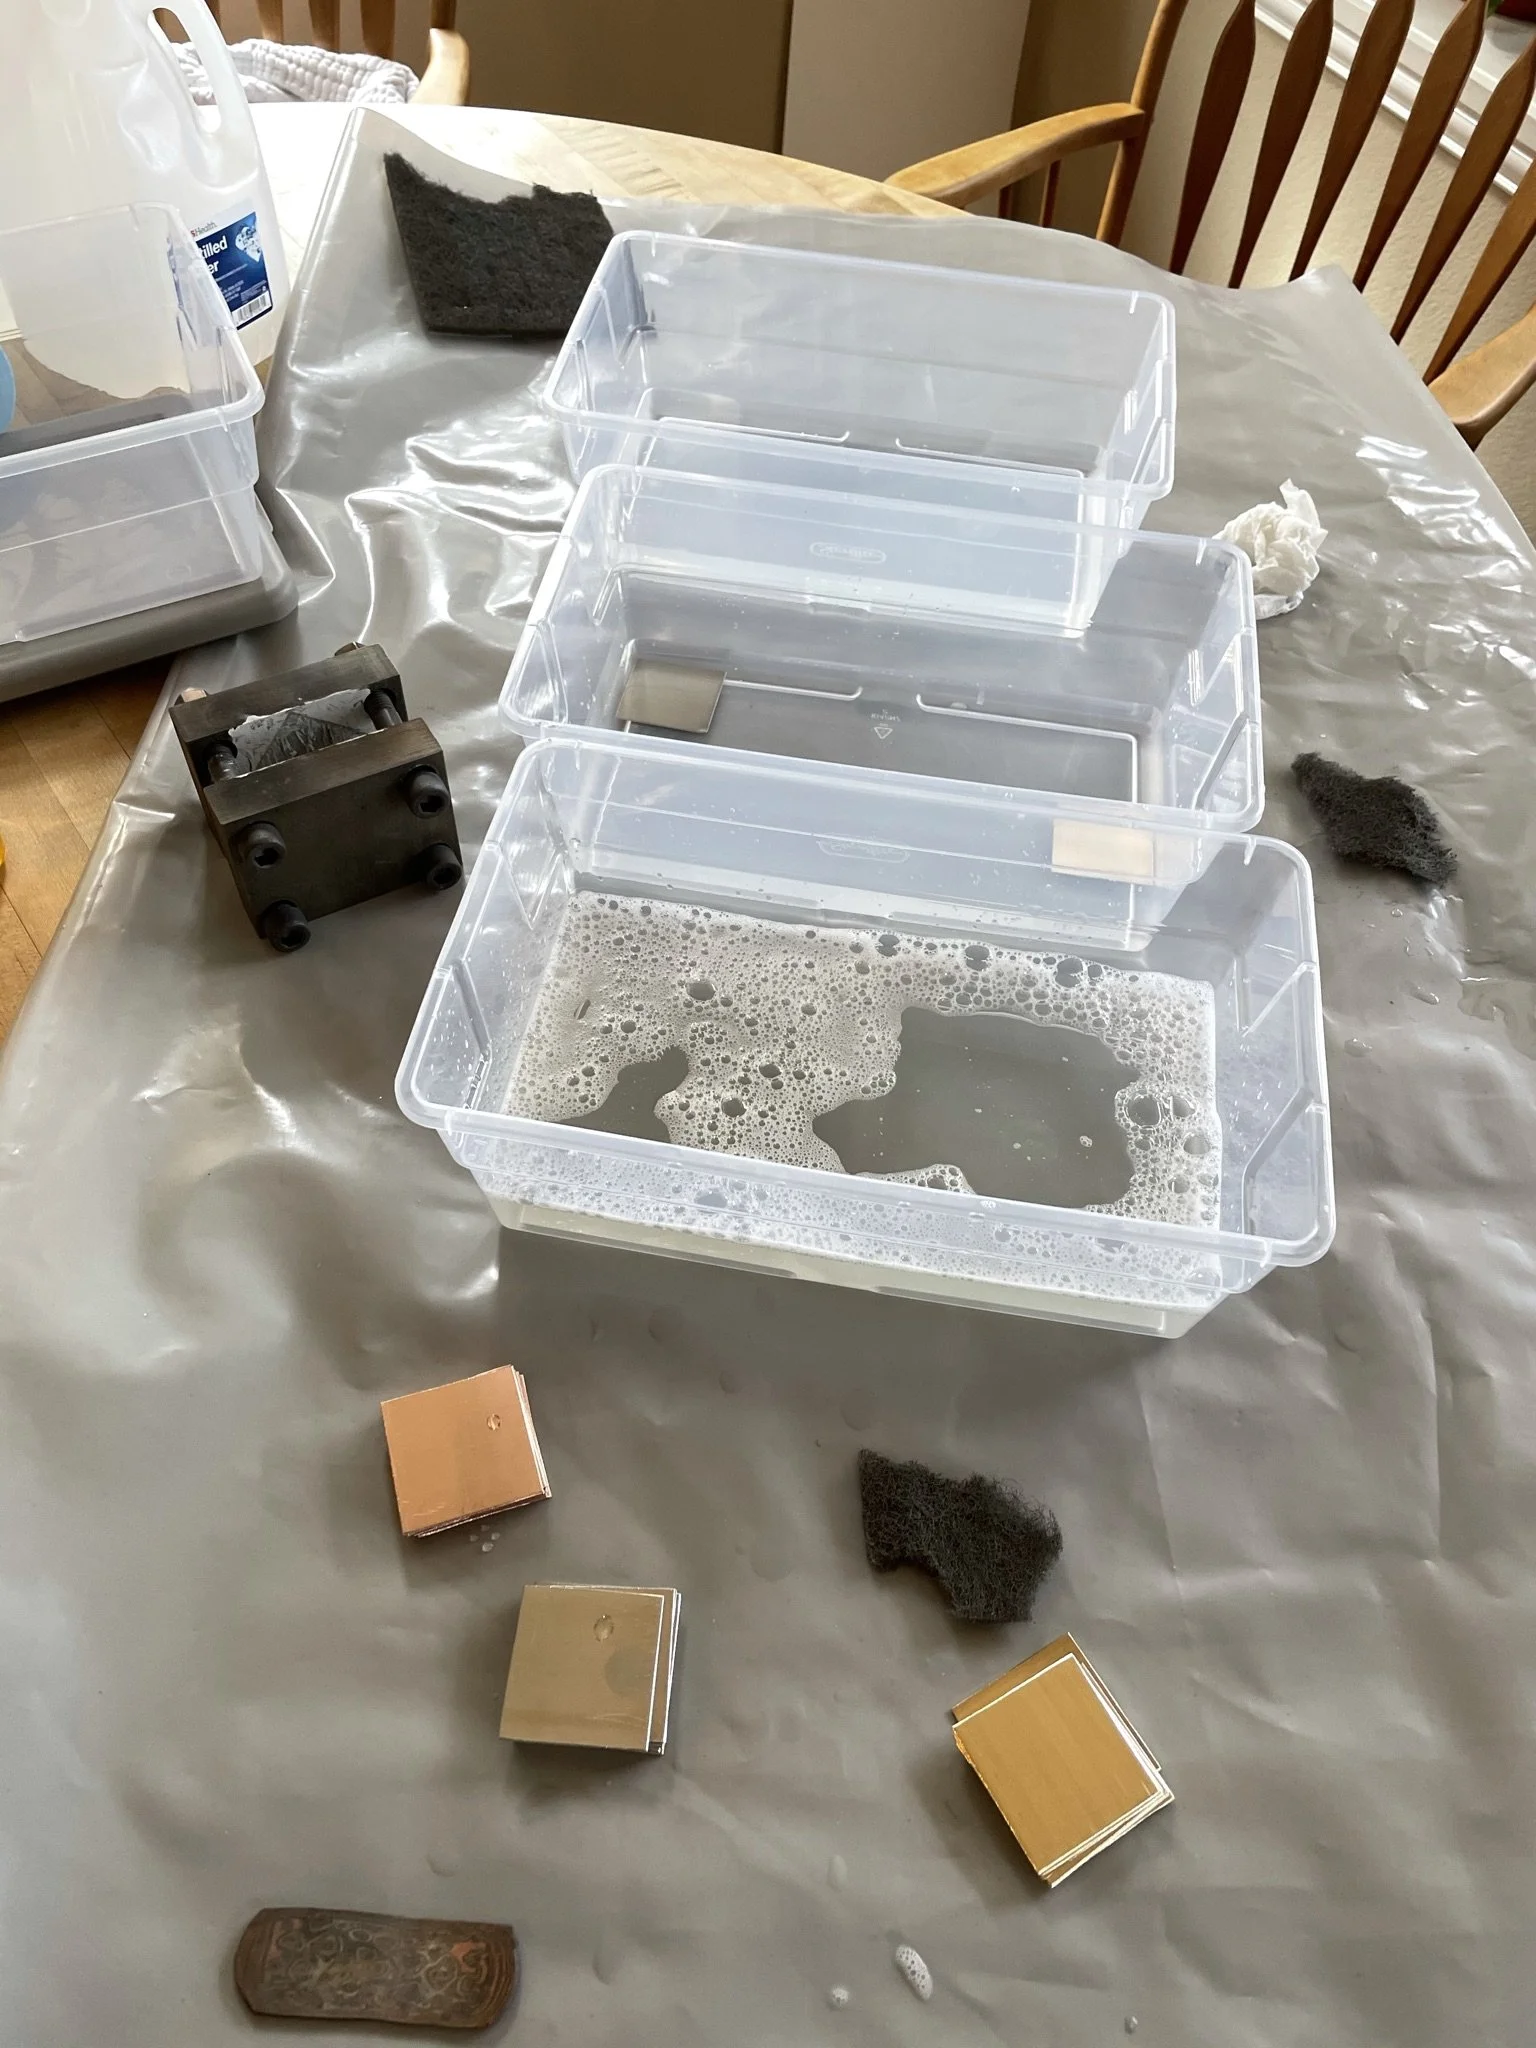
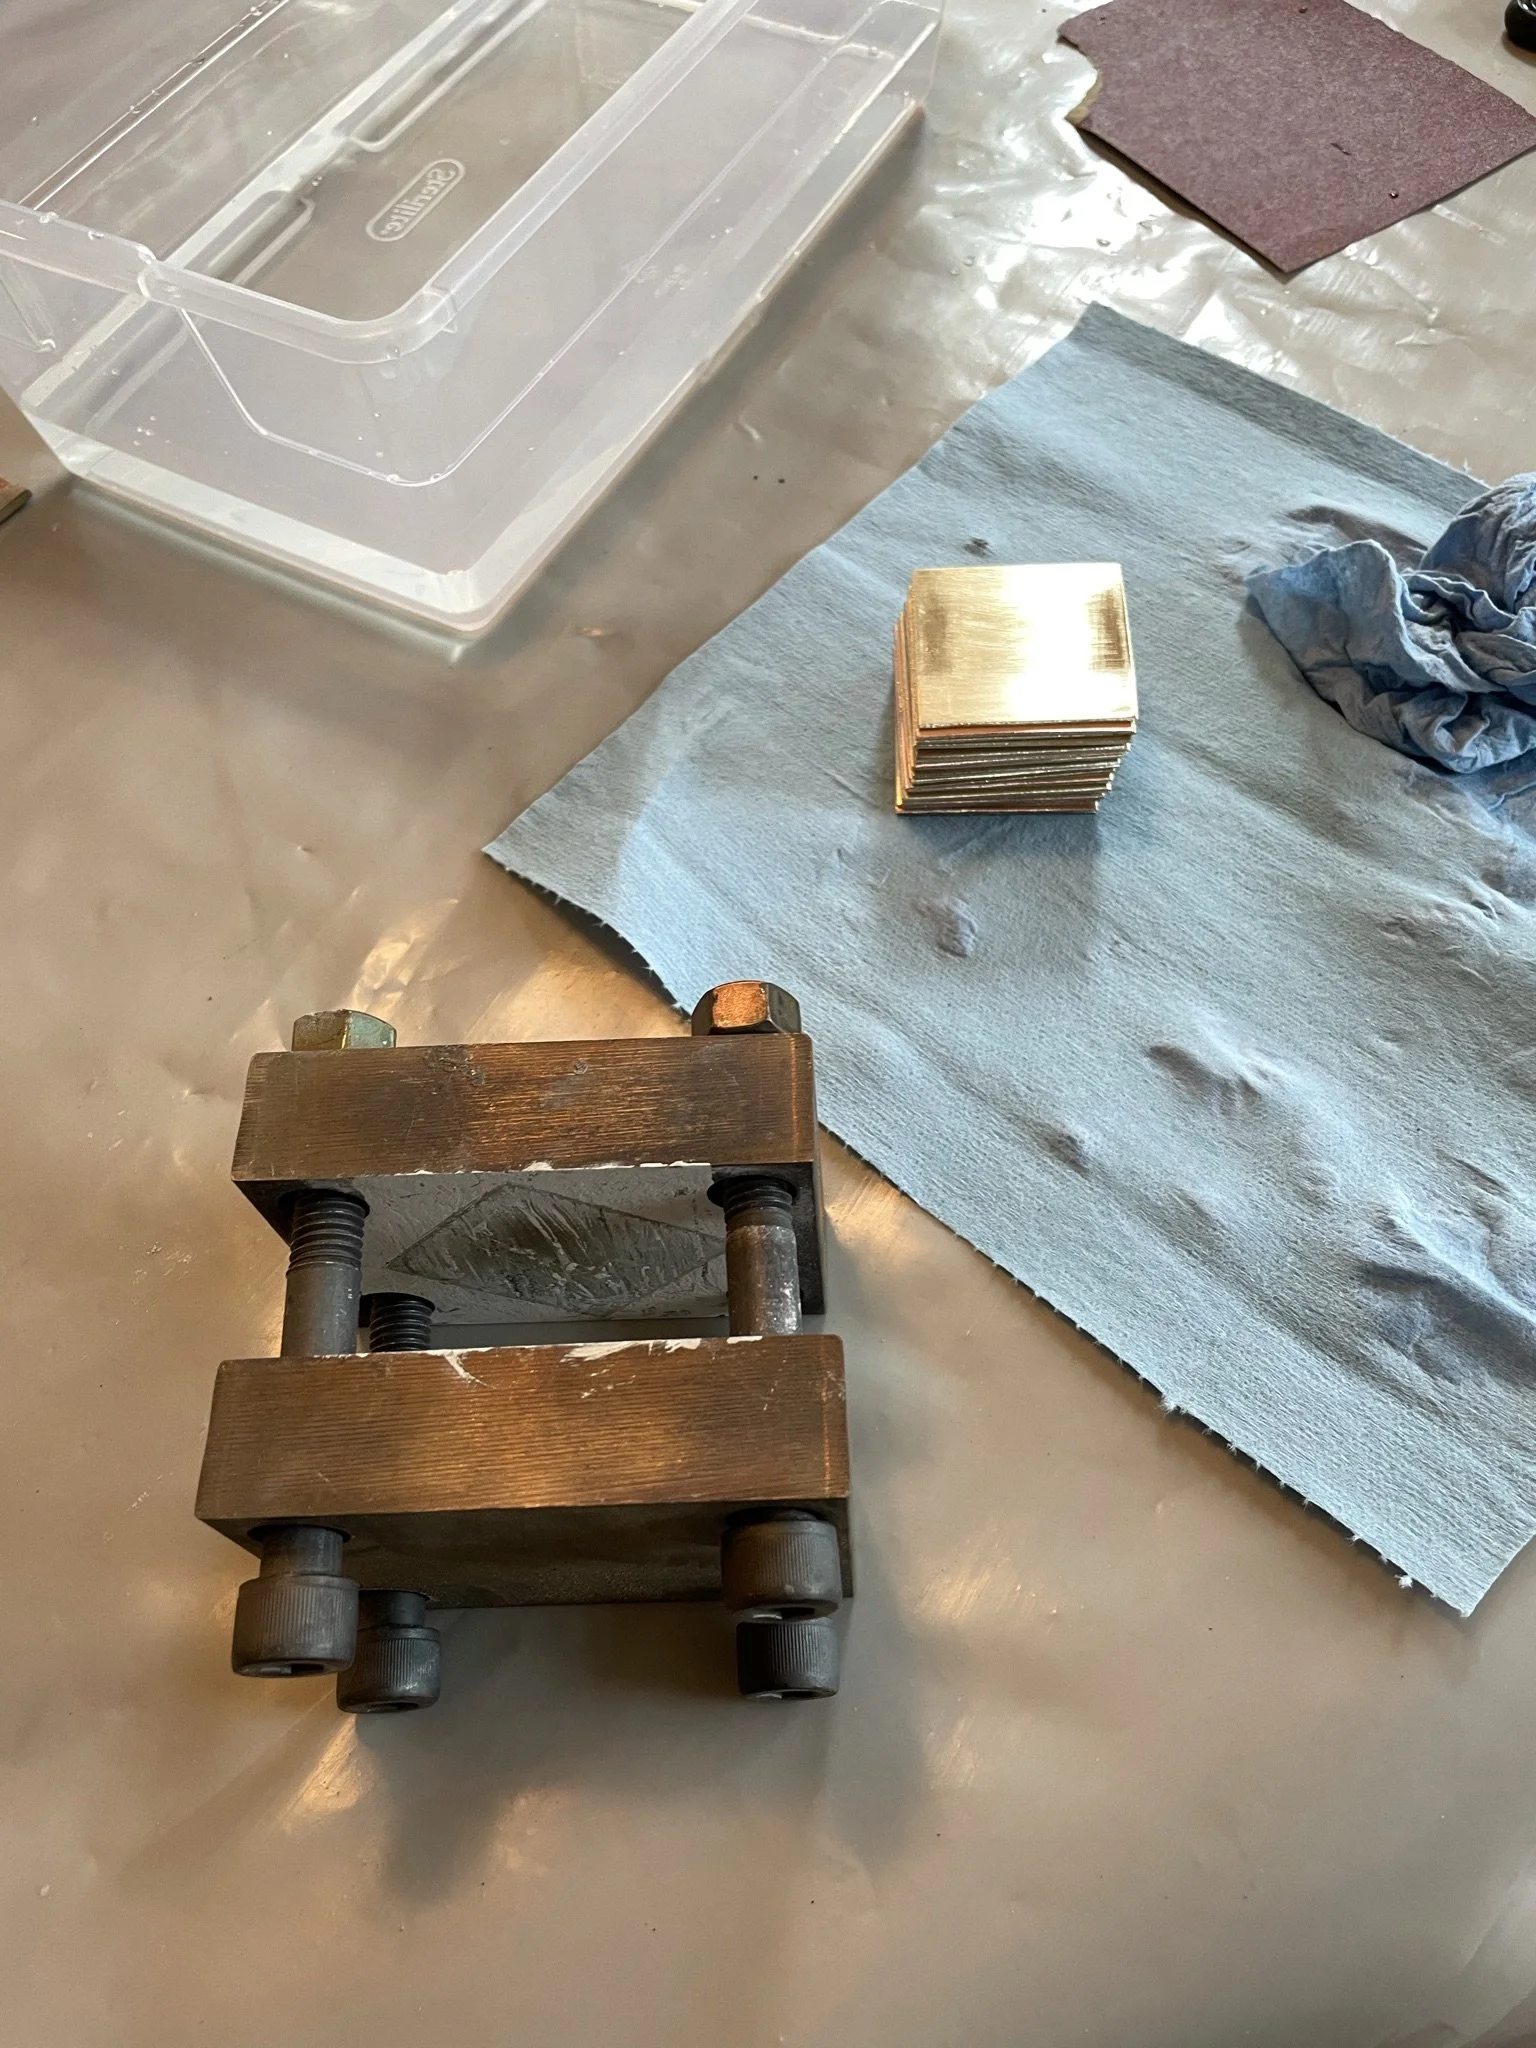
Gotta make sure the metals are all super clean for a good weld.
-
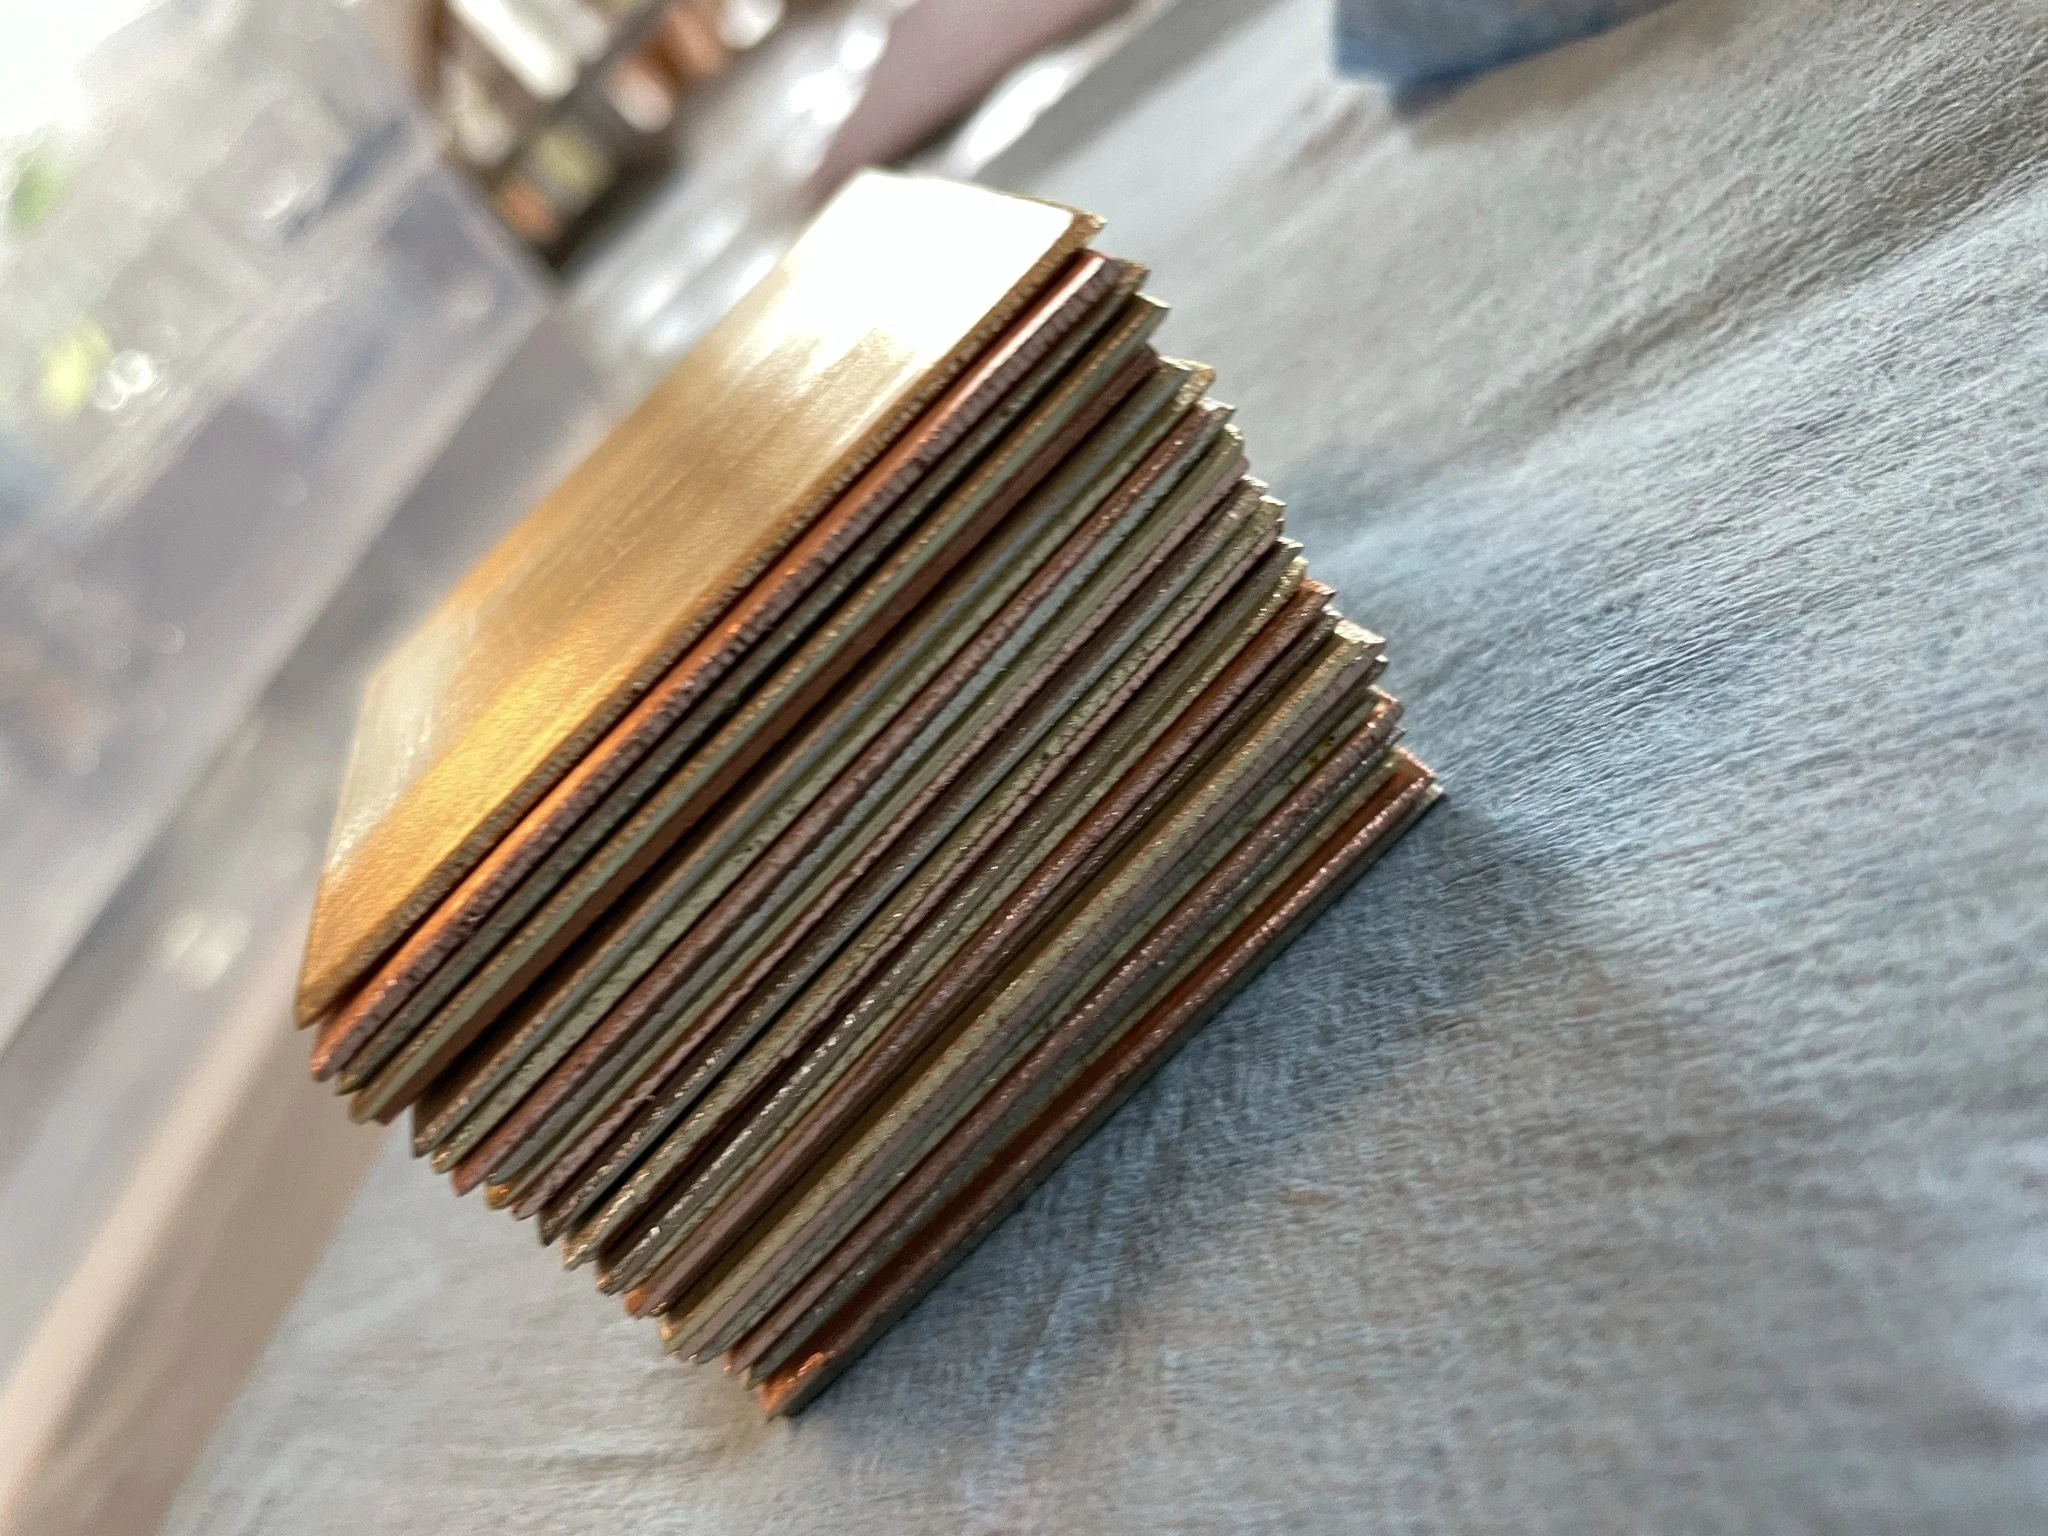
Finished stack of copper, brass and nickel silver plates.
-
The stack and the tool used to make sure we get even pressure across it.
-
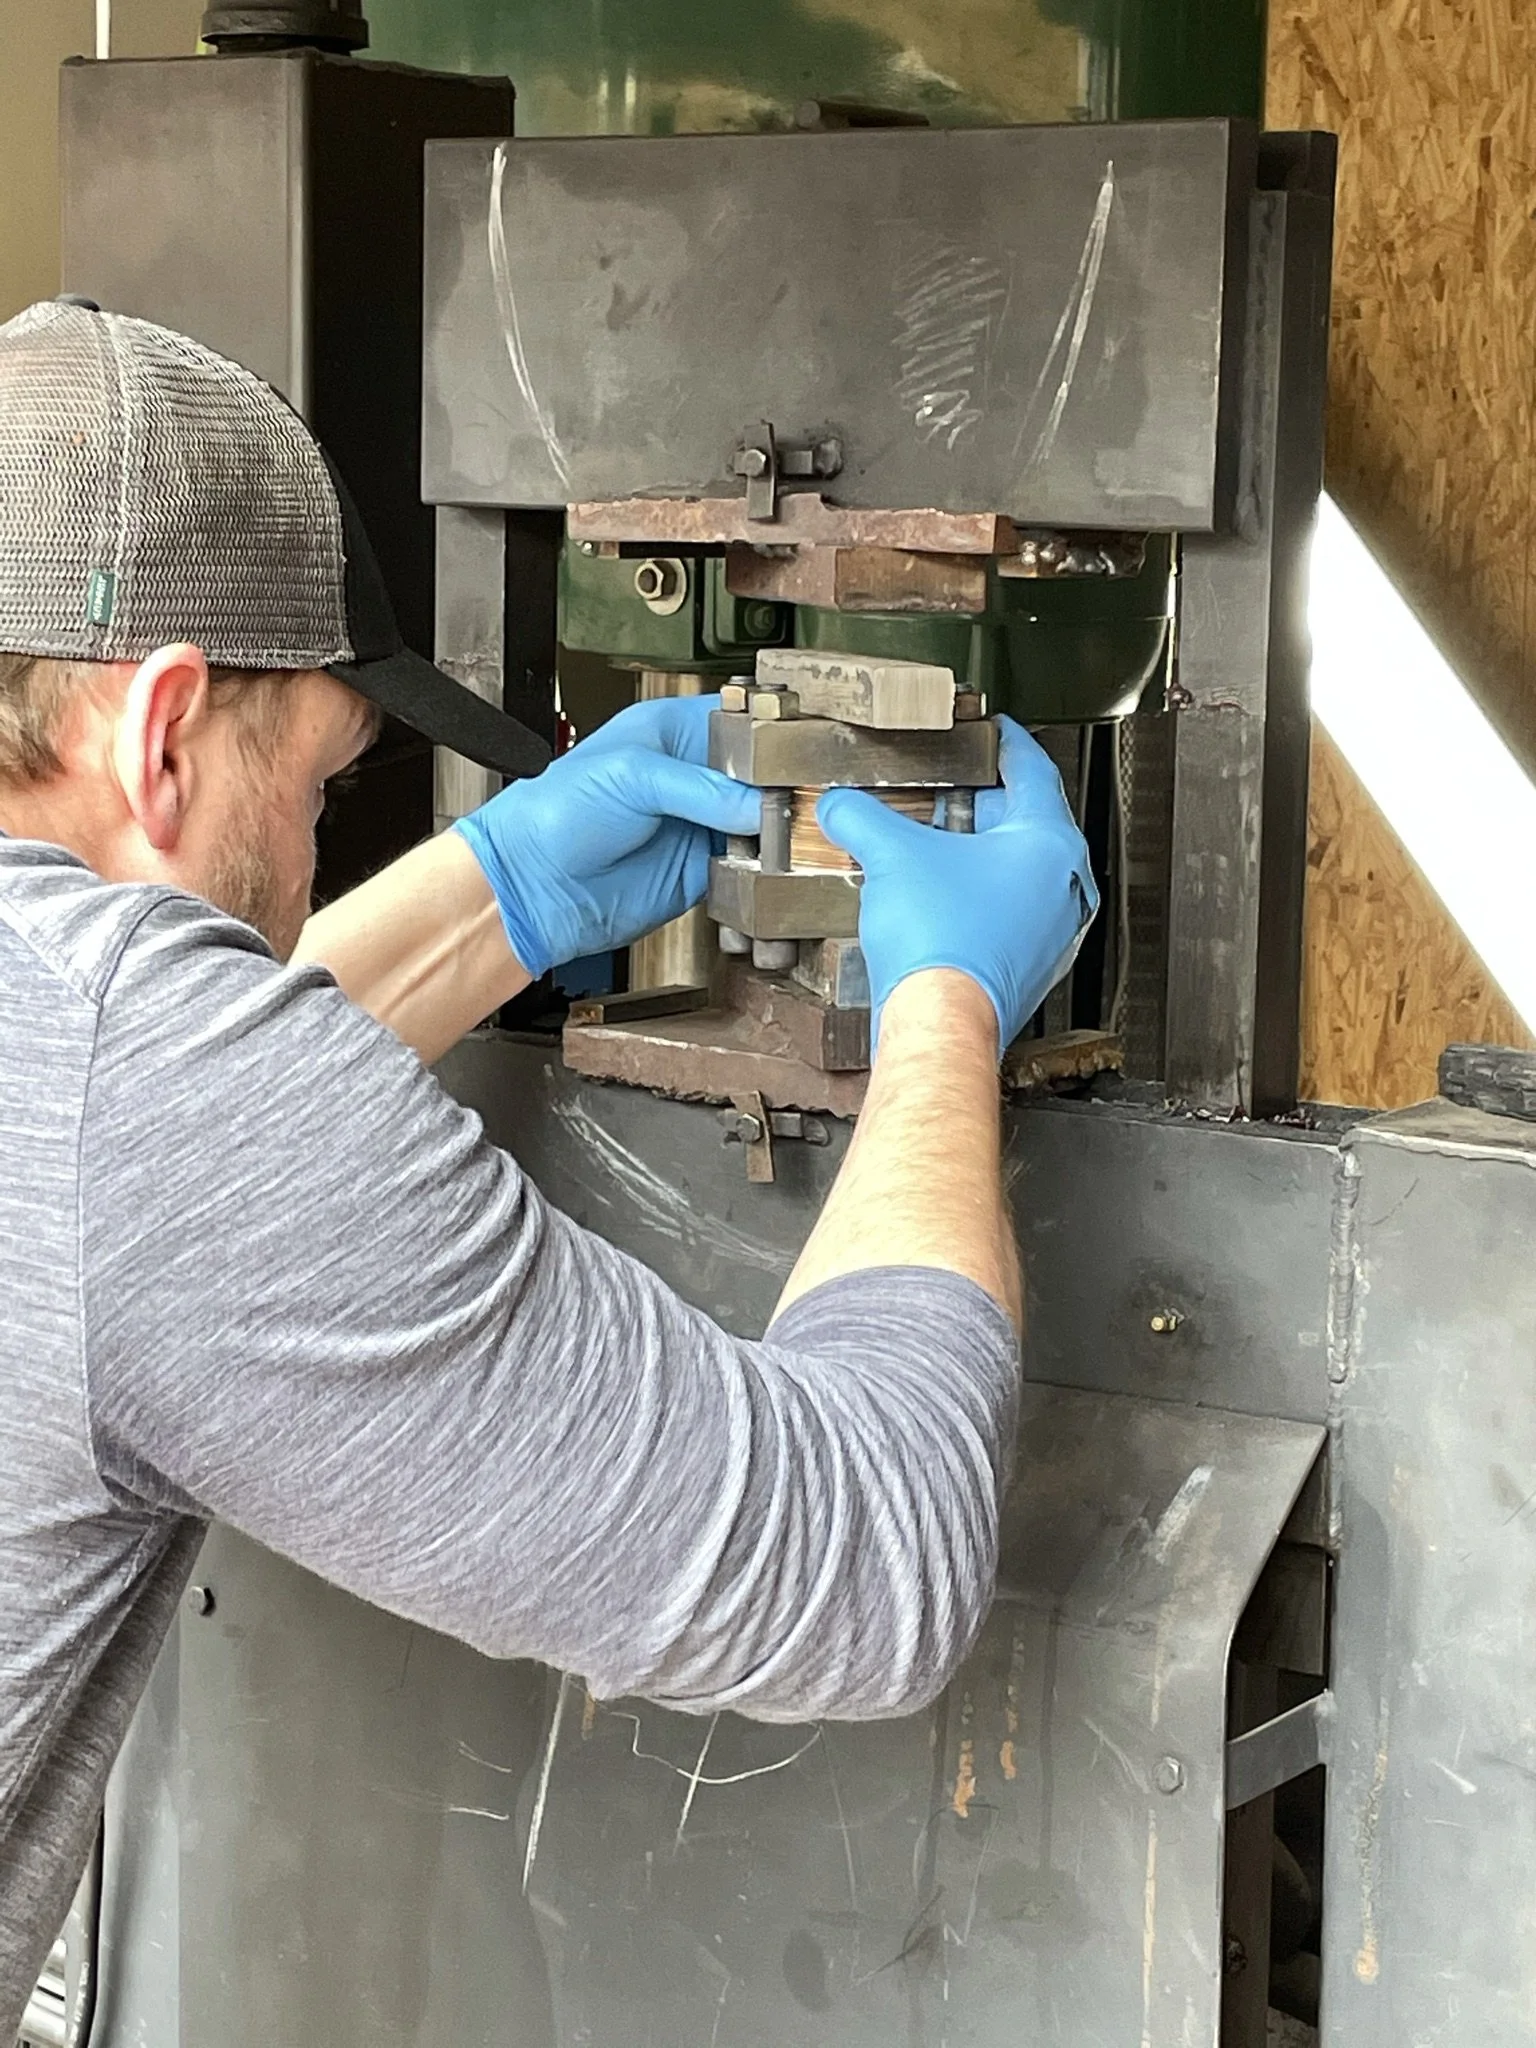
Austin preparing the stack in his press.
-
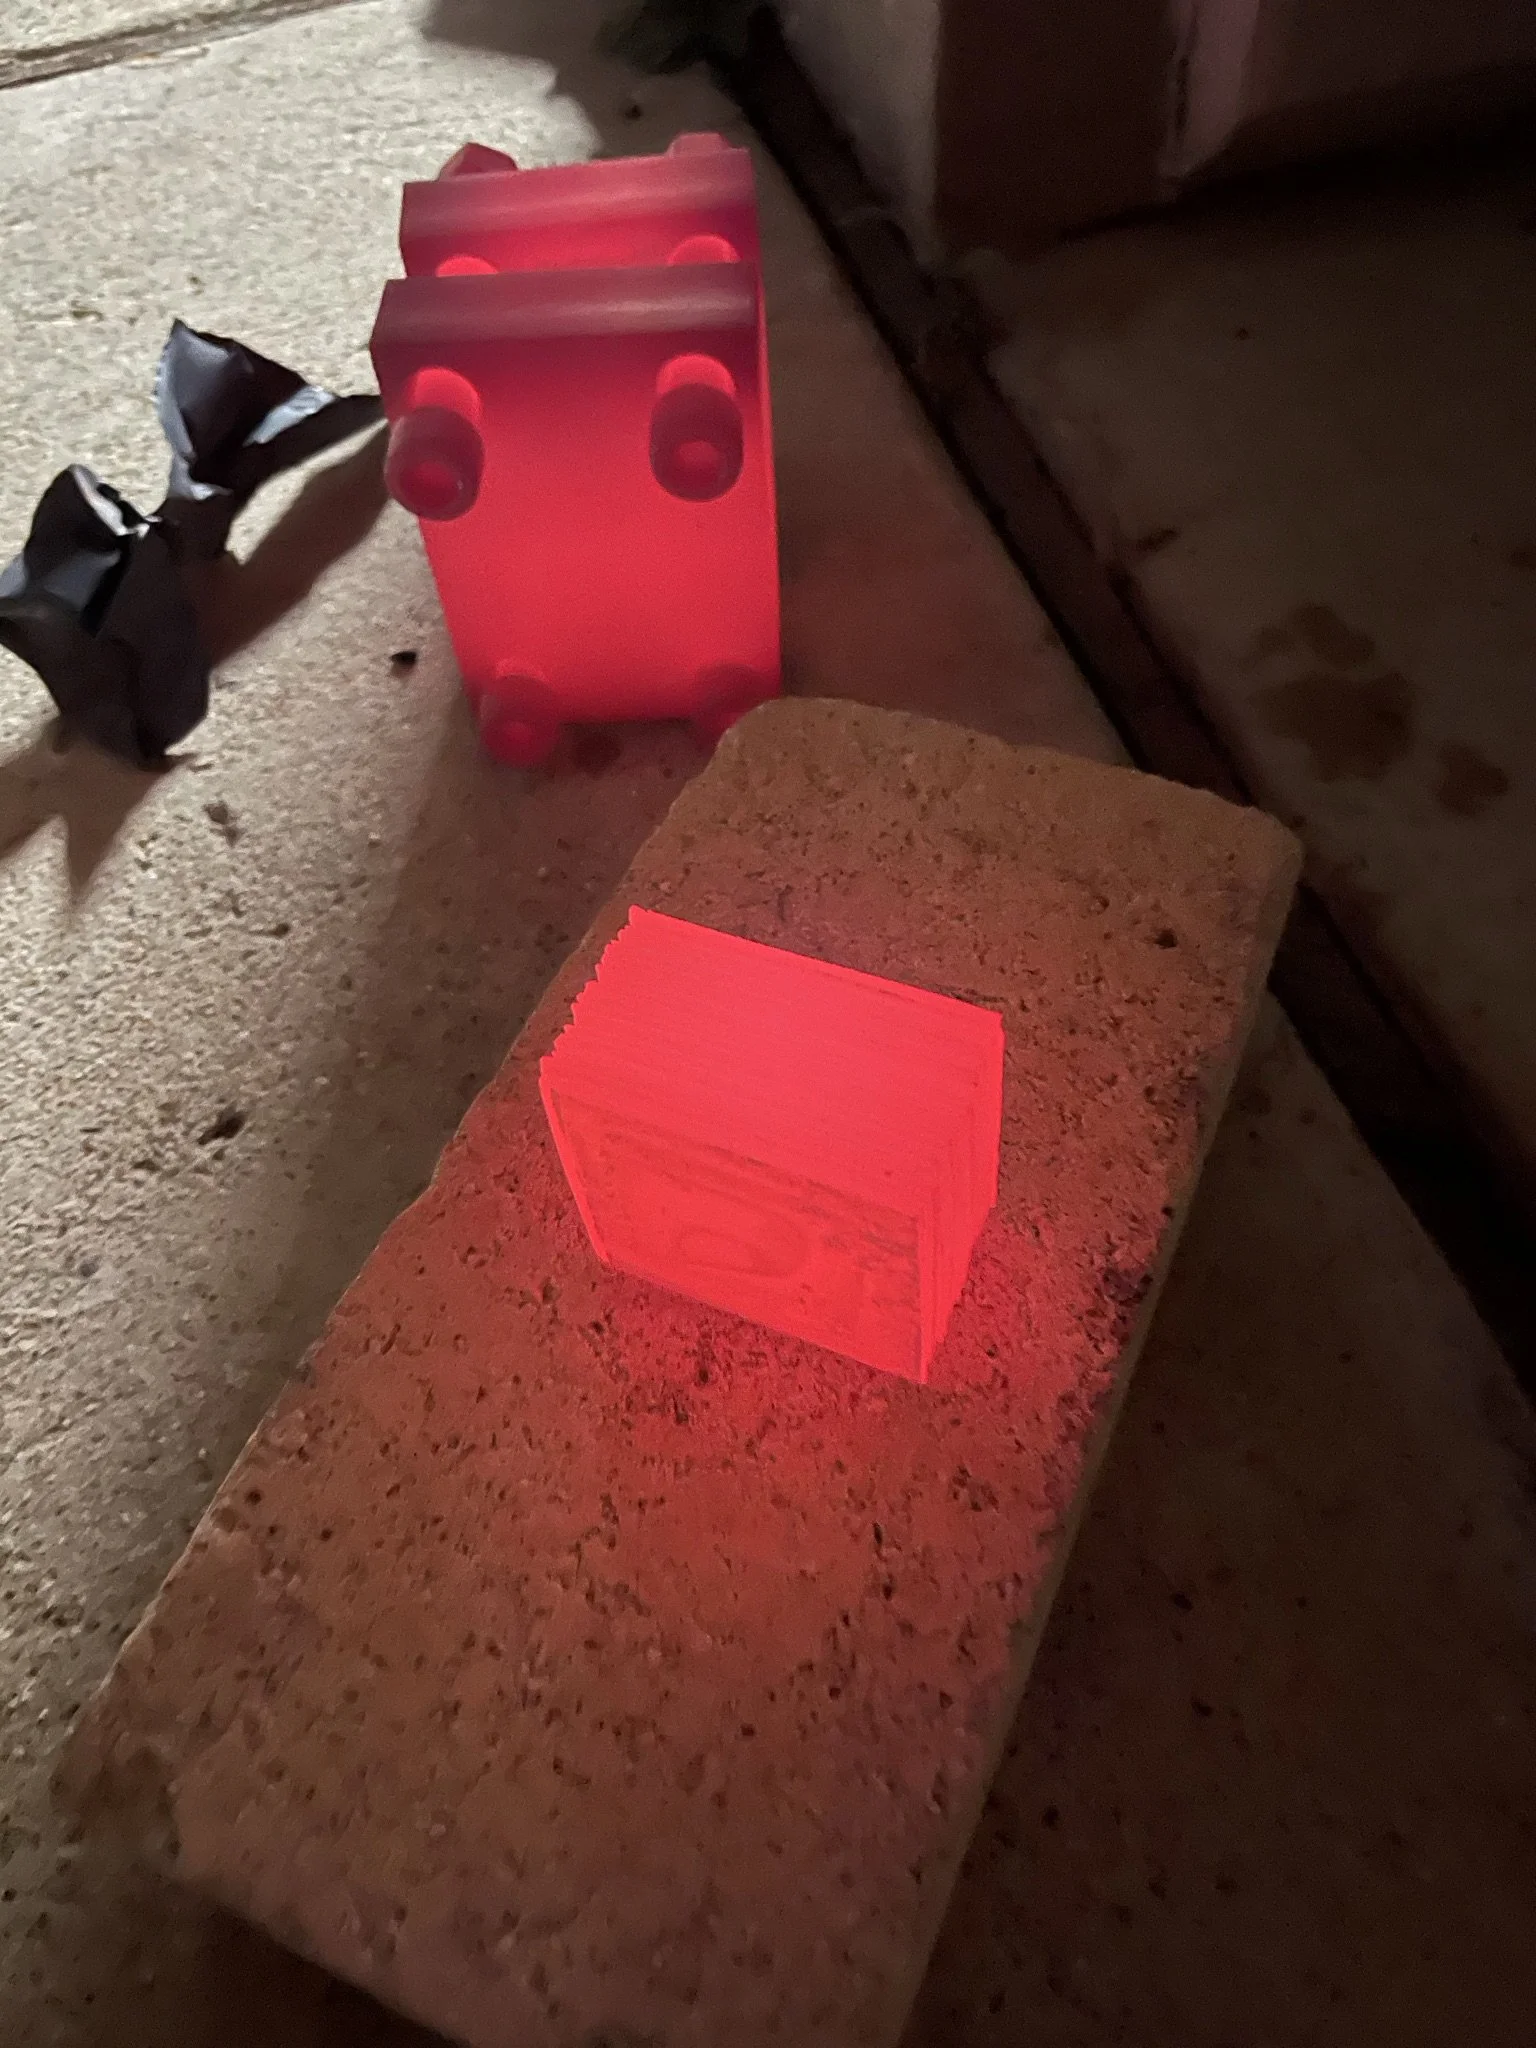
Our block of makume gane just after heating and pressing it.
-
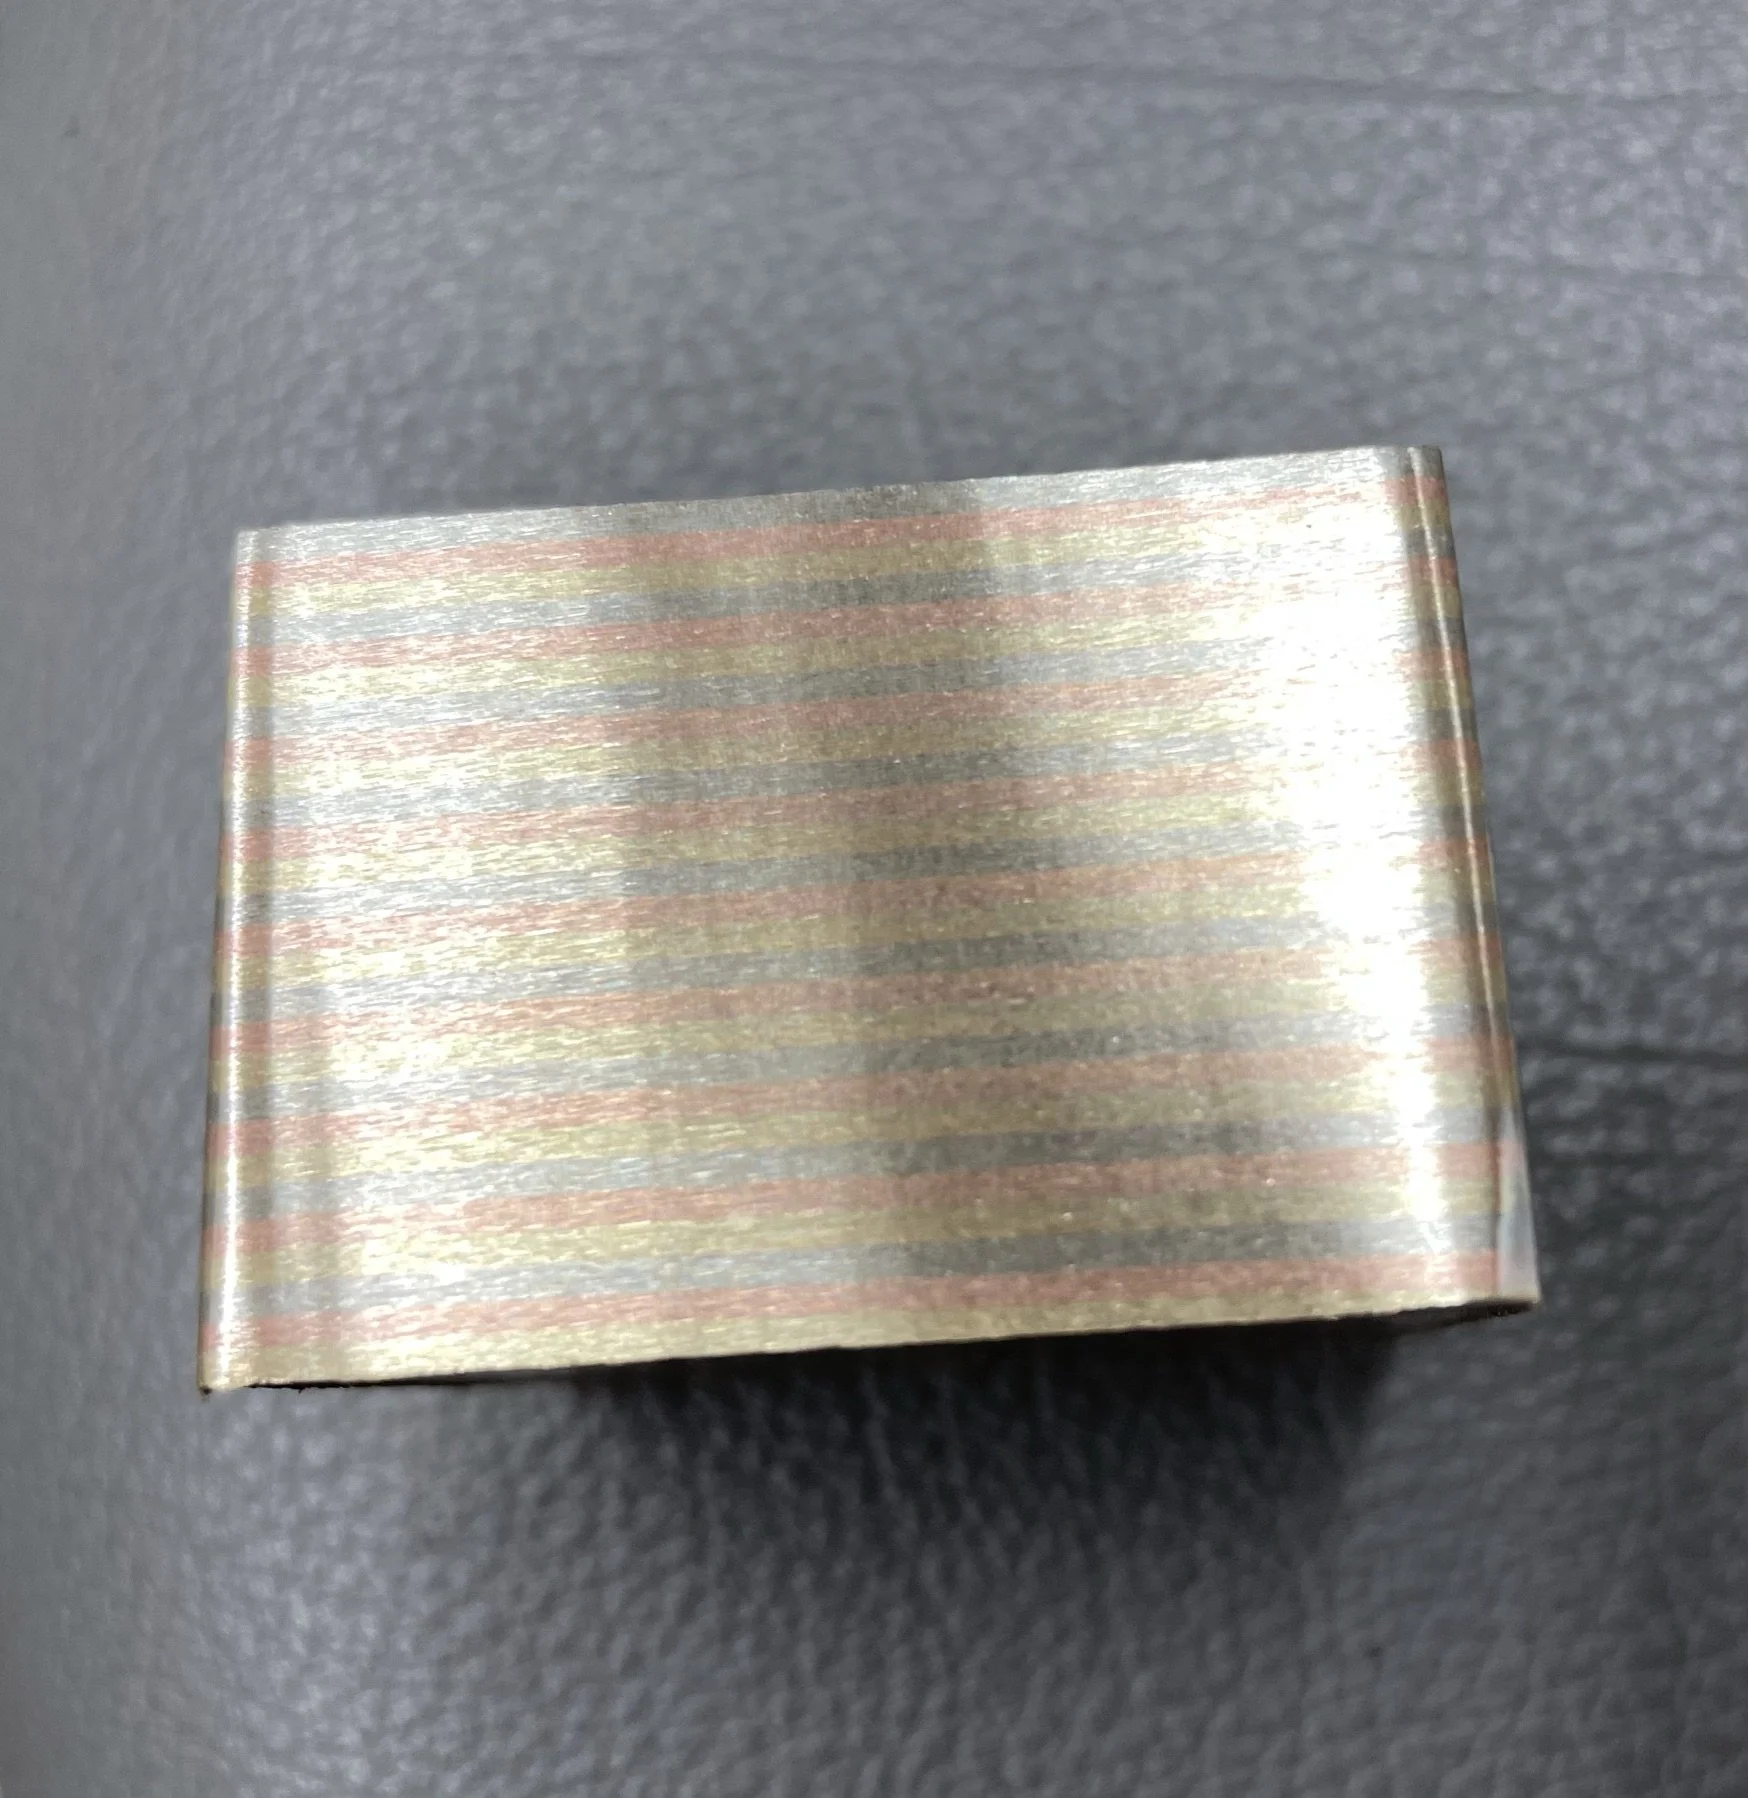
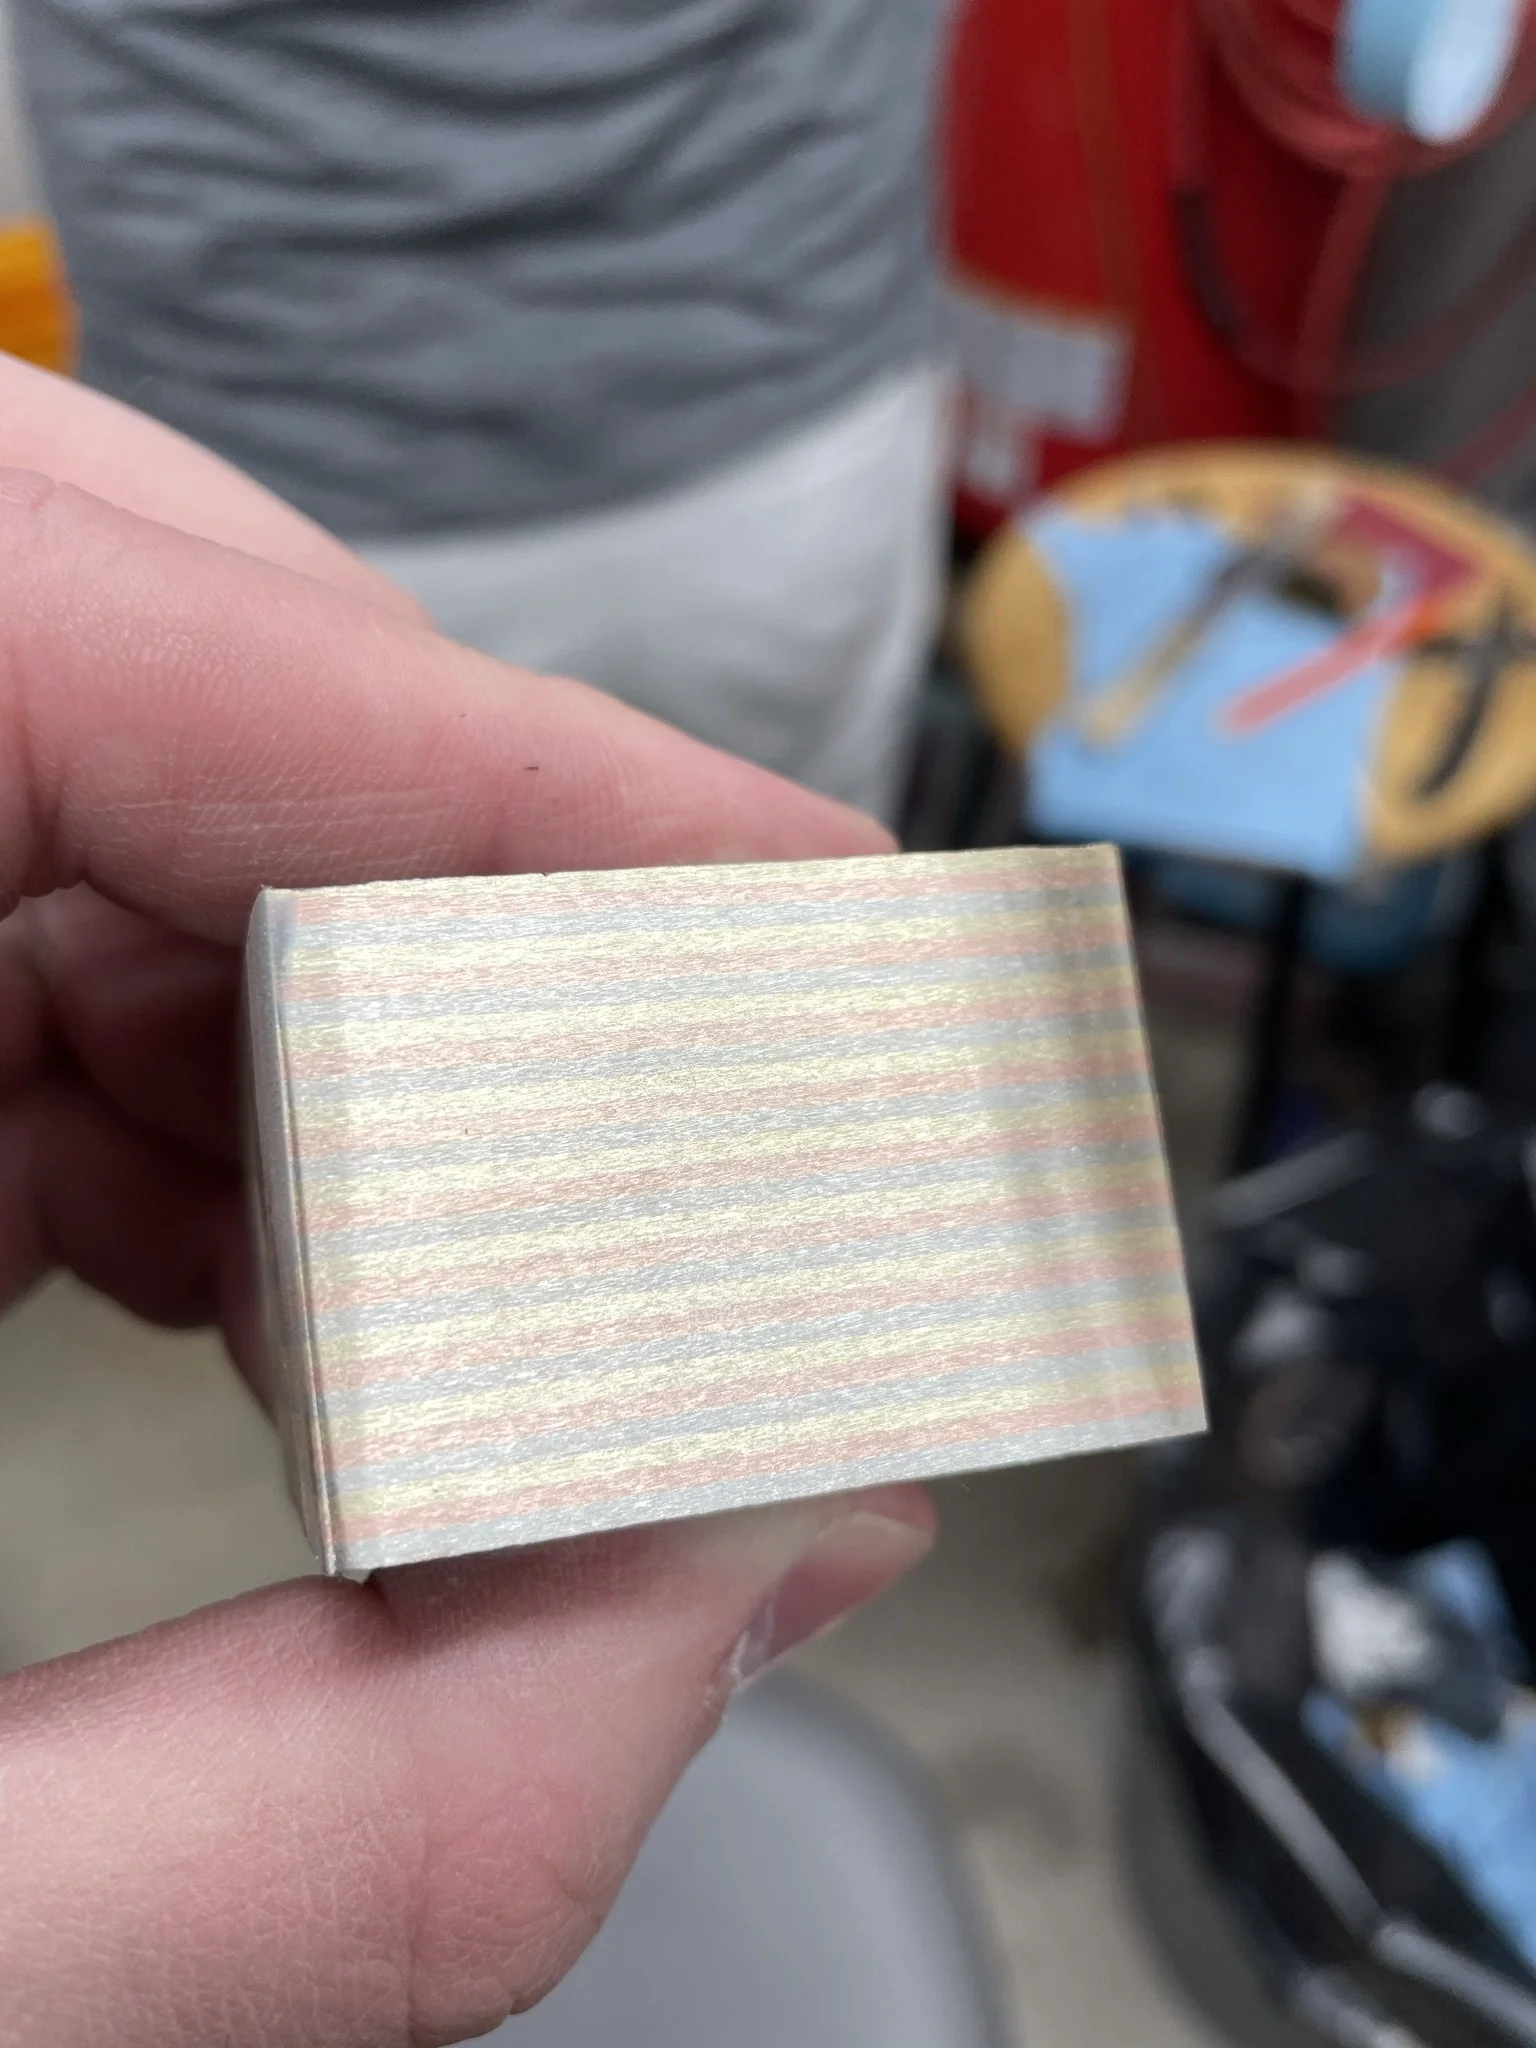
cleaned up block of makume gane. He kept half and I took the other half home.
-
Another finished shot. From here you would normally work it and develop a pattern similar to Damascus steel . Unfortunately, later on when I tried to work this it delaminated and became unusable likely due to the cheap nickel silver I used.
Jacob R. - Brothers Knives
-
Final blade - keep scrolling to see the journey.
-
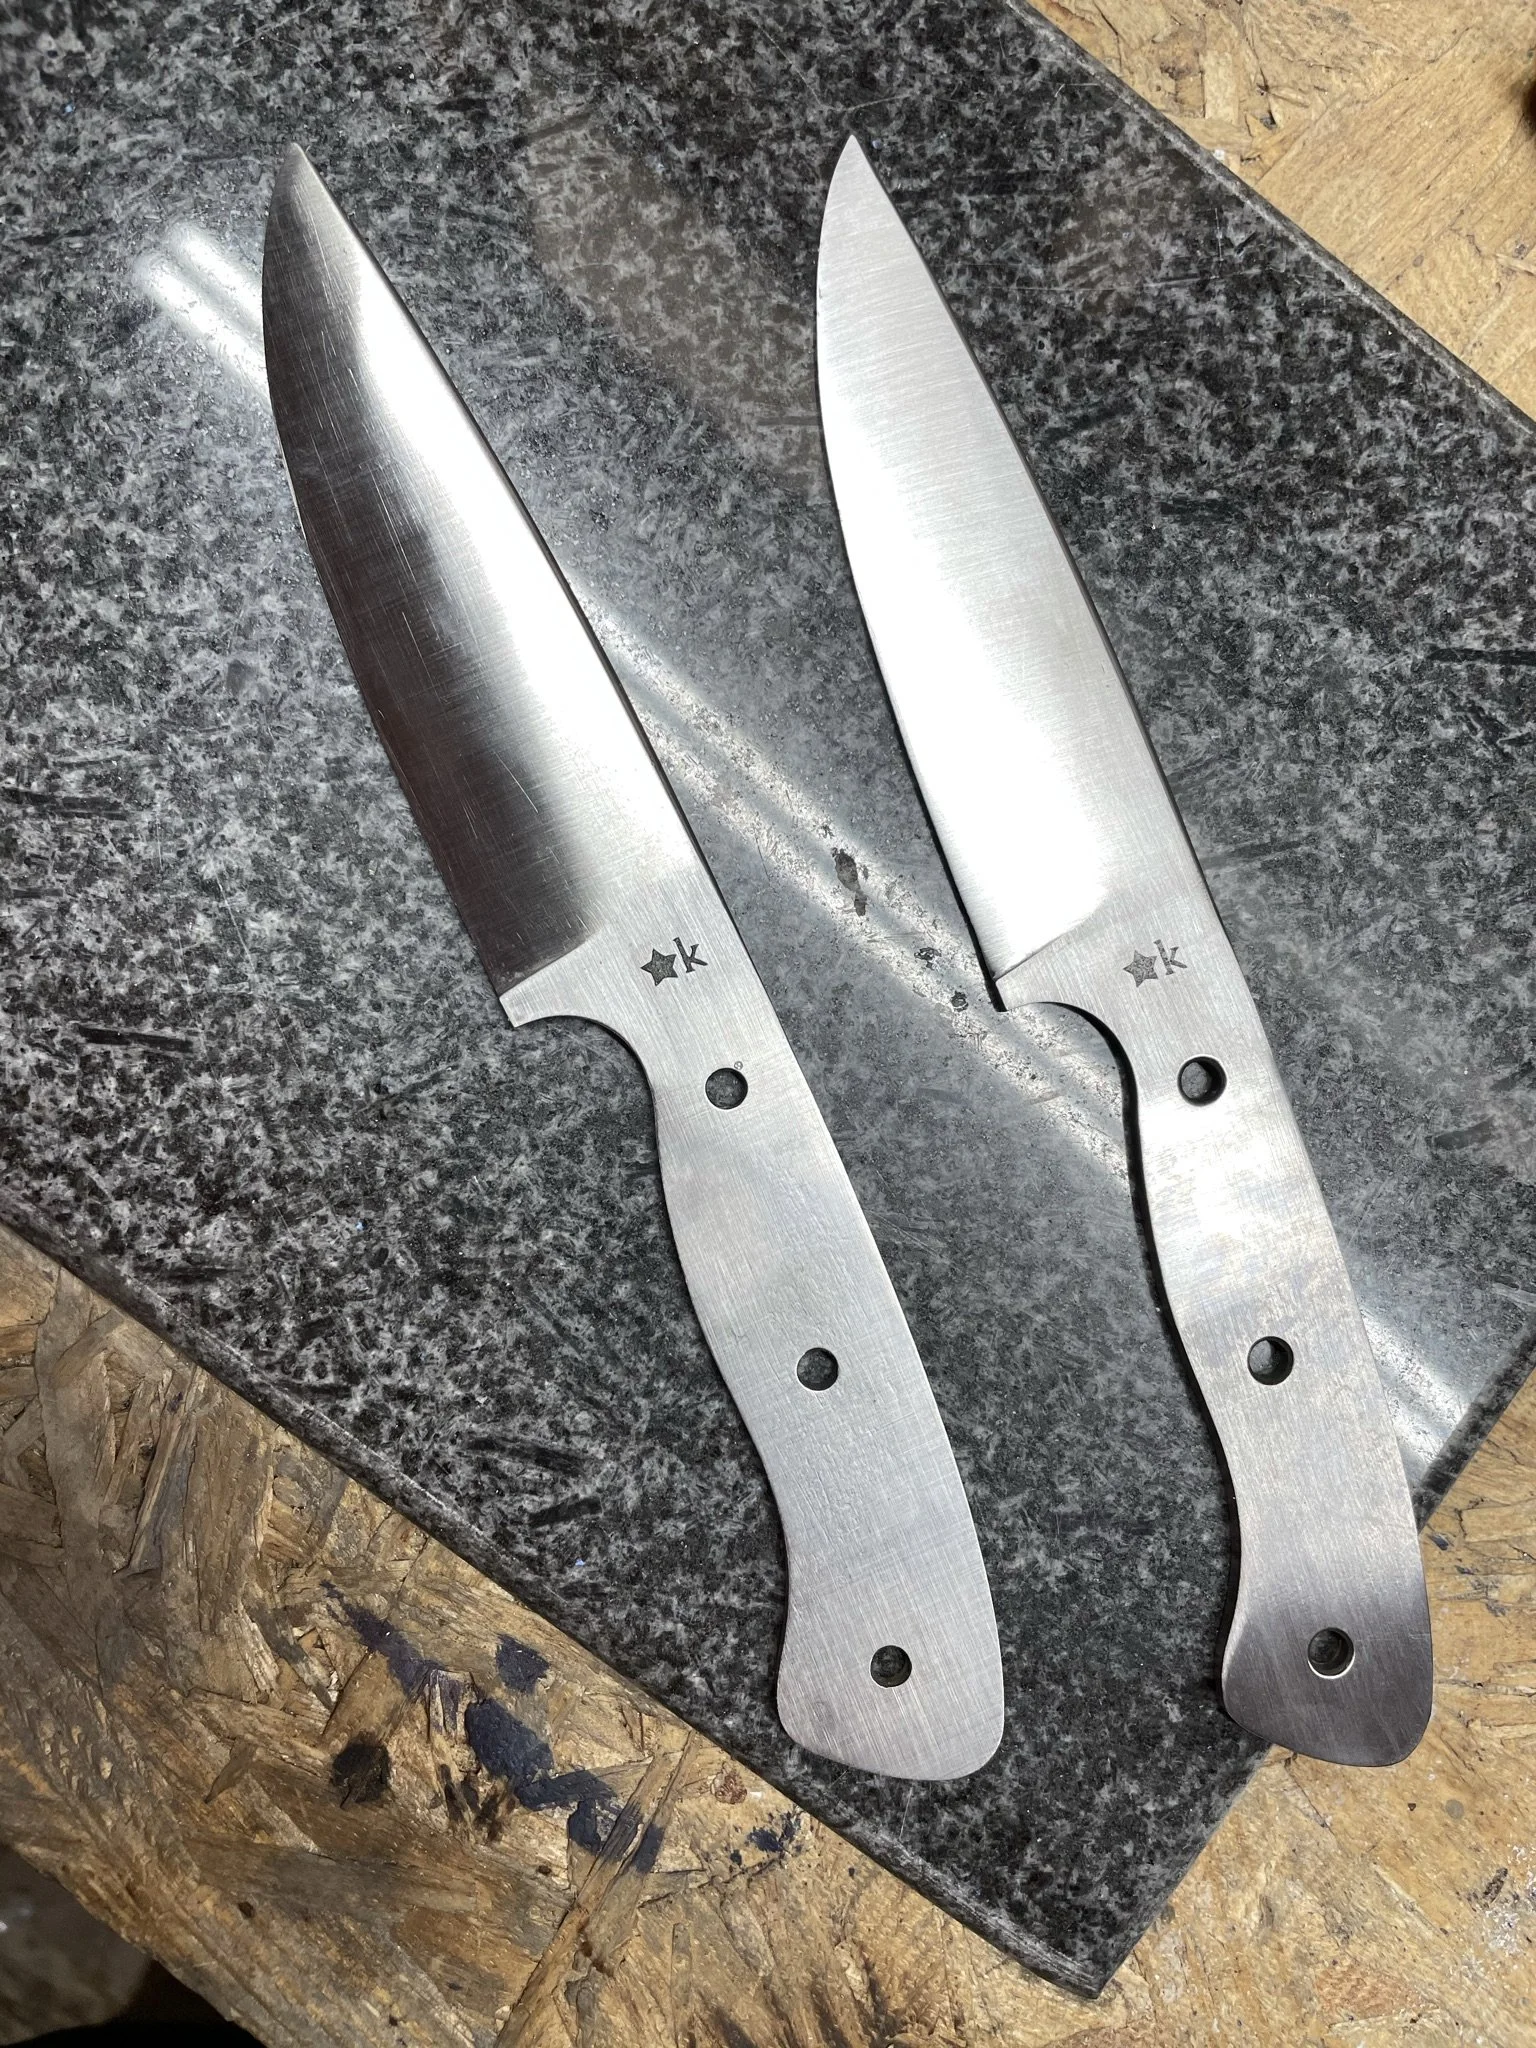
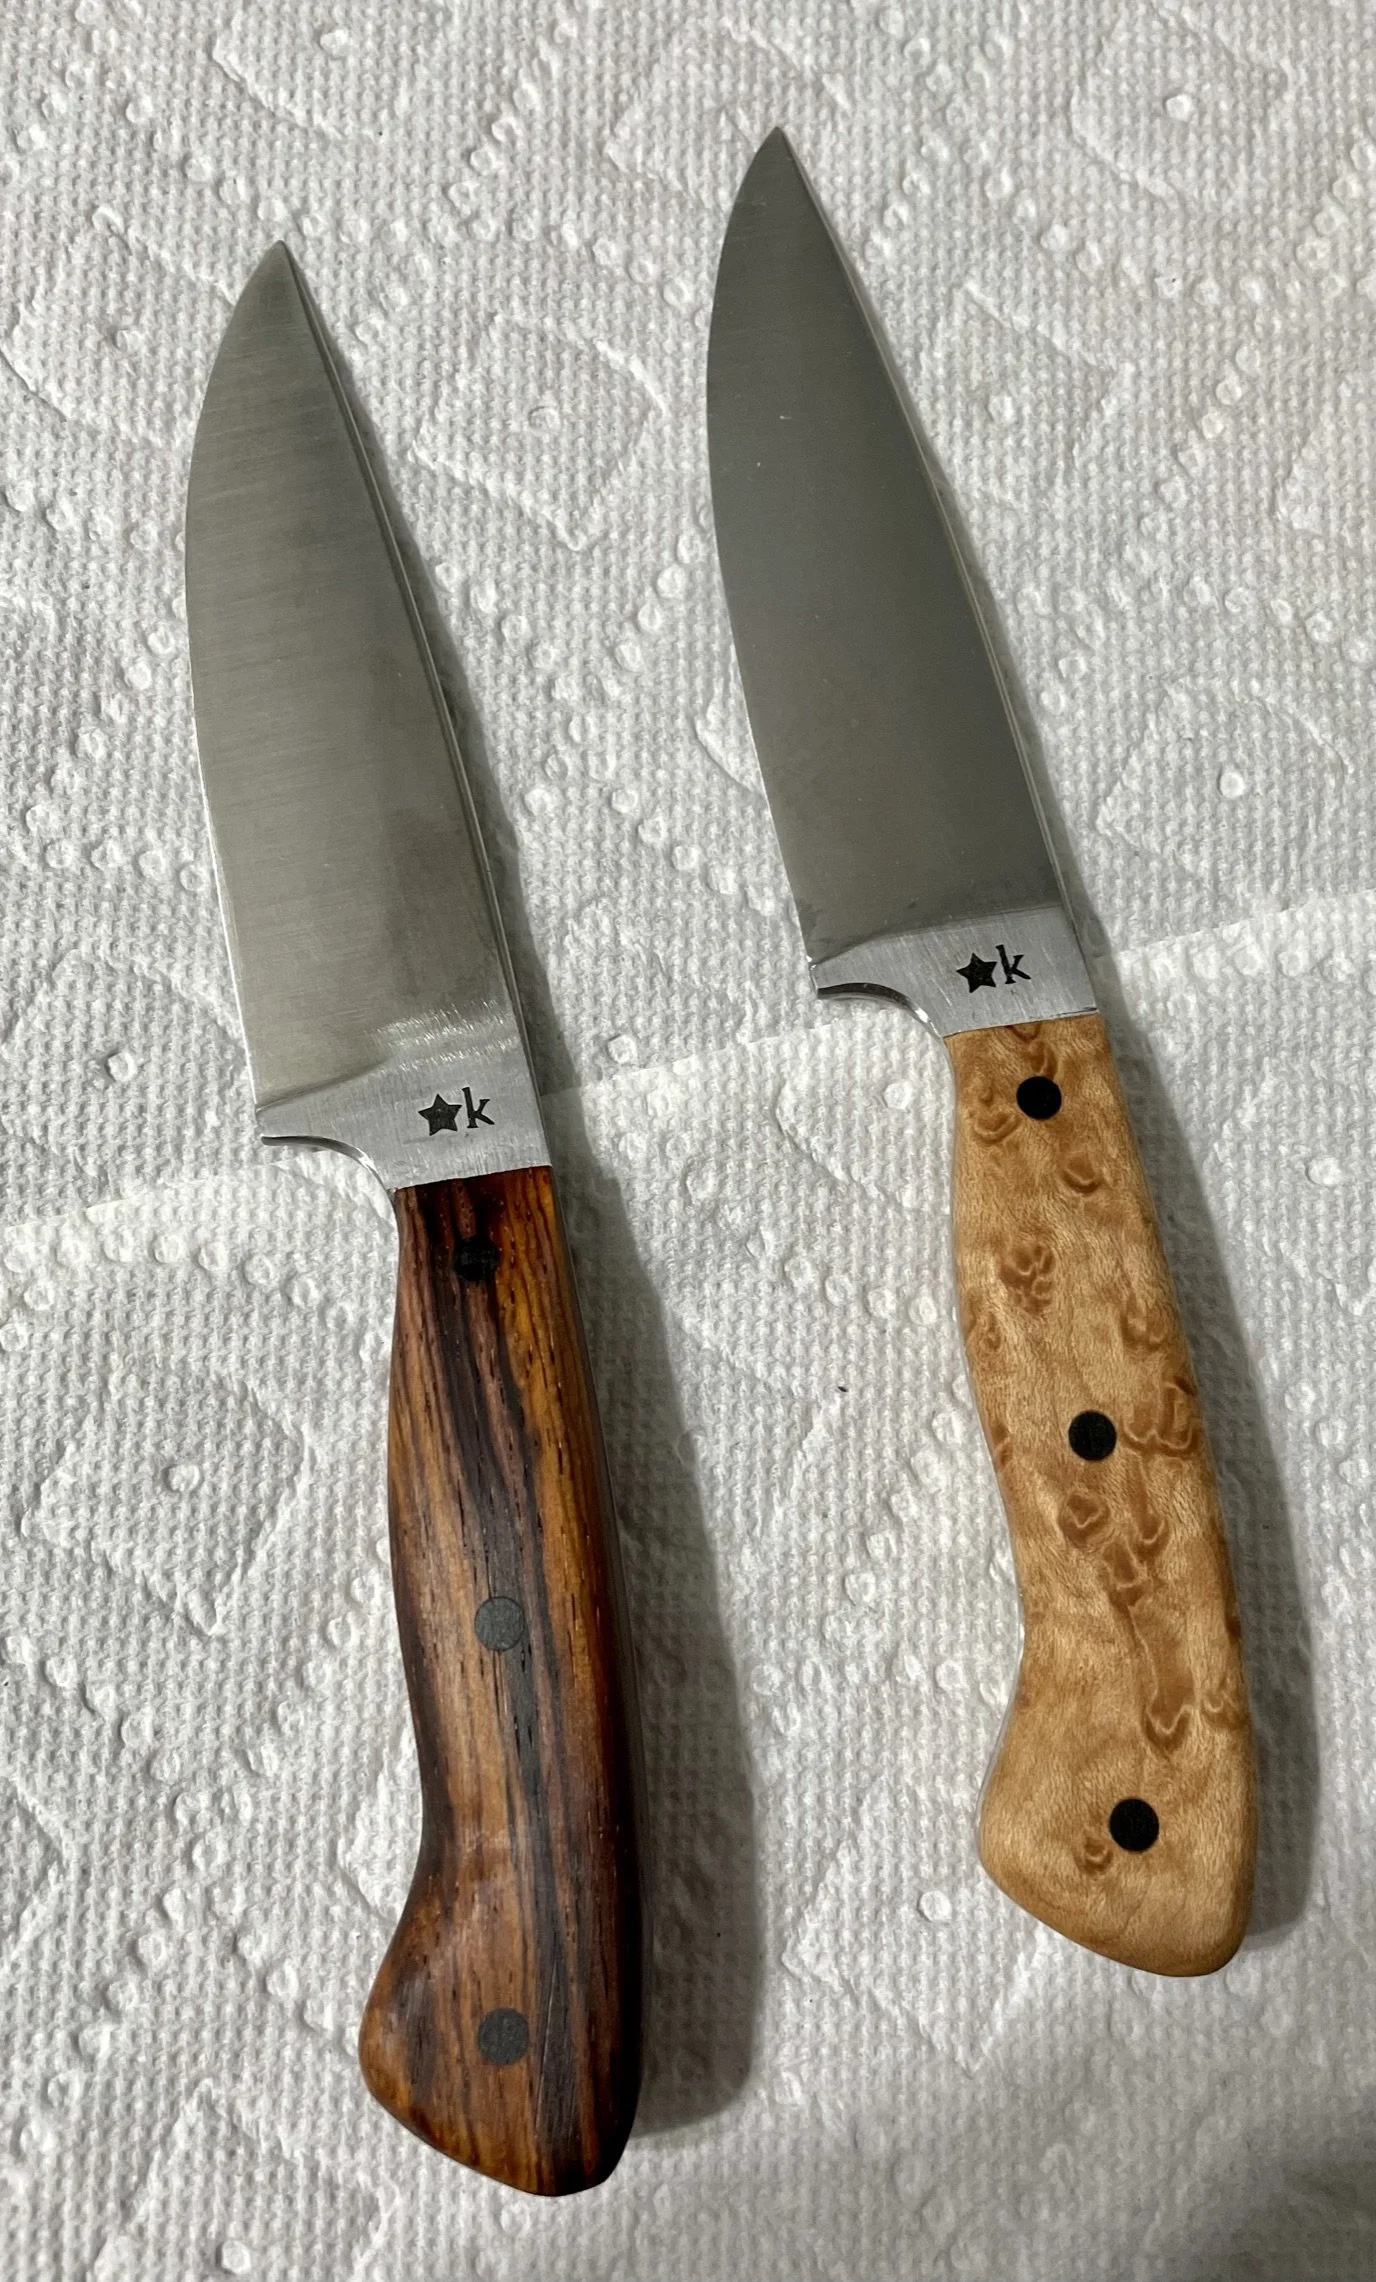
My nephew reached out and asked me to make a set of knives for his little brothers, he wanted a similar pair, but not matching exactly, and wanted their names etched on the ricasso of each.
-
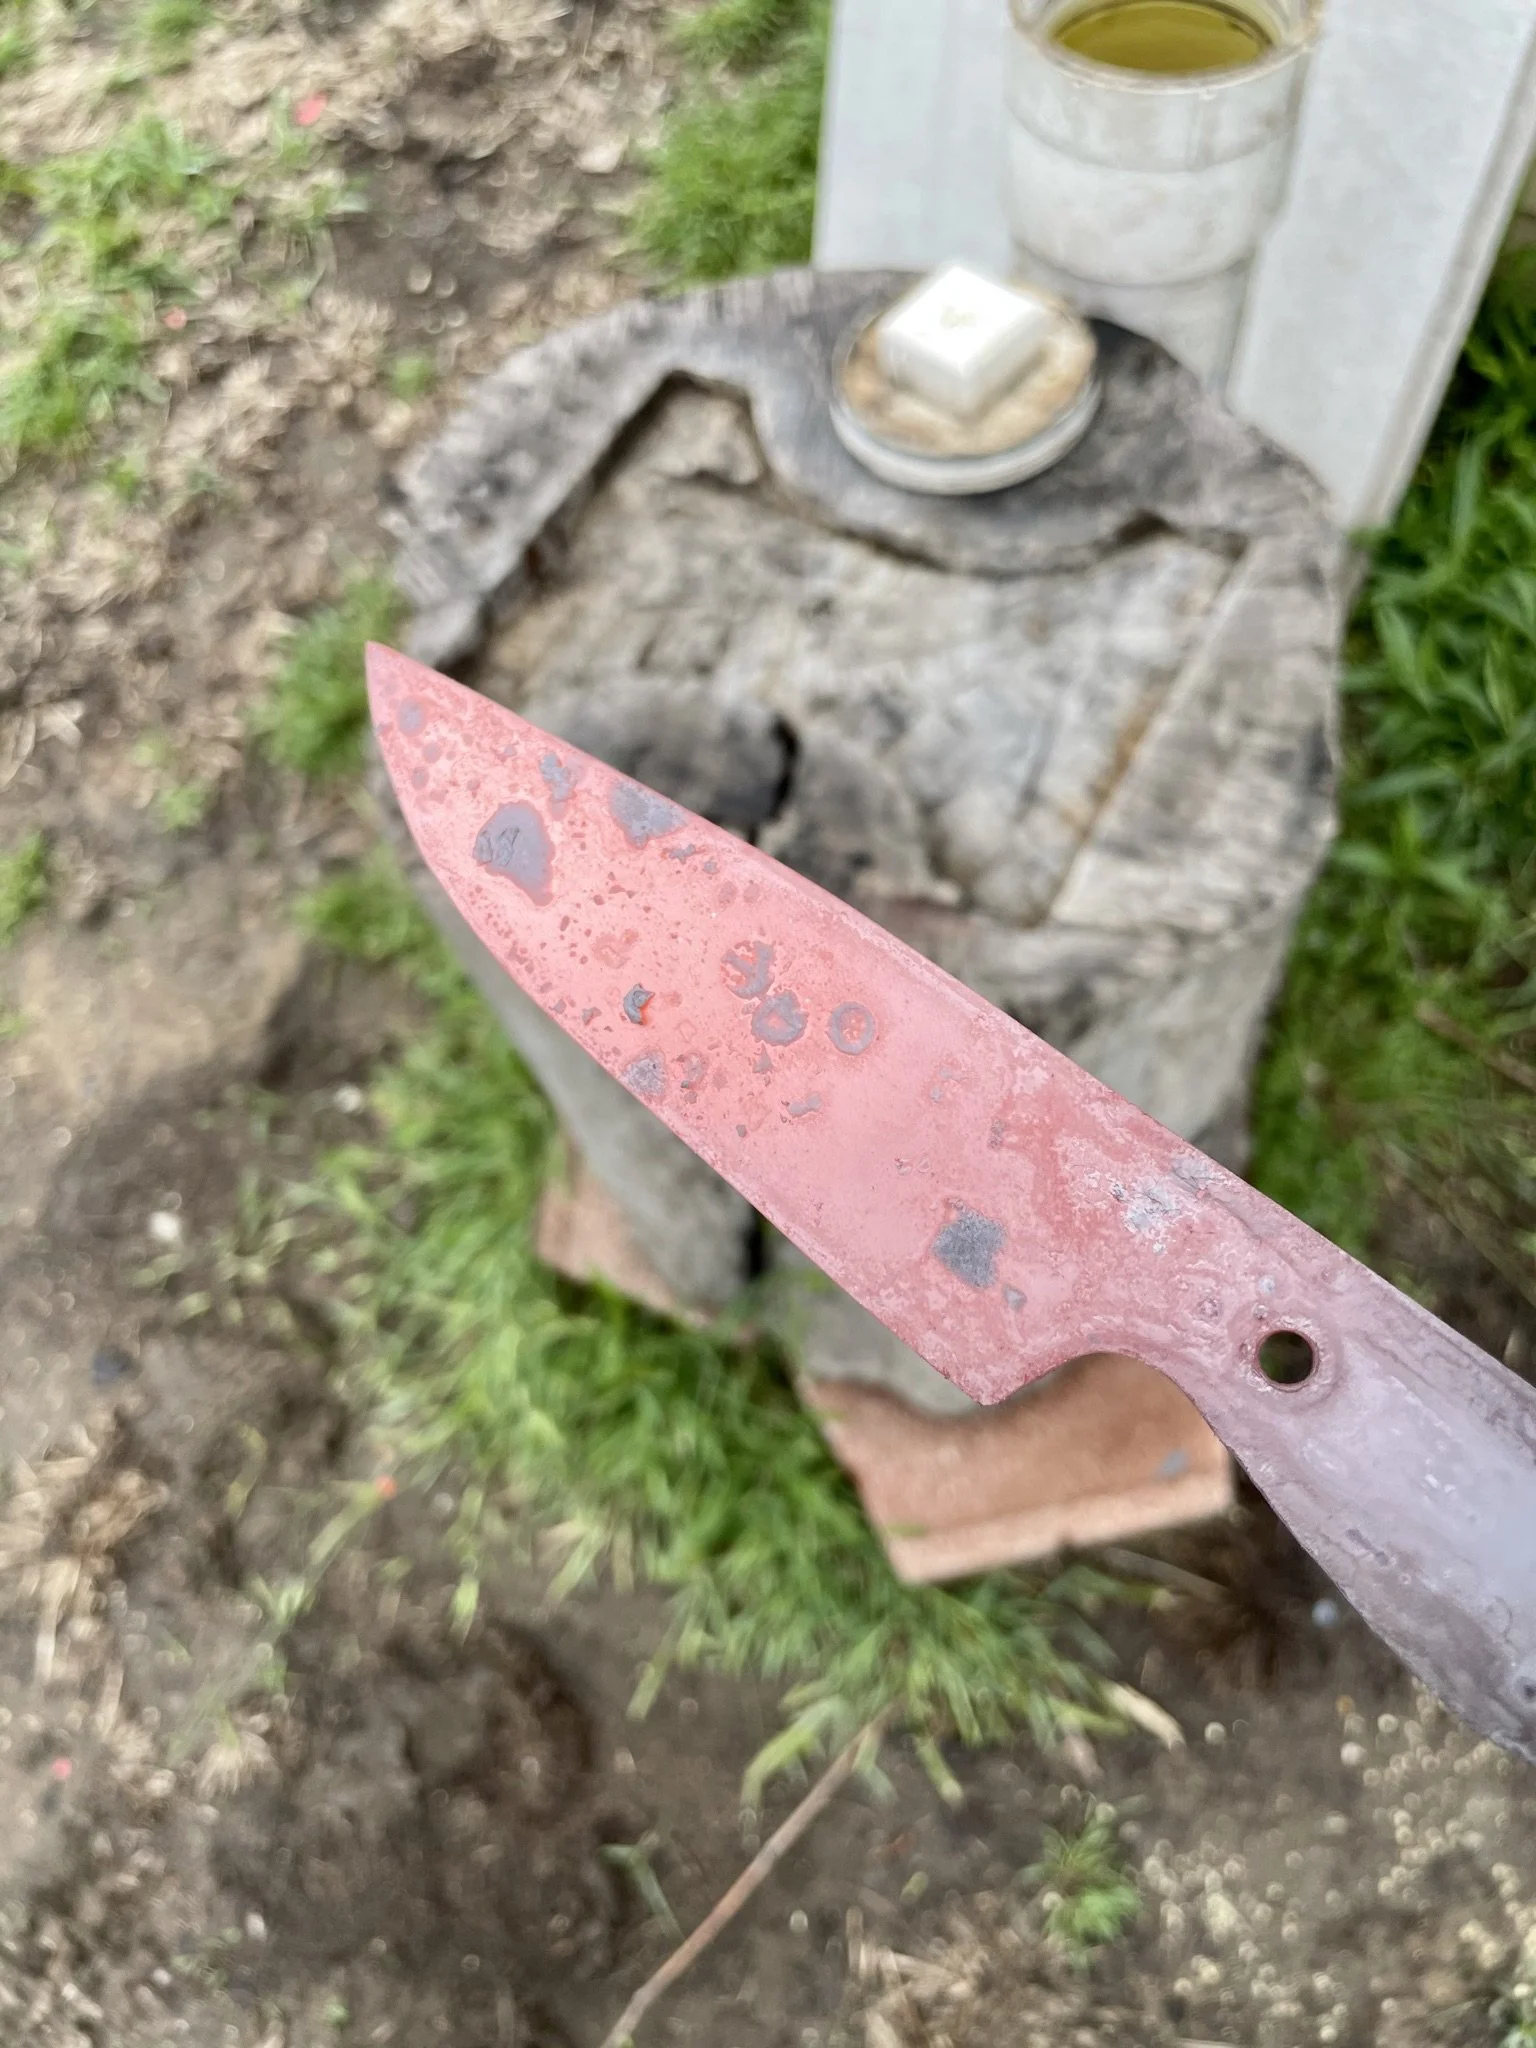
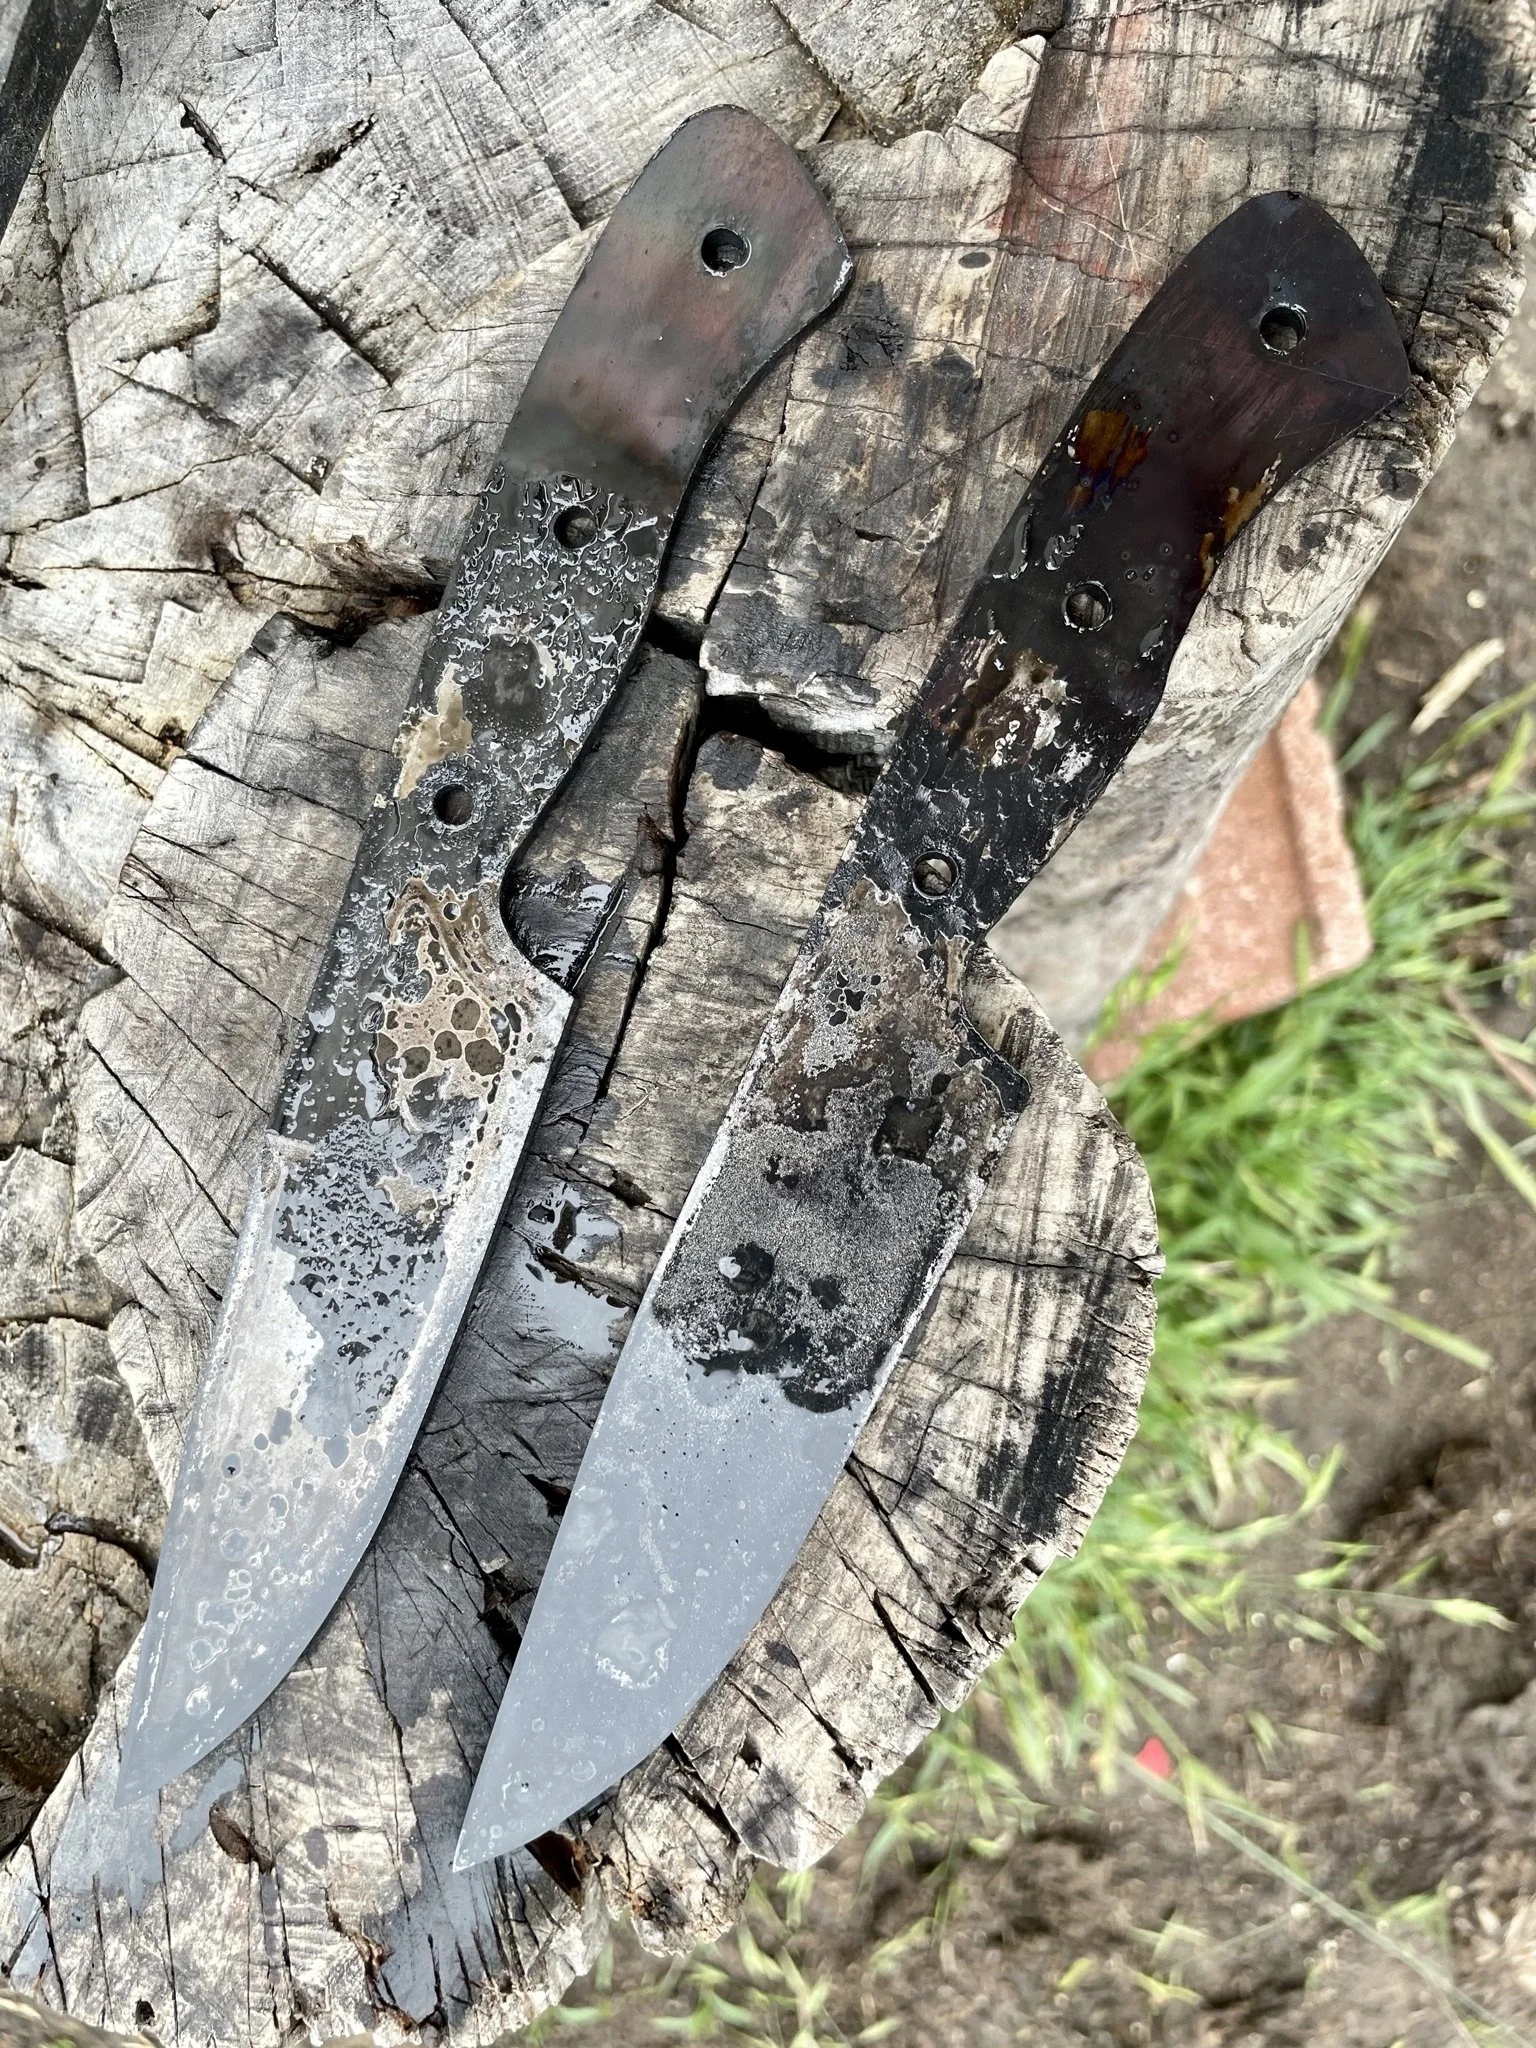
Blades made from 1095, after the quench. I designed this shape myself and have always enjoyed the "philosophical" side of knife design.
-
Just in cast I made four knives, which turned out to be a good decision.
-
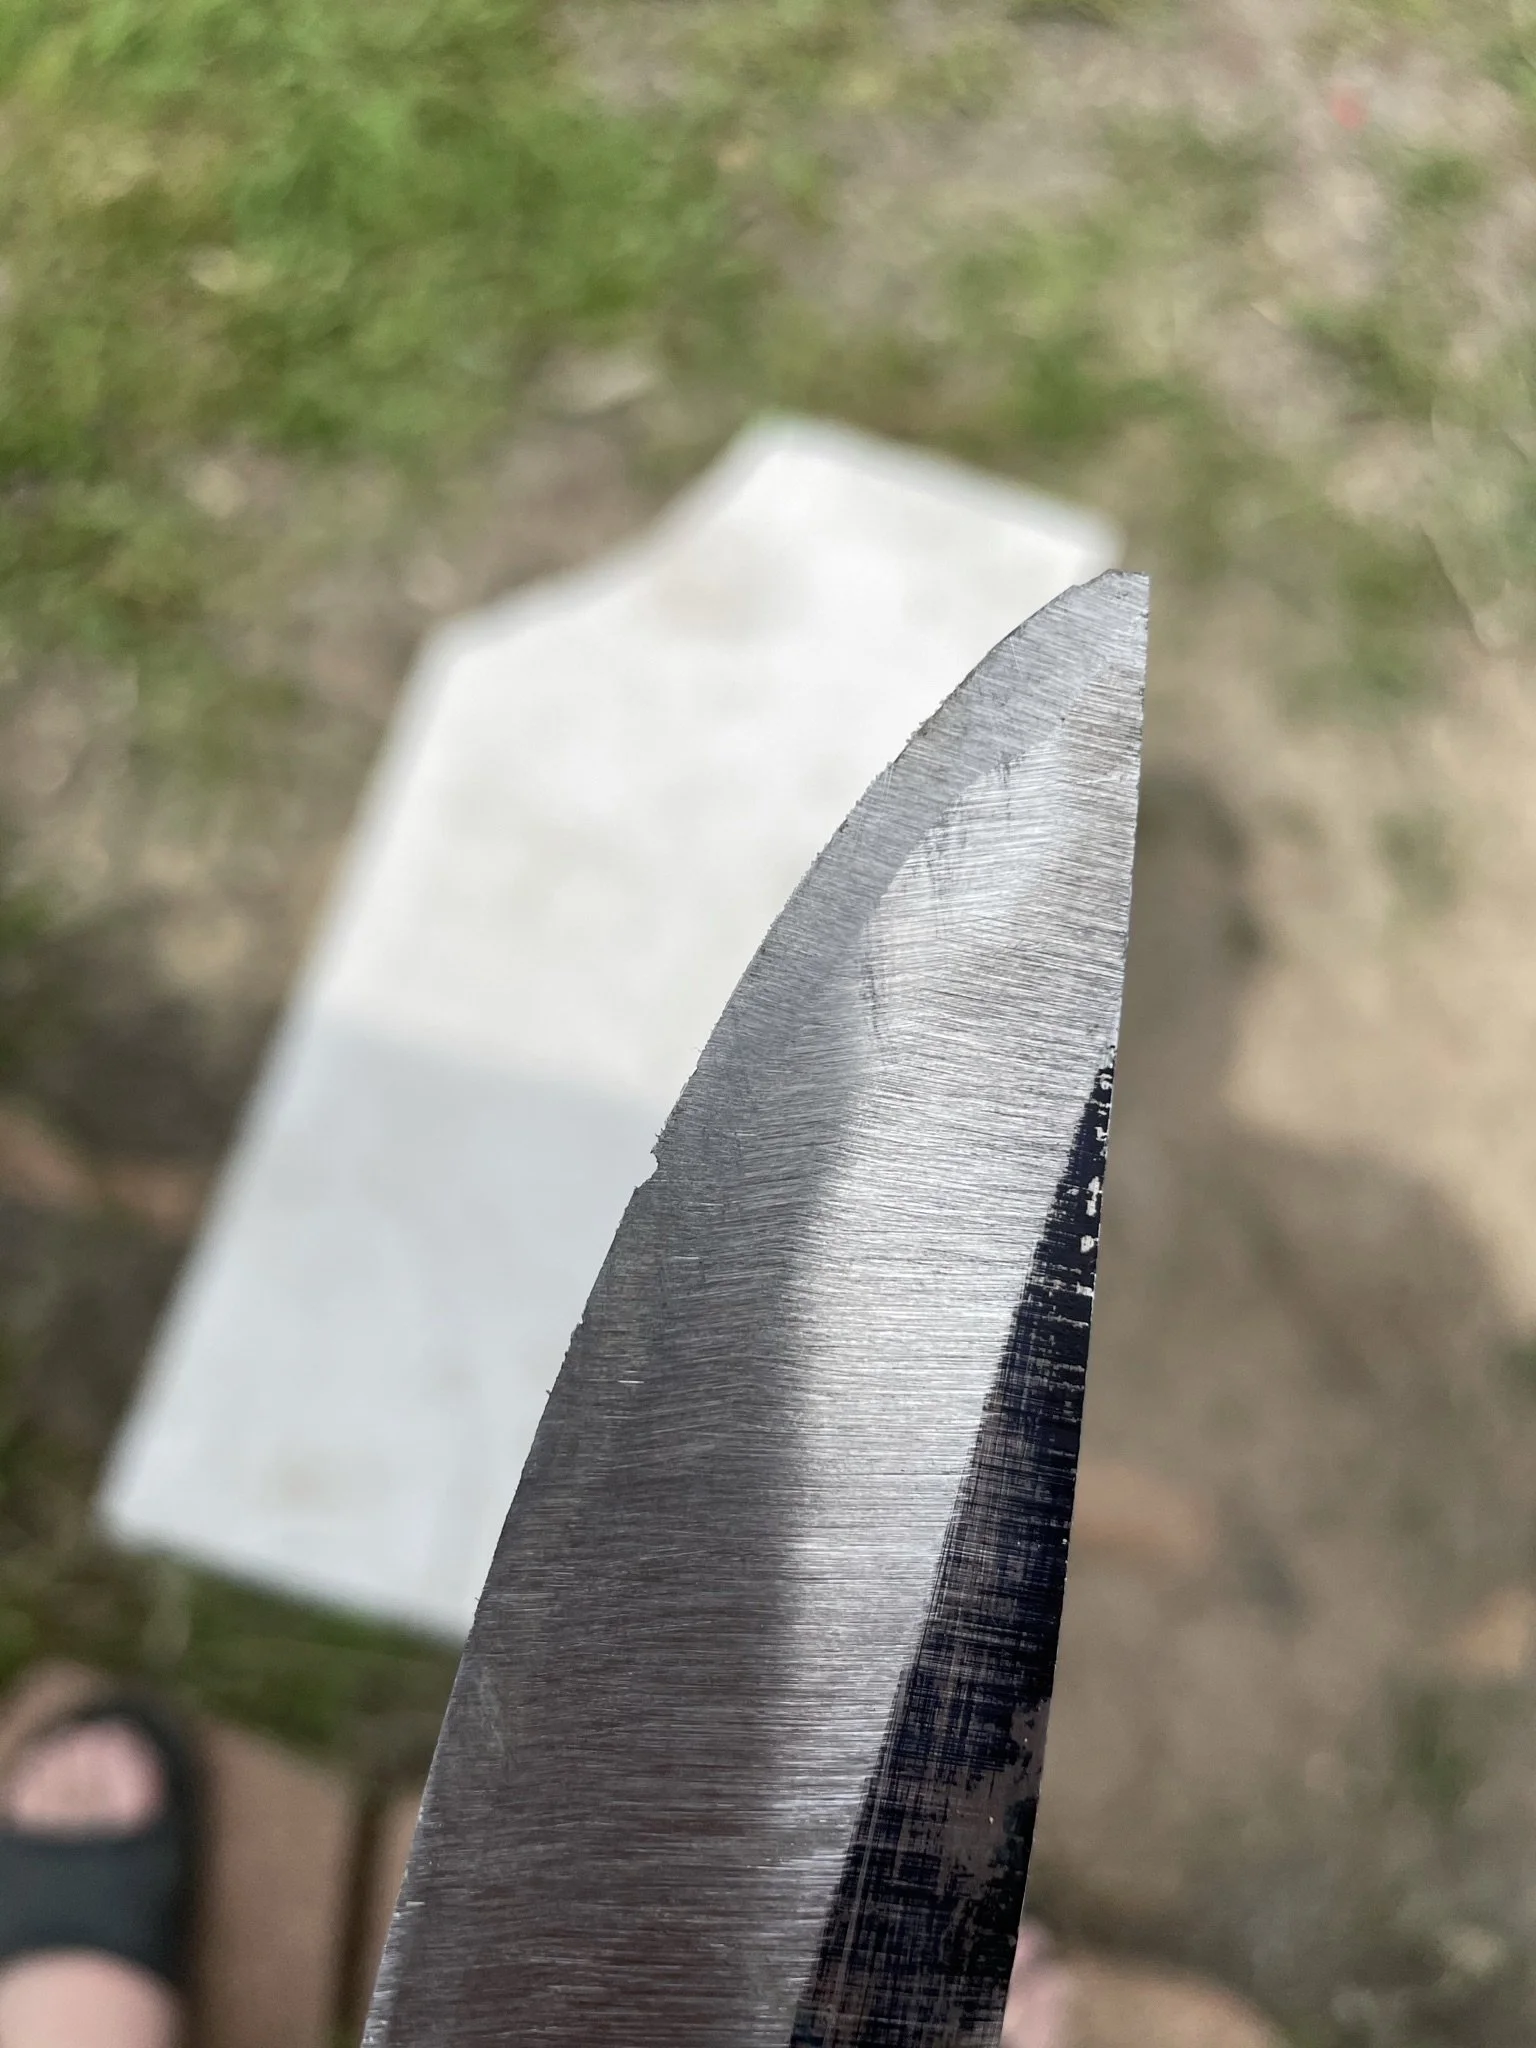
As I was still heat treating in my forge, I noticed during grinding that the blade chipped, leading me to realize I likely burned the steal by over heating it. Fortunately this was only on one of the four blades.
-
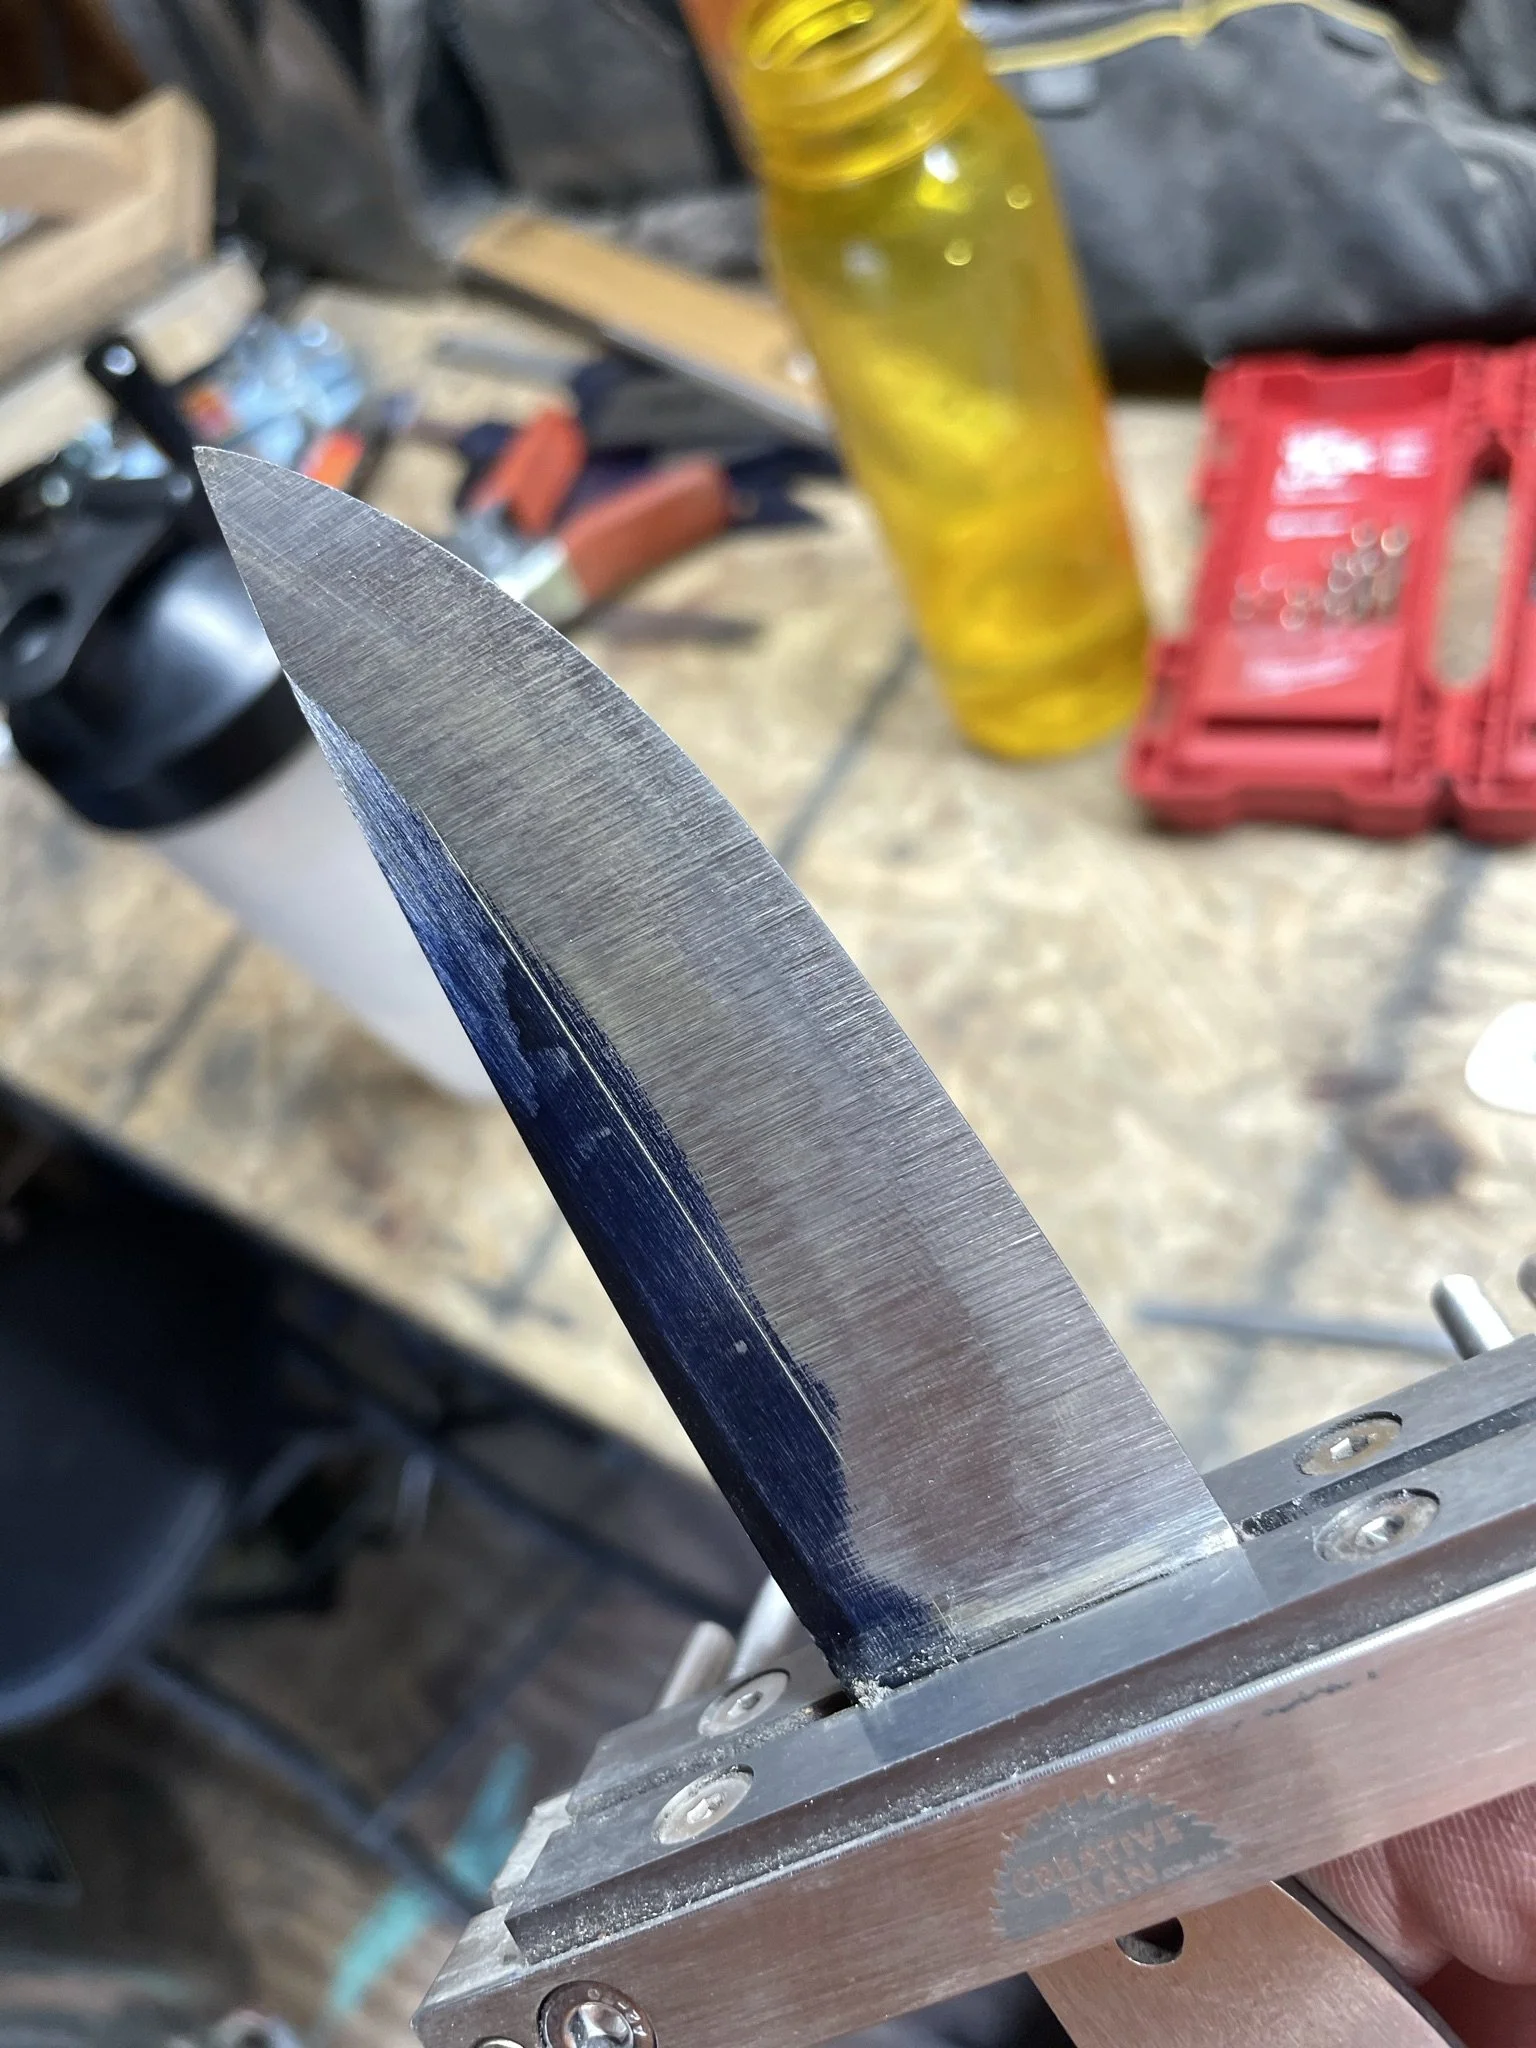
Grinding in even plunge lines using a carbide file guide.
-
Both blades rough ground.
-
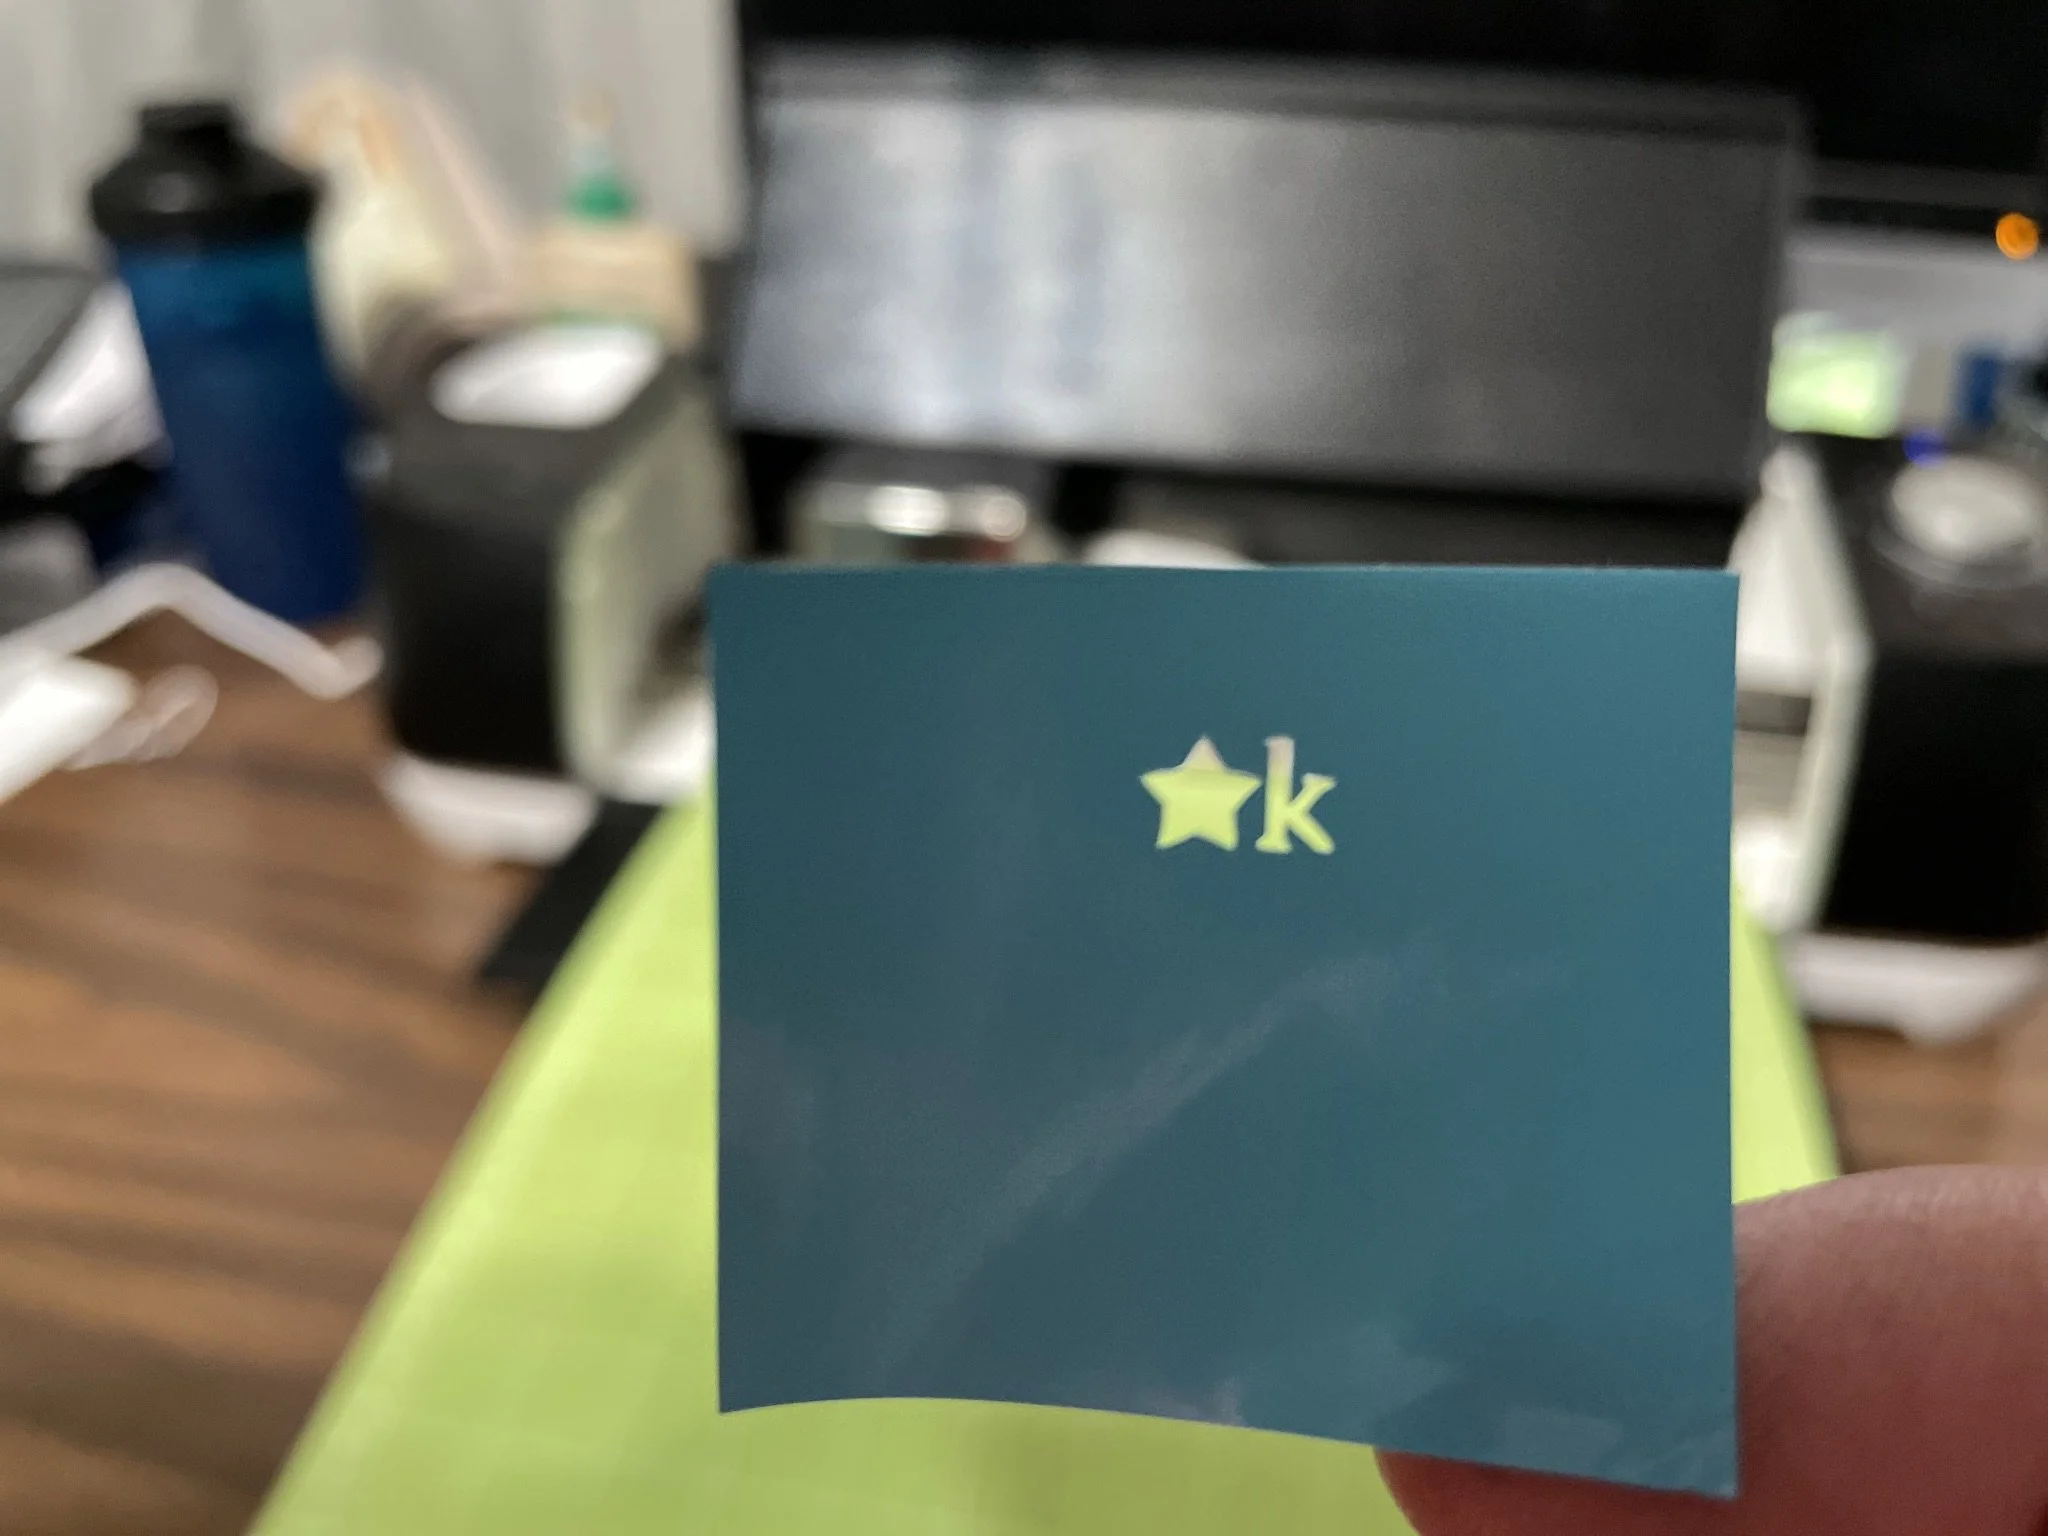
Back in this day I used a Cricut to cut my maker's mark out of vinyl sheets and then electro etched it one the blades.
-
![]()
Used the same technique for the names of his brothers.
-
Maker's mark on both blades.
-
![]()
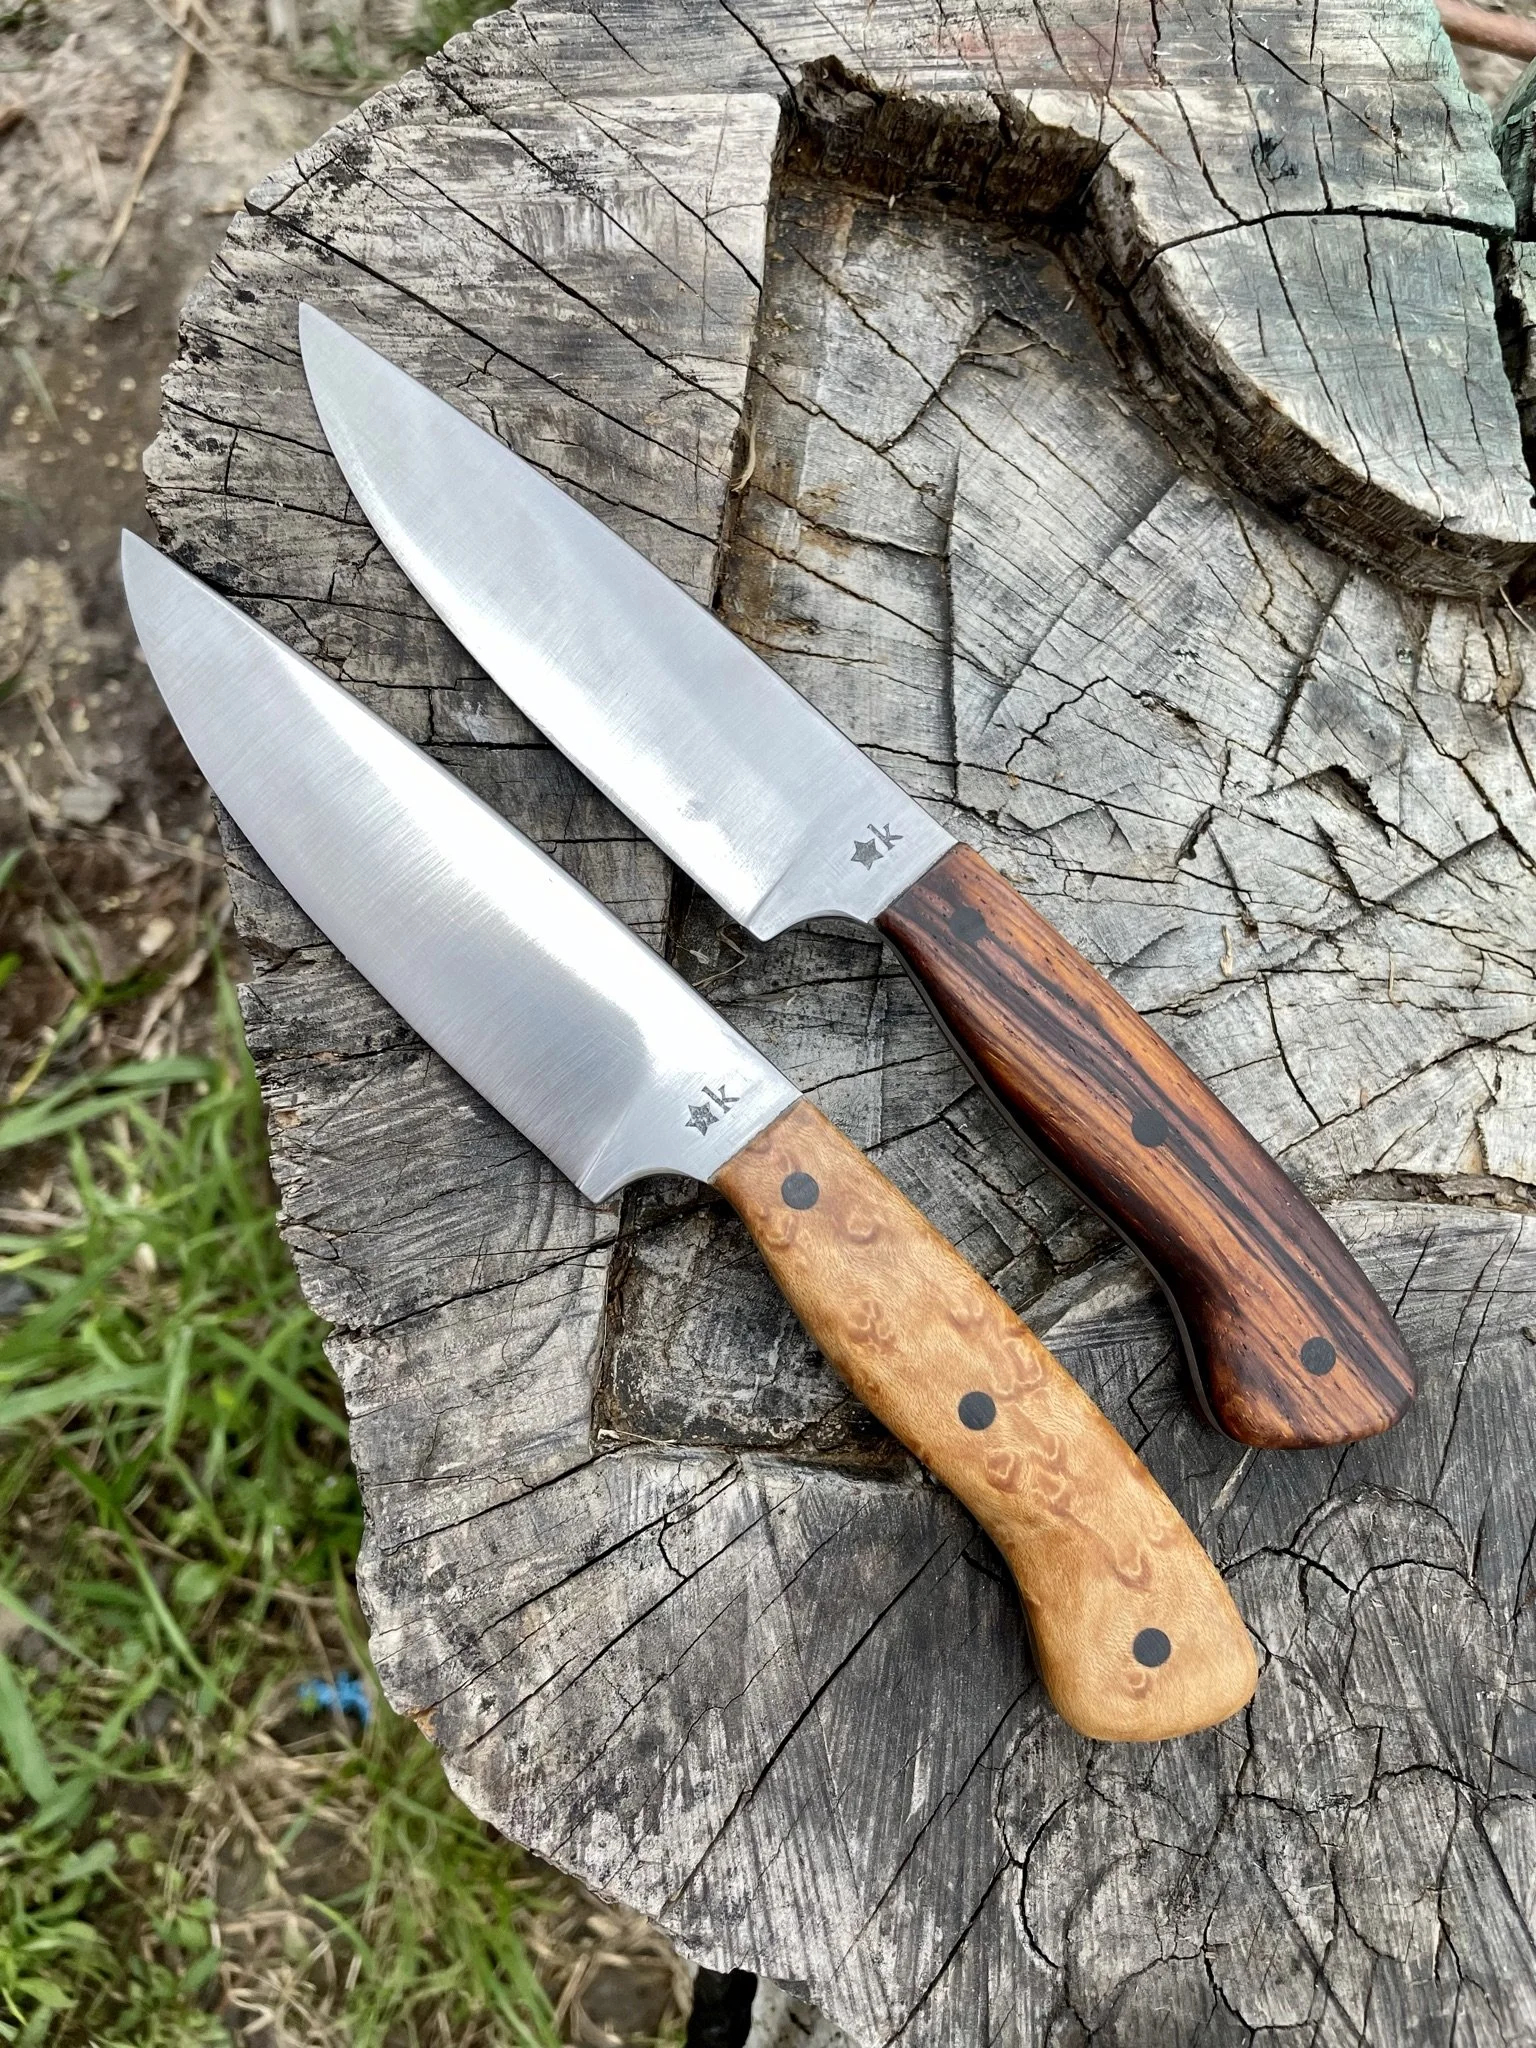
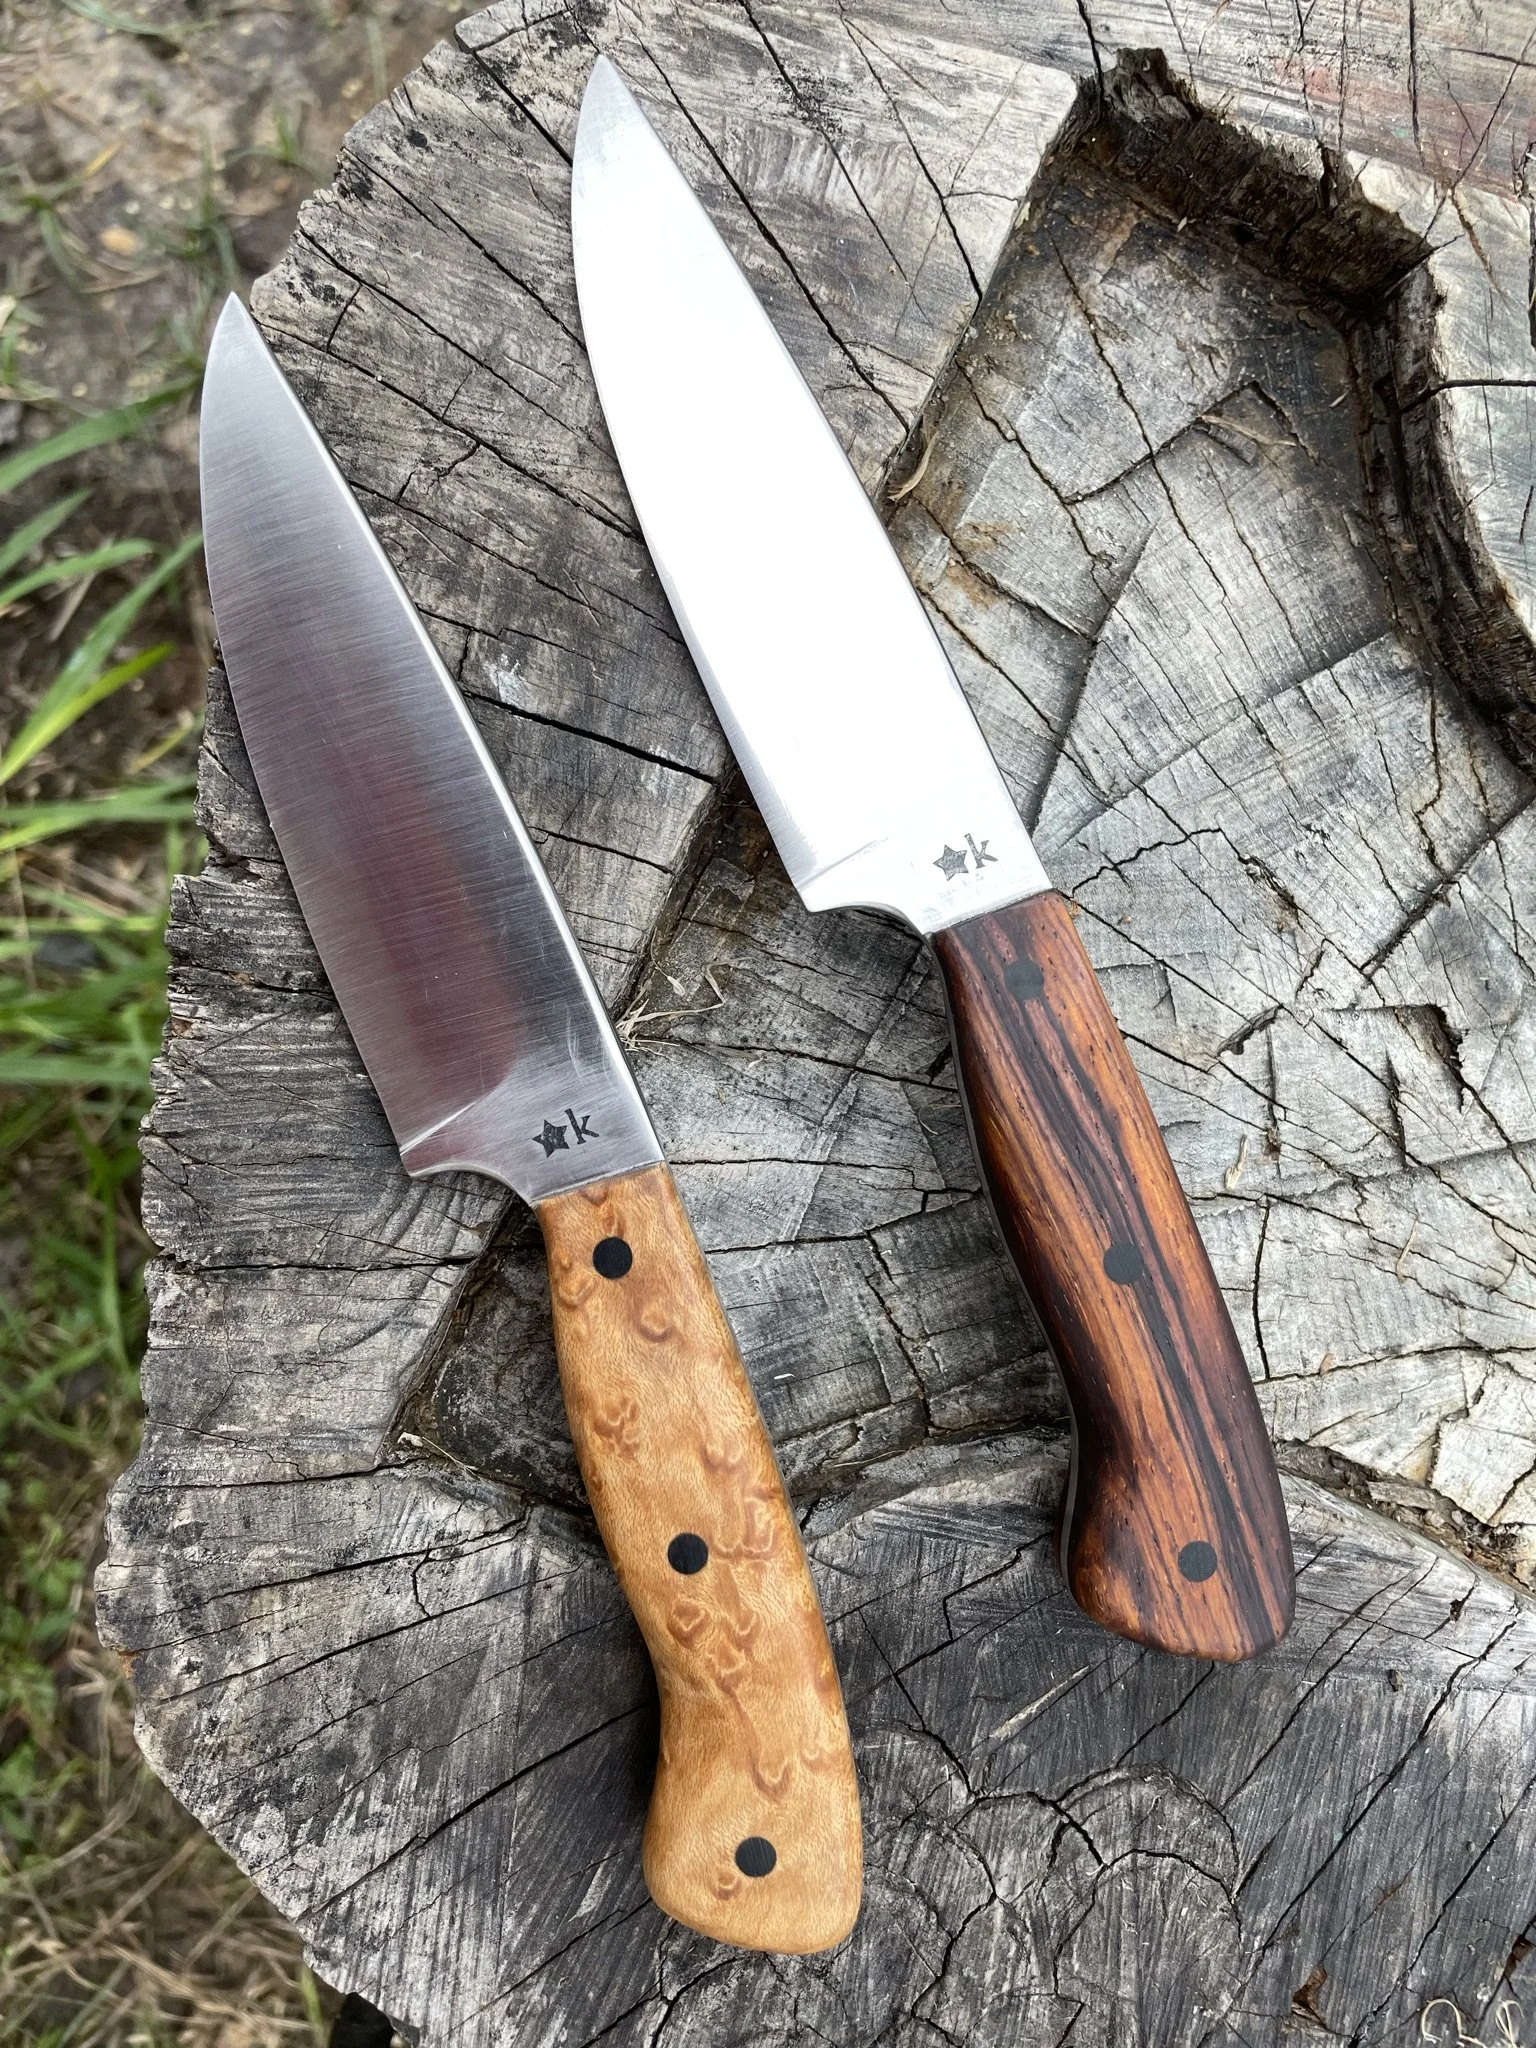
I decided to use desert iron wood on one, and bird's eye maple for the handle of the other.
-
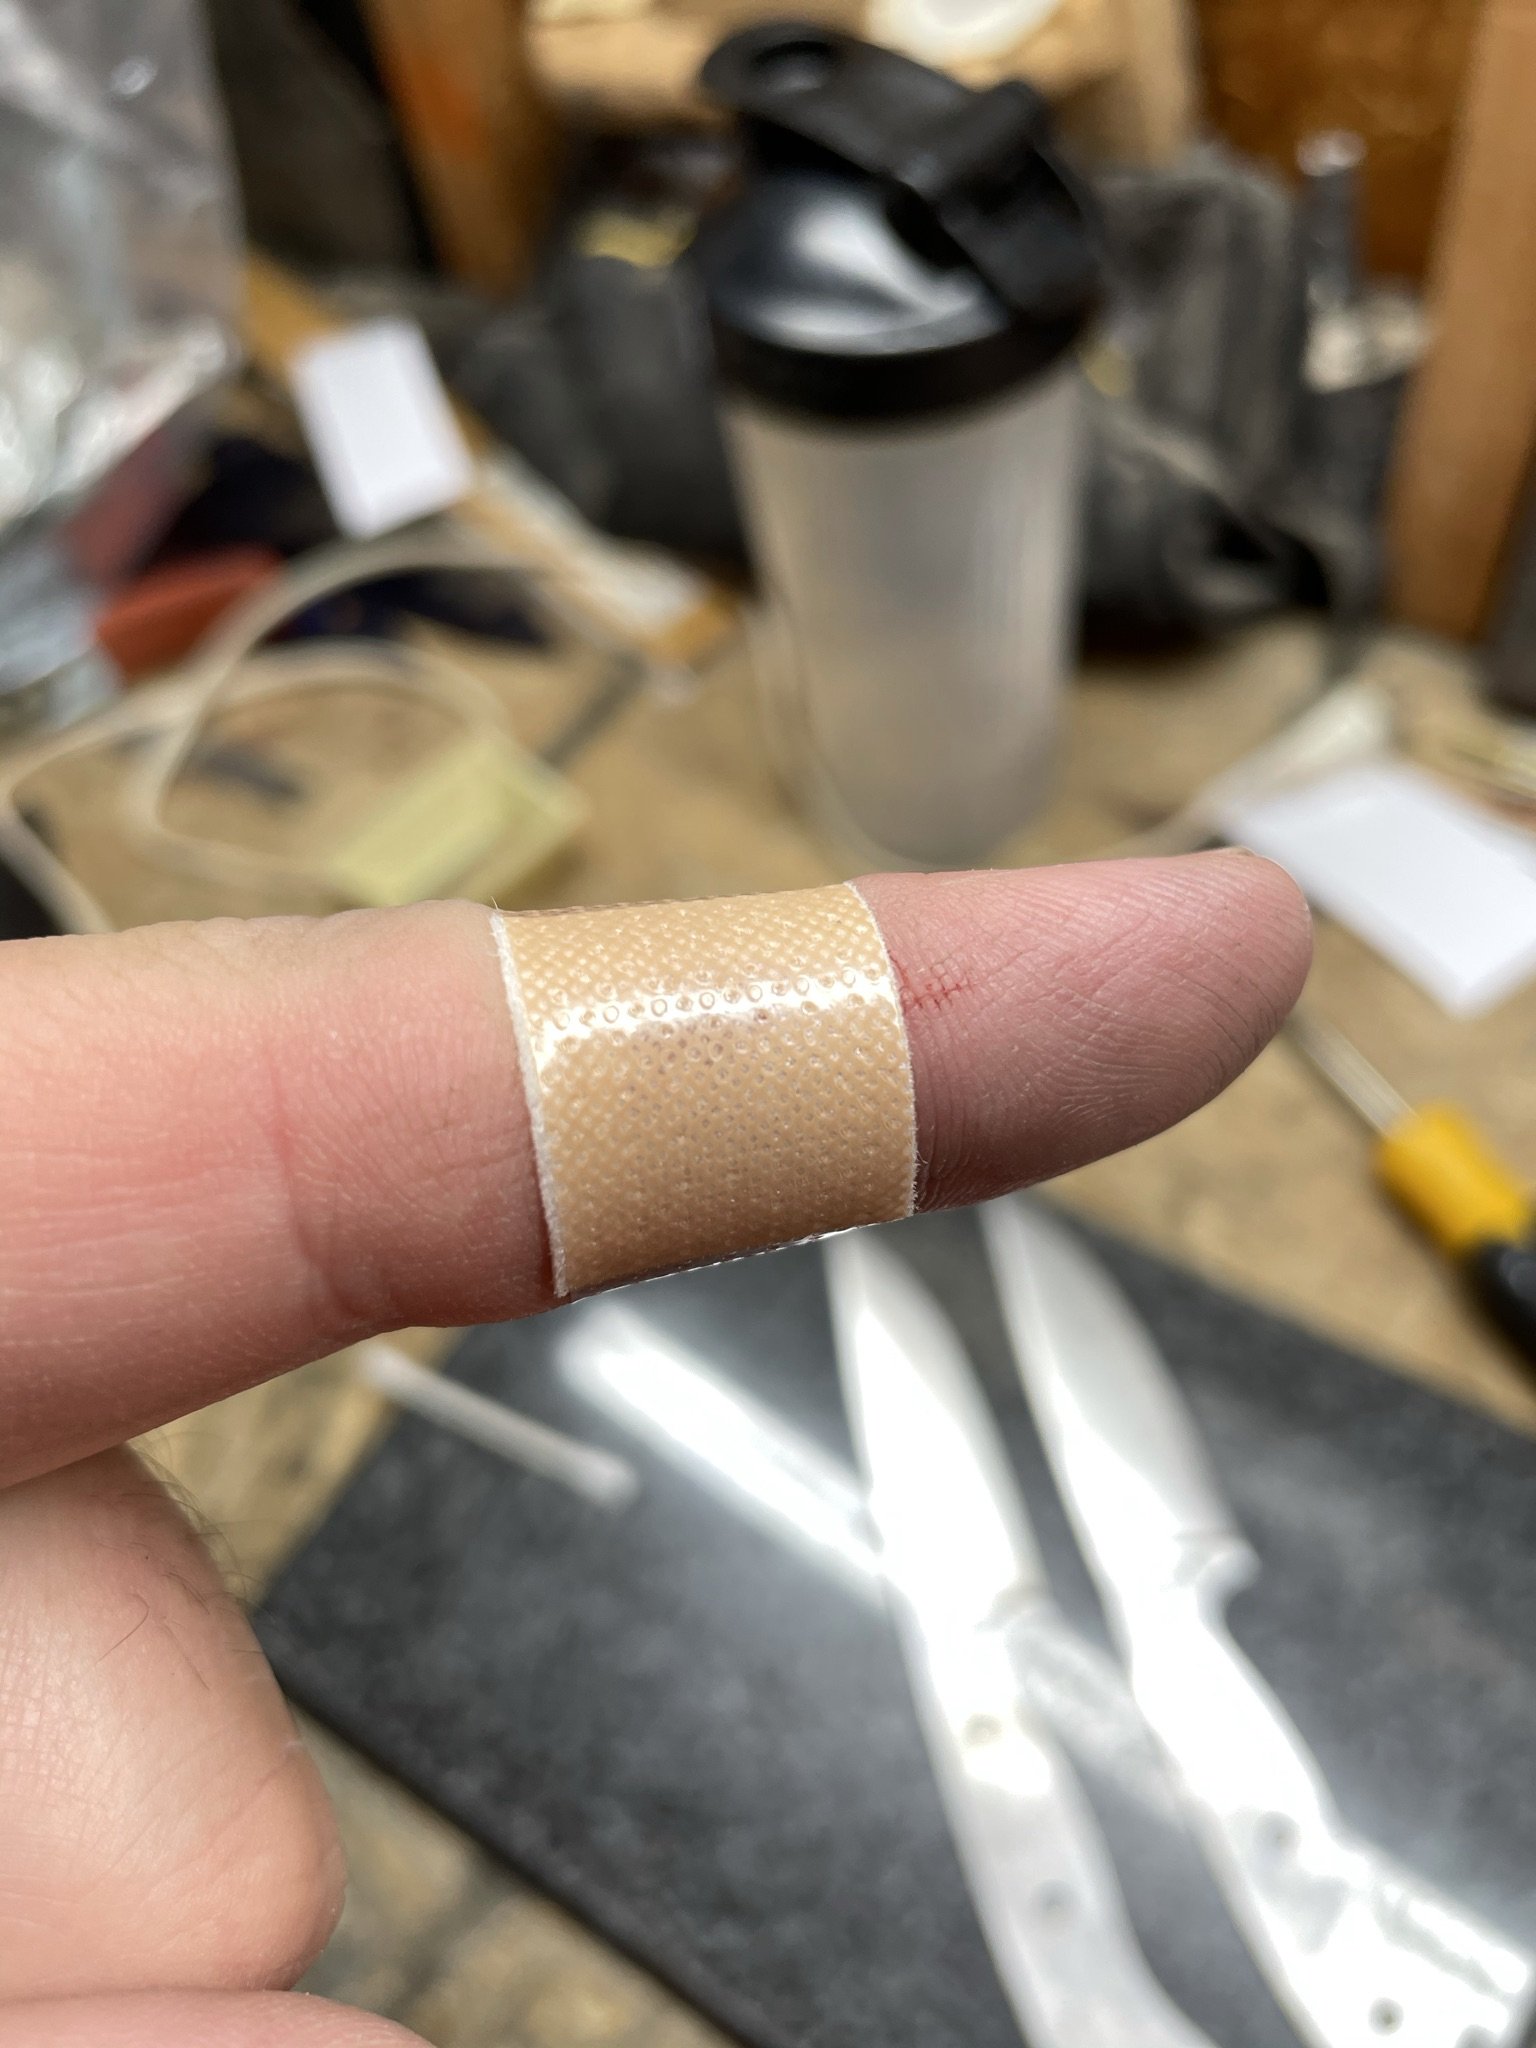
Most blades require a personal sacrifice. These things require blood, sweat and tears. I have photo evidence of two of the three.
-
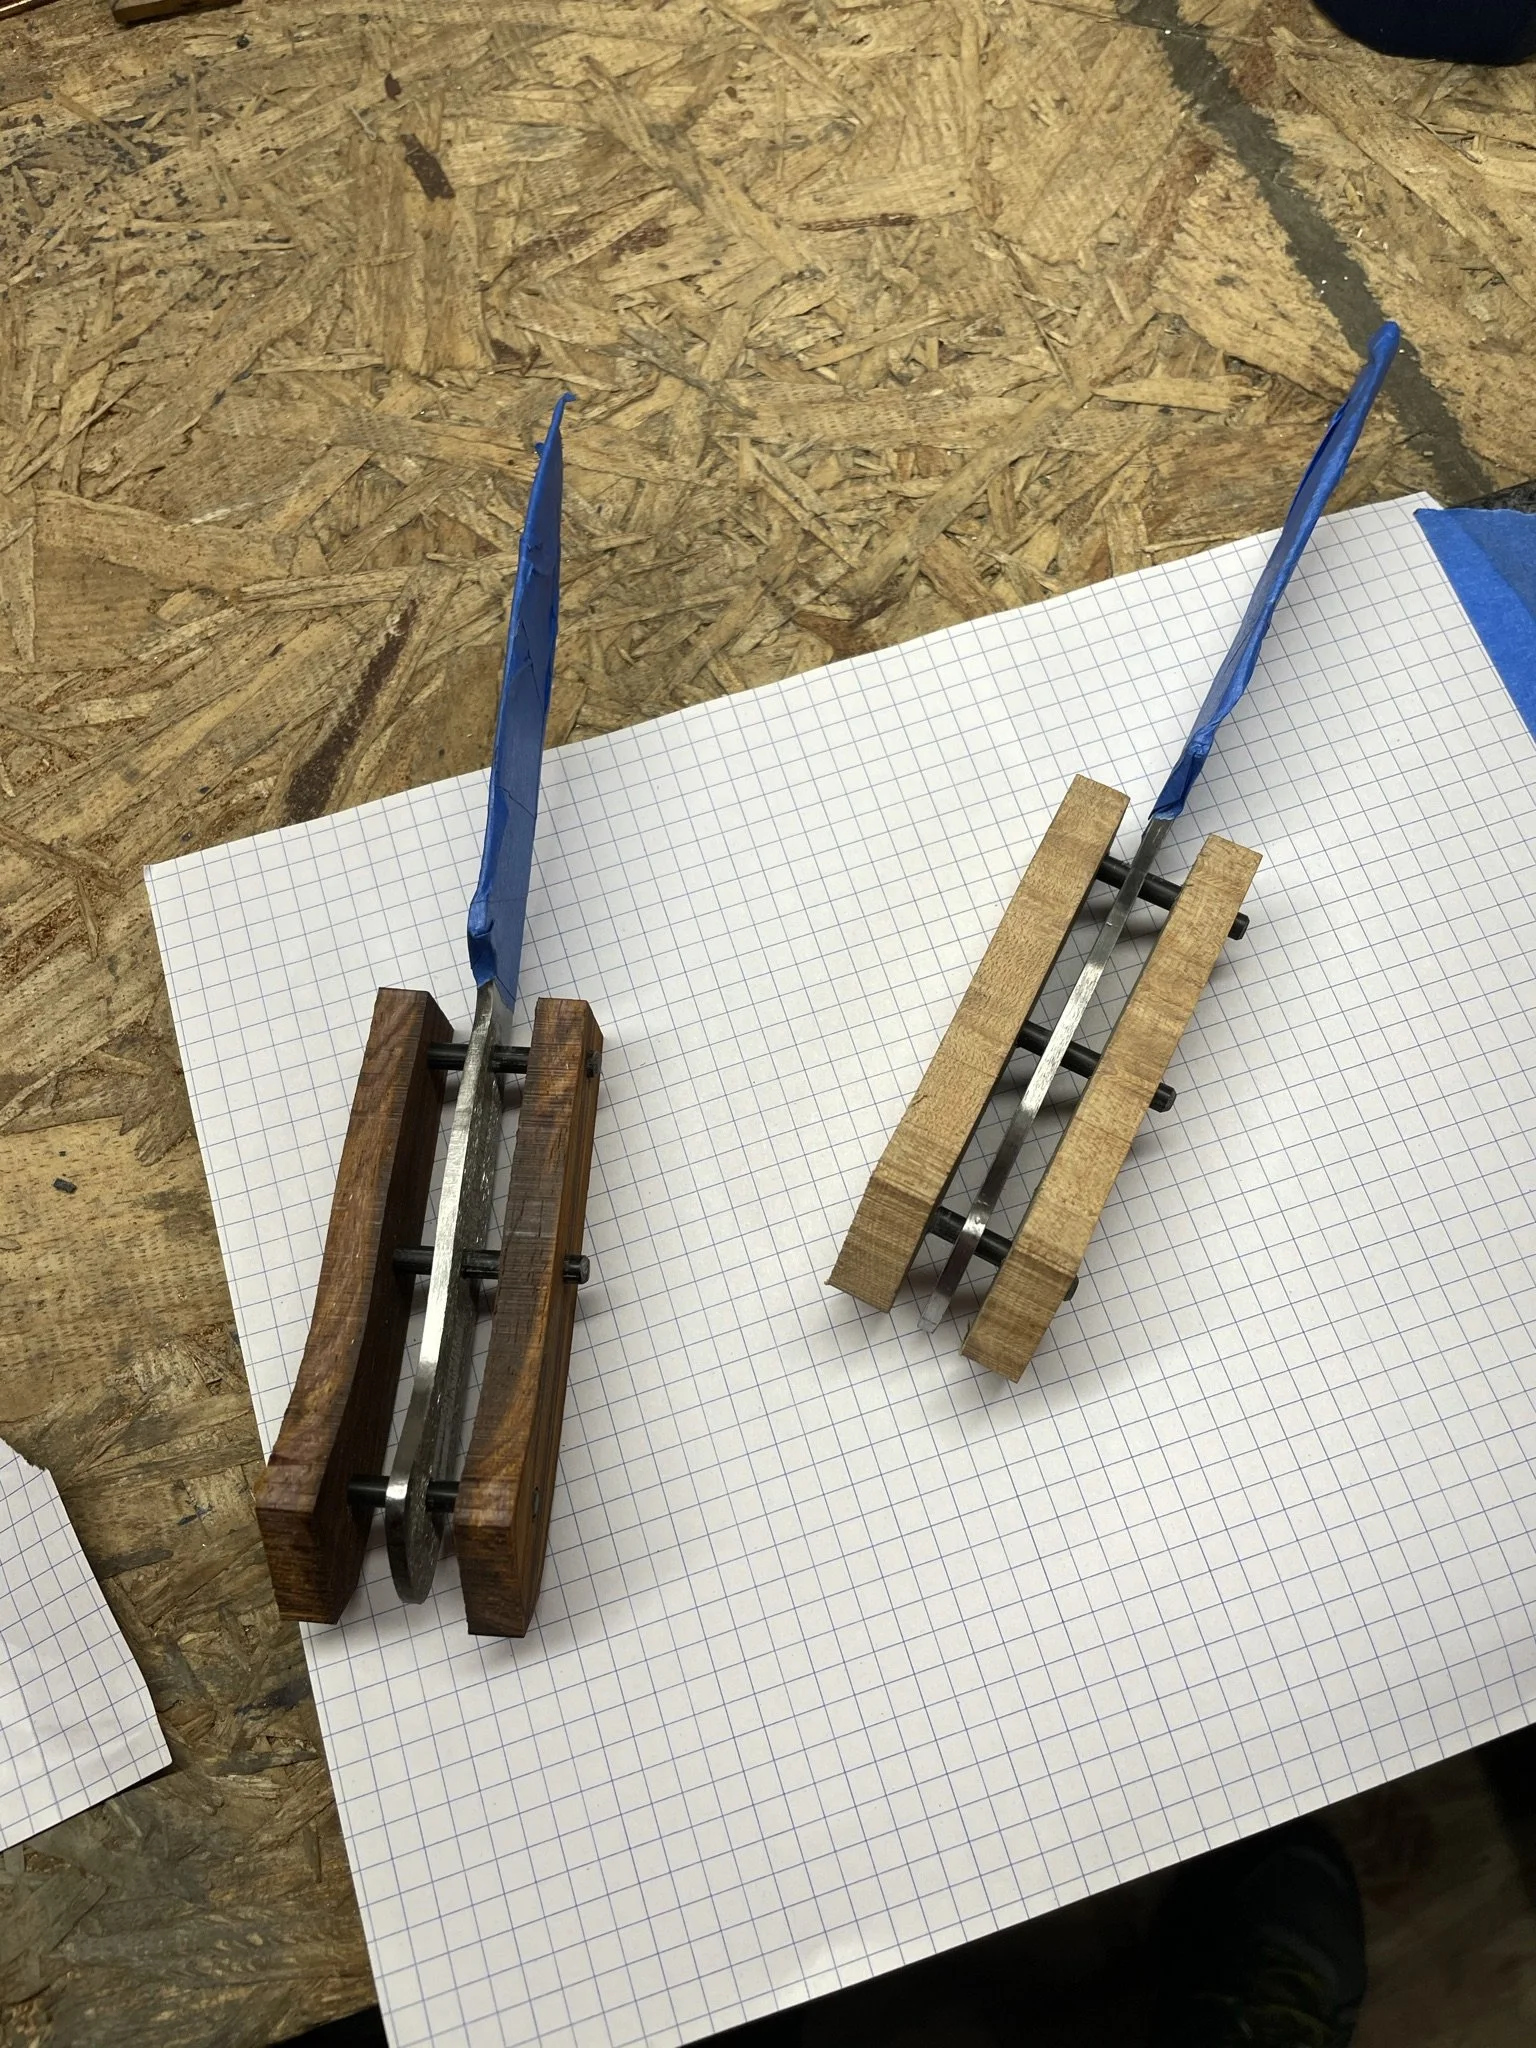
Handles ready for glue up. I also think this is one of the first times using G-10 pins vs brass. I know almost exclusively use these as the are easy to work with, strong and grind like wood. Not to mention they look great.
-
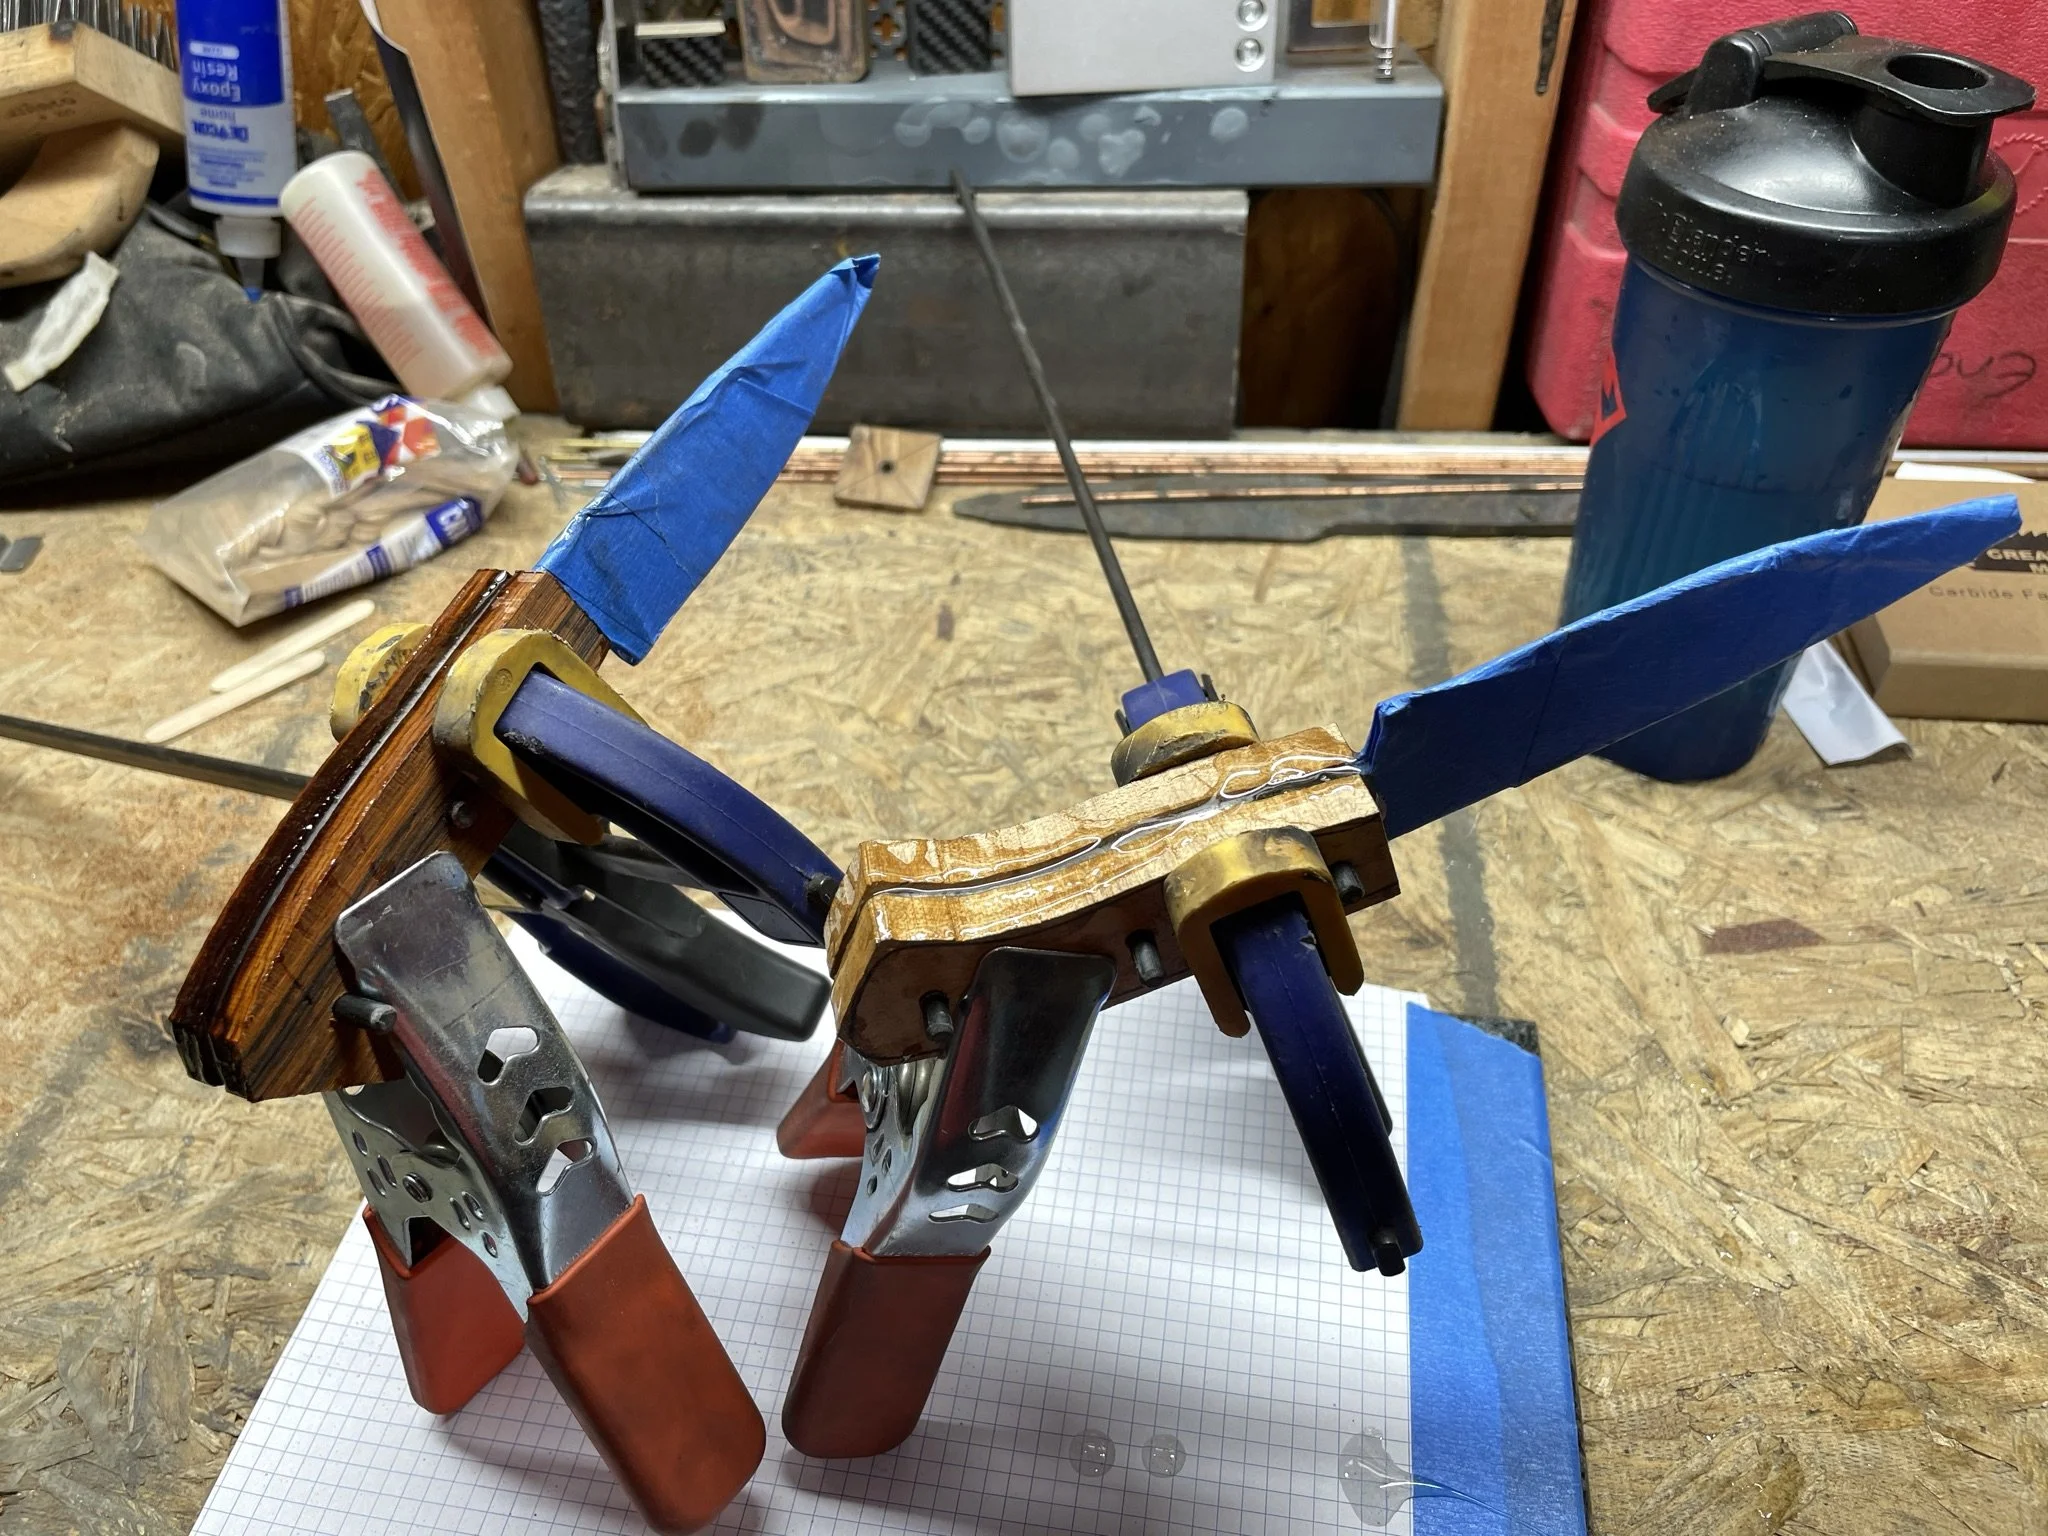
Glue up.
-
Finished blades. I started adding minor contouring to my handles, and it definitely was a step in the right direction.
-
Glamour shot 1
-
Glamour shot 2.
-
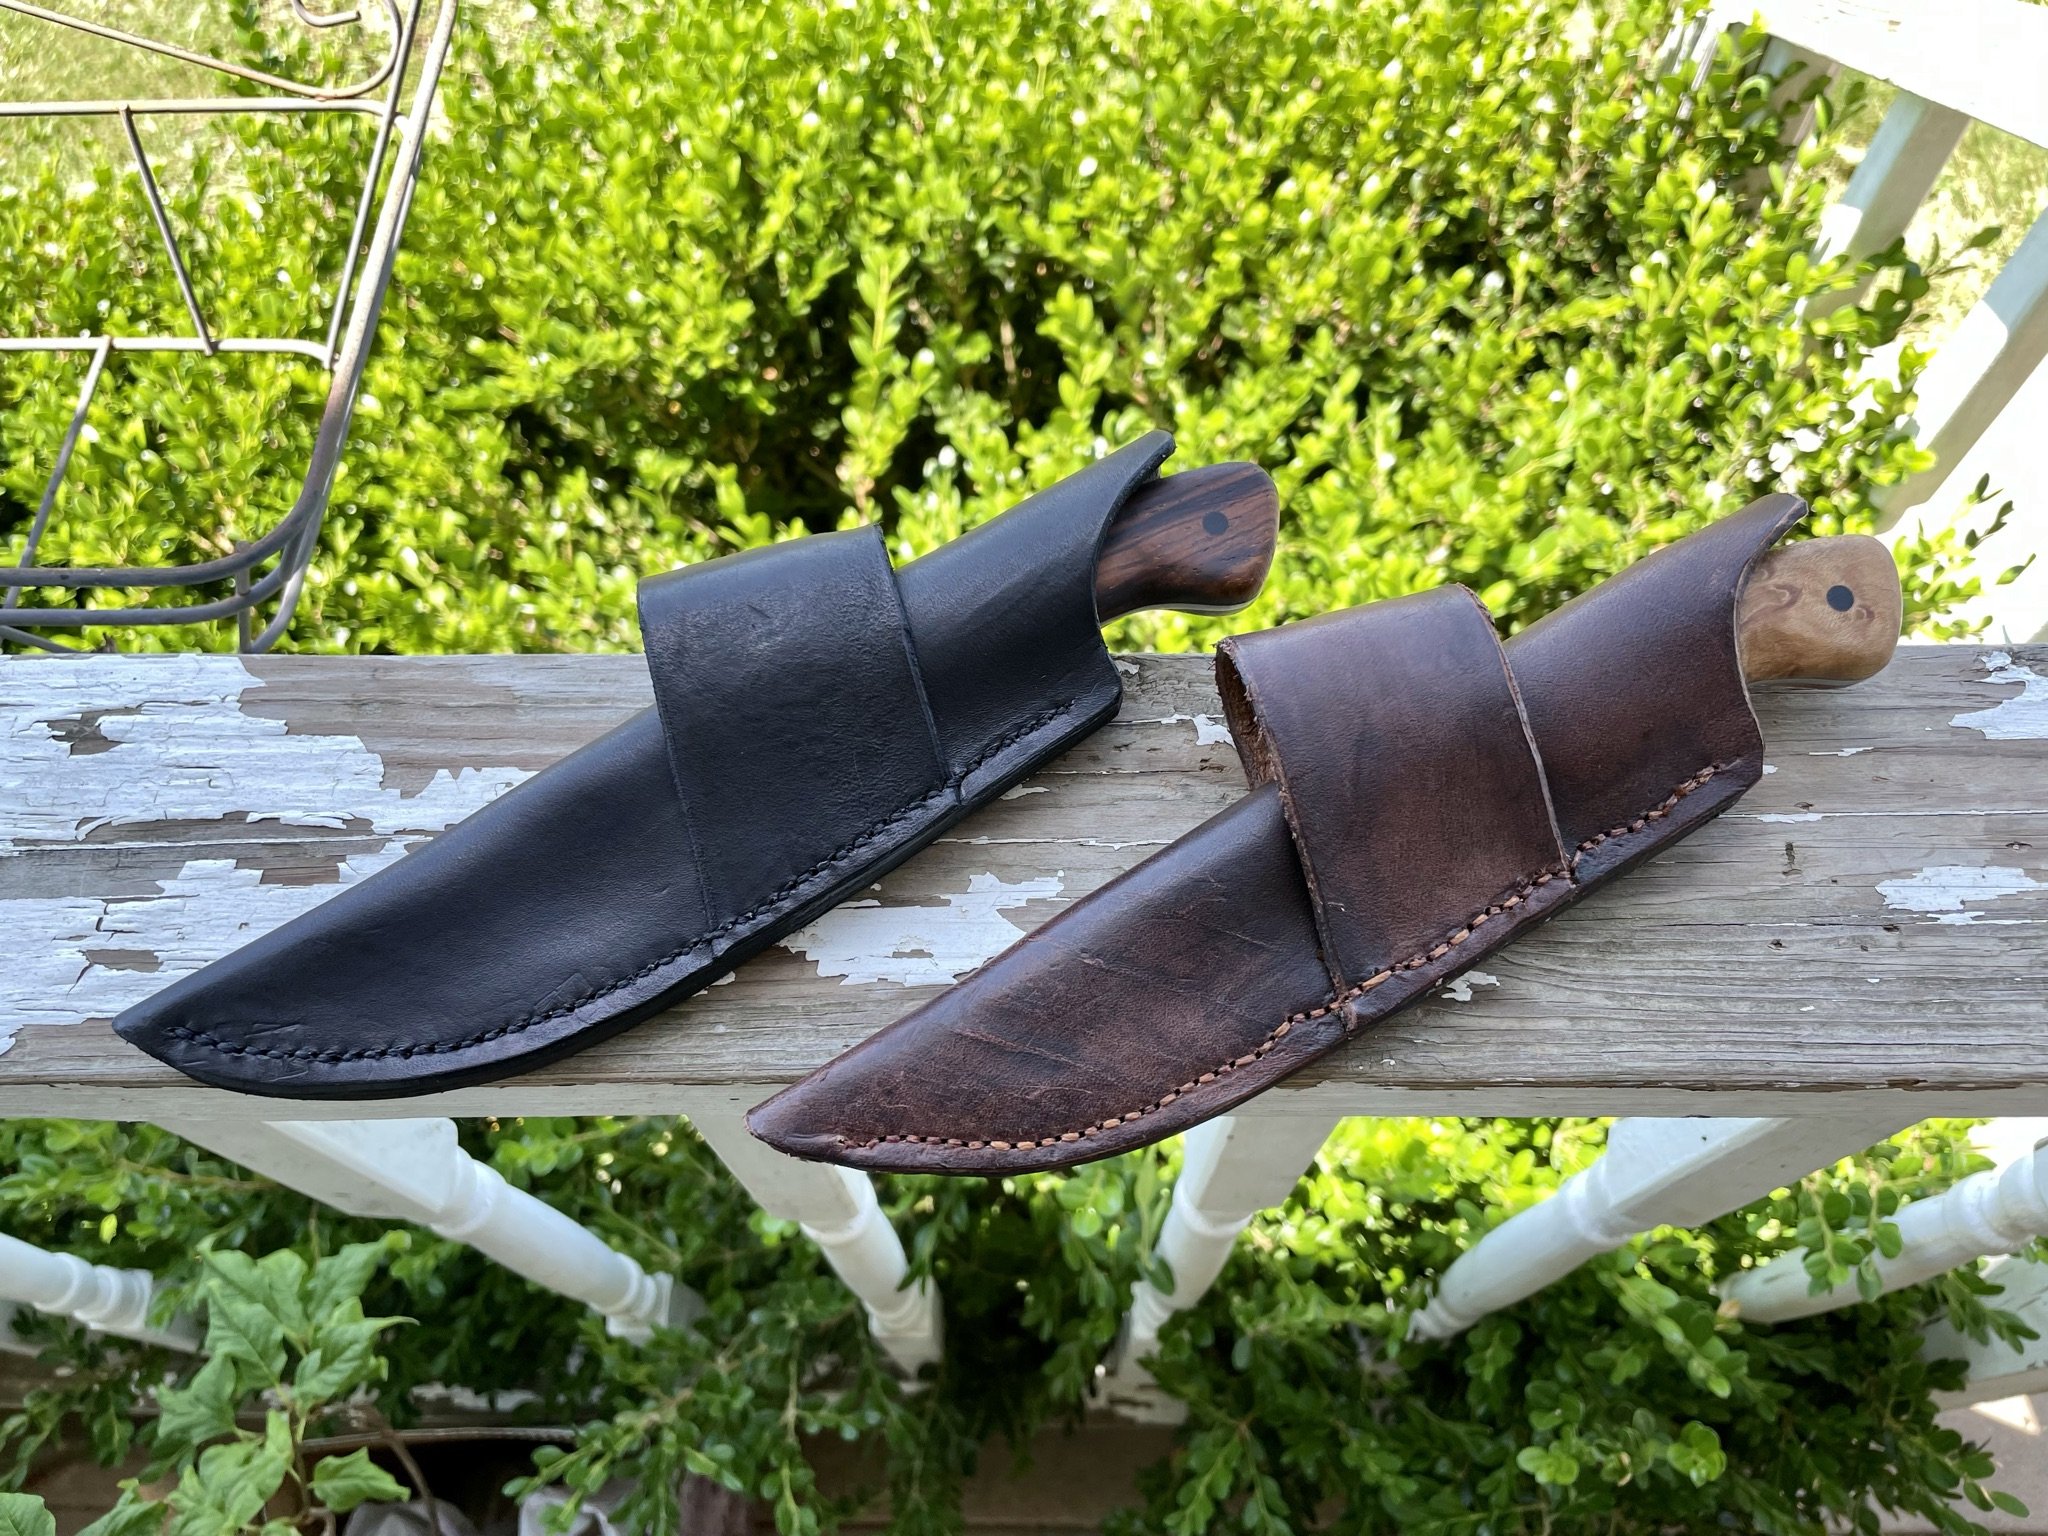
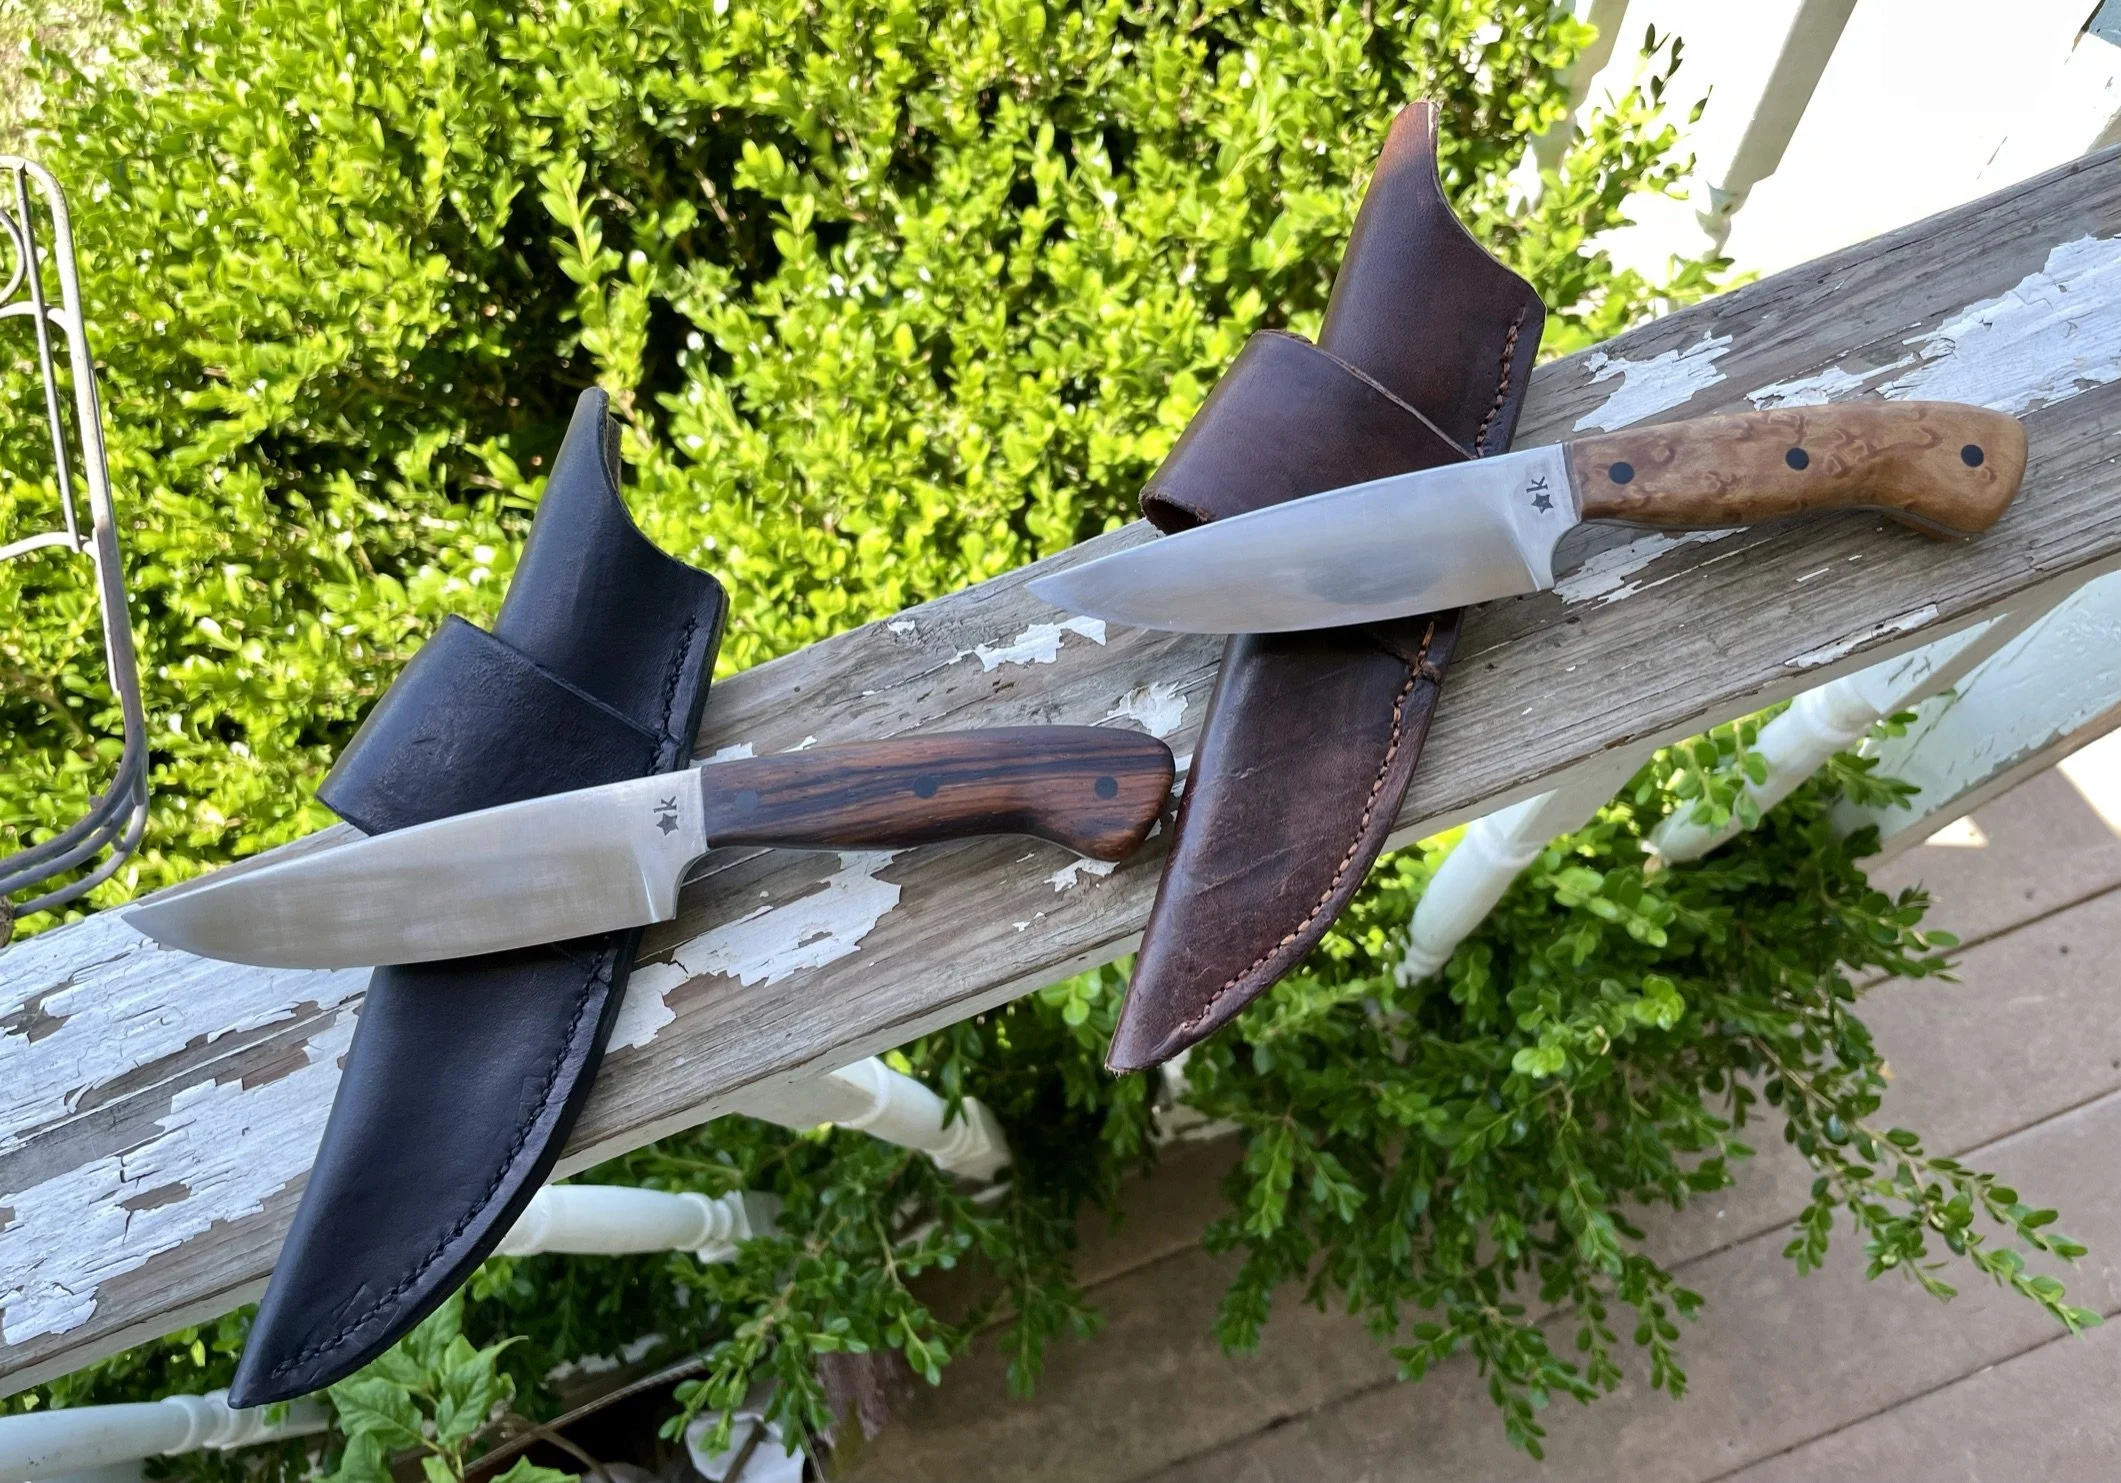
First time making sheaths. For fixed blades, I realized that people won't carry them unless they come with a sheath.
-
Out of their sheaths. Great learning experience and I was overall pleased with the set.
Olin S. - Finish a premade Axe Blank
-
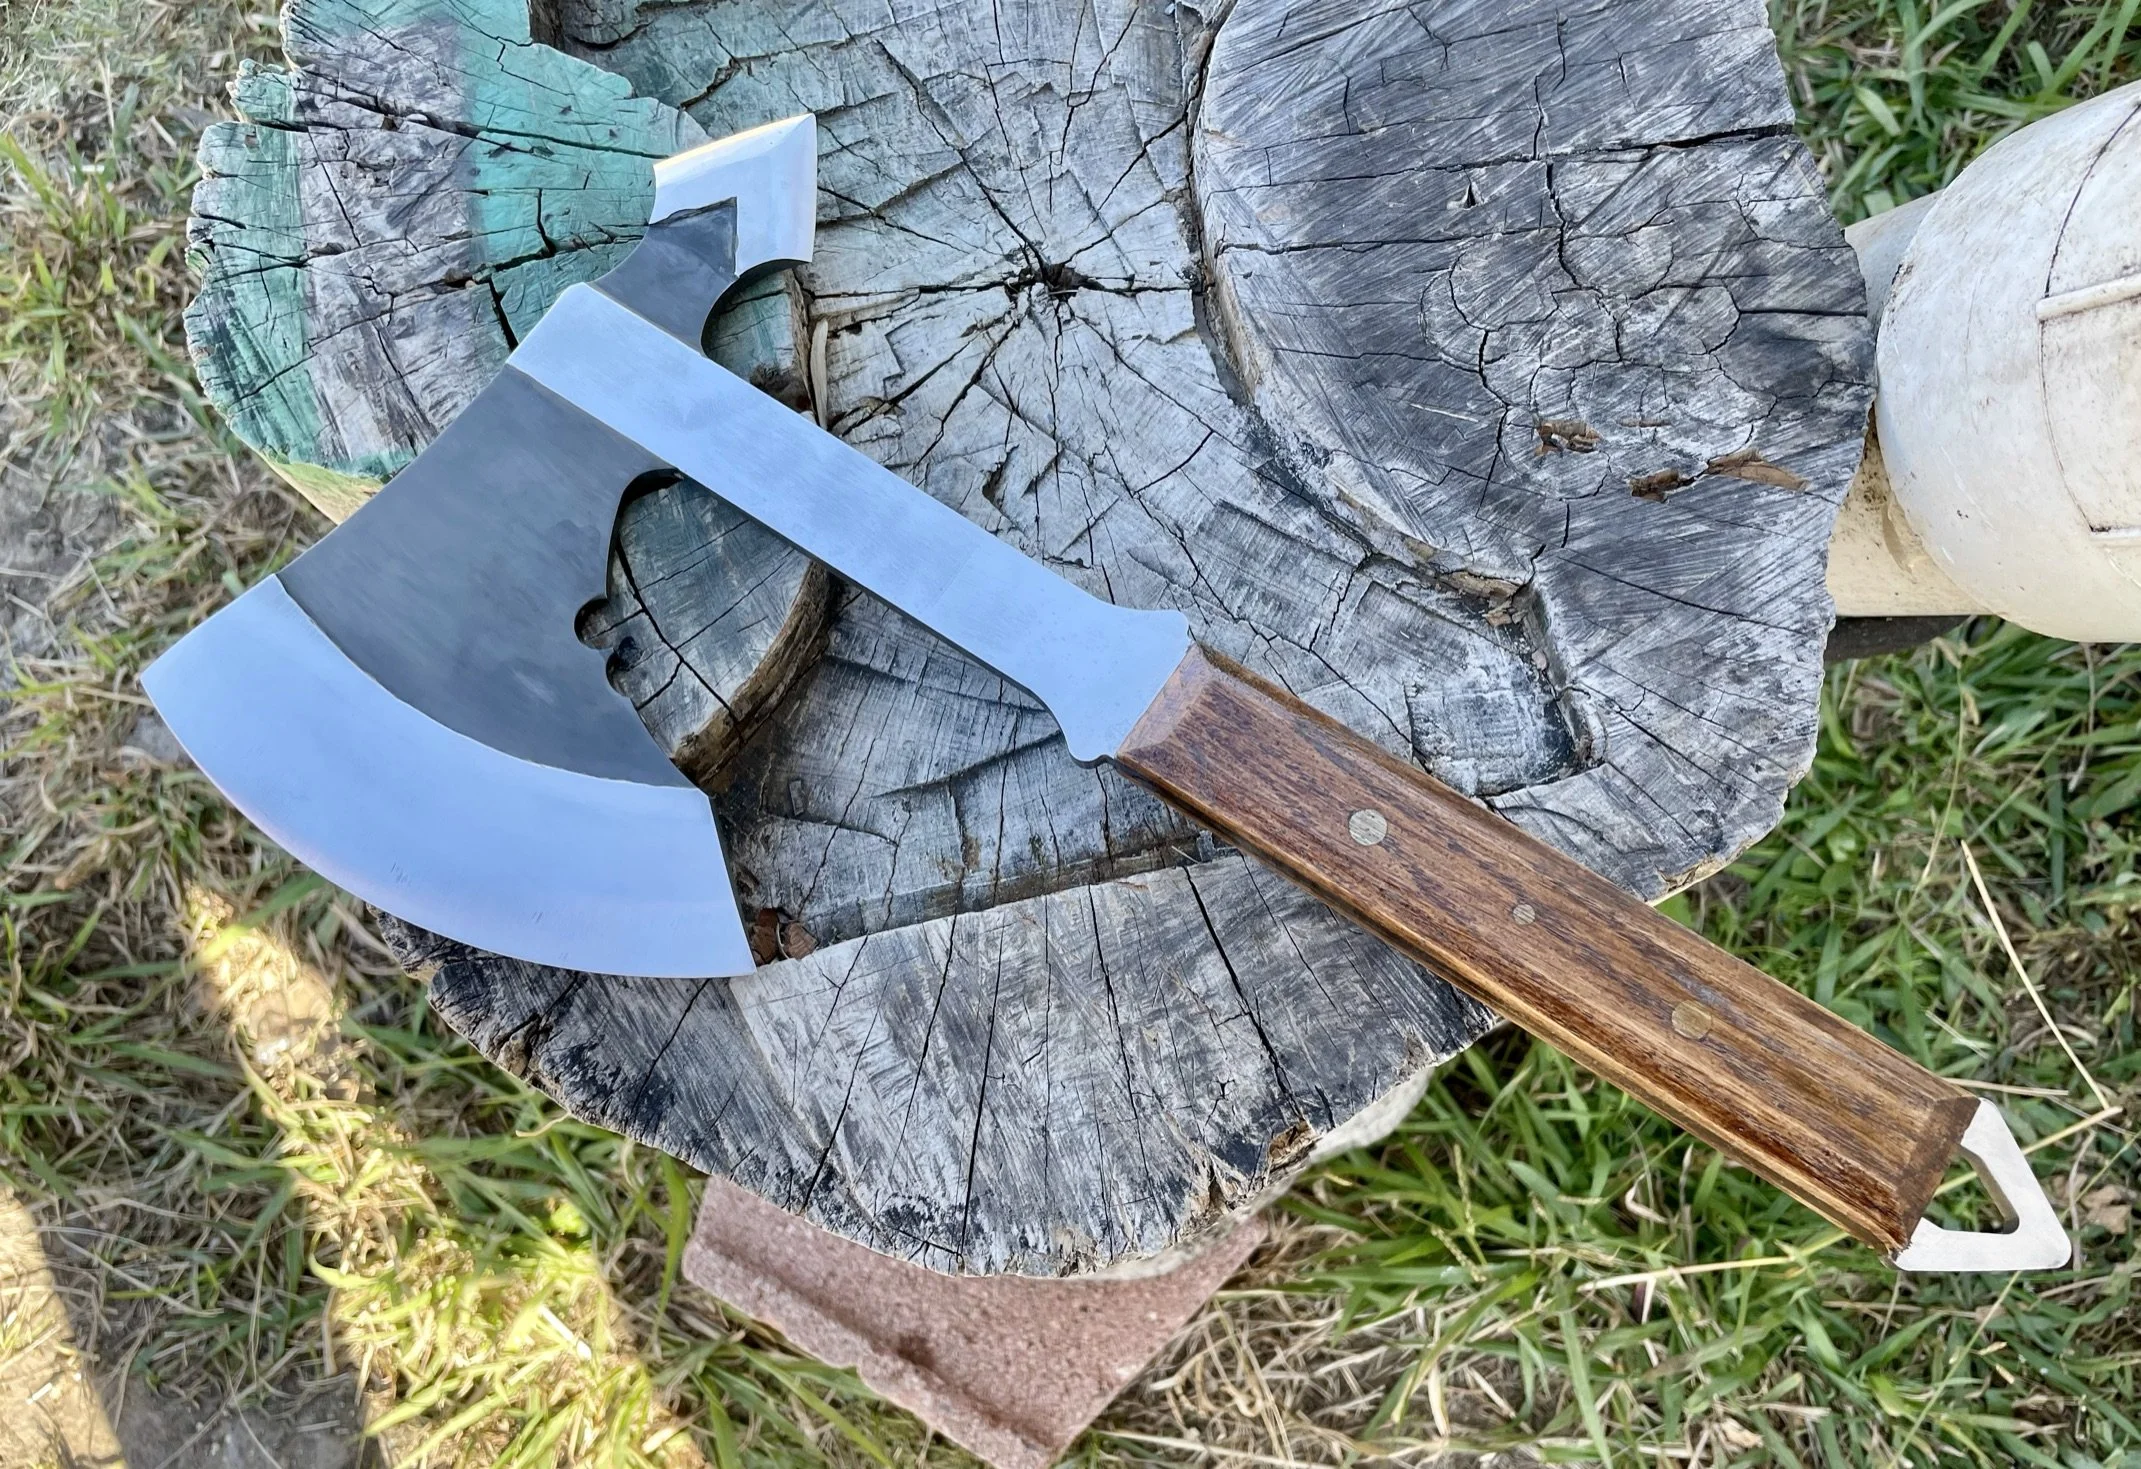
Final blade - keep scrolling to see the journey.
-
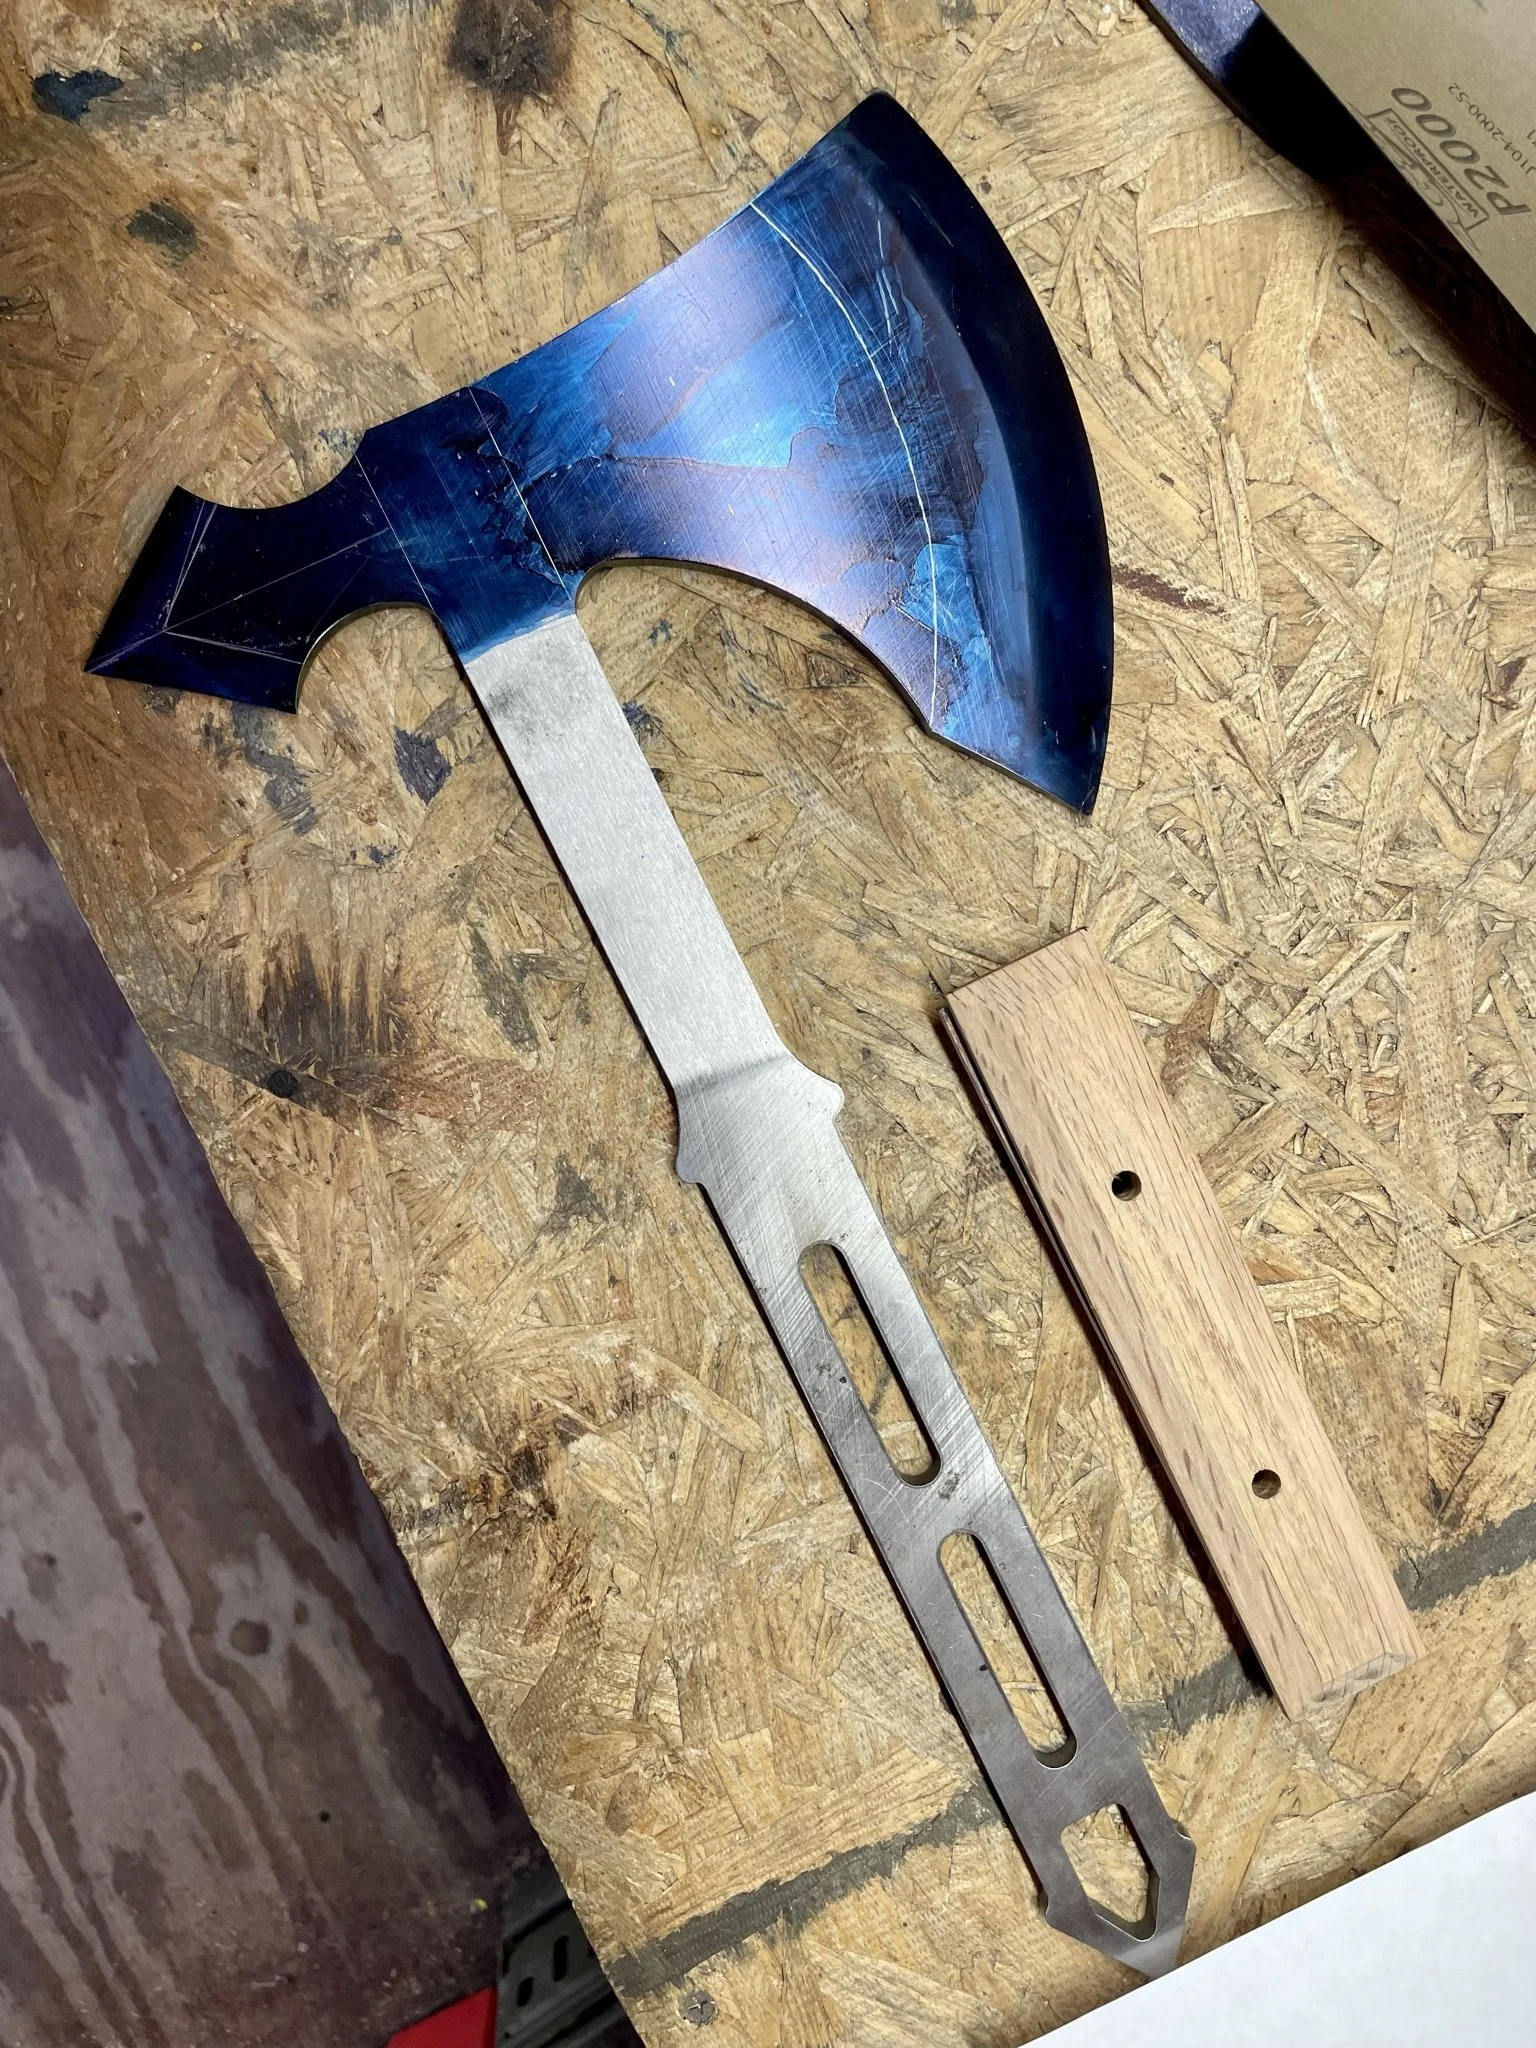
My oldest son got this pre-cut axe blank from helping me clean out Austin M.'s shop. He asked that I finish it for him.
-
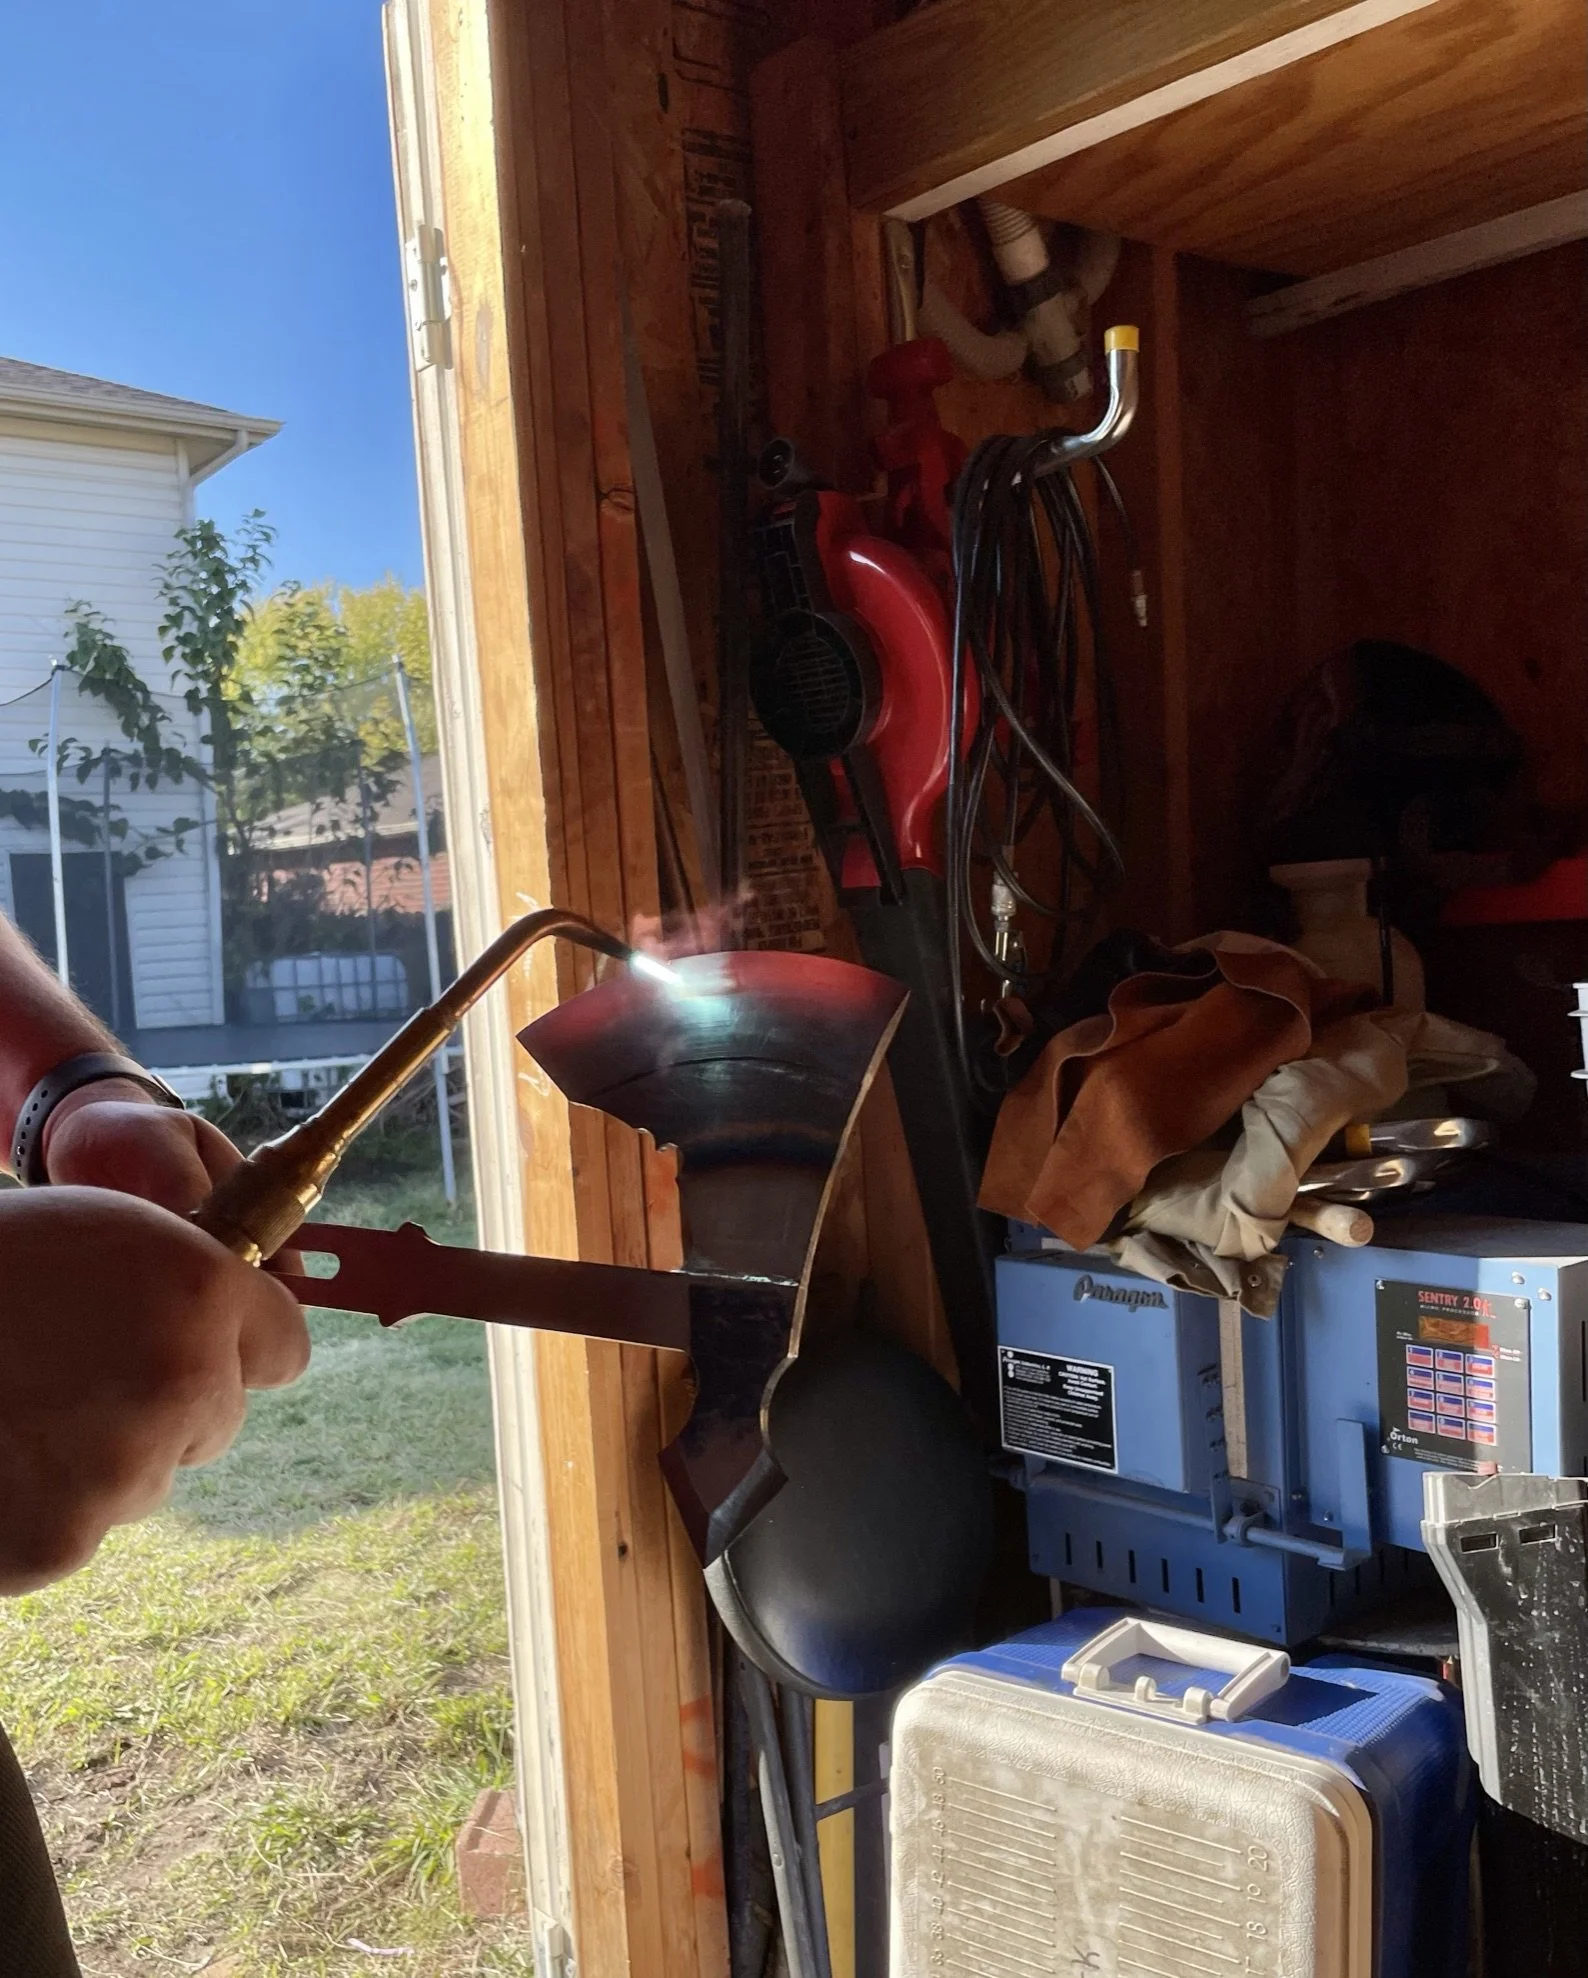
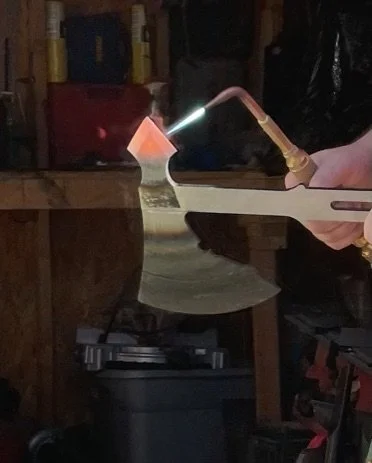
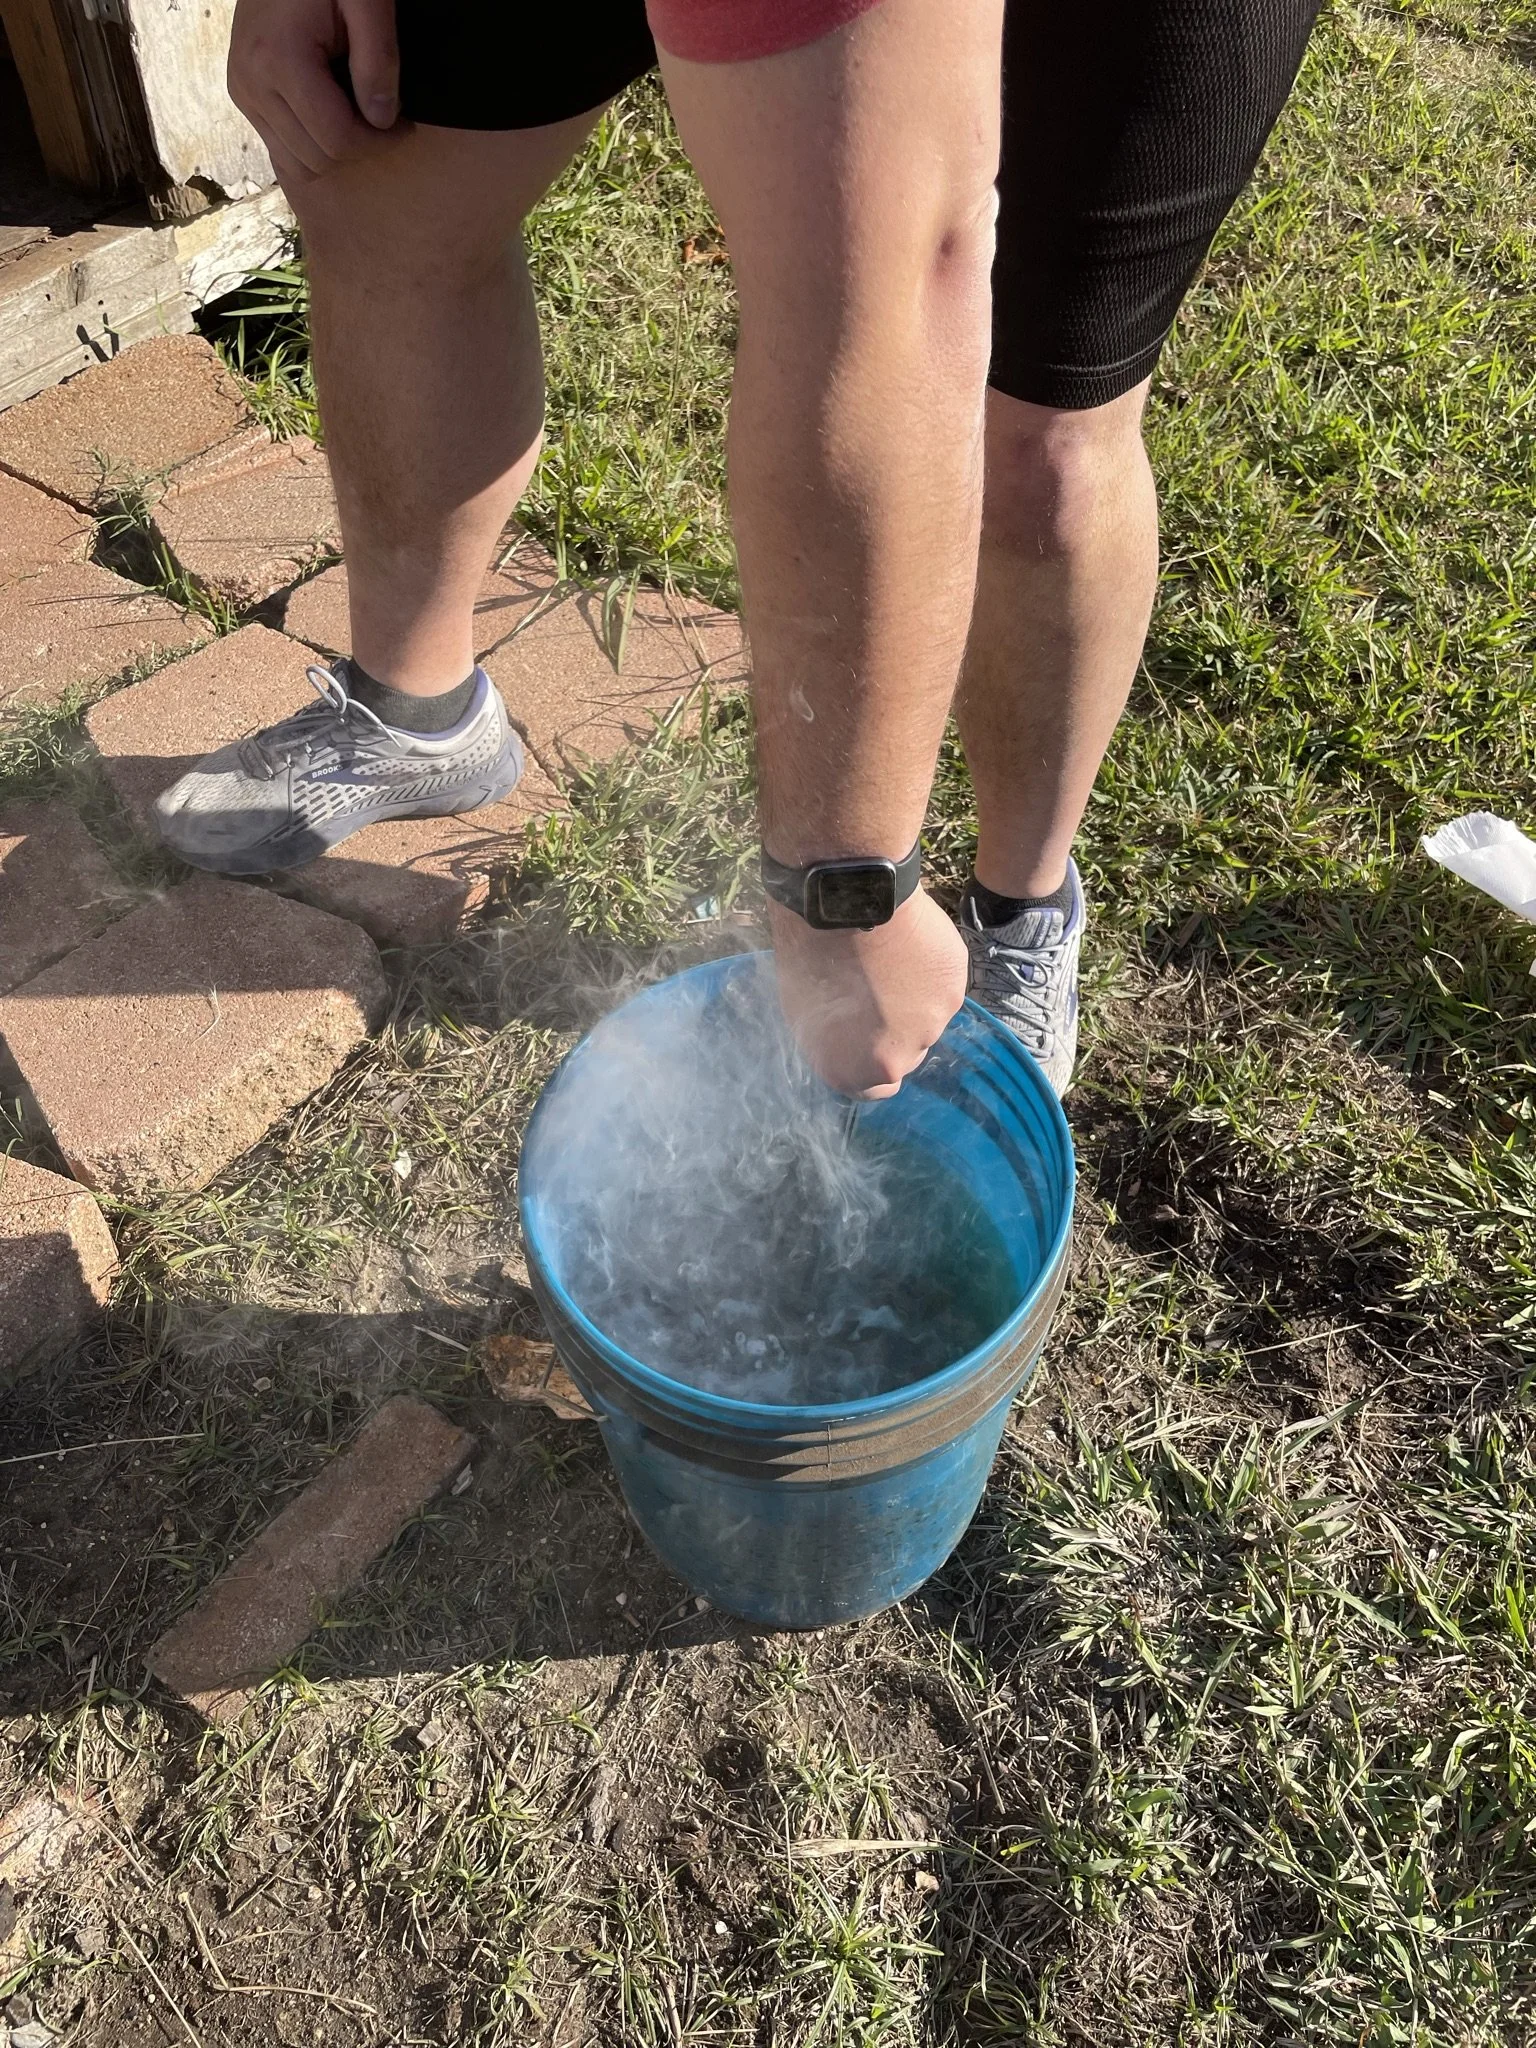
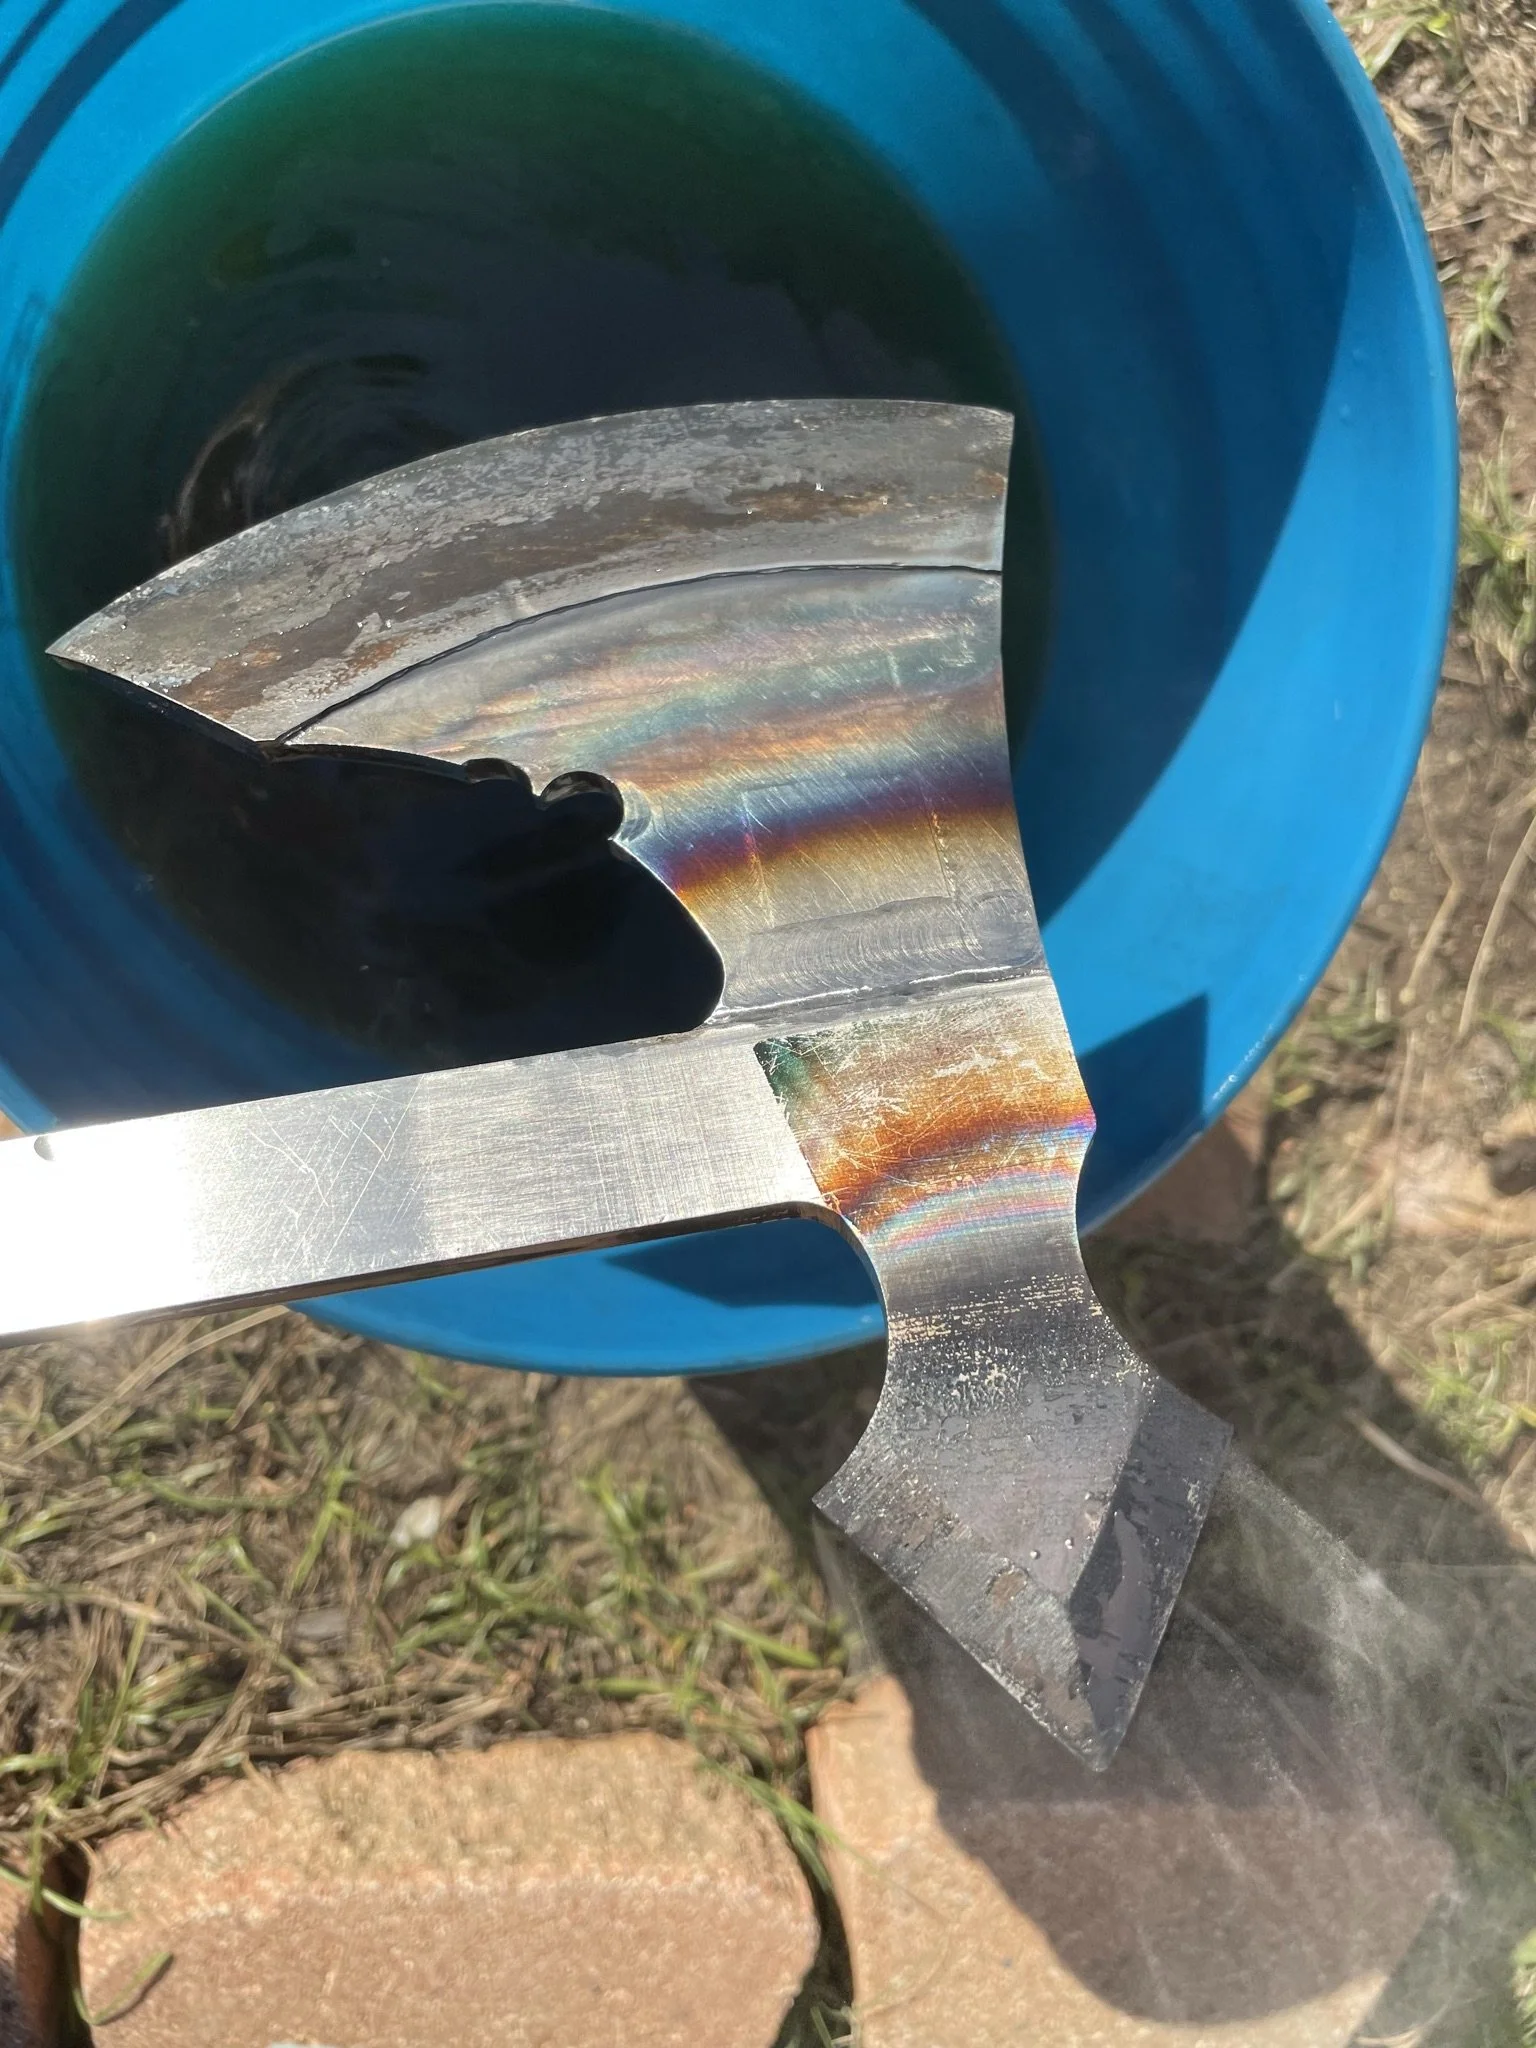
Due to the size of this blade, I decided to edge quench using my port-a-torch.
-
Edge quenching the spike.
-
Things not to do, that I do - quenching in a plastic bucket. It worked though.
-
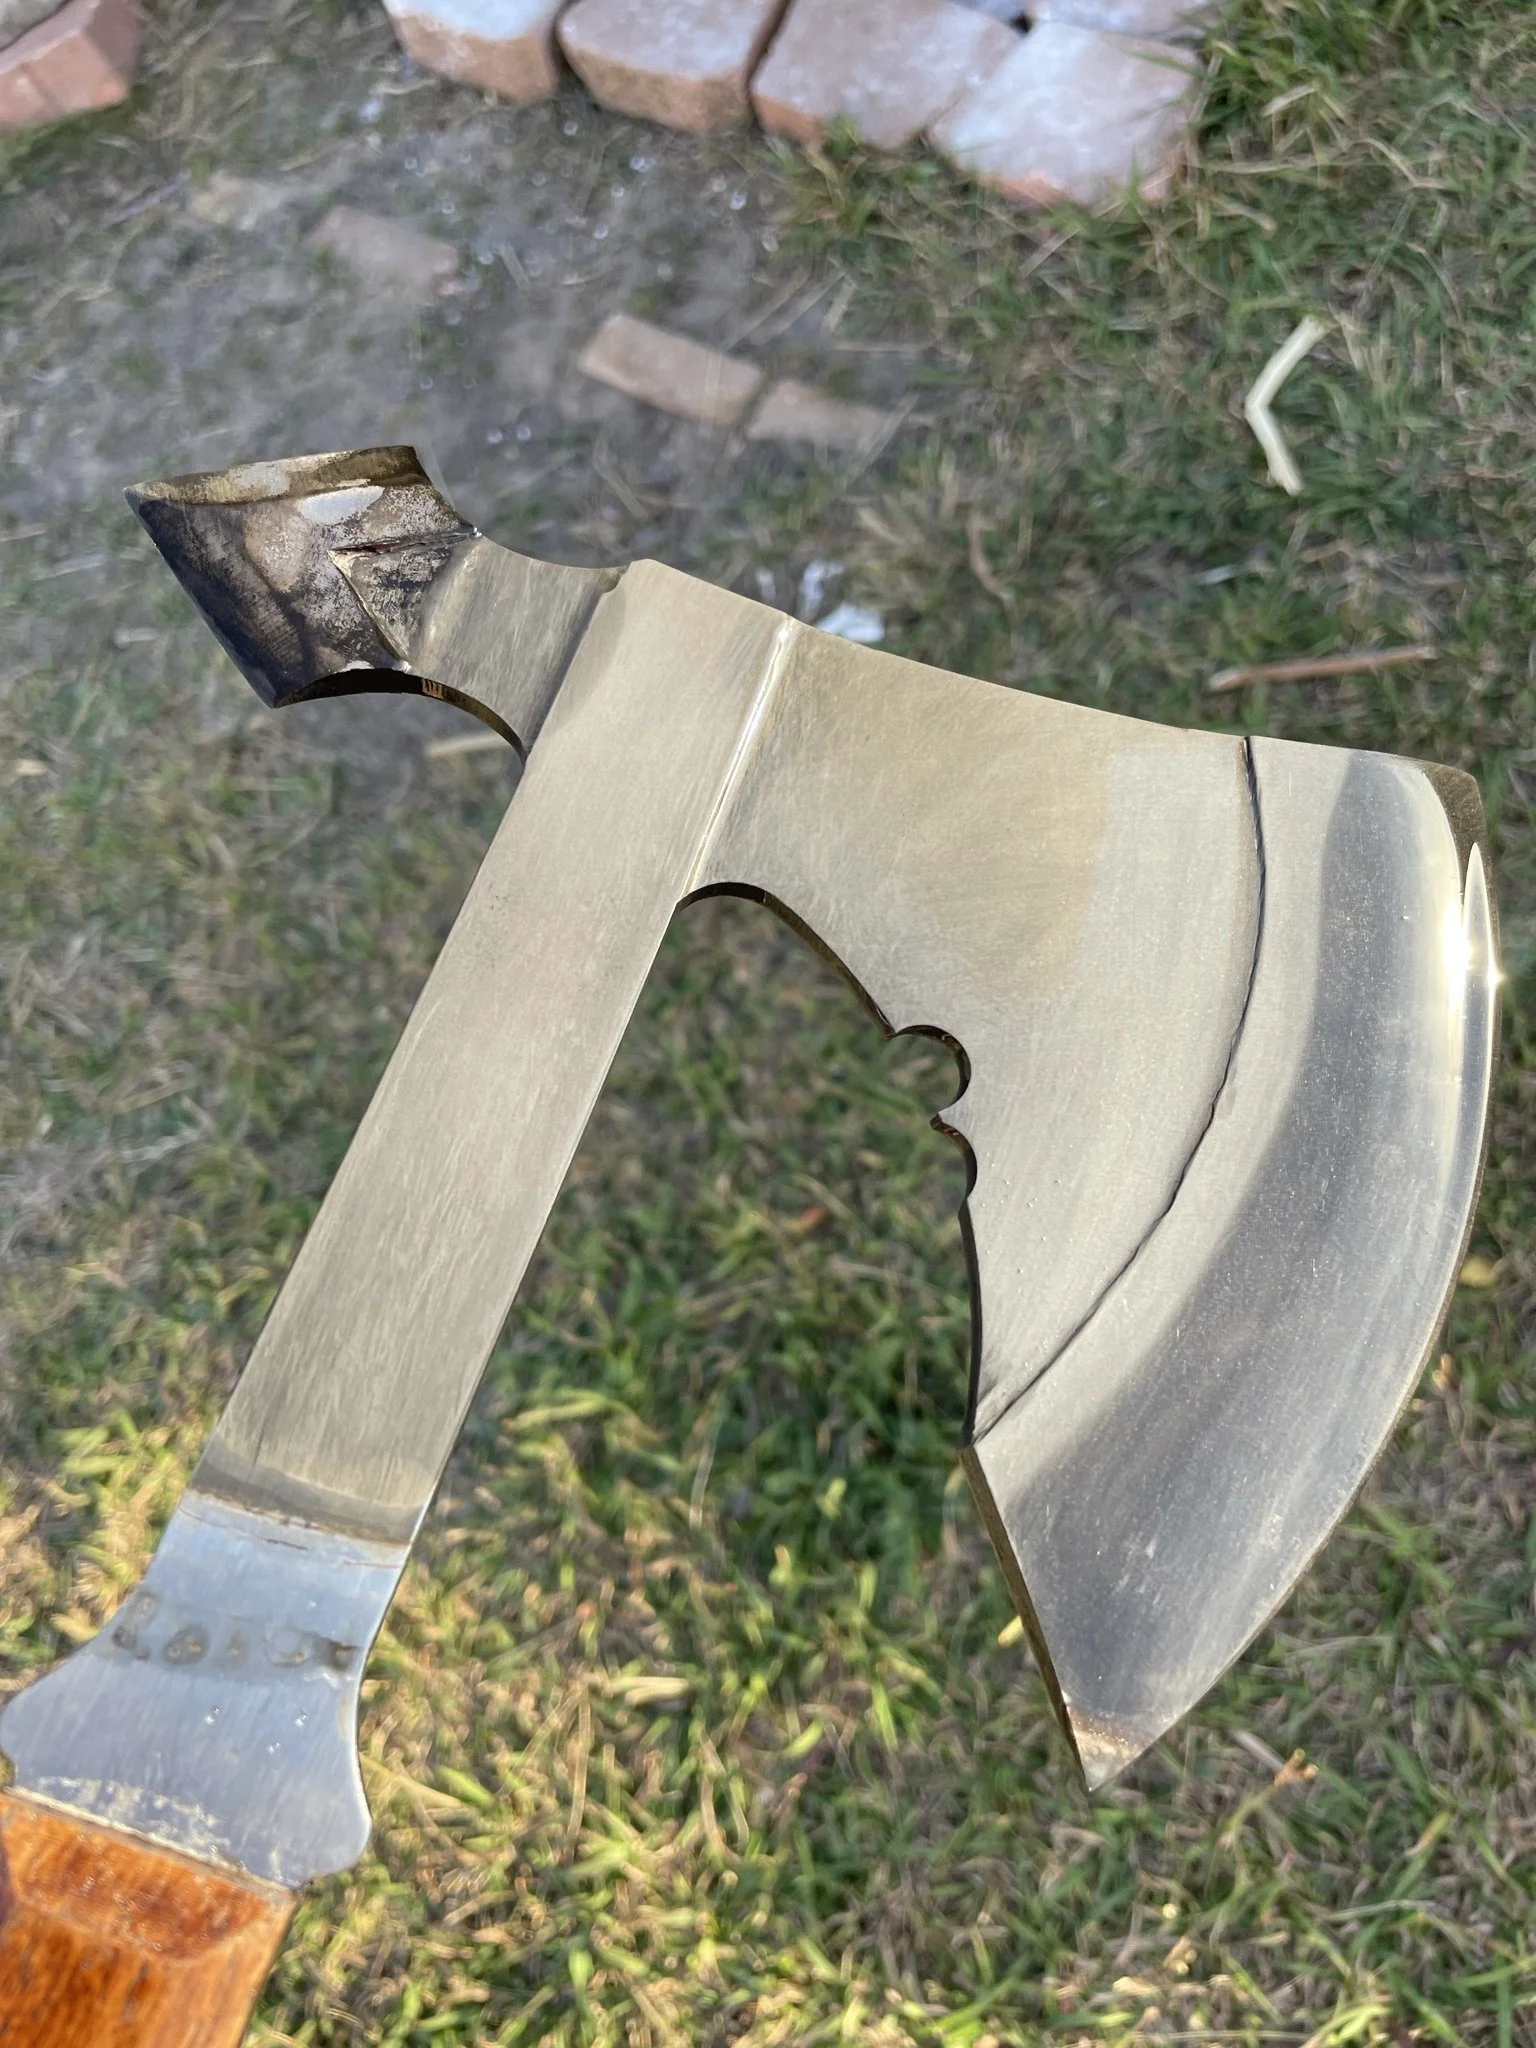
Blade quenched. I decided to relieve some of the material on the inside of the blade to add something exciting.
-
Blade all put together, just needing the final blackening.
-
Glamour shot.
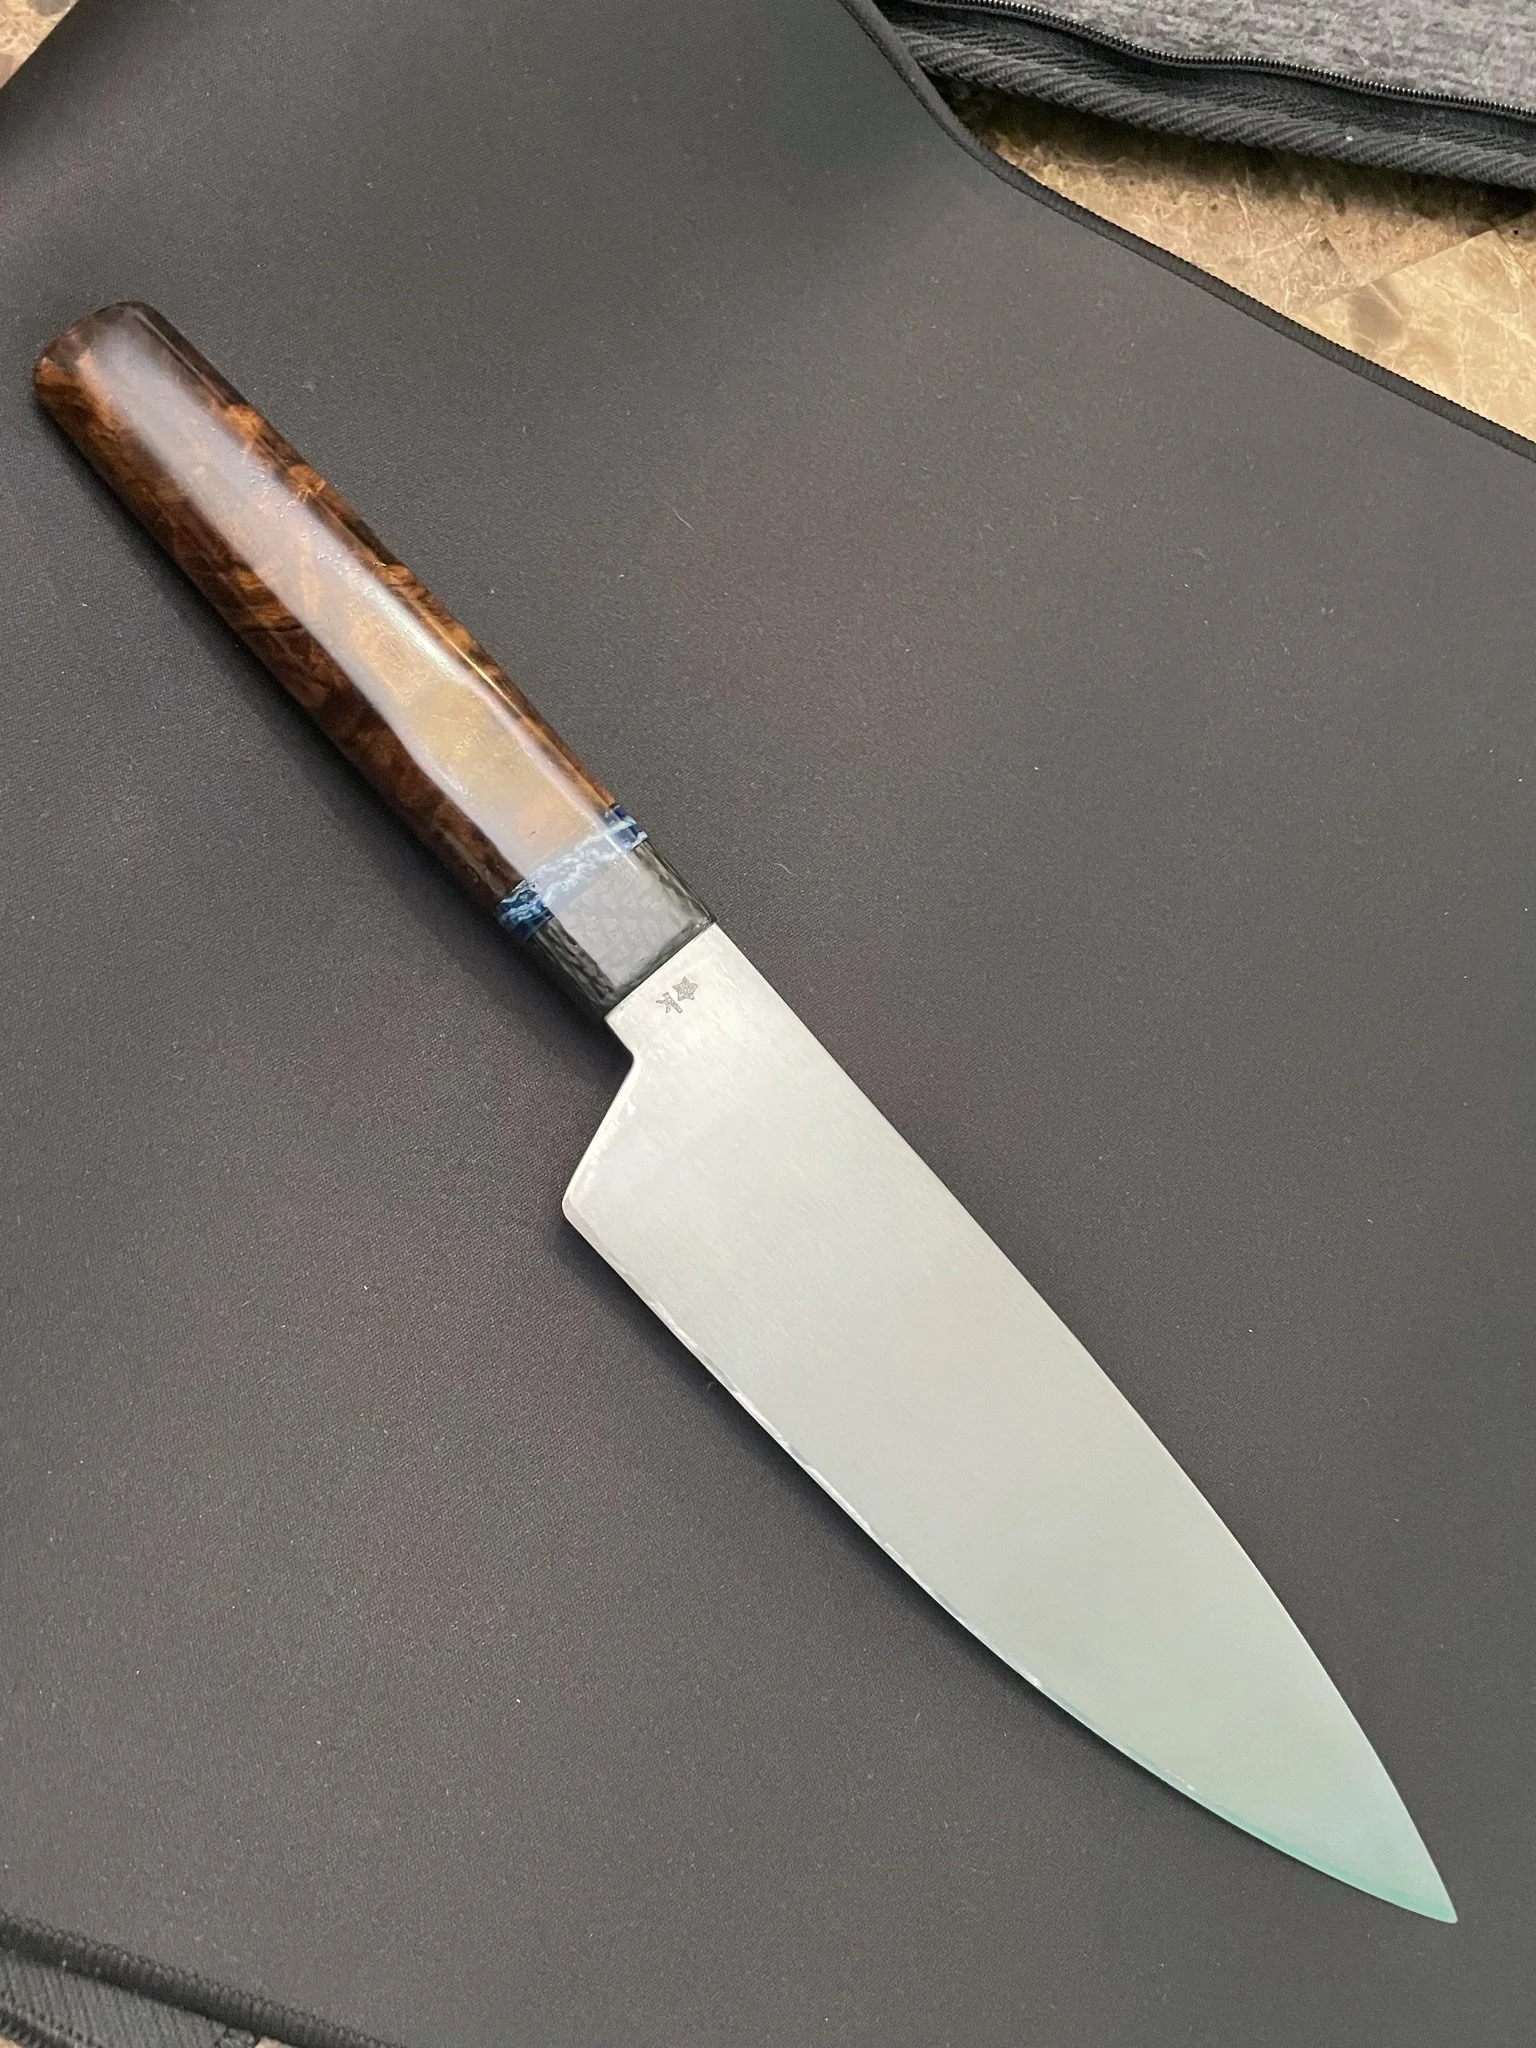
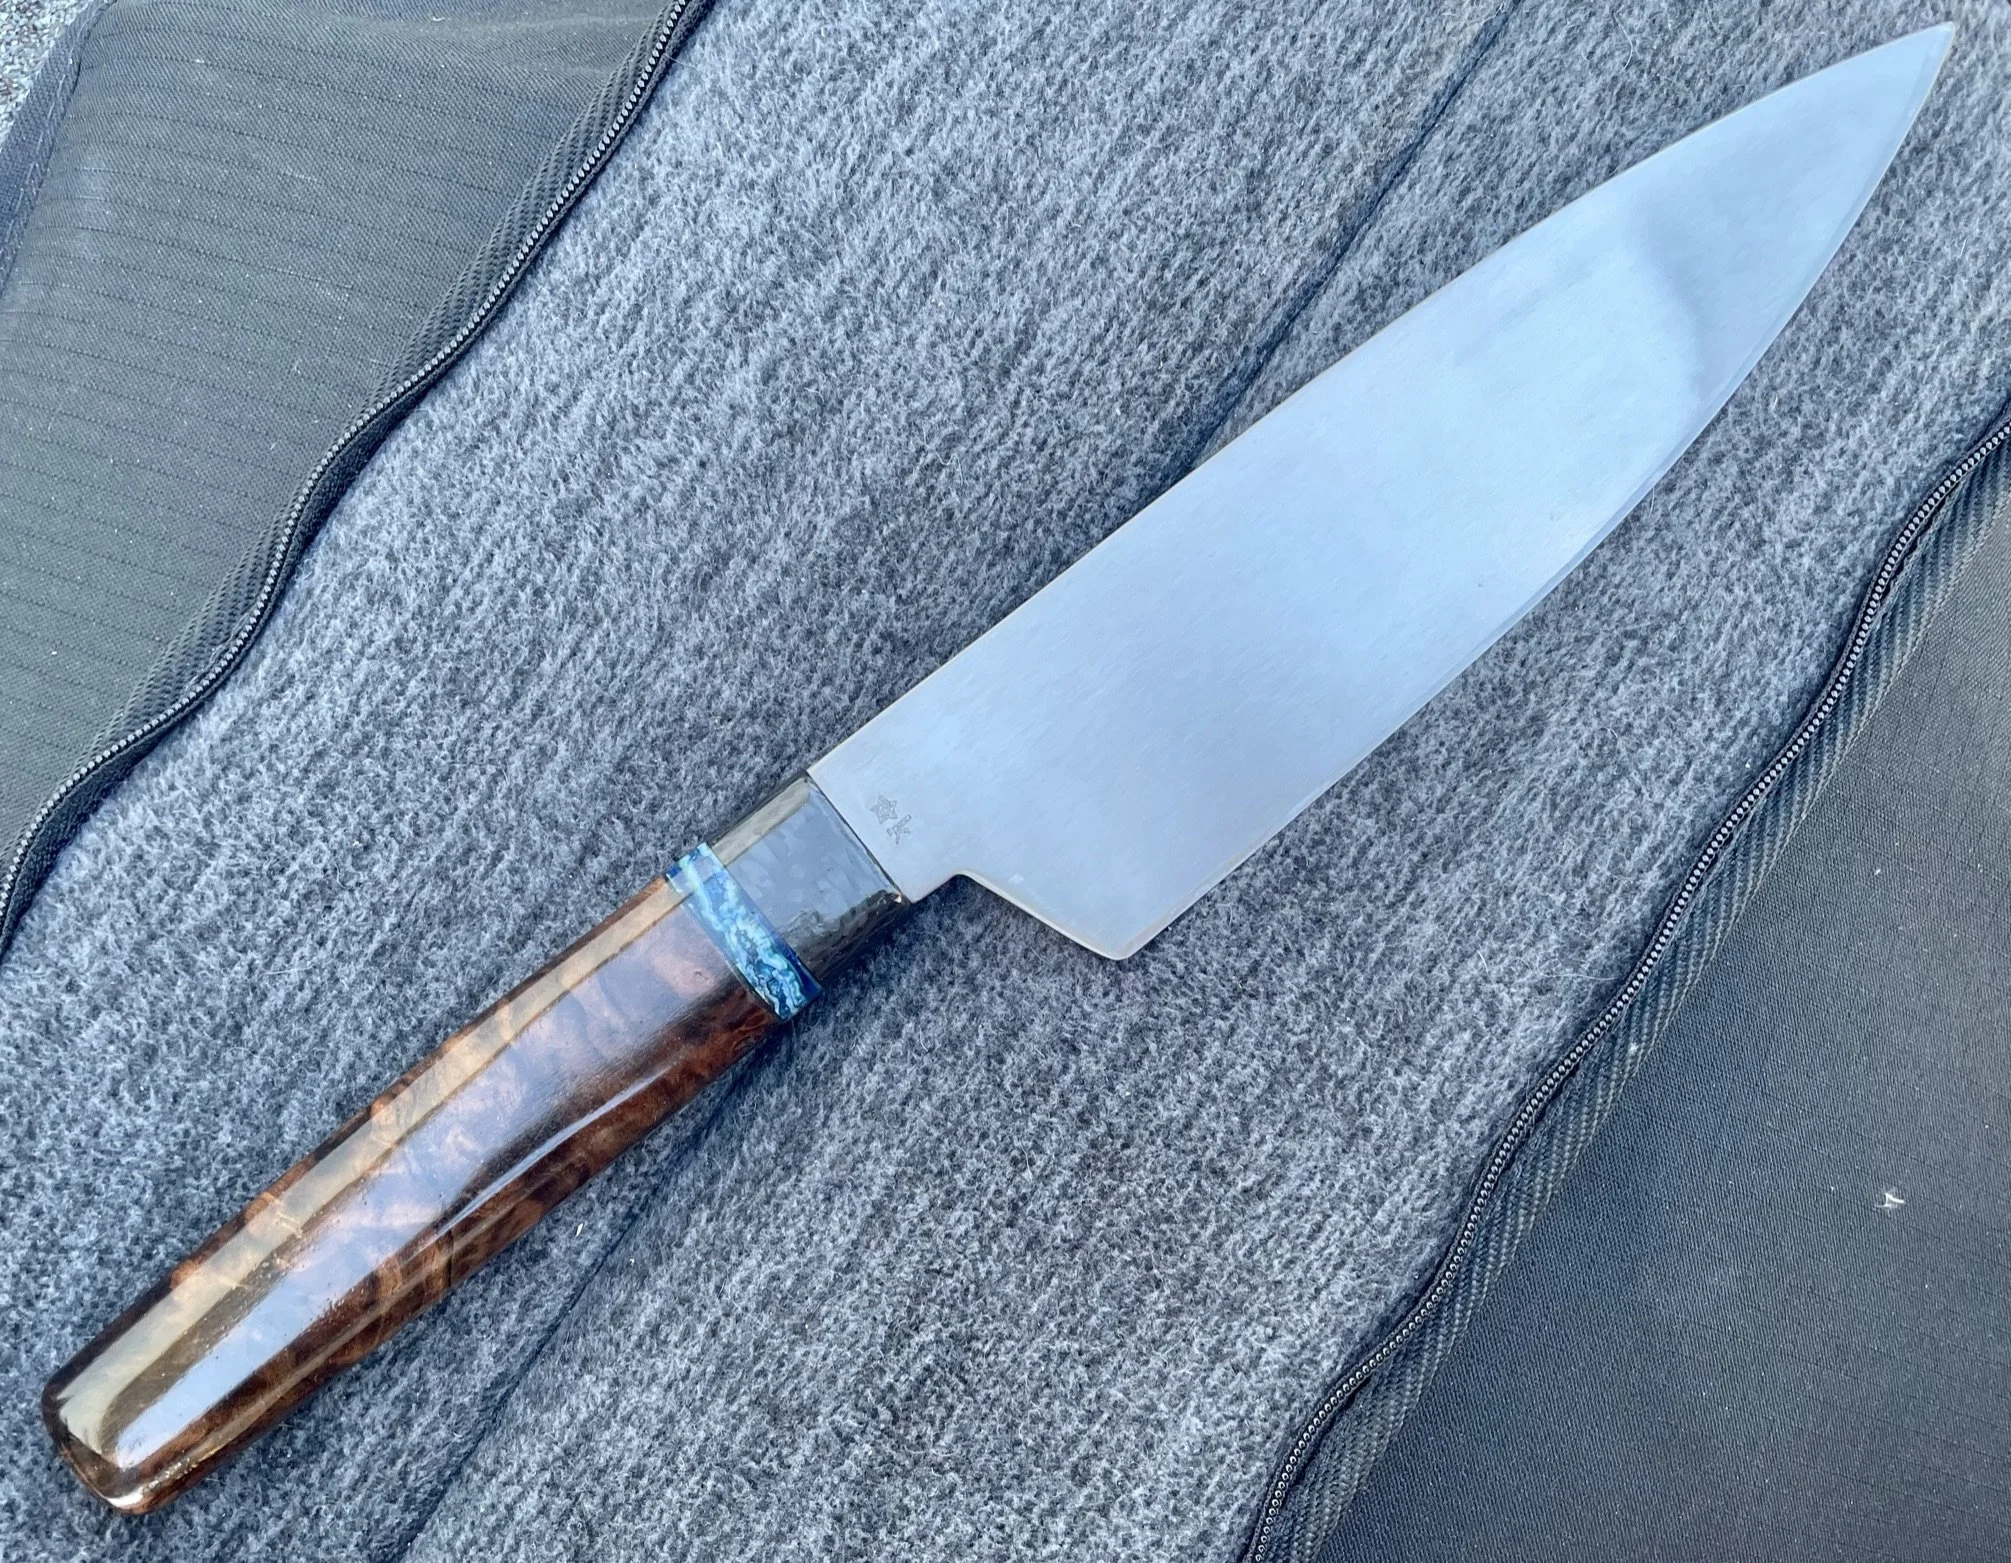
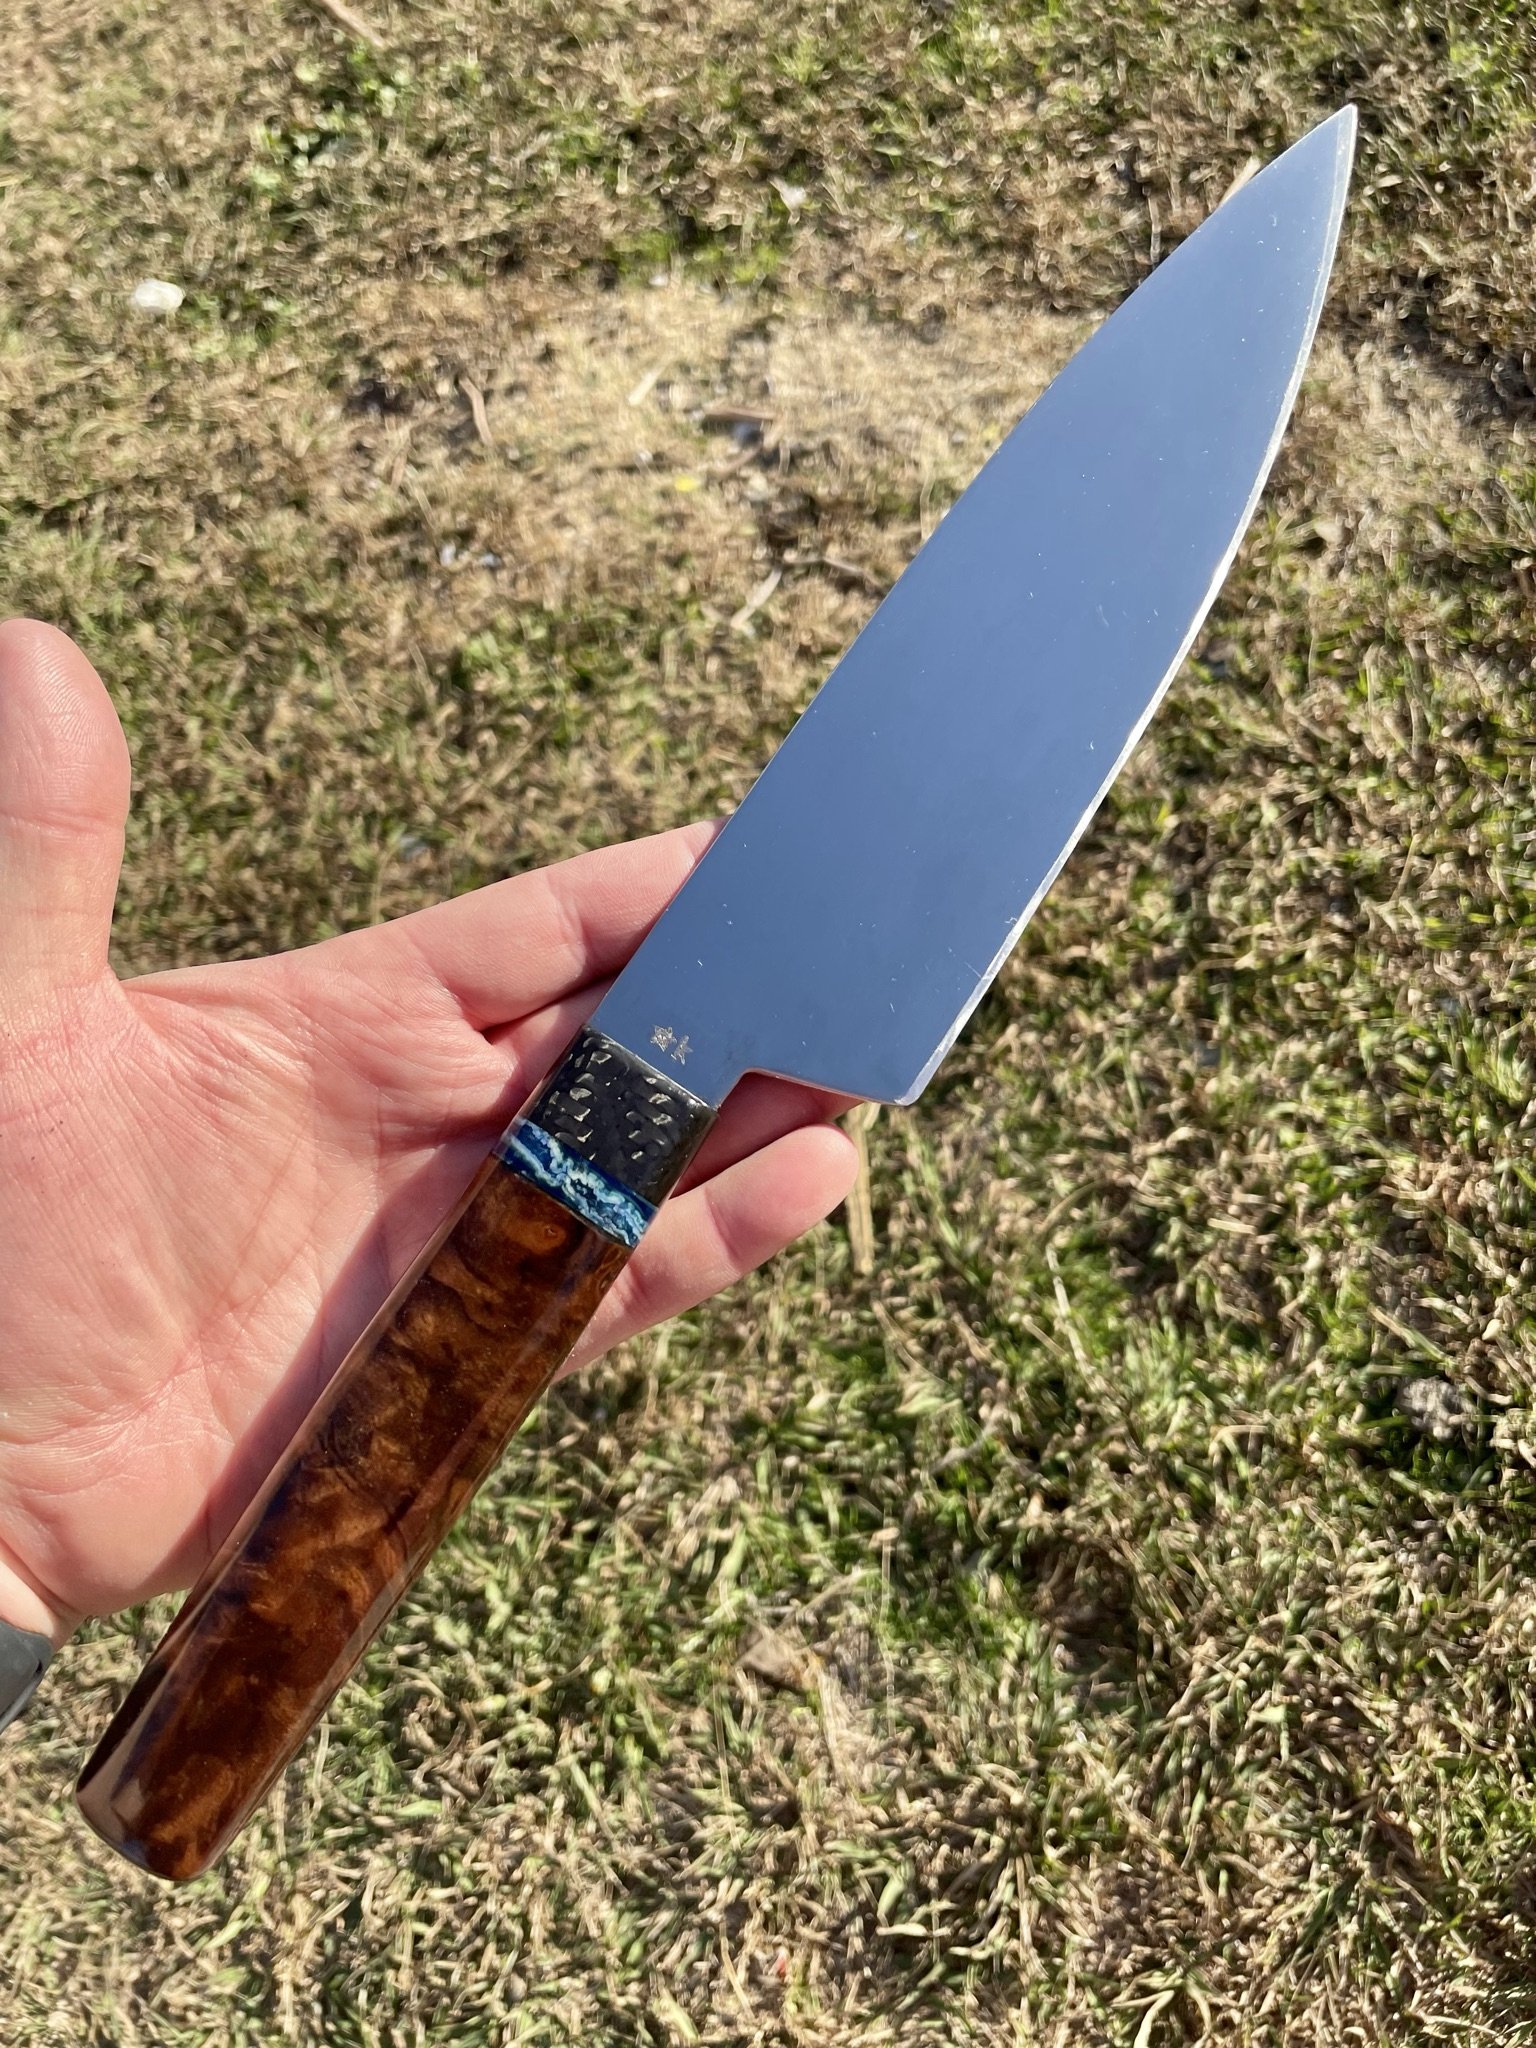
Nitro-V Chef’s knife
-
Final blade - keep scrolling to see the journey.
-
This one was another I wanted to make, using one of the three Nitro-V blanks that I made with Austin M.
-
The batch again.
-
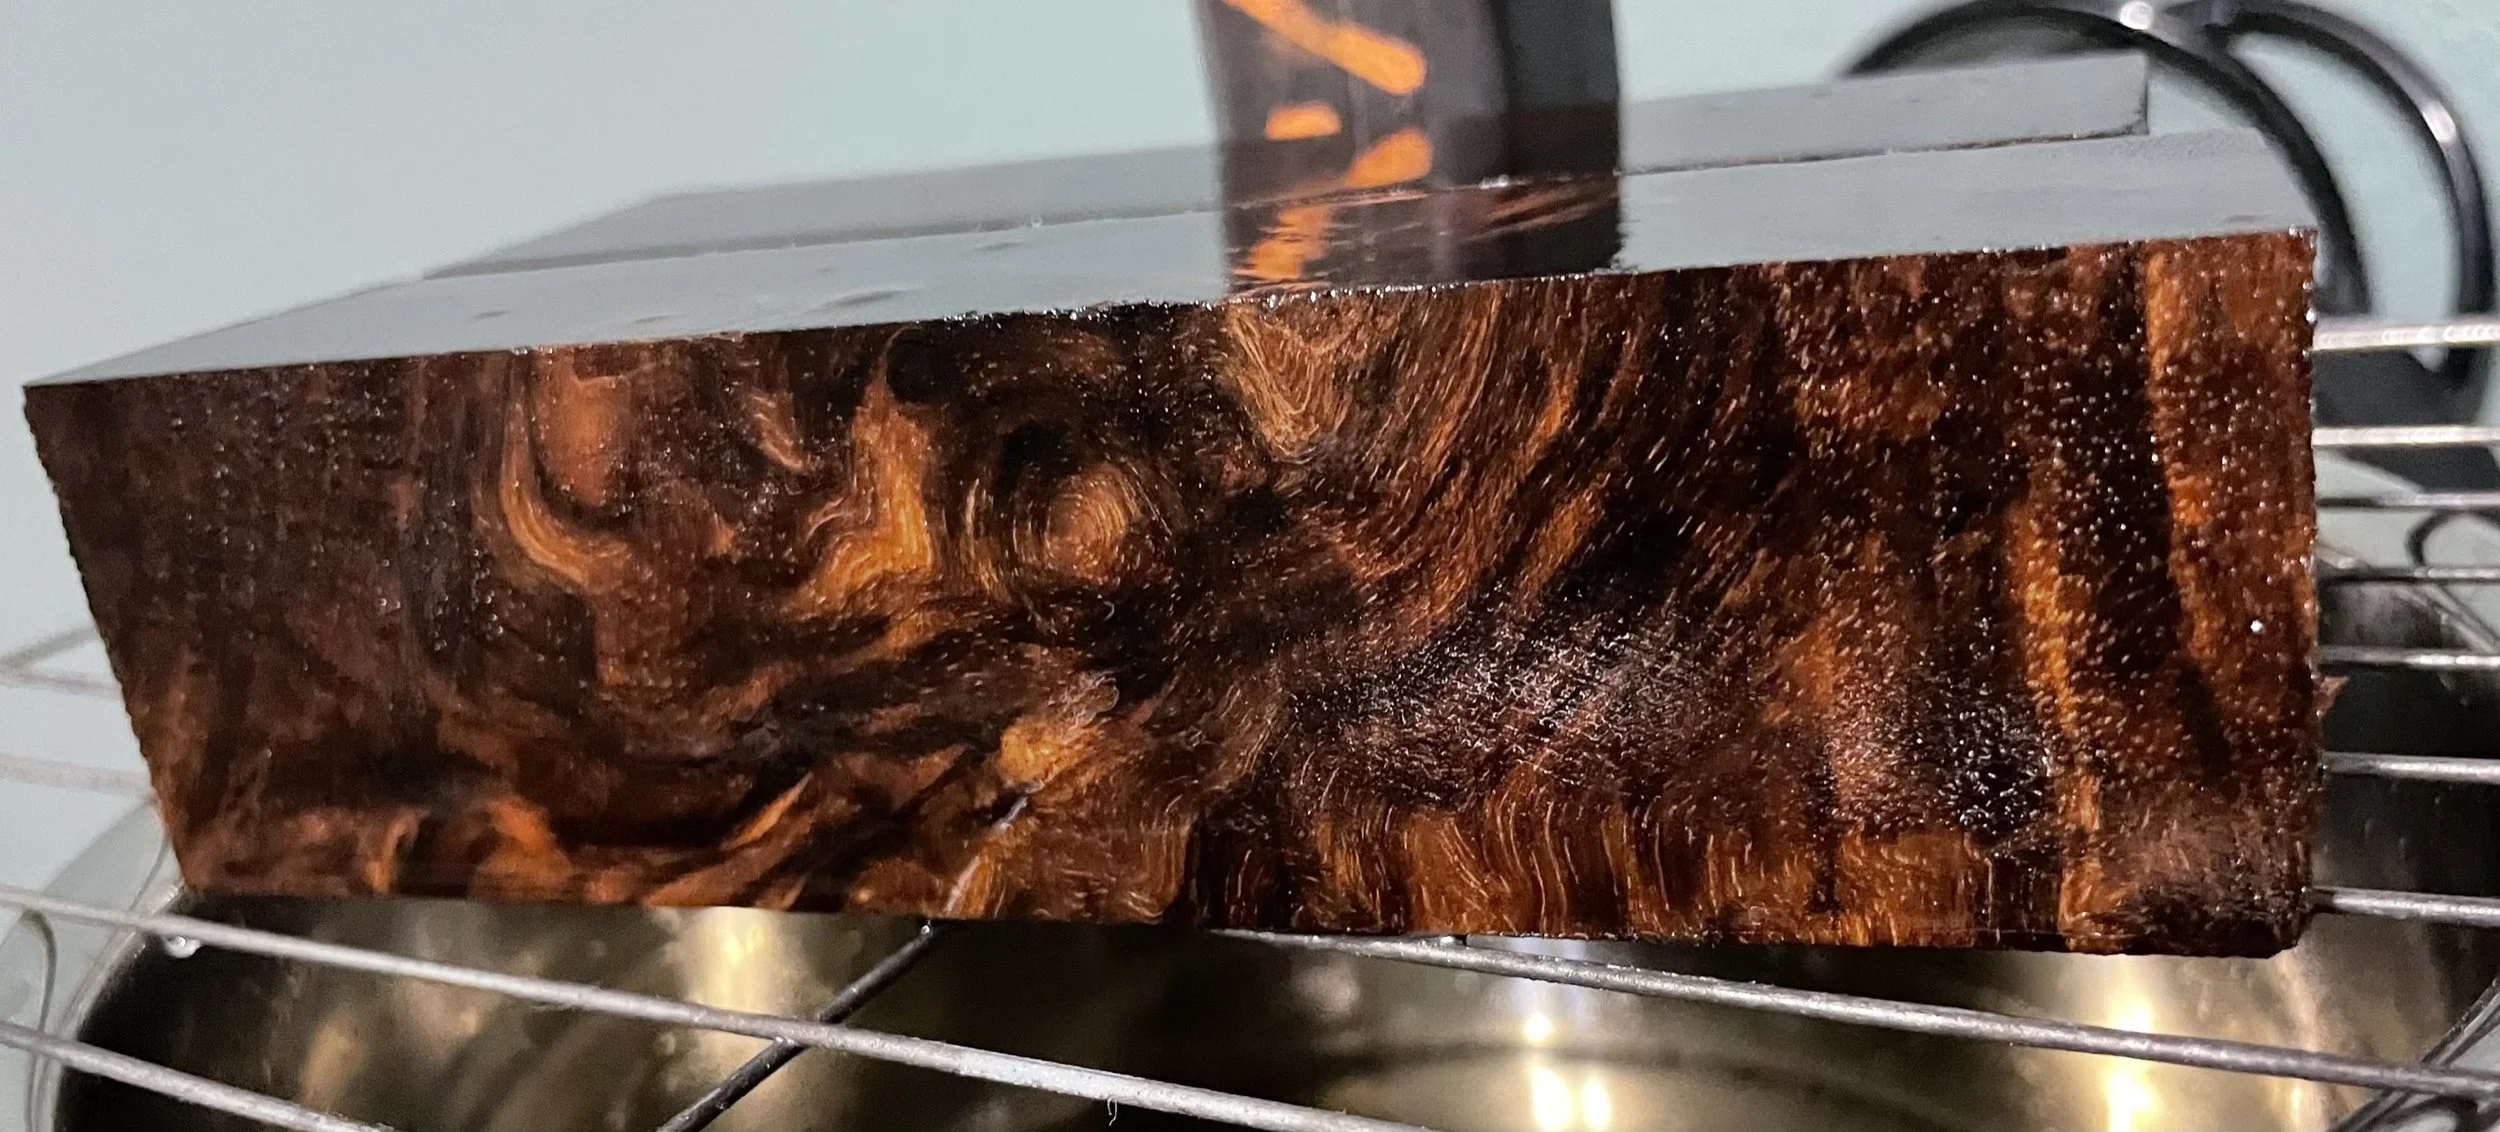
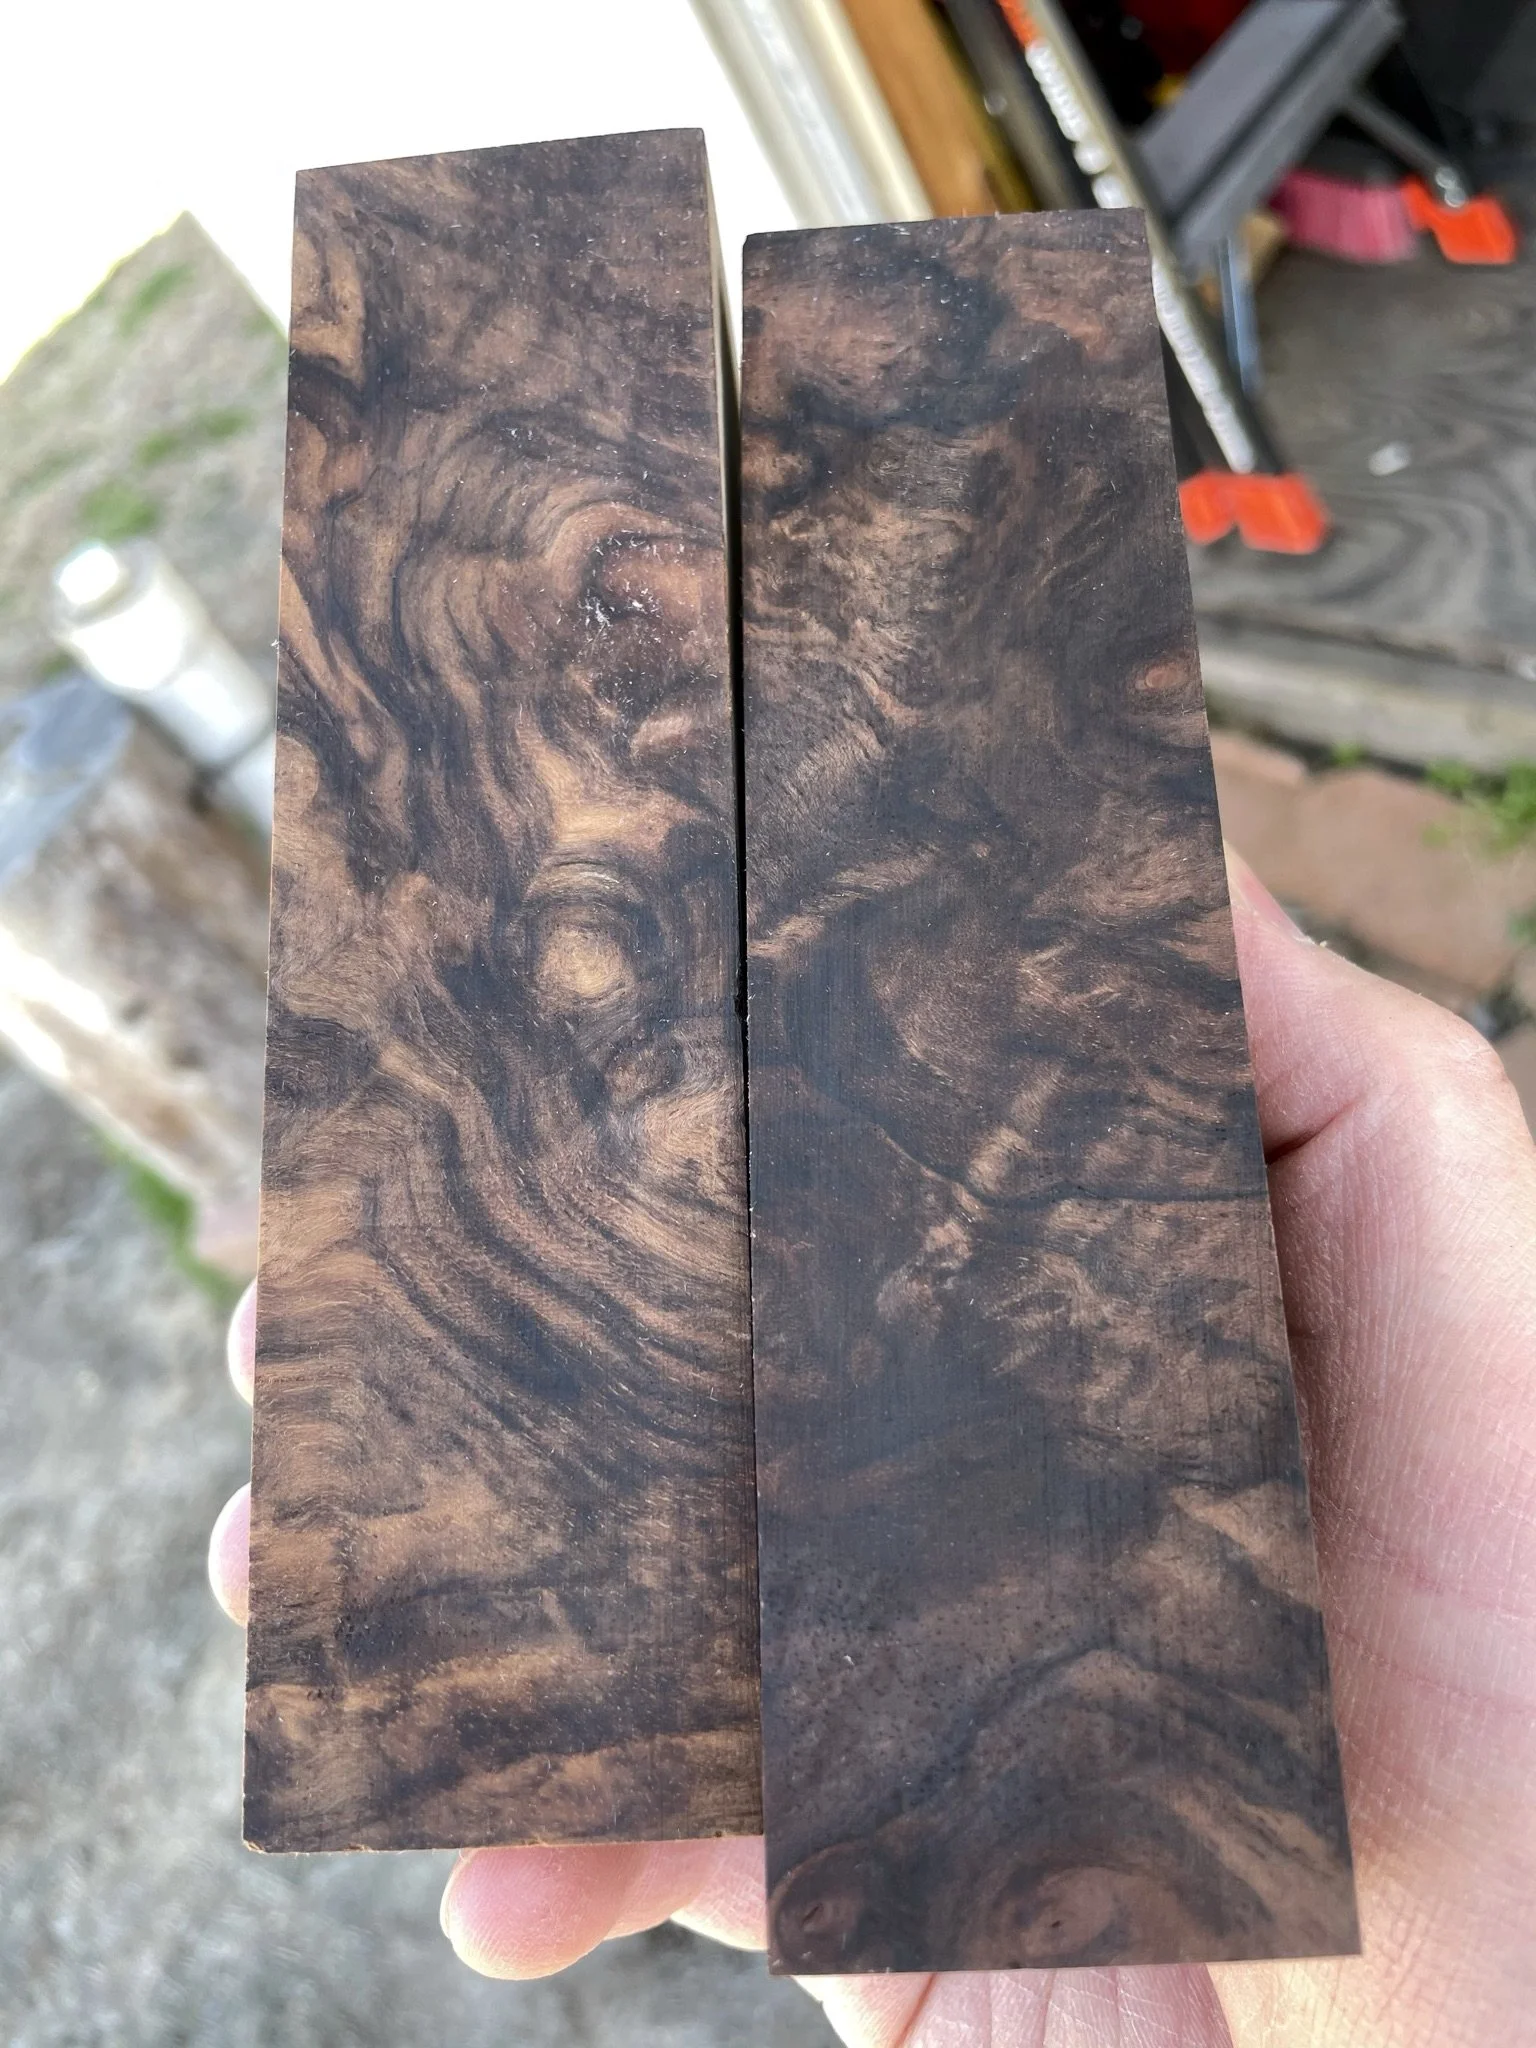
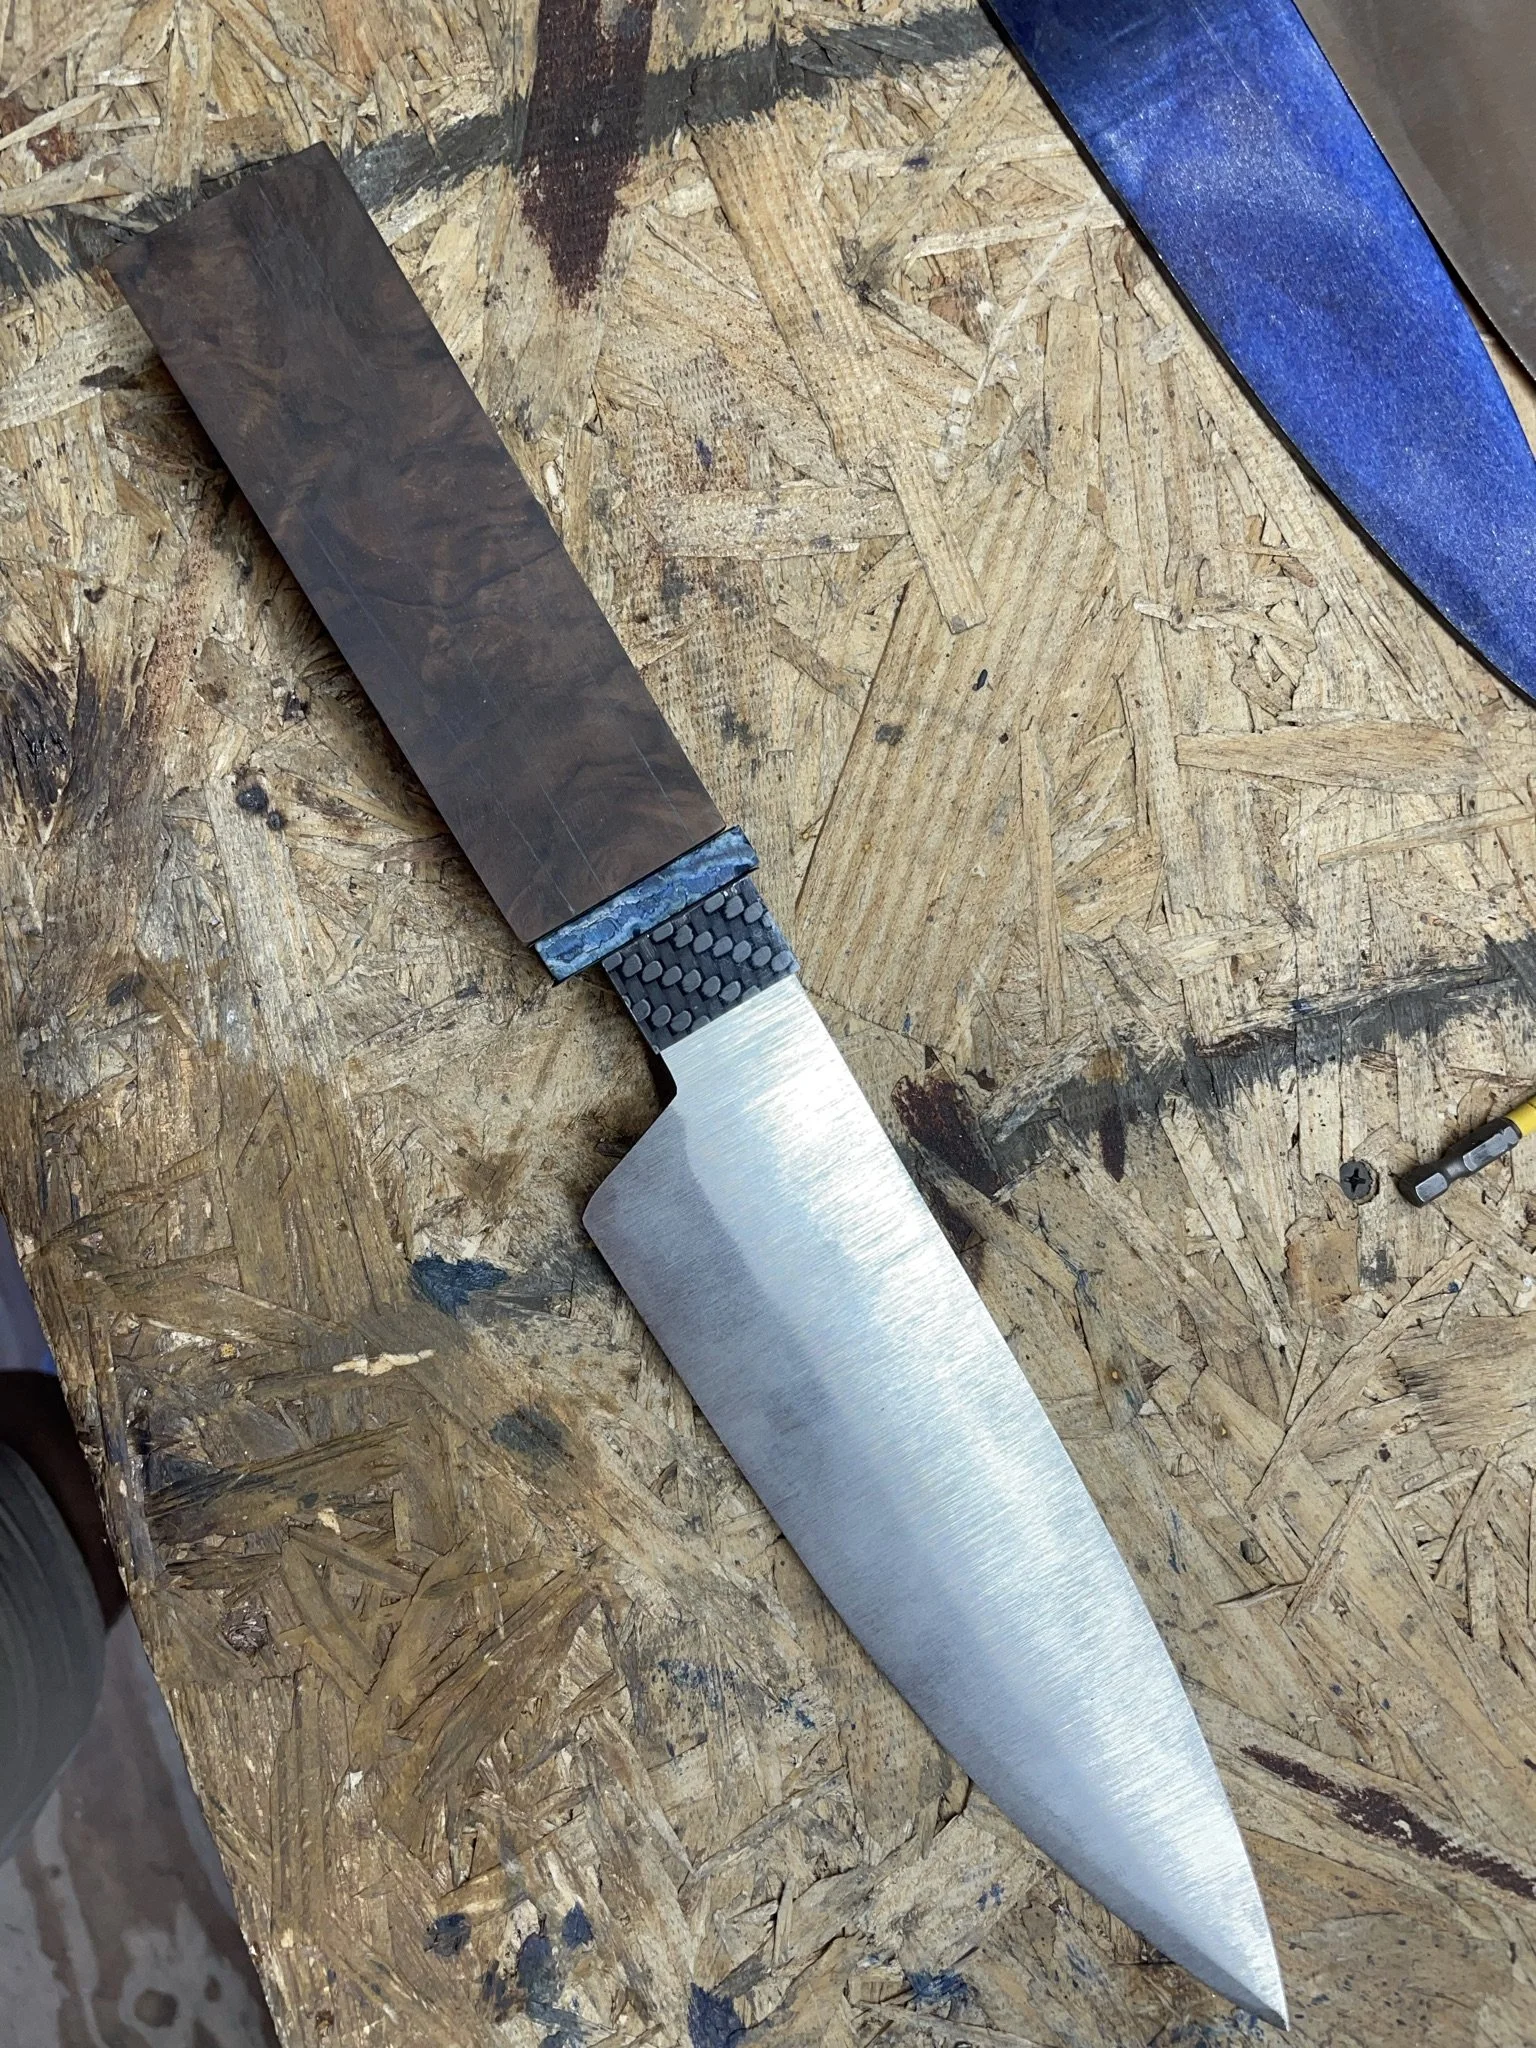
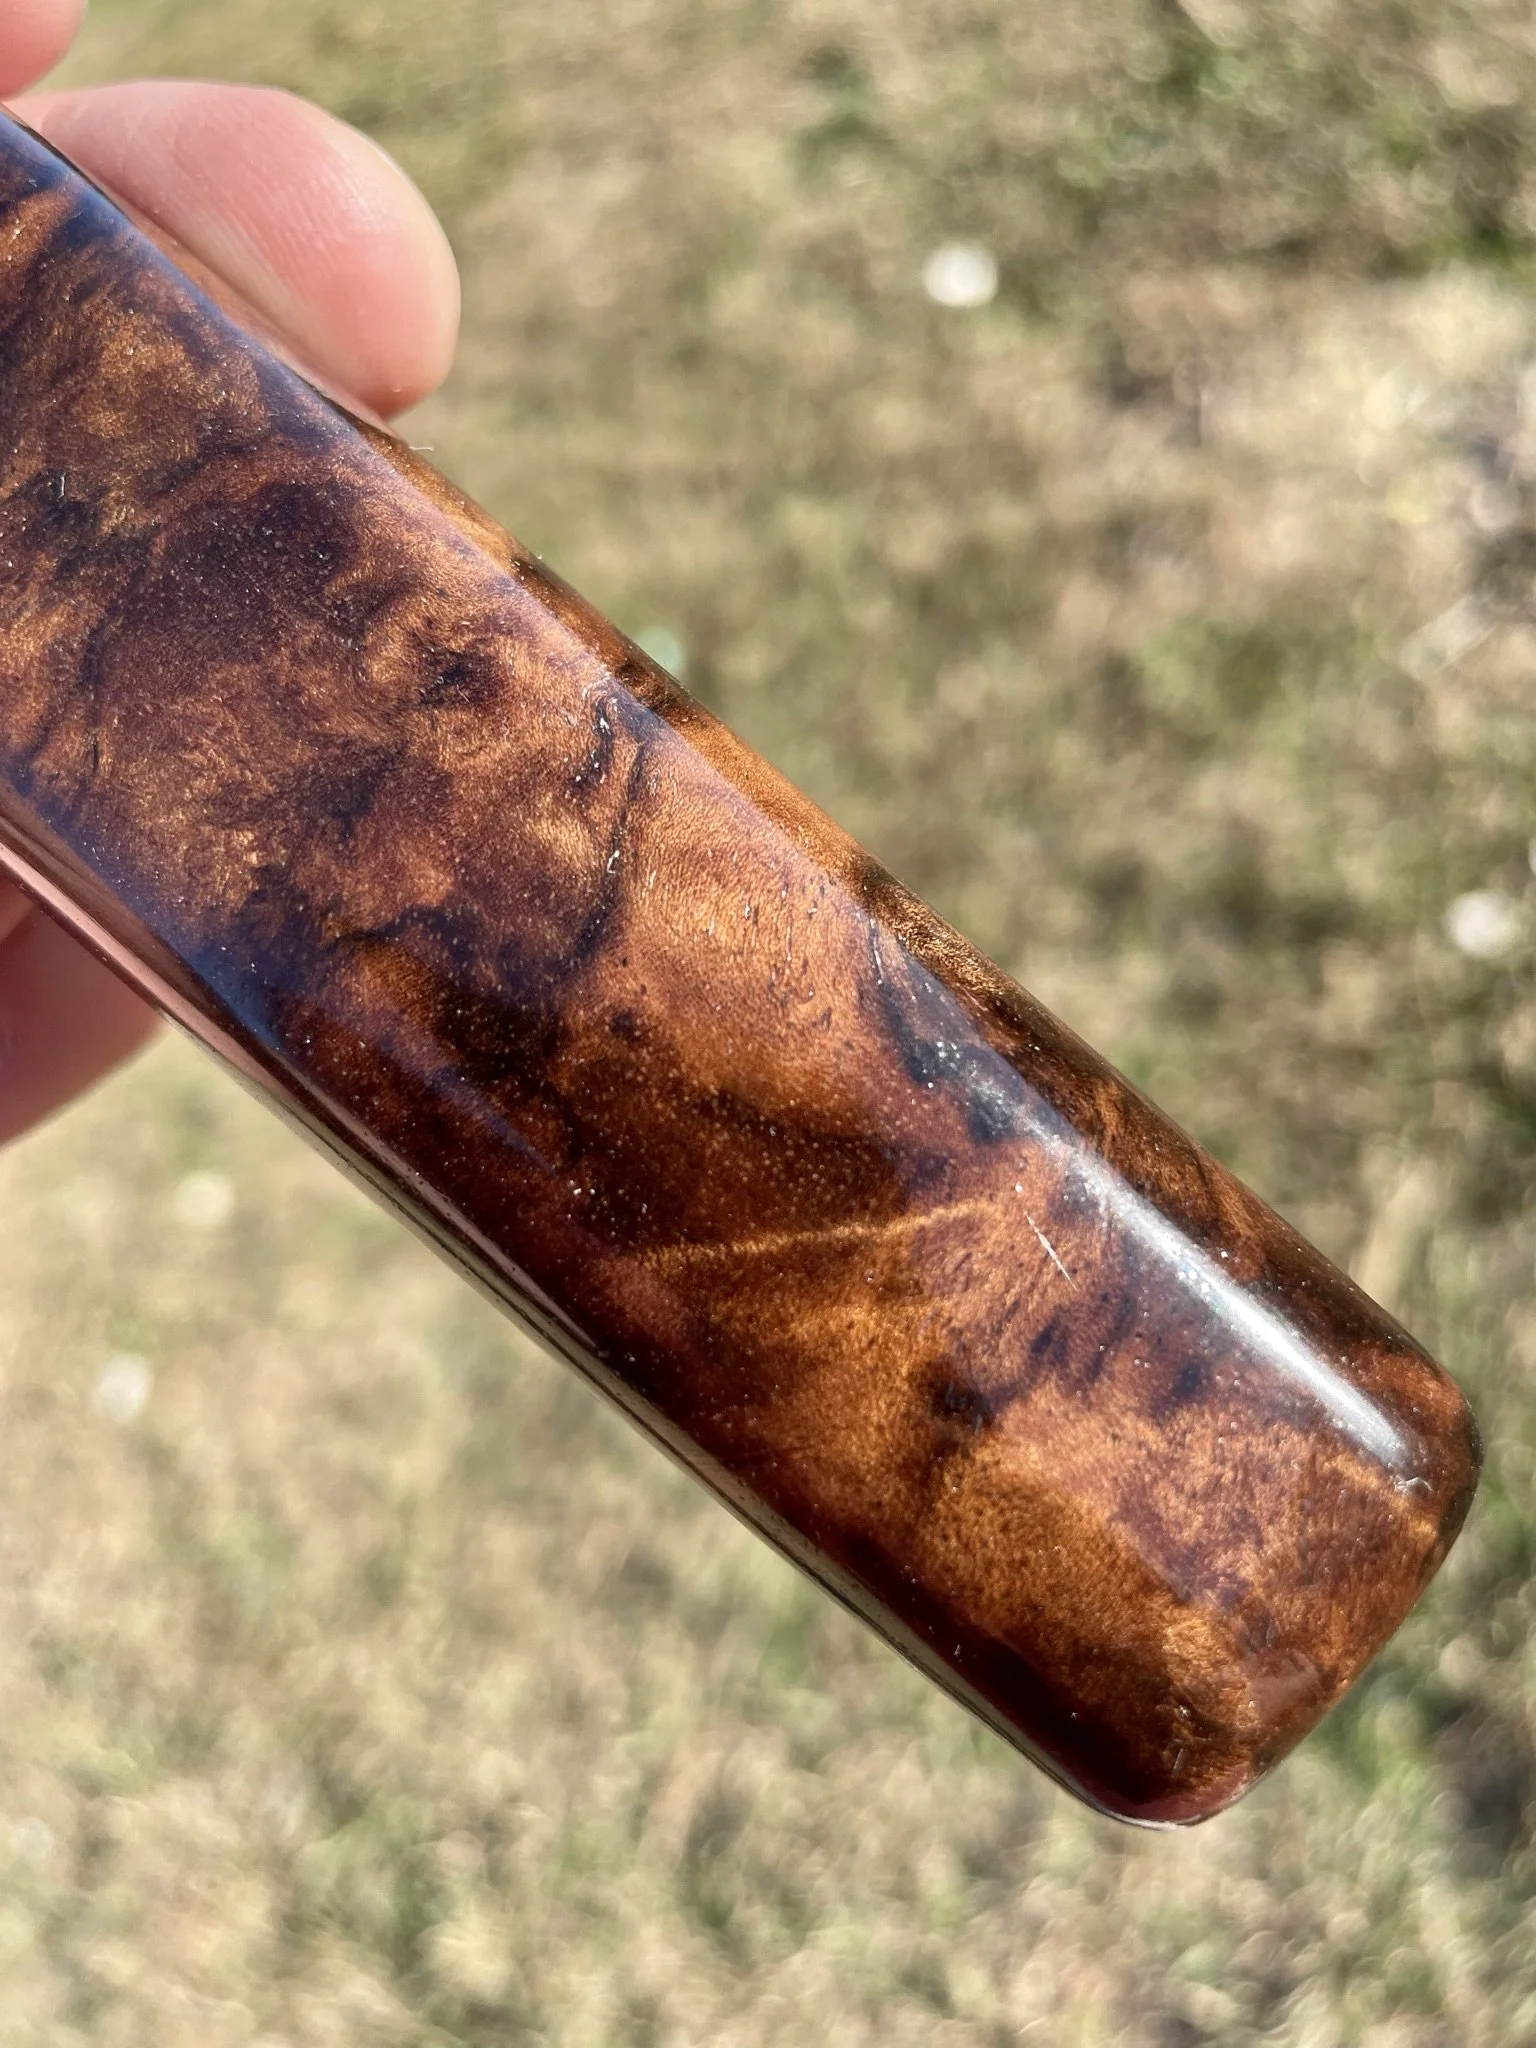
As I started using more and more exotic materials, I ordered a batch of Turkish walnut that I stabilized myself. It's got some beautify smokey pattern to it.
-
Out of the pressure vessel.
-
In natural lighting.
-
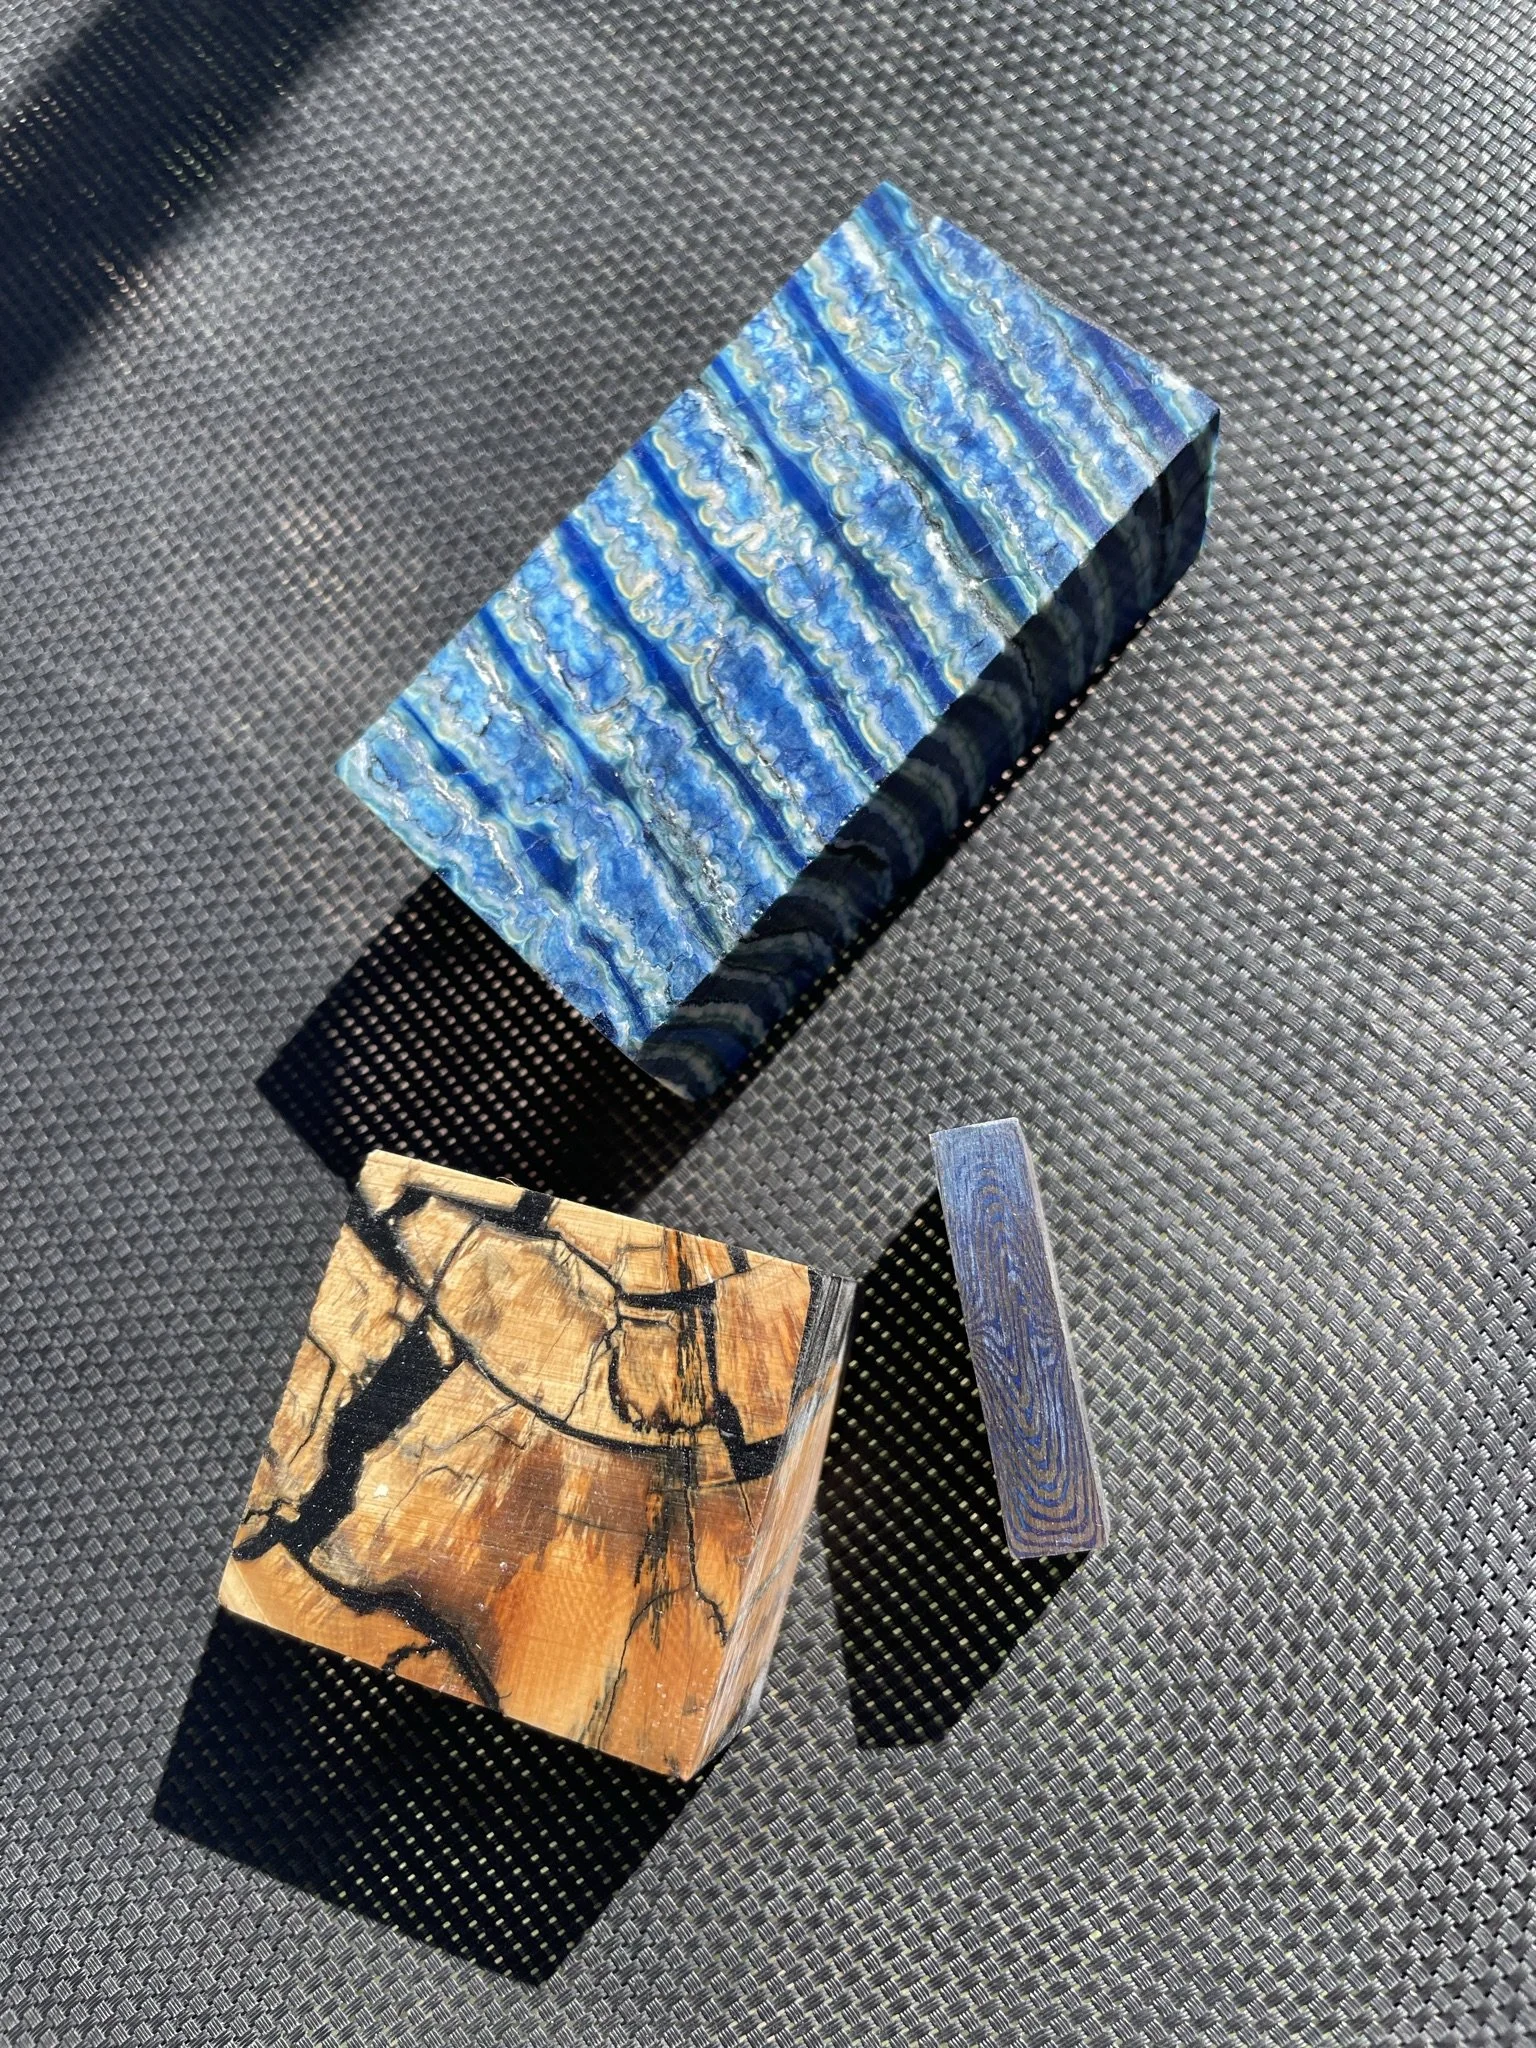
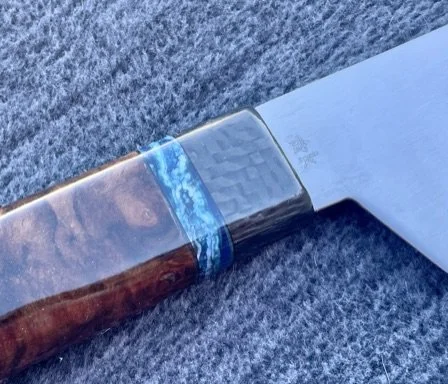
I struggled to decide on which material to make a spacer out of - stabilized mammoth tooth (blue), stabilized mammoth tusk (yellow brown), or Timascus (titanium damascus).
-
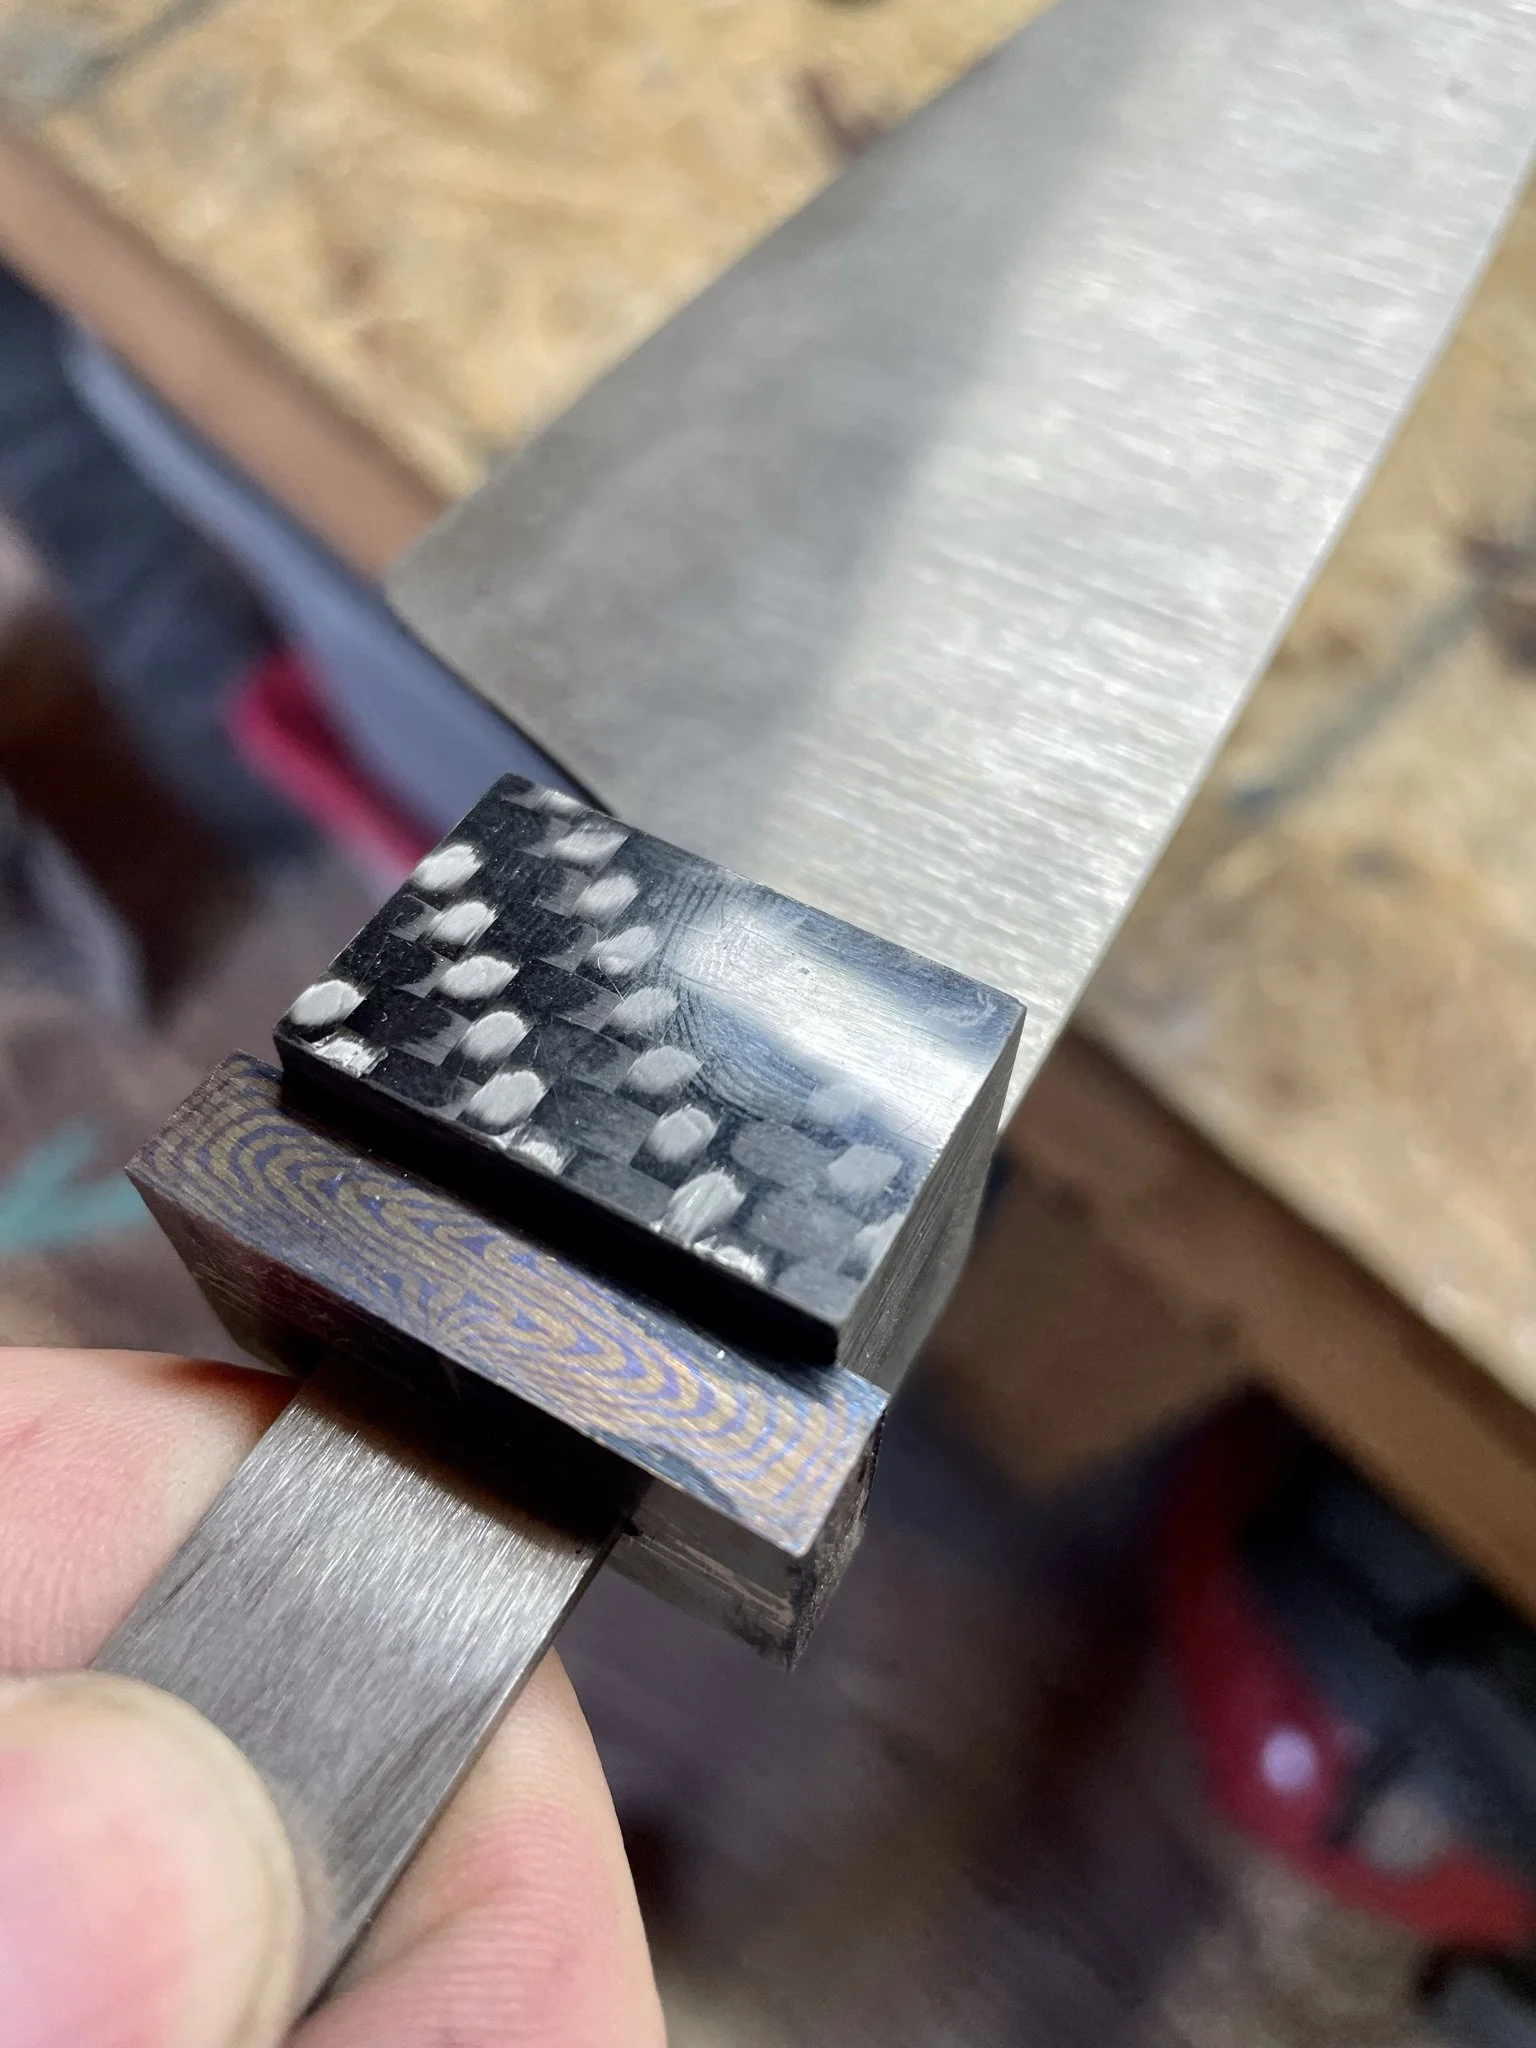
Originally tried with the Timascus.
-
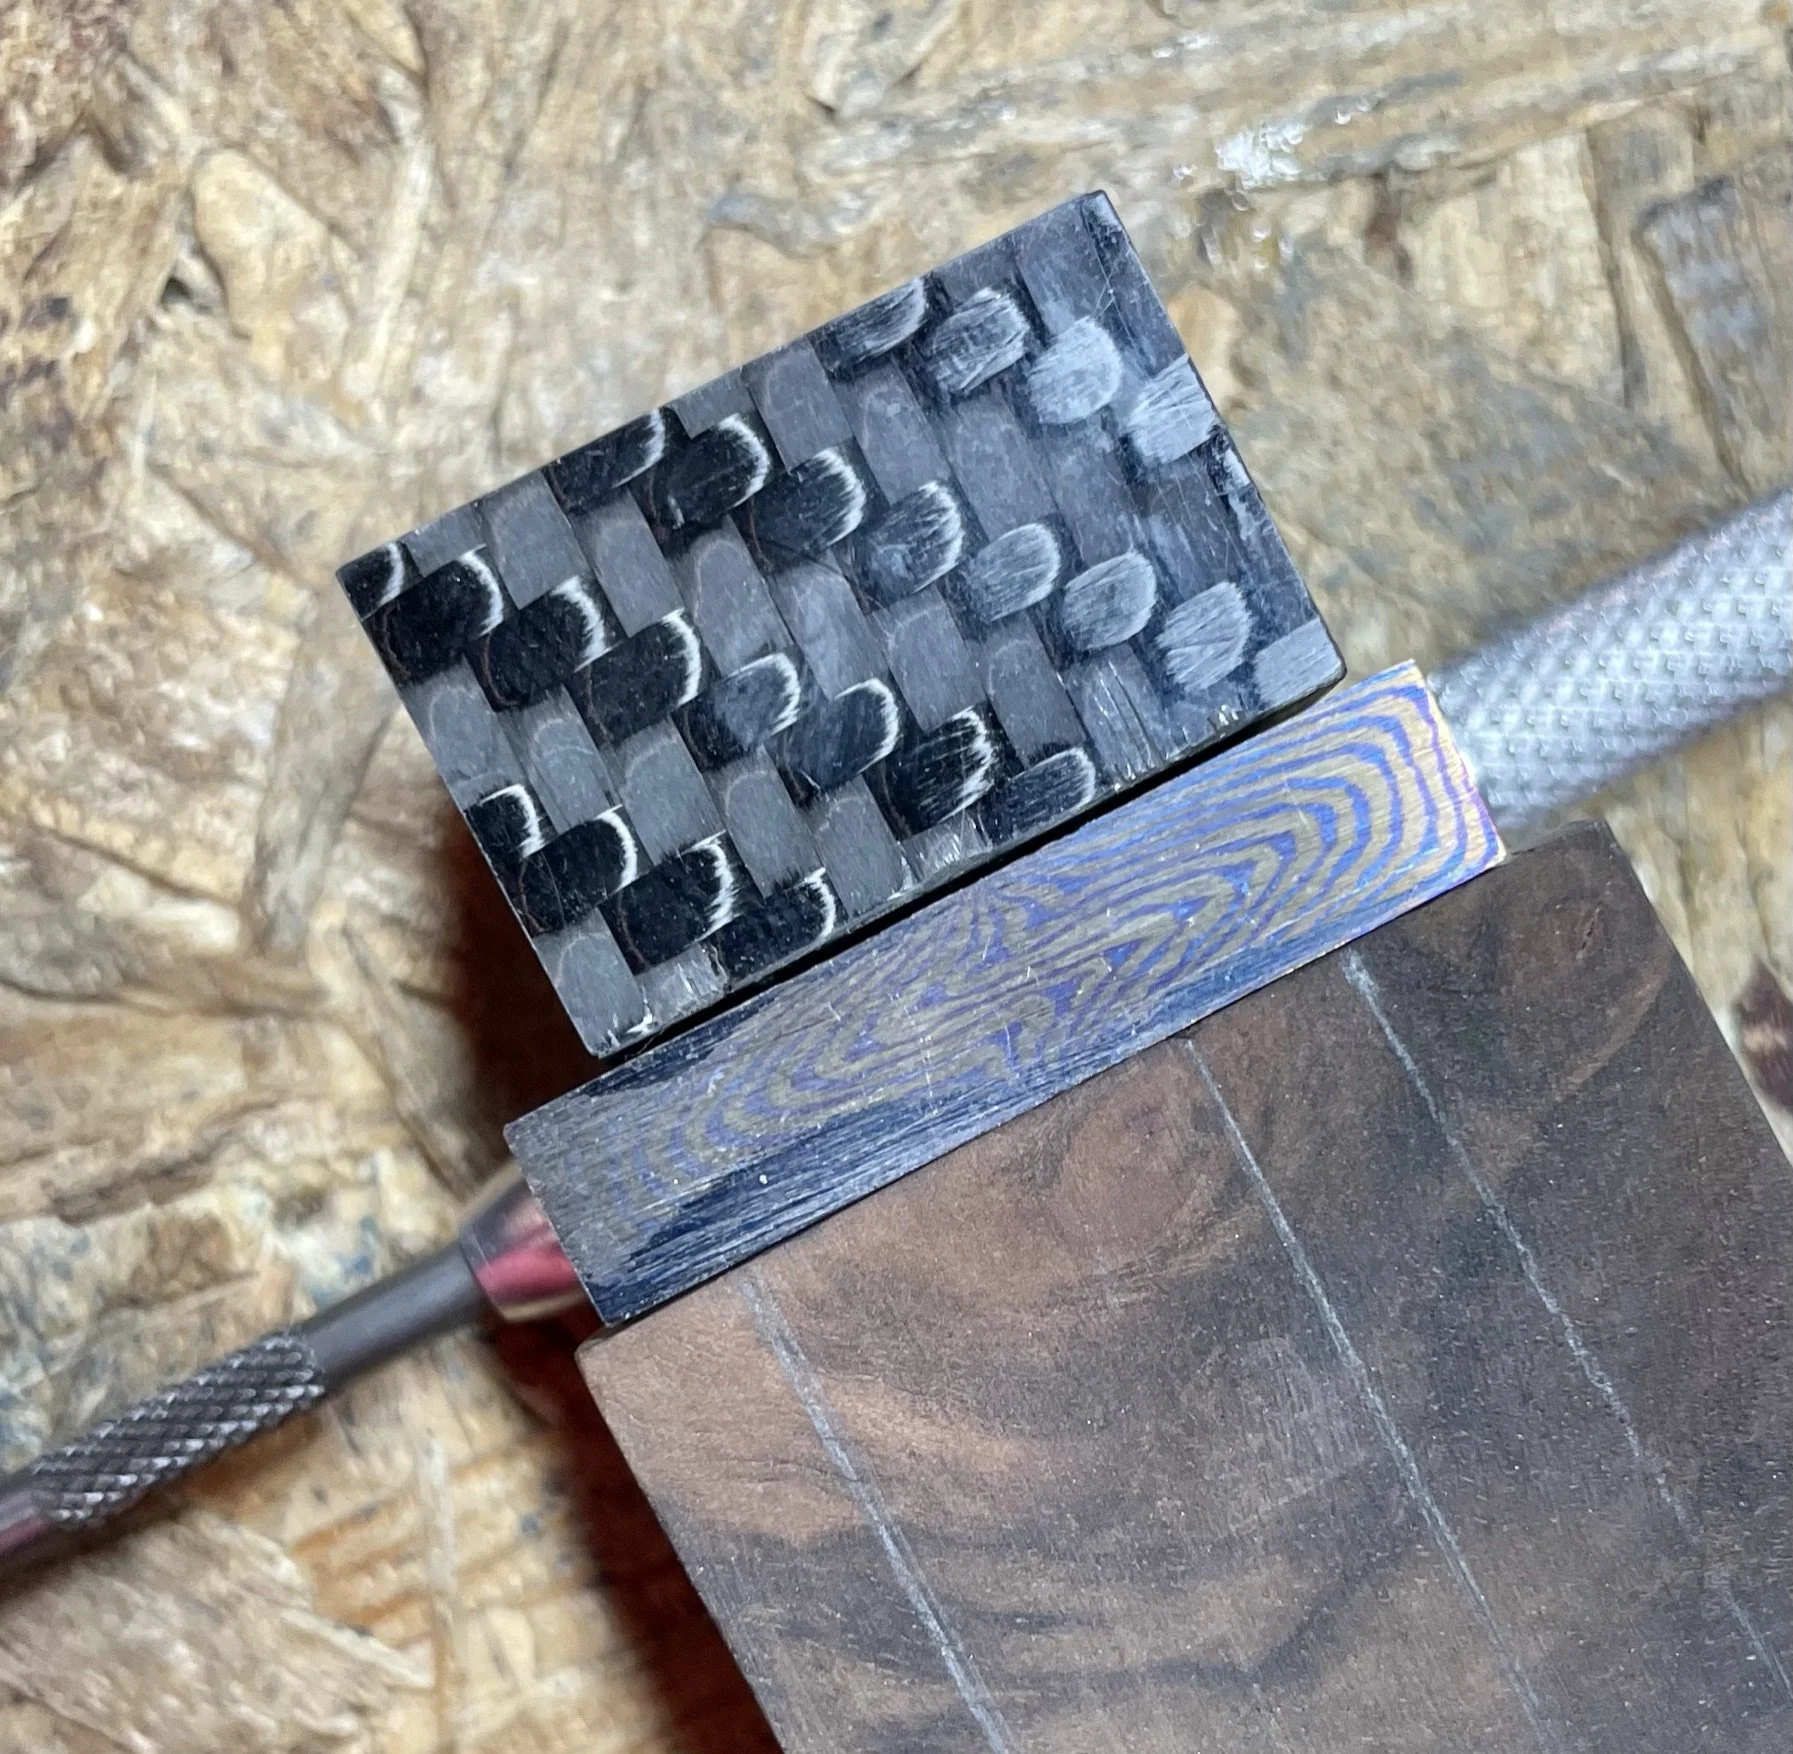
Lining it all up.
-
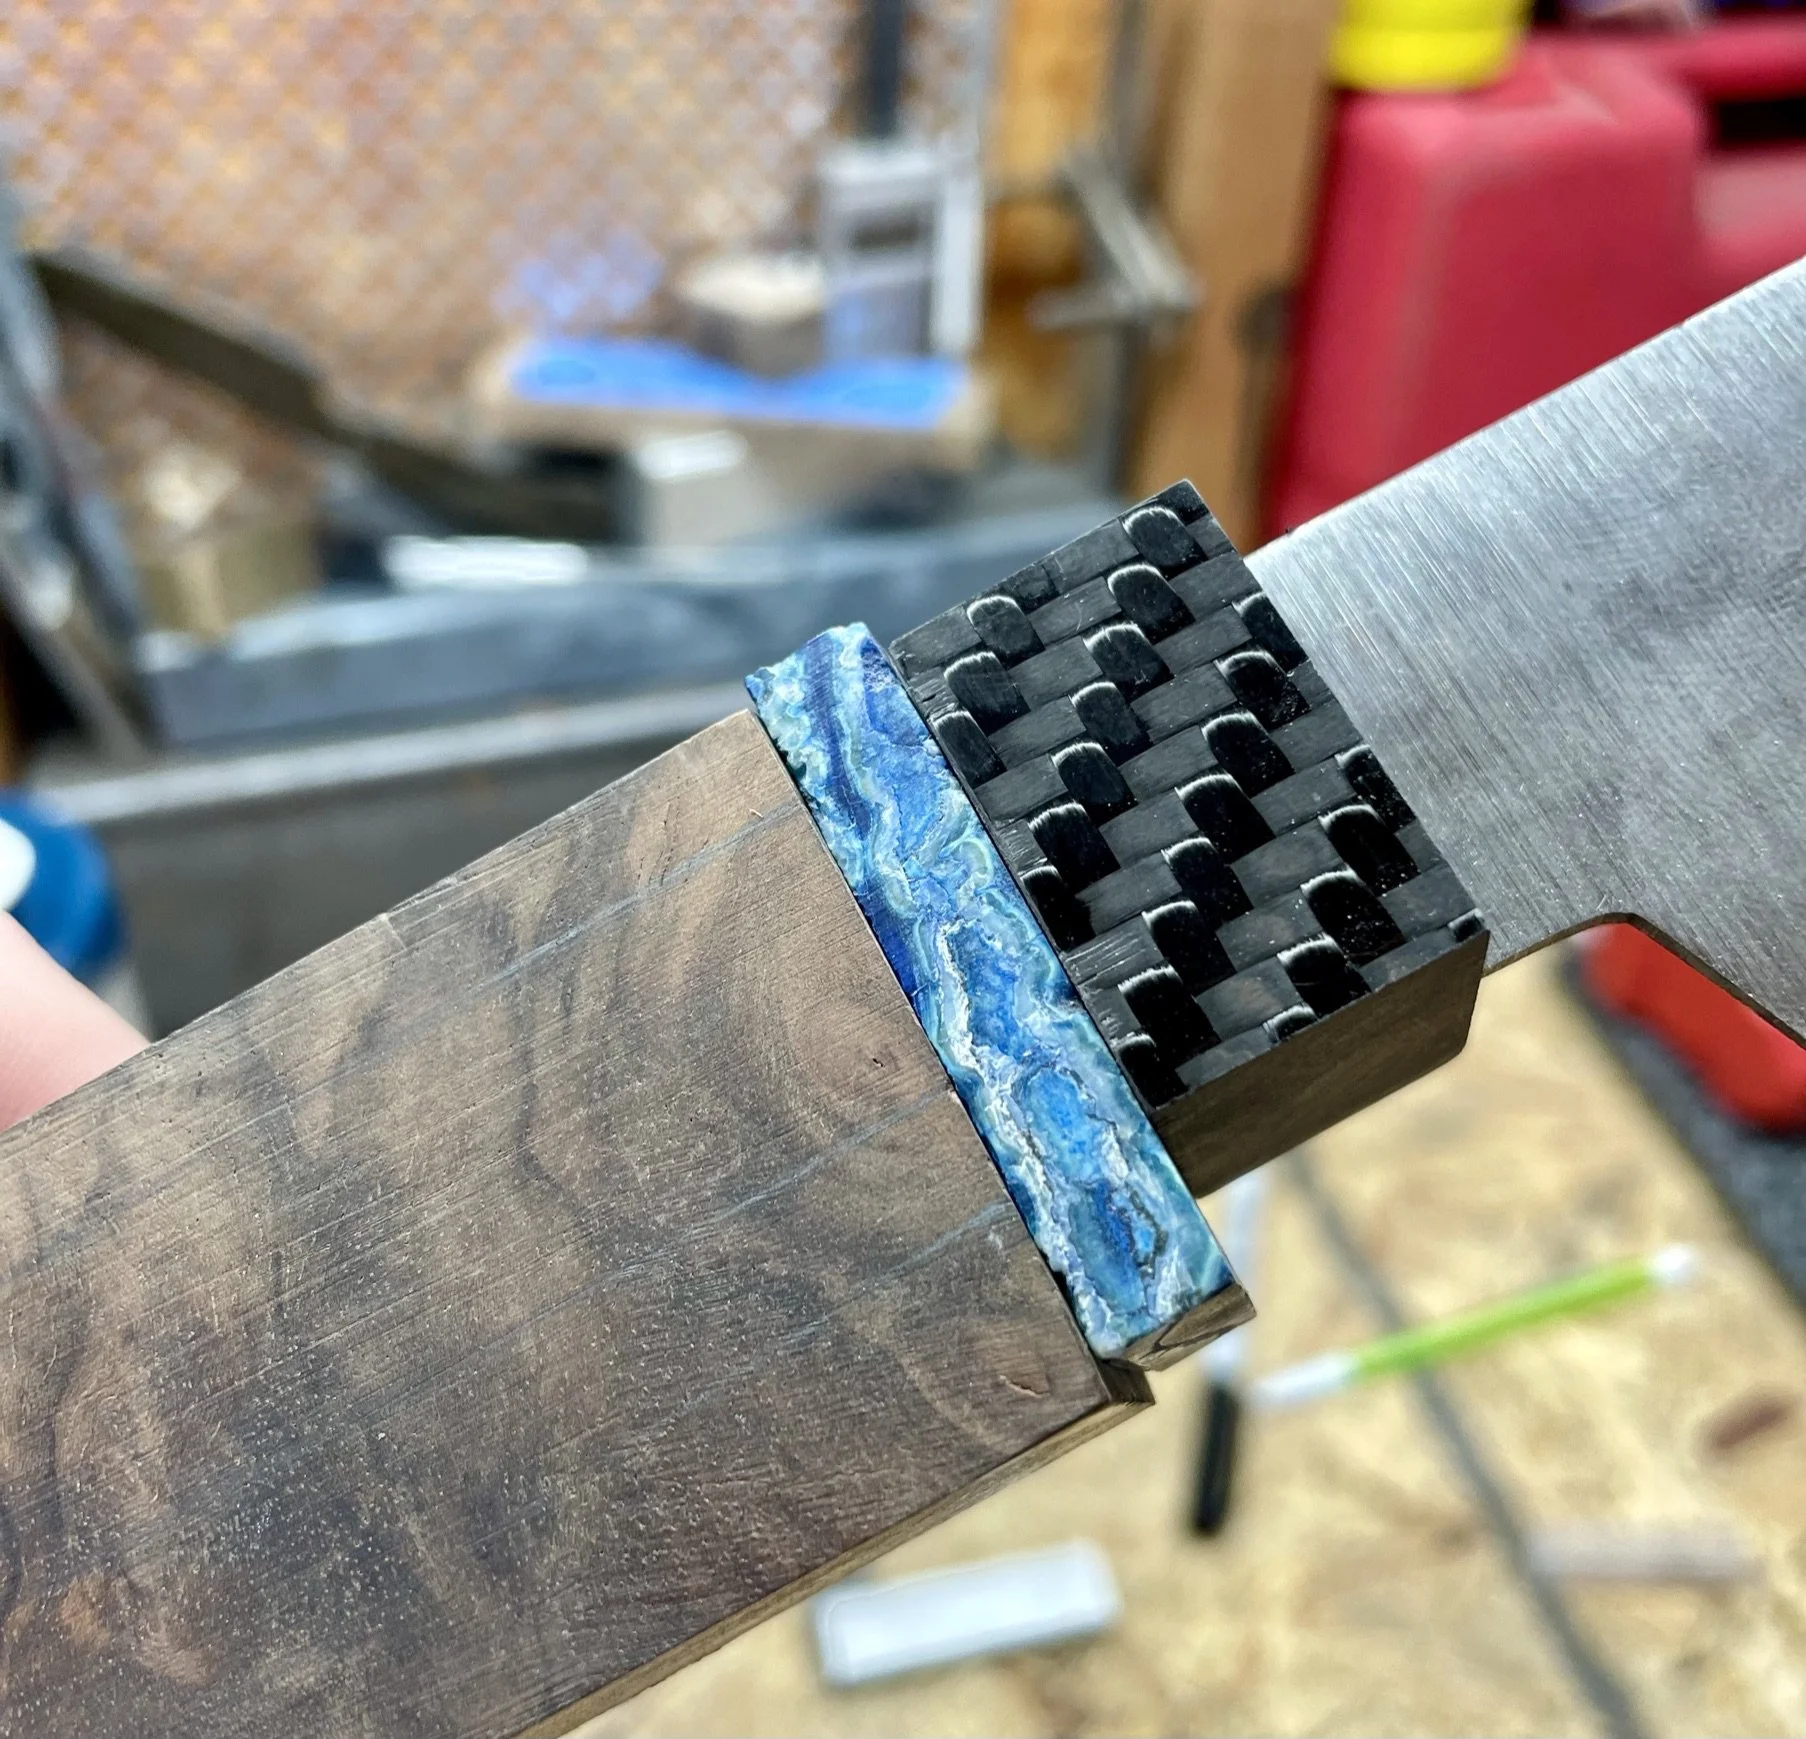
Ended up changing directions and used a piece of the mammoth tooth.
-
All fit up and ready for glue up.
-
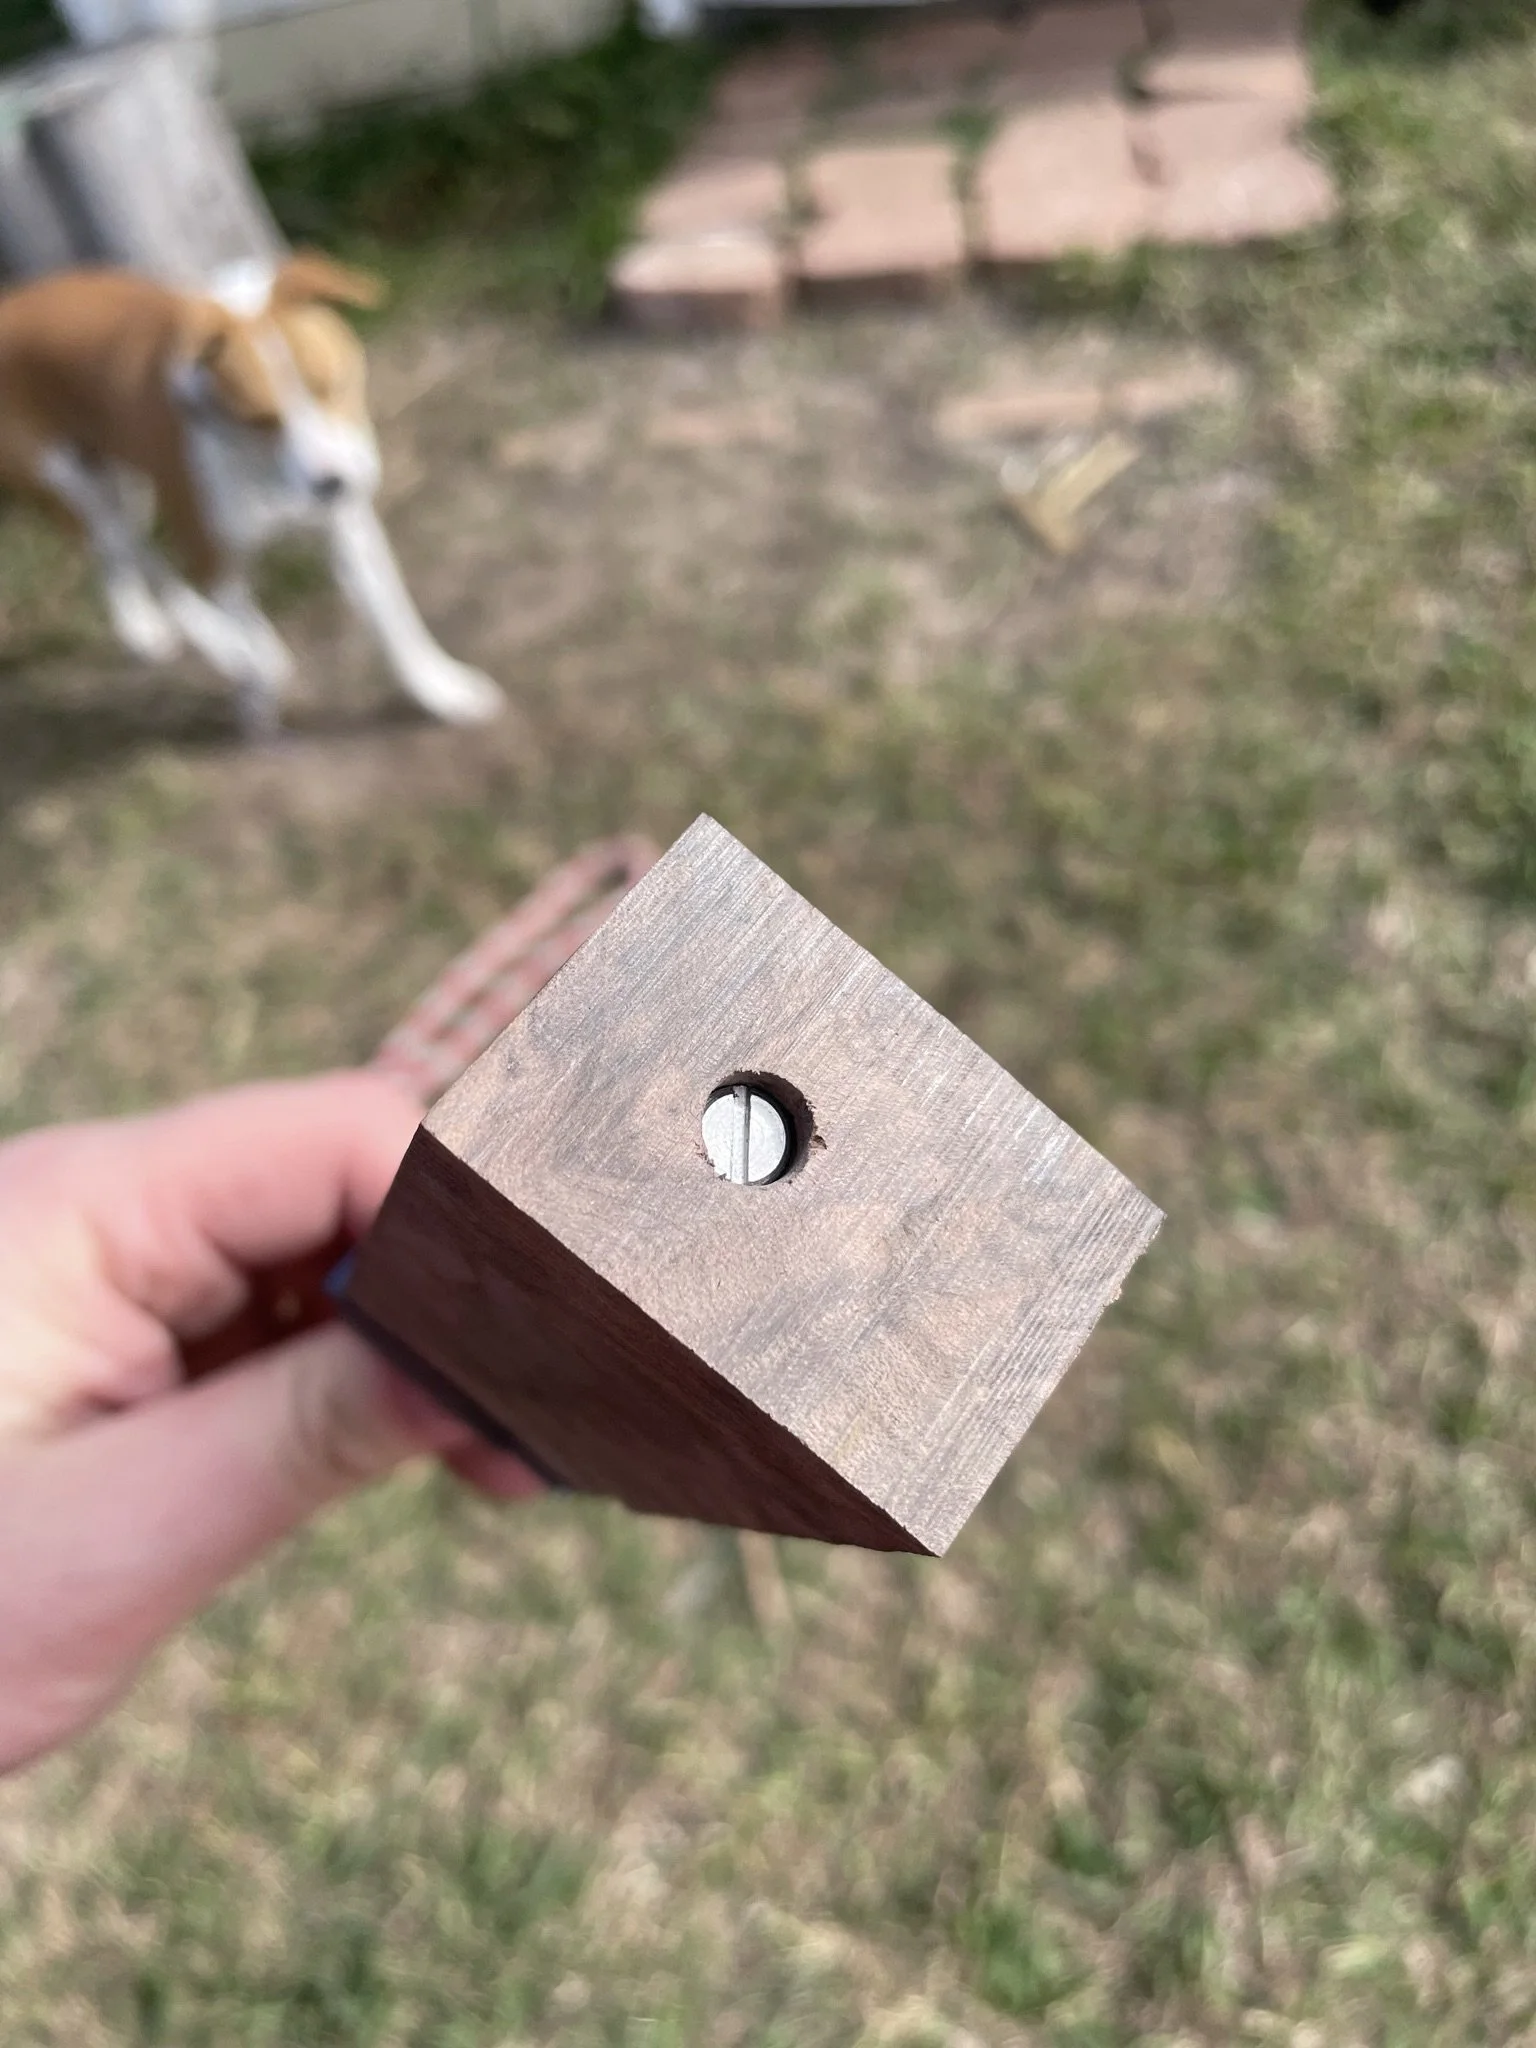
Mechanical connection, but didn't want it visible.
-
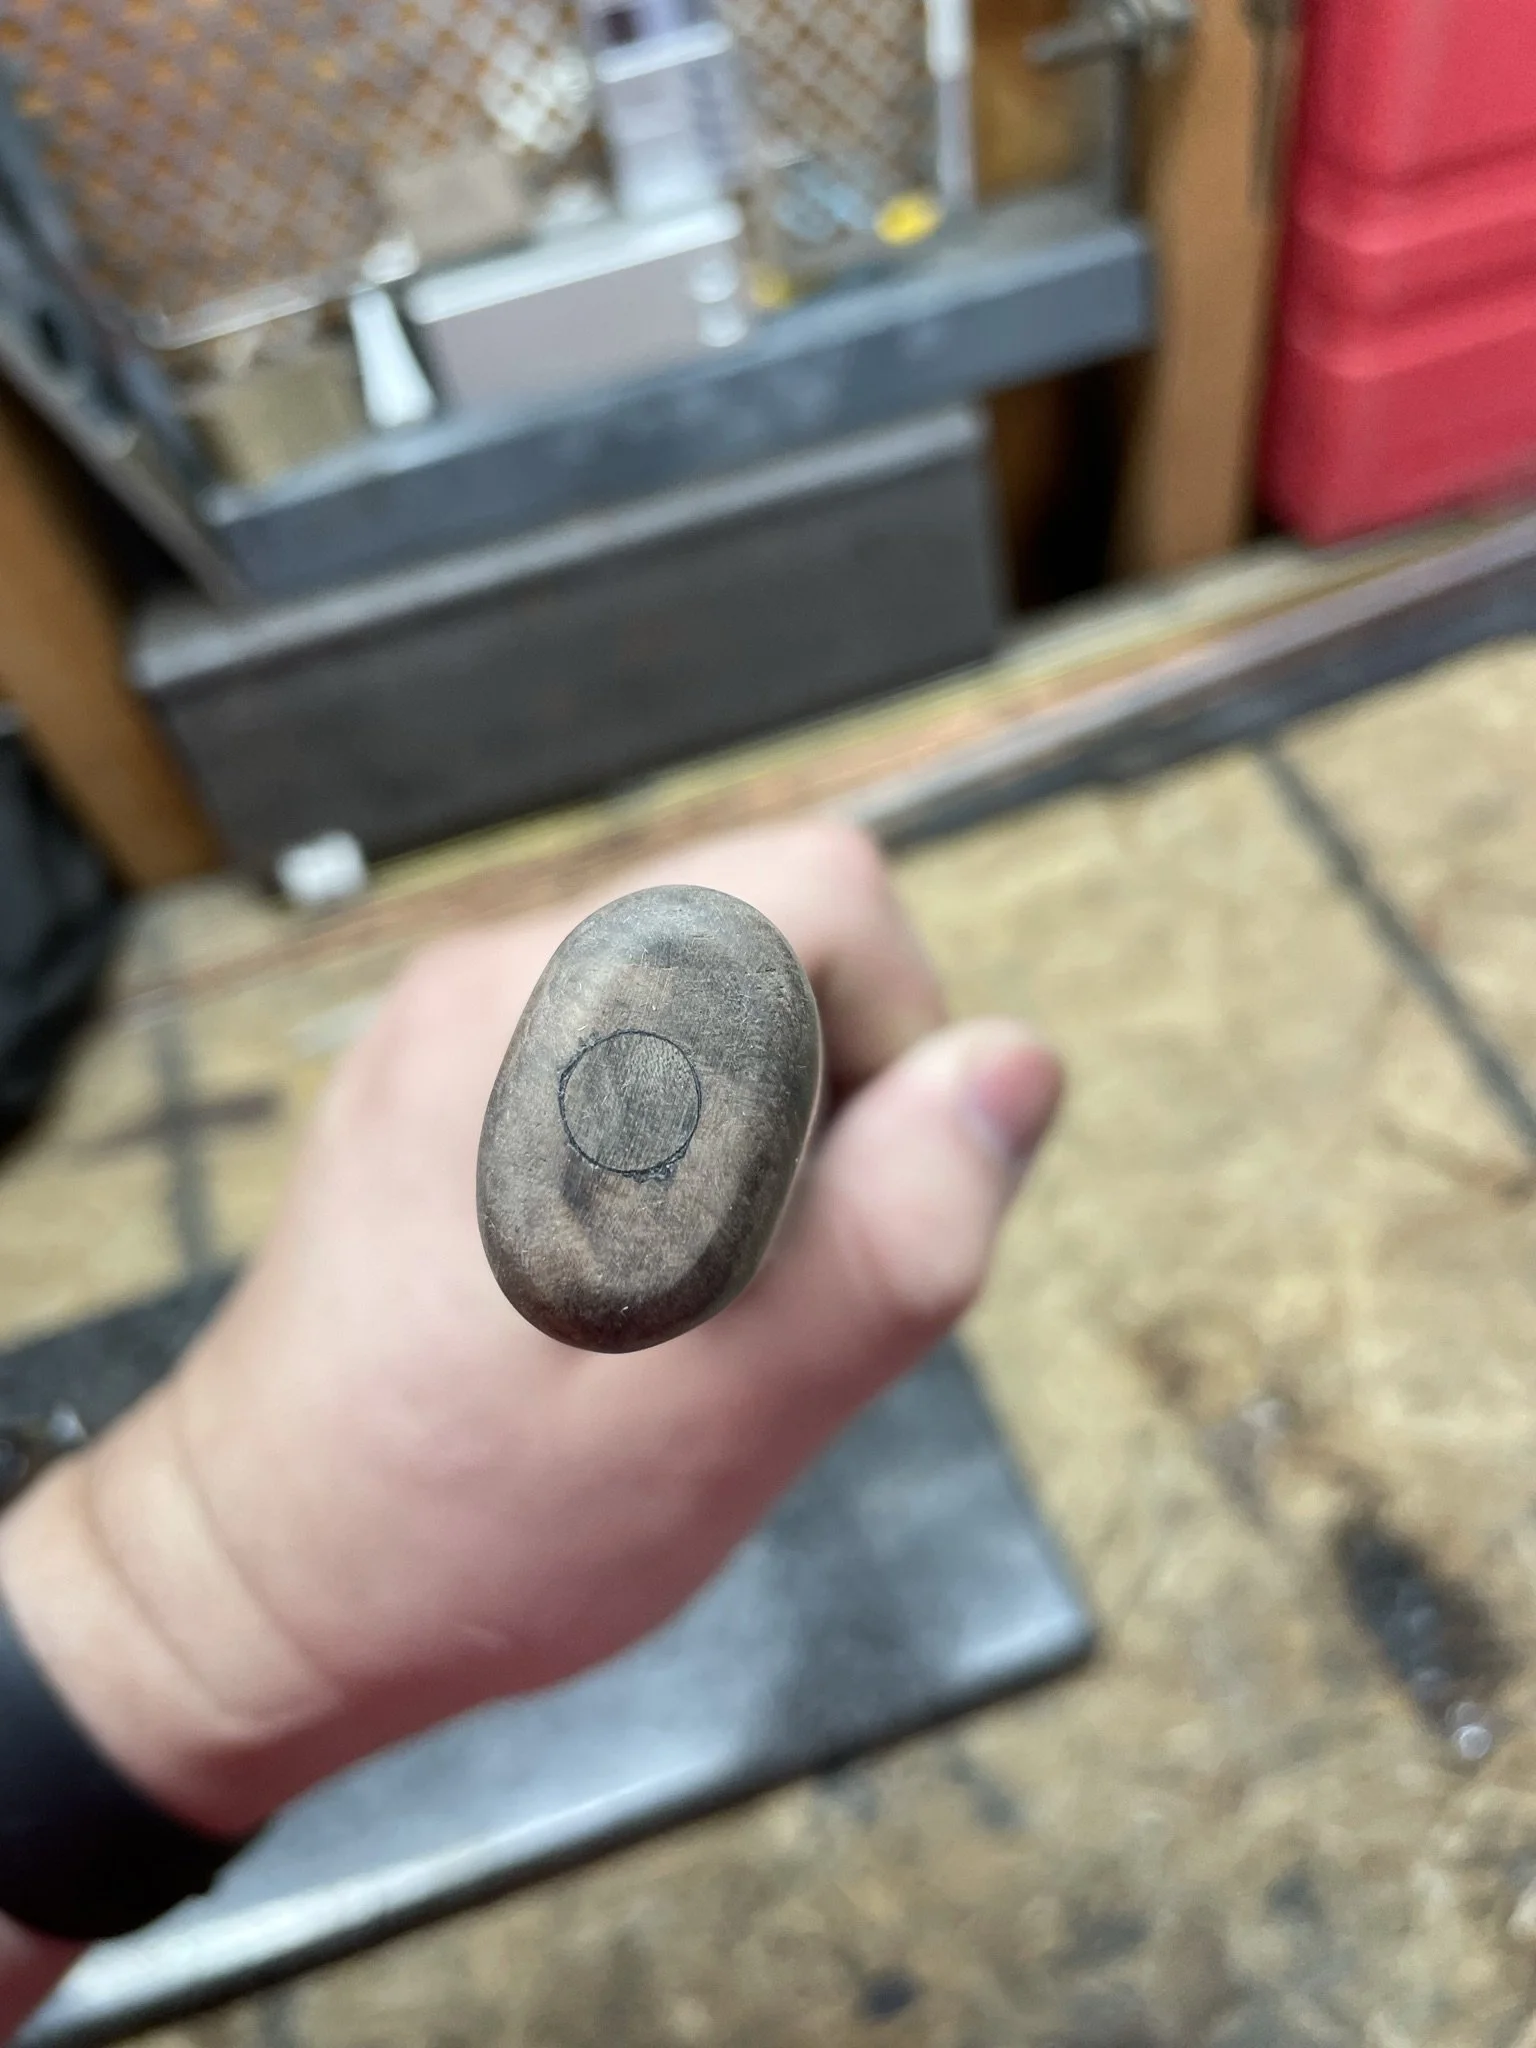
Ended up making a plug out of Turkish walnut, and it came out pretty well.
-
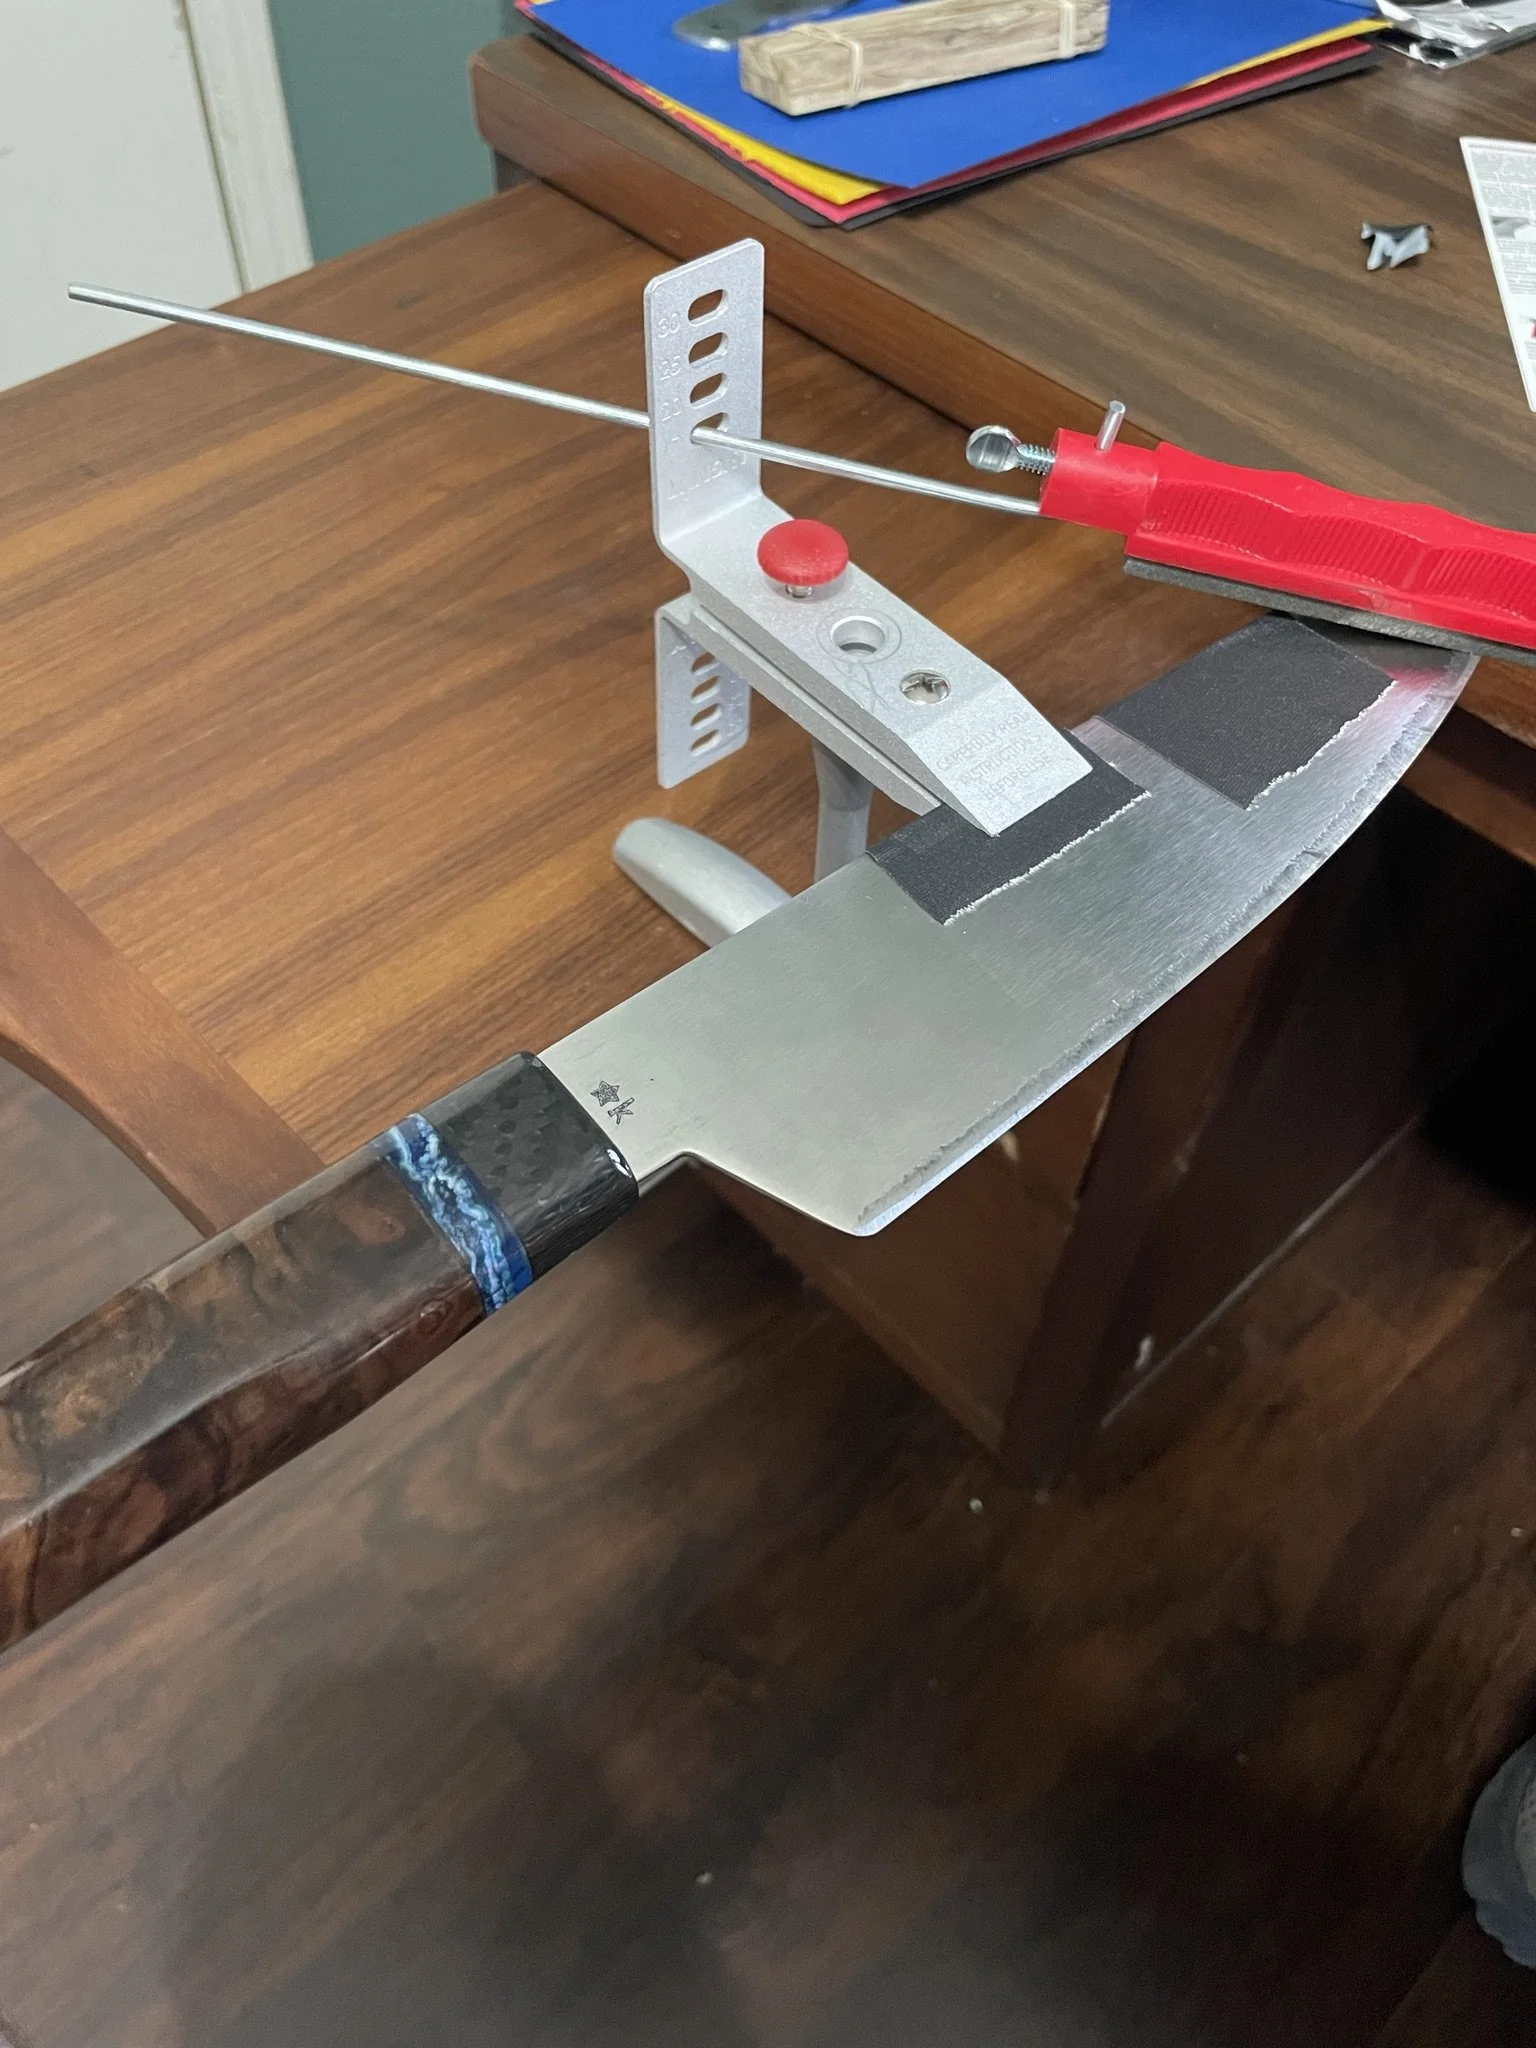
Sharpening with the Lansky system.
-
End product. I love the shine I got on it - I think this is when I stared using Tru-oil on my handles as it really makes the wood pop and is a durable trusted finish.
-
Glamour shot 1
-
Close up glamour shot.
-
Better lighting. This was the best I had made to date, and was really proud of it. Super slicy and beautiful.
-
Incredible depth to the handle. Love the natural beauty.
-
Final glamour shot. I wasn't confident in my handle shaping yet and so I went with a very plain shape. Not my favorite, but it is what it is.
