Year Two - Progress Continues
“As my skills improved I tried to incorporate new techniques with each new blade to help learn and refine my work. I was blessed with several amazing mentors who influenced me, taught me and showed me better ways to make what I imagined.”
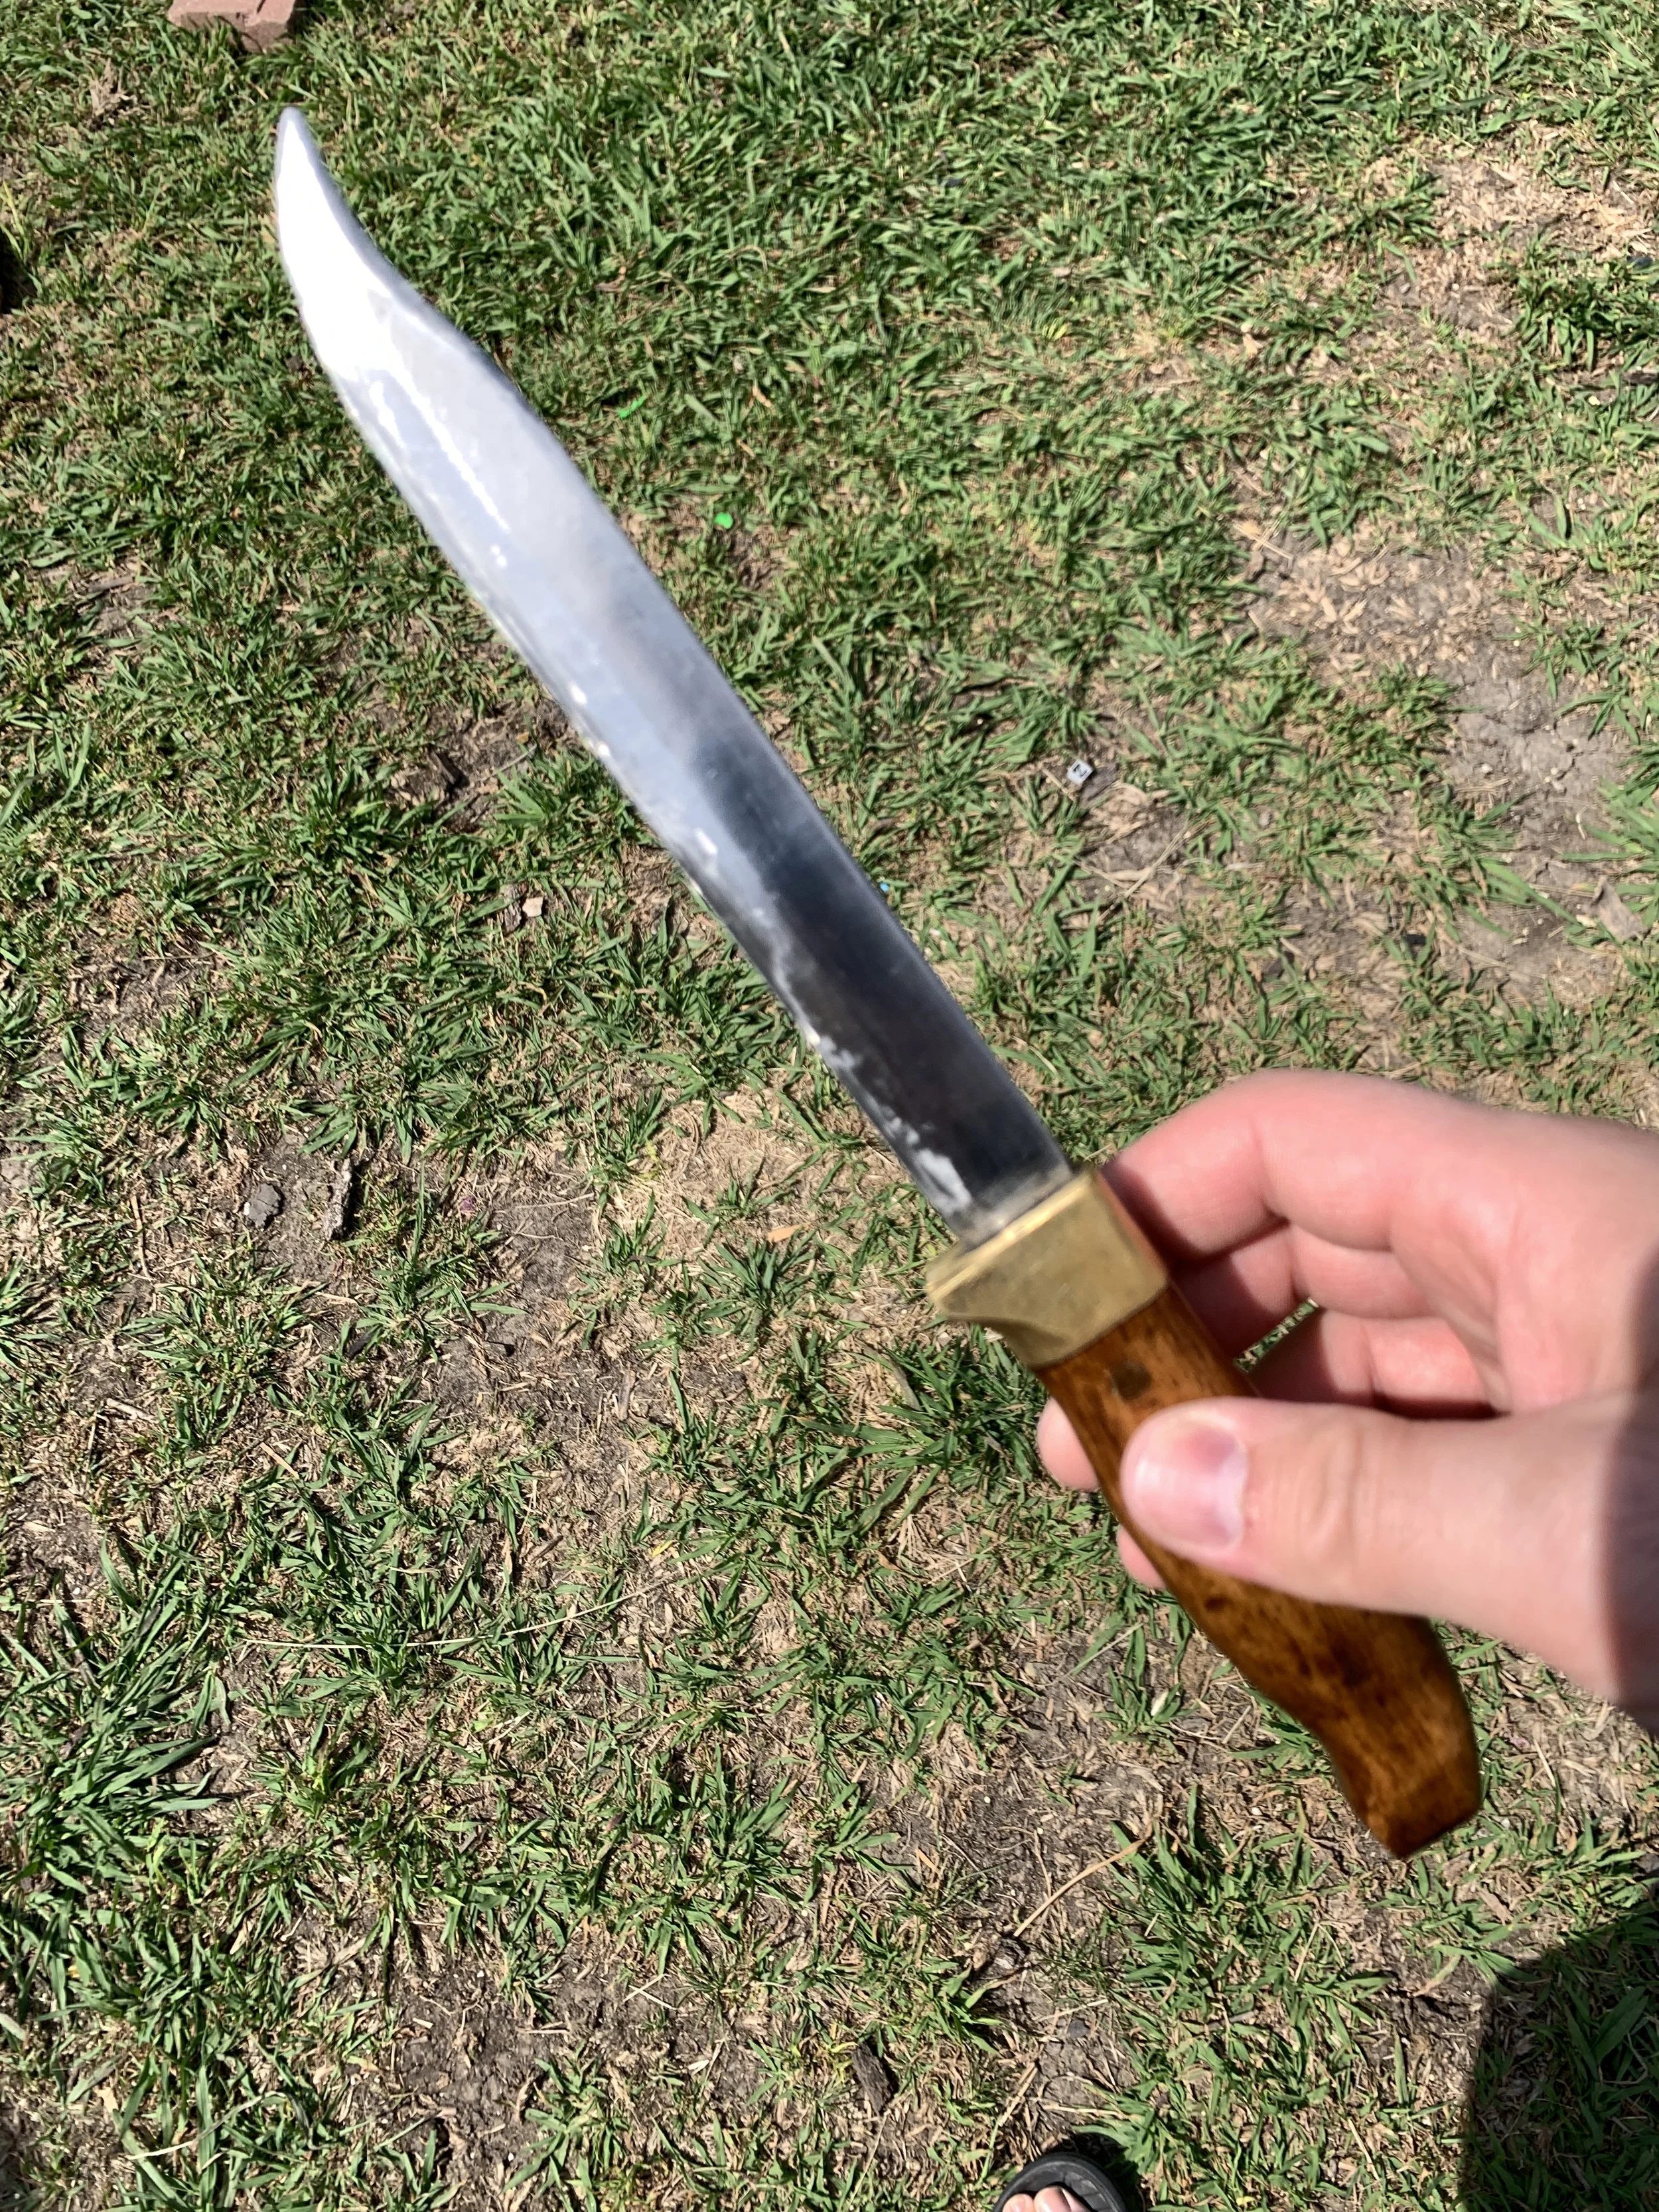
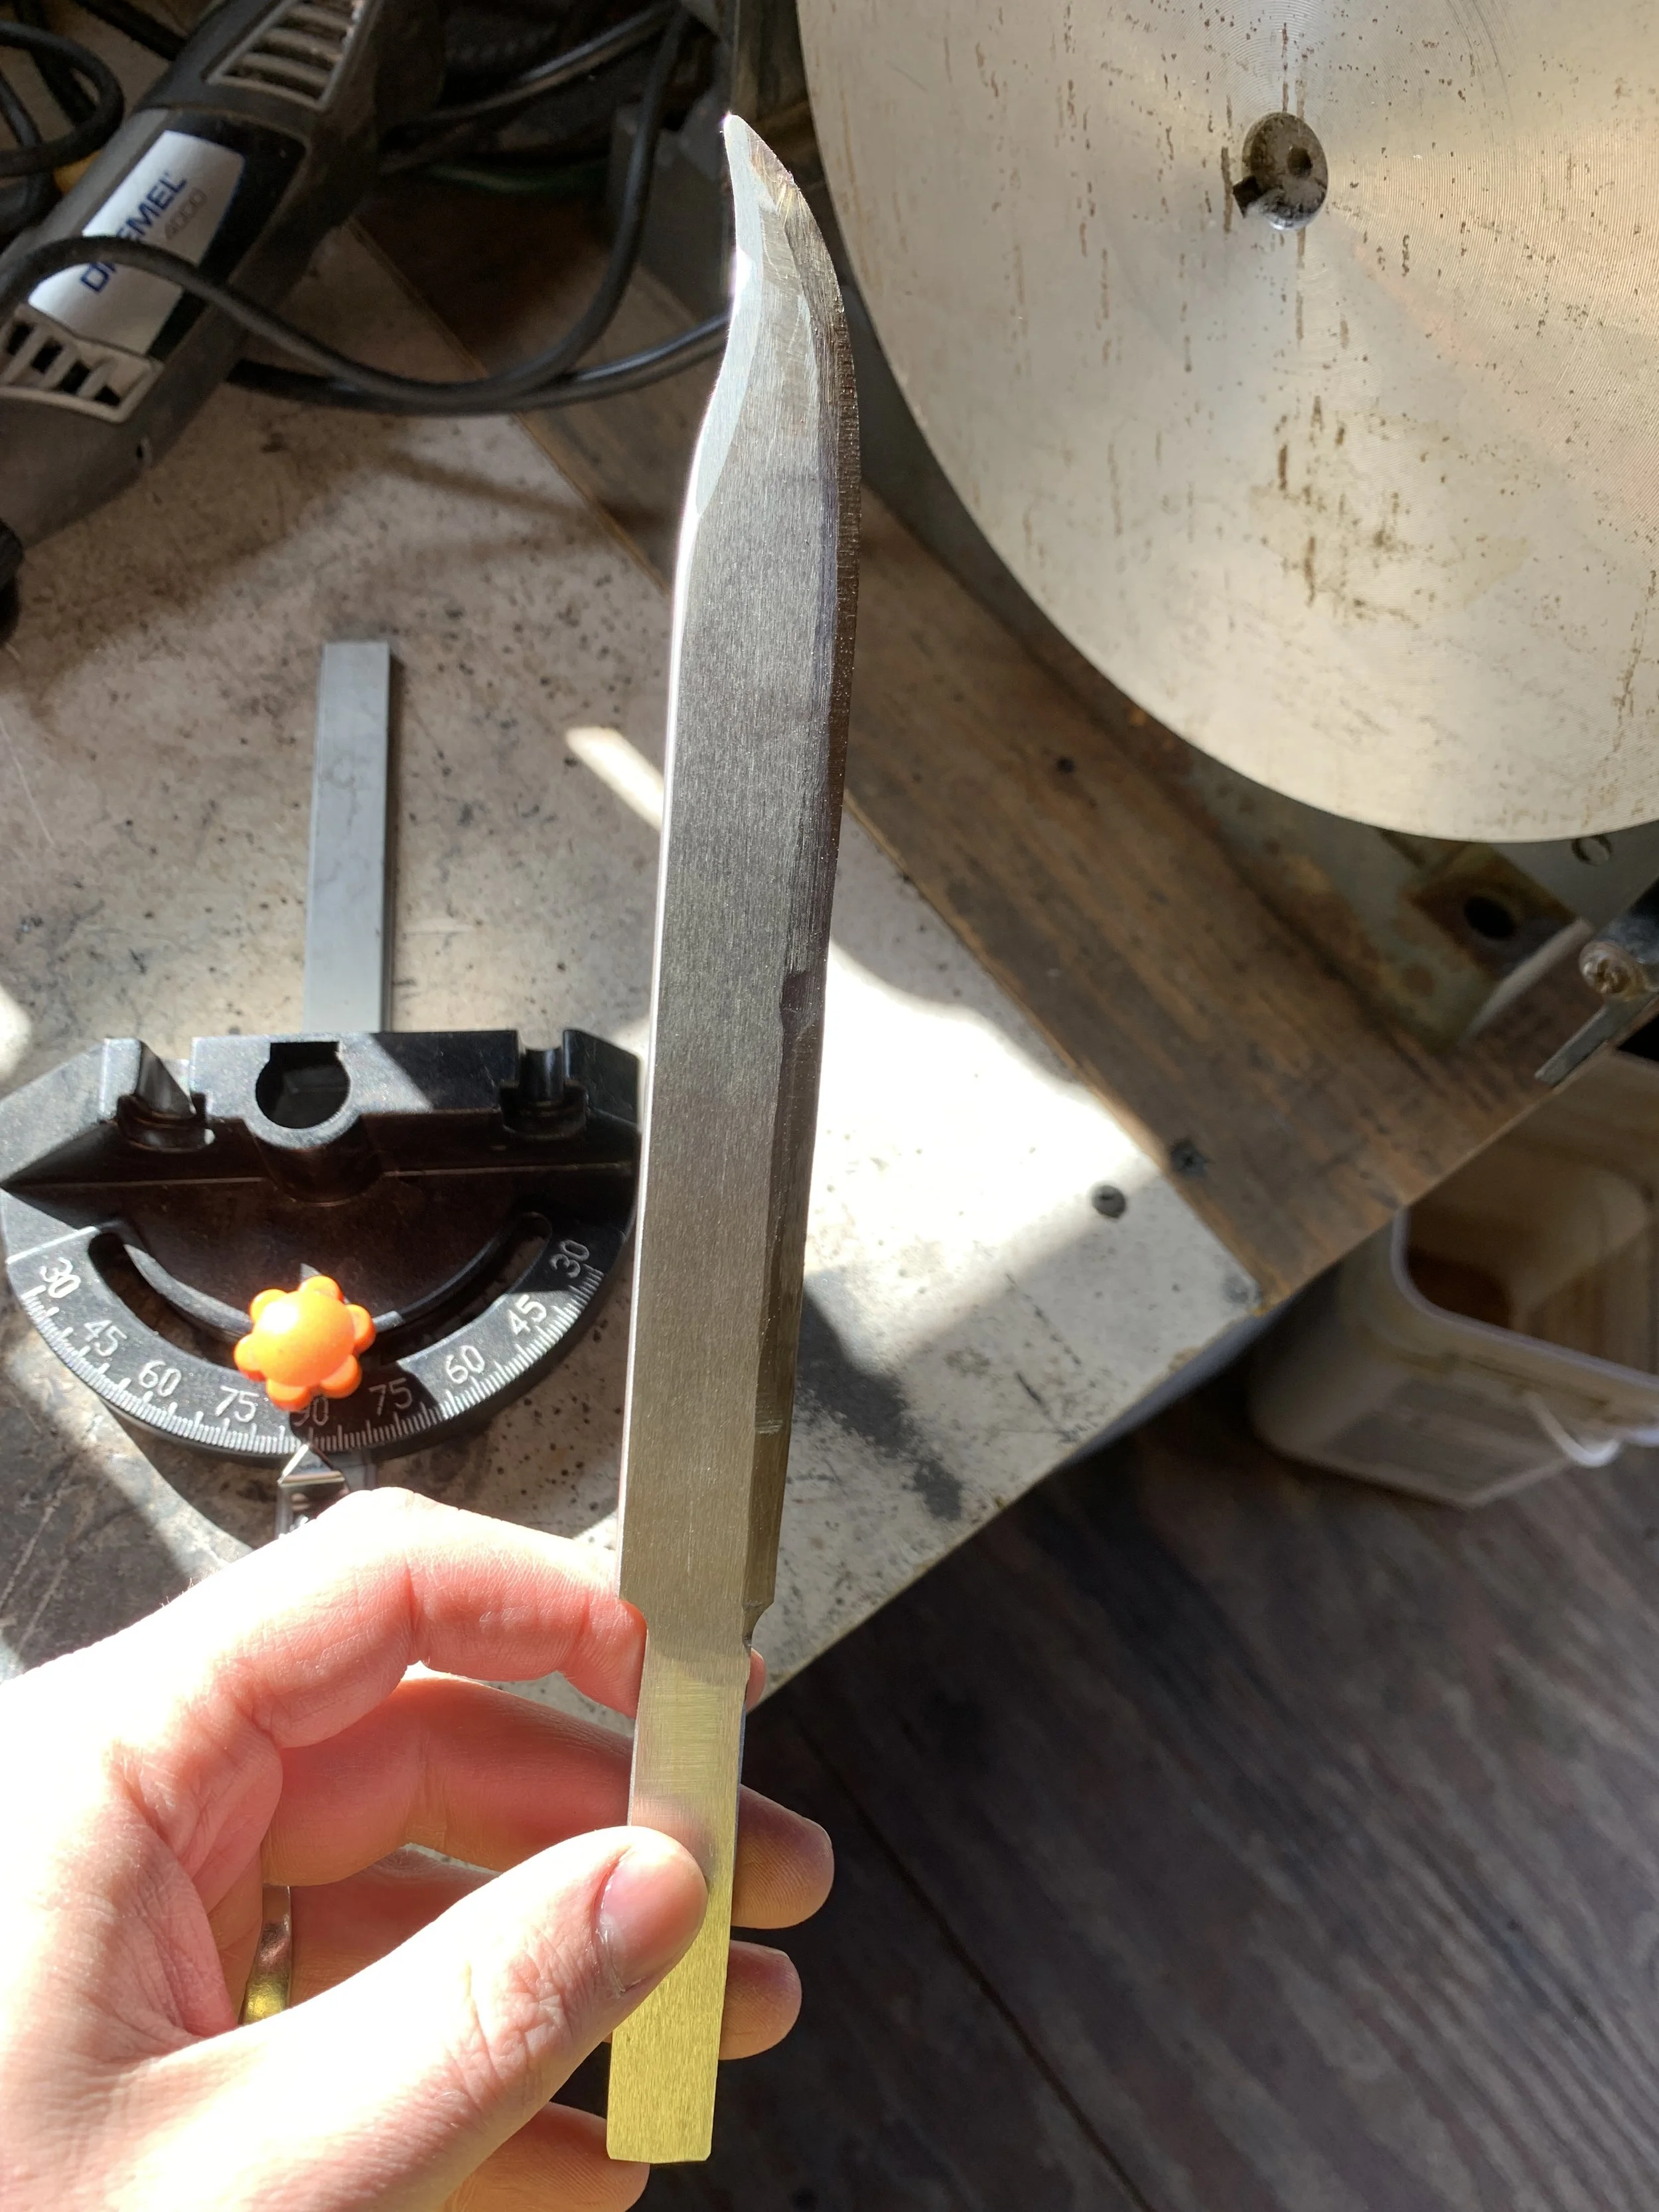
Olin Orange S. - finishing a started knife
-
Final blade - keep scrolling to see the journey.
-
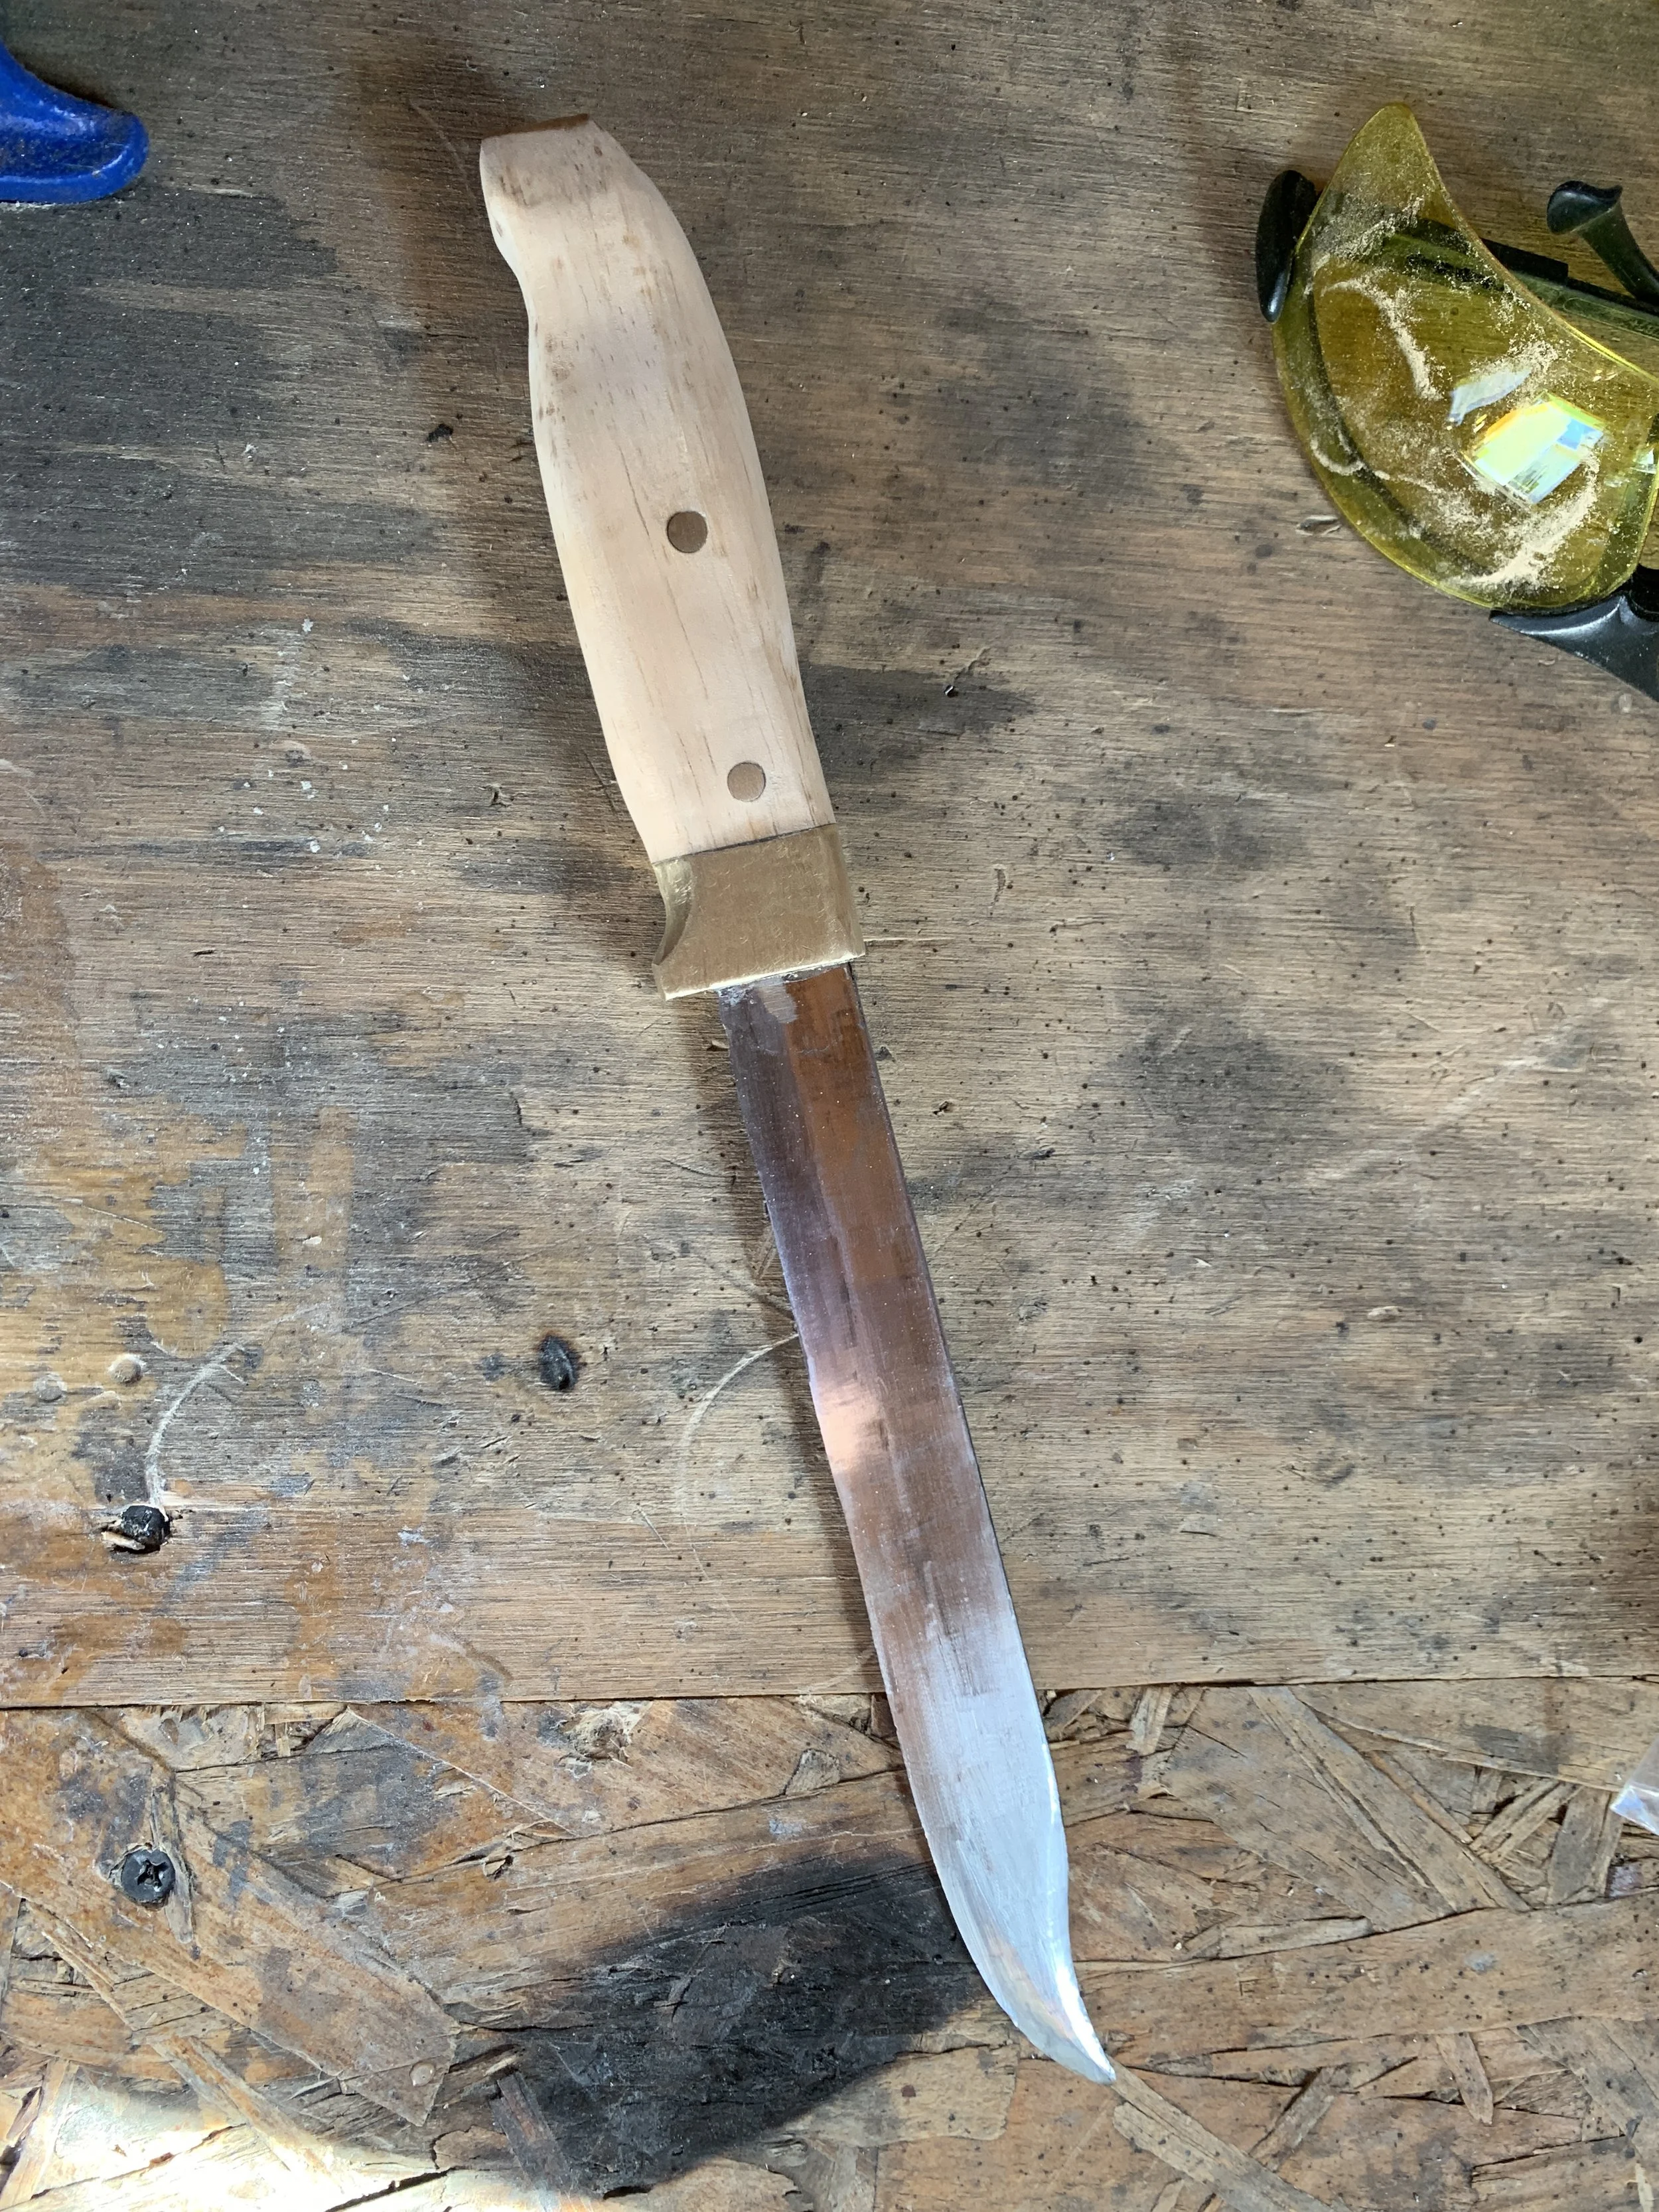
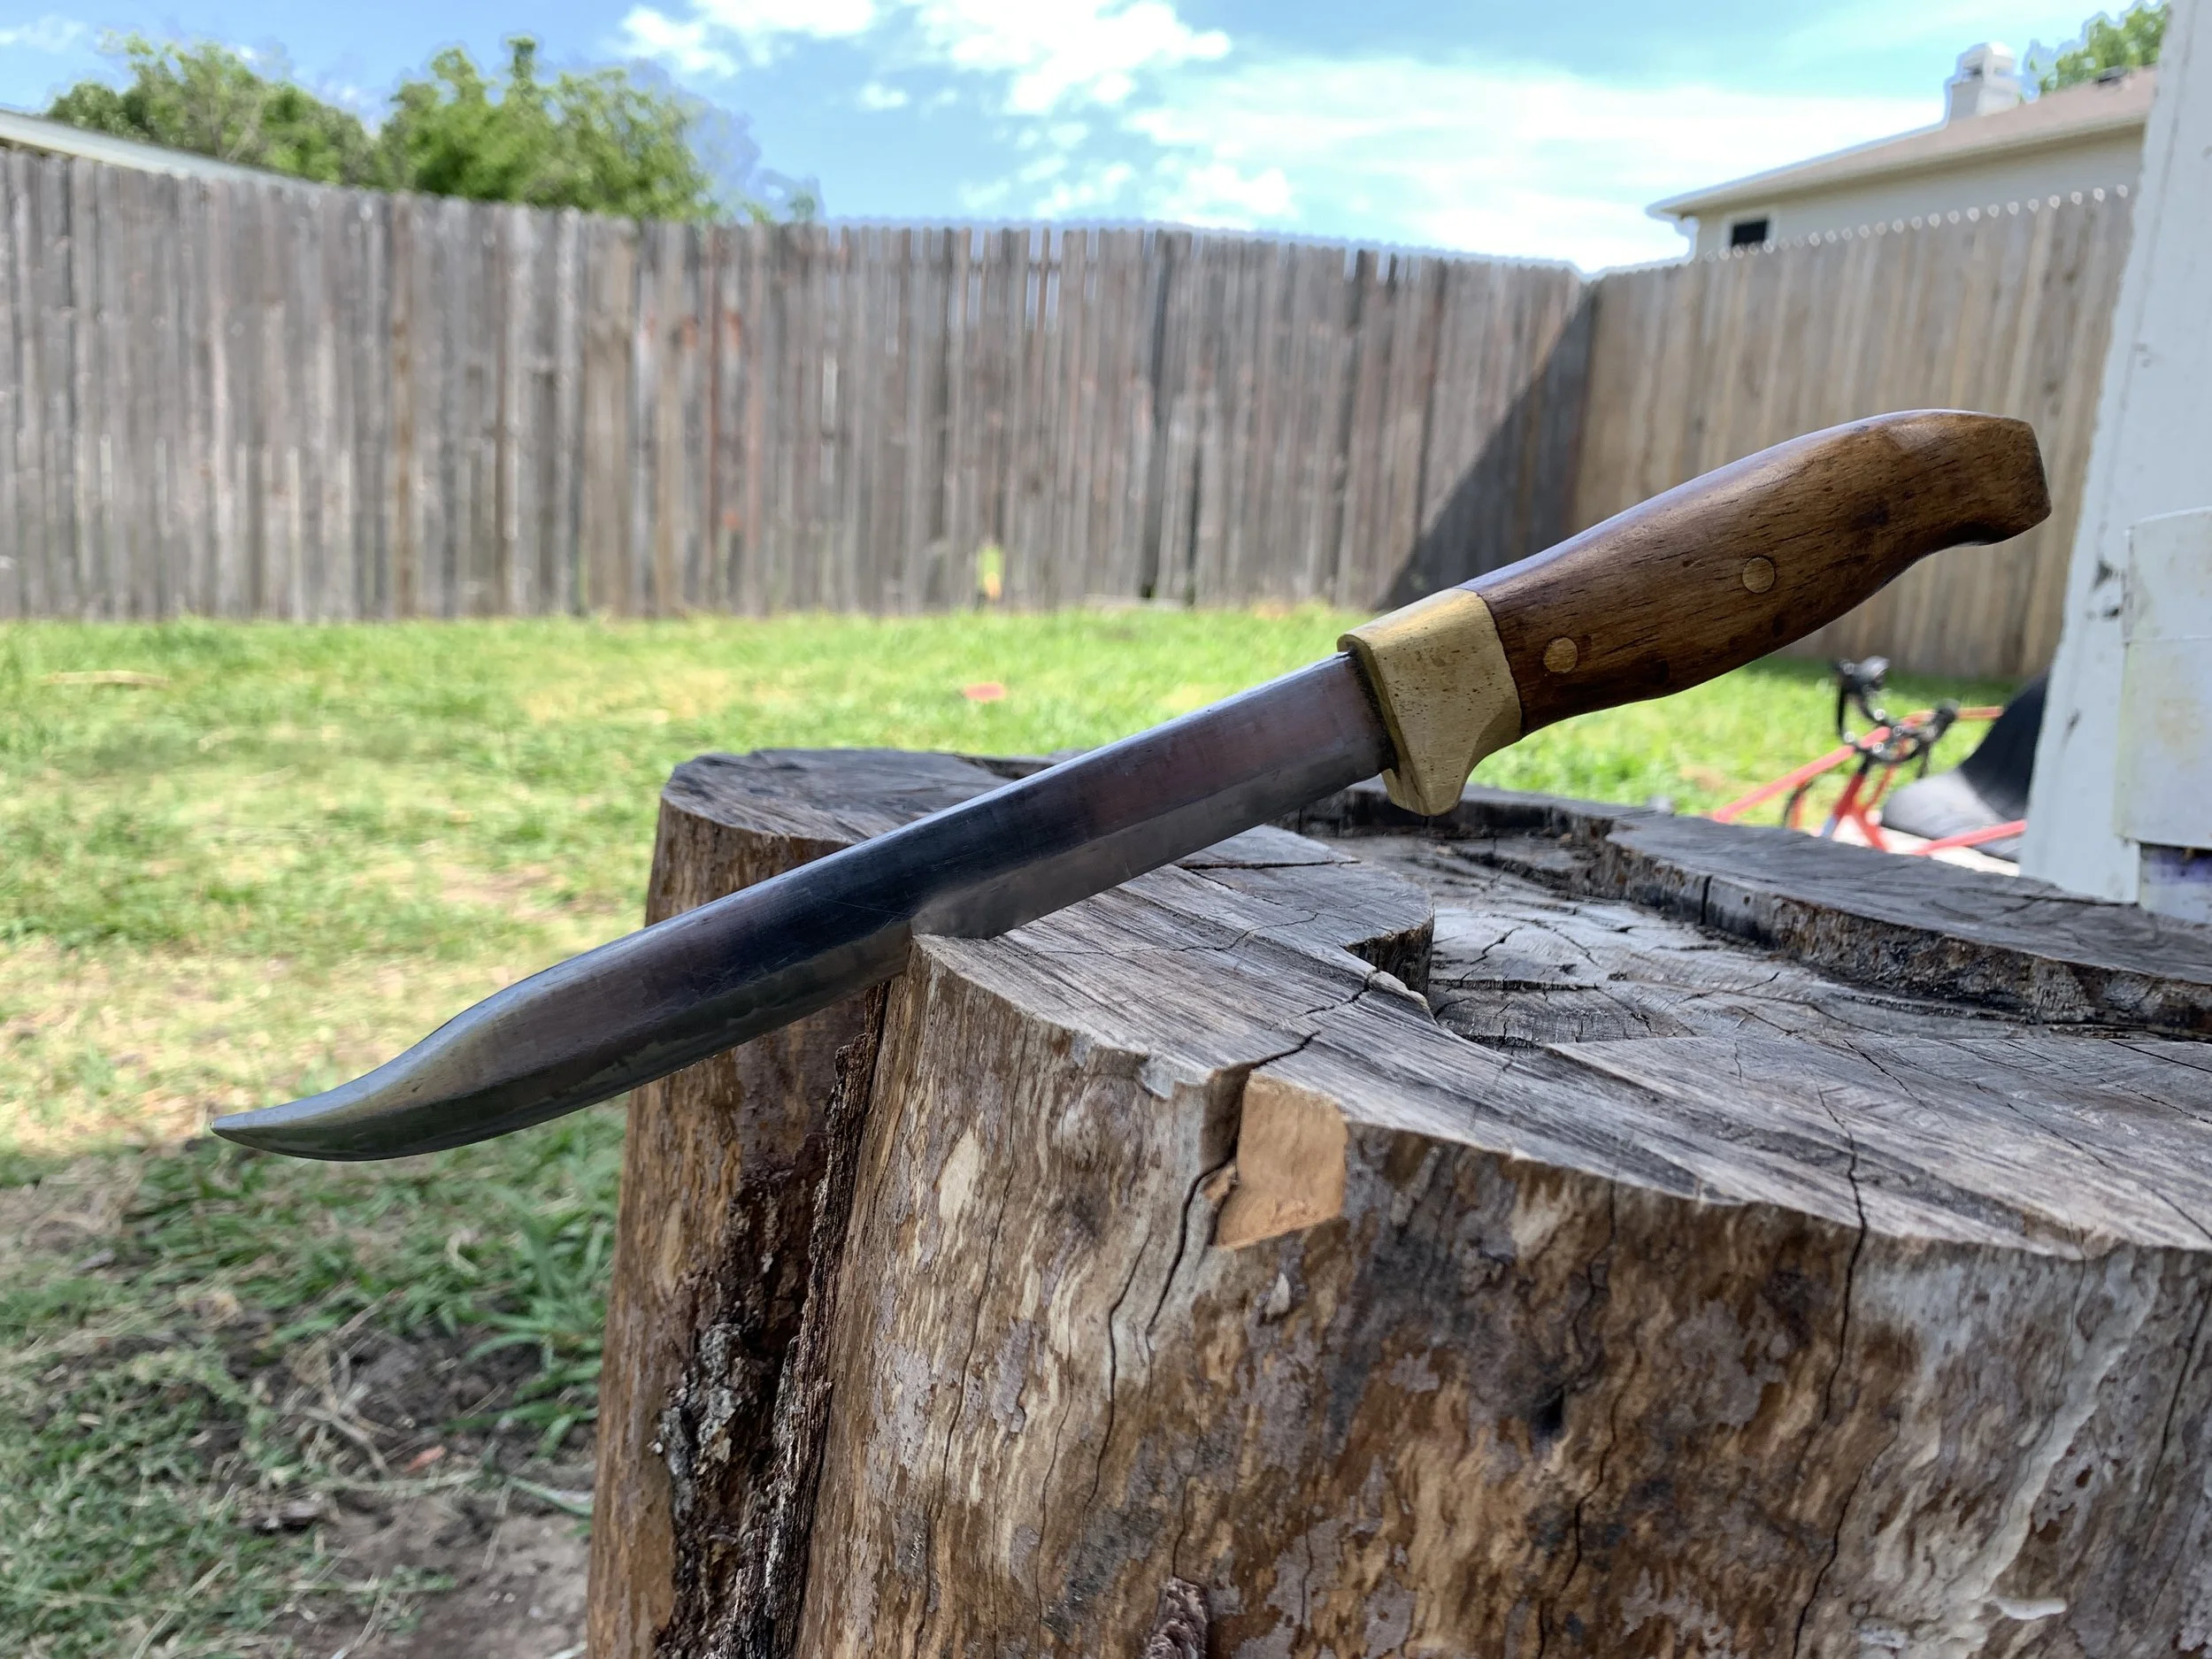
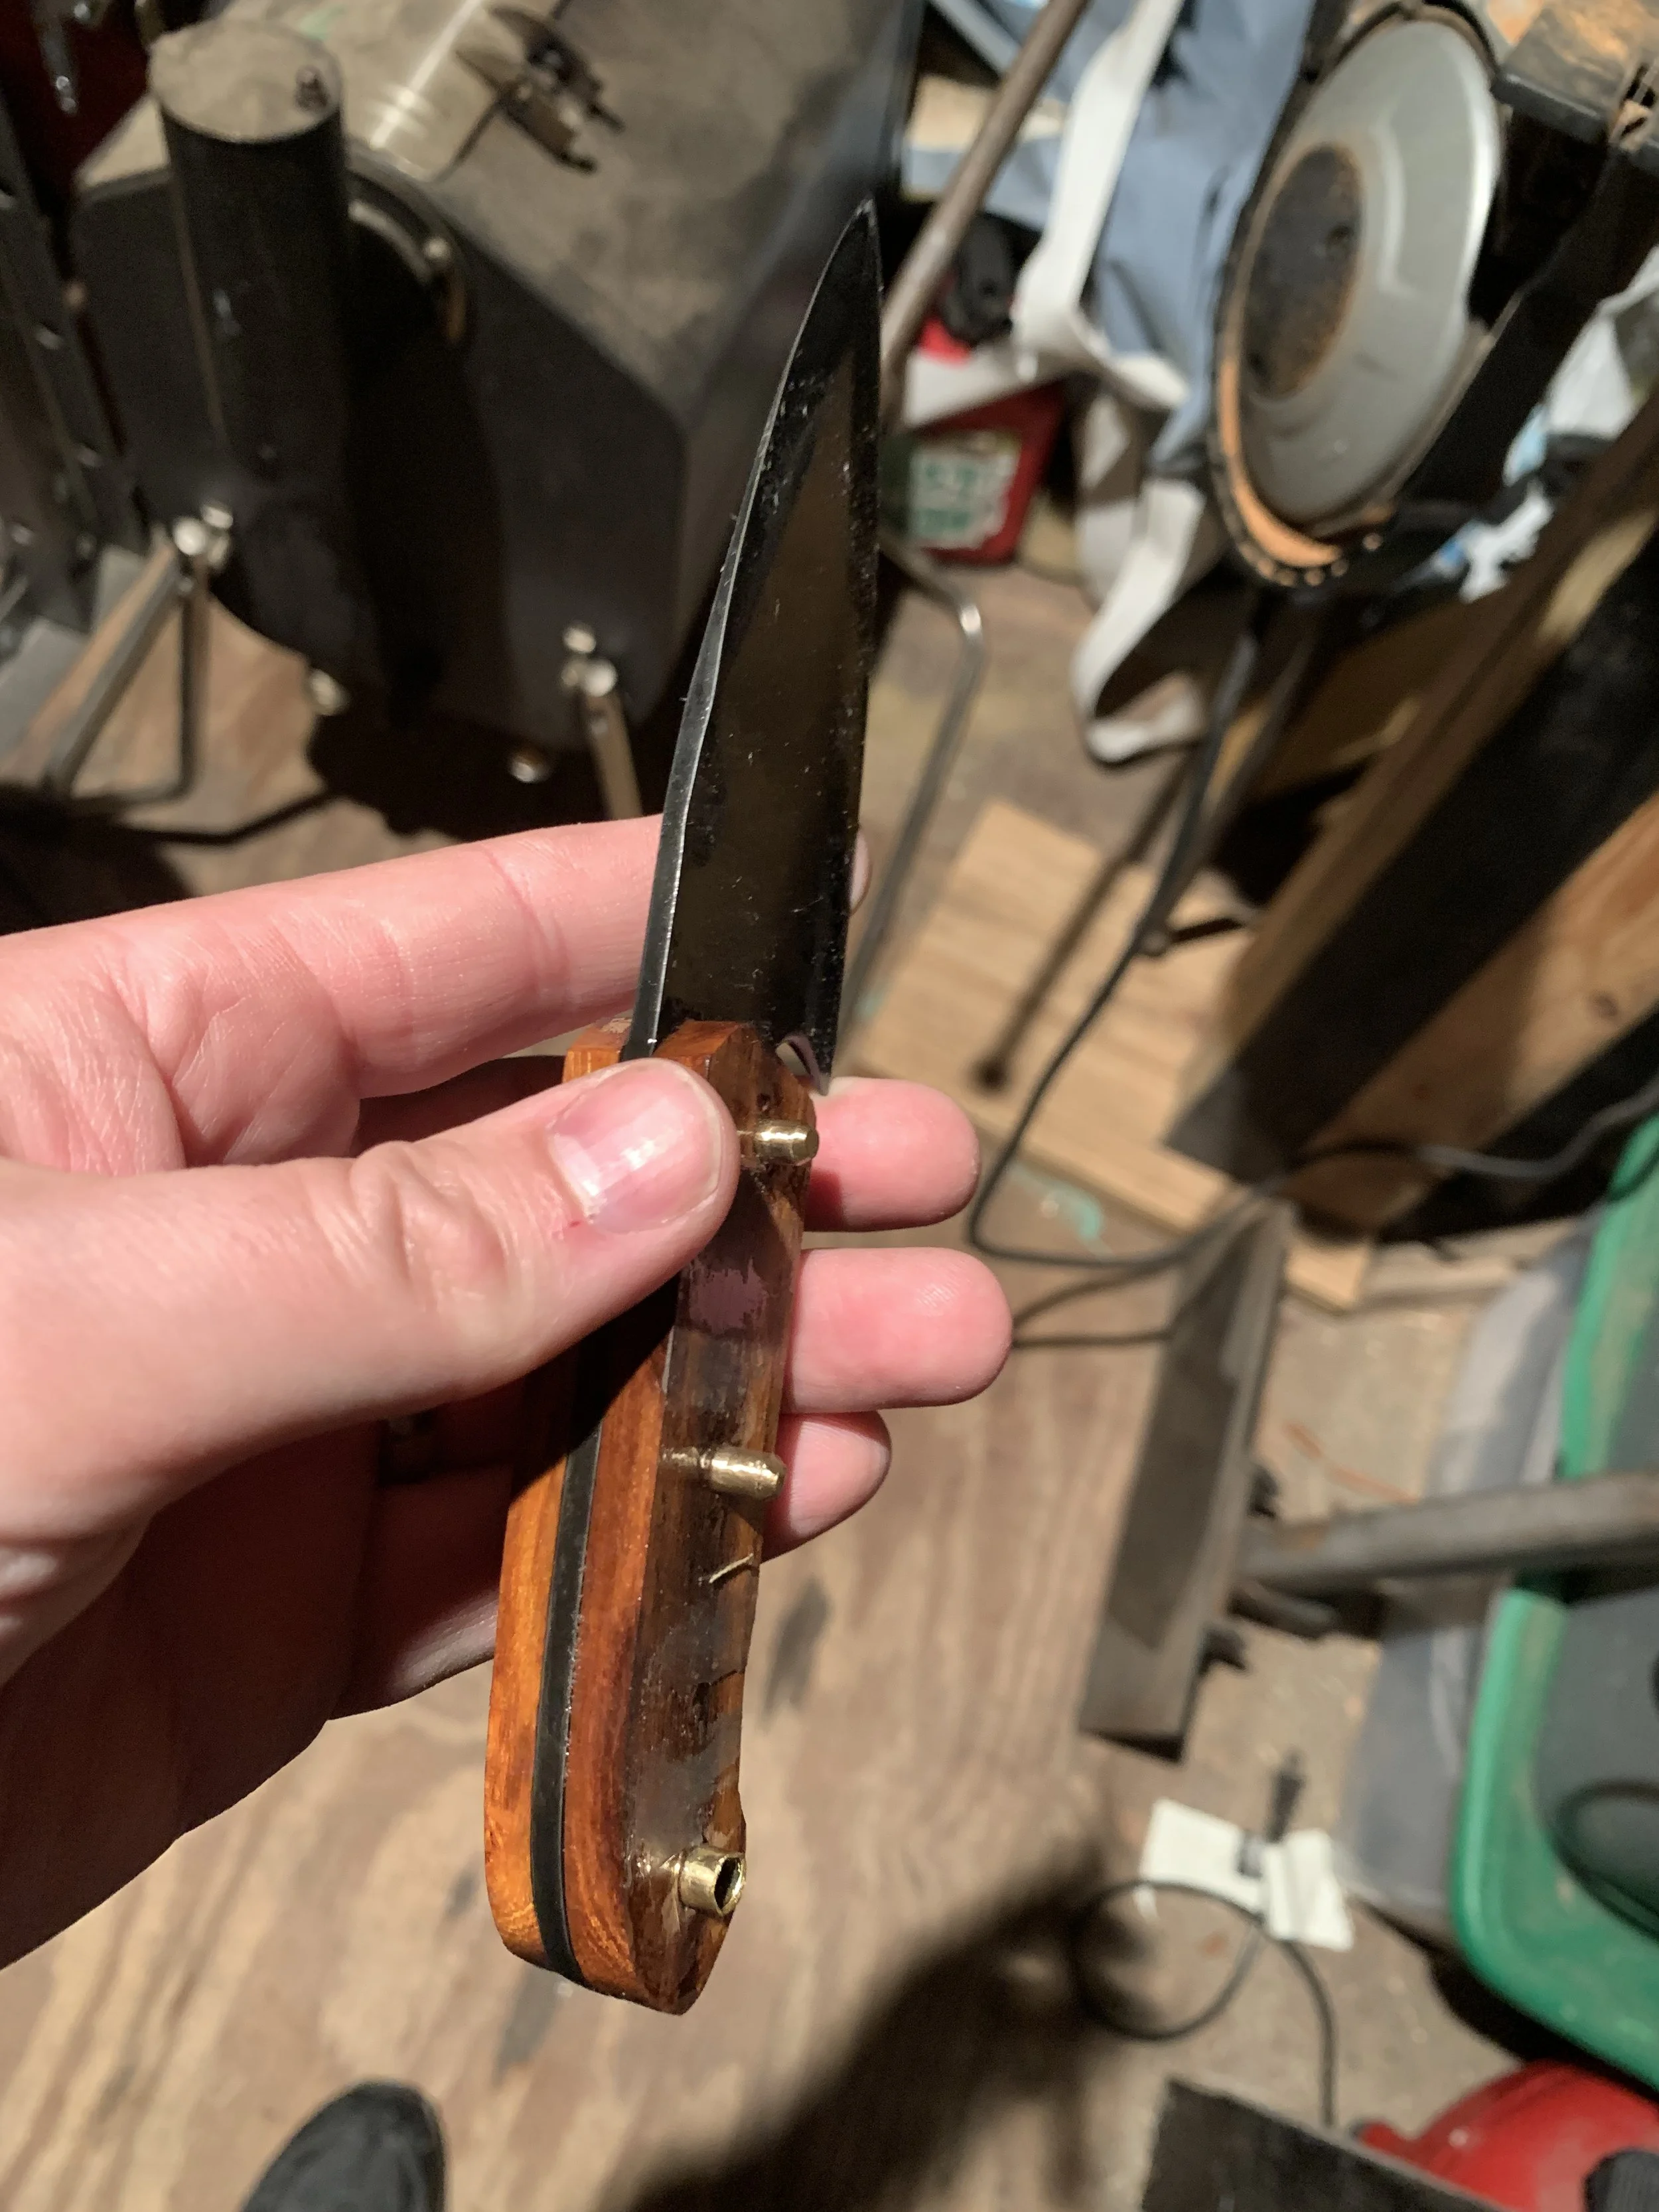
My dad gave me this blade, started by my great uncle from what was thought to be a beat harvesting blade. I tried to not change much on it, but finish it out to a completed knife.
-
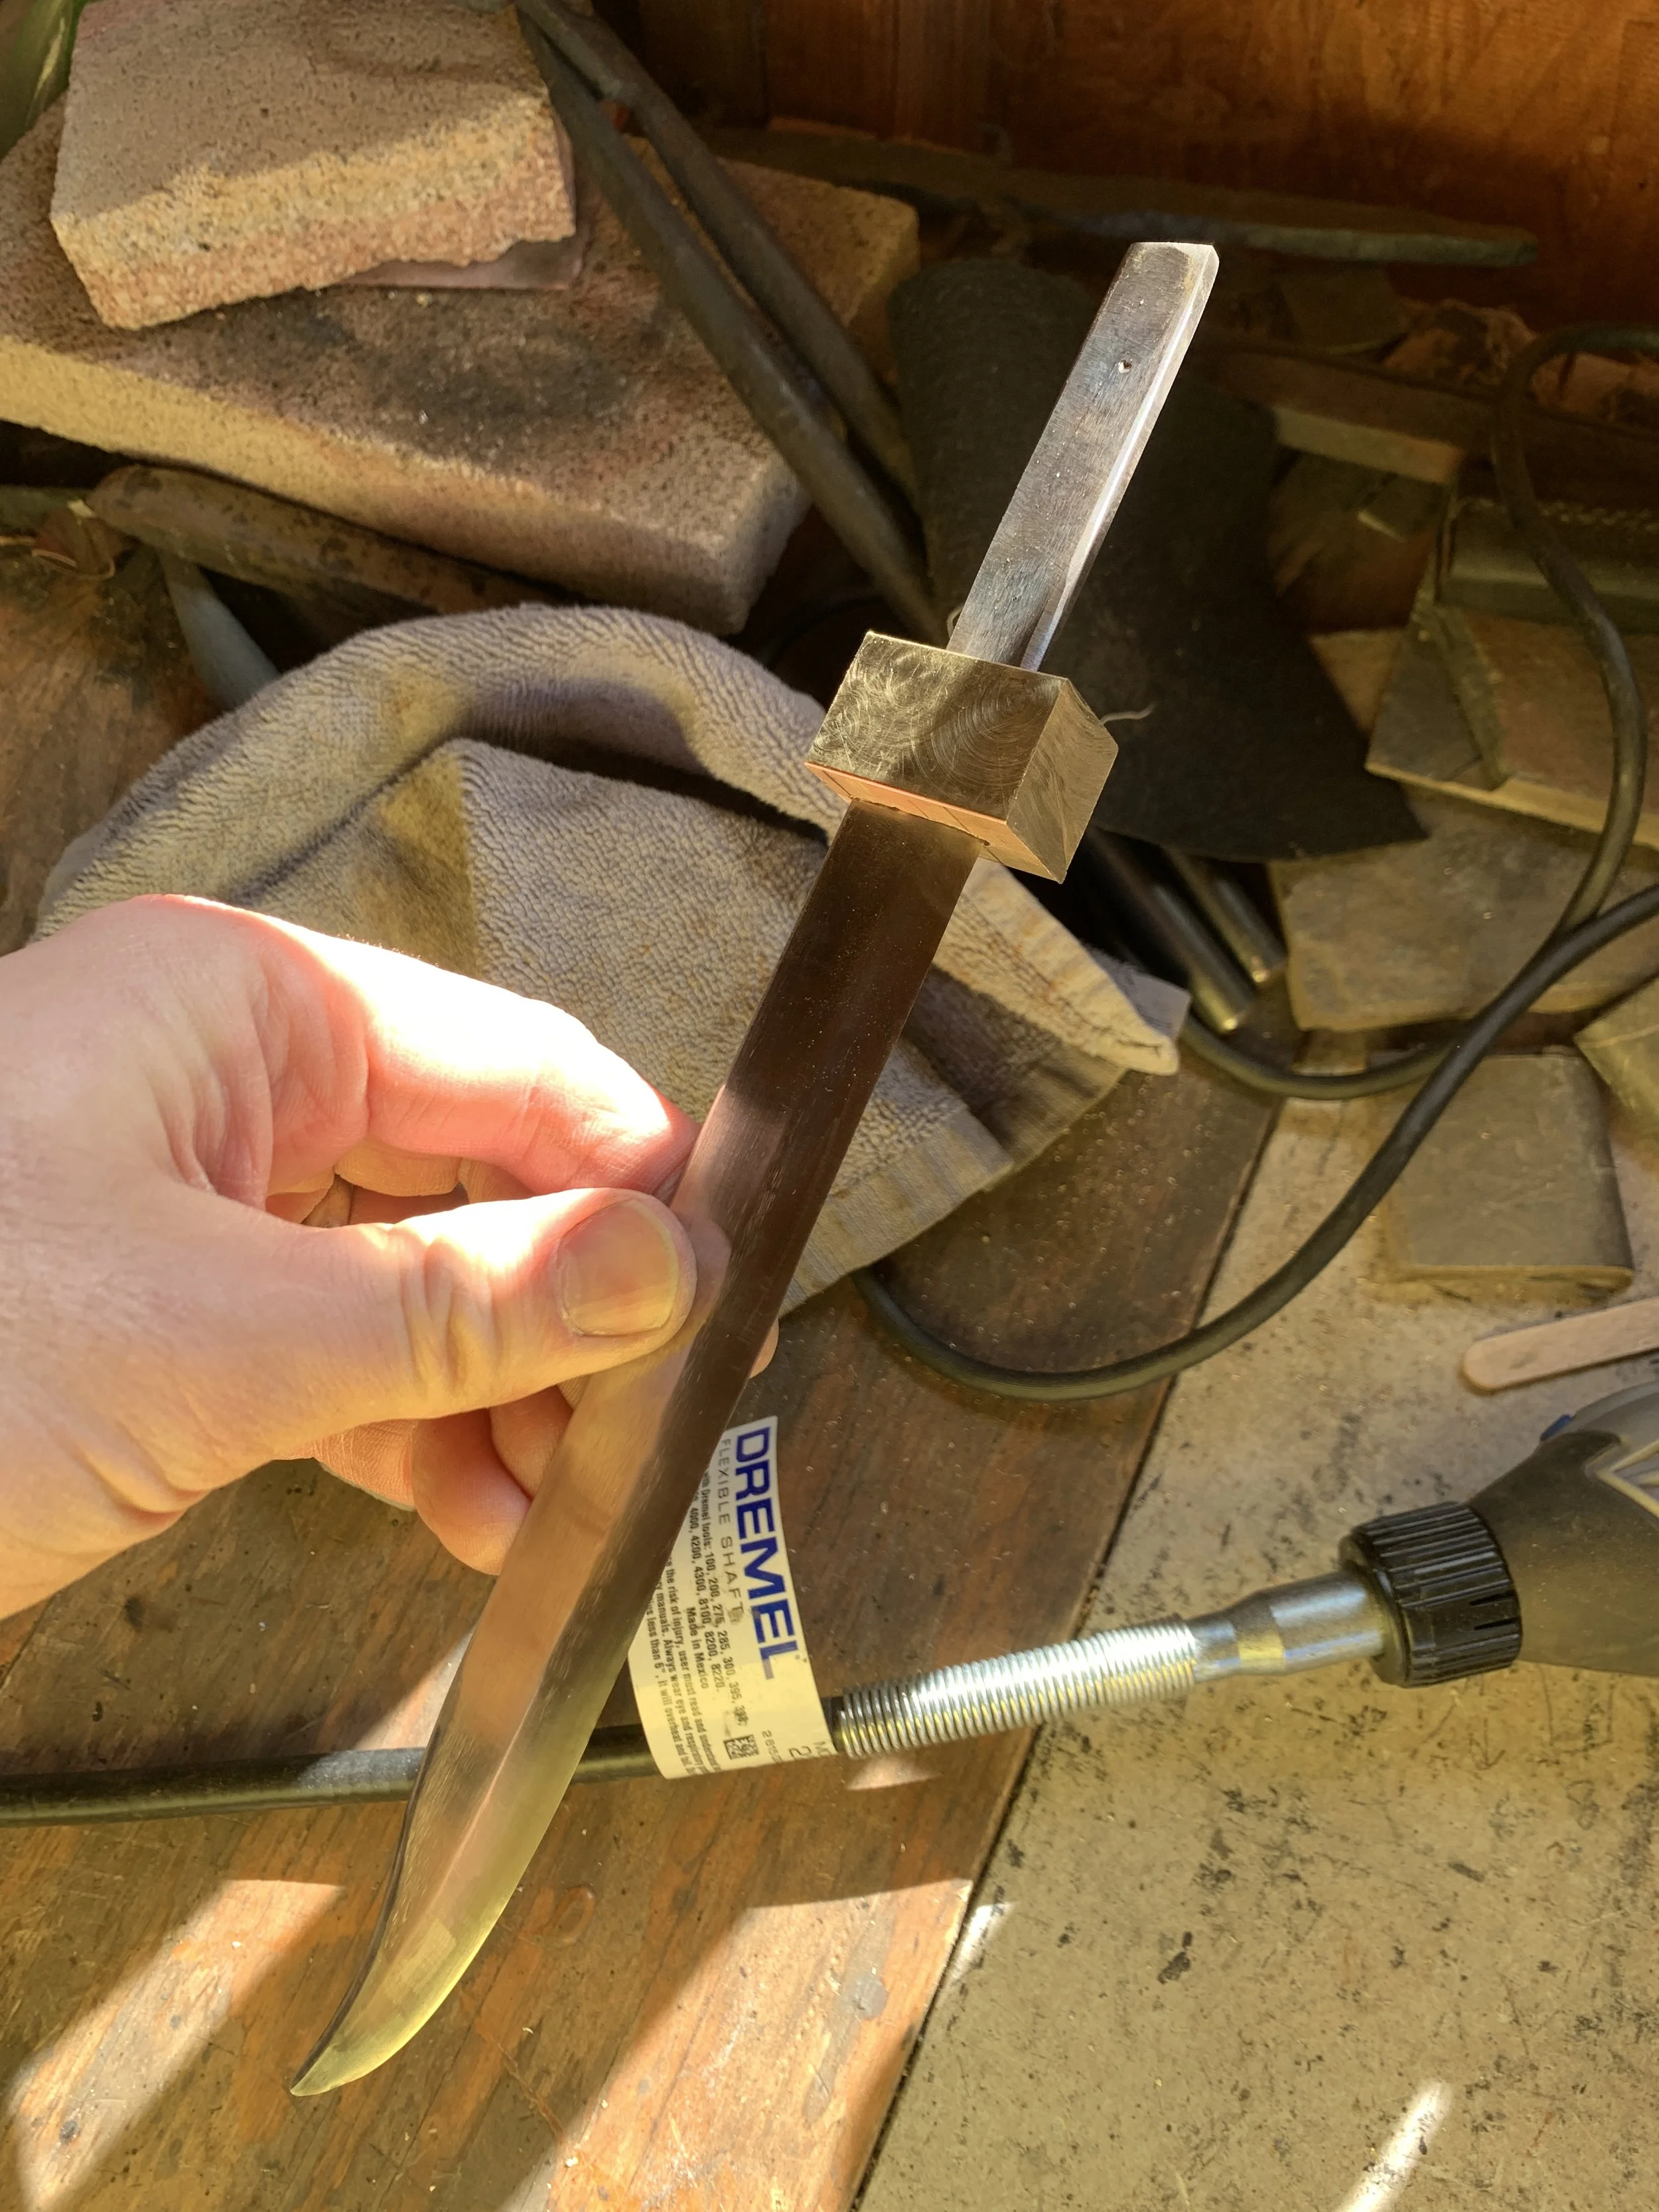
Fitting up a brass guard.
-
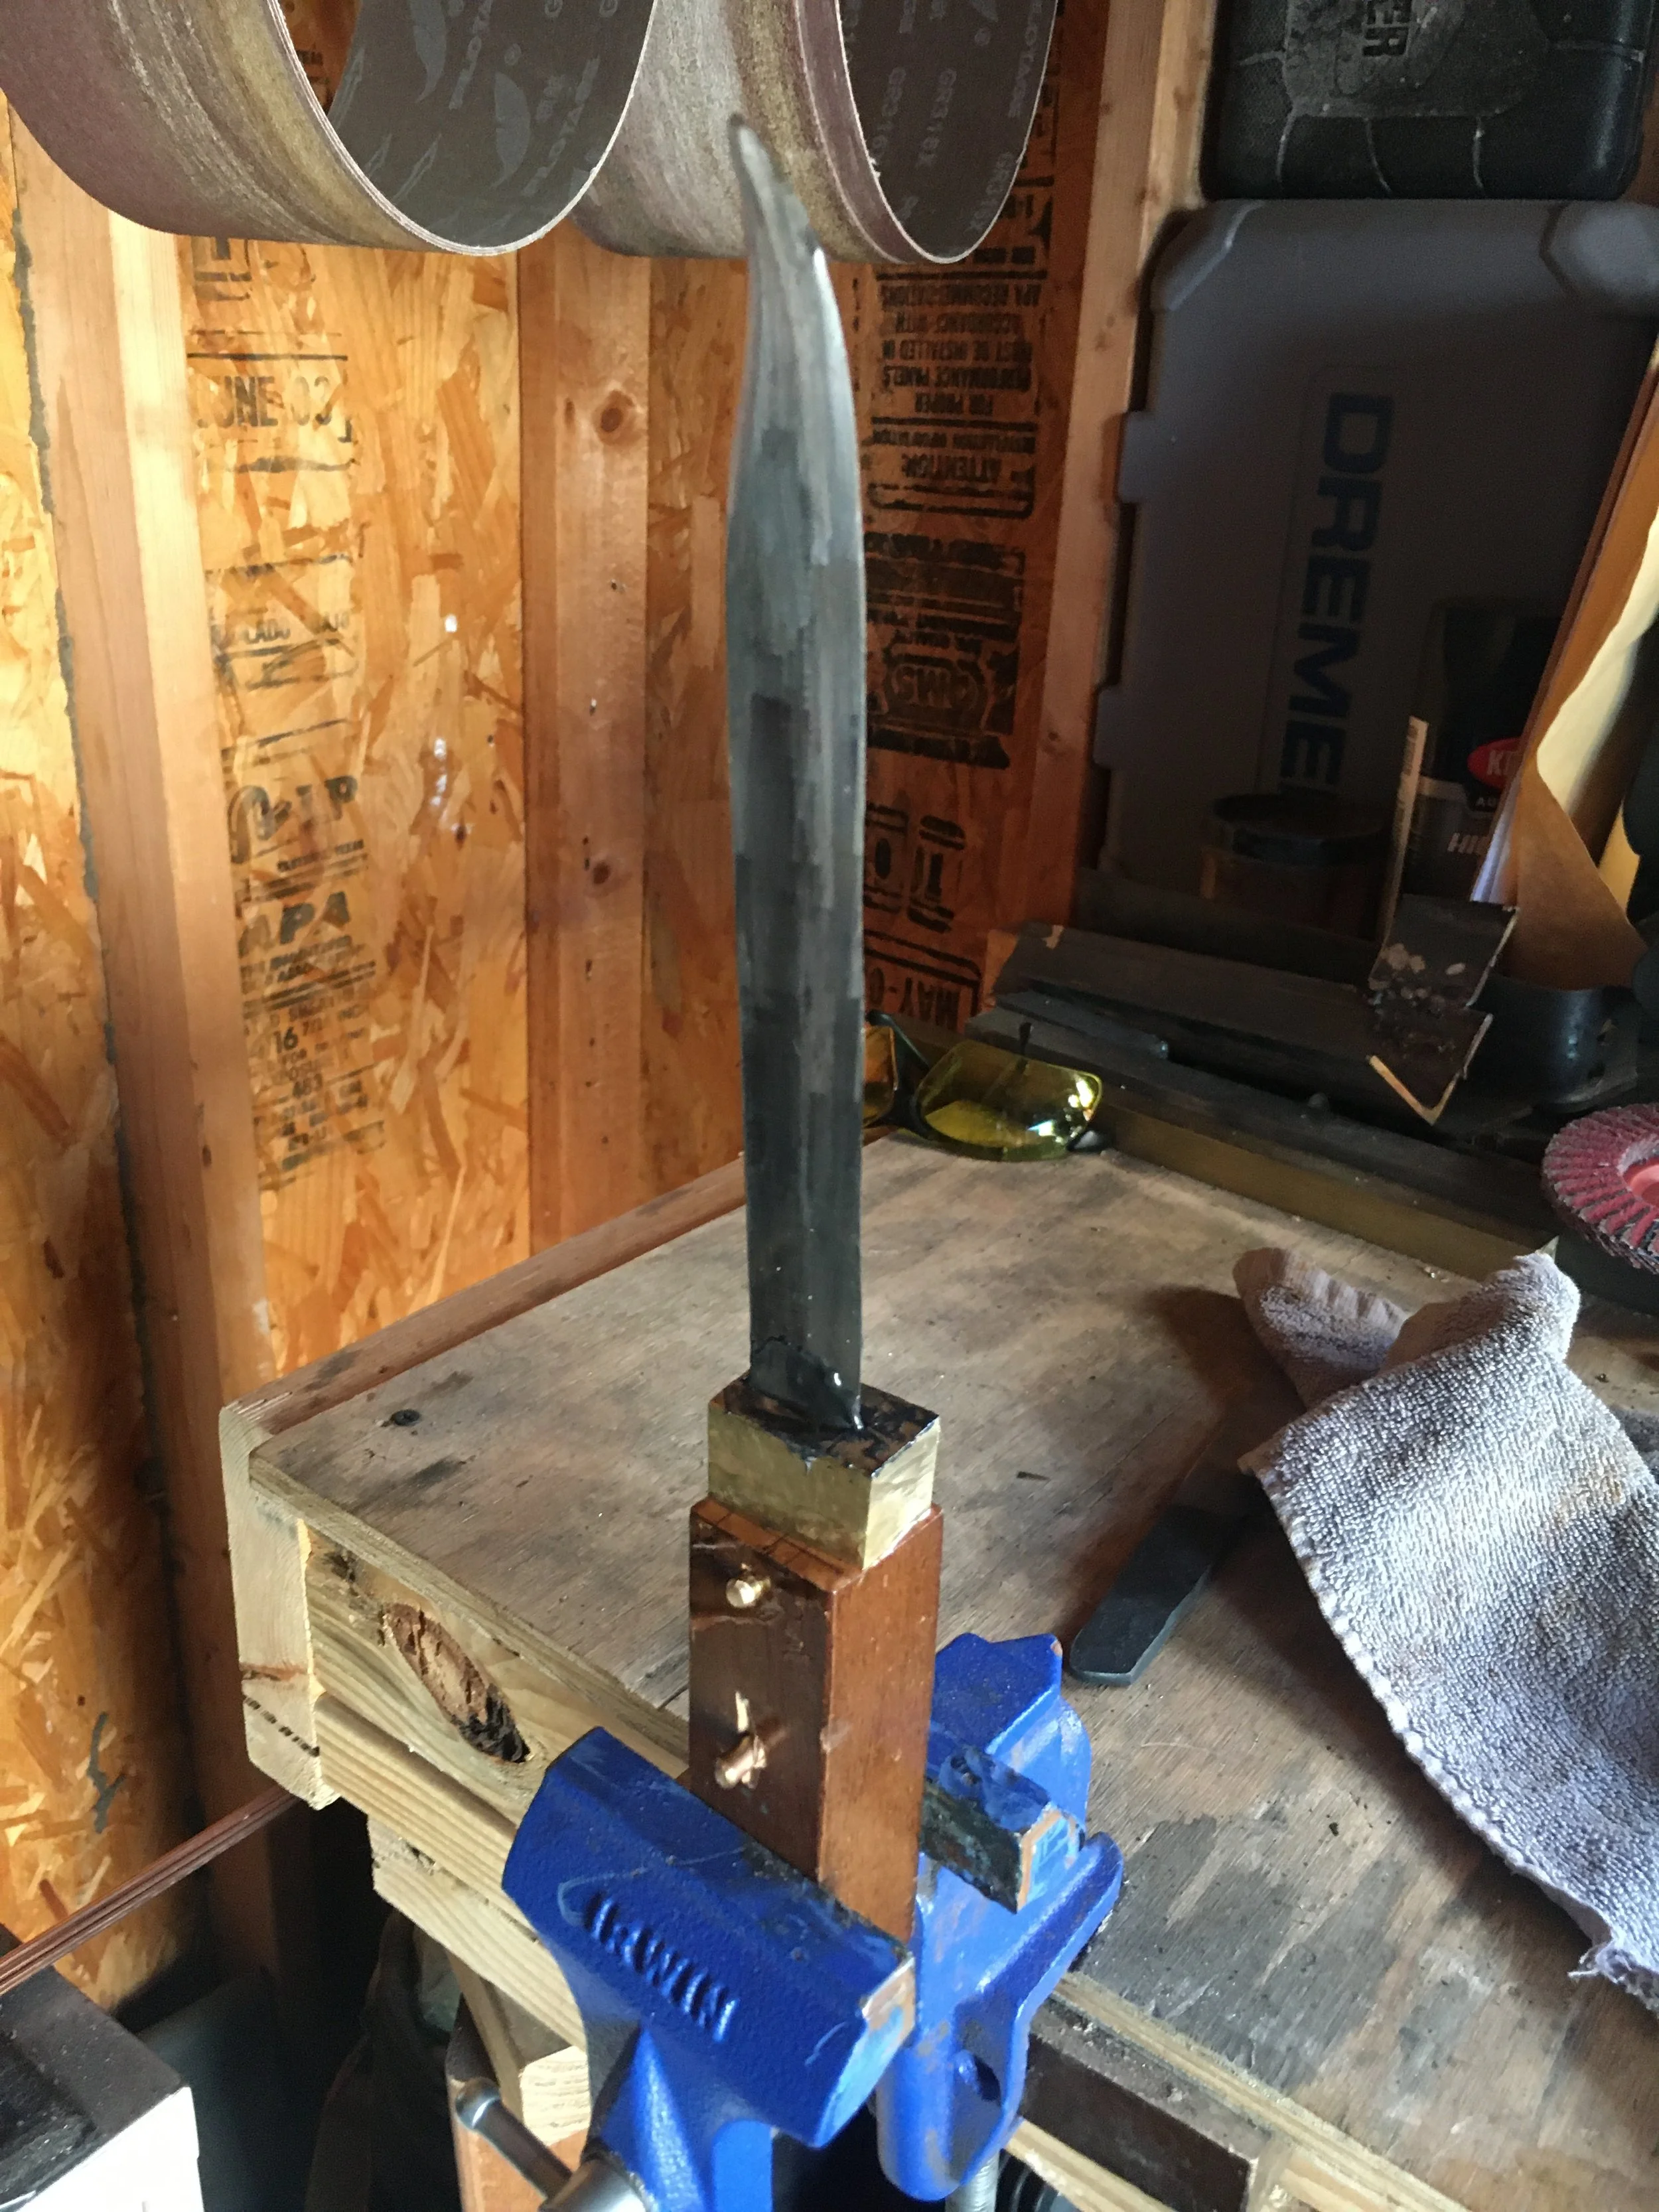
After glue up and brass pins added. The handle was a piece of a chair leg that we had laying around.
-
Handle and guard shaped - I still hadn't figured out handle design just yet.
-
Finish shot. The knife was given back to my Great Aunt to keep and own.
-
Glamour shot.
Chelsea and Grayson N. - Wall Art
-
Final project - keep scrolling to see the journey.
-
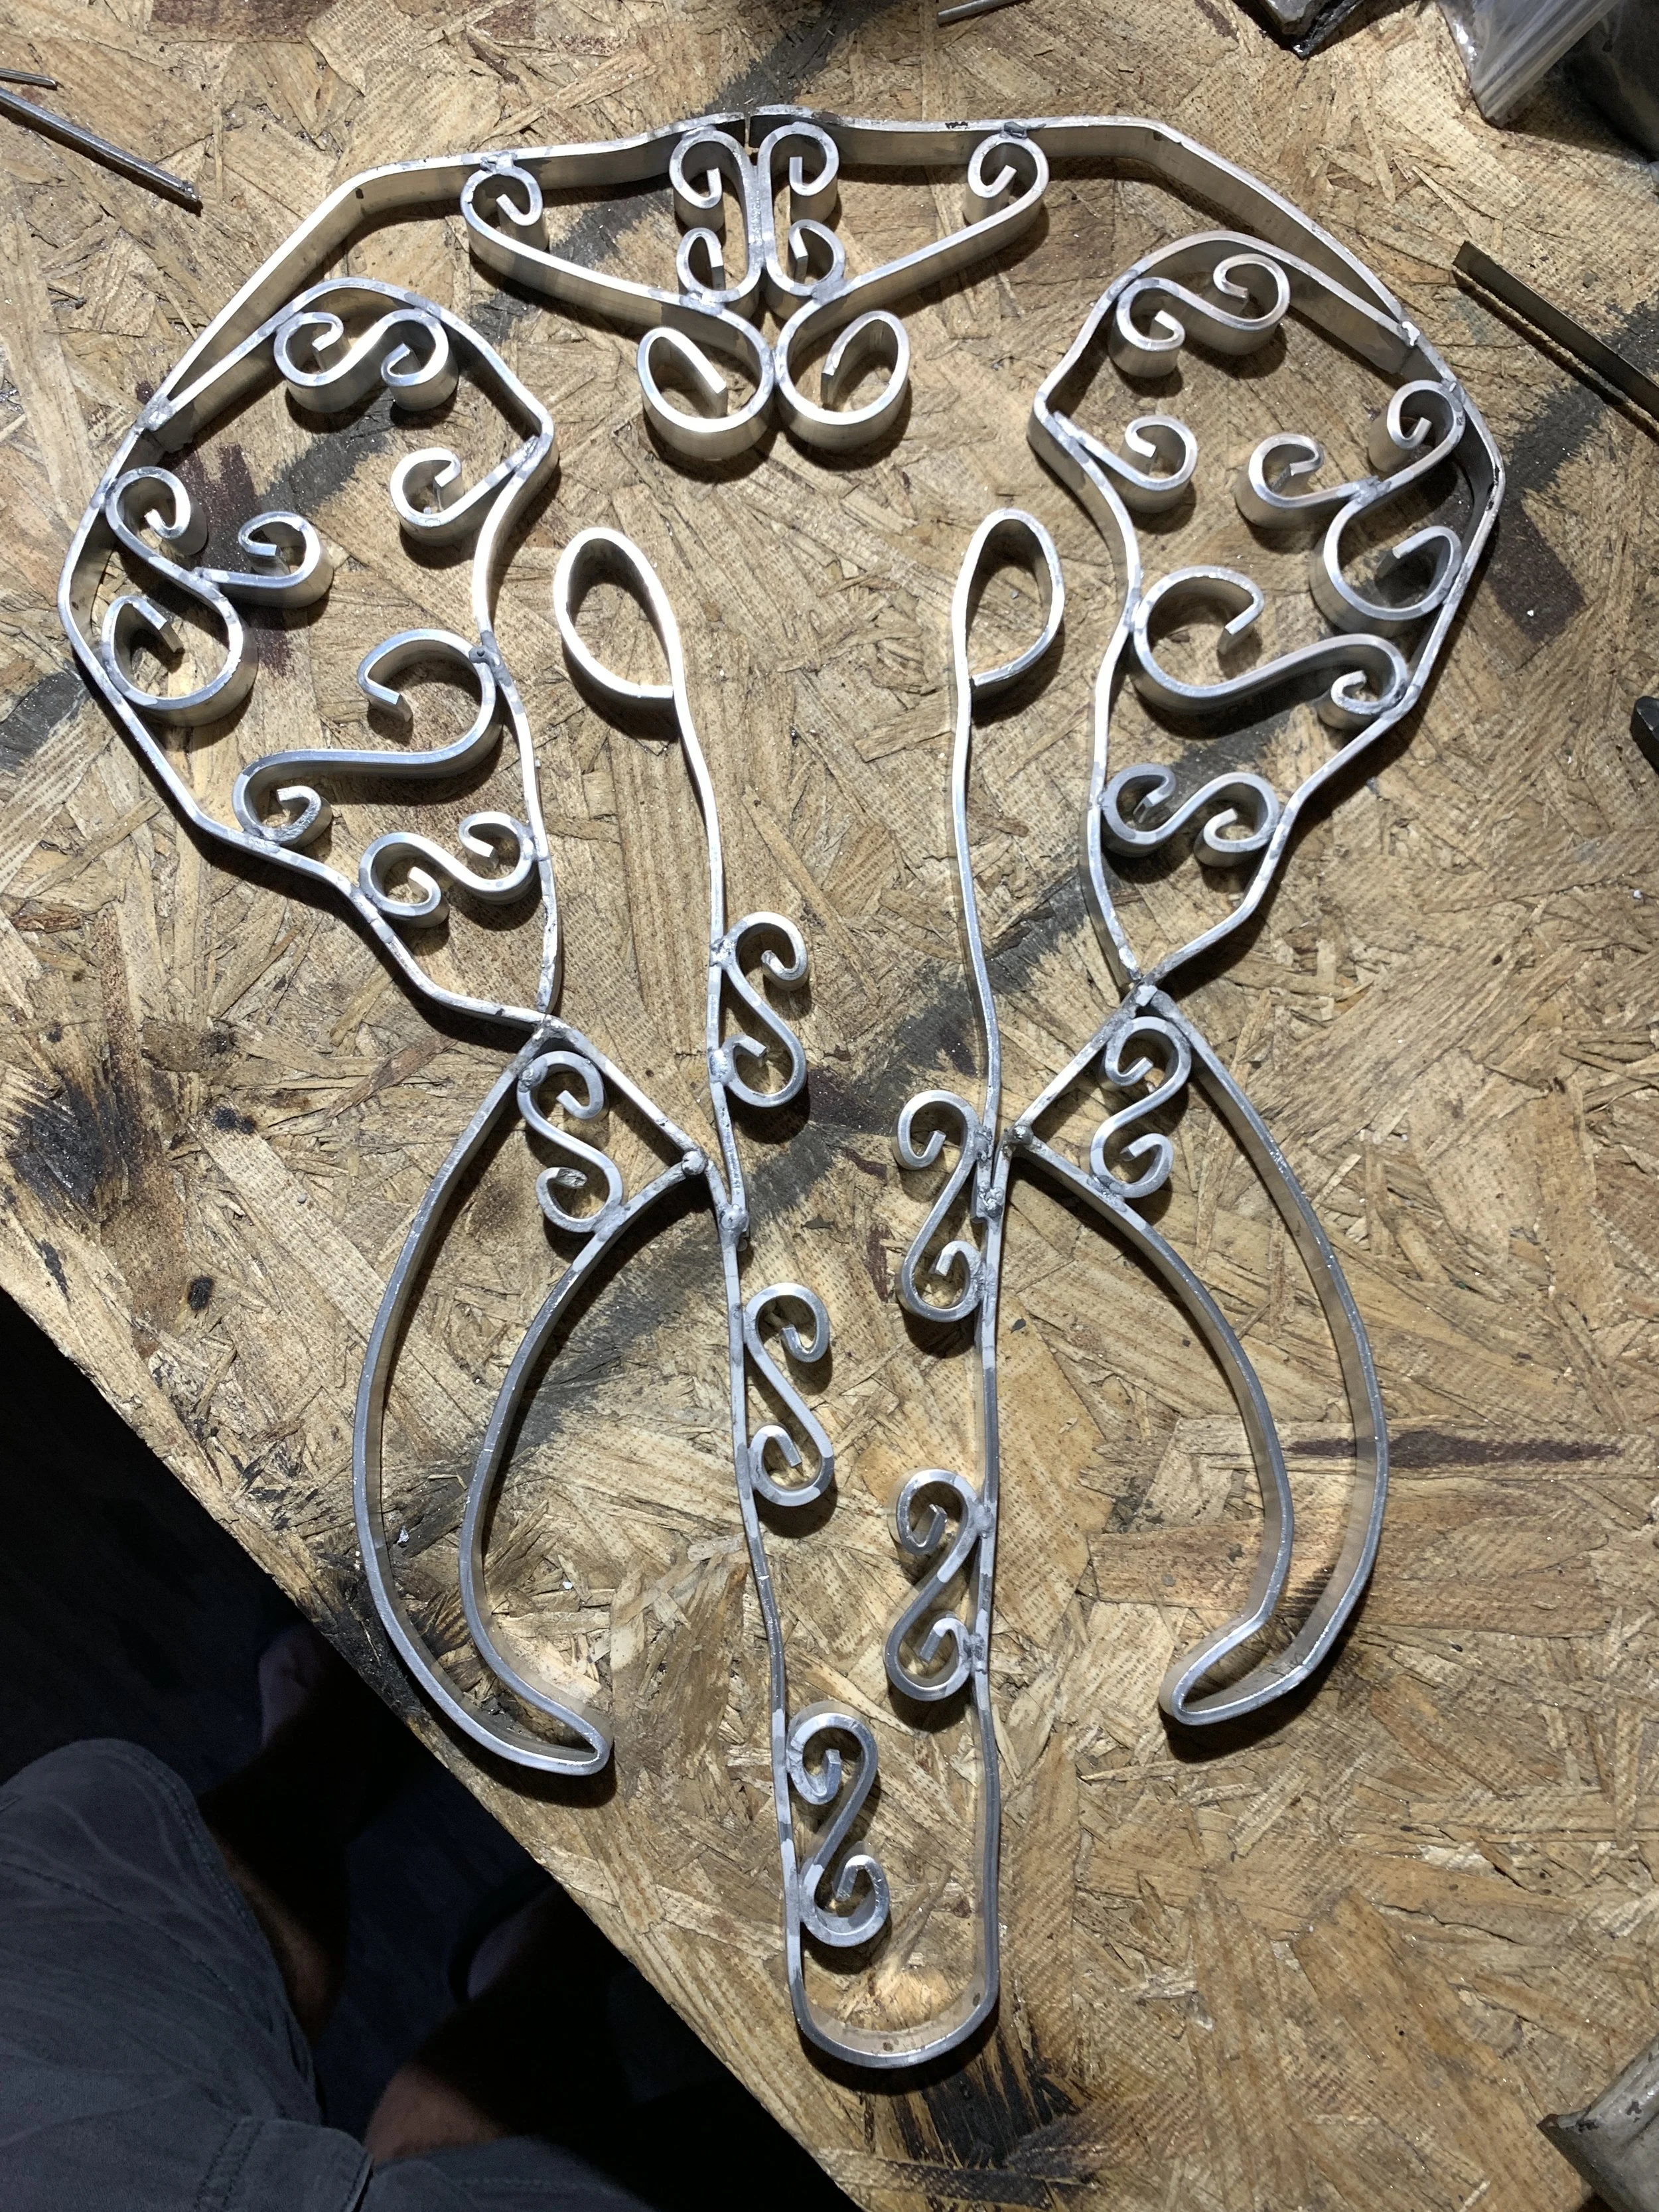
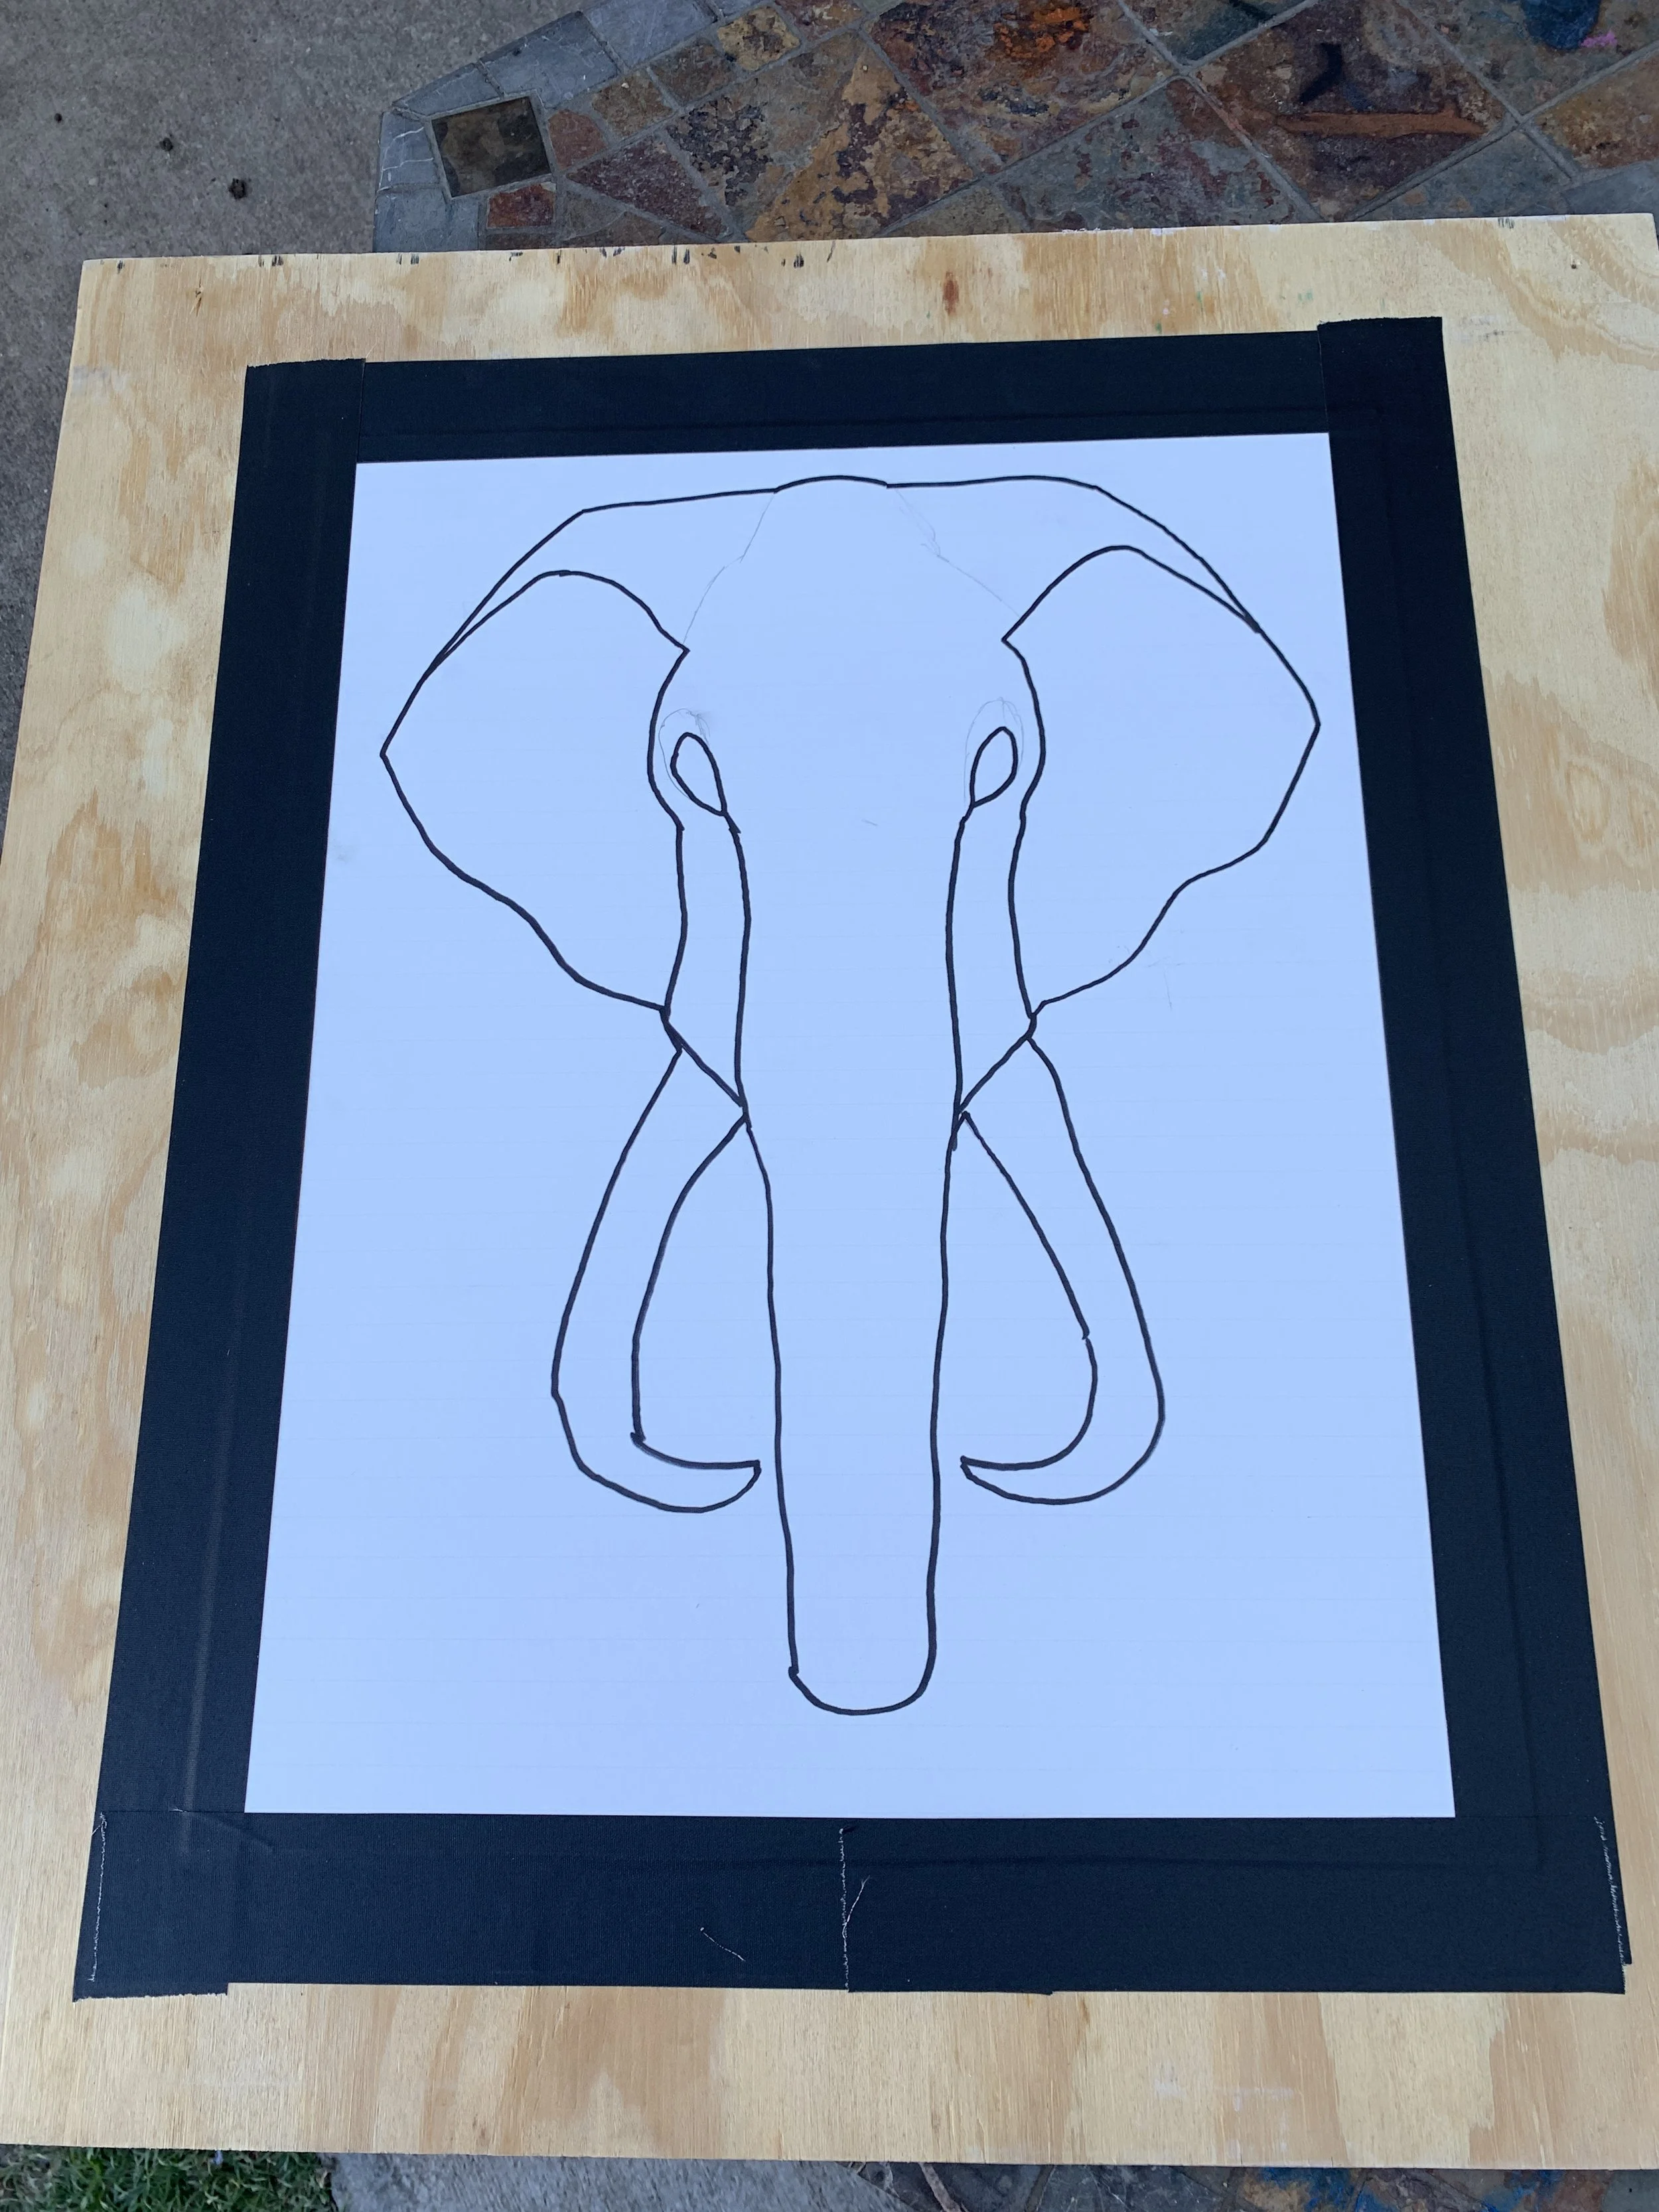
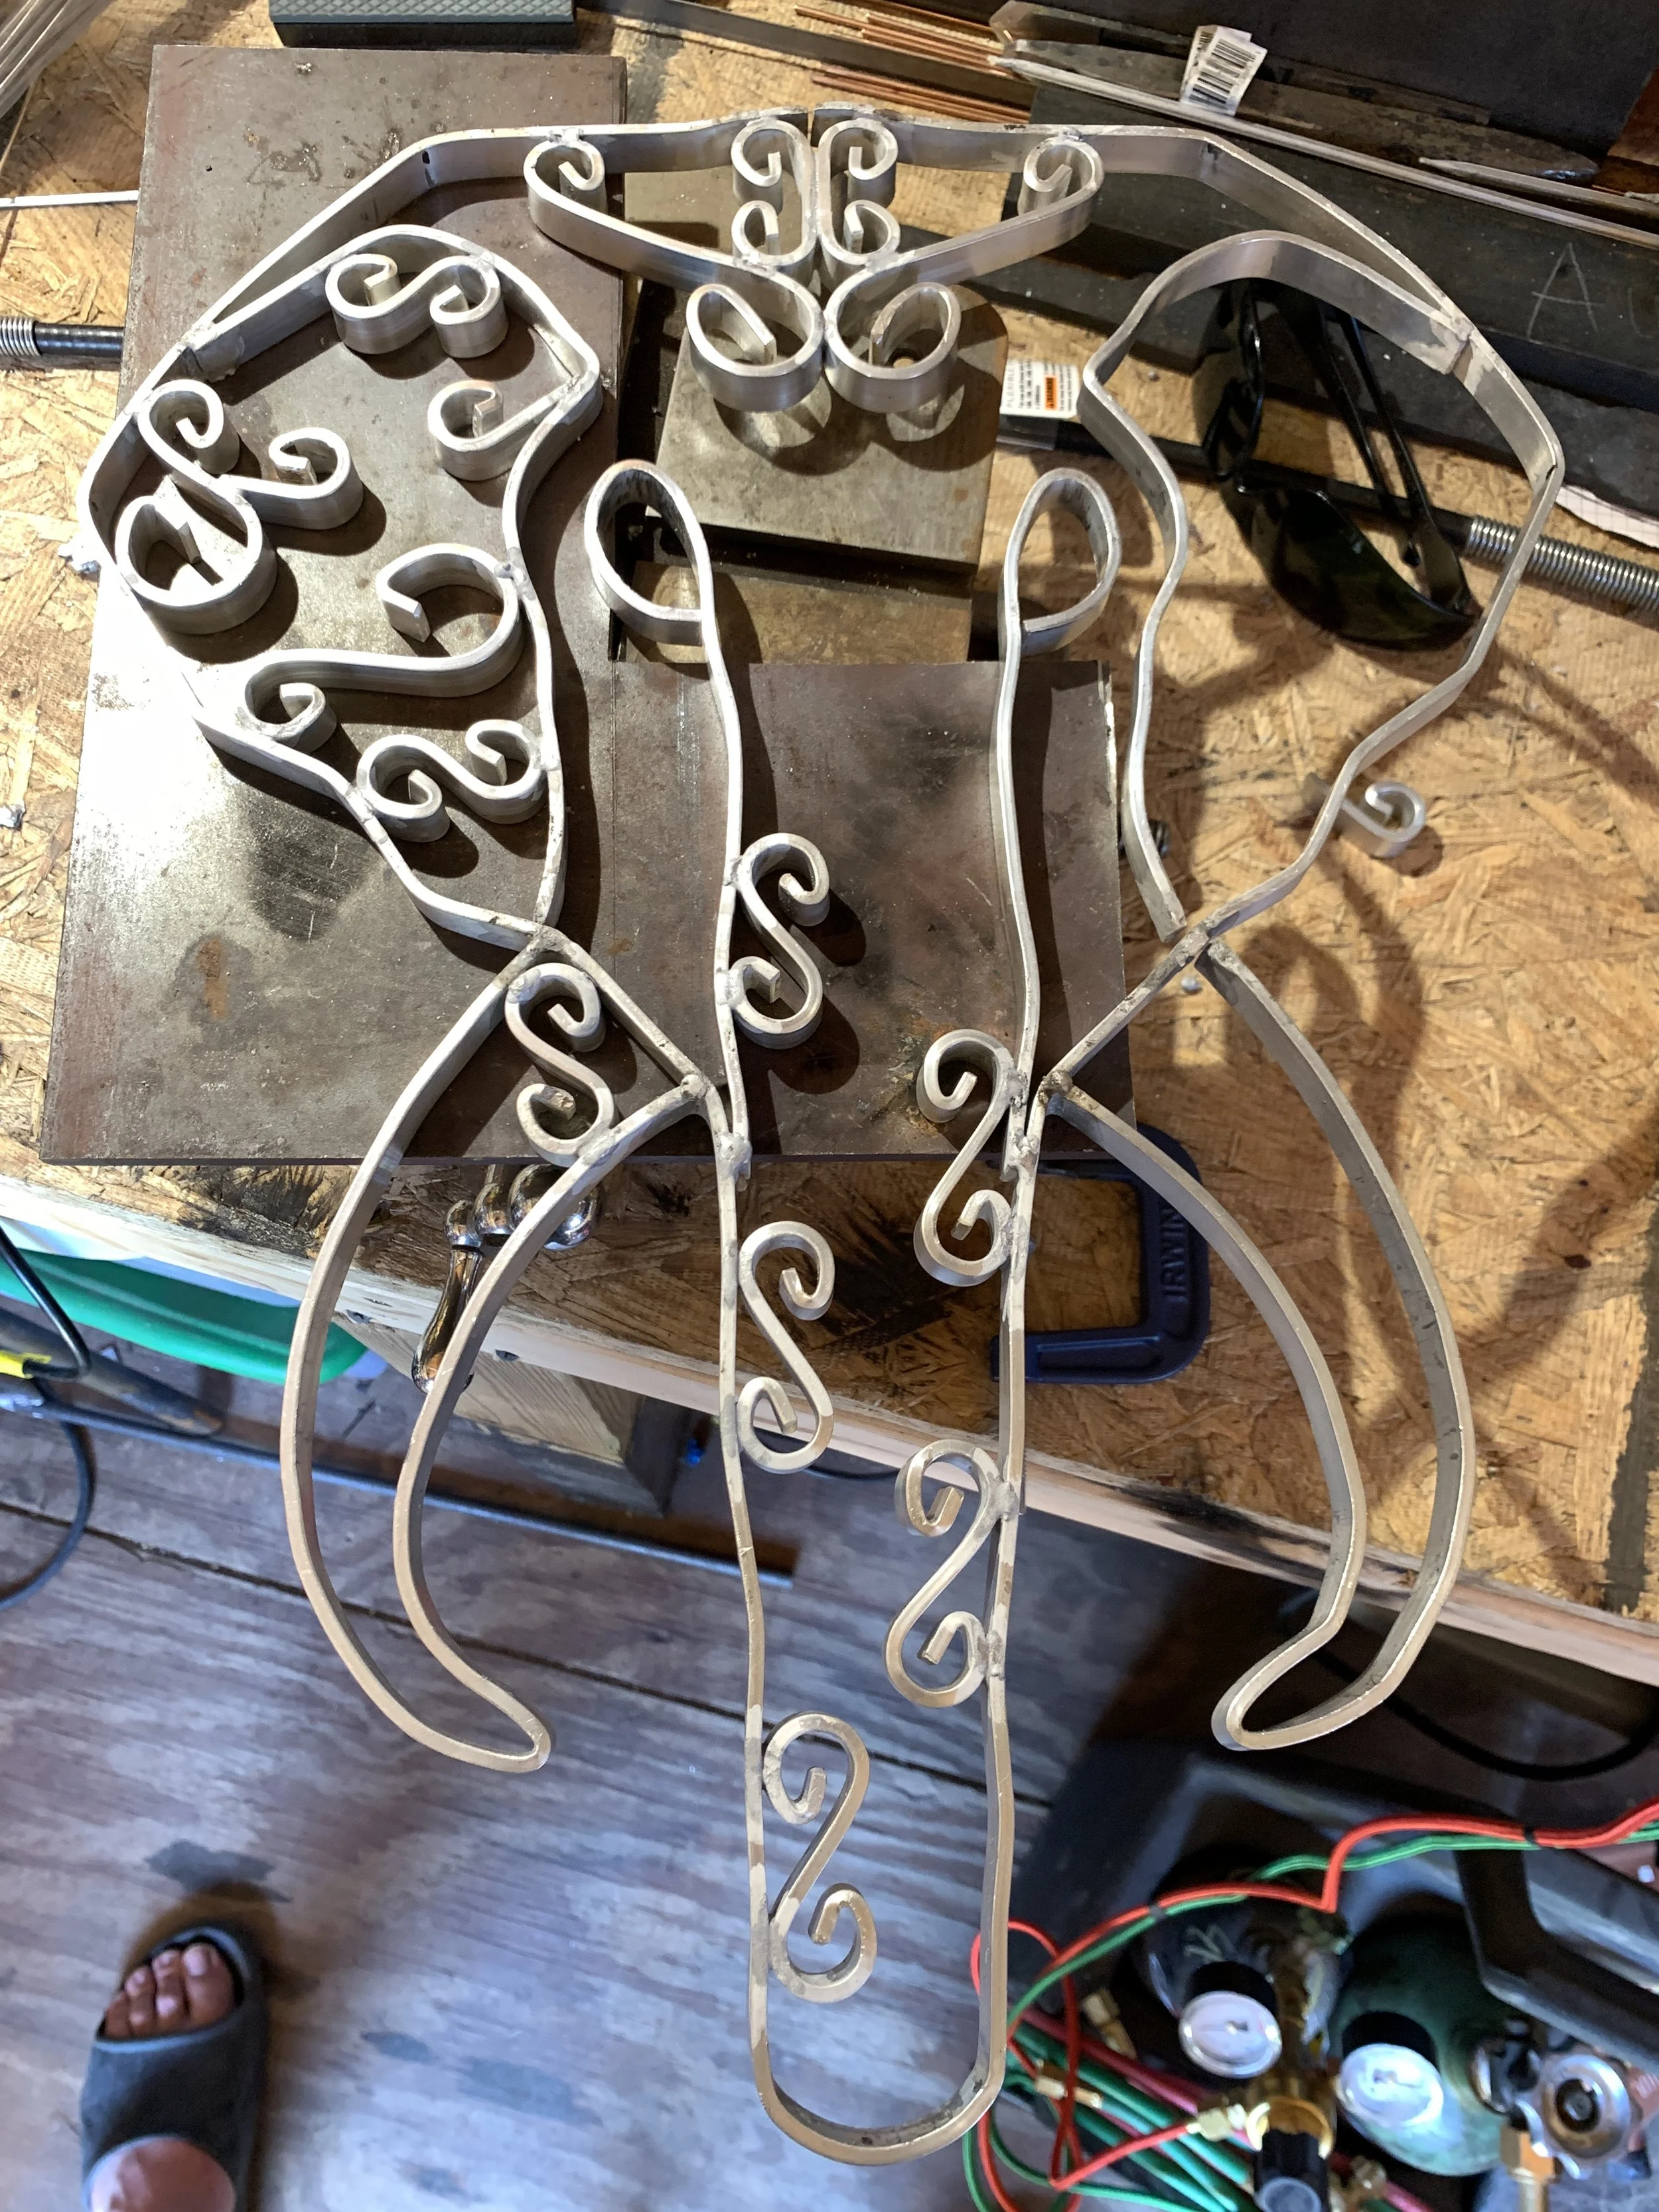
I made this wall art as a gift to a couple that we had become friends with. It's make from 1/2" aluminum from Lowe's and I learned about (after many failed attempts) about joining aluminum together with a hand torch.
-
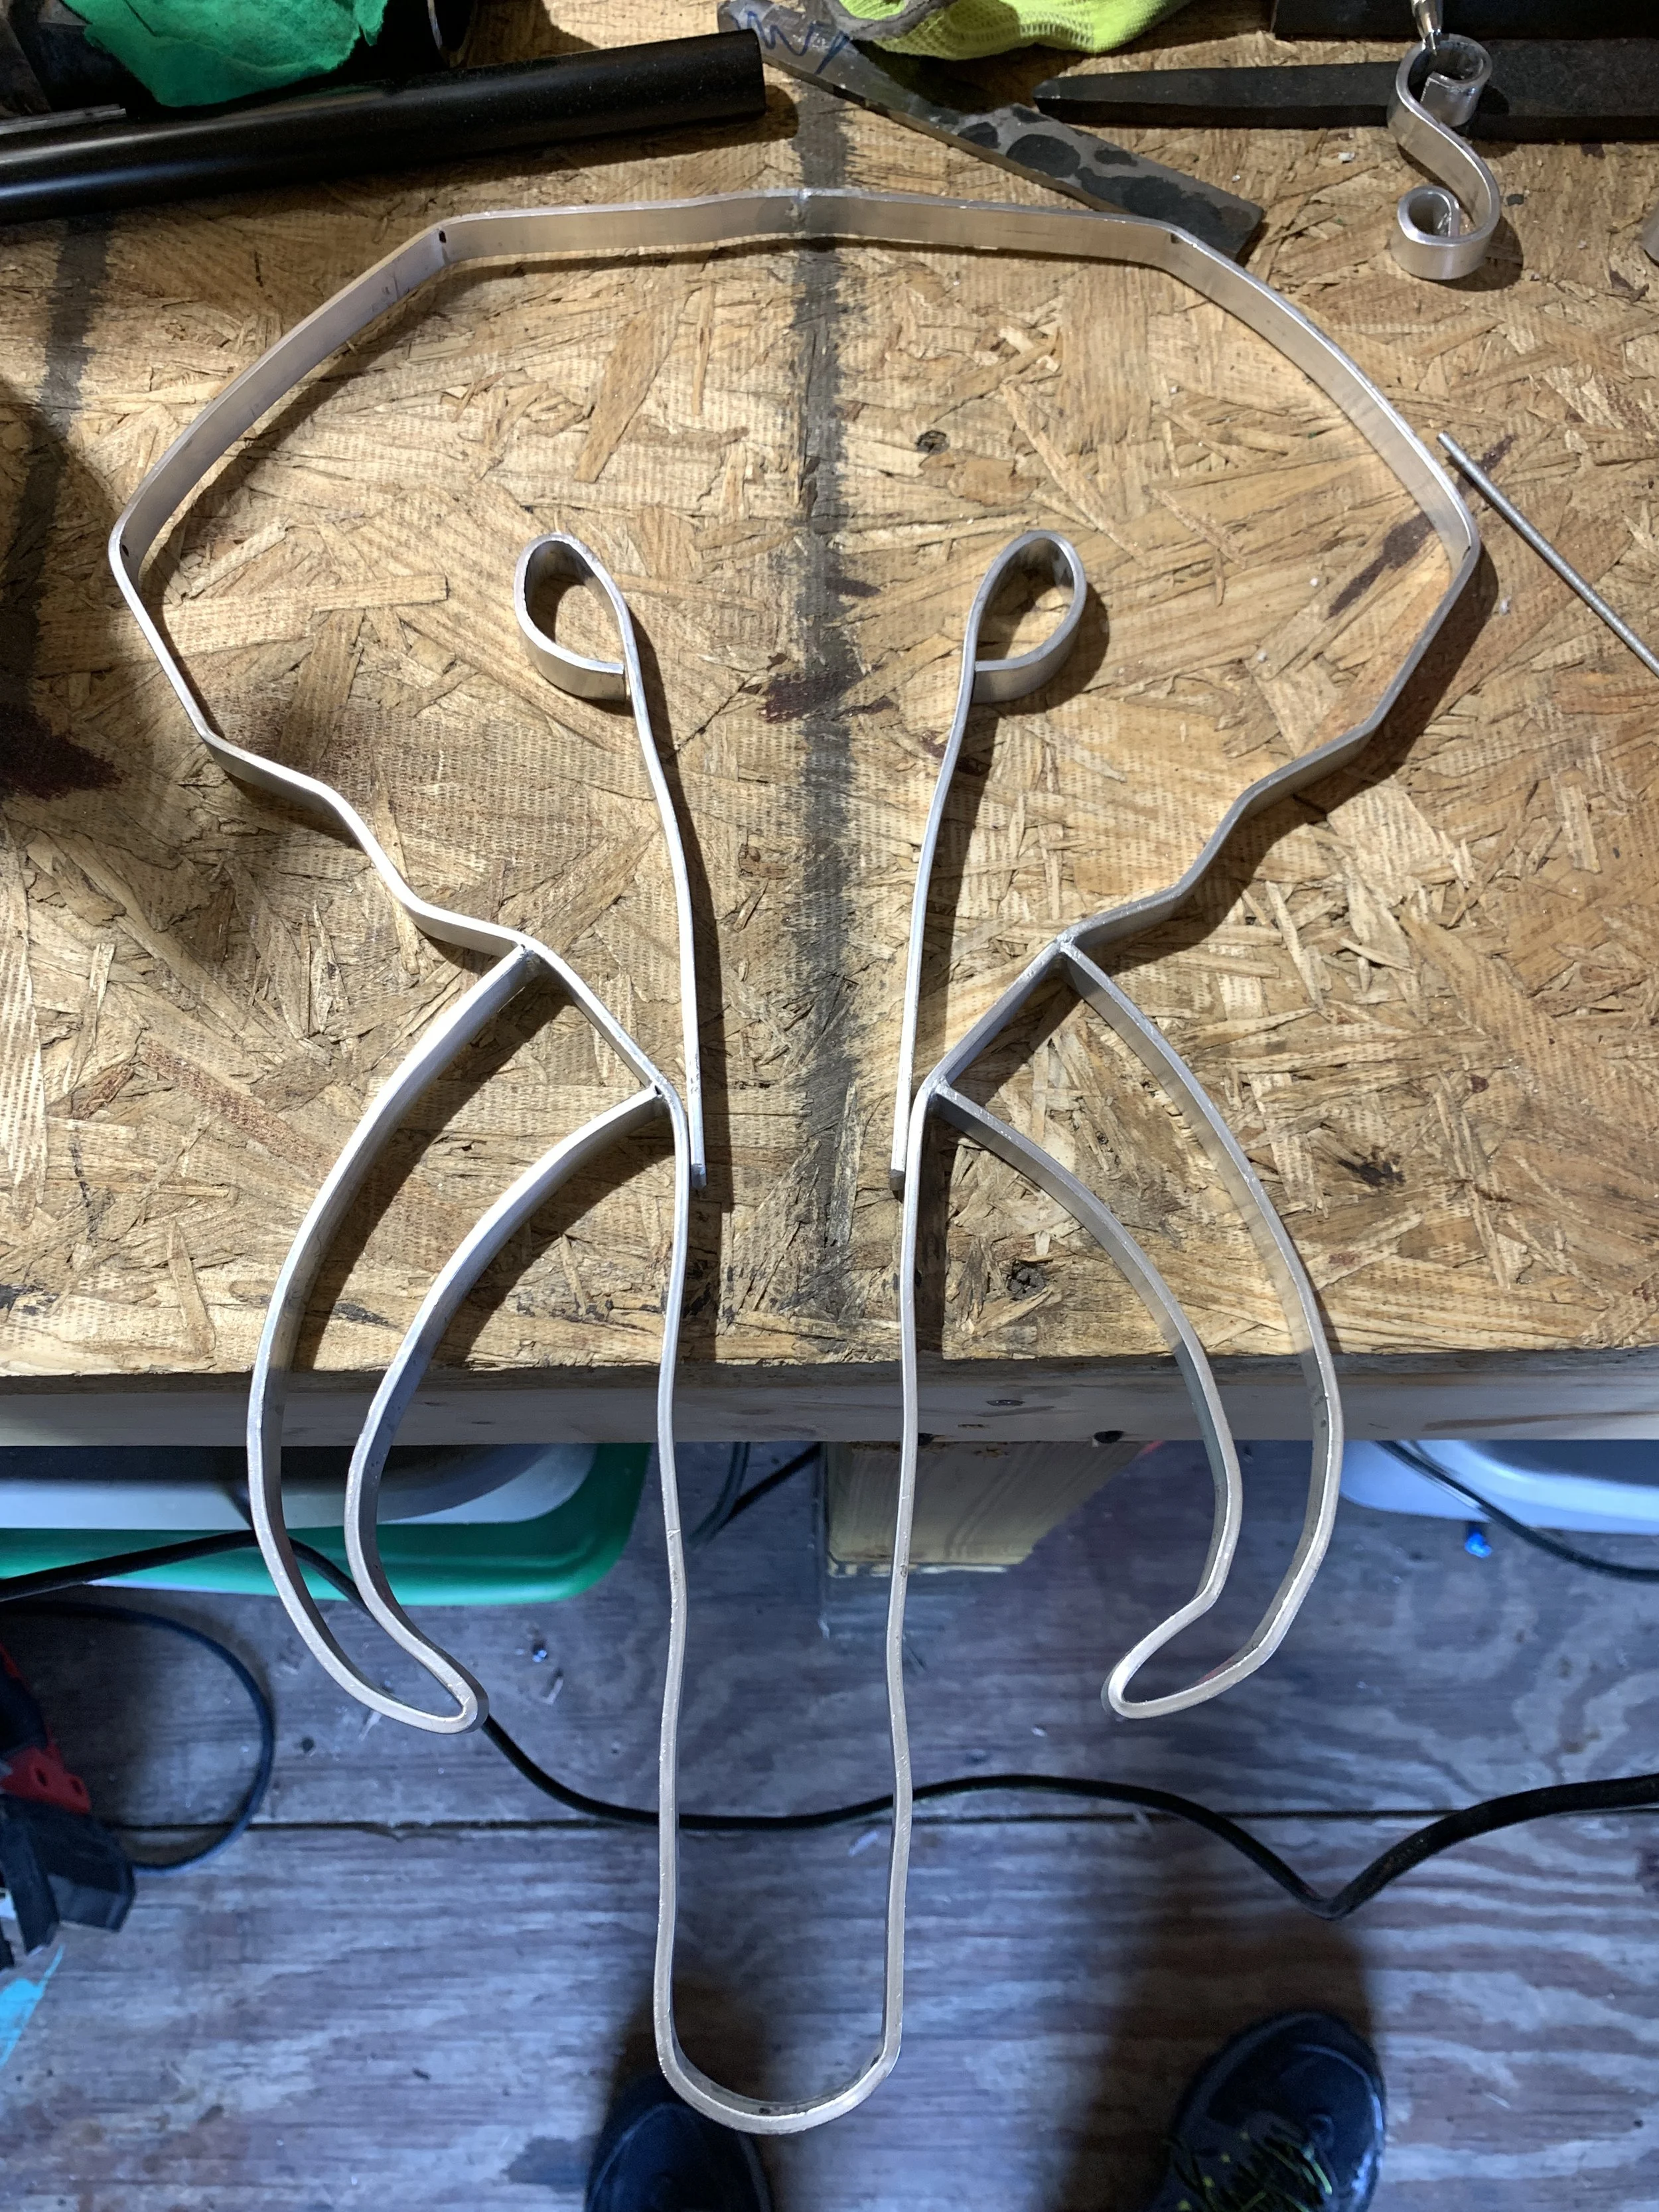
Laying out pieces to match my designed pattern.
-
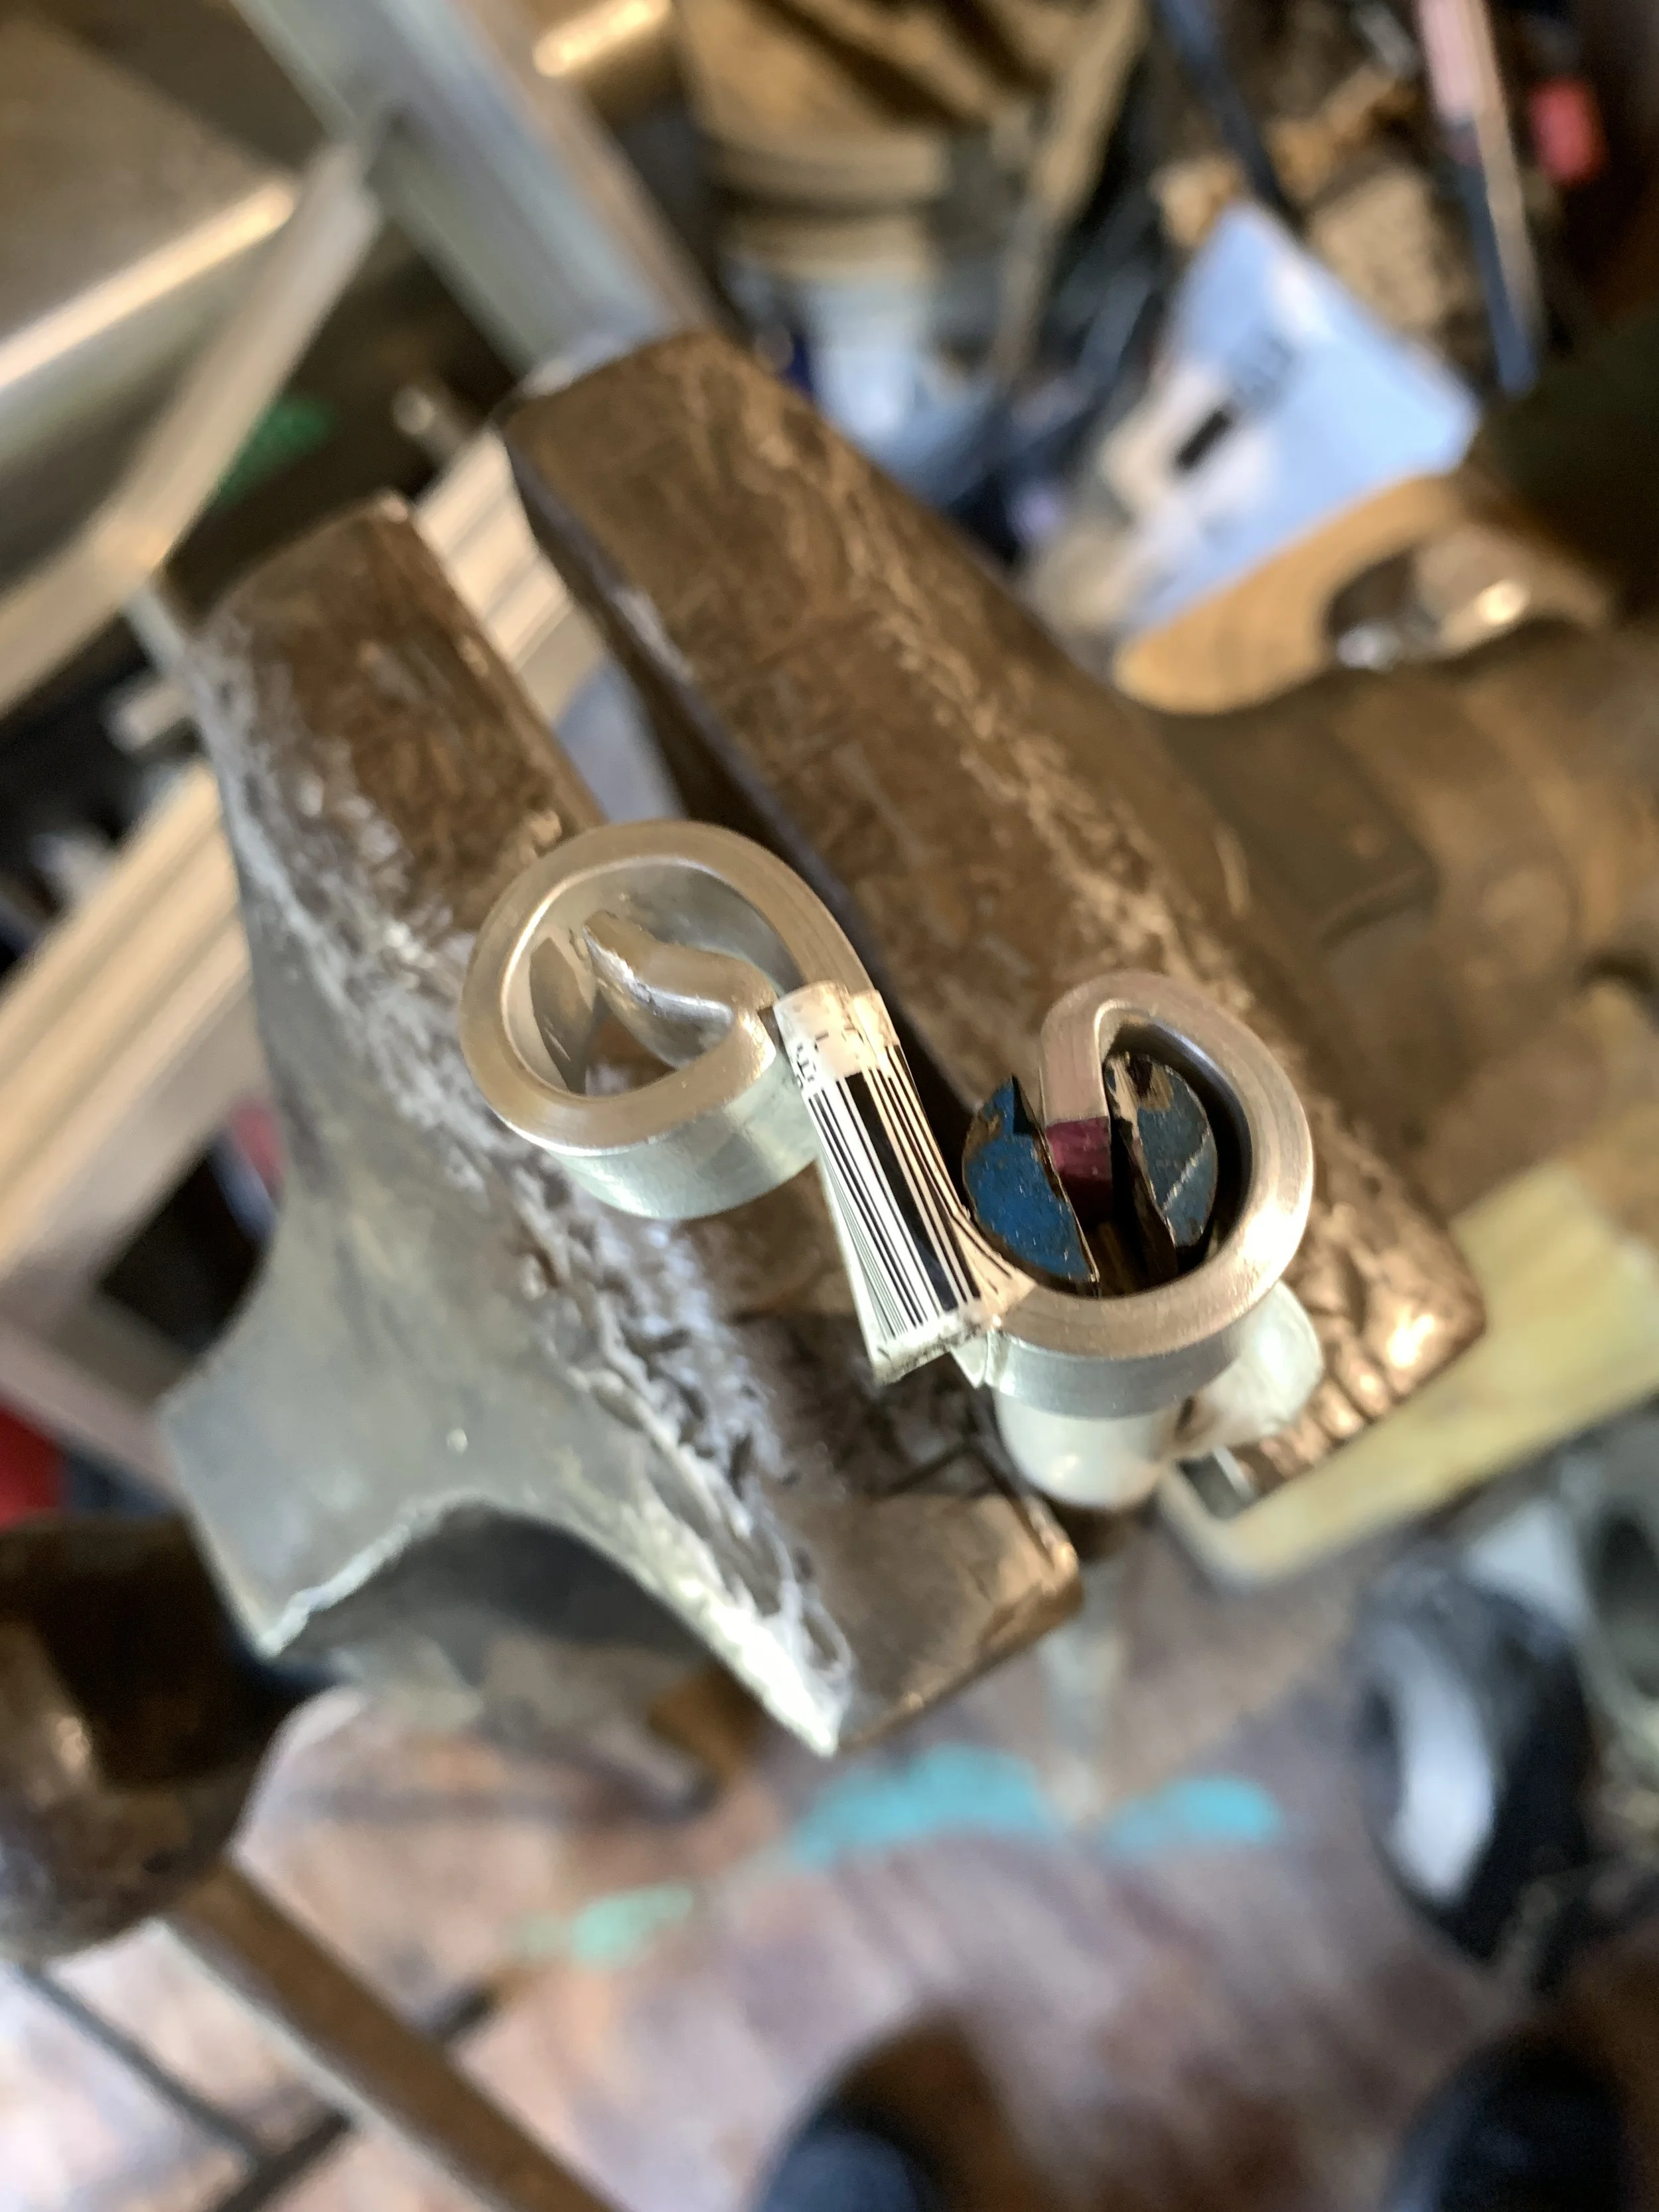
One of the first times making a jig to get consistent bends on my baby scrolls.
-
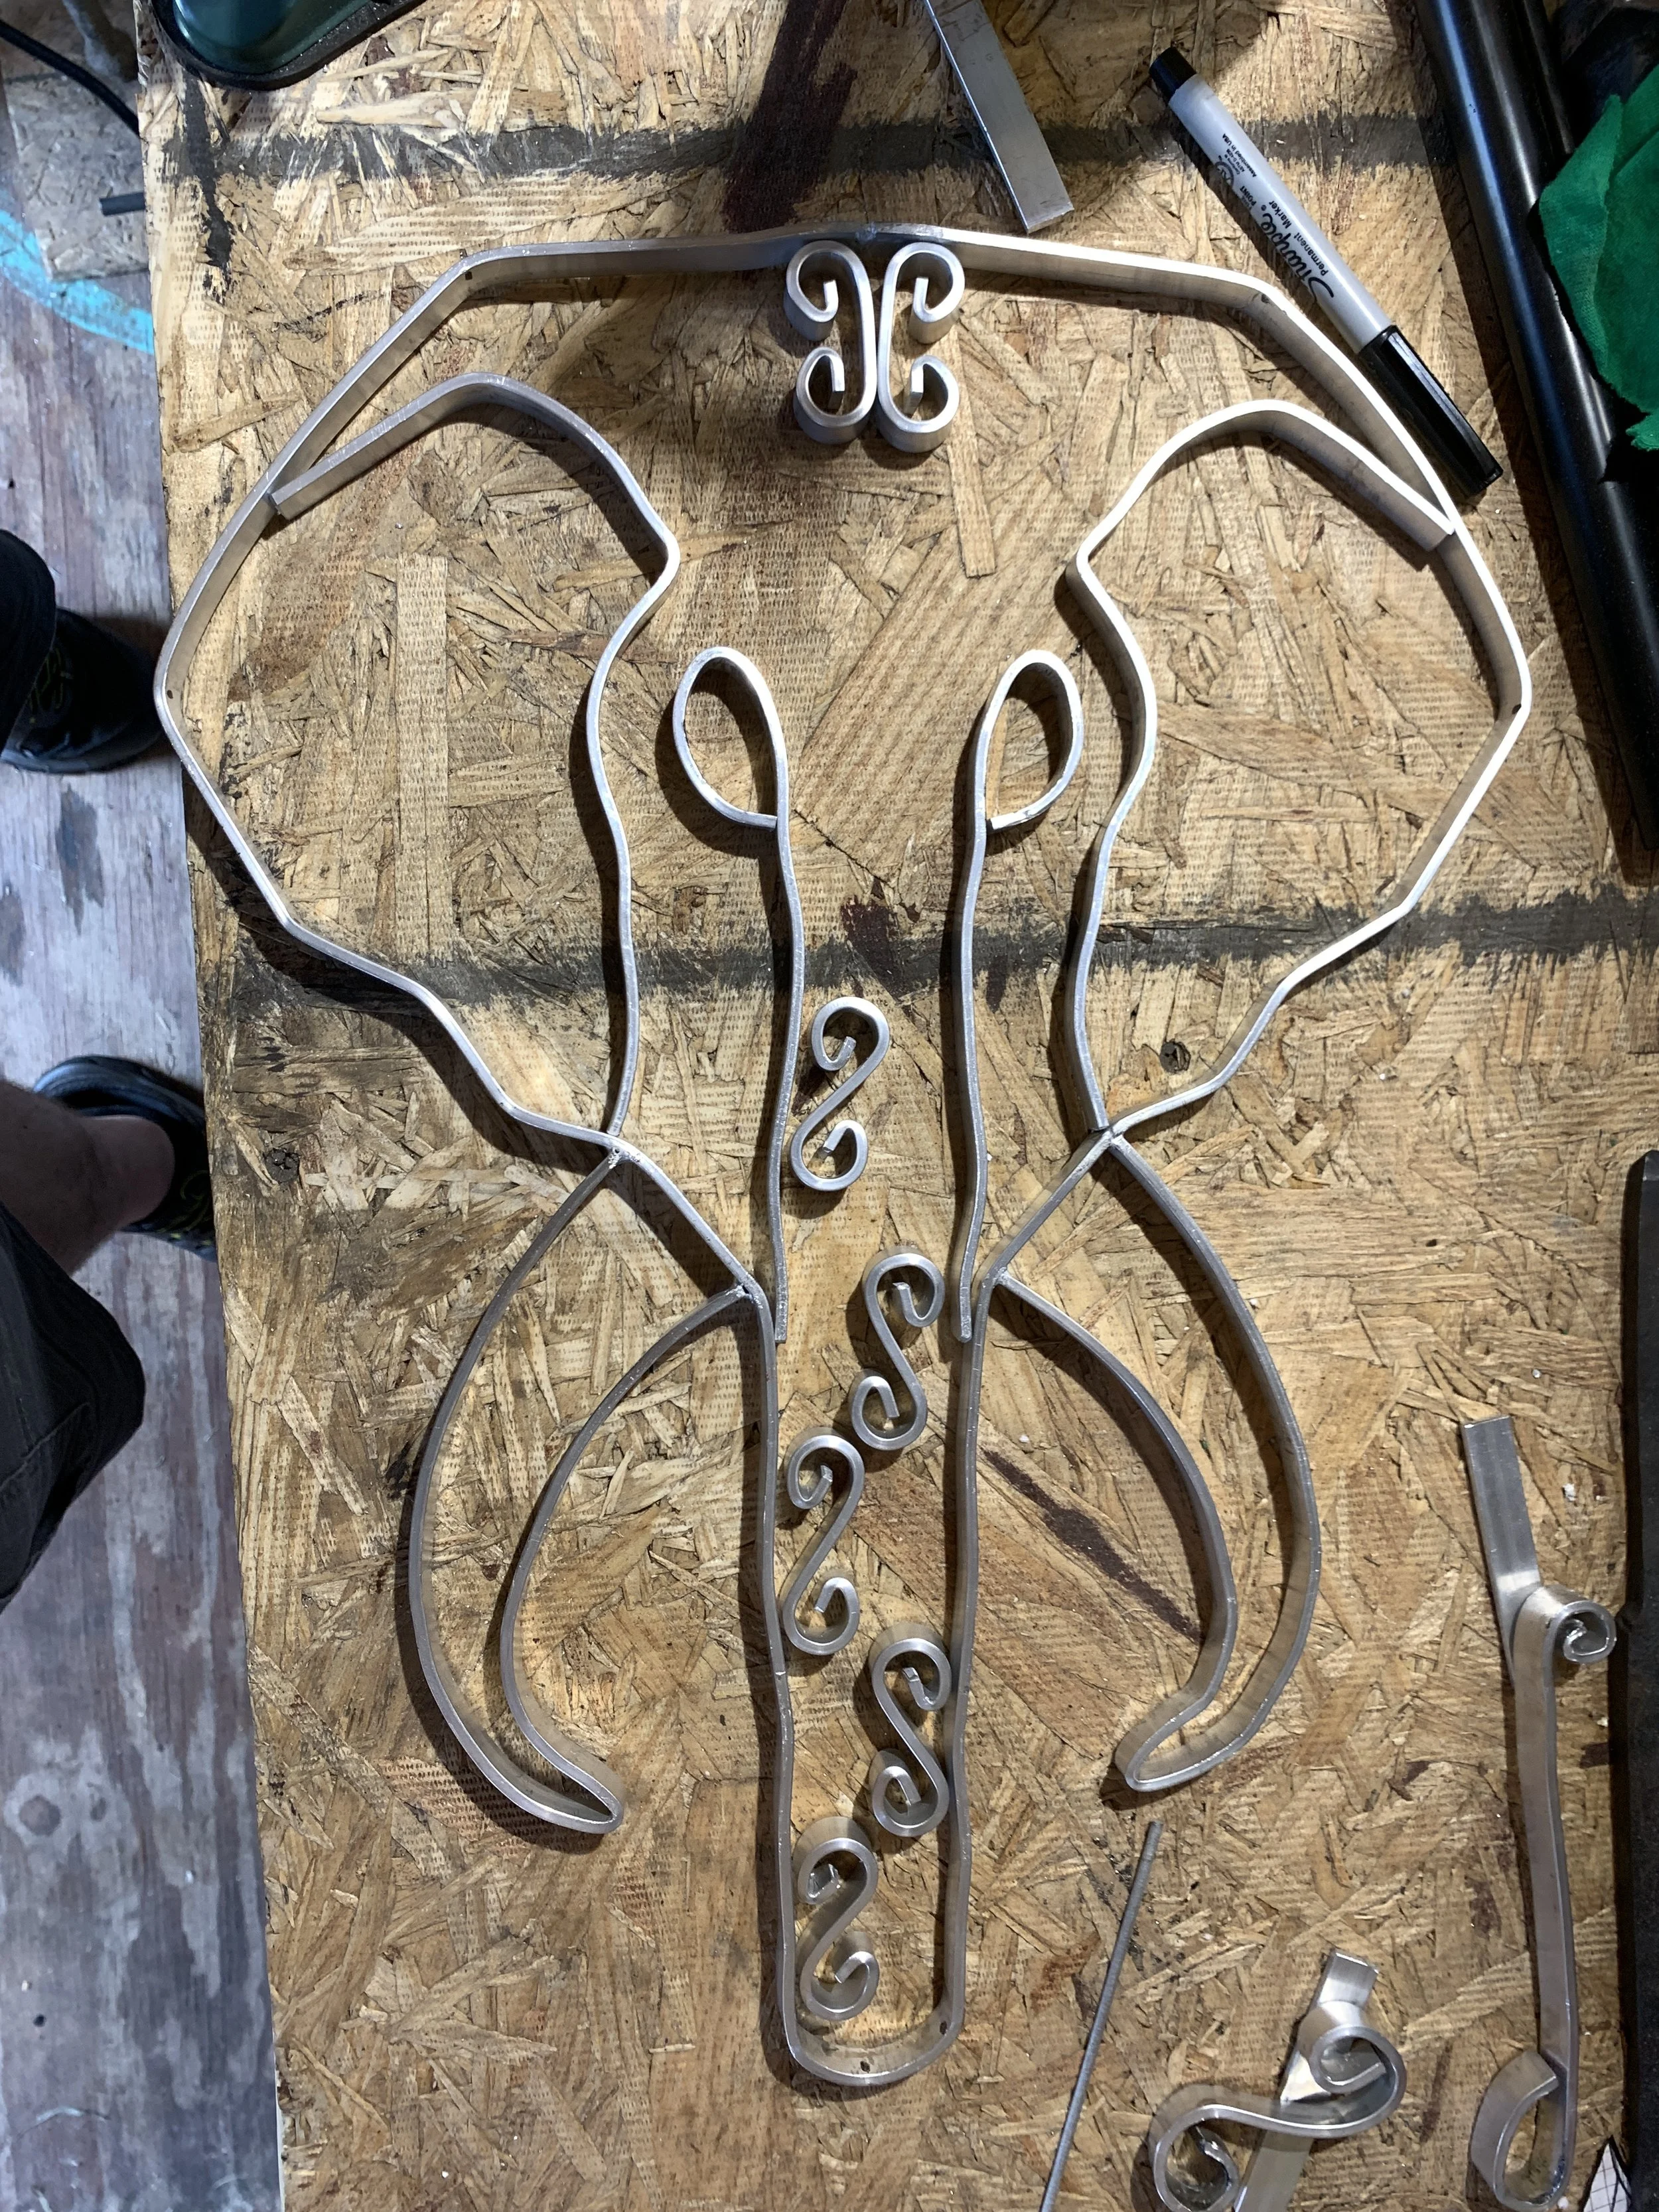
Overall shape laid out, ready for accents.
-
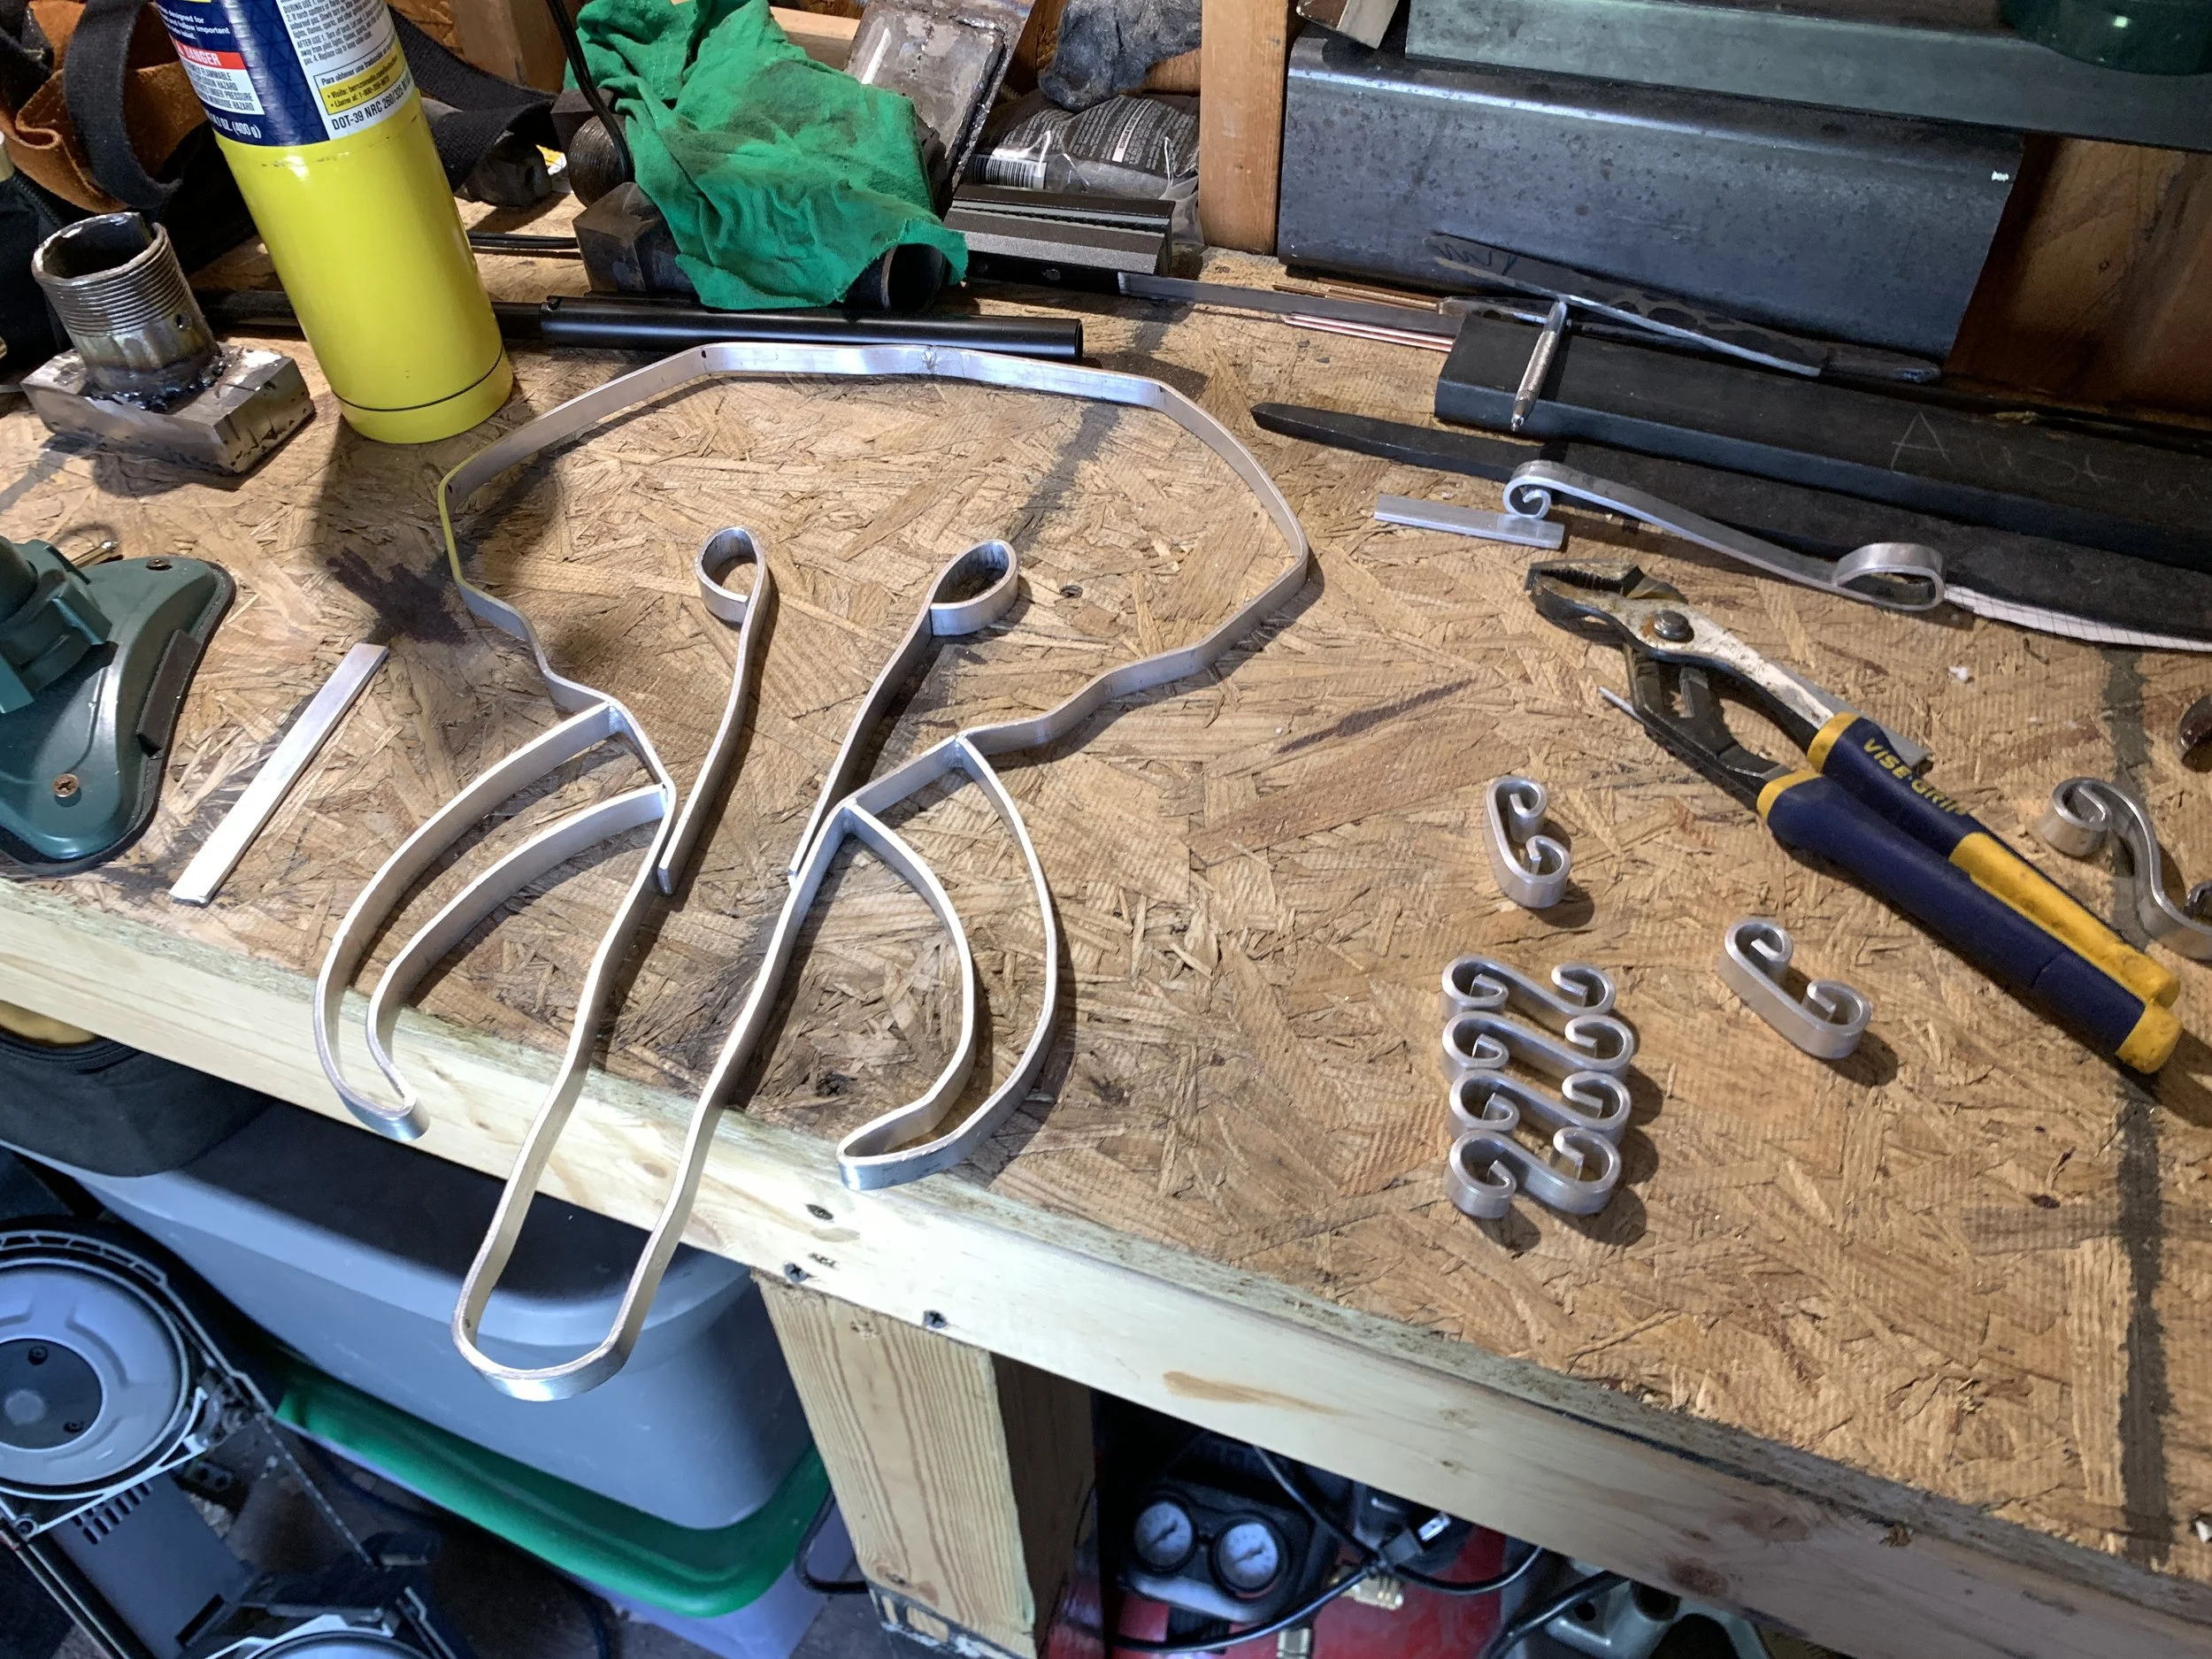
All the little scrolls ready to be placed.
-
Practicing with lay out to see what I liked.
-
This was my set-up to join the parts without burning my bench - make due with what you have.
-
Final product, it had it's flaws but I was proud of how it turned out.
Aaron M. - Custom Style EDC
-
Final blade - keep scrolling to see the journey.
-
![]()
Design and rough forged blade.
-
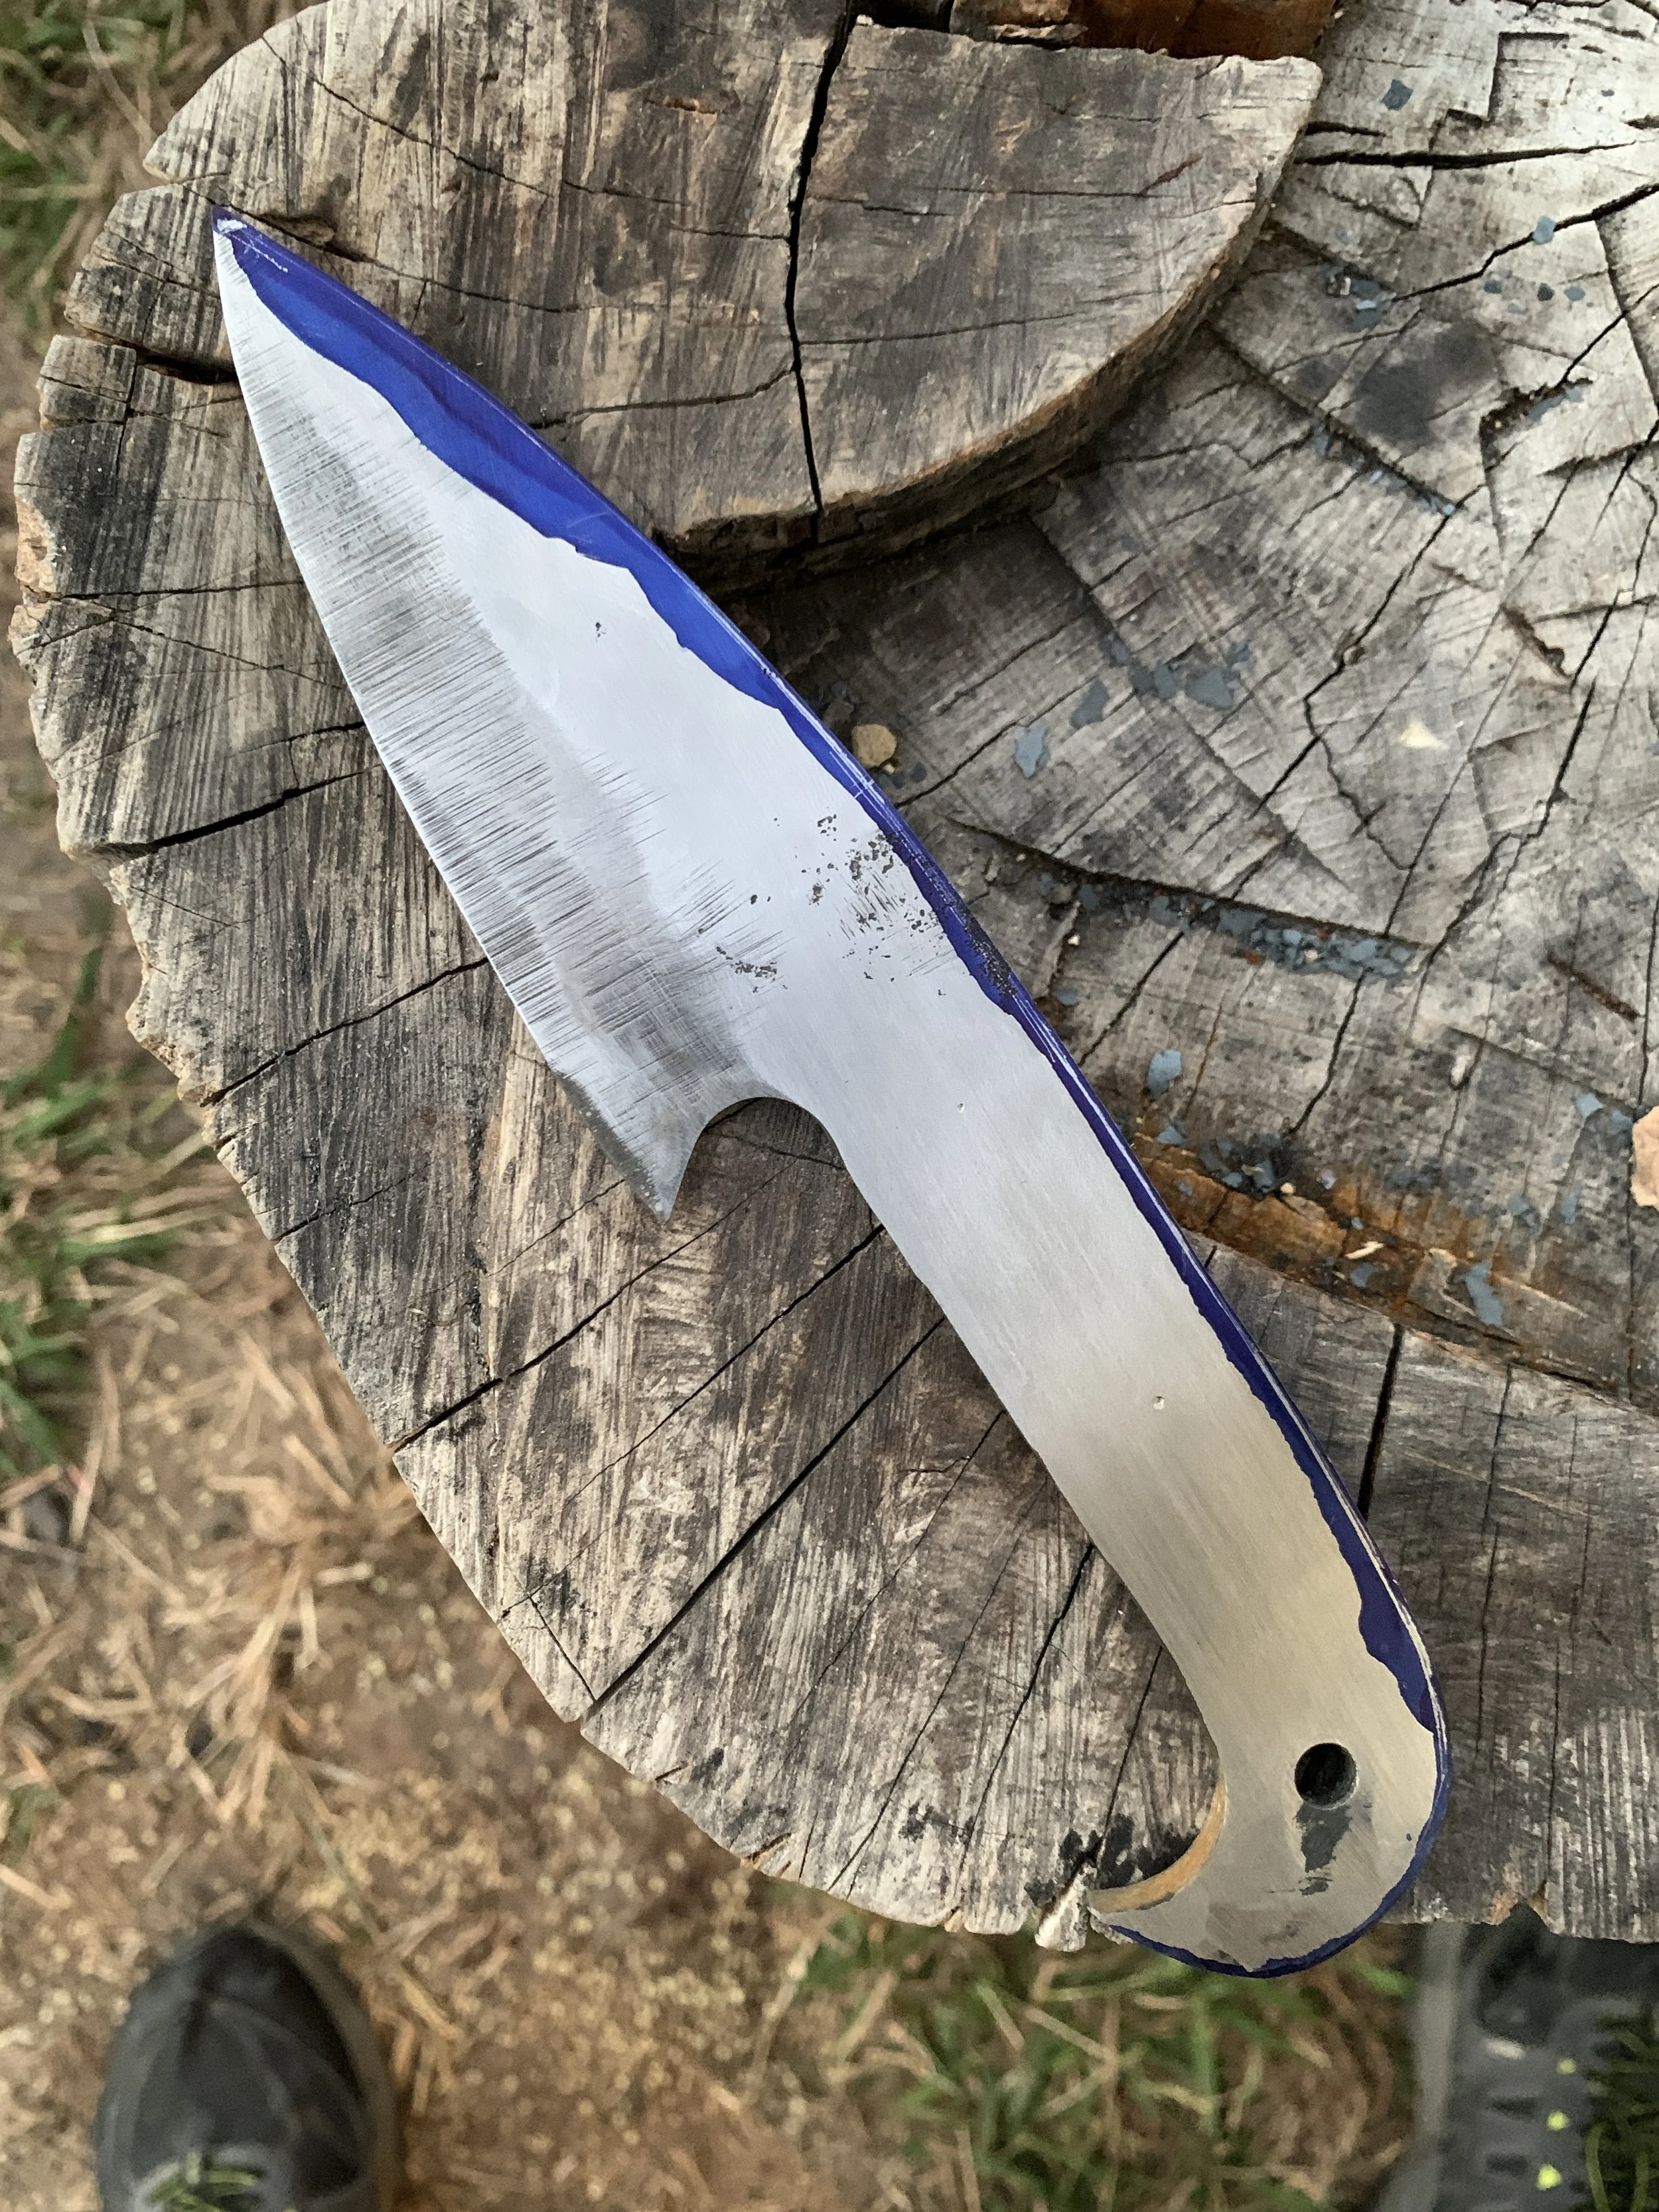
Rough bevels and cleaned up a bit.
-
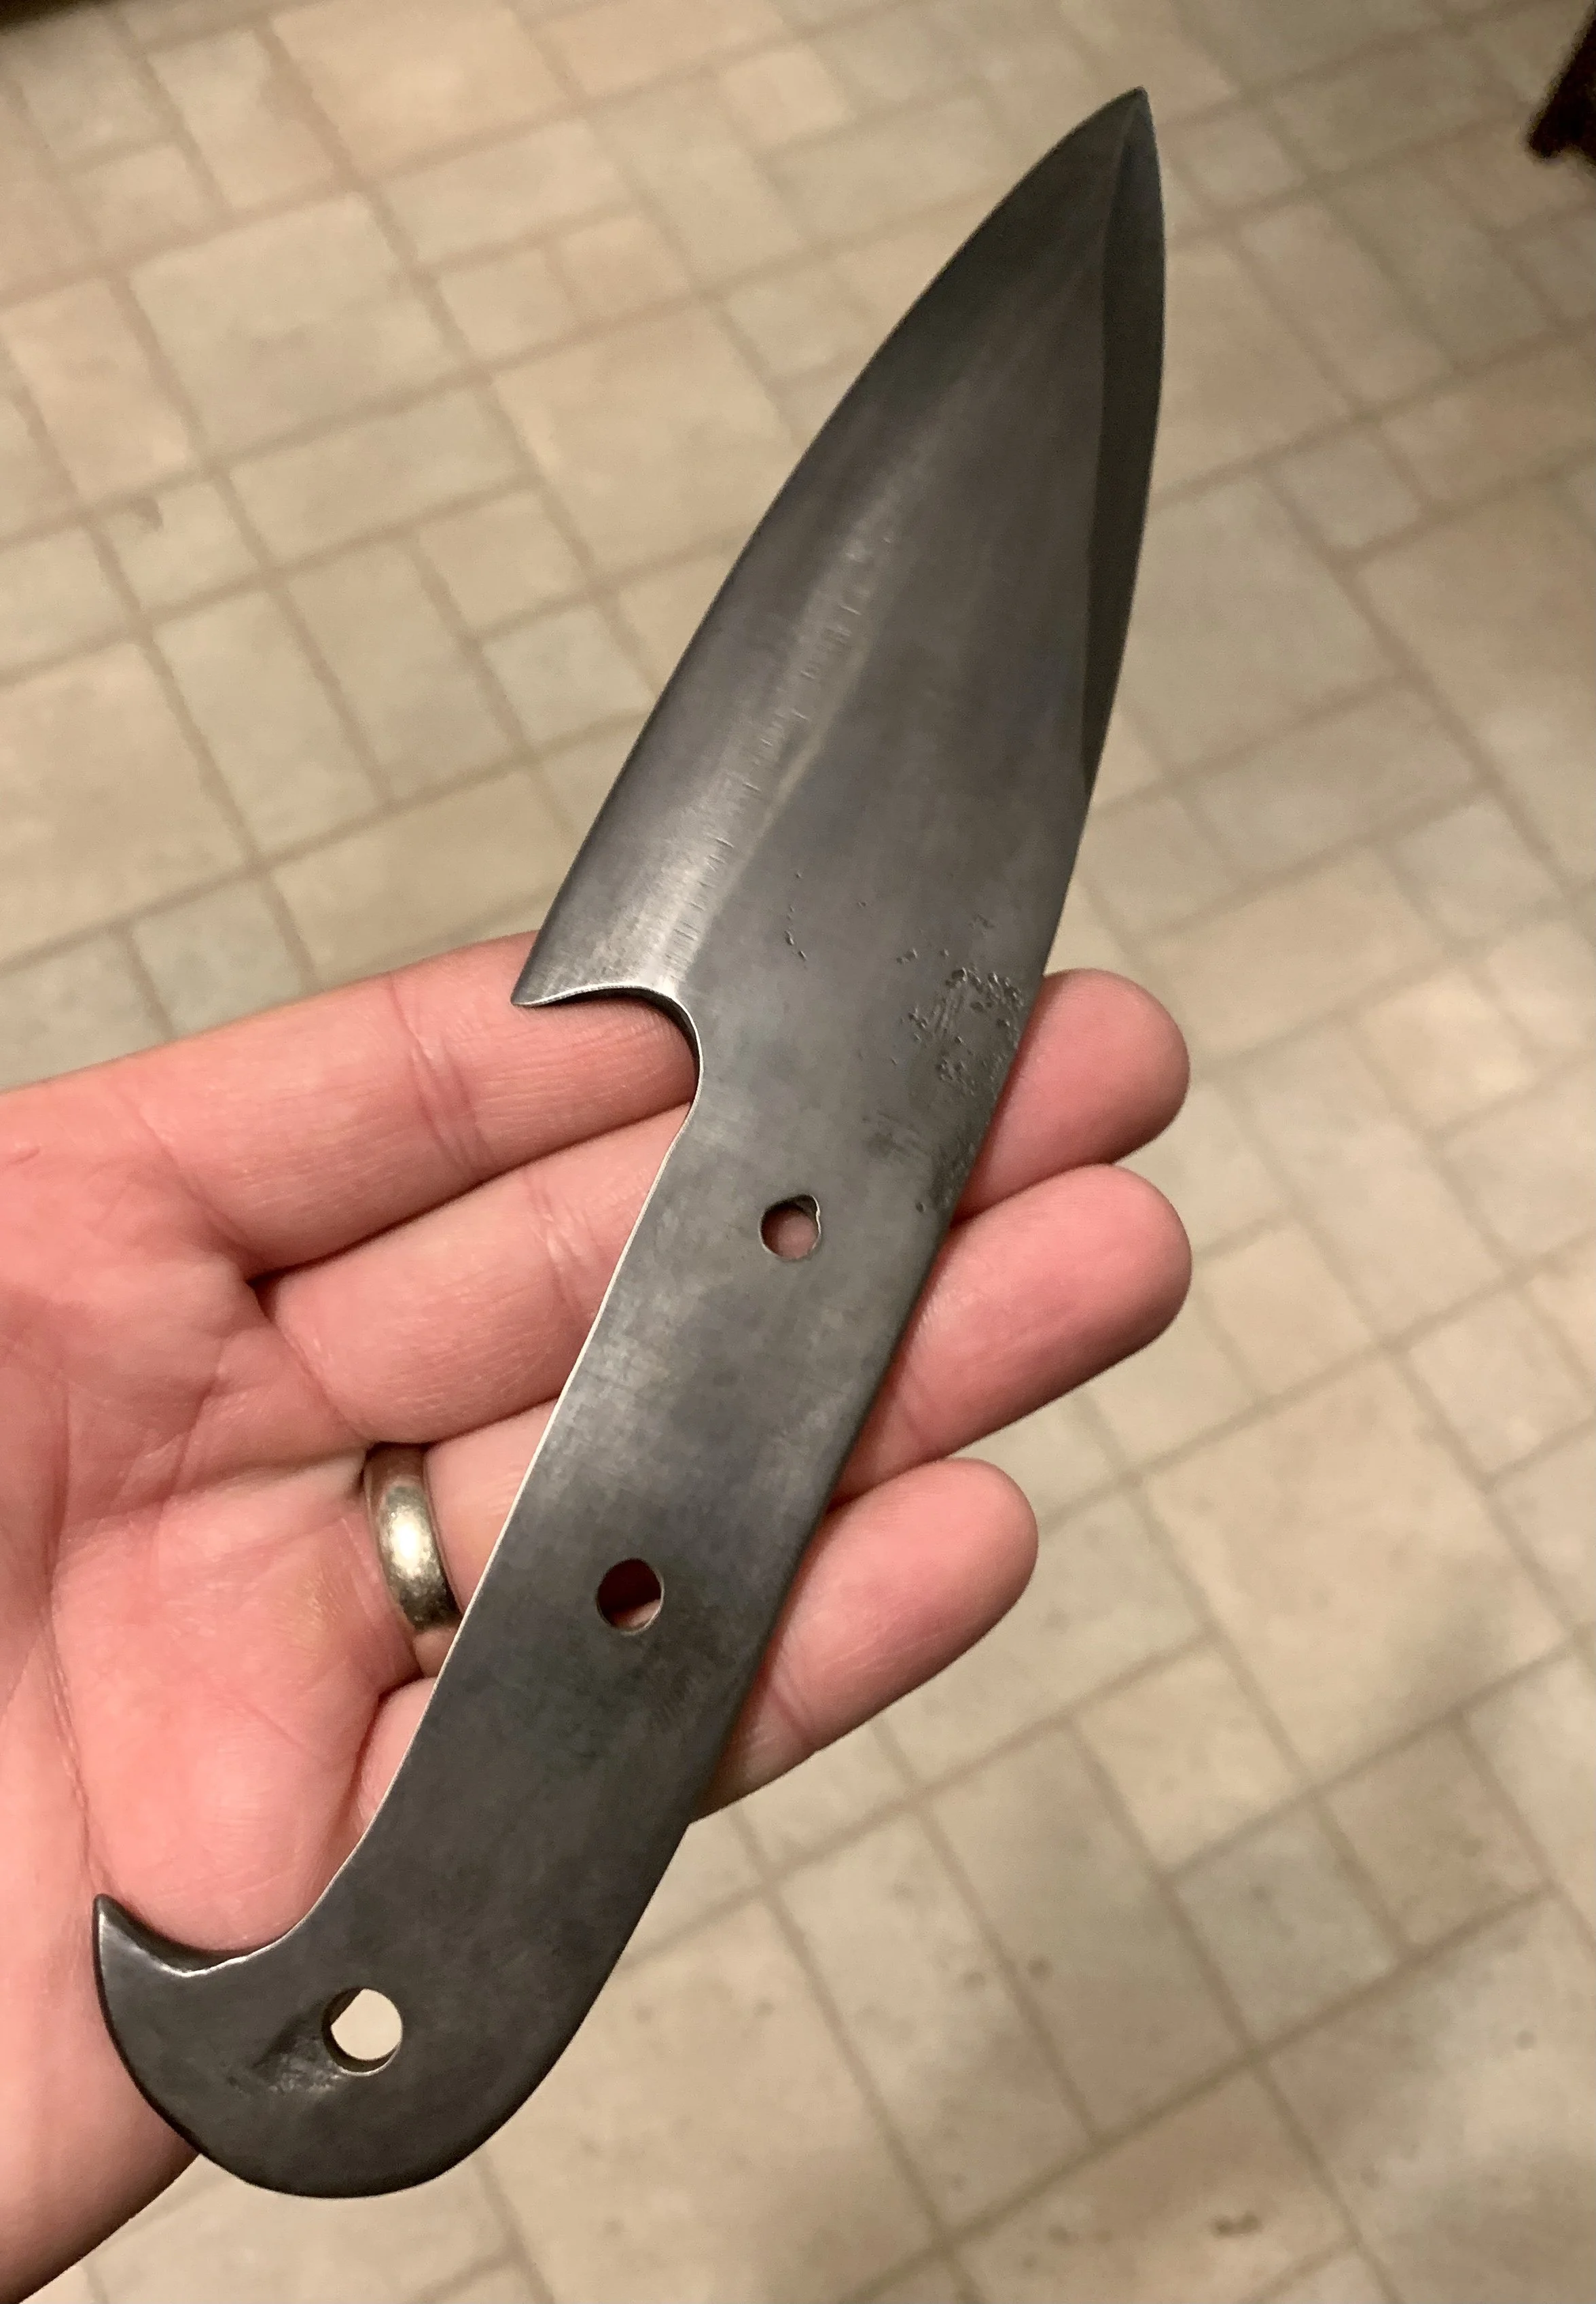
Pin holes drilled and first time gun bluing a blade. My first time putting a swedge on the top of a blade.
-
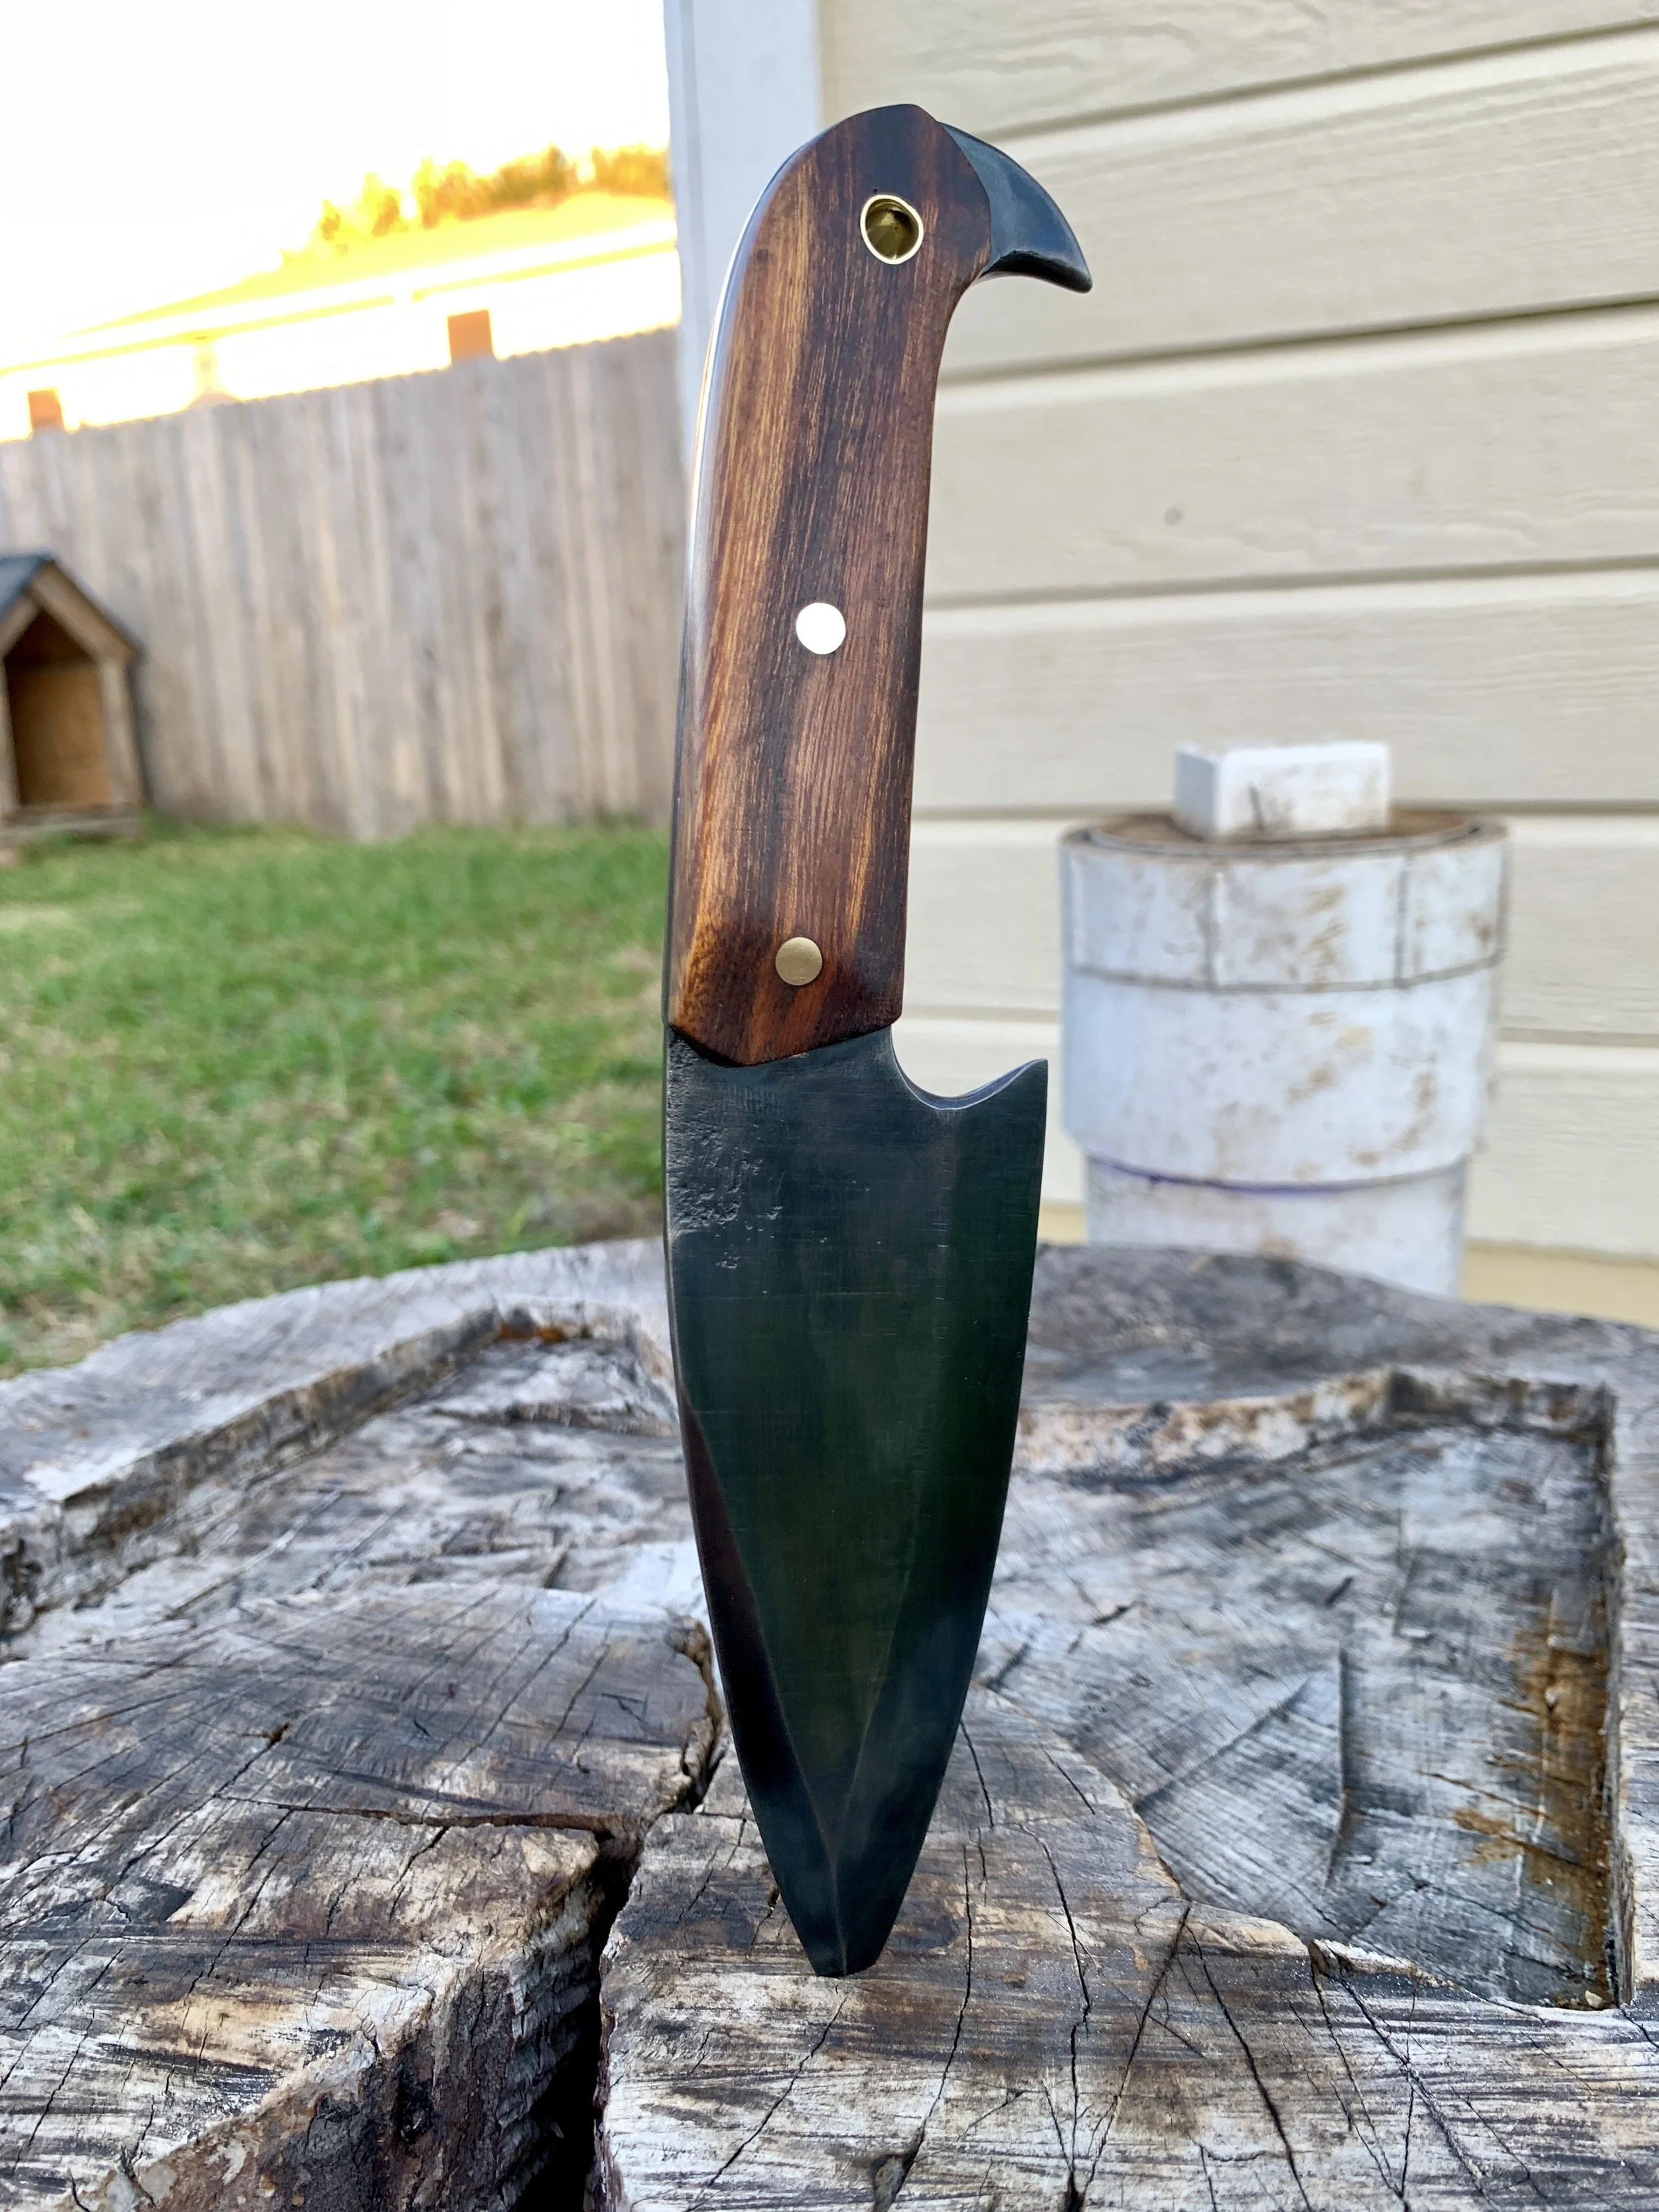
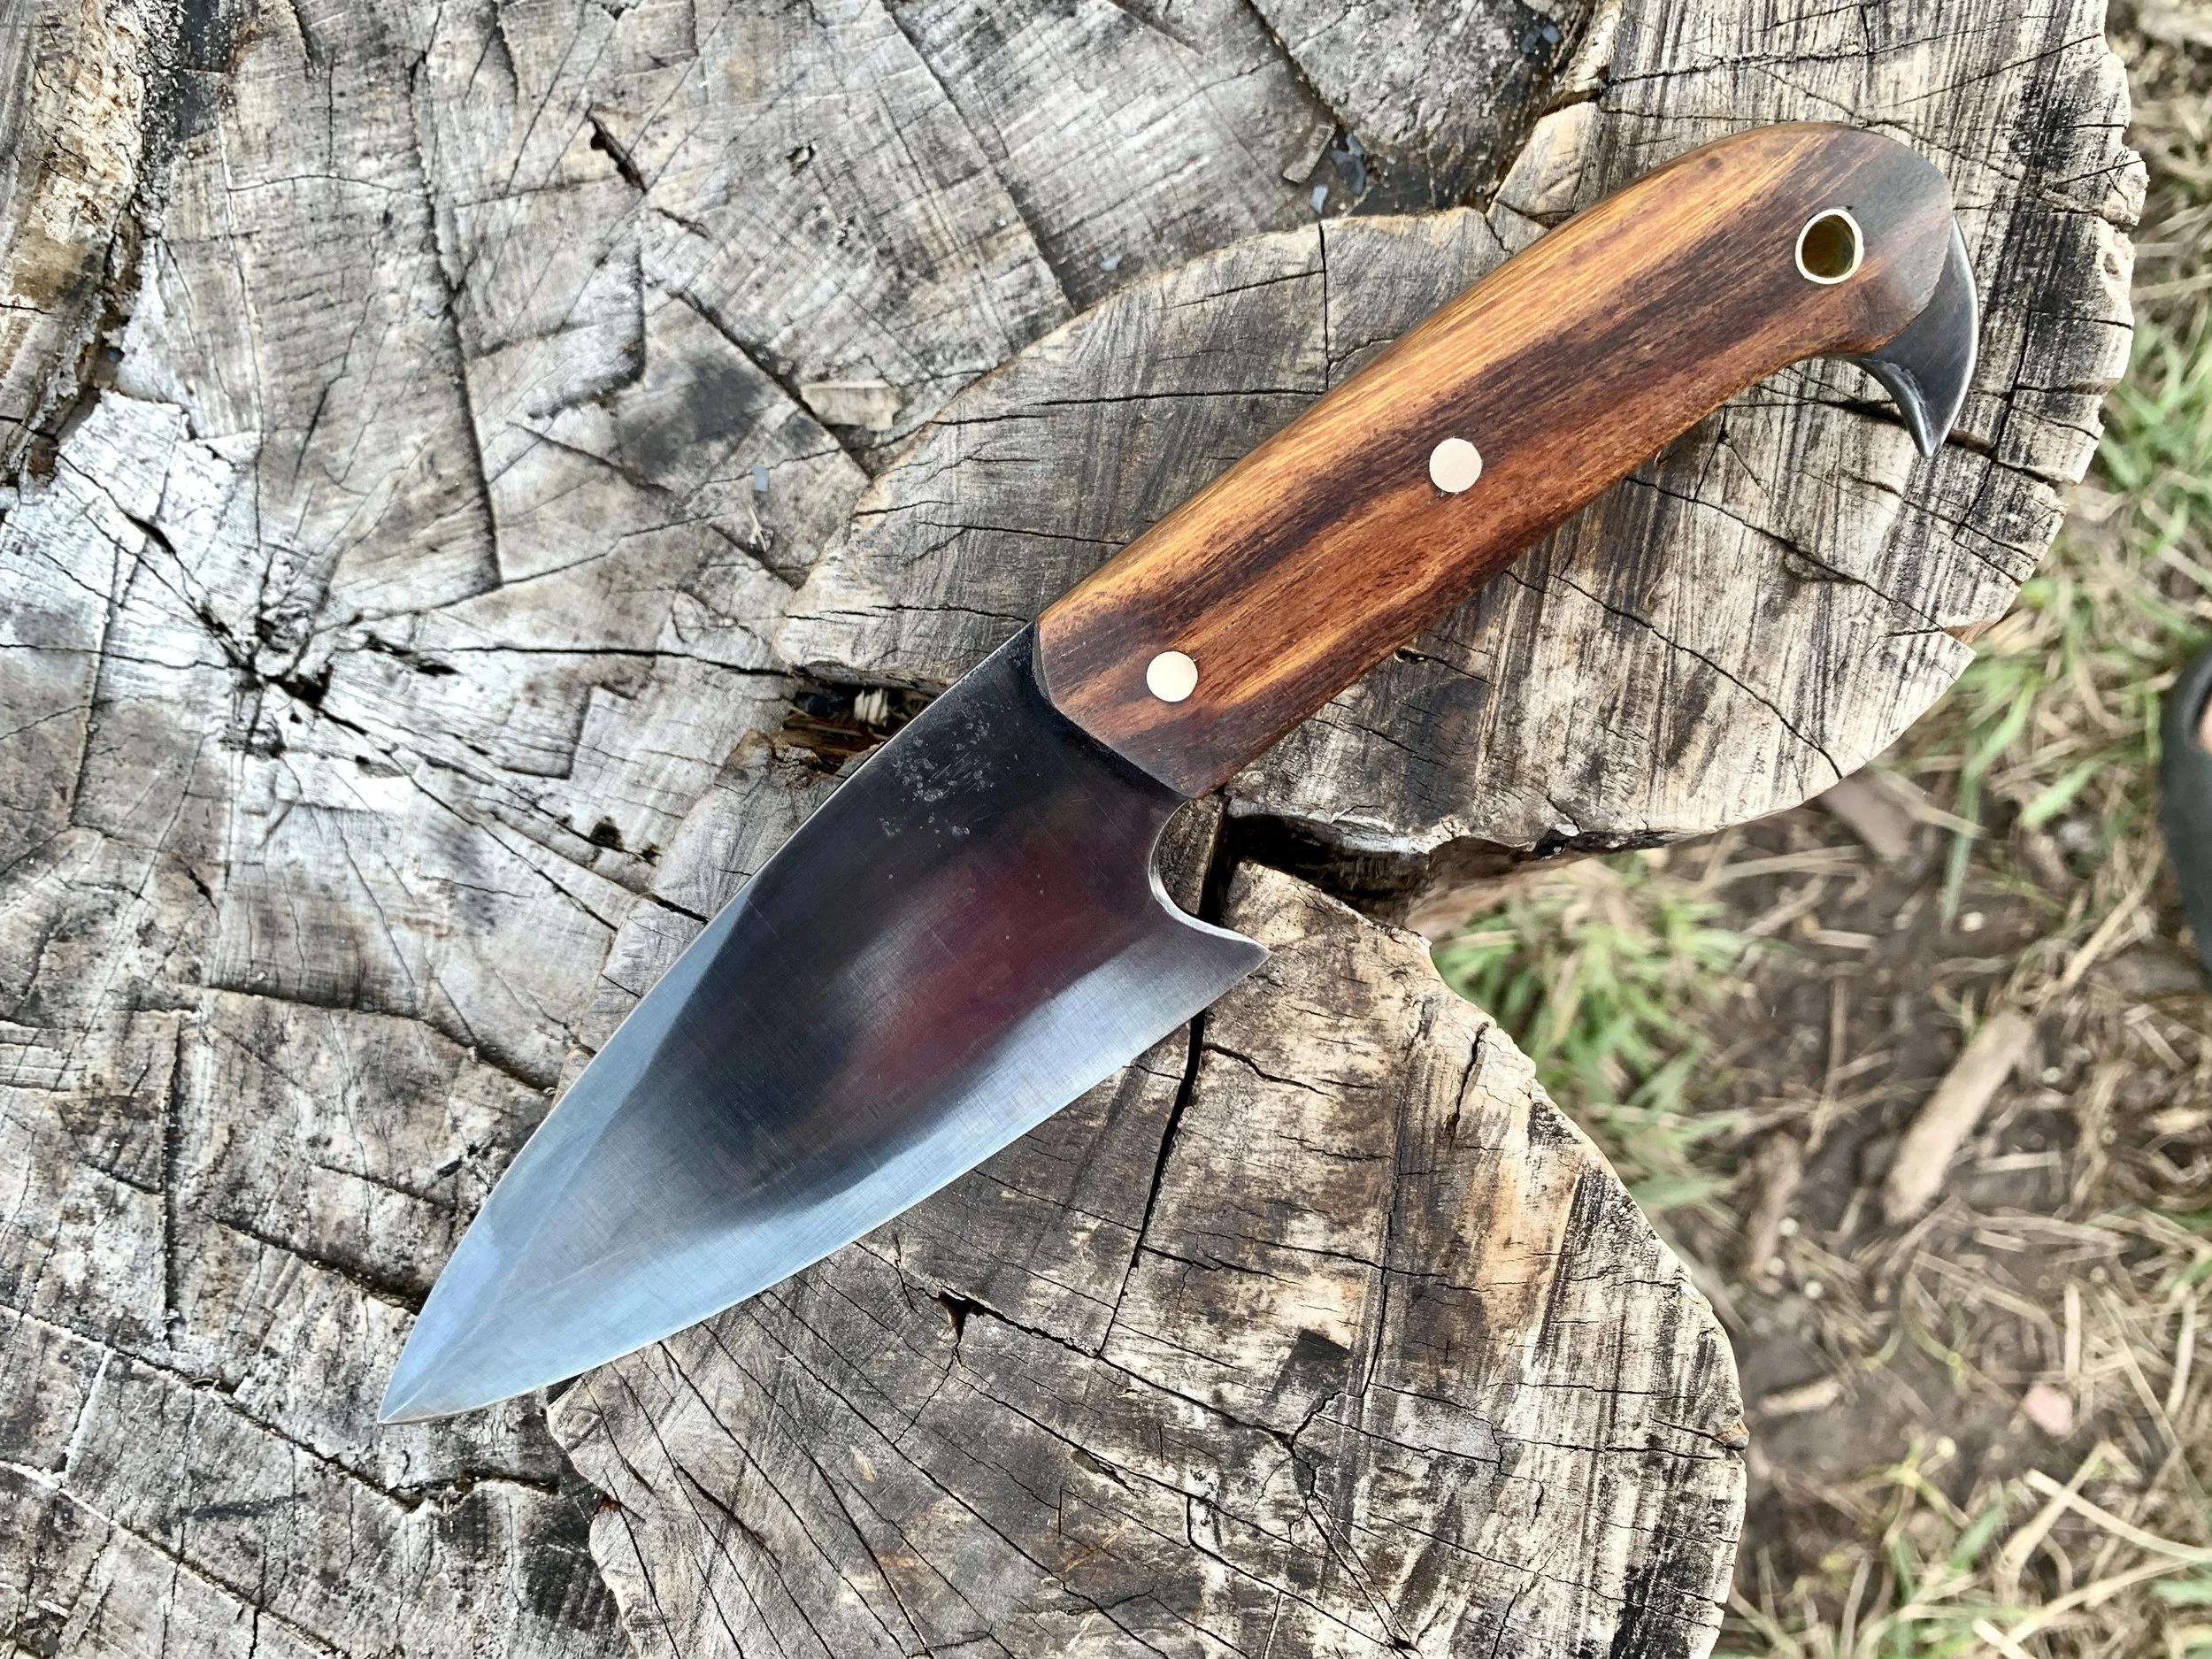
Decided to go with some desert iron wood to match the darker theme of this knife.
-
Finished glamour shot 1.
-
Finished glamour shot 2. I made sure the little spike at the bottom was smooth and comfortable in the hand.
Rose R. - Chef’s Knife
-
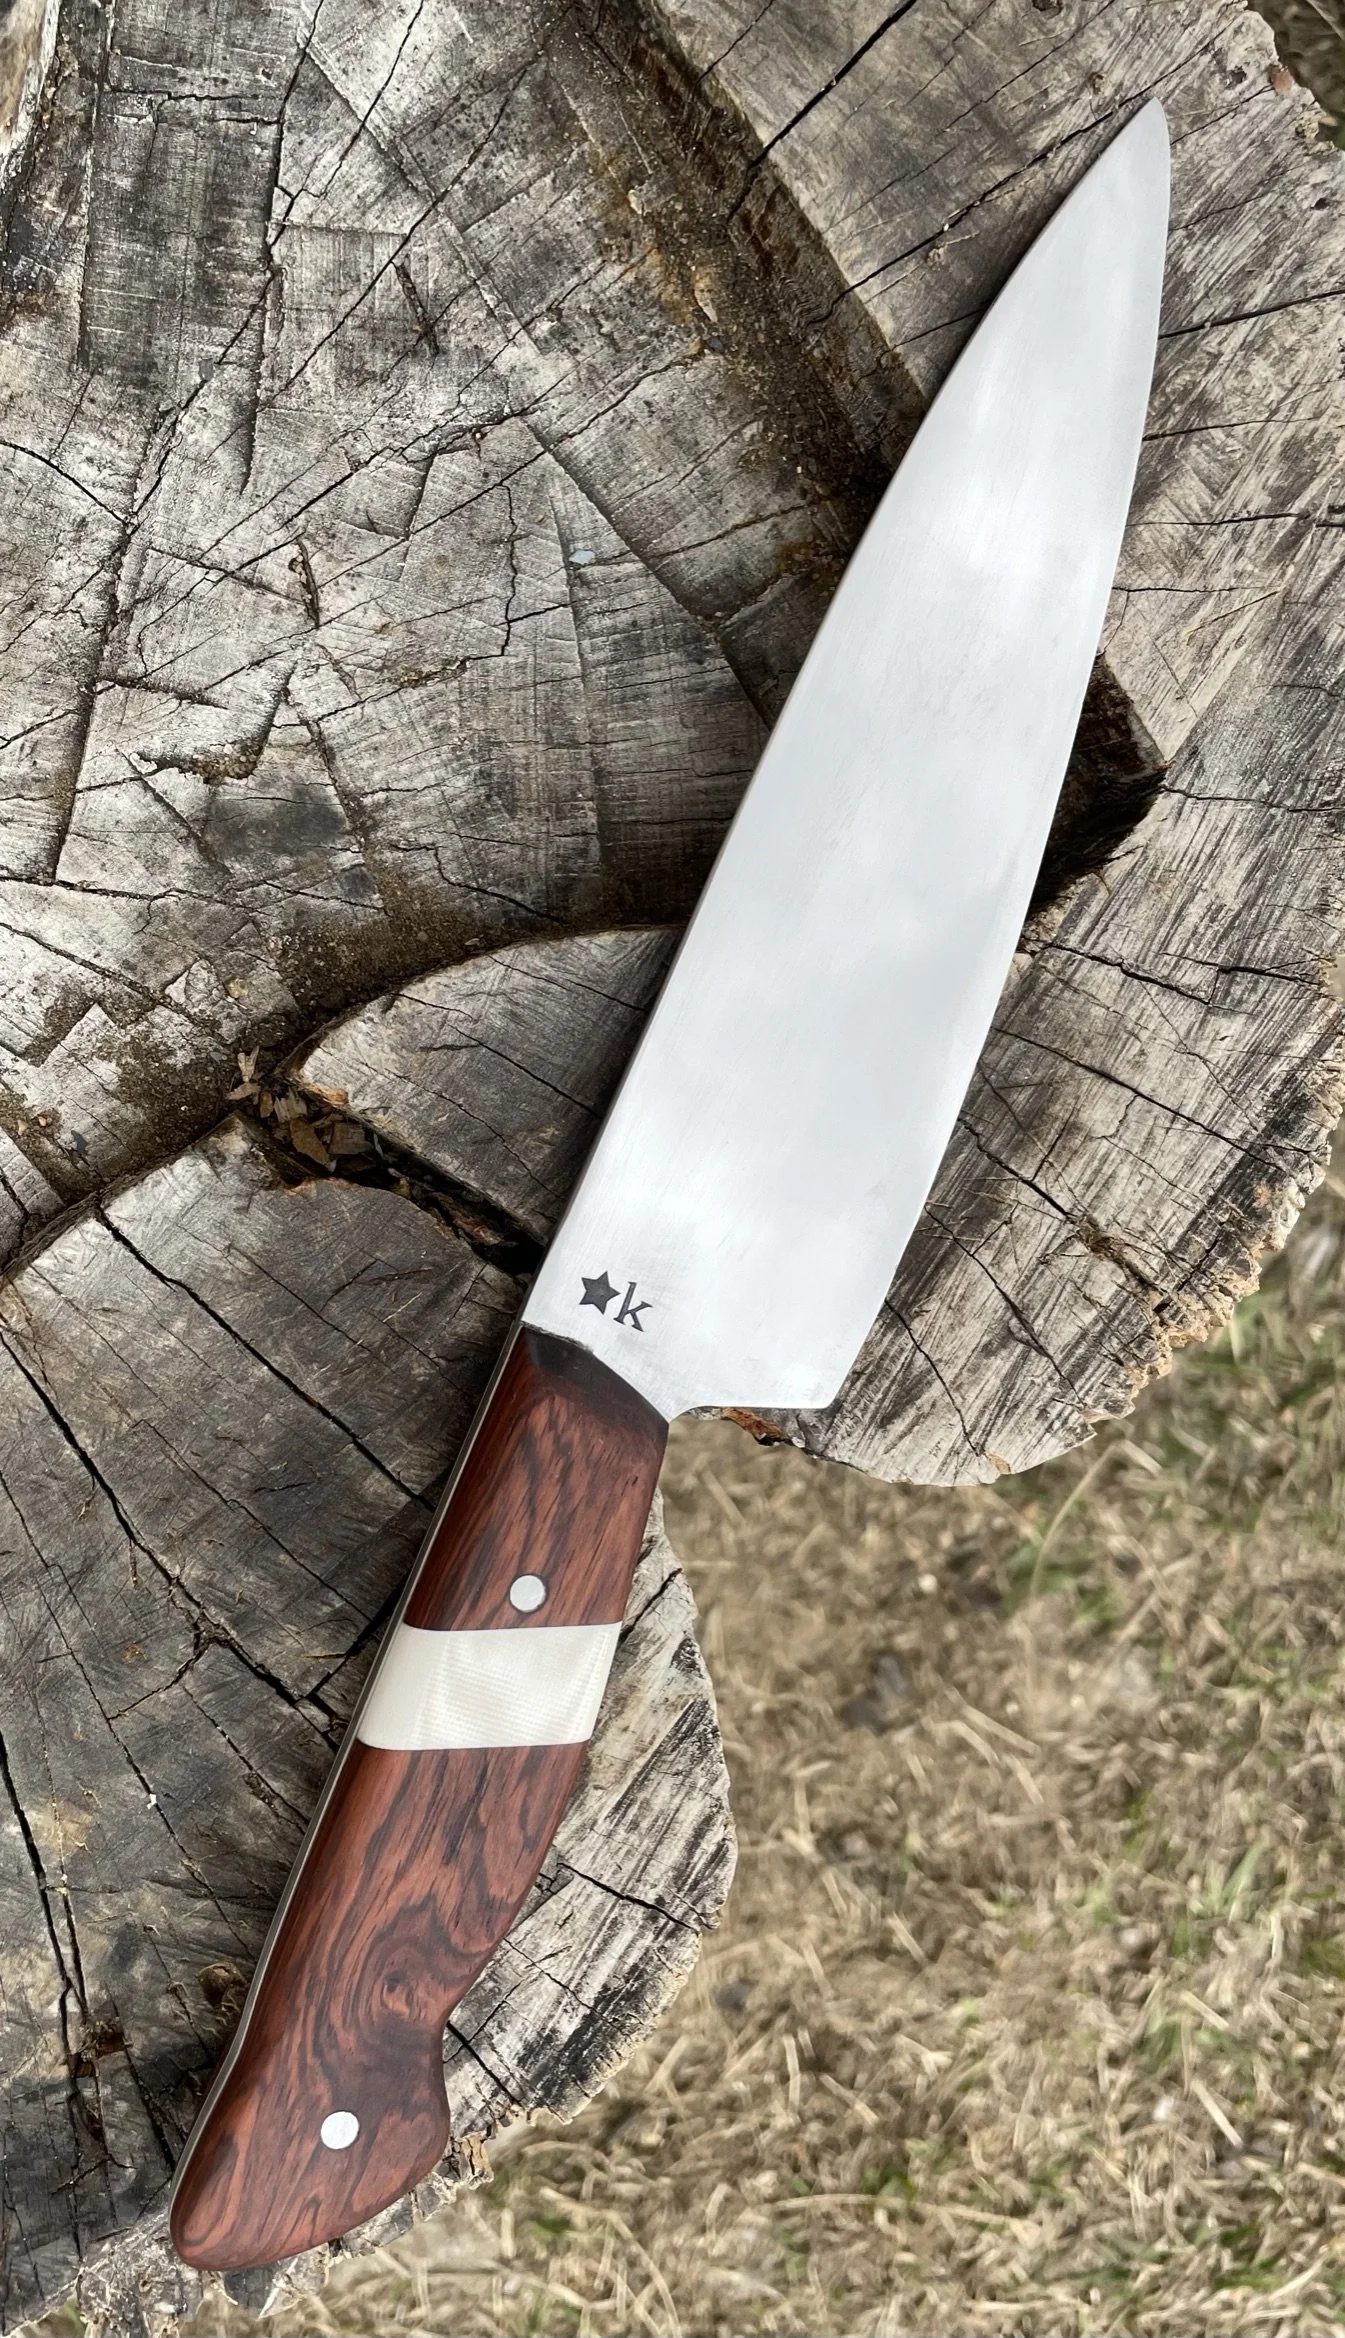
Final blade - keep scrolling to see the journey.
-
I was asked by a friend back in Utah if I sell my knives, and she asked if I'd make her one. This was the first time I was ever asked to sell a knife, and I was deeply honored.
-
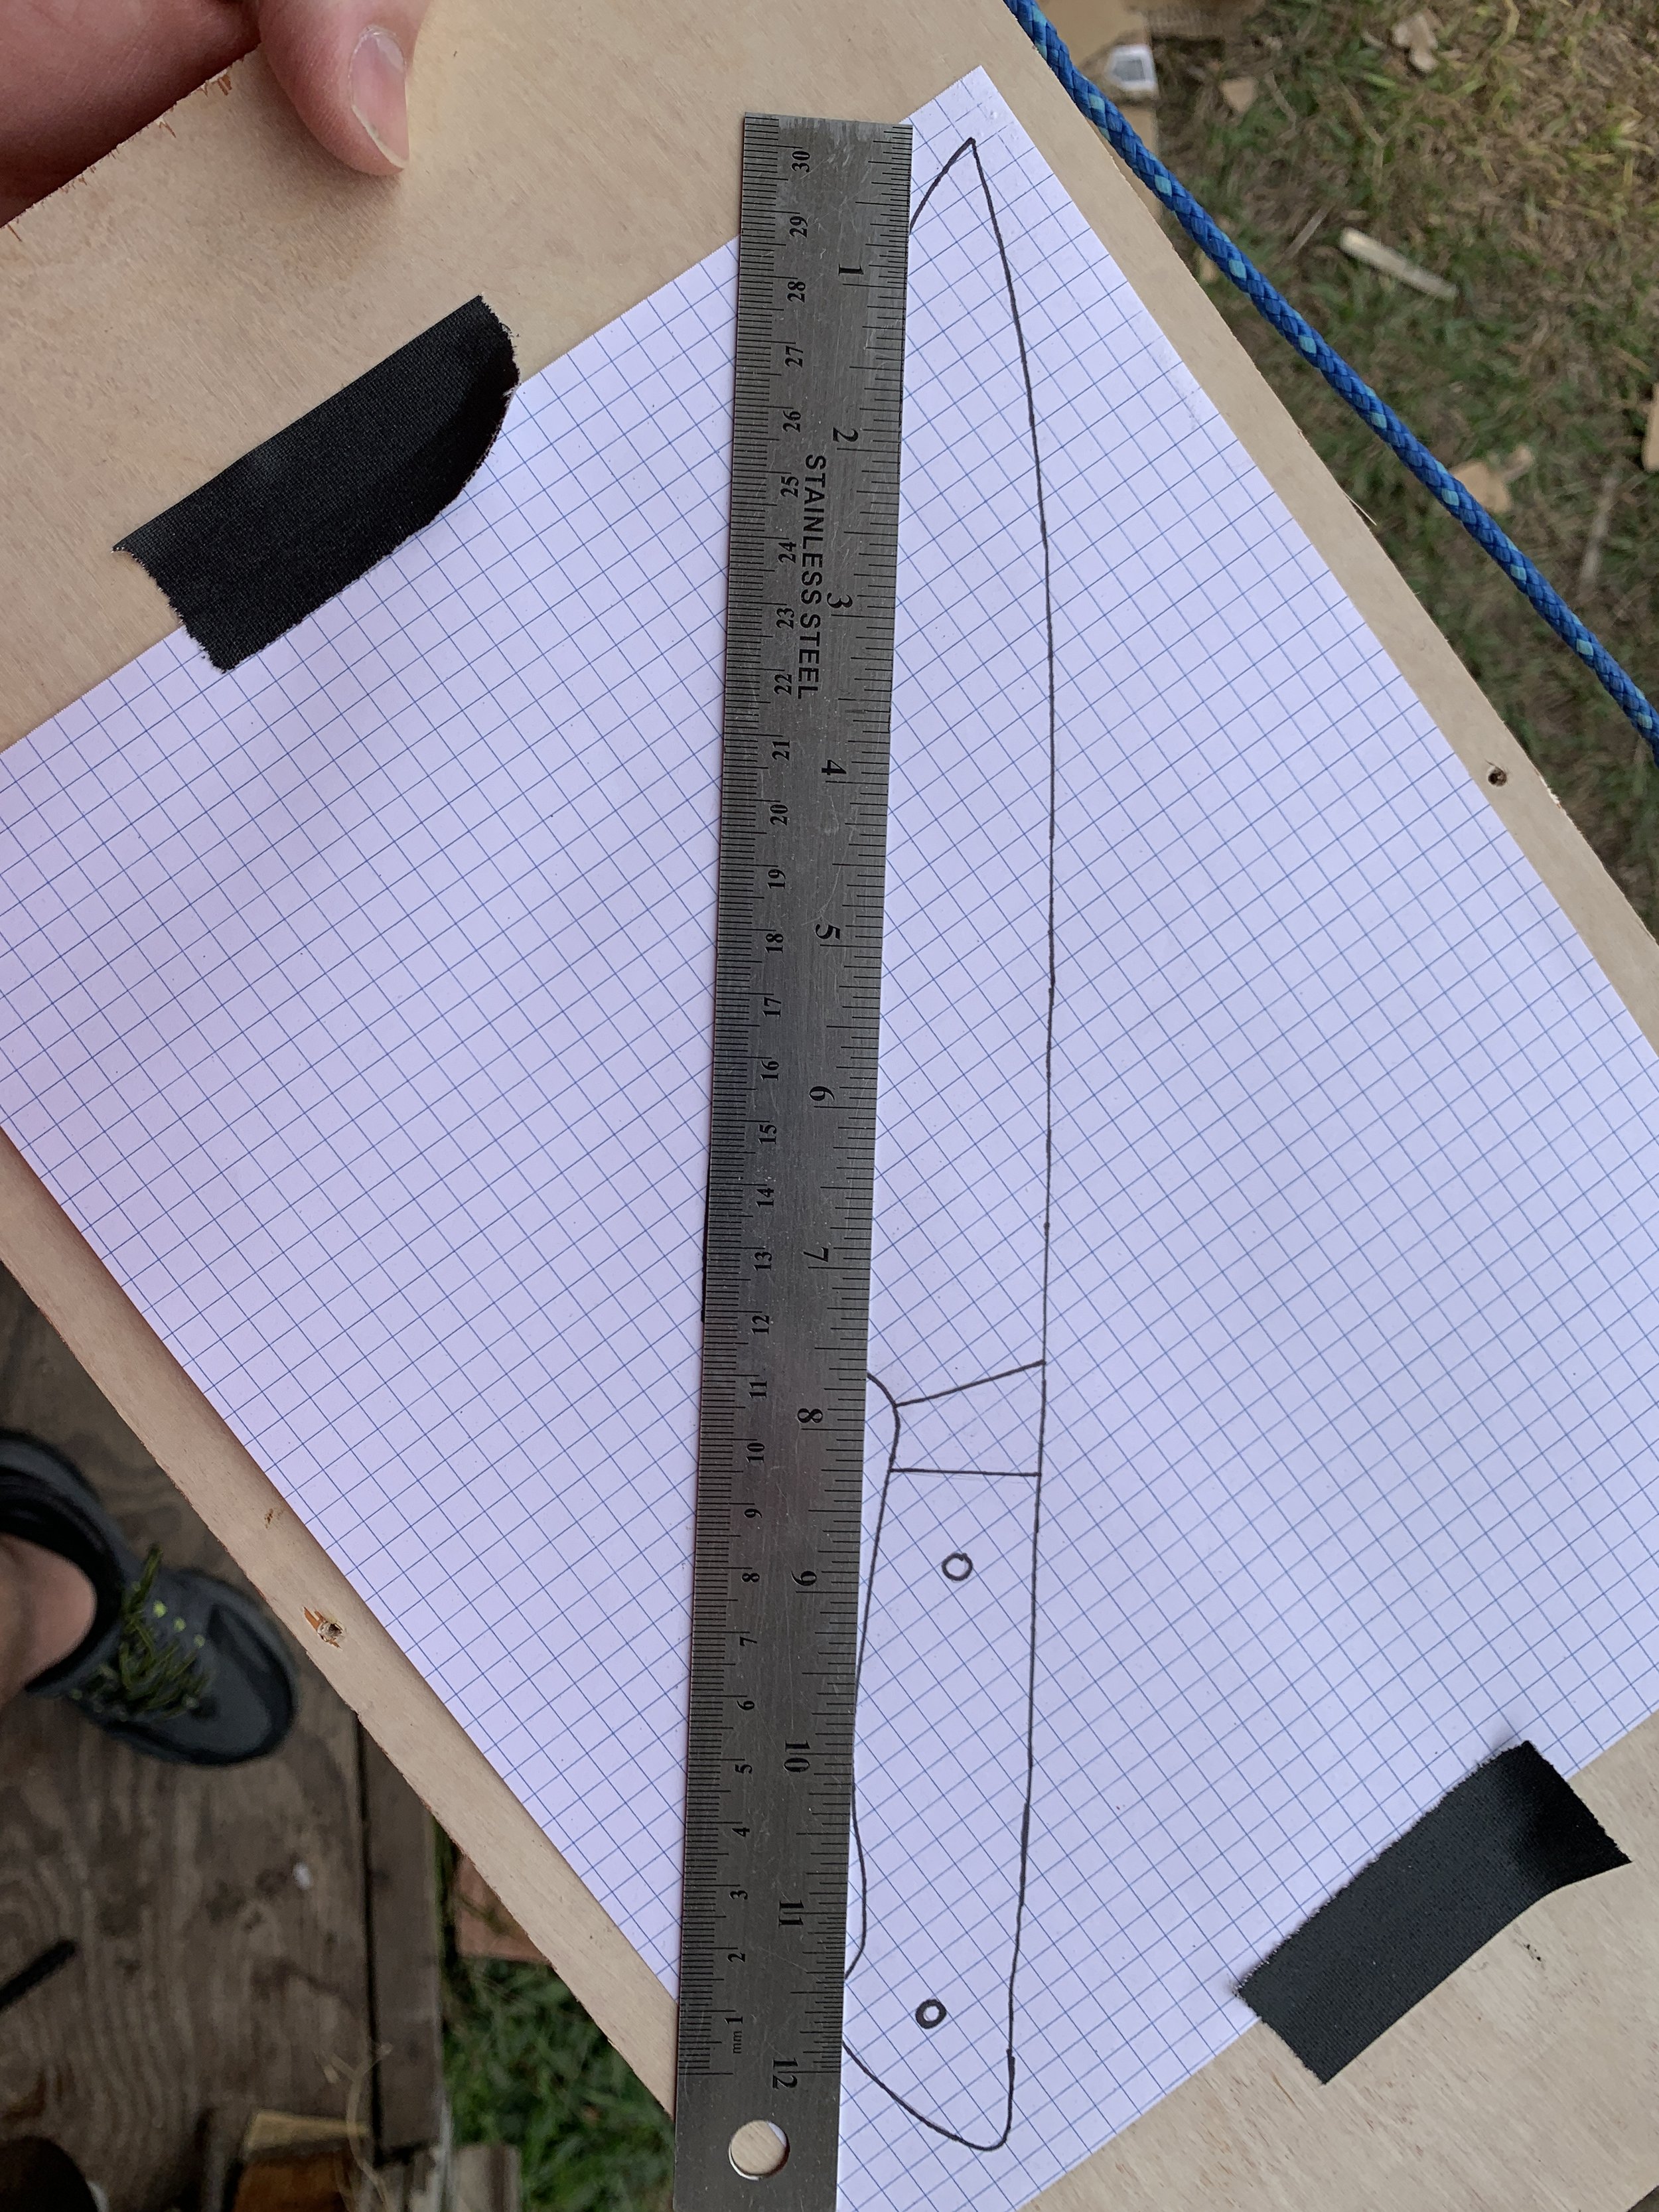
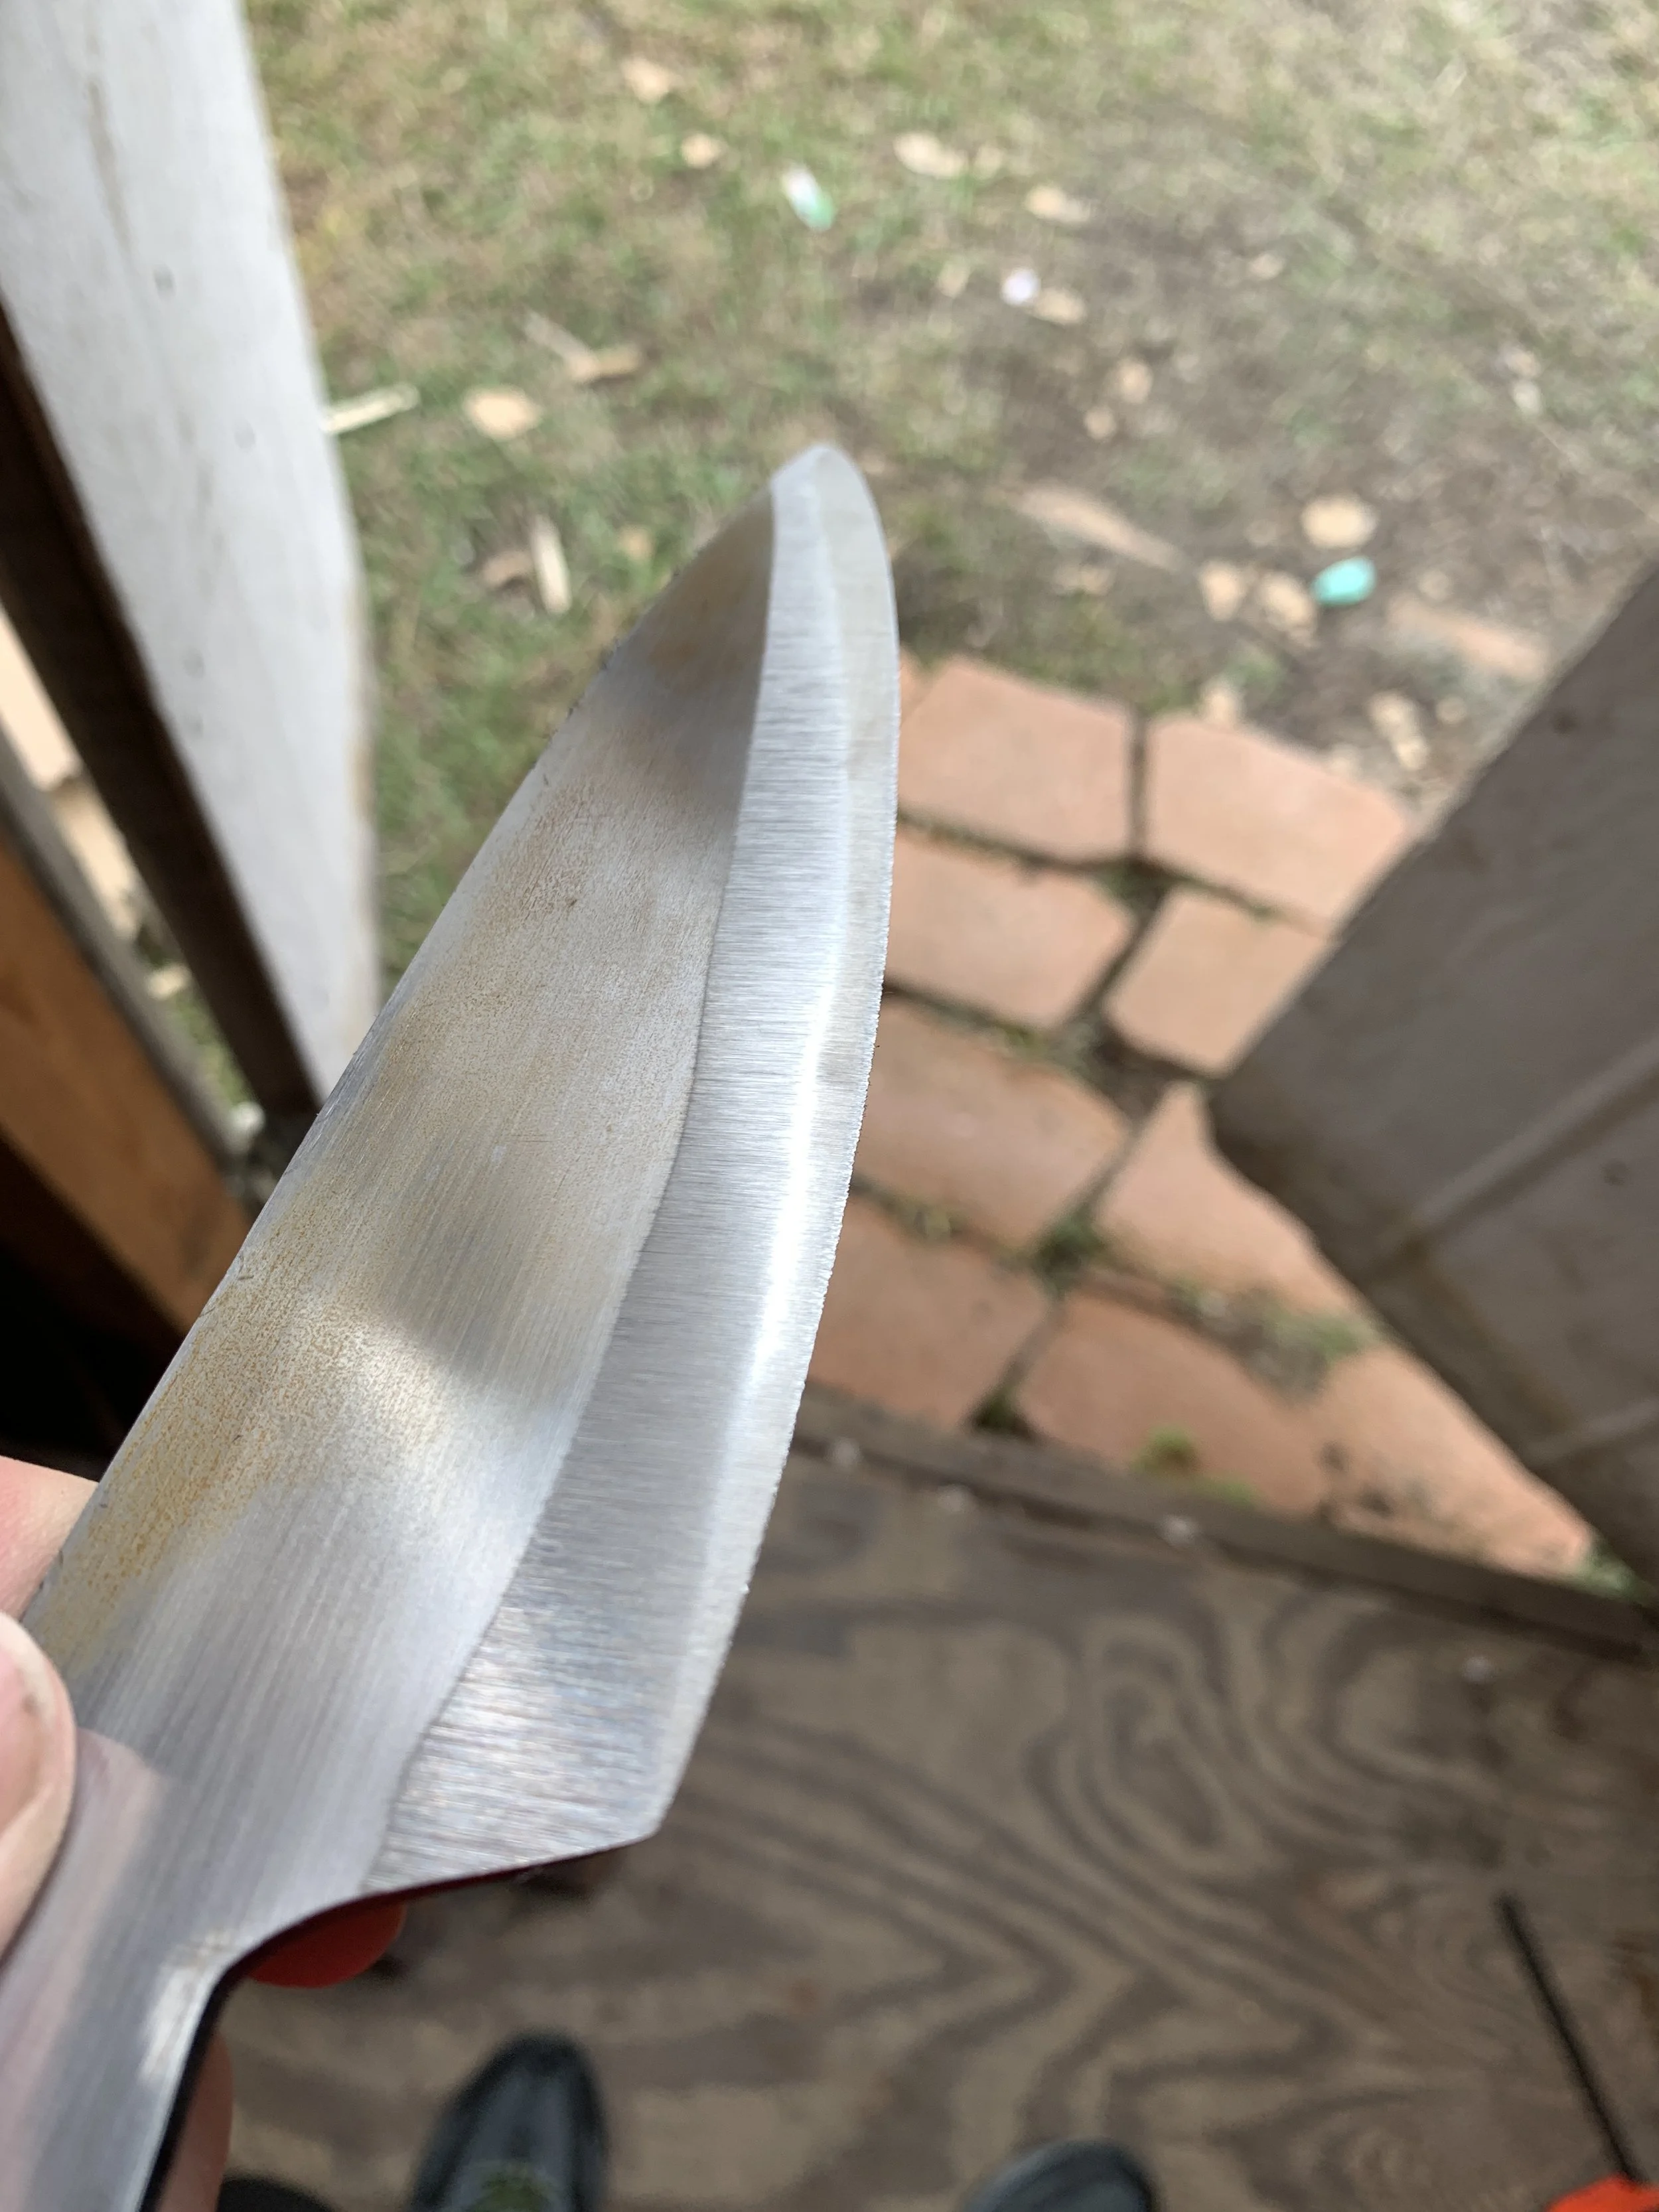
Decided to make this blade out of 5160 spring steel, and I custom designed it. Still early bevels as is common amongst beginners.
-
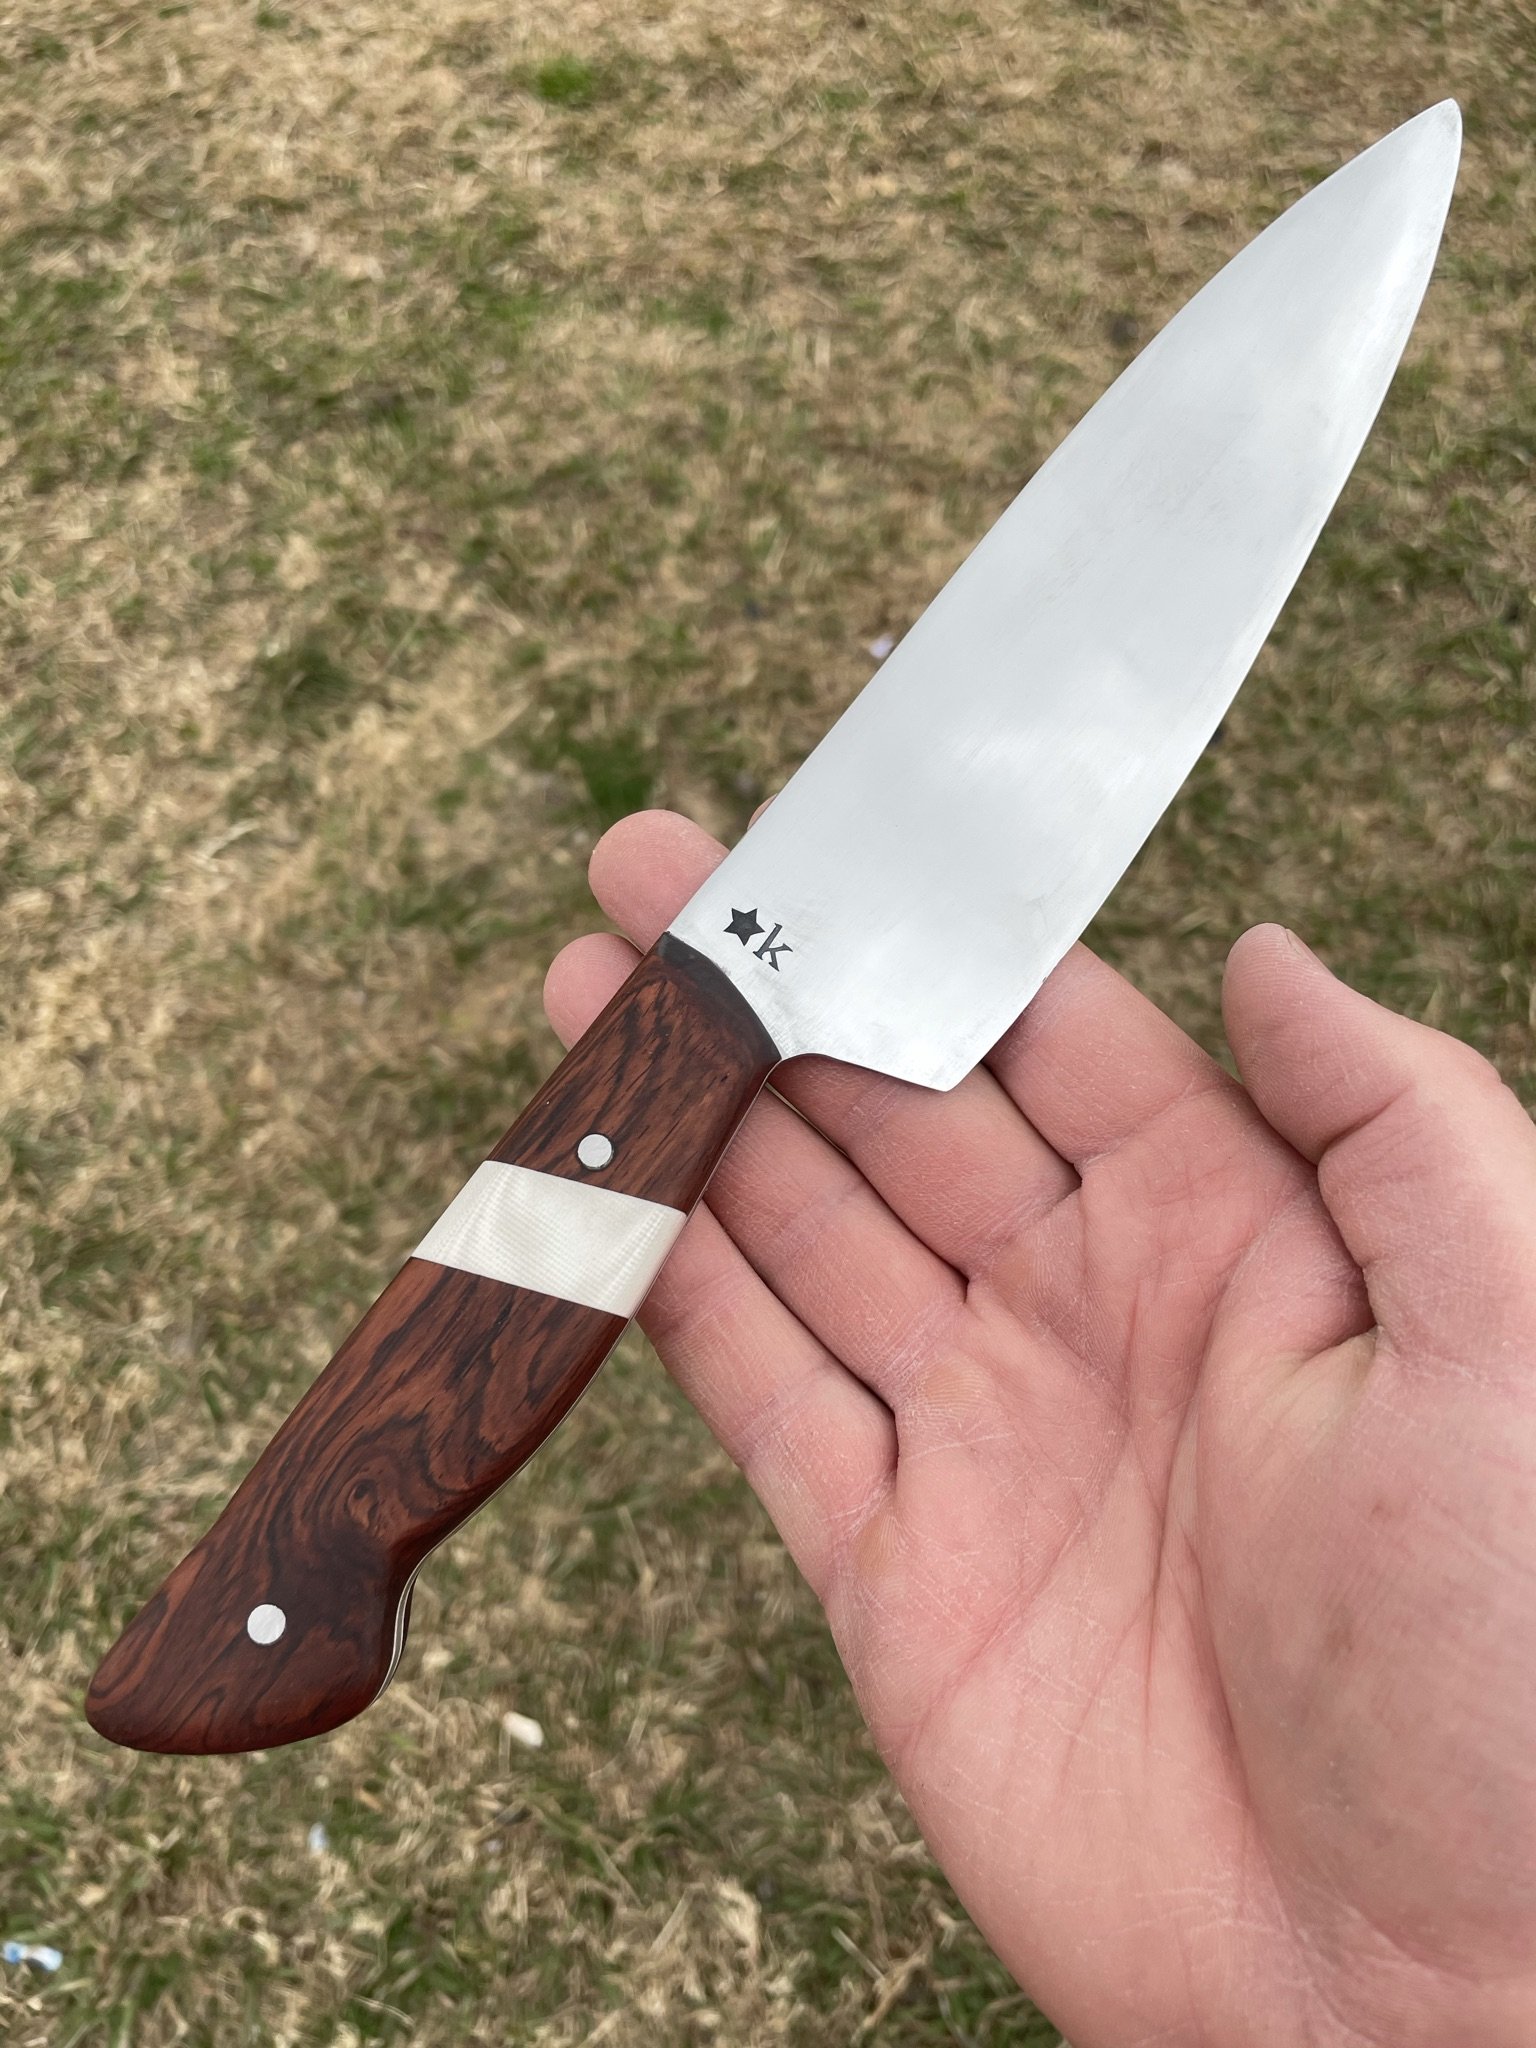
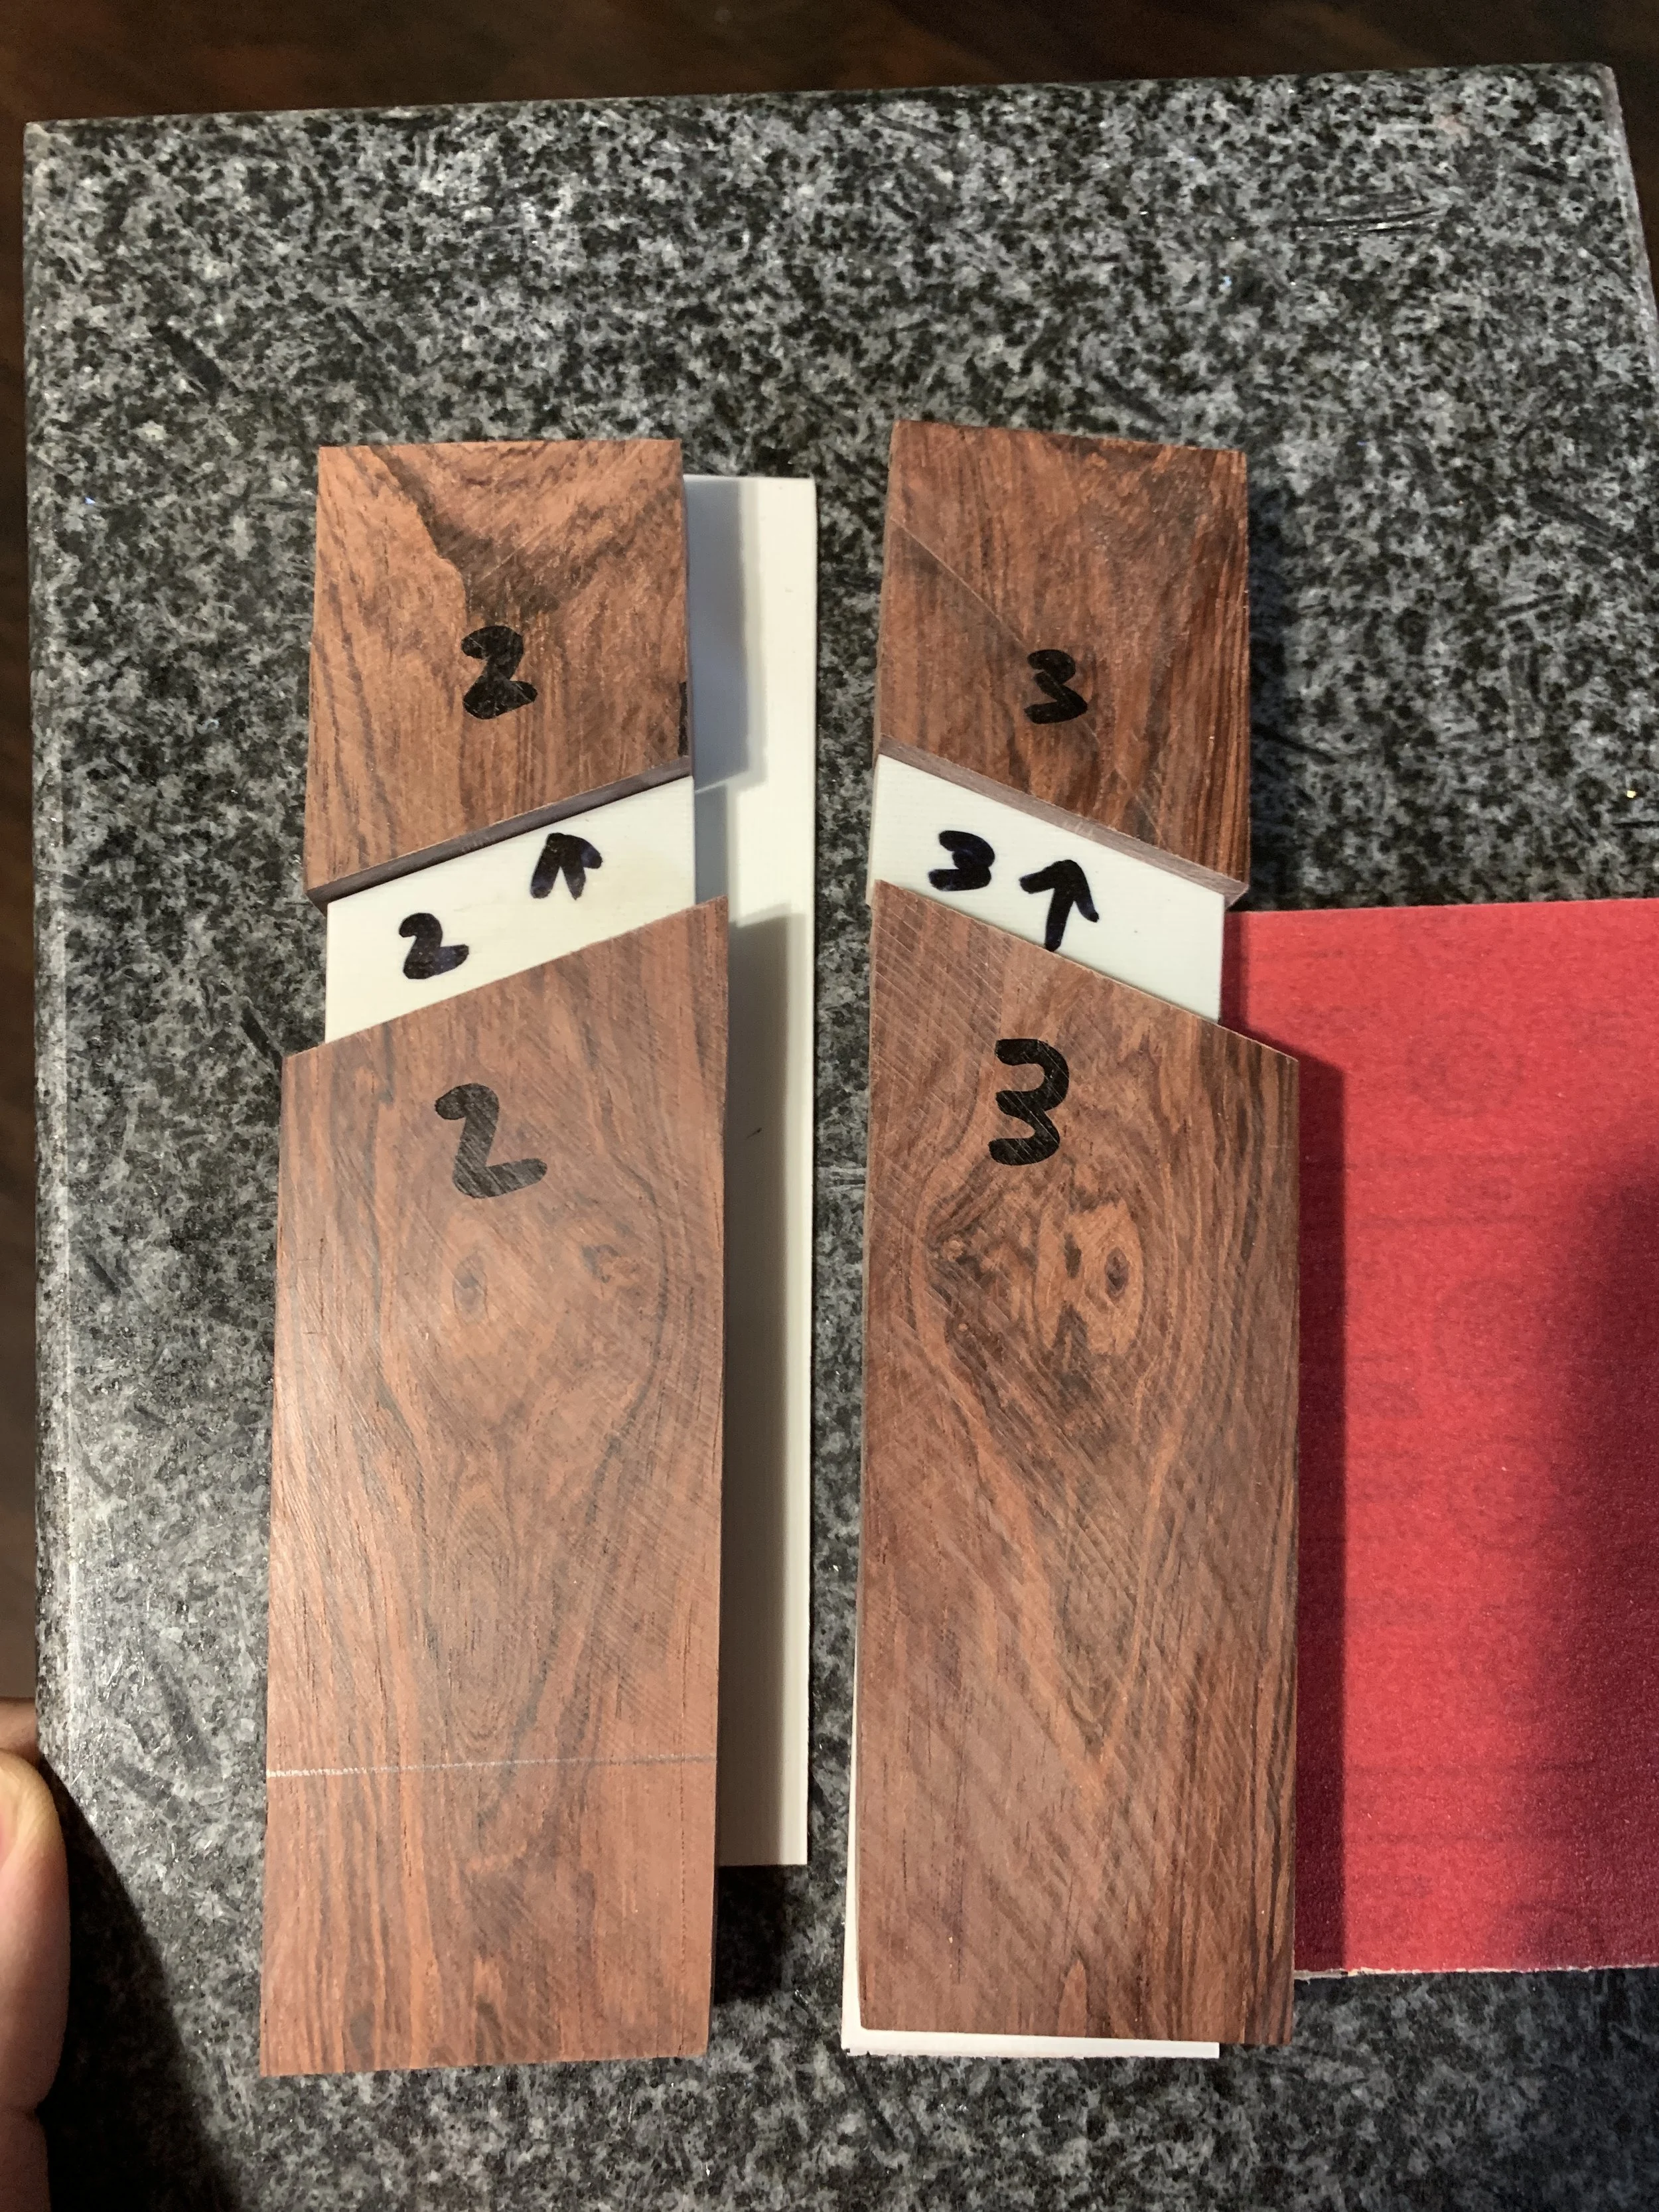
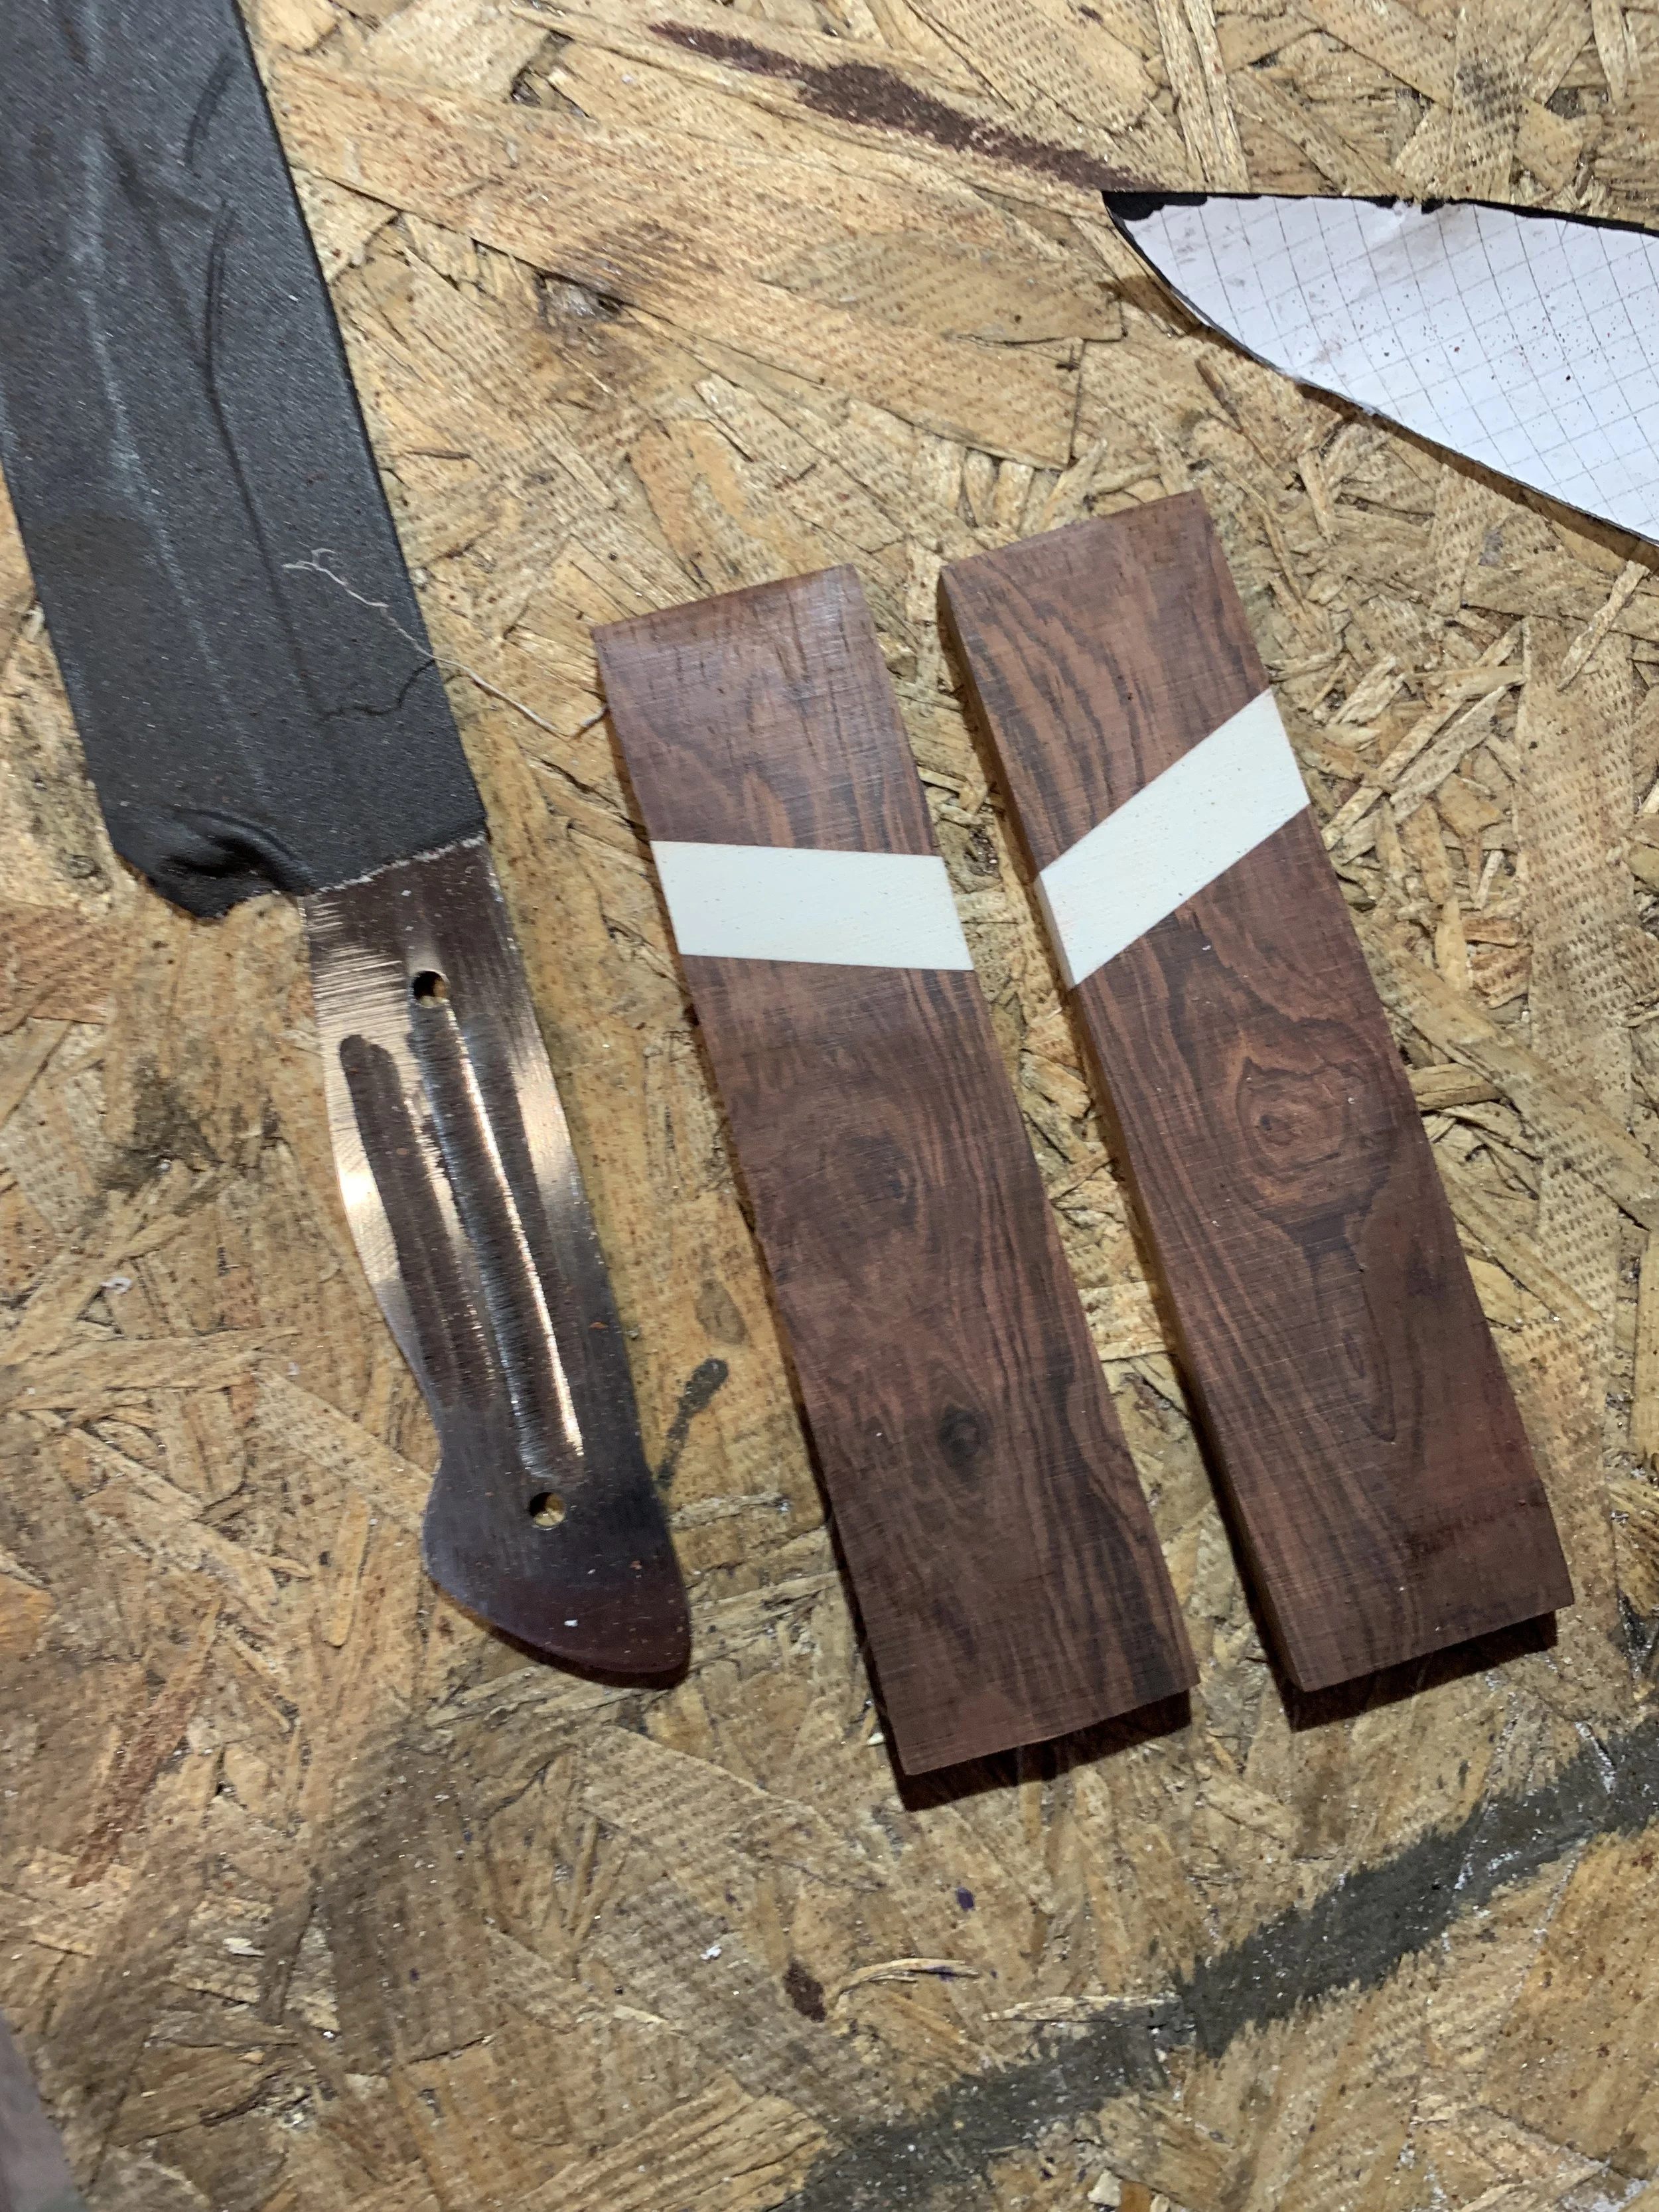
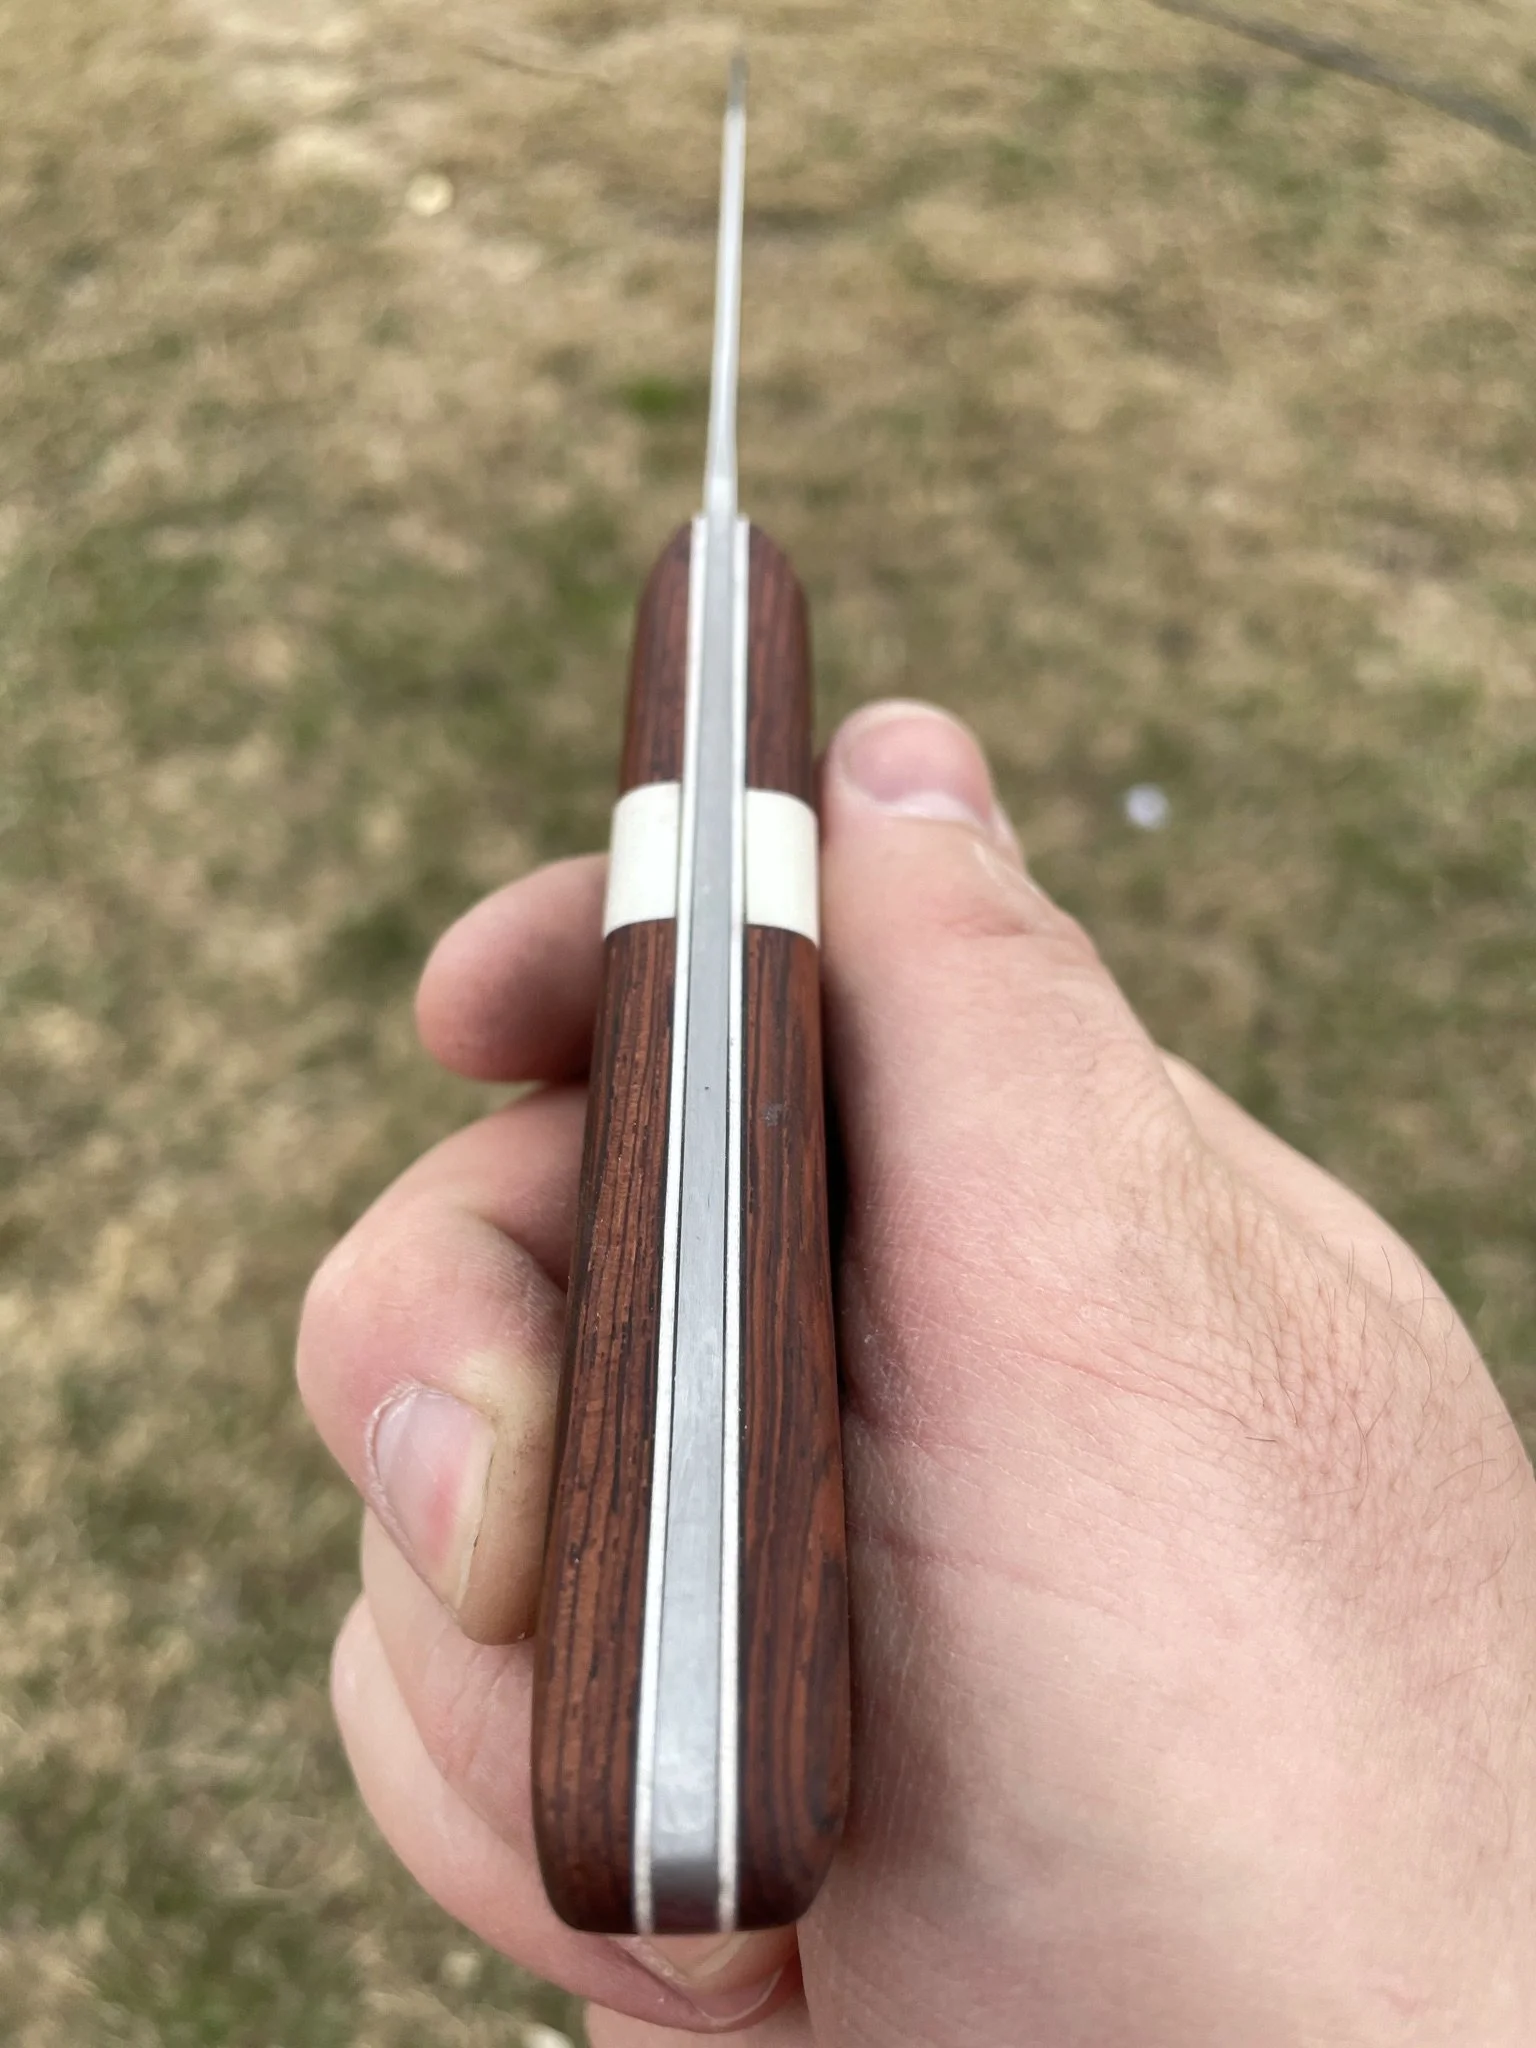
Decided to do my first set of segmented handle scales, using white G10 and Brazilian rosewood. making sure everything lined up as a challenge, but it turned out pretty well.
-
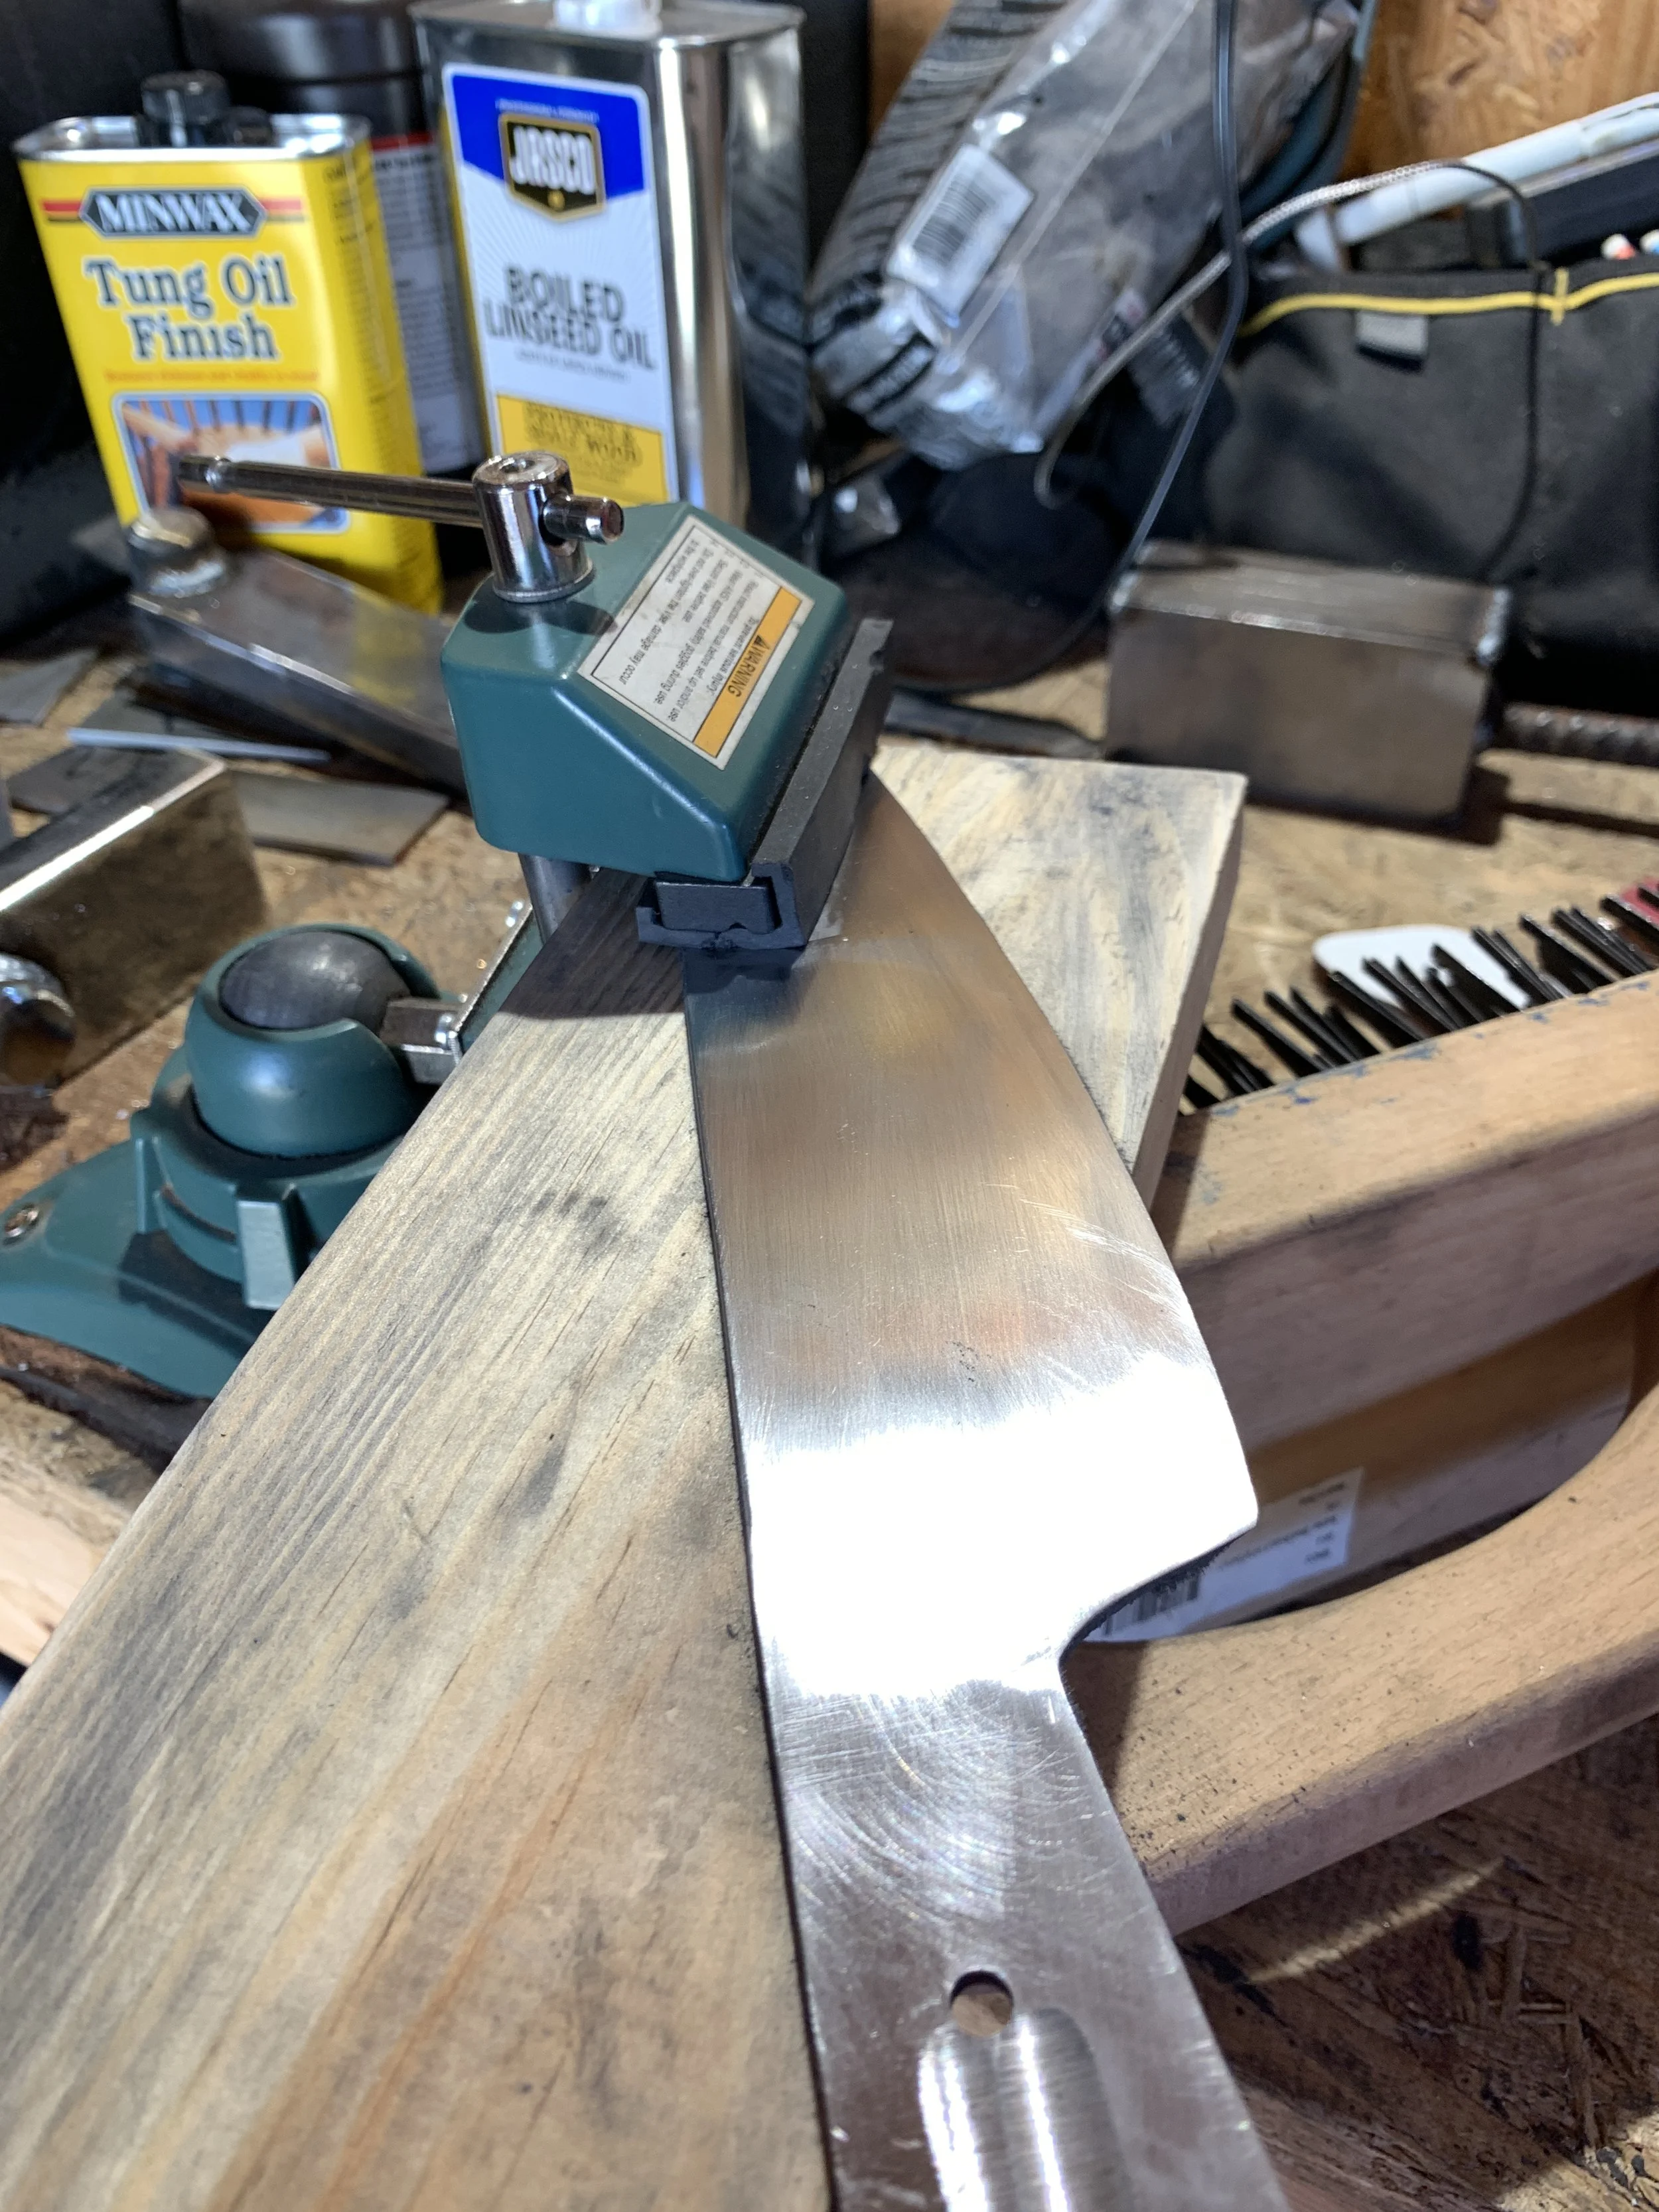
First documented evidence of hand-sand. Now this is a requirement on all my blades.
-
Finished scales and the blade ready for glue up.
-
Glamour shot 1 - cool to see the liners and how the handle scales lined up. Overall shape of the handle is pretty basic but again this was the first knife ever sold.
-
Glamour shot #2
-
Glamour Shot #3. I think this is the first time I started doing my maker's mark like this. Prior to this I had decided on it, but hadn't really figured out how to do it, or how I wanted it to look on blades. Now it's a staple.
